as requested on support…
… some cabinet side pieces that I’d like to use for a shoe rack. Would like some help on how to draw and cut the angled dadoes in the sides of the cabinet. Would also like some guidance on tiling these pieces as they are 8’ long. Everything is 3/4" Baltic Birch and I believe the depth will be 15".
This is pretty straight-forward.
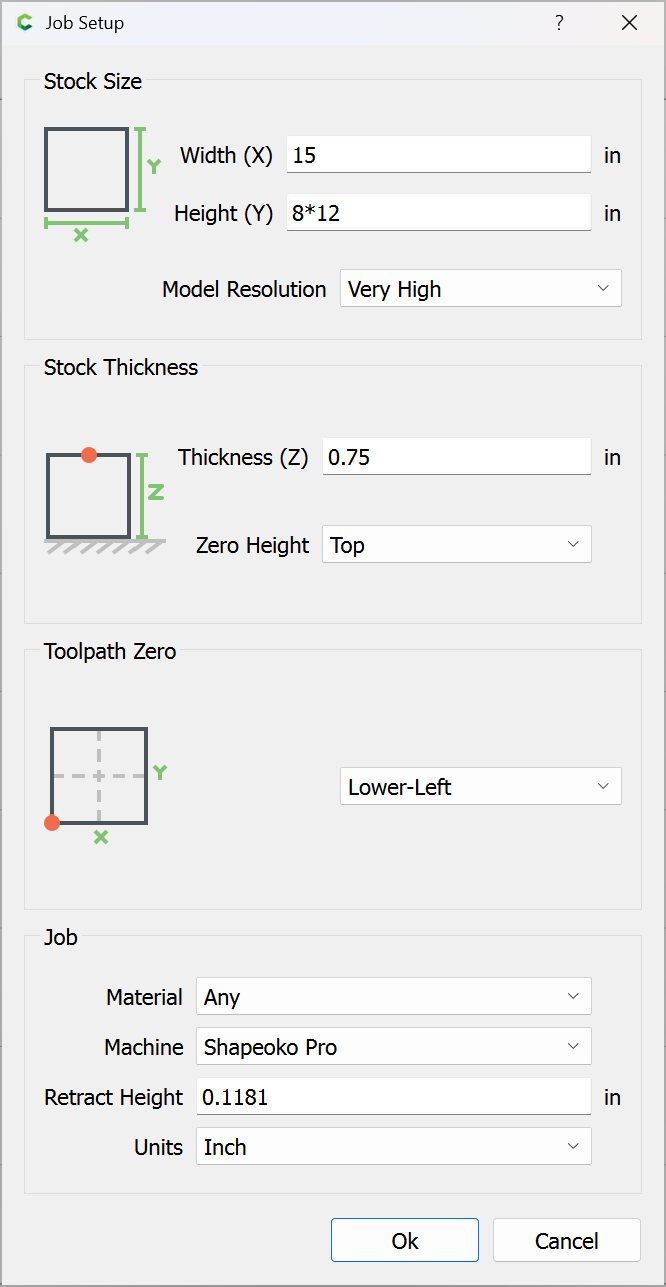
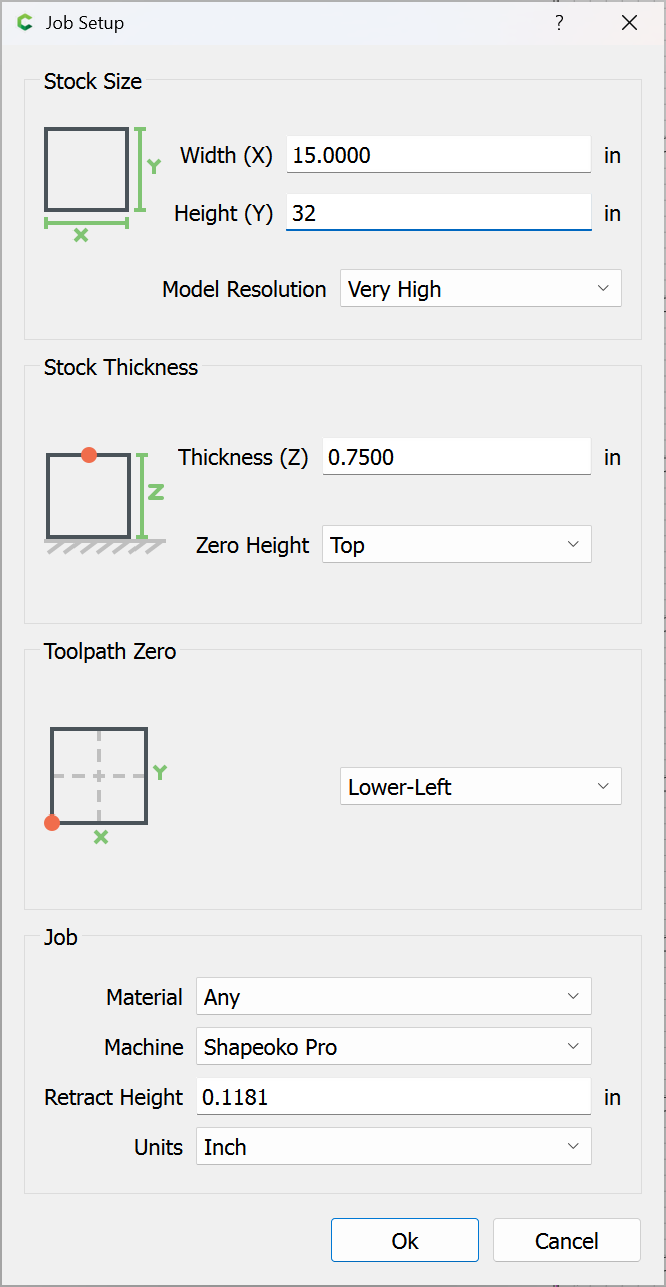
Set the stock:
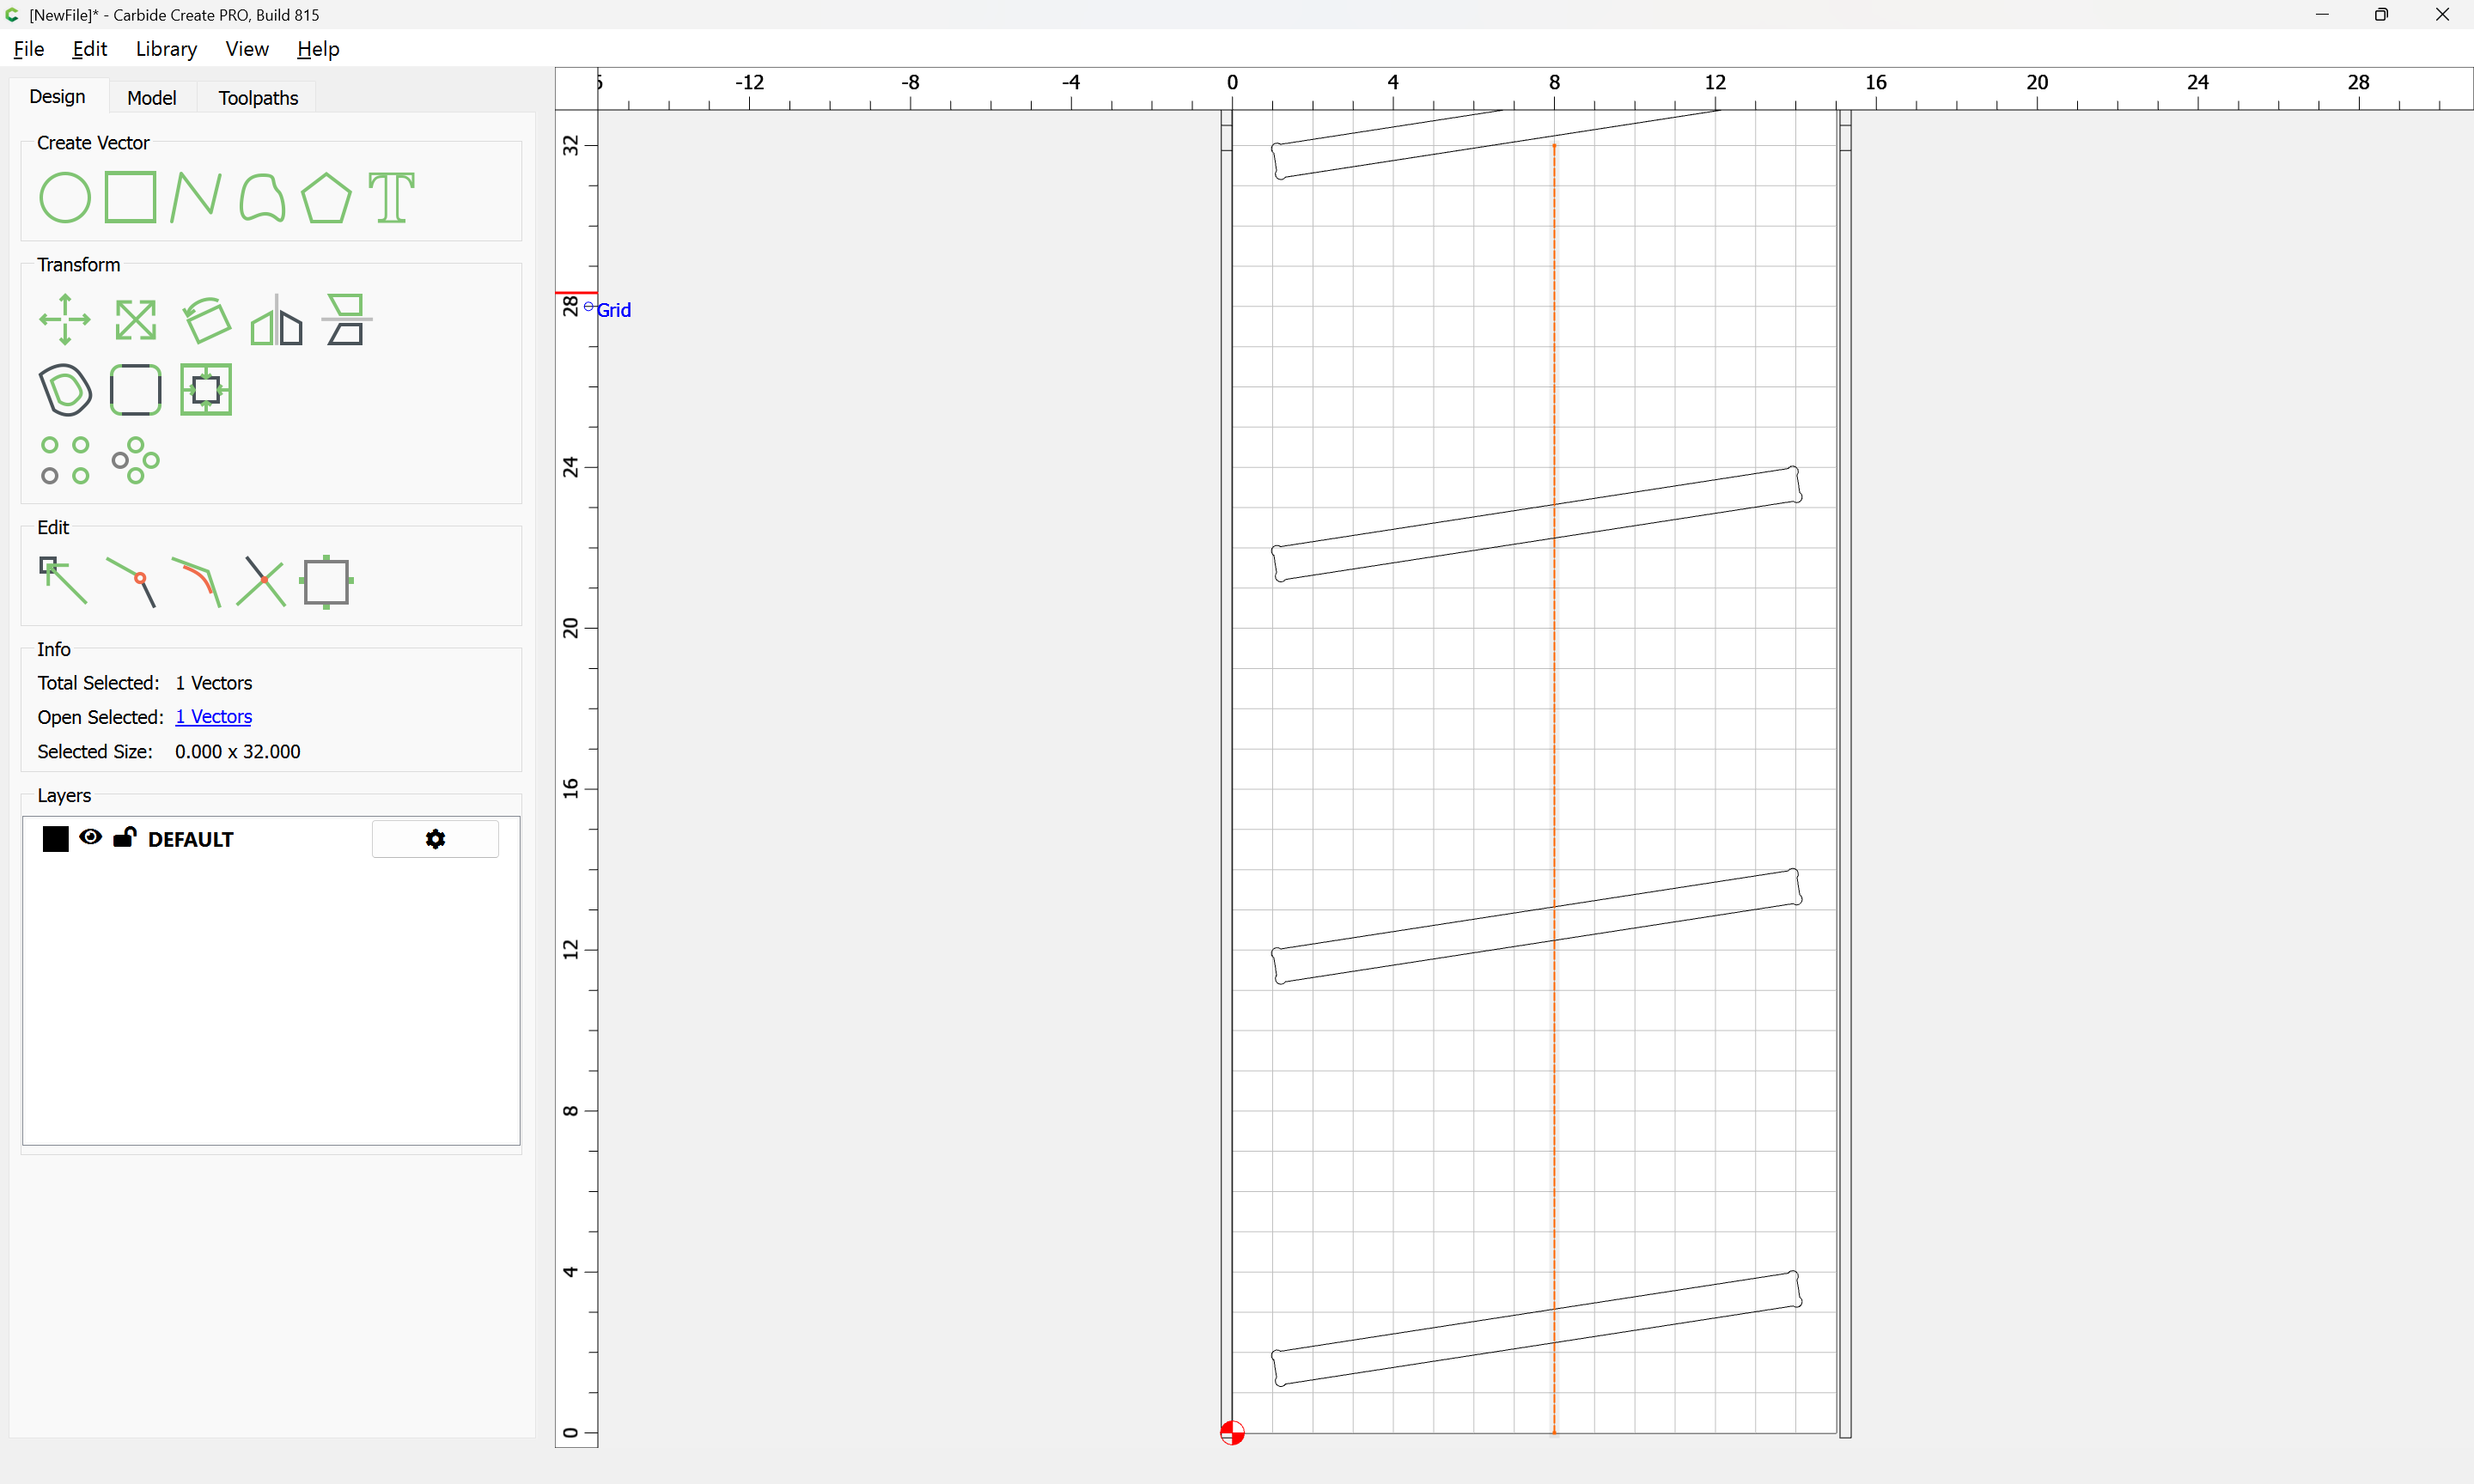
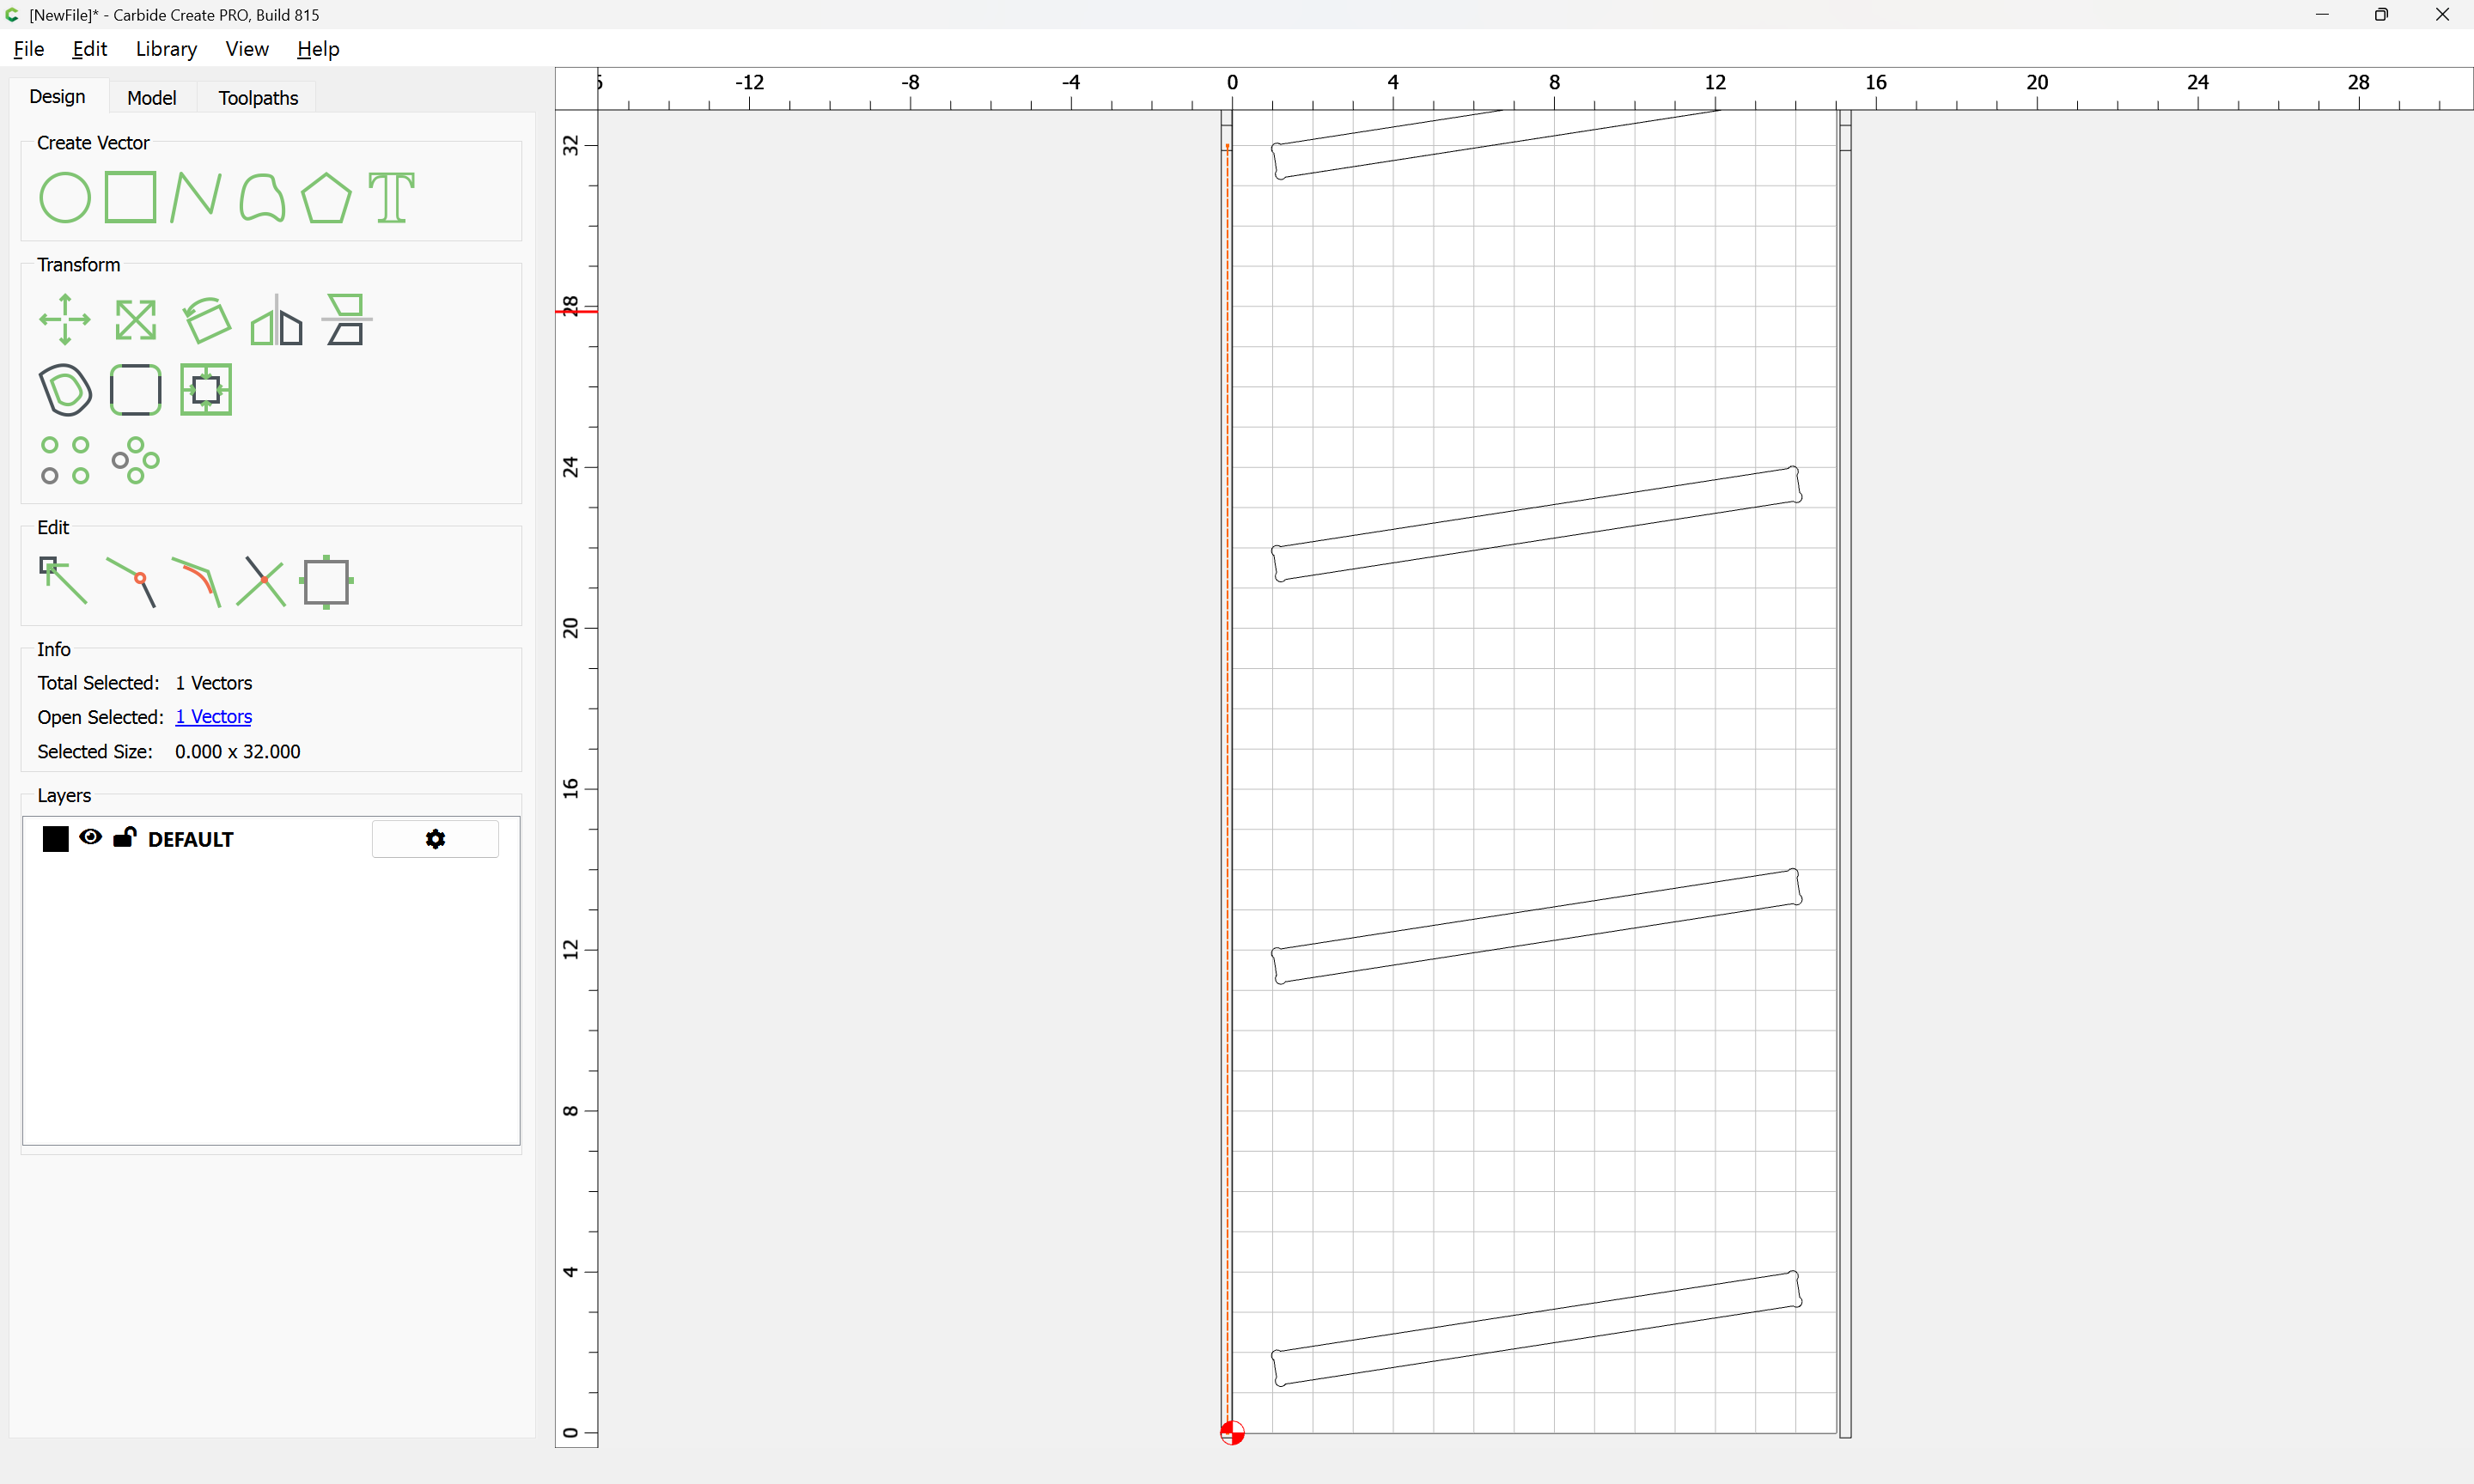
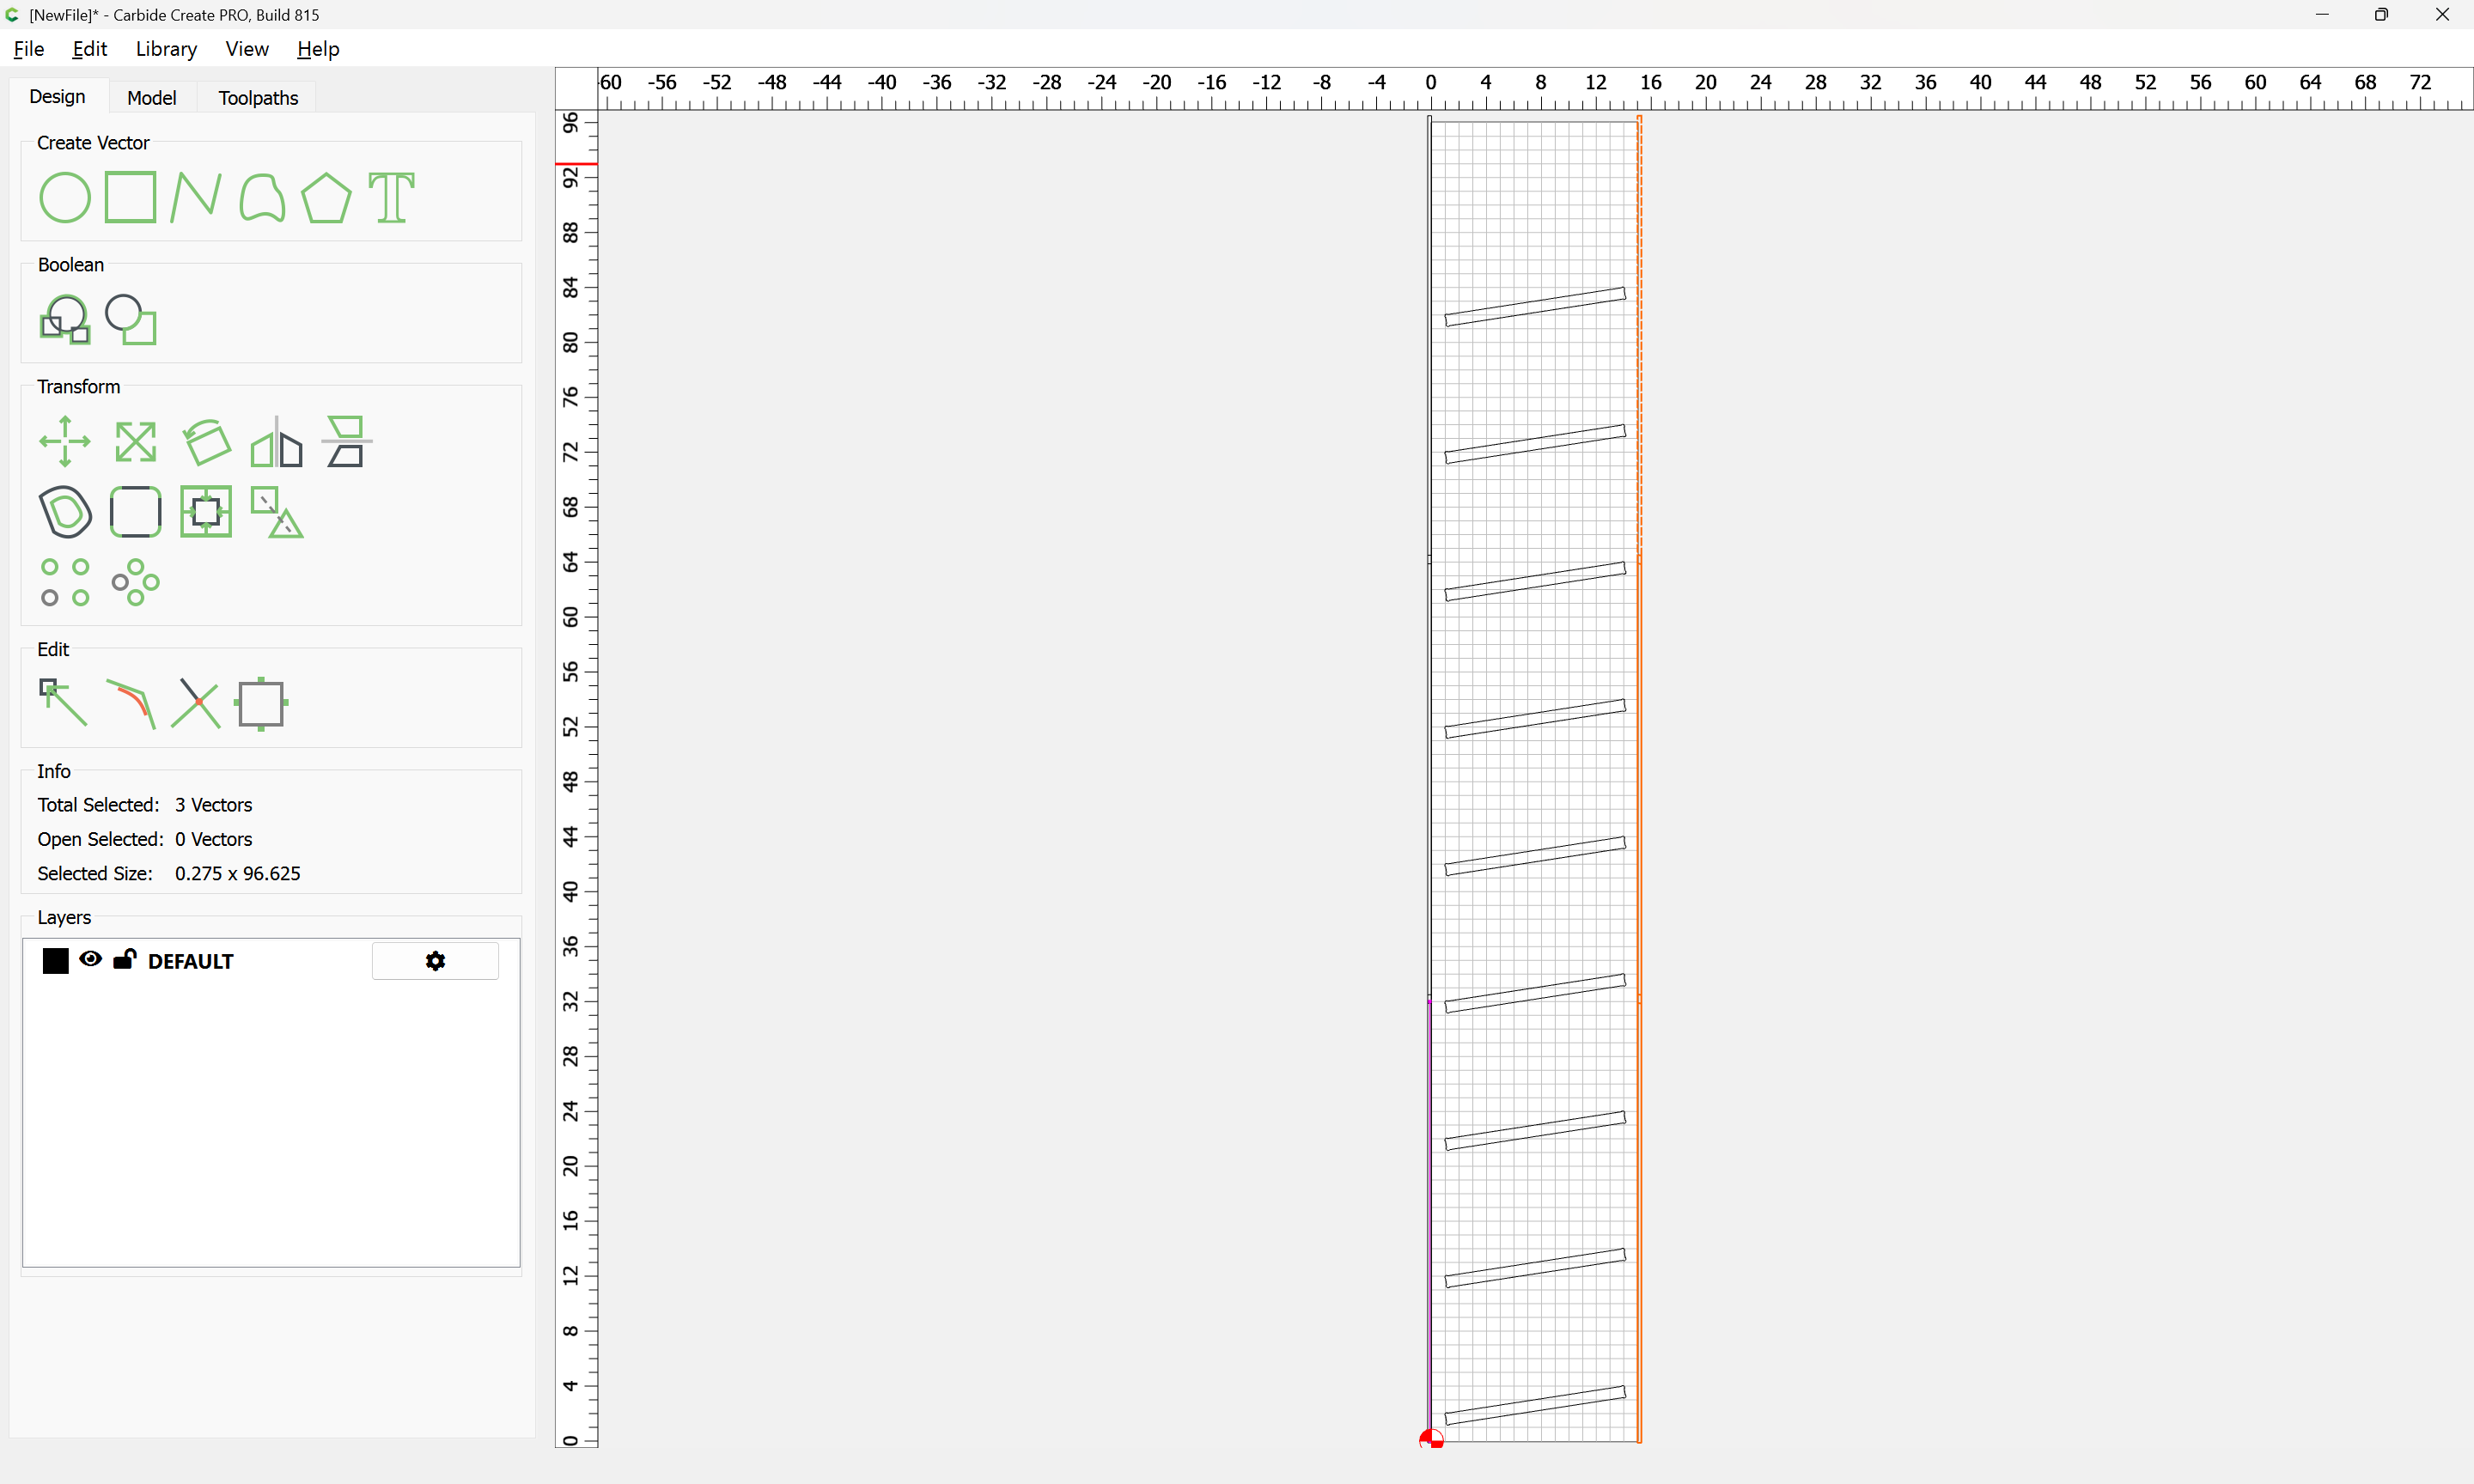
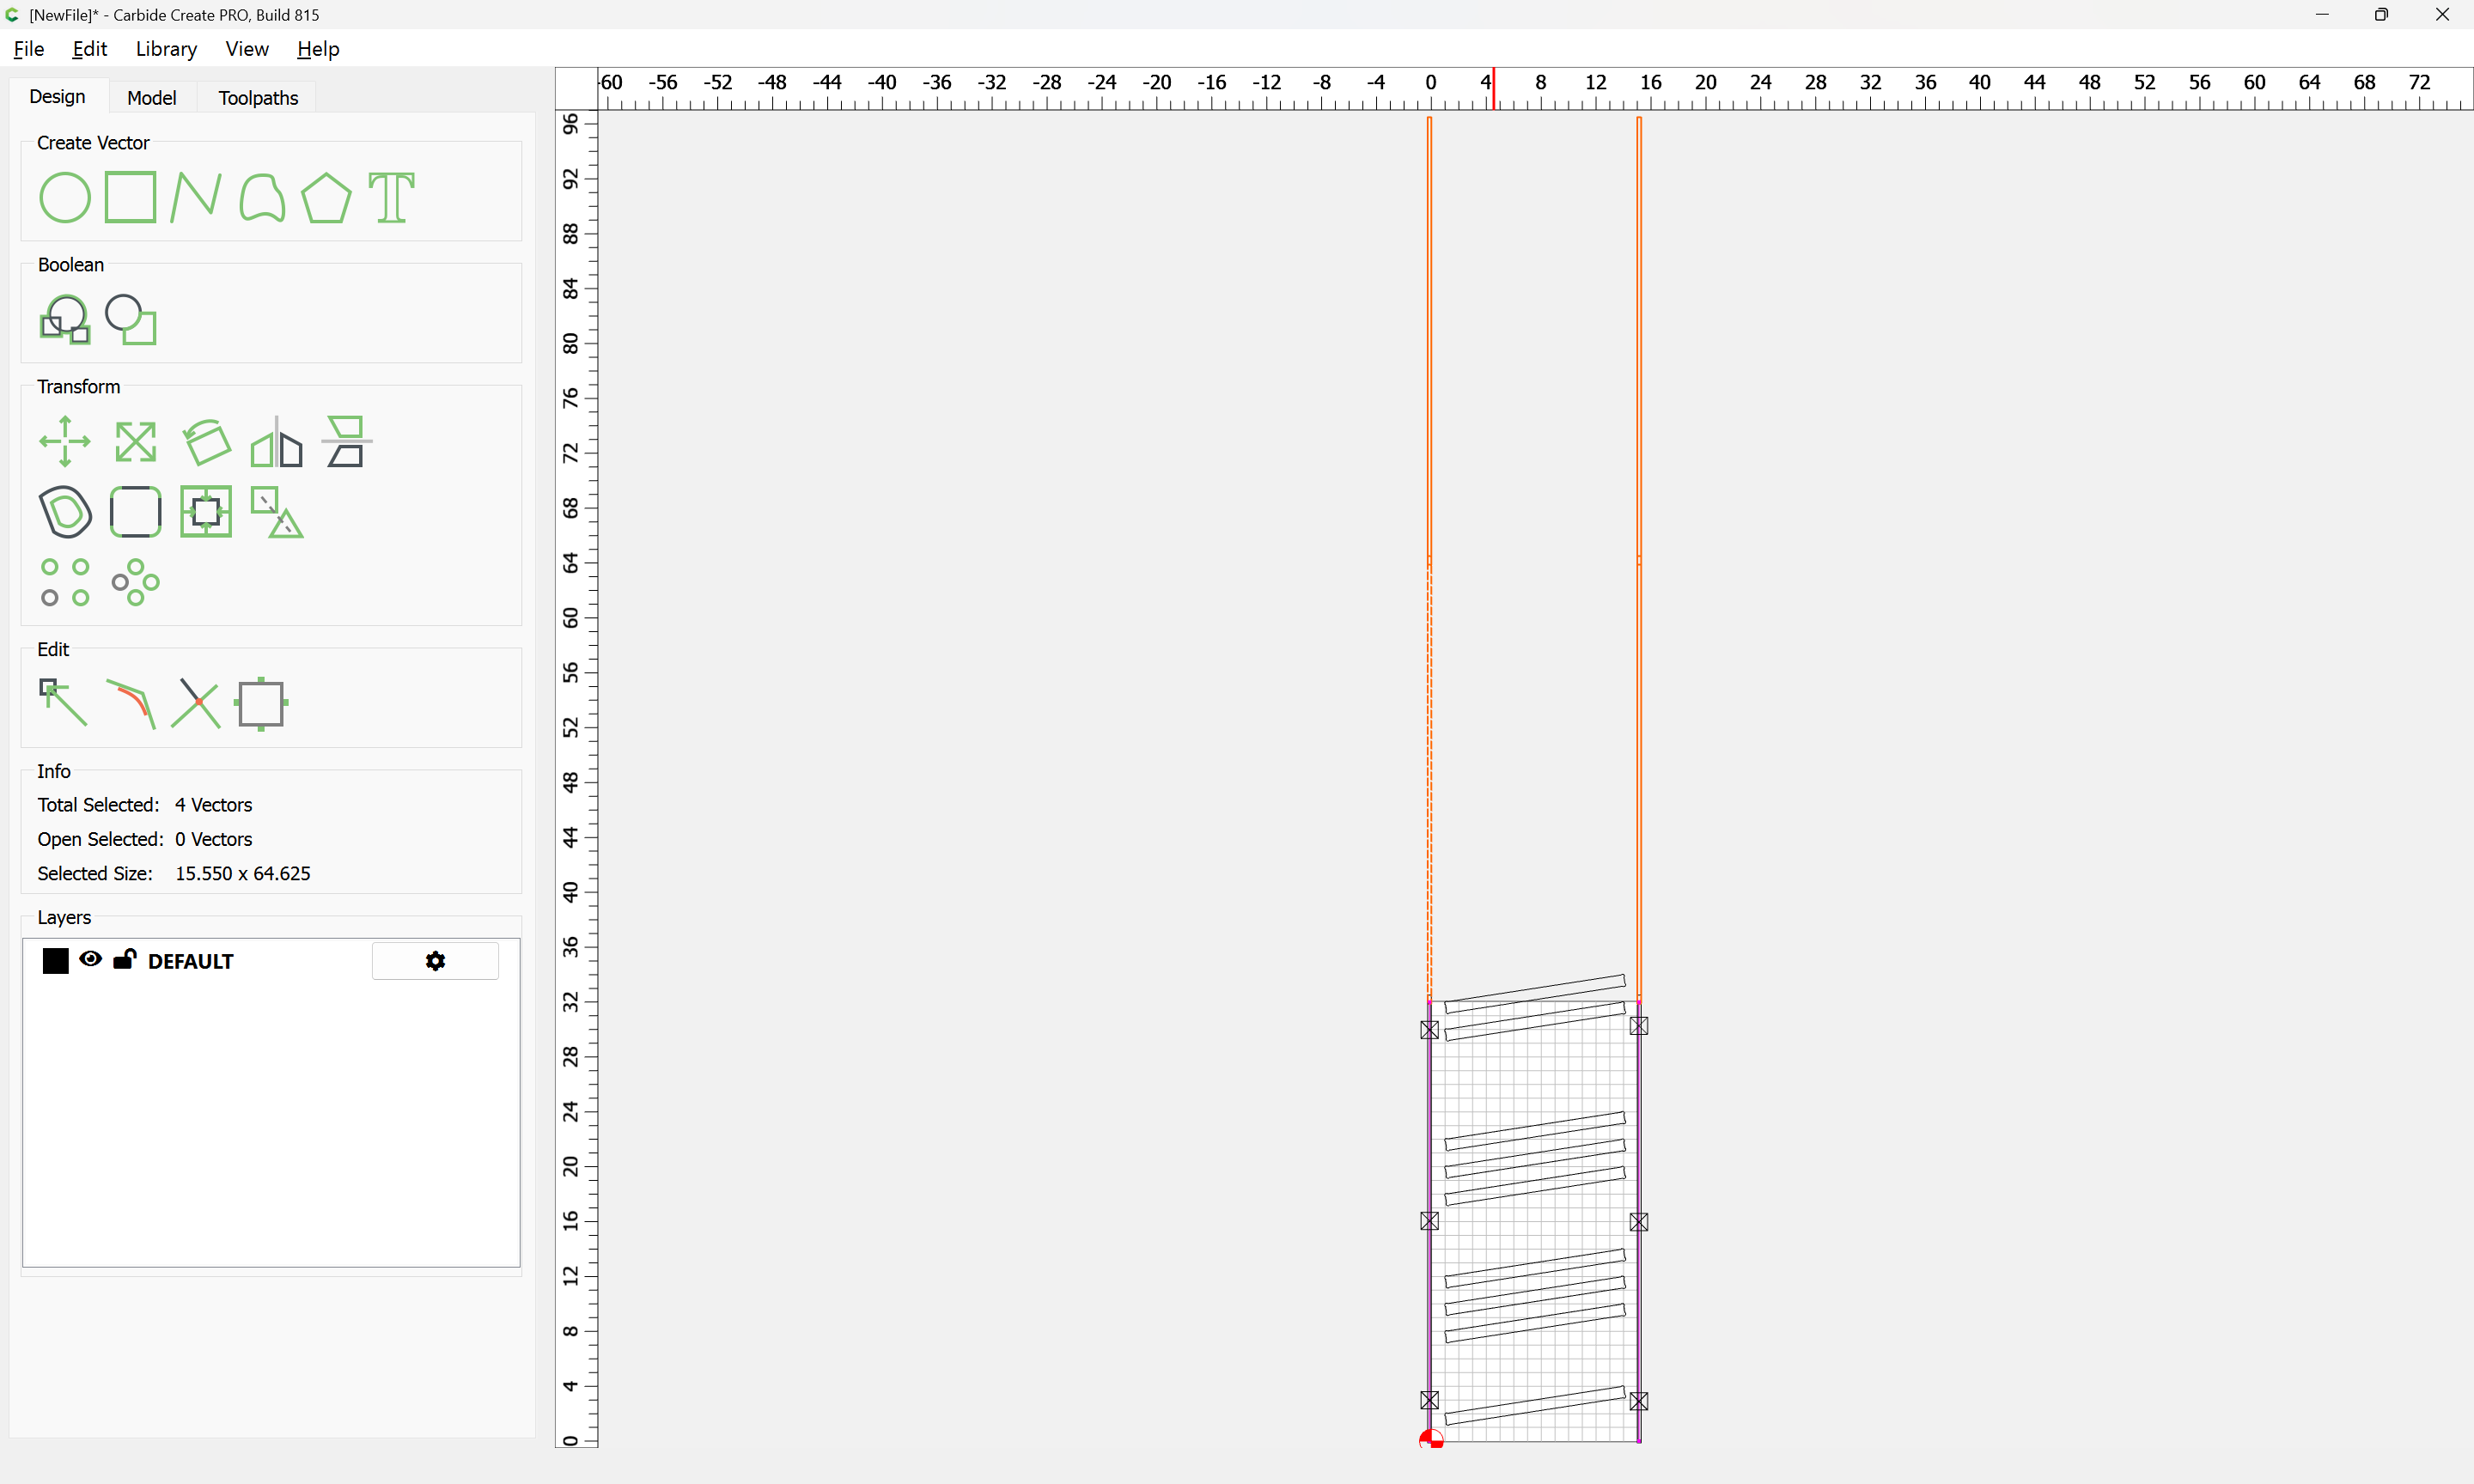
Draw in geometry for the side cuts — this can either be done as continuous (if one is using Carbide Create Pro for tiling) or in overlapping sections — since I would do this on my SO Pro XXL we will set up for that:
Tile size is 32" and overlap is 3/8":

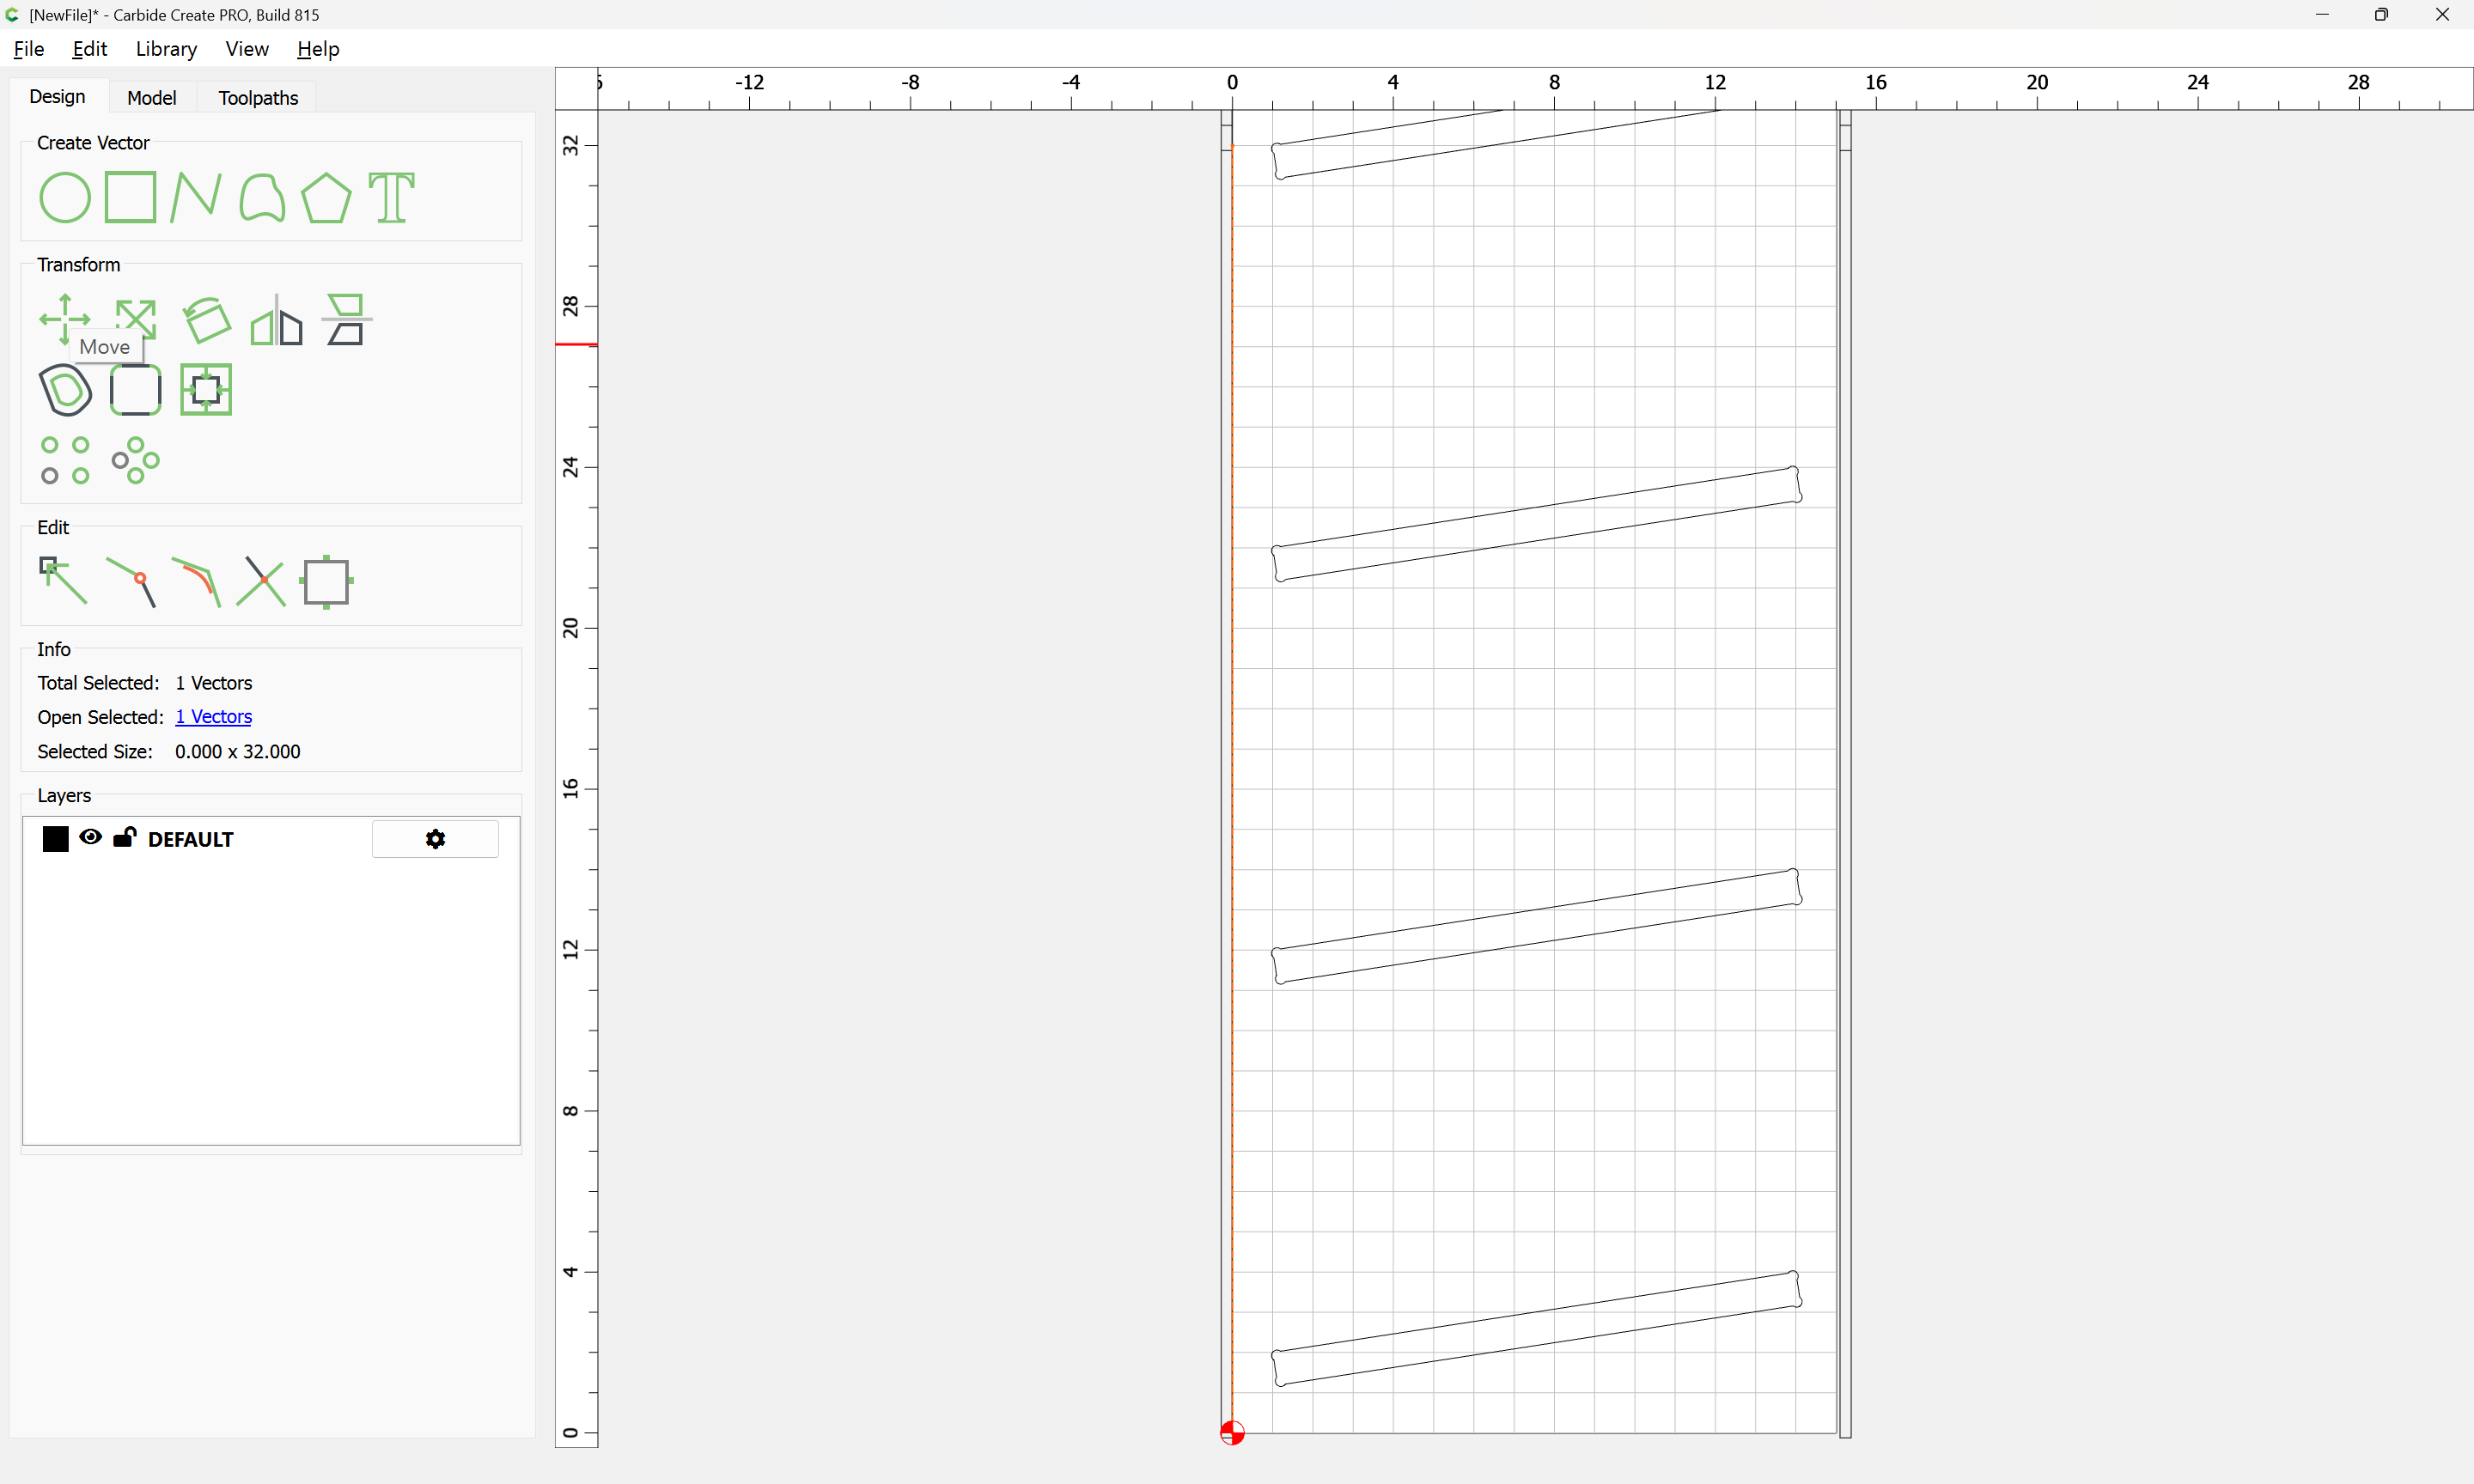
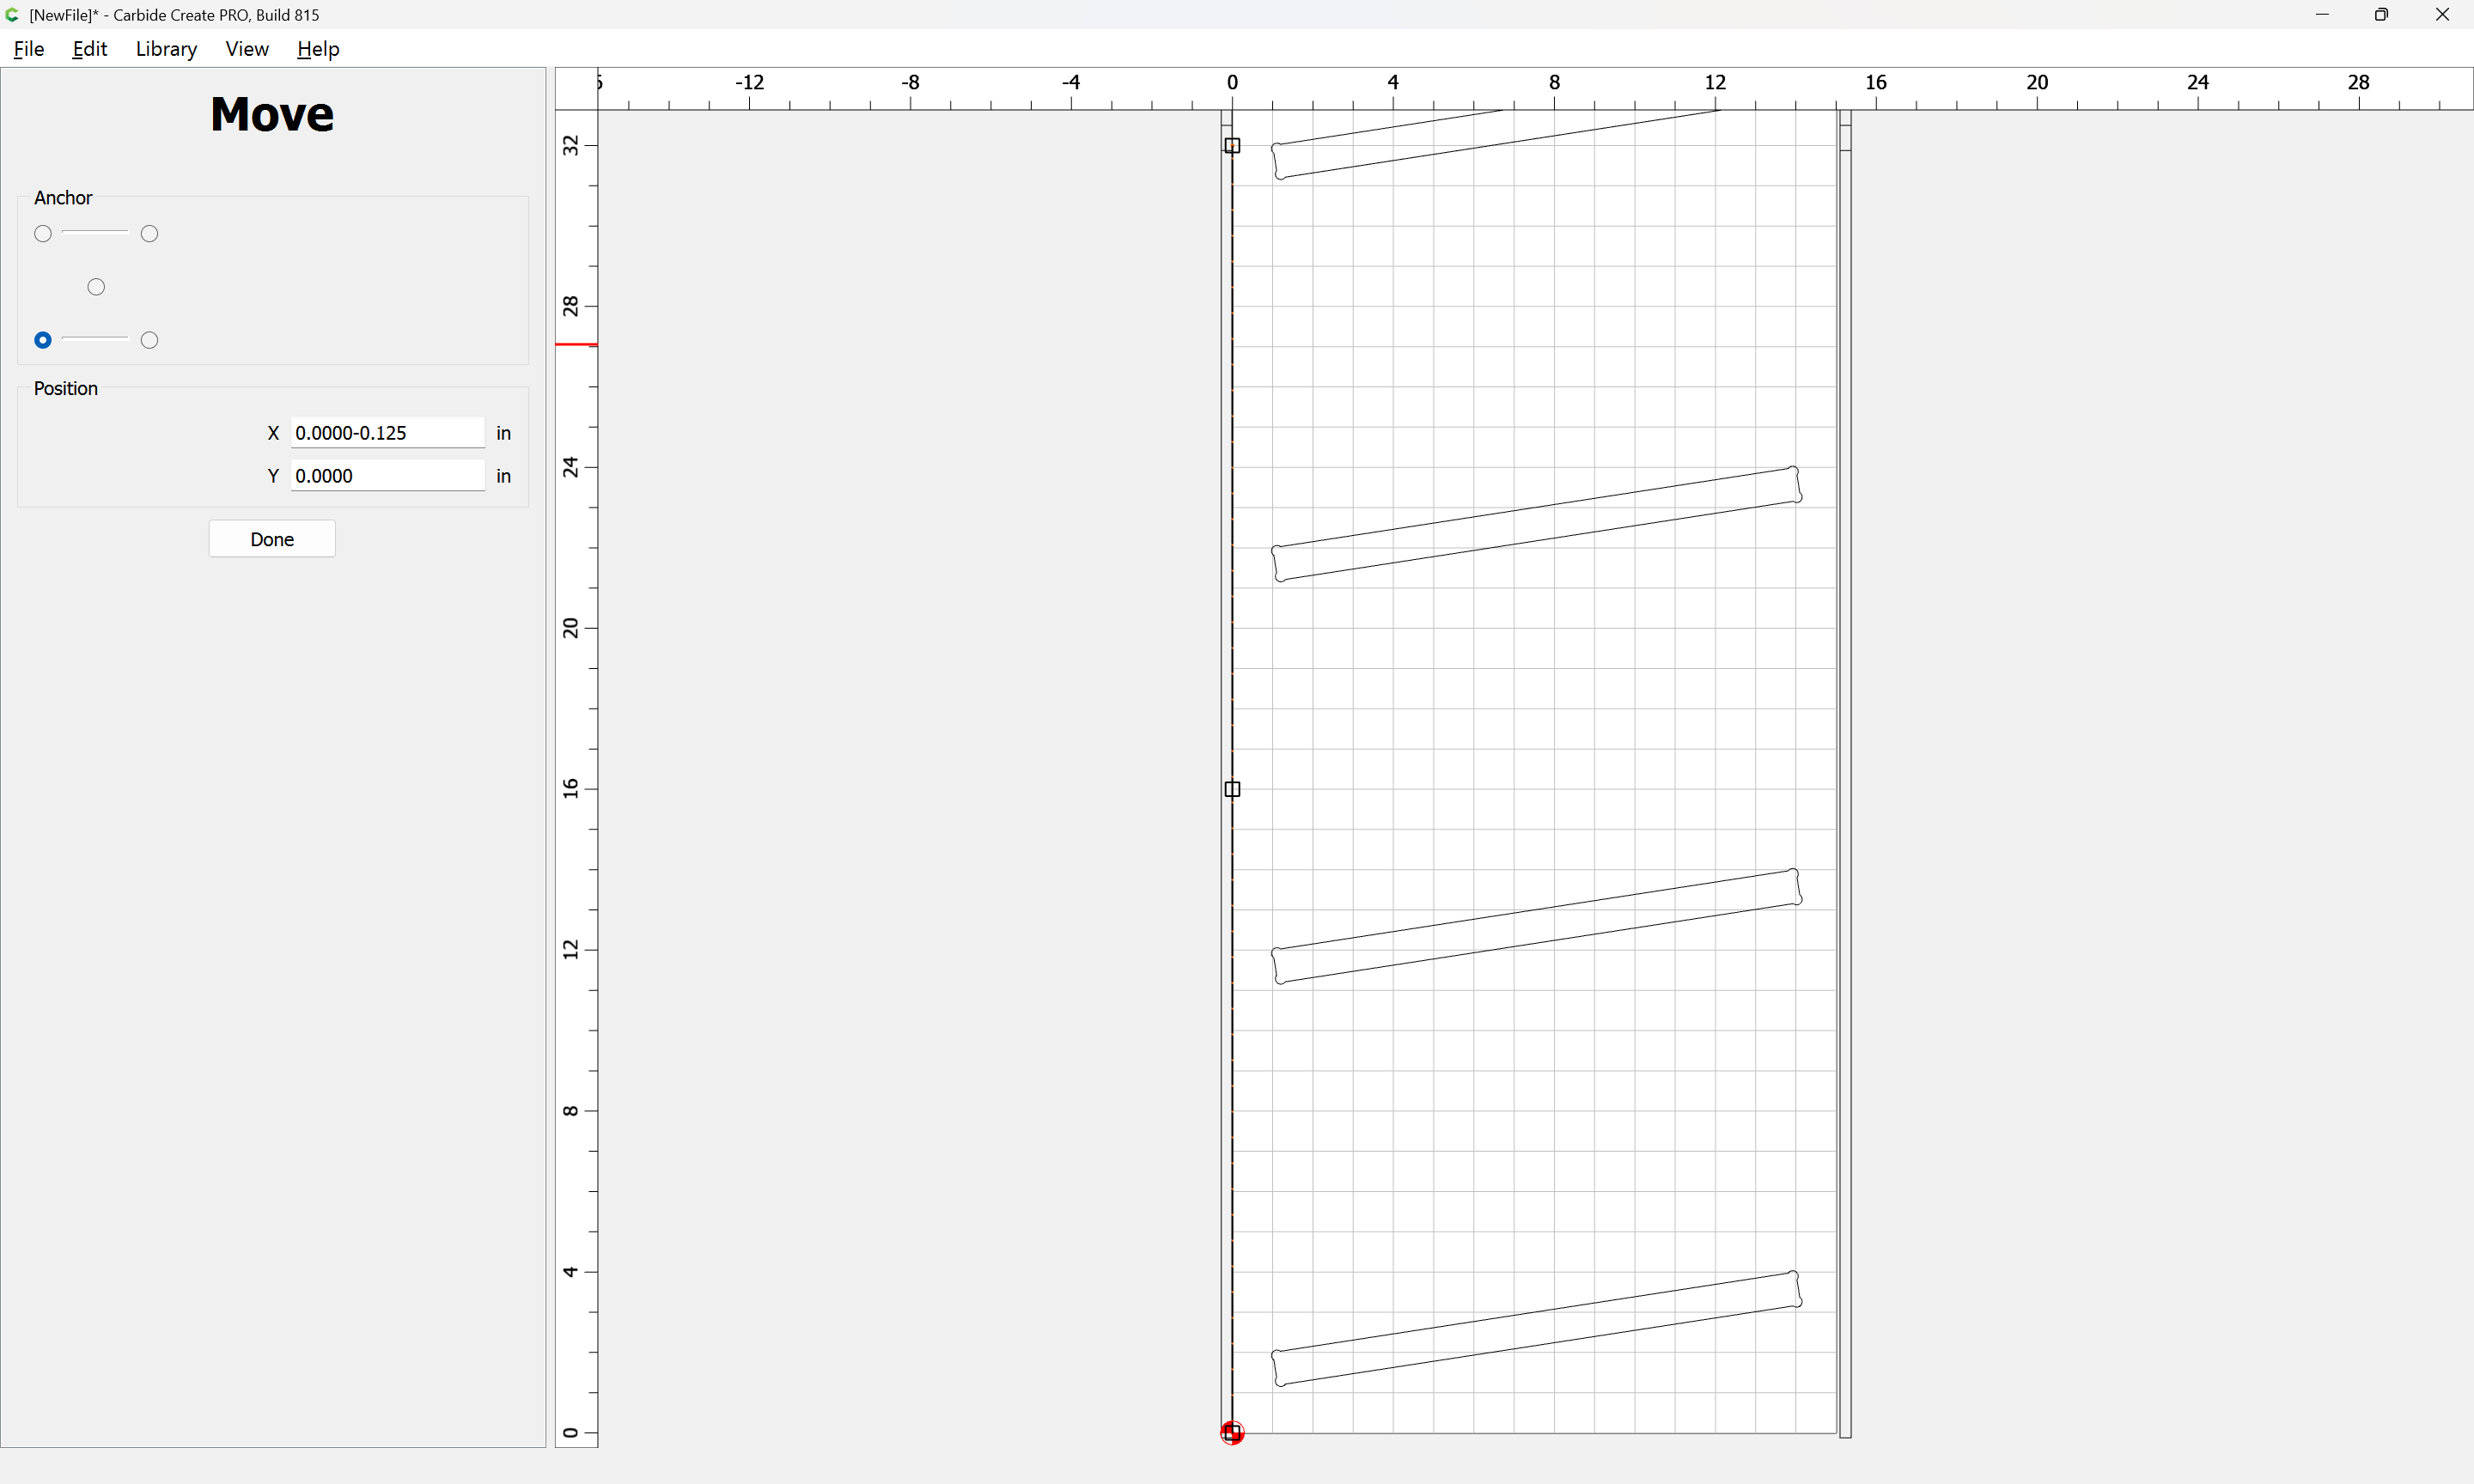
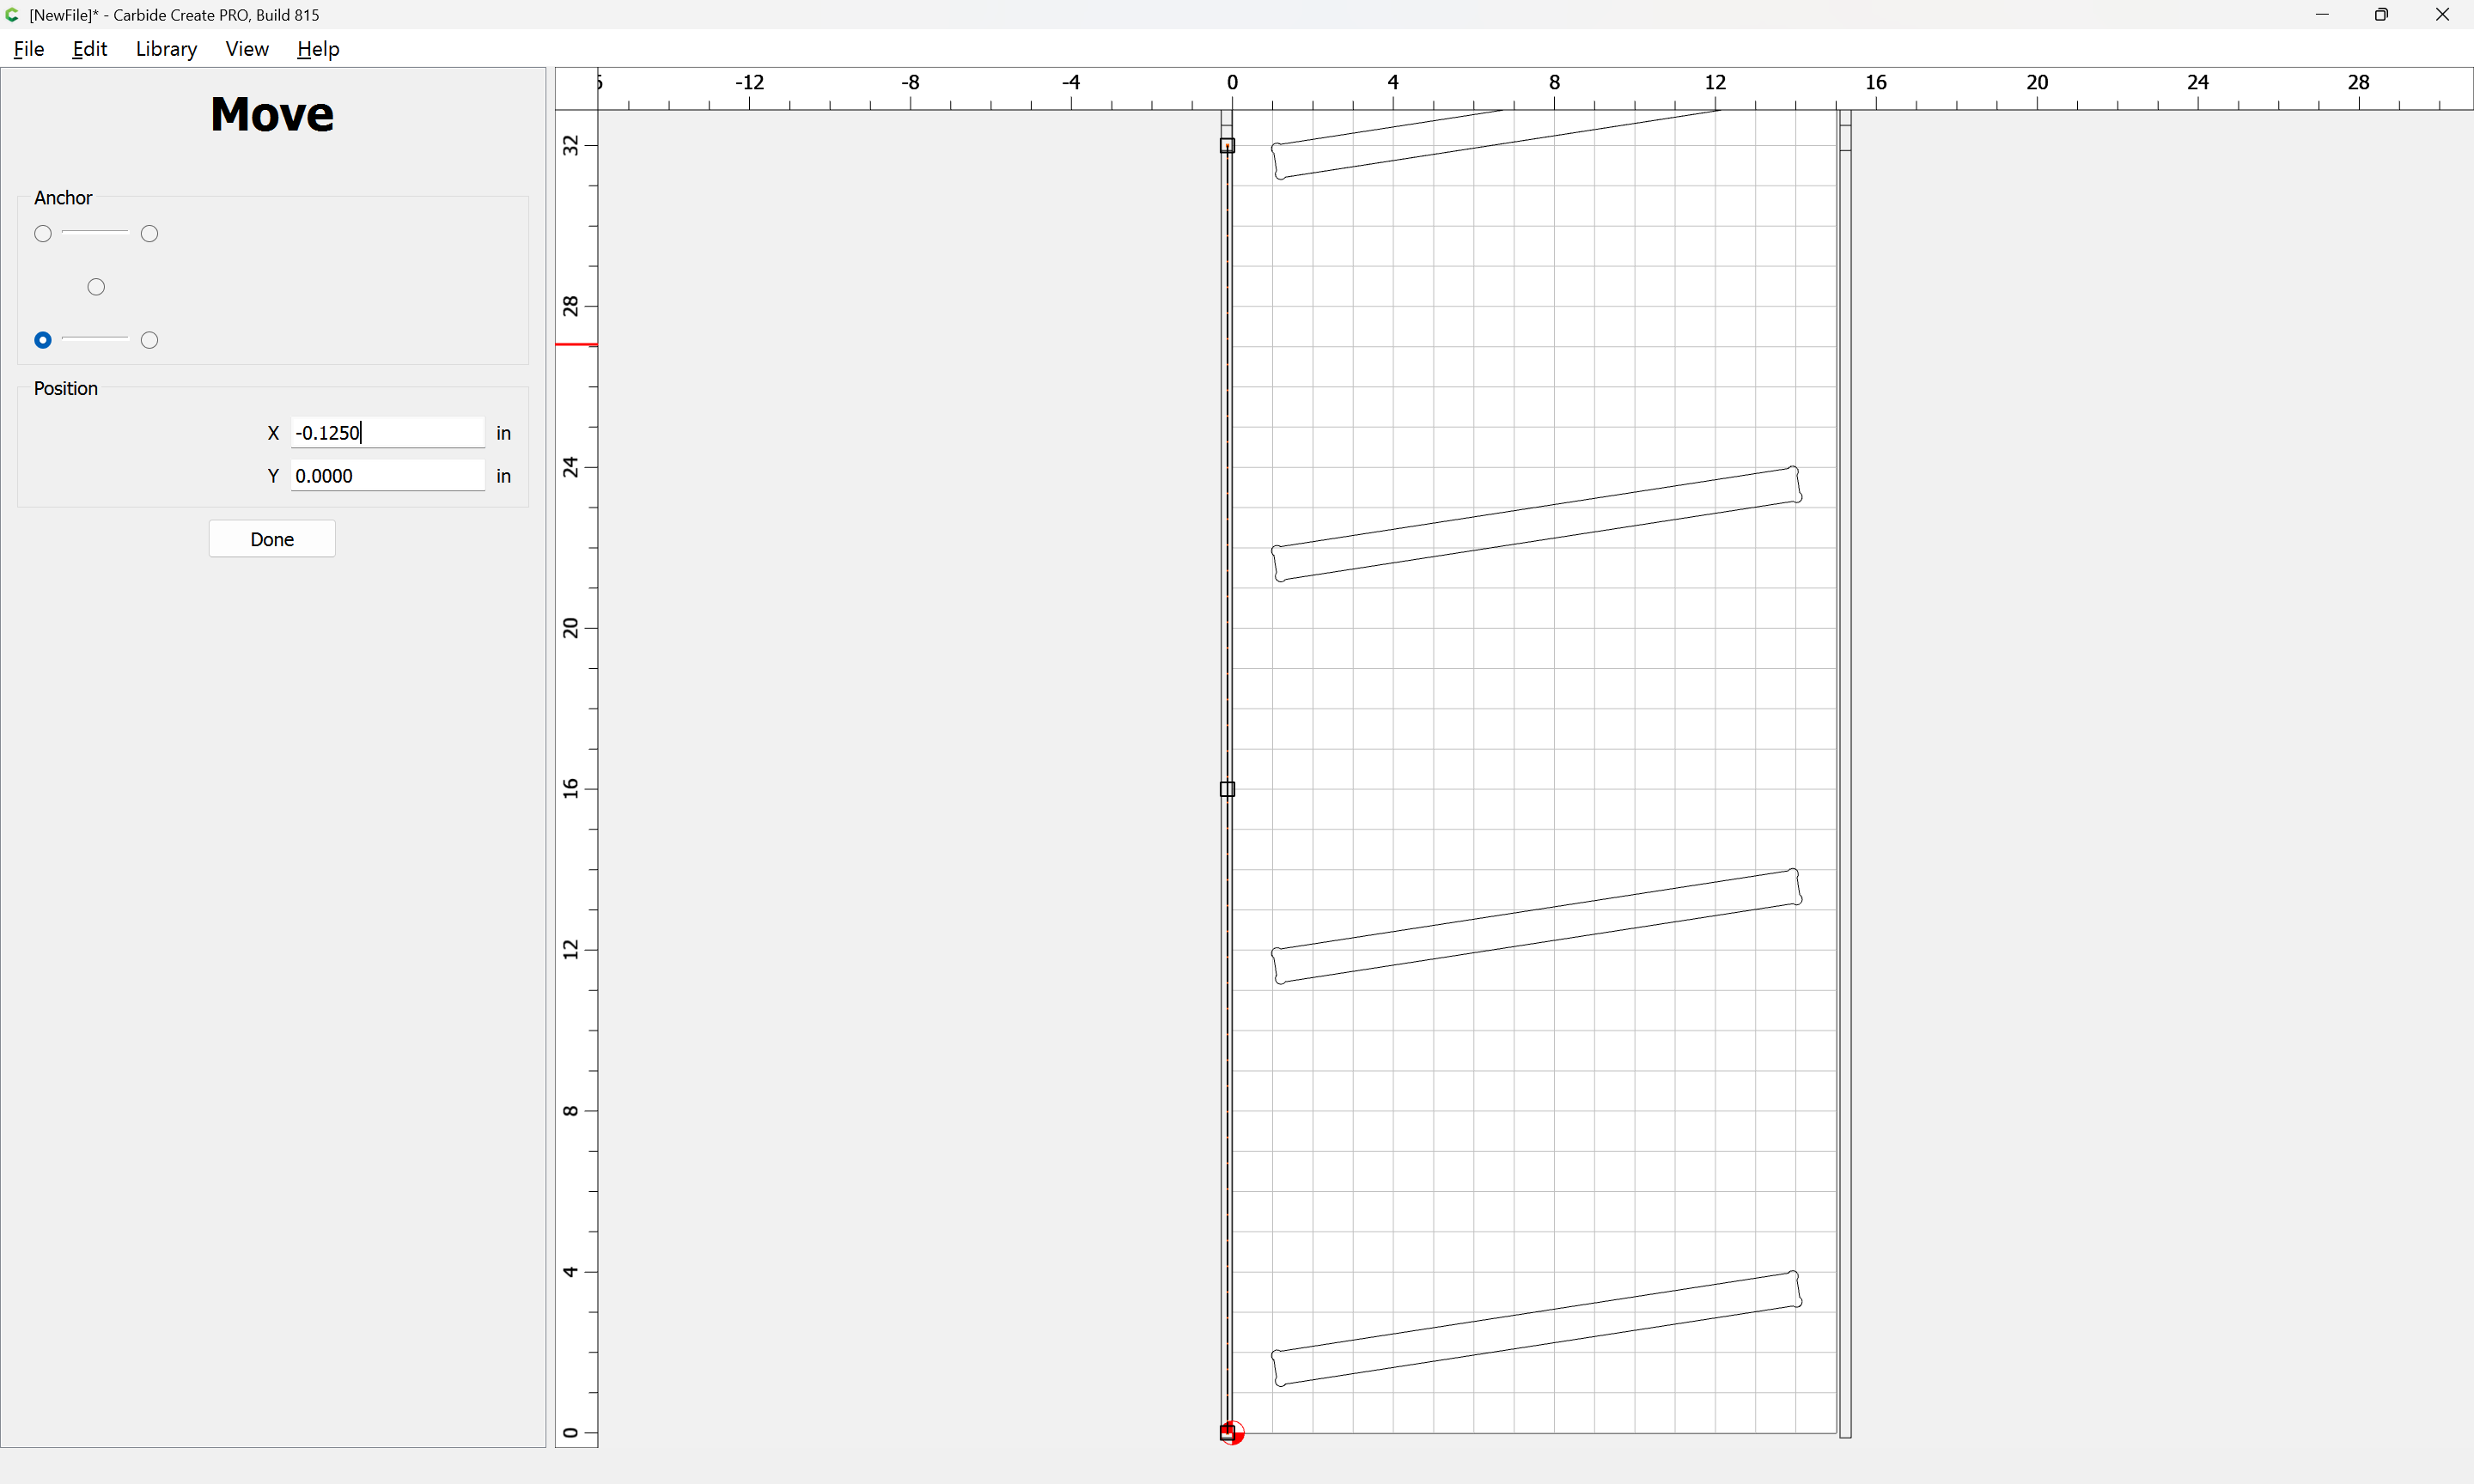
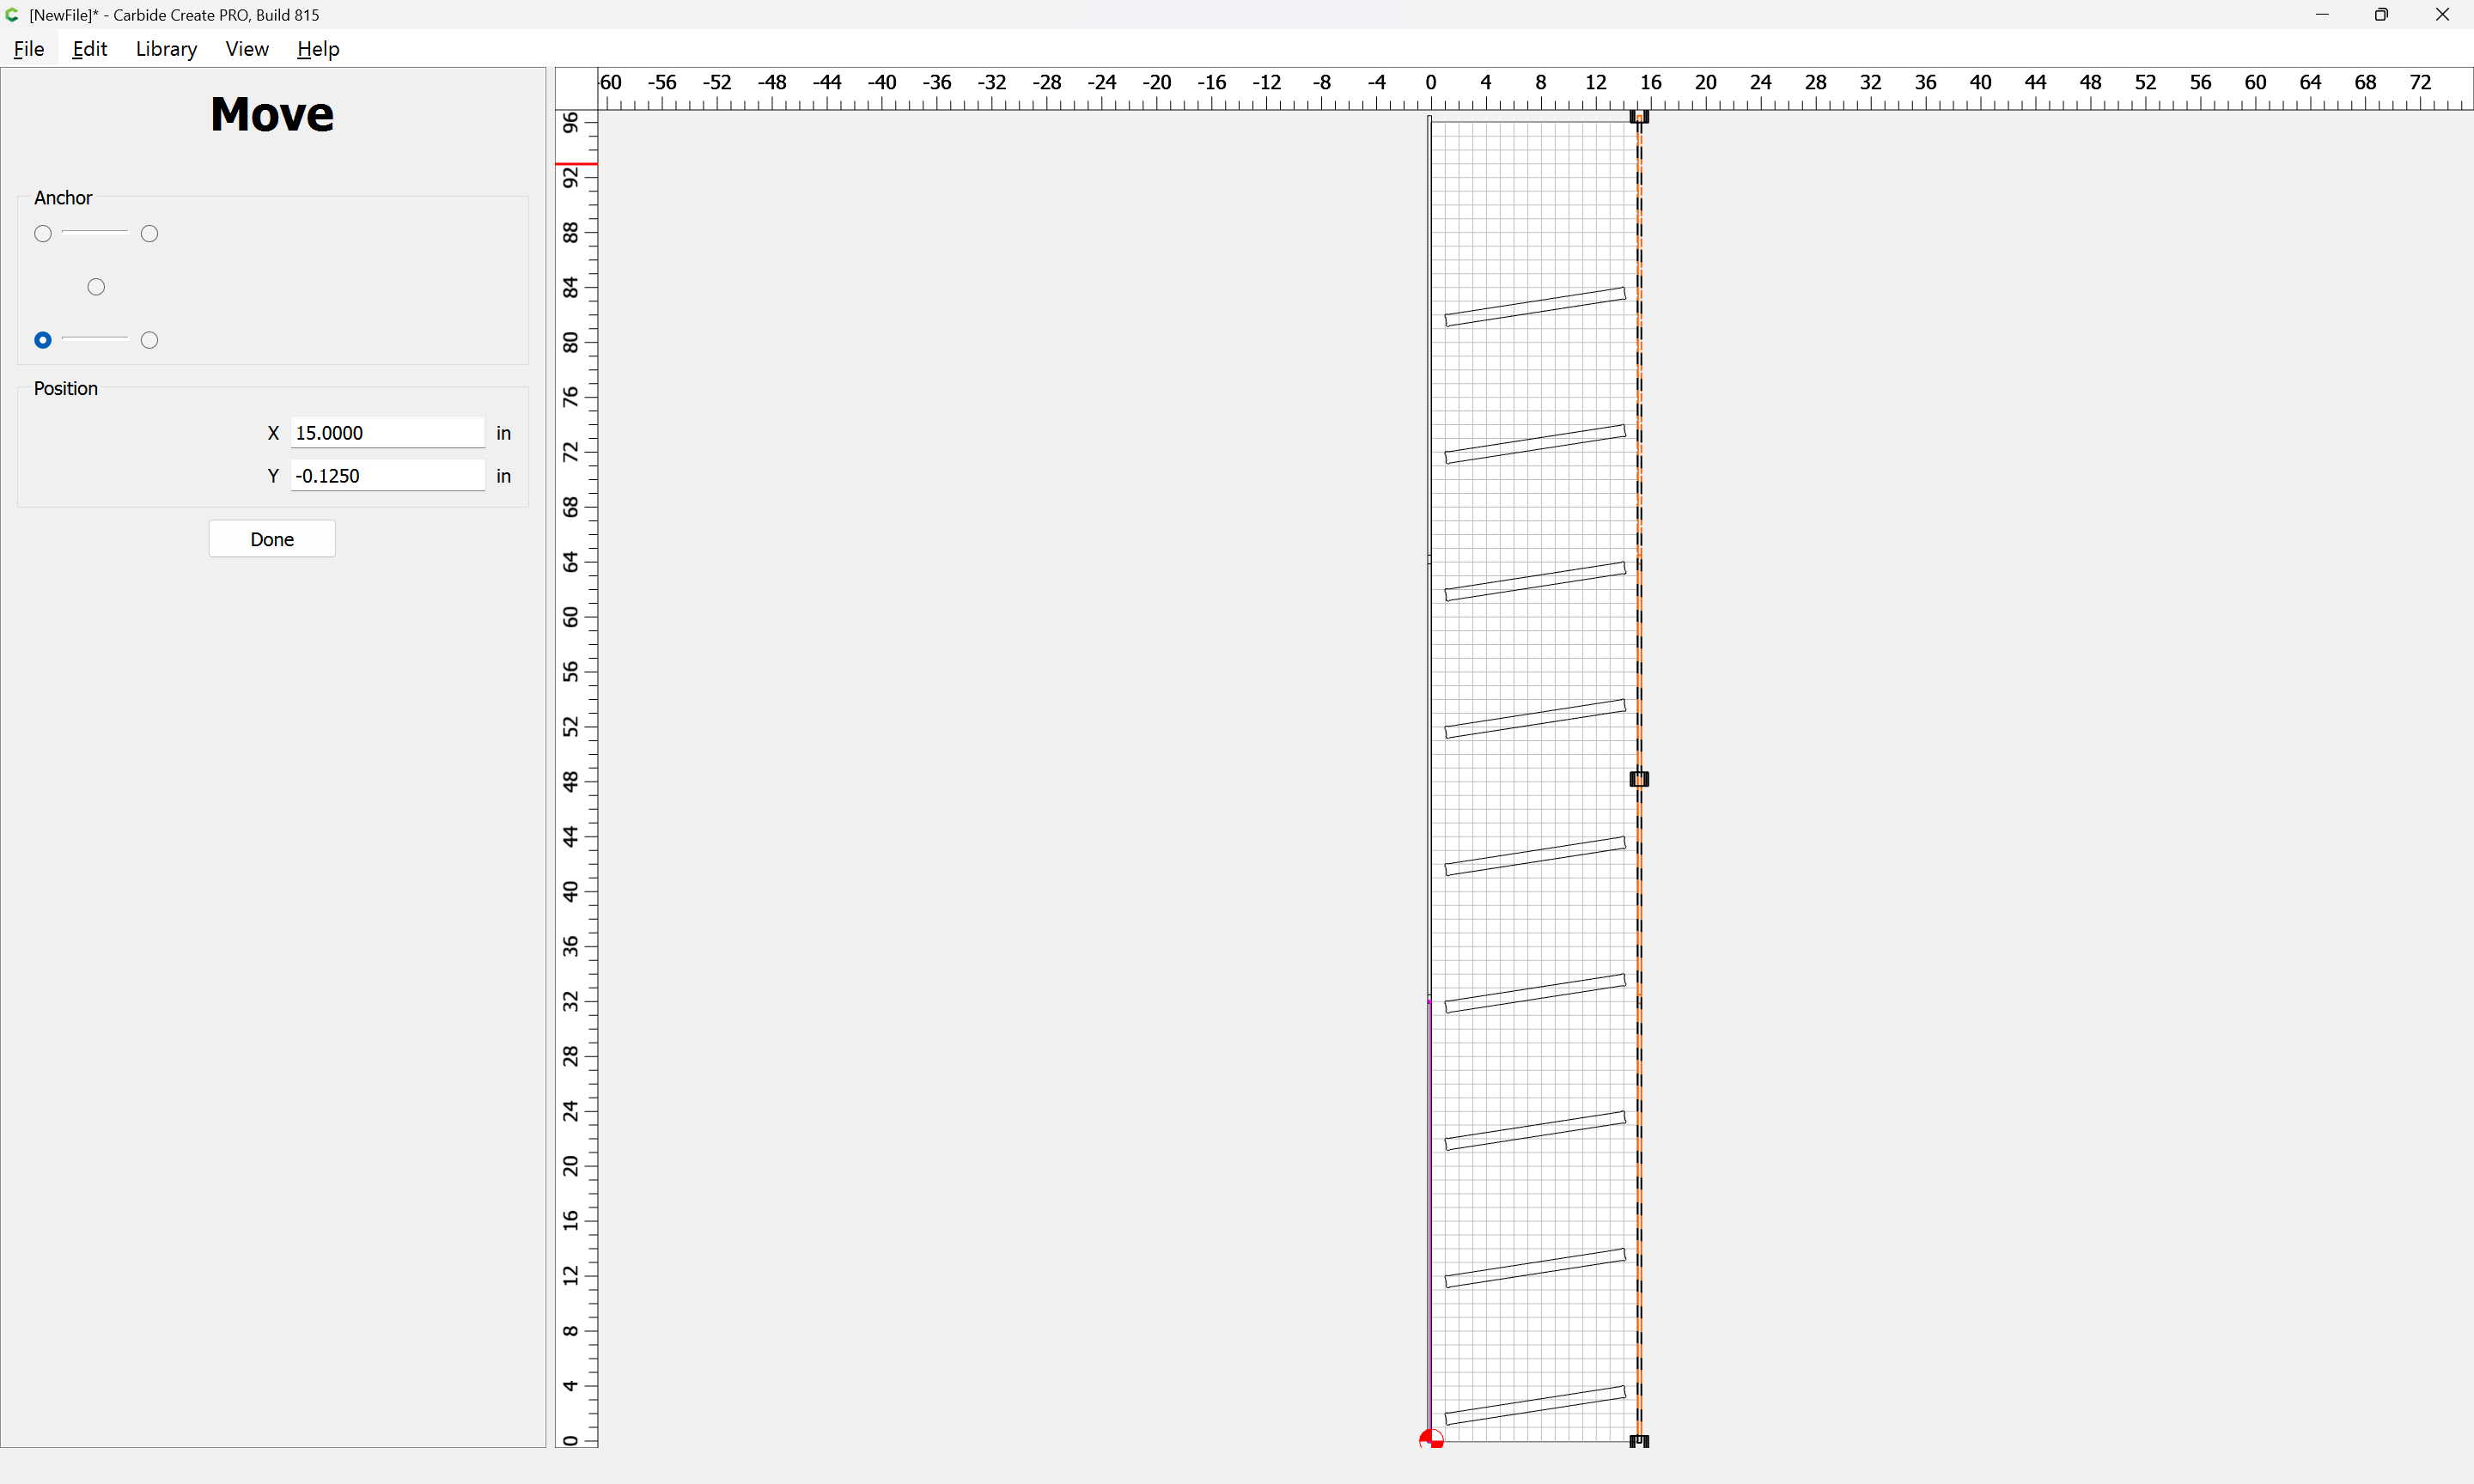
Position relative to the stock:
Add the diameter of the tool which will be used:
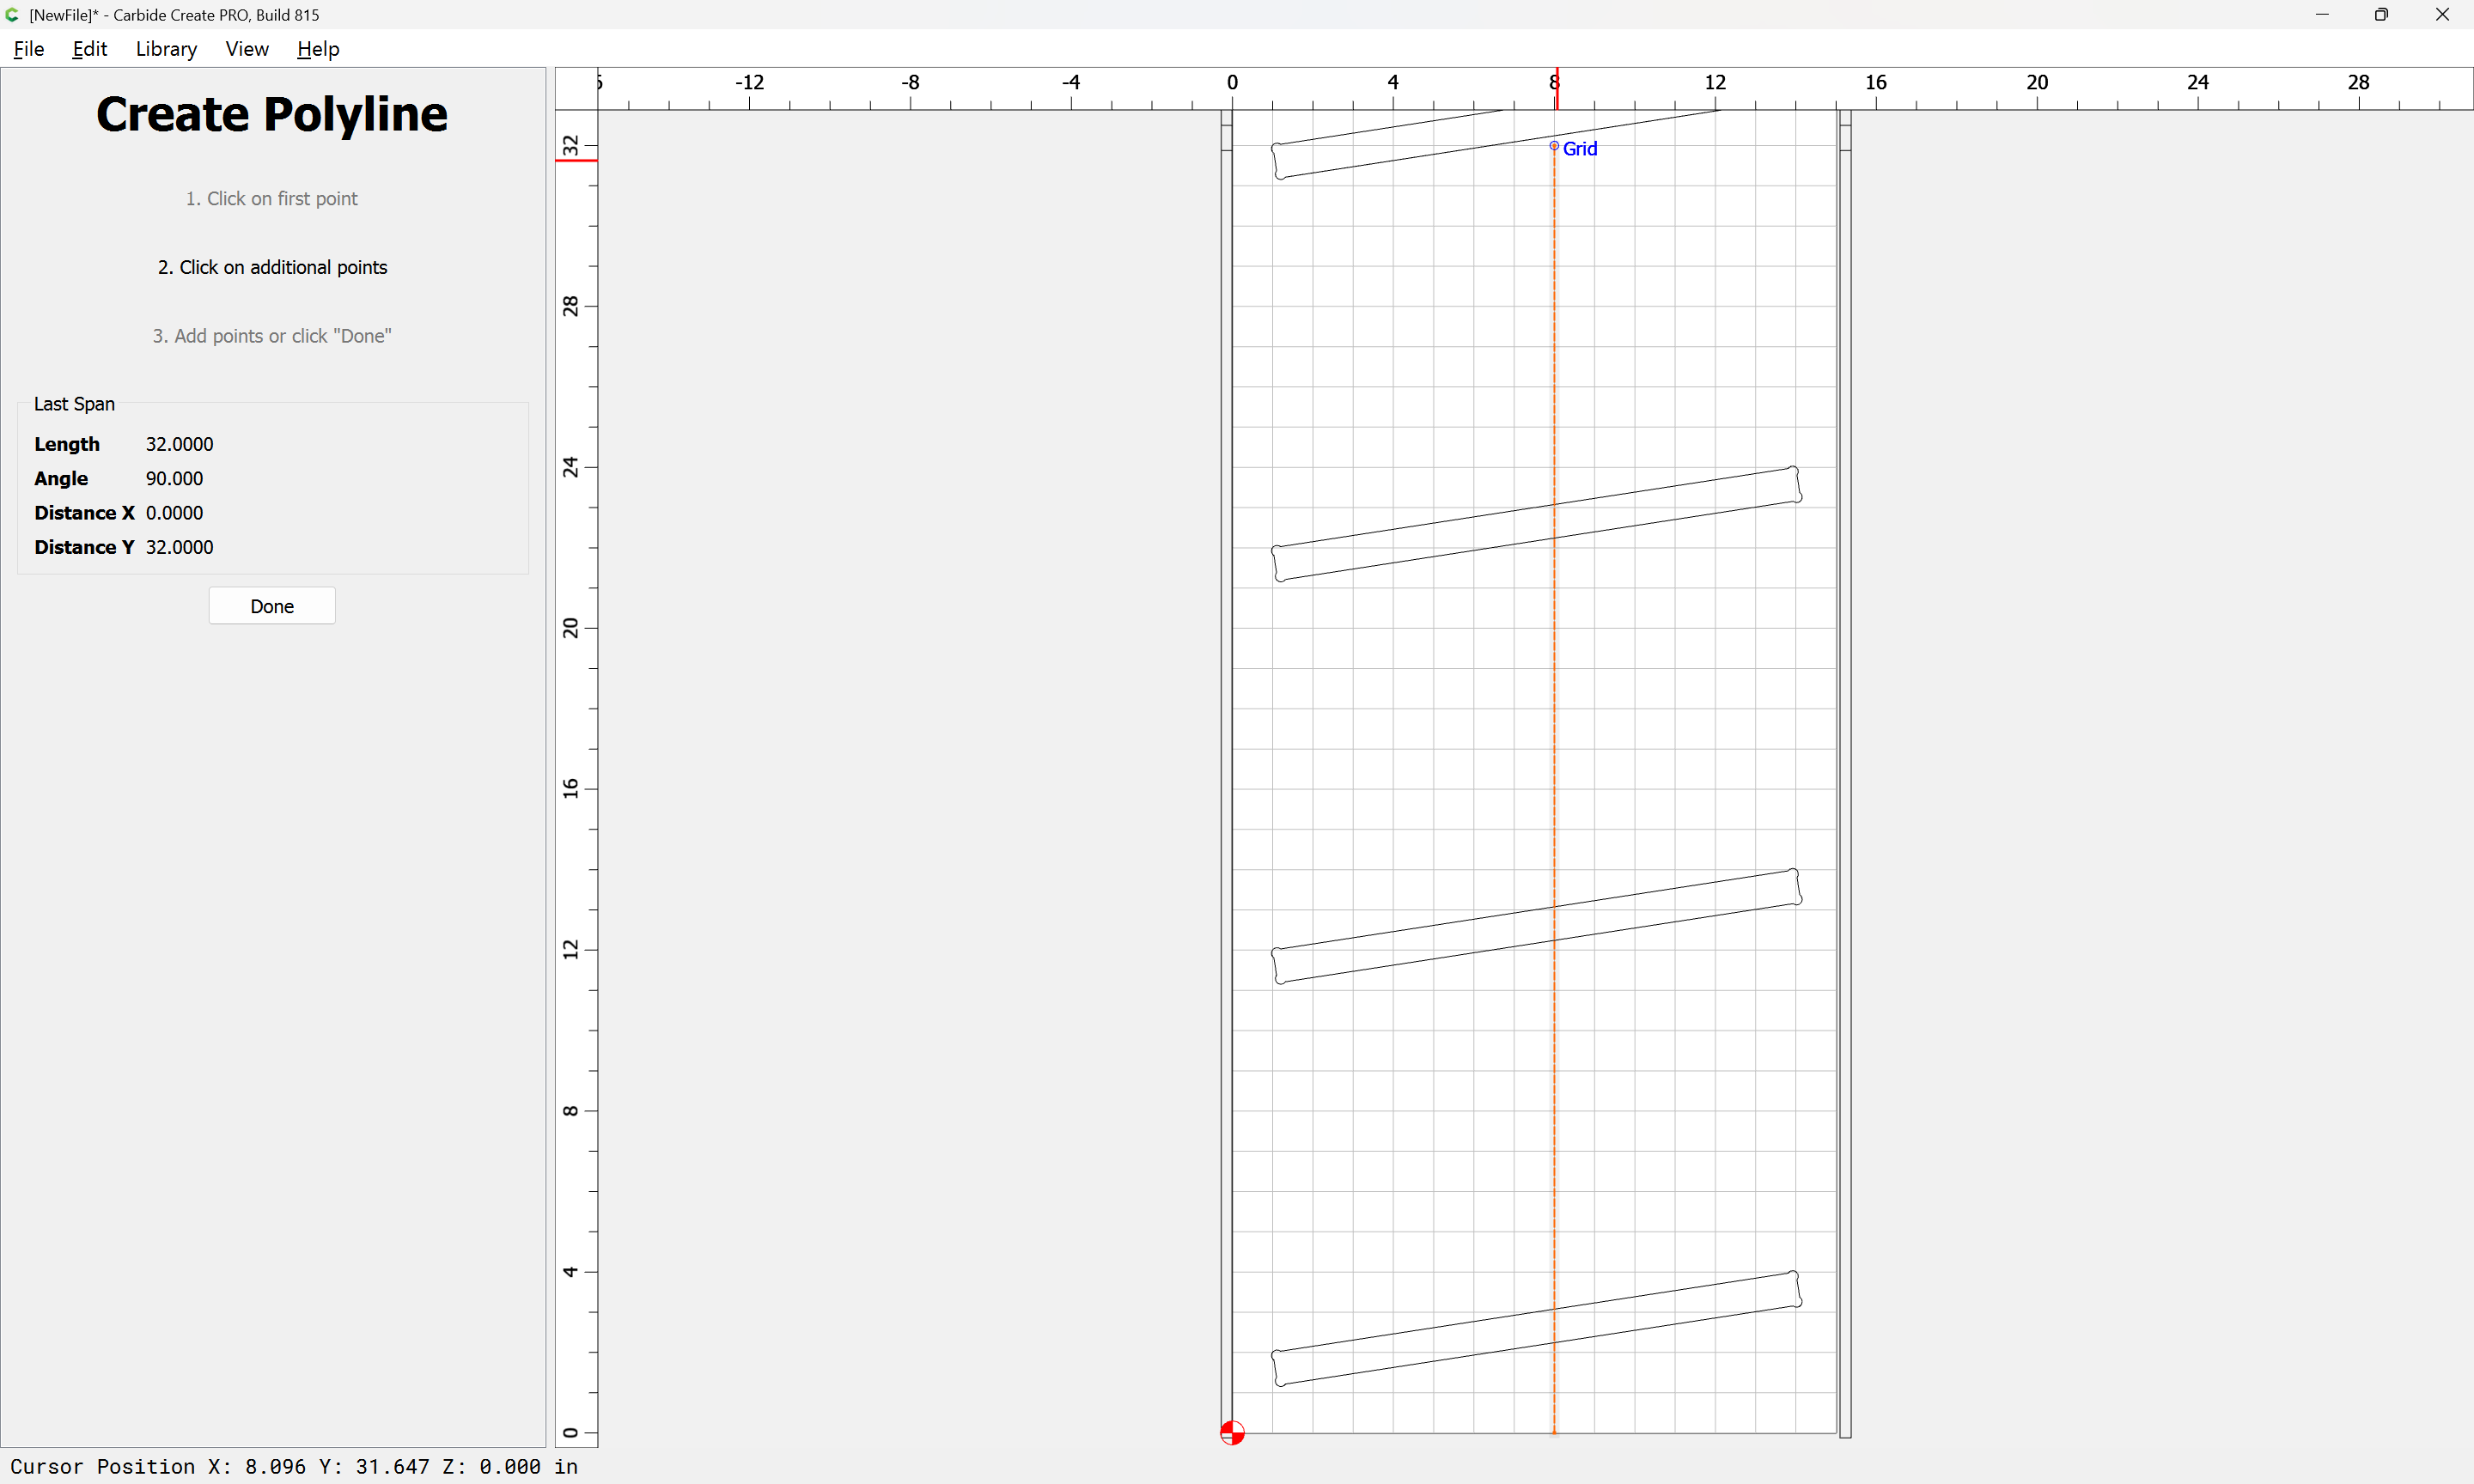
A typical rise is 2" or so over 13" or so, which is easily measured to get an angle and length:
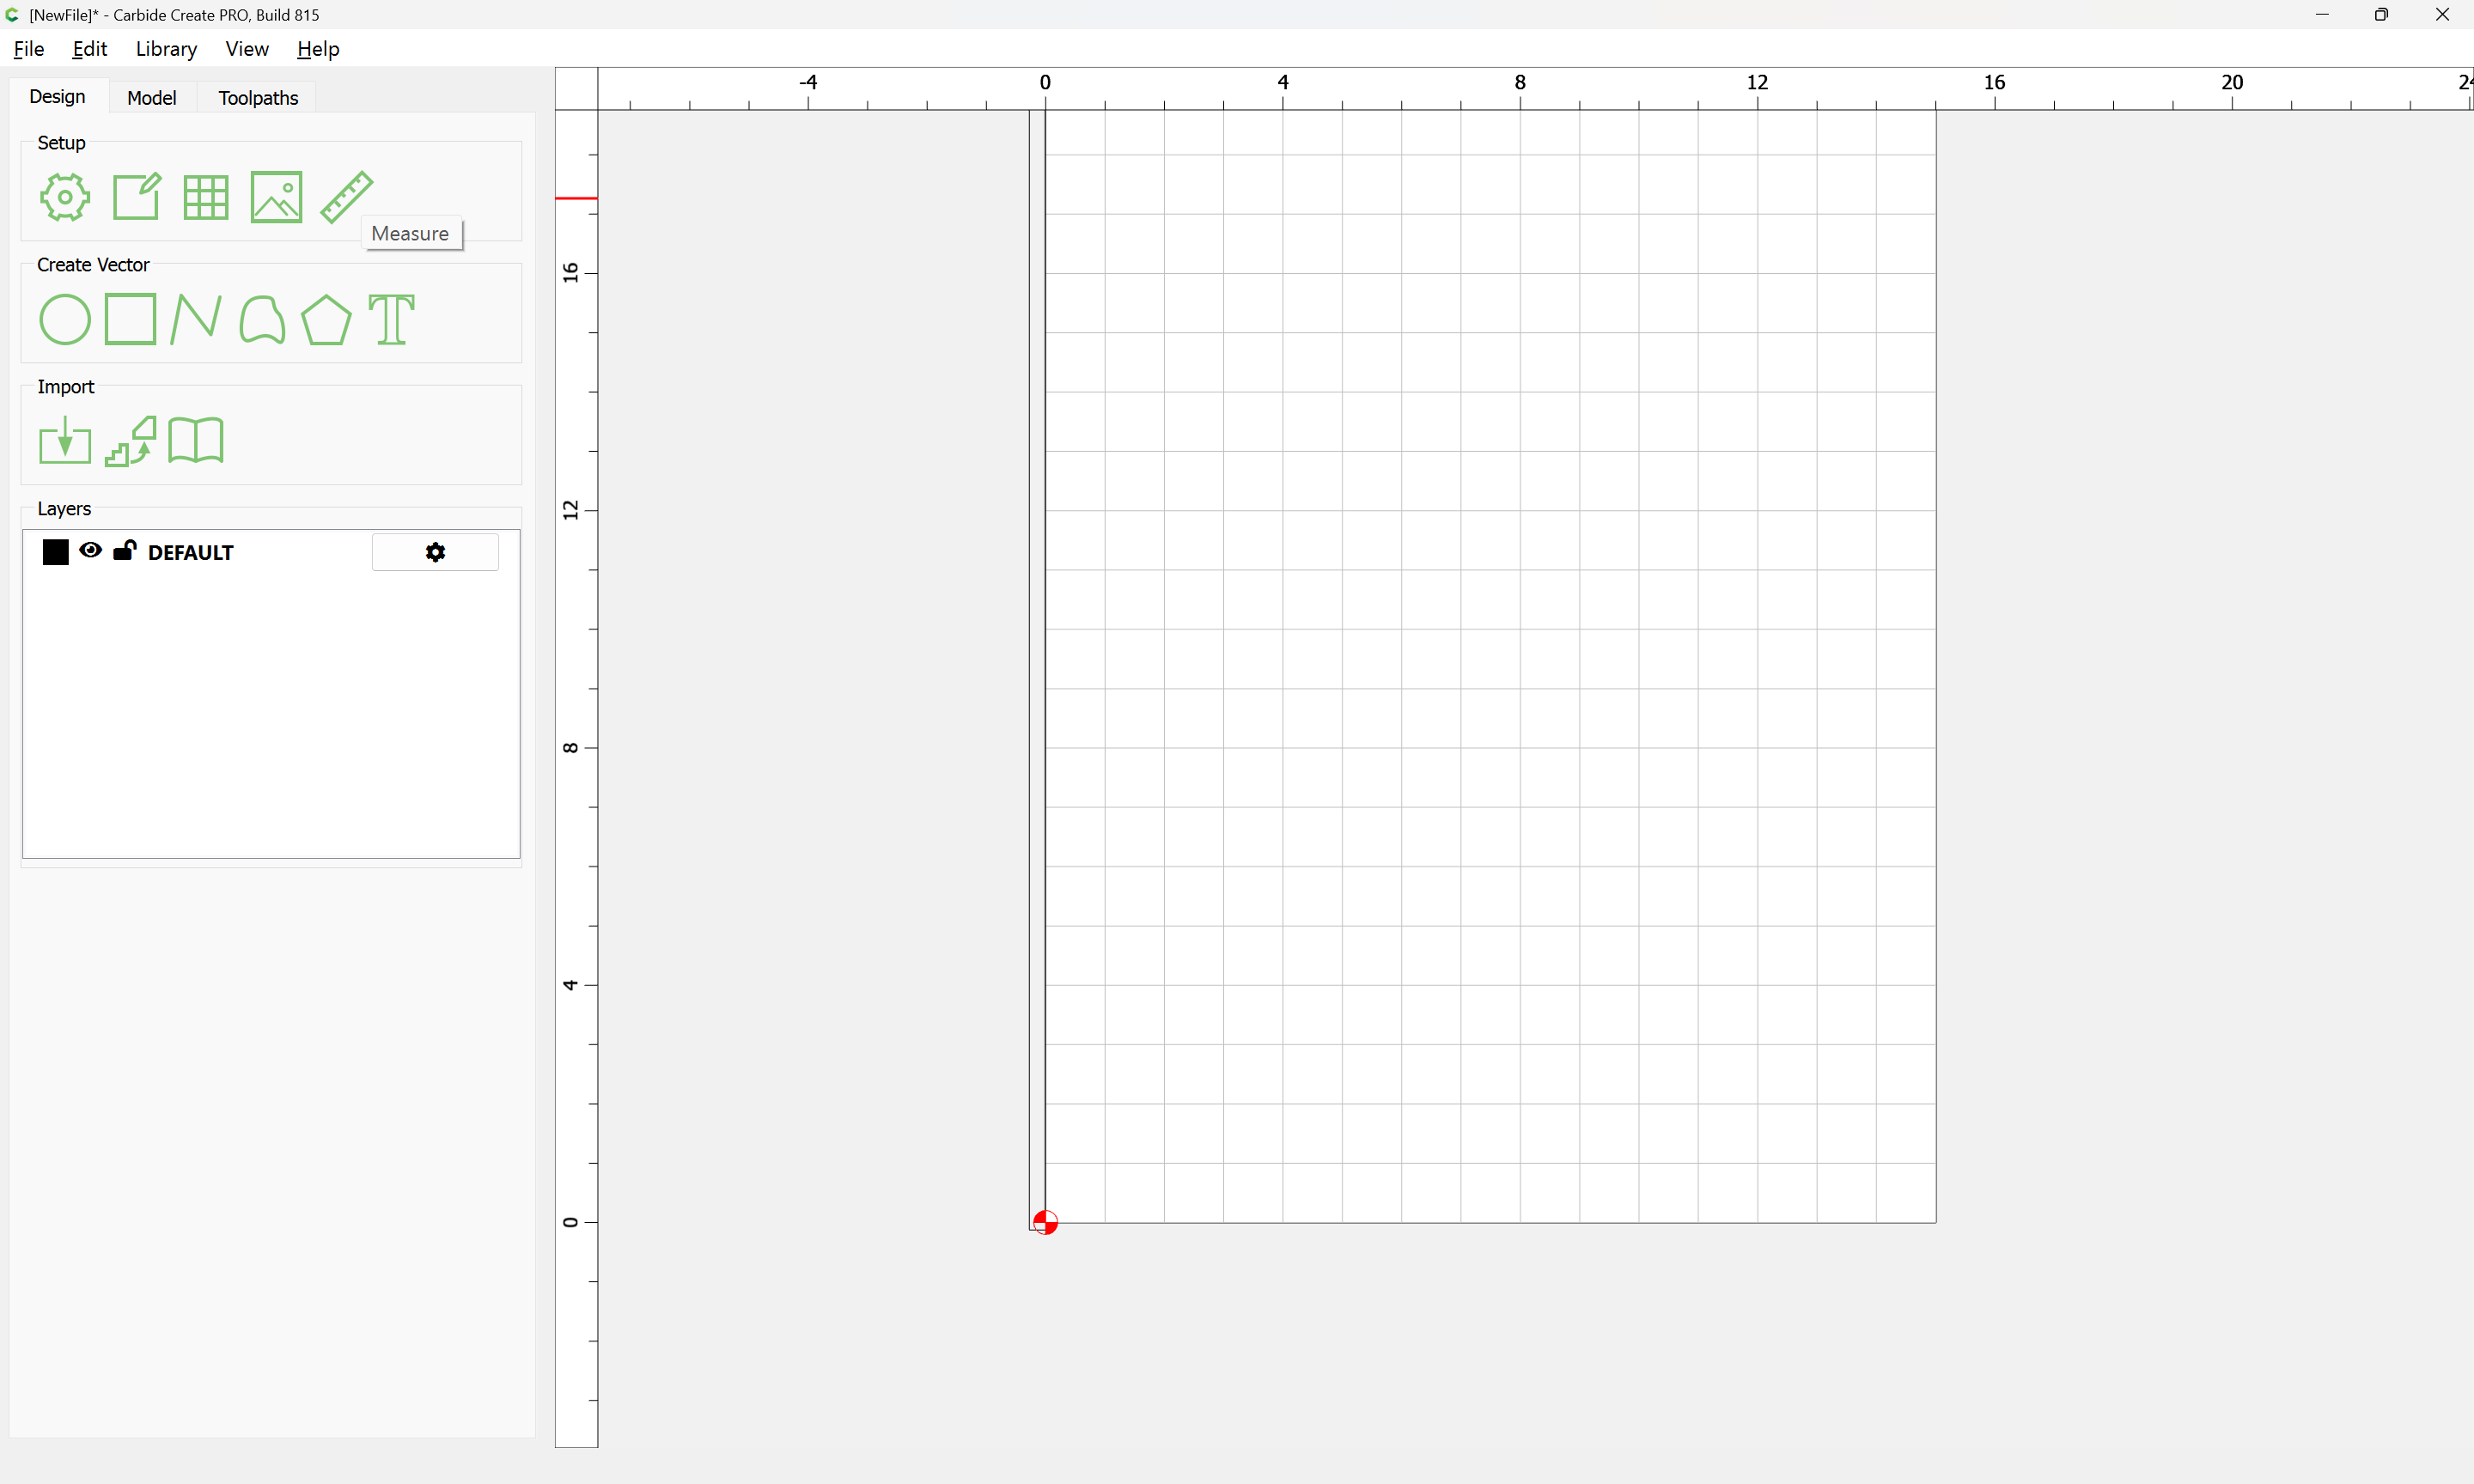

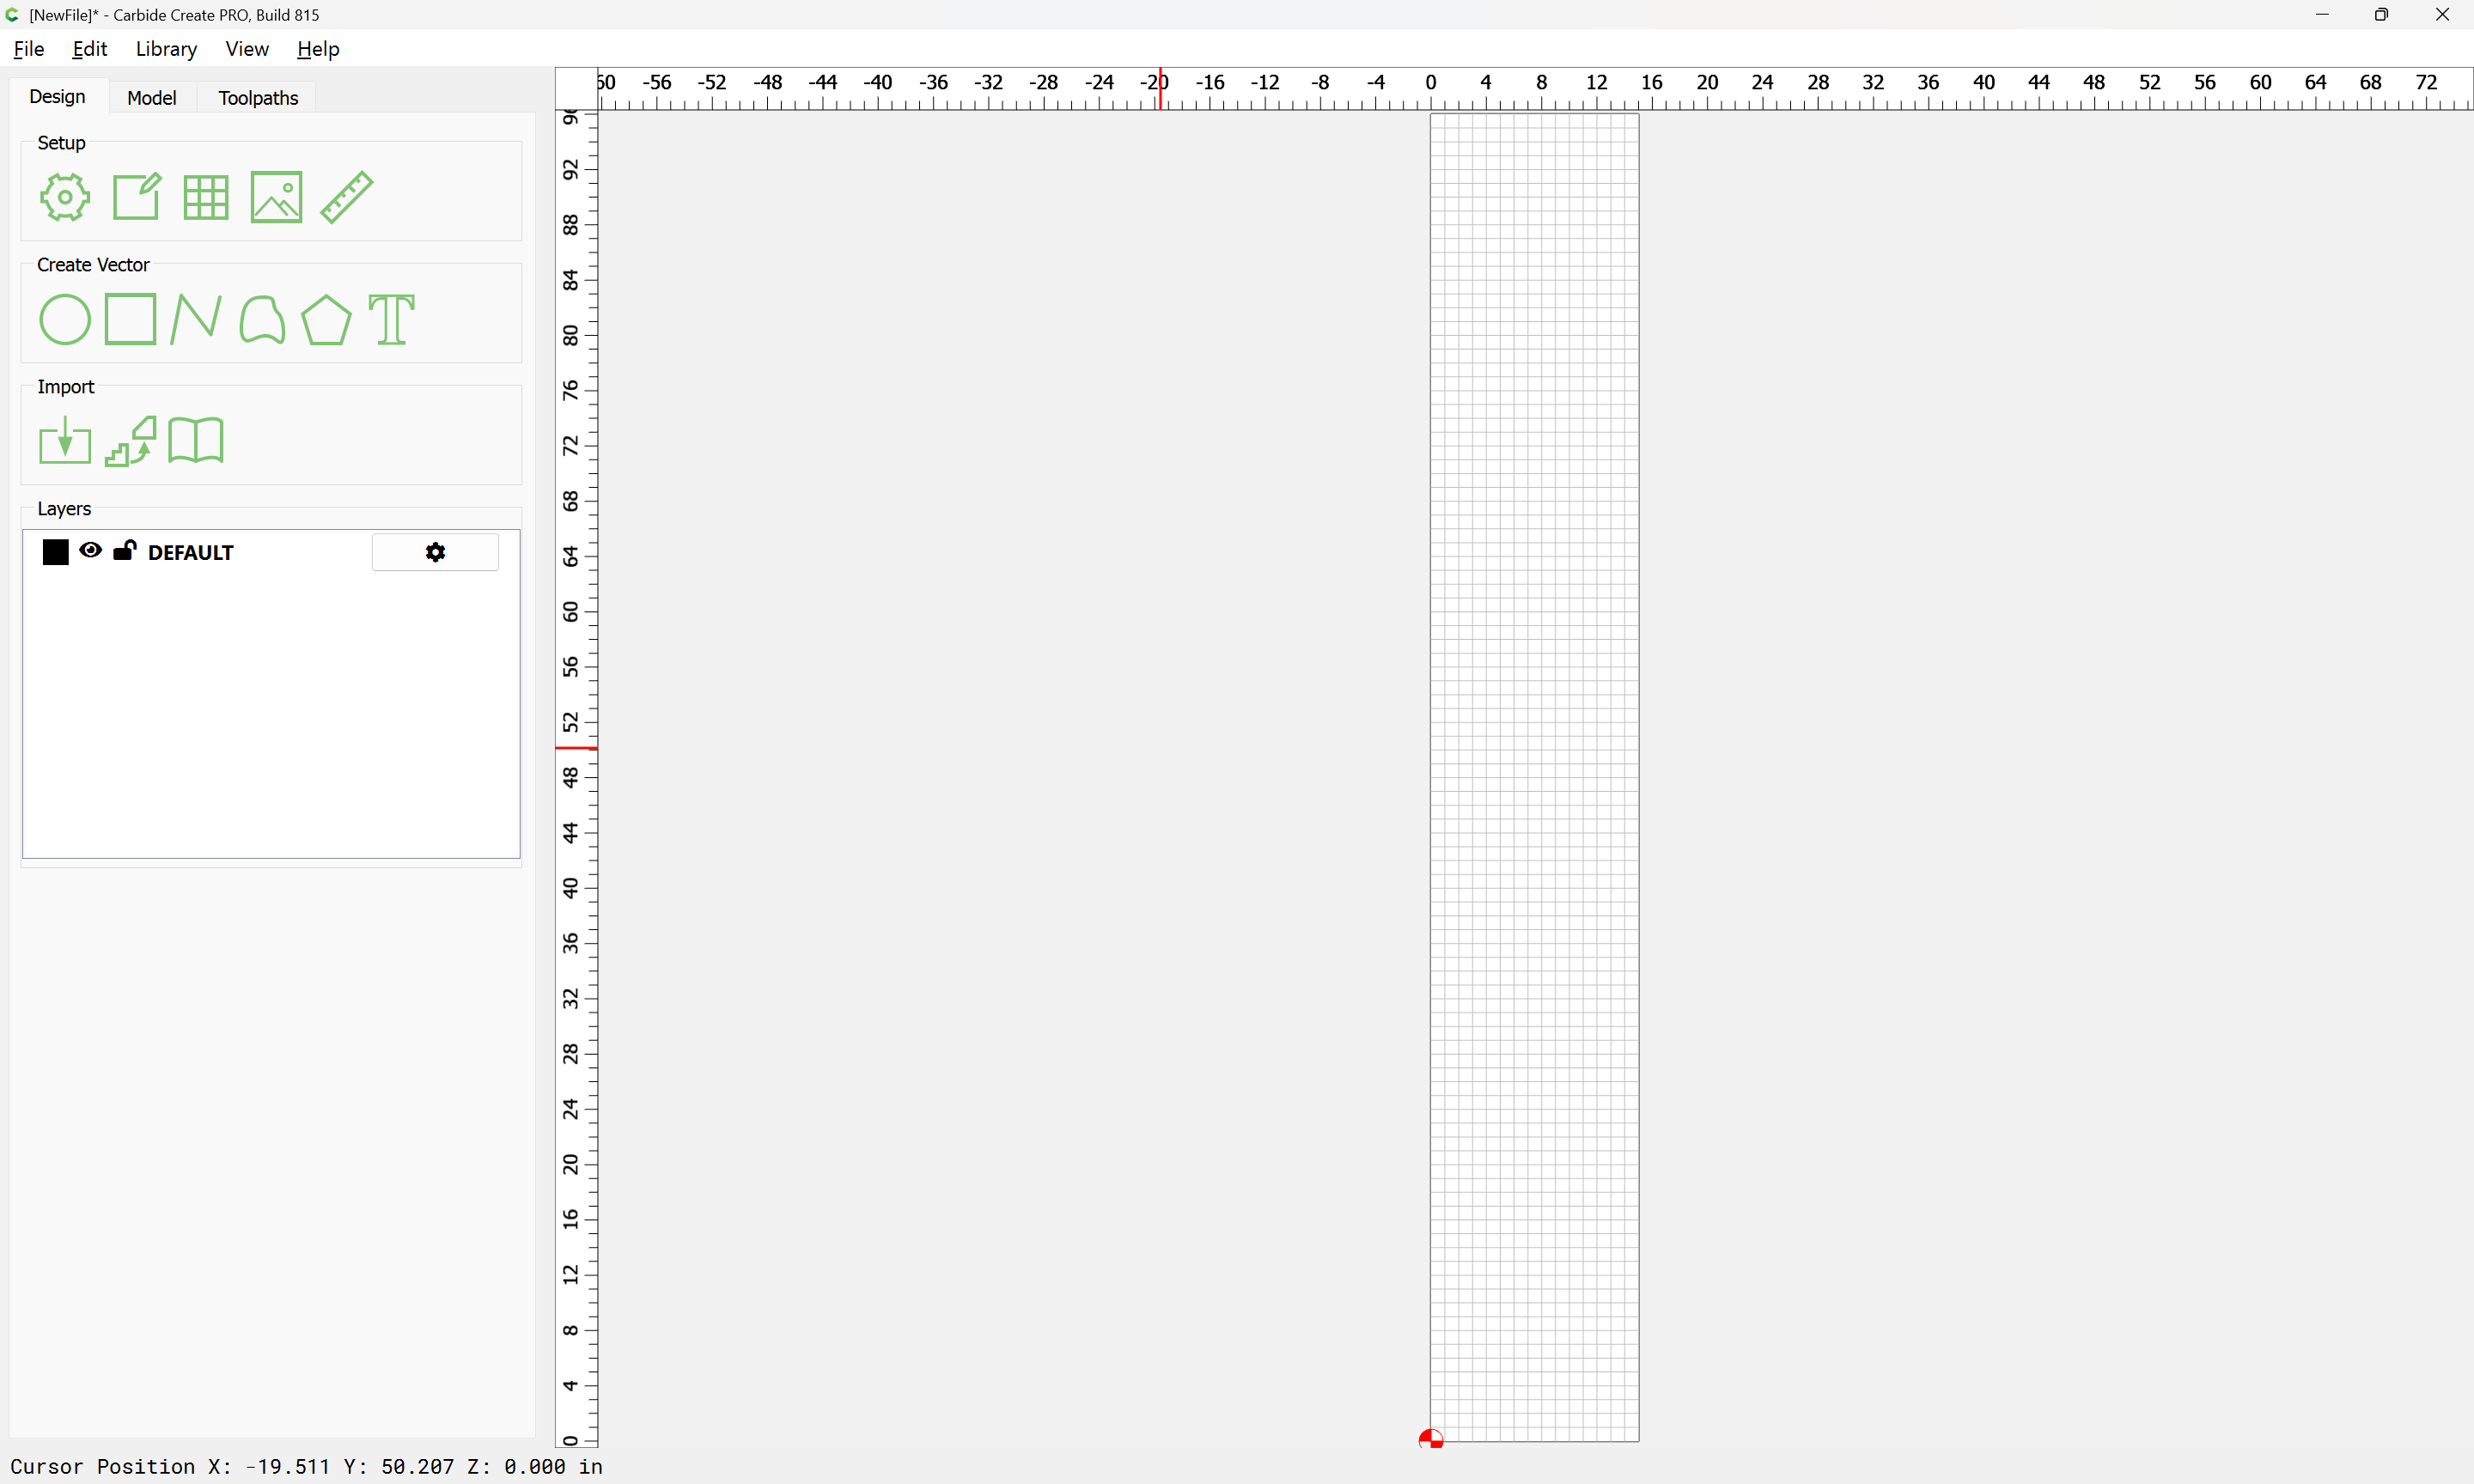
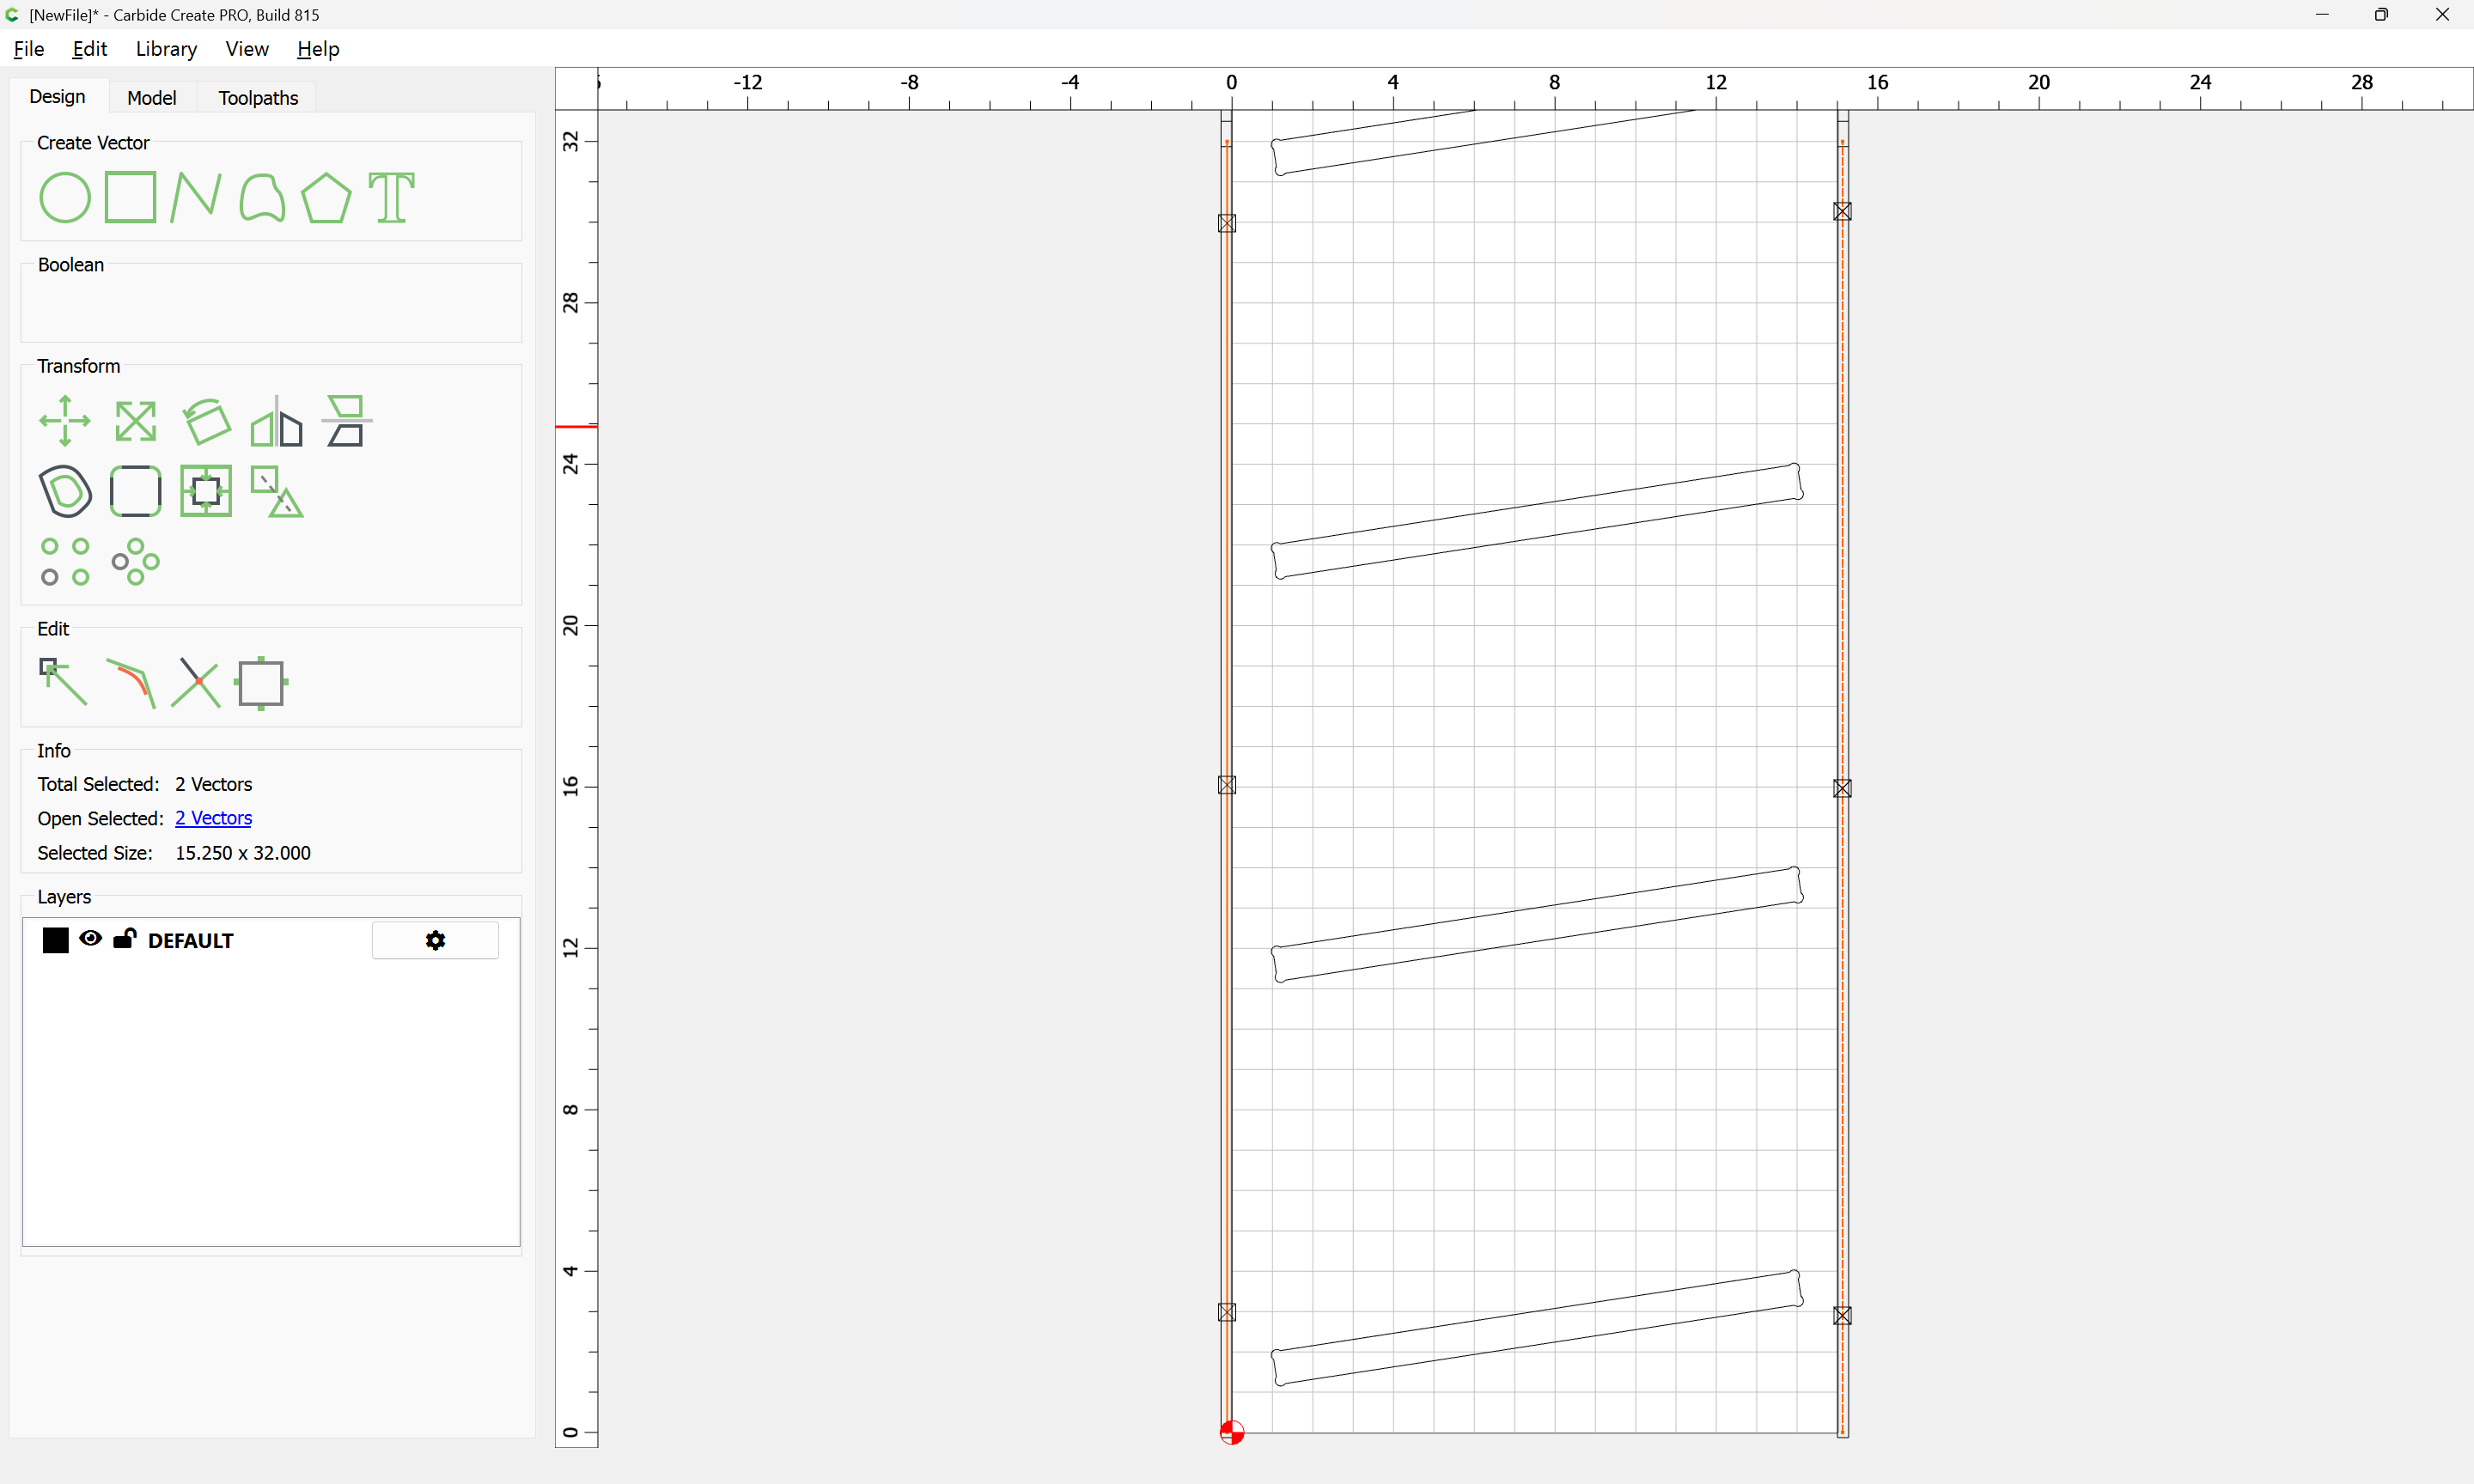
Draw a rectangle of that length:
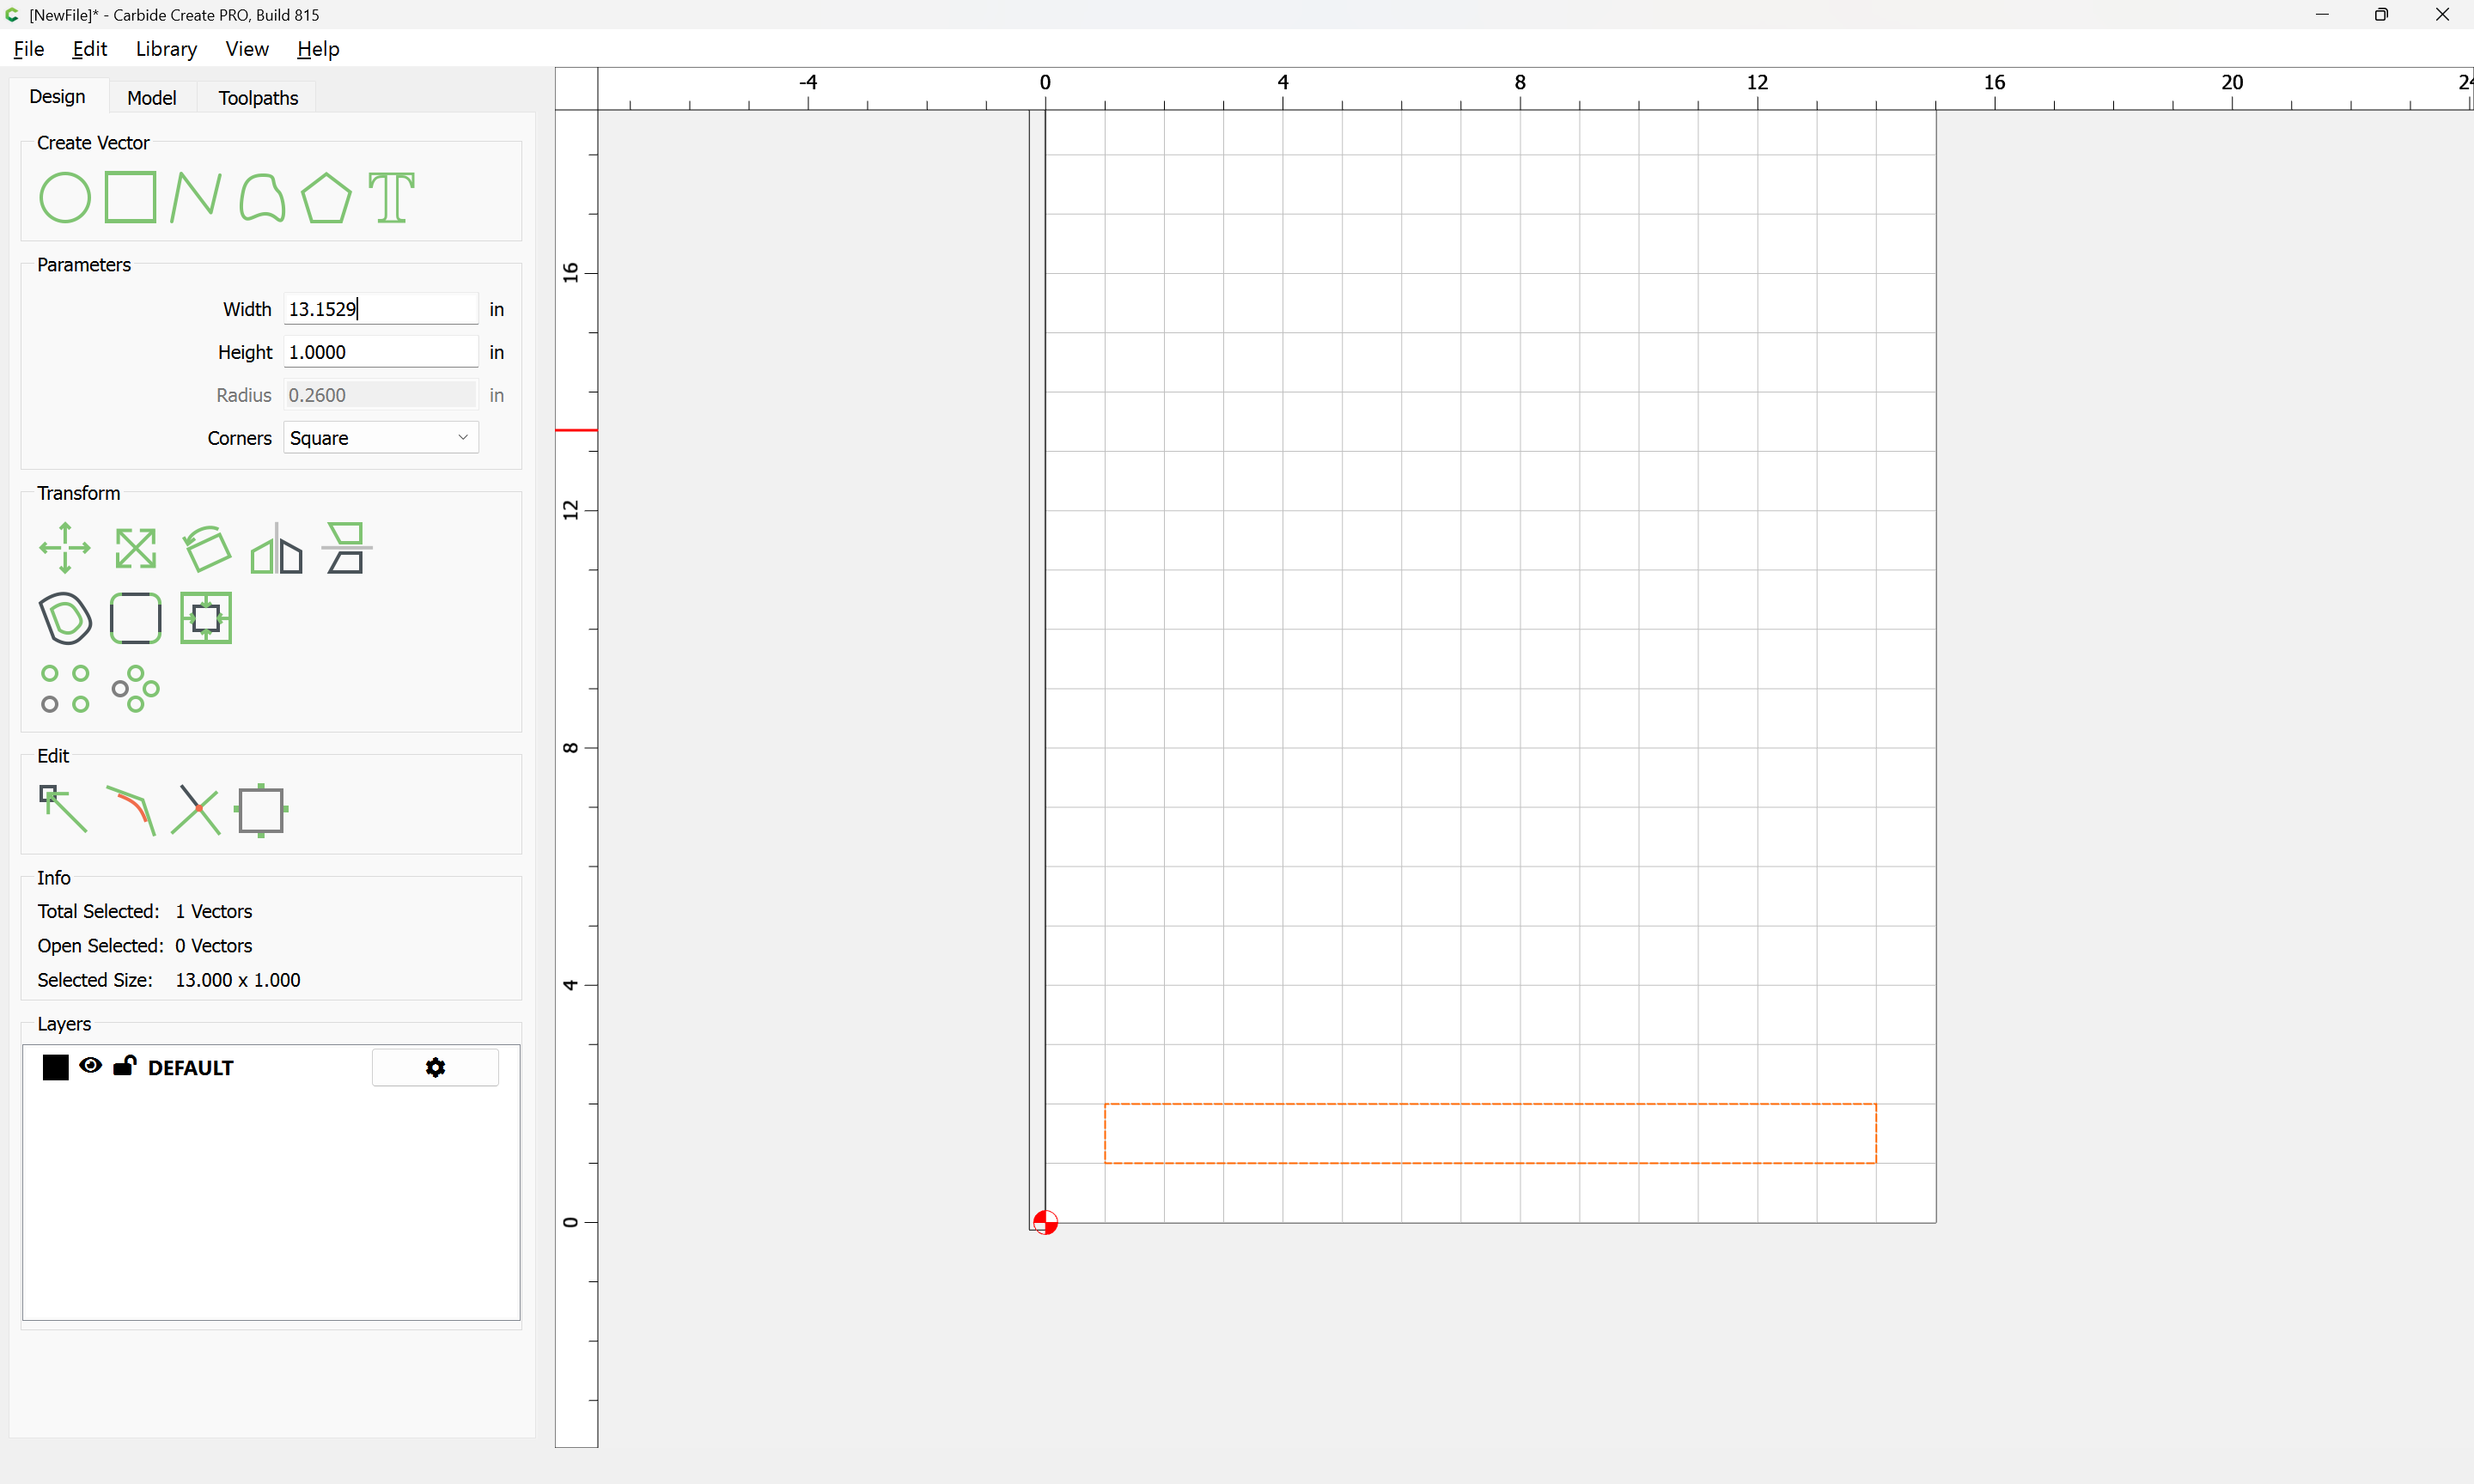
It is assumed that 0.75" thick offcuts will be used for the shelves:
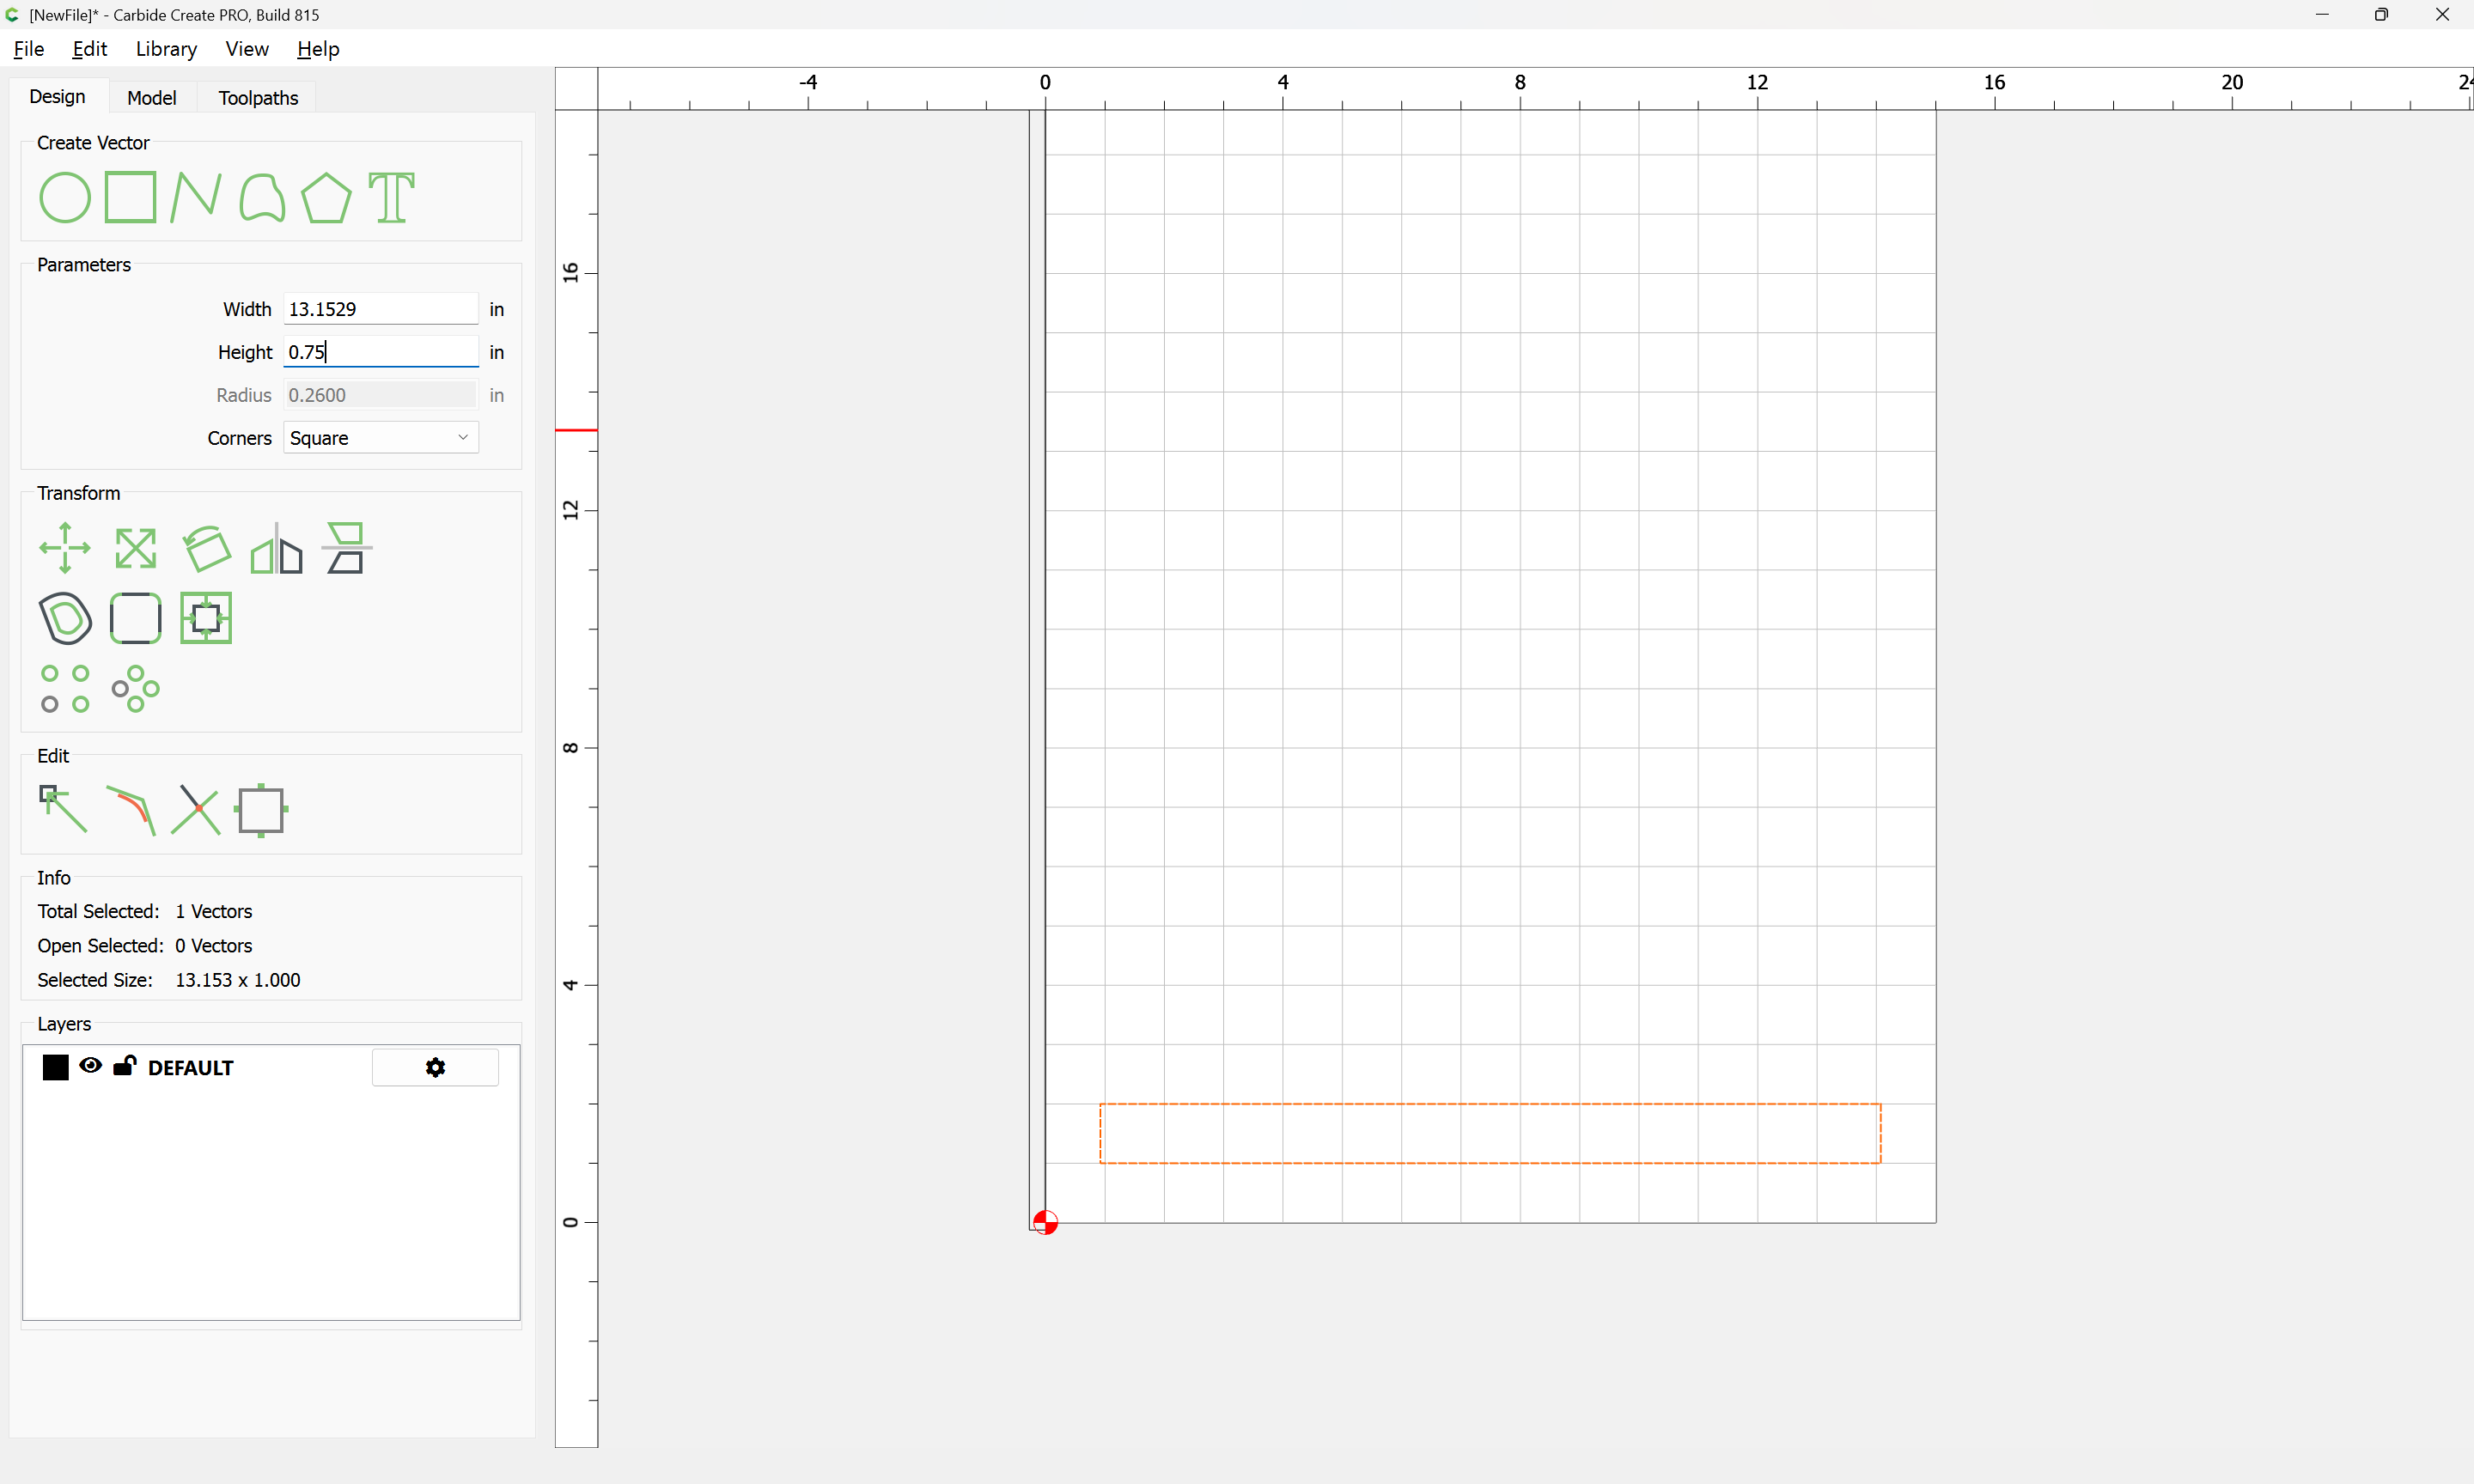

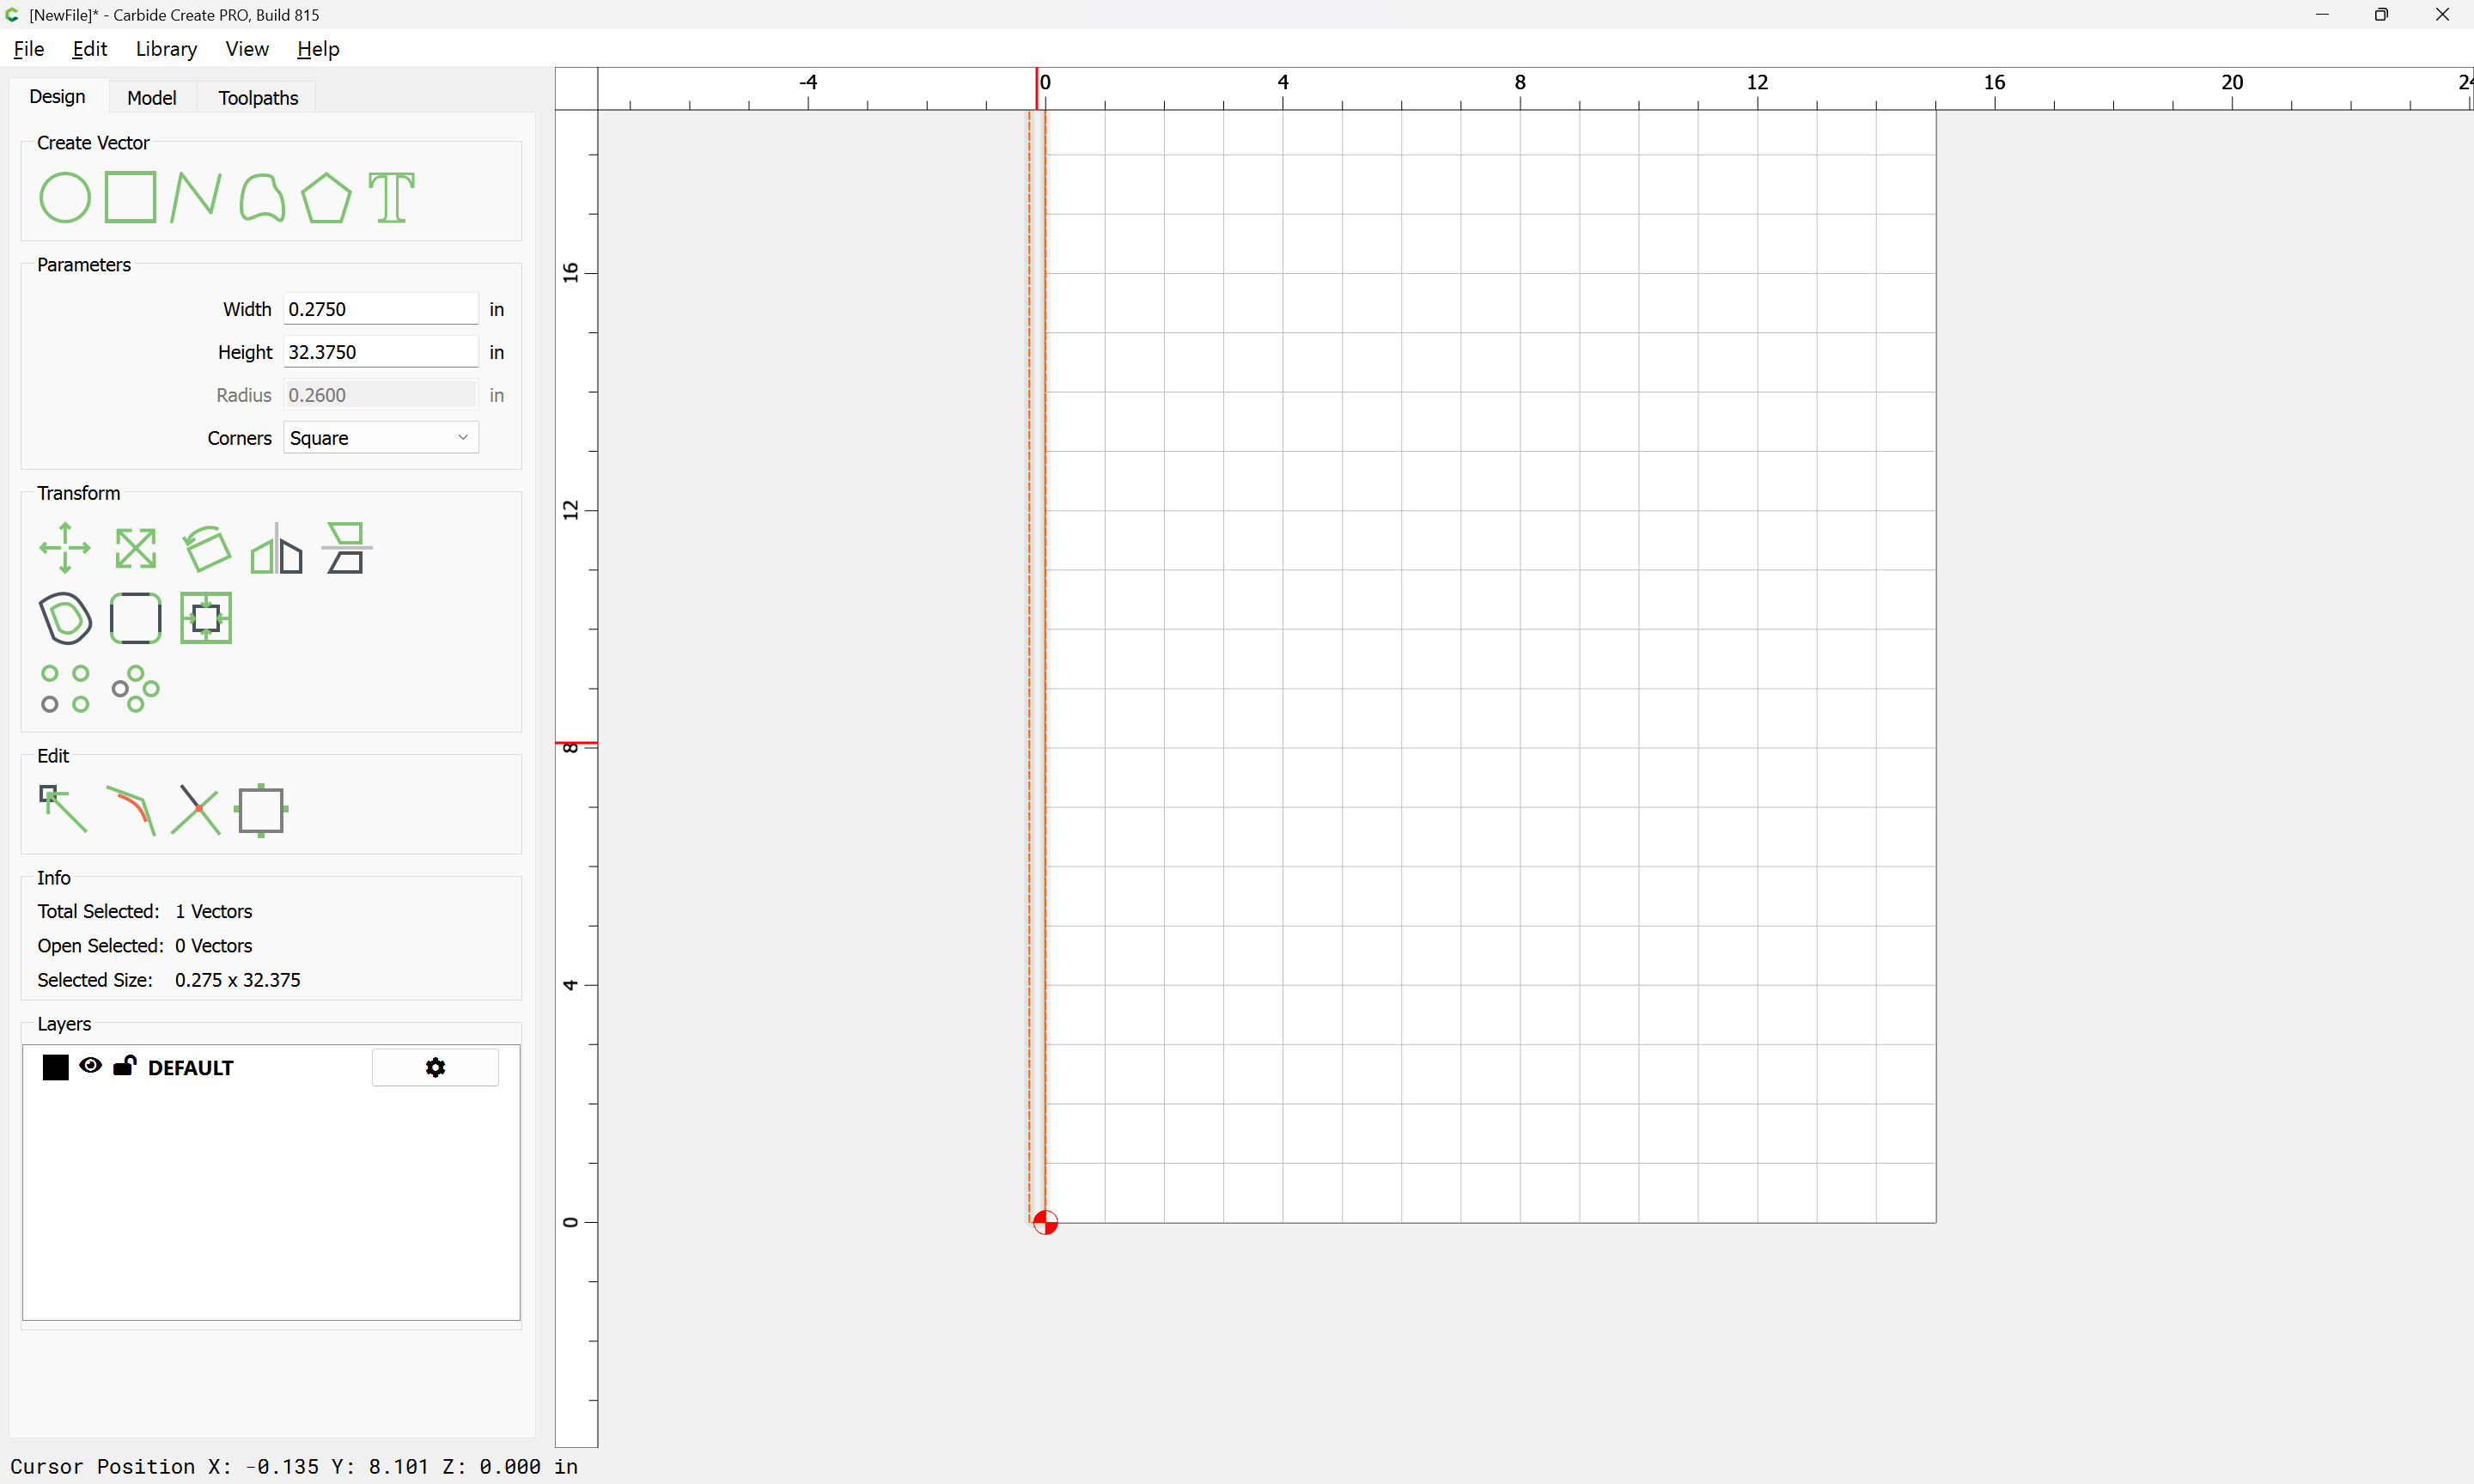
(increase the height of the rectangle by some reasonable tolerance for fitting if need be based on a test cut/fit — we will show 10% as a worst-case scenario, but on an SO5 Pro or a well-calibrate belt-drive machine (see: Calibrating the machines over long distances )


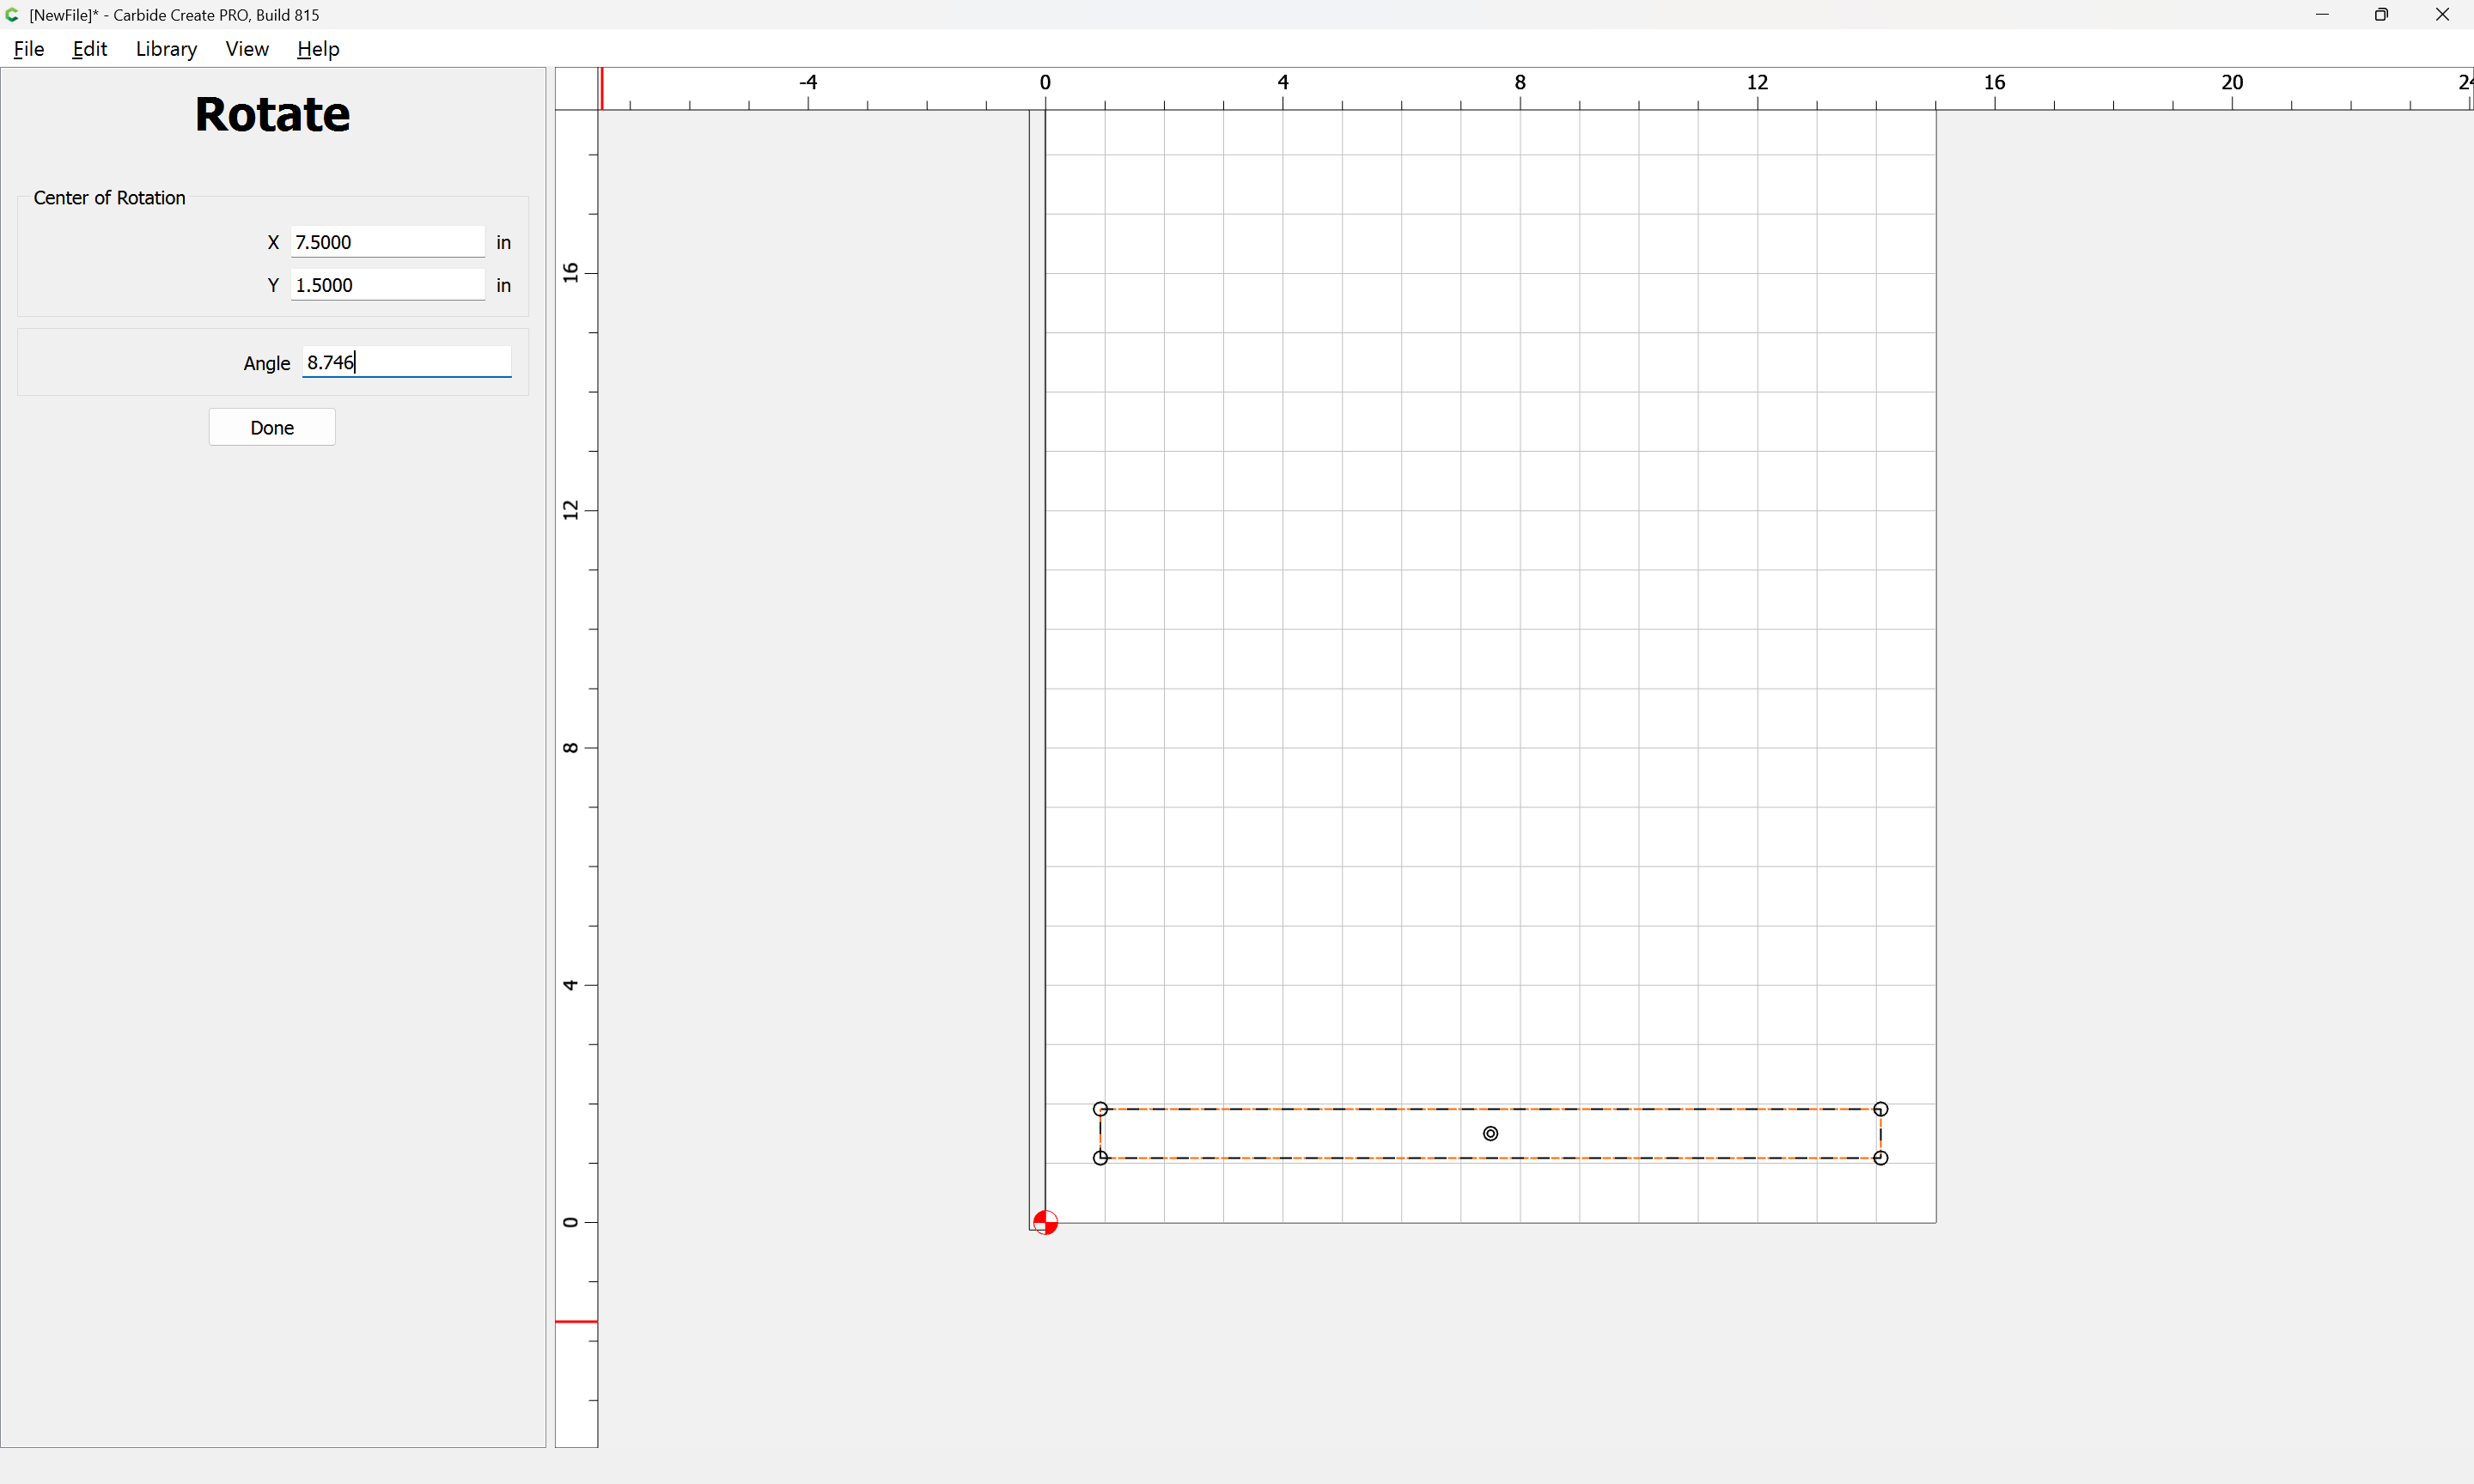
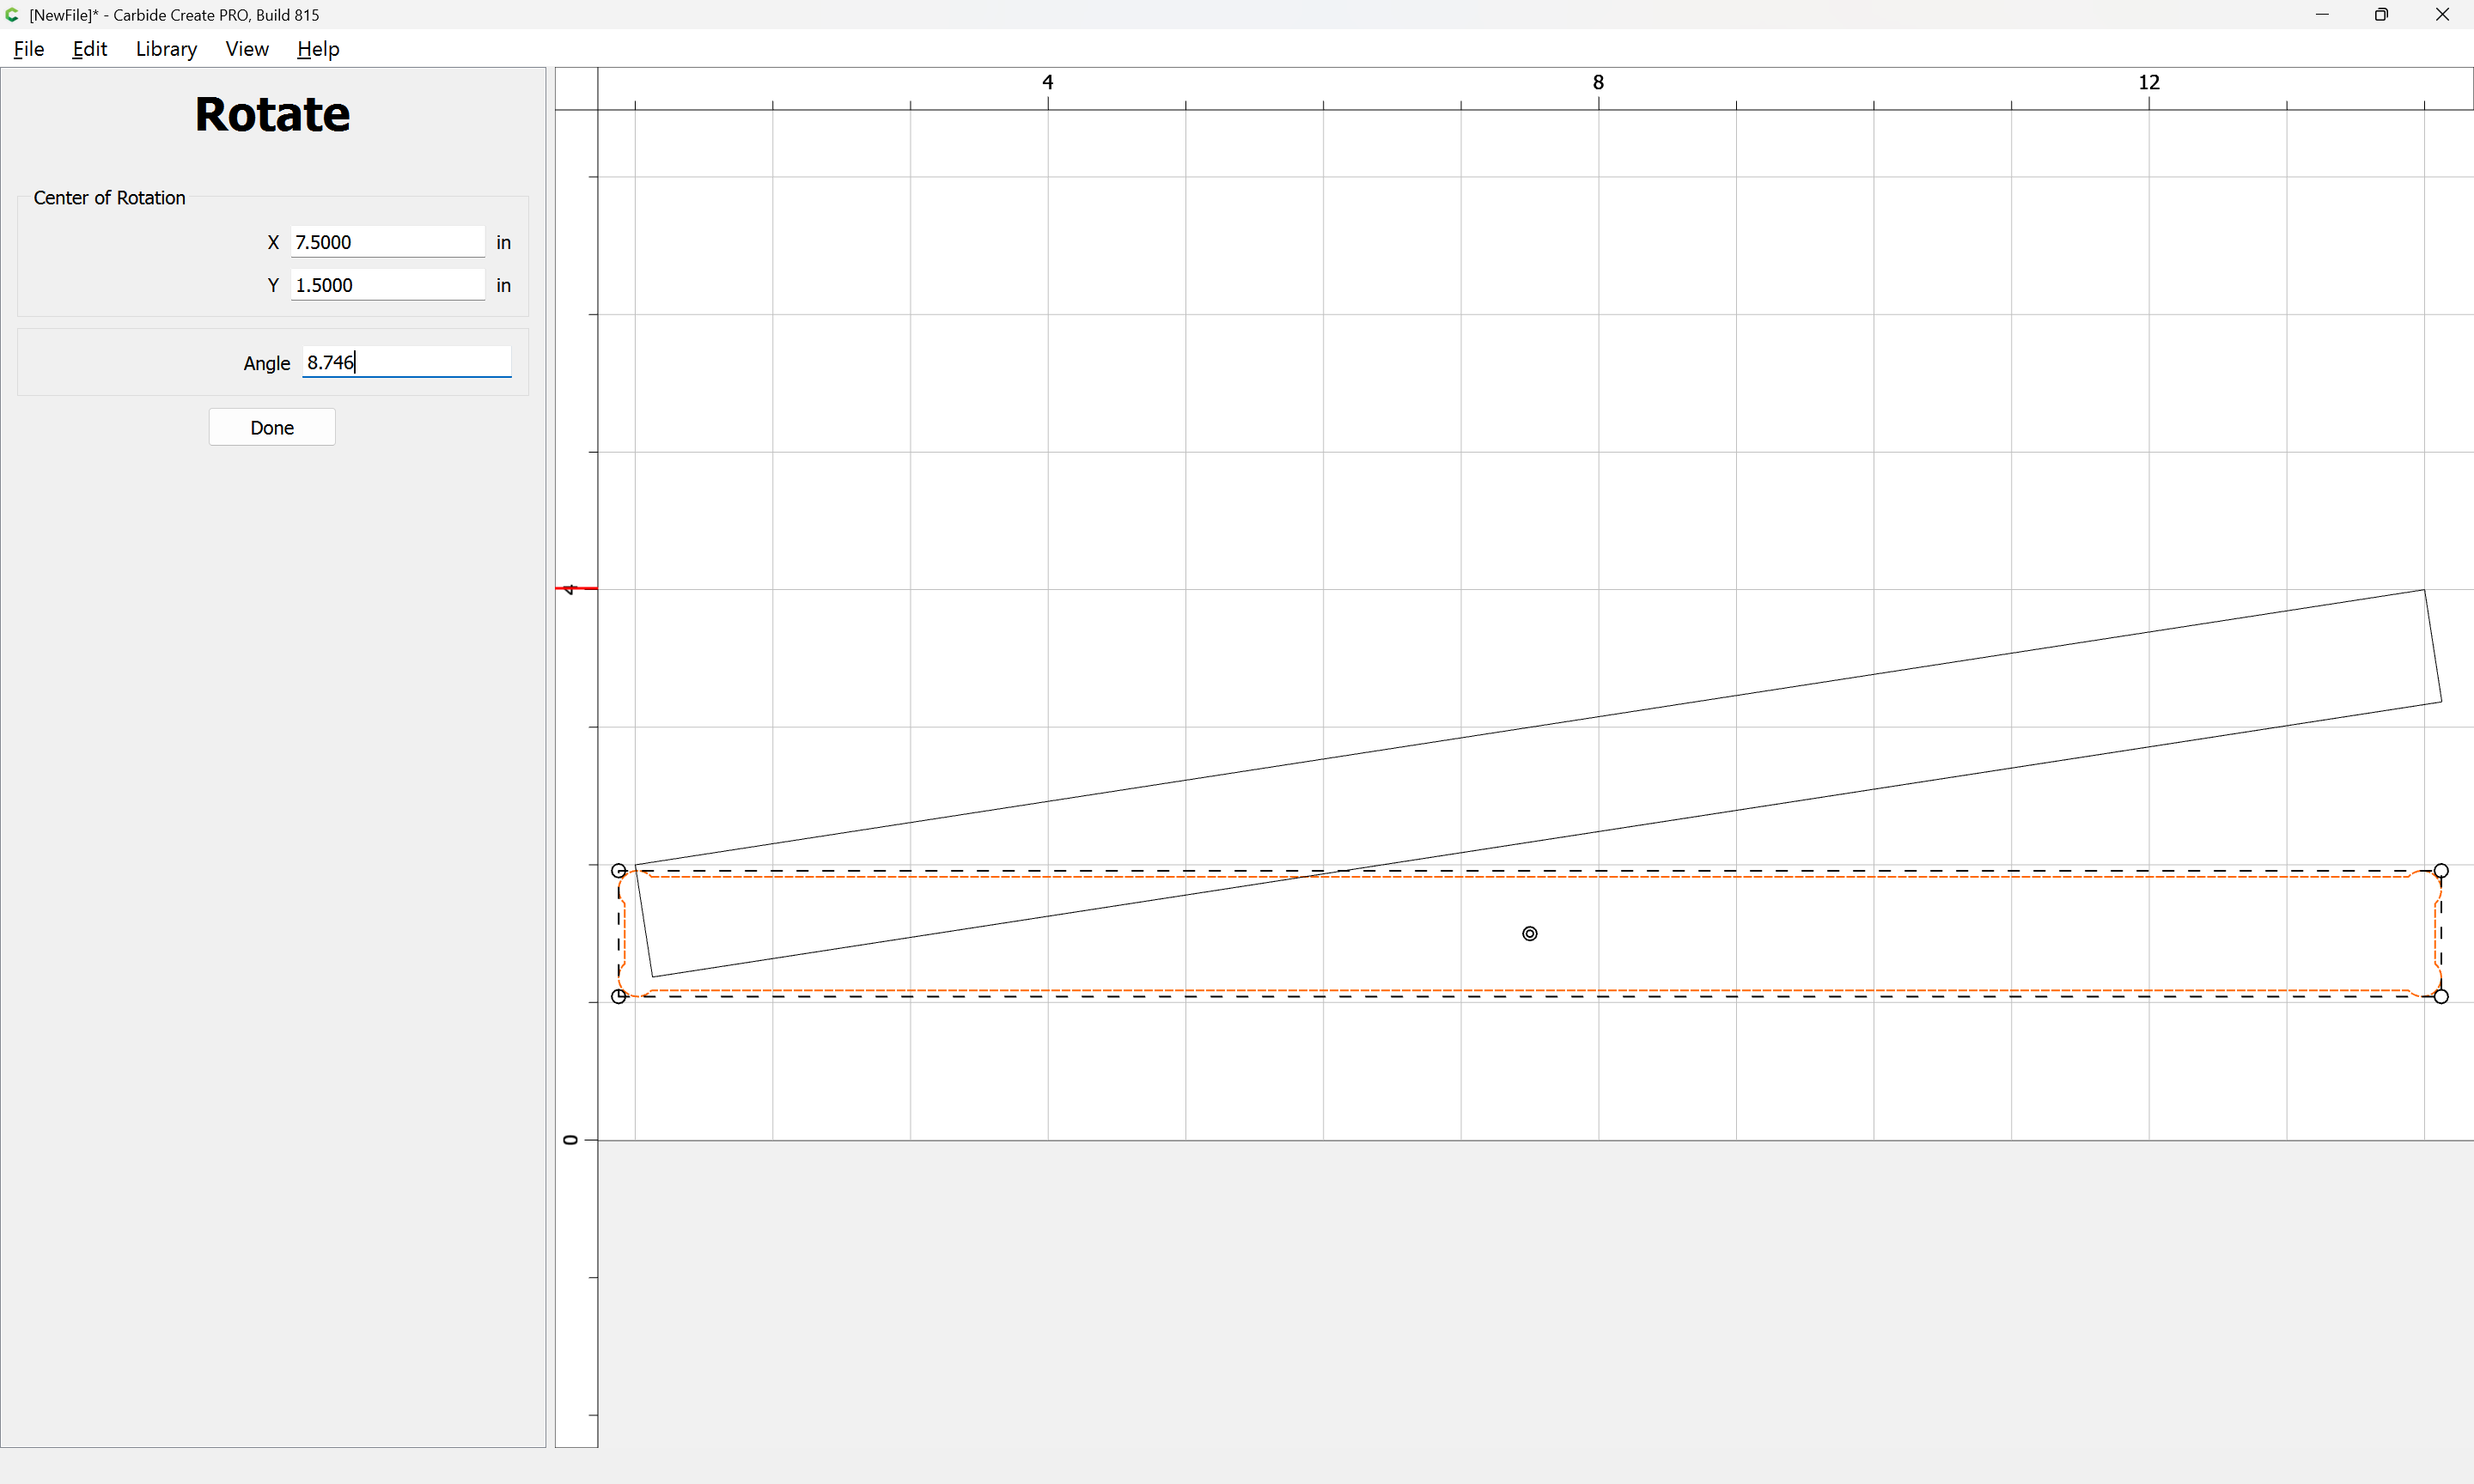
Duplicate and Rotate one copy:
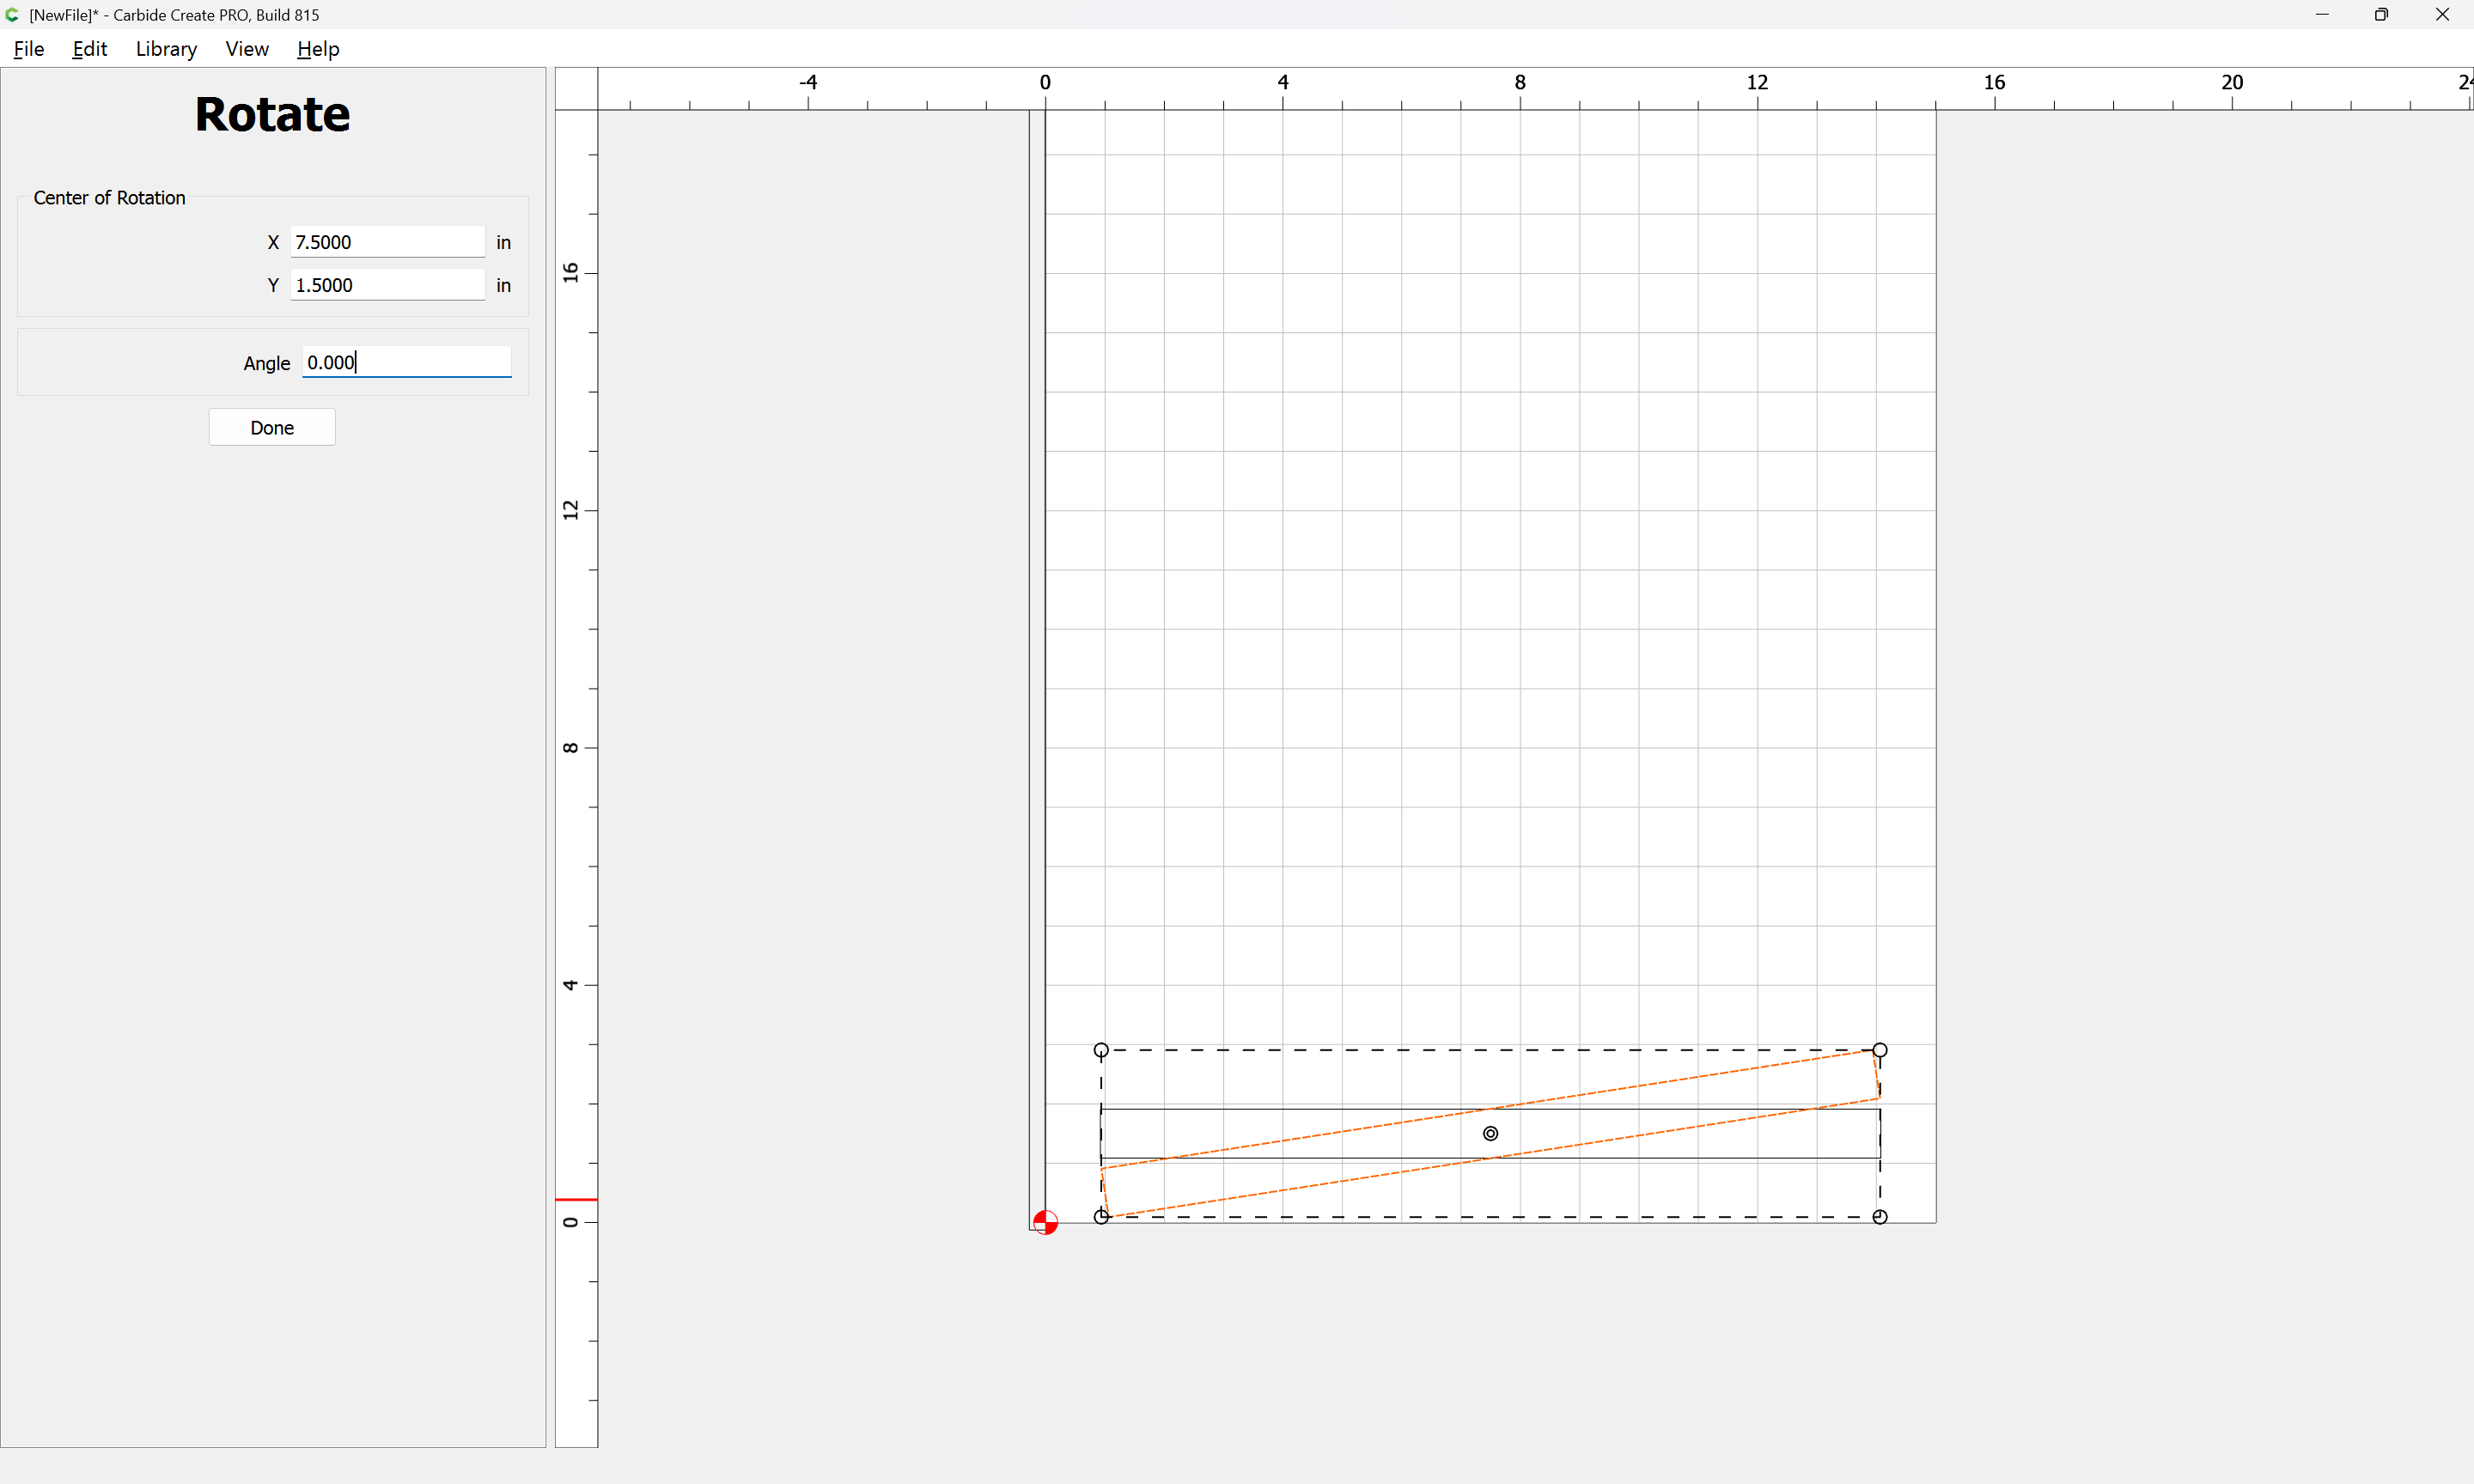
Position it:
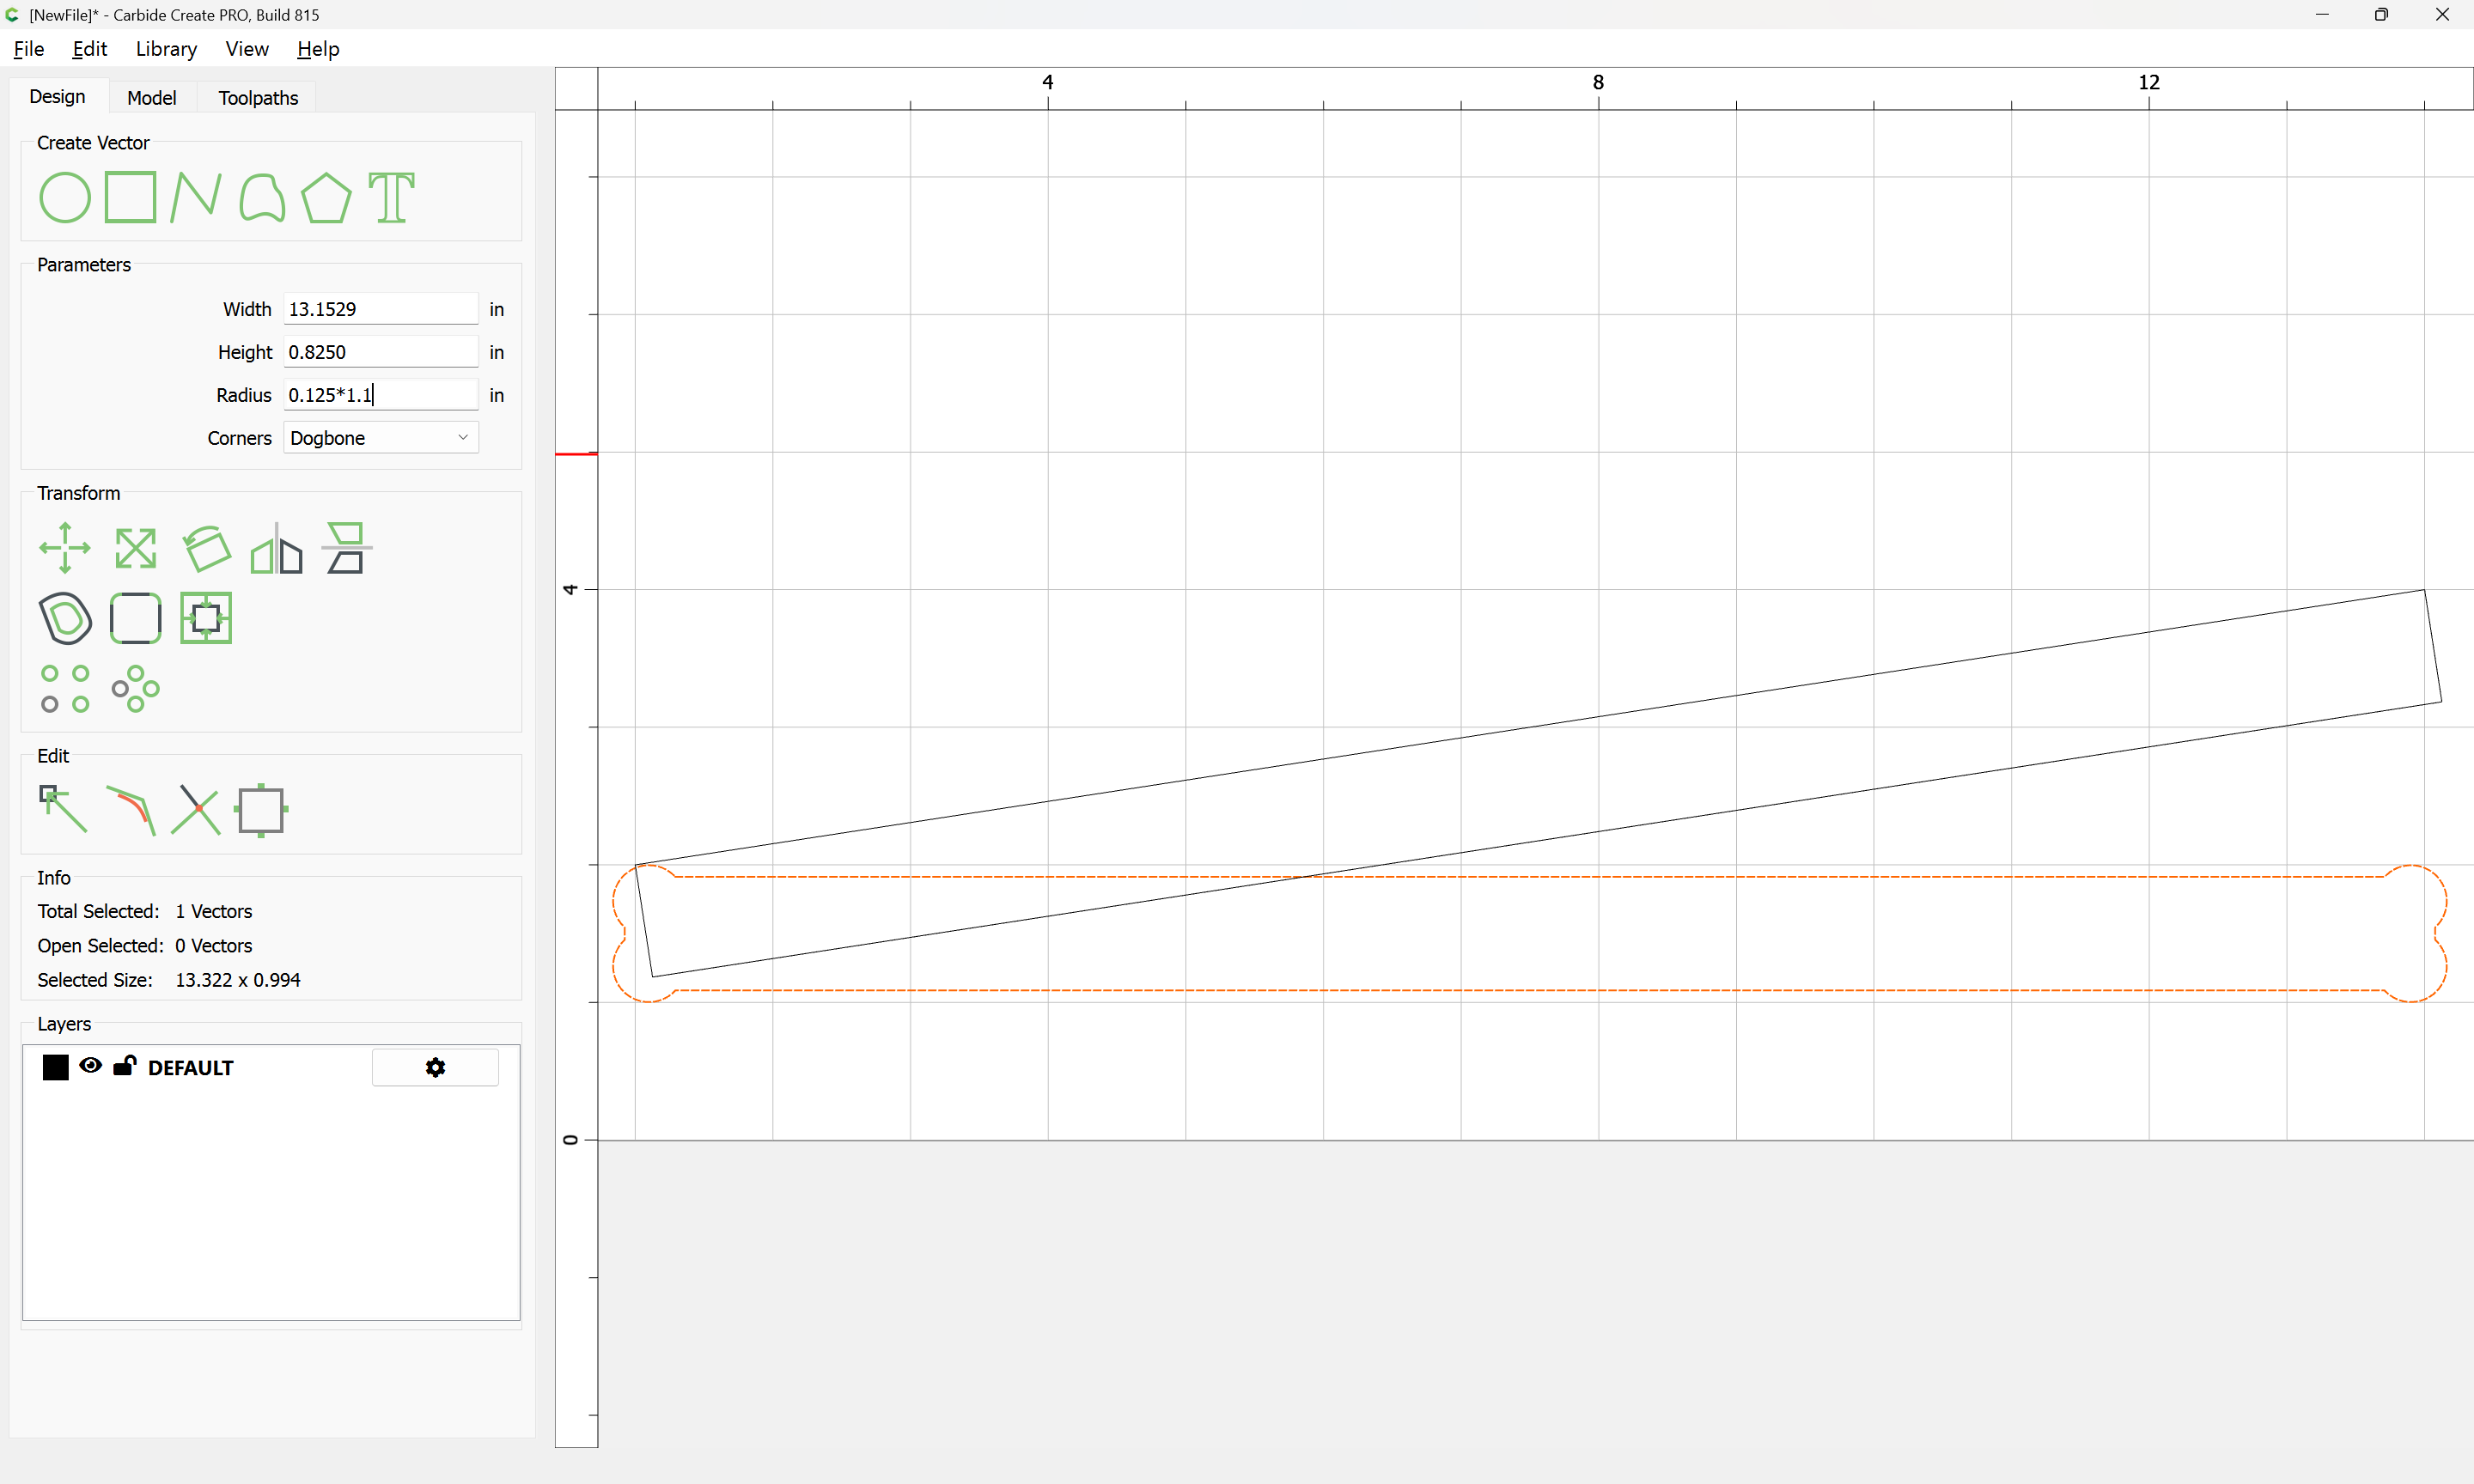
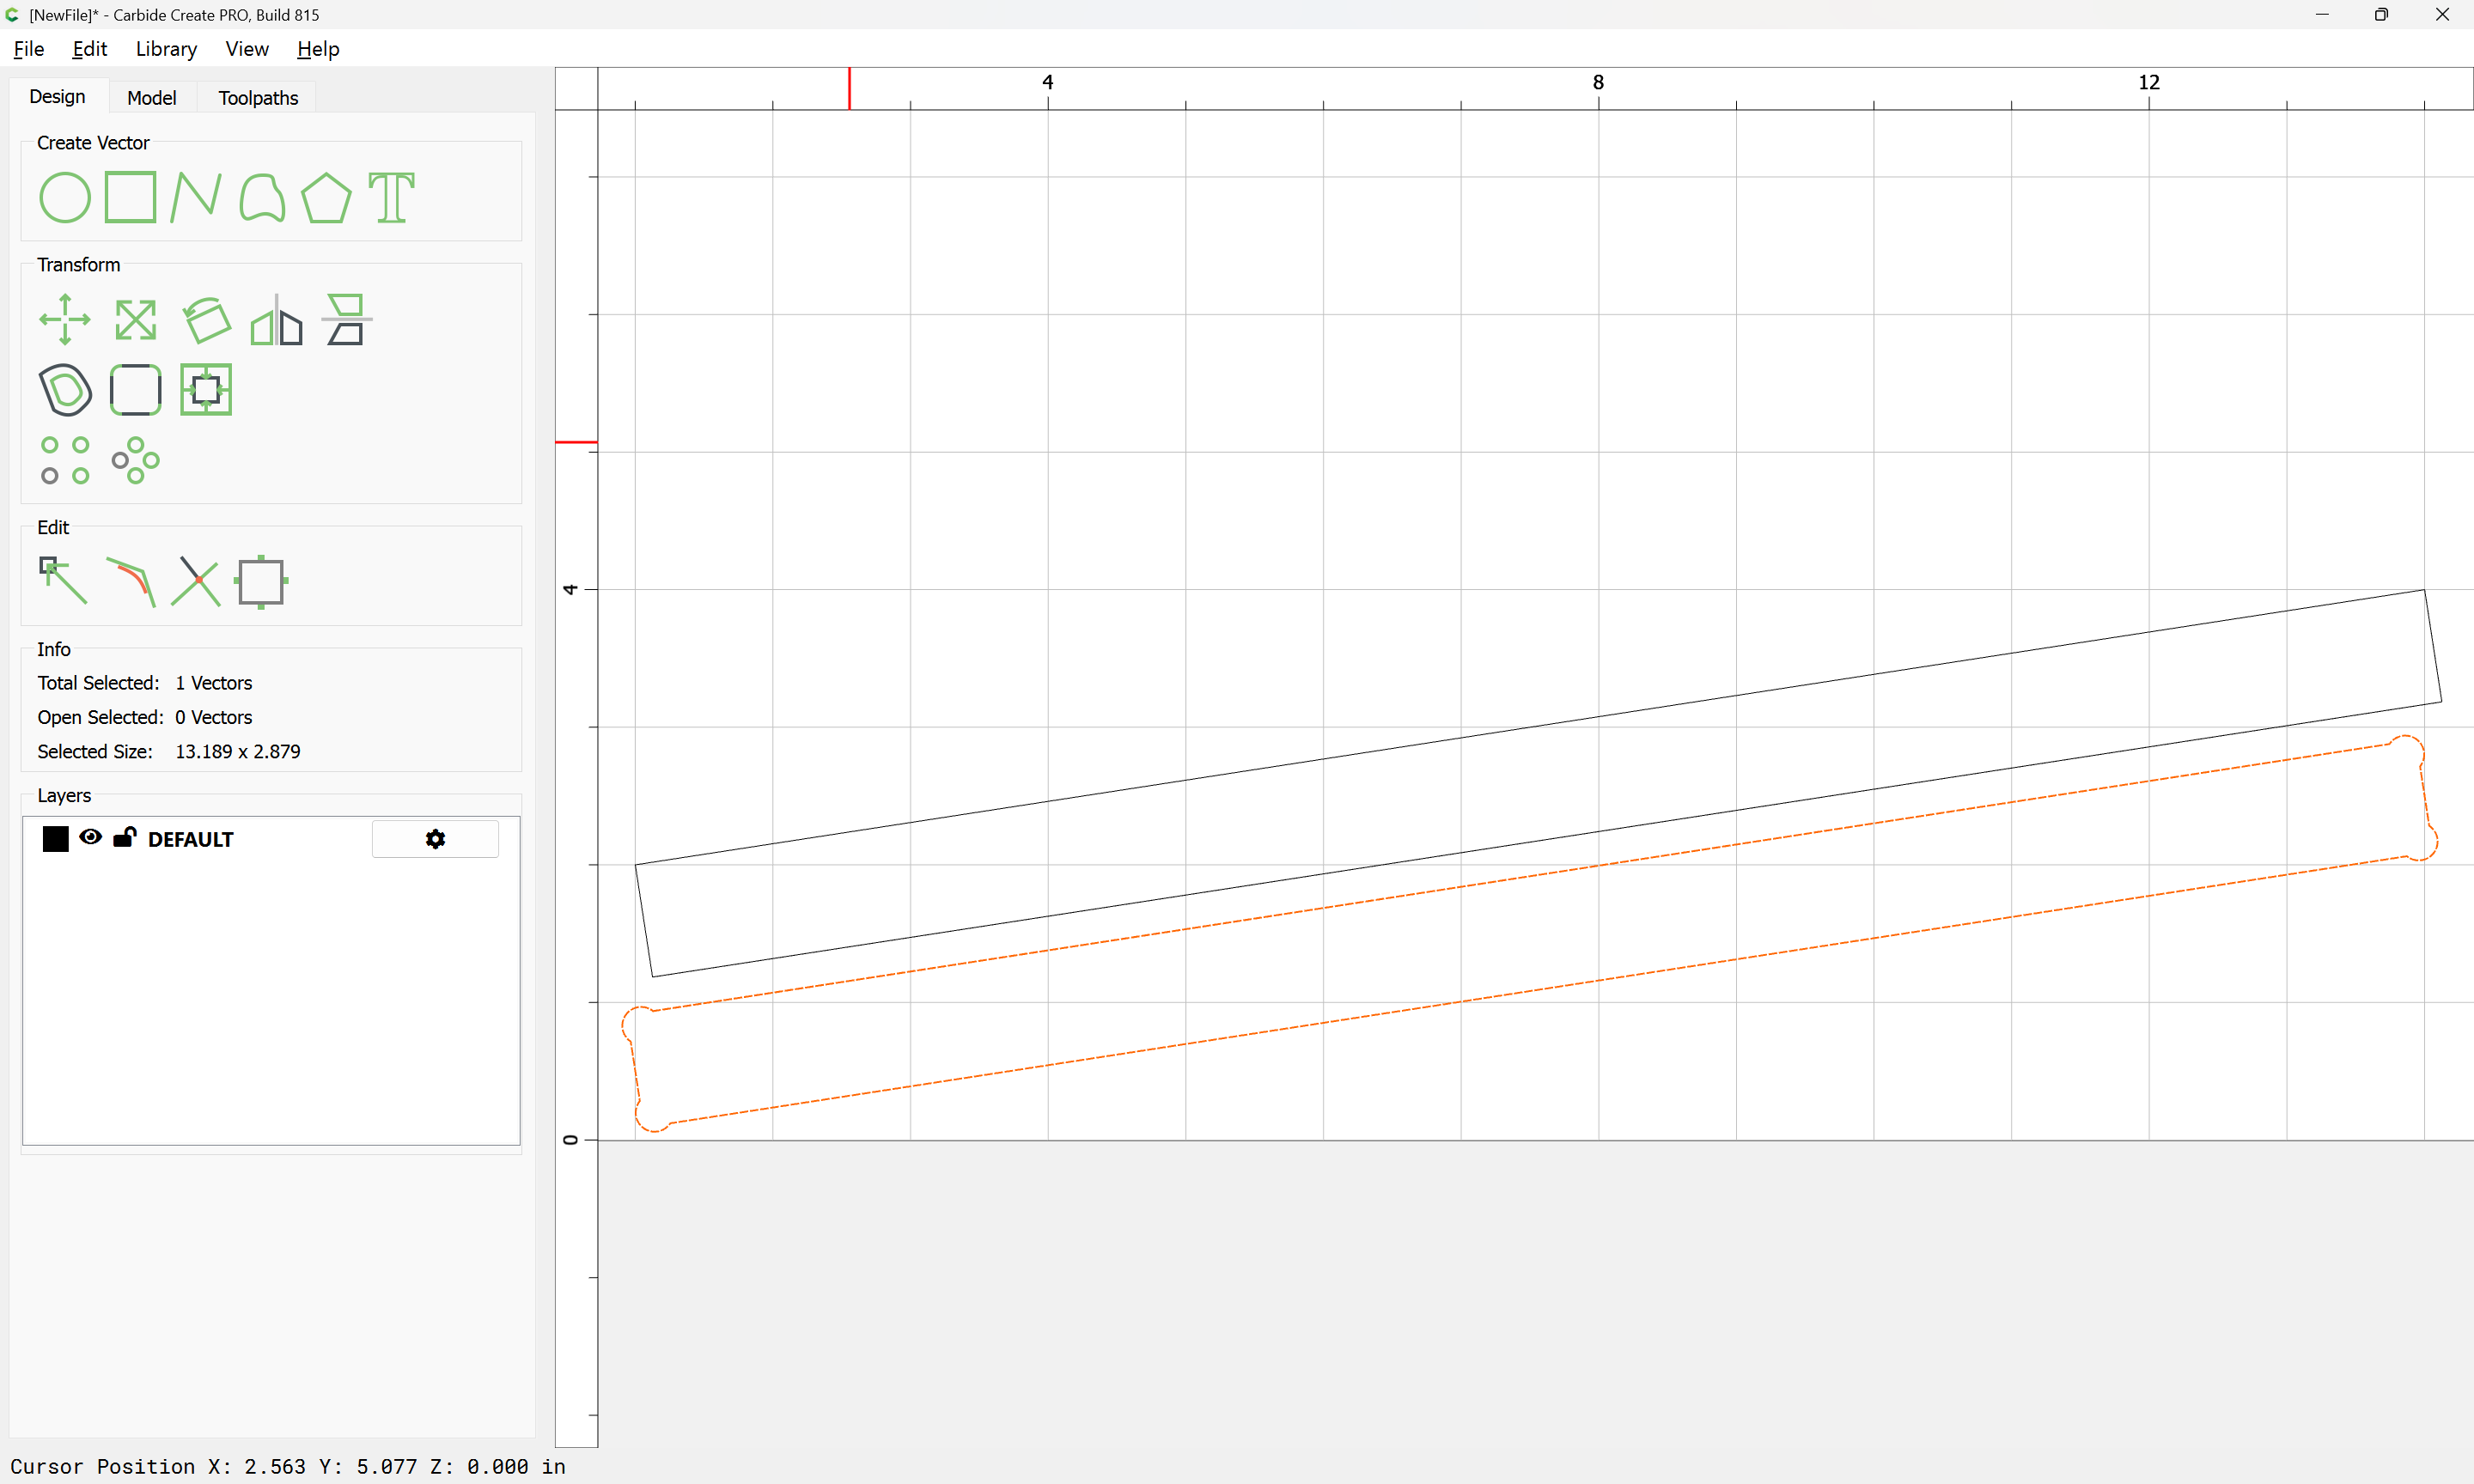
Select the original and set it to have Dogbones:
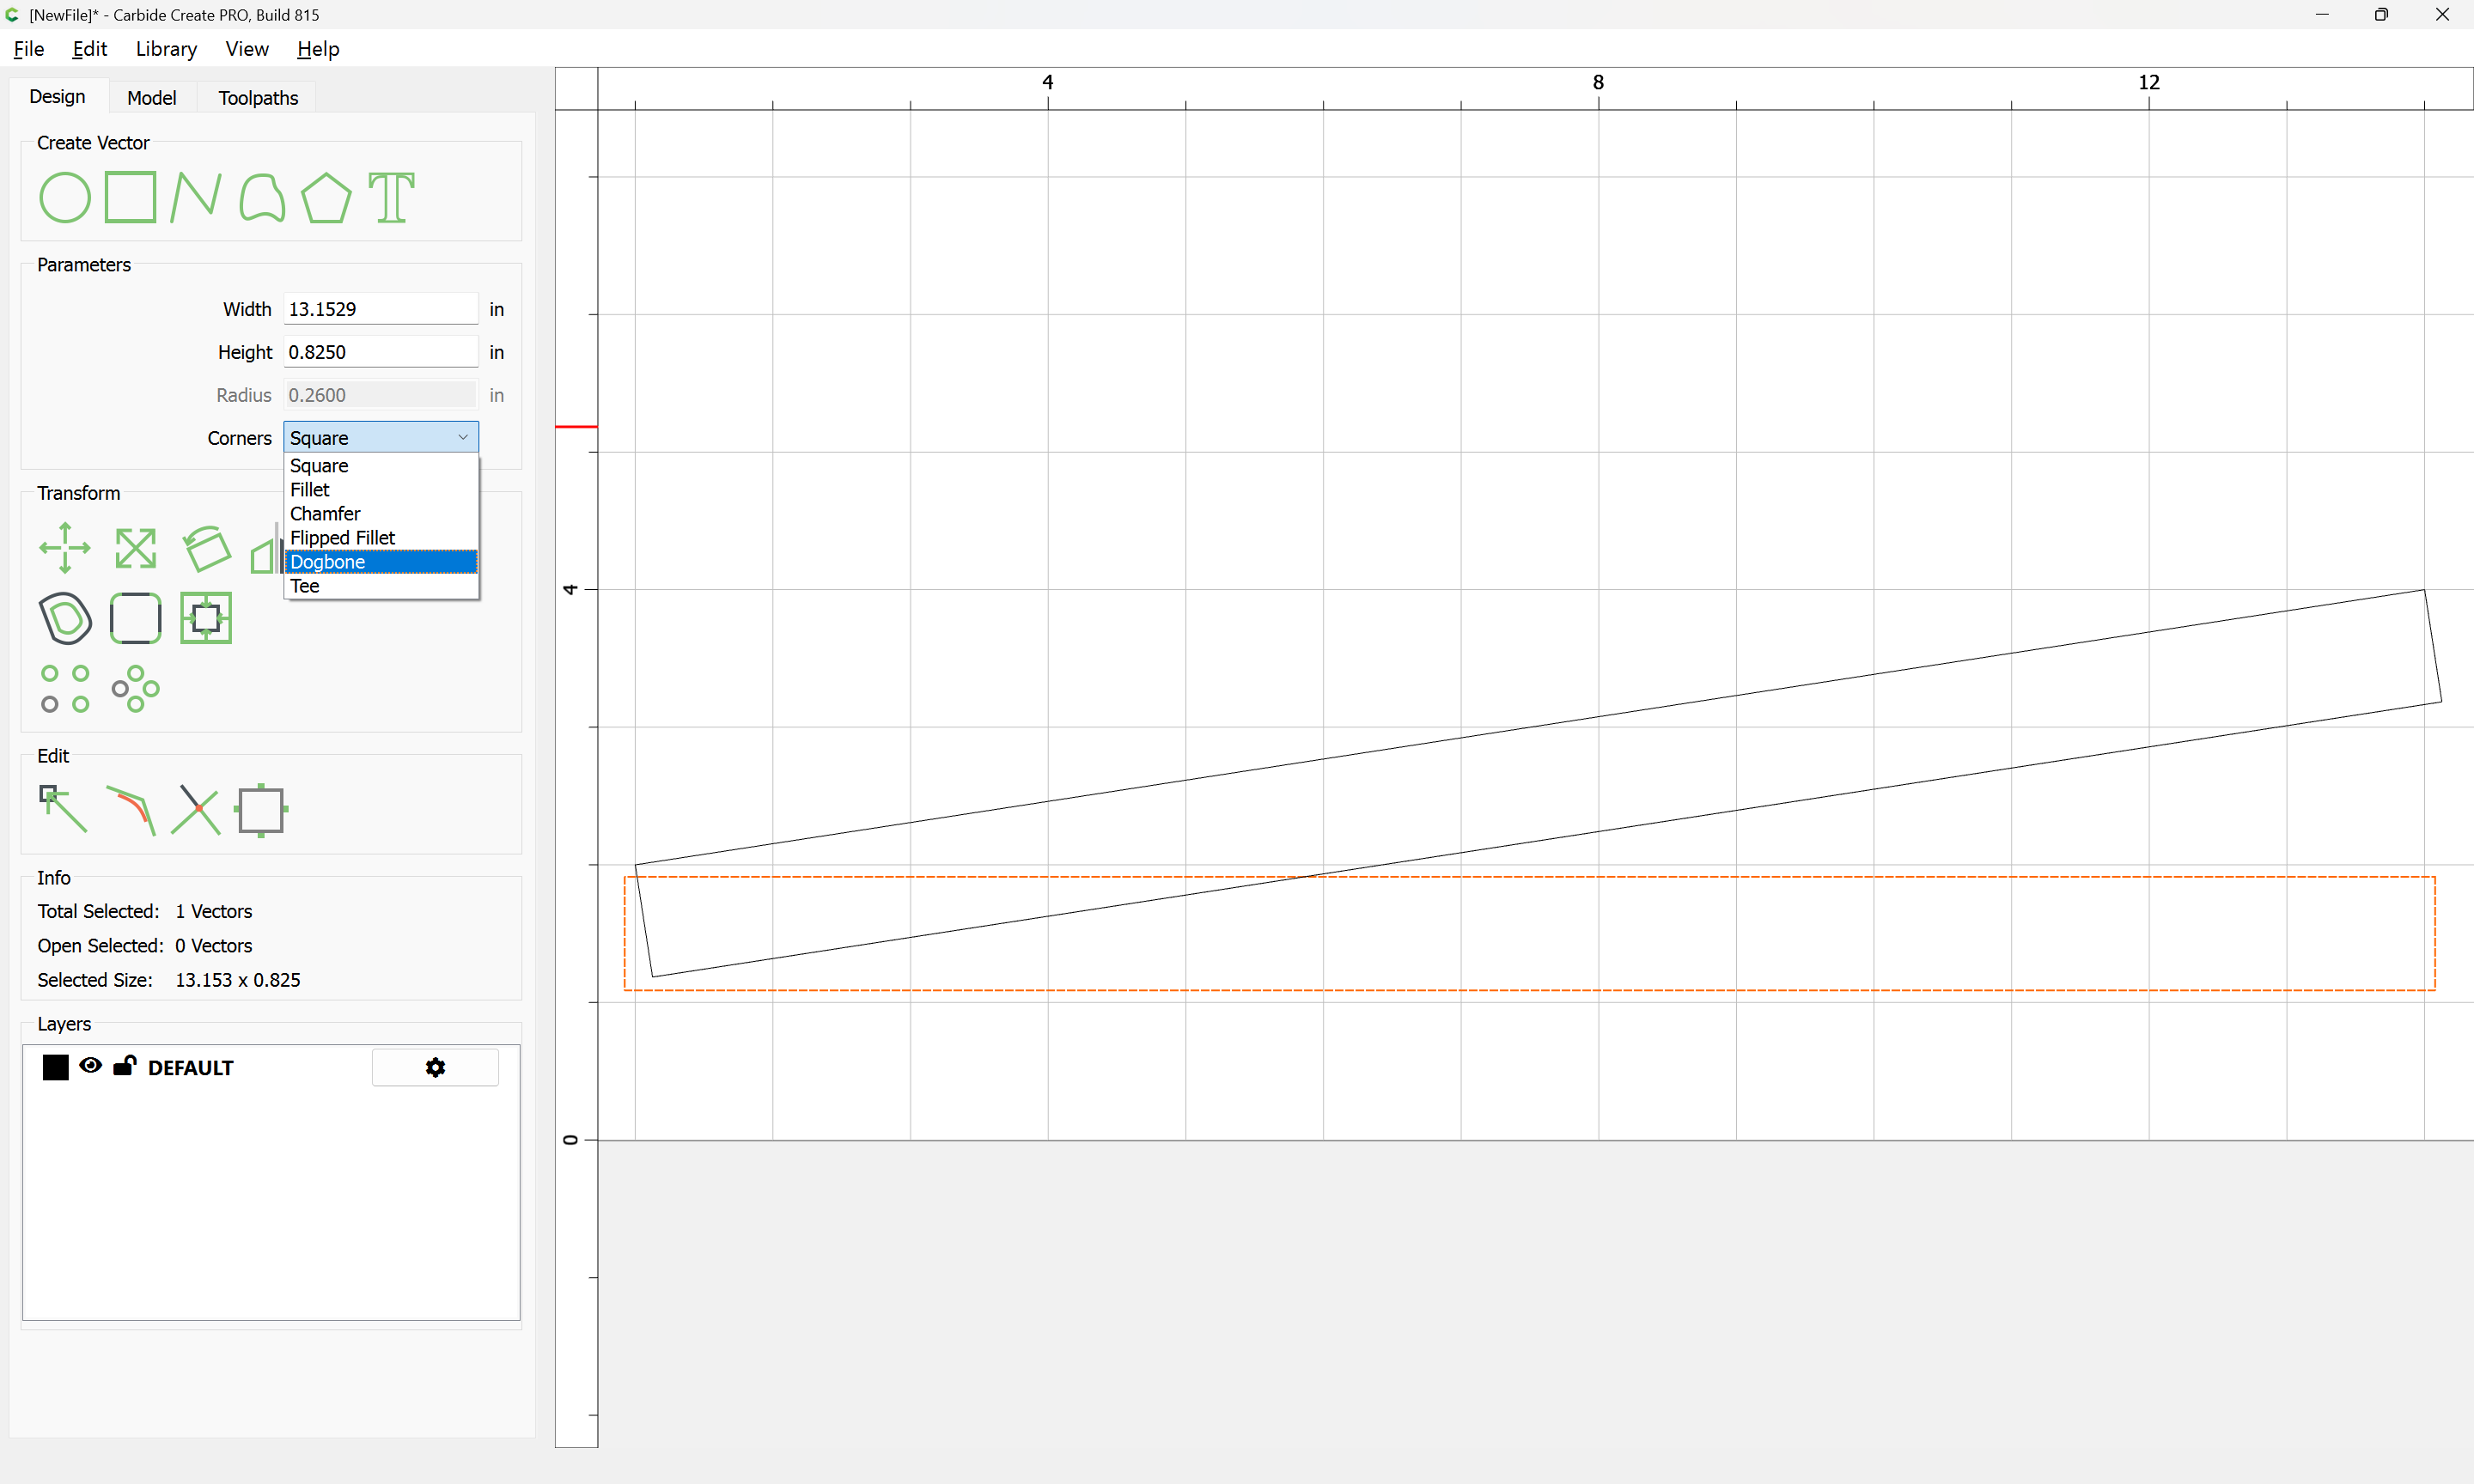
using the radius of the tool which will be used plus 10%

Rotate again:
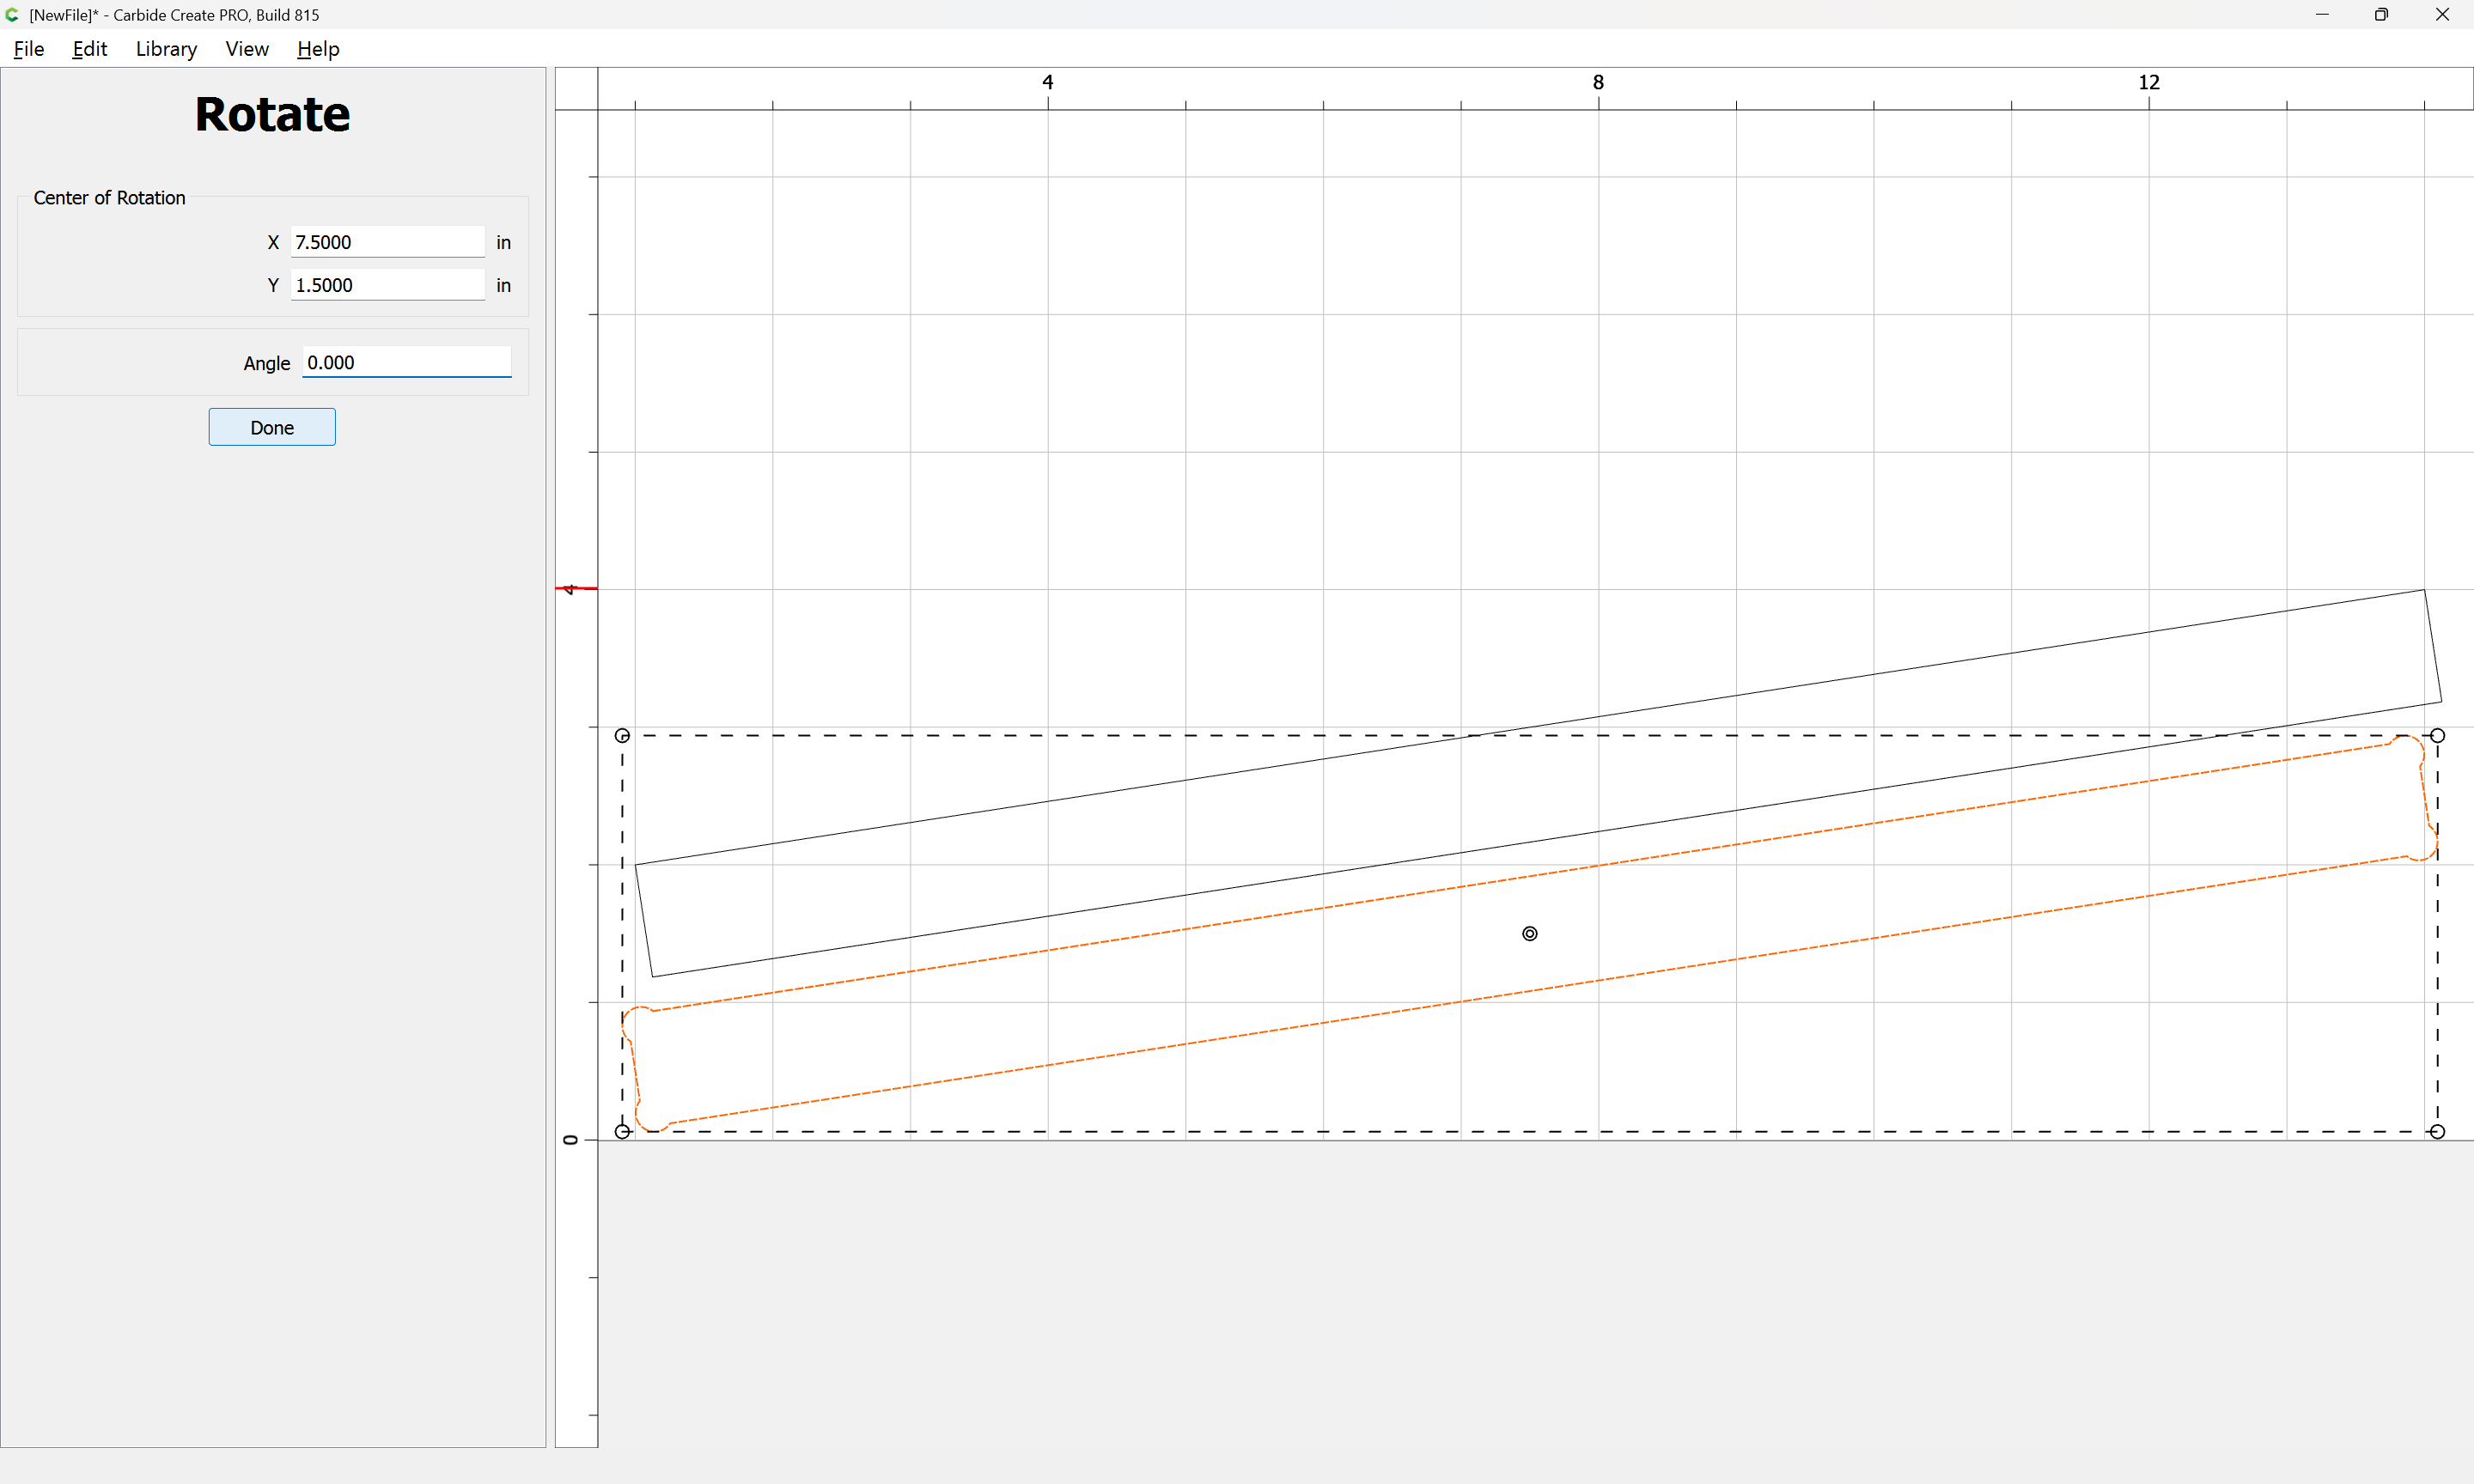
Done
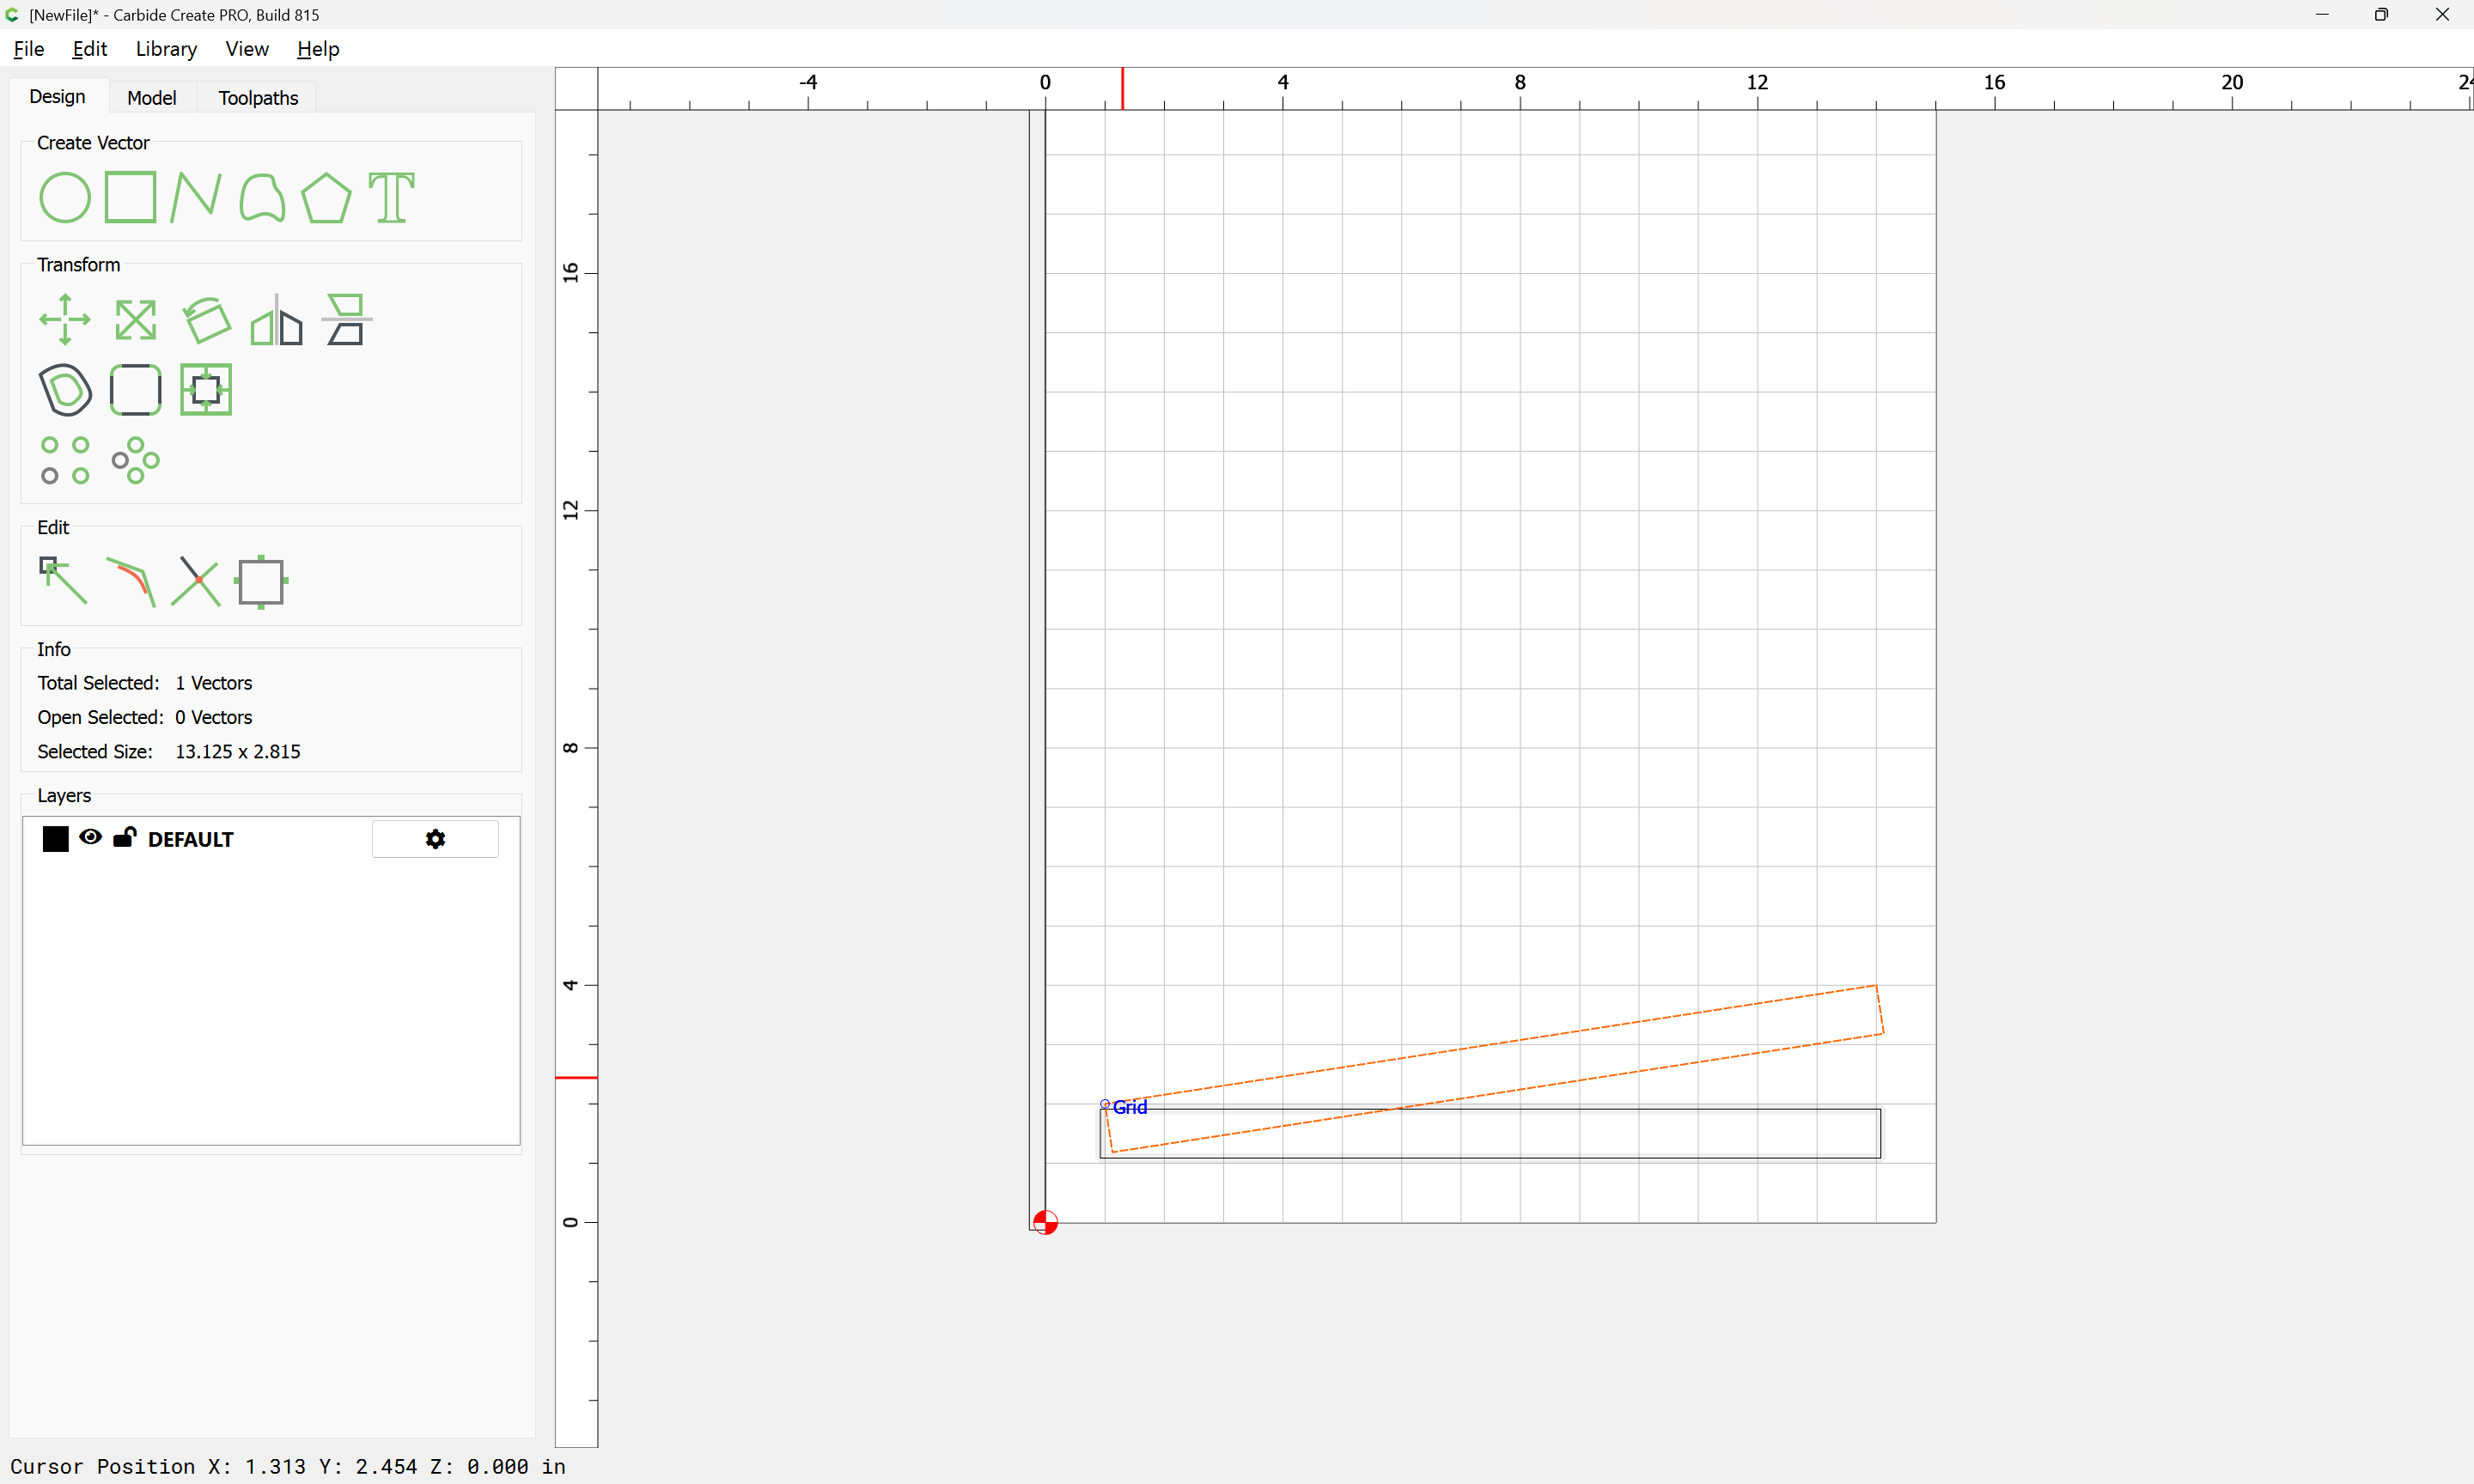
shift-click on the first rotated rectangle to add it to the selection as the key object:
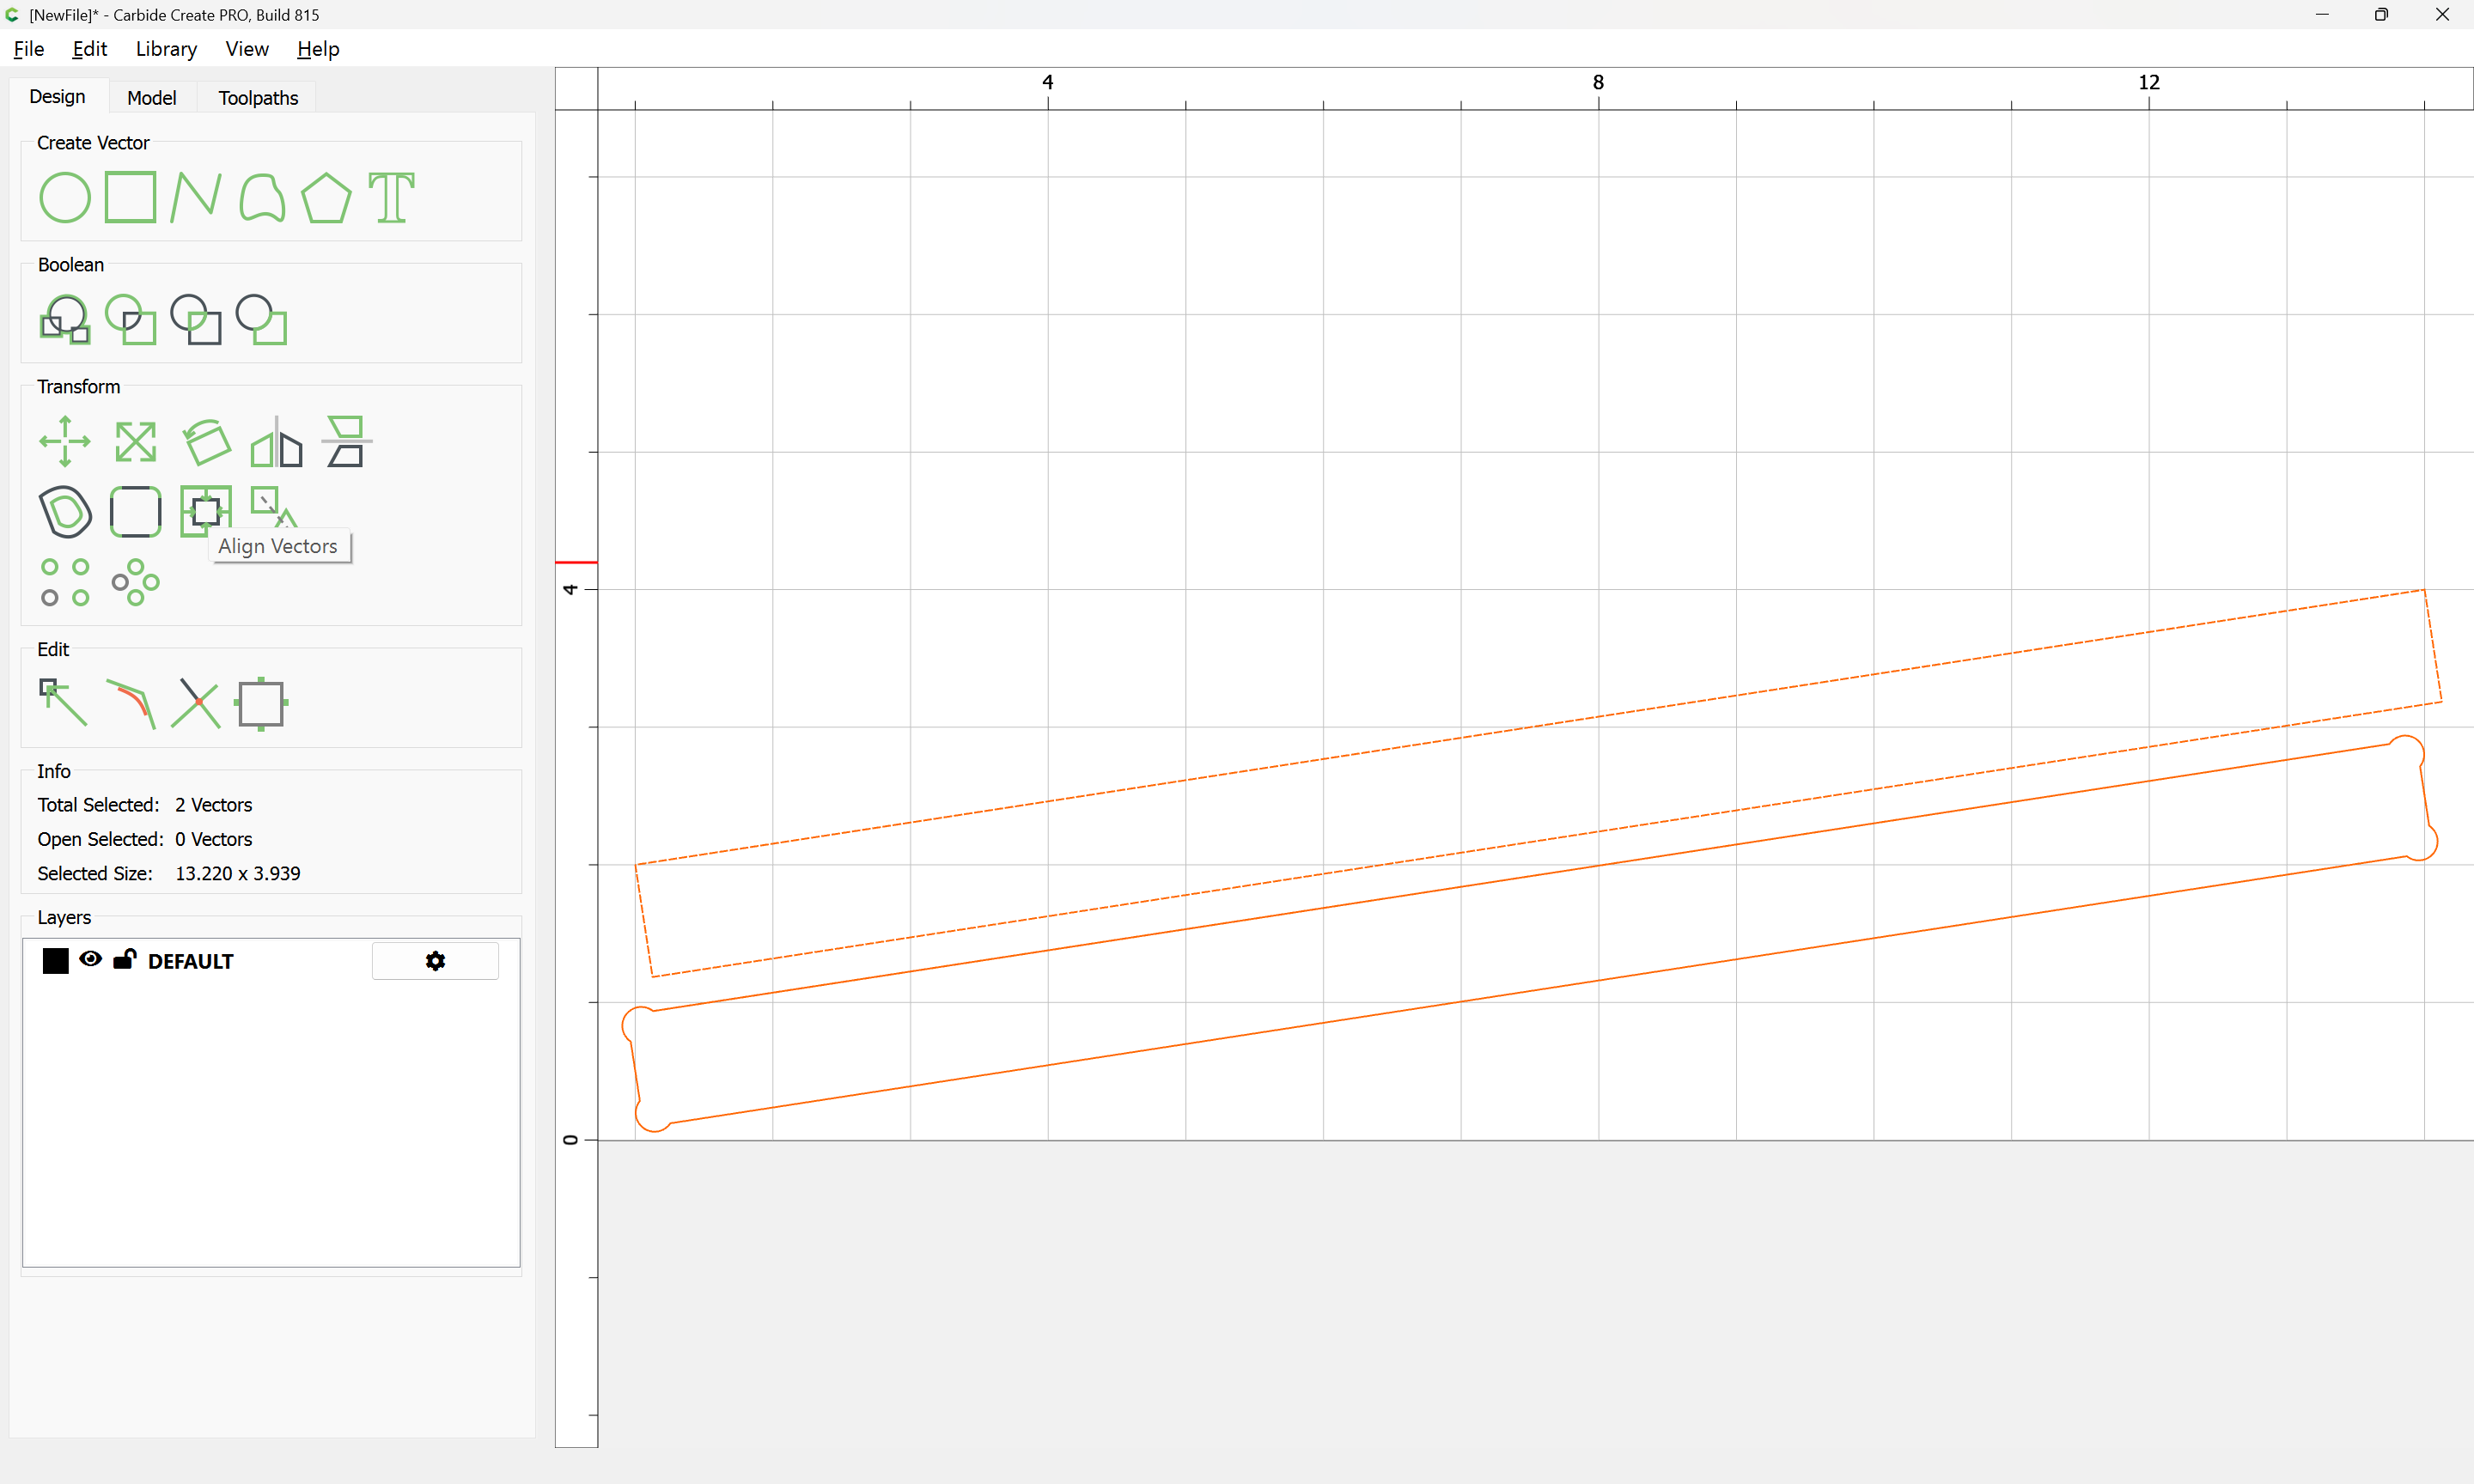
then use Align Objects
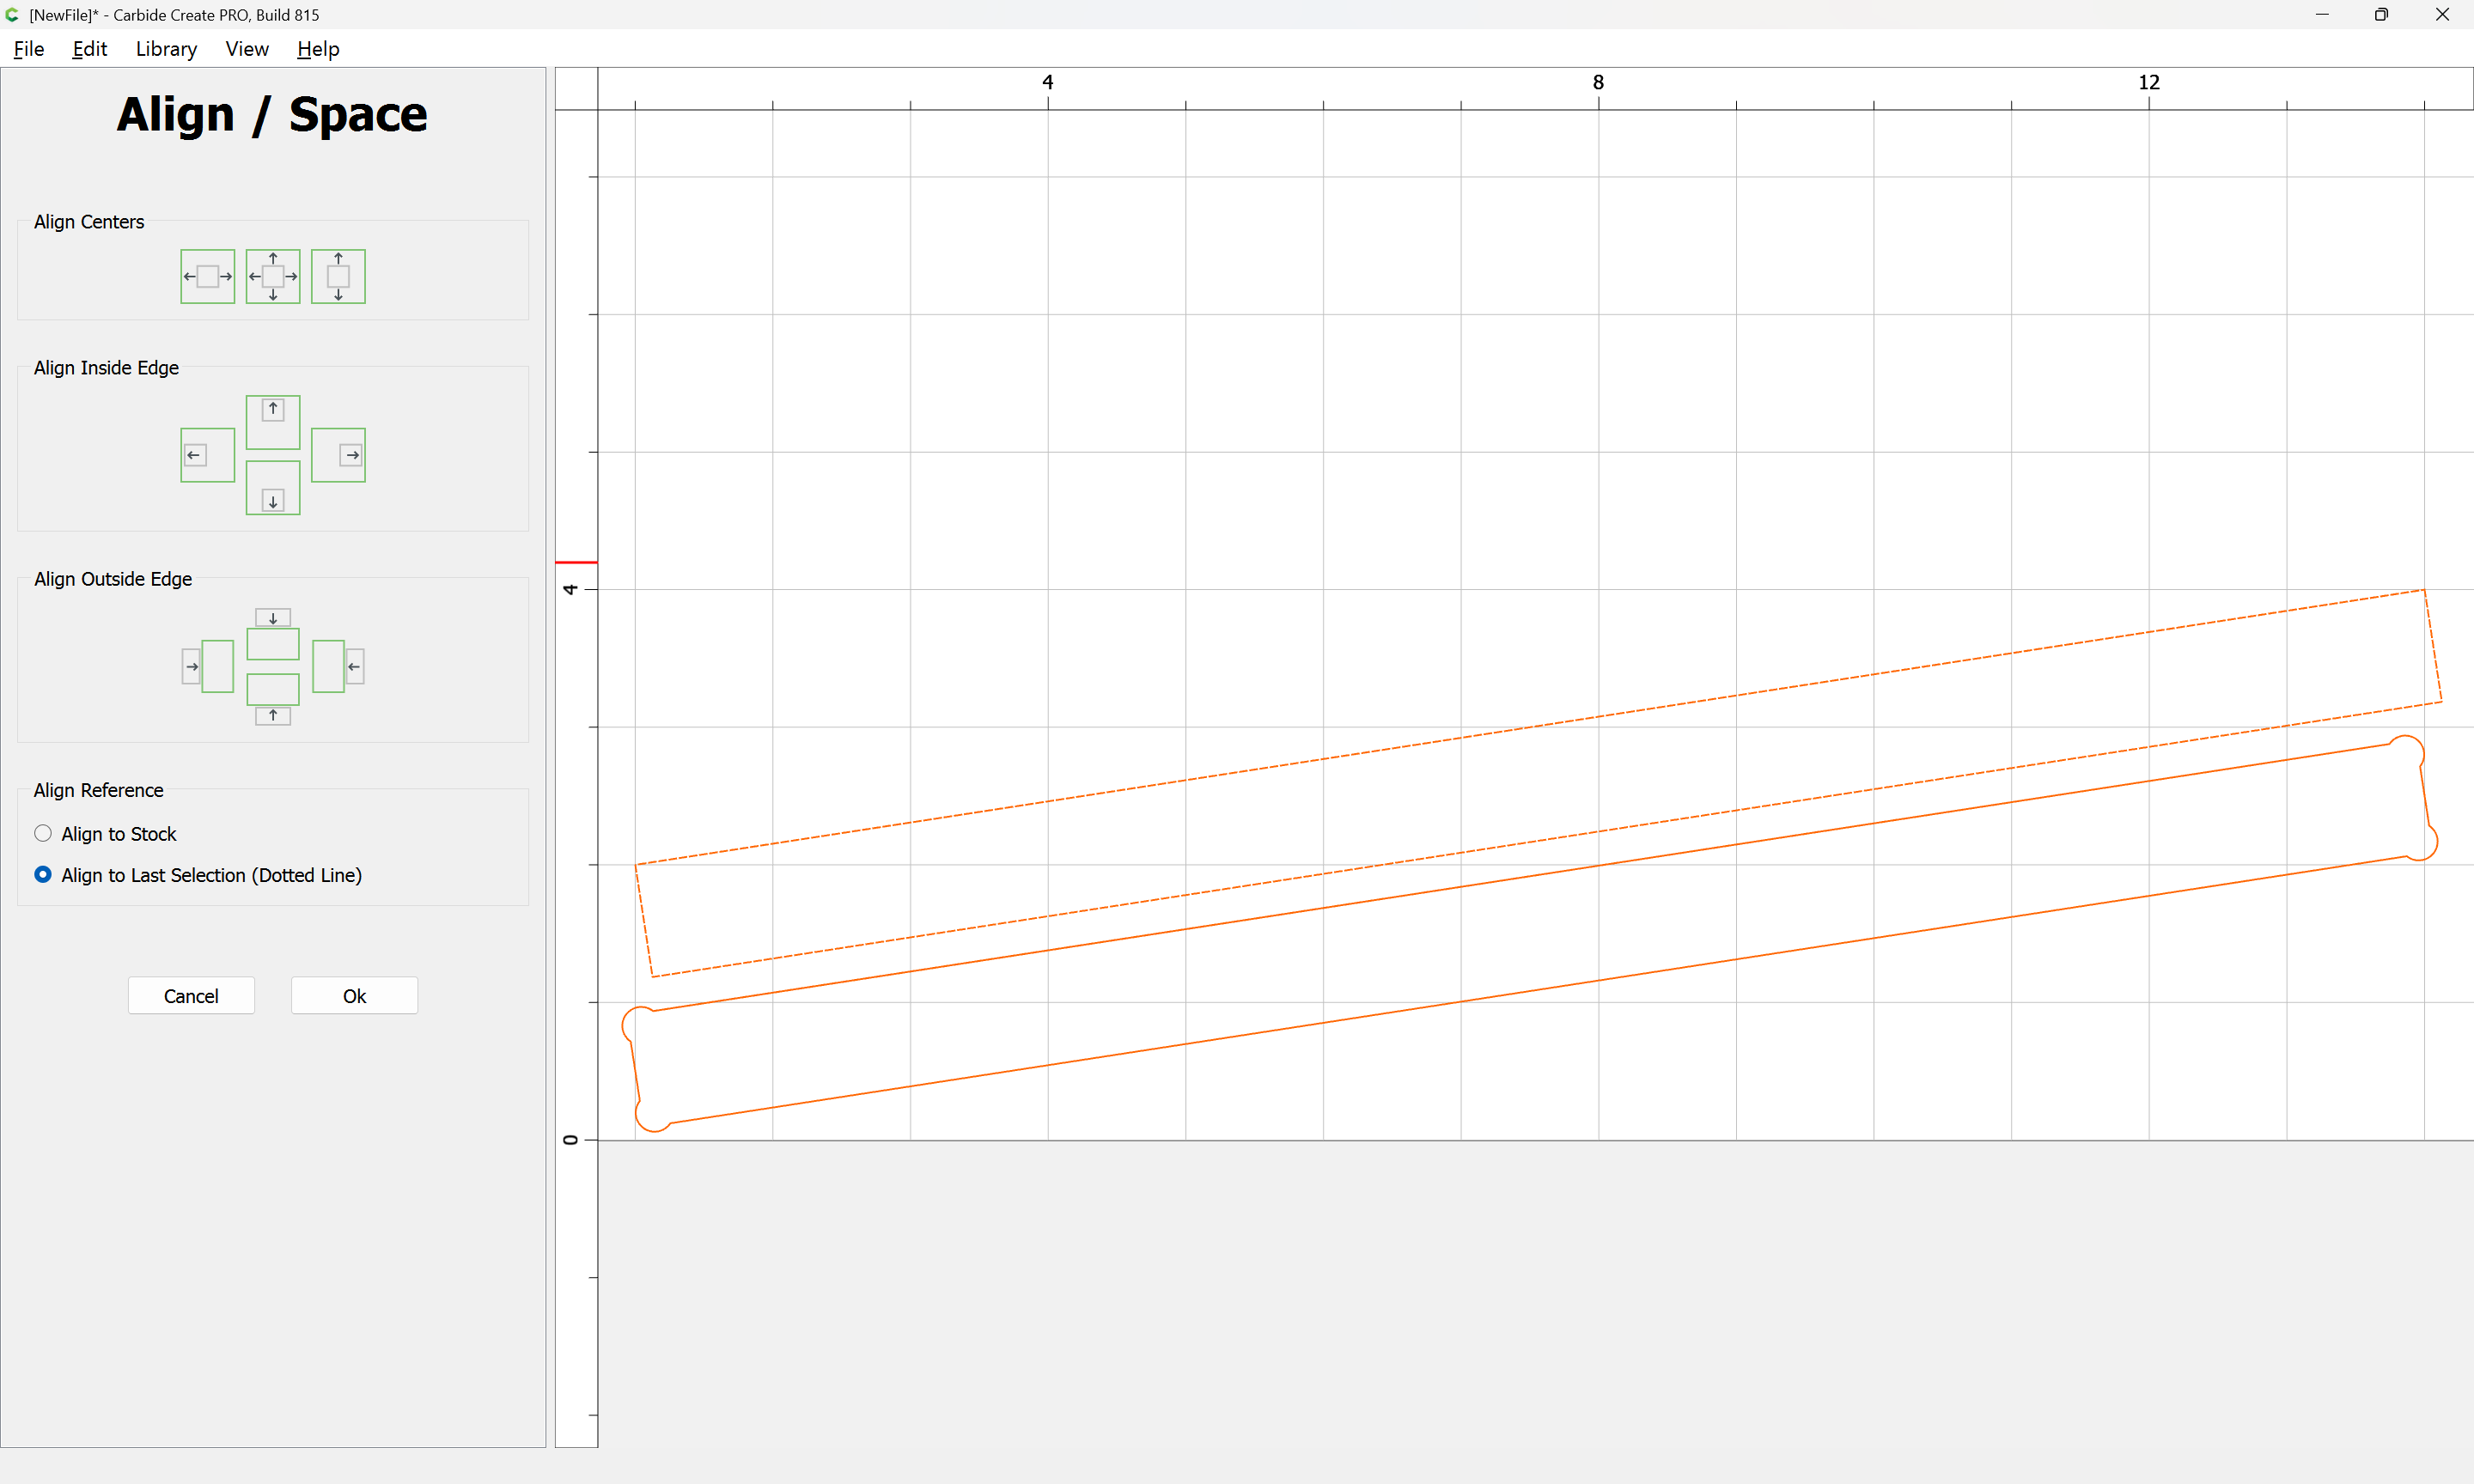
to align the centers
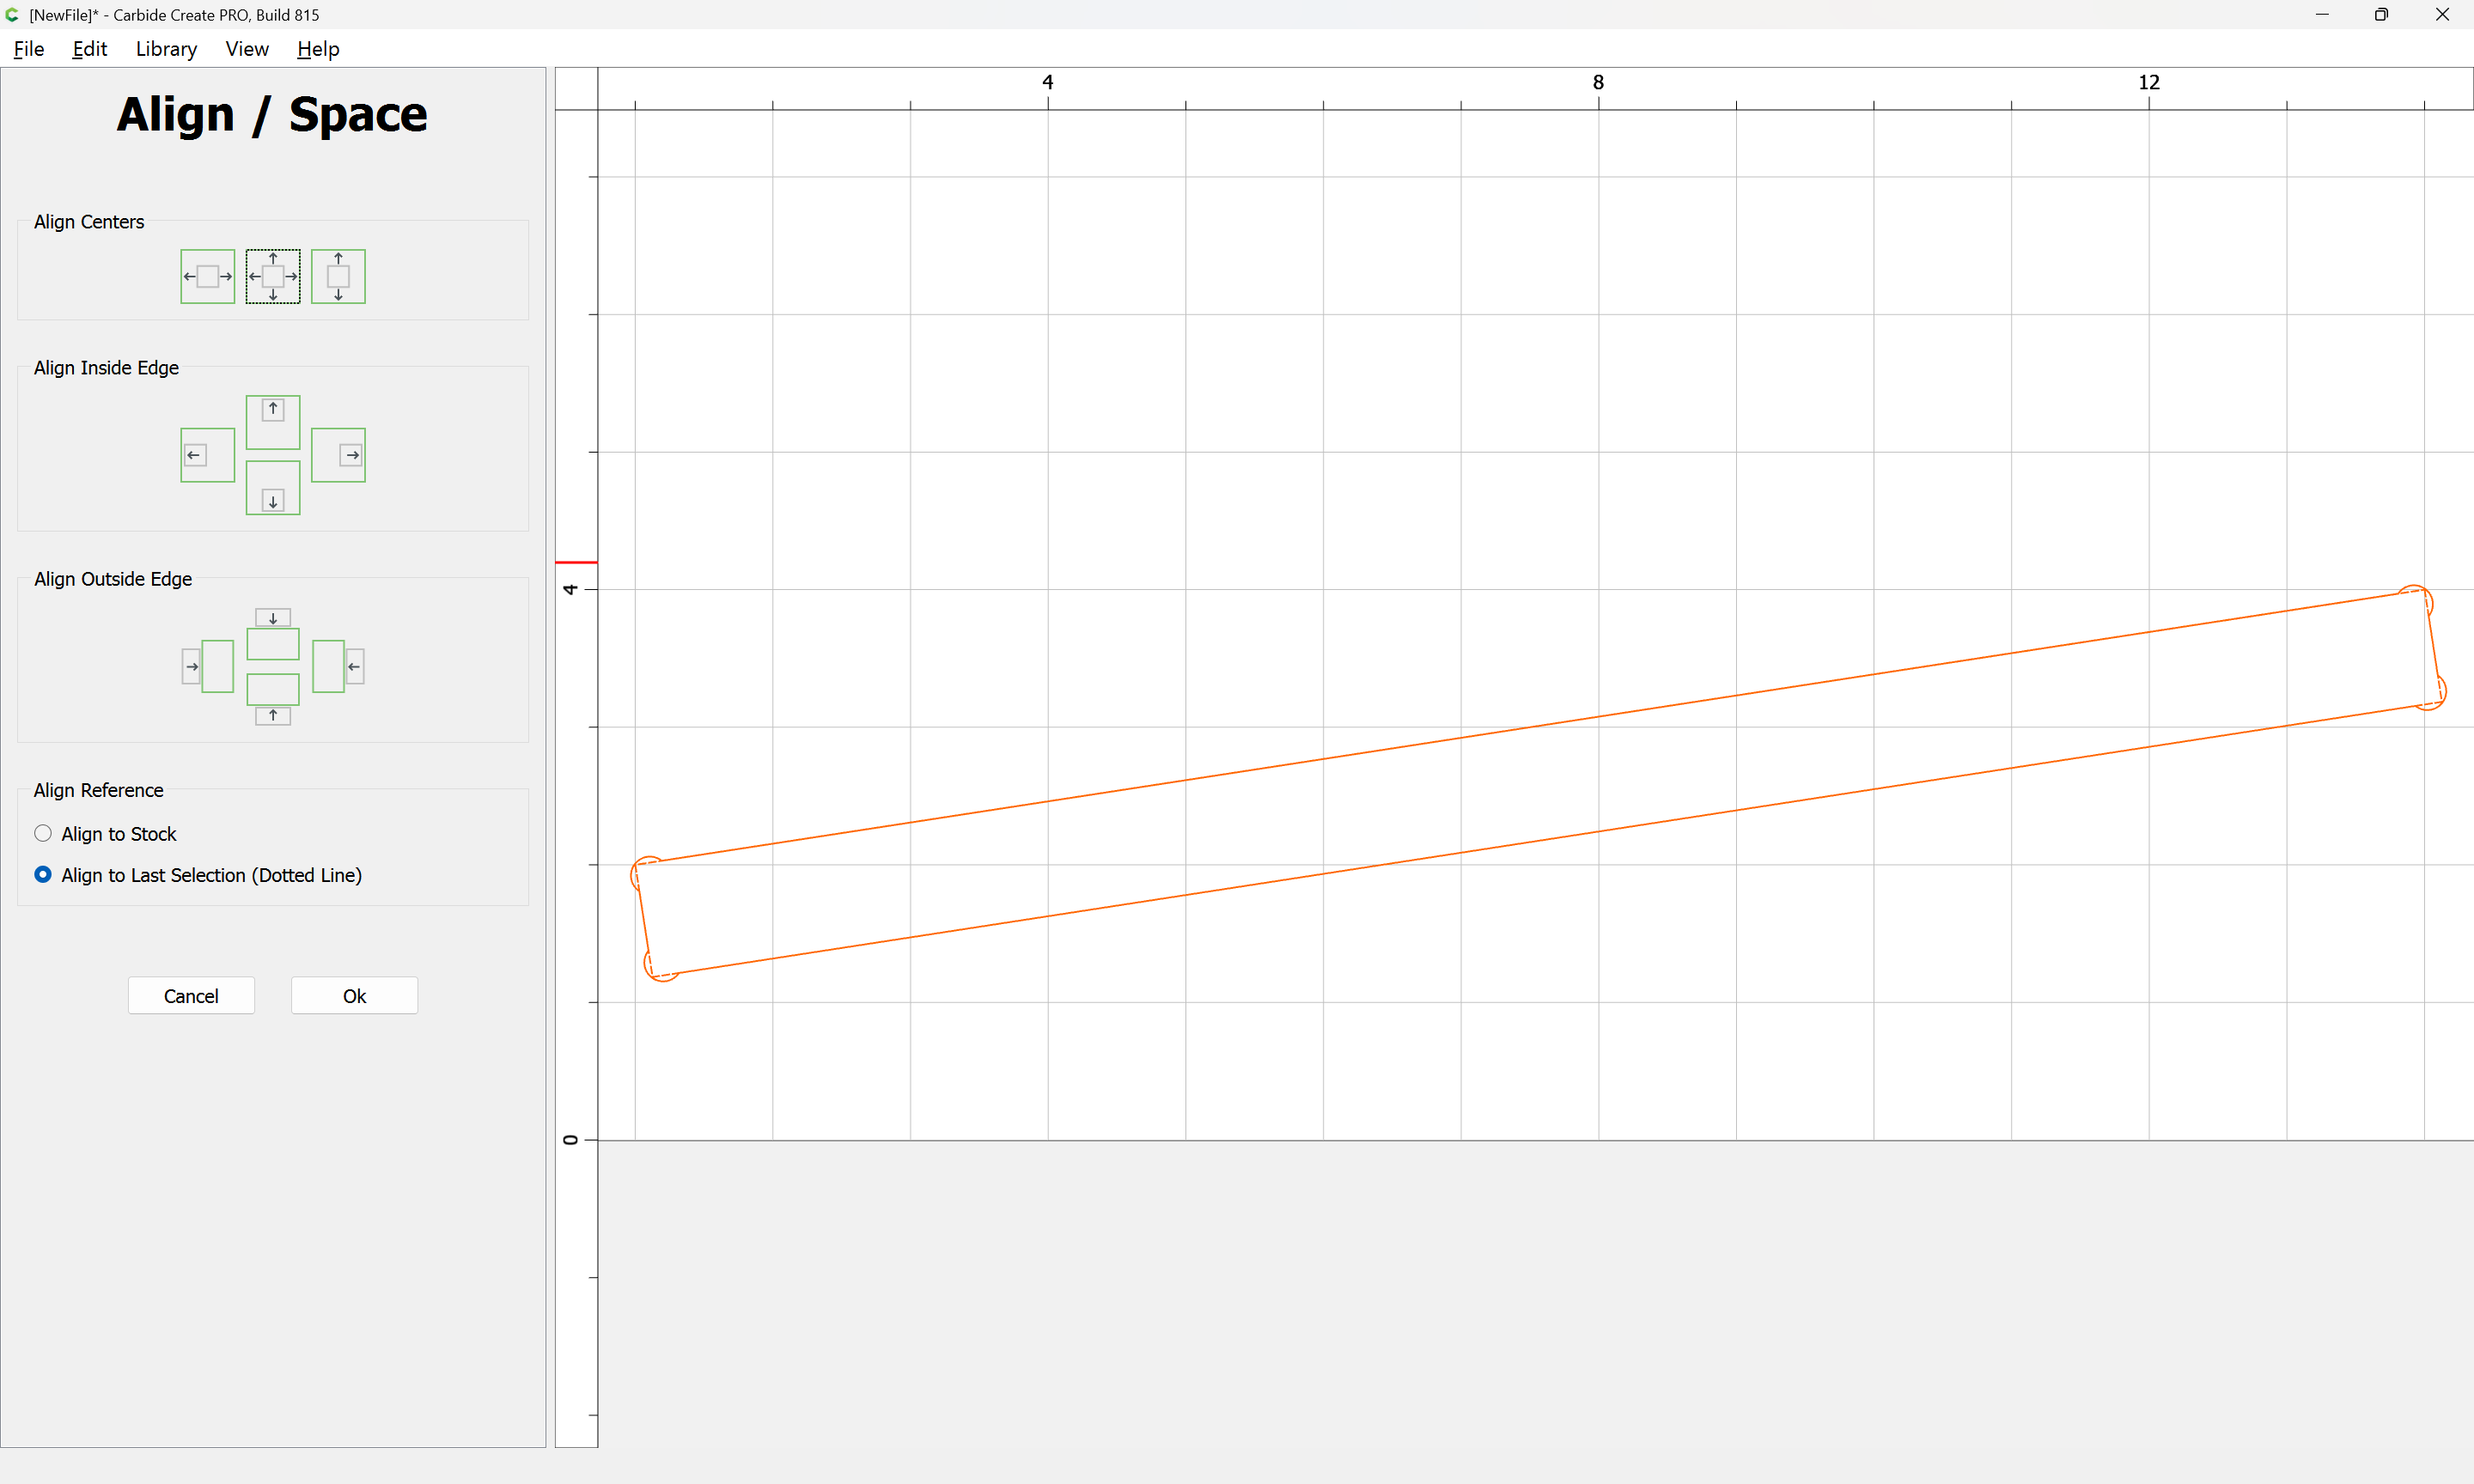
Ok

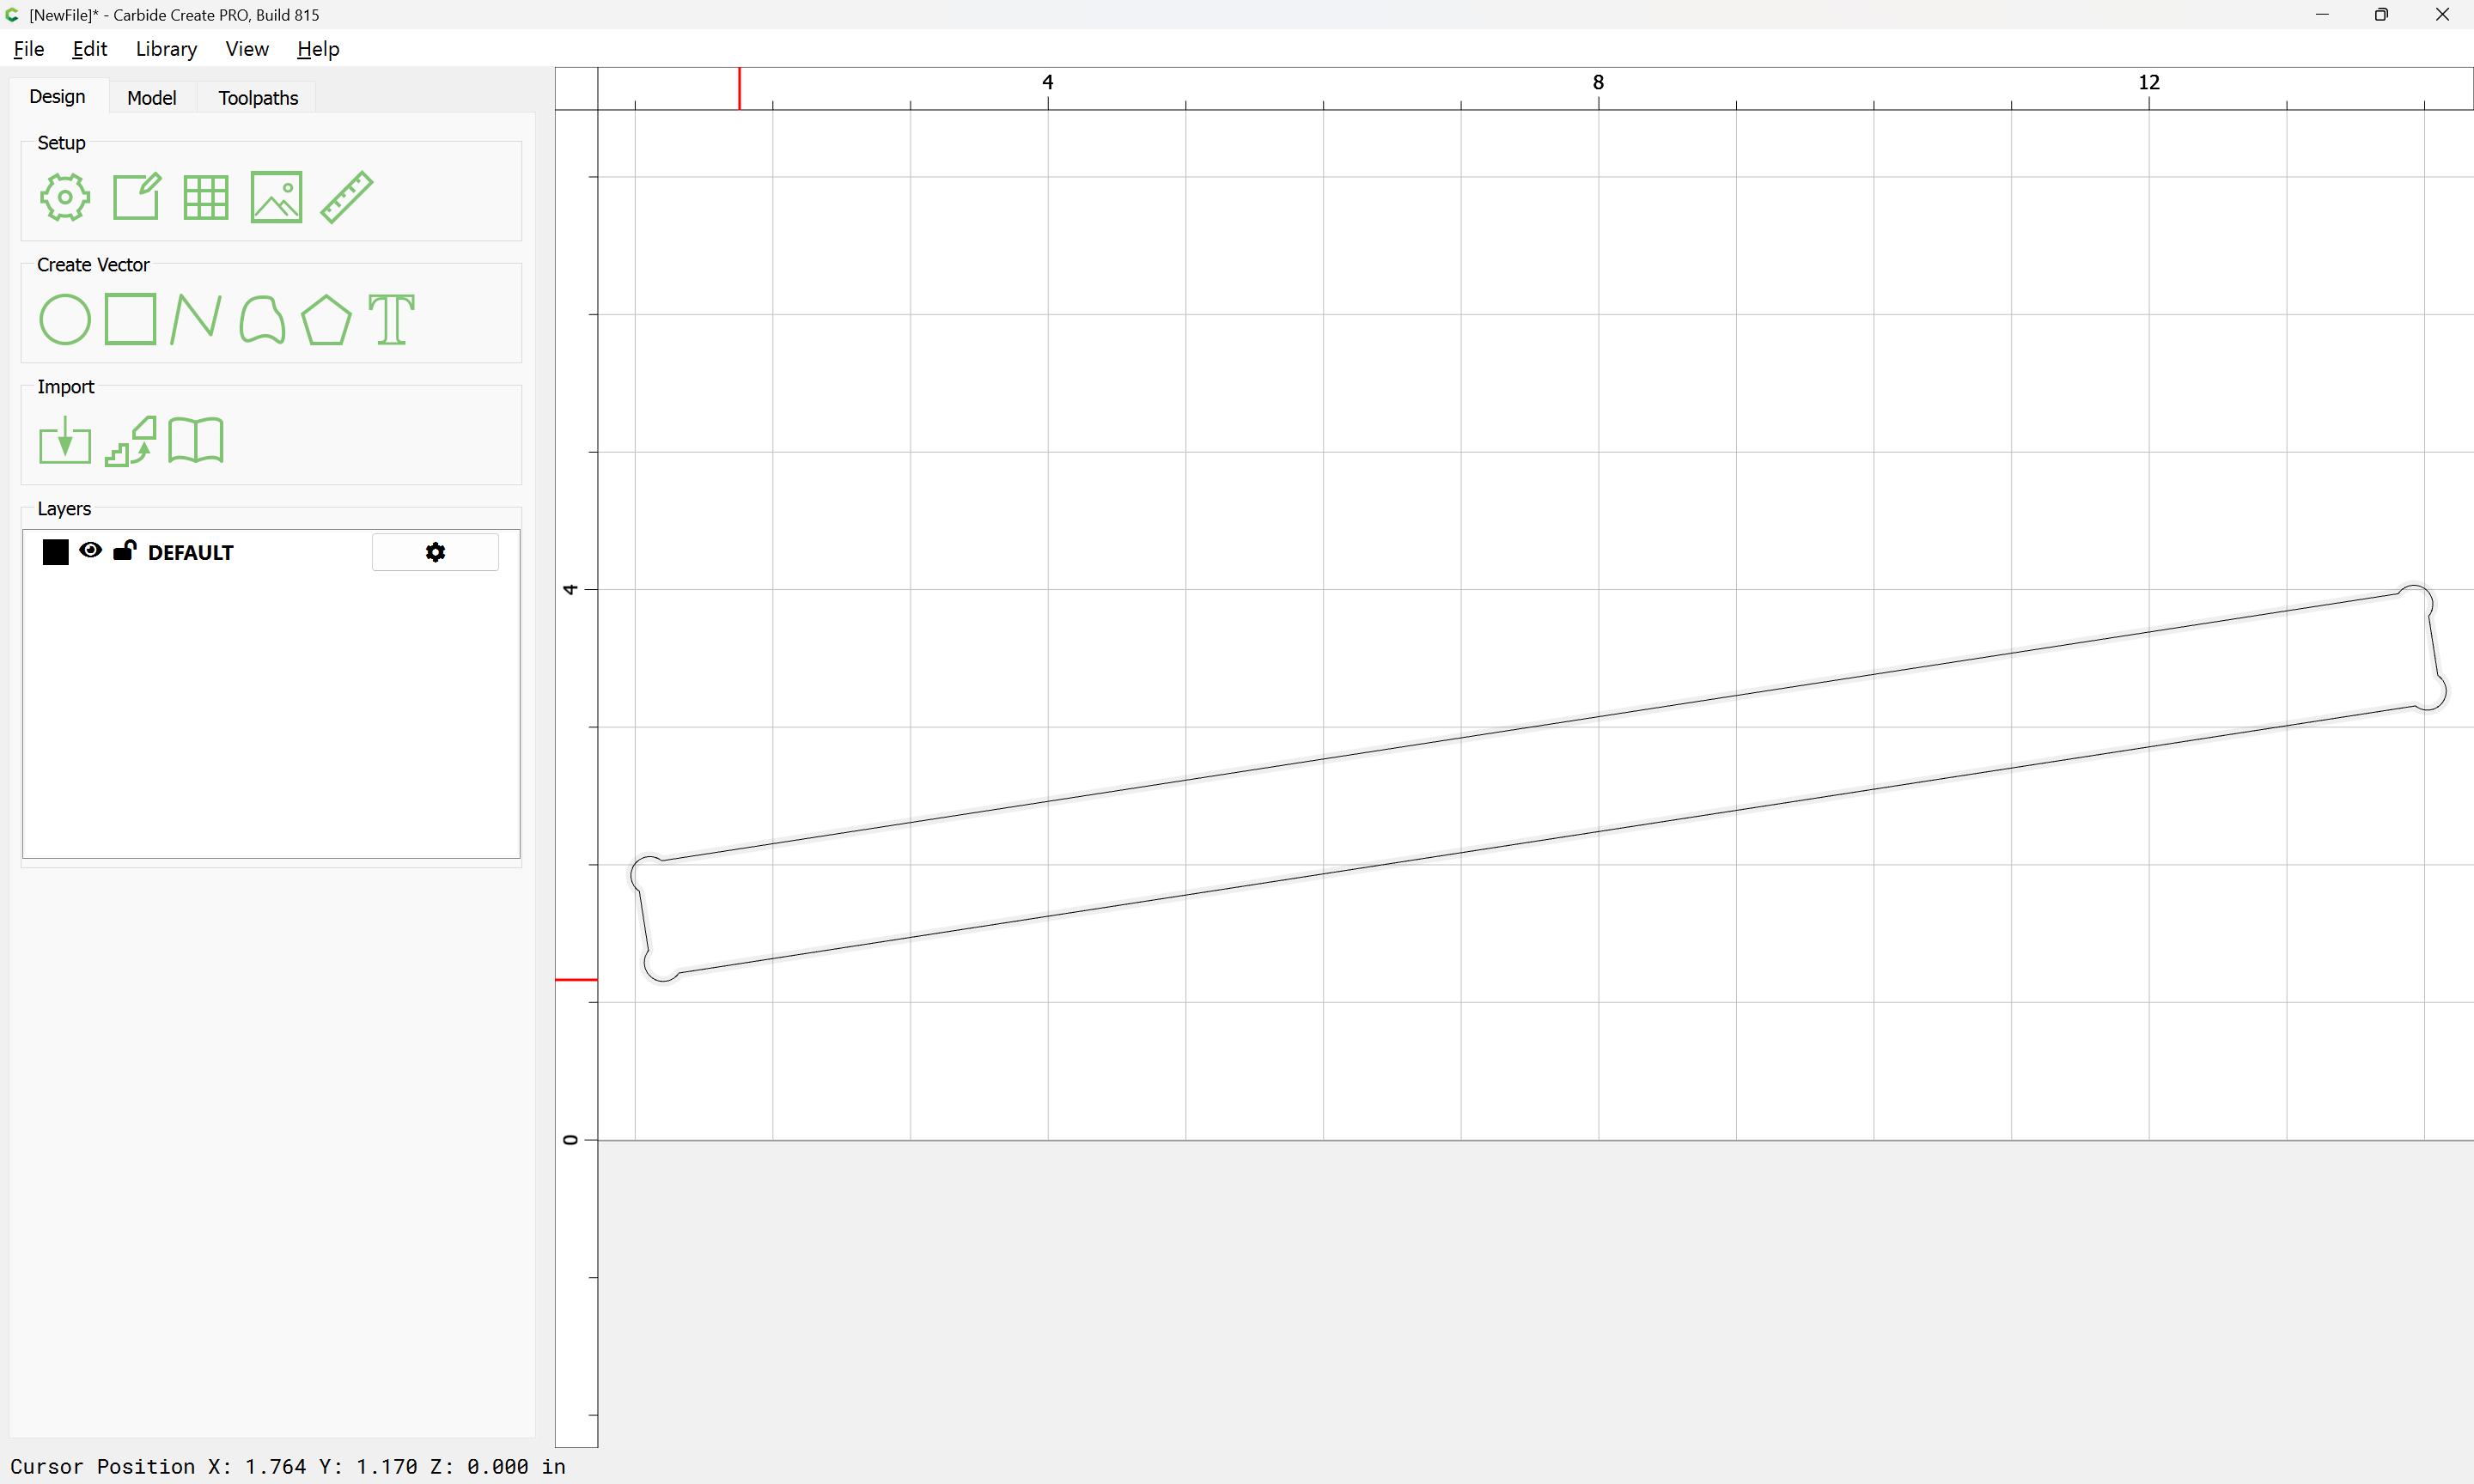
shift-click on the rectangle with the dog bones to remove it from the selection:

then delete the rectangle w/o:
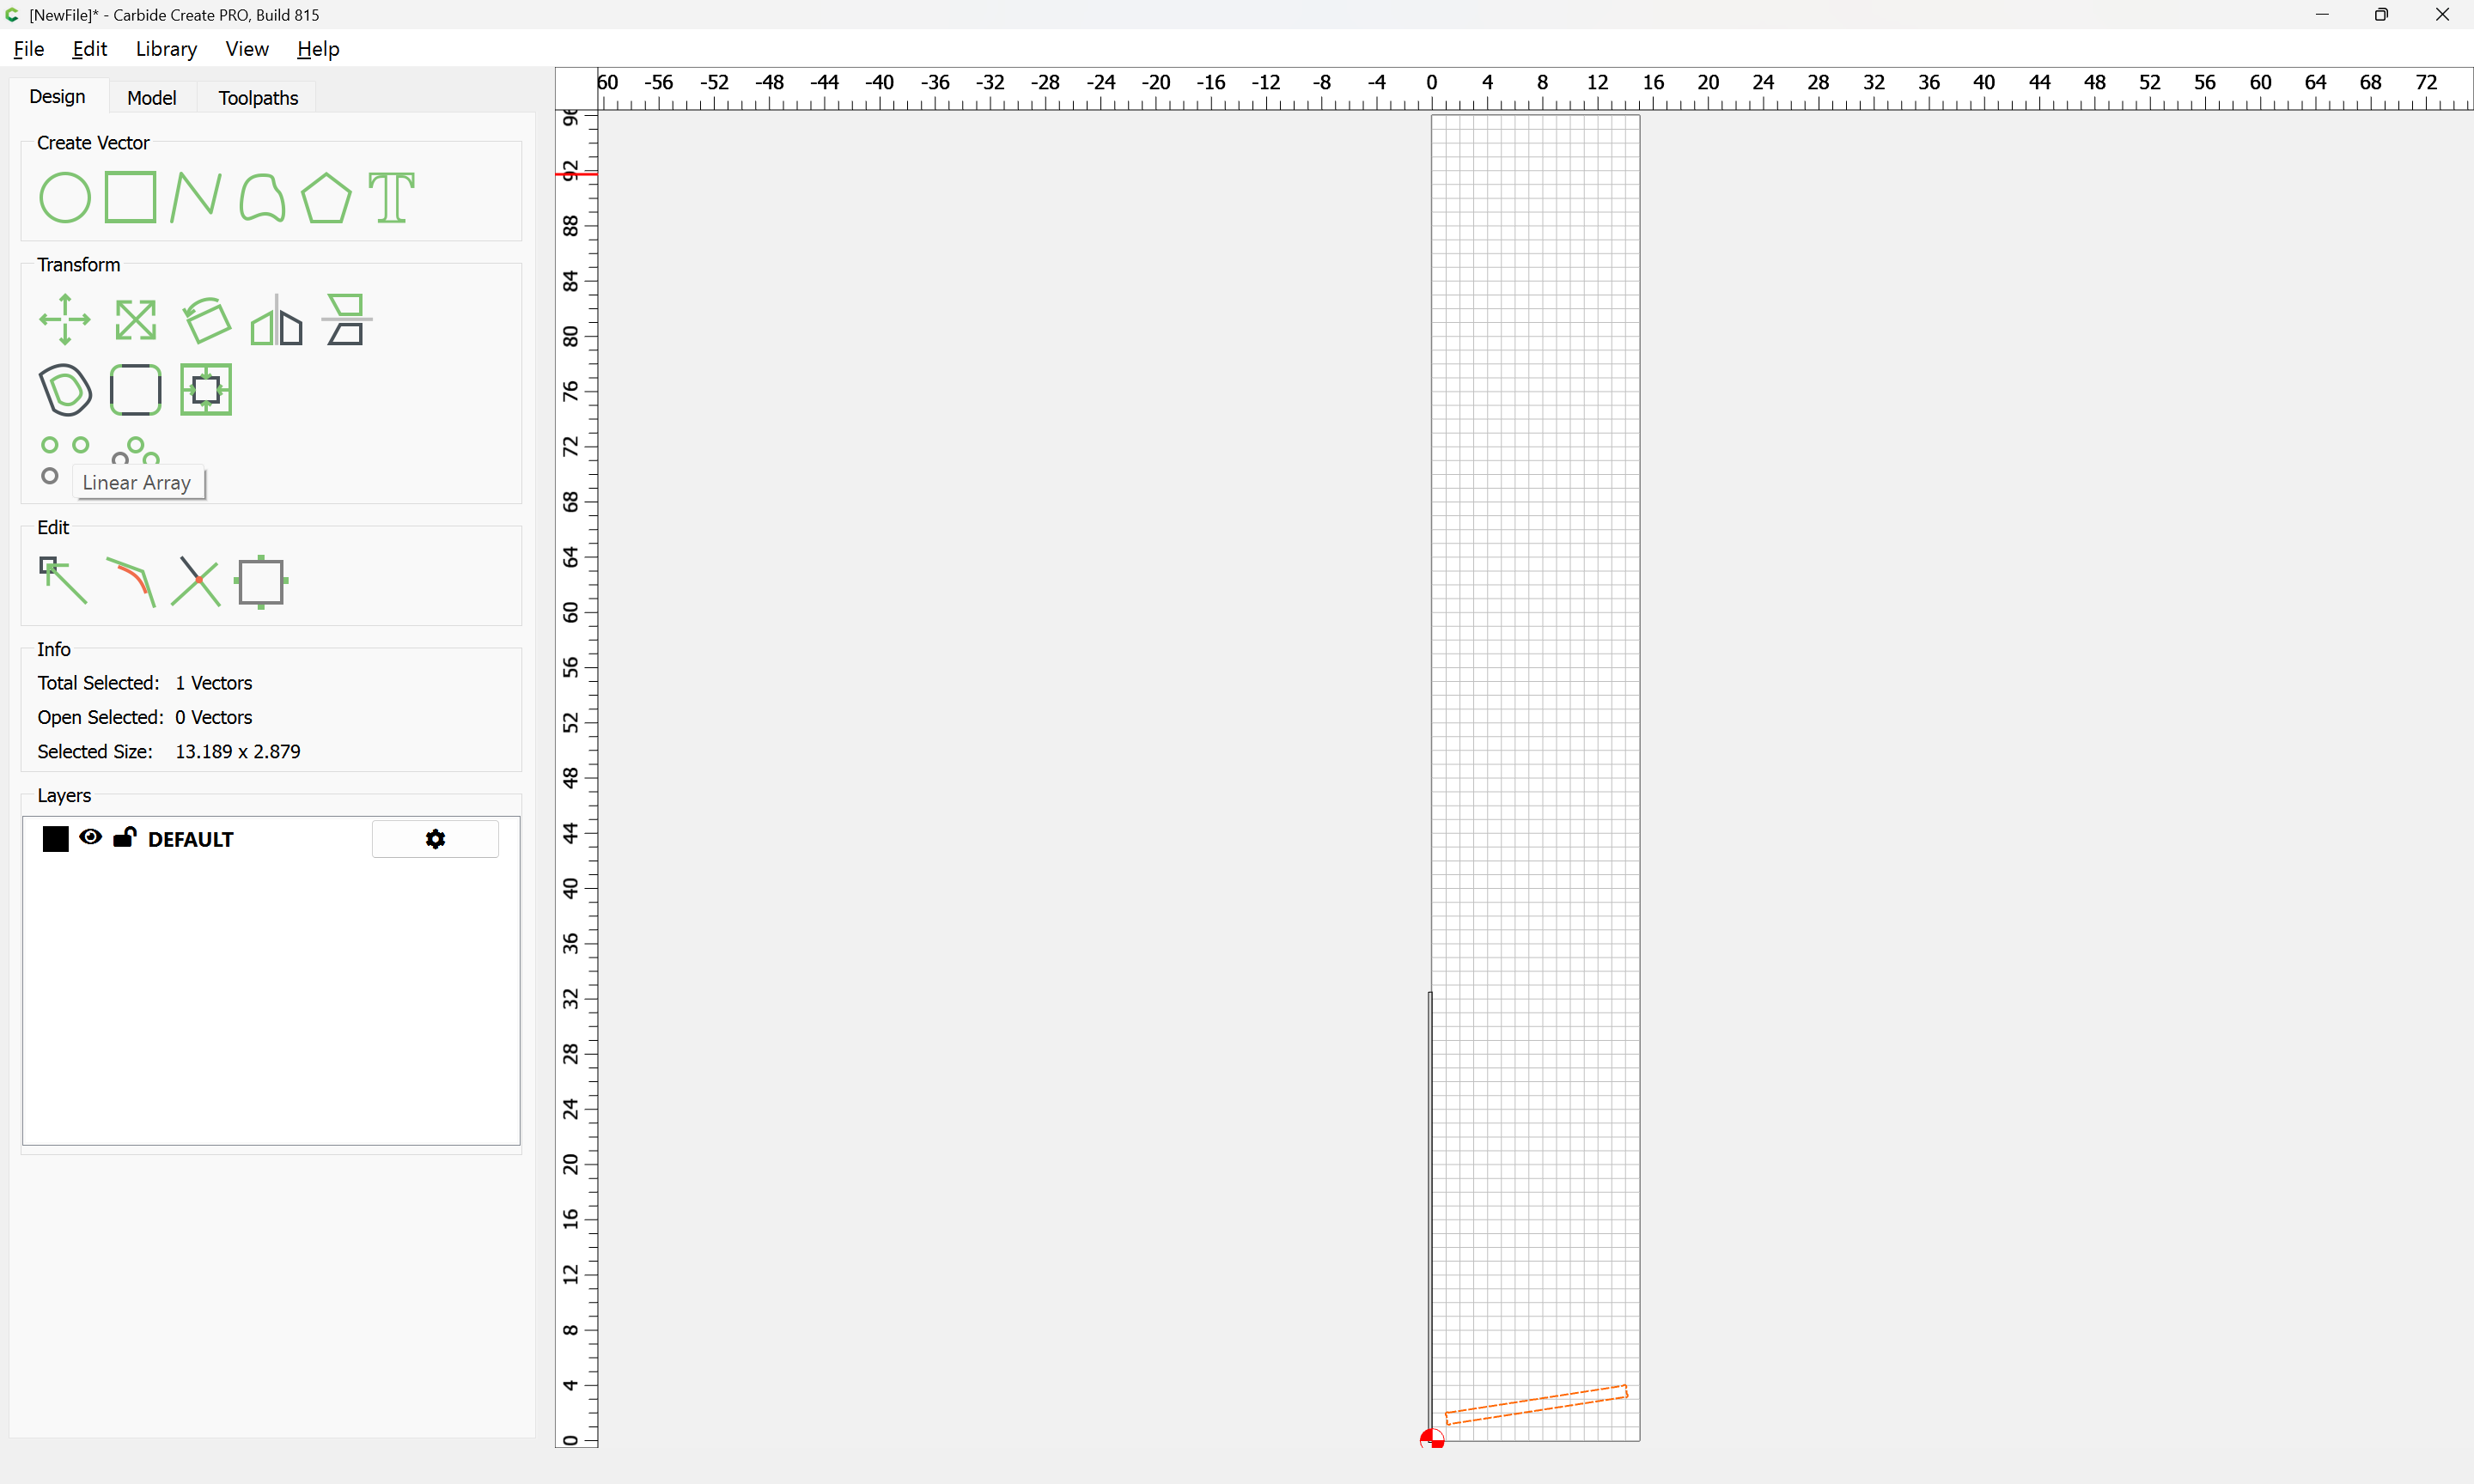
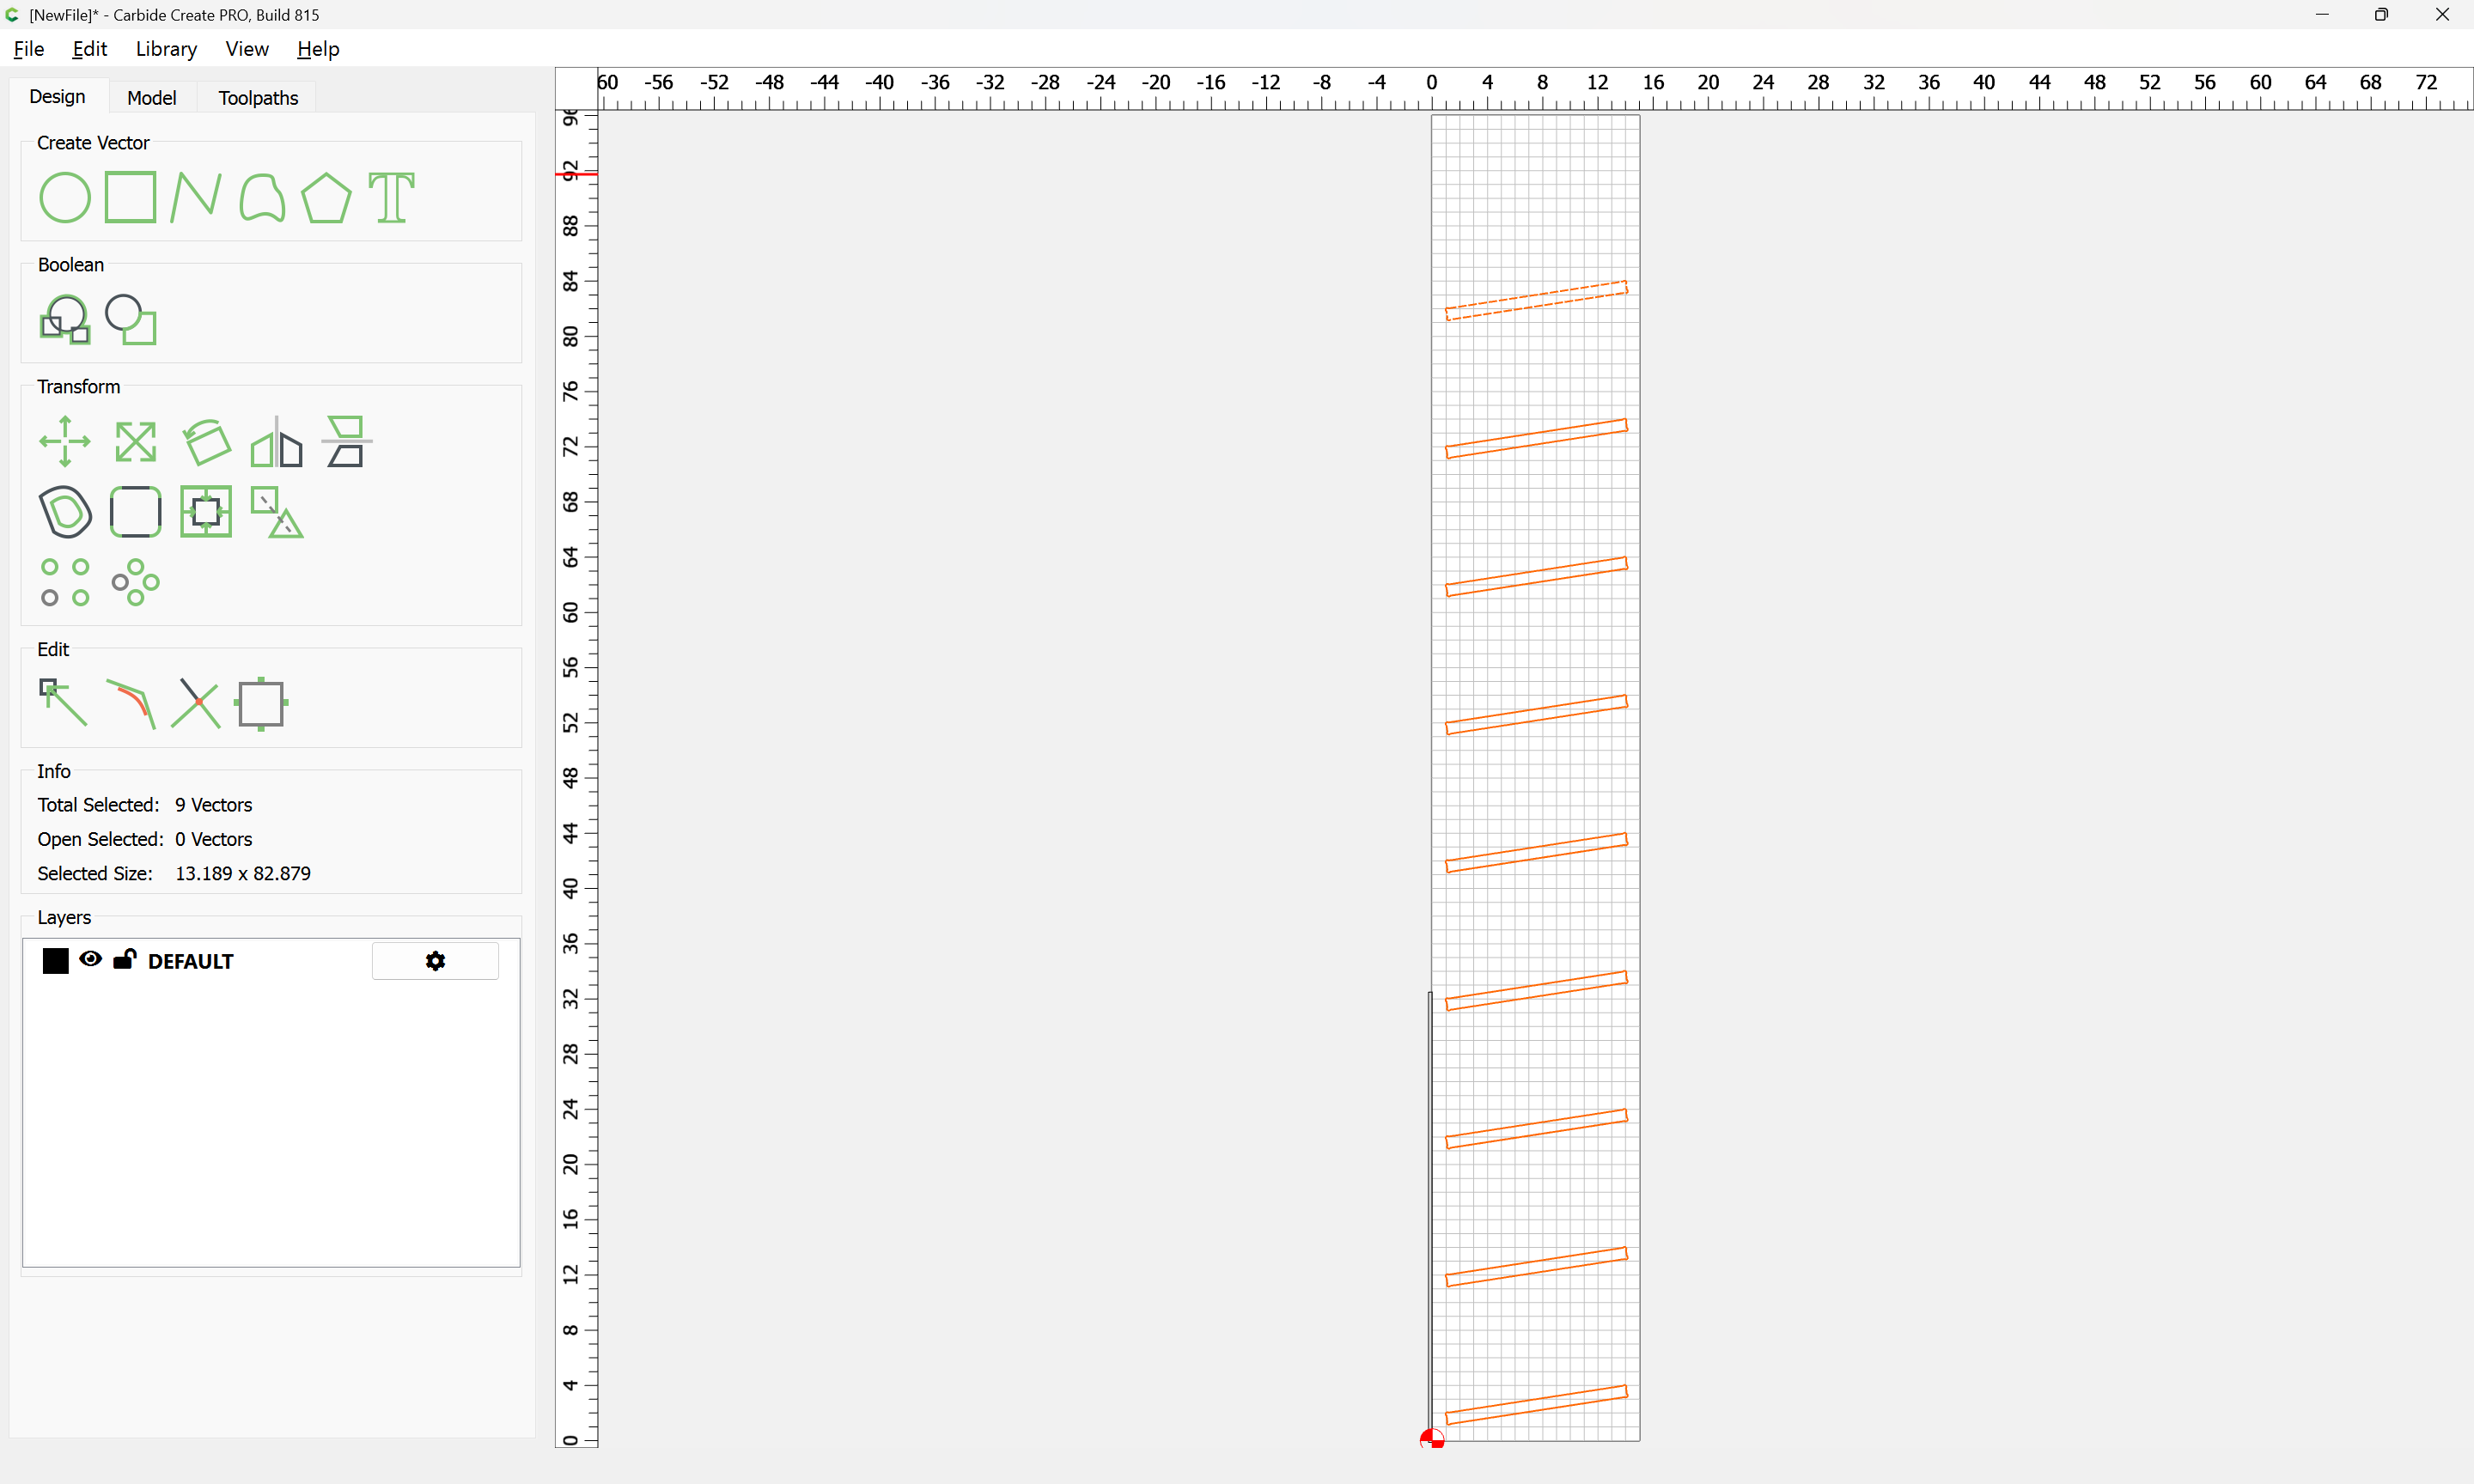
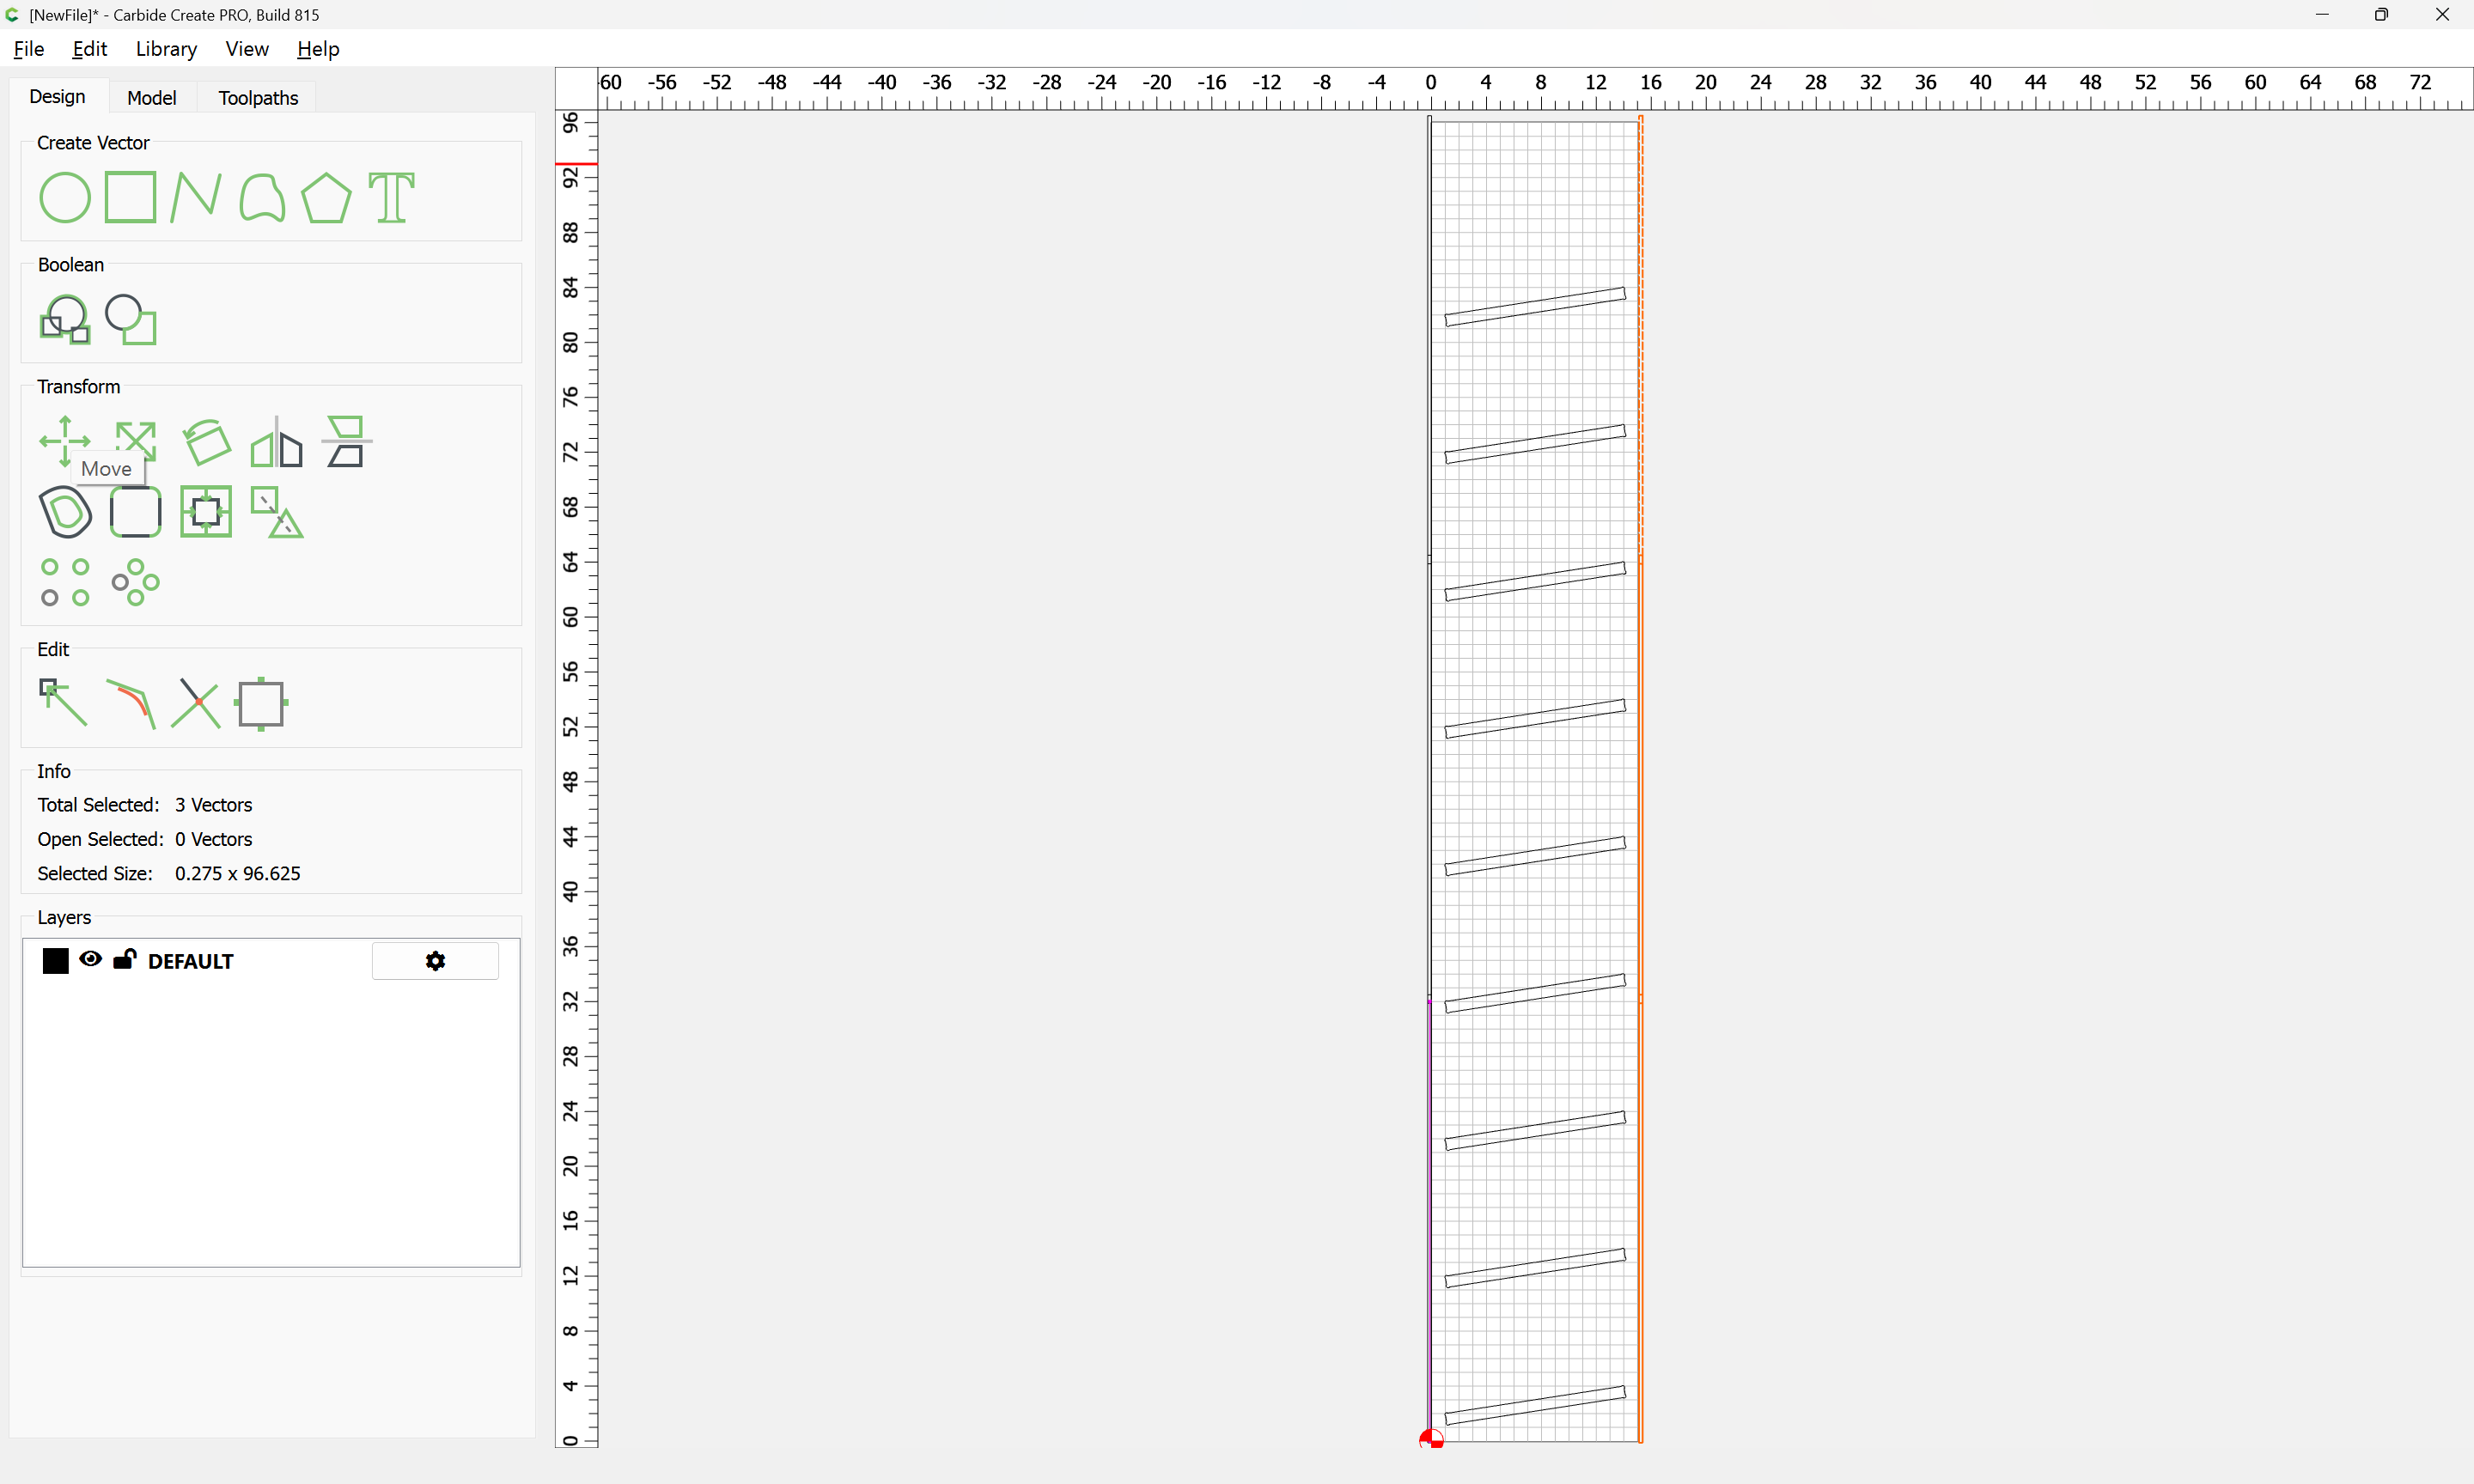
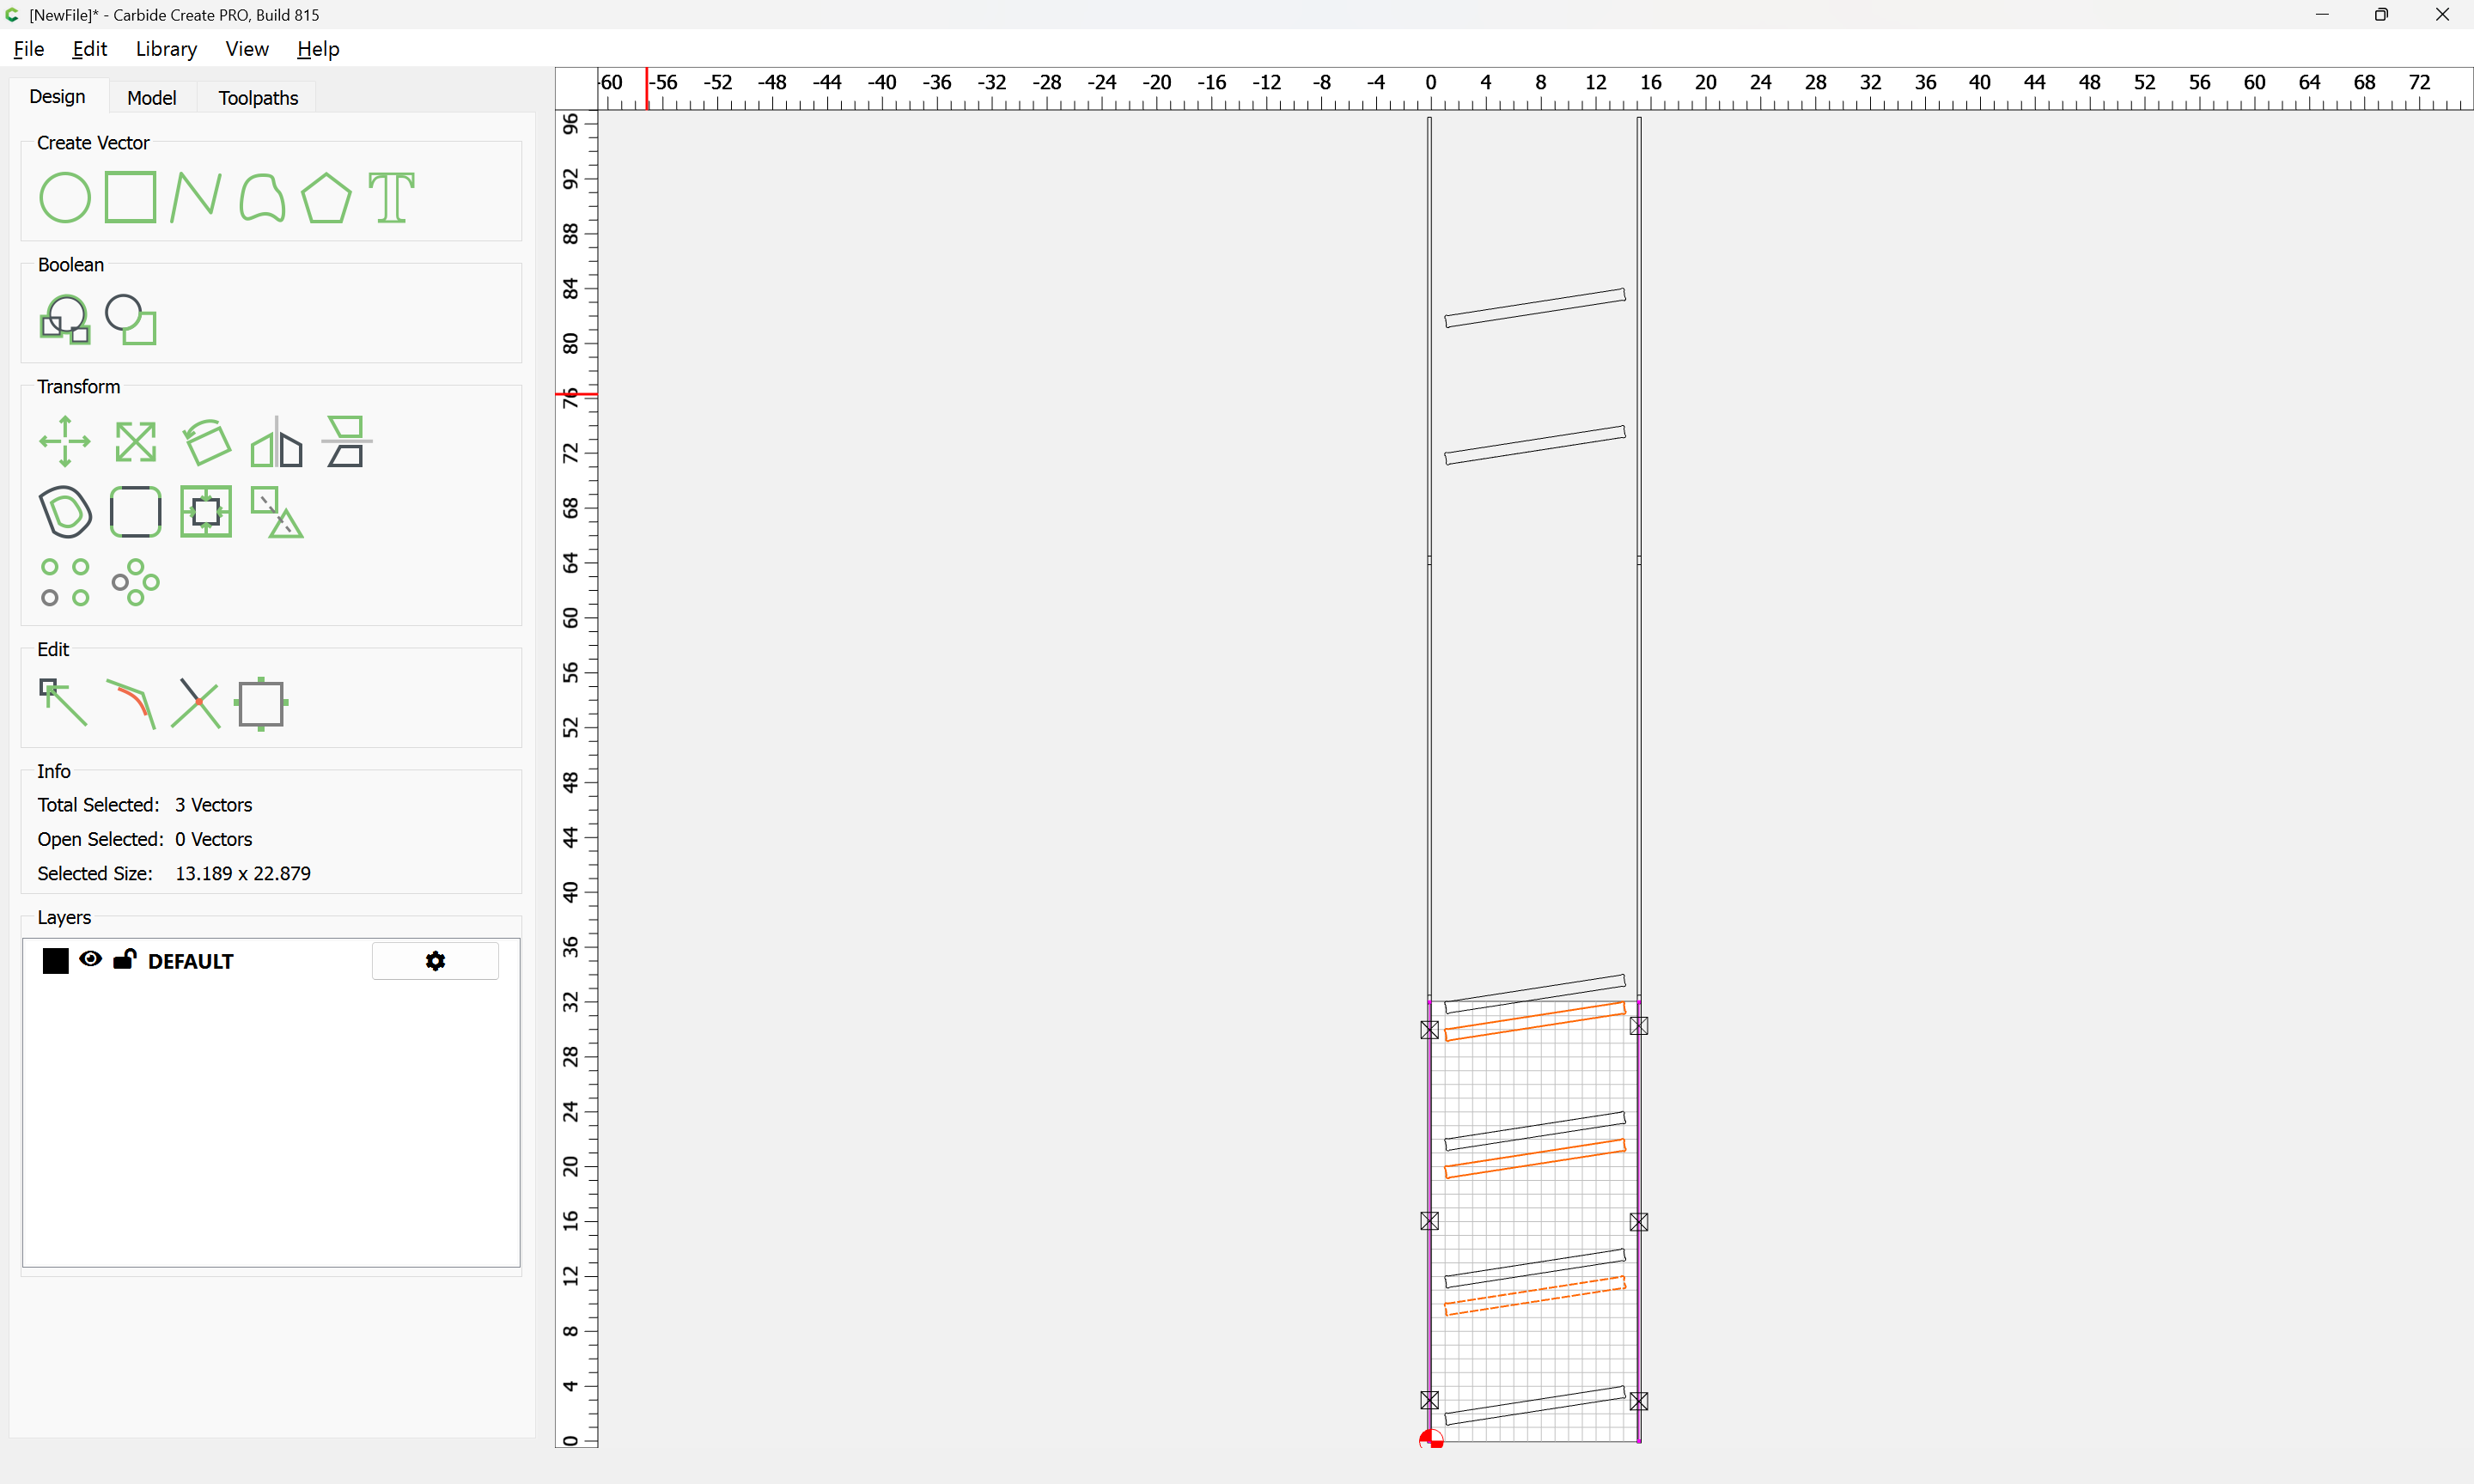
Use a Linear Array to make as many copies as are wanted:

Adjusting the settings to arrive at a reasonable number and spacing:

OK
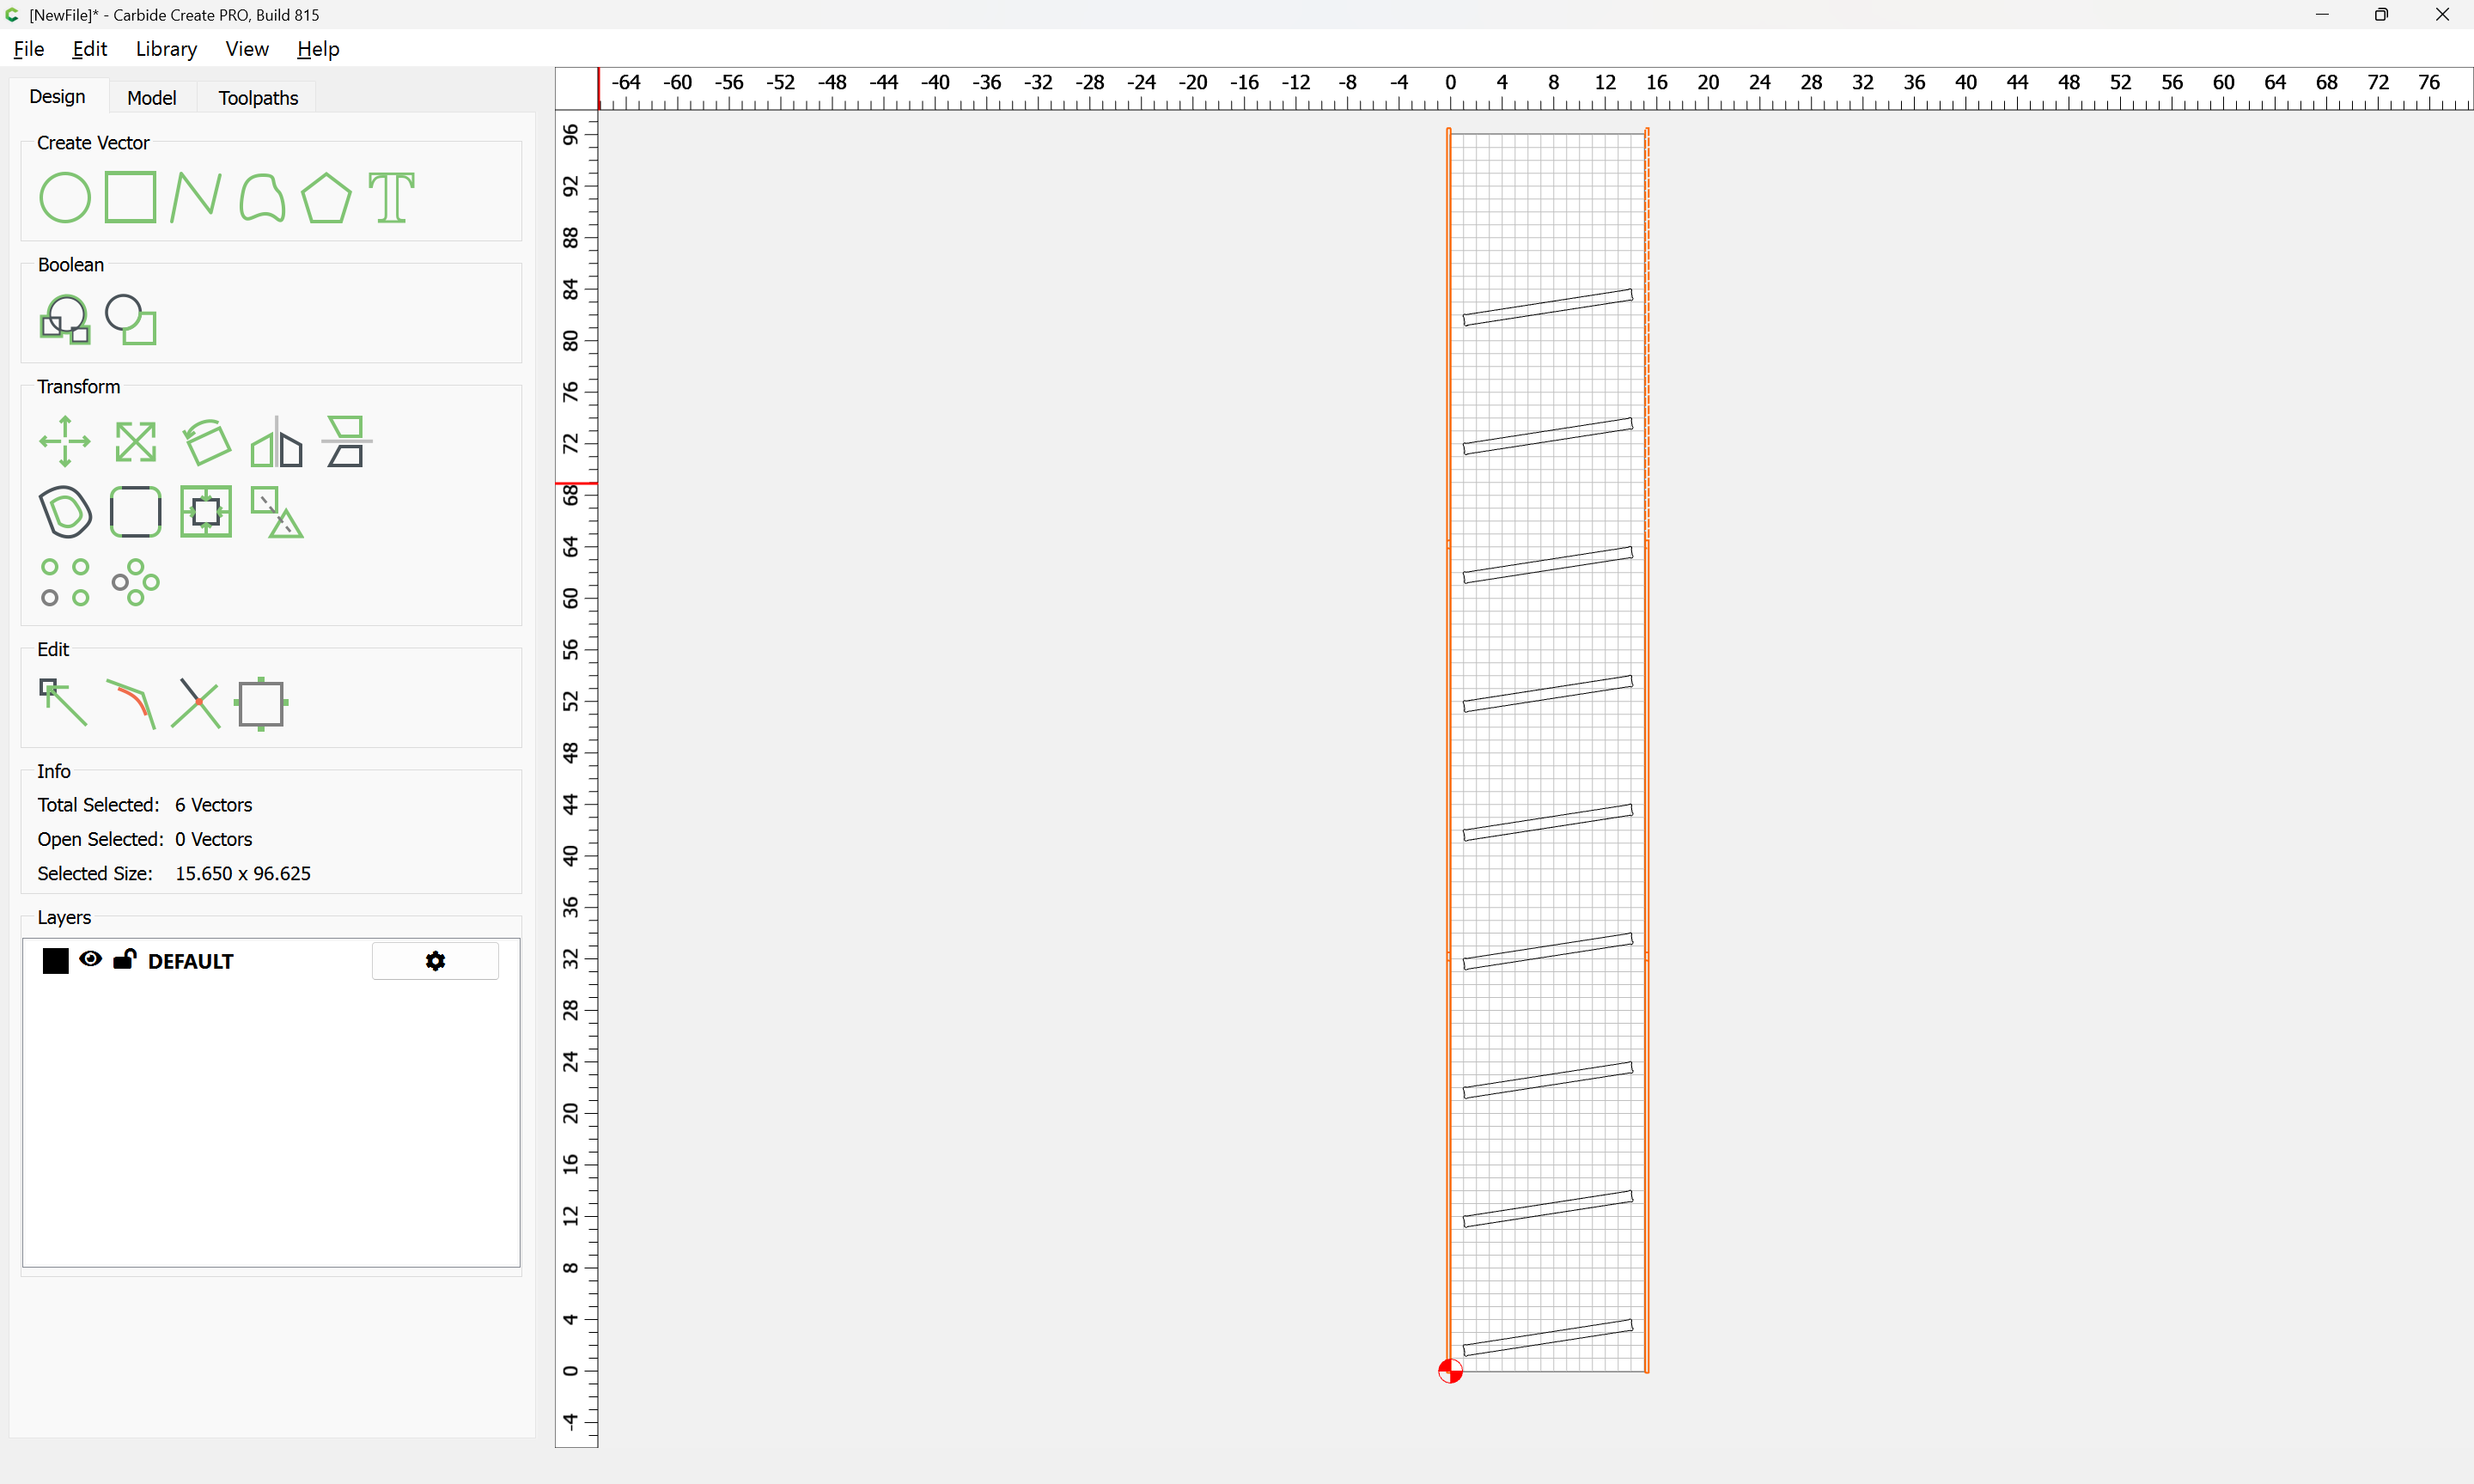
Linear Array may also be used to set the positioning of the geometry for the tiling:
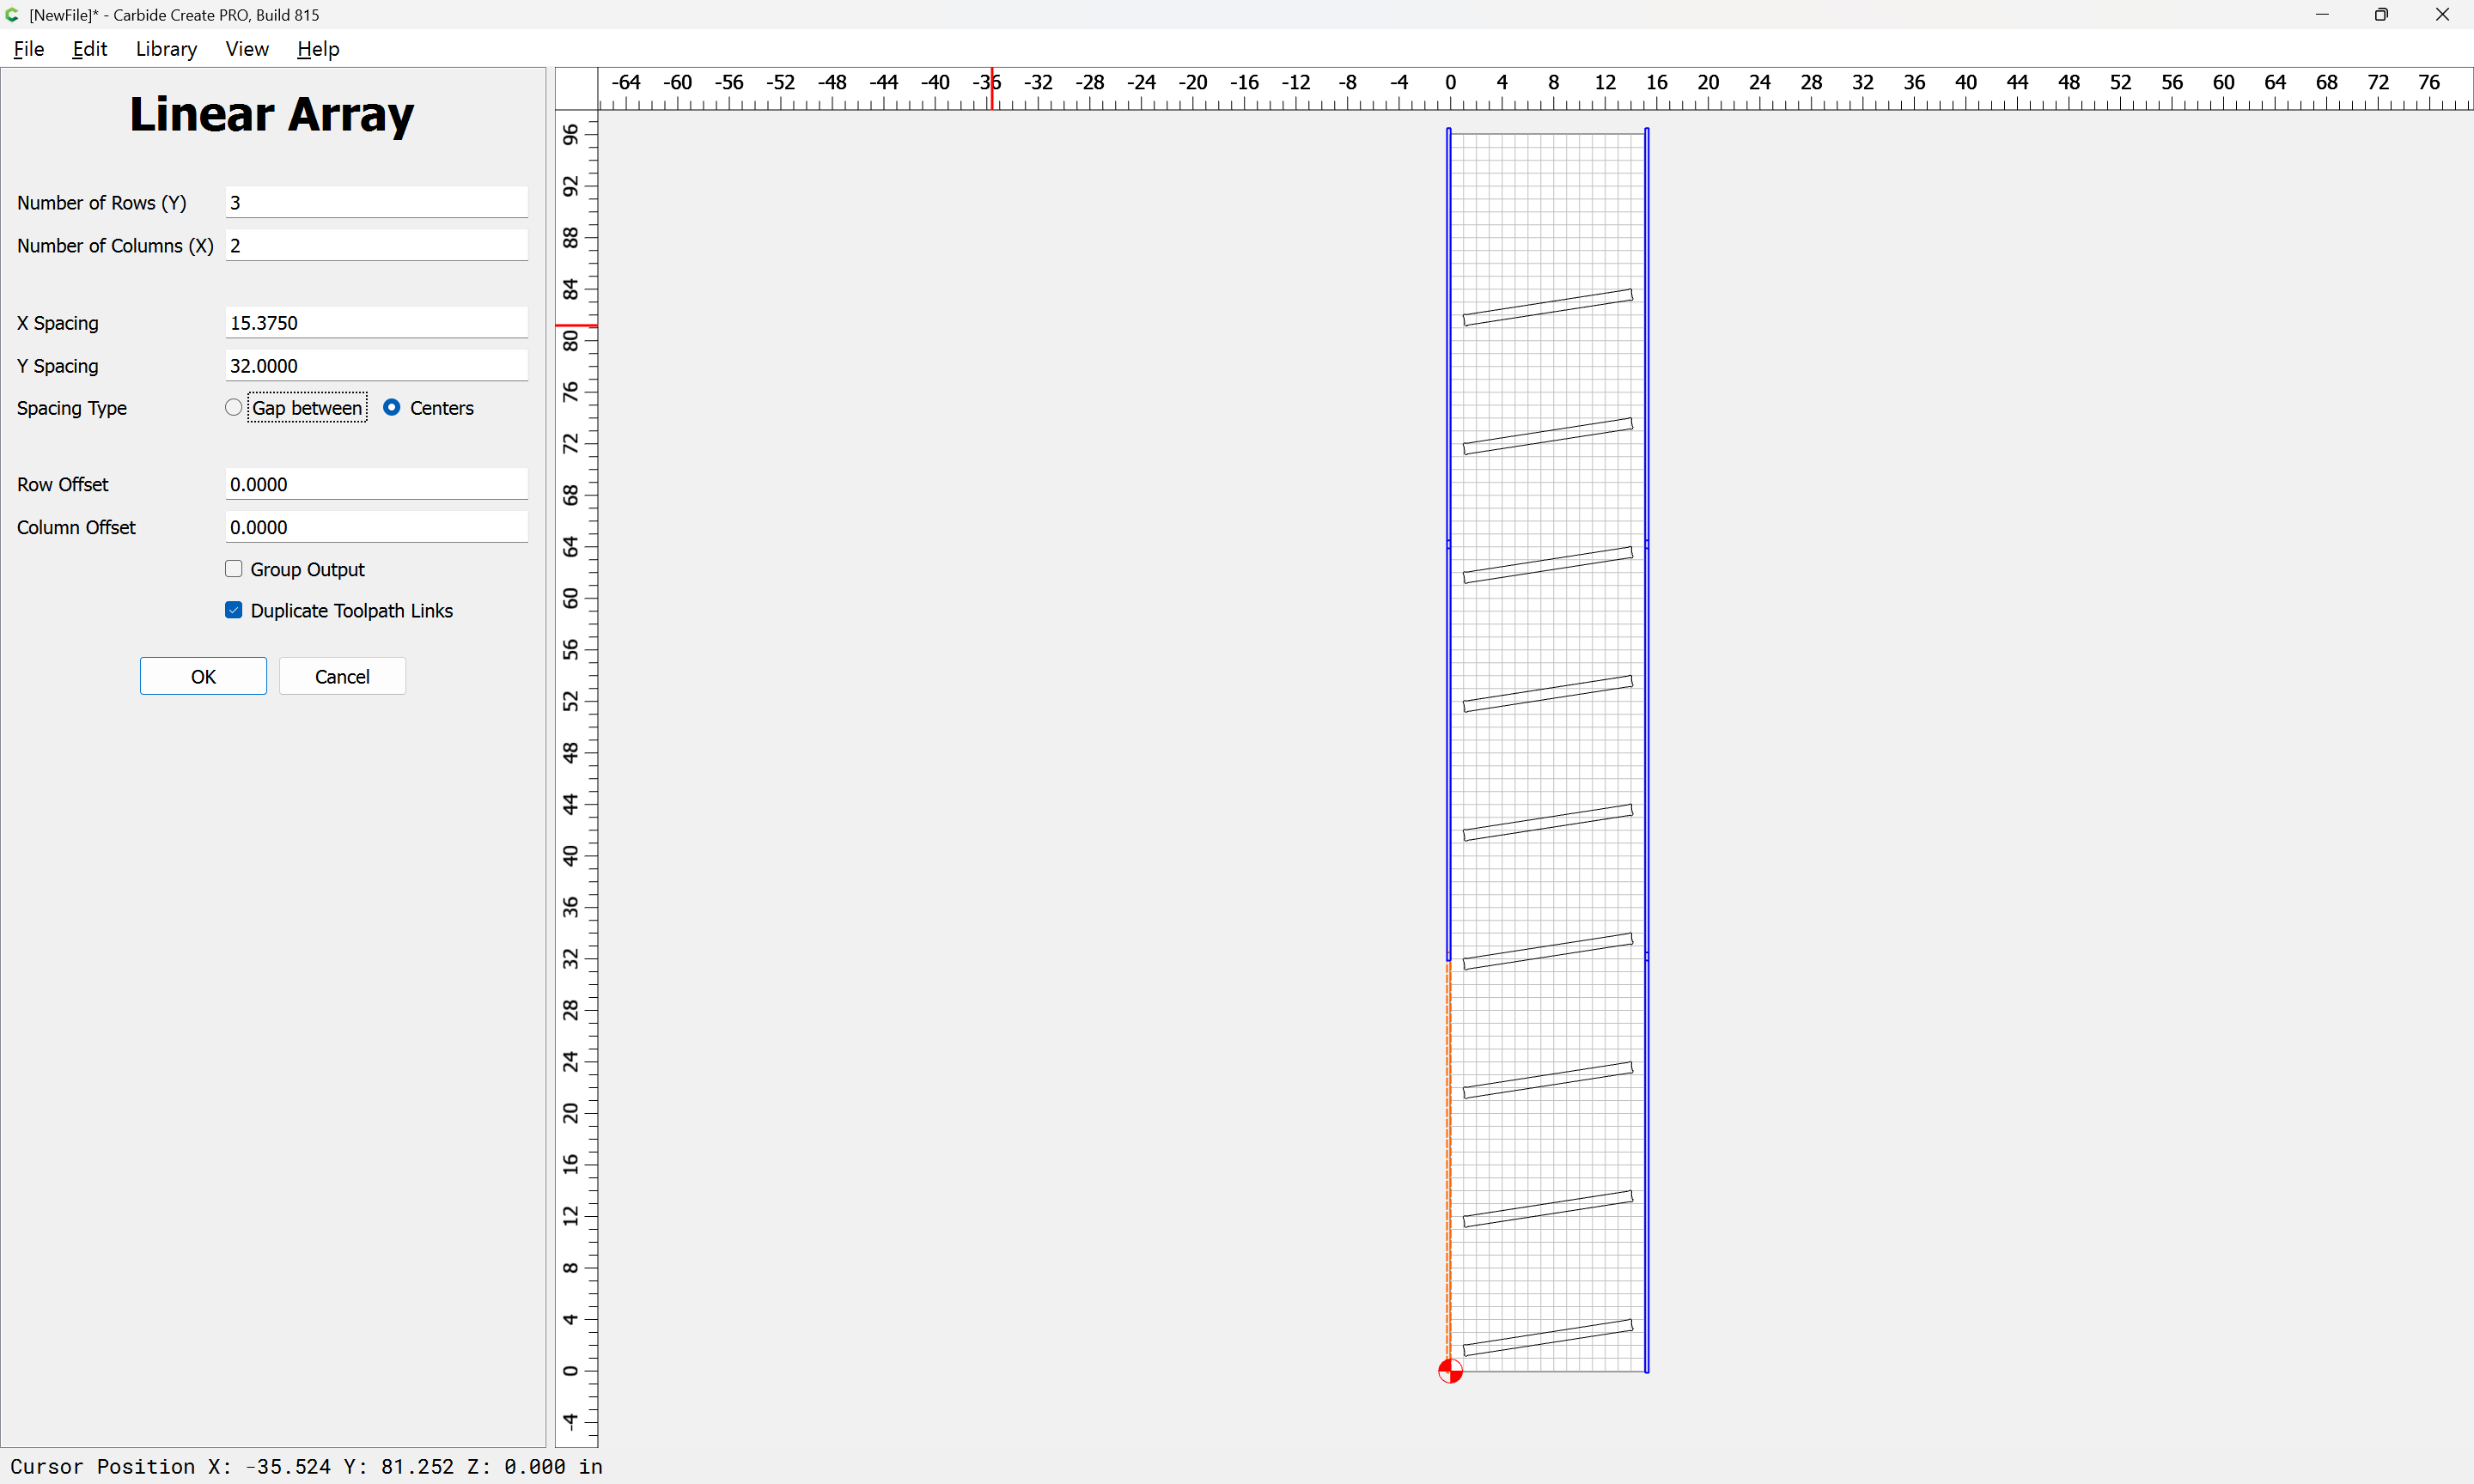
Ok
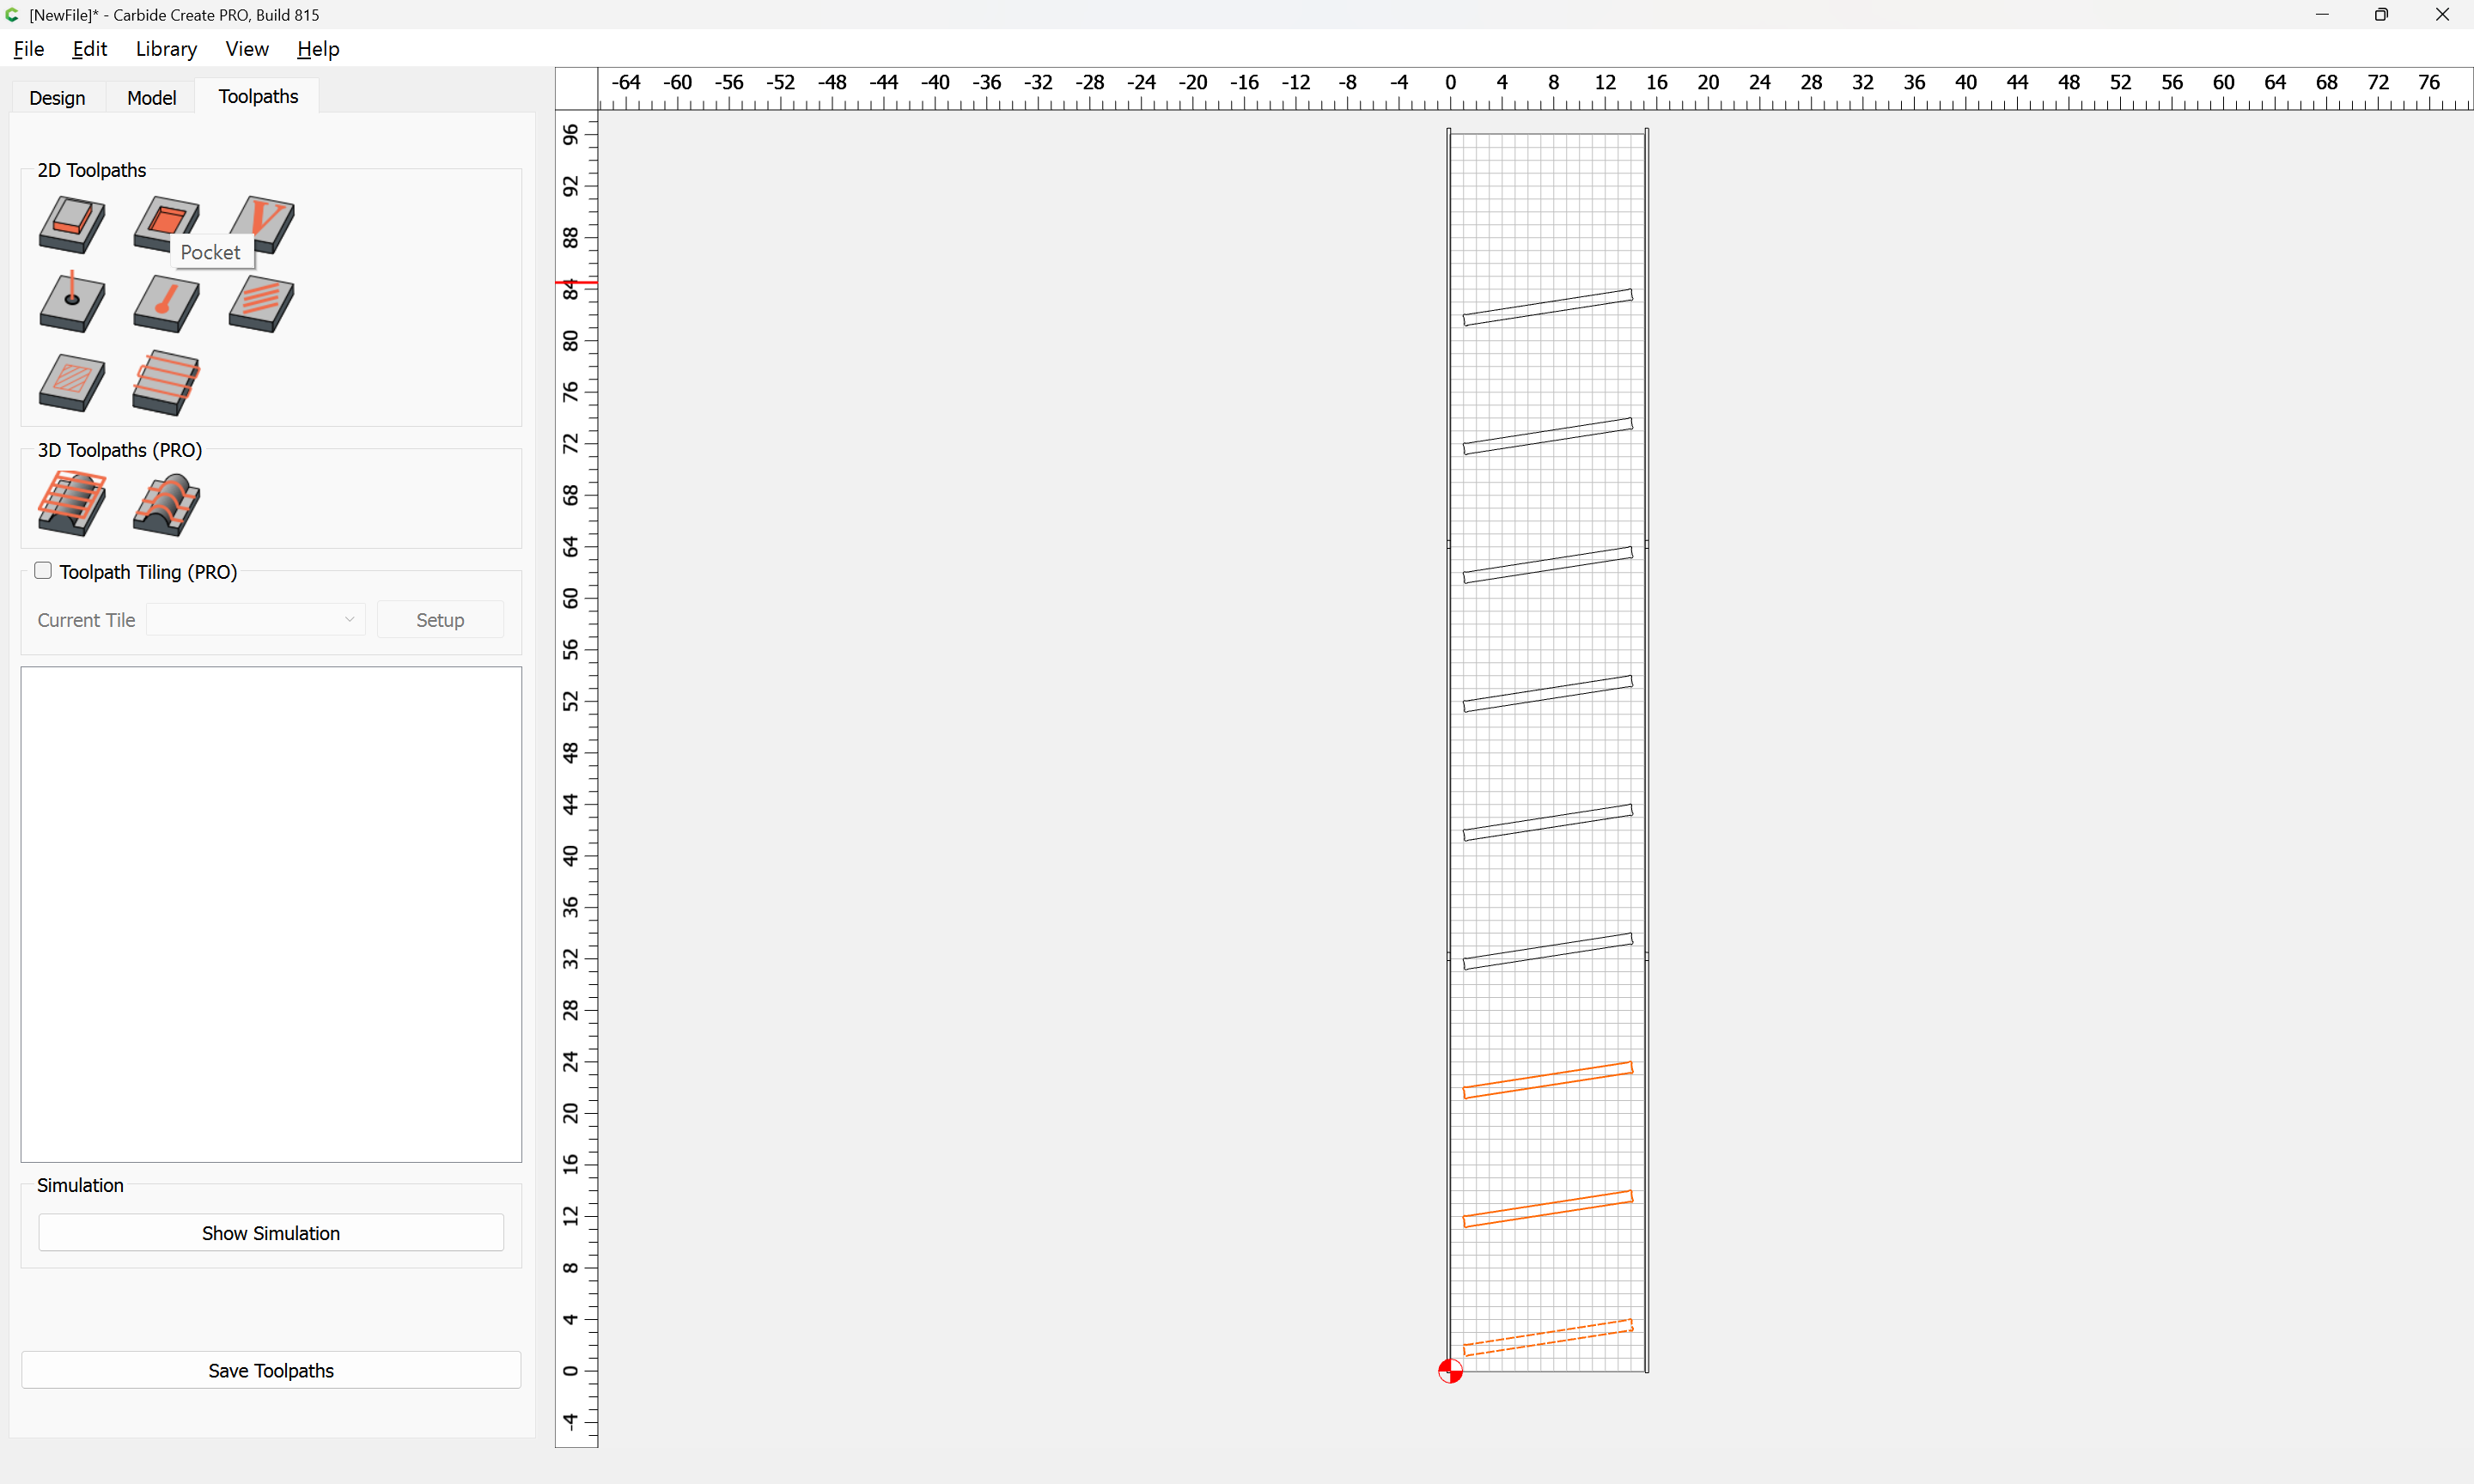
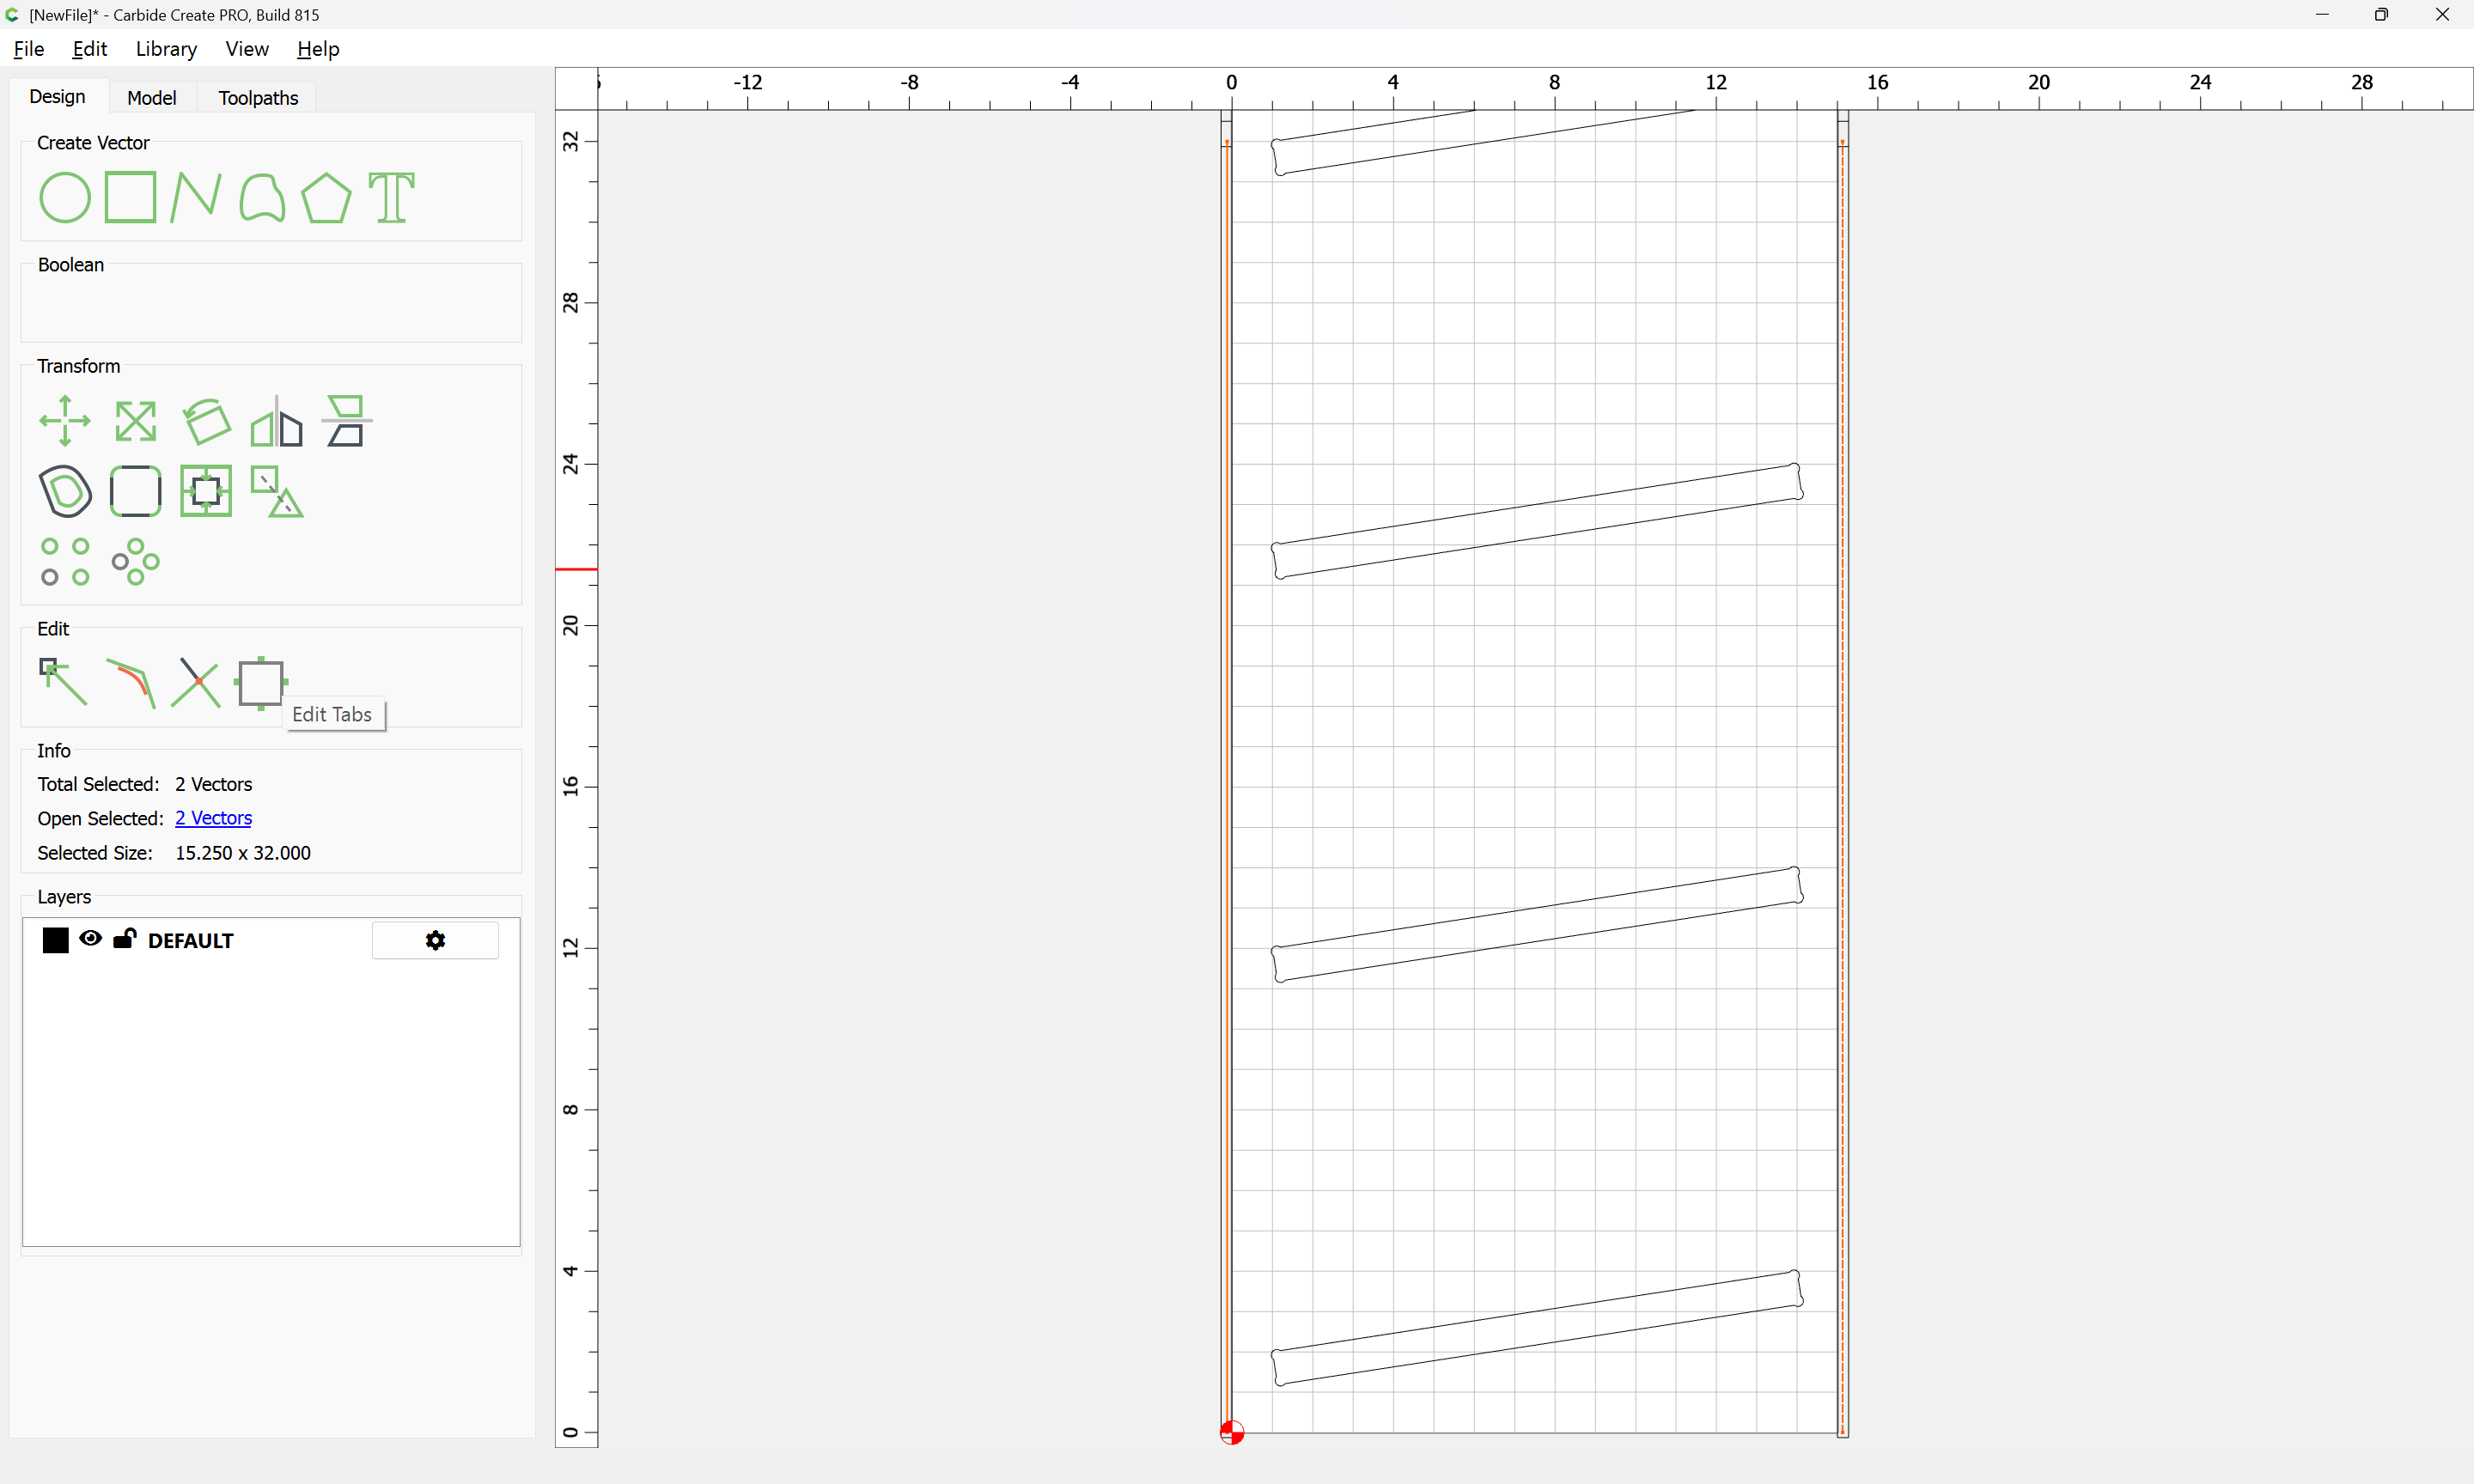
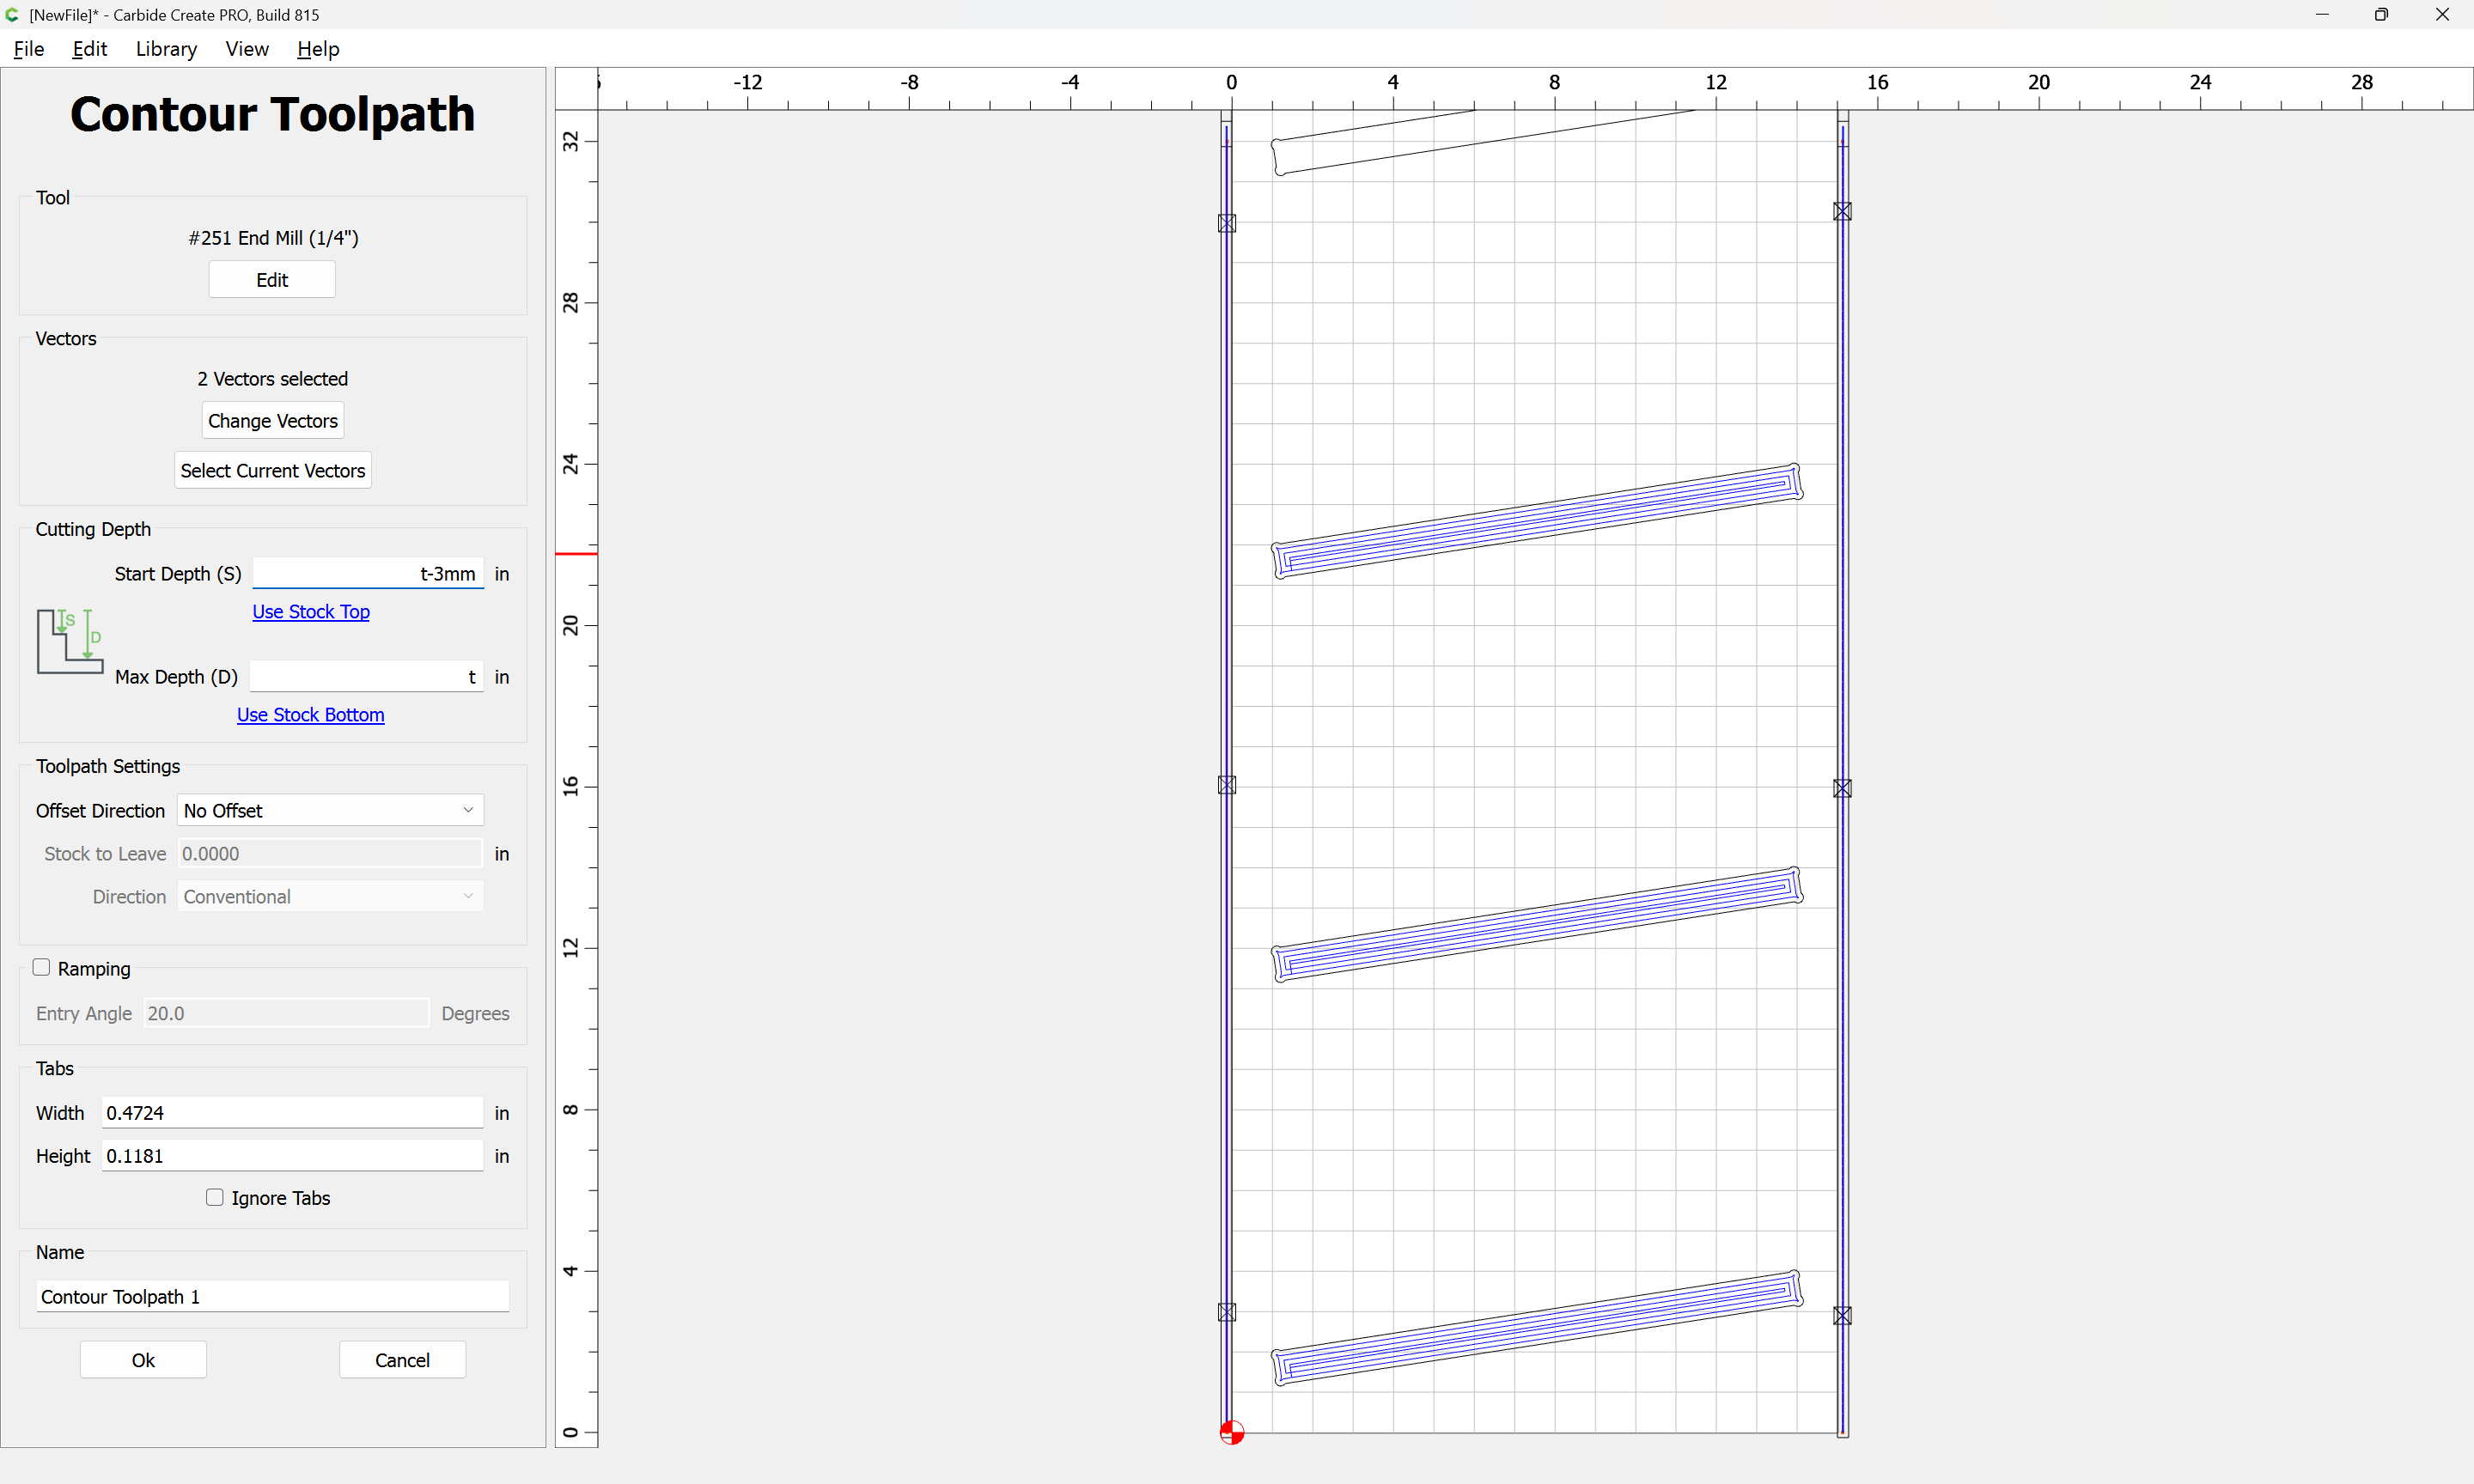
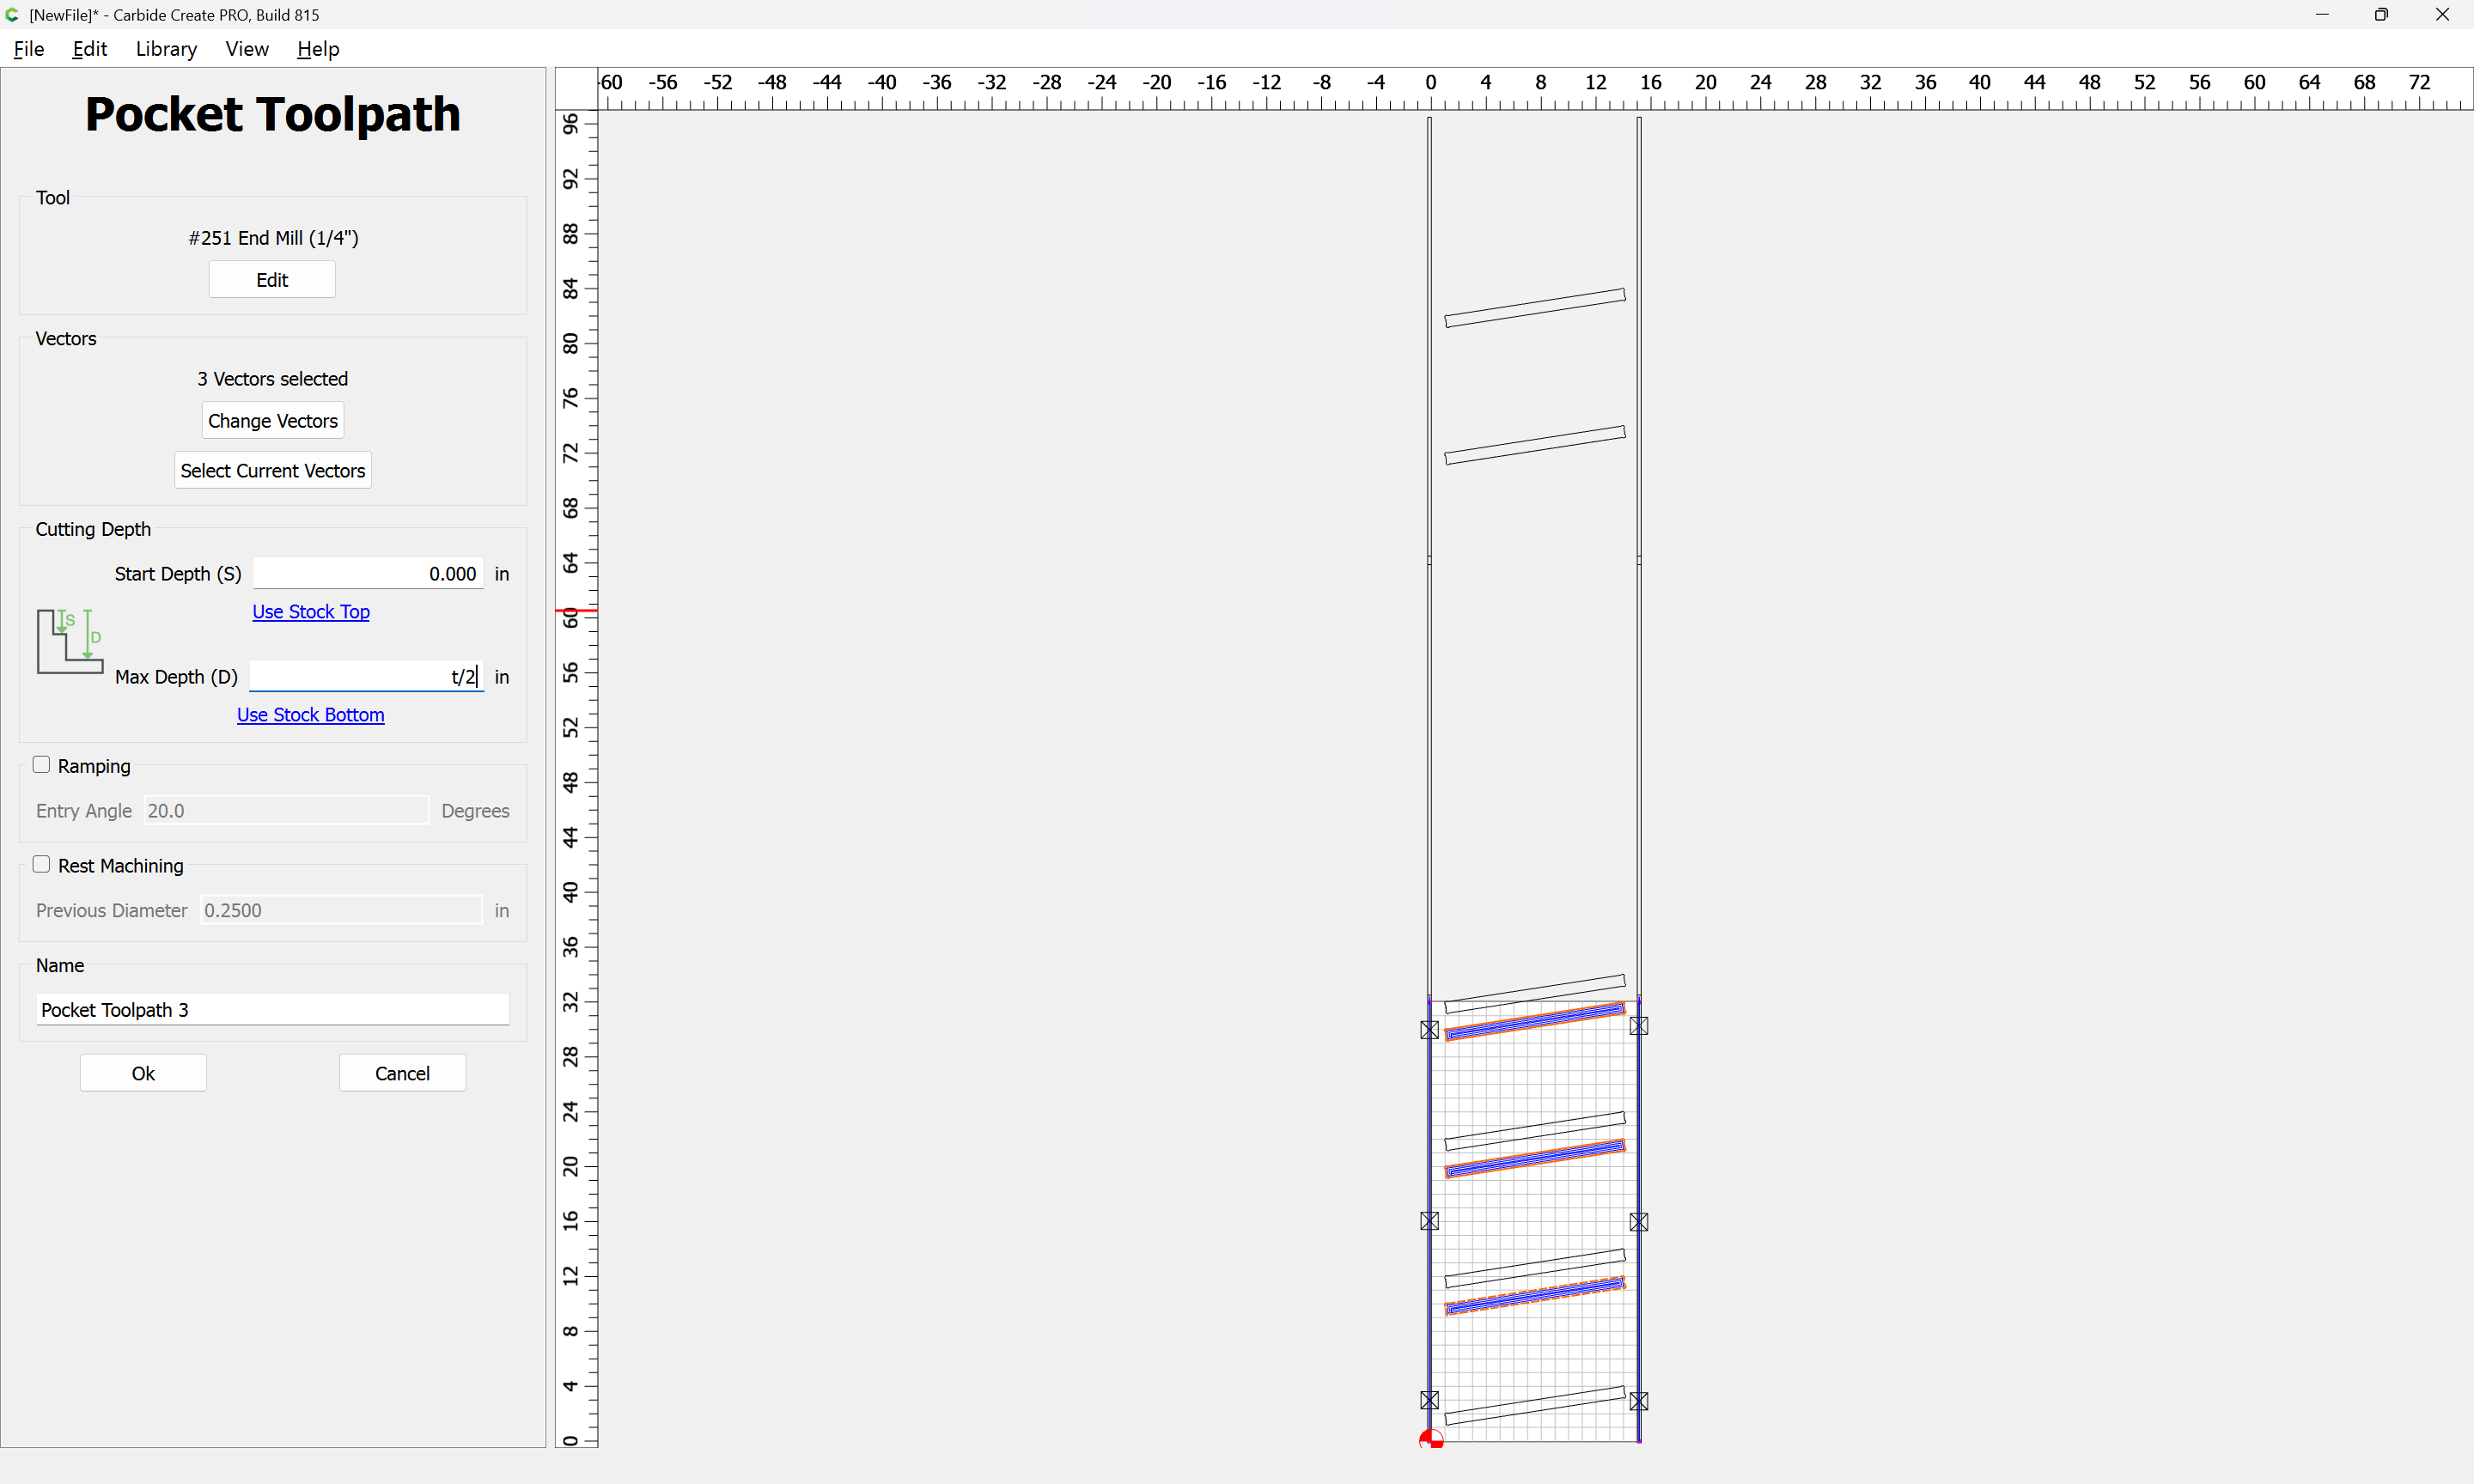
Then create toolpaths for each tile — note that where a shelf slot crosses it would be necessary to divide it to match the tile (or use Carbide Create Pro) — or, a more expedient option is simply to skip the one shelf which is problematic thus and designate that skip as a feature to support boots:
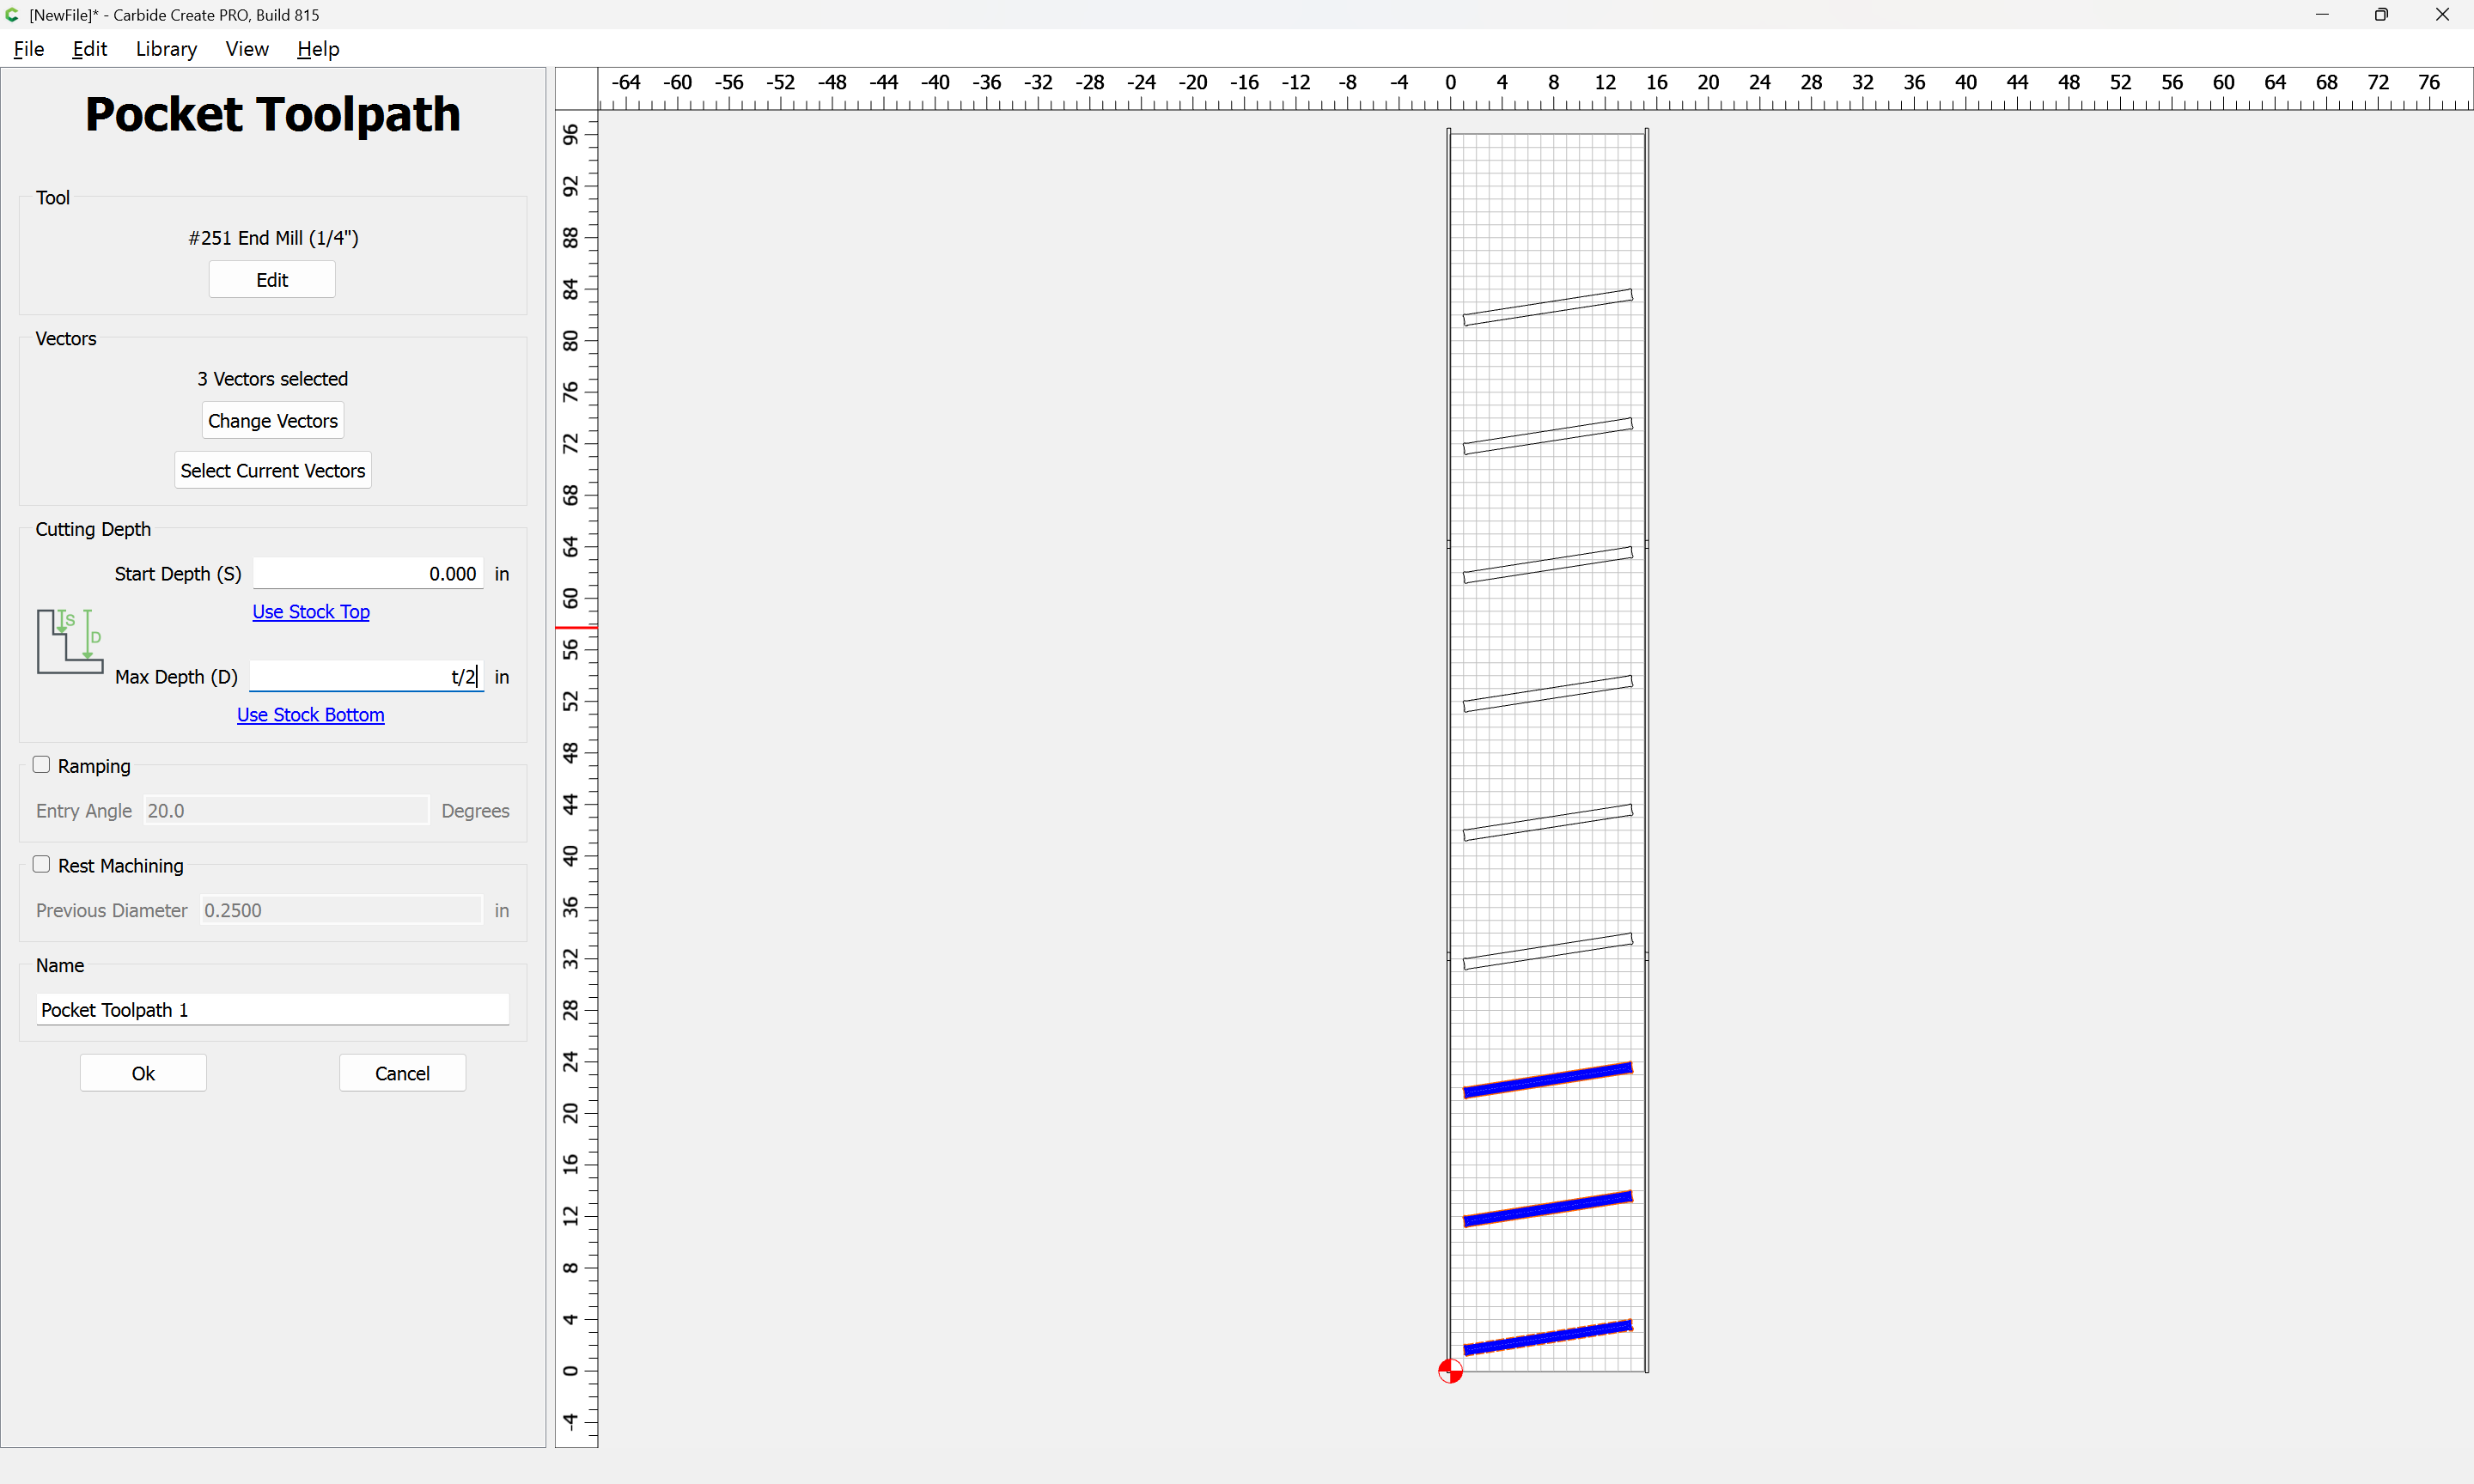

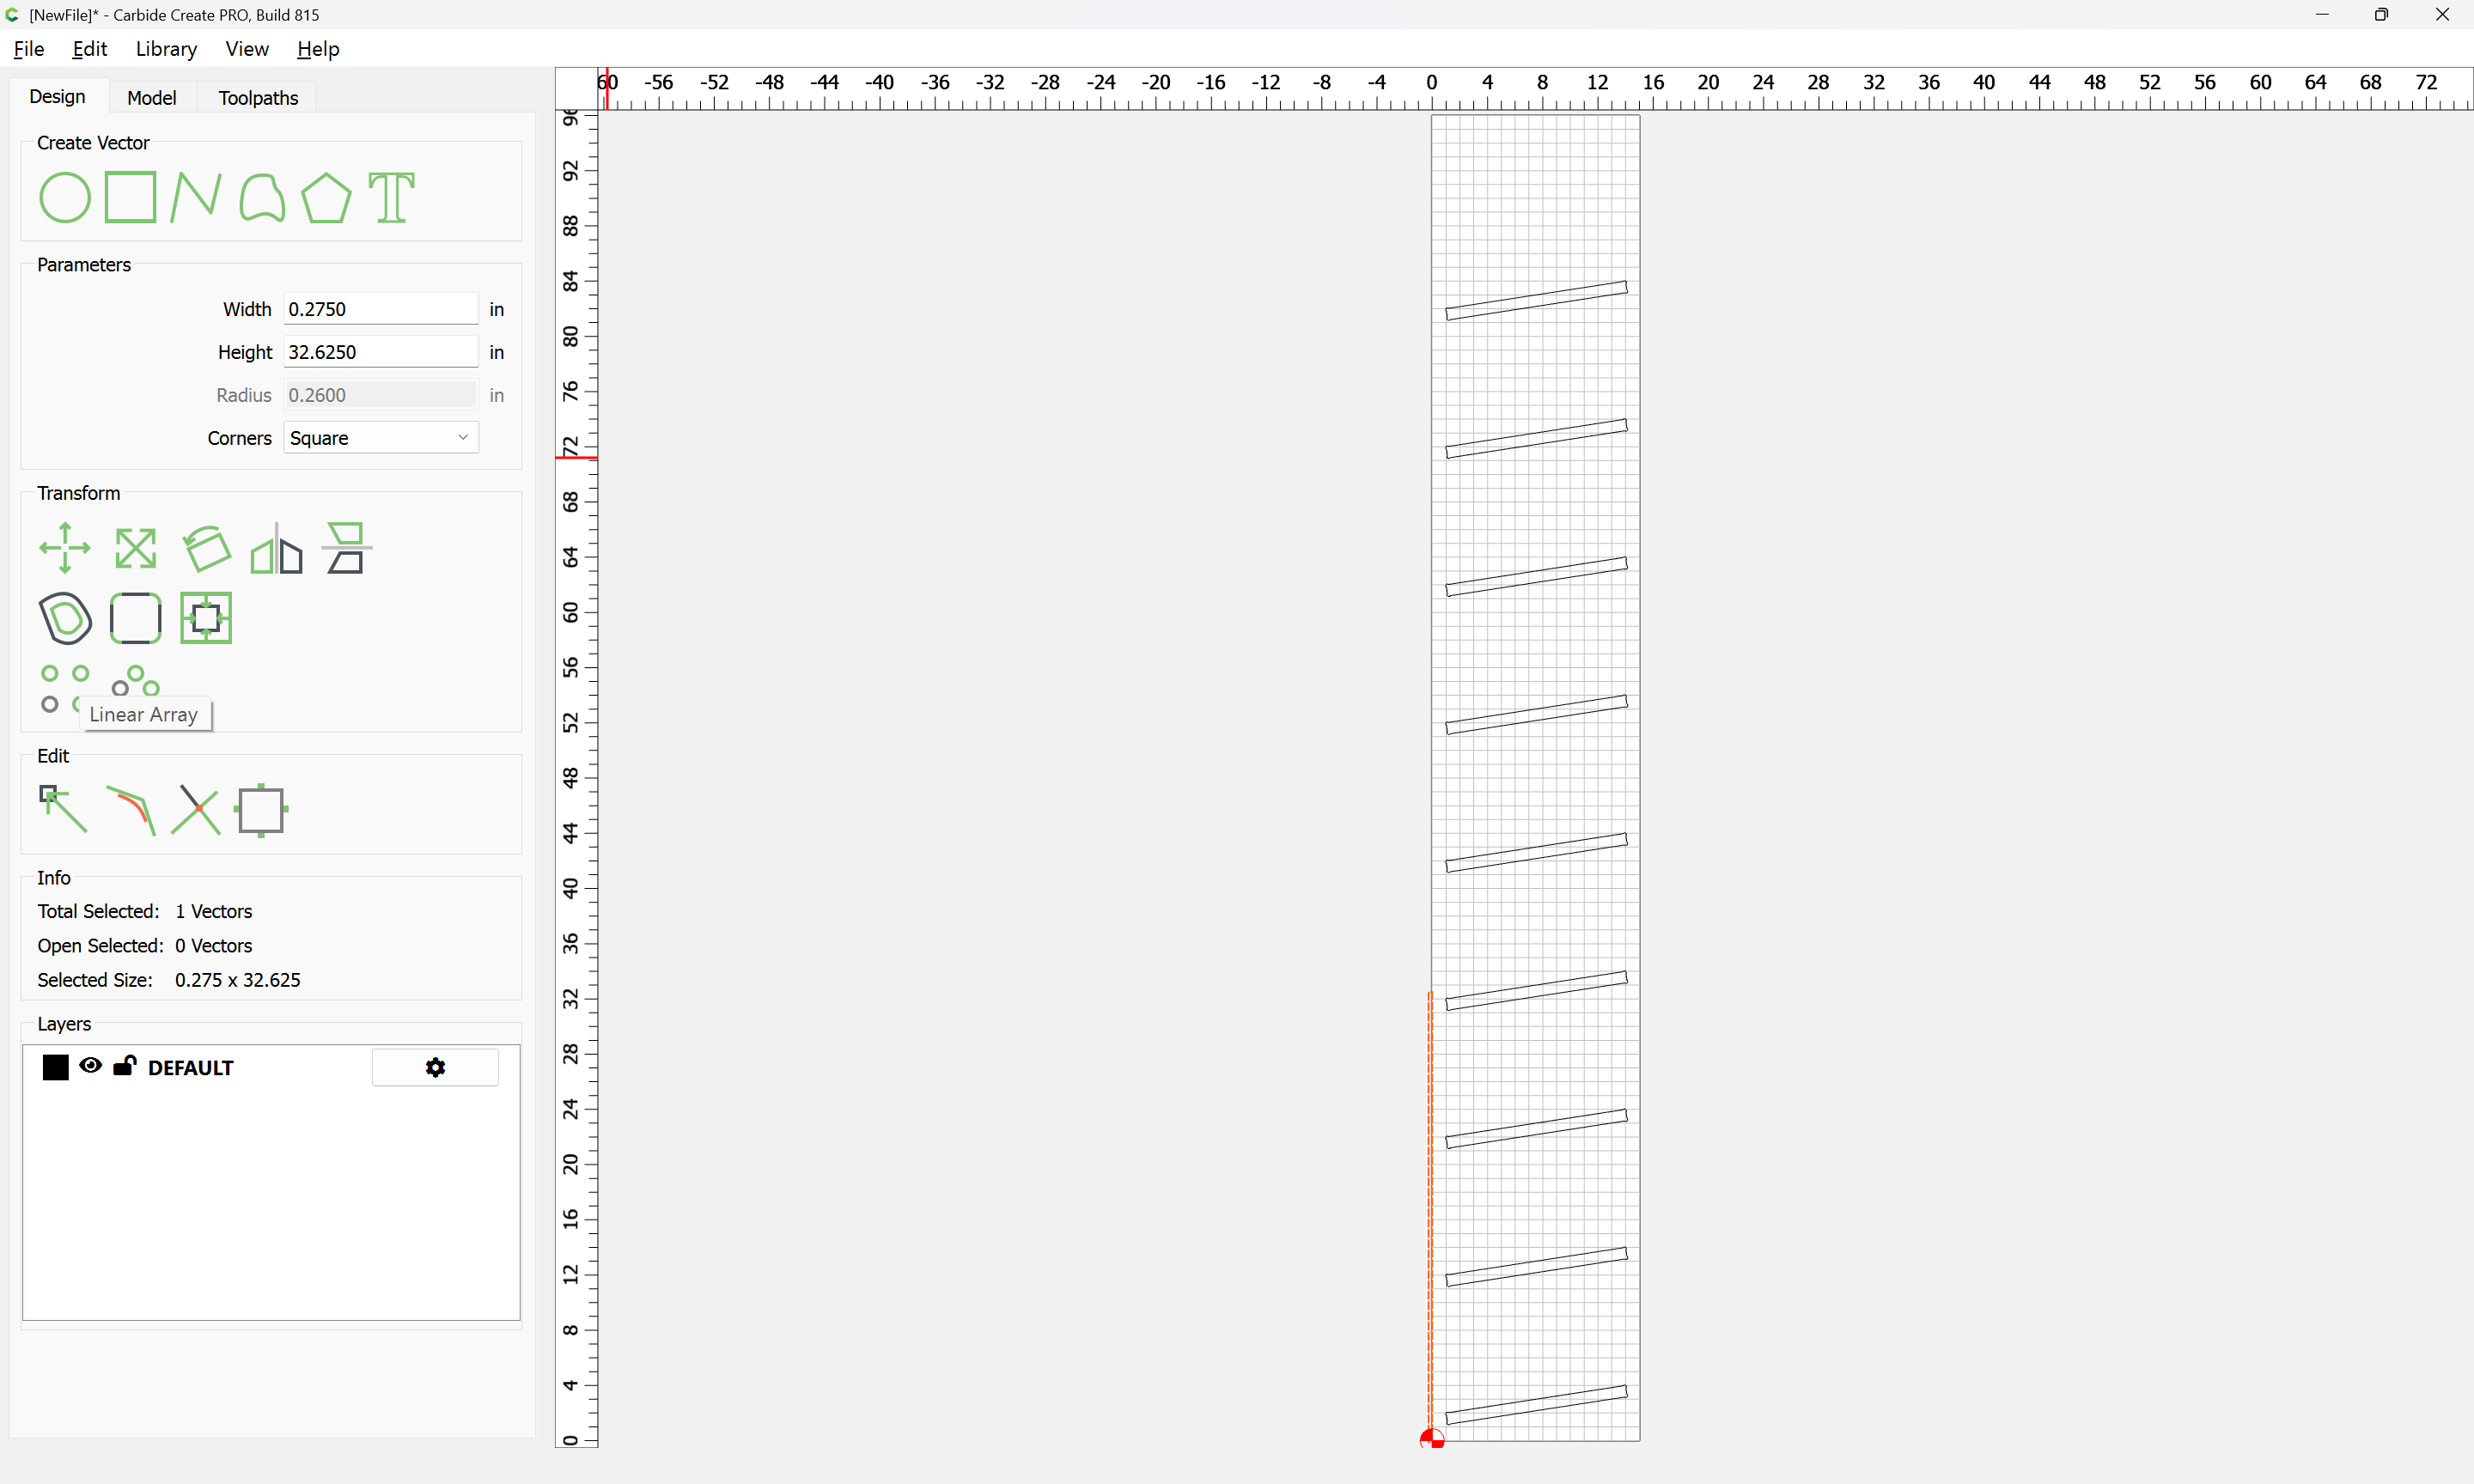
Note that the pocket for cutting out is left shy of the full depth by Tab height (3mm) — go back to the Design tab:
and draw a line:
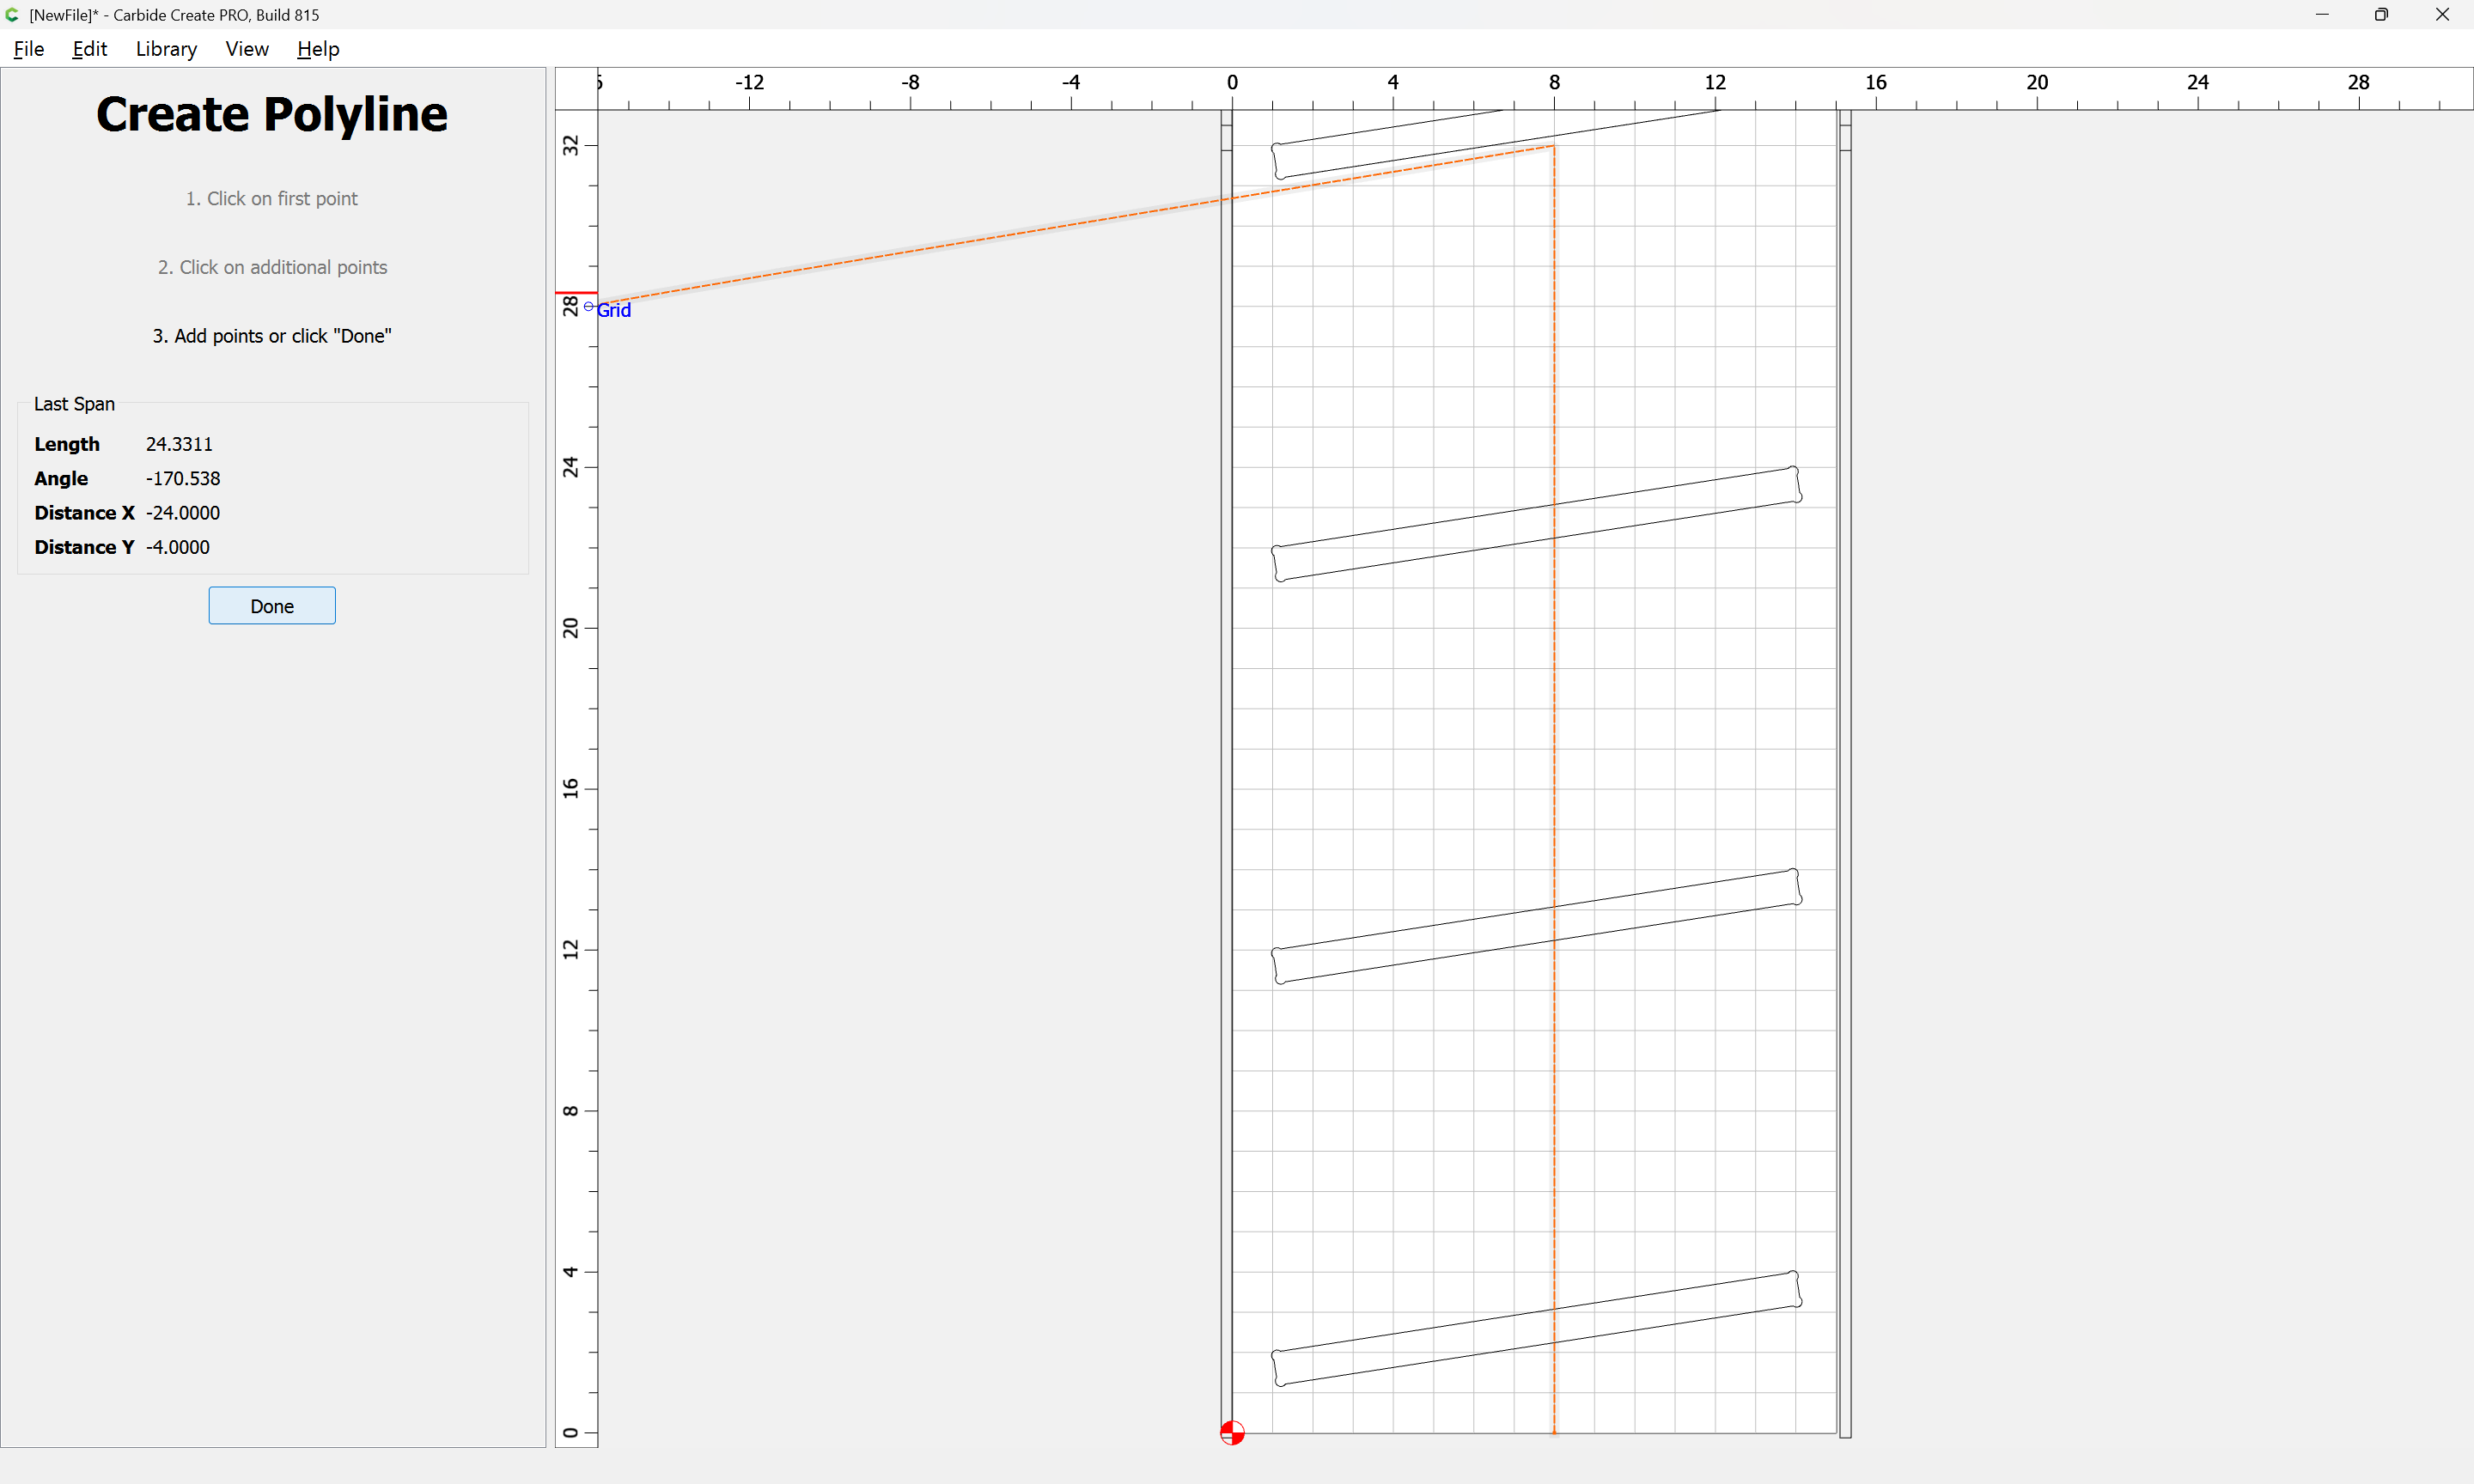
Done
and position it:
offset by the radius of the tool which will be used for the final cut:
Done
Copy-paste to make a duplicate:

Correct the positioning of the right rectangles:
Done
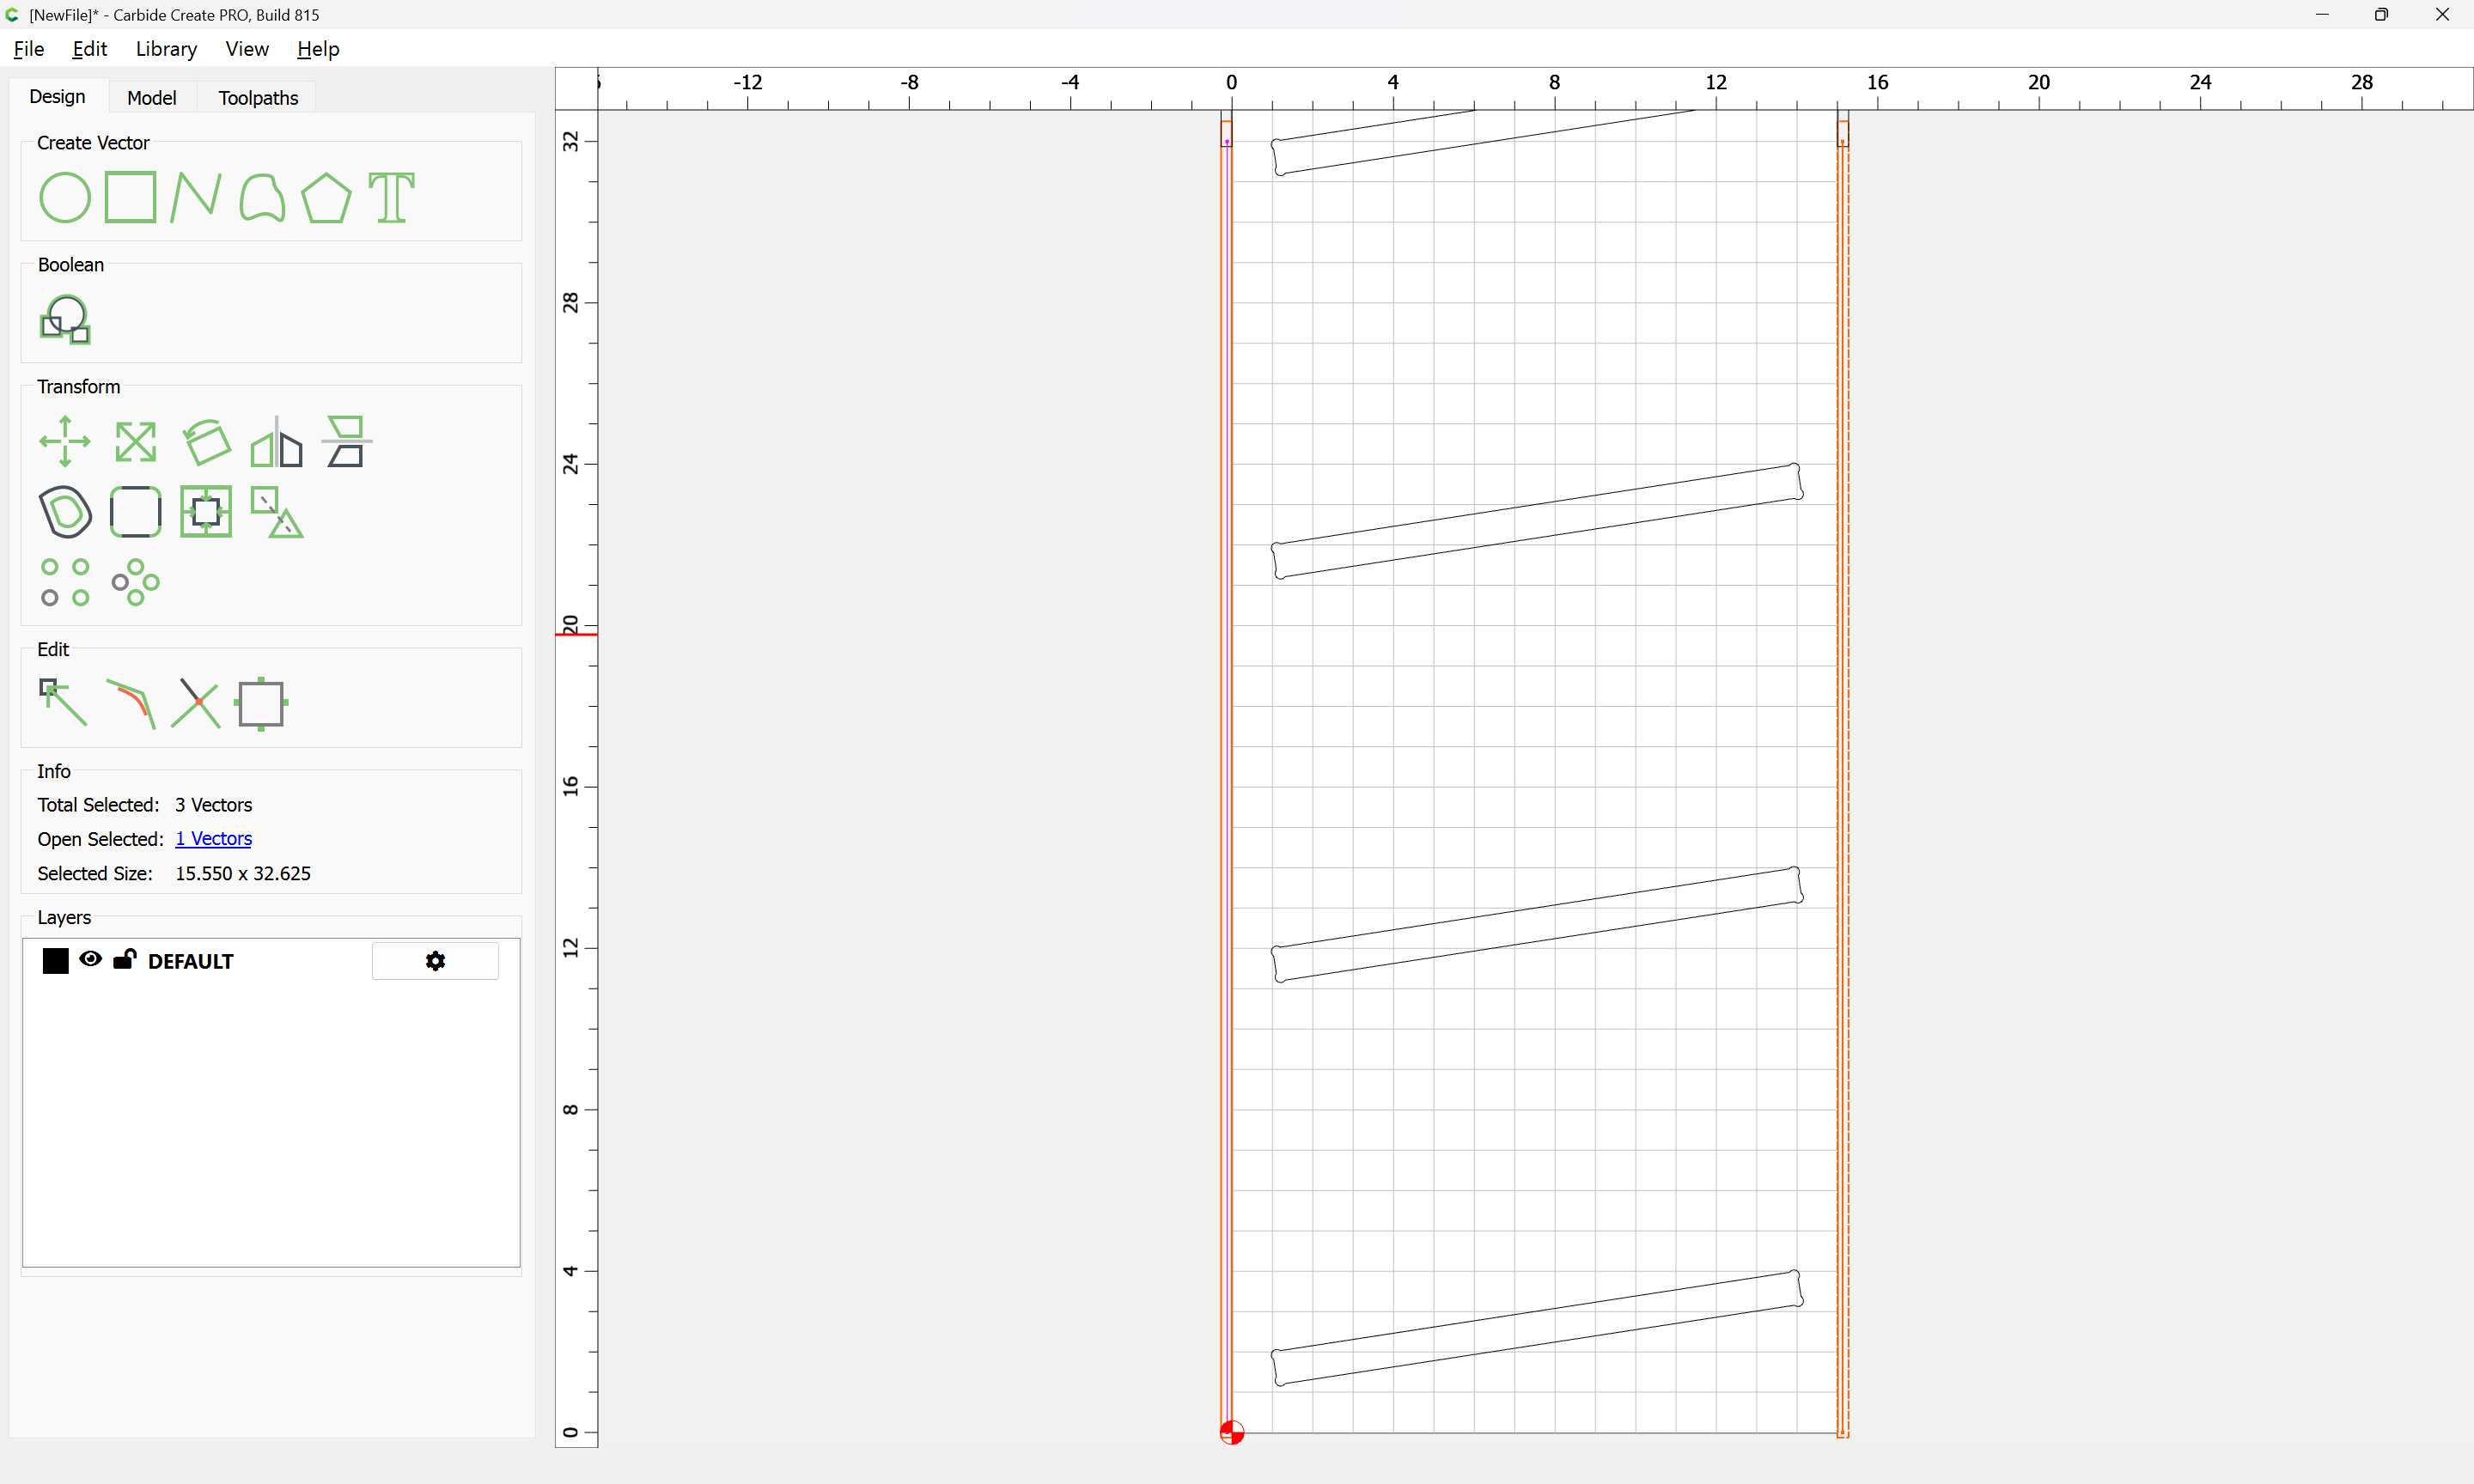
Then select the two rectangles and one of the lines:
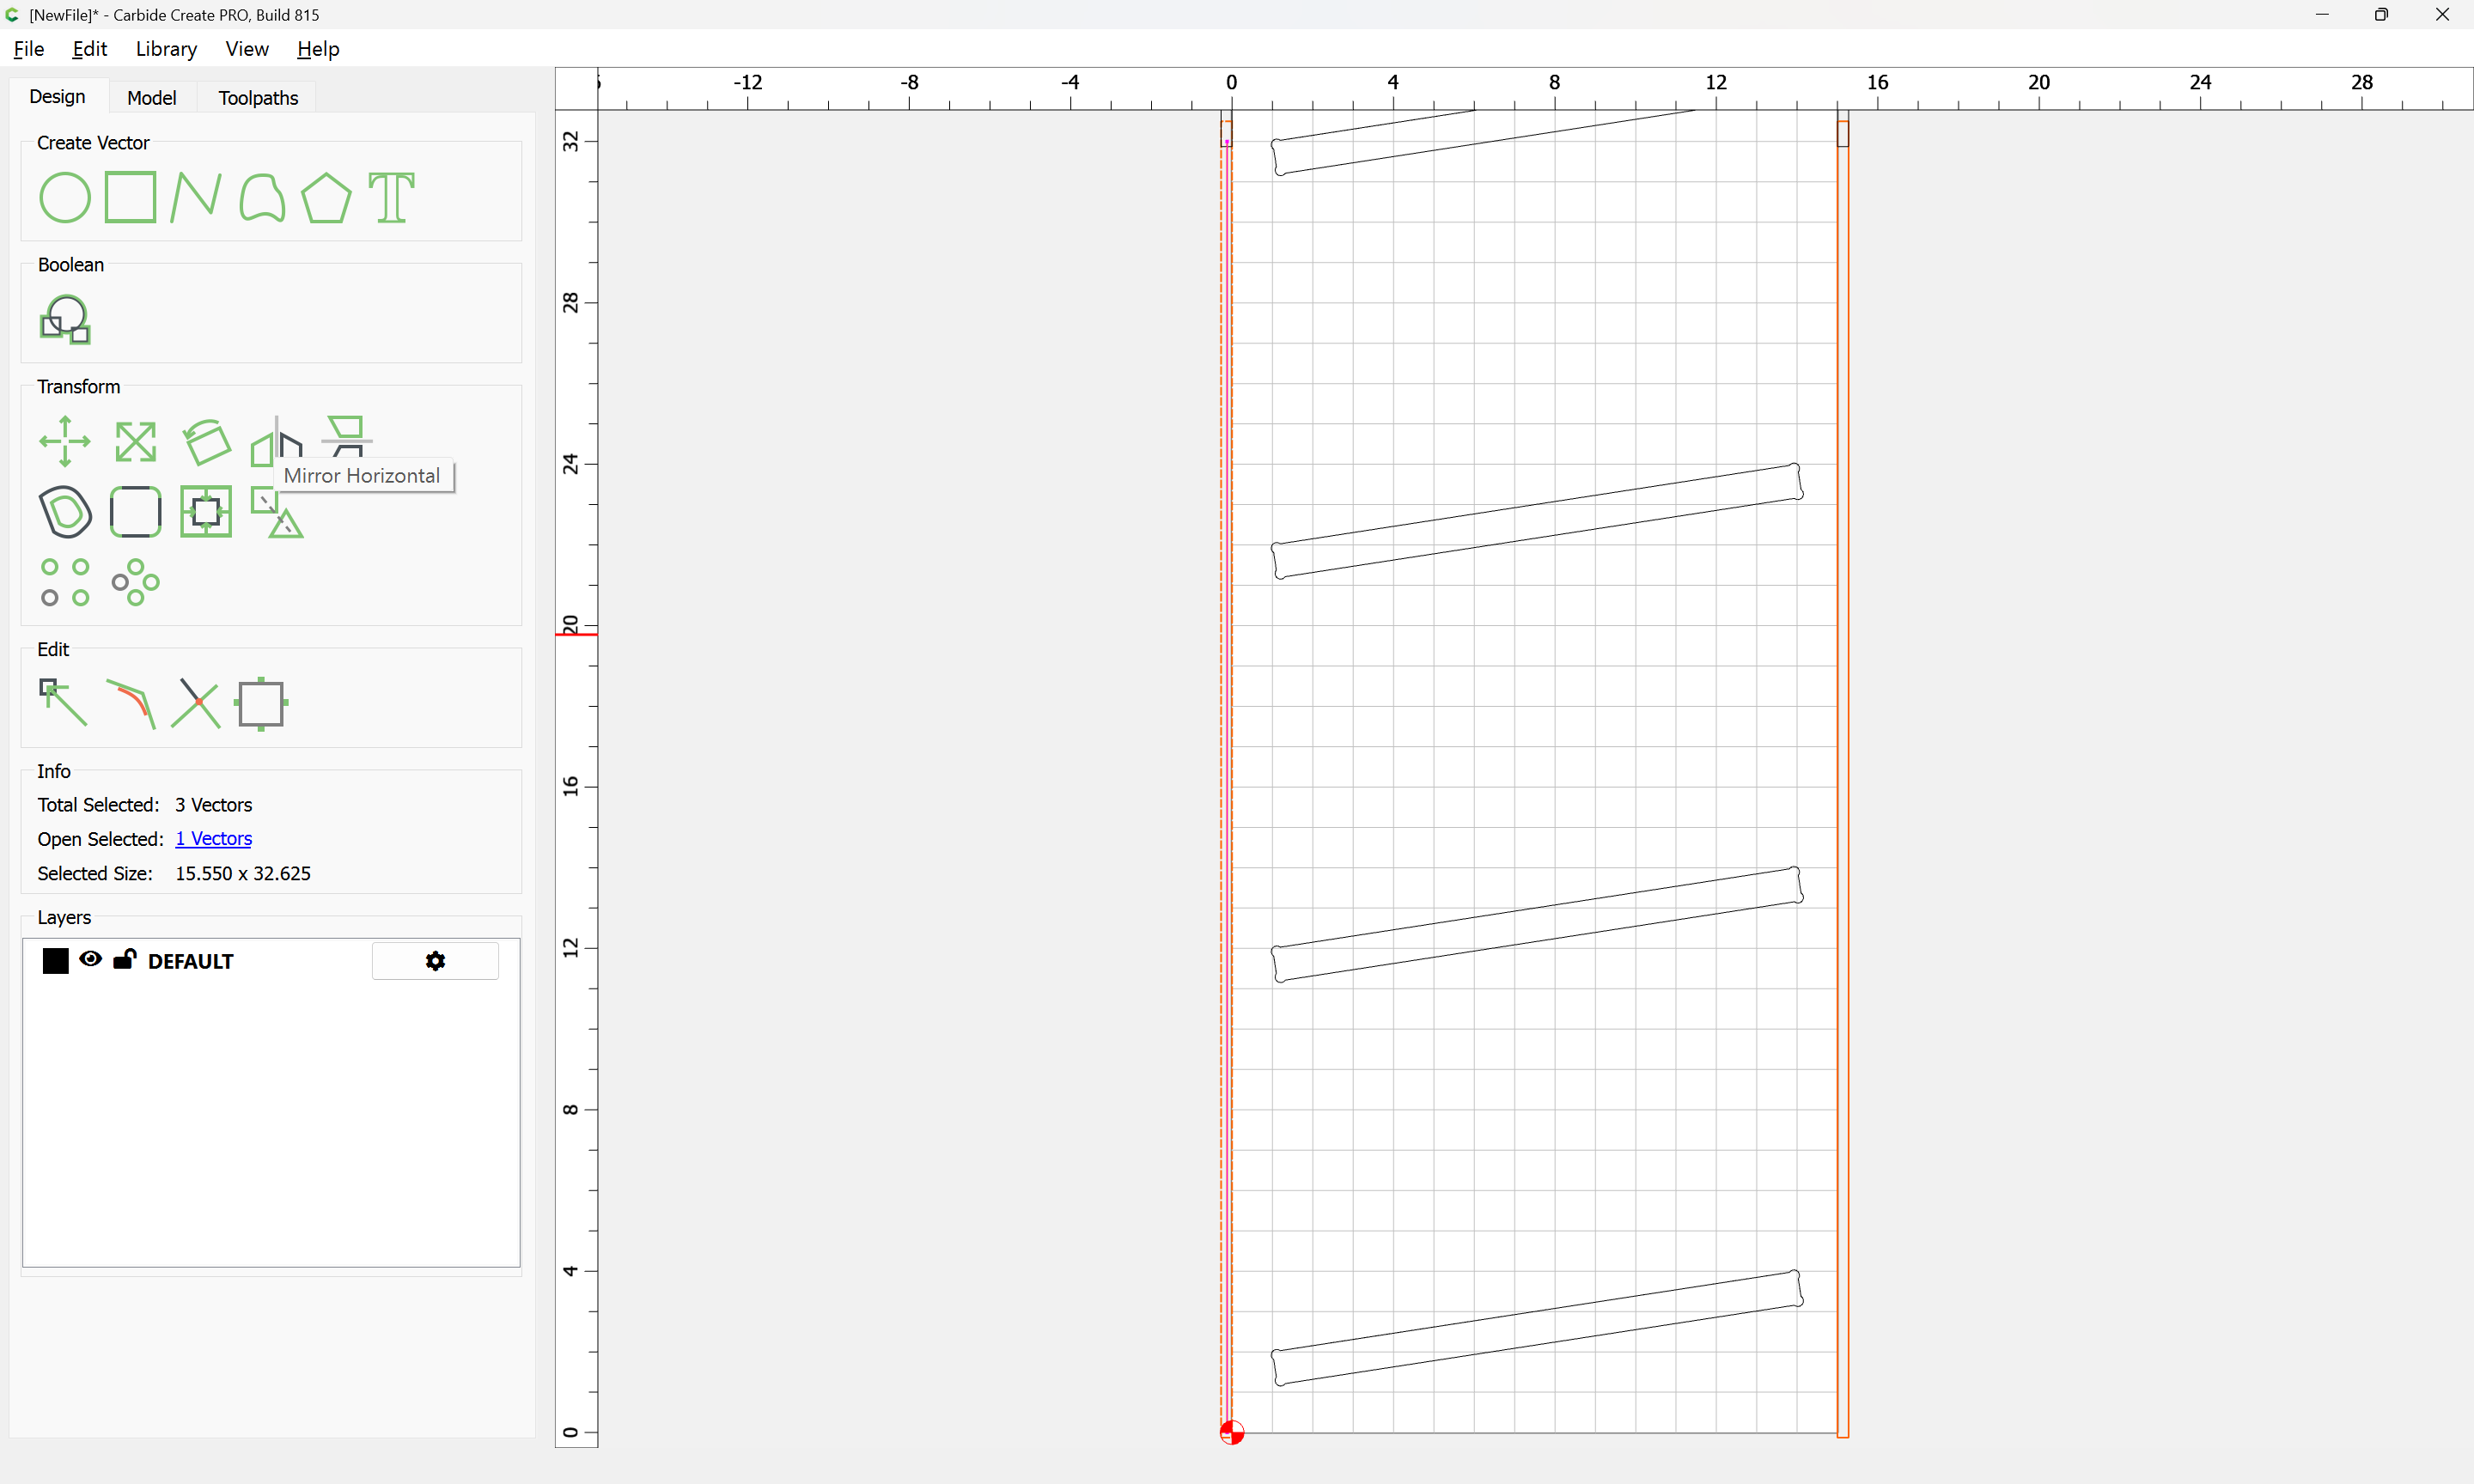
and use Mirror Horizontal to position the line for the other side:
Then select the two lines and add tabs:
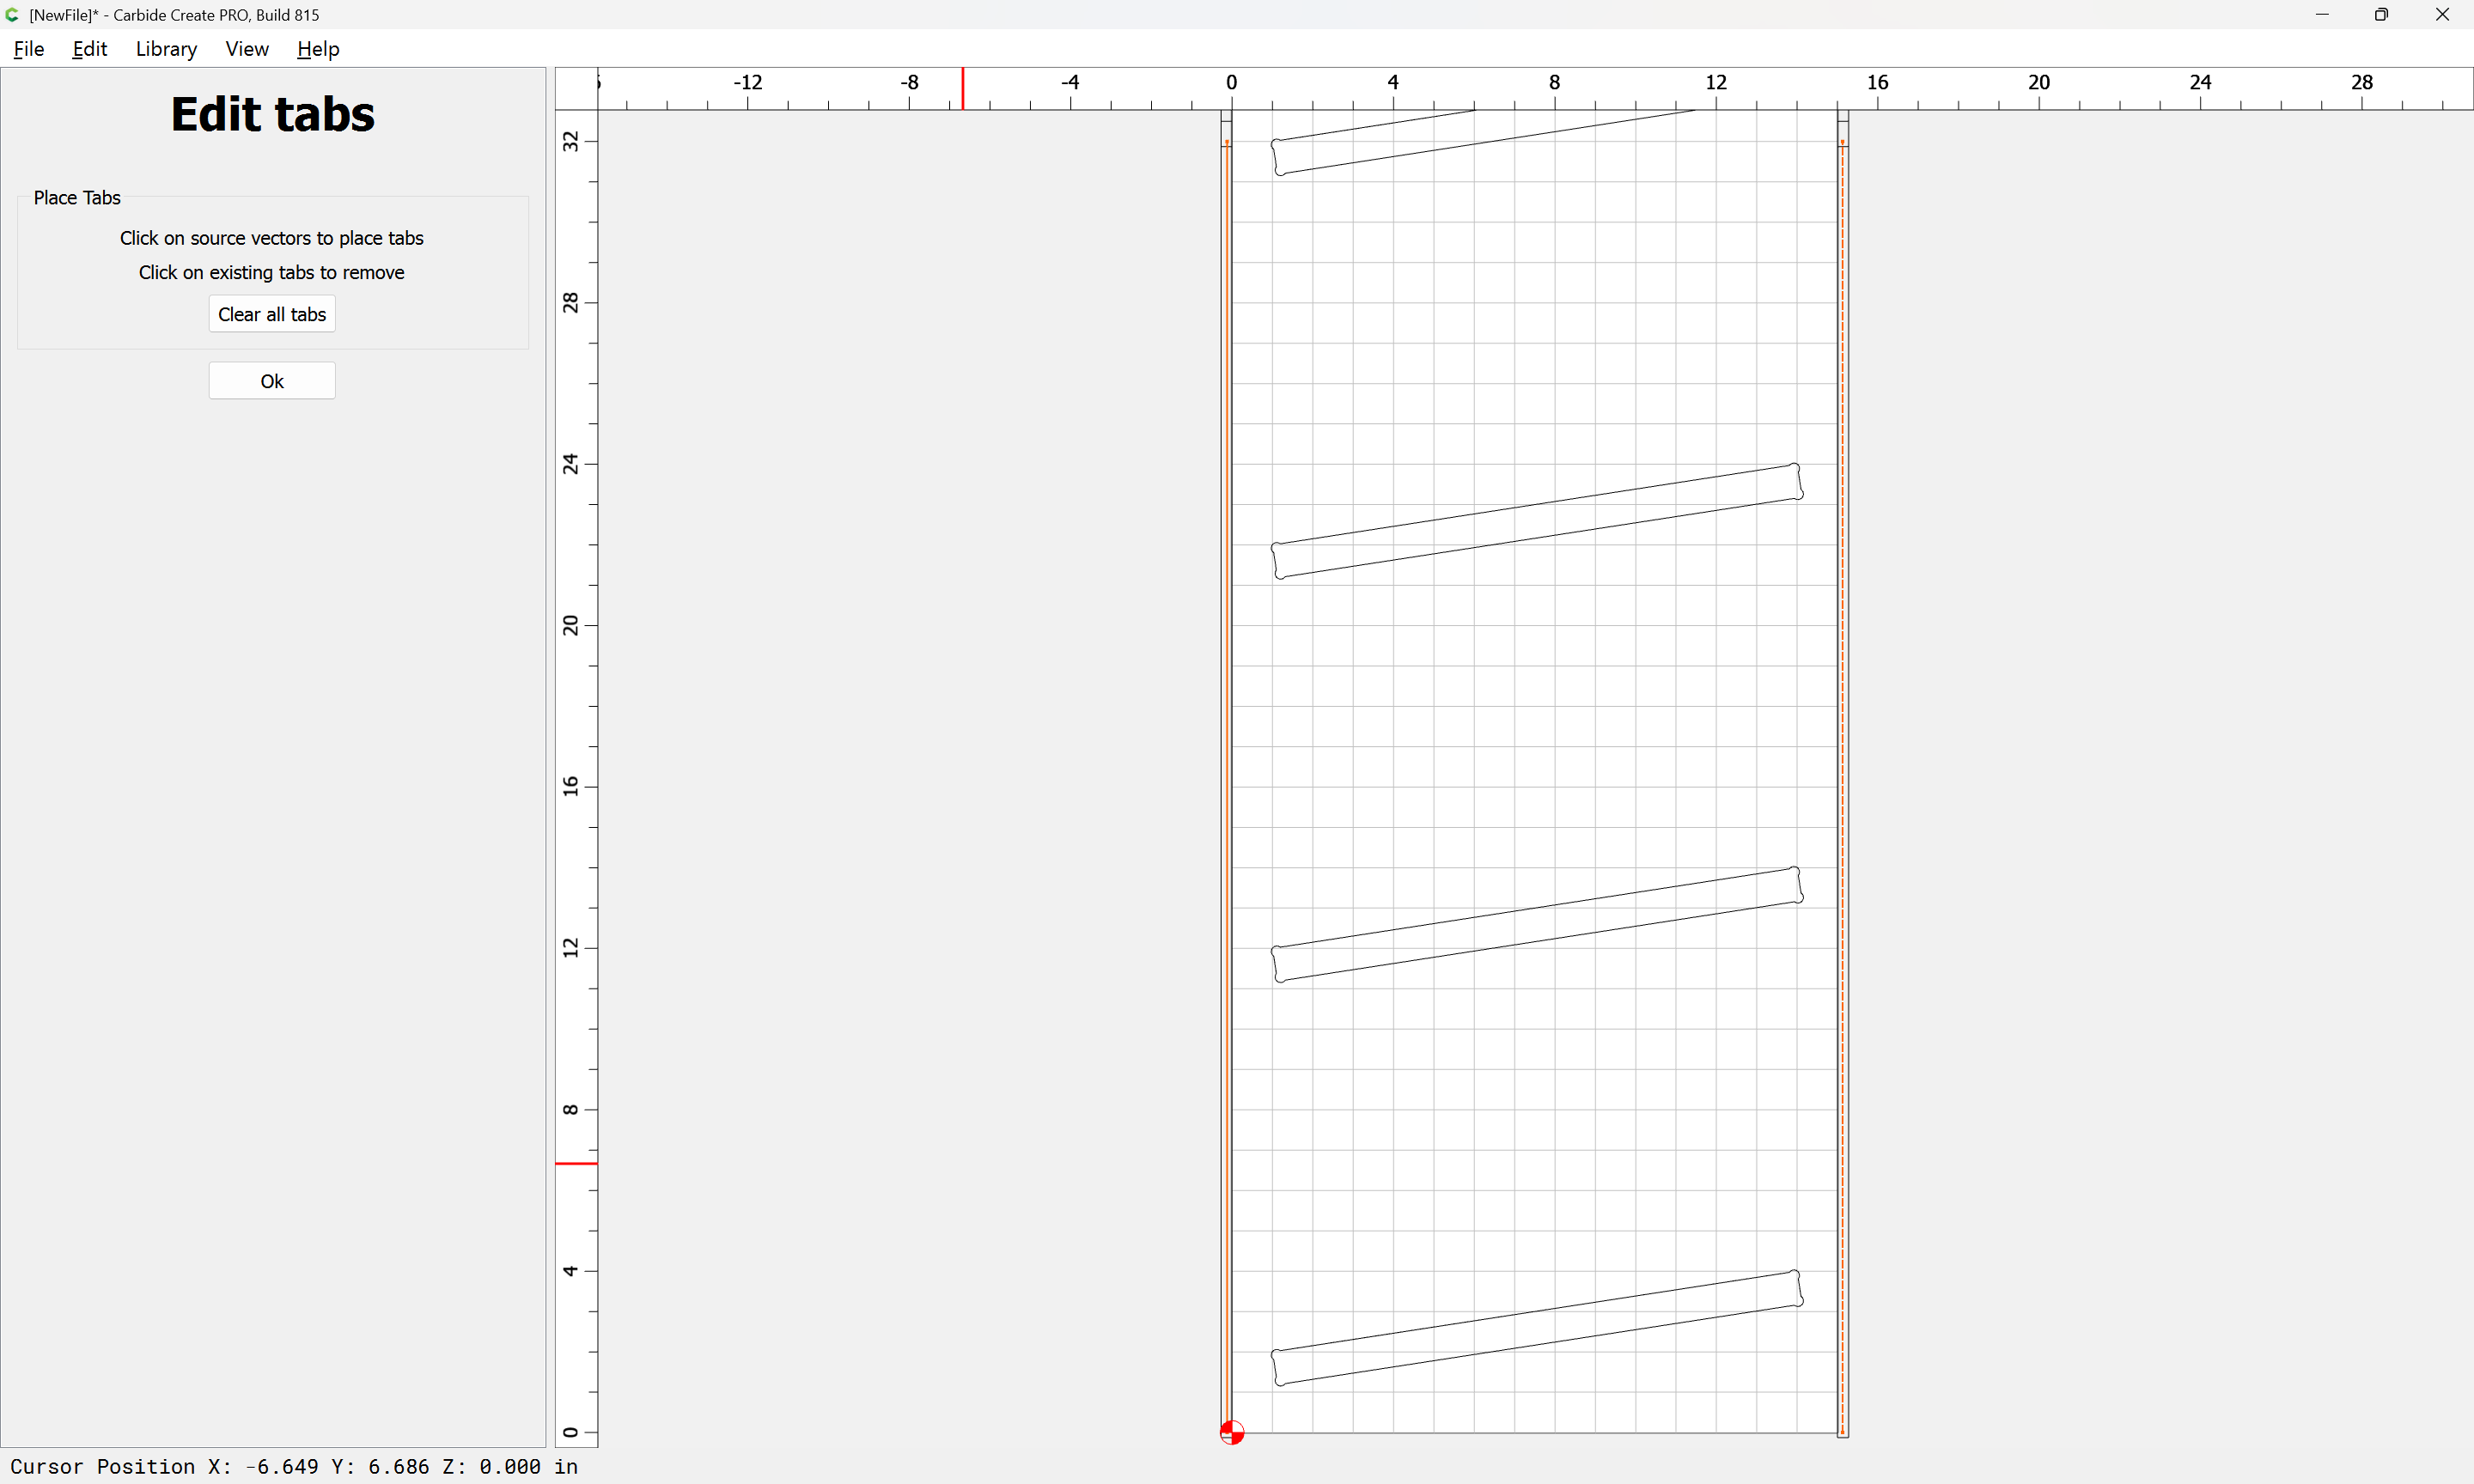

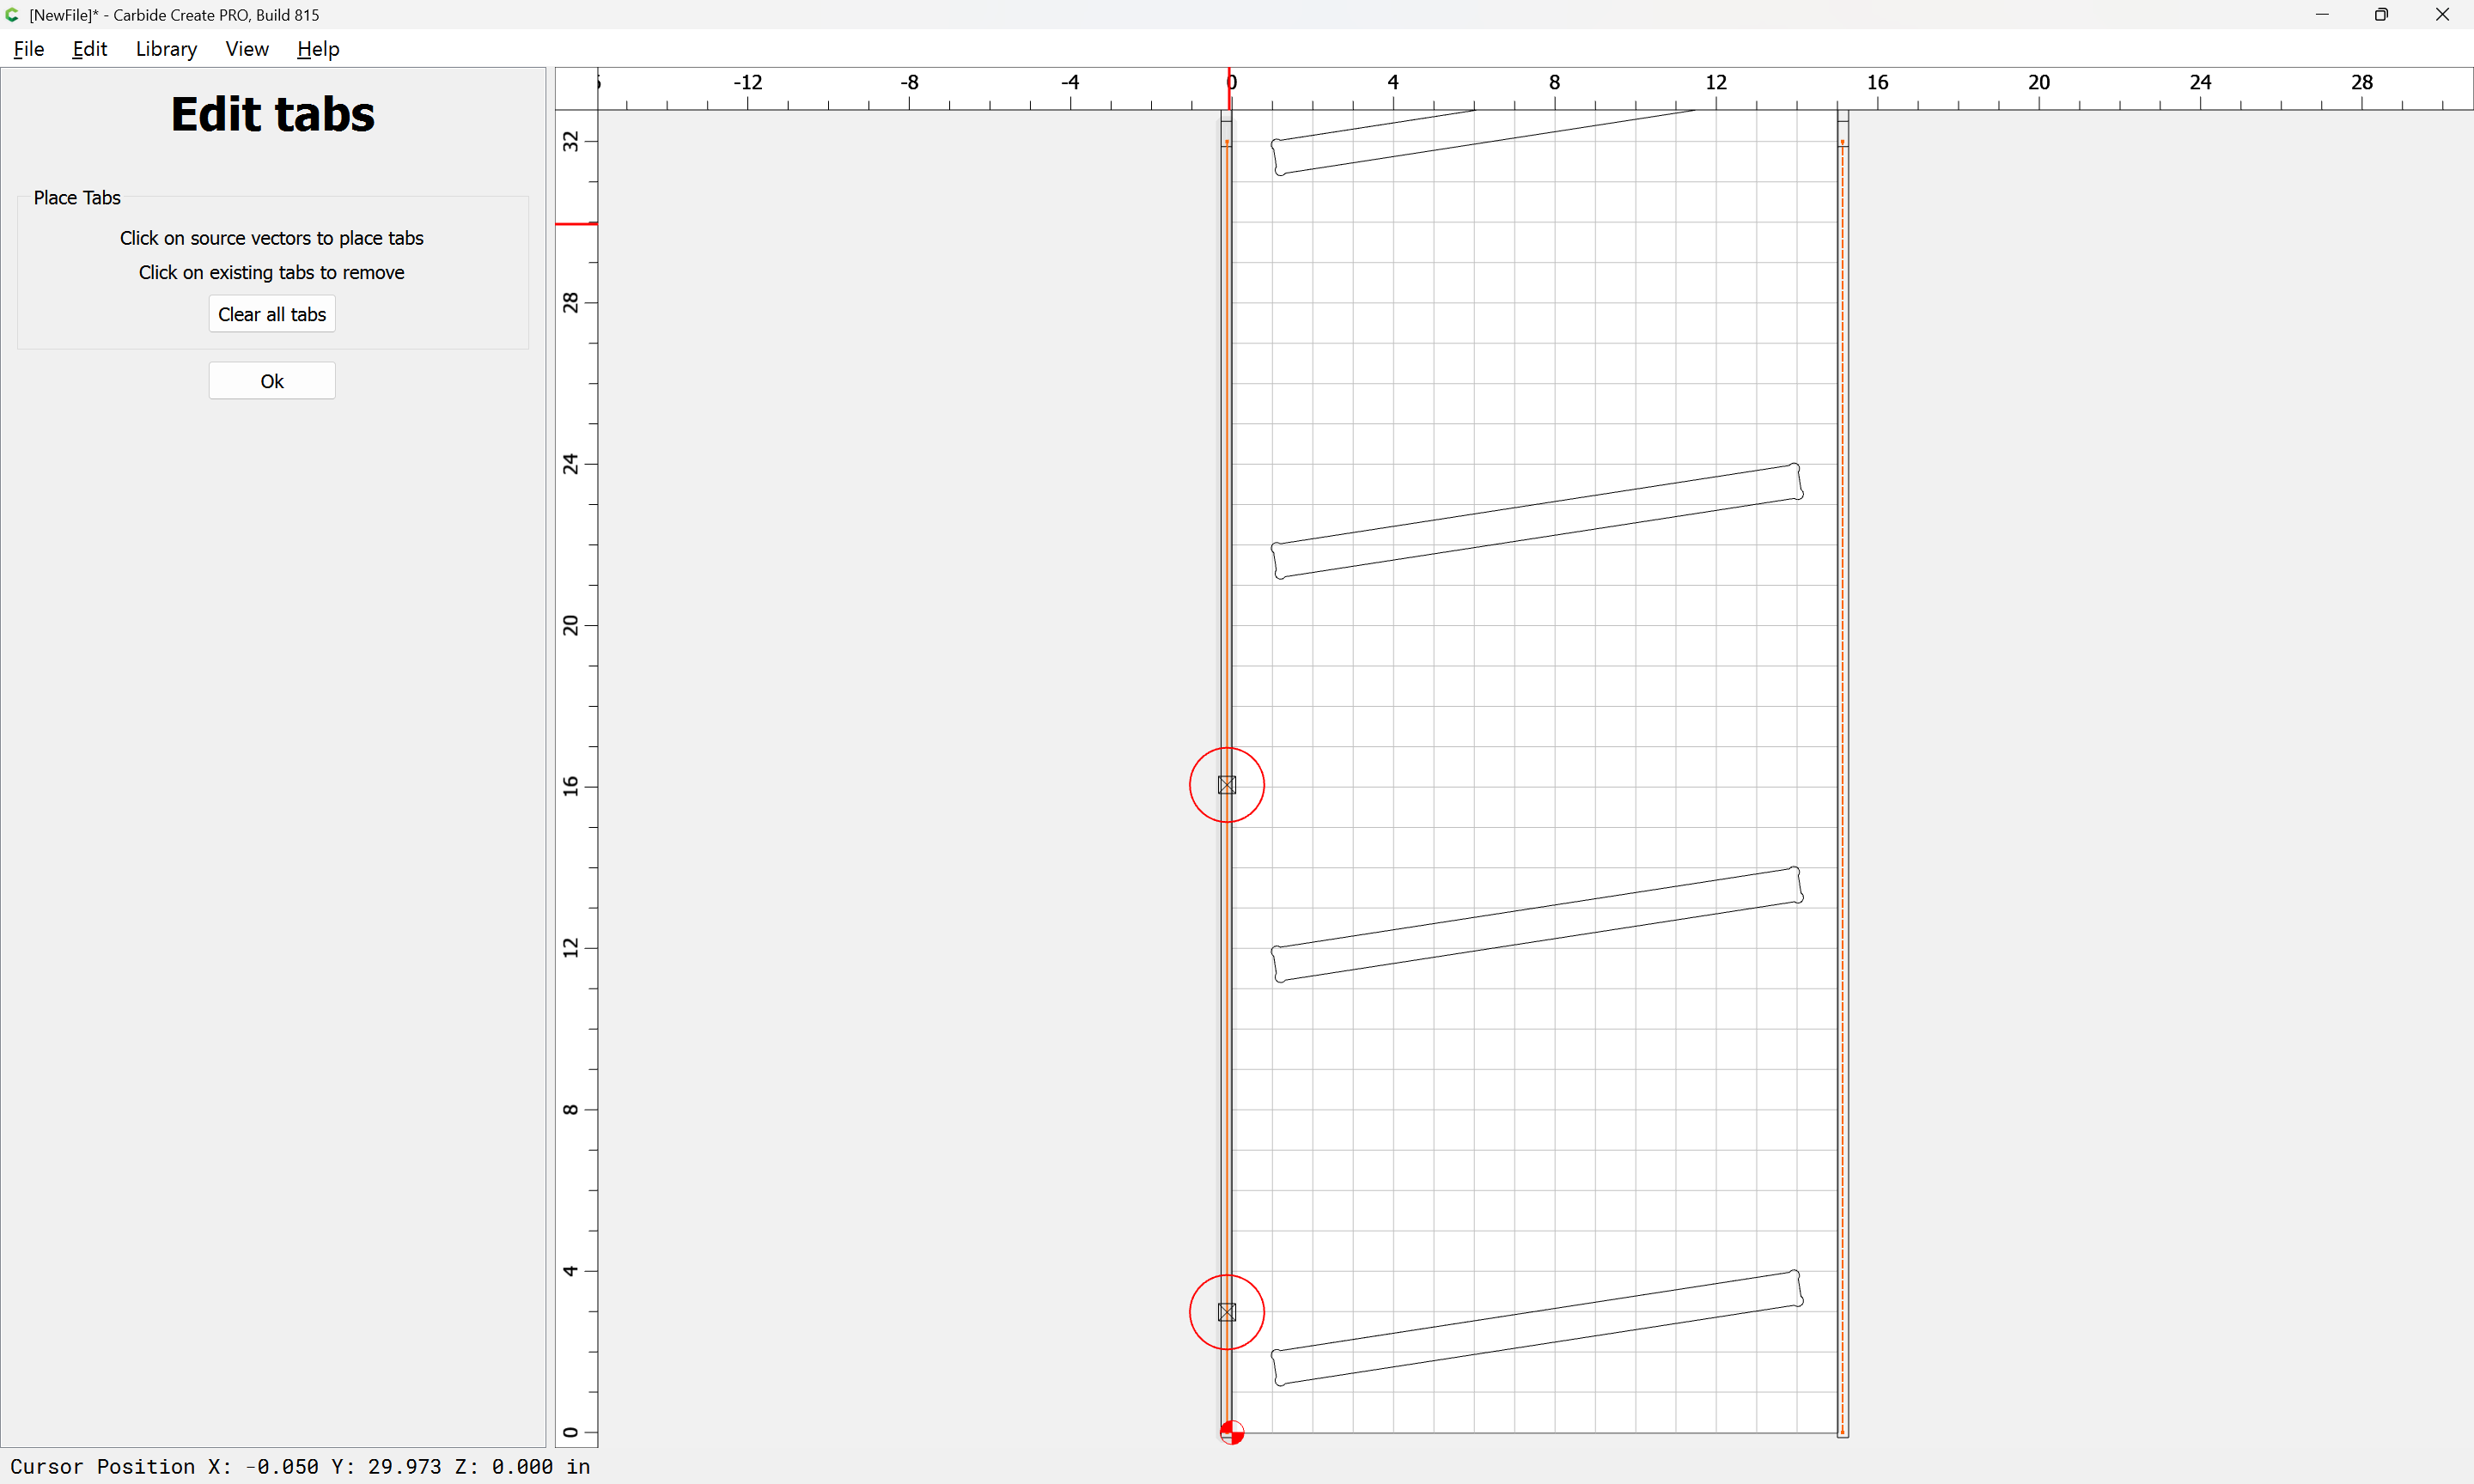
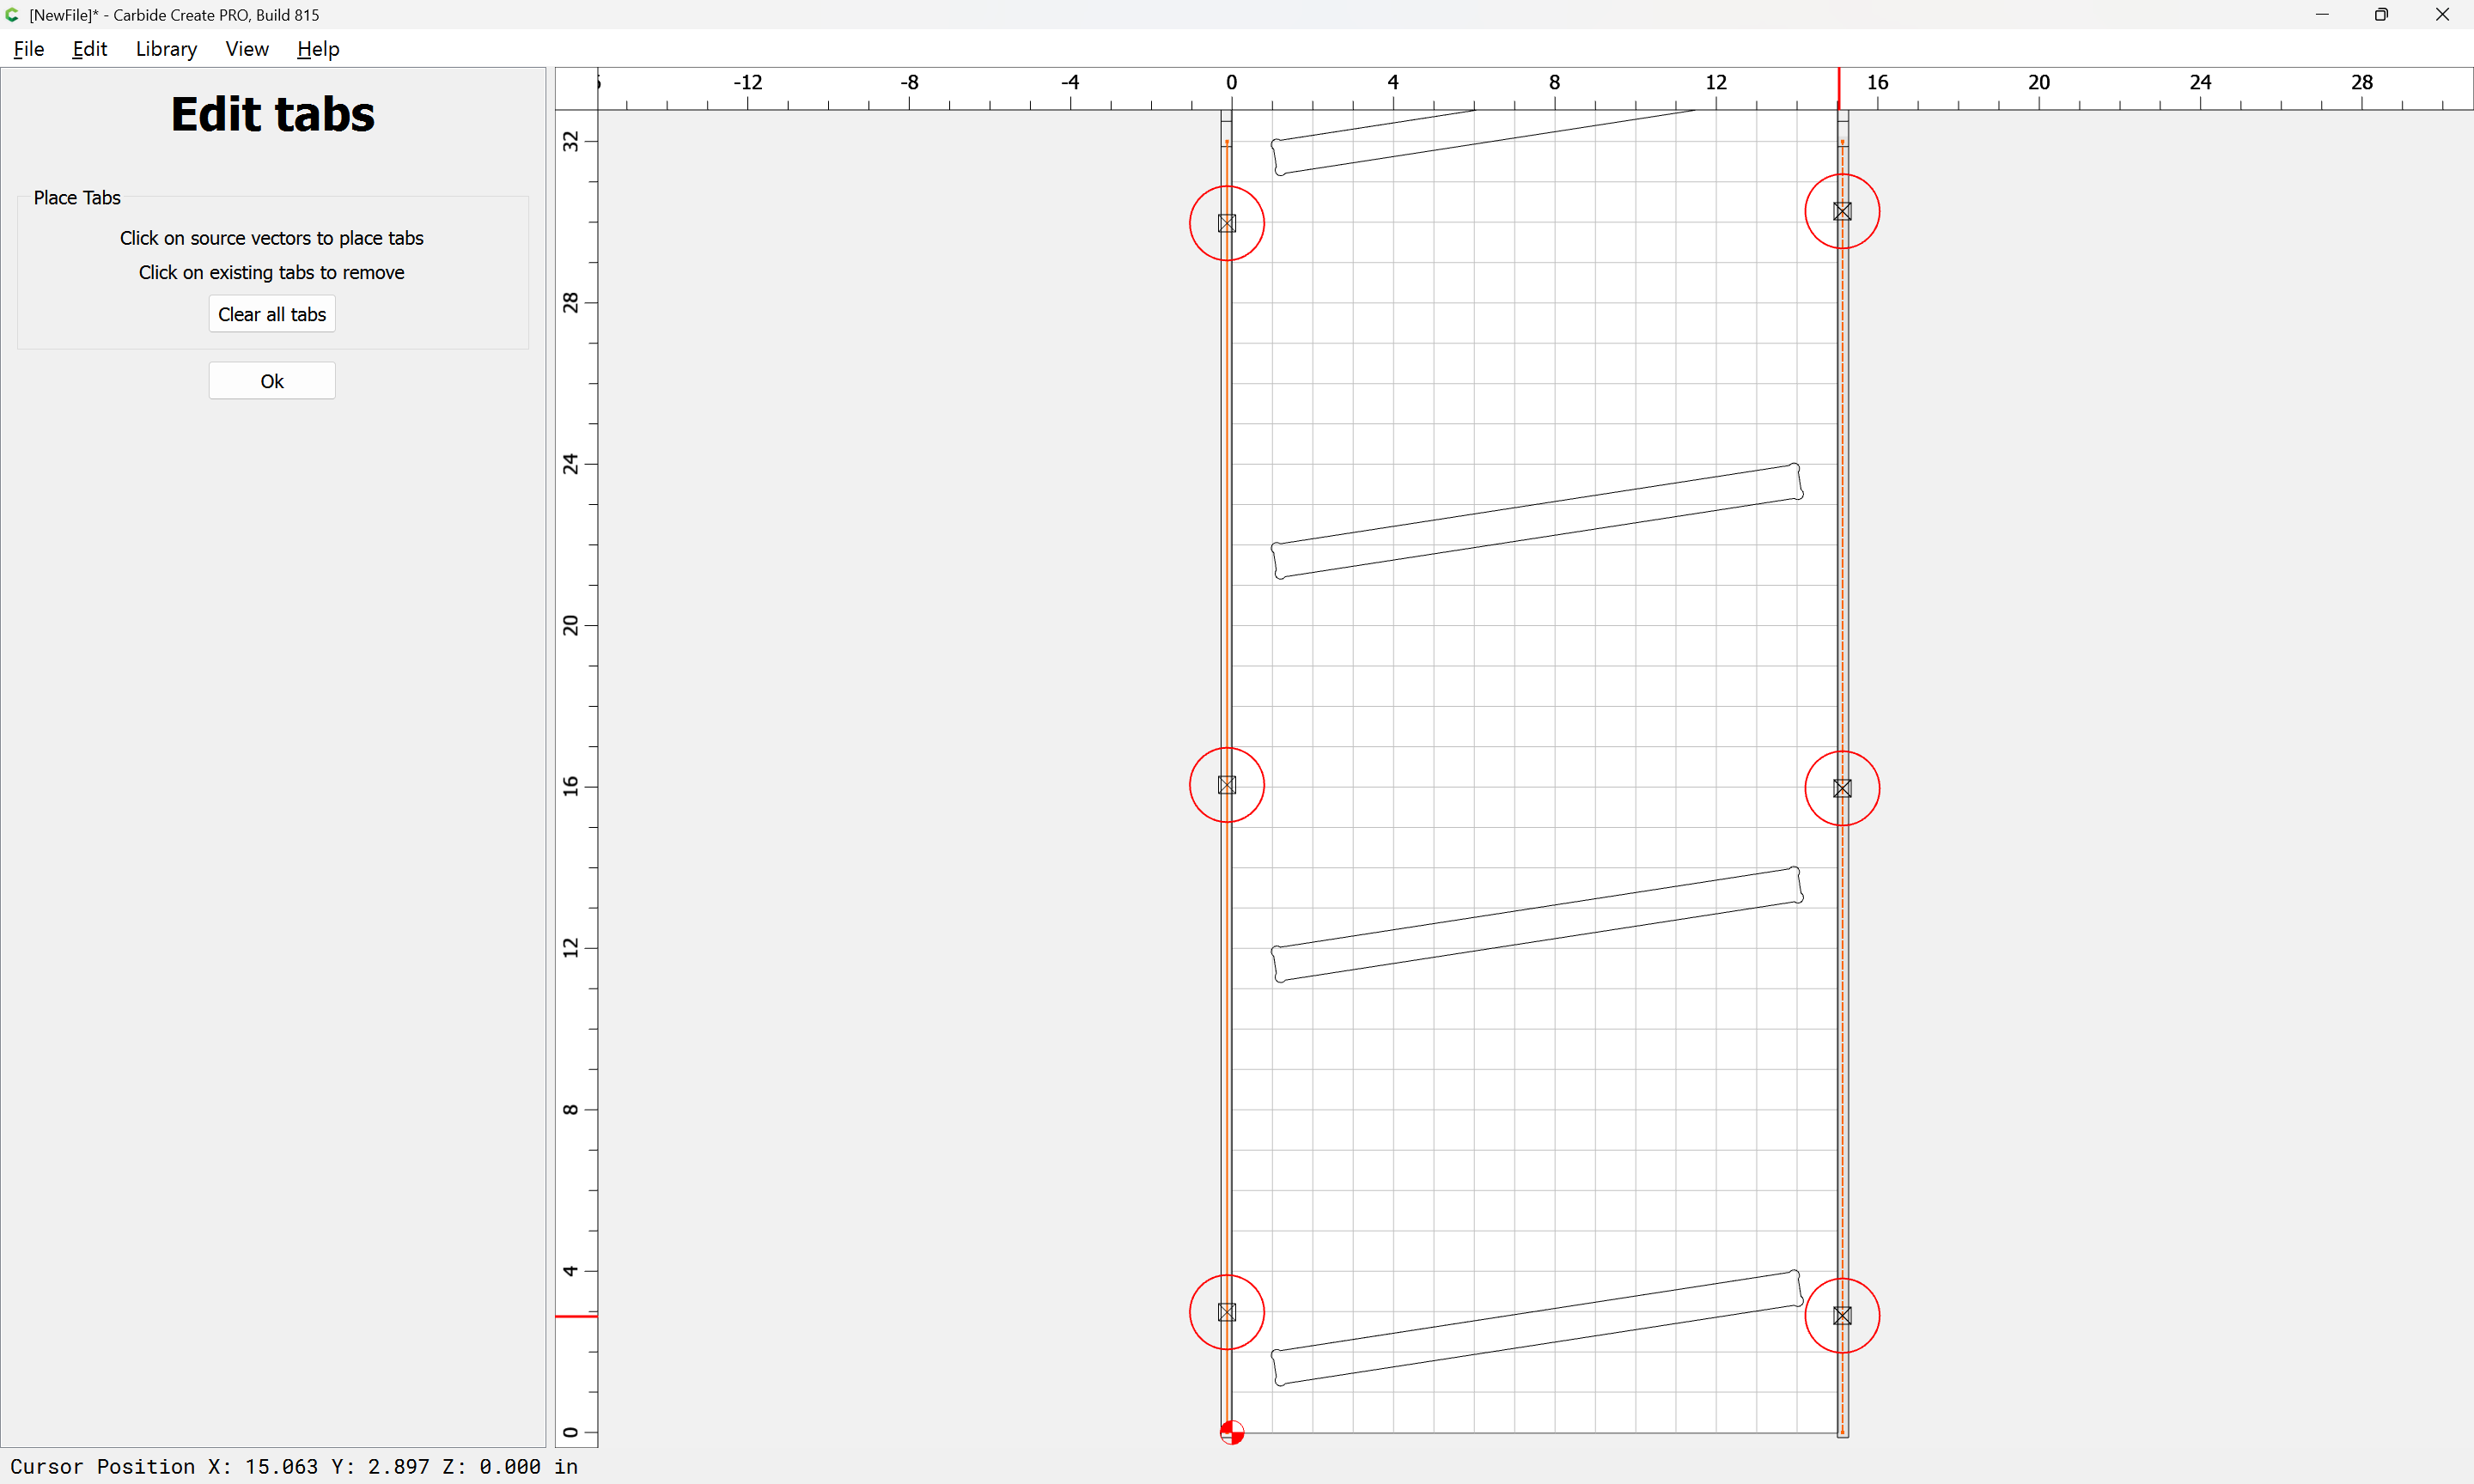
Ok
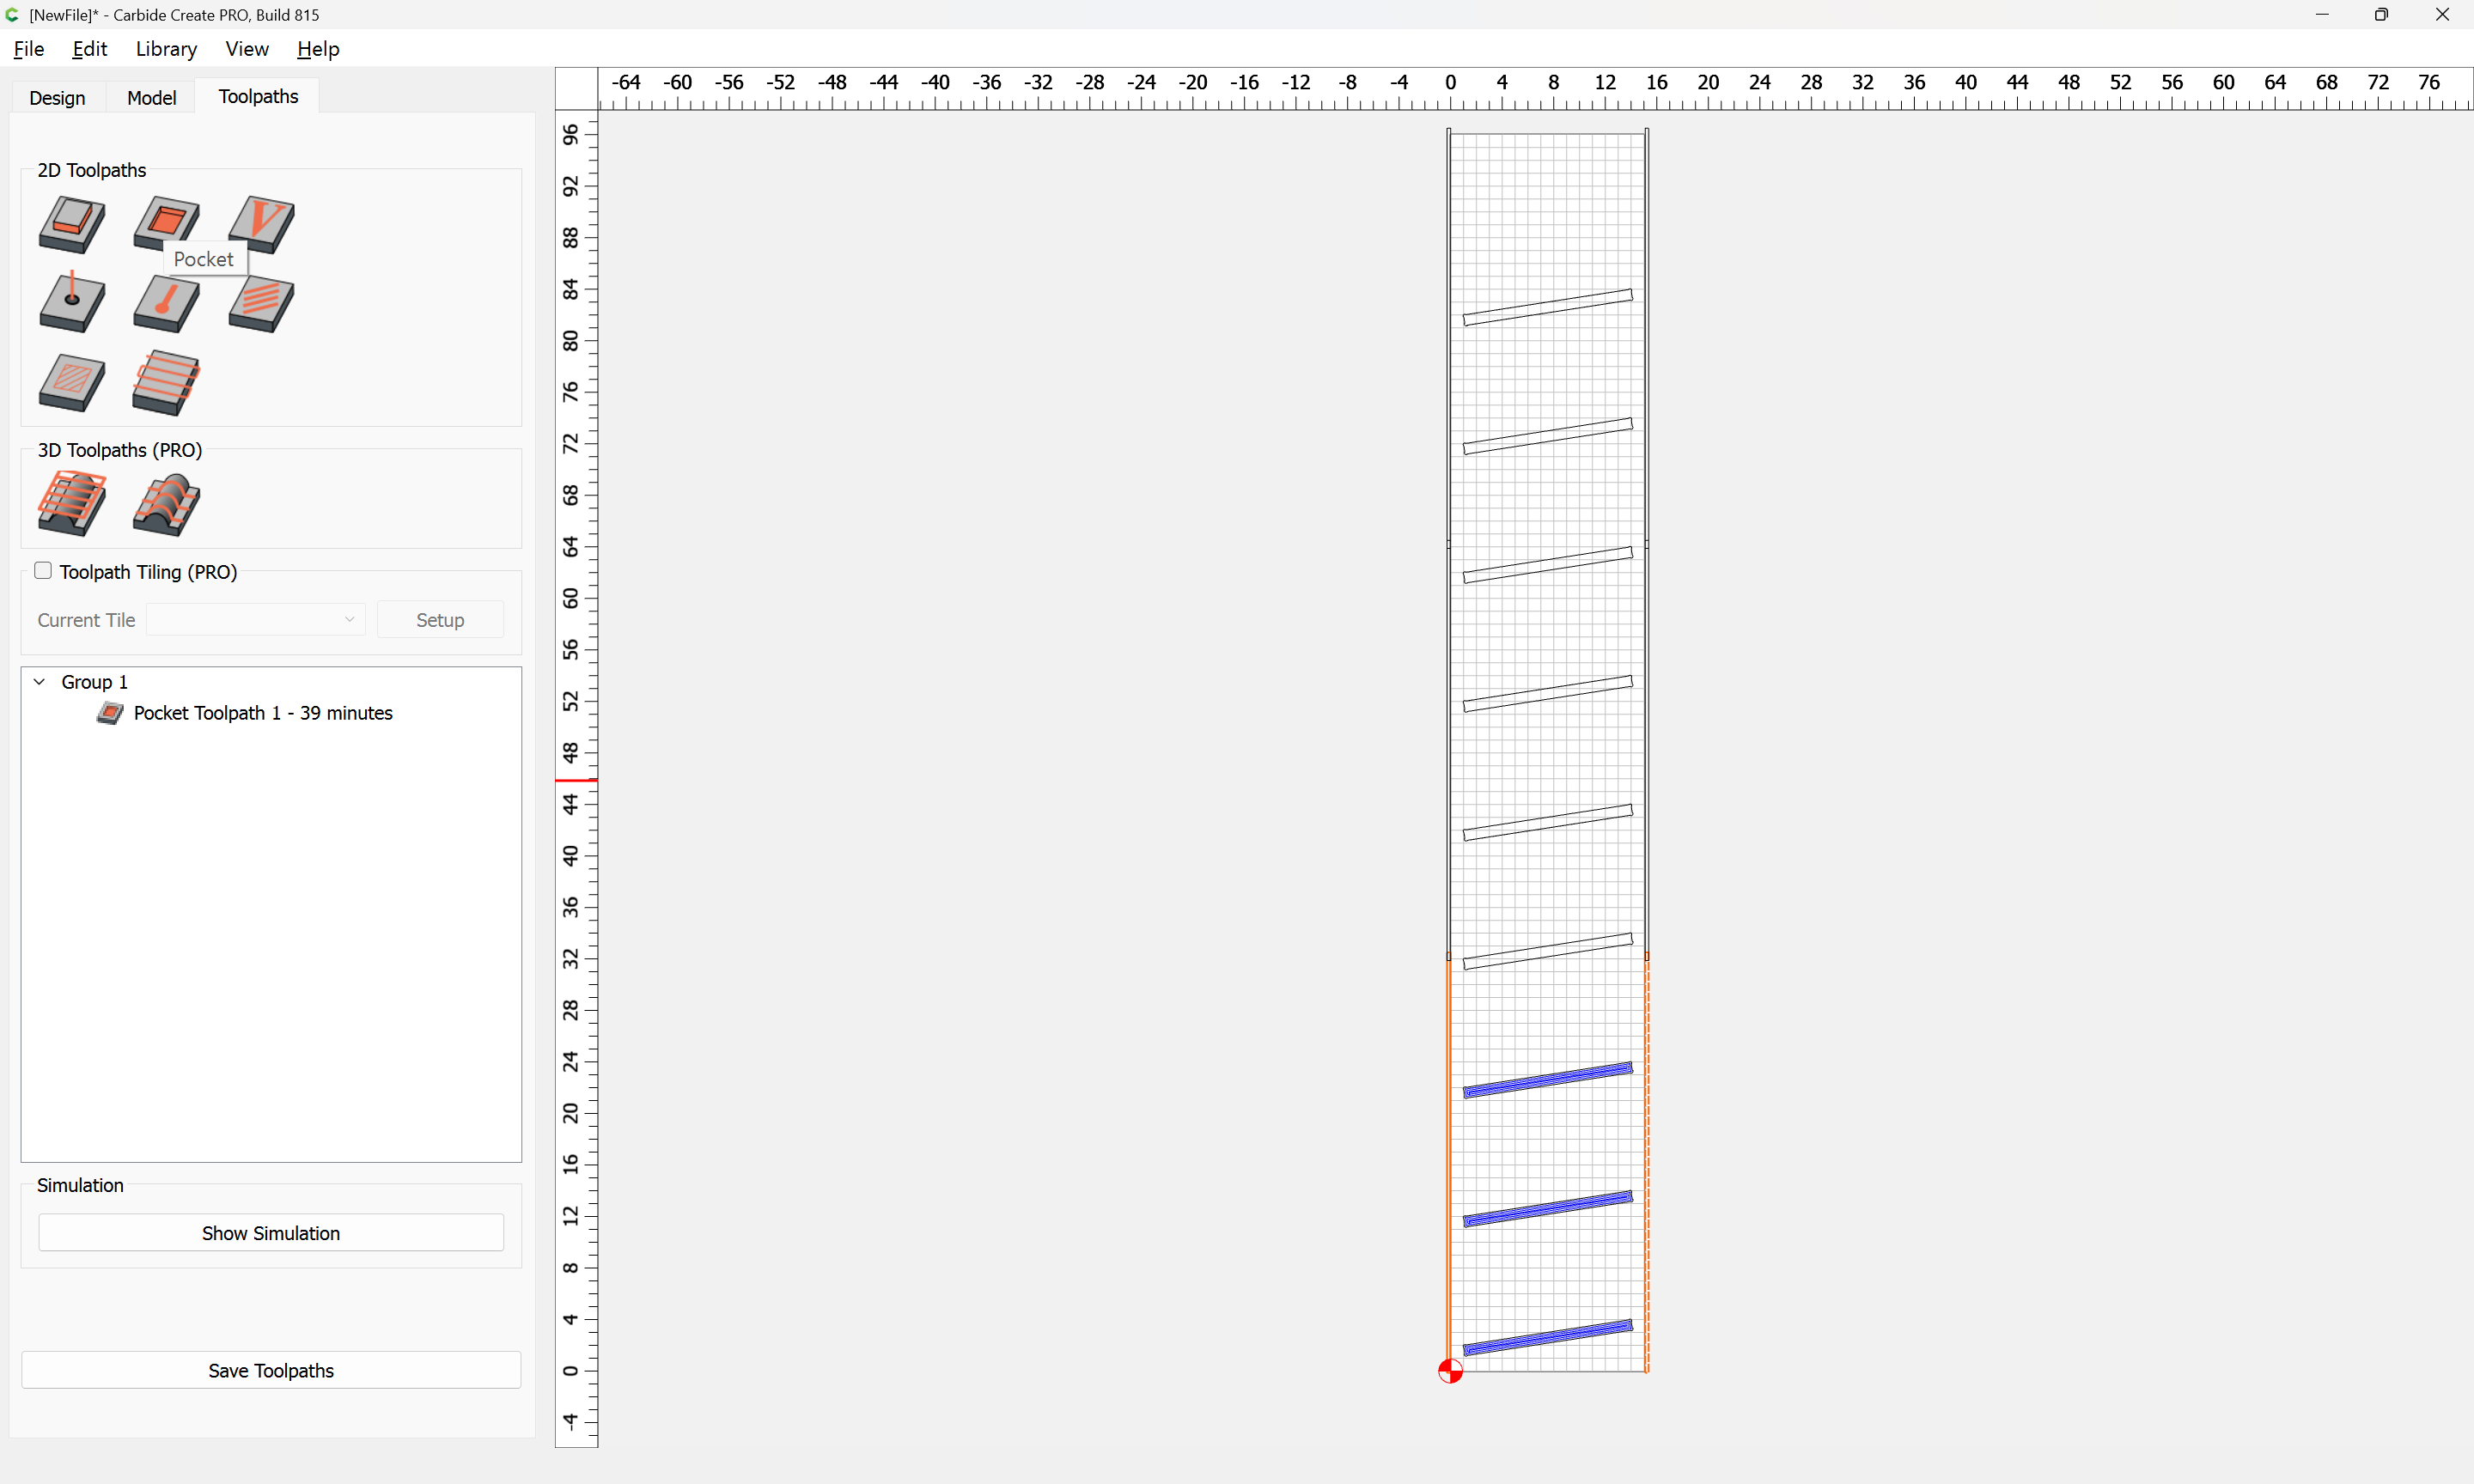
Then assign toolpaths:

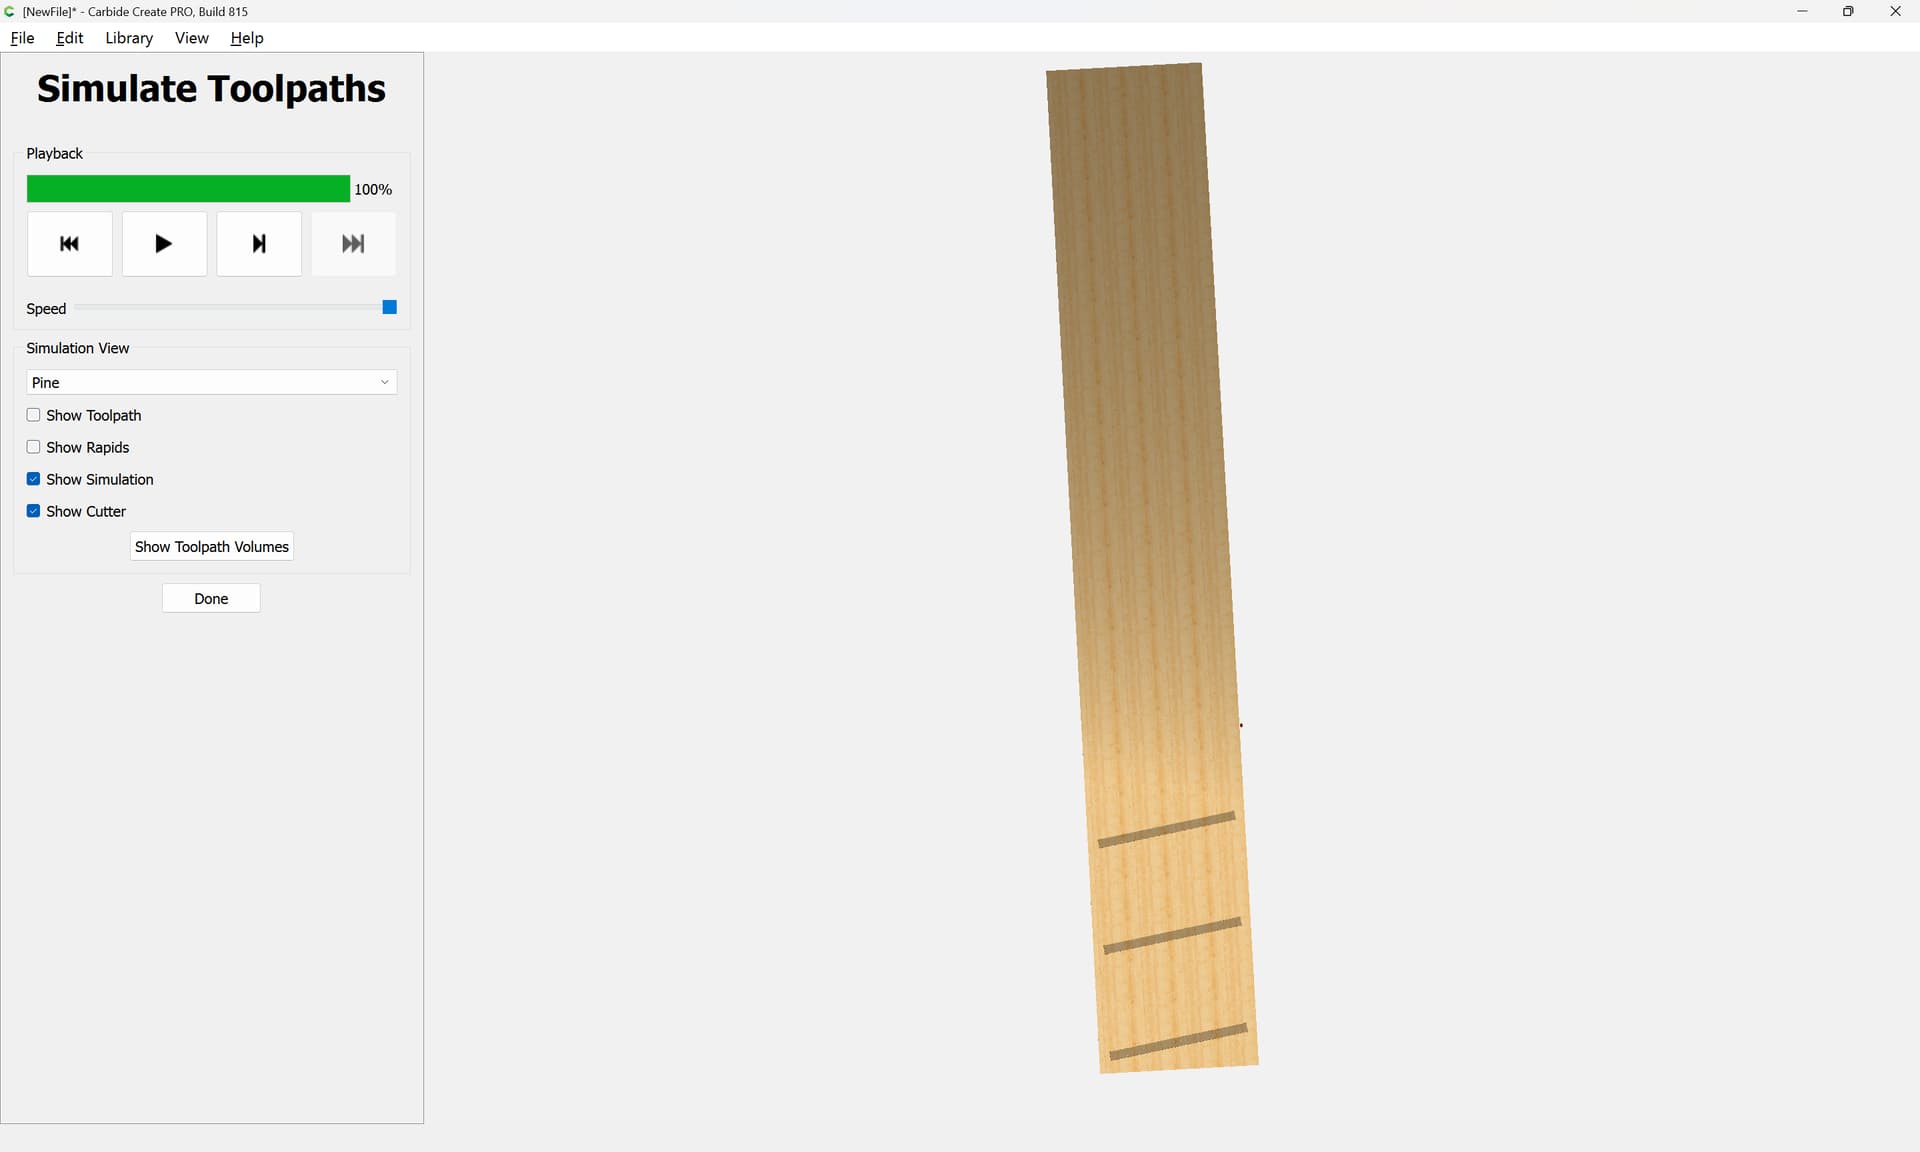
which previews as:
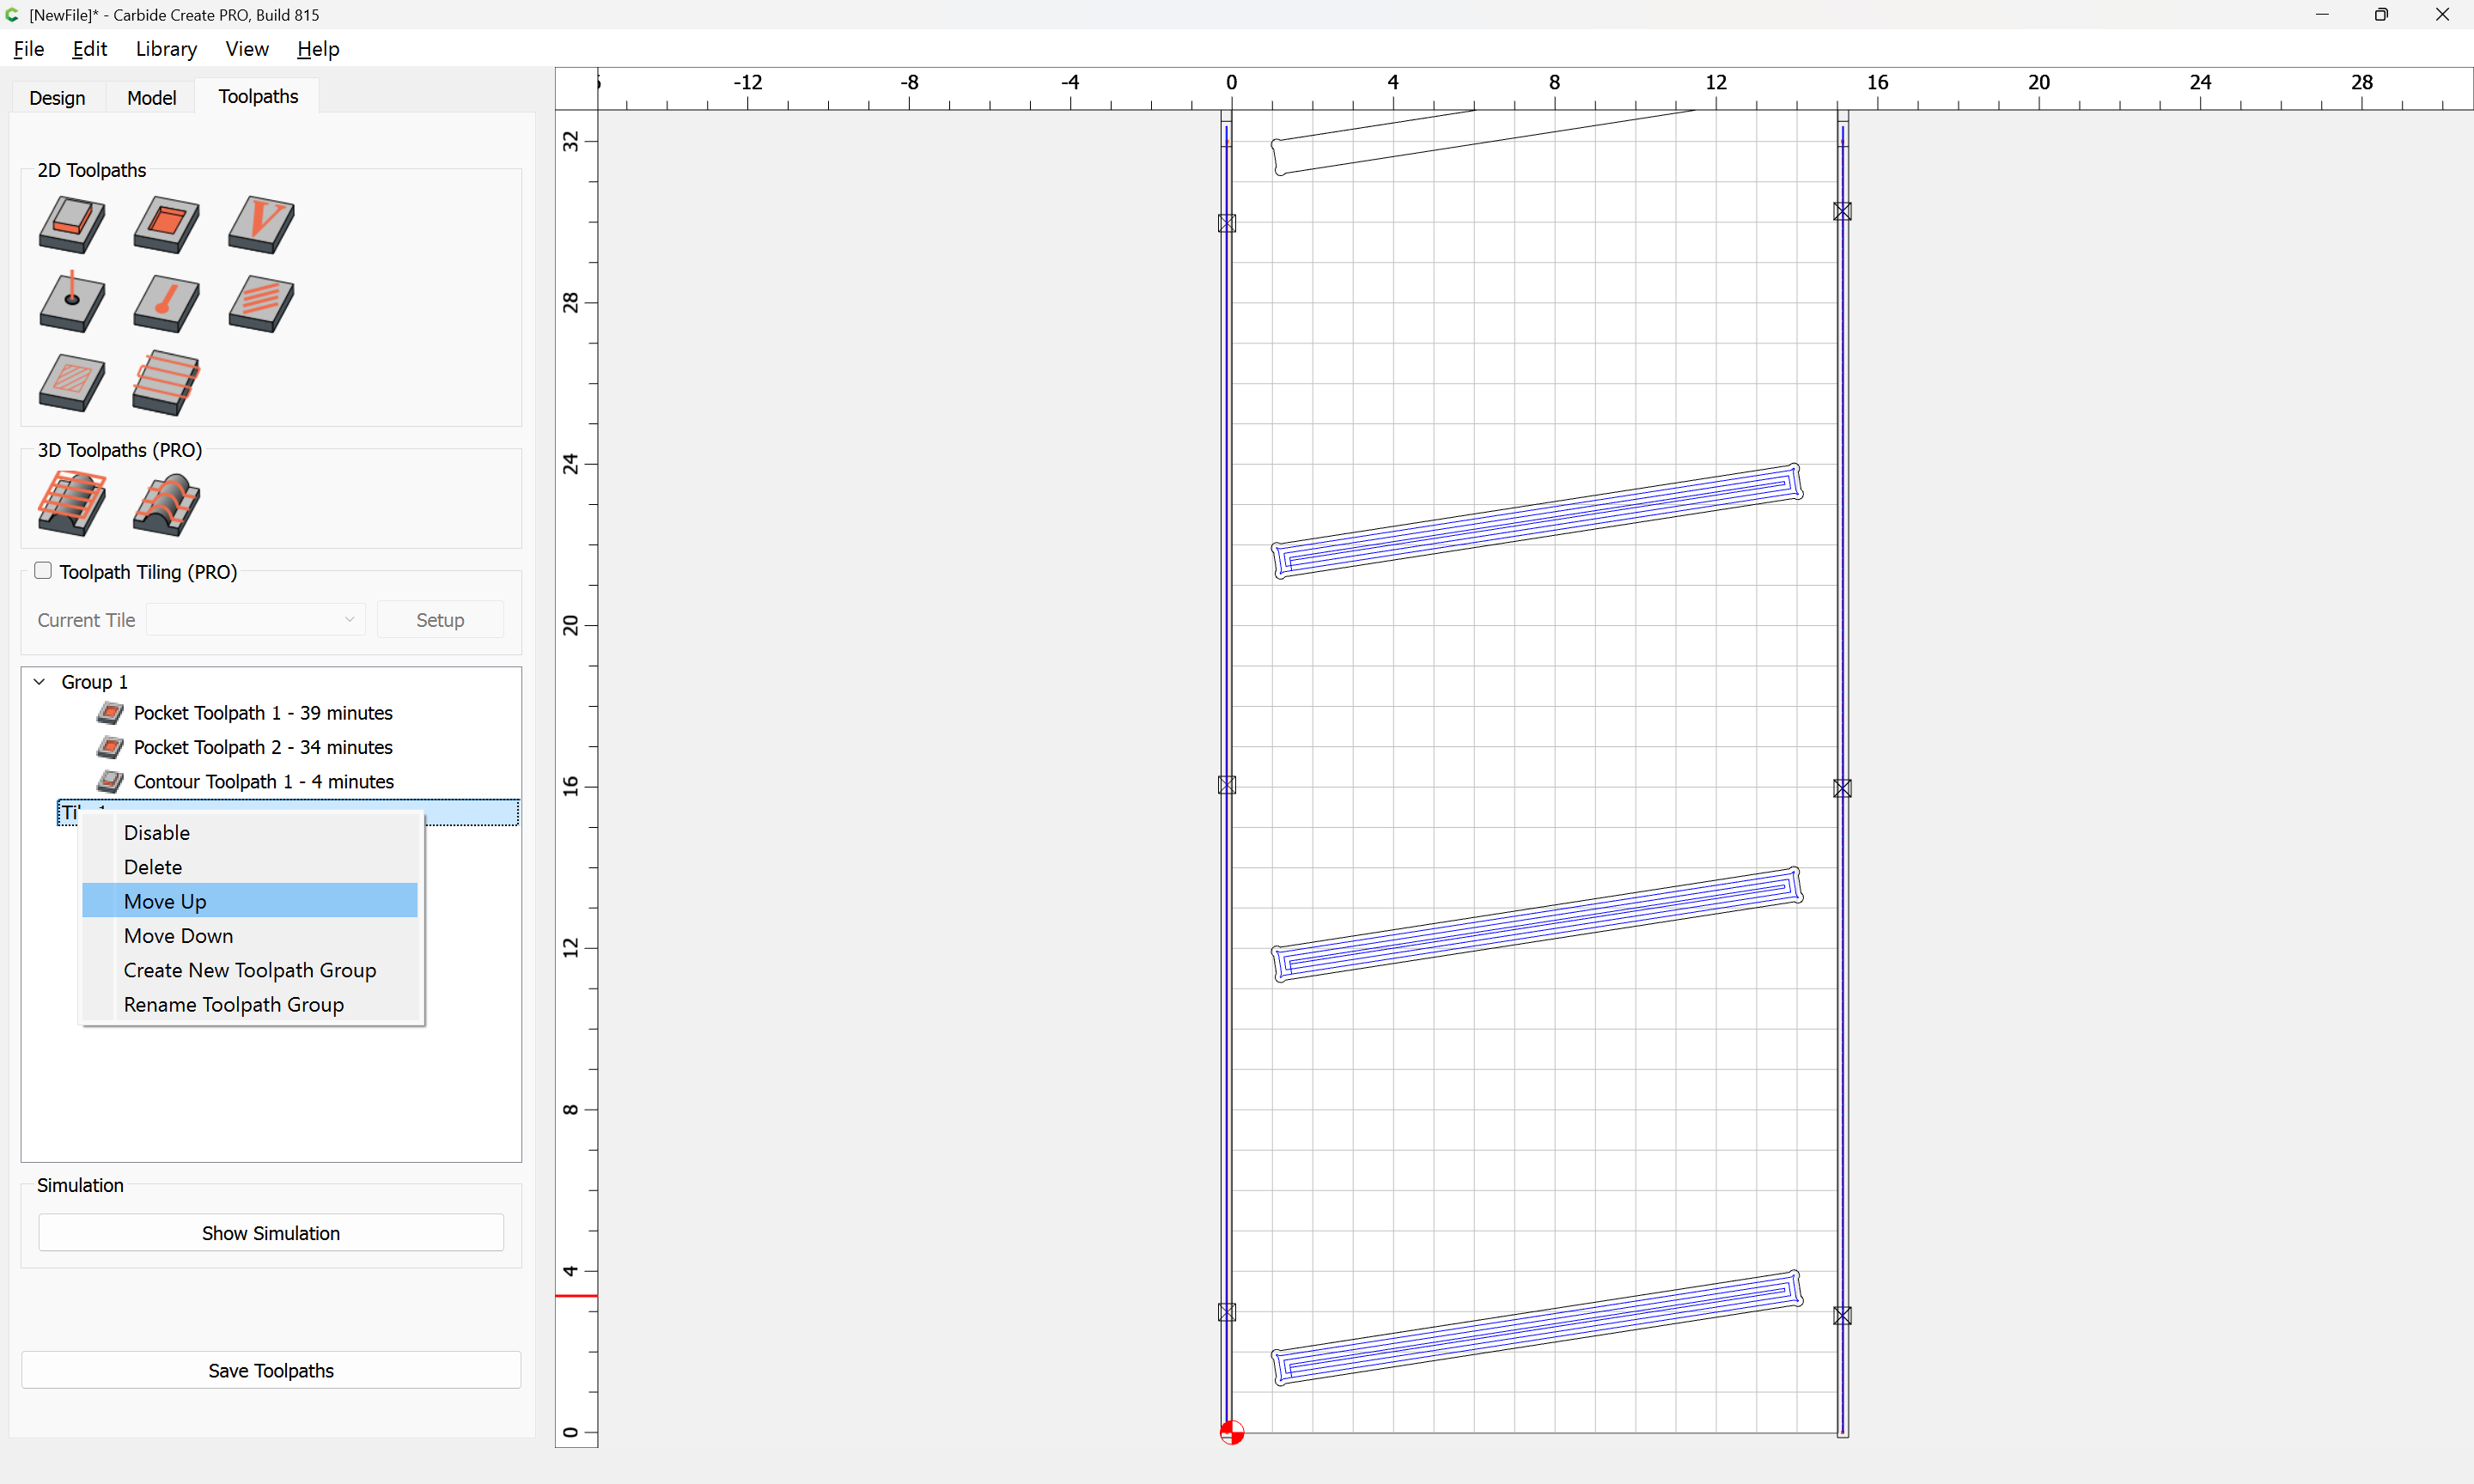
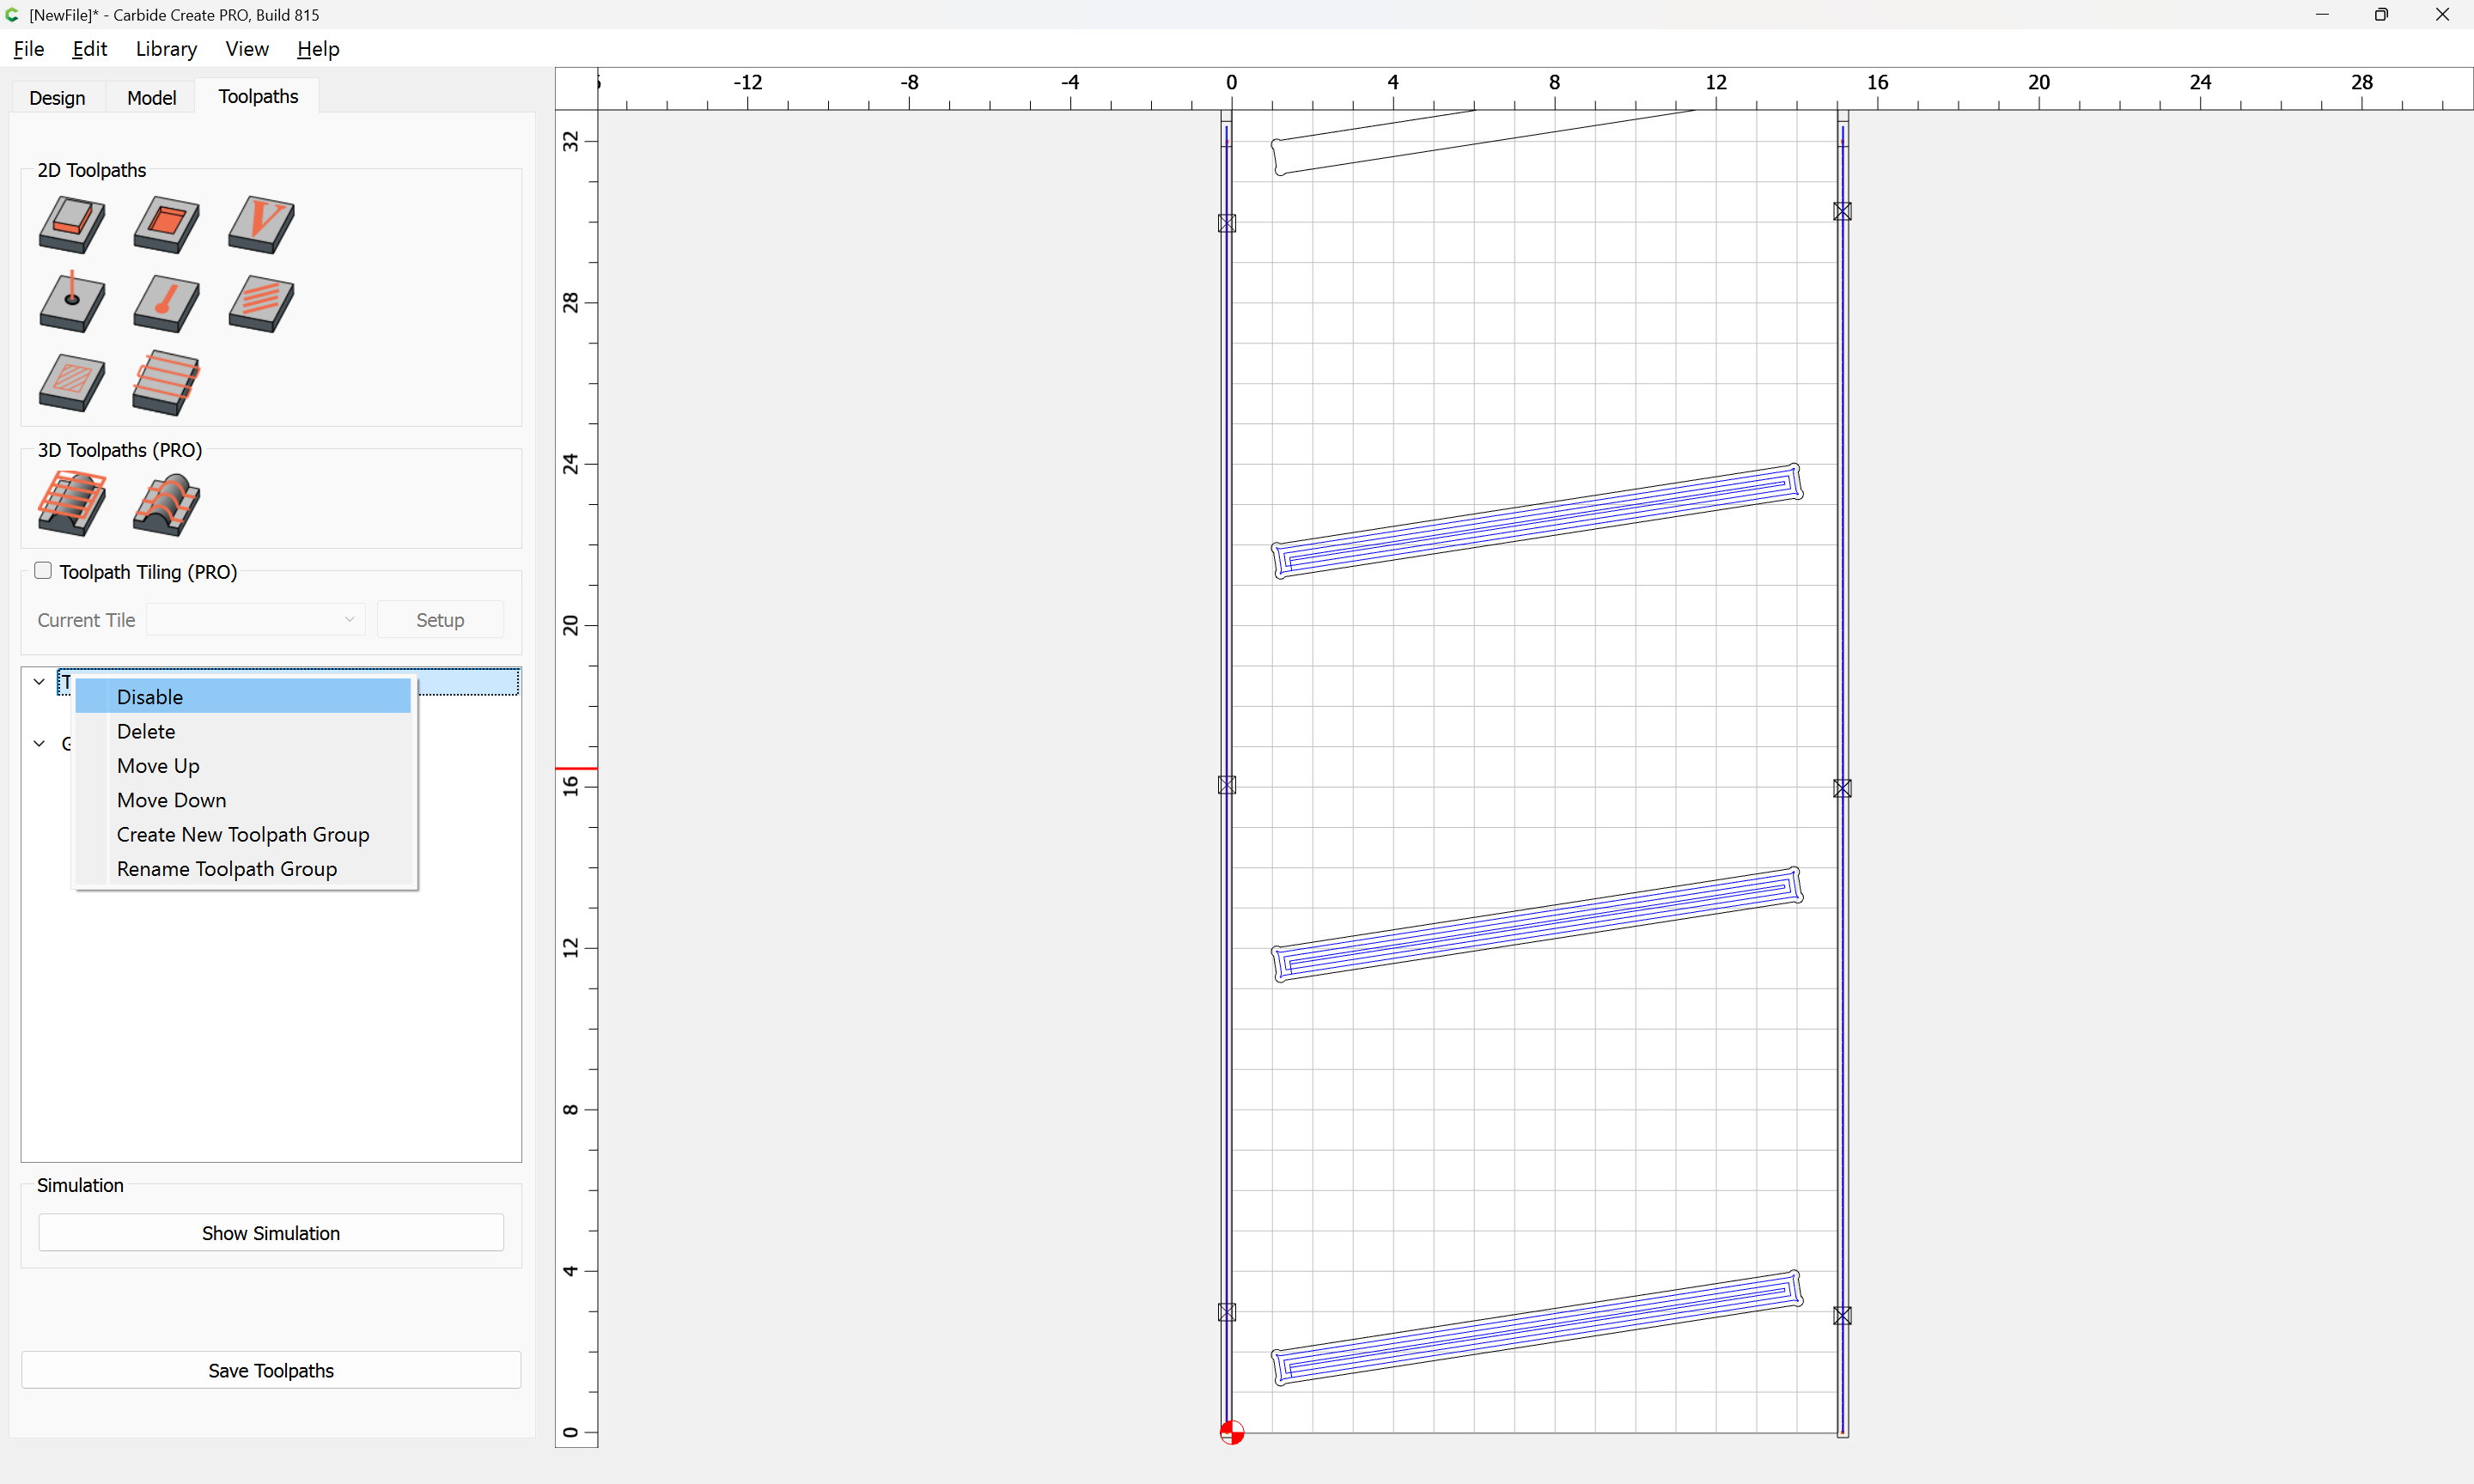
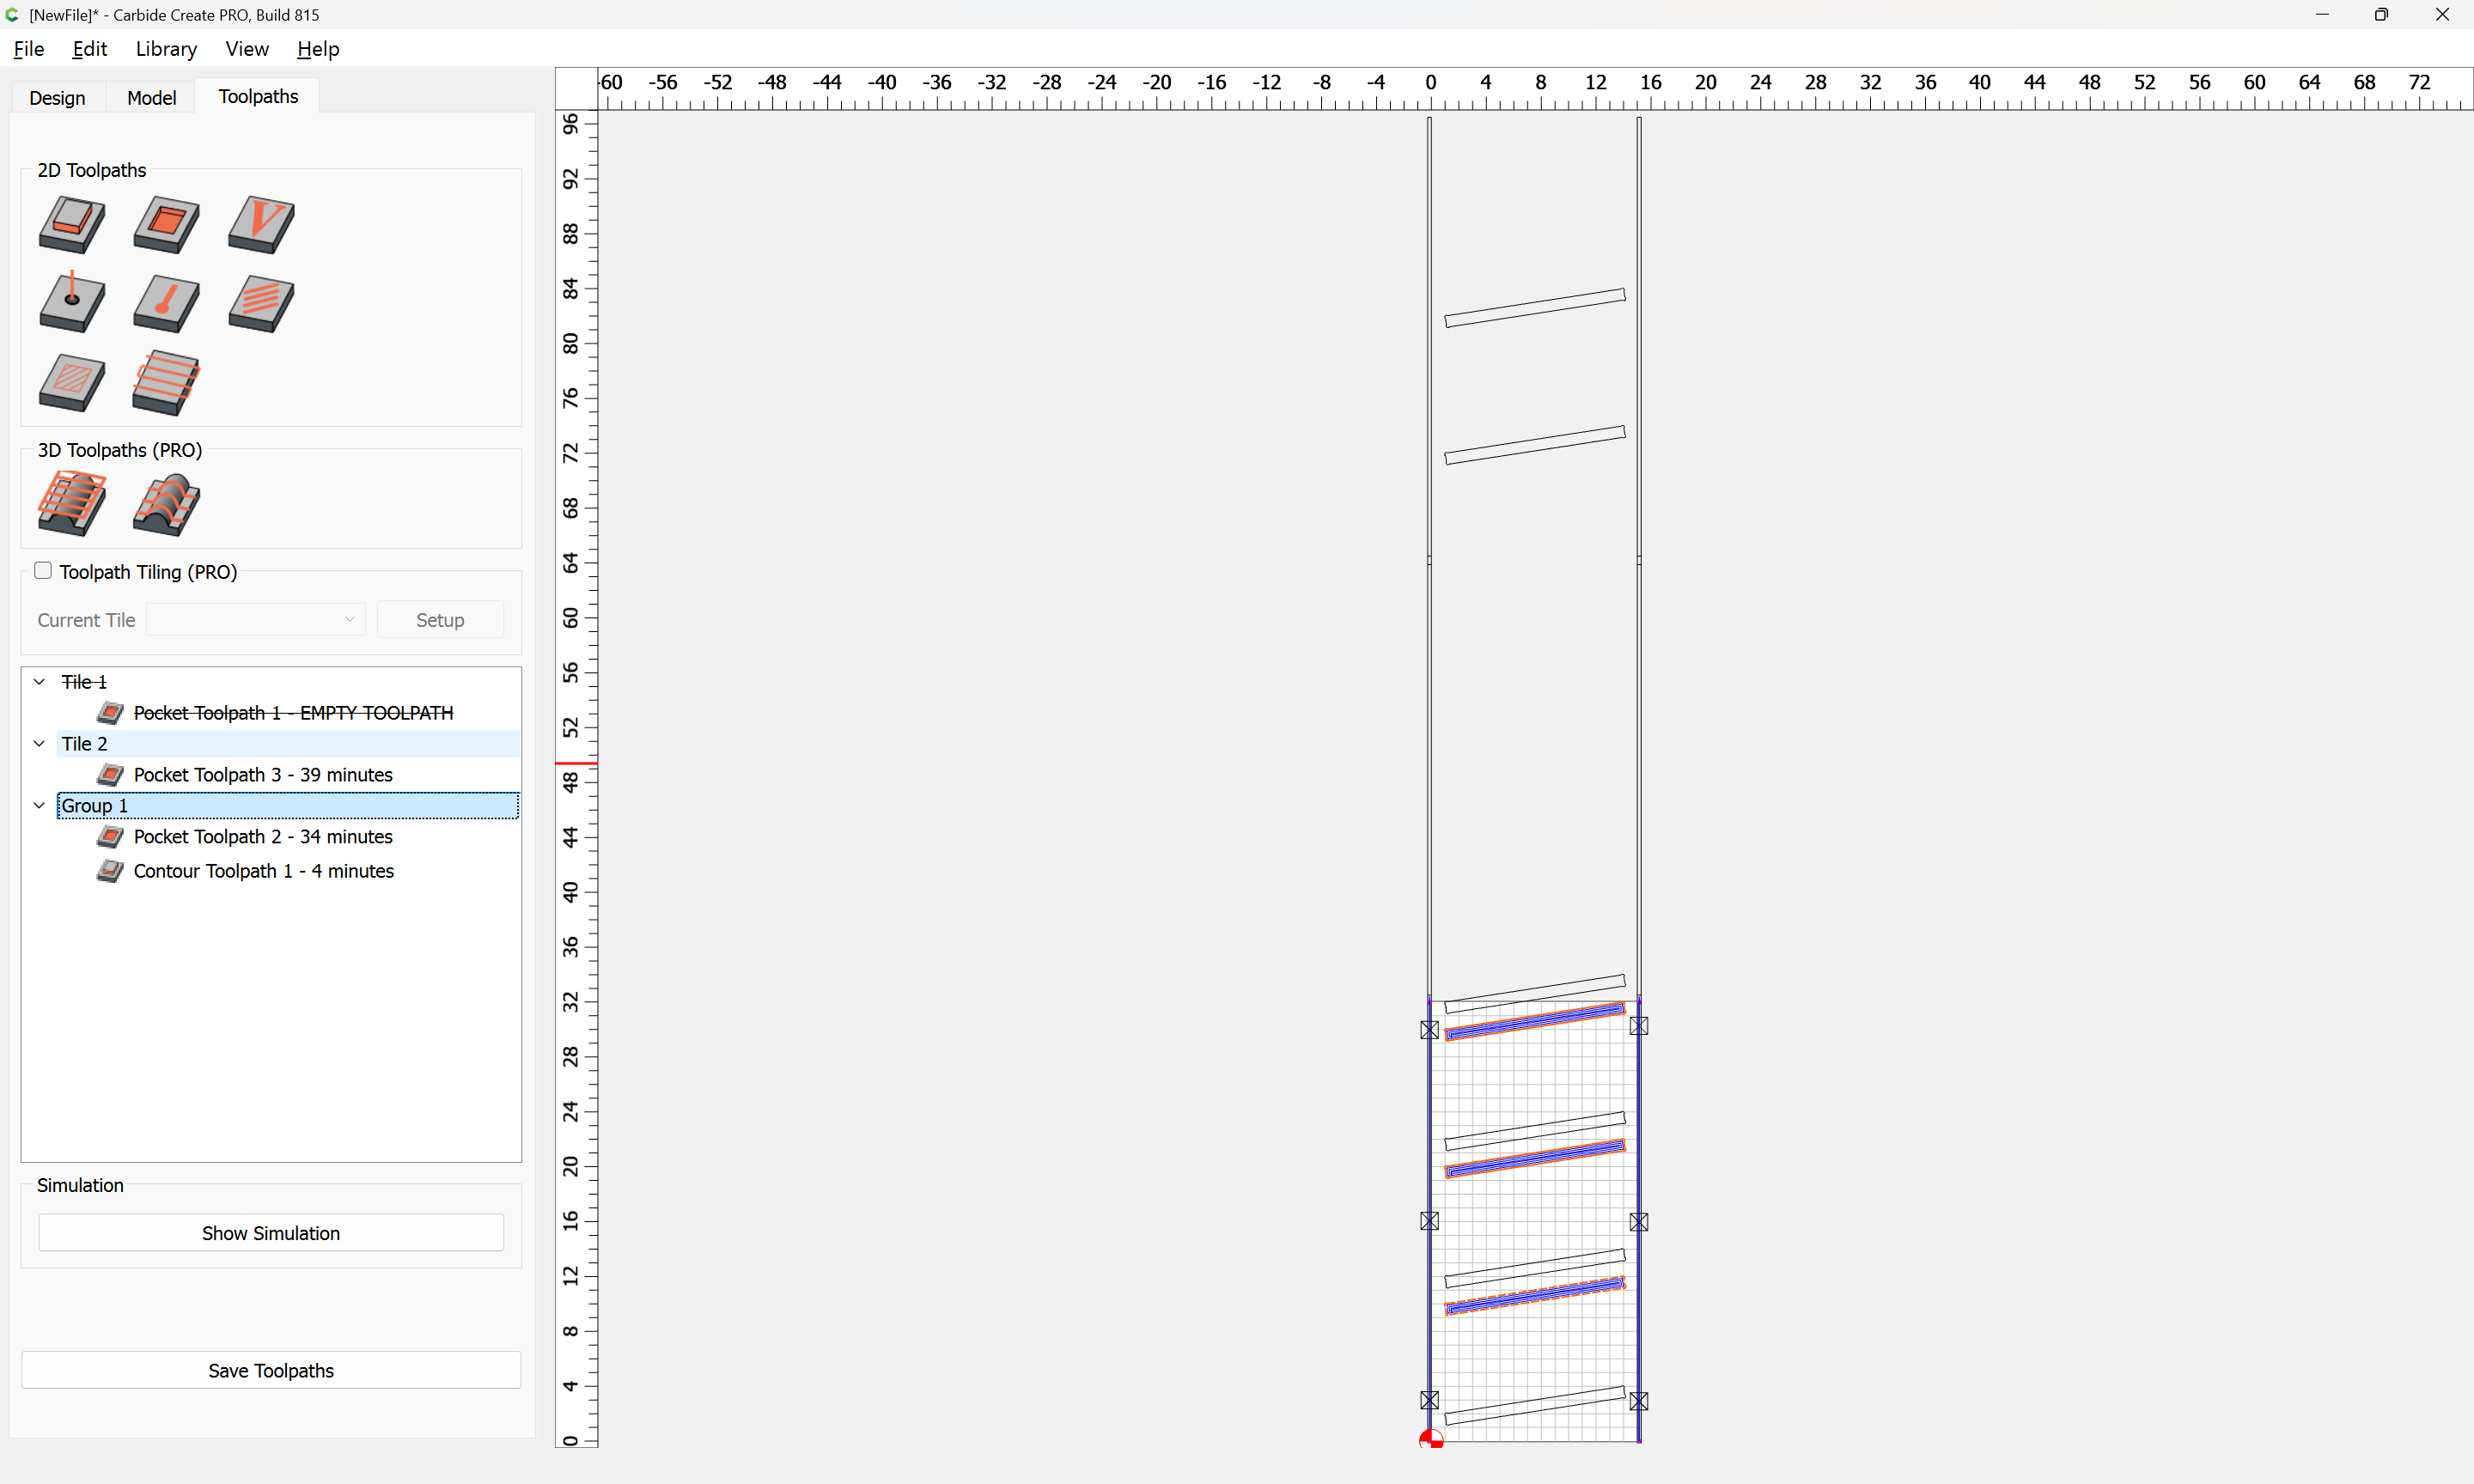
Then, set up a group for the slots in the first tile:
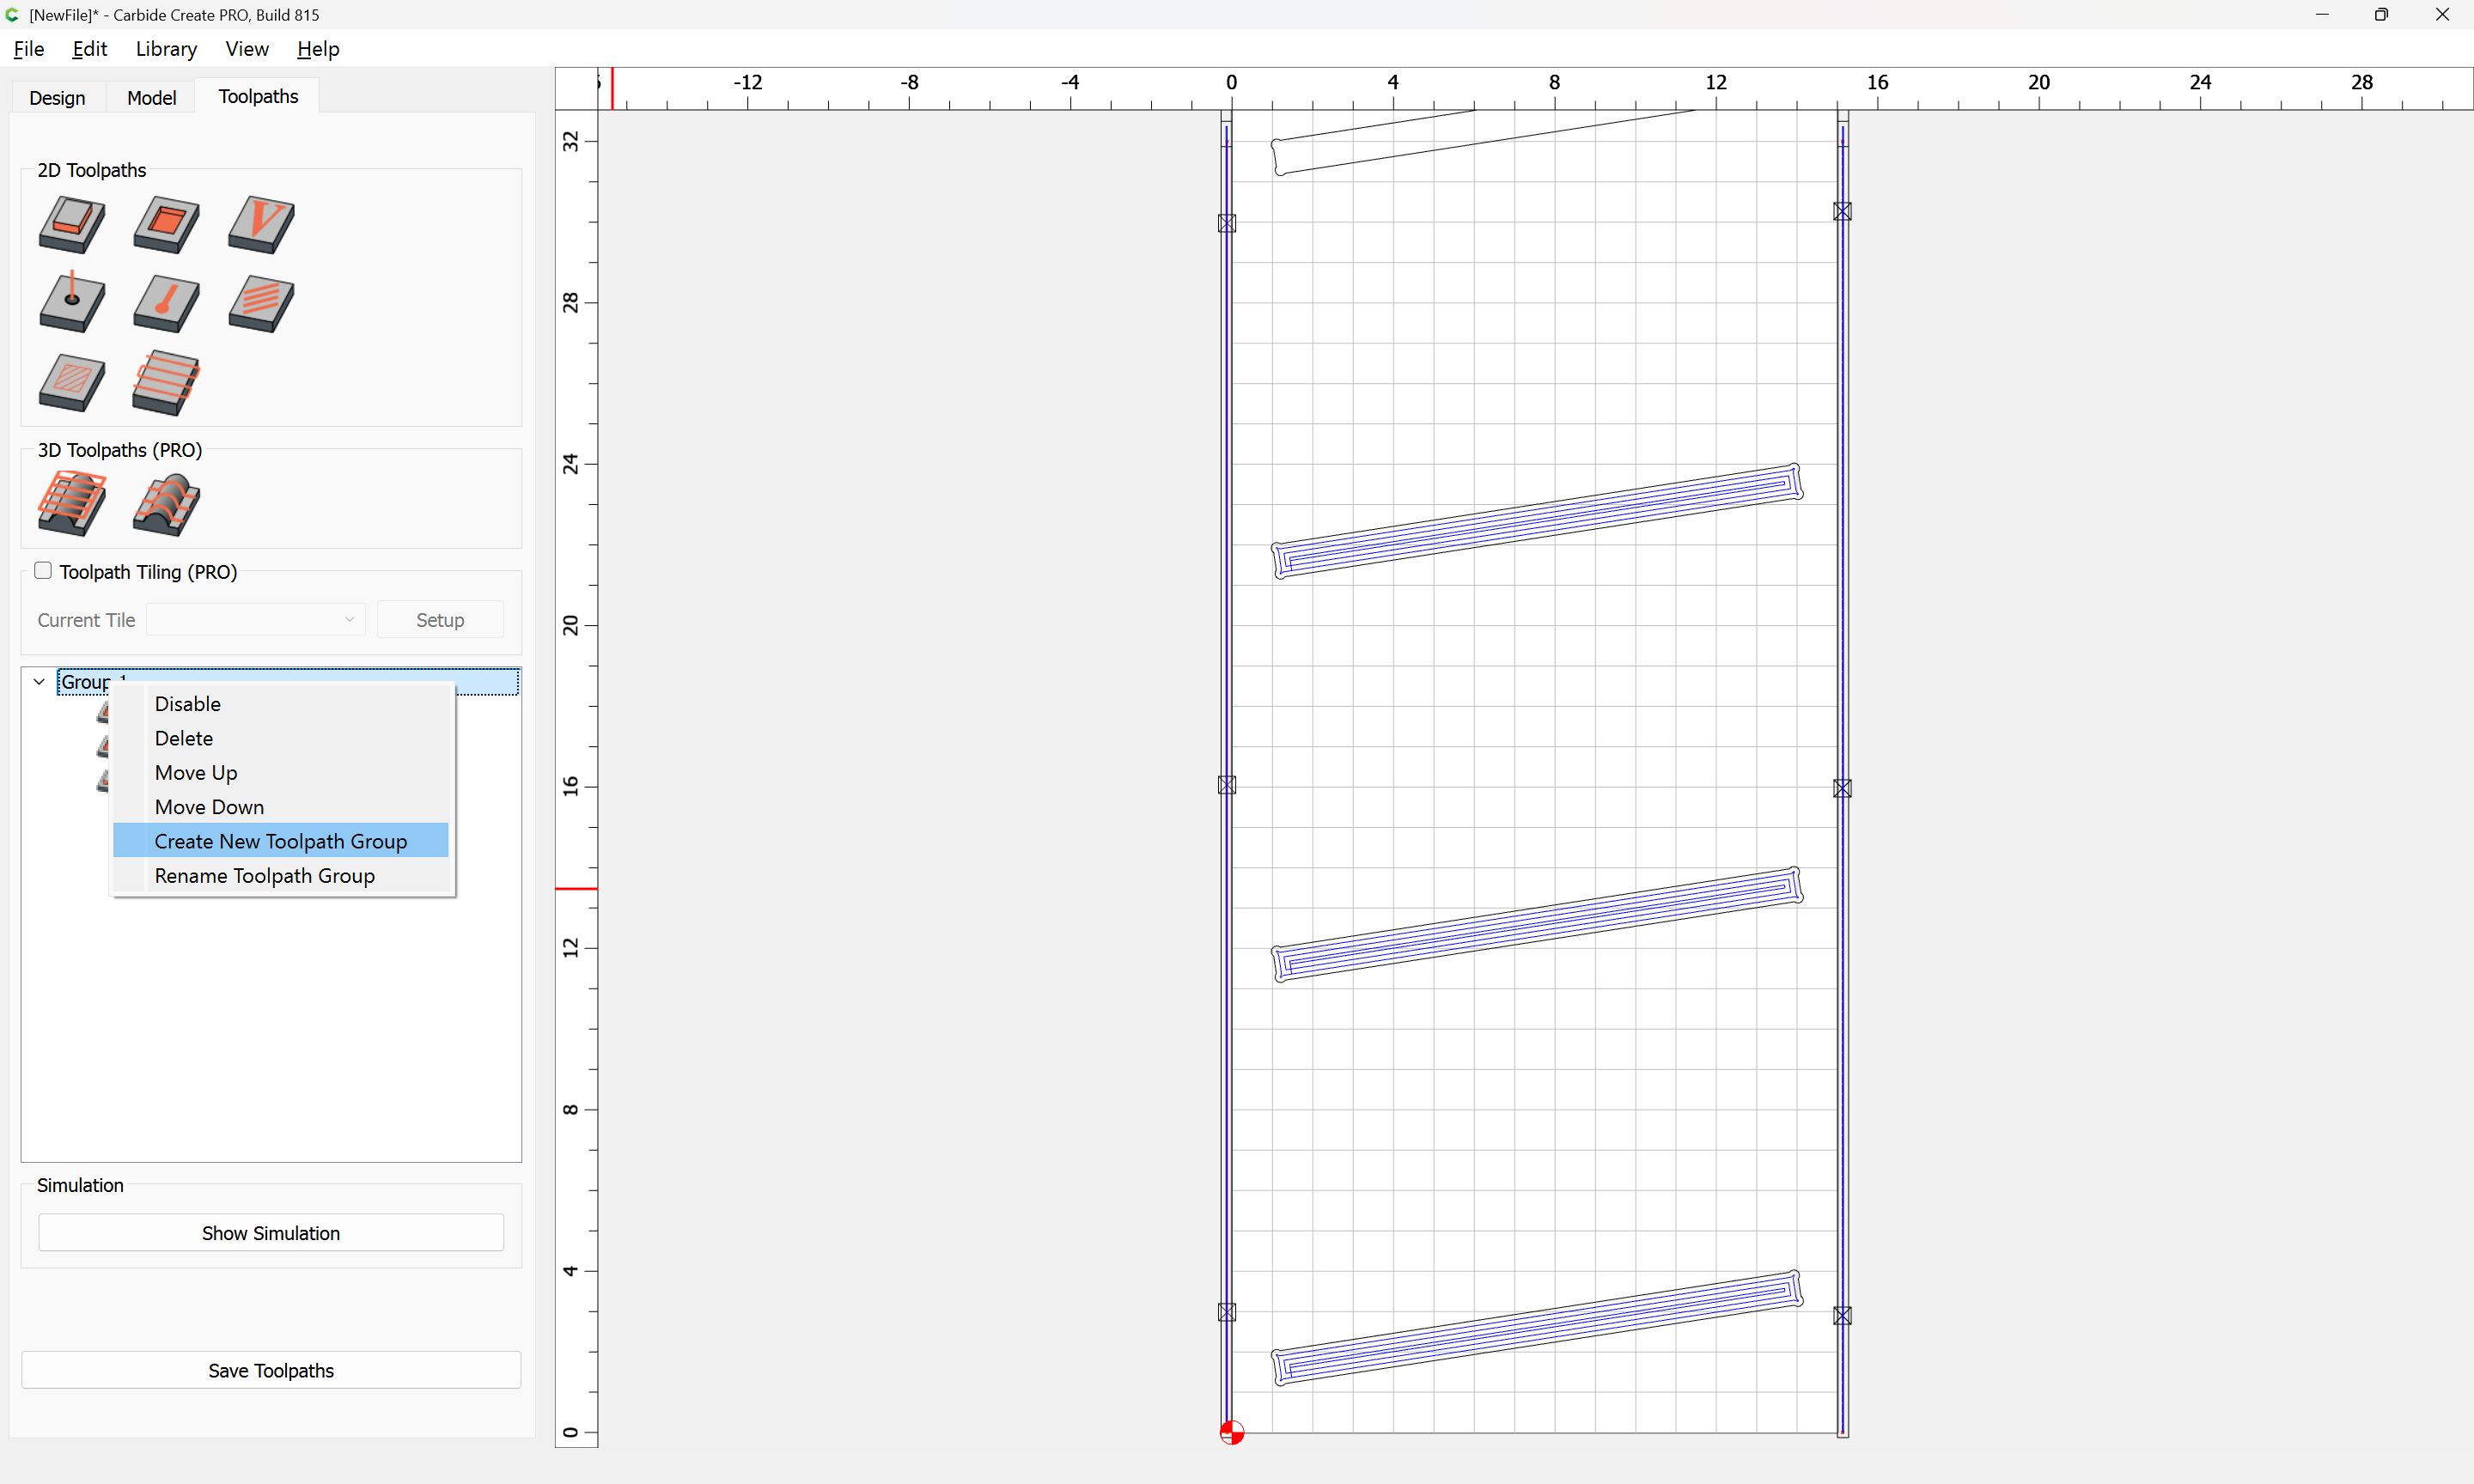
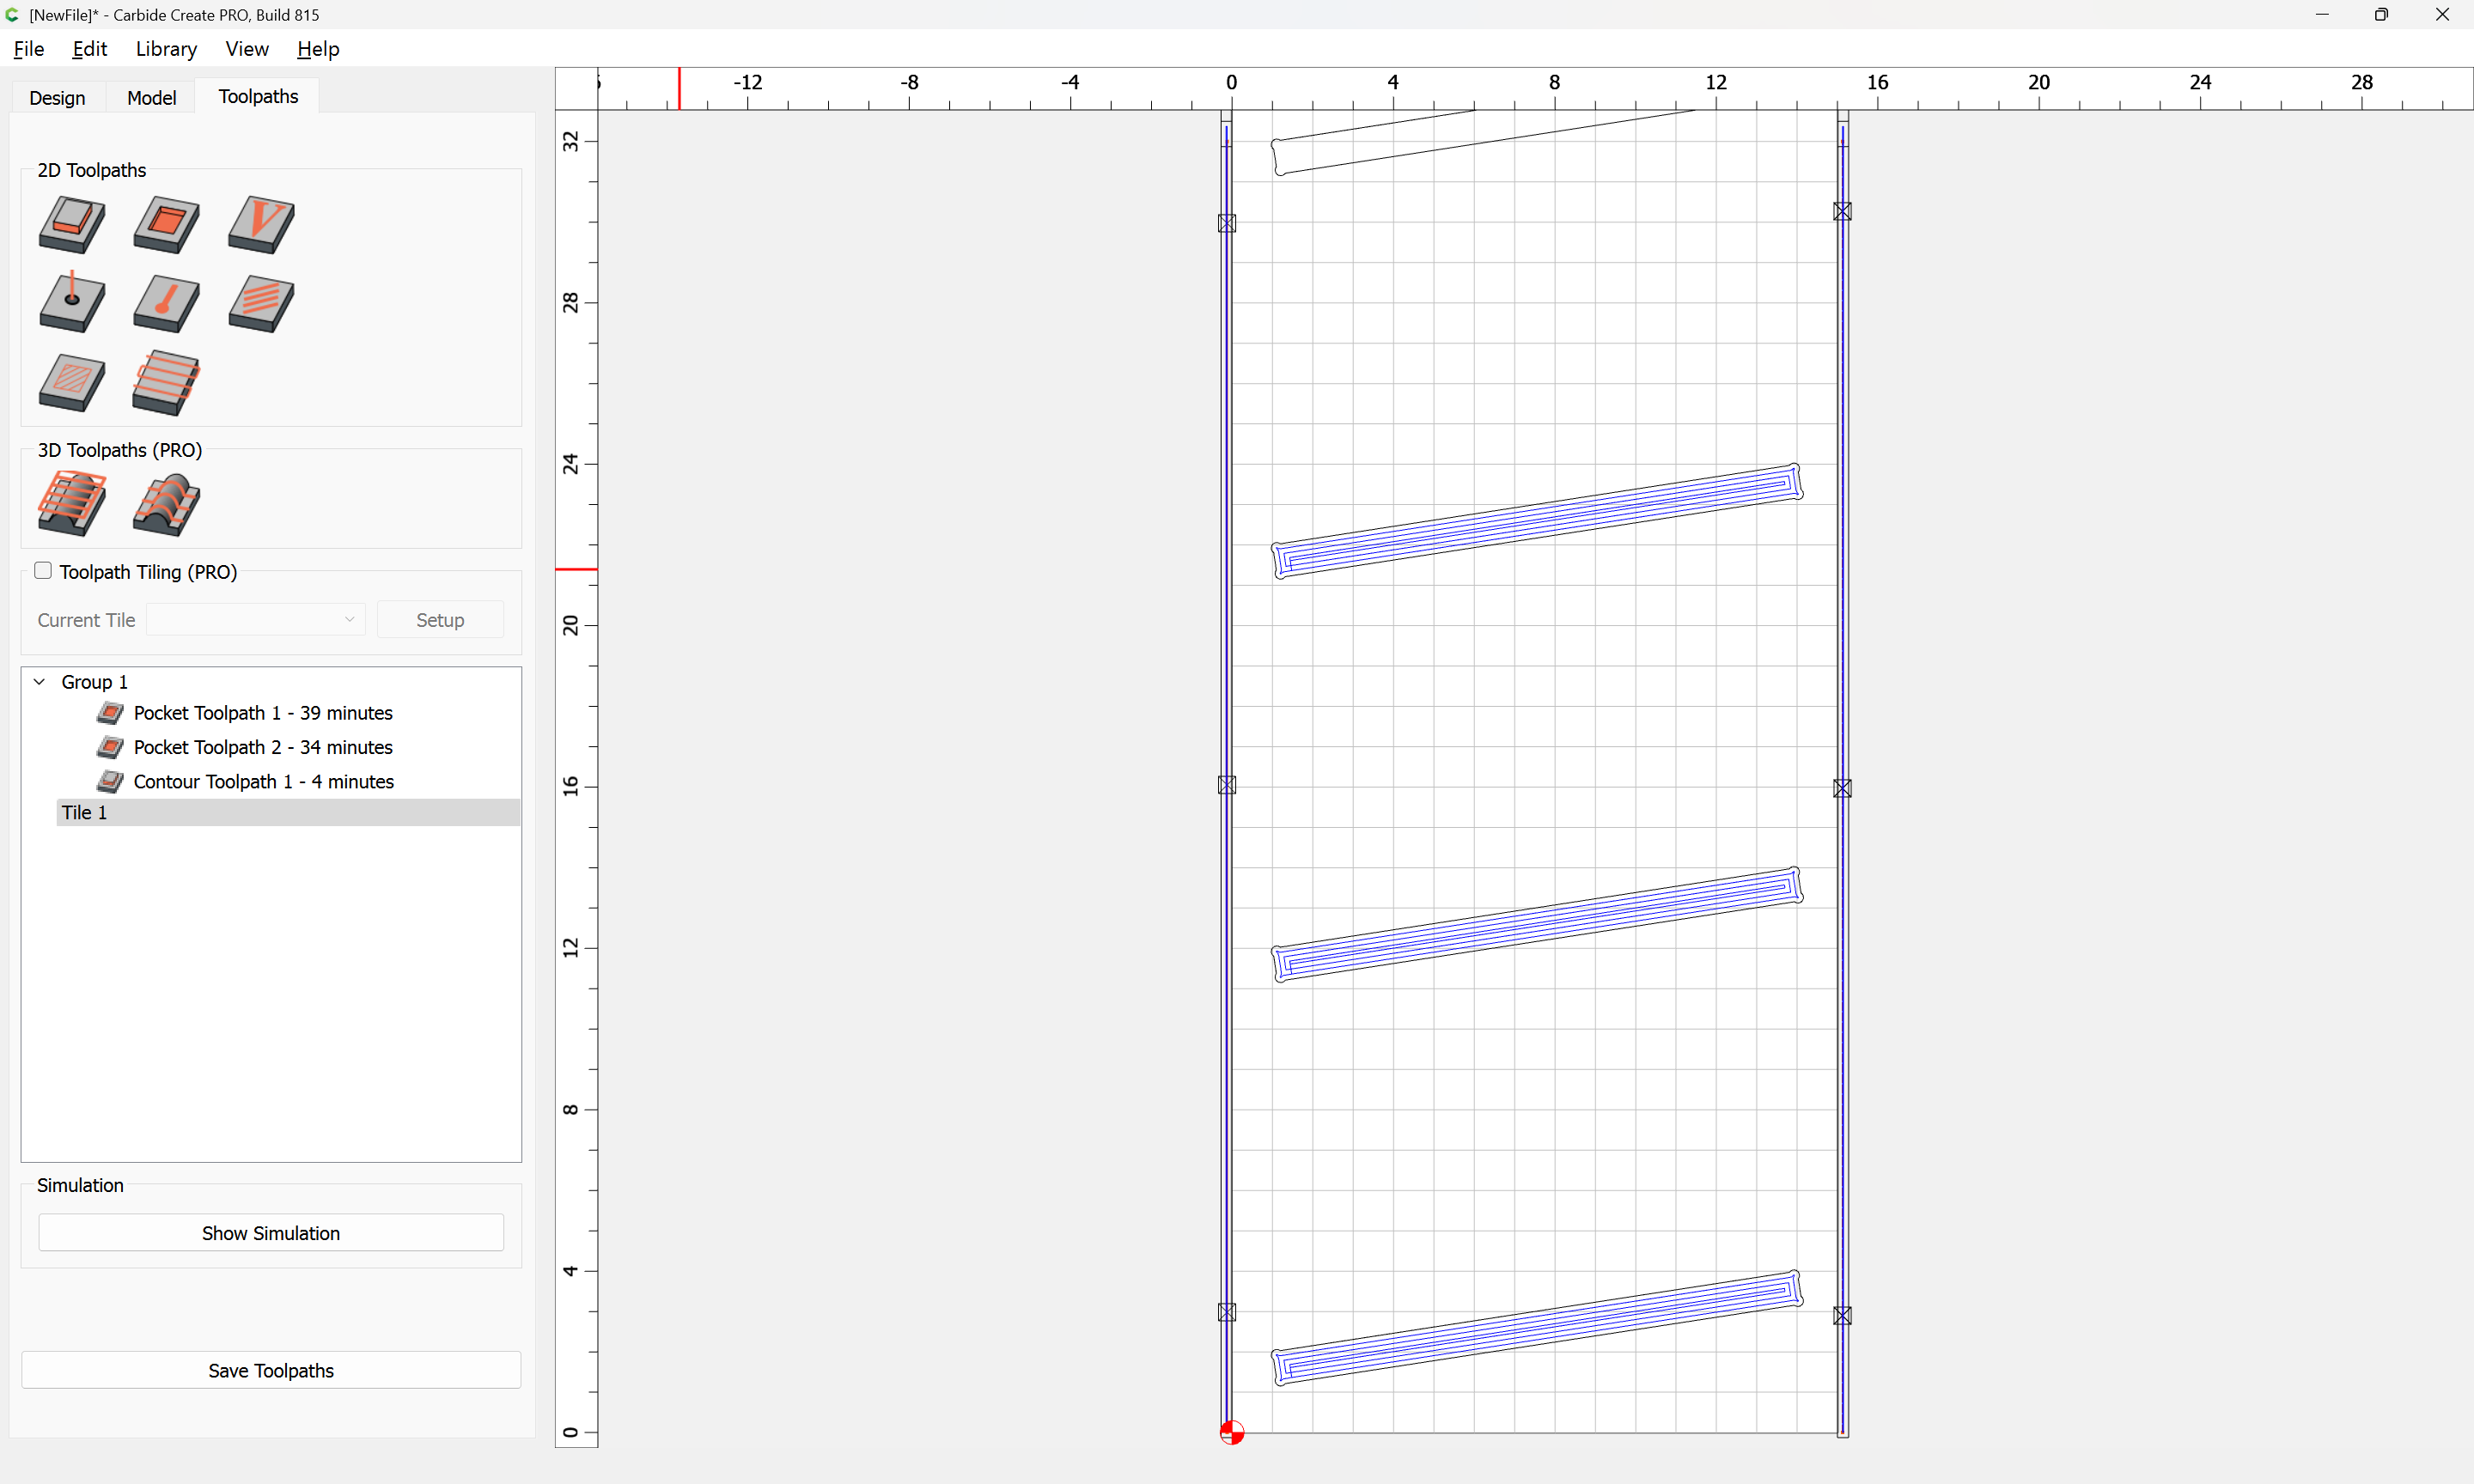
and move it to the top and move the toolpath for it into it:
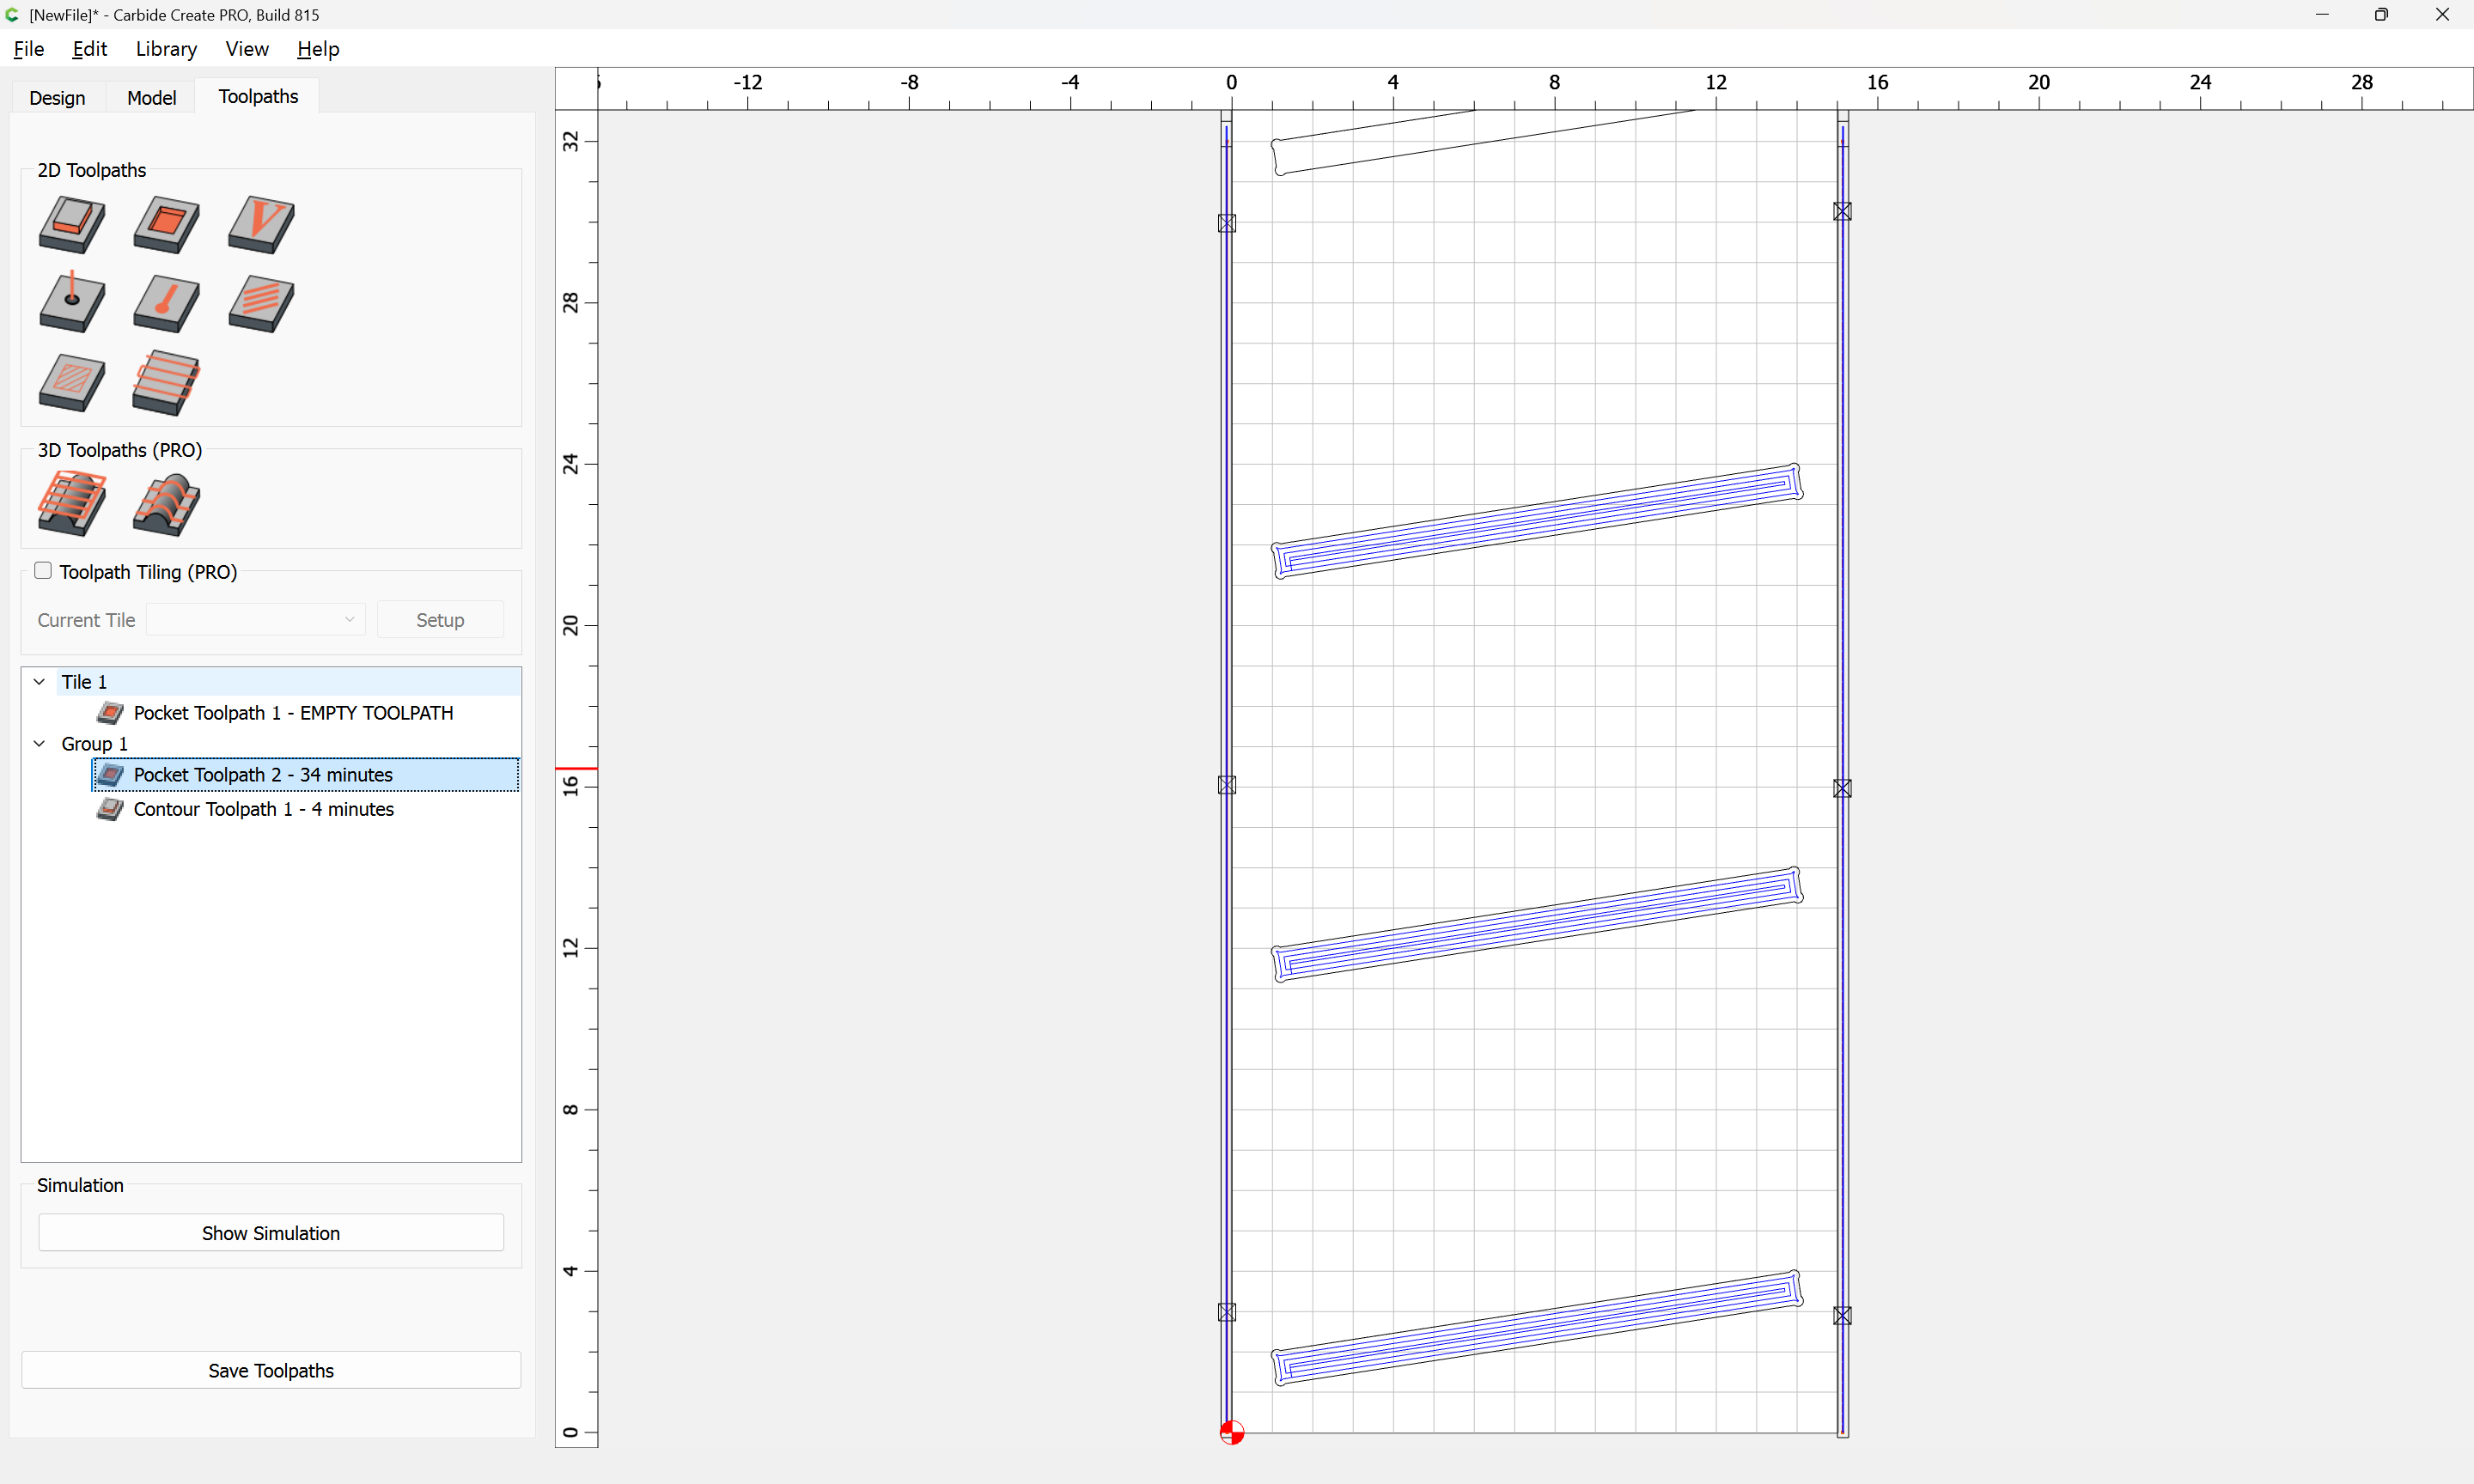
Disable it:
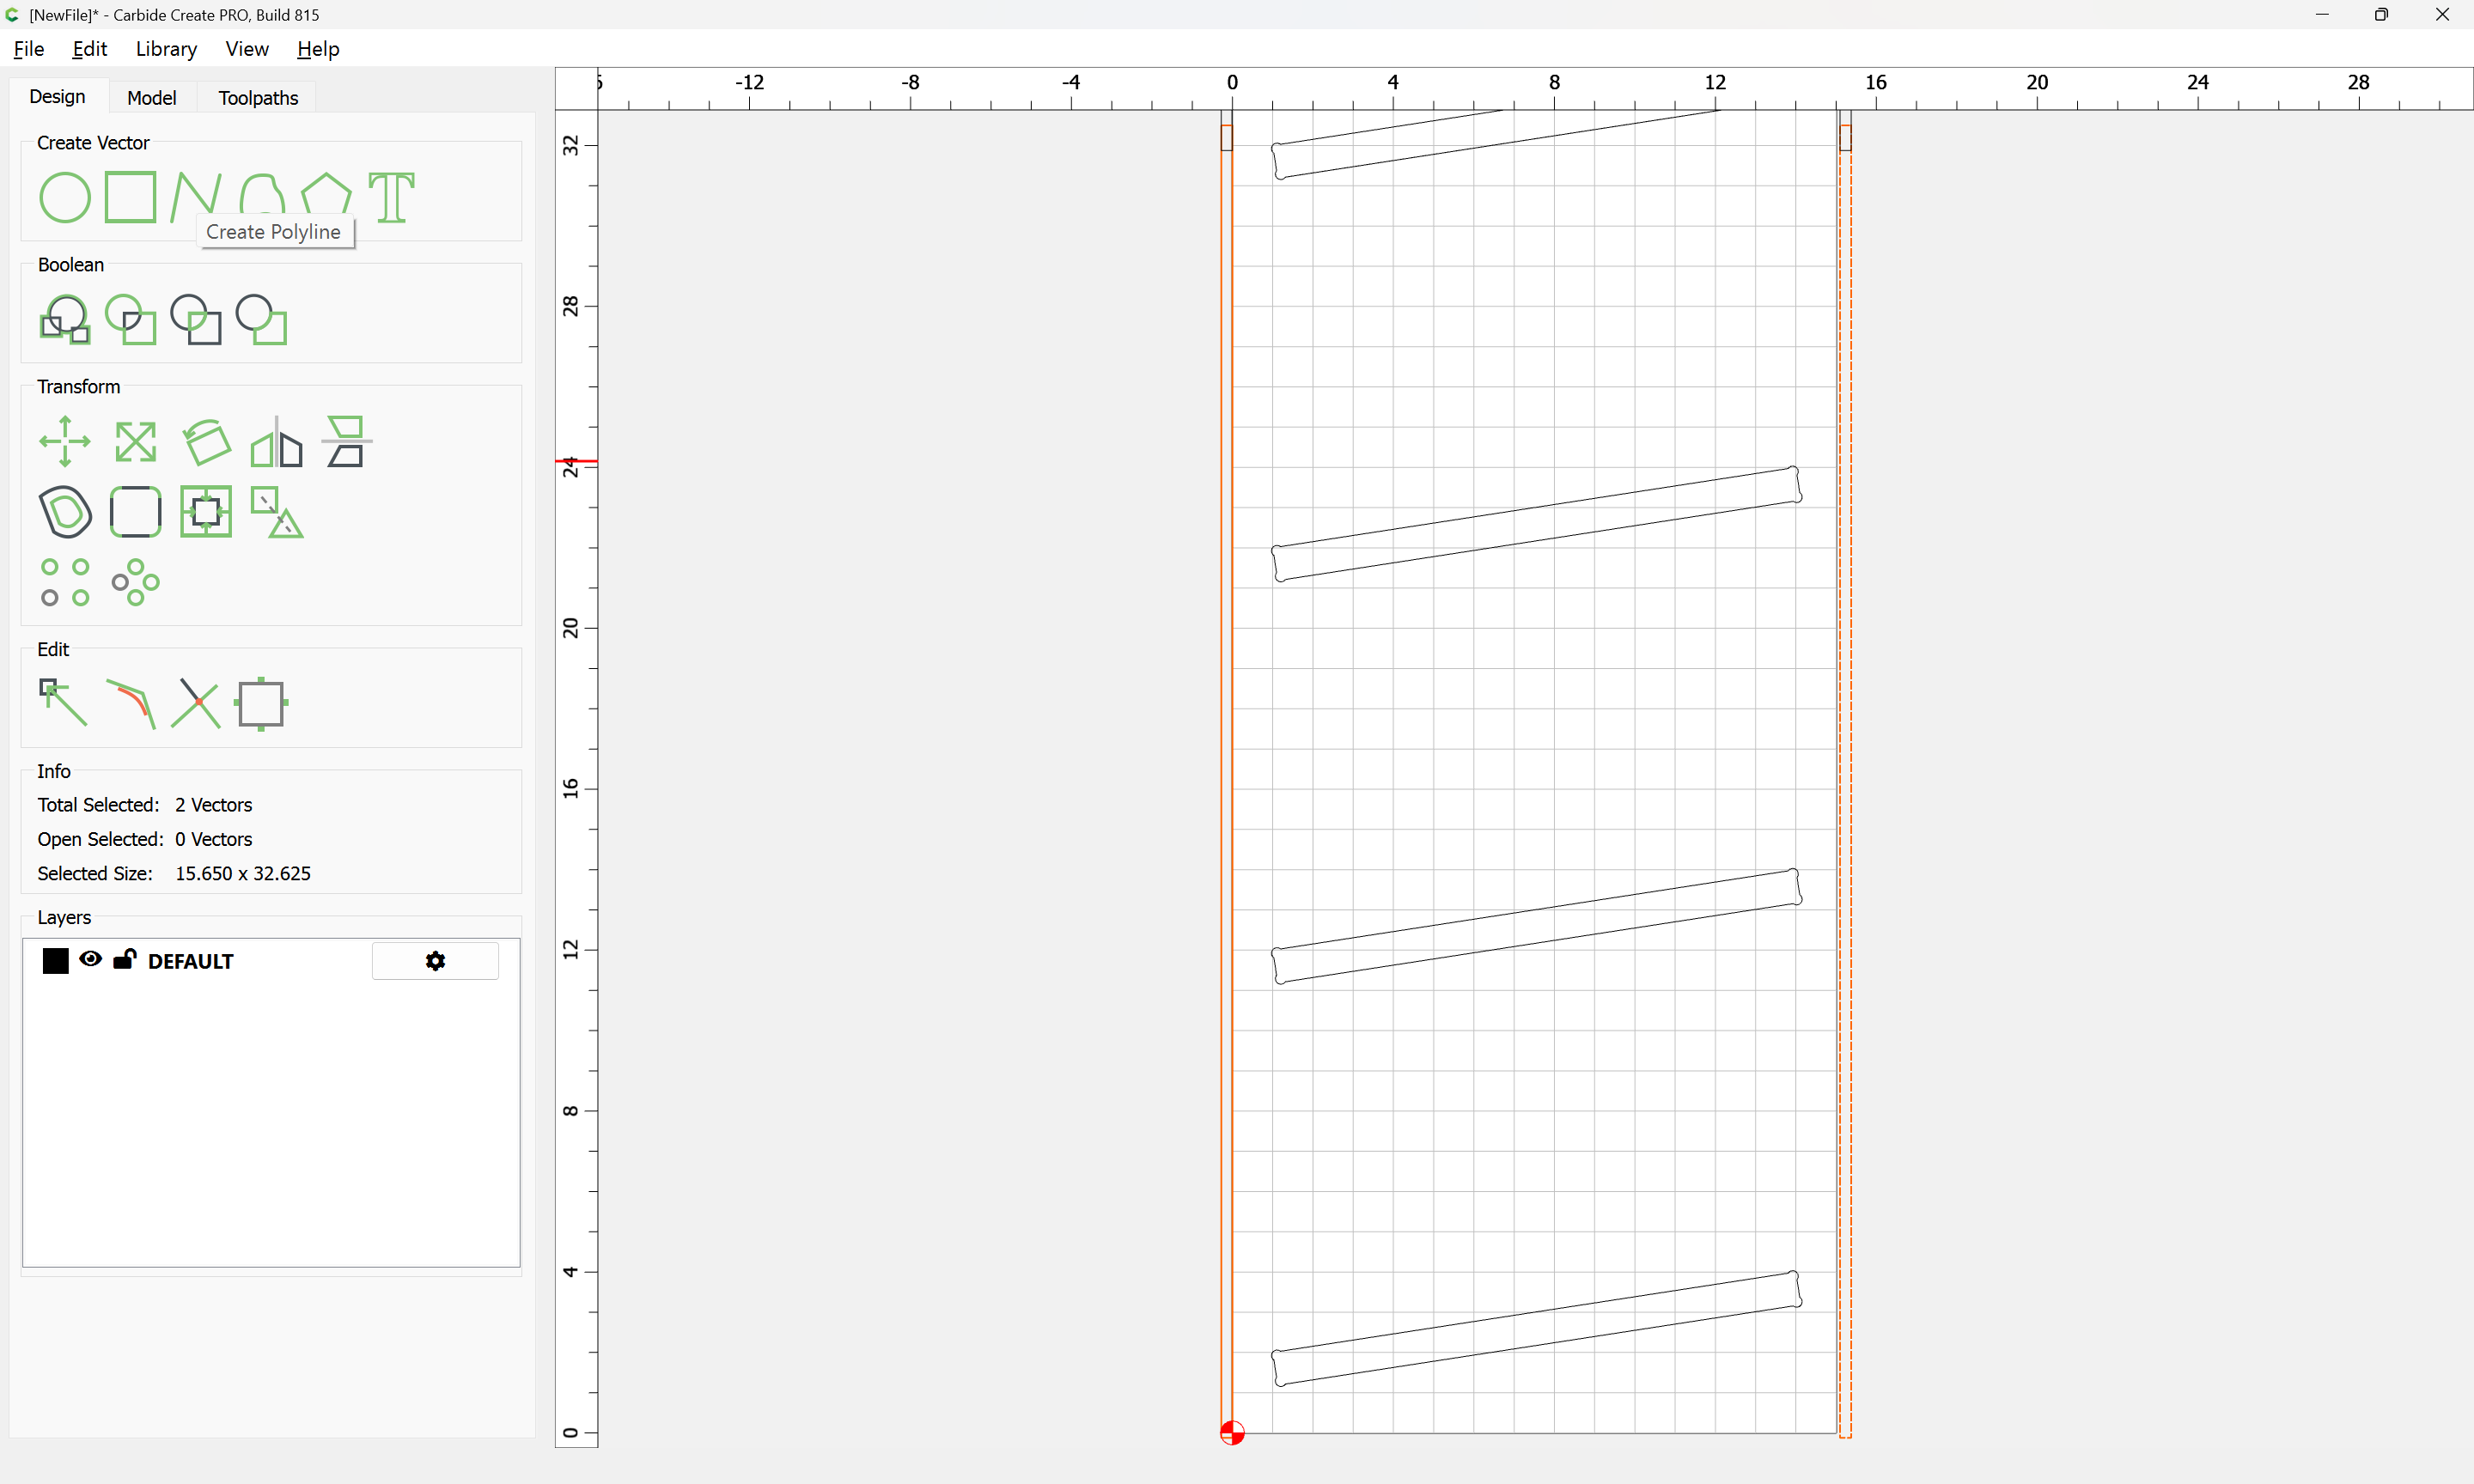
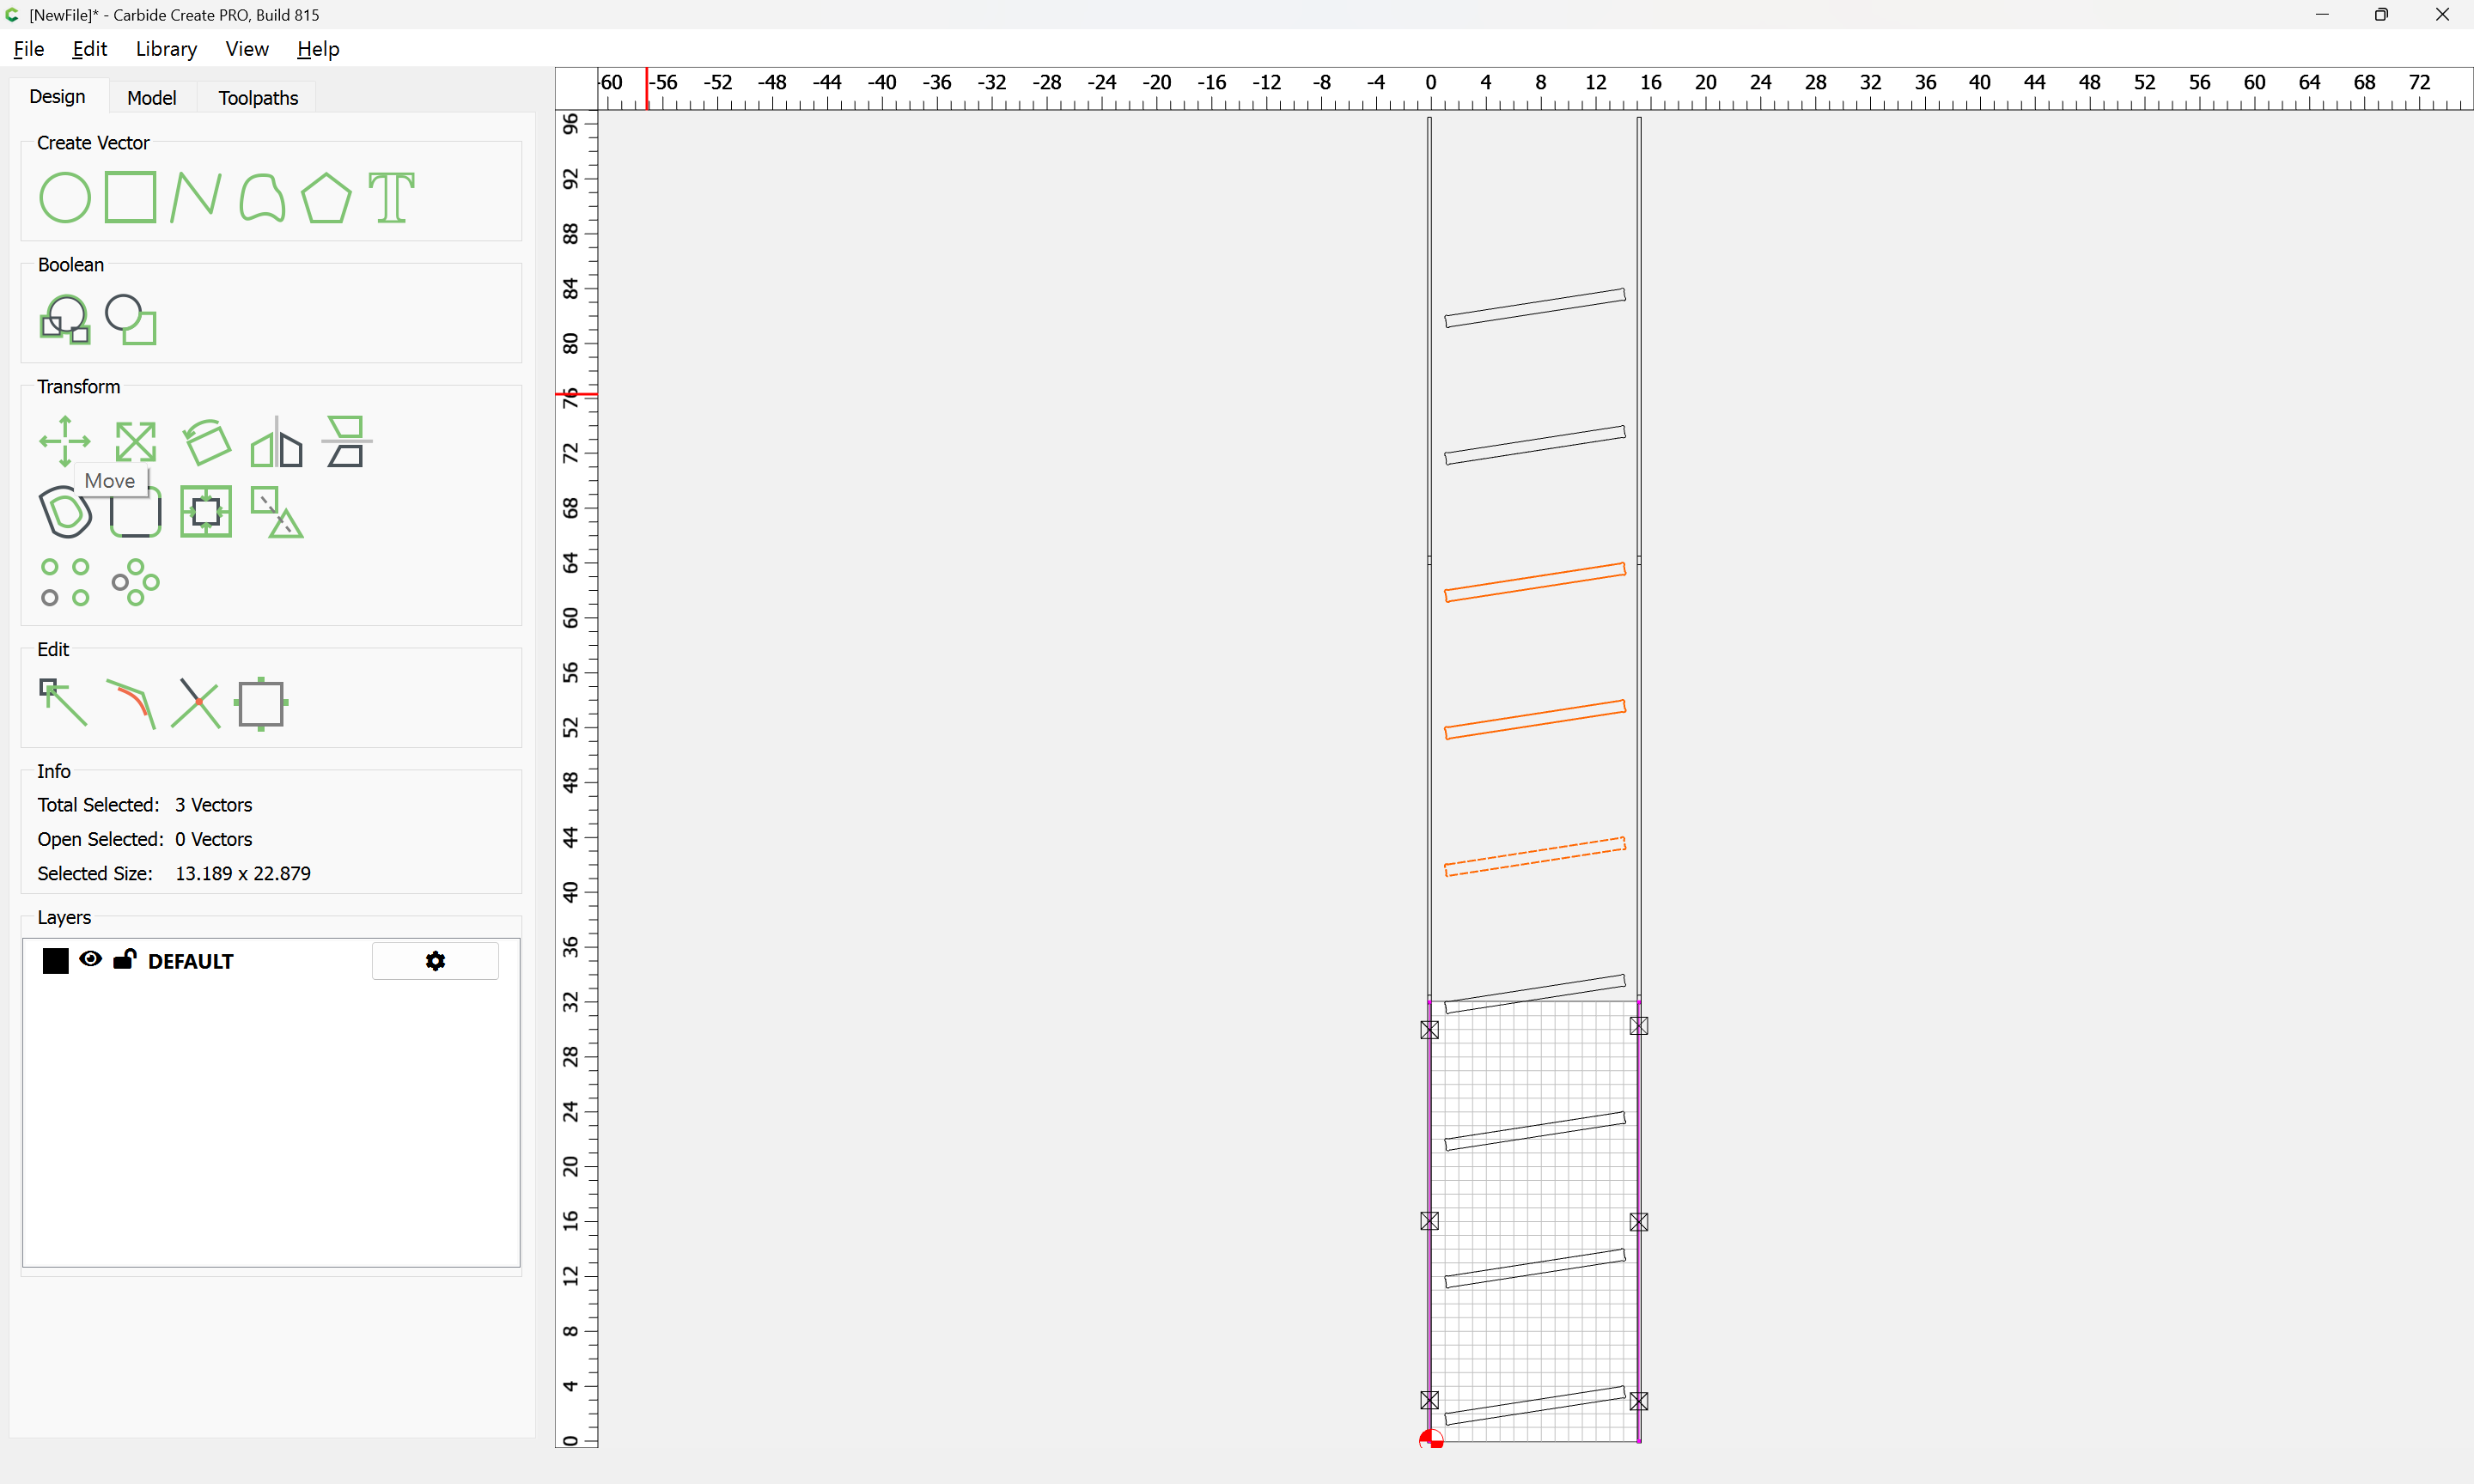
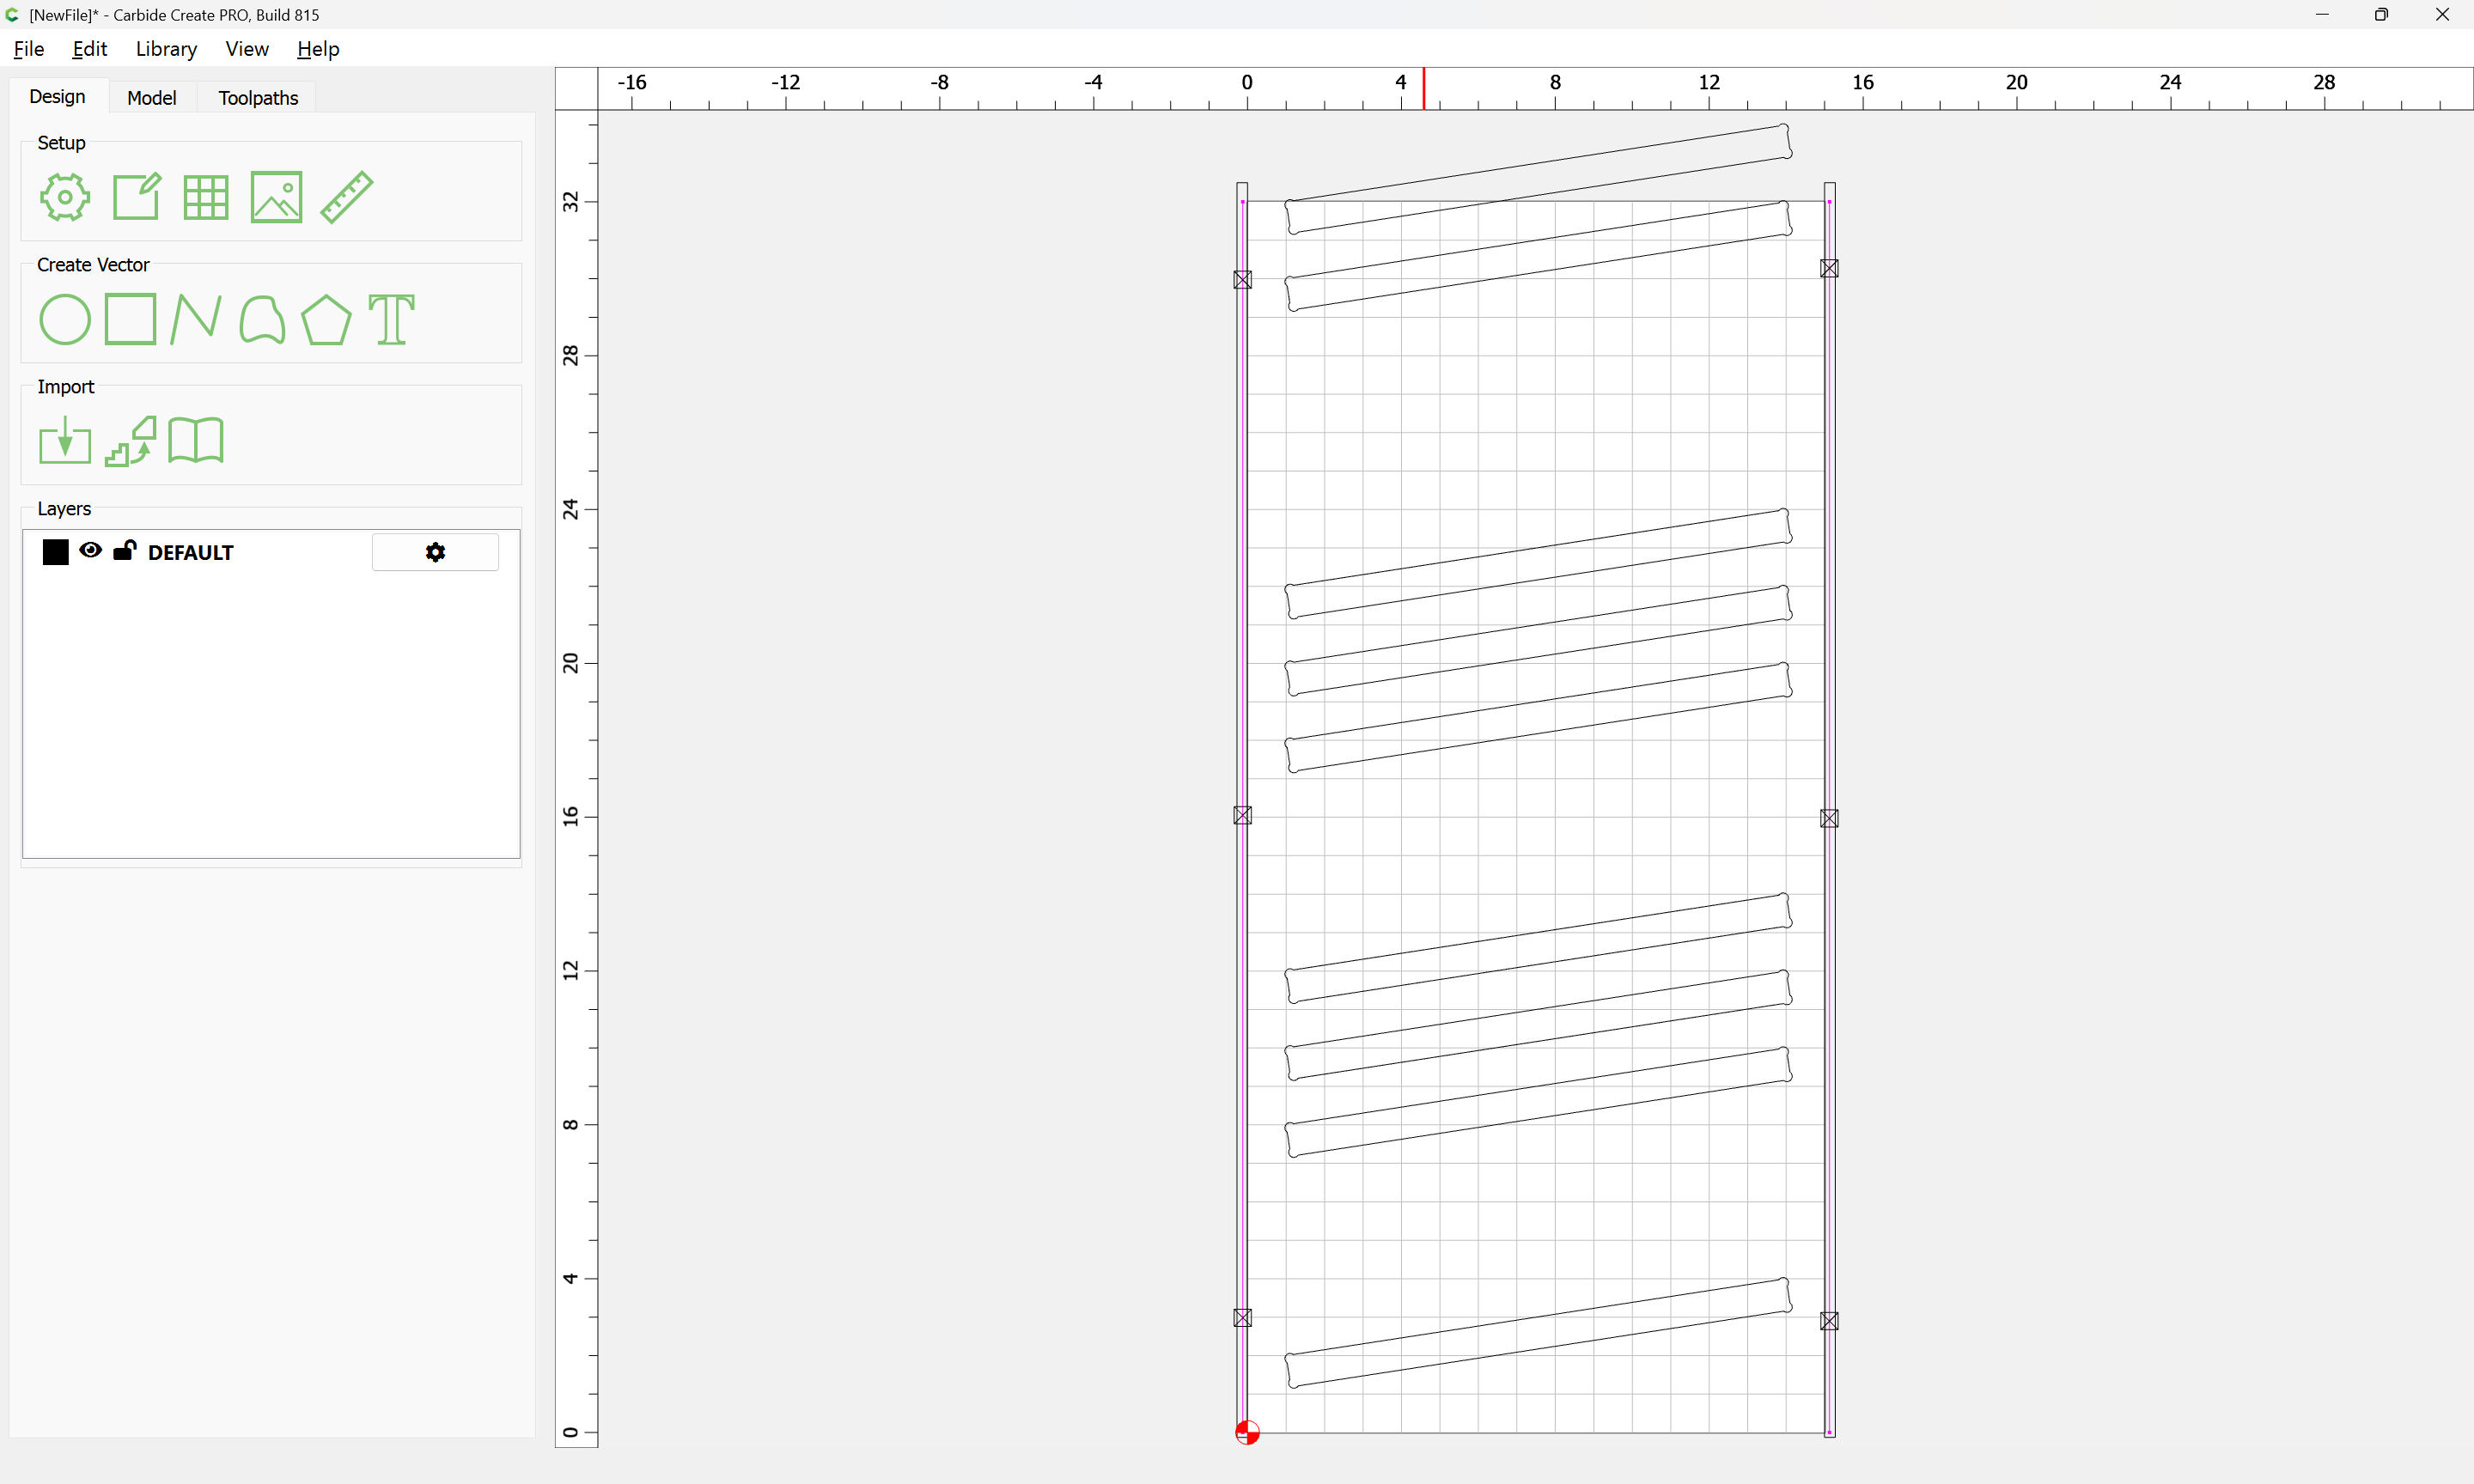
In the Design pane, change the Job Setup to reduce to the Tile Size:

and select the geometries for the next tile:
and move them down by the size of one tile:
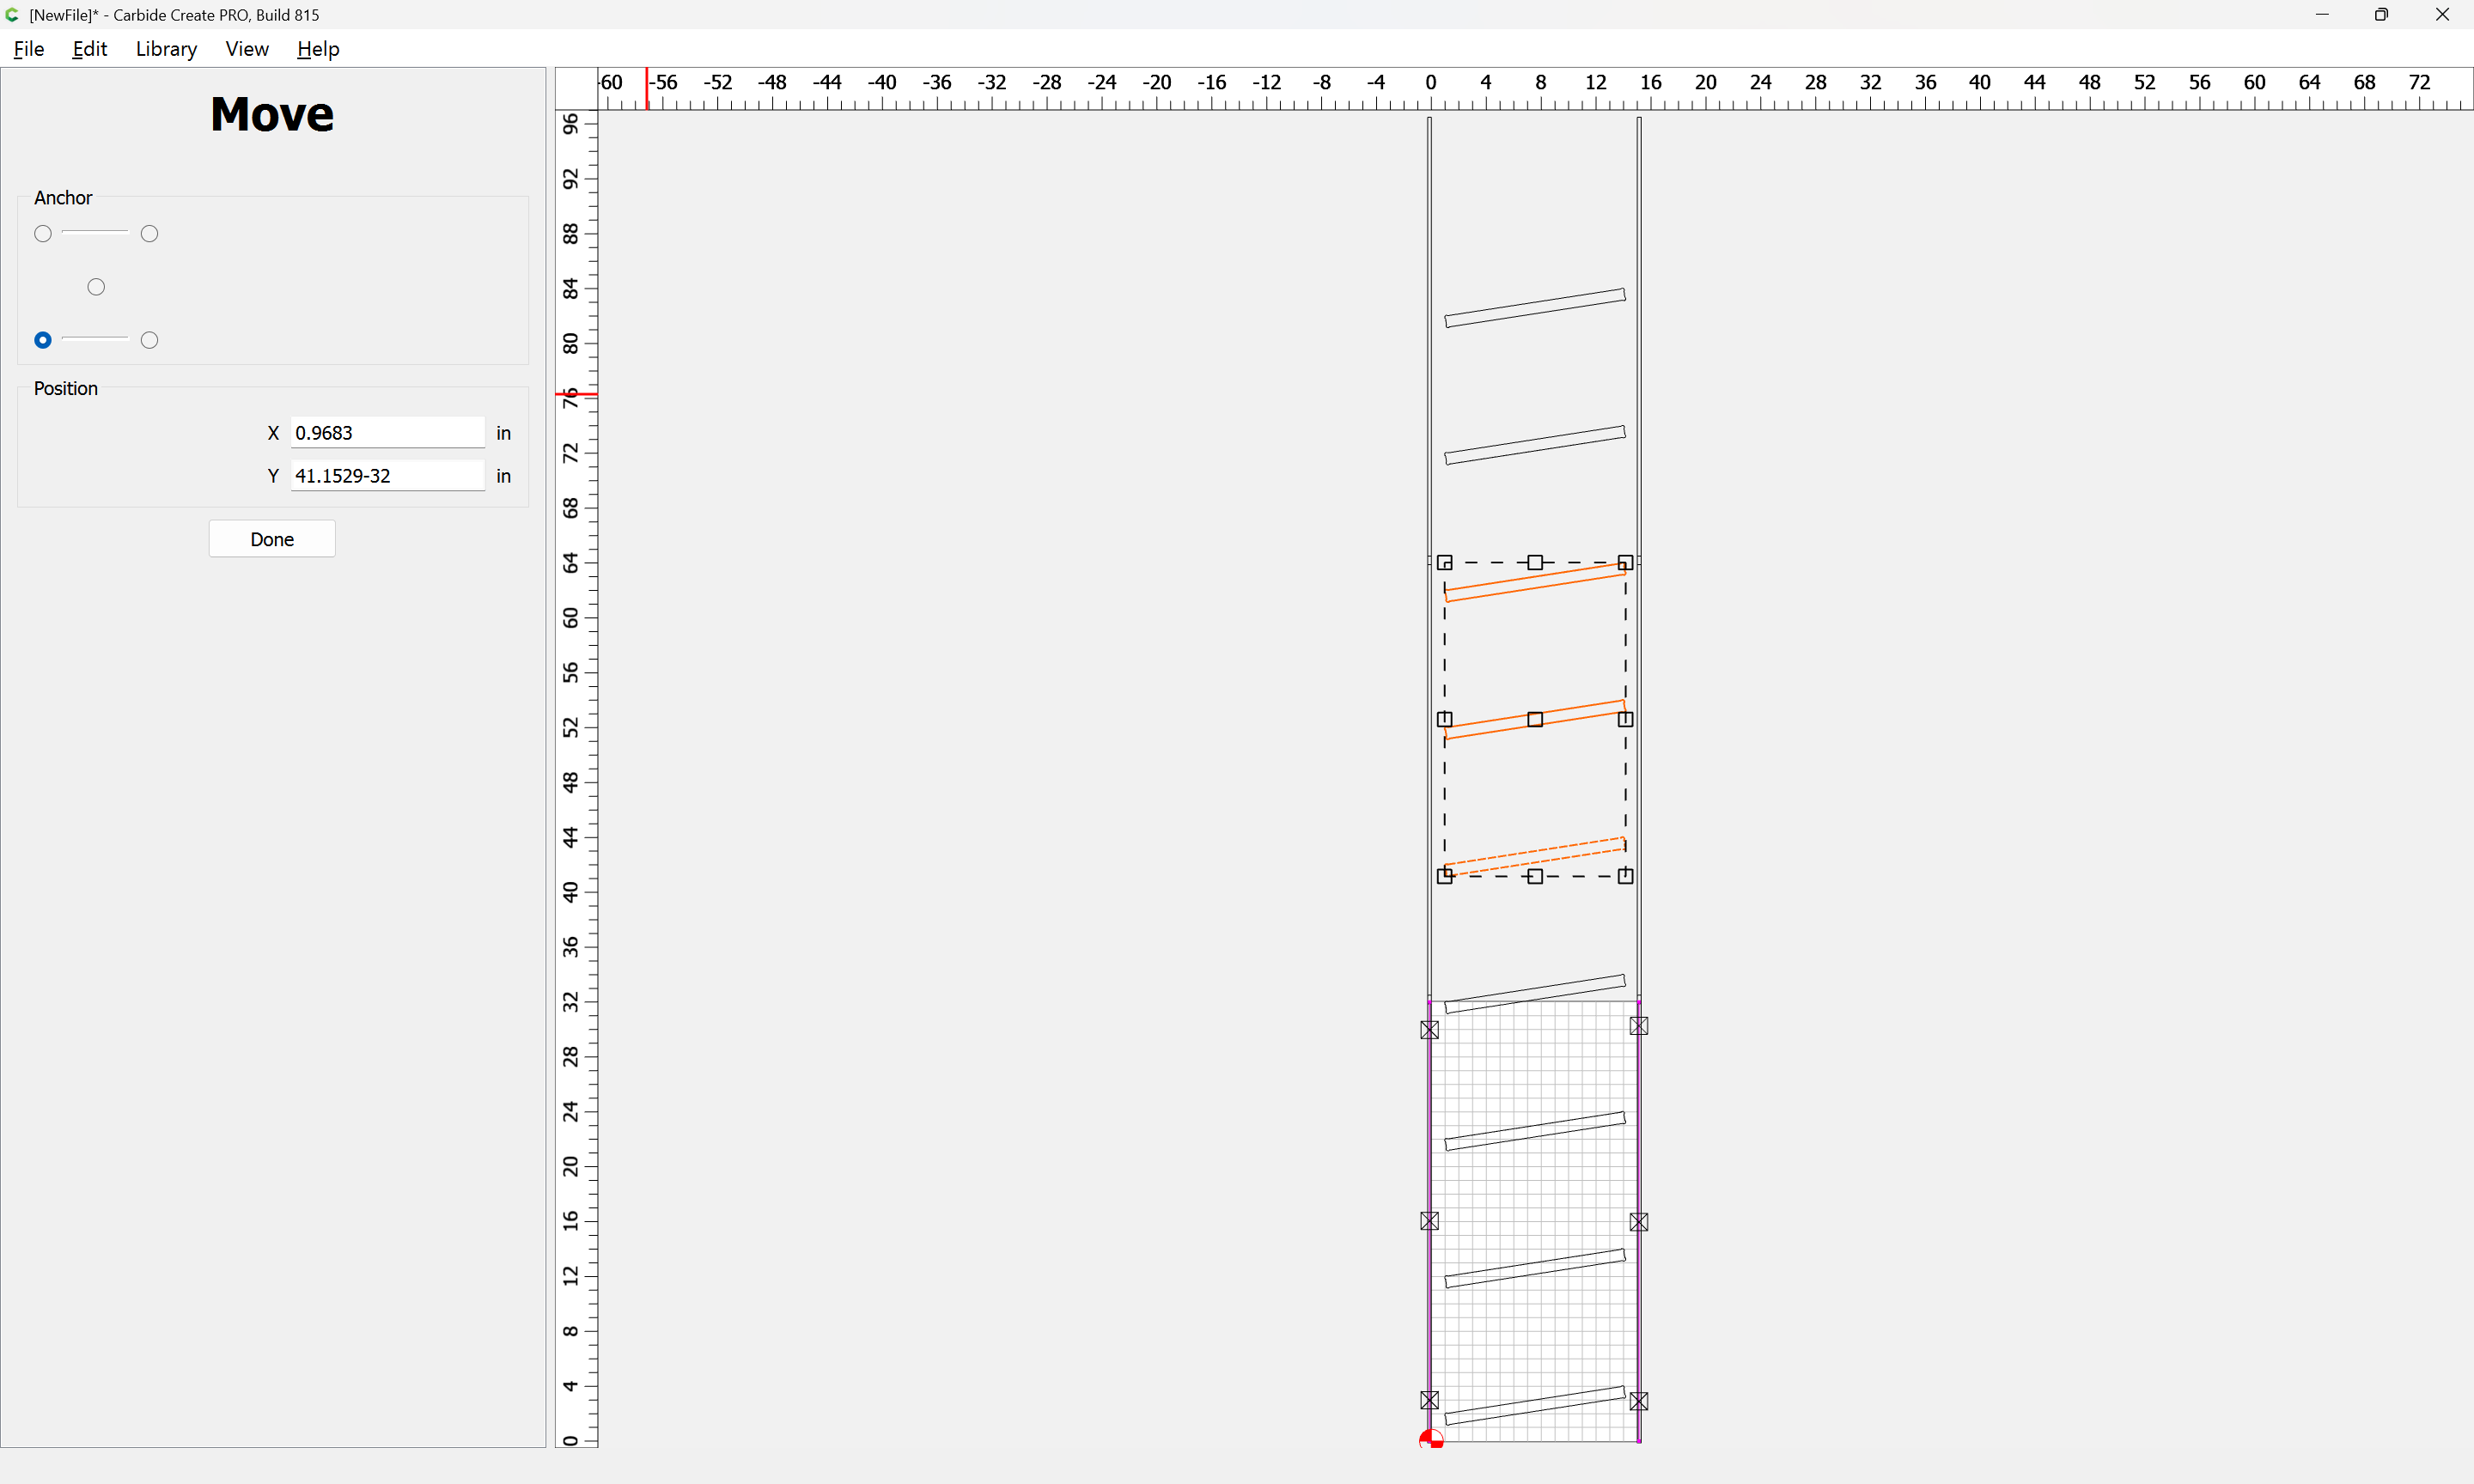
Done
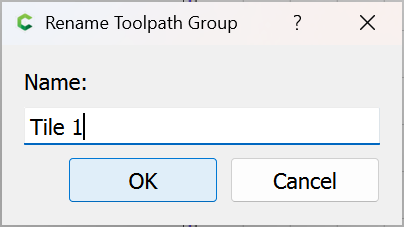
and assign a toolpath in an appropriately named group:
and position it before the toolpaths which cut the sides:
Disable and repeat for the last:


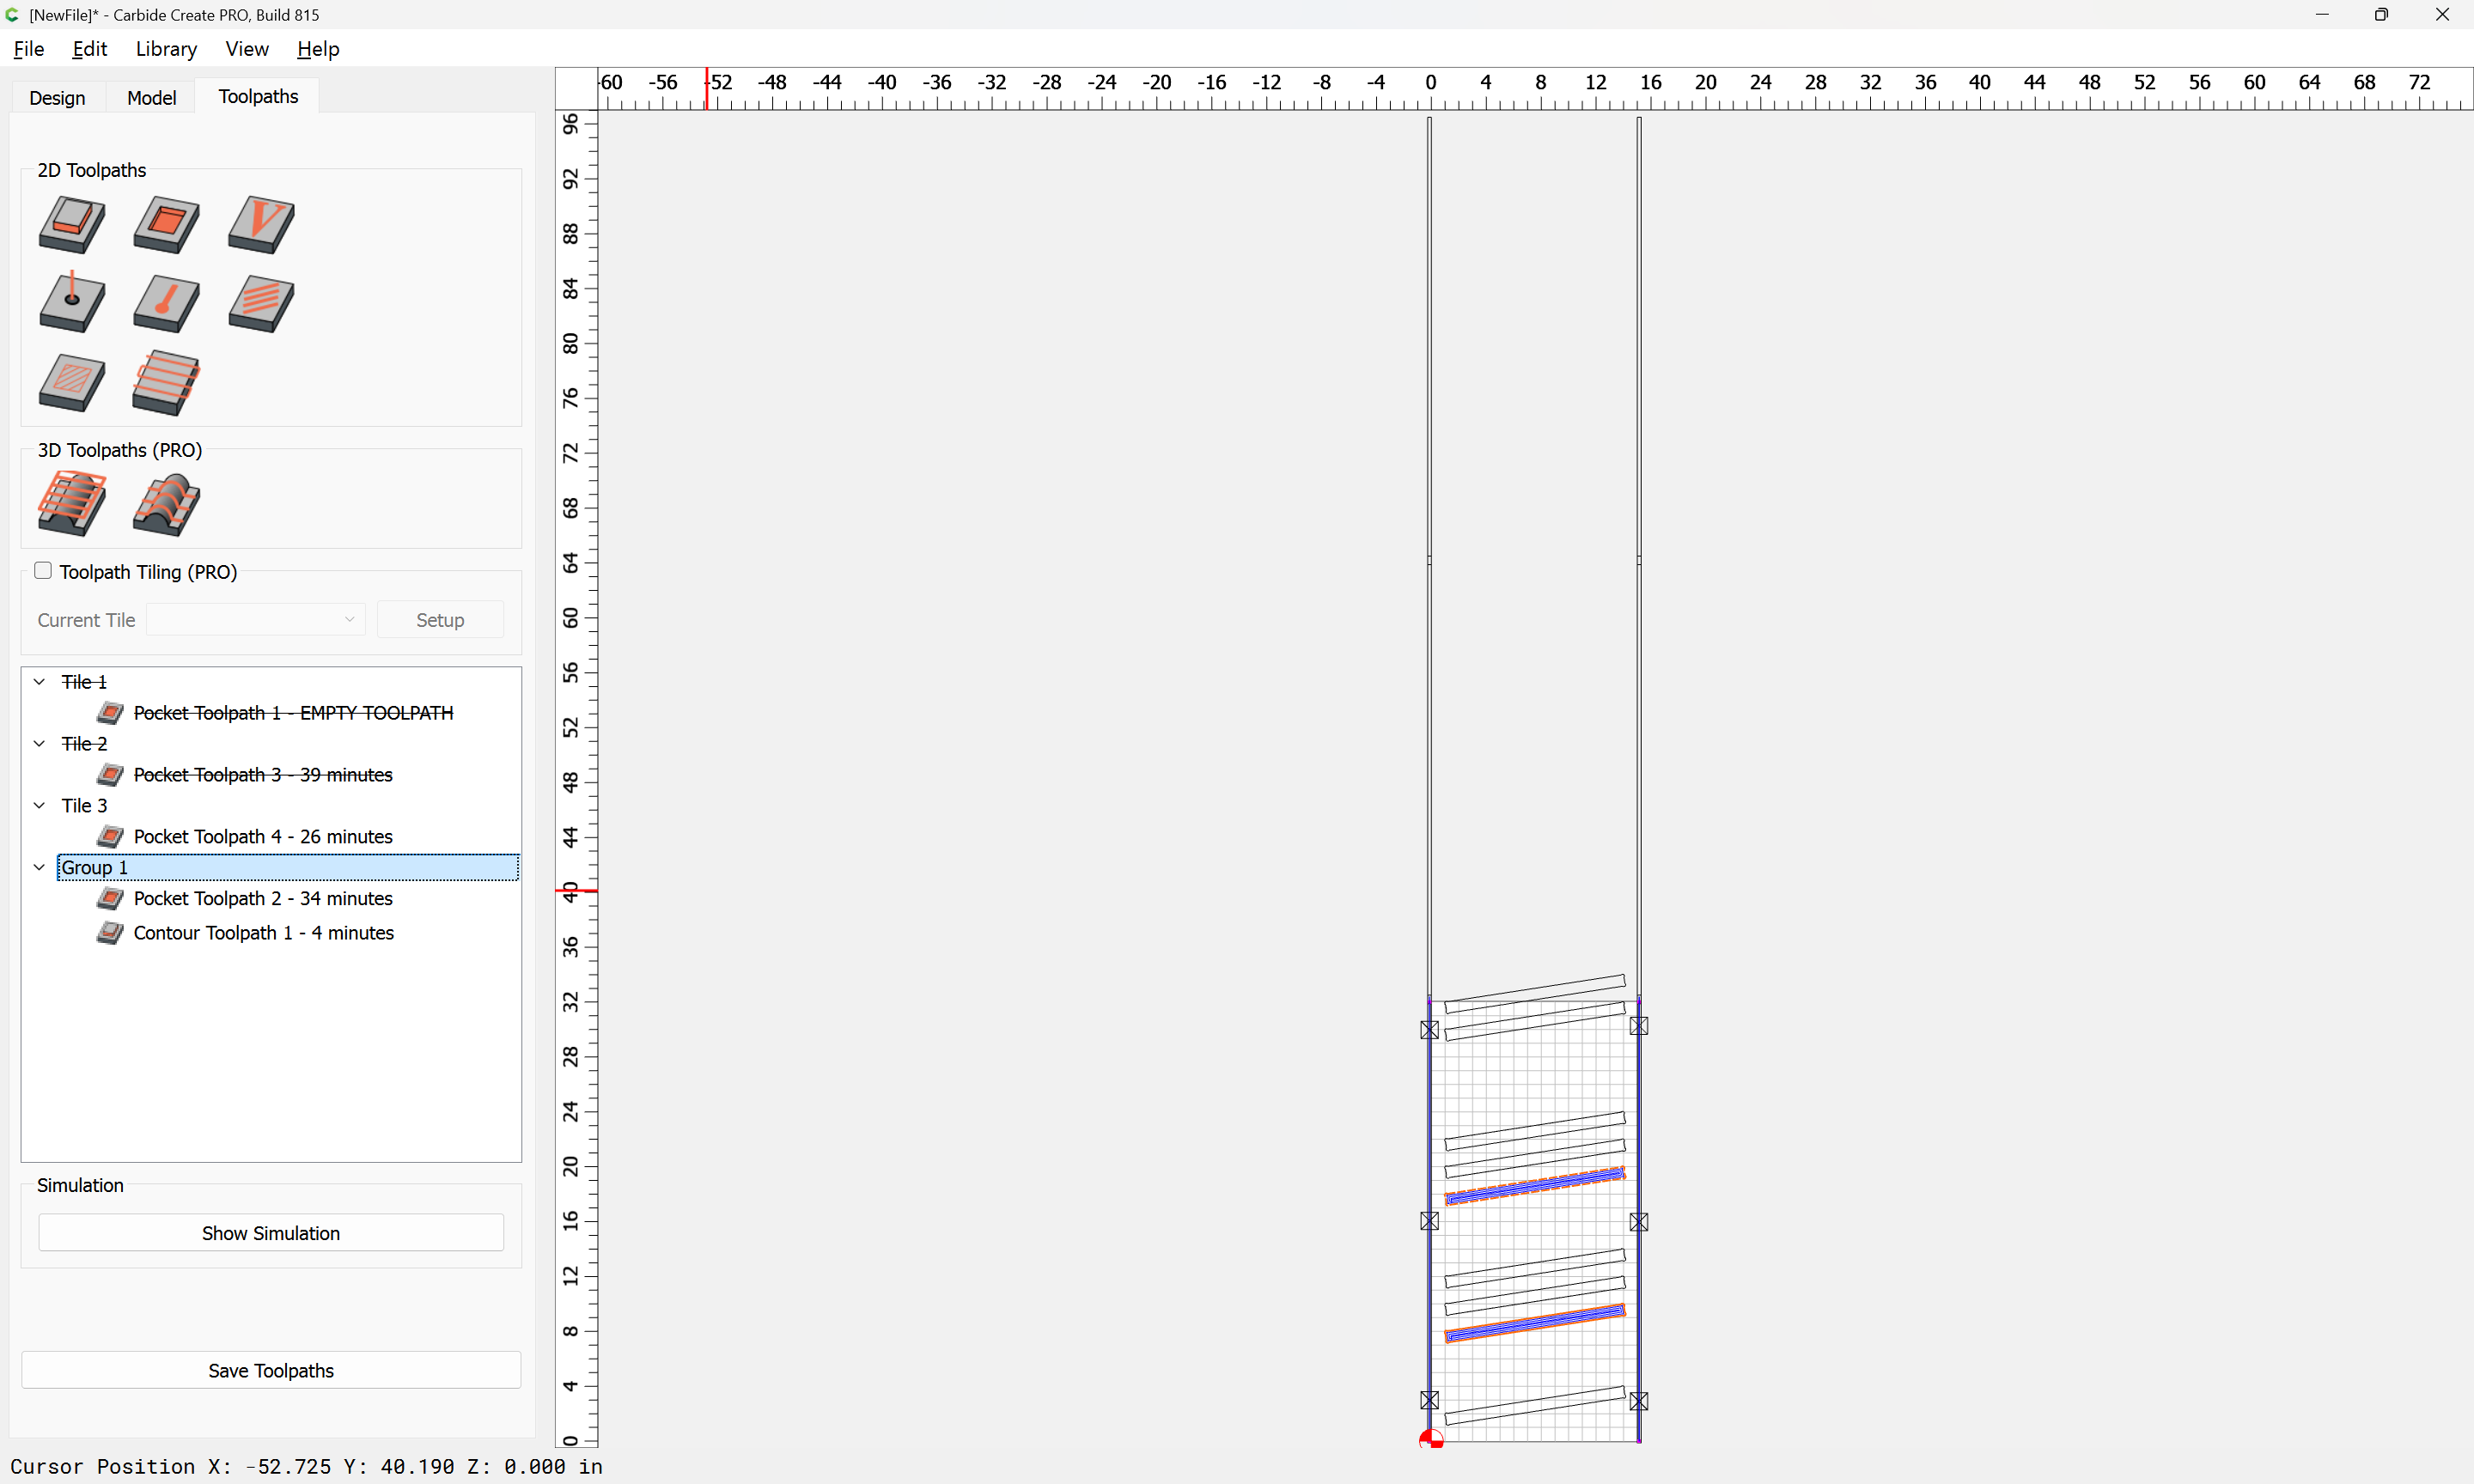
Delete the redundant geometry:
and then cut each tile in sequence, advancing by the repeat, with suitable workholding.

