Hi,
Last week while procrastination was looming over me, I decided to grab something random from my stock and improvise a project. I picked a bamboo end-grain trivet, 9.5"x9.5"x1.2", that I bought a long time ago in a home decoration store and never used (“too nice to spoil” syndrome)
Epoxy river tables seem to be all over youtube these days, so I figured I would try a scaled-down version of that with that trivet.
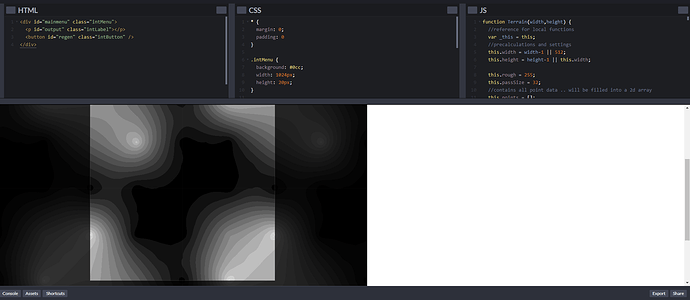
While googling about how to generate coarse/layered heightmaps, I stumbled upon that site which randomly generates greyscale patterns:
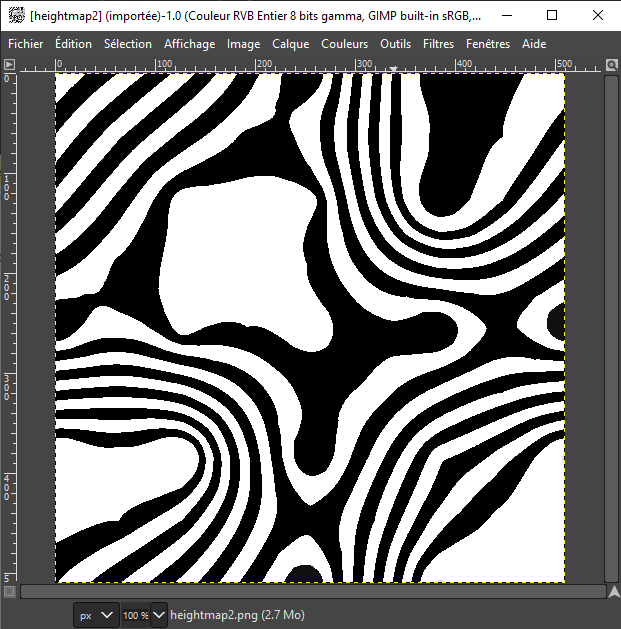
I could probably have imported that greyscale image in CAD/CAM and generated a 3D surface from that (I hear CC Pro can do it, Aspire, etc…), but I wanted to stick to a process that I could use without any fancy CAD feature. So I saved one generated image I liked, opened that bitmap image (in Gimp) and filled the gray regions alternatively with full black and full white color:
This was to prepare for the bitmap tracing step below, it’s probably unnecessary but that way I was sure I would not have to mess with the settings/thresholds to get a very clean vector set out of this.
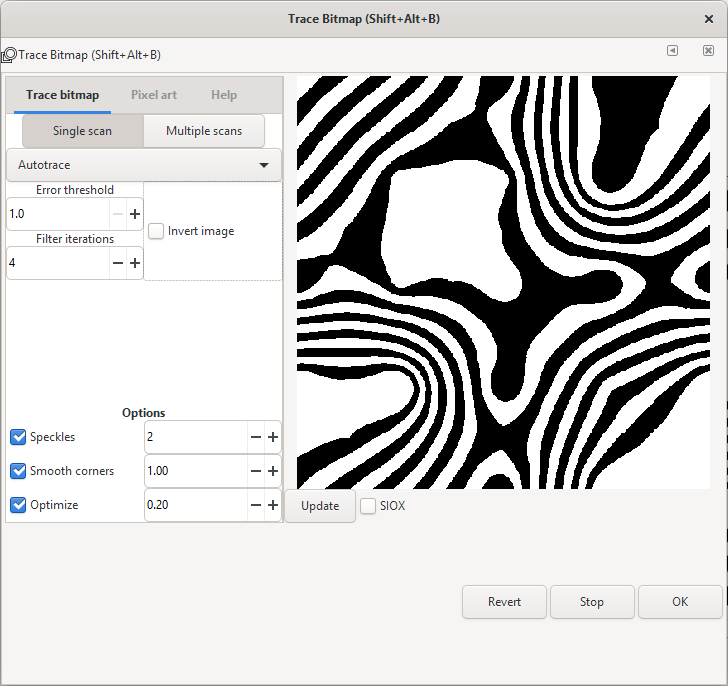
I downloaded and installed Inkscape 1.0(beta1) for the specific reason that it is the first to include the “Autotrace” bitmap tracing engine, which does “centerline” tracing and that’s what I needed to get a clean set of vector lines out of that black and white bitmap:
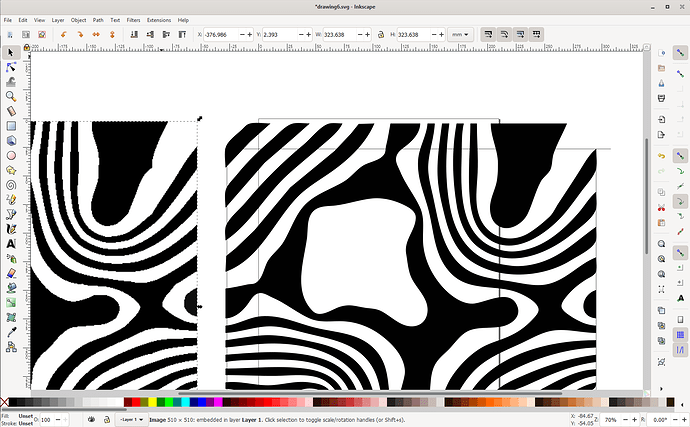
The resulting vector is nice and smooth (original bitmap on the left side, vector on the right):
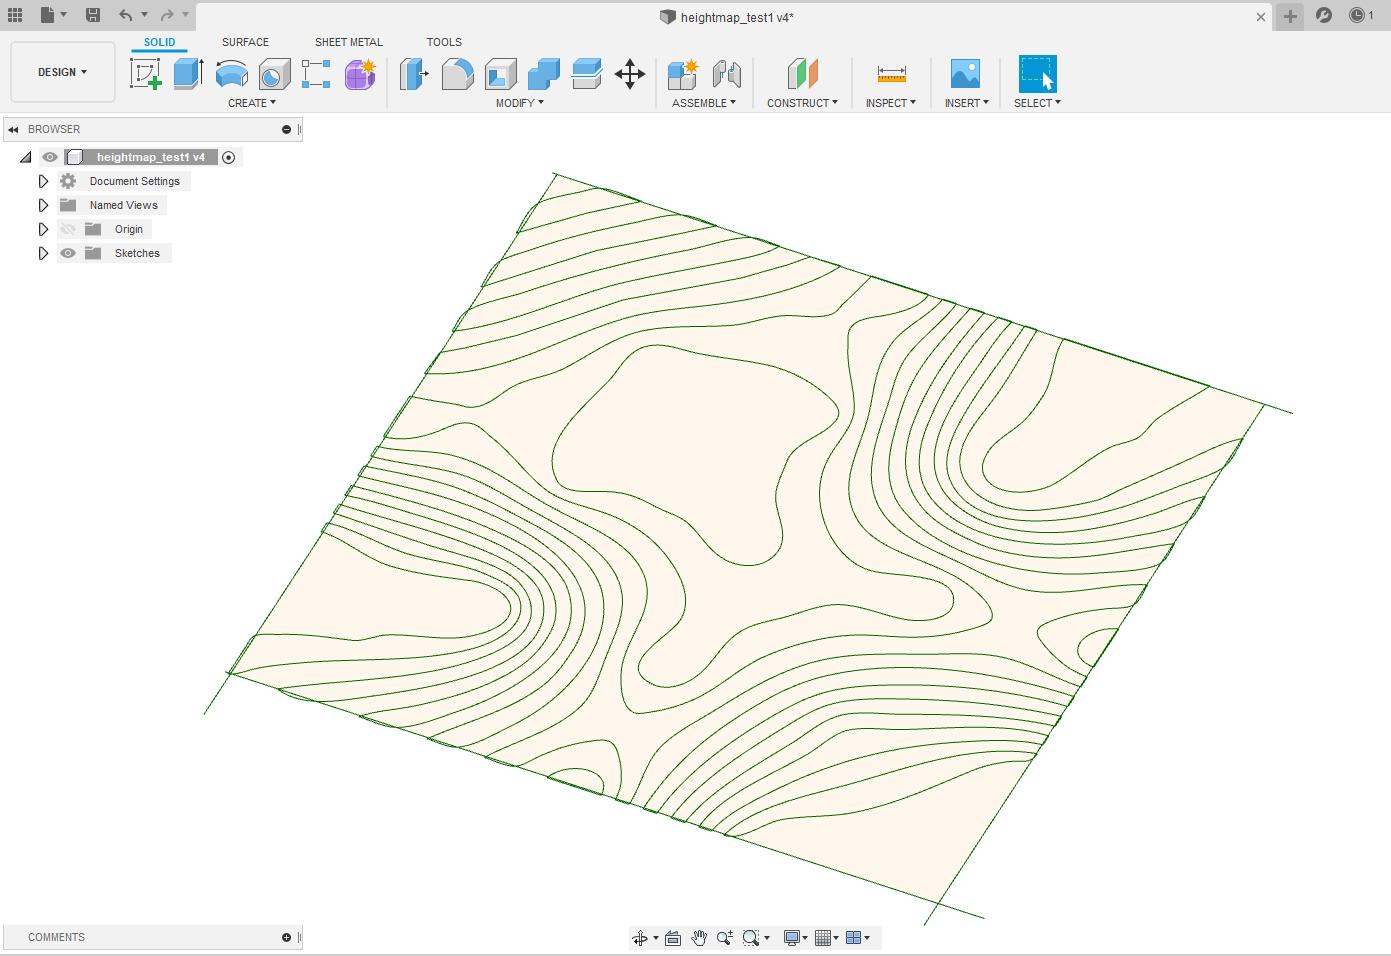
Next I saved that as an SVG file, and imported it in a 2D sketch in Fusion360:
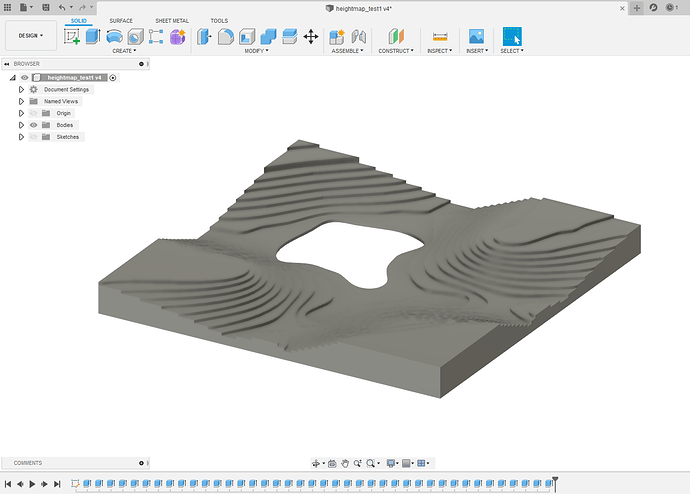
and used the Press Pull tool to raise each area to the desired height, in my case I chose 2mm per step, from 0 at the bottom to 22mm (0.9") max height:
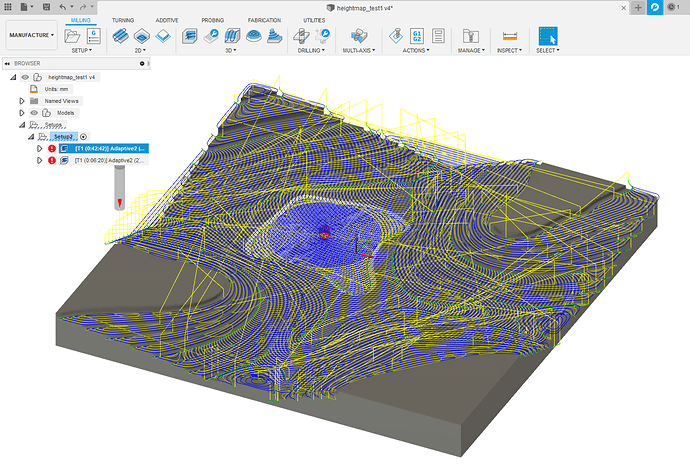
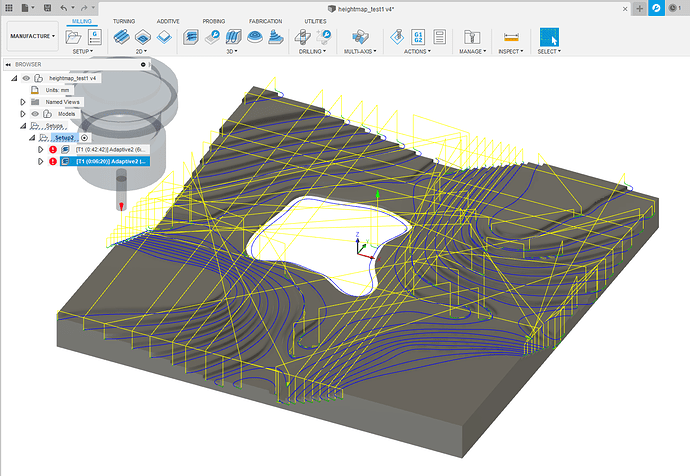
and then created an adaptive clearing toolpath for roughing:
- 1.4" 2-flute 6mm upcut square endmill
- 20.000RPM (I’m slowly trying to shift my old habits of using low-ish RPMs, and now using high RPMs to minimize cutting forces as per @gmack advice)
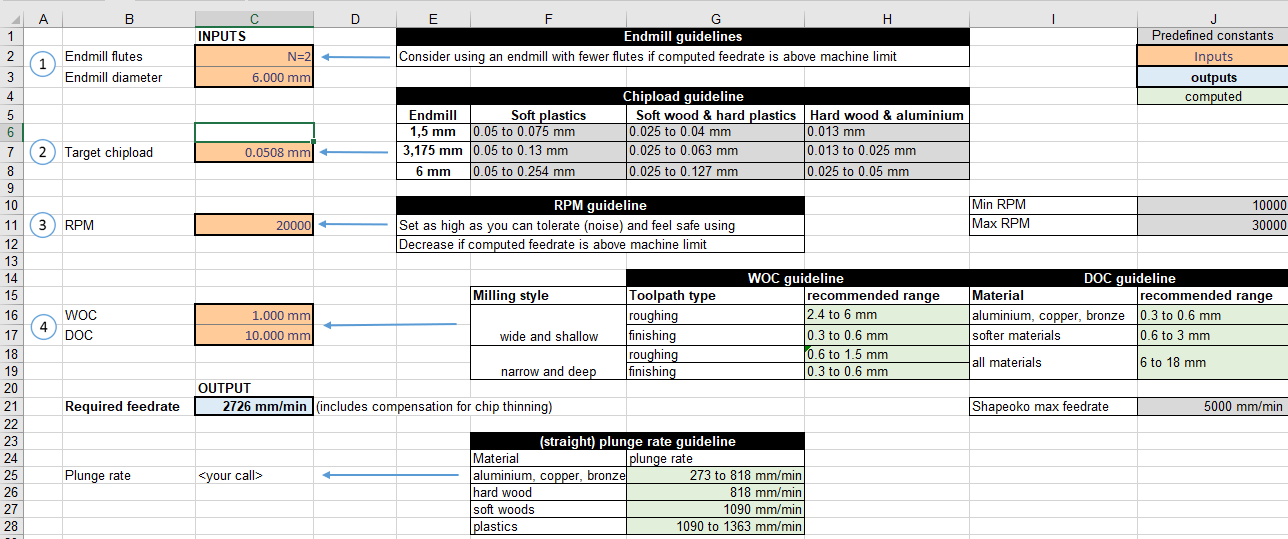
- Since this is adaptive clearing, I went for “narrow and deep” (small WOC, high DOC) approach:
- for optimal load (stepover) I went for ~15% of endmill diameter, and rounded that to 1mm (0.039")
- for DOC (“max stepdown” in F360) I chose 10mm (0.39"), that’s 170% of endmill diameter.
- I then went for my usual guideline of targeting 0.002" chipload for a 1/4" endmill in hardwood, and plugged that in the calculator to figure out the required feedrate (INCLUDING taking chip thinning into account, which matters at 15% stepover):
- so feedrate is going to be 2726mm/min (~107ipm)
- helical plunge rate = 400mm/min (15.7ipm) (slower than I usually use, for no good reason)
- Since I am using an upcut endmill, I was concerned I was going to get burrs on the edges, so I configured 0.5mm (0.02") radial stock to leave, that a finishing pass would take care of.
Fusion360 generated this:
For the finishing pass, I used a 6mm downcut square endmill (to get nice clean edges), reusing the same cutting parameters except I halved the feedrate to limit the chipload to 0.001". With the magic of REST machining, Fusion generated this toolpath that would just shave off the extra 0.5mm from all walls:
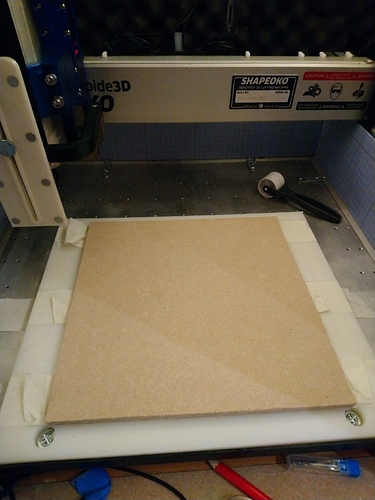
My plan was to cut the piece, pour the epoxy, and then use the shapeoko to surface it (much faster and precise than sanding the top surface manually), so I figured I would need some kind of jig to hold the trivet throughout the process. I used a square piece of MDF slightly larger than the trivet, and tape&glue’d that onto my HDPE wasteboard:
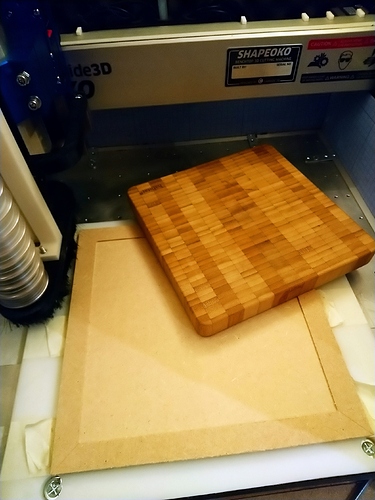
Then I cut a shallow pocket (2mm deep), same size as the trivet:
Prepared tape&glue again to secure the trivet onto the MDF jig:
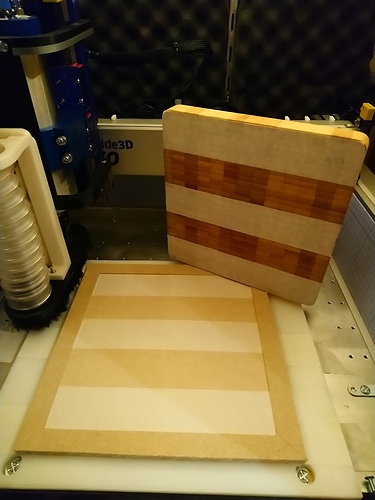
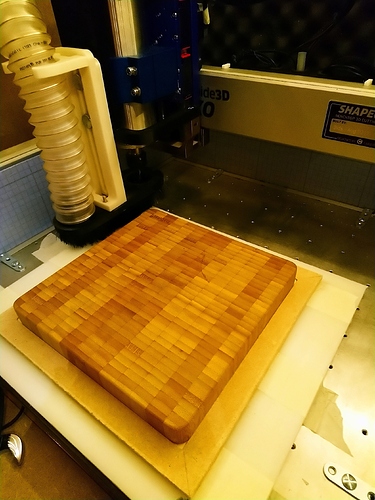
and I was ready to cut (after quadruple checking everything, since I only had one shot at this):
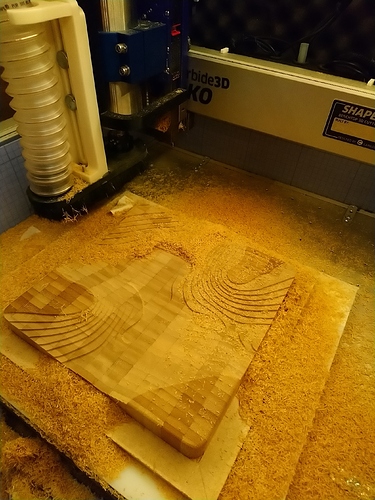
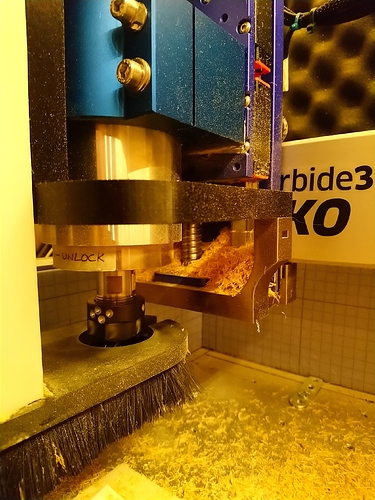
I held my breath and launched the roughing toolpath, which ran fine. Feeds and speeds were quite ok, nice clean cutting sound. However, my sub-optimal custom fixed-Z height dust shoe and the deep DOC of that toolpath led to a big mess of chips that did not get sucked (still, that is nothing compared to the huge amount of chips that did make it into the bucket):
Note to myself: I definitely have a design issue in my dust shoe, some of the chips found a way up and to the back, and filled up the bottom of the HDZ. Yikes! I’ll need to take care of that.
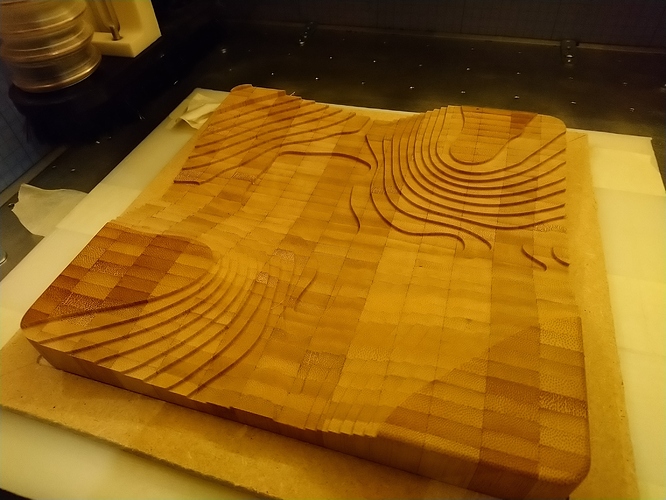
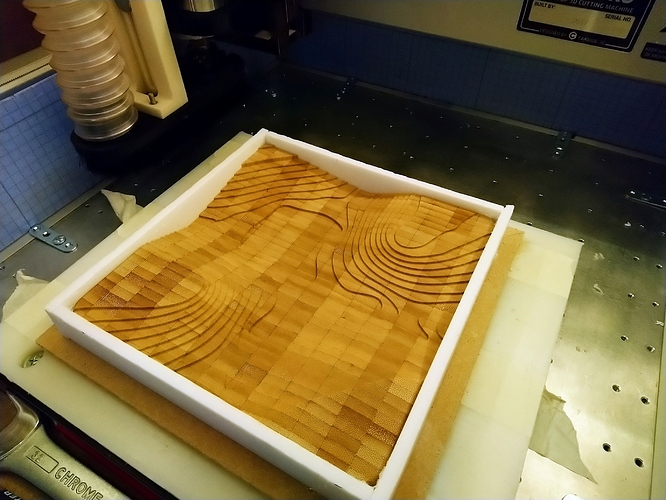
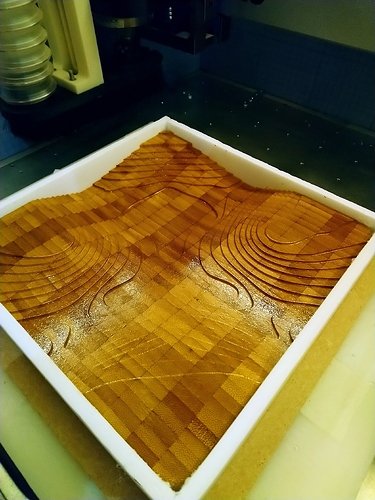
Anyway, a little vacuuming later I was very pleasantly surprised with the result. Even with the upcut endmill, the edges turned out to be perfectly clean, so I decided to not even run the finishing toolpath:
Next, I used double-sided tape to stick hard foam strips on each side of the trivet, as a mold for the epoxy:
I applied a first thin coat of epoxy manually to seal the wood (to prevent bubbles later) and let it dry:
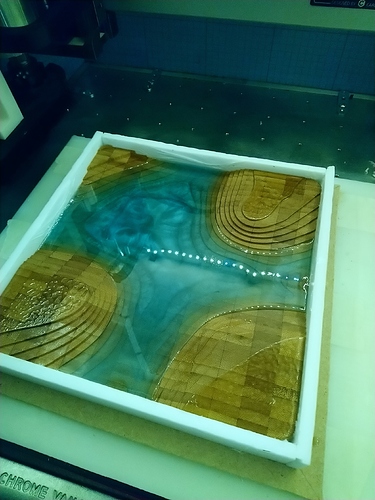
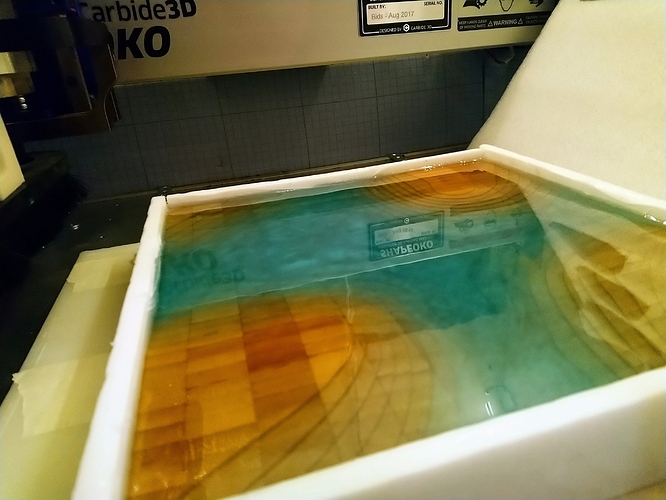
I prepared the mix of epoxy, hardener, and random blue pigments I had, and poured the first layer (about 1/4" thick), using a torch to get rid of bubbles:
Let it dry for 24hours, and poured the second layer:
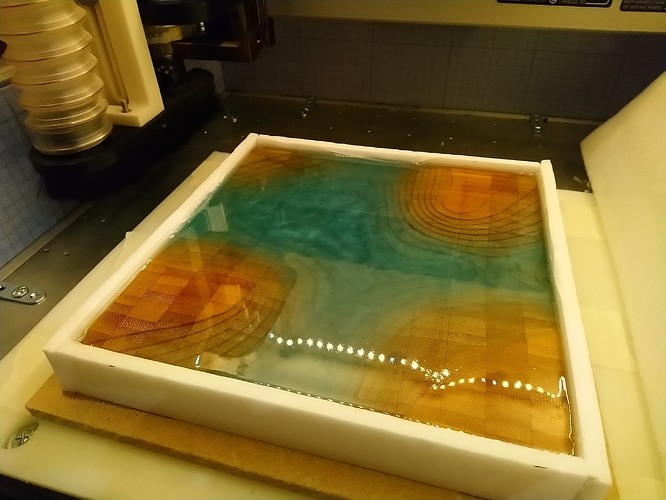
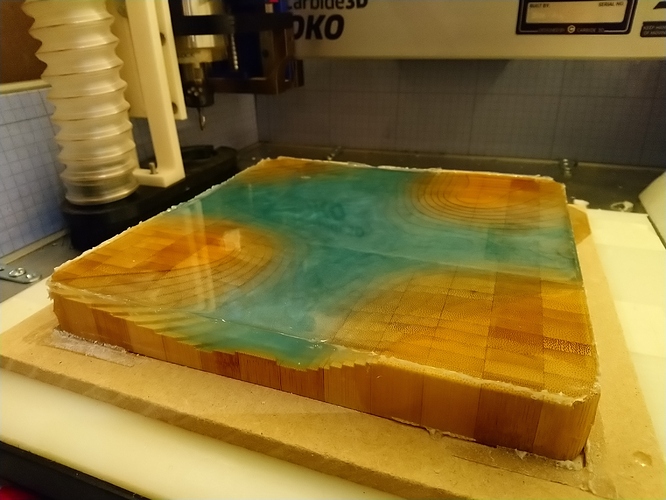
Repeated that process, using less pigments for each new layer, with the intent to go from a deep blue at the bottom, to clearer and clearer blue layers until the final layer was done:
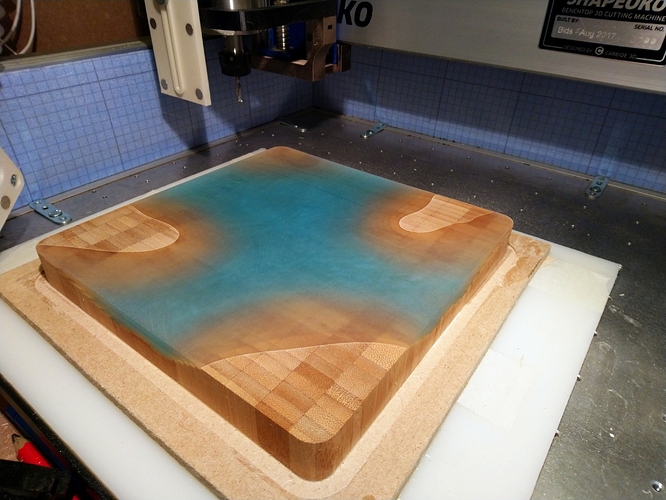
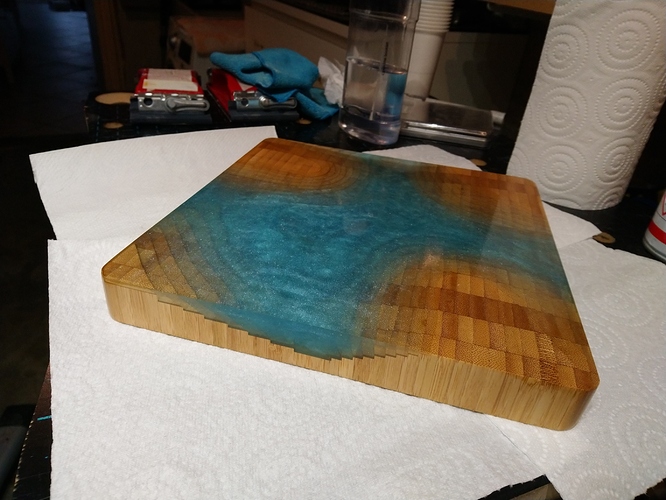
And finally removed the foam strips
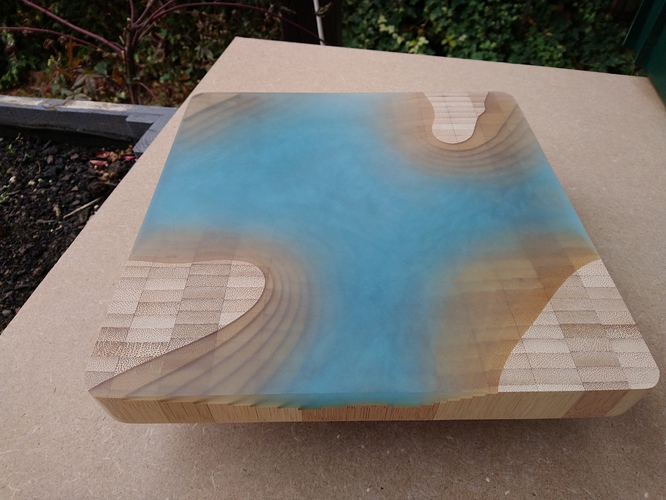
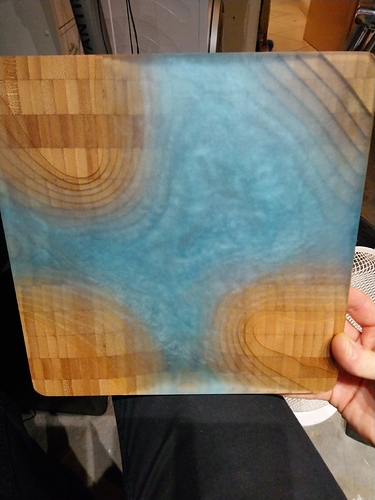
So this is where I ended up for now. Next step: use a 1/4" endmill to do a profile cut all around the perimeter to get perfect edges, and then surface it such that the highest “islands” of wood are flush to the surface.
And that’s where I need help from you guys who have sanded/polished epoxy before: what’s your routine to get from the rough translucent surface I will get after surfacing, back to a perfect transparent finish ?
I only have wet sandind paper up to 1000grit, that’s not going to cut it I think, I have seen youtubers use up to 5000grit and special polishing pastes ?
