Griff
(Well crap, my hypometric precursor device is blown…)
1
I’ve never done a build thread before but there’s a first time for everything. I’m just beginning this journey, it’s going to take a while.
I’m no musician, didn’t know squat about guitars prior to starting this project. Just something I’ve always thought would be interesting to do. Plus, my granddaughter asked me to.
To start, I watched this video https://youtu.be/shxir1Z4Bw8. Jumped into Fusion 360 and came up with a viable design for a practice build after 5 tries.
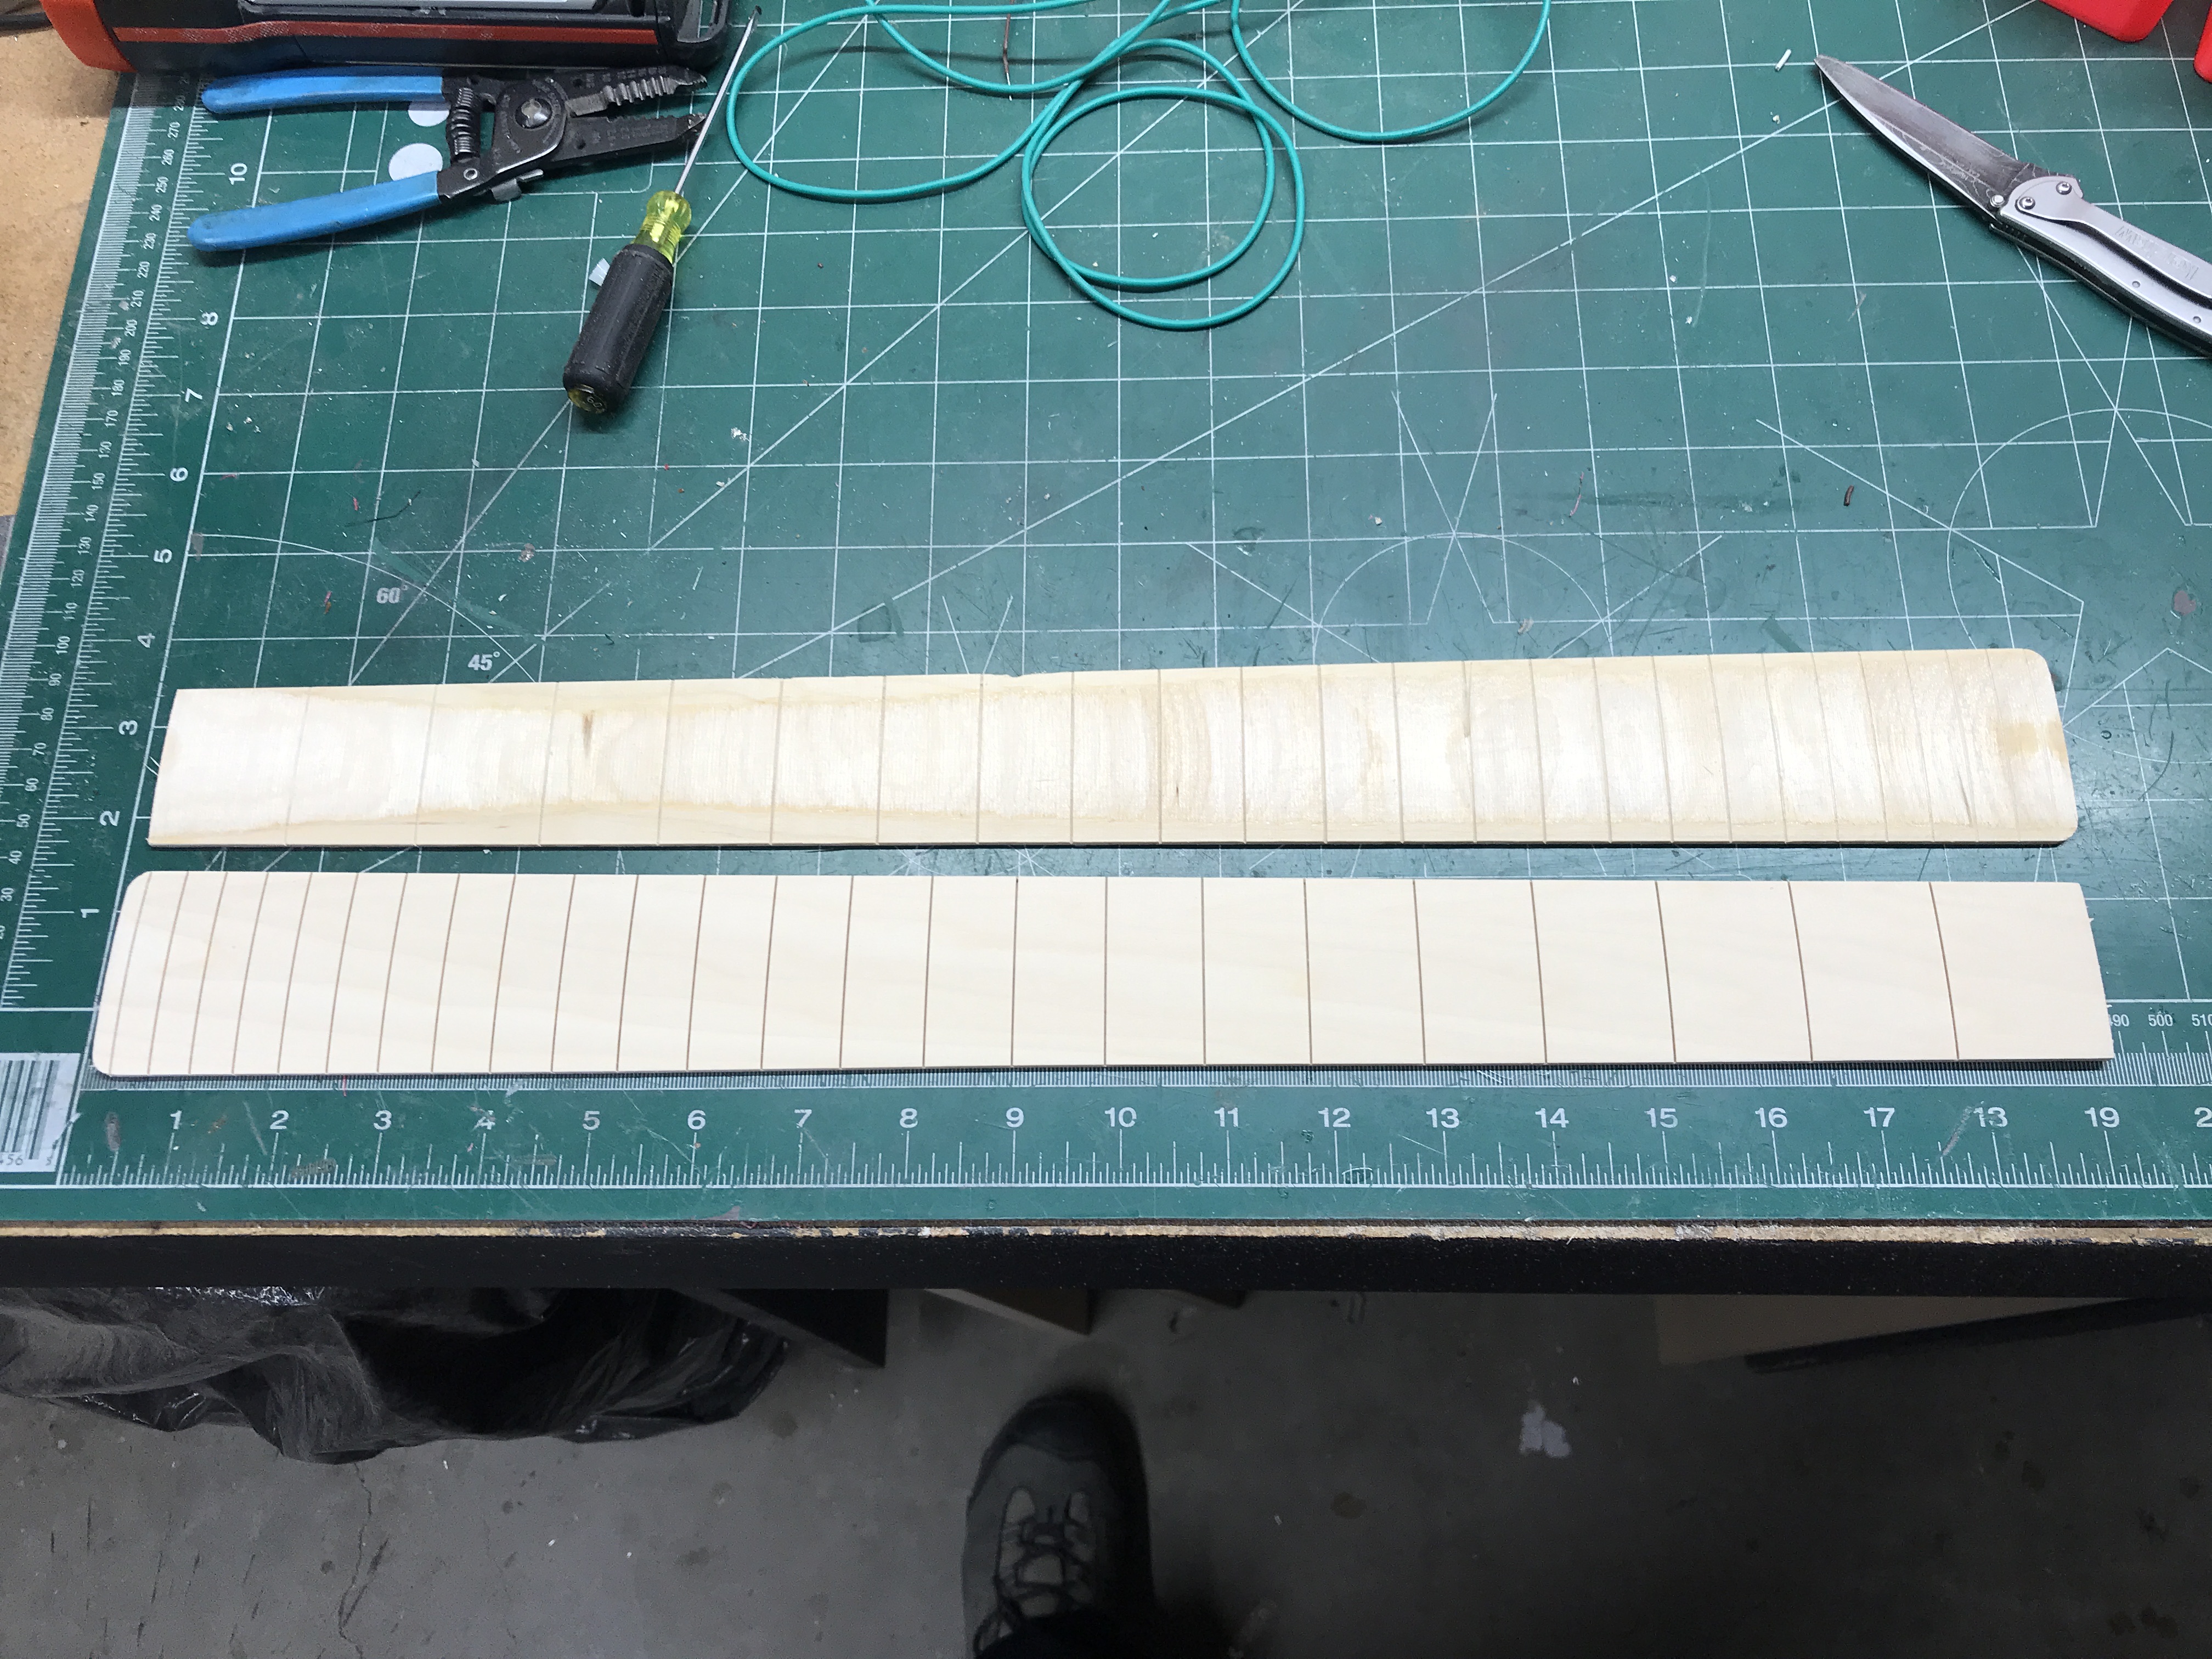
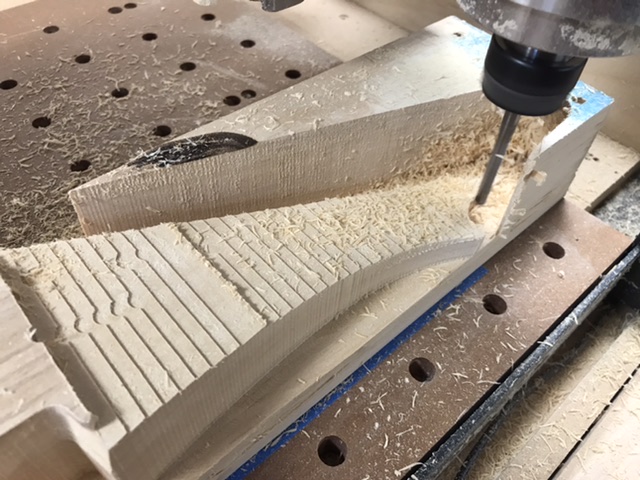
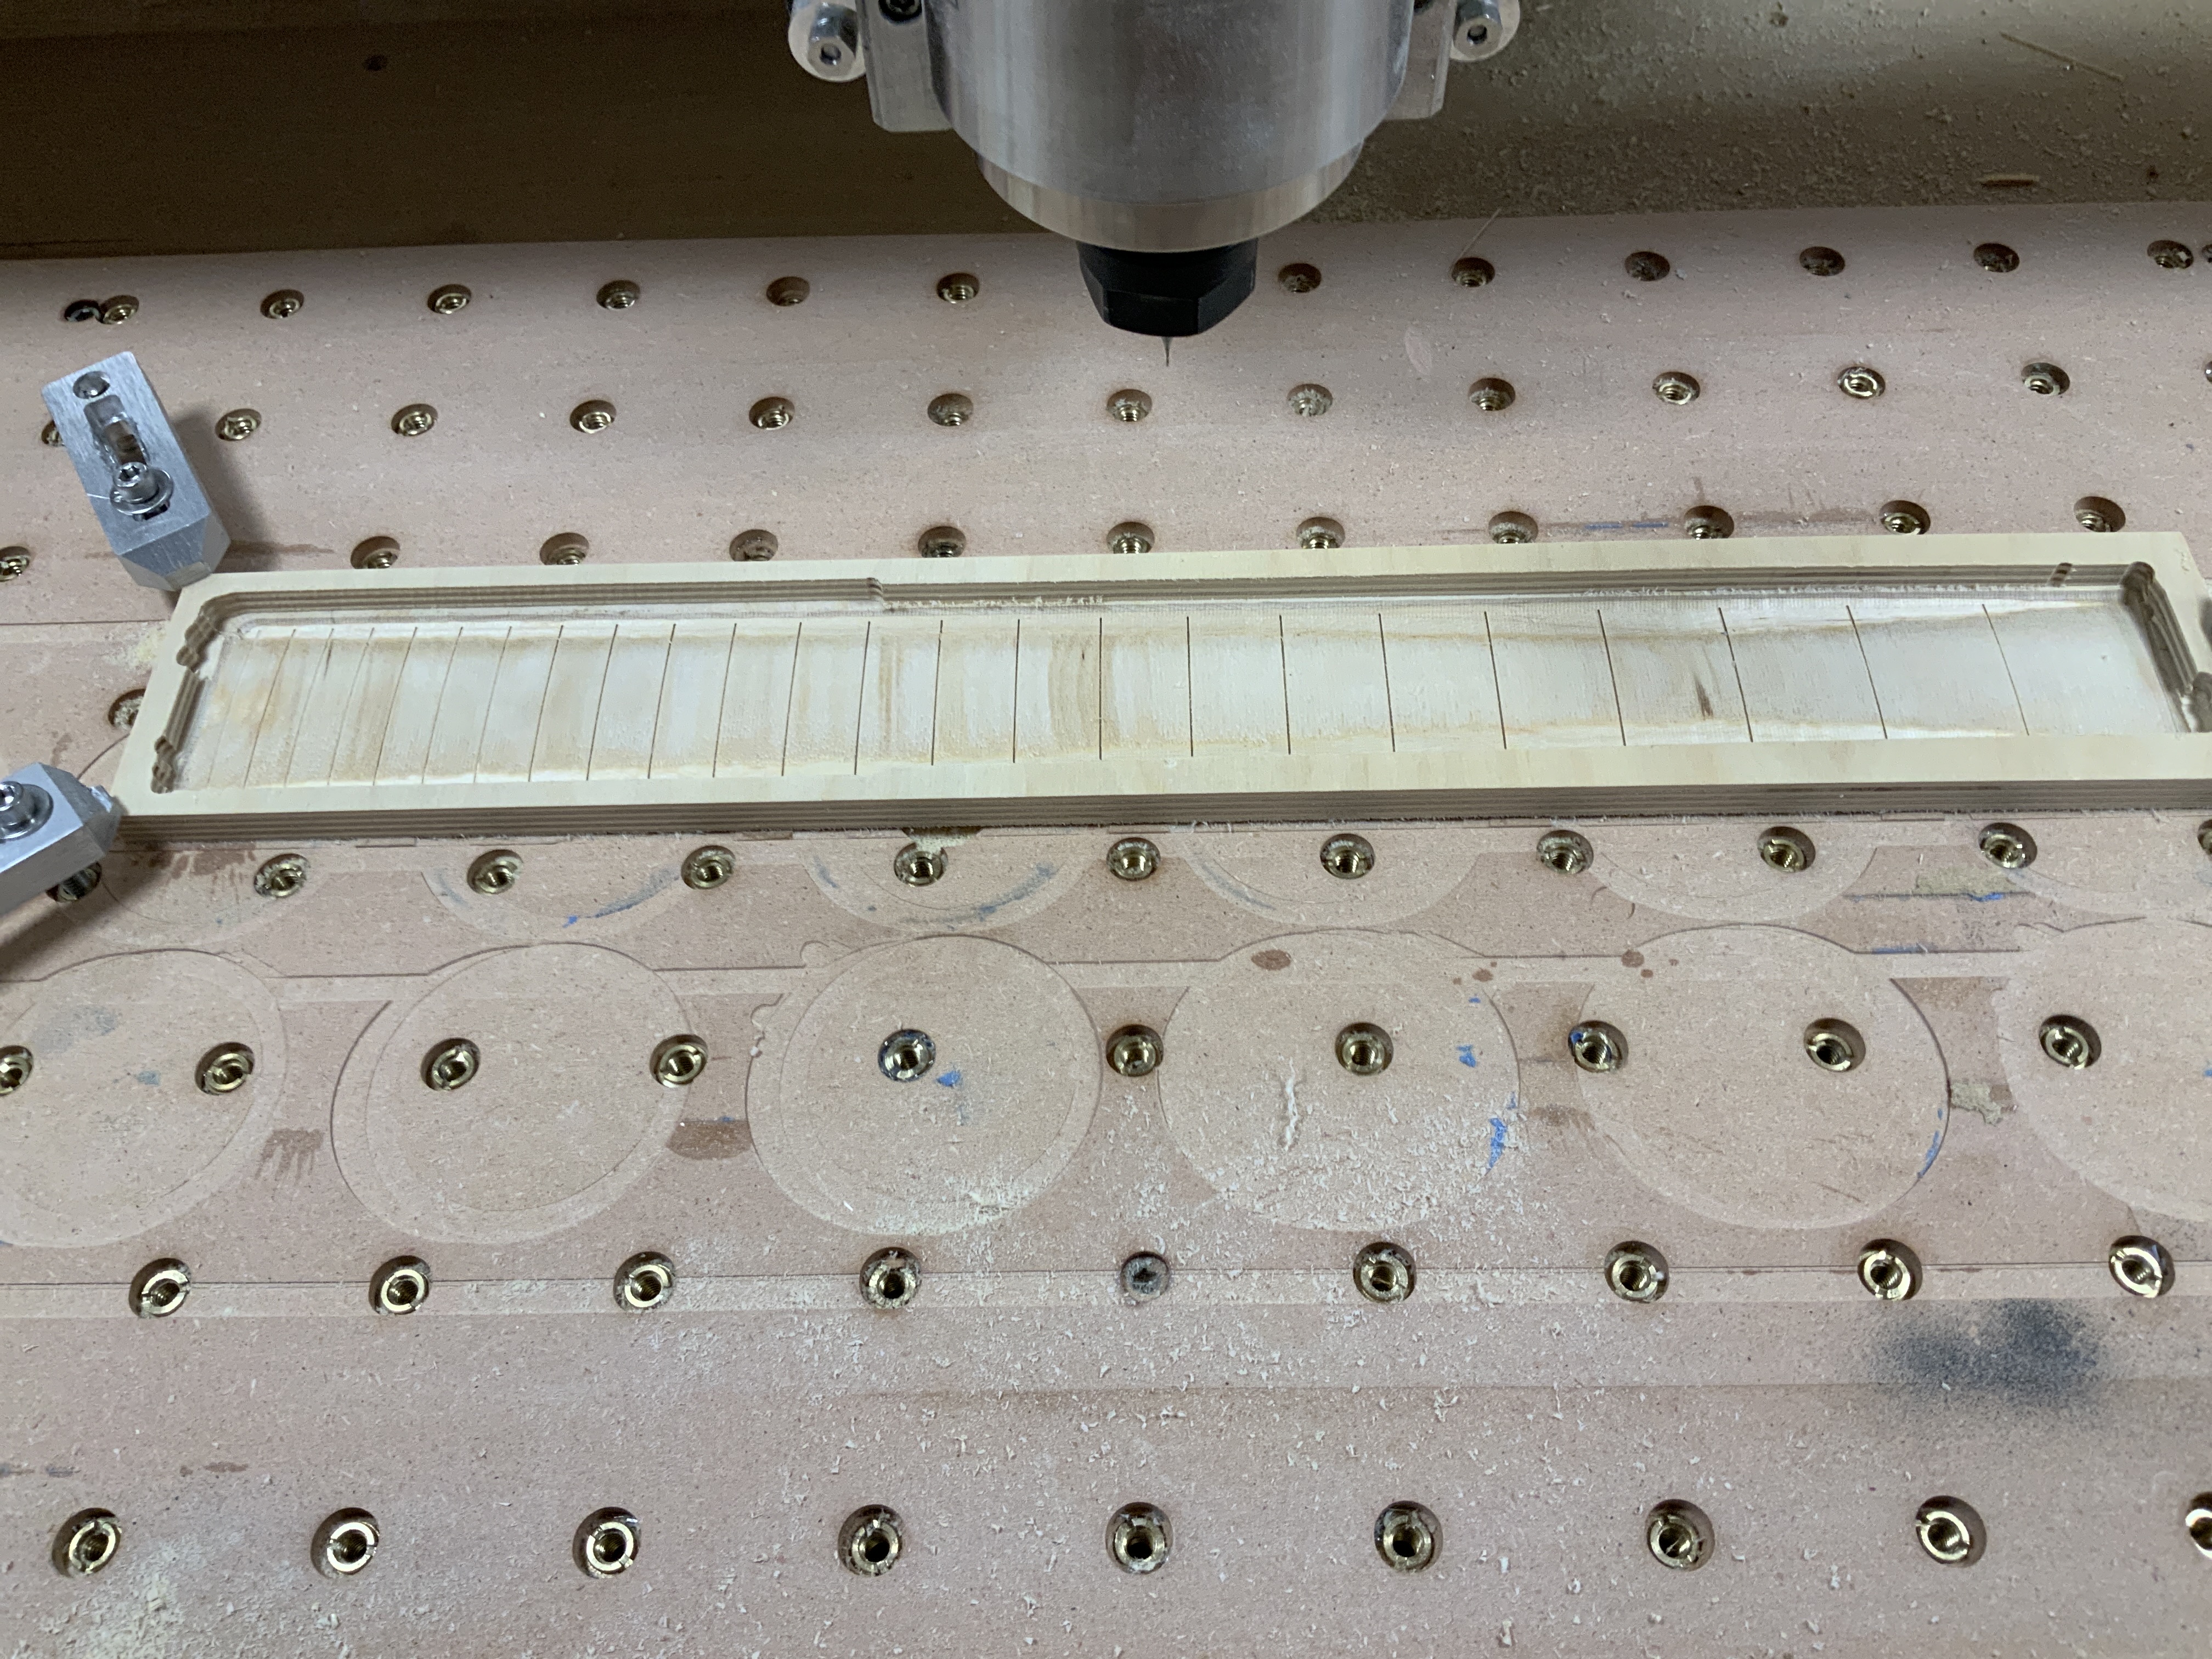
Then I added Audiohotshot’s fret generator add-in to F360 and completed my first “Trace” toolpath to cut the frets in my first practice part, the fretboard. Here it is 90% complete.
Is there a radius on the fretboard that could be causing the inconsistency?
1 Like
Griff
(Well crap, my hypometric precursor device is blown…)
3
The fretboard is radiused along the centerline however, that shouldn’t affect the fret depth at either end.
What did affect it was a slight bow in the stock caused by being lazy and only securing the ends. So the fret slots in the middle were deepest.
Next try will be basswood secured with tape and CA.
1 Like
Griff
(Well crap, my hypometric precursor device is blown…)
4
2nd attempt looking better, fret slots nice and crisp!
There’s a neck hidden in this scrap soft maple glue-up I think. We’ll see soon.
10 Likes
Griff
(Well crap, my hypometric precursor device is blown…)
6
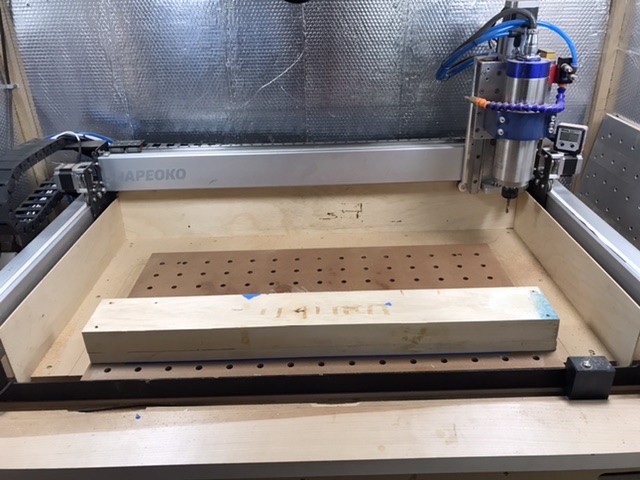
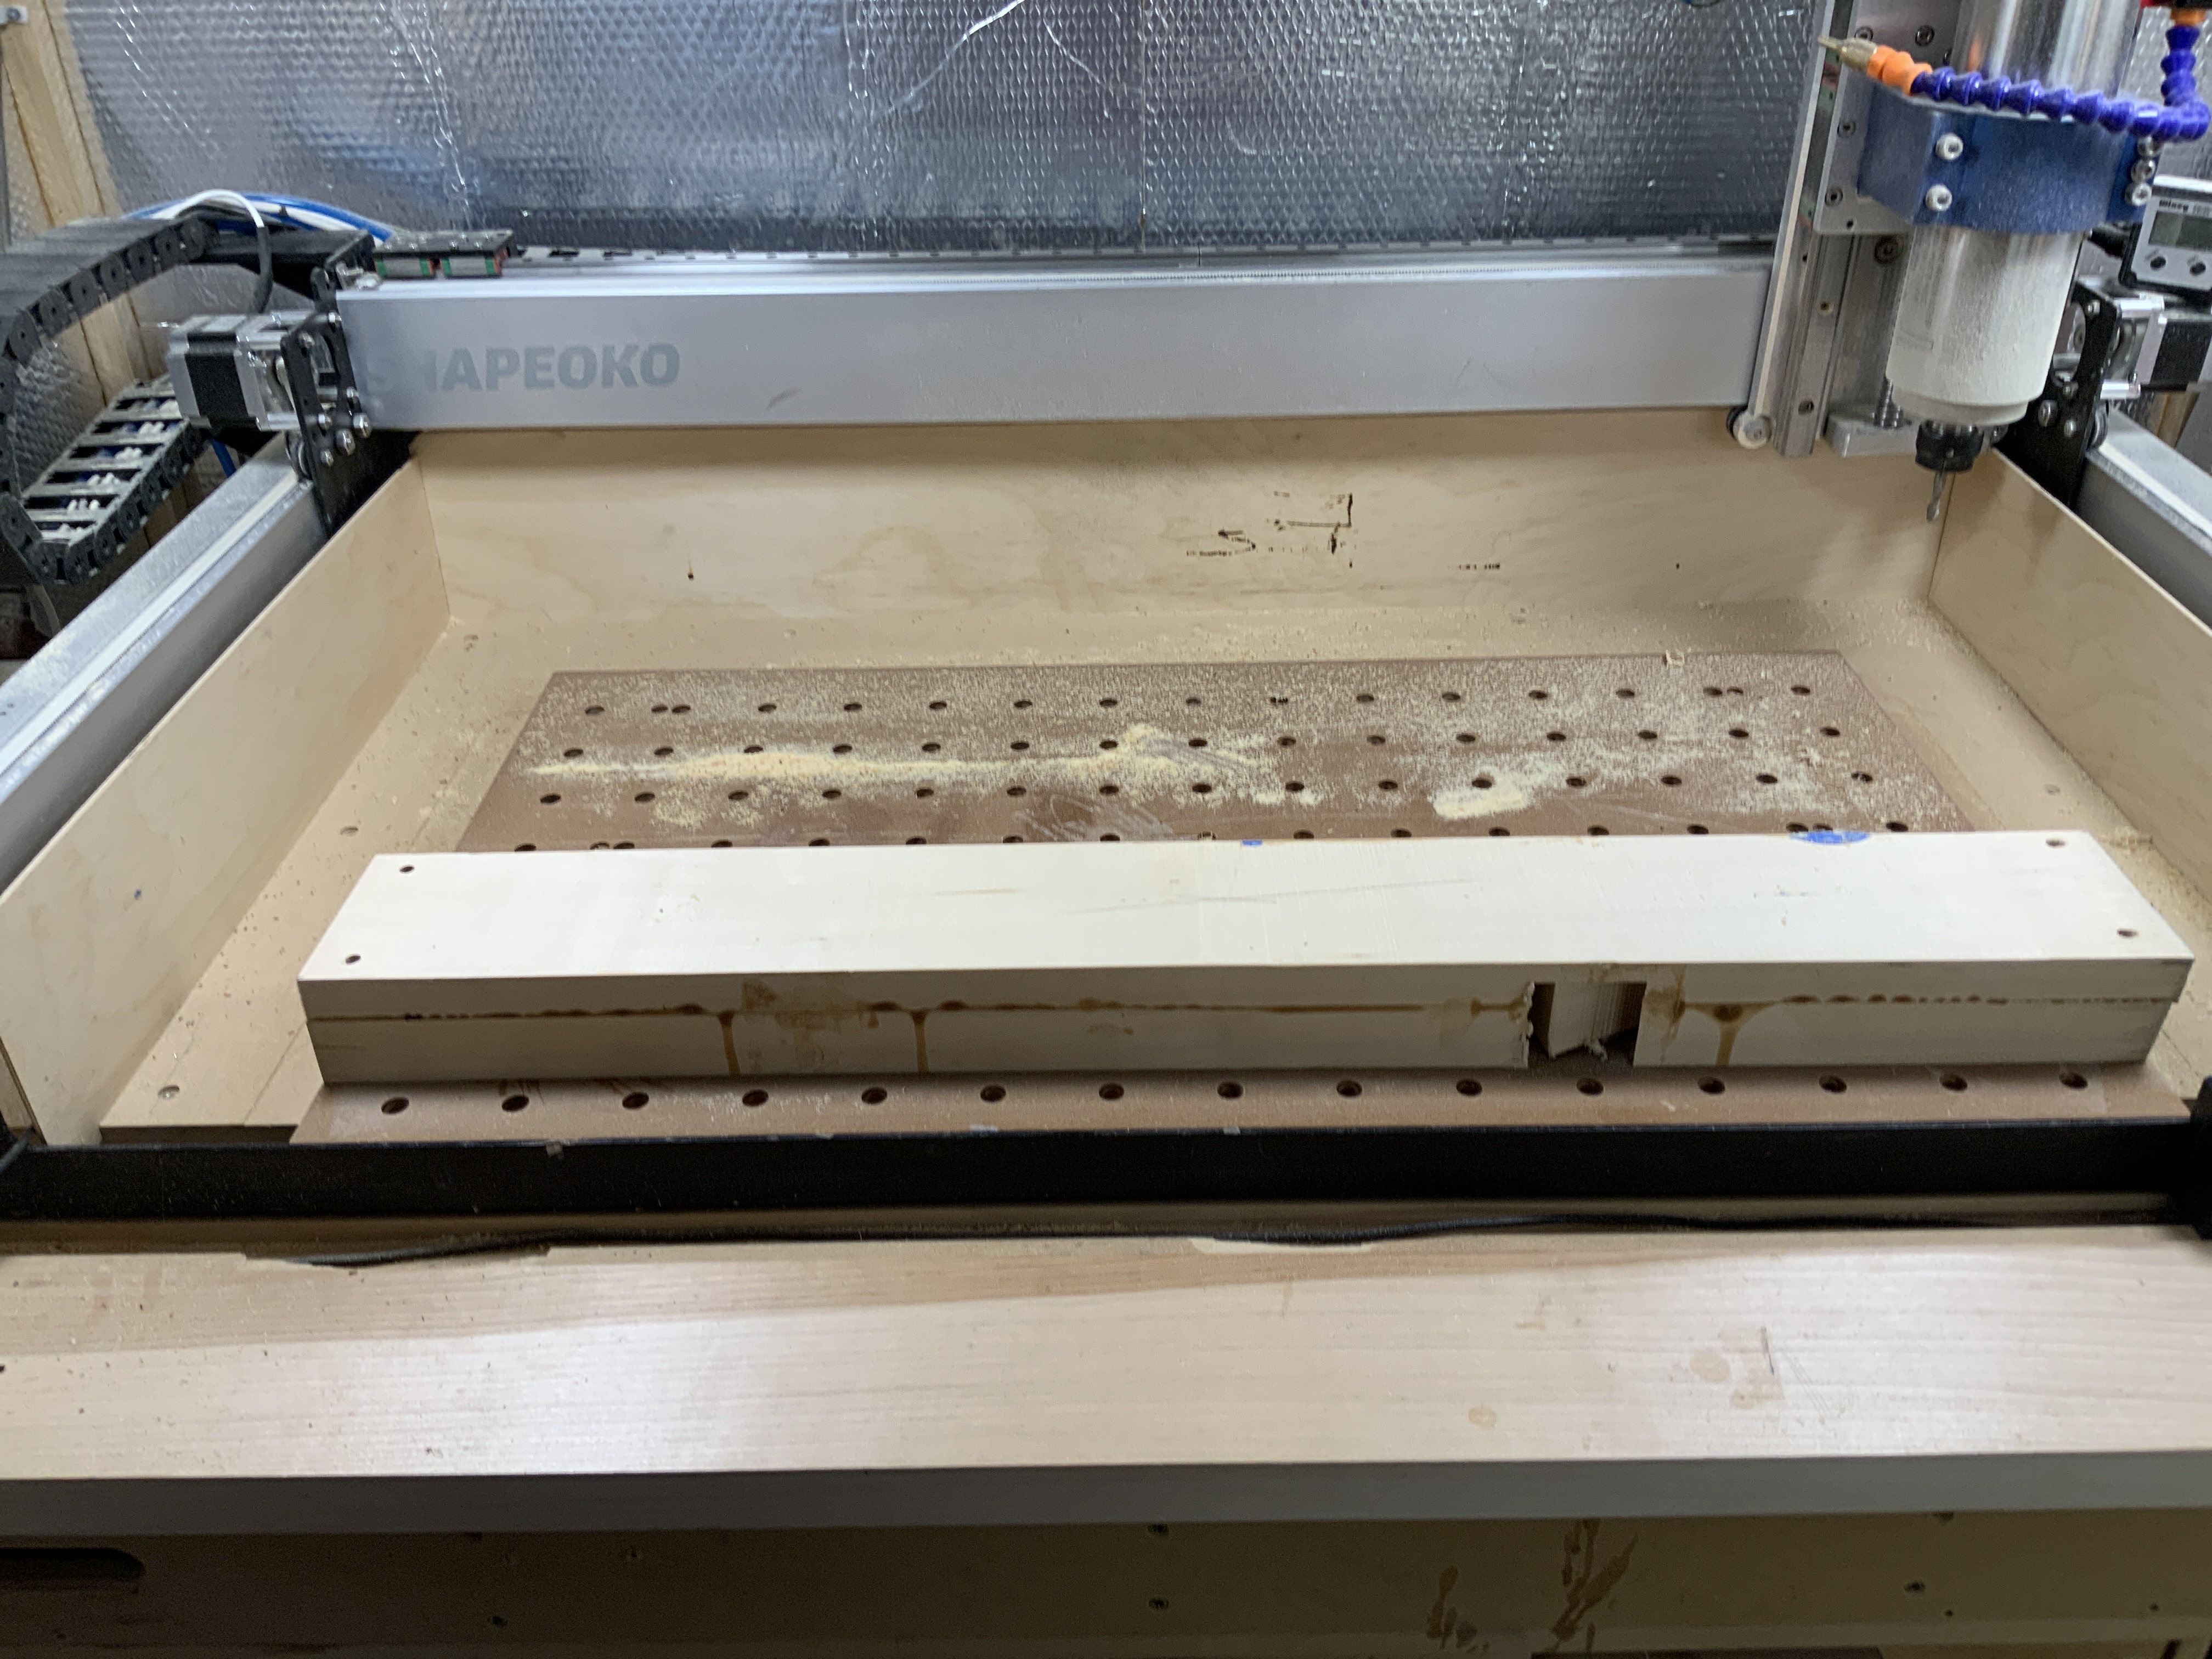
Exciting stuff today, first neck cut.
Material is soft maple. 10mm doc, 2mm axial, 2000mm/min cut rate, 24000rpm.
Some nice guitar-heavy blues for my listening pleasure. I think this project my actually incentivize me to learn to play
First problem, end mill not long enough for this toolpath. Stopped job, installed longer mill, zeroed z, modified top of job in F360 to -30mm and restarted. No harm, no foul.
Will mod toolpath to cut max depth 40mm for top of neck, remainder when I flip the part.
9 Likes
Griff
(Well crap, my hypometric precursor device is blown…)
7
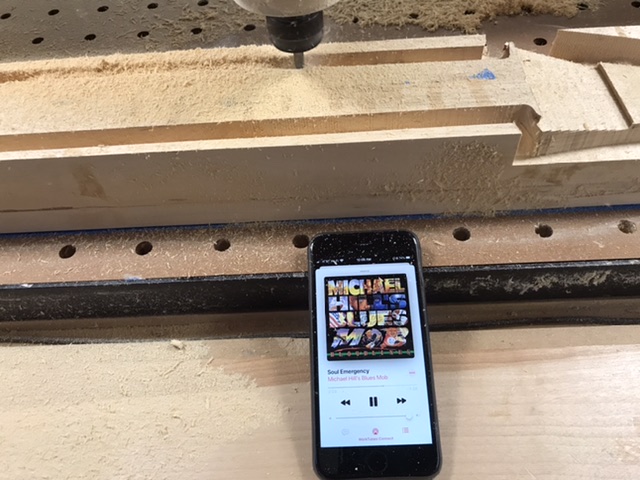
Alright, time for the flip side. No more interruptions I hope.
Oh I’m not disputing that the SO3 actually provides a better tool for making instruments but there is a larger instrument making community on the other forum so you can learn some of the techniques and designs they have used. I’m glad you are there already. Then we can read here what you have learned there and maybe at some point, this forum will have as menu people interested in making musical instruments.
Griff, you’re flying at this already. Looks great so far. Keep us updated on that neck when you get your new belts installed. I just now launched into 360. Spent the weekend watching that video you posted and working along with the software to try and duplicate all his moves. Great learning tool along with the McWhorter video series. I’m starting to get a handle on it, but I’m still reliant on old 2D milling for now.
I do have one question. How will you get the tuning machine holes to mill perpendicular to the angled headstock?
Griff
(Well crap, my hypometric precursor device is blown…)
12
Not thought much about that at this point. Also, not planning for the first real guitar to have an angled headstock. Will keep it as simple as possible.
Maybe a fixture? Or, tape and ca headstock to bed, support under other end? Also I could do a pass to dimple the holes to mark position then drill out on drill press. Better yet I’ll google boring tuner holes in angled headstock.
My second go, this time with horizontal headstock, is about complete. Will post some pics soon.
EDIT
Finished 2nd test neck without any drama.
Interesting both chunks of scrap wood had knots in the middle haha. Need to work on the transition from neck to headstock, not attractive and difficult (for me) to toolpath. The 2nd neck was cut from a 4x4 Doug fir that I ripped in half on my table saw. Not quite wide enough for the headstock but ok for learning. I have some confidence now that I may actually be able to do this. Will cut another neck in order to optimize toolpaths then move on to the body.
First, I’m really impressed with your progress and what you are able to do with 360. Certainly is motivating me to move more in that direction. I think you’re gonna come out with a real fine instrument when this is over.
I’ve thought a lot about milling the tuning holes and pretty much settled on the same solutions as you. I suspect one could design some sort of fixture to allow re-positioning the headstock perpendicular to the machine and cut the holes in a separate operations, but that might present some issues with accuracy as the machine would need to be re-zeroed. Currently, on my angled headstocks I typically use a template to assure accurate placement of each hole and drill on the press with a 10mm bit. Just getting the 3d back of the neck and profile cut would be a huge plus for me at this point since it is very time consuming and inaccurate to shape them by hand with rasps, sandpaper, etc. And, yes, that transition from the neck to the headstock (called the volute) is particularly a fussy place since it has to not only look and feel pleasing, but it has to be functional in its purpose of providing that extra support where there is a lot of stress on the instrument from the string tension.
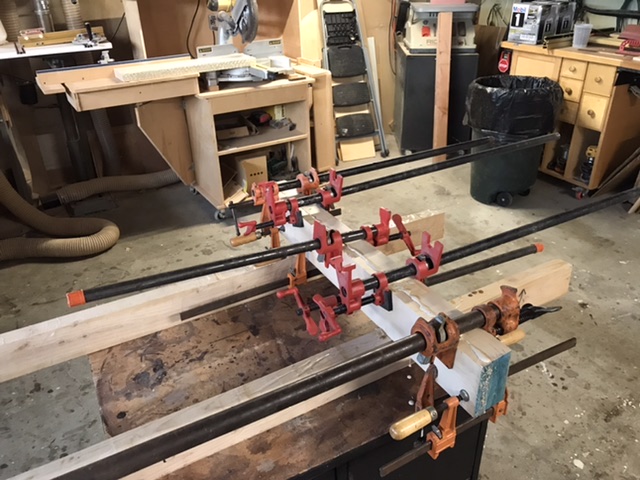
Finally, I appreciate your approach to the use of scrapwood for test cuts. That has always been my approach when milling a new design that I have not the faith in trusting to an expensive piece of lumber. One thing you might consider when actually cutting your final neck is using quarter-sawn lumber or face gluing (laminating) several flat-sawn pieces together to form a blank that will have the edge grain facing the fretboard when cut. Your neck will be a whole lot more stable and be less prone to bowing with that kept in mind.
Griff
(Well crap, my hypometric precursor device is blown…)
14
That’s something I’ve been wondering about given the need for strength, thanks for the suggestion. I have a fair amount of 8/4 African “mahogany” that I could slice and glue. Or, do people ever use white oak? Maybe too heavy? I have some quarter sawn around somewhere.
What about Audiohotshot’s (YouTube guy) scale of 635mm? Is that a standard? 24 frets?
Mahogany (African) makes a fine body and neck. I make most of mine from Sipo (which is also called African Mahogony) is usually very tight, straight -grained (important for neck construction to avoid warping). Almost all my necks are made from flat-sawn boards laminated on the face, since 5/4 or thereabouts lumber is more easily obtained than a thicker purely quarter-sawn stuff. I’ve never tried oak, but since oak does not always have the same tight, straight-grain structure, I would think that would be a greater enemy to weight.
Audioshot’s 635mm scale actually is a 25" scale similar to what Paul Reed Smith guitars use. If you’re working in mms, just use the 25.4 multiplier to covert inches to the mm units. Fender guitars use a 25.5" scale (647.7 mm) and Gibson most commonly used ~24.75" (628.65 mm). Number of frets is not totally contingent on scale length but fret placement (distance between each fret) is. Many electrics use 21, 22, 23, and sometimes 24 frets. You can use whatever scale length or fret number works for your design as long as you place your frets according to the scale length. Stewmac has a handy fret calculator that will give you the fret positioning according to scale length for each individual fret. This will be important to you if you’re cutting your own. Also, this video series lists a link to a file that can be used with 360 to generate everything. Haven’t tried it since I’m so green with 360, but it looked promising.
Griff
(Well crap, my hypometric precursor device is blown…)
17
Good to know. Clearly I have a lot more research to do before I settle on an actual design.
Griff
(Well crap, my hypometric precursor device is blown…)
19
Continuing the journey…
I’ve now designed and cut several necks and fretboards via YT videos done by Audiohotshot https://youtu.be/shxir1Z4Bw8. A good place to start but I wasn’t happy with transitions at either end of the neck. Mostly due, I’m sure, to my limited experience with F 360.
I’m now moving on to utilizing tools provided by Brad Anderson (referenced in a post above) in his YT channel https://youtu.be/hMOaaqkxV1g. He has shared an excellent addin for Fusion 360 that will generate a neck and fretboard design after you have plugged in your desired values. guitarEngineBeta_v005.zip (68.7 KB)
With the hard part done you can now move into modeling the interesting parts of the neck. Requires working in the Surface workspace, what an eye opener, for me anyway.
My goal now is to absorb as much as I can from these two excellent knowledge and experience sources, make another practice neck or two plus a body or two. Finalize my component choices and complete a design for an actual finished guitar.
See you all in a bit…
8 Likes
Griff
(Well crap, my hypometric precursor device is blown…)
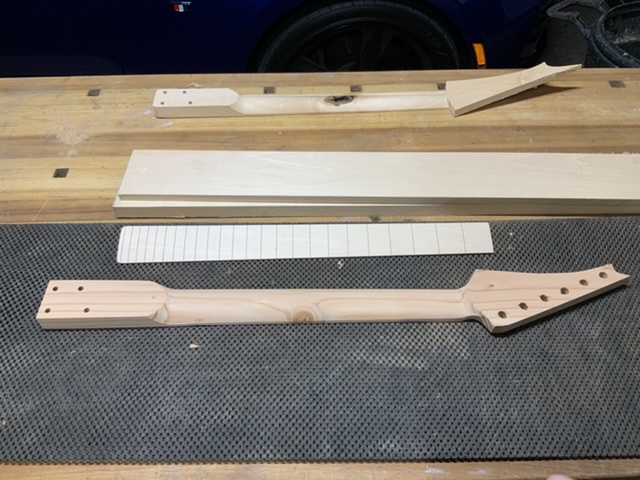
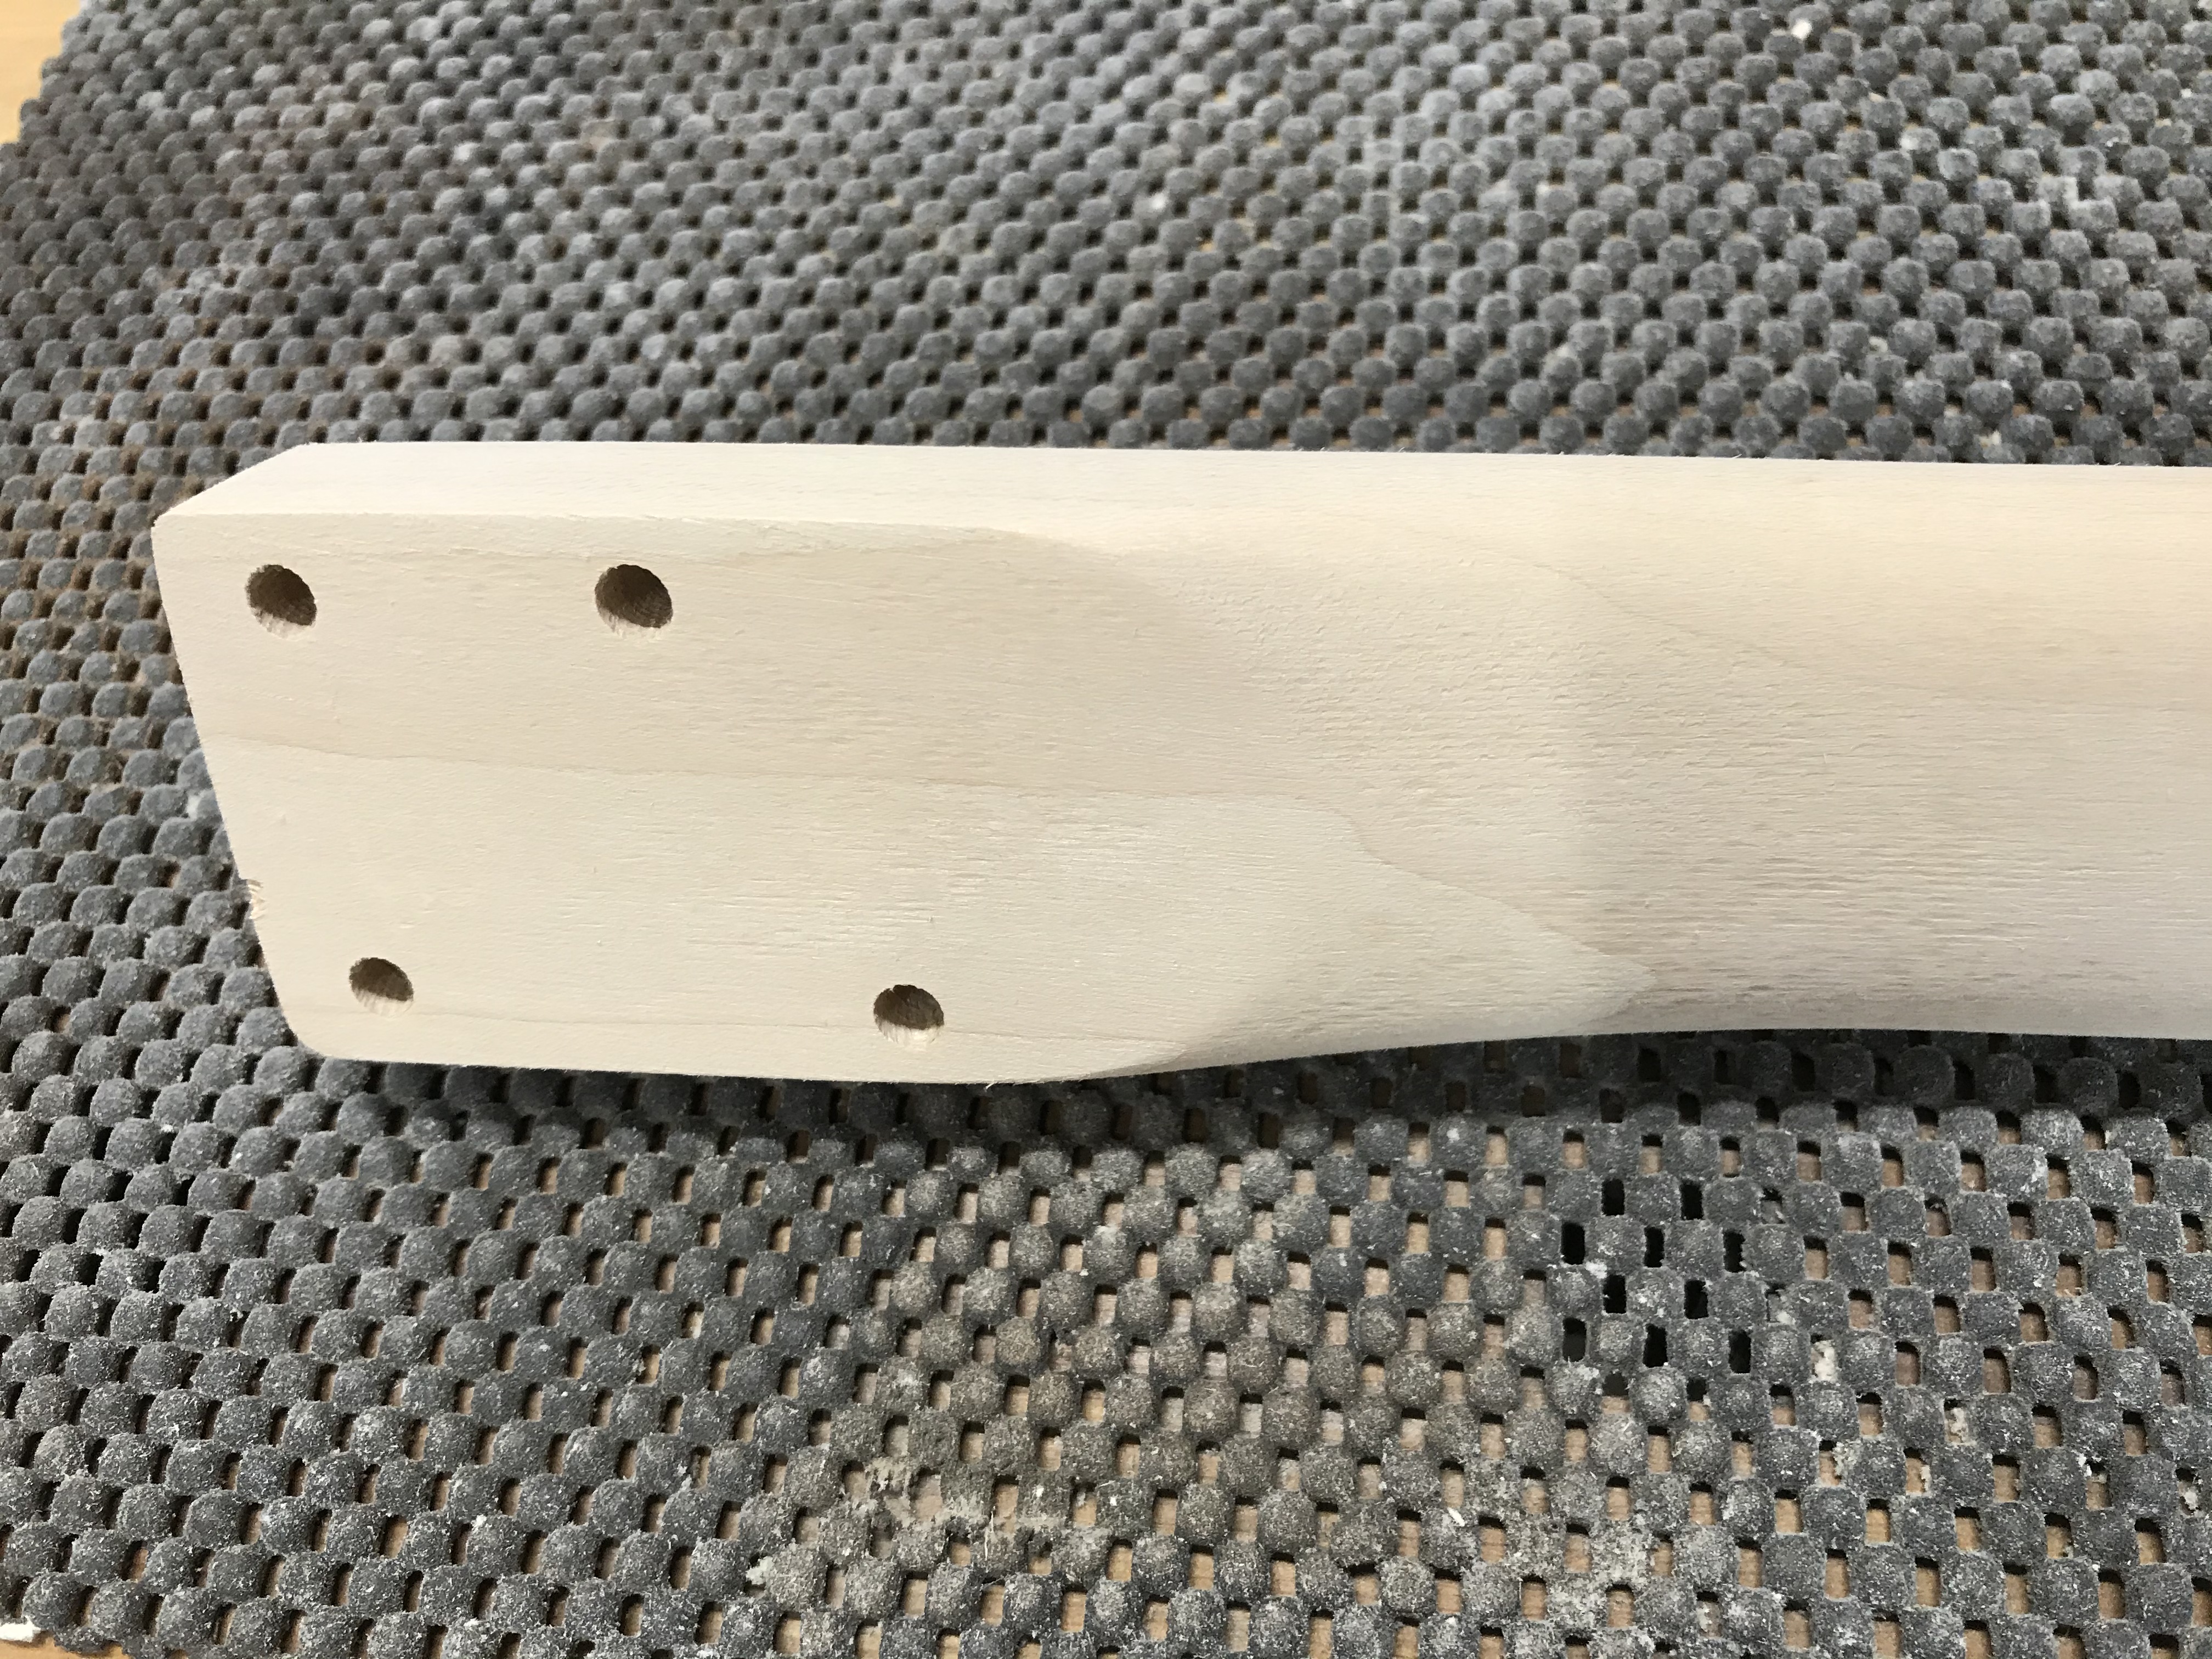
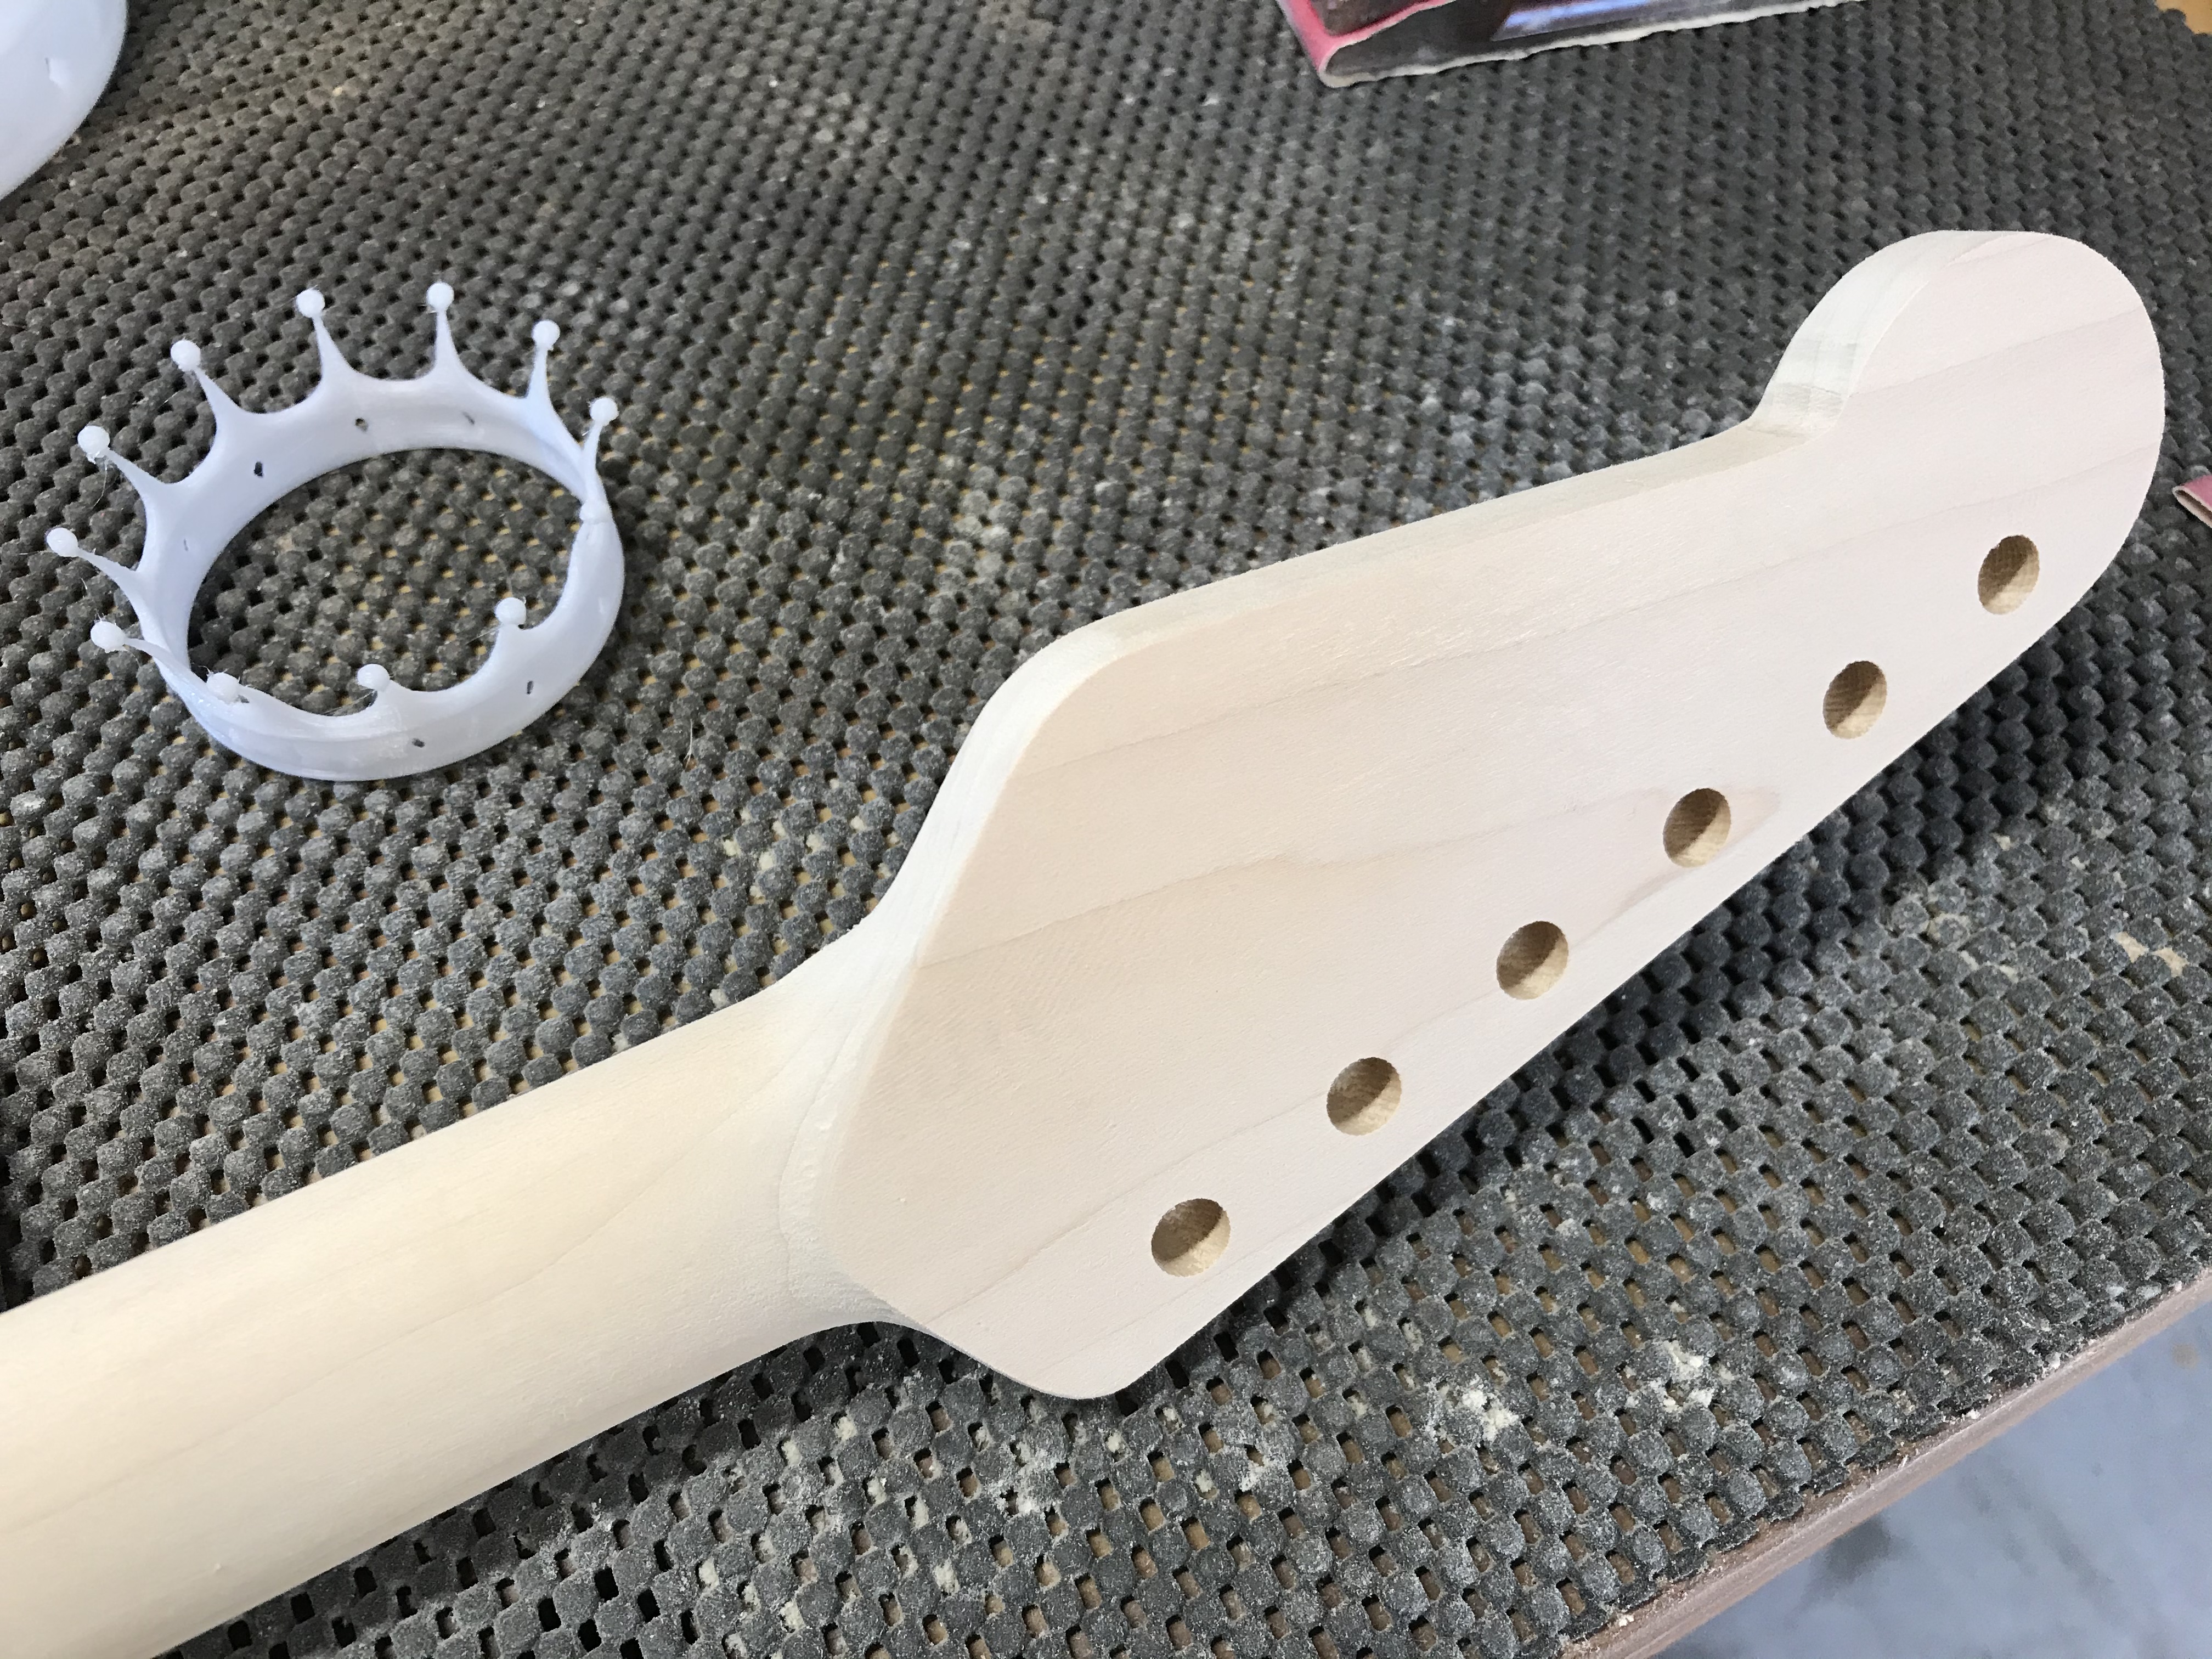
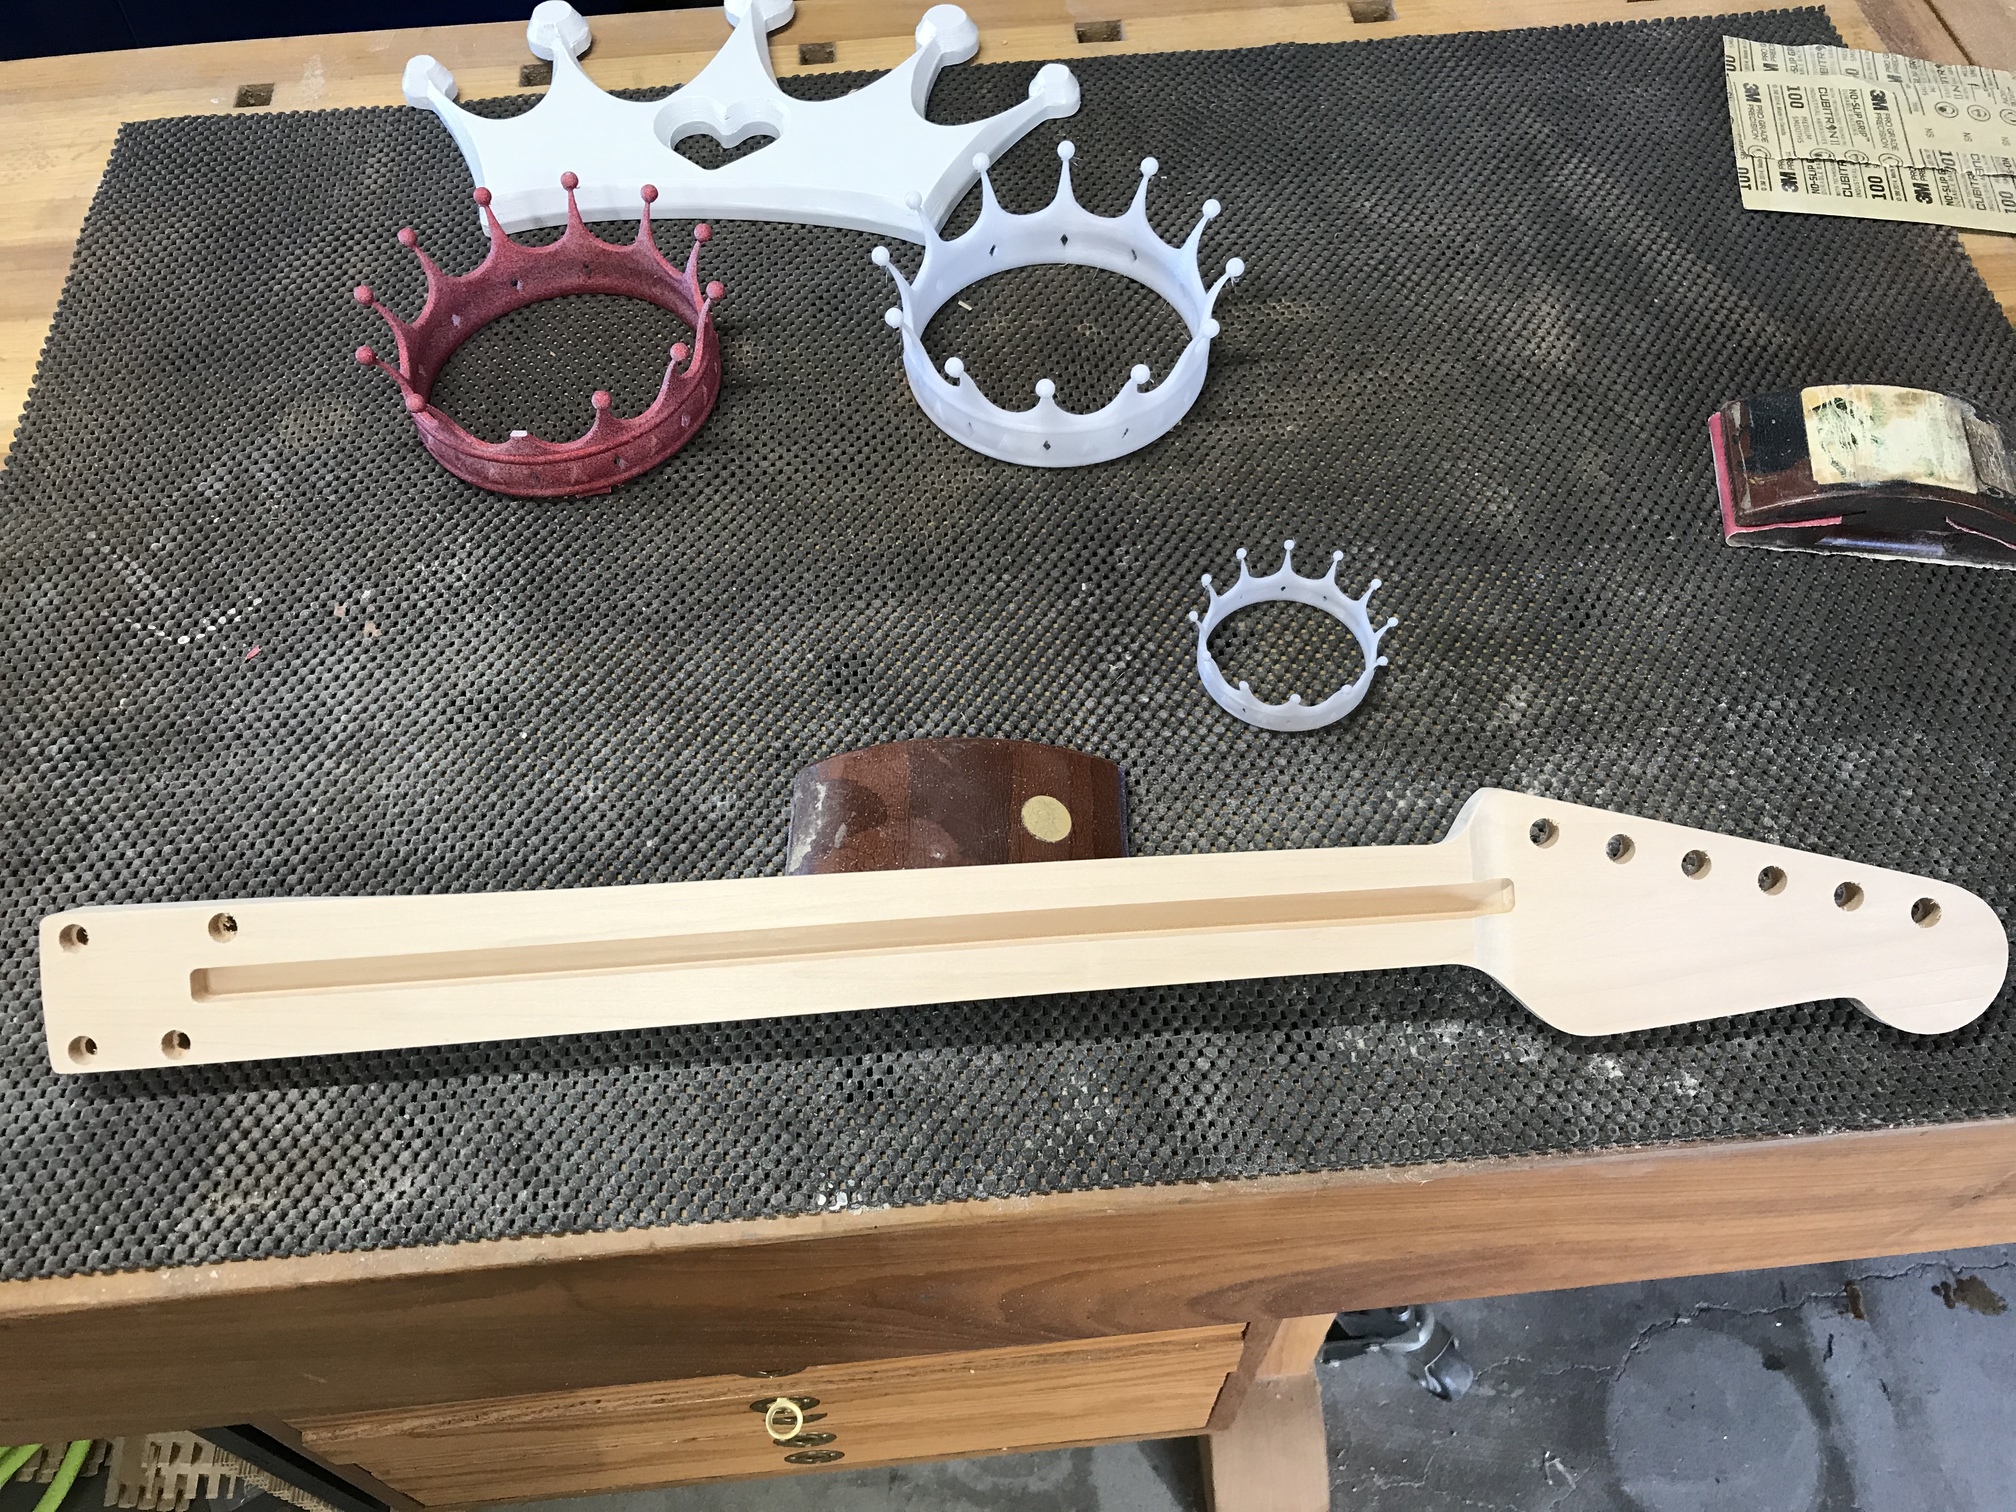
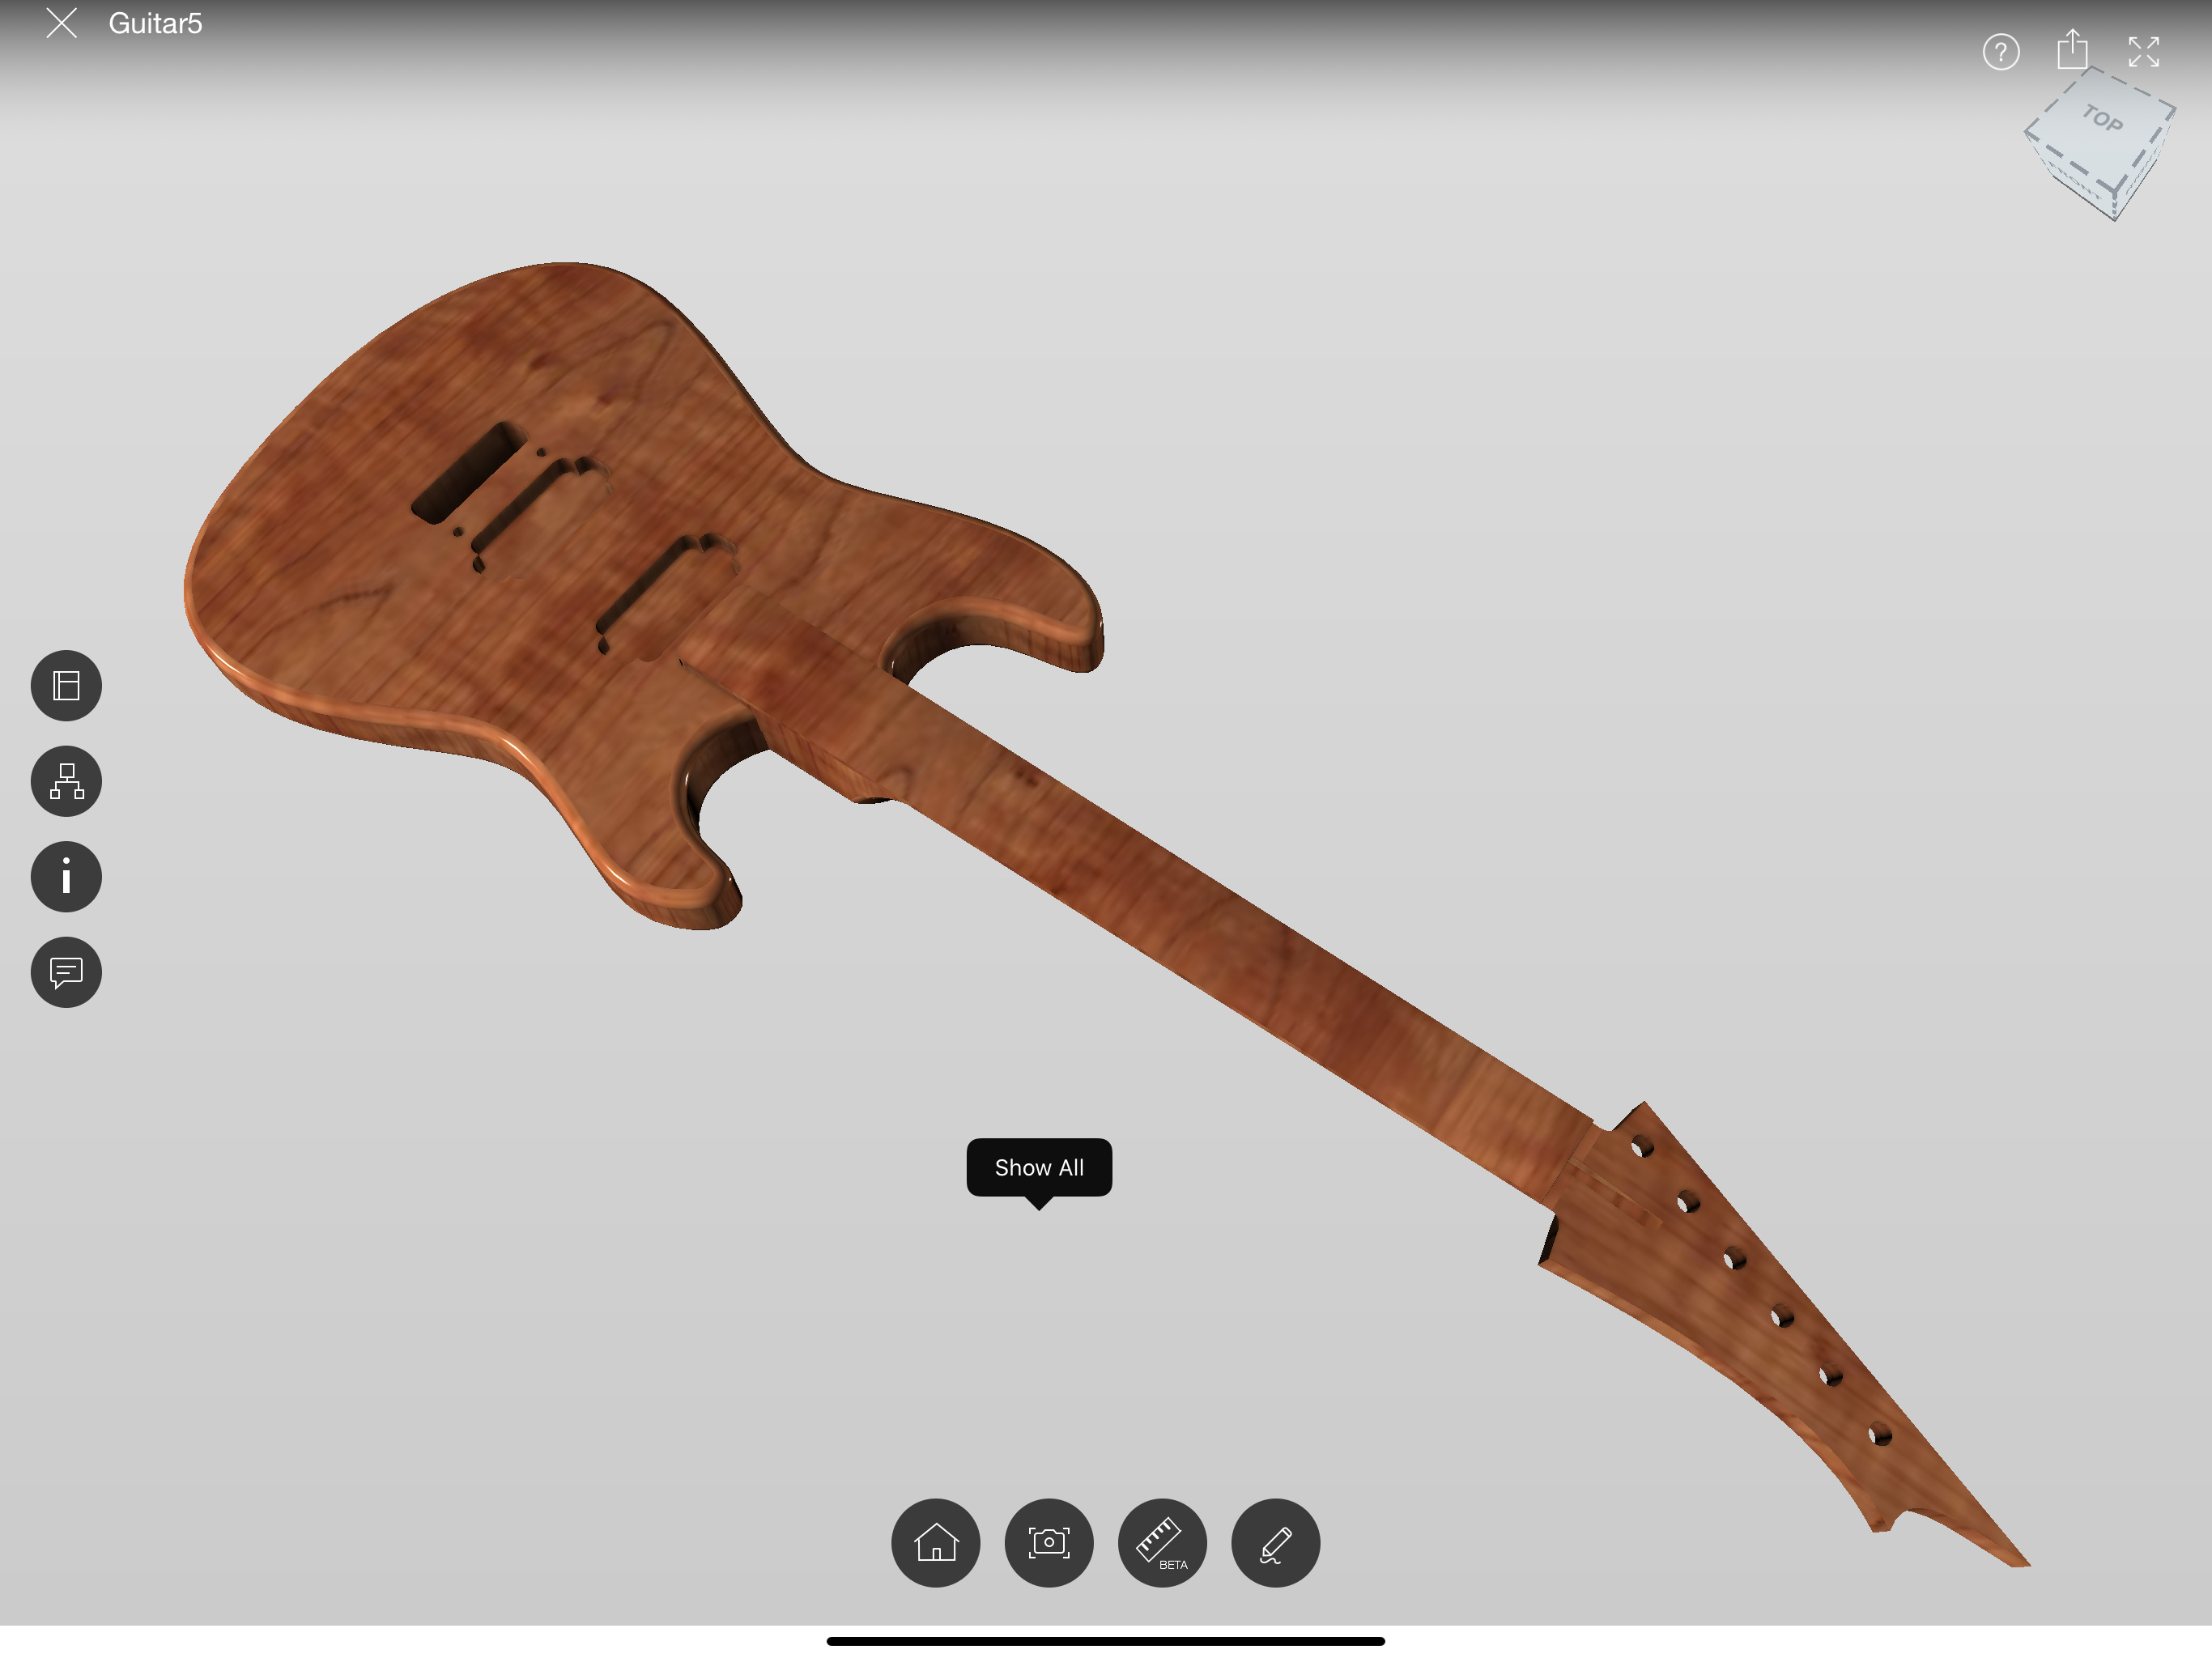
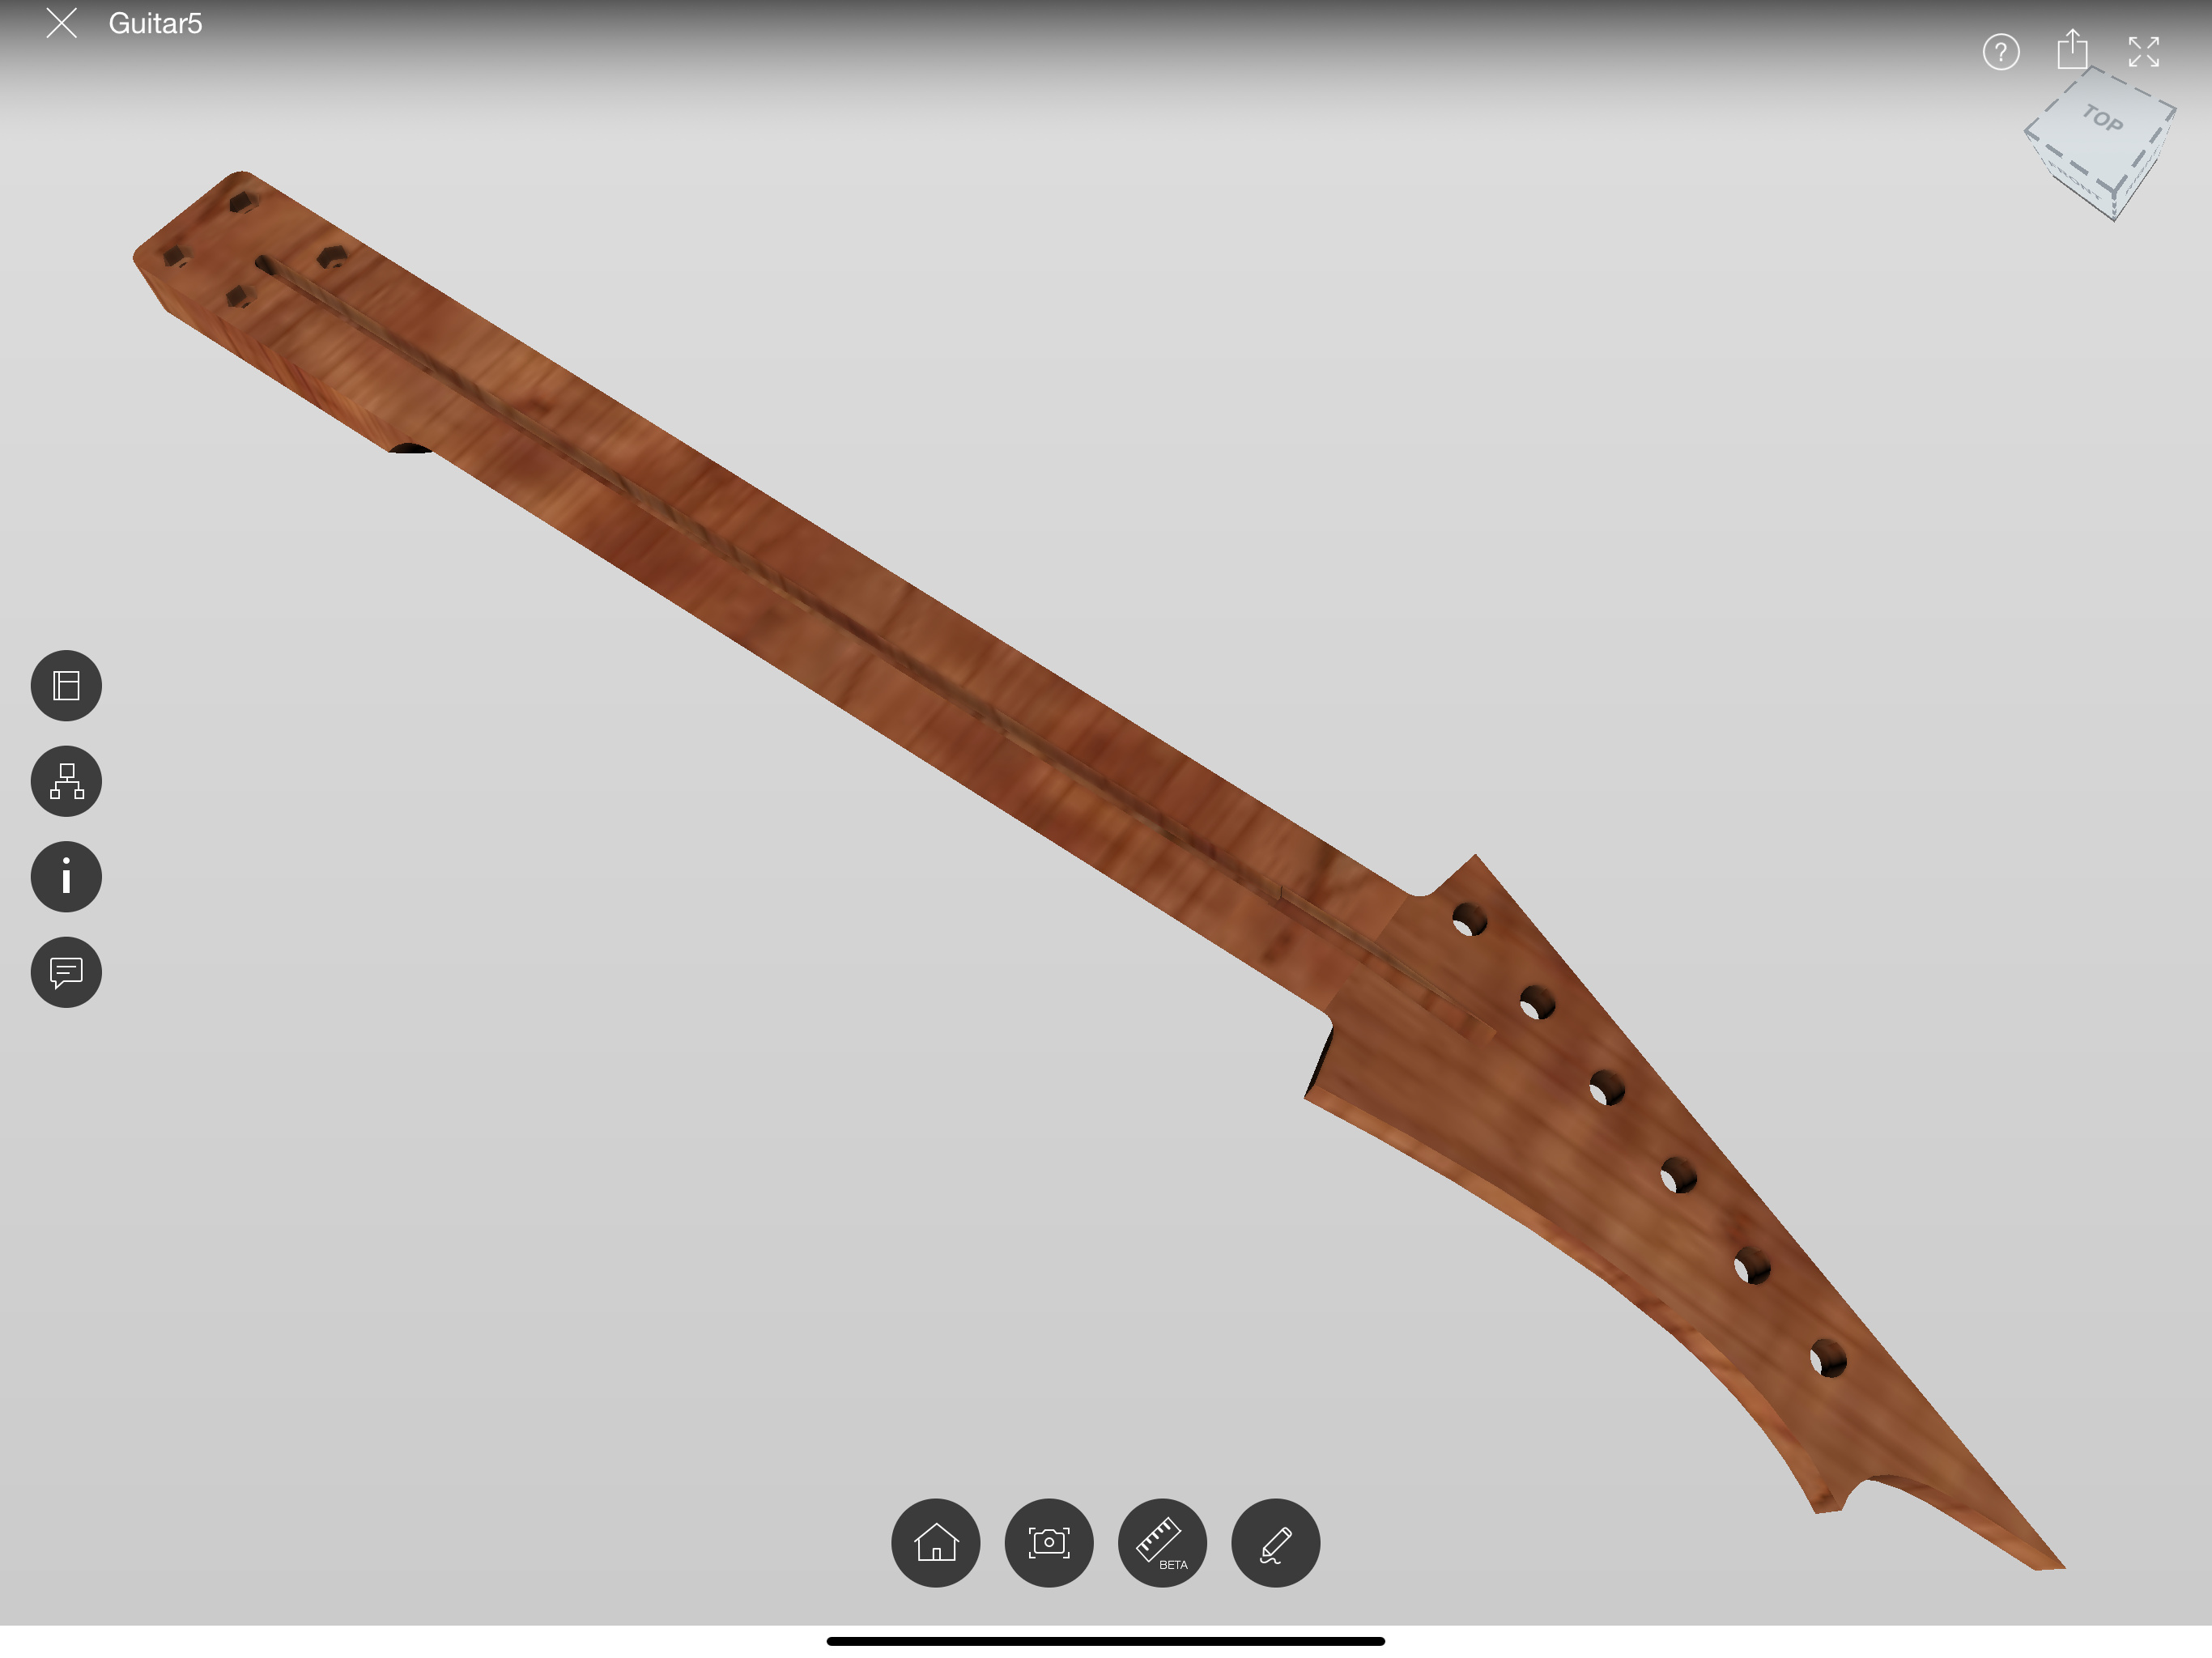
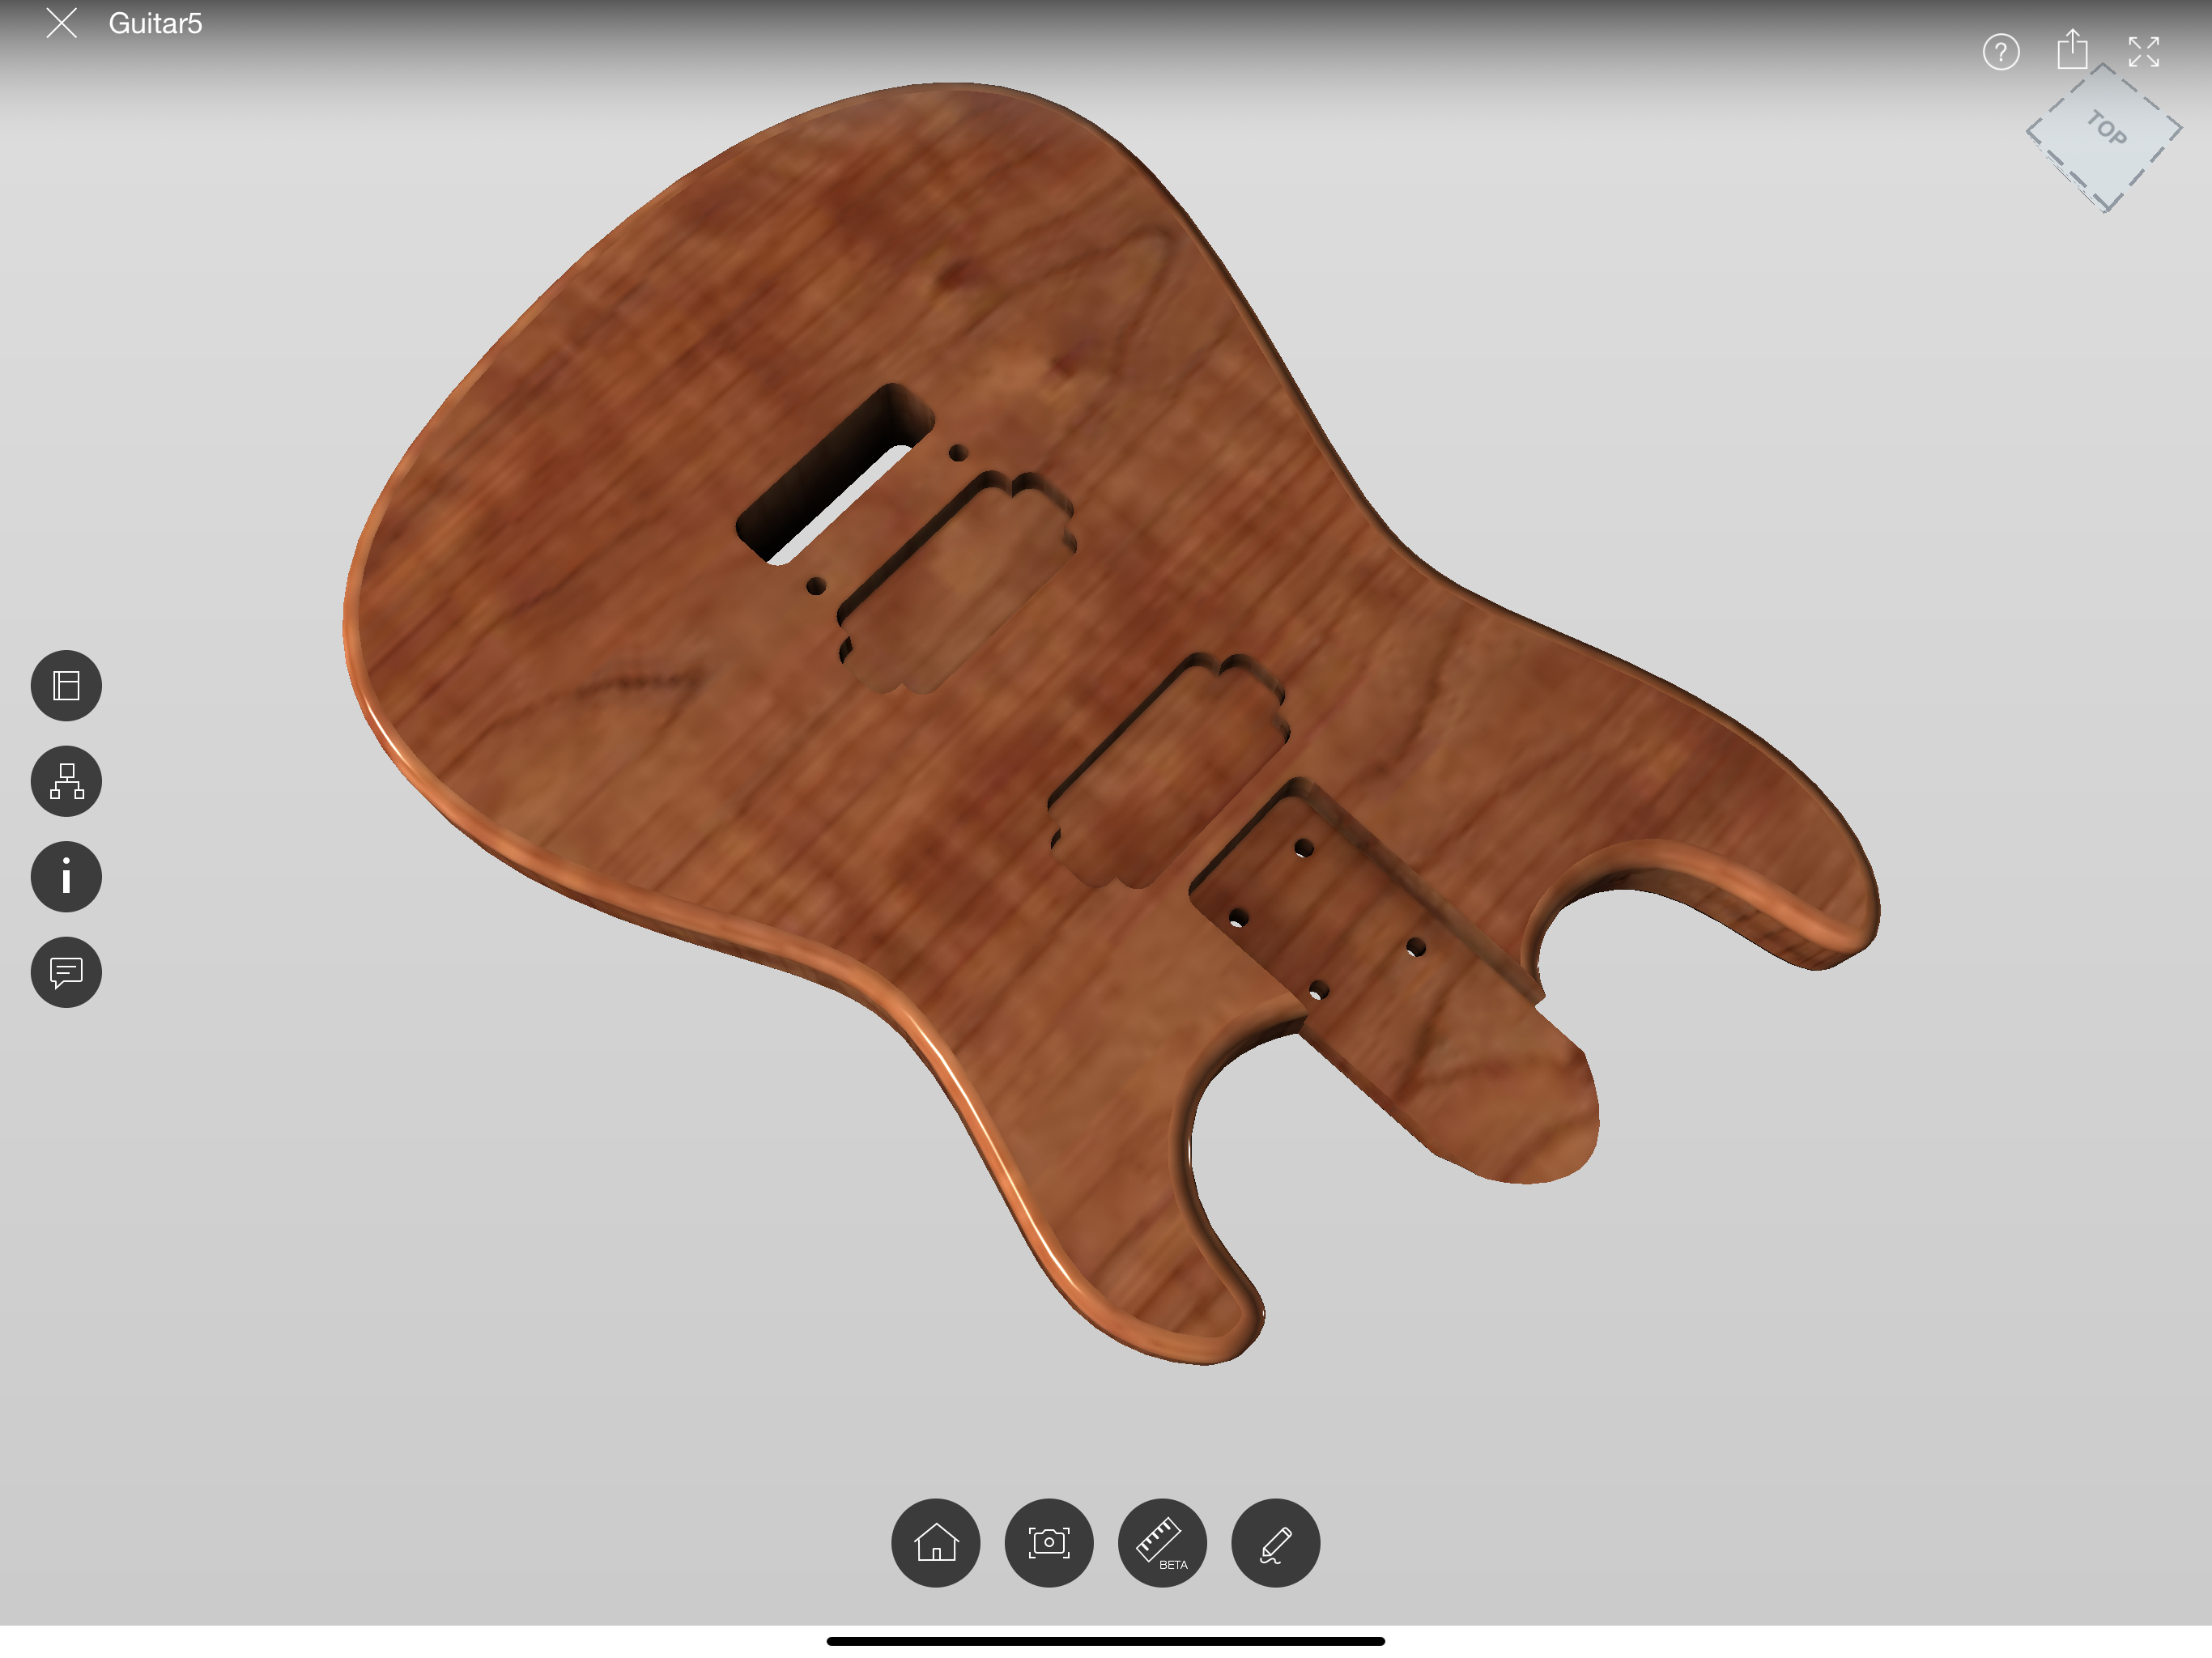
20
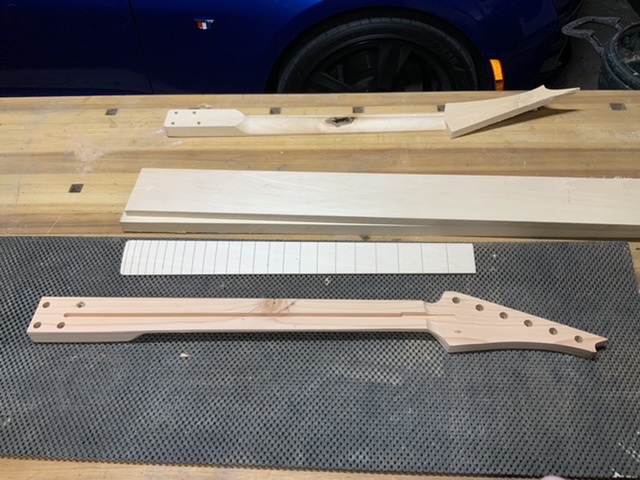
My first neck designed with Brad Anderson’s Fusion 360 add-in.
(Plus a few crowns for my Queen of a granddaughters upcoming 6th birthday)
I’m pleased with the transitions and overall look, with a bit more work I could use it in a build I think. If it wasn’t basswood. Will be moving on to designing/cutting a body next.
I’ve learned a bit more about F360. Working in the surfaces environment in particular. Plus I’ve done my first Morphed spiral toolpath. Still working on finding a toolpath strategy that’s efficient with minimal steps.
 So the fret slots in the middle were deepest.