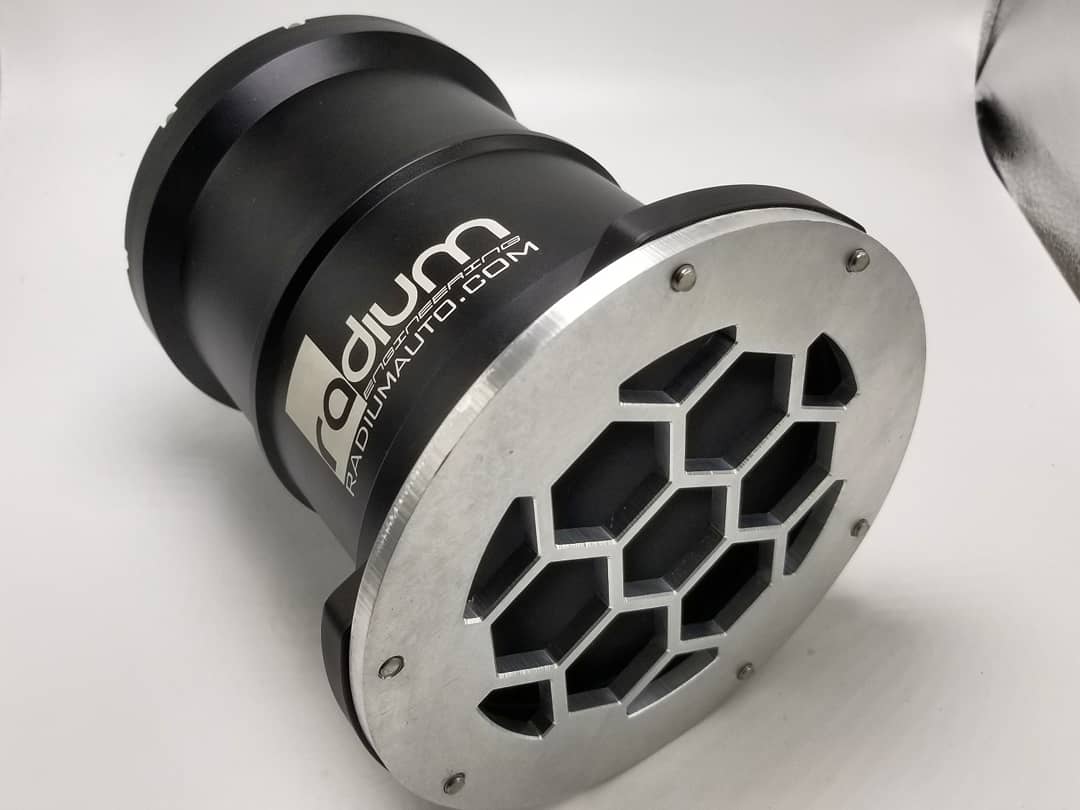
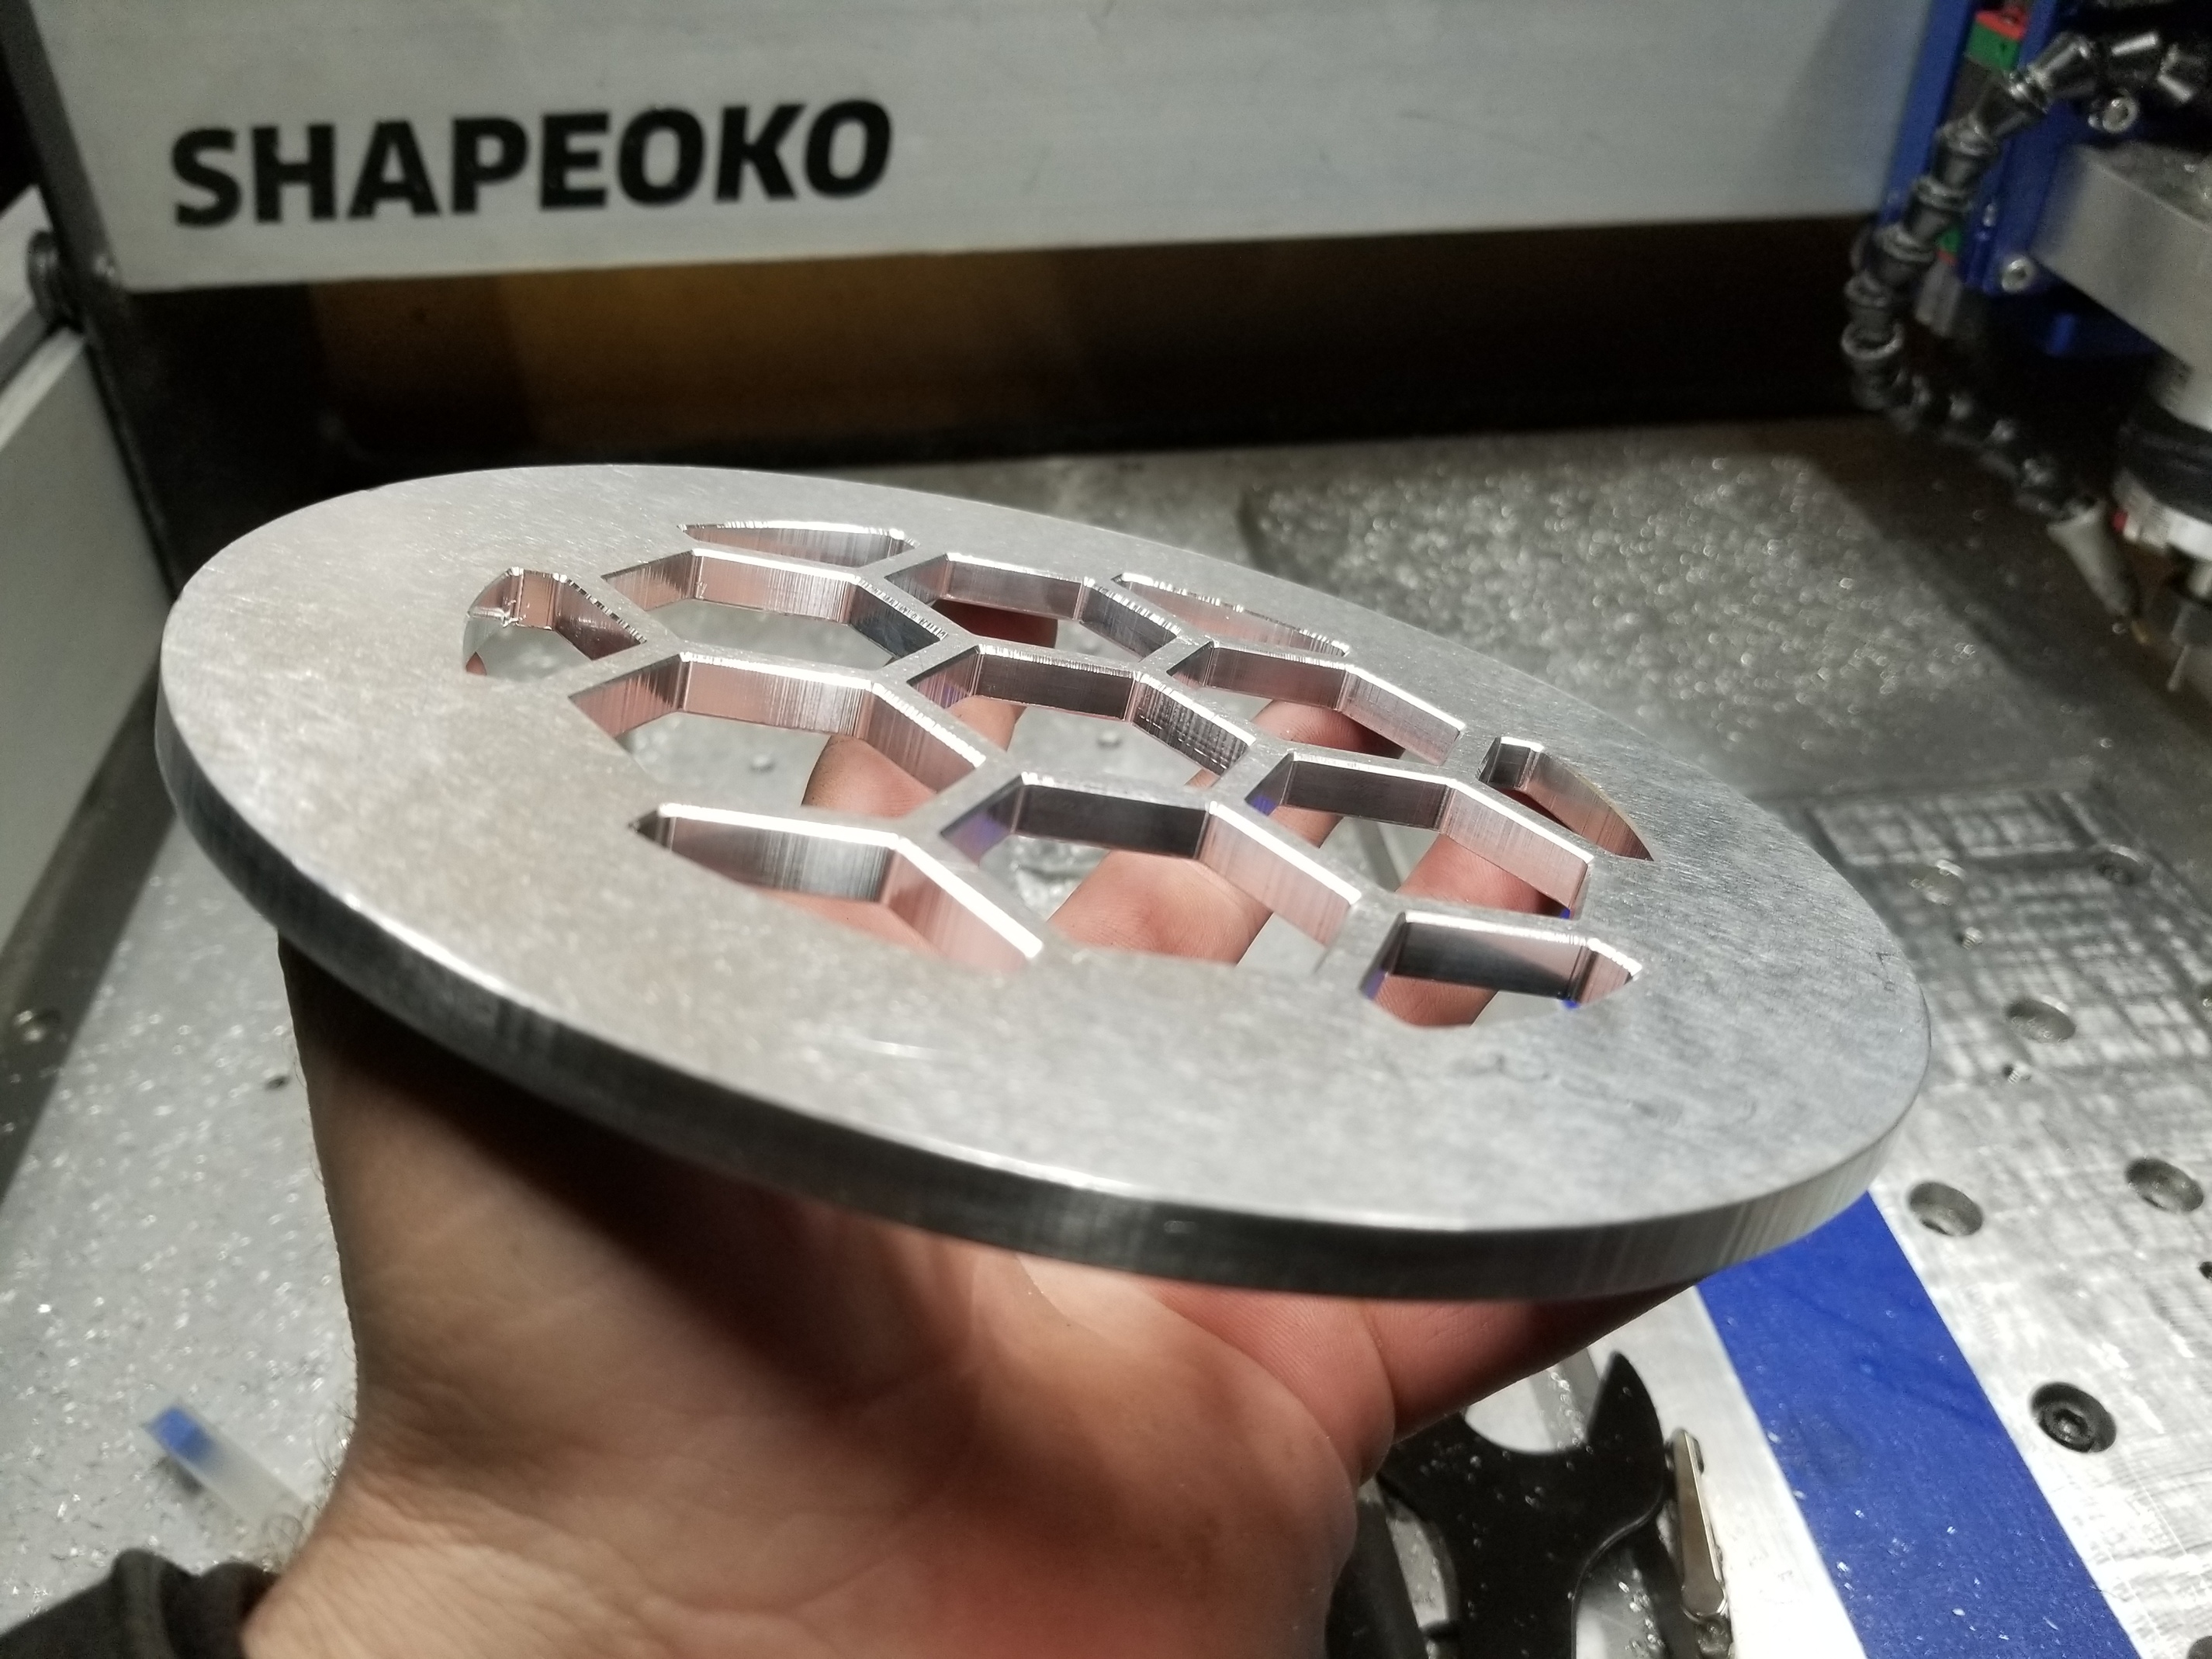
While collet adapters aren’t optimal, they aren’t impossible. And imo the added challenge might make for a good lesson or two. Let’s try what Winston calls, a scientific approach.
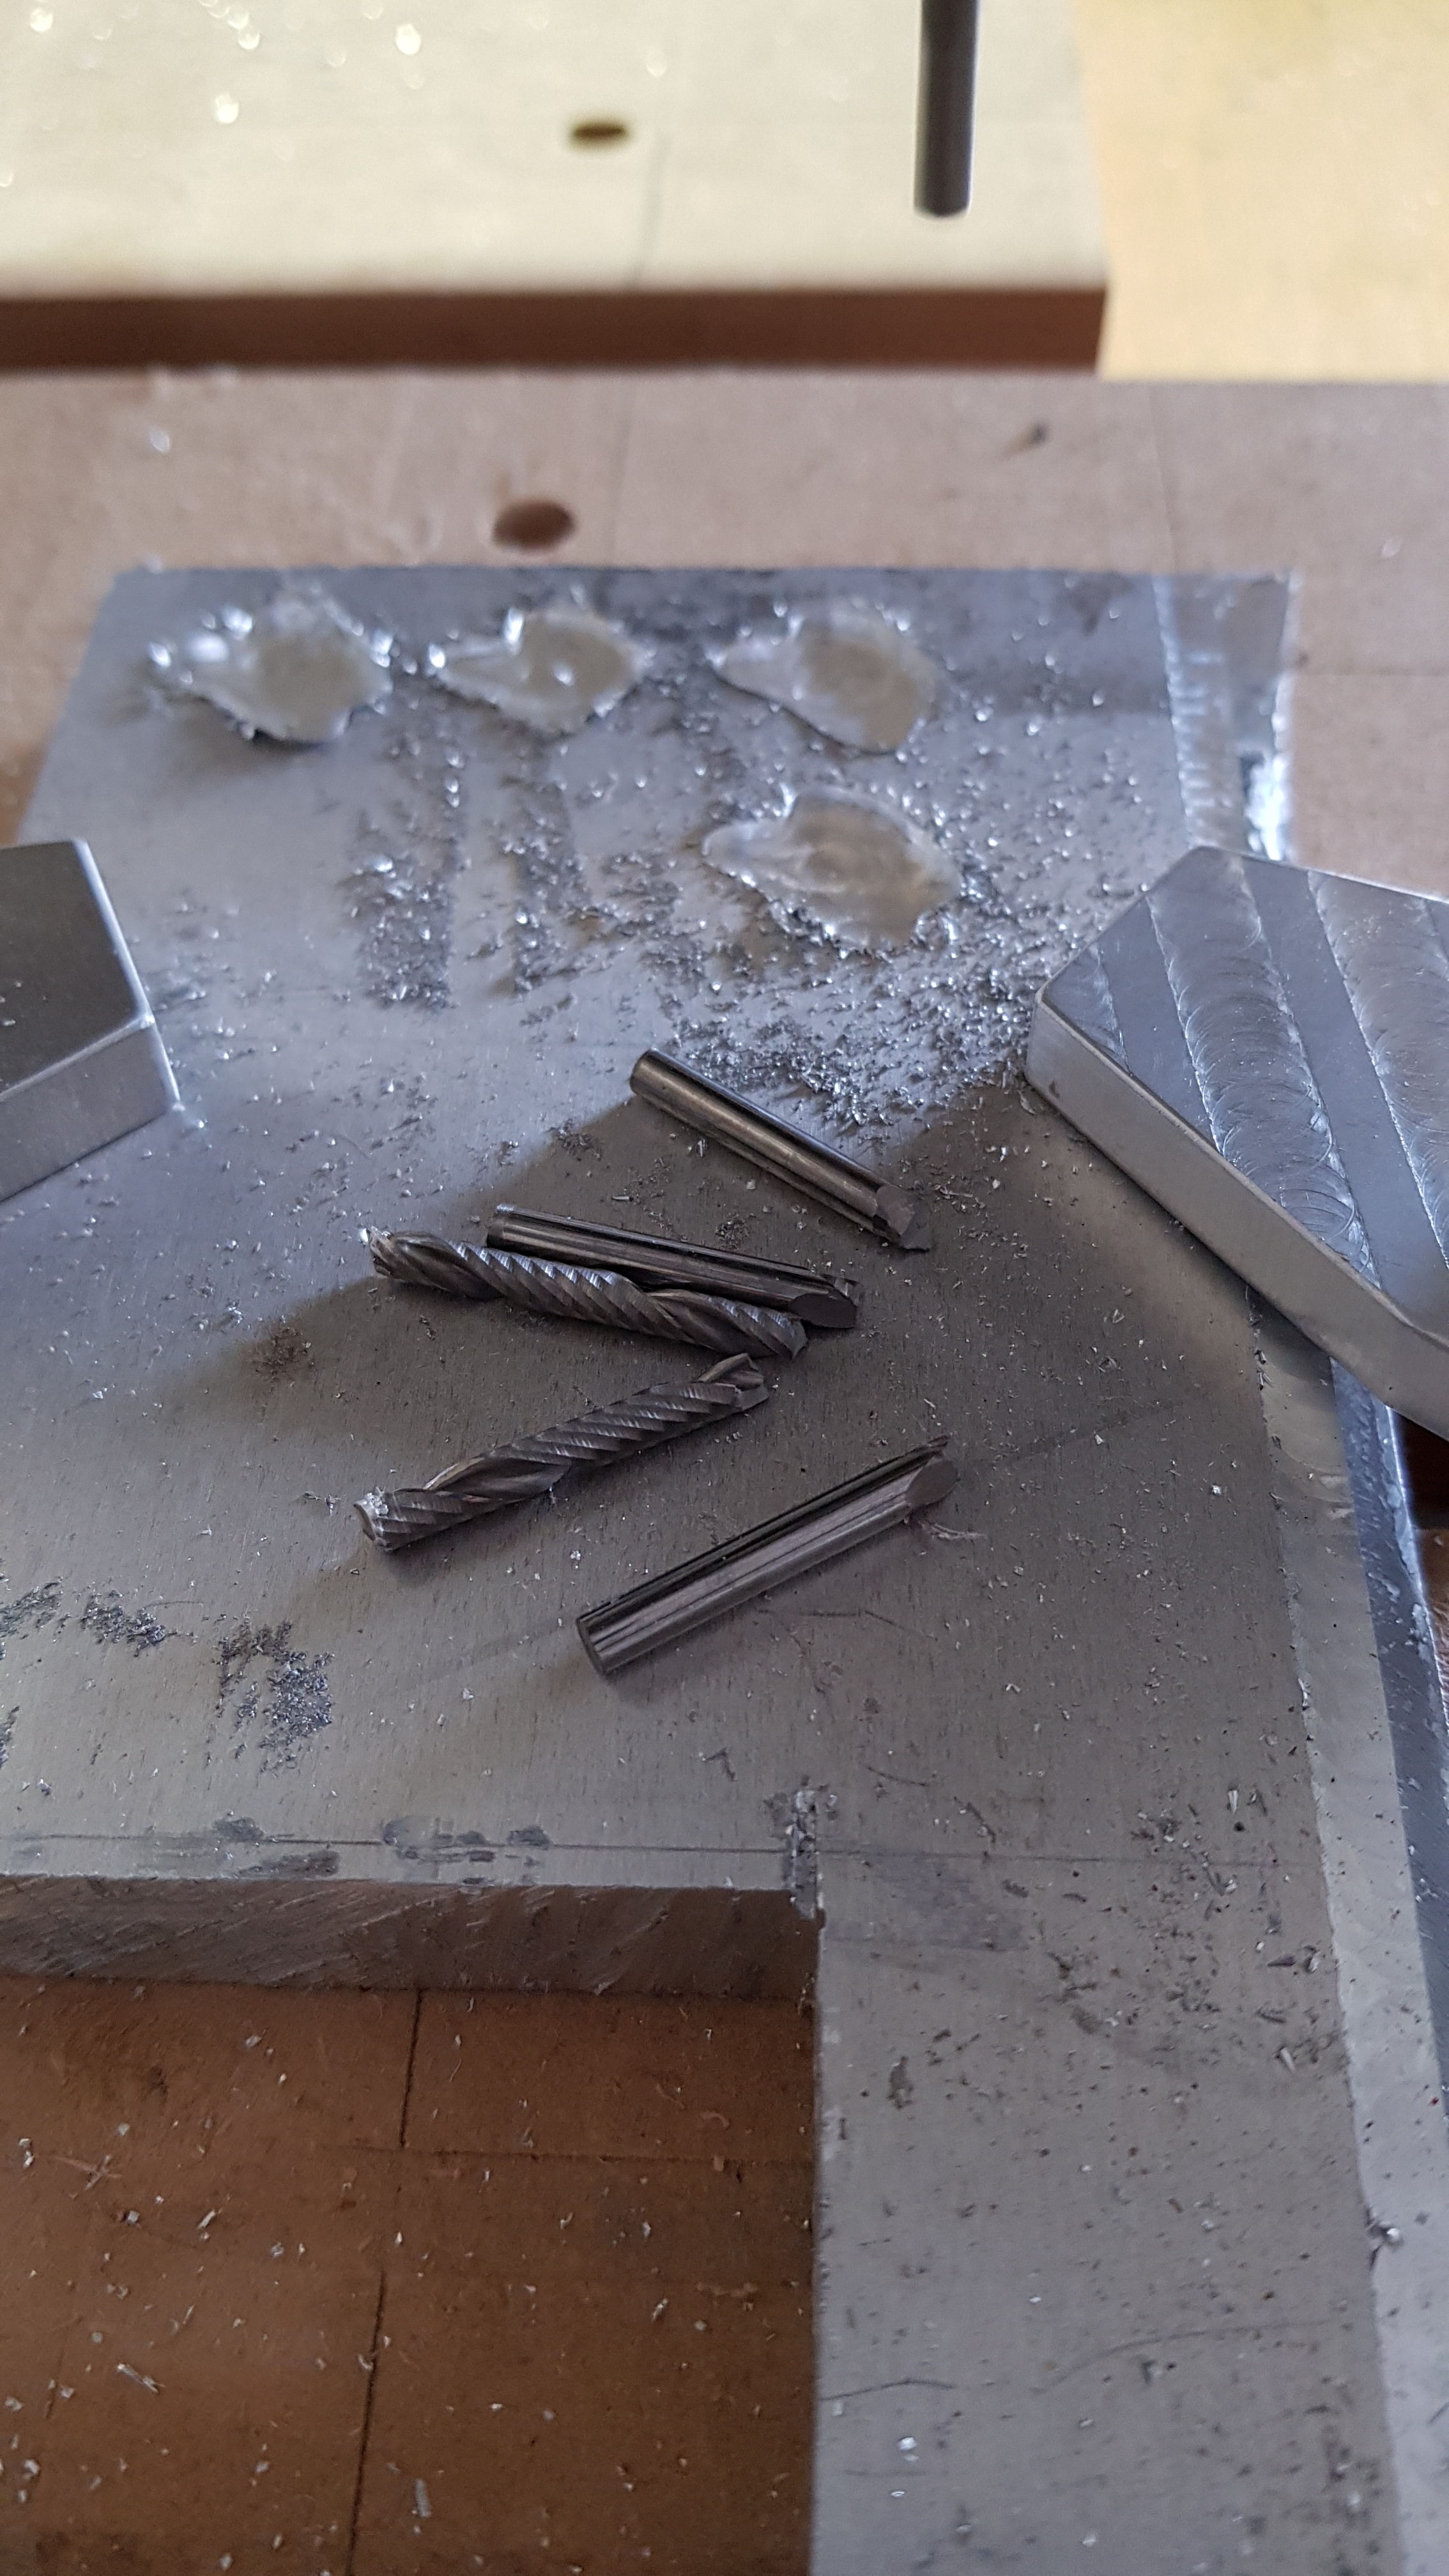
I measured total indicated runnout because I was curious how close it was and if it could be adjusted in the same way the Saunders did in a video awhile back.
Mitotuyo 0.0001 indicator
Before - 0.005 TIR (not awesome, but needs to be accounted for when using small tooling if you don’t plan to check and adjust)
After - 0.0002 TIR
From what I’ve read, 0.0005 is generally accepted as good enough and im usually happy to be within 0.001. Who would have guessed you could tippy tap it into two tenths?
Try to buy the best you can, but learn to work with what you have
Griff
(Well crap, my hypometric precursor device is blown…)
227
Thanks Will. I’ve purchased collets/nuts from those sources, work great.
My ears perked up because I was thinking along the lines of enabling the use of mm dimensioned mills. As I recall, it’s been a couple of years now, those suppliers only offer “standard” collet sizes, I’ll check.
Elaire at least offers metric, and they’re amenable to custom runs — that’s how the initial run of 1/8" precision collets for the Makita were done (see discussion on the other forums)
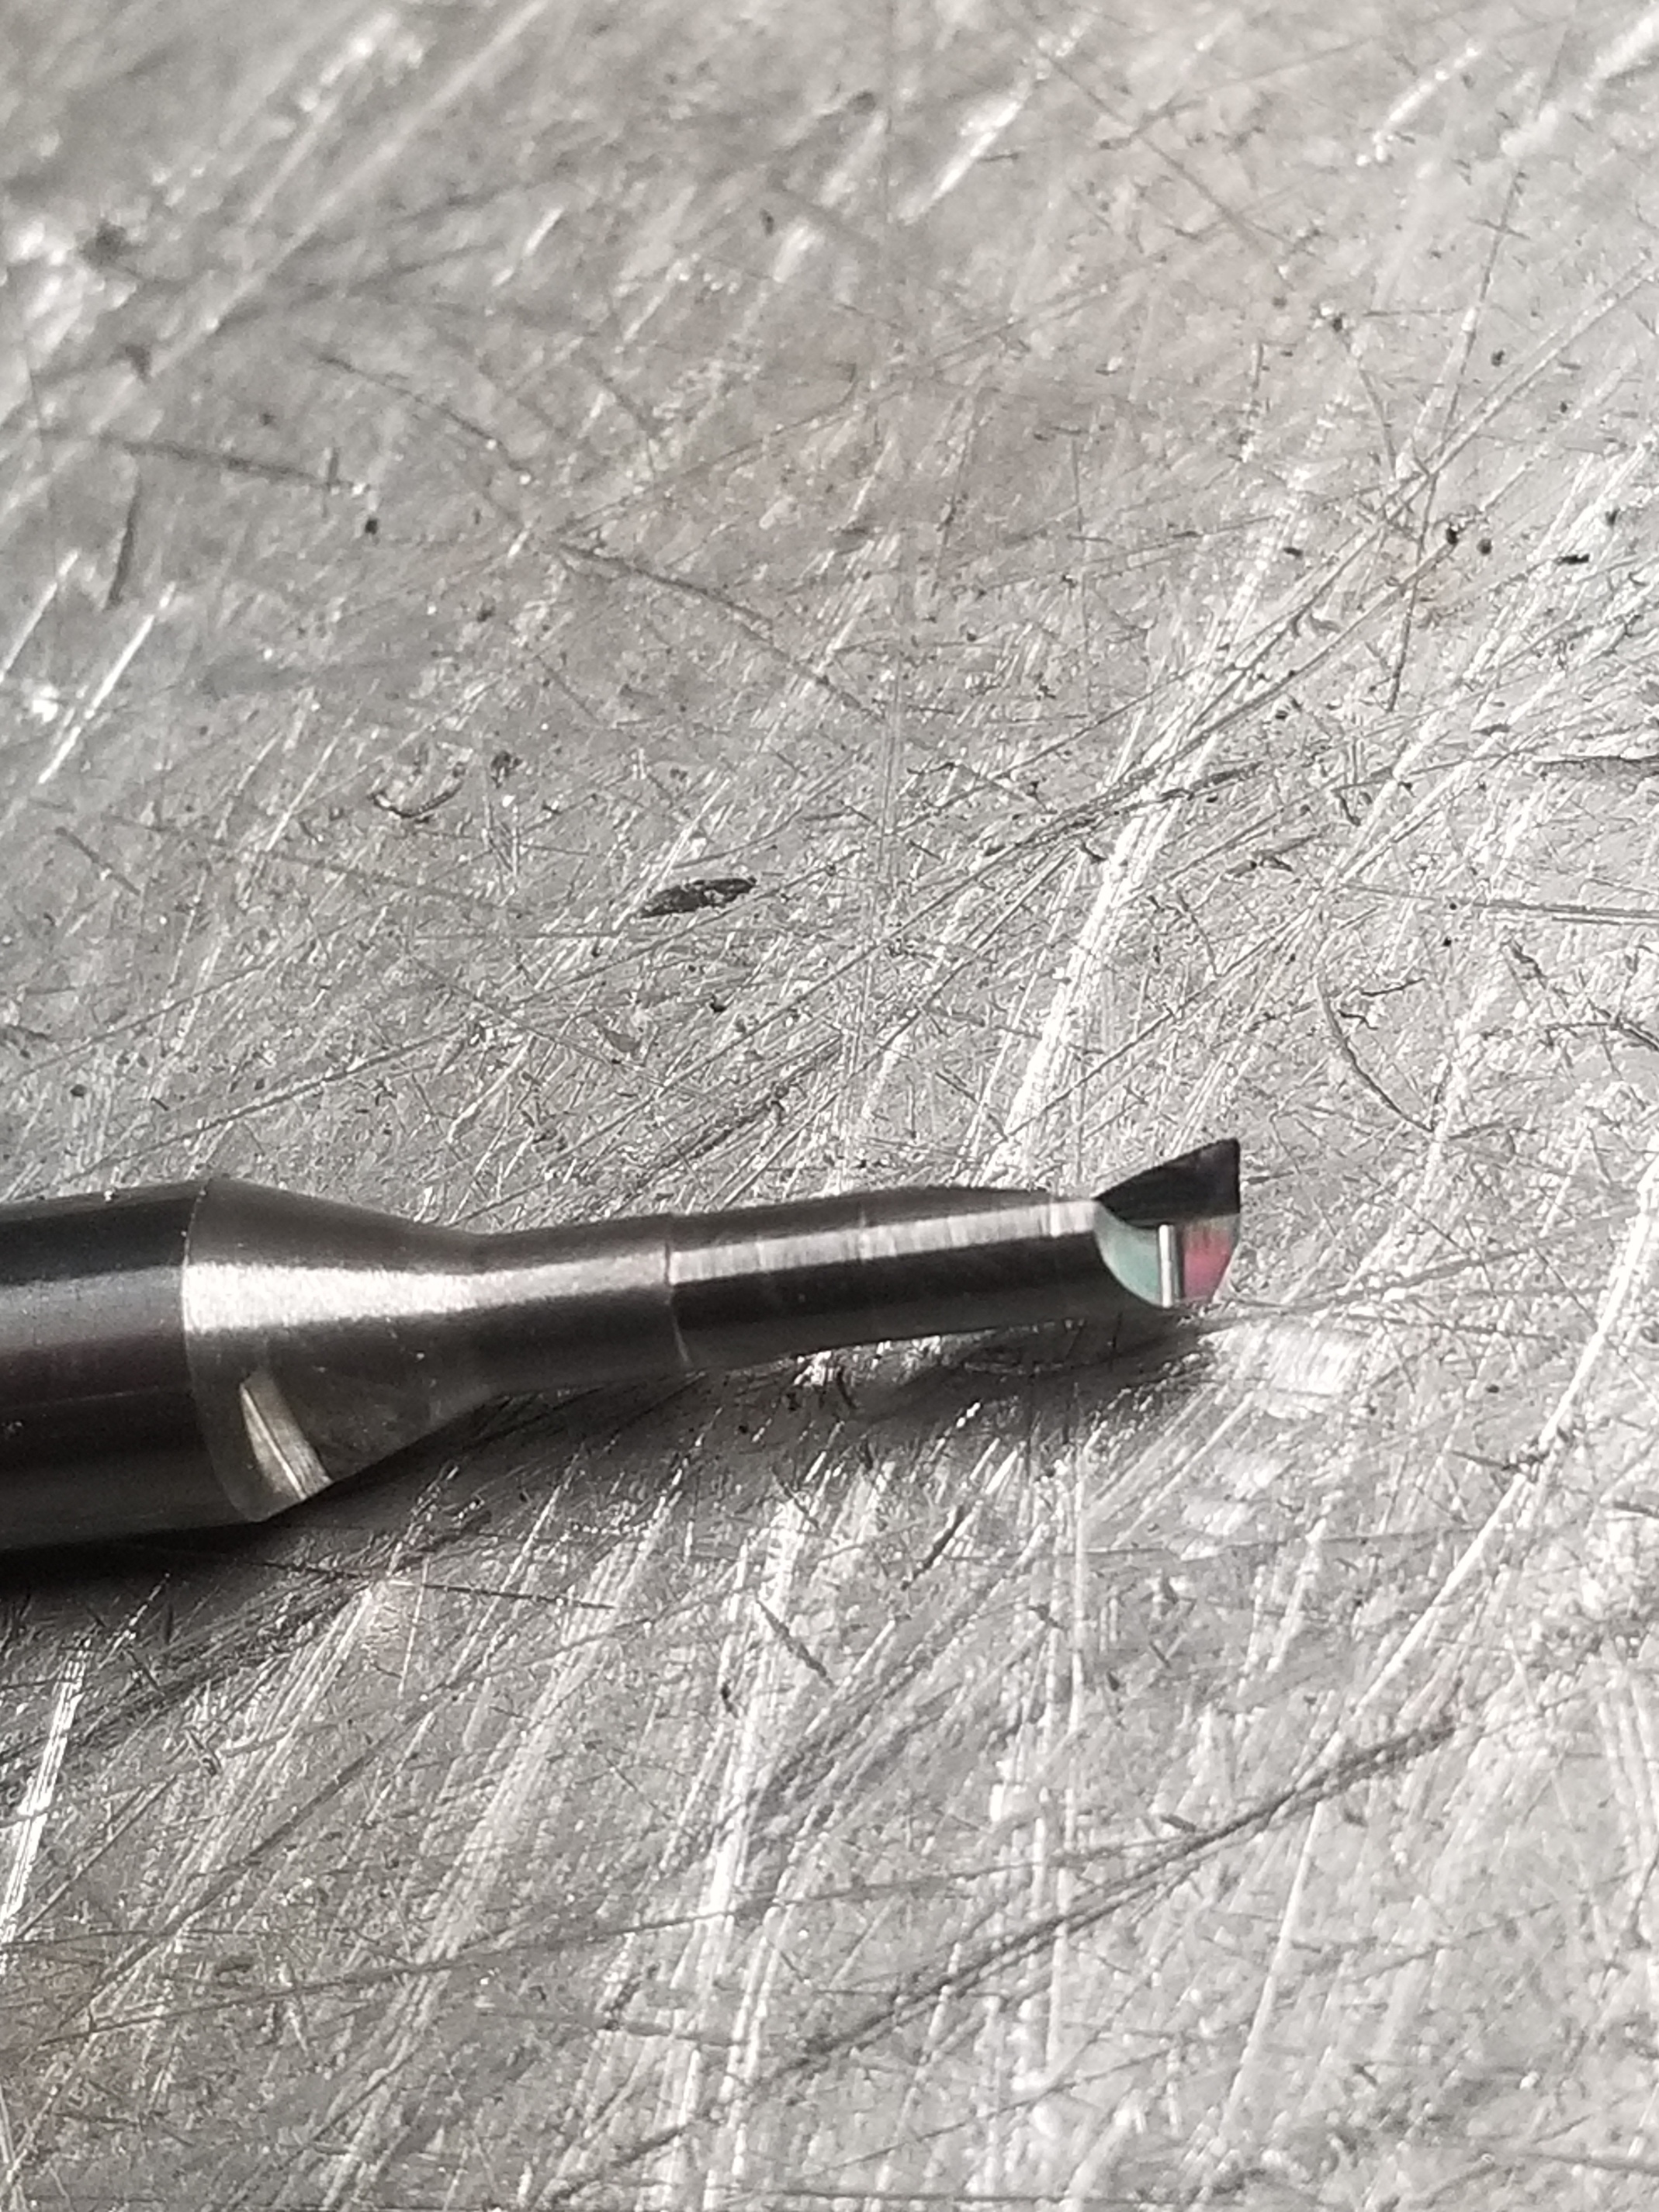
@stutaylo Compared to a HSS single.
0.015-0.010 @ 60-80
Now cut 0.040 @ 100ipm (full width slotting) and it was just eating it up. Definitely need to order a few more of these and do some harder testing. This is the 3mm 0068803E, reduced neck with 0.500 depth which is awesome!
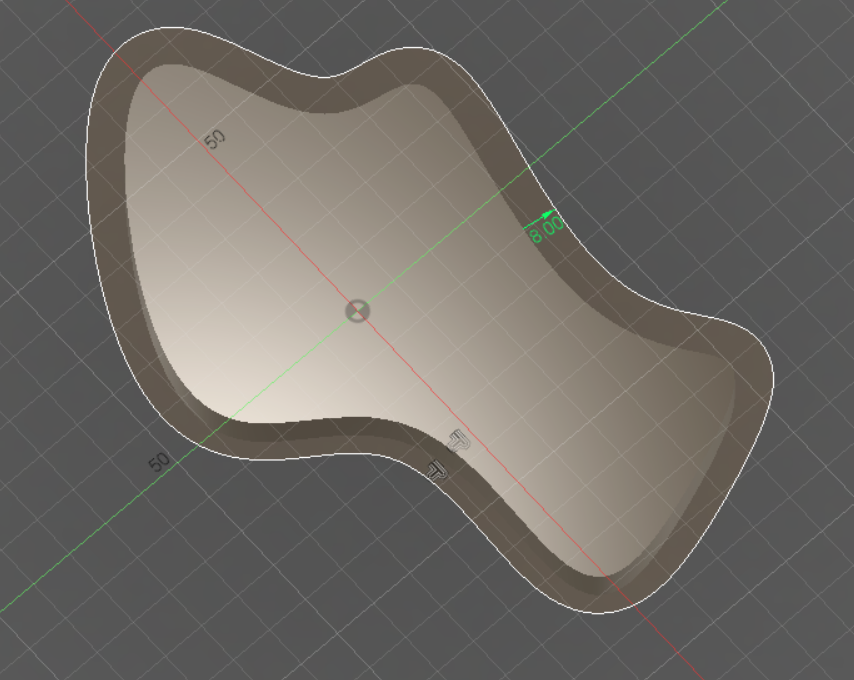
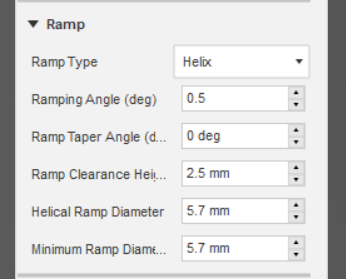
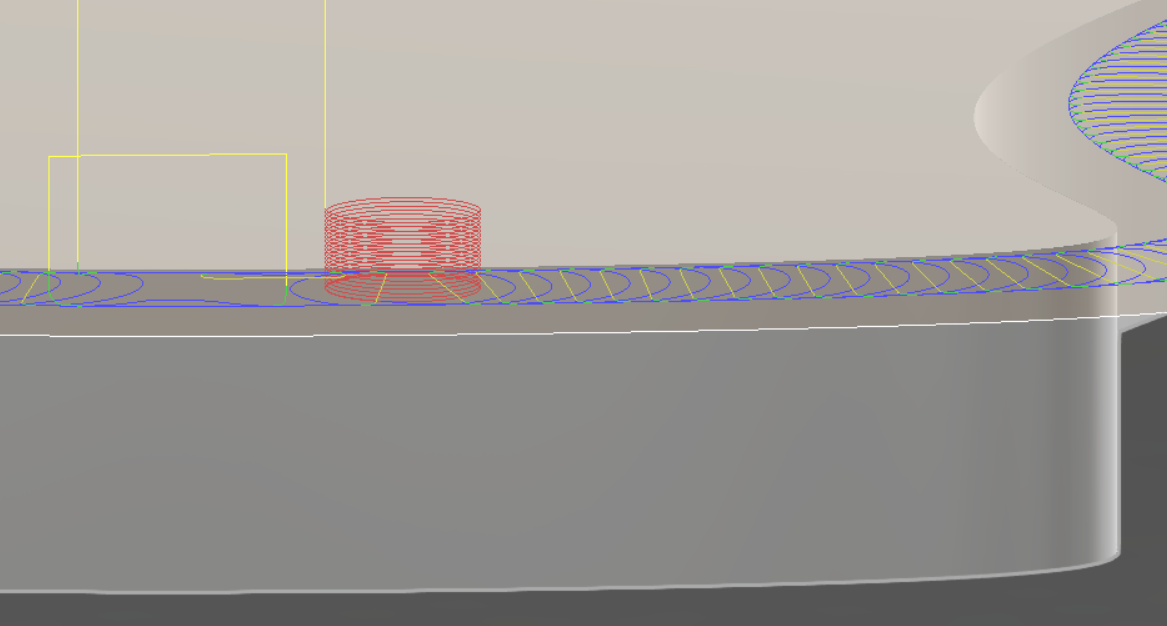
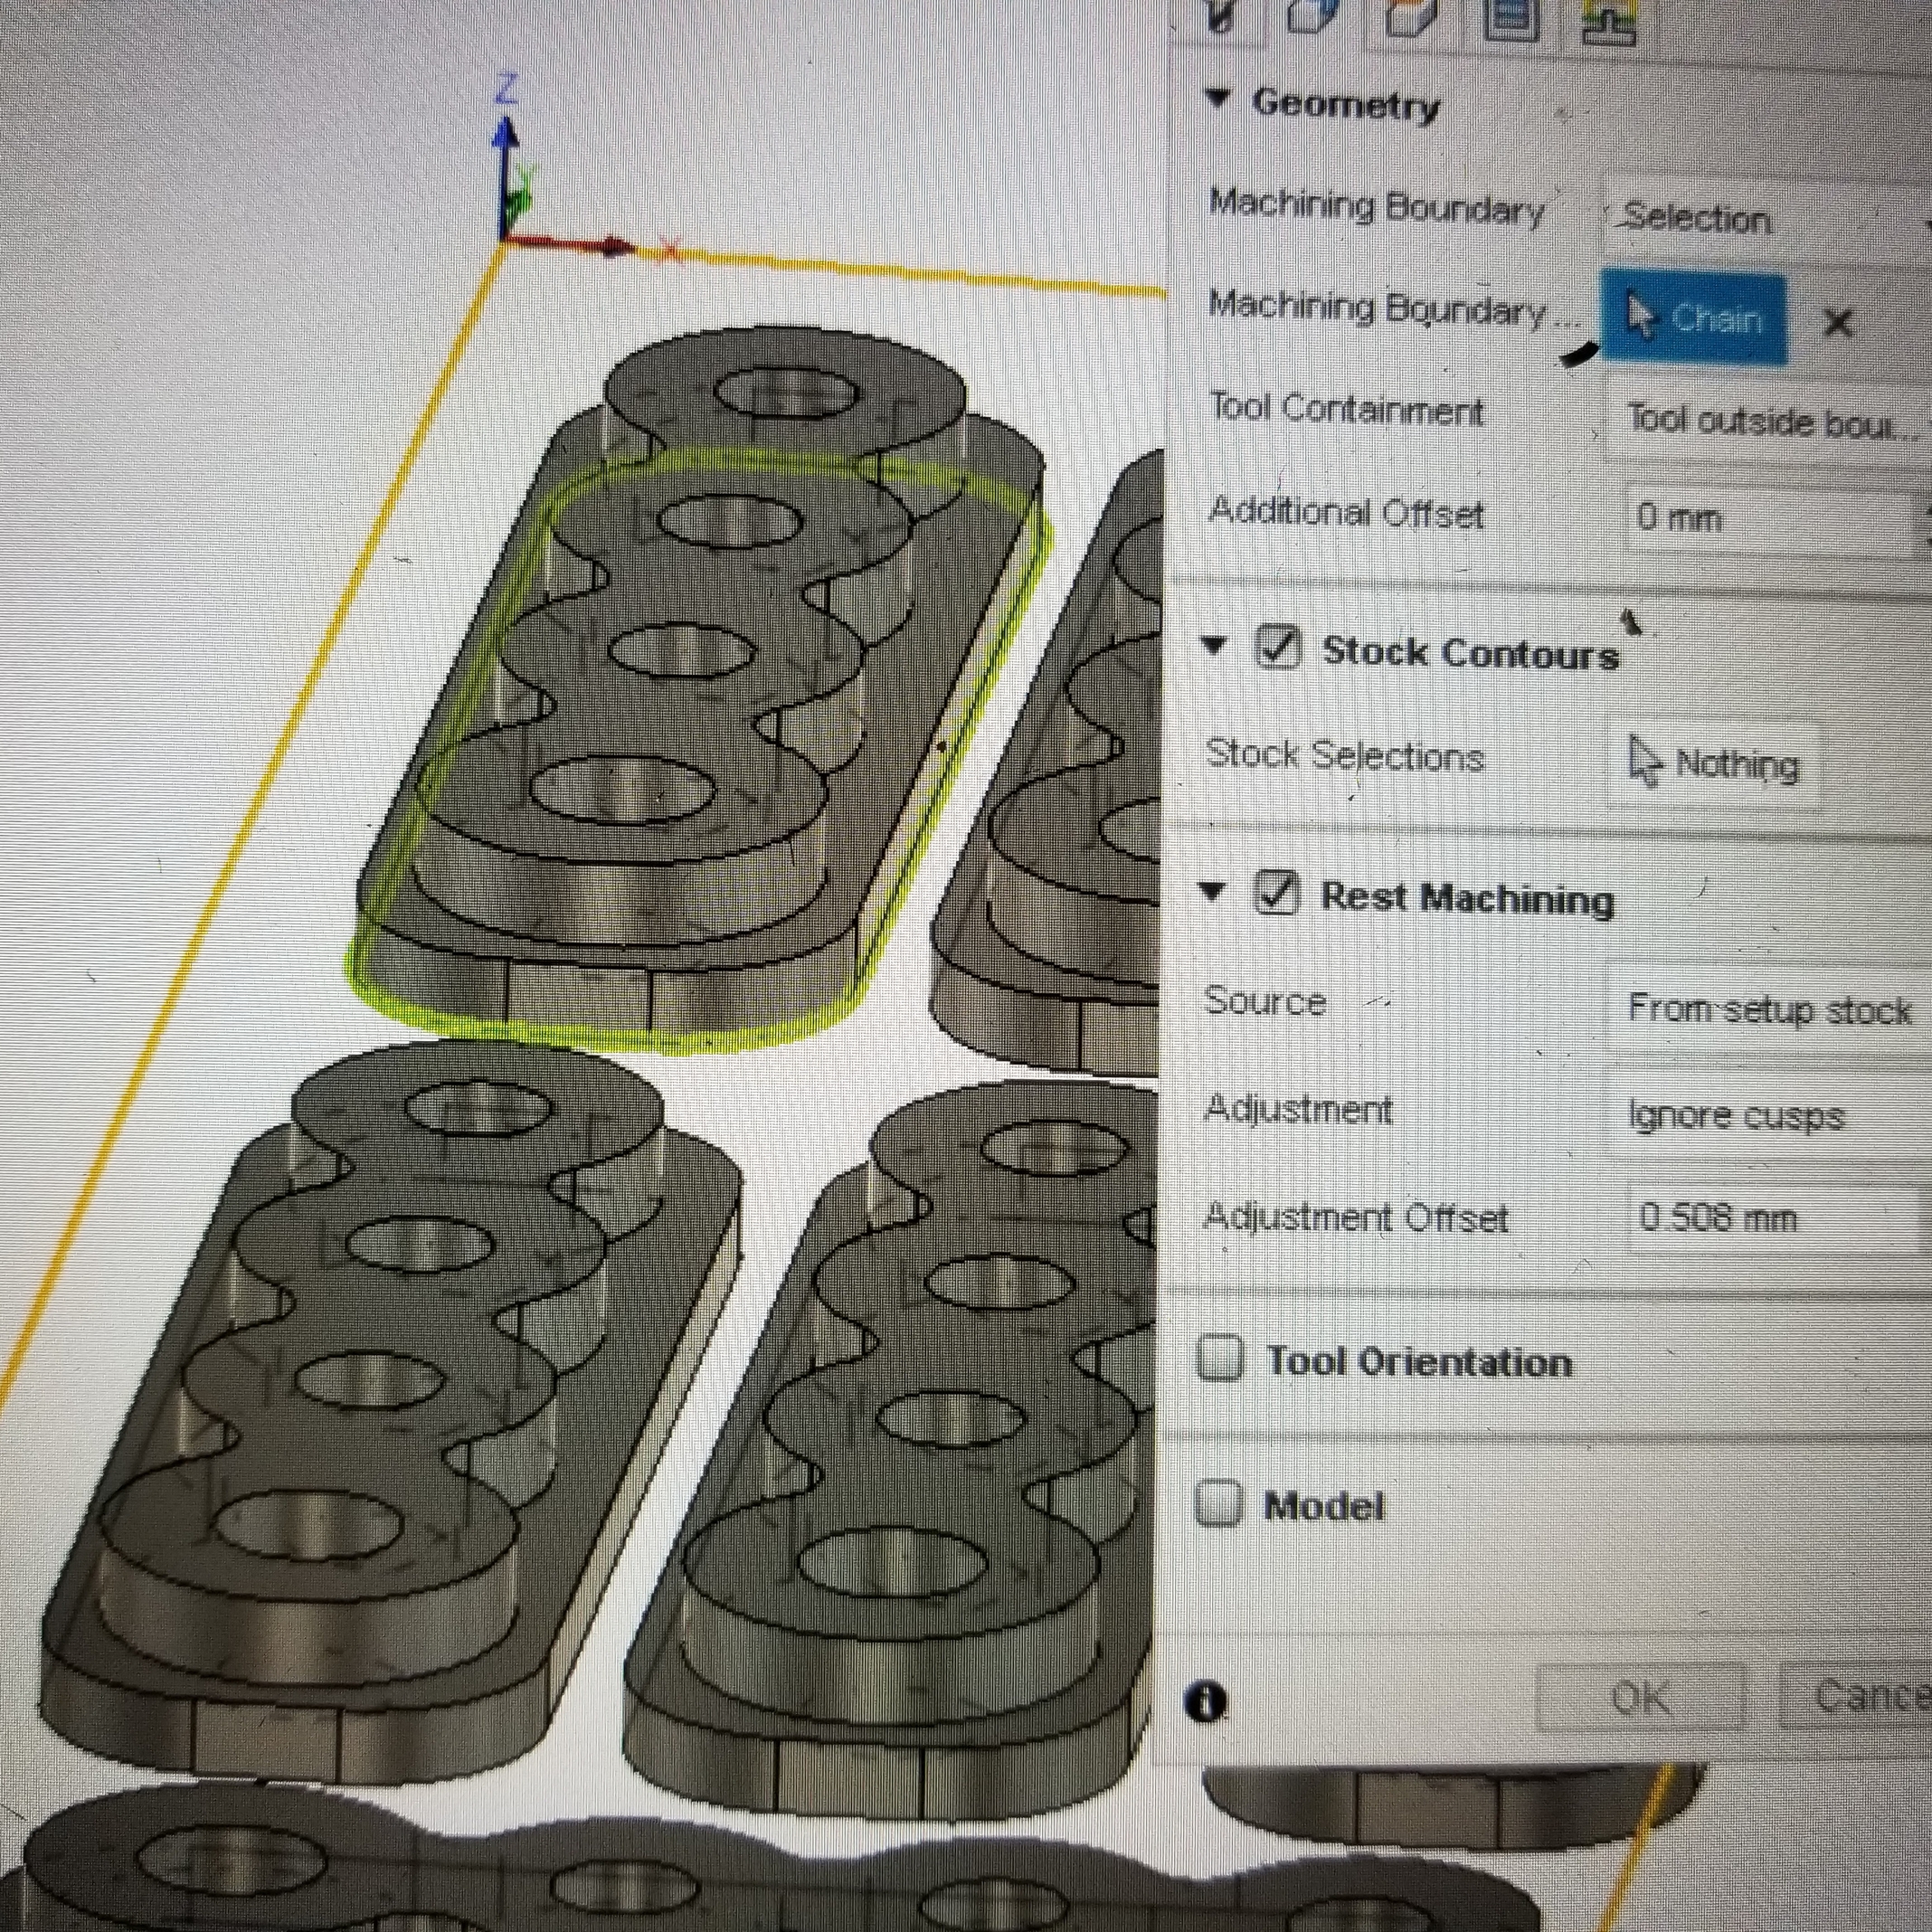
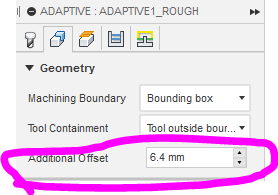
In fusion 360 how do you do adaptive clearing around that part to a set boundary? When I tired that on a bottle opener I was making it wanted to plunge straight in. I wanted to be able to machine just around the part even though the stock was bigger and I wanted to make sure that it did a helical plunge to full depth before it started the adaptive but I couldn’t figure it out. I ended up machining the stock down to size before running my part but this was very time consuming. Hopefully this question made sense and maybe you can point me in the right direction.
I’m sure Vince will have you sorted out in no time, but below is something I have found helps a lot in fusion when you’re struggling to get toolpaths where you want them.
Create a sketch on the top plane of your object then offset your outside profile by whatever amount (I did 8mm) - make sure the sketch is visible then go to the manufacture tab
When you are selecting geometry for your 2d adaptive toolpath select both the outline of the part and the offset sketch - it should highlight the gap in blue. You may also need to change your ‘bottom height’ as requried as it may default to the height of the sketch
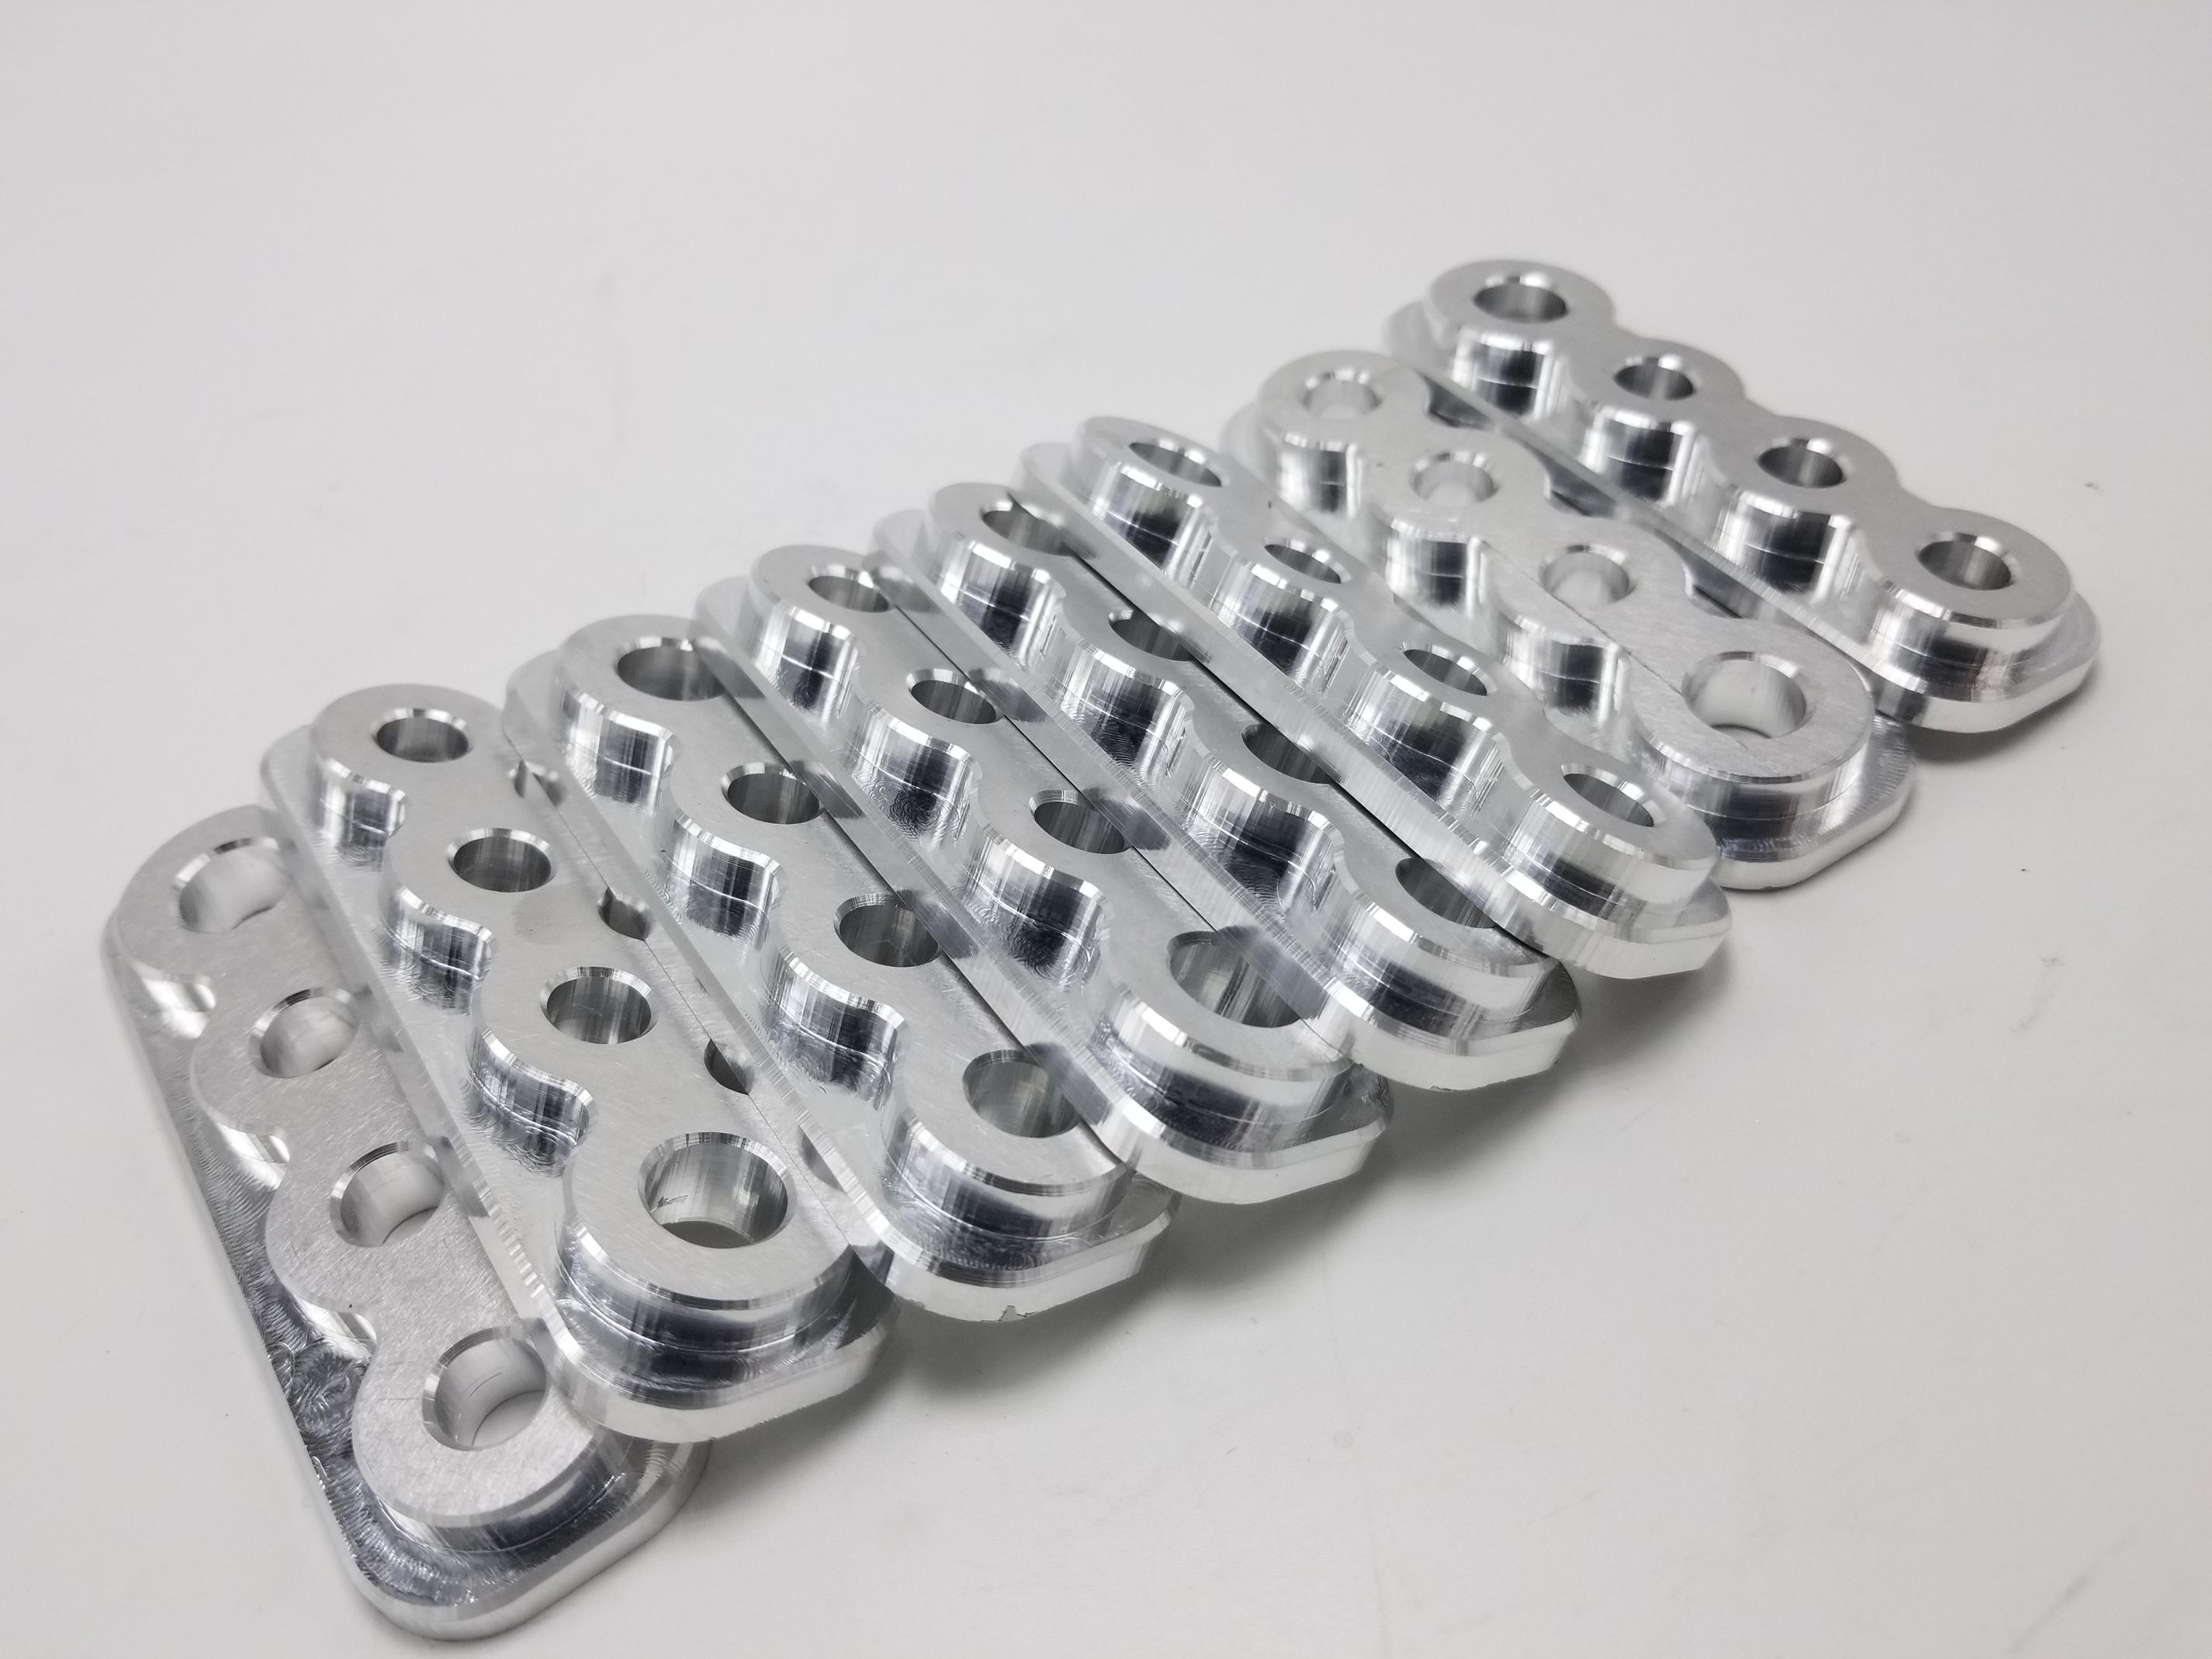
Depends on what you want to do, they way I did mine was selecting containment boundaries. Was helpful to test cam and adjust stock to leave on one part when running a batch
Ah two awesome options there too… thanks for pointing it out
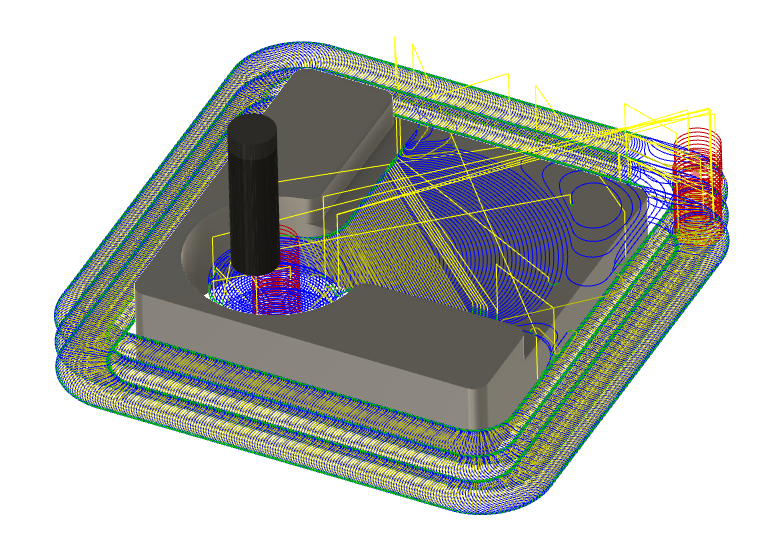
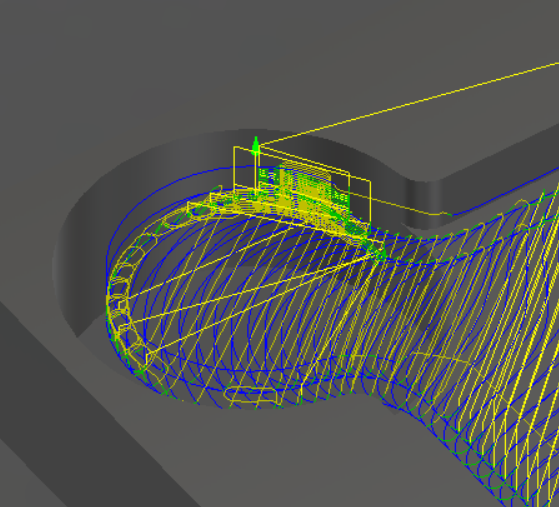
On a bit of a side note, I have two other queries…I’m actually trying to get the cam dialled for that exact same part you posted there @neilferreri … but keep getting this mess in the through hole. Have tried both 2d and 3 adaptive… can’t seem to work it out- would you mind sharing your ‘passes’ and ‘linking’ settings for that part?
Second one is I’m chasing some rough figures for adaptive with a 1/8 single flute endmill. @Vince.Fab mentioned just above that you were running a HSS 1/8 at 0.010 DOC @ 60-80IPM, how does that translate into your adaptive paths? the most successful settings I’ve found are 20krpm, 60IPM, 0.012 Opt load, 0.025 DOC. It feels like its not taking enough of a bite, and its sort of rolling up the edges of the pocket… but thats 0.003" feed per tooth which seems about right… ideas?
Ah awesome, thank you. Still not sure exactly what I had wrong but that has it sorted.
Any reason you went with conventional milling rather than climb for the adaptive? I was under the impression that with a non-rigid machine like the SO3 you should climb mill as it puts less force on the bit, and less likely to chatter.
Also I noticed that you run about half the optimal load and double the DOC as I do… are you running the HDZ or does it work alright with the standard Z axis? I’ll give it a shot tonight anyhow, whats the worst that can happen?