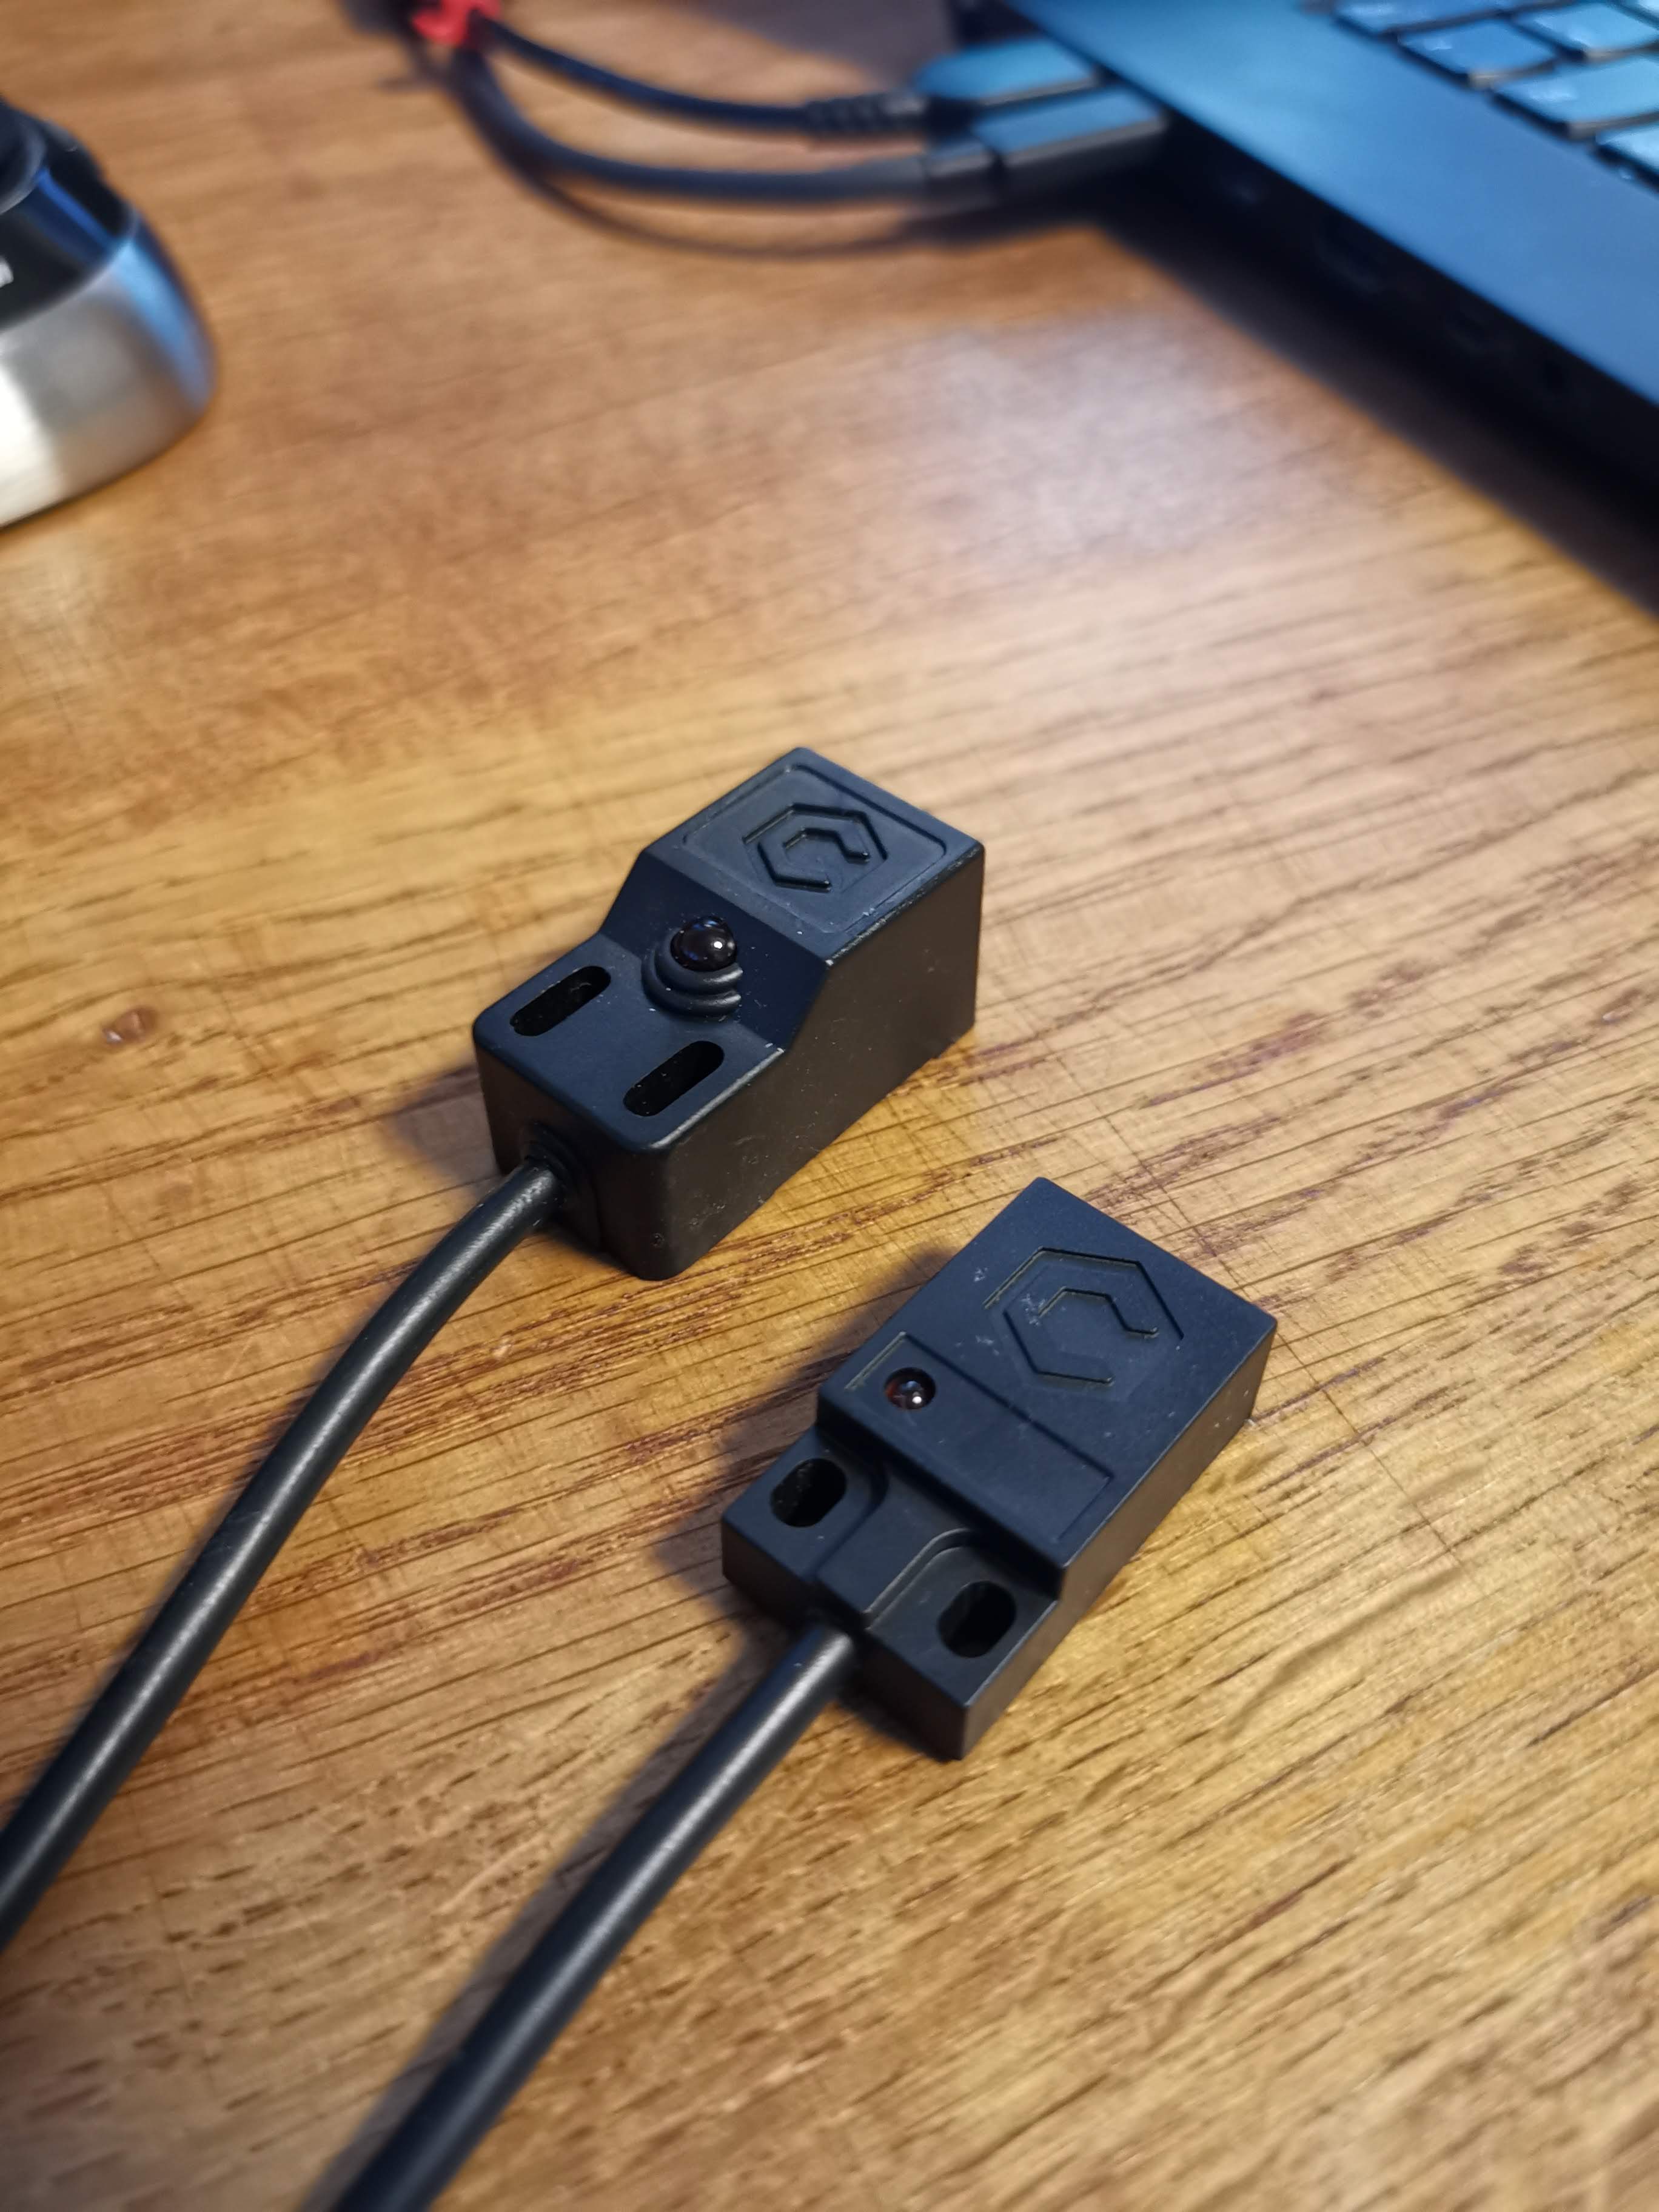
Proximities all the way! Non contact is definitely the way to go.
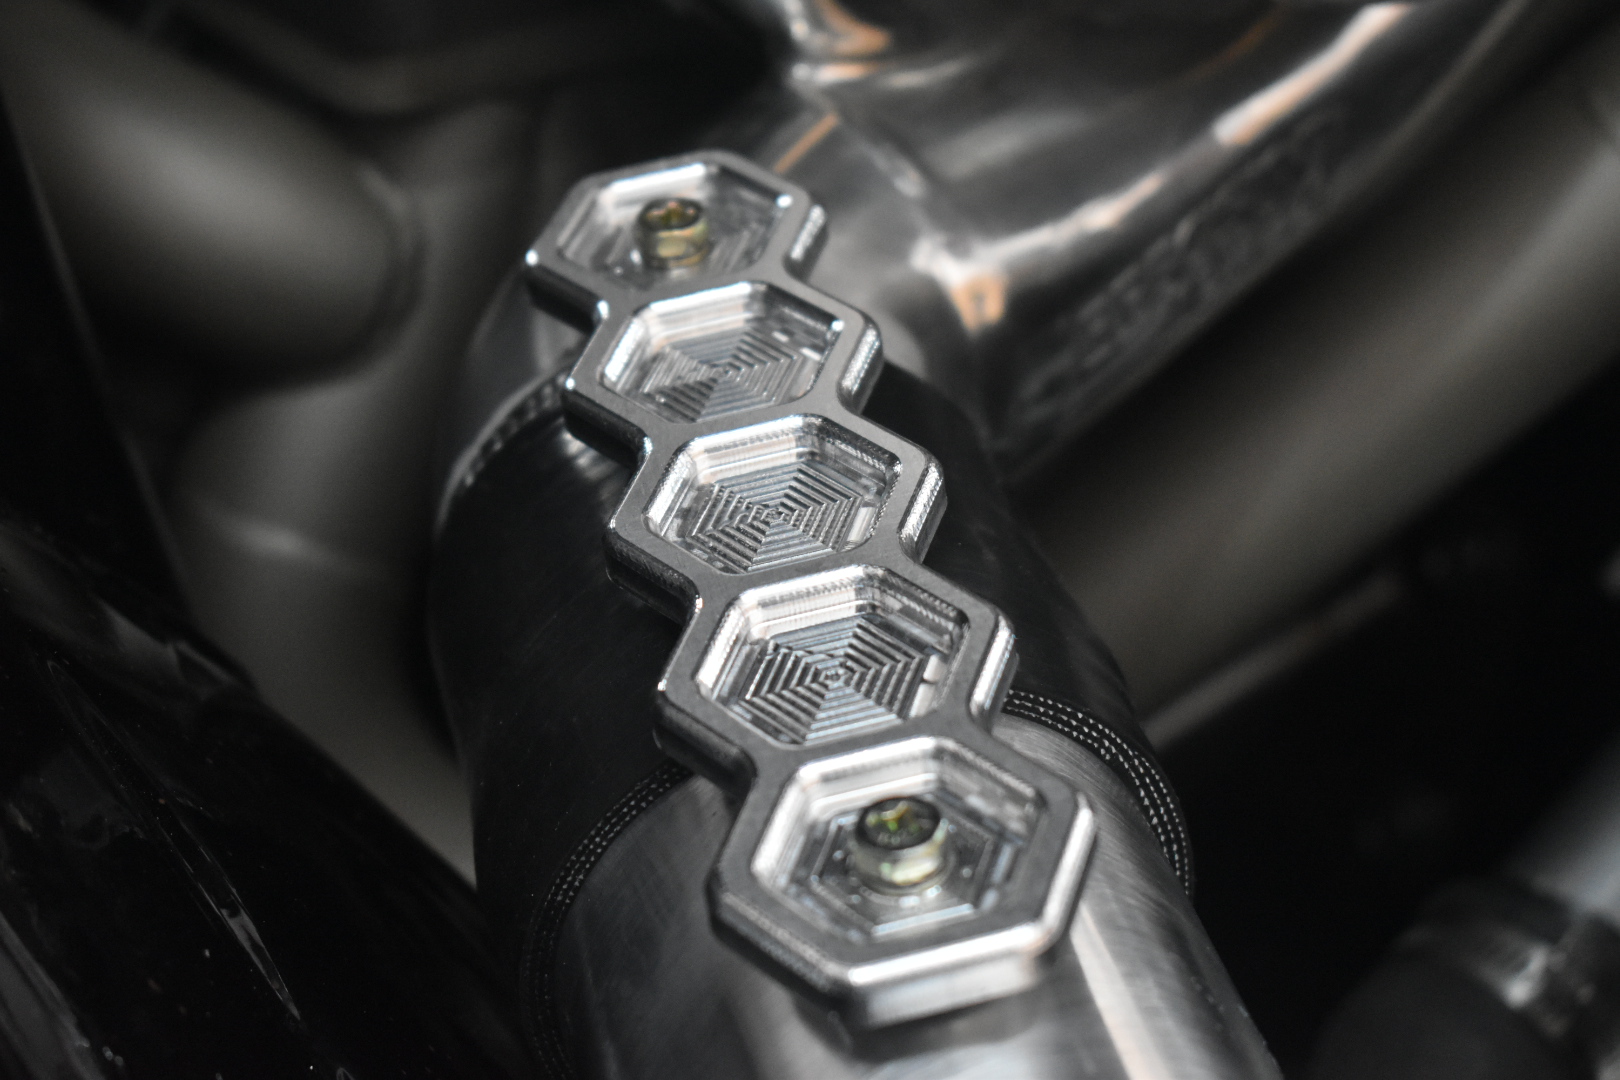
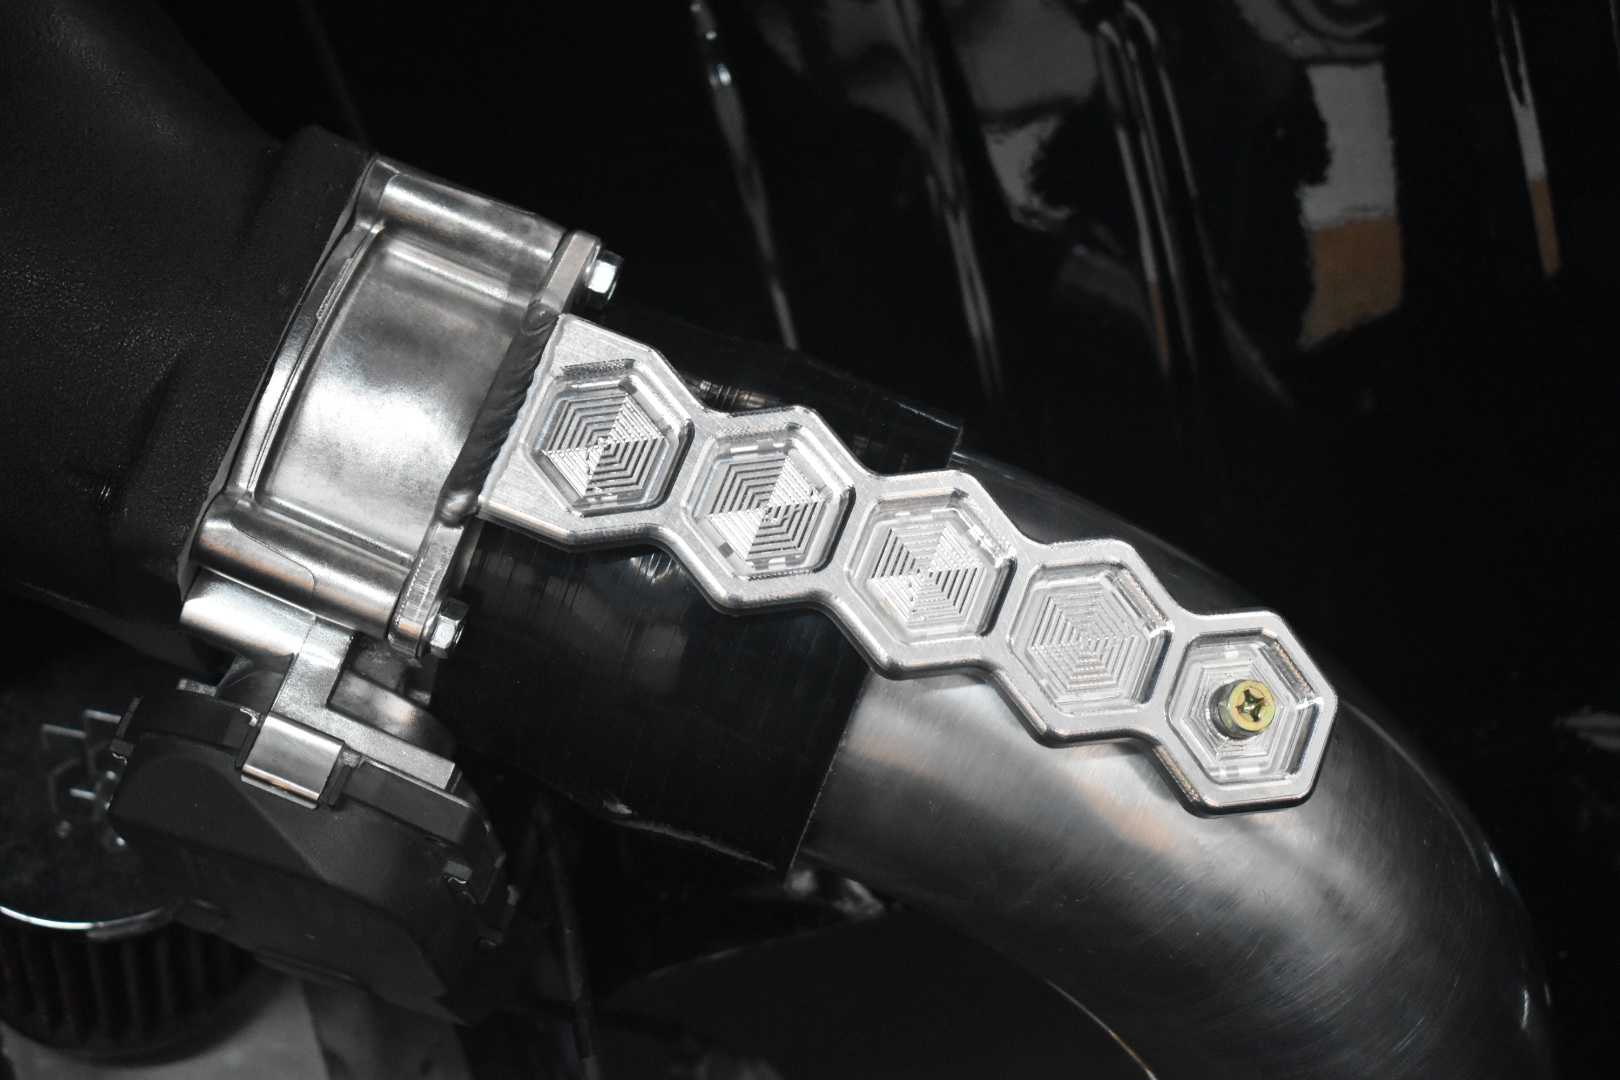
Whipped up 5 more billet brackets for the shop 2jz240. Single program posted, single toolchange via the bitsetter. Love the workflow and only 32 min for all 5 brackets start to finish.
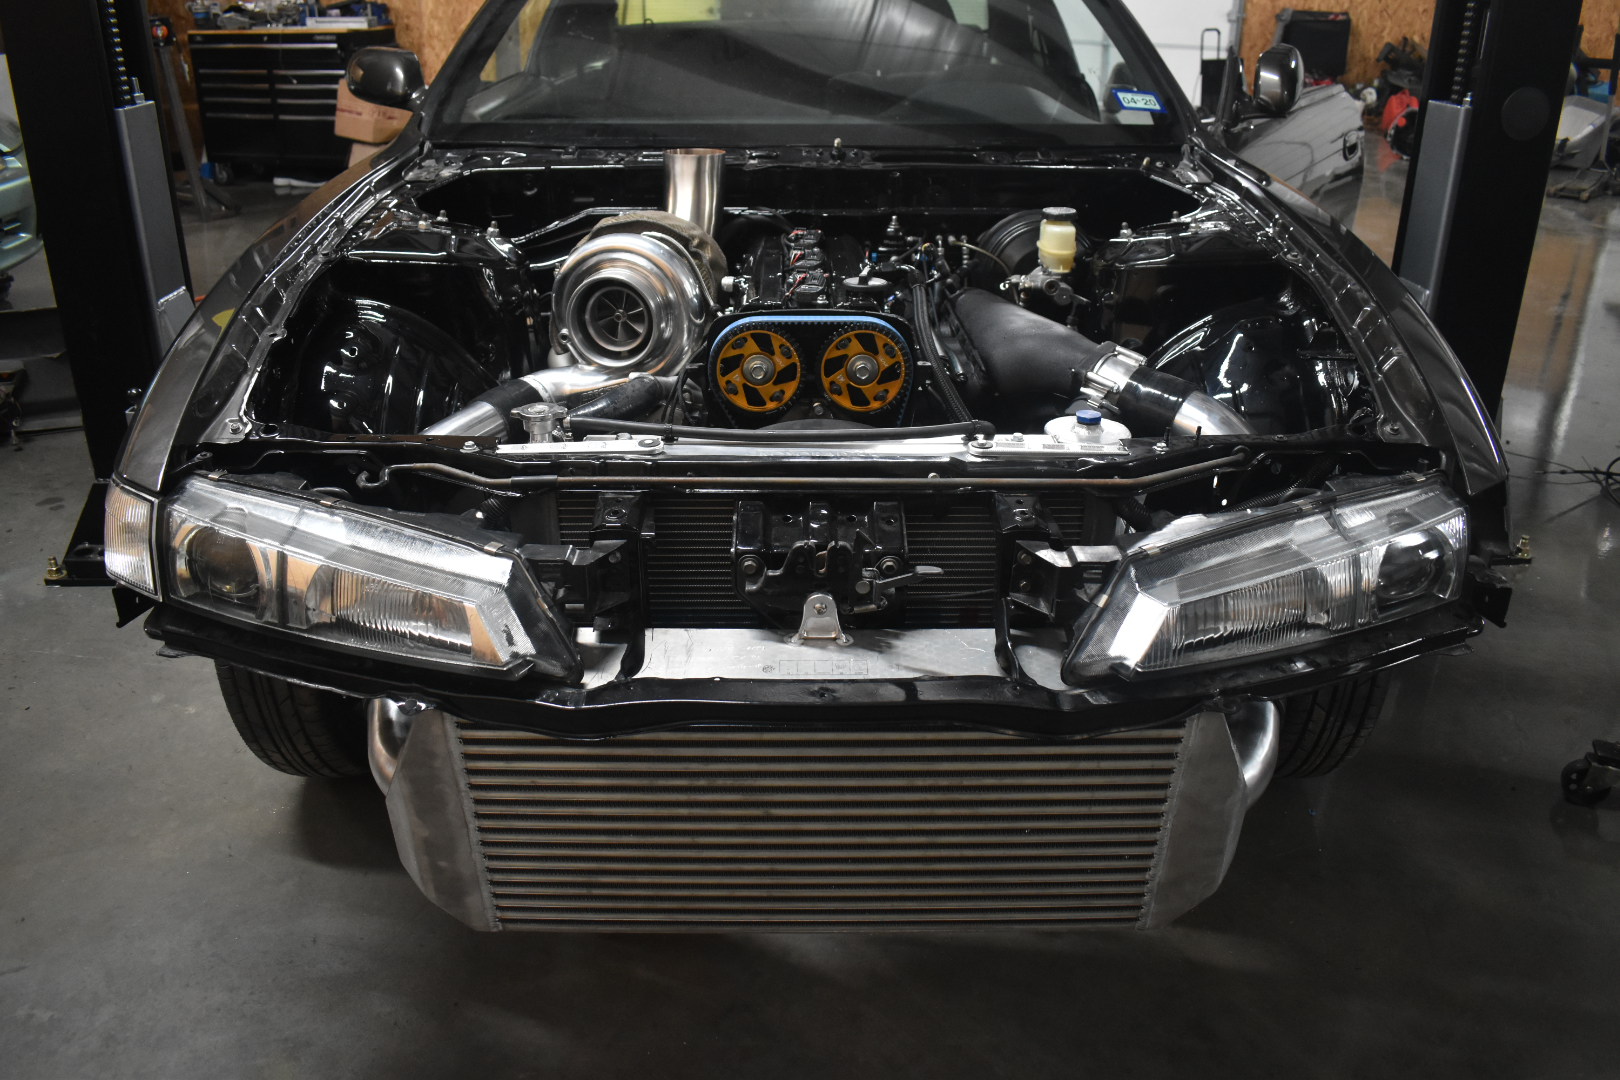
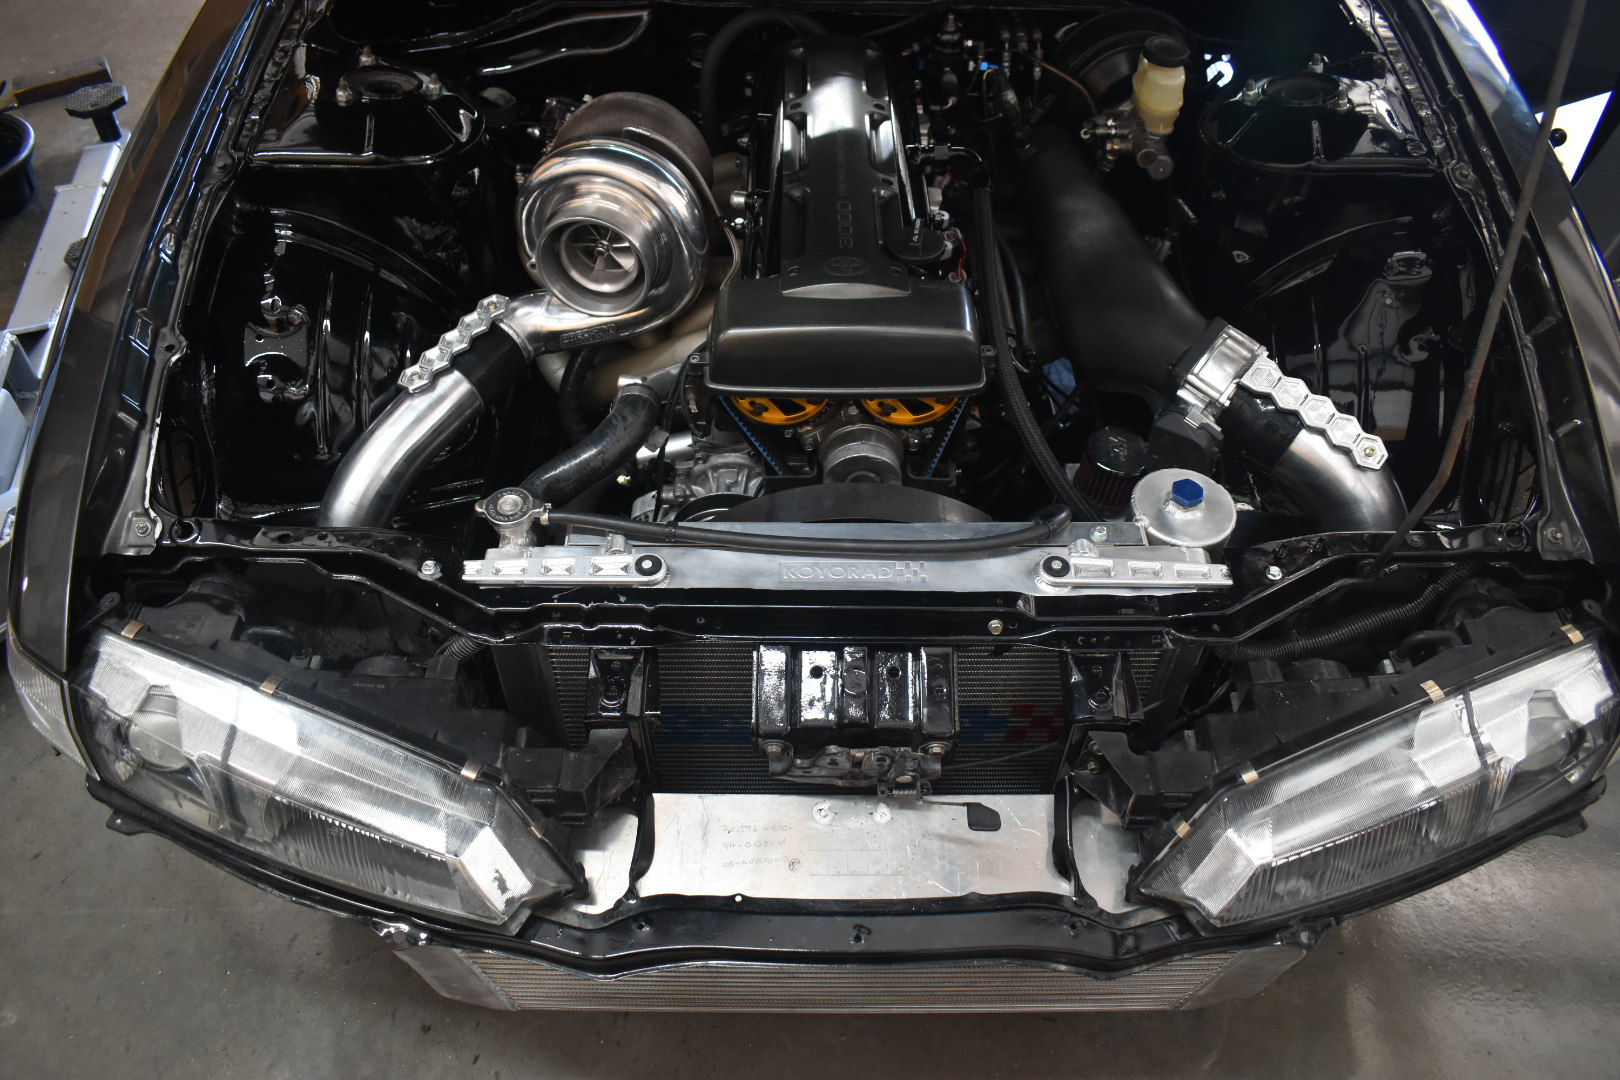
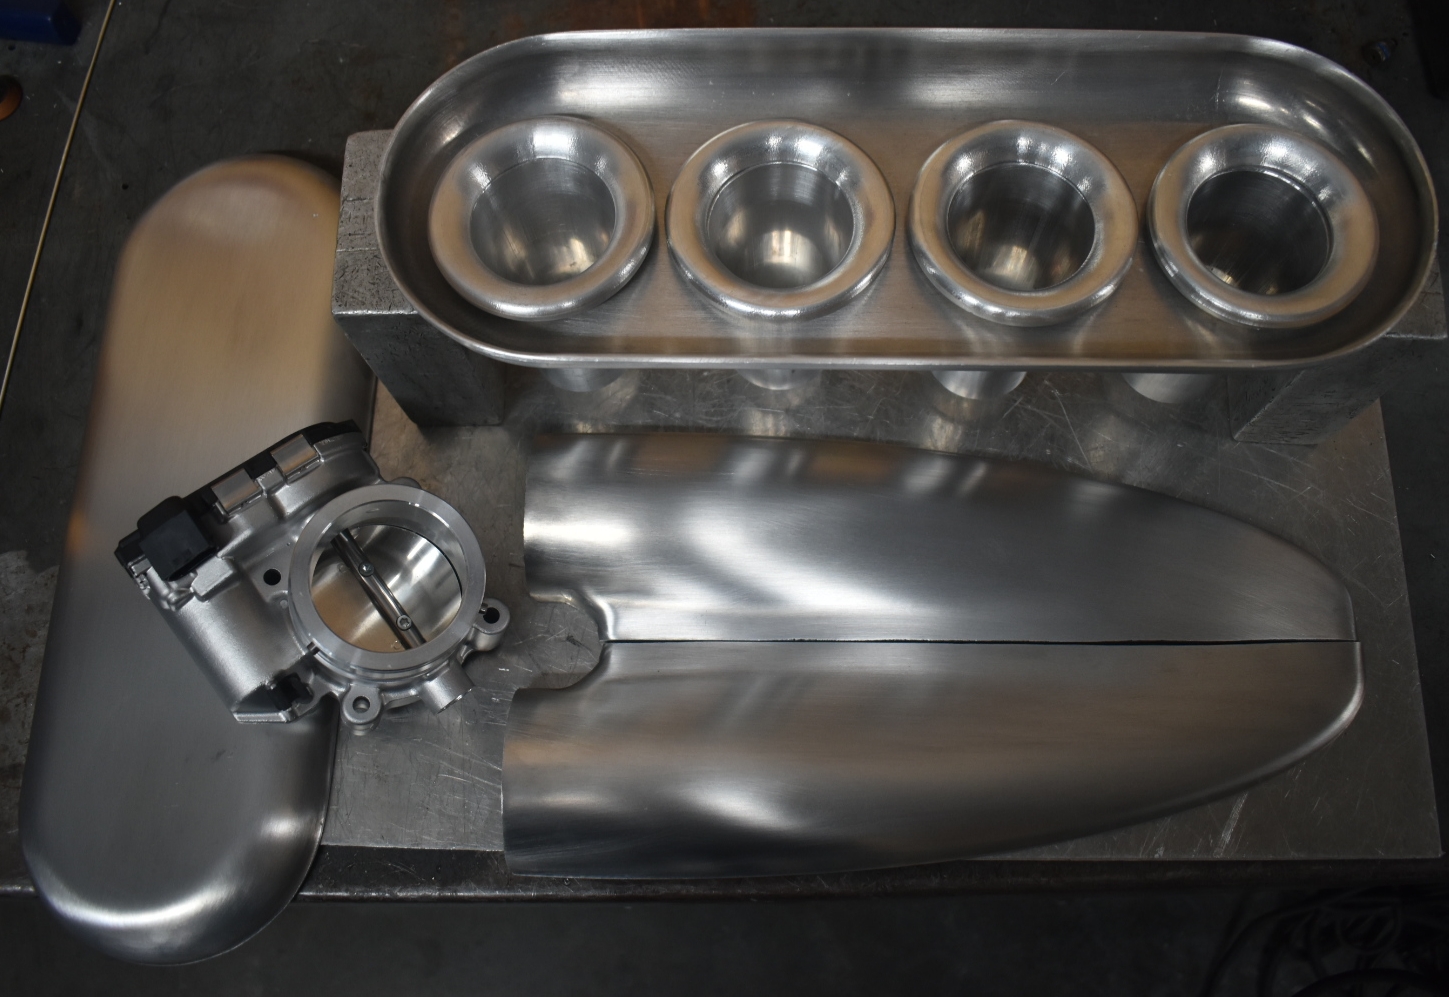
Shiny purpose built horsepower 
I am glad you are back to it Vince. That is why I follow this page. Beautiful parts that function. Thanks for posting your working art.
Hey Everyone,
This thread is fantastic! Its really pulling me towards an S3 over a stepcraft or one of the CAN-CAM systems.
Dow anyone know what kind of part tolerances you can get when milling aluminium? With just a stock S3, and a proper spindle instead of router.
If tuned properly you should be able to get to within ~0.003″ –- 0.005″ (~0.075mm – 0.127mm) — better is achievable with careful setup and an upgraded machine. Note that at such small dimensions many factors can affect this number — temperature, humidity if using the MDF wasteboard (upgrade to an aluminum one), &c.
In my opinion, tolerances are only as good as your cam, setup, and knowledge of what’s actually going on. These machines are very repeatable and you can fine tune in cam easily.
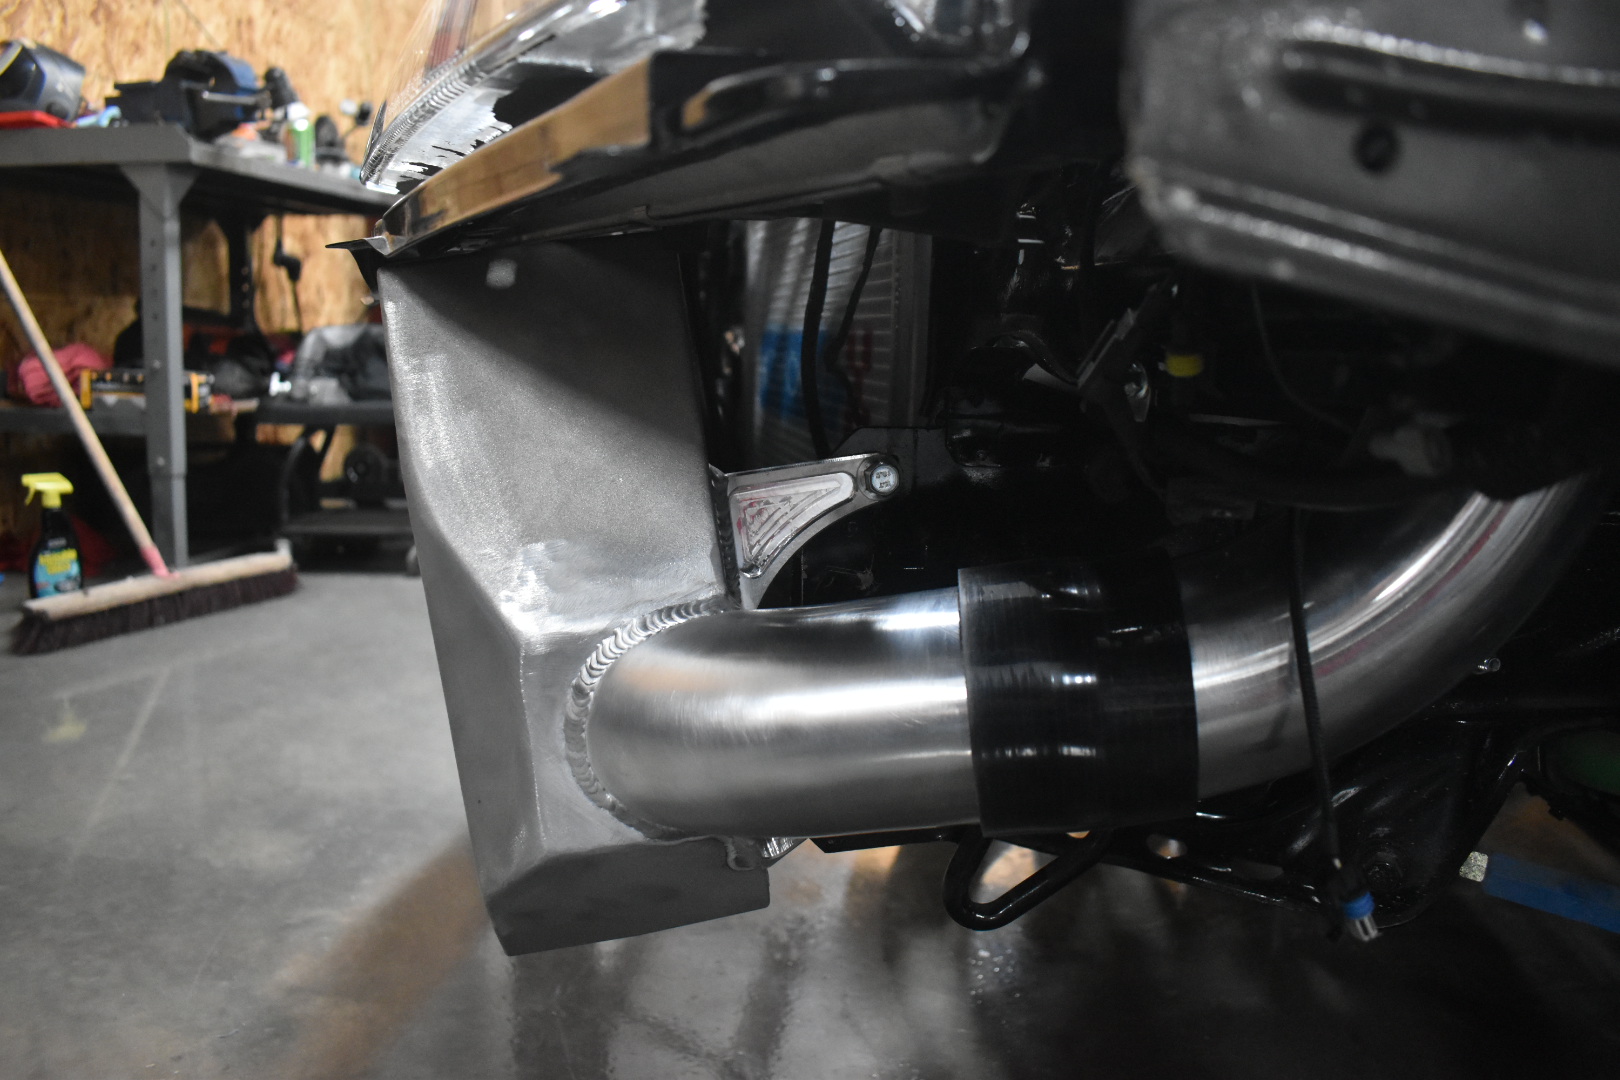
A few more pieces coming off the table. These are boost straps for just in case we run 60 psi of boost. Better safe than sorry and better shiny than boring.
Parts straight off the machine with a hand deburr on the bottom side.
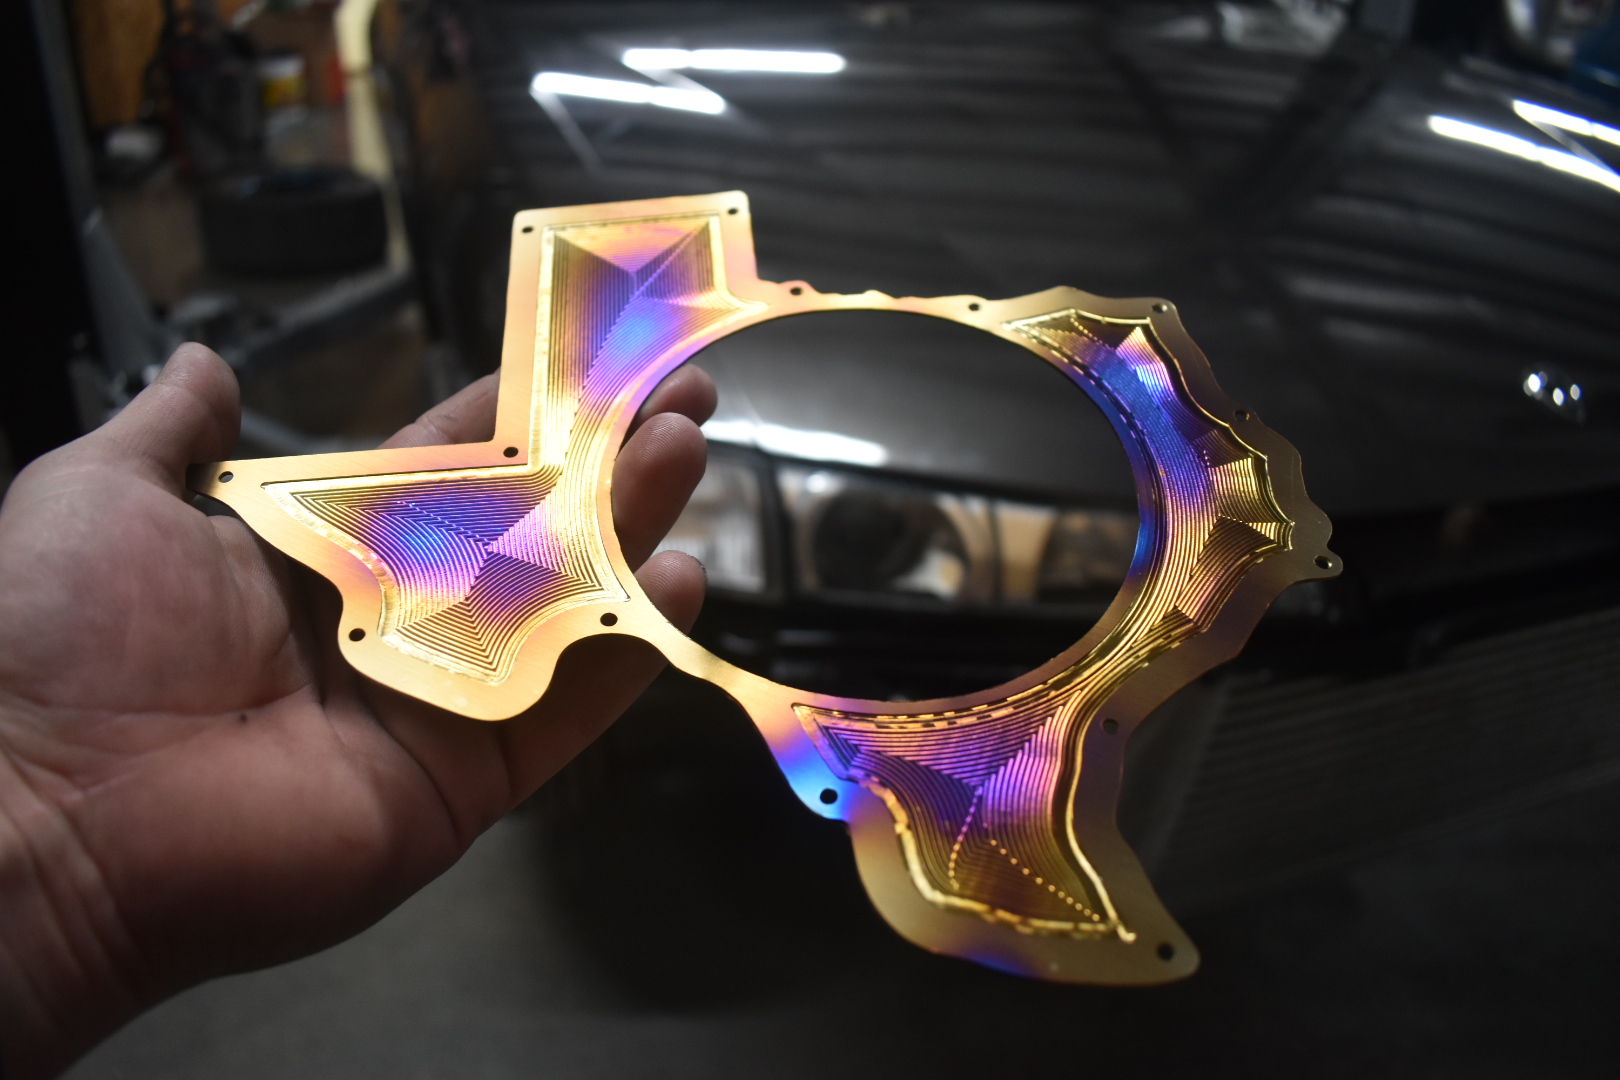
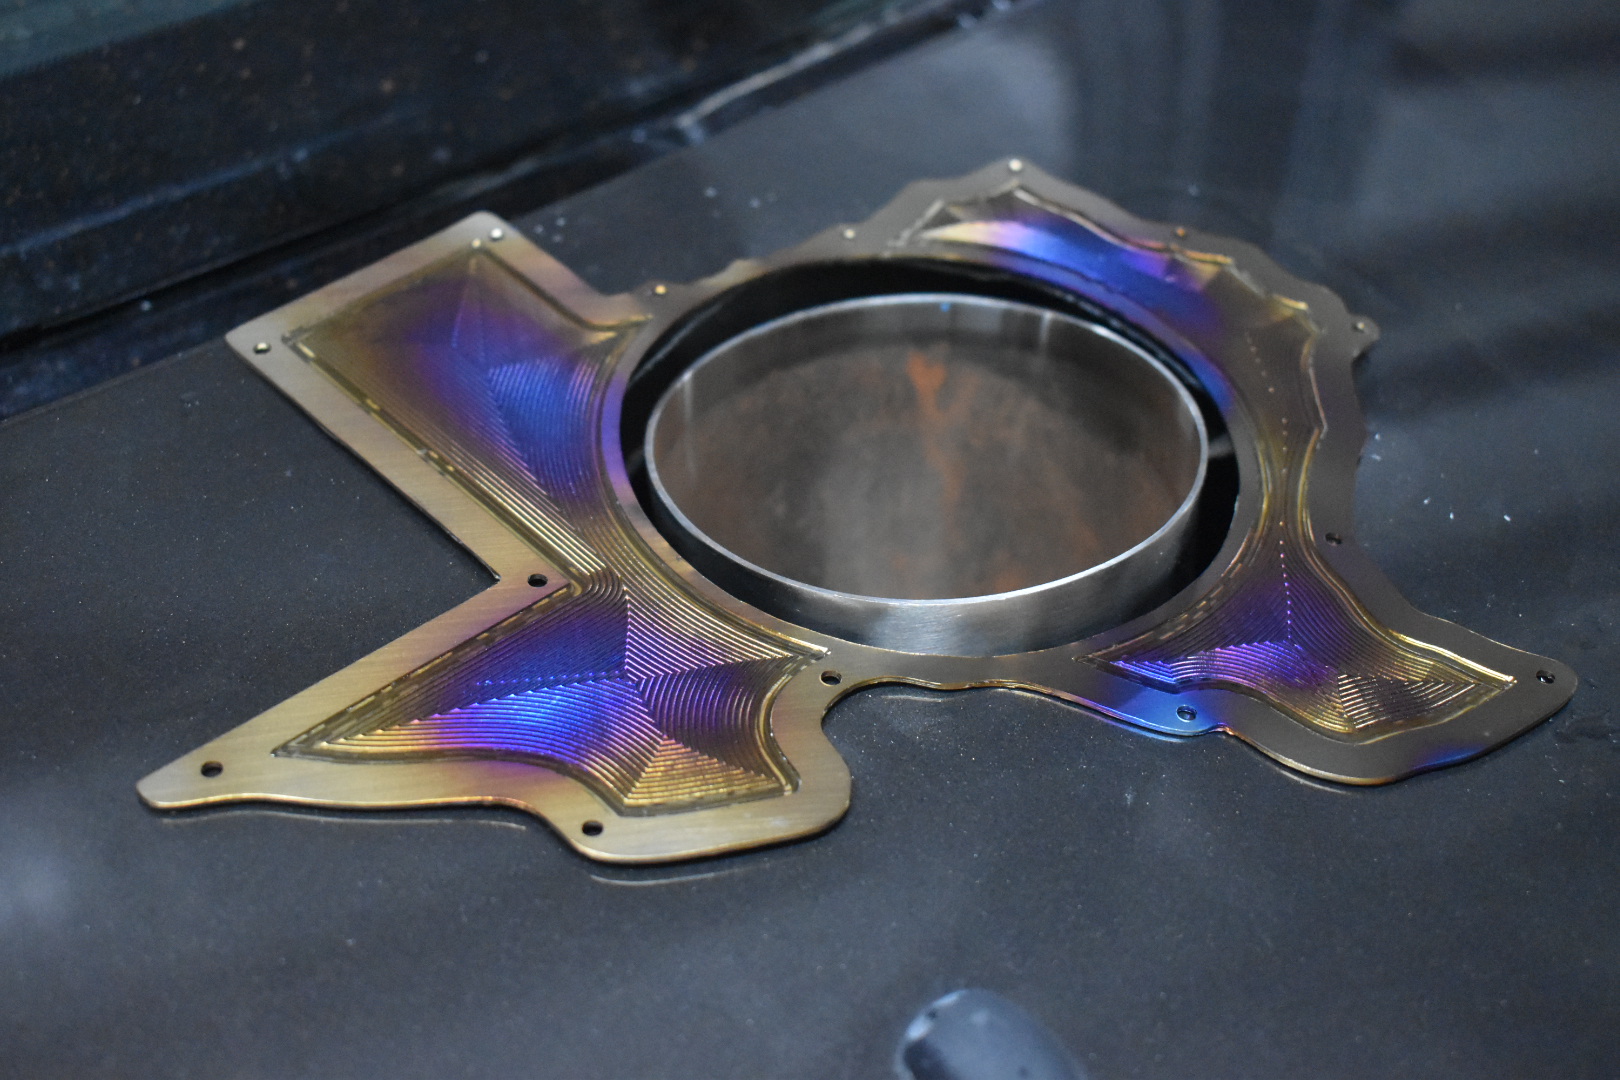
Vince, assume the coloration is due to heat buildup over time?
Constantly humbled by your work, keep it coming.
RMW
The color is from a manual torching to artistically oxidize the surface with a torch. Titanium is actually pretty weird with heat, it tends to build and localize so SFM while milling and chipload needs to be on point.
Its just metal.
With a little understanding, anything is possible
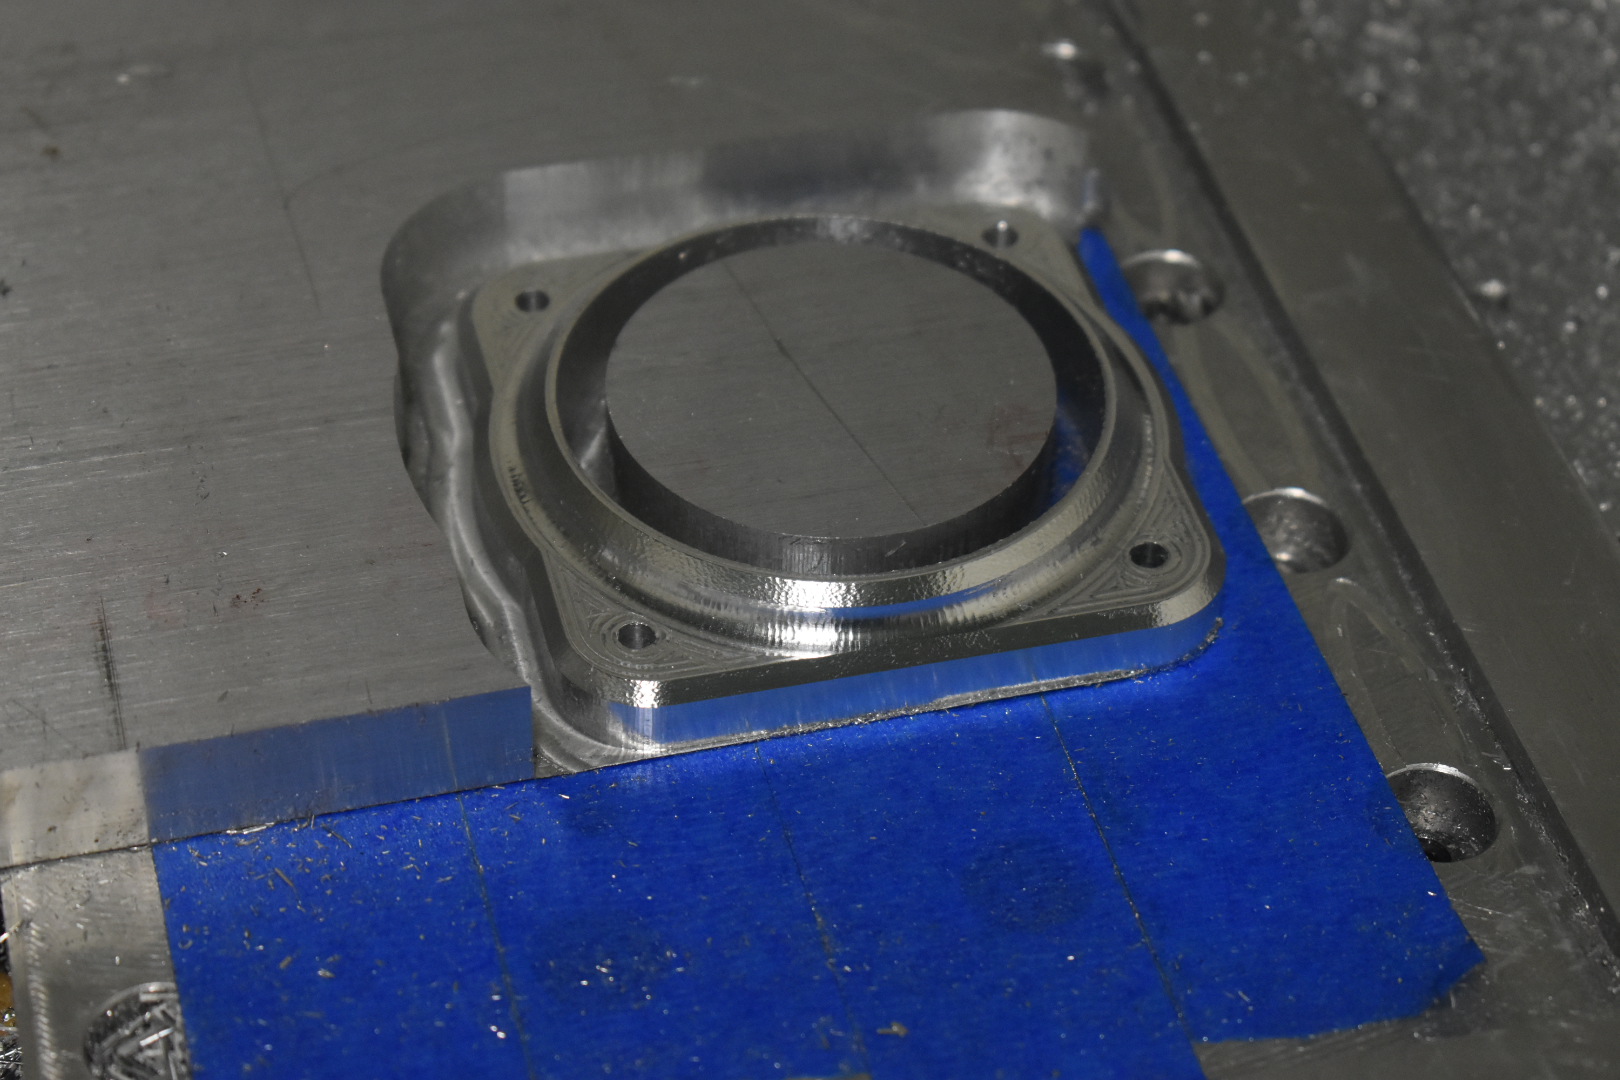
Good thing it’s easy to make spare parts. Had a little data recently on an intake plenum that prompted a slight redesign


@Vince.Fab I’m in love 
Oh awesome! I bought prox switches, for the XL & Nomad both, but haven’t figured out how they’re supposed to be mounted, bc my XL is built inverted, and i haven’t seen an example of them mounted to a nomad. I don’t want to start drilling holes only to find they need a couple mm of distance req’d to between them and the incoming collision, etc… I’m not even sure which side of these switches are supposed to face the oncoming object. …& I haven’t even looked at how they might wire into the nomad. Hmmm.

Vince, when I had a Haas VM2 many moons ago, I spent some long nights breaking many of my finest endmills on a few dollars worth of 6/4 Ti, and I am genuinely curious how you milled Ti alloy with such a smooth finish. I thought I recall you saying you were running hss cutters on your Al work, but I can’t imagine that’s the tooling you’re referring to here. Are you using Autodesks HSM, to keep the loads uniform? That looks fantastic. The mind boggles.
I will now begin the hunt looking for the sources of all your Shapeoko upgrades. Linear bearings, ball screws… 60,000rpm spindle omg
Ohhhhhhh I see… looks like it’s that top surface facing the collision, flush to the limit, maybe some 3M double sided tape here, a little spacer there, & bobs yer oncle. thx V!
Ah! Someone has been holding your beer!  When will the matching brackets arrive?
@Luke - Are these the long awaited proximity upgrades for the Shapeoko? Can I give you my money now?
I started off with hss tooling to learn on the shapeoko but have since moved onto all carbide due to wear and high speed characteristics.
That titanium plate actually didn’t require any adaptive (constant load) toolpaths. It’s all about not running too high an sfm (I used 260) and taking a bit enough bite to carry the heat away. The pocket toolpath was actually a horizontal with a ball mill that took two steps of 0.005 doc and a high stepover. I can post the file for you if you’d like to see. The inner and outer contour was cut with a $1.50 endmill that I’m not so sure was even designed for metal lol.
And while the upgrades are fun, make sure you don’t make building the machine your only project. By far the best upgrade that you can do is tighten the nut behind the steering wheel.
@Luke the new proximities are looking great!