I just checked my tool paths. Was running the 1" Face Mill at 12k 72ipm and 0.01" for a roughing, I was surfacing an aluminum plate to use as a painters tape workholding for some parts, so flat was most important. I need to run a few of your passes on the plate and see if they will look as good as yours… Amazing
1 Like
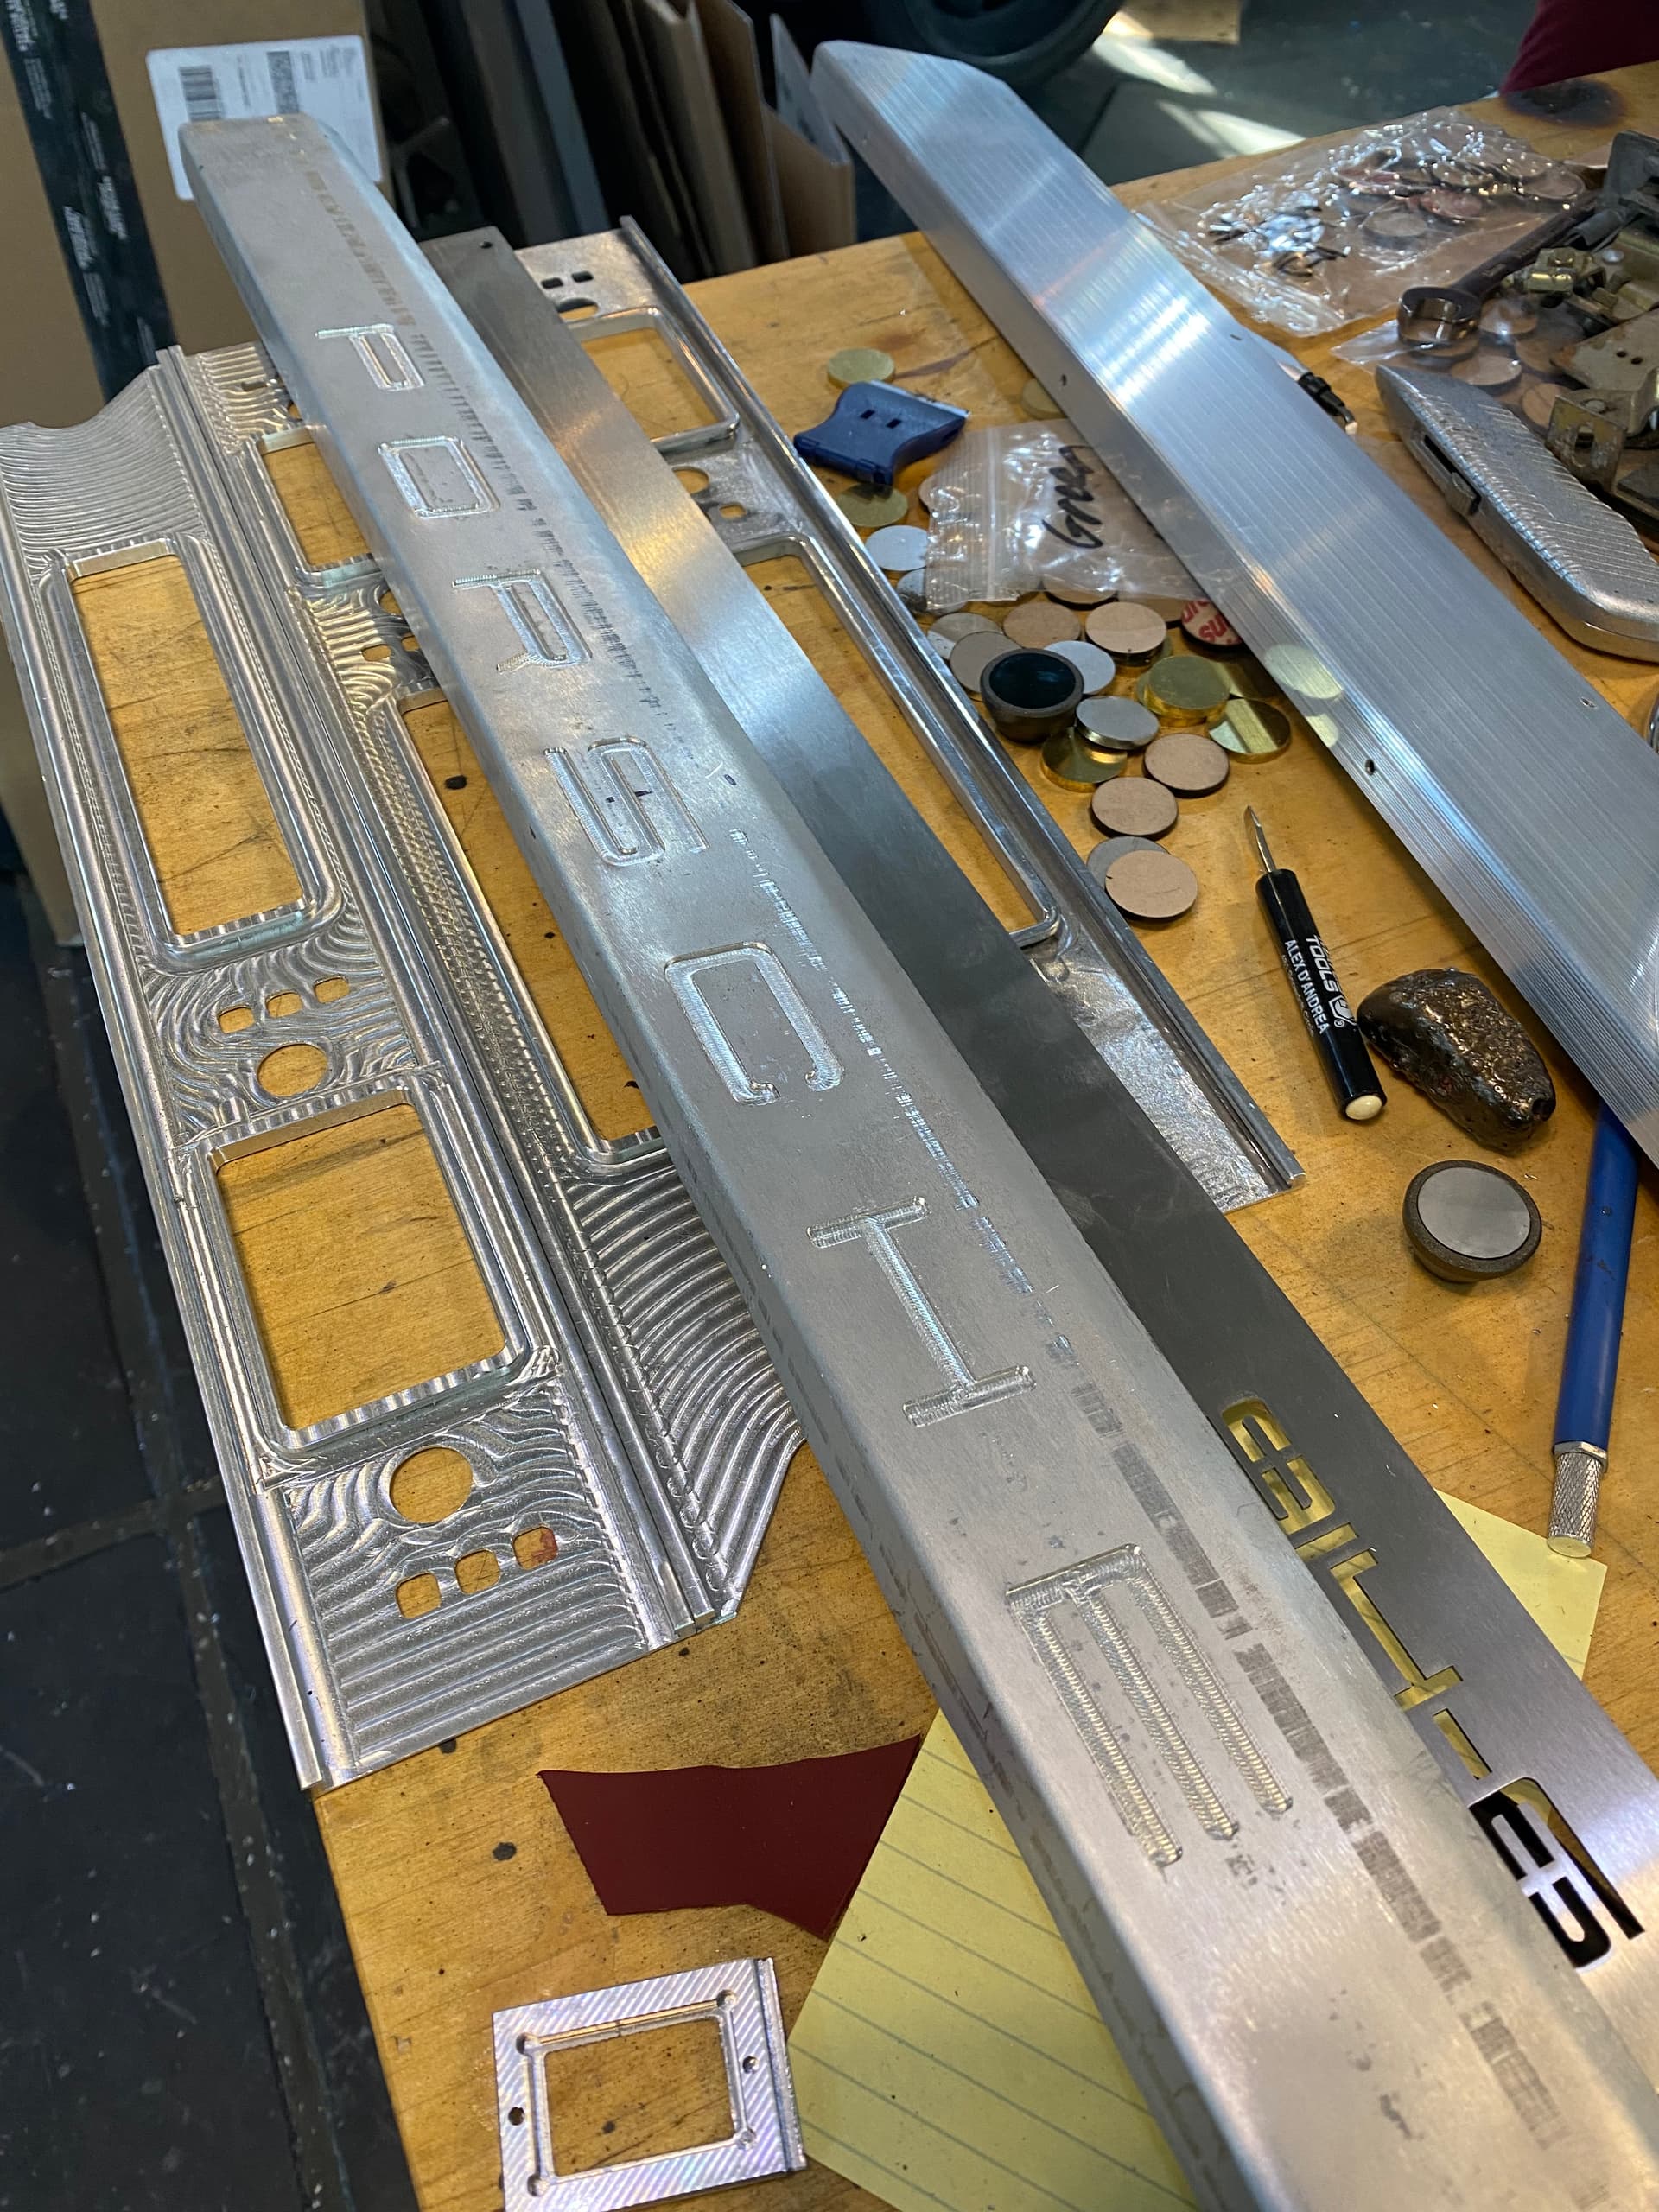
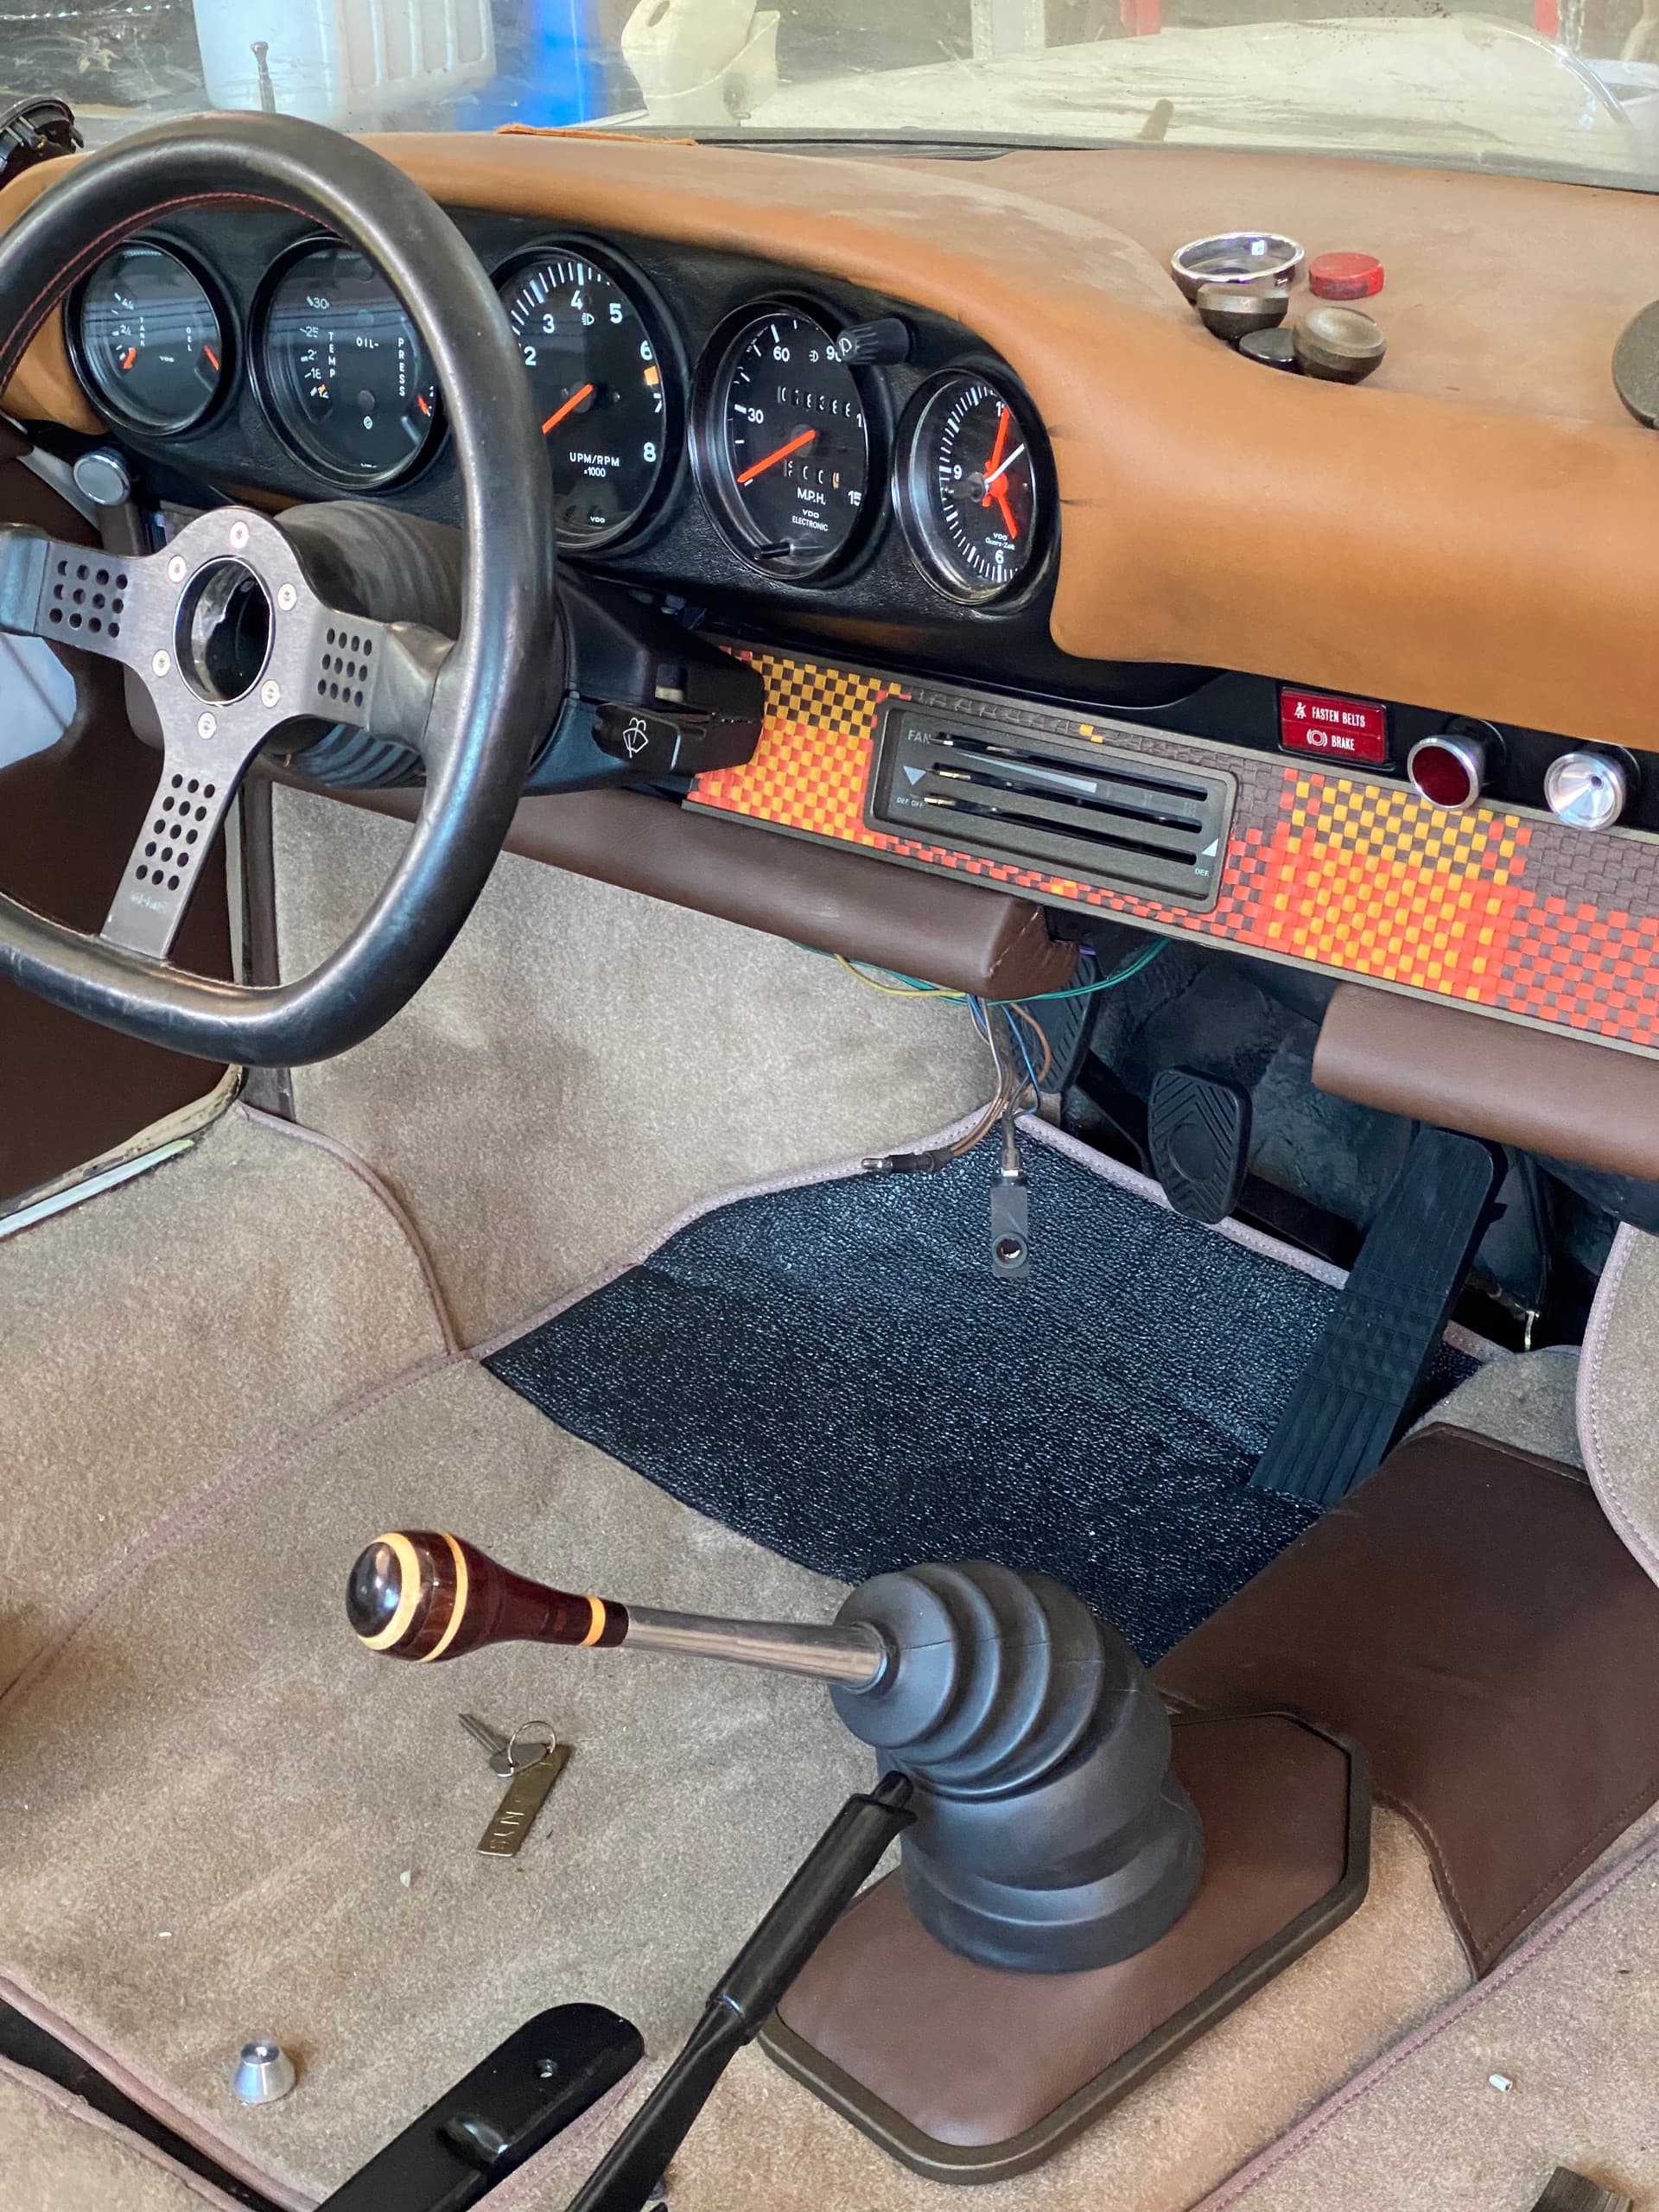
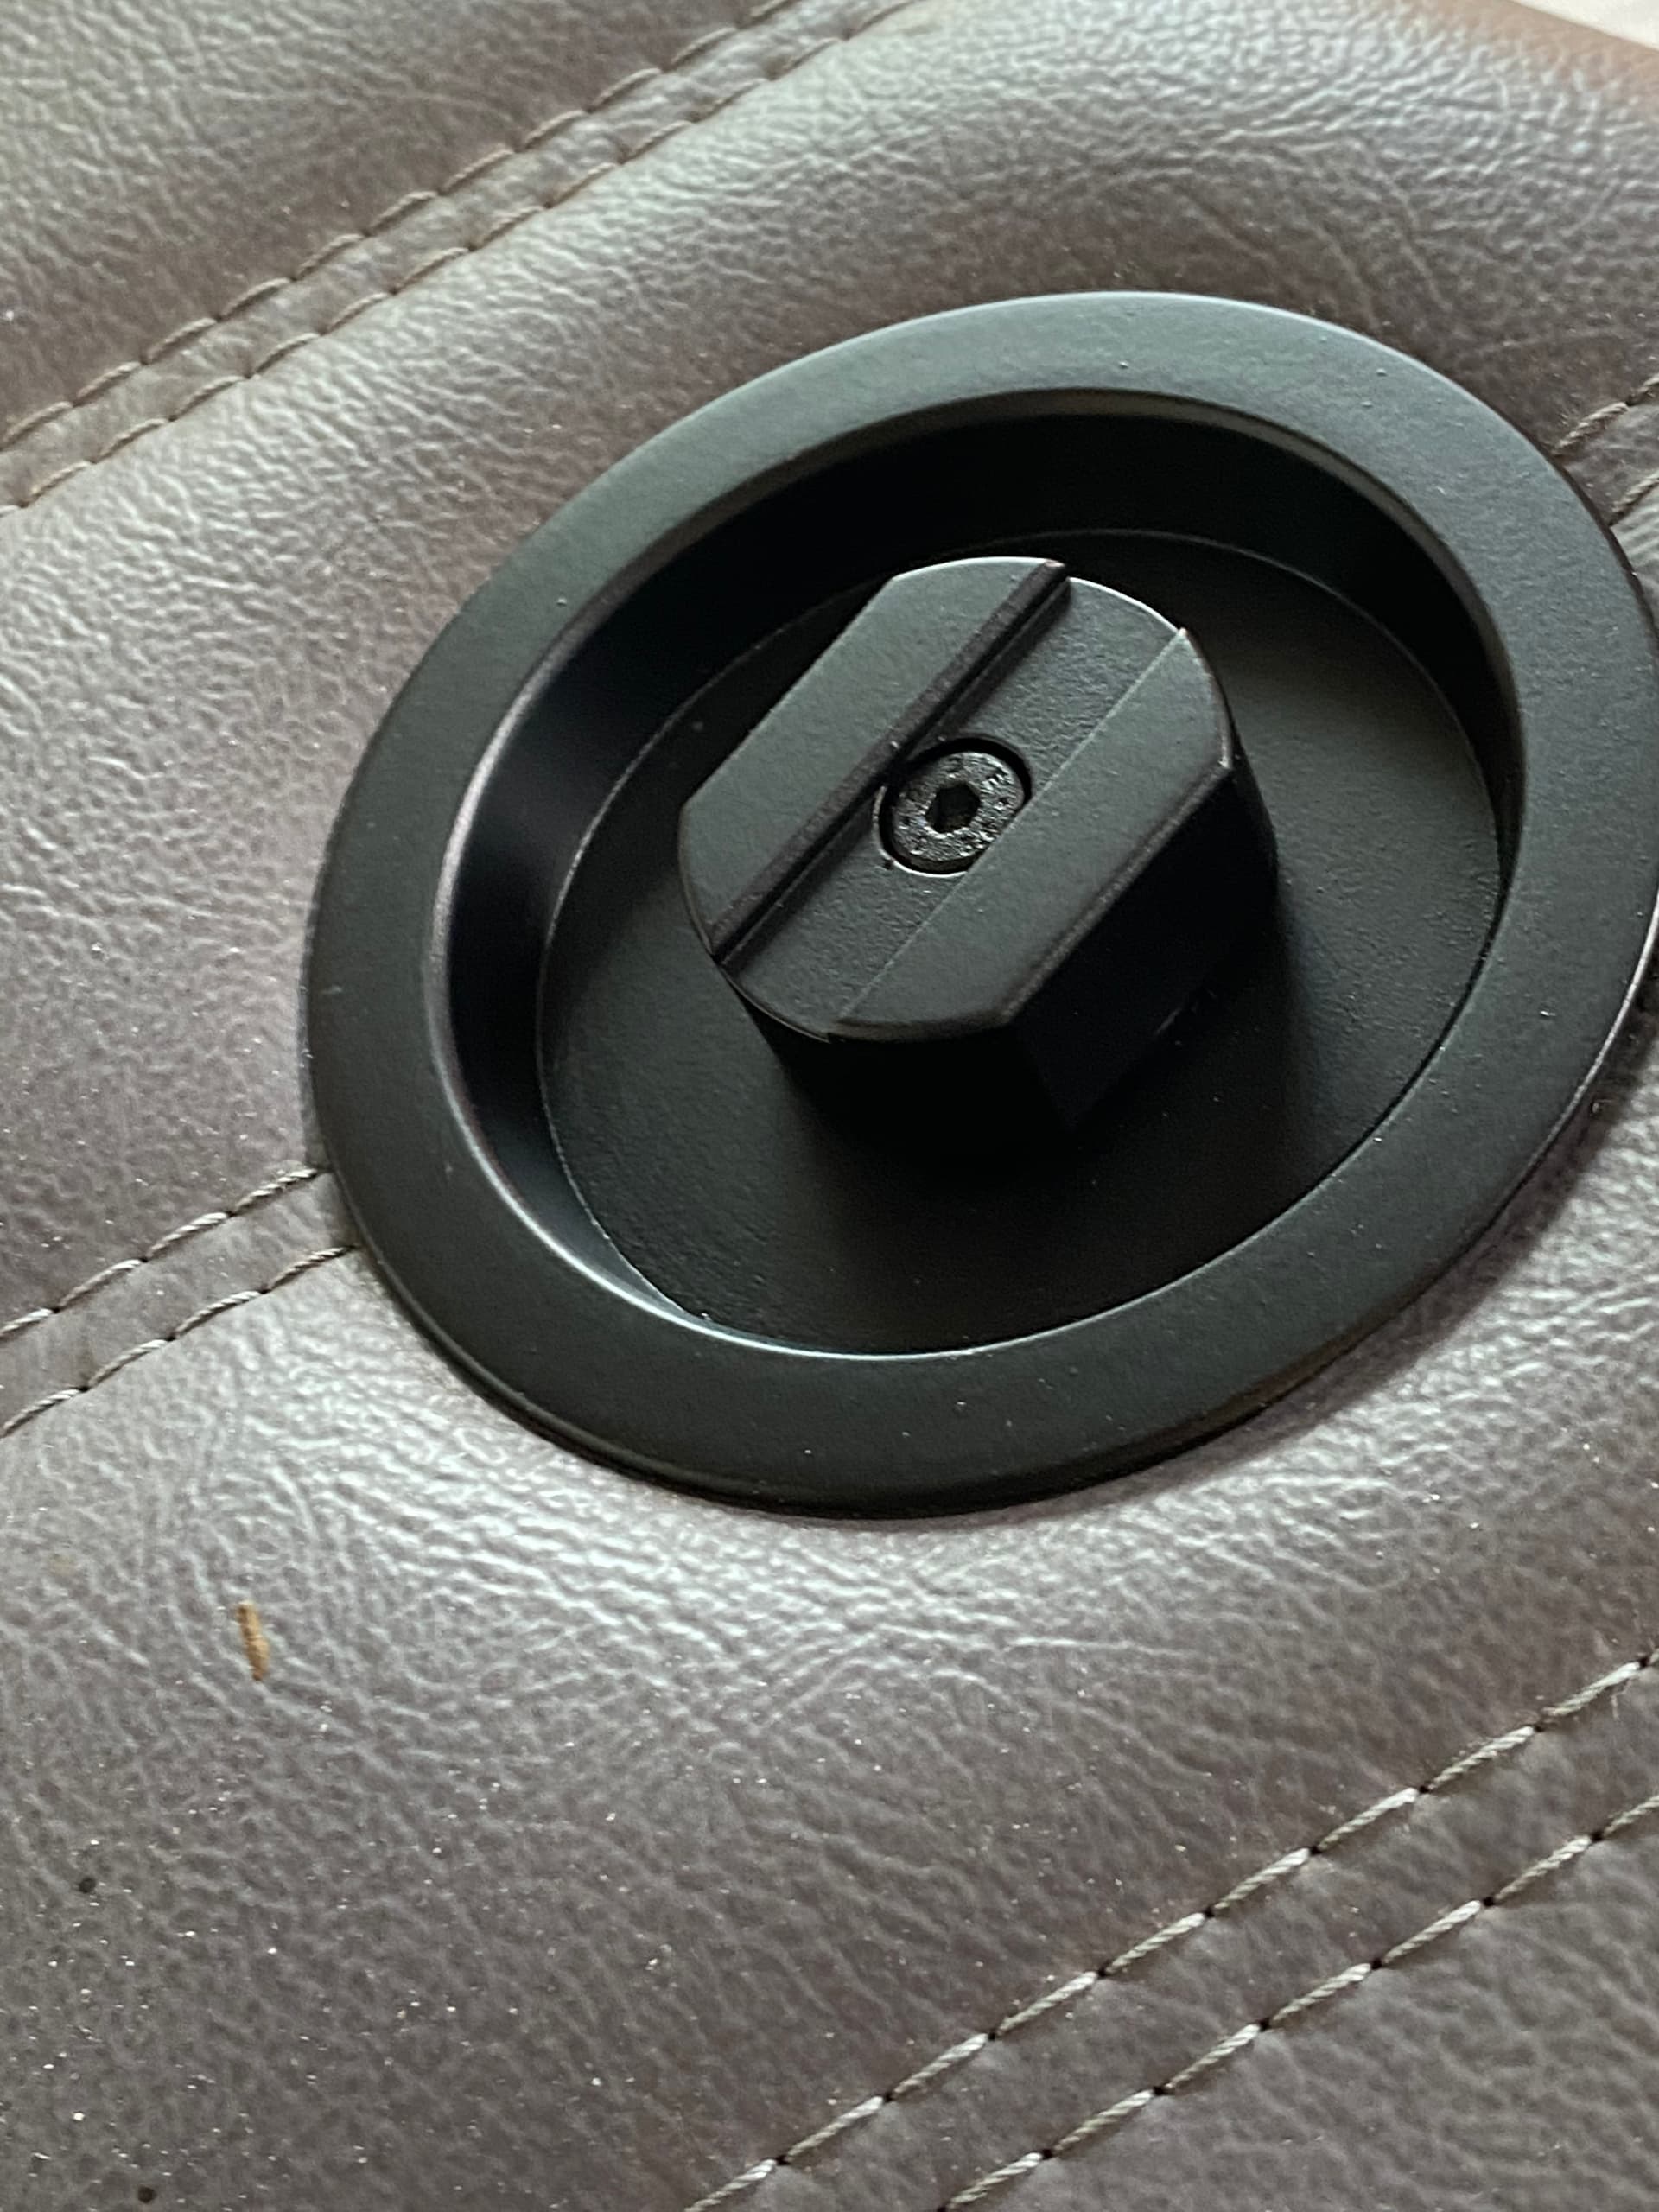
For people wondering what the parts I’m making look like in, here’s one of my shop cars that’s getting a bunch of custom bits installed.


6 Likes
Interesting enough, an upholstery guy I do work for asked for some door pulls like you made here. Unfortunately, the timeline is quite tight so it looks like I’ll be doing a 3D Printed prototype and the making the pulls at a later time.
1 Like
Lots of cutting the last two weeks, not much too interesting.
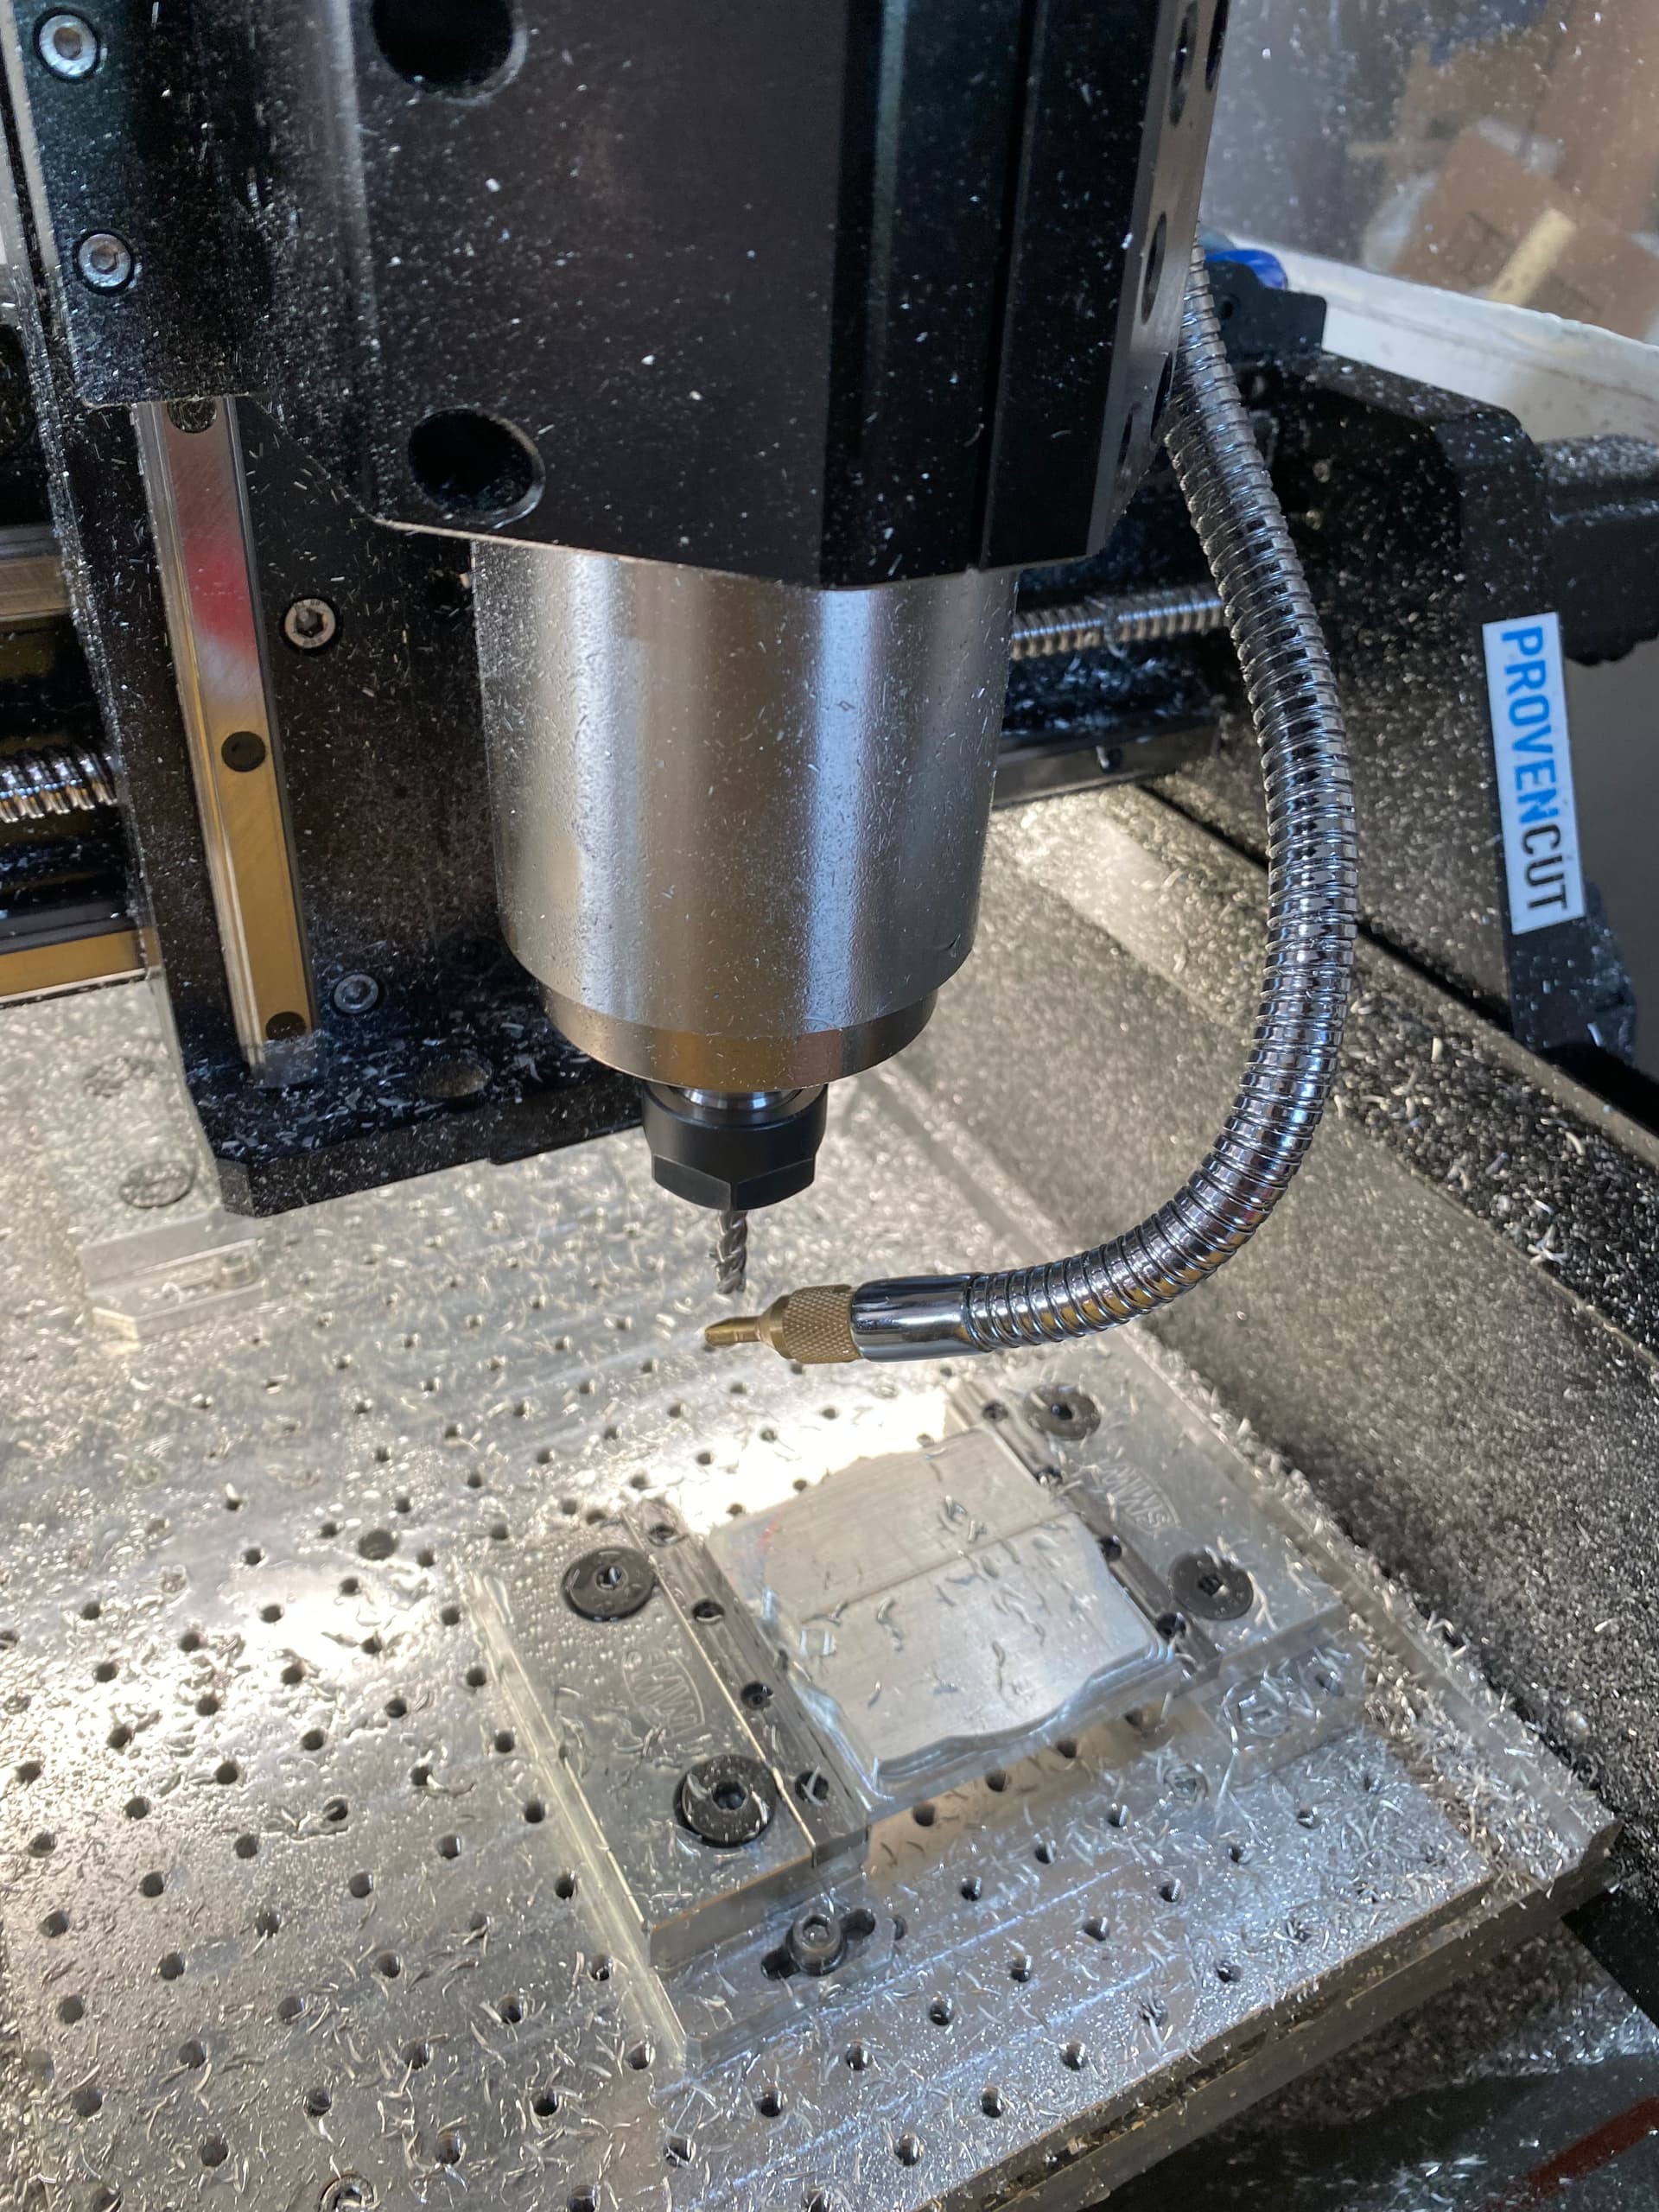
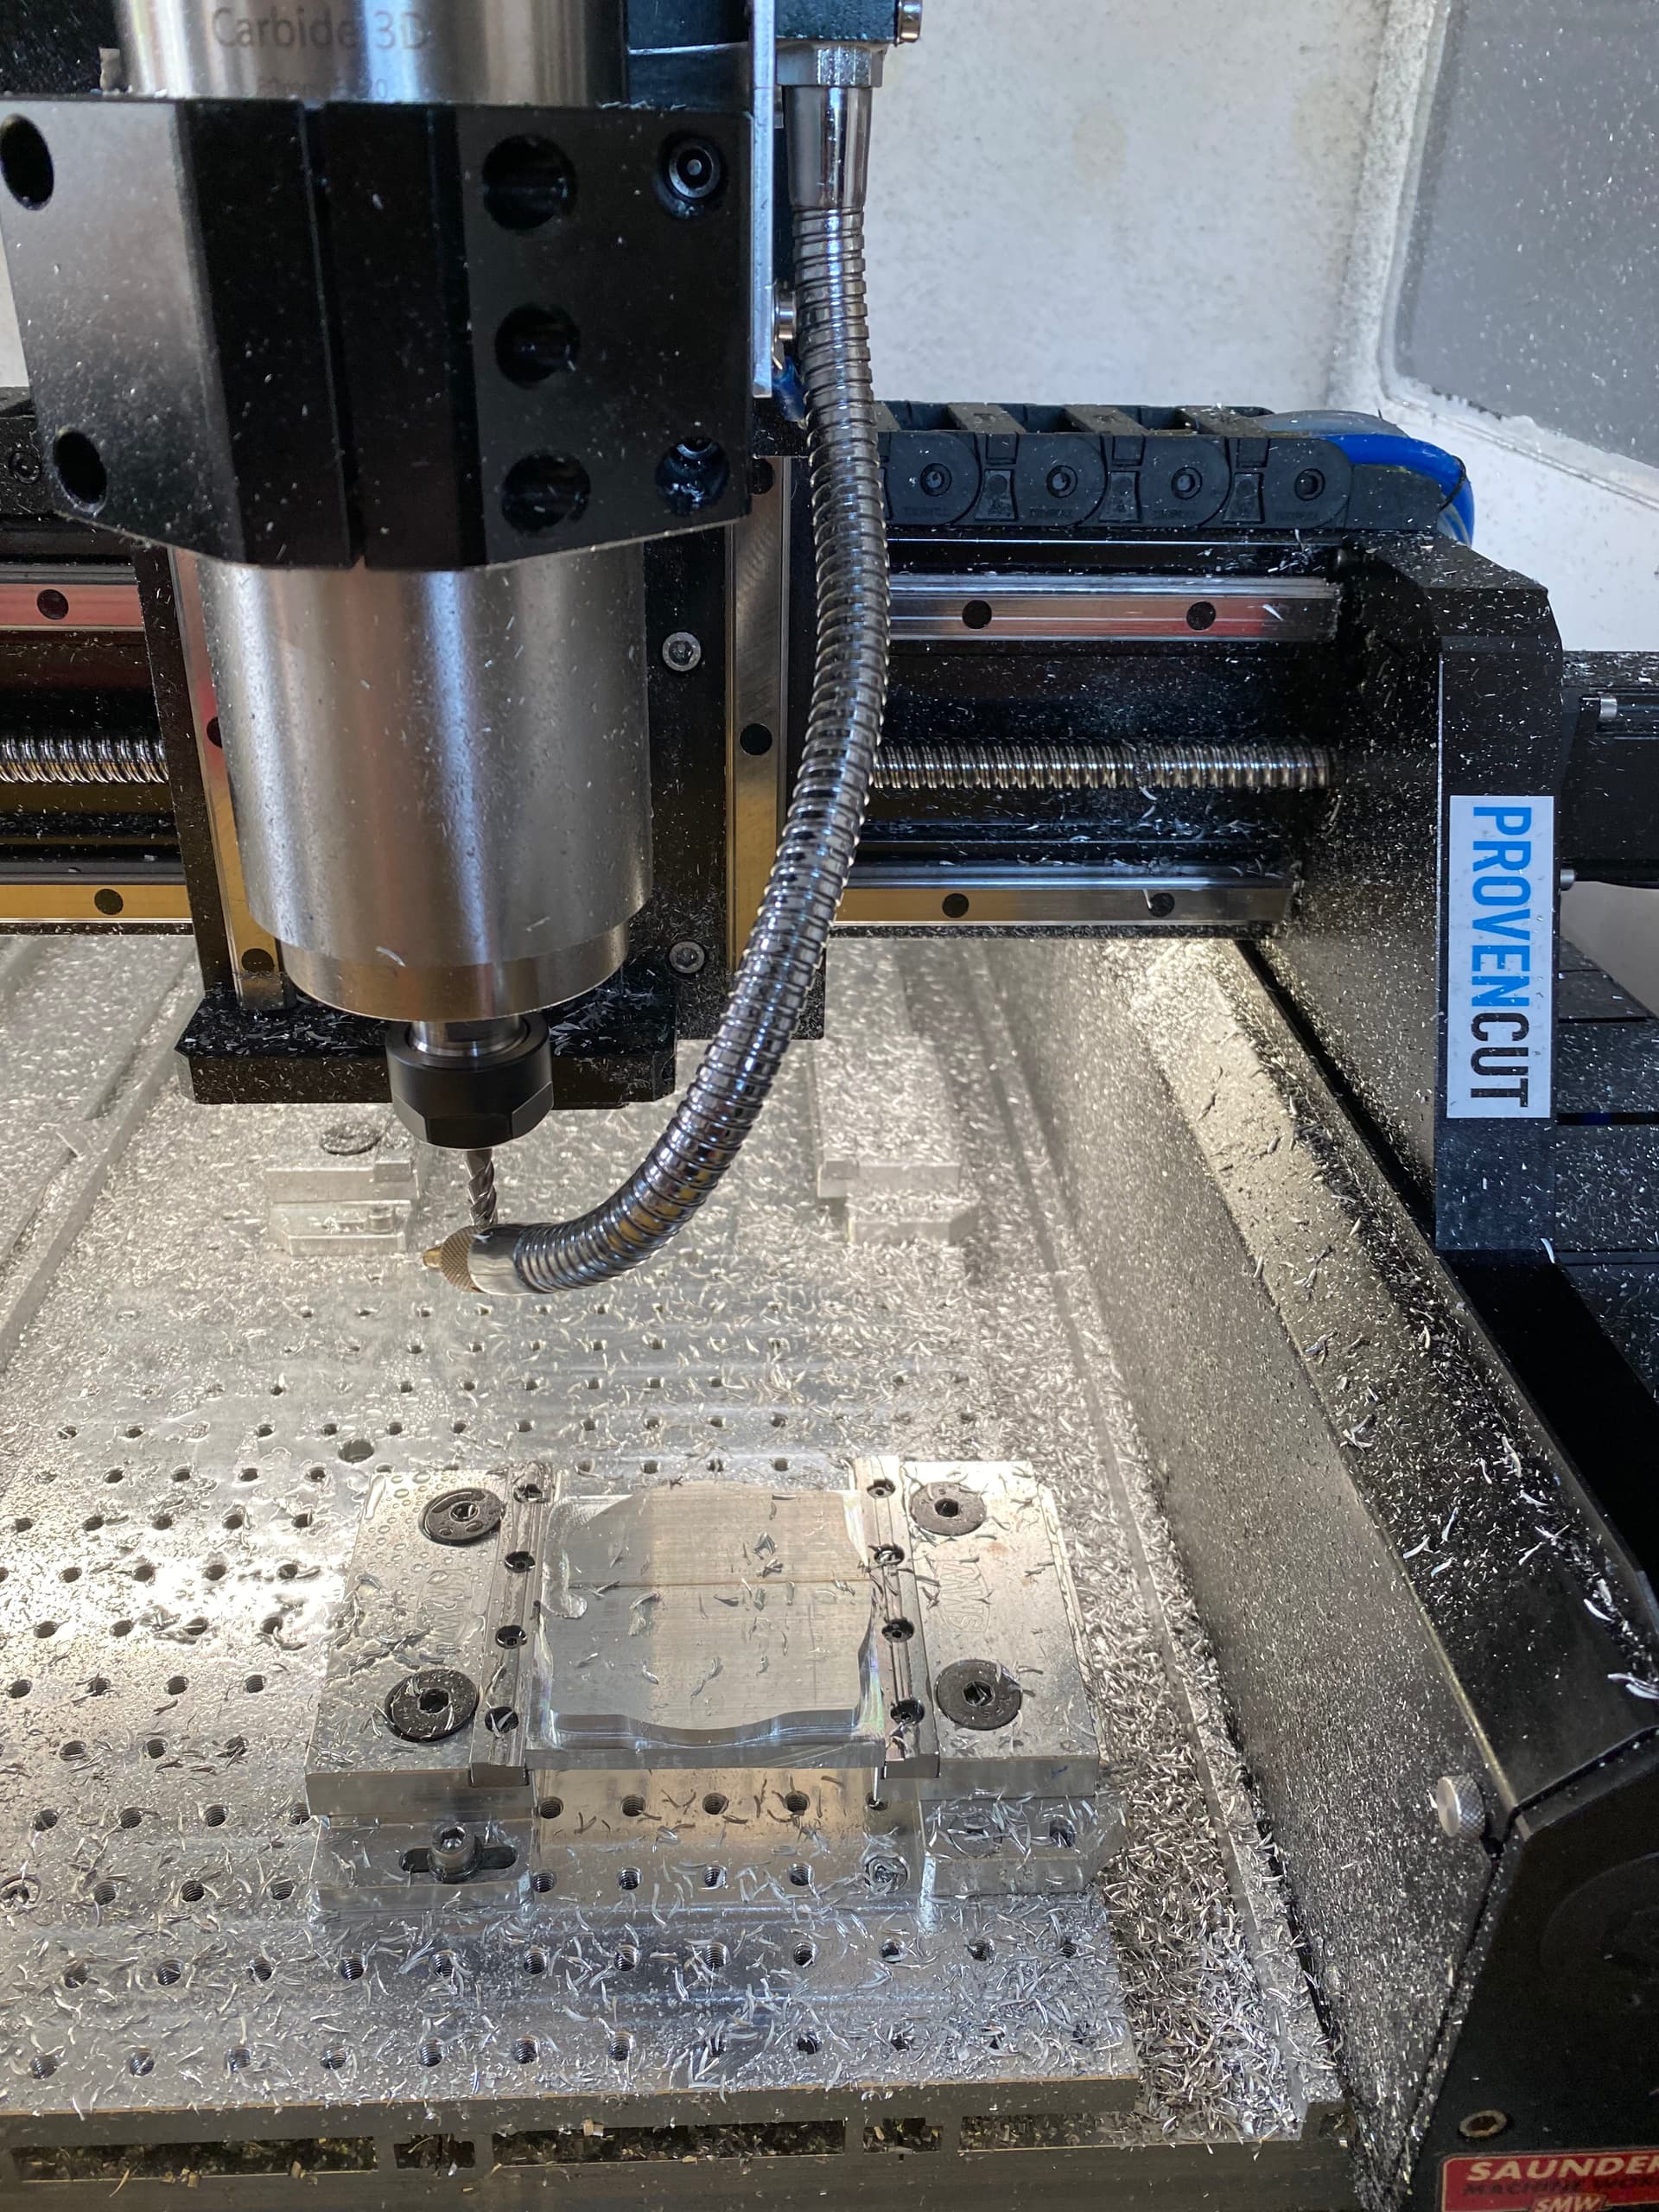
BUT I am having a consistent issue I can’t seem to chase down. Randomly around the same area of the machine it “binds” and then sends the bit and machine into a new cutting place, etc. meaning the binding makes the machine skip and then continue on the cuts. It has destroyed many of parts this past week. It is random, same tool paths run great then BAM… All the ball screws are cleaned and lubed regularly and it seems to be more of a location on the X/Y than a G-Code Error.
Anyone else see this issue? Or know how to narrow down where the bind occurs so I can get to a solution? With the cost of aluminum and time its very frustrating!
2 Likes
Can you run an air job to see where the issue happnens?
1 Like
It seems to be not happening at lower feed rates or in air cutting. I wonder if my F&S are being too agressive and if the bit grabs wrong, bam! I will test the alignment on the link you sent too. Thank You
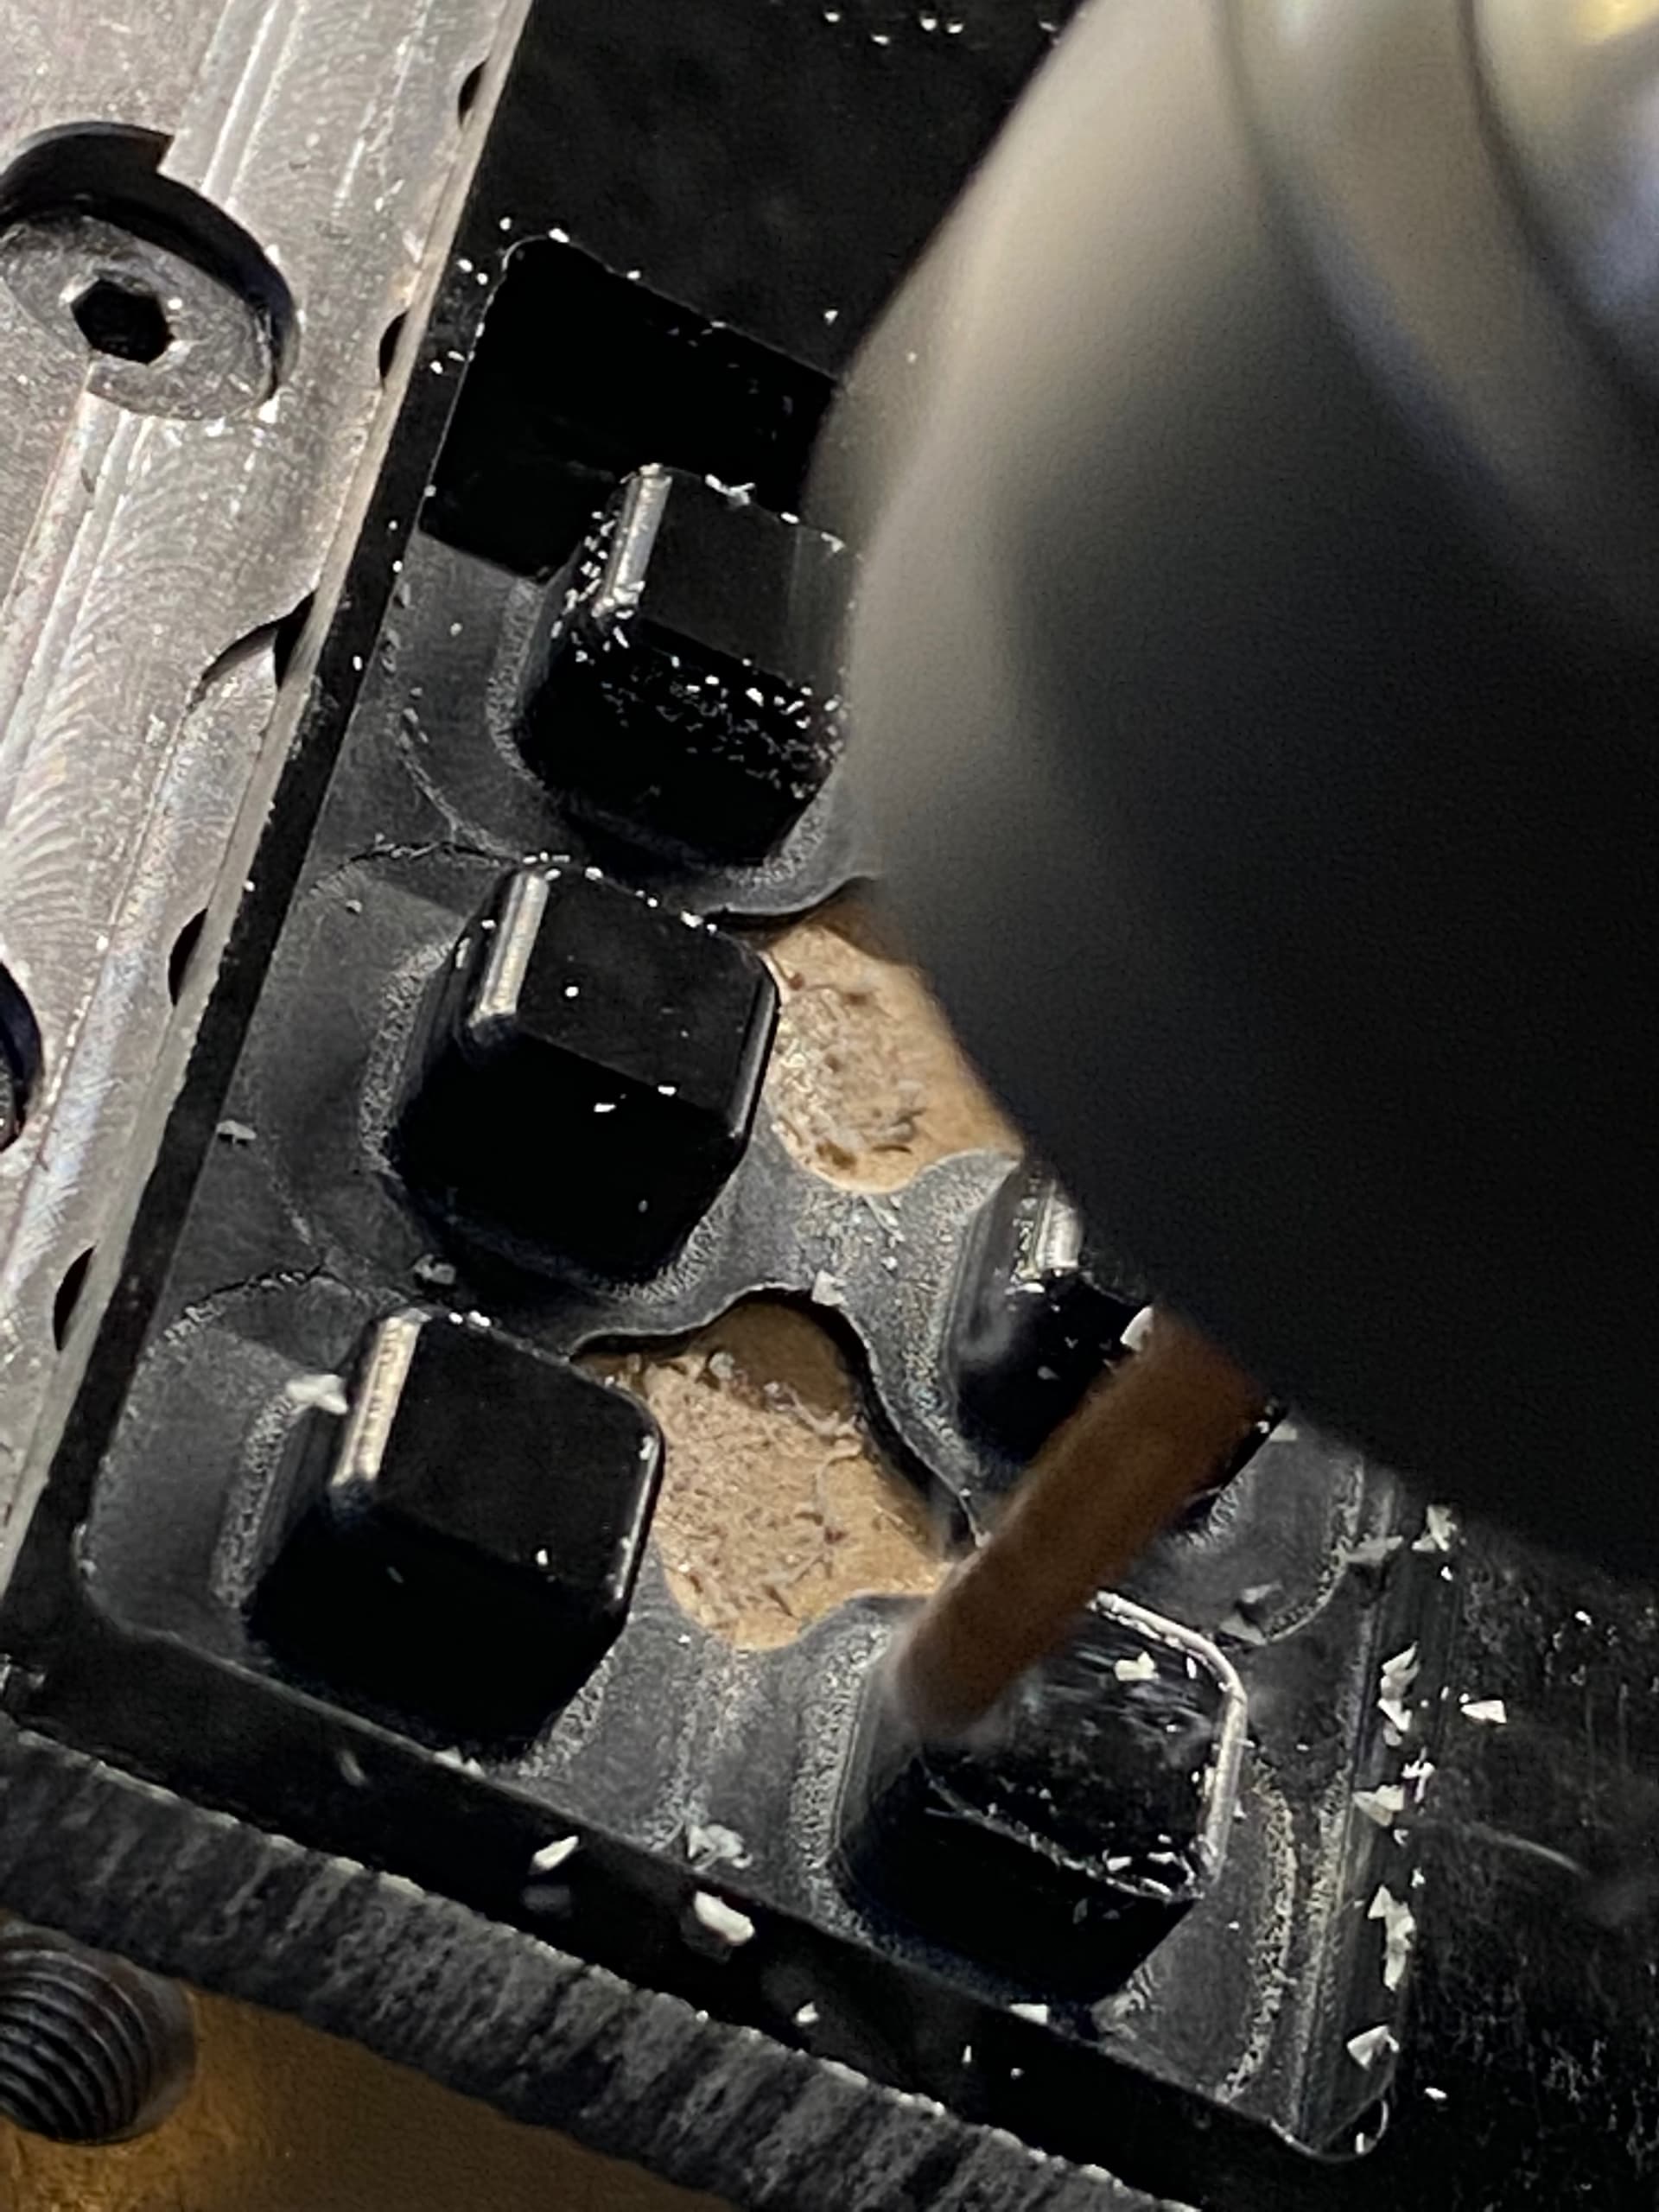
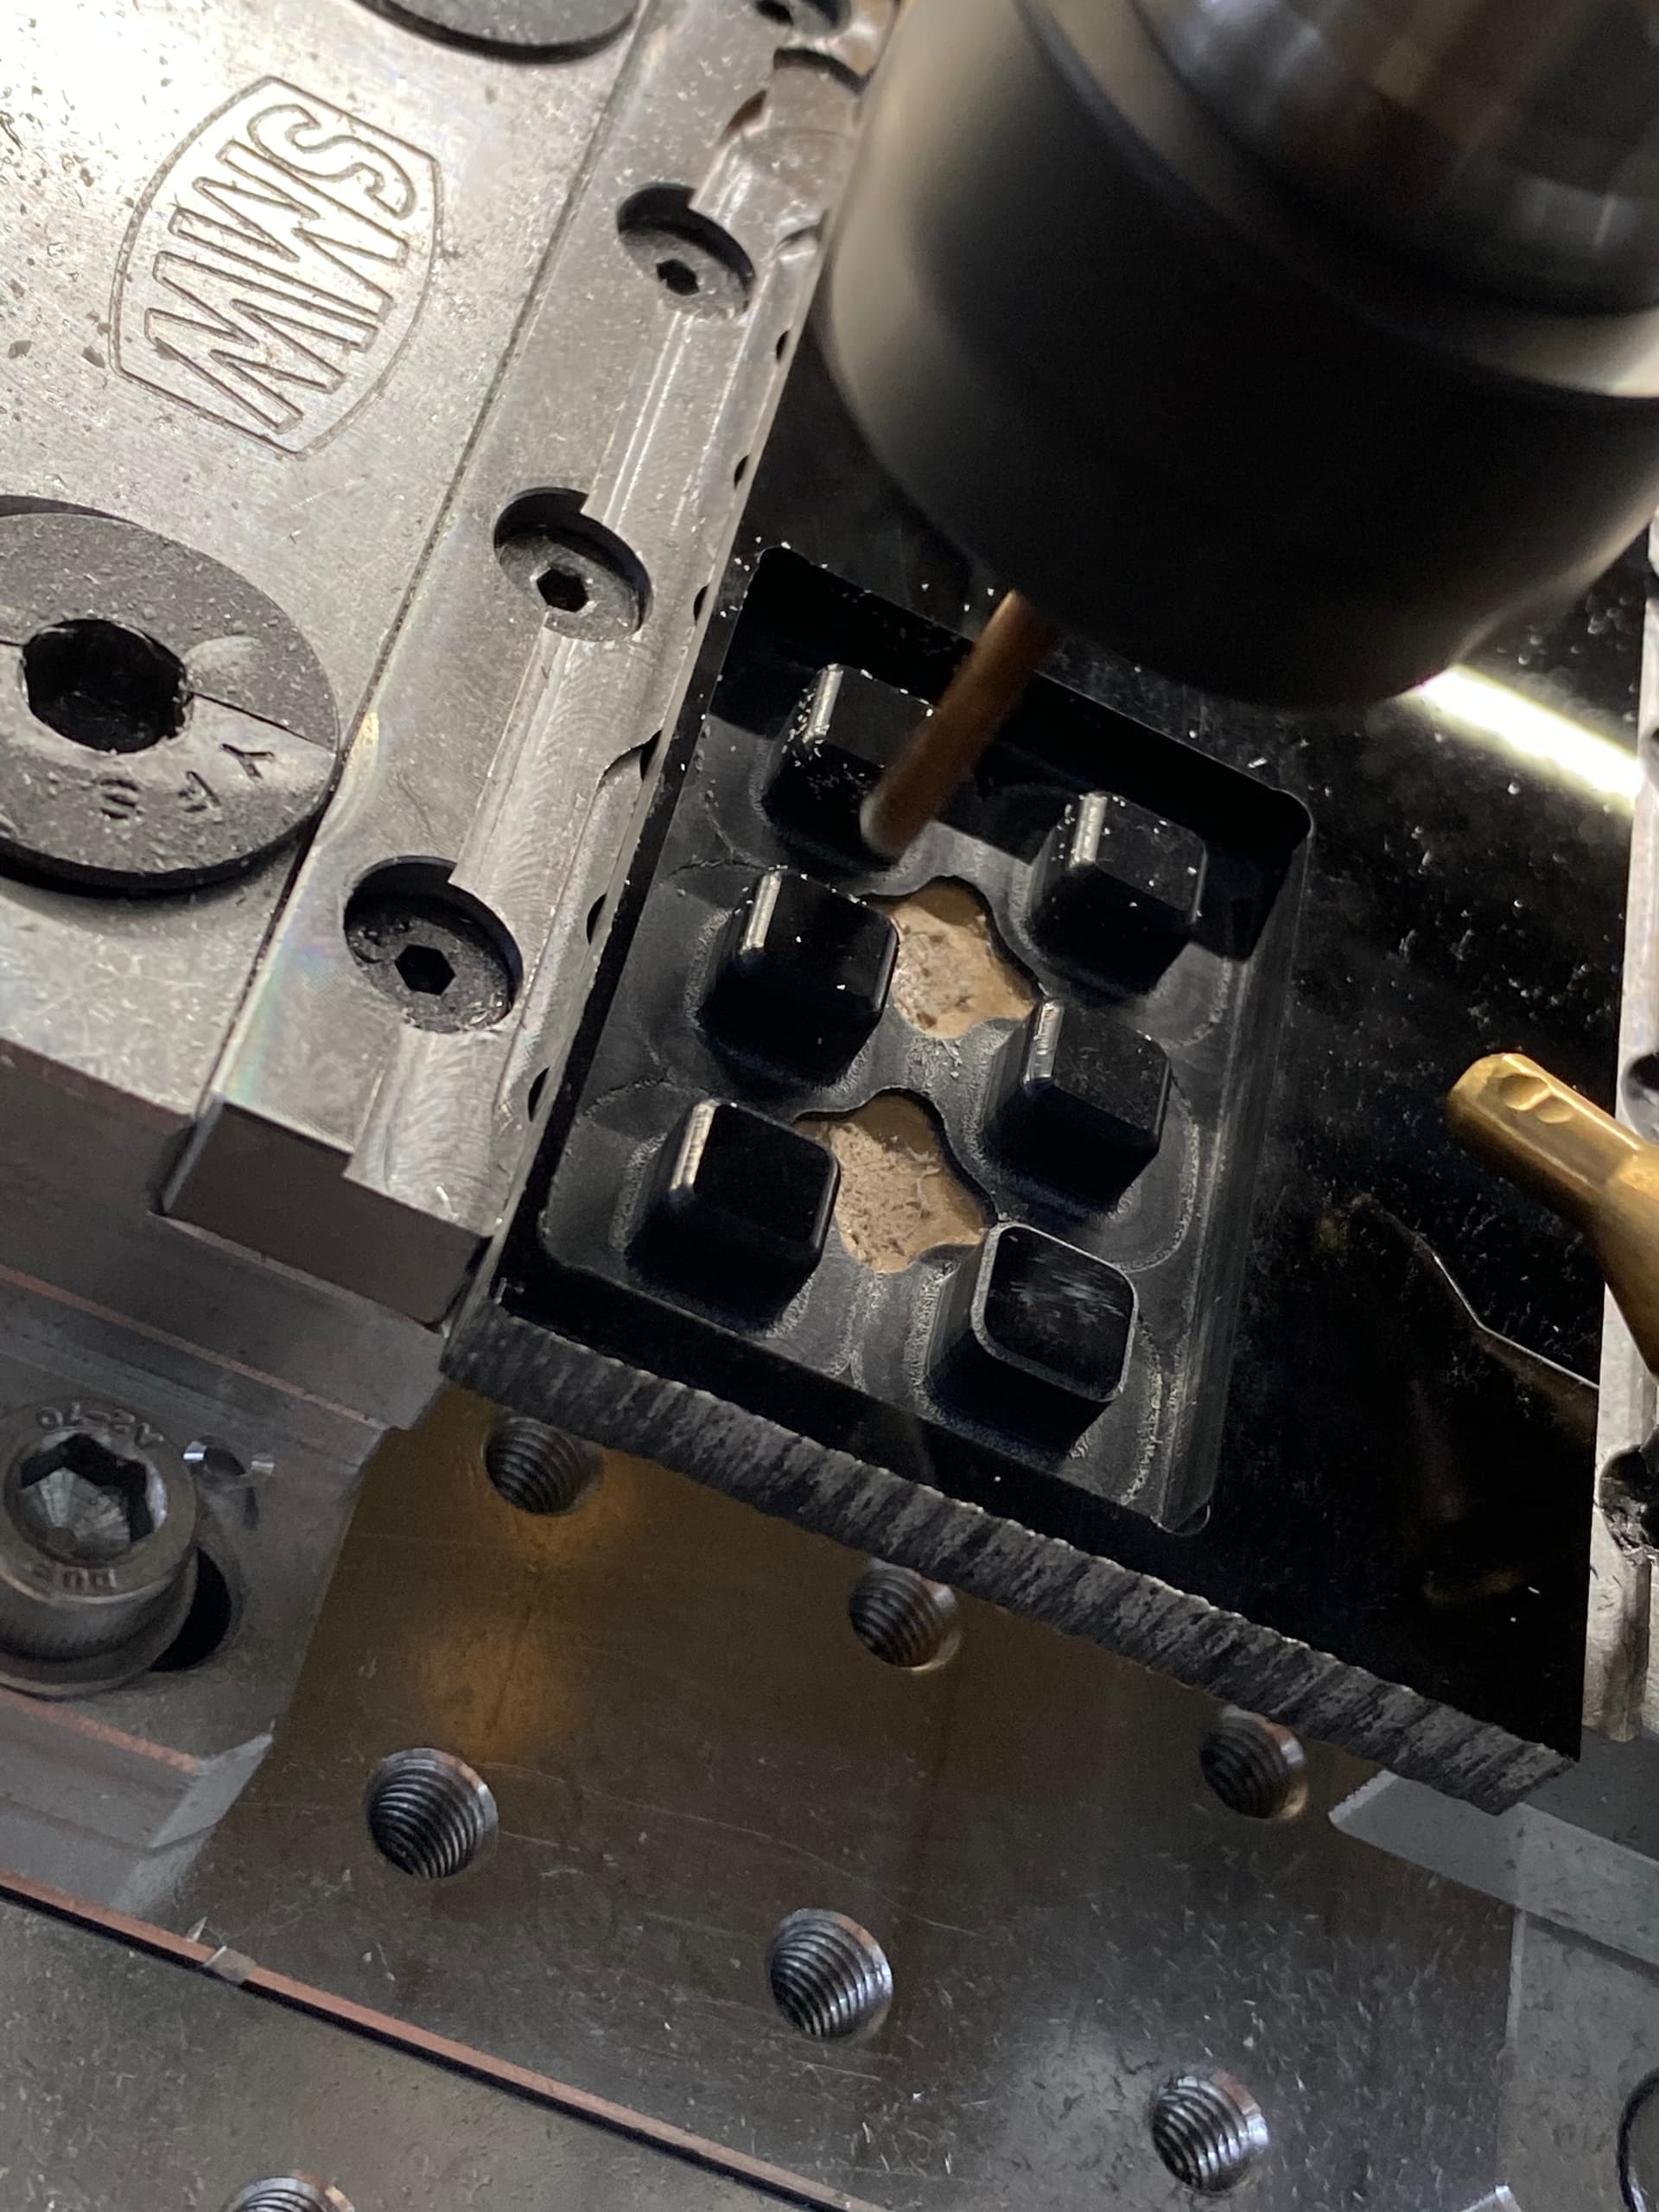
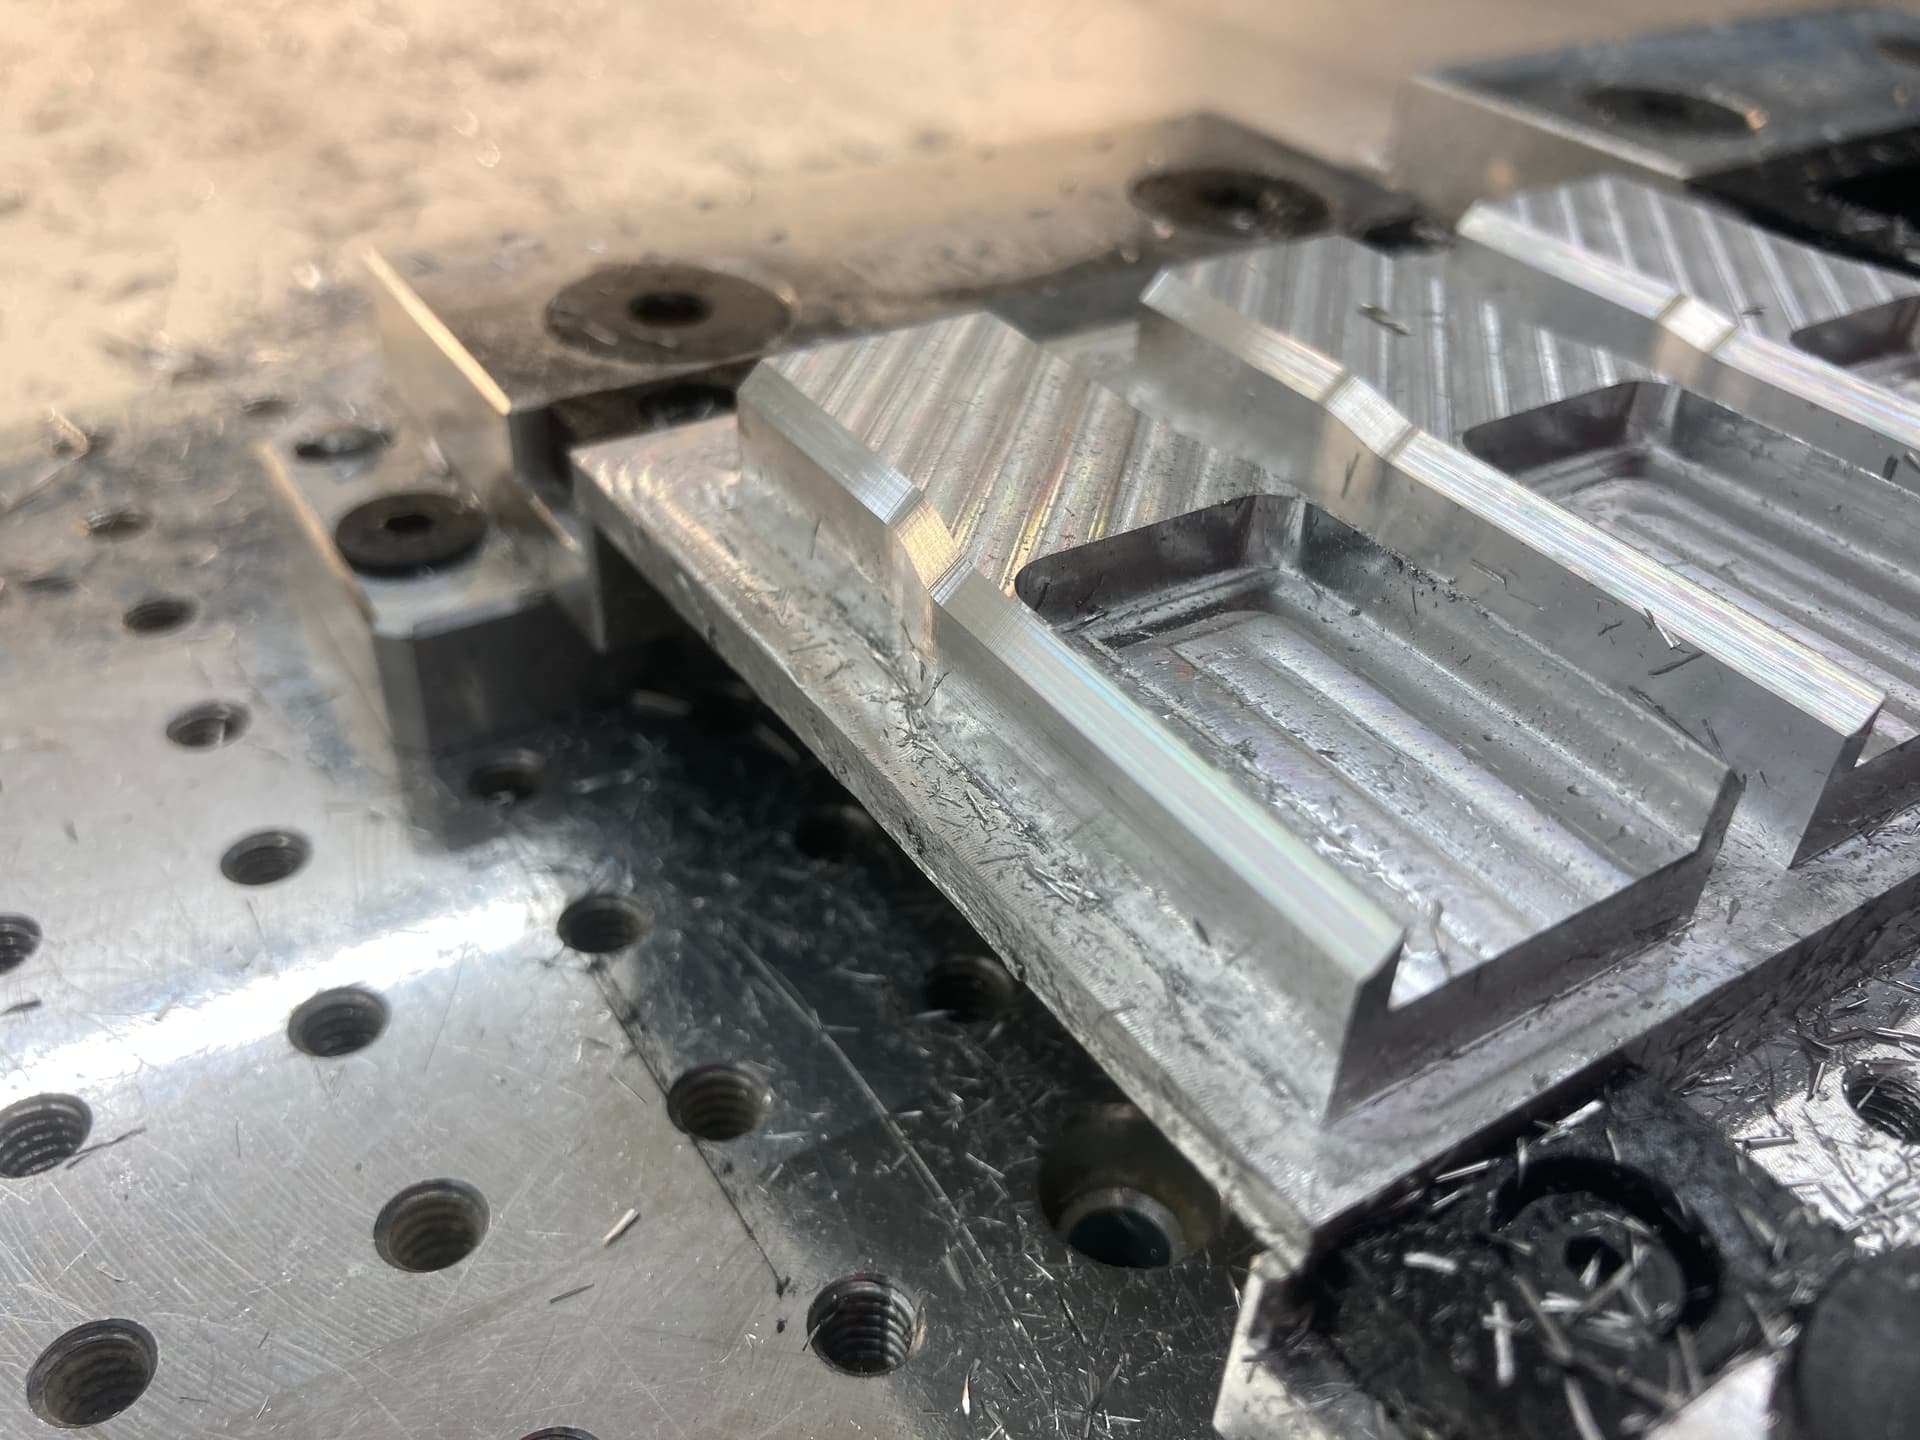
Well here an example from today, cutting awesome and then all of a sudden bind on X or y then releases and kills the part, but no air binding at all? How do I chase it down? I’m tired of destroying material because the HDM randomly binds on its own
You can see where it bound and then slit in
Please look through the PM I sent yesterday.
1 Like
Update, the issue seemed to arise after the nut fell off the left side multiple times. And even today with loctite it was loose again. But what I thought was maybe the left and right Y were not in sync….
So I brought the gantry to the front middle rapid
Measured the end plate to gantry and my right side was about .875mm farther back than the left
So per @Luke reco, I shut off the machine and moved the right side forward some time get them as close to equal as possible
Turned back on and rehomed, all close to the same on both sides +/- 0.1mm and it ran great all day with no issues
Fingers crossed that this was the issue
3 Likes
What was I making? Took 1/2 stock and milled it to 1.25mm thick for a door trim piece. Great repeatability with the HDM when it’s working correctly.
Ohh and the touch probe is amazing, used the thrill hole for the center on the flip and it’s within +/- 0.1mm on center…


7 Likes
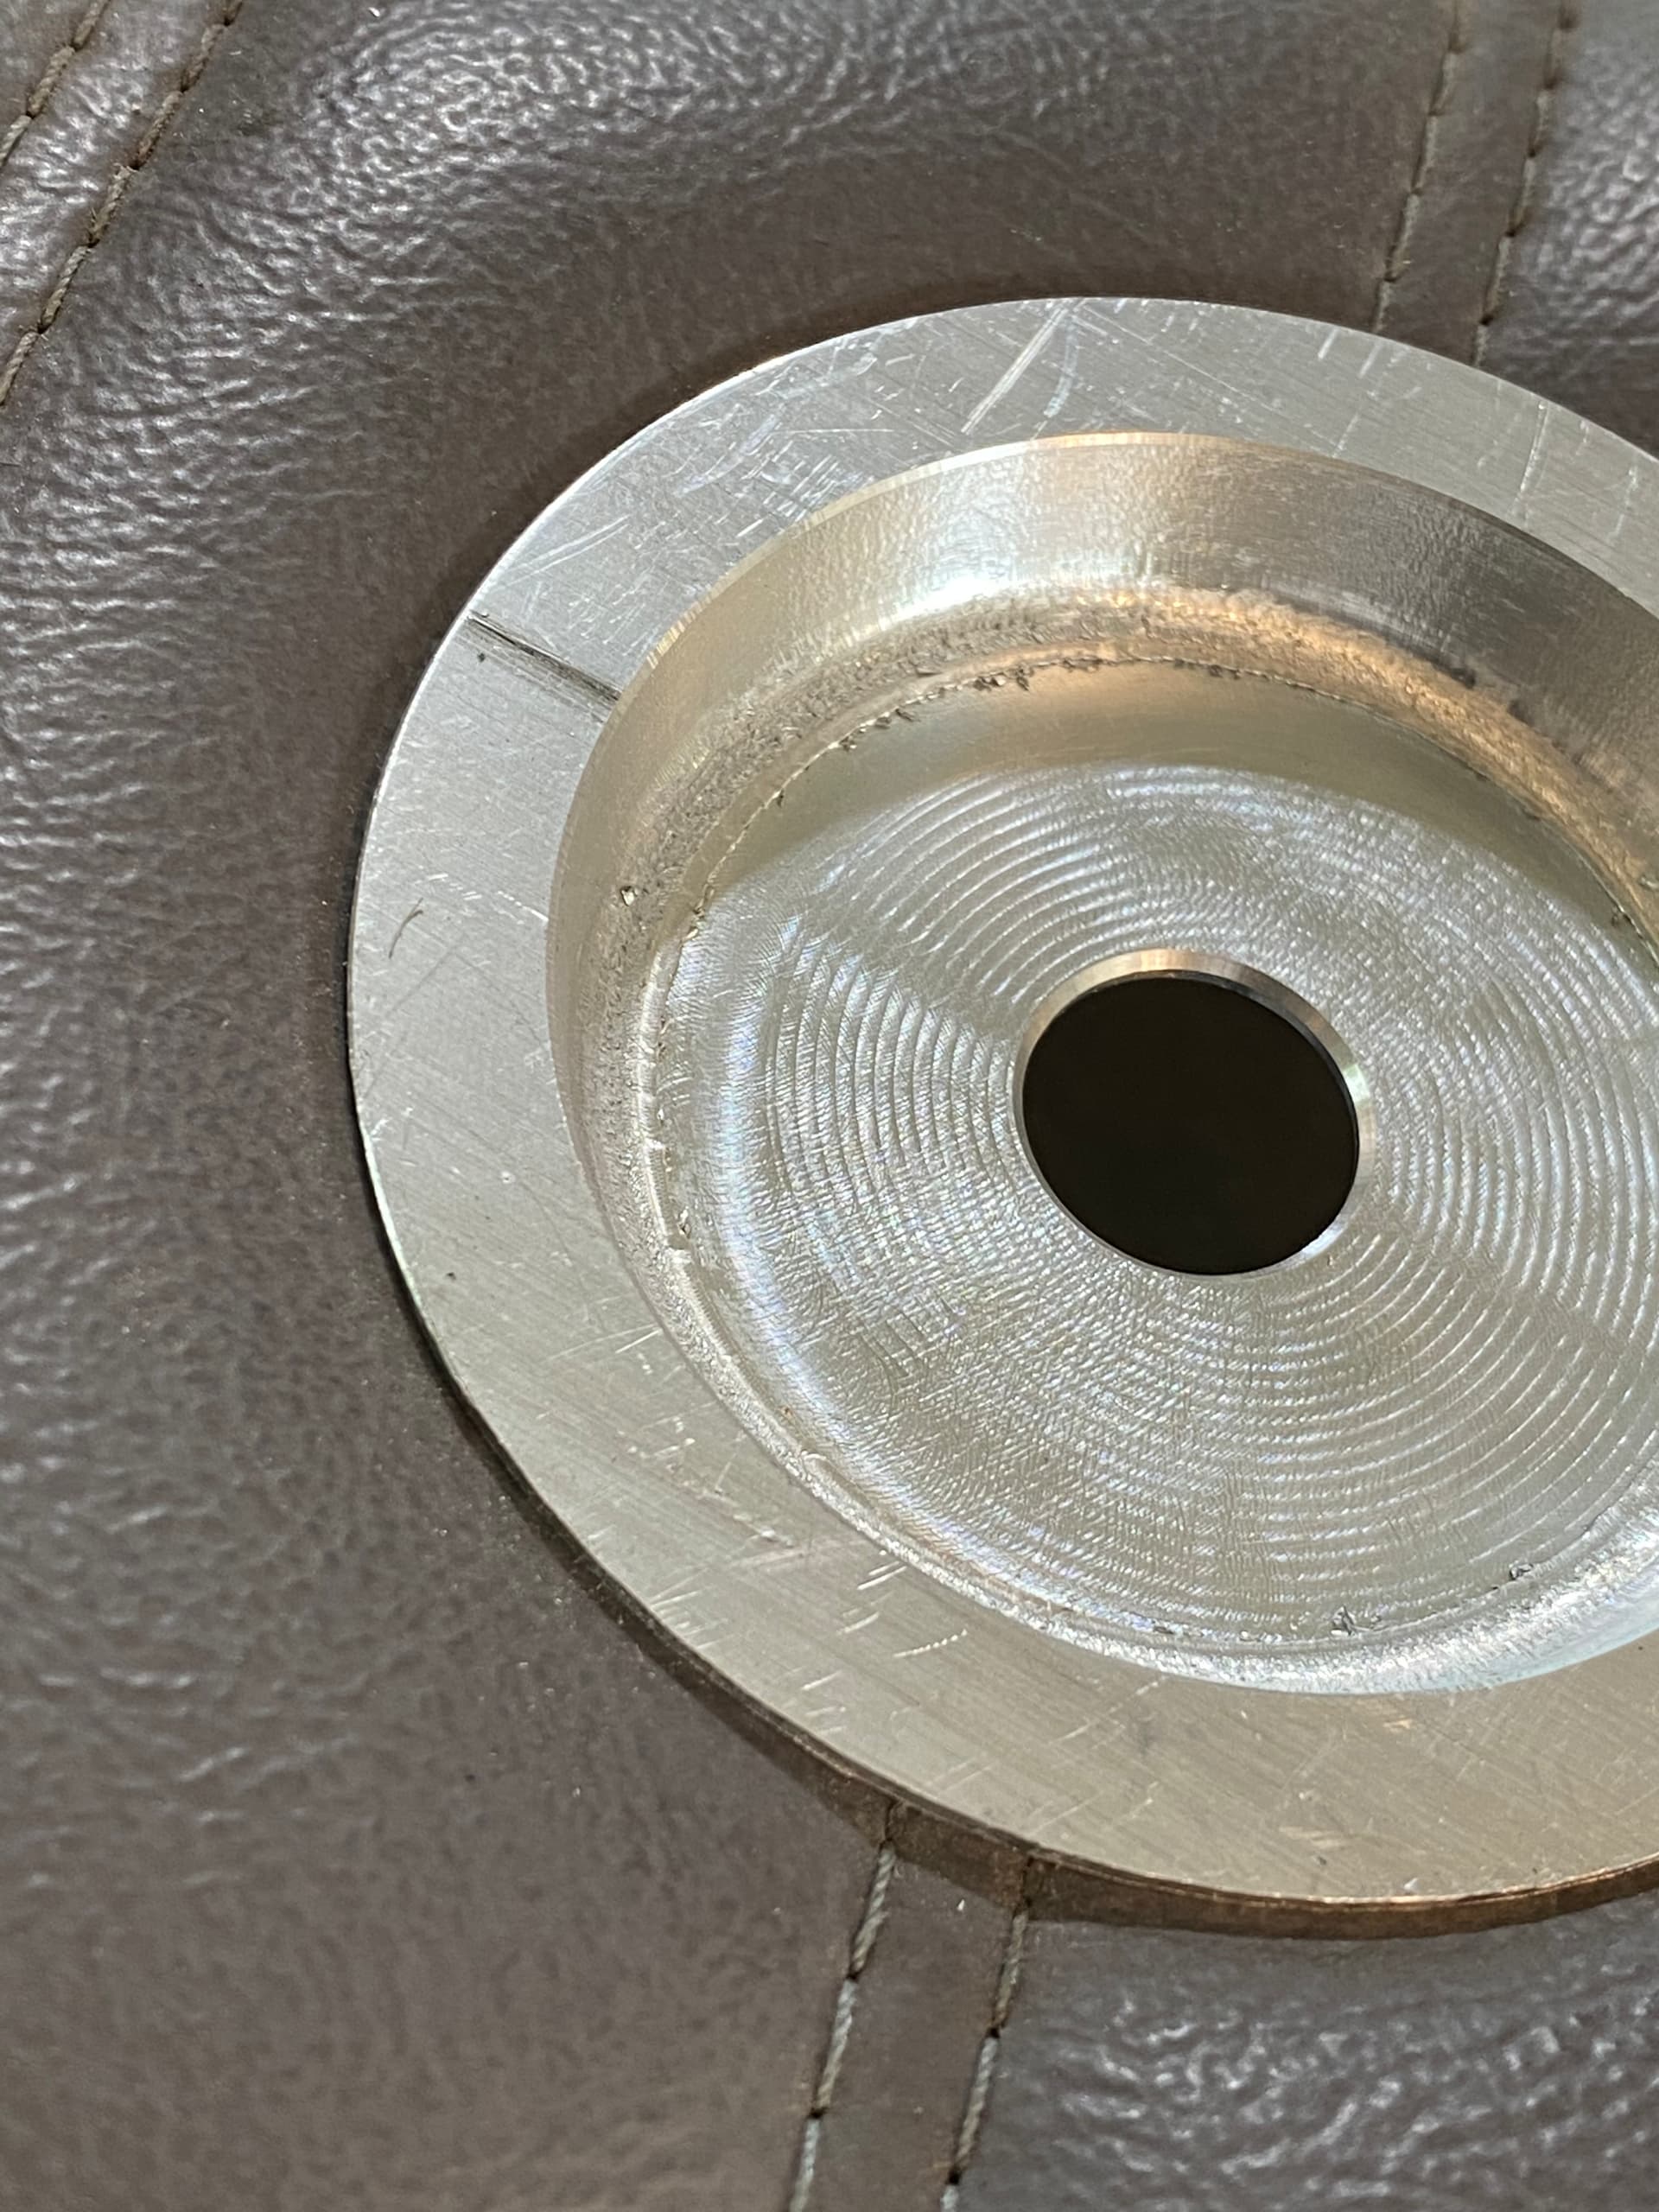
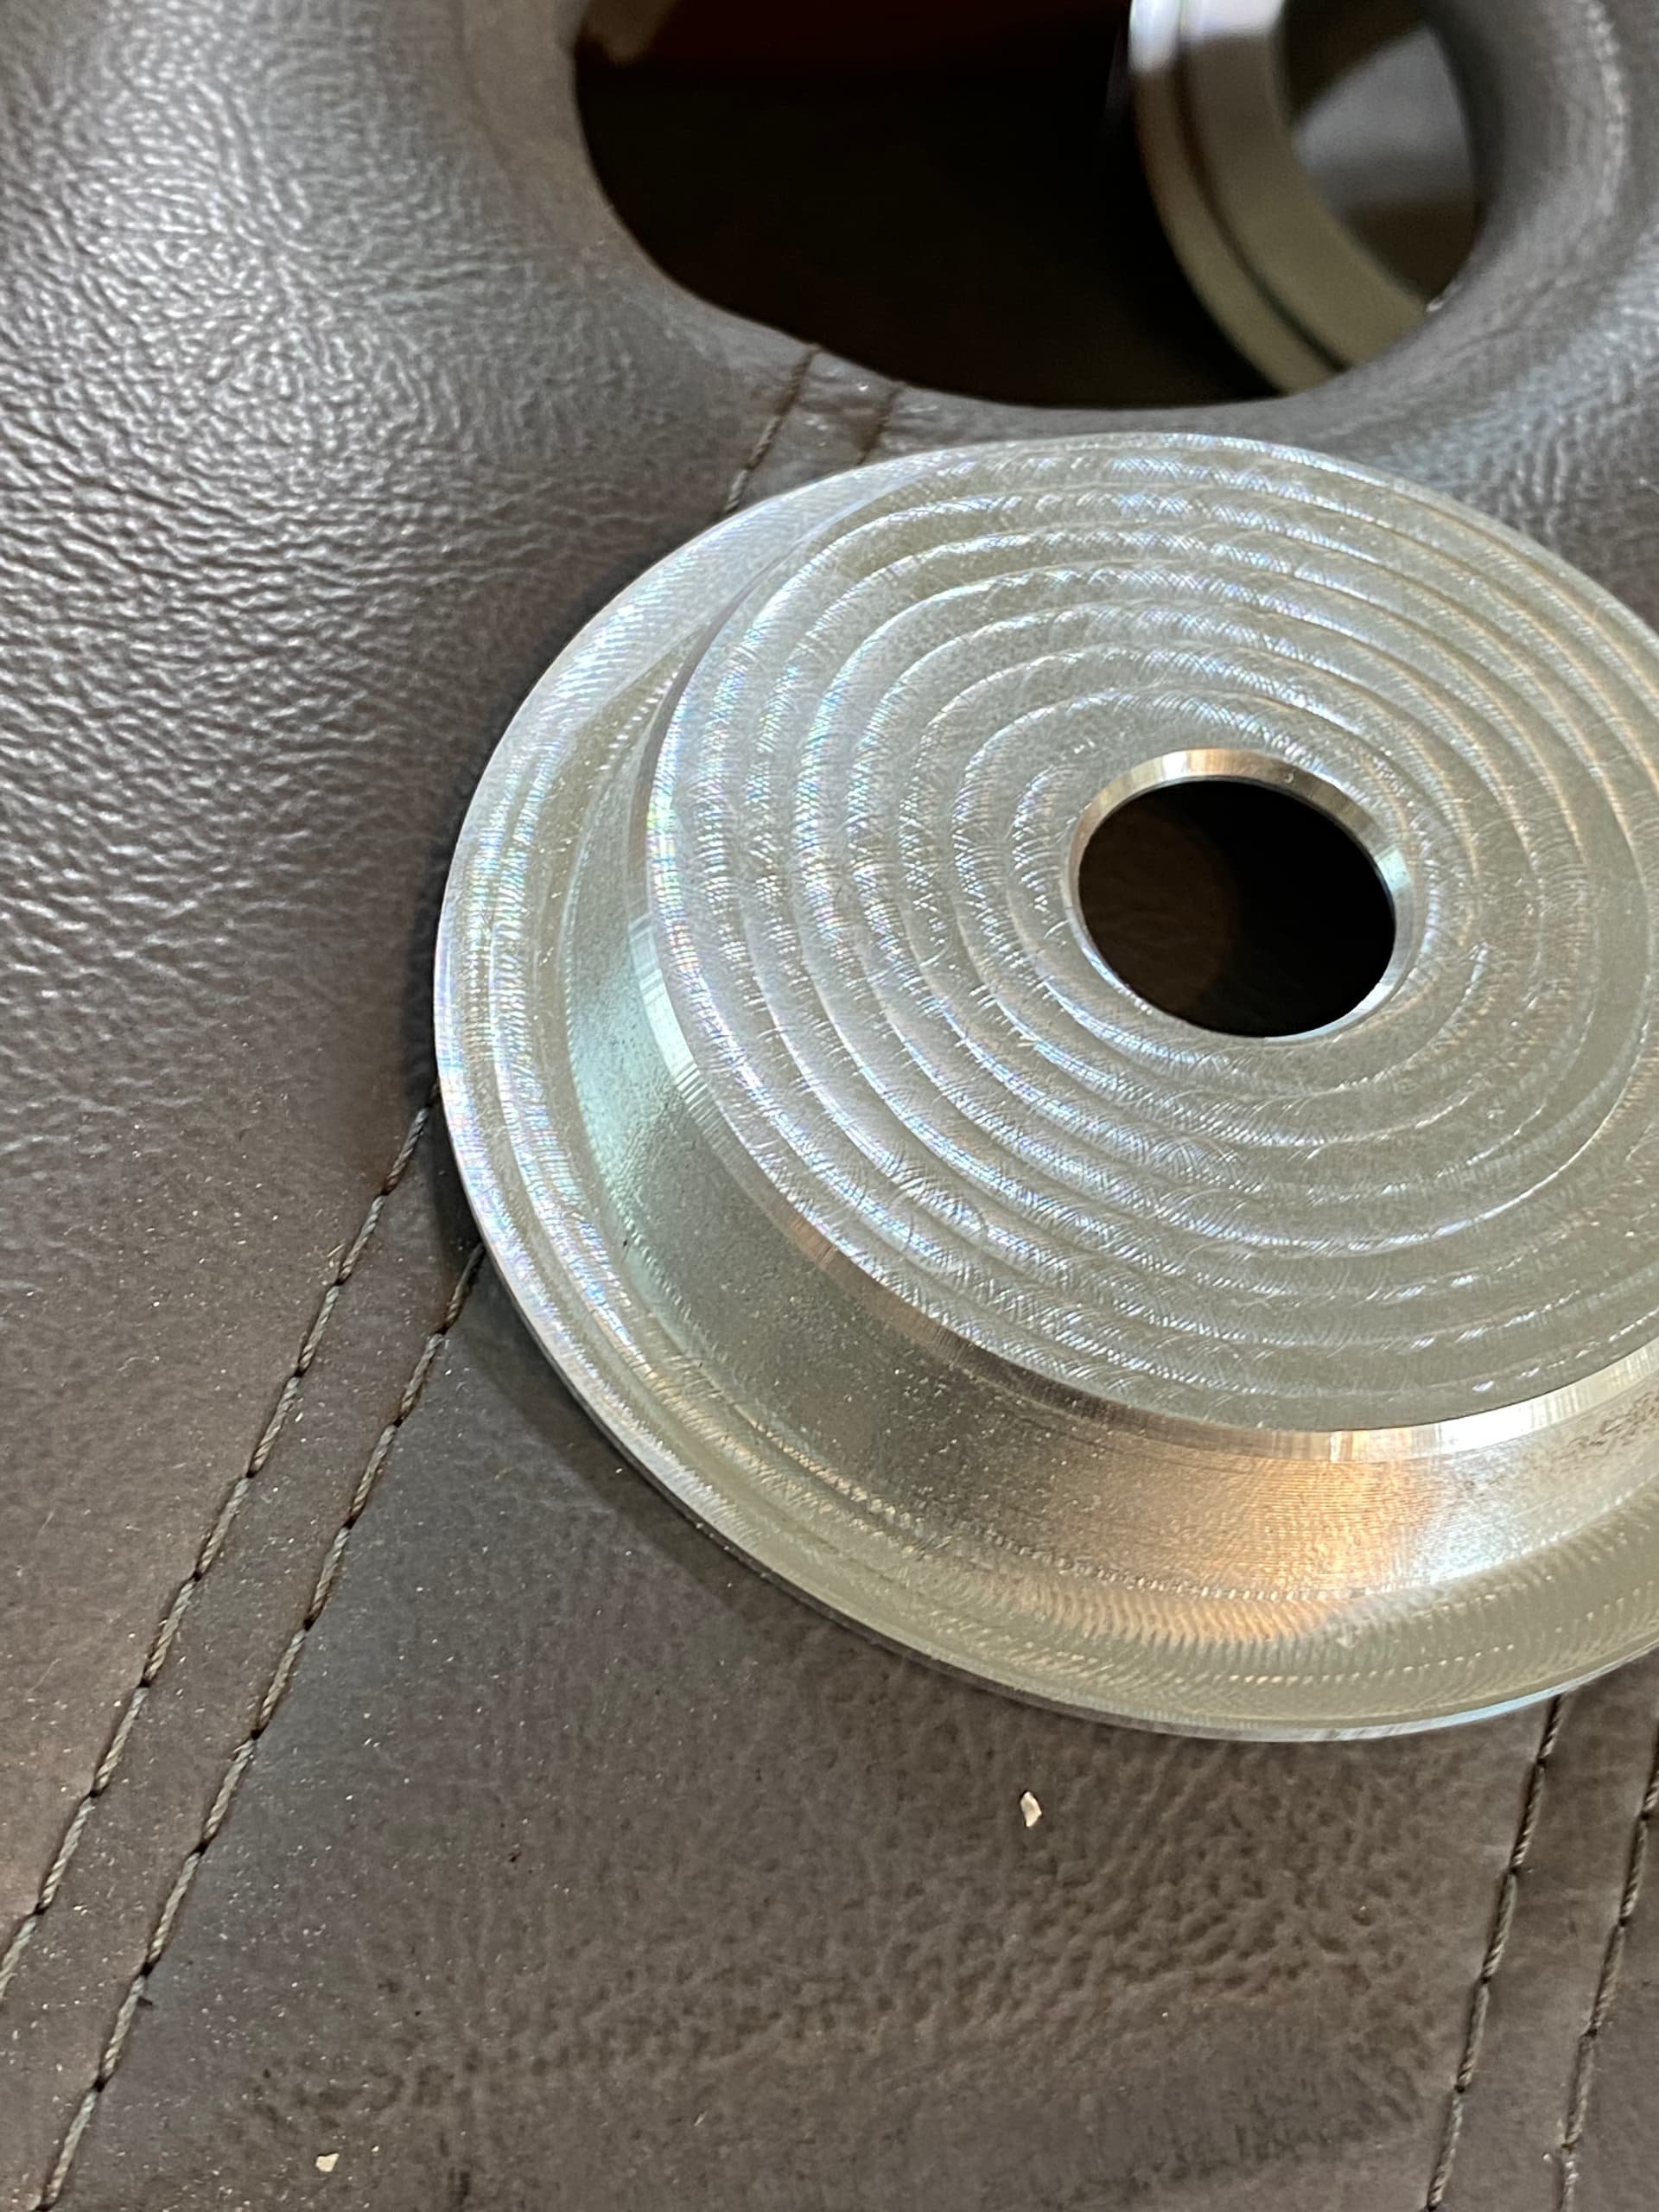
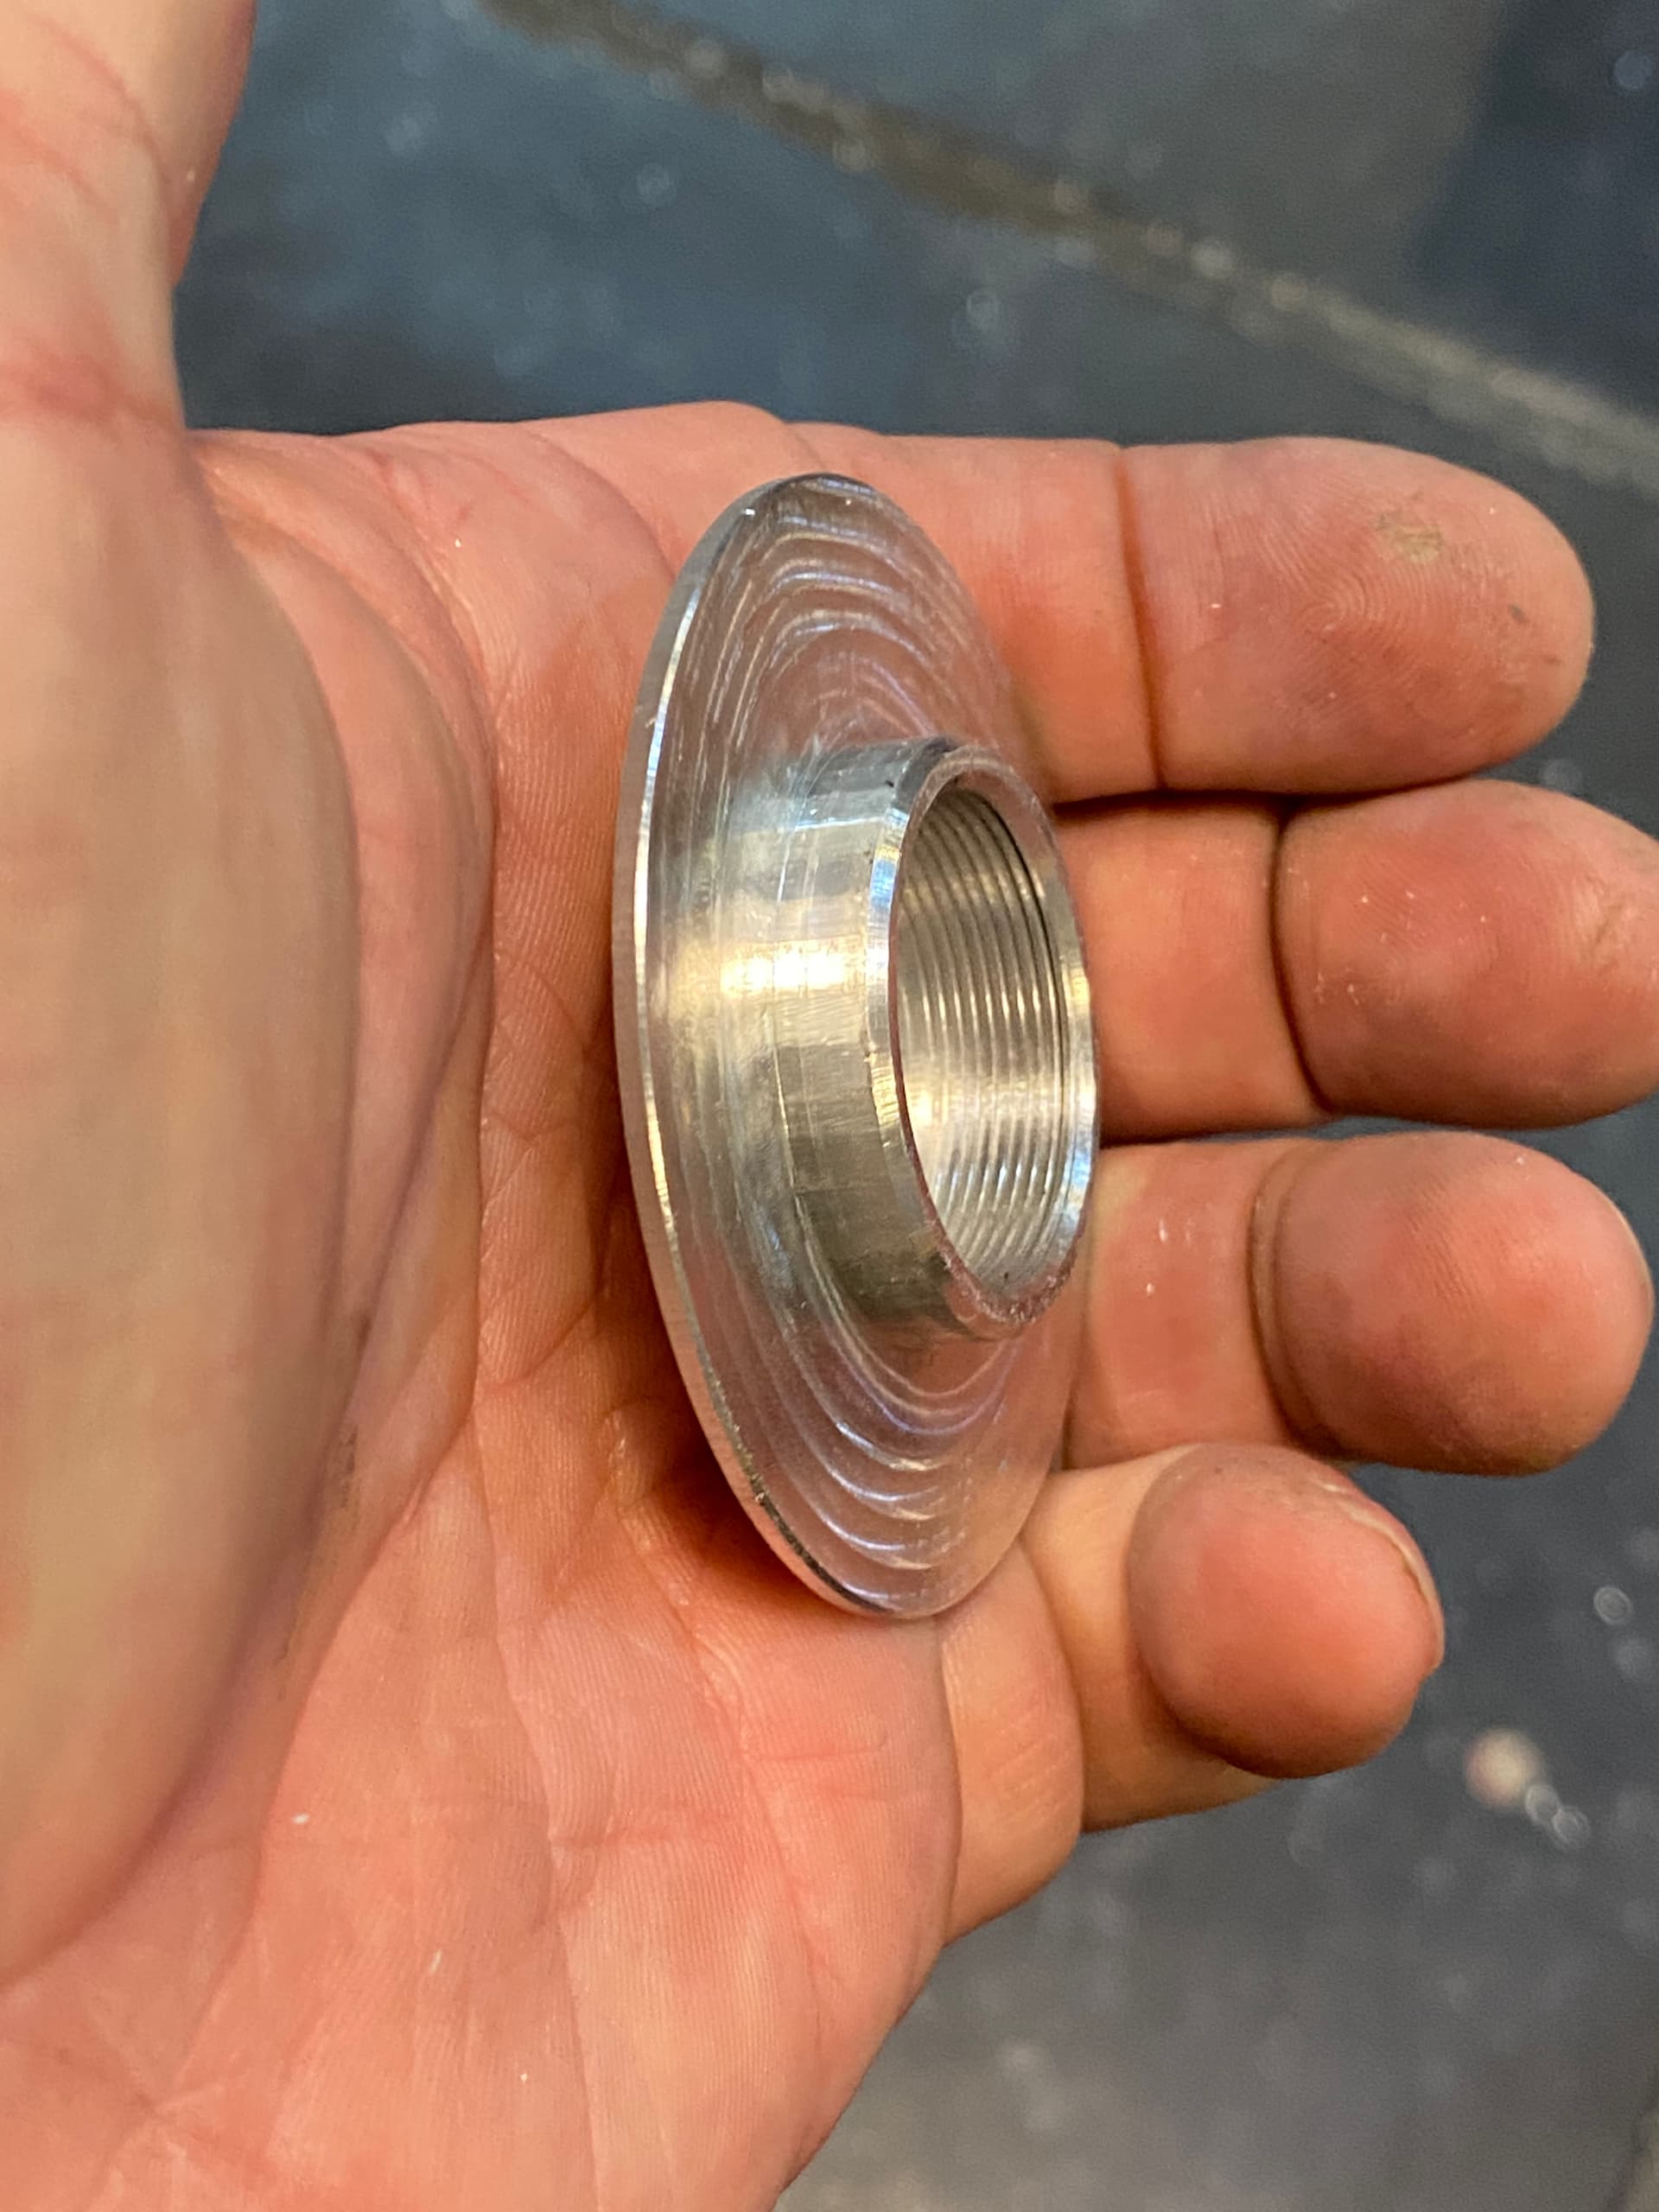
Today we did a quick custom key surround for a client, M28 thread using a thread mill, thin flipped part. With the Y’s back in alignment I’m a happy camper… cutting parts all day
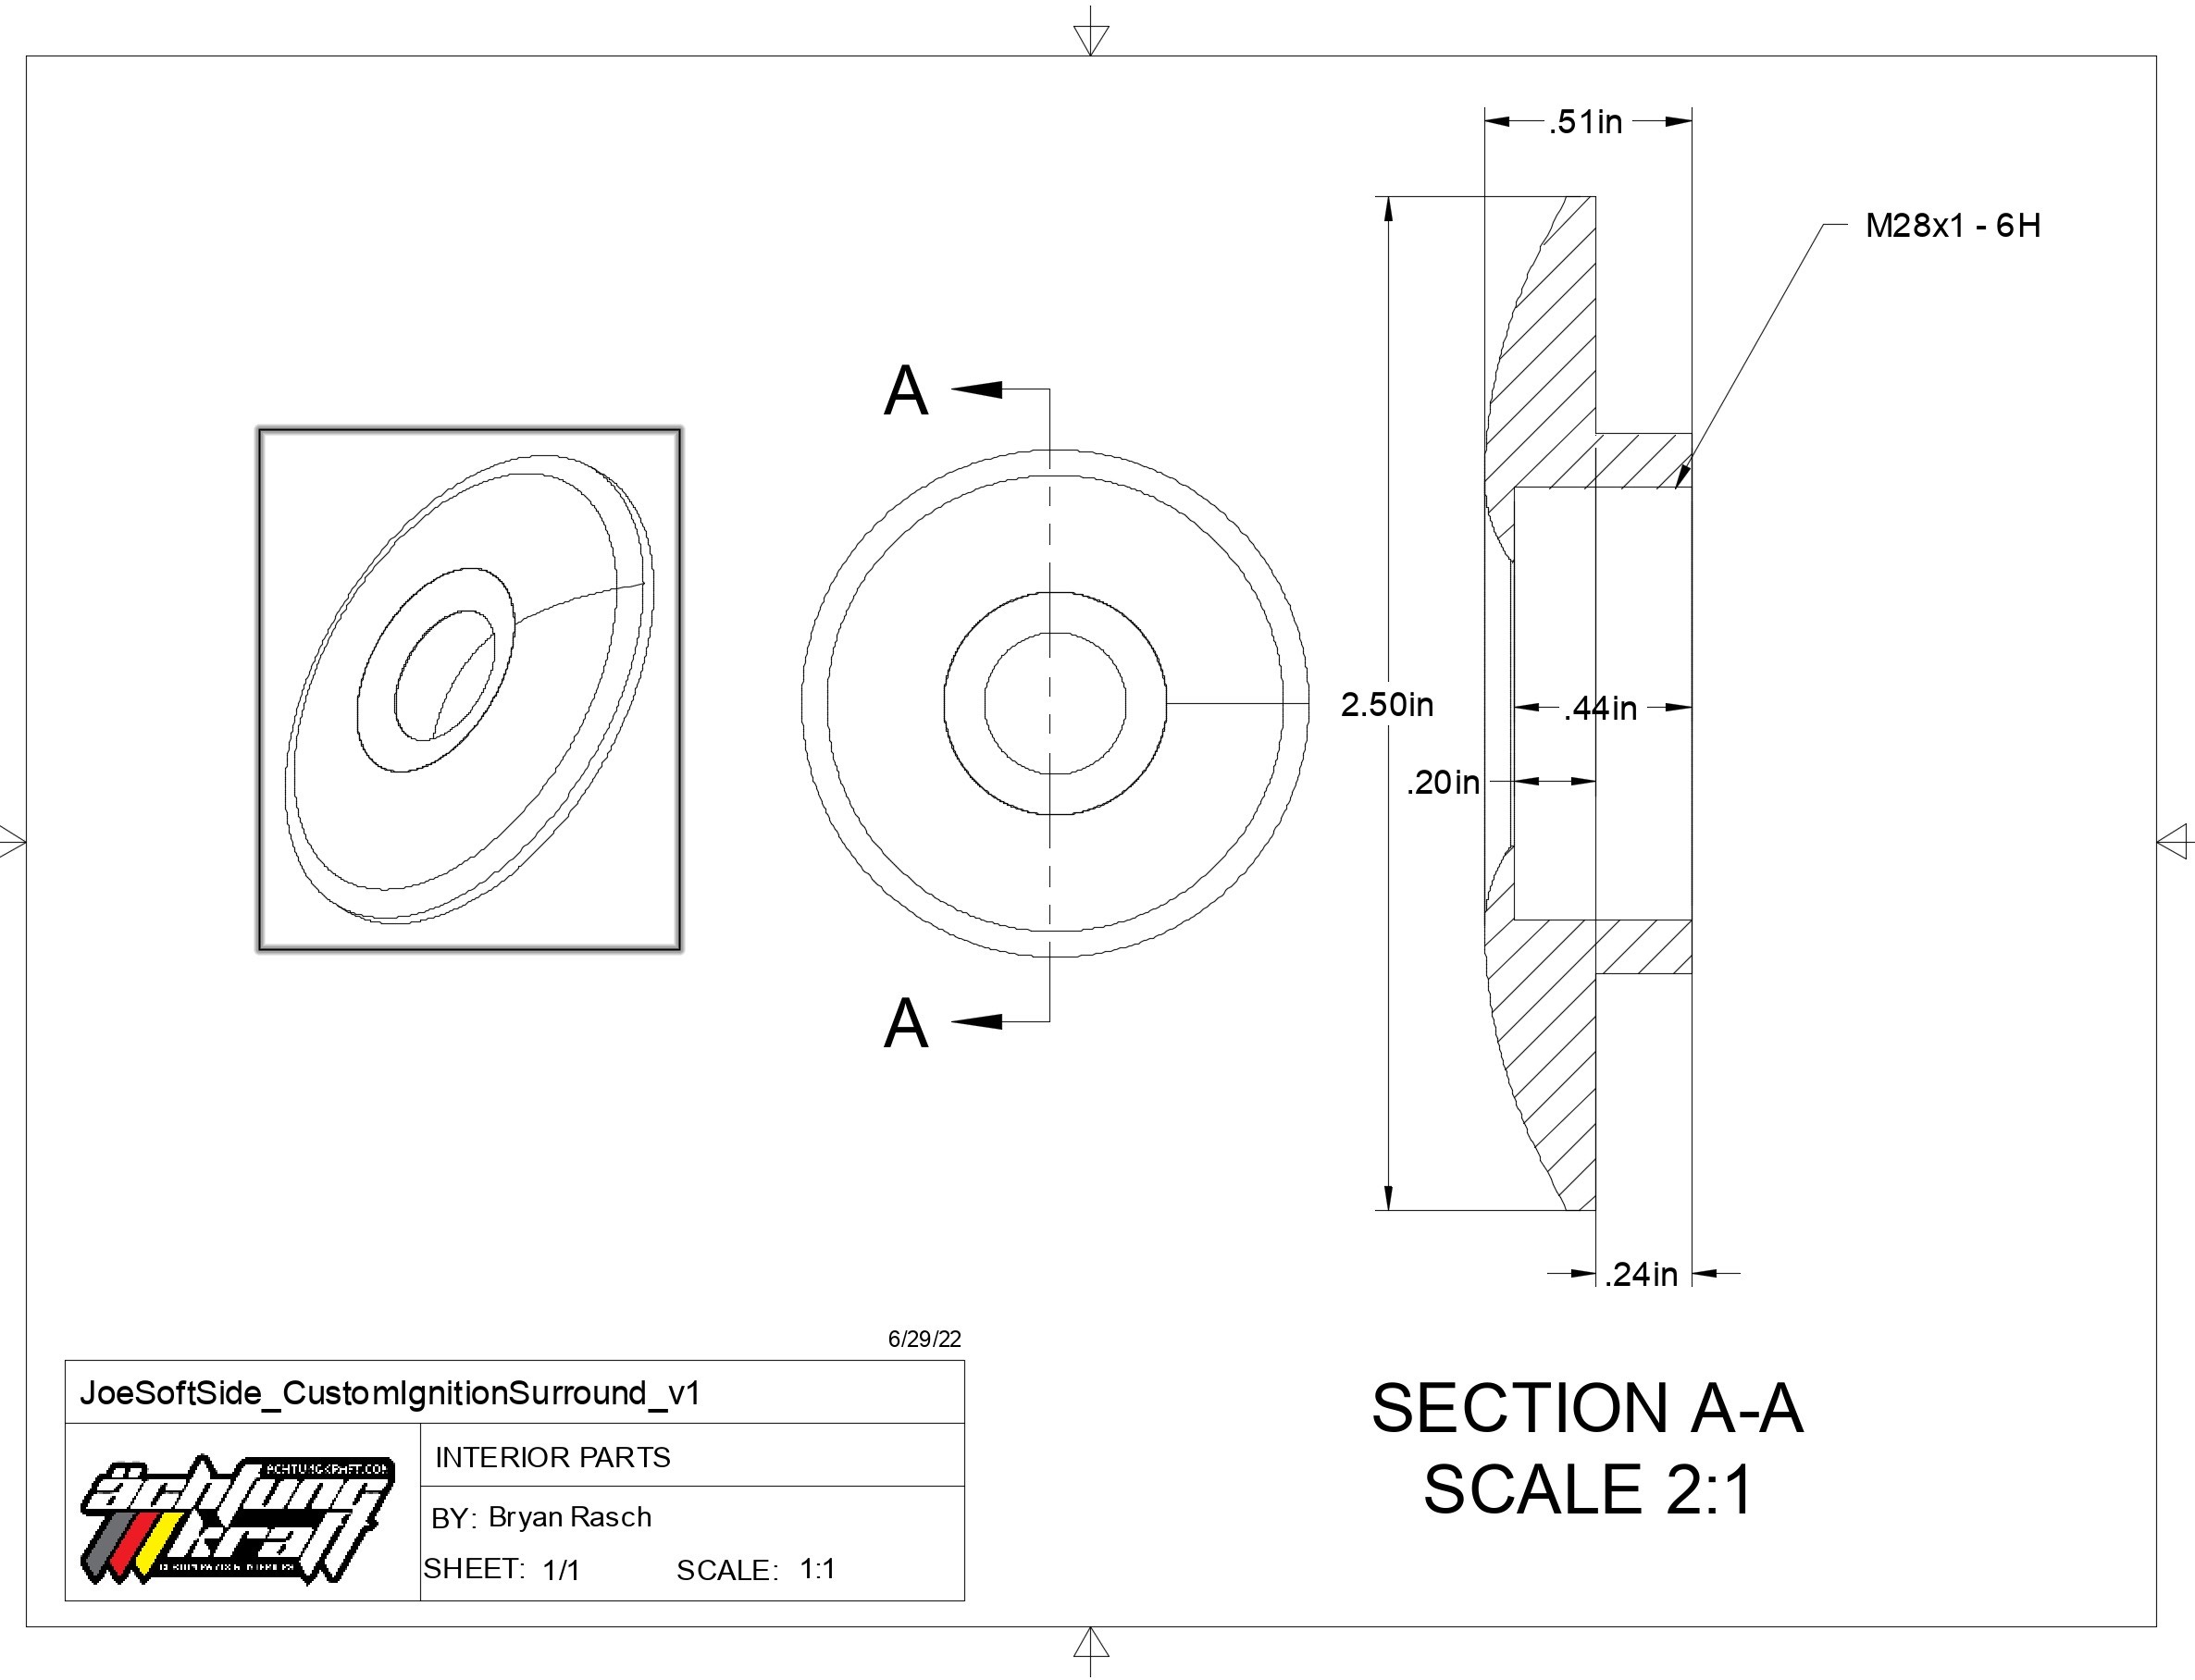
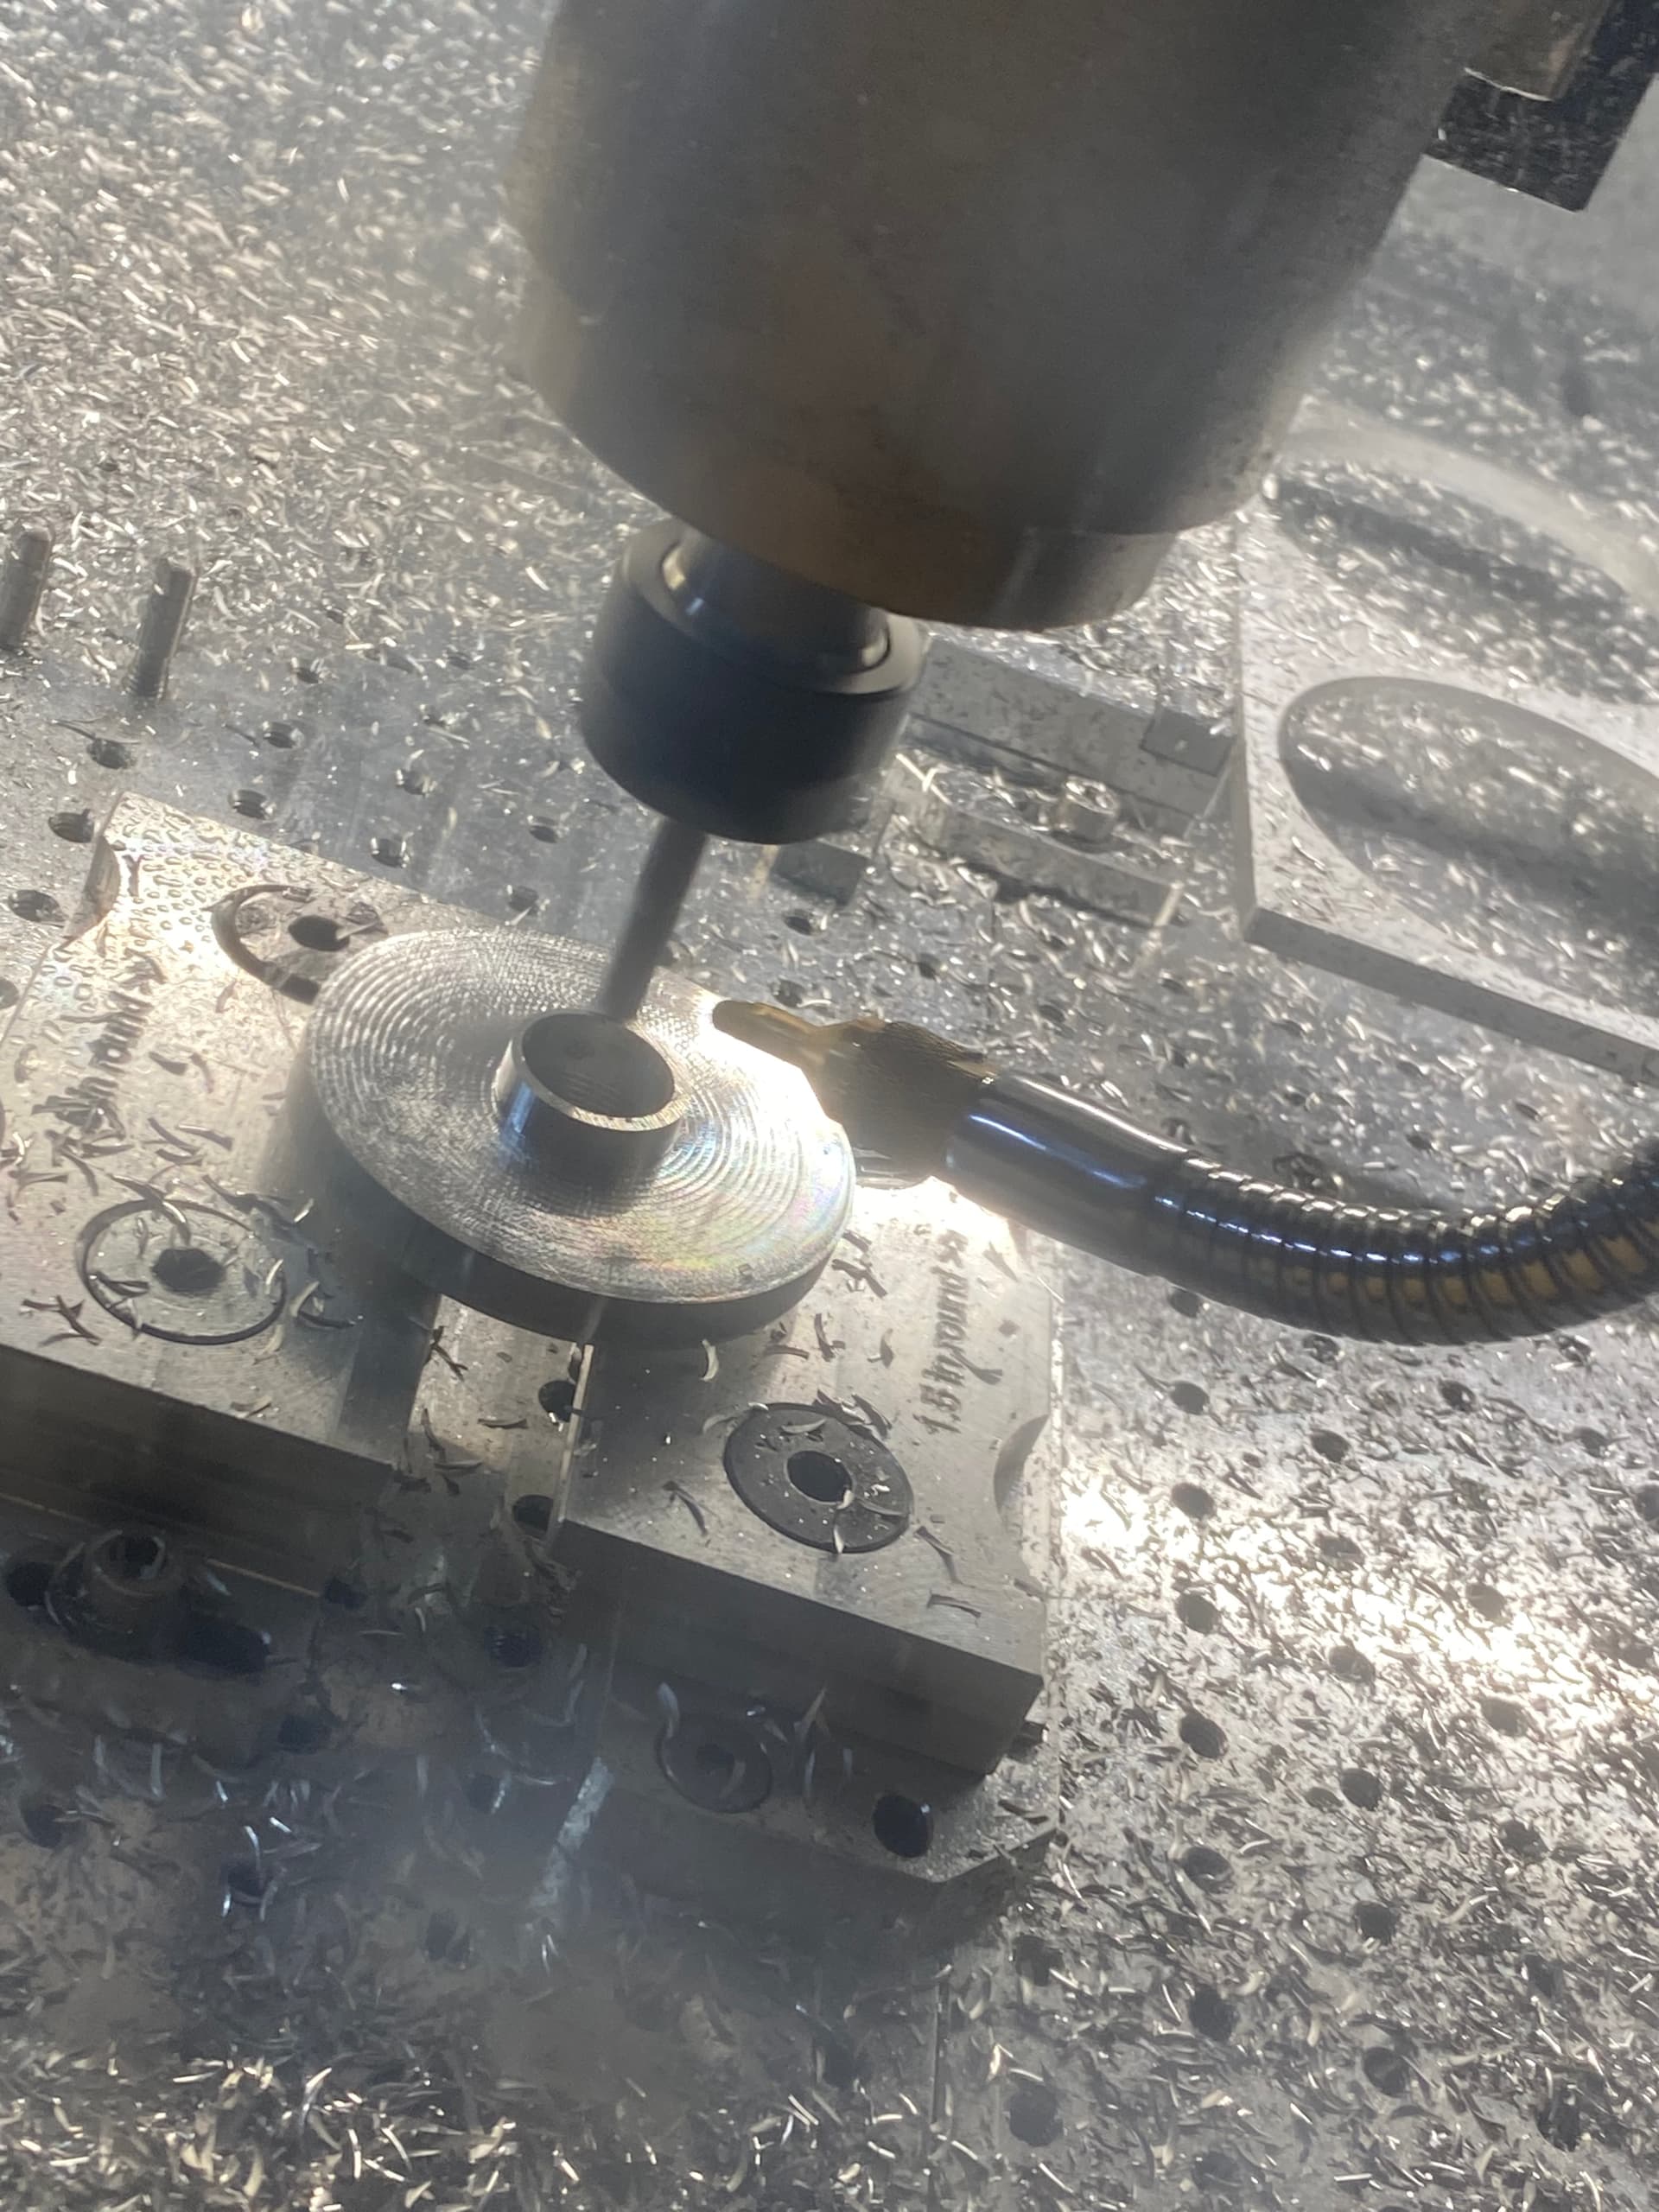

3 Likes
Test polish of the last part… with the edge probe abc the HDM repeatability I’m loving doing quick prototypes for clients now. Cut three new parts today and it just works.

5 Likes
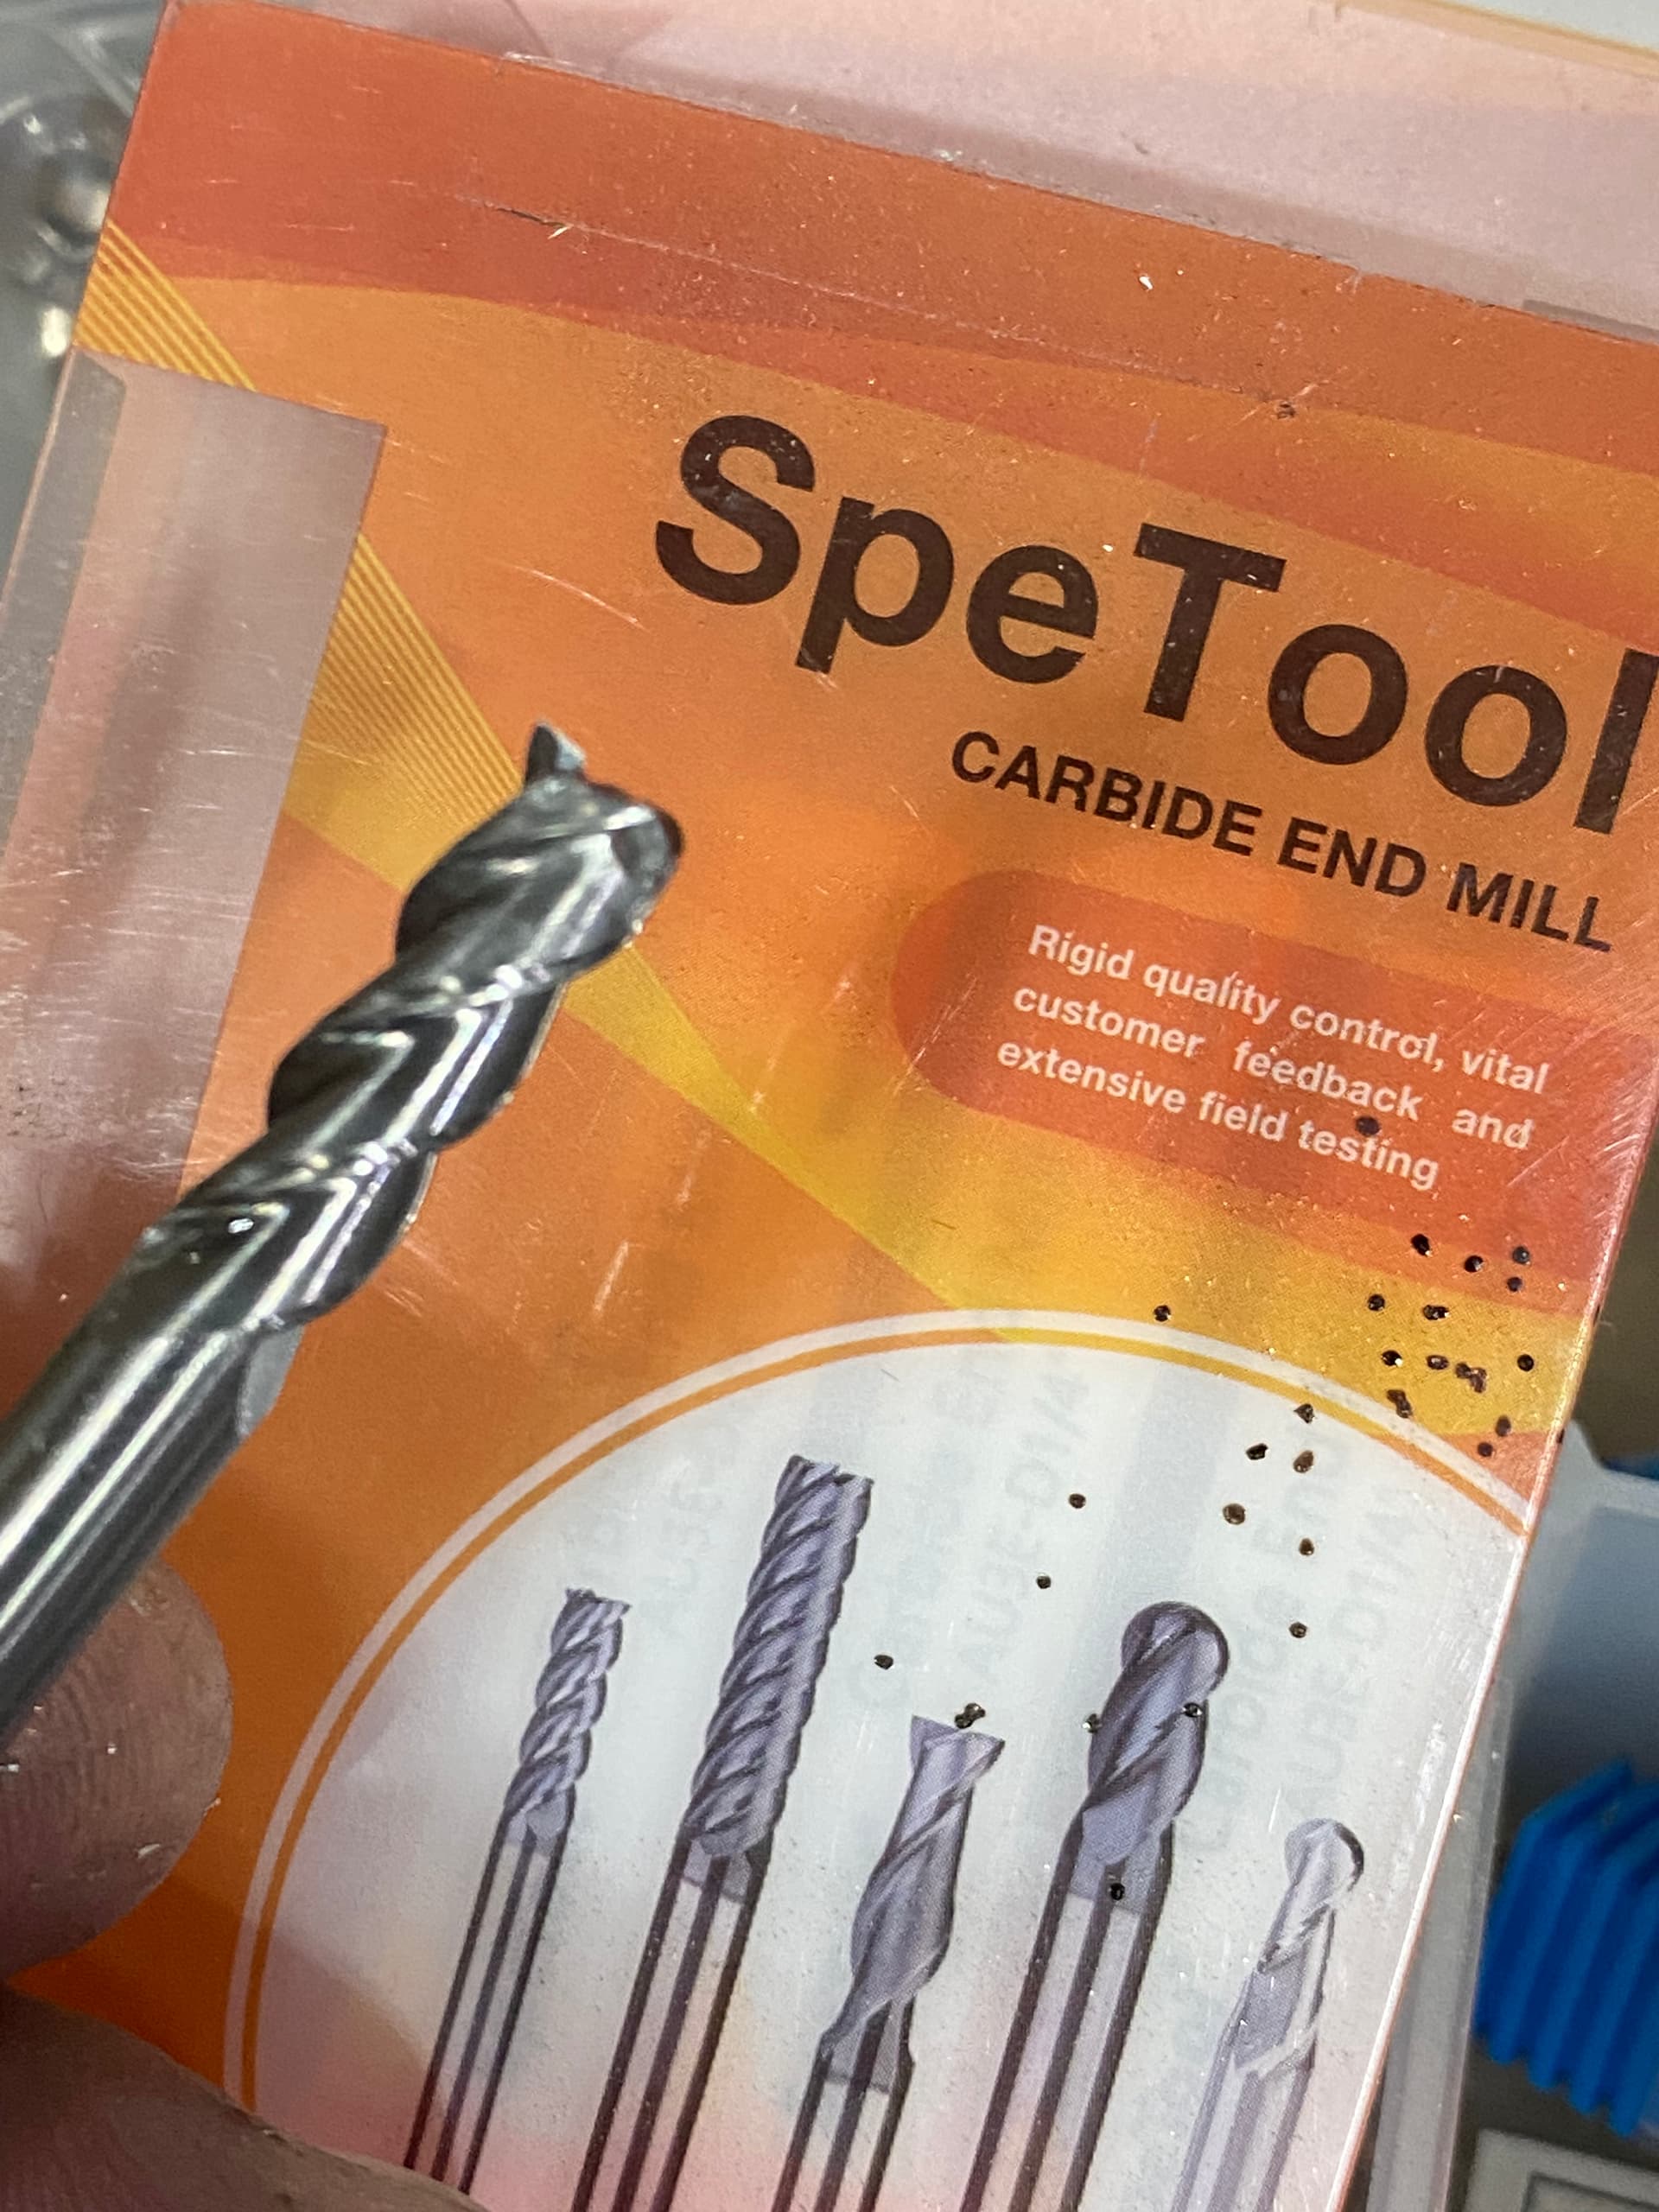
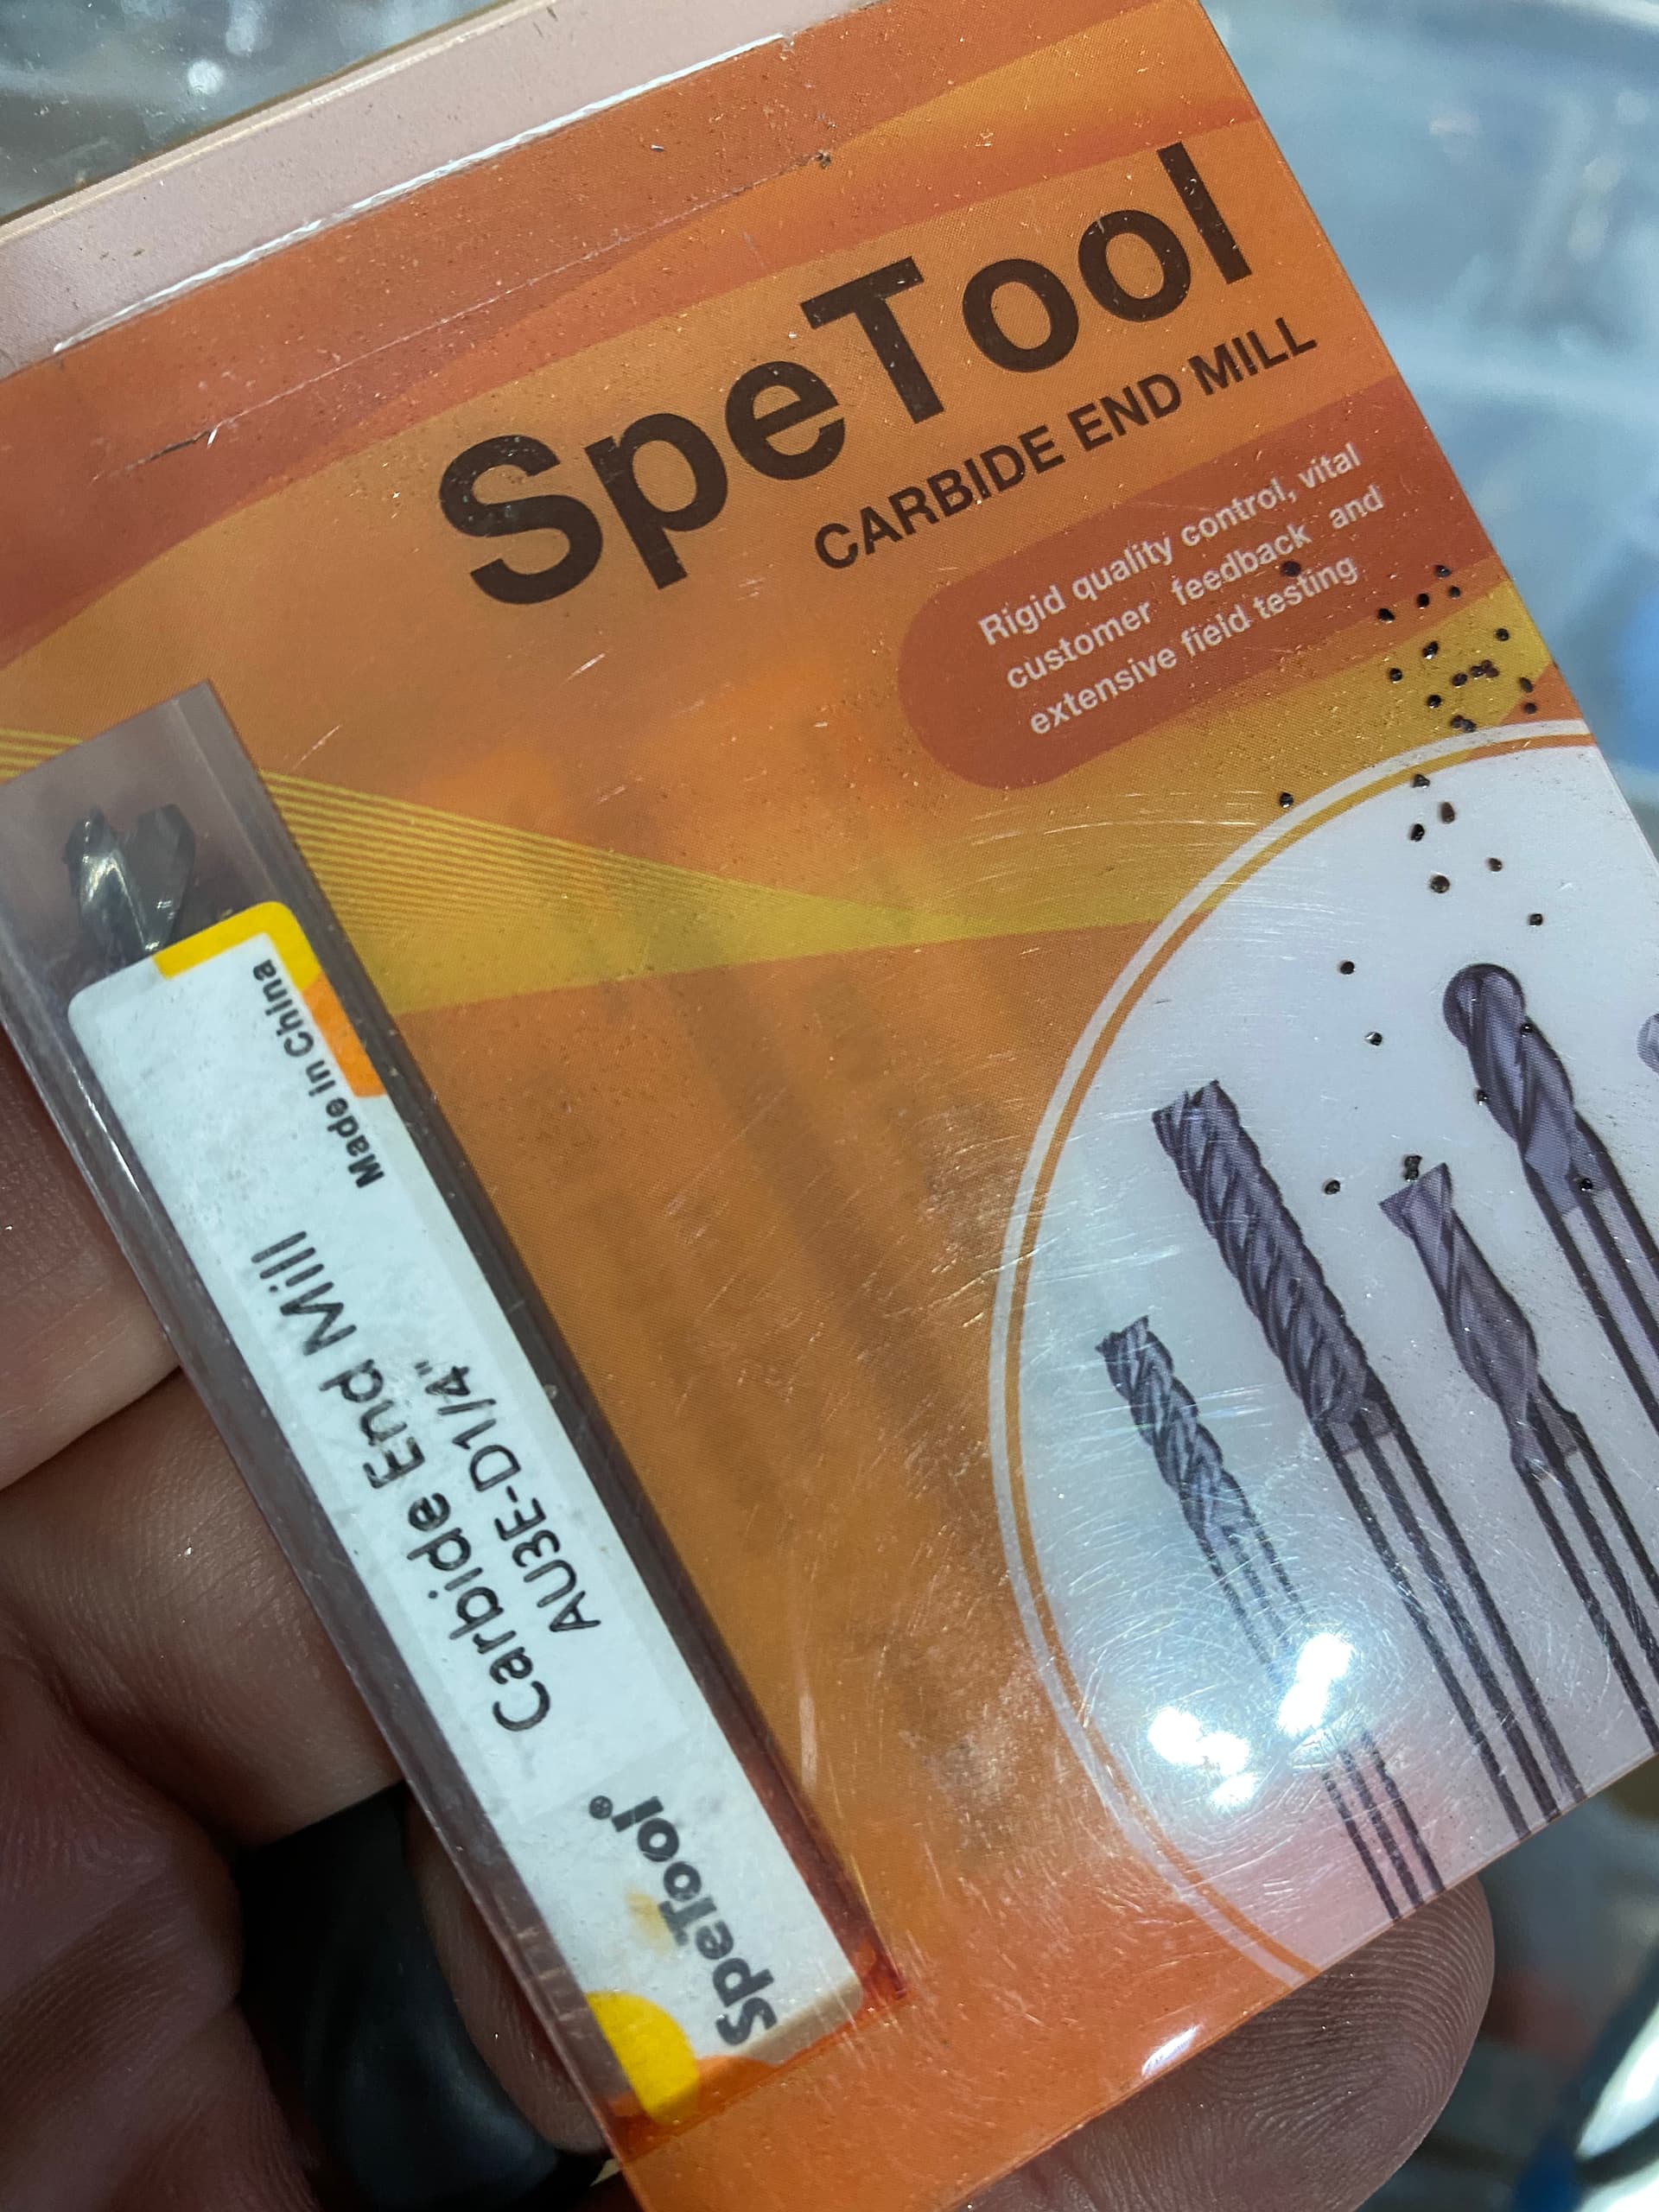
Oh and this bit is a great workhorse for the HDM and a .25” bit. I’ll post some details tomorrow, but it just keeps on cutting and gives great surface finish too
SpeTool 1/4 End Mill for Aluminum… https://www.amazon.com/dp/B07ZGJMR13?ref=ppx_pop_mob_ap_share
3 Likes
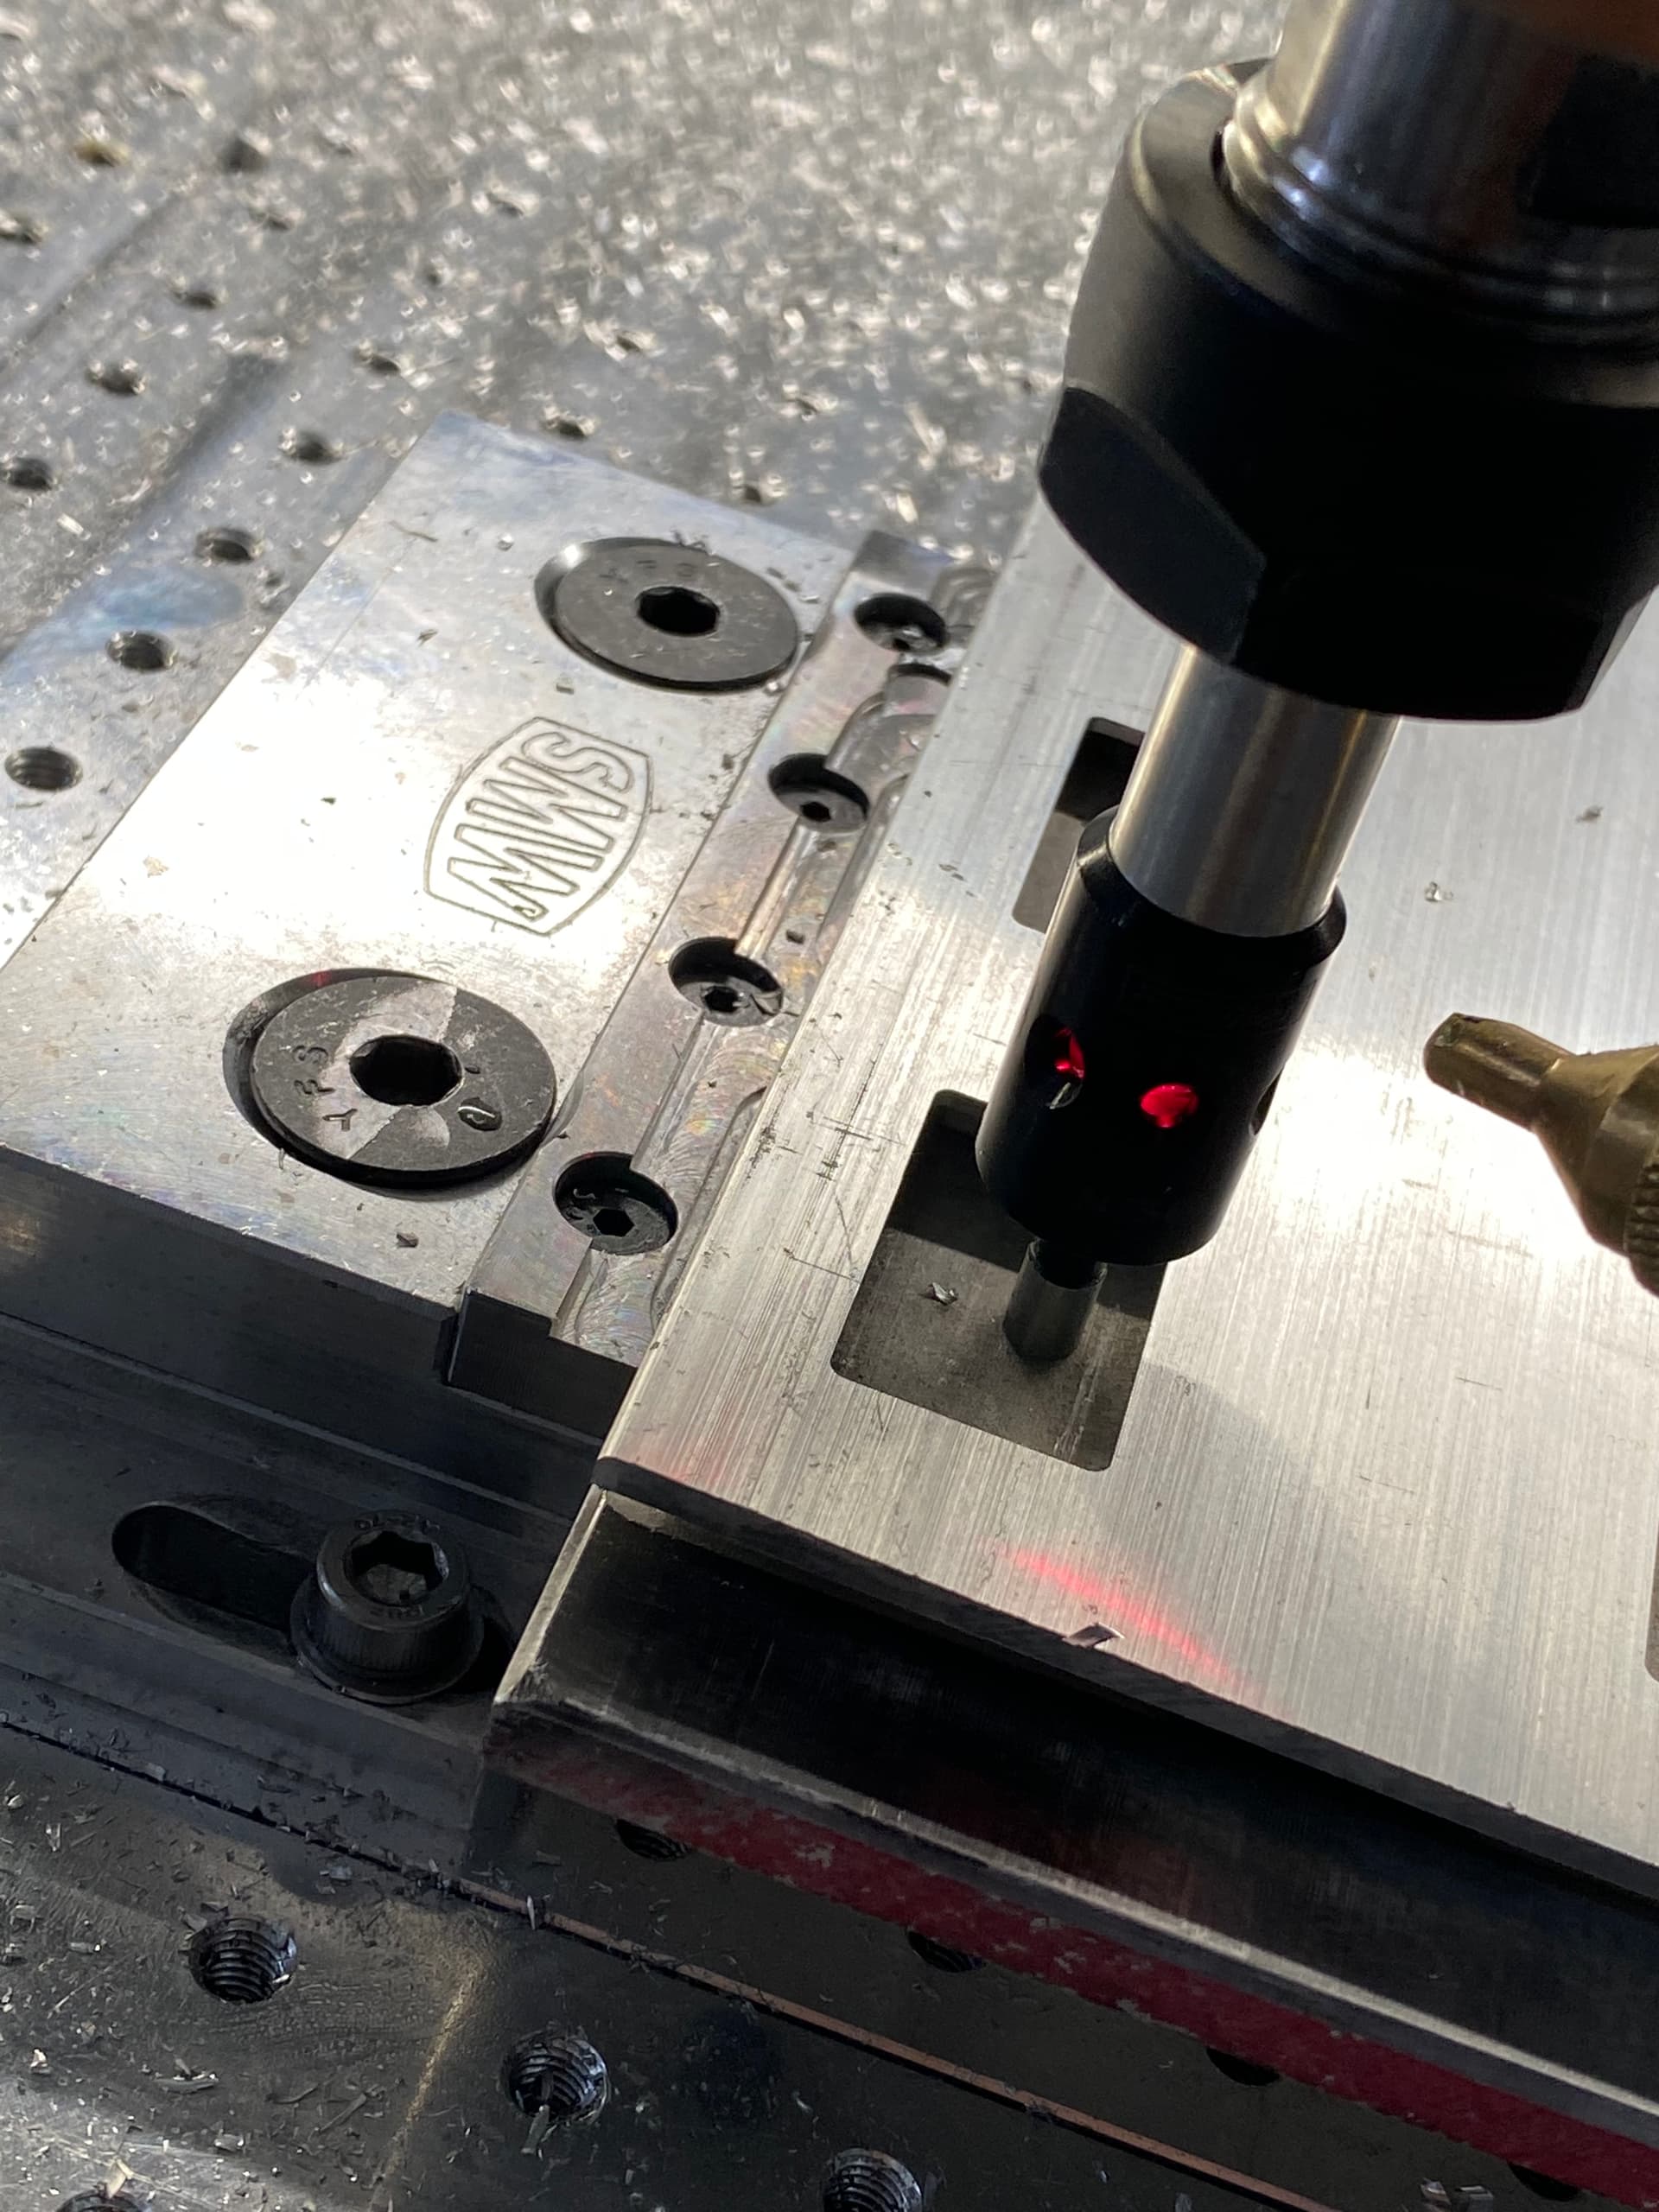
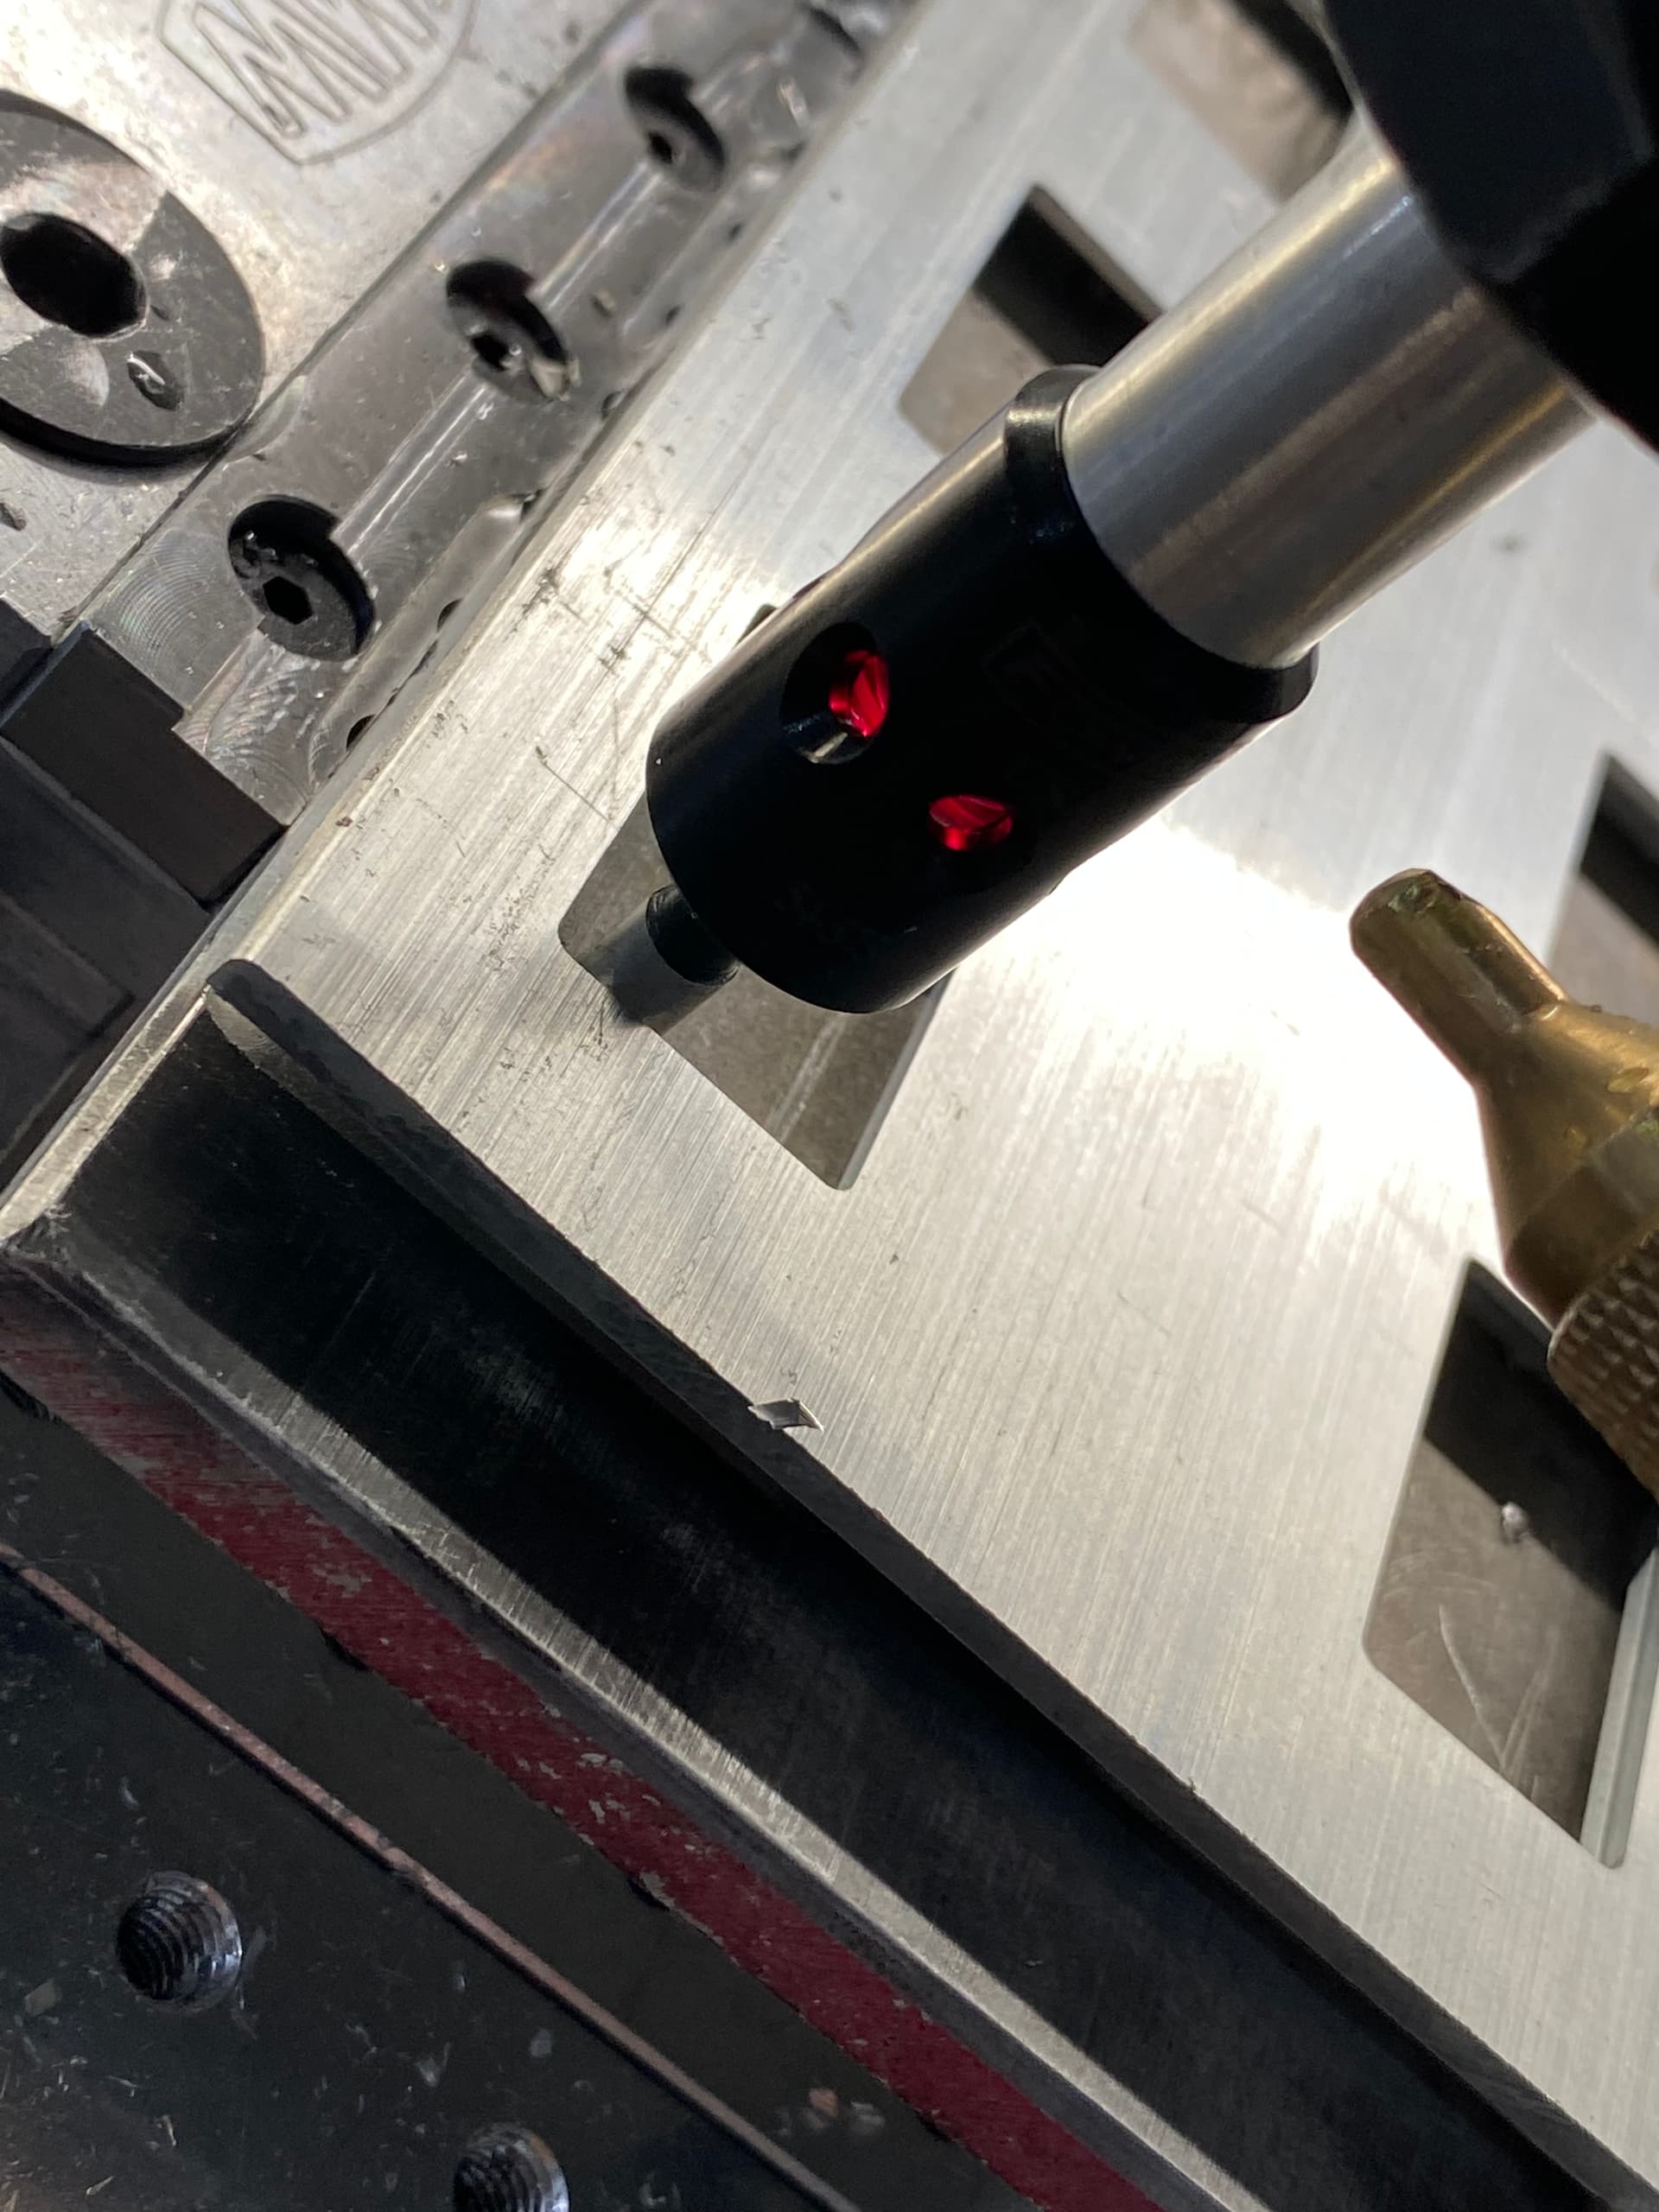
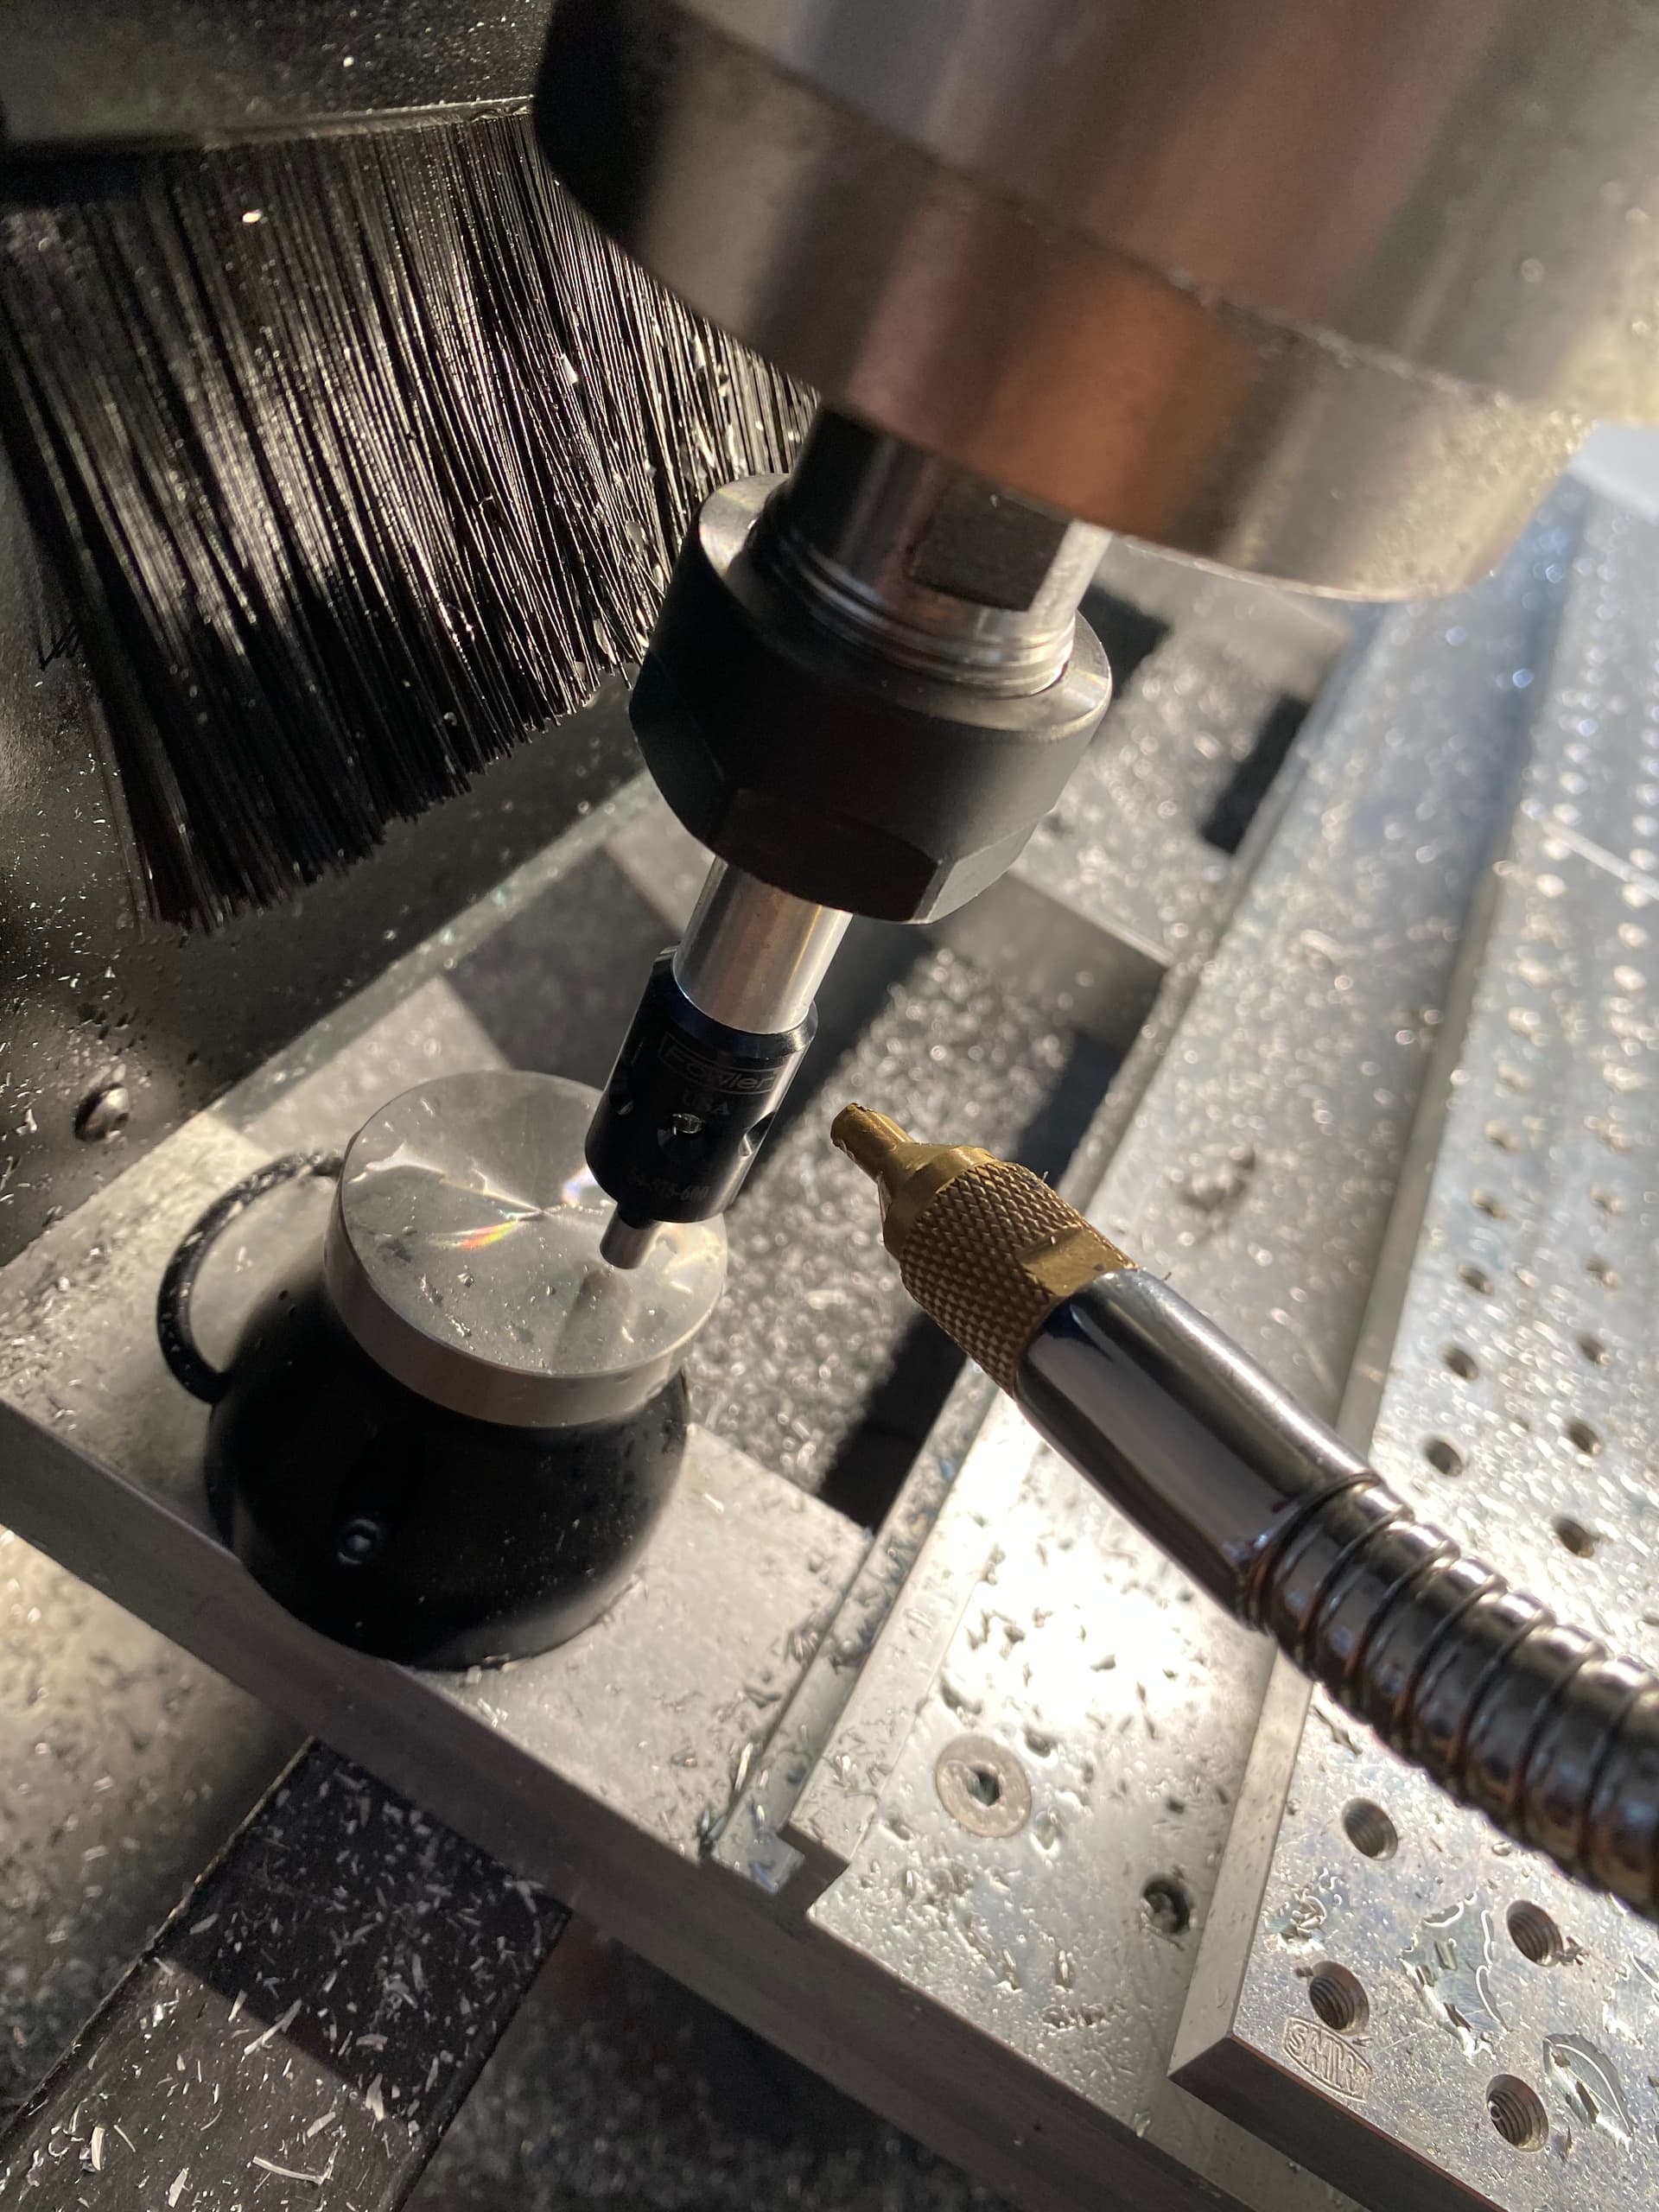
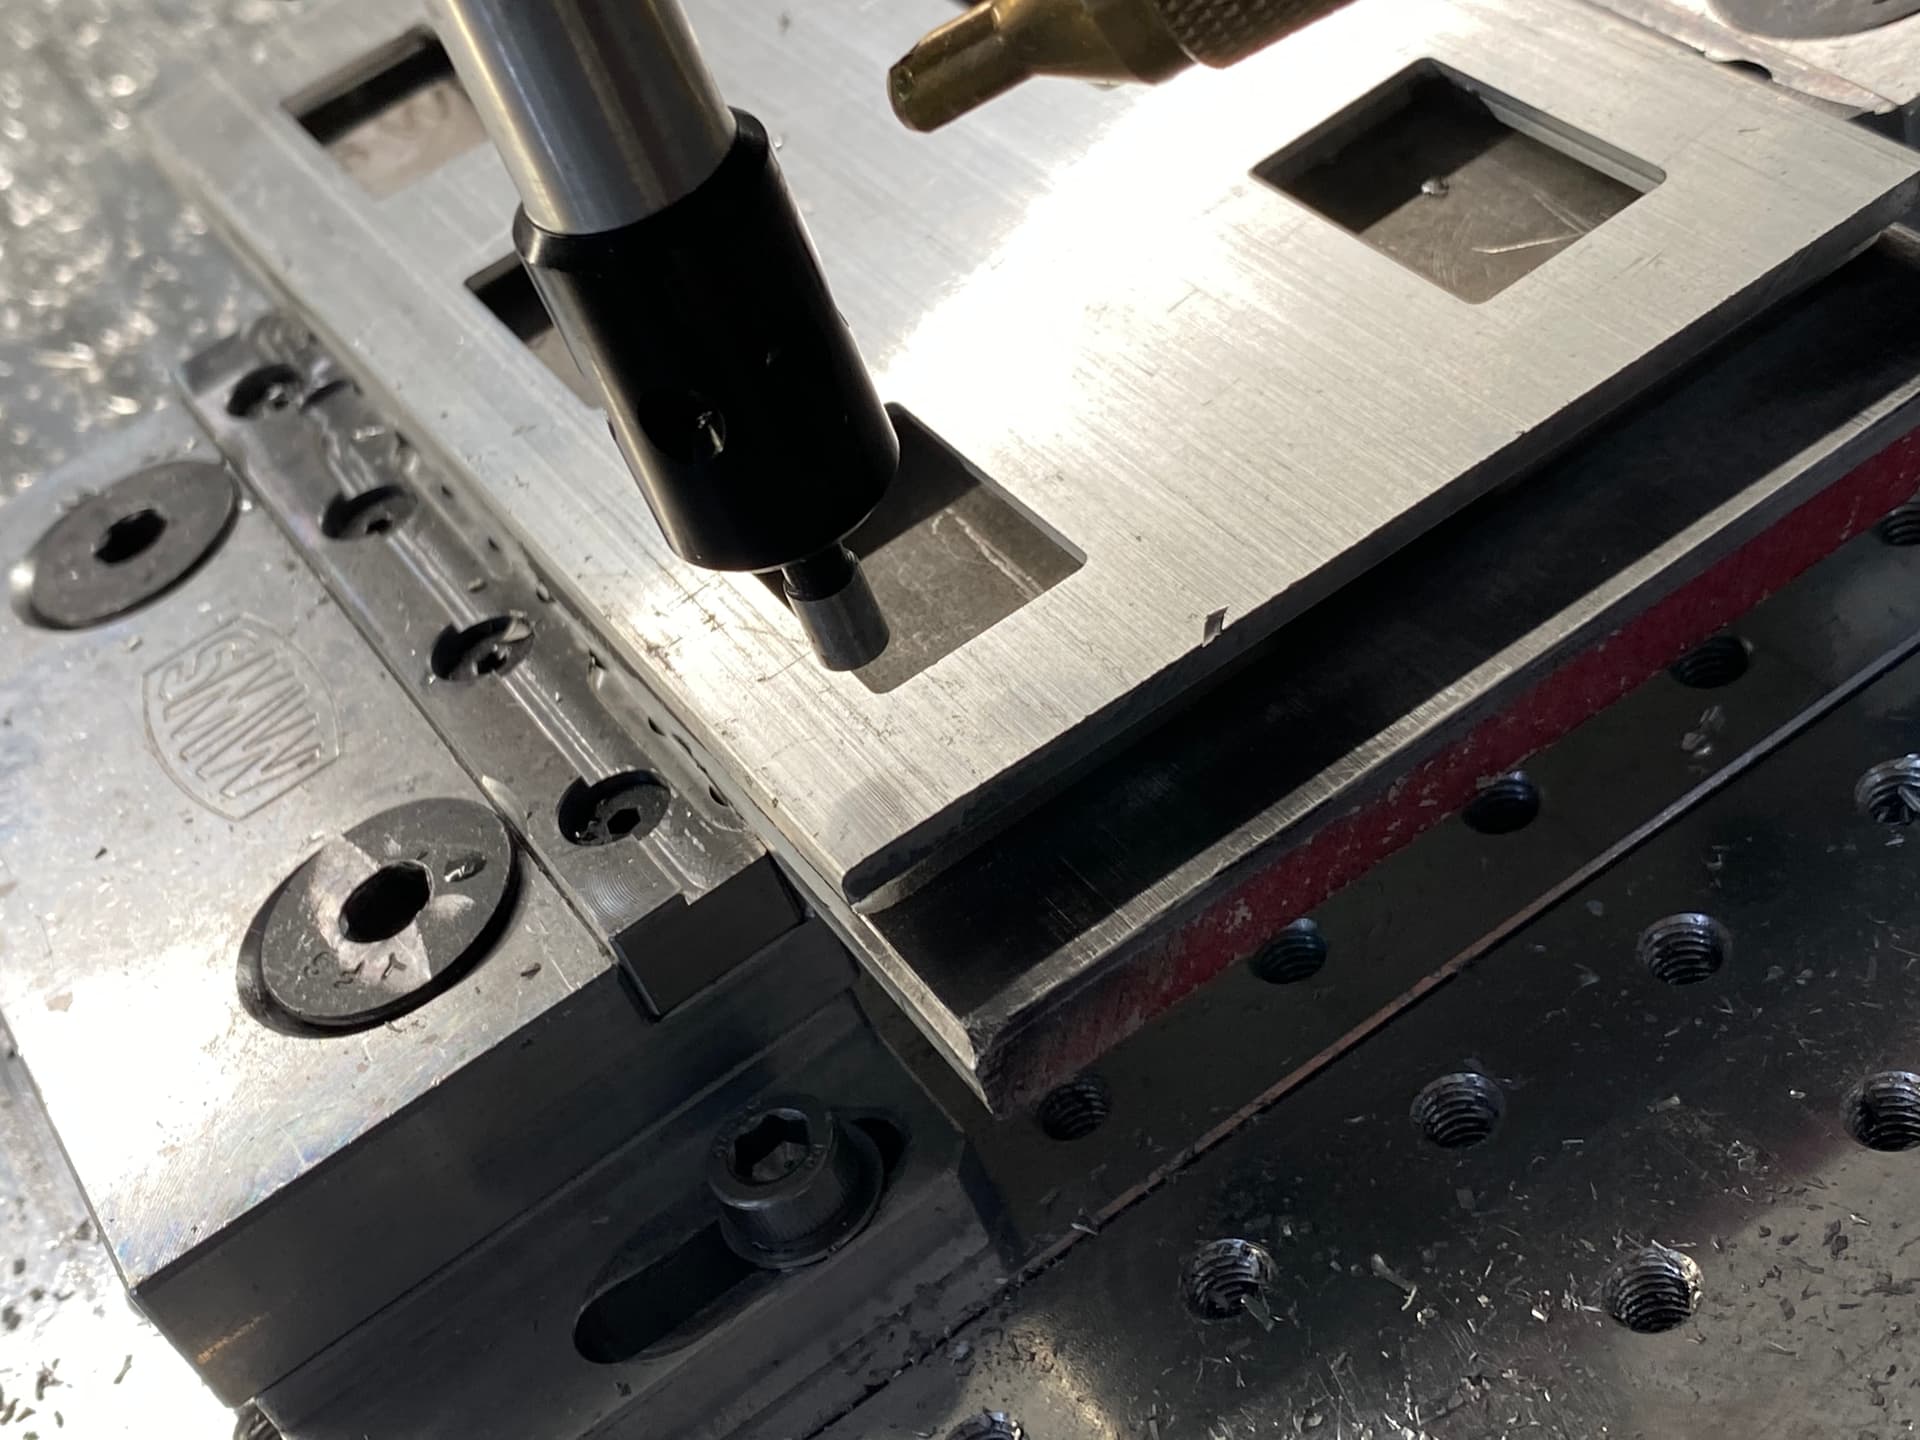
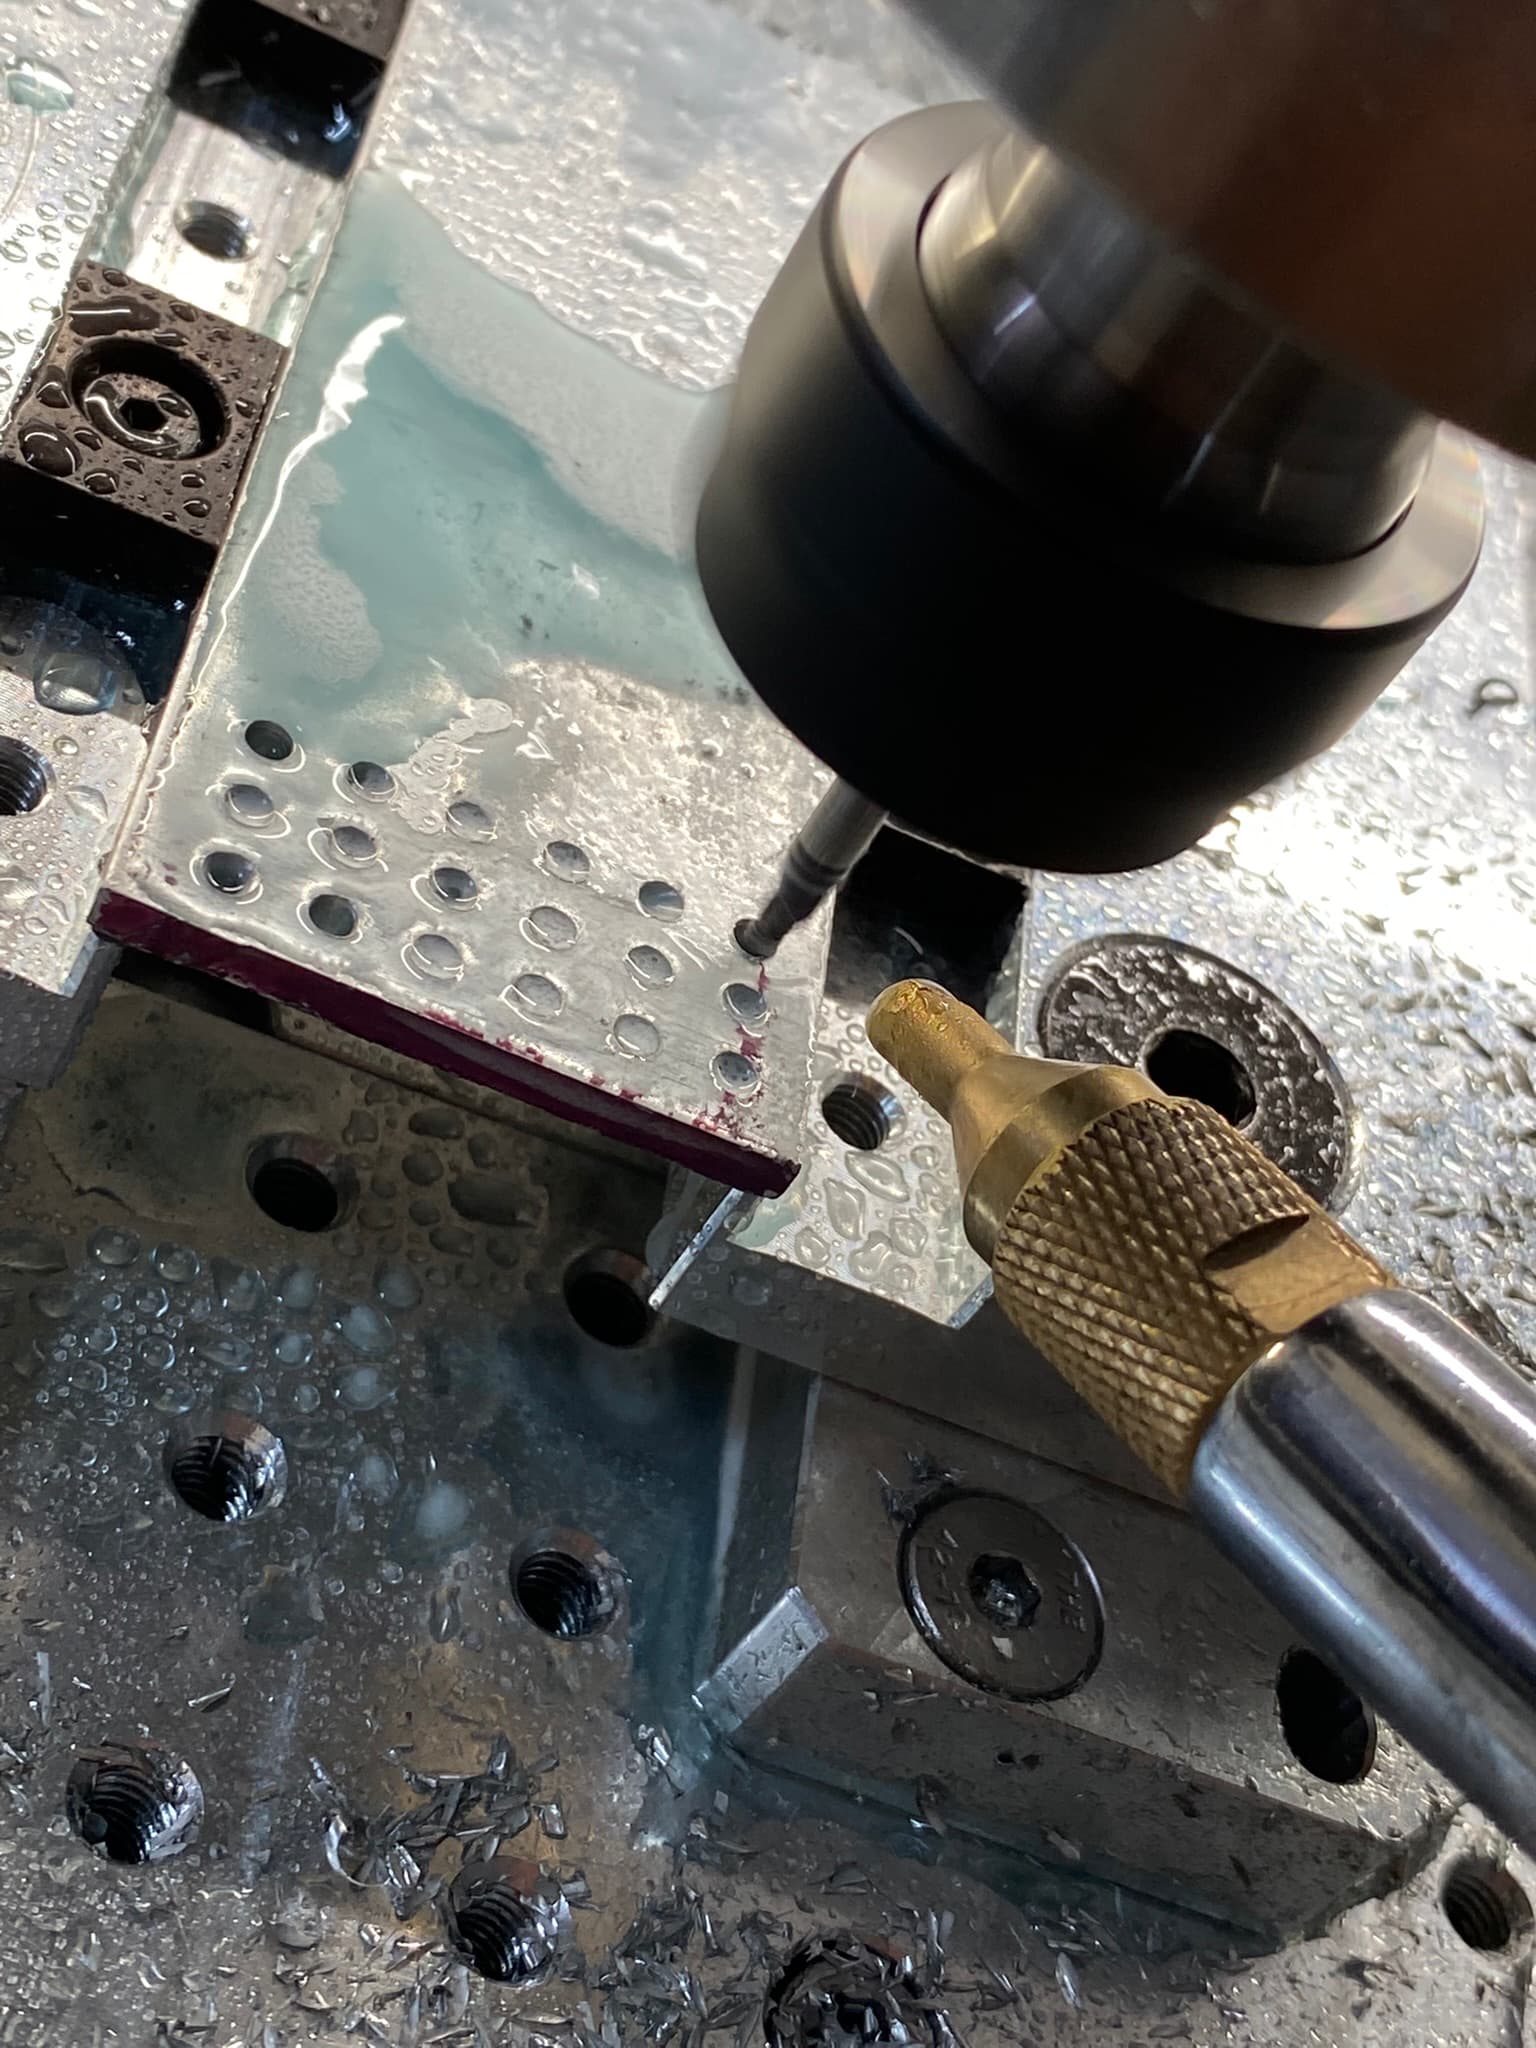
I’ve had a few questions on my probe, this one is a decent 1/2” shank version that has made 3-4 opp parts work great. I’ve moved to probing previously machined elements on flips to set the XYZ and it’s so nice. Round parts are as easy as edge zero, move to opposite edge, divide by 2 and move back to that location. Then do the Y axis.
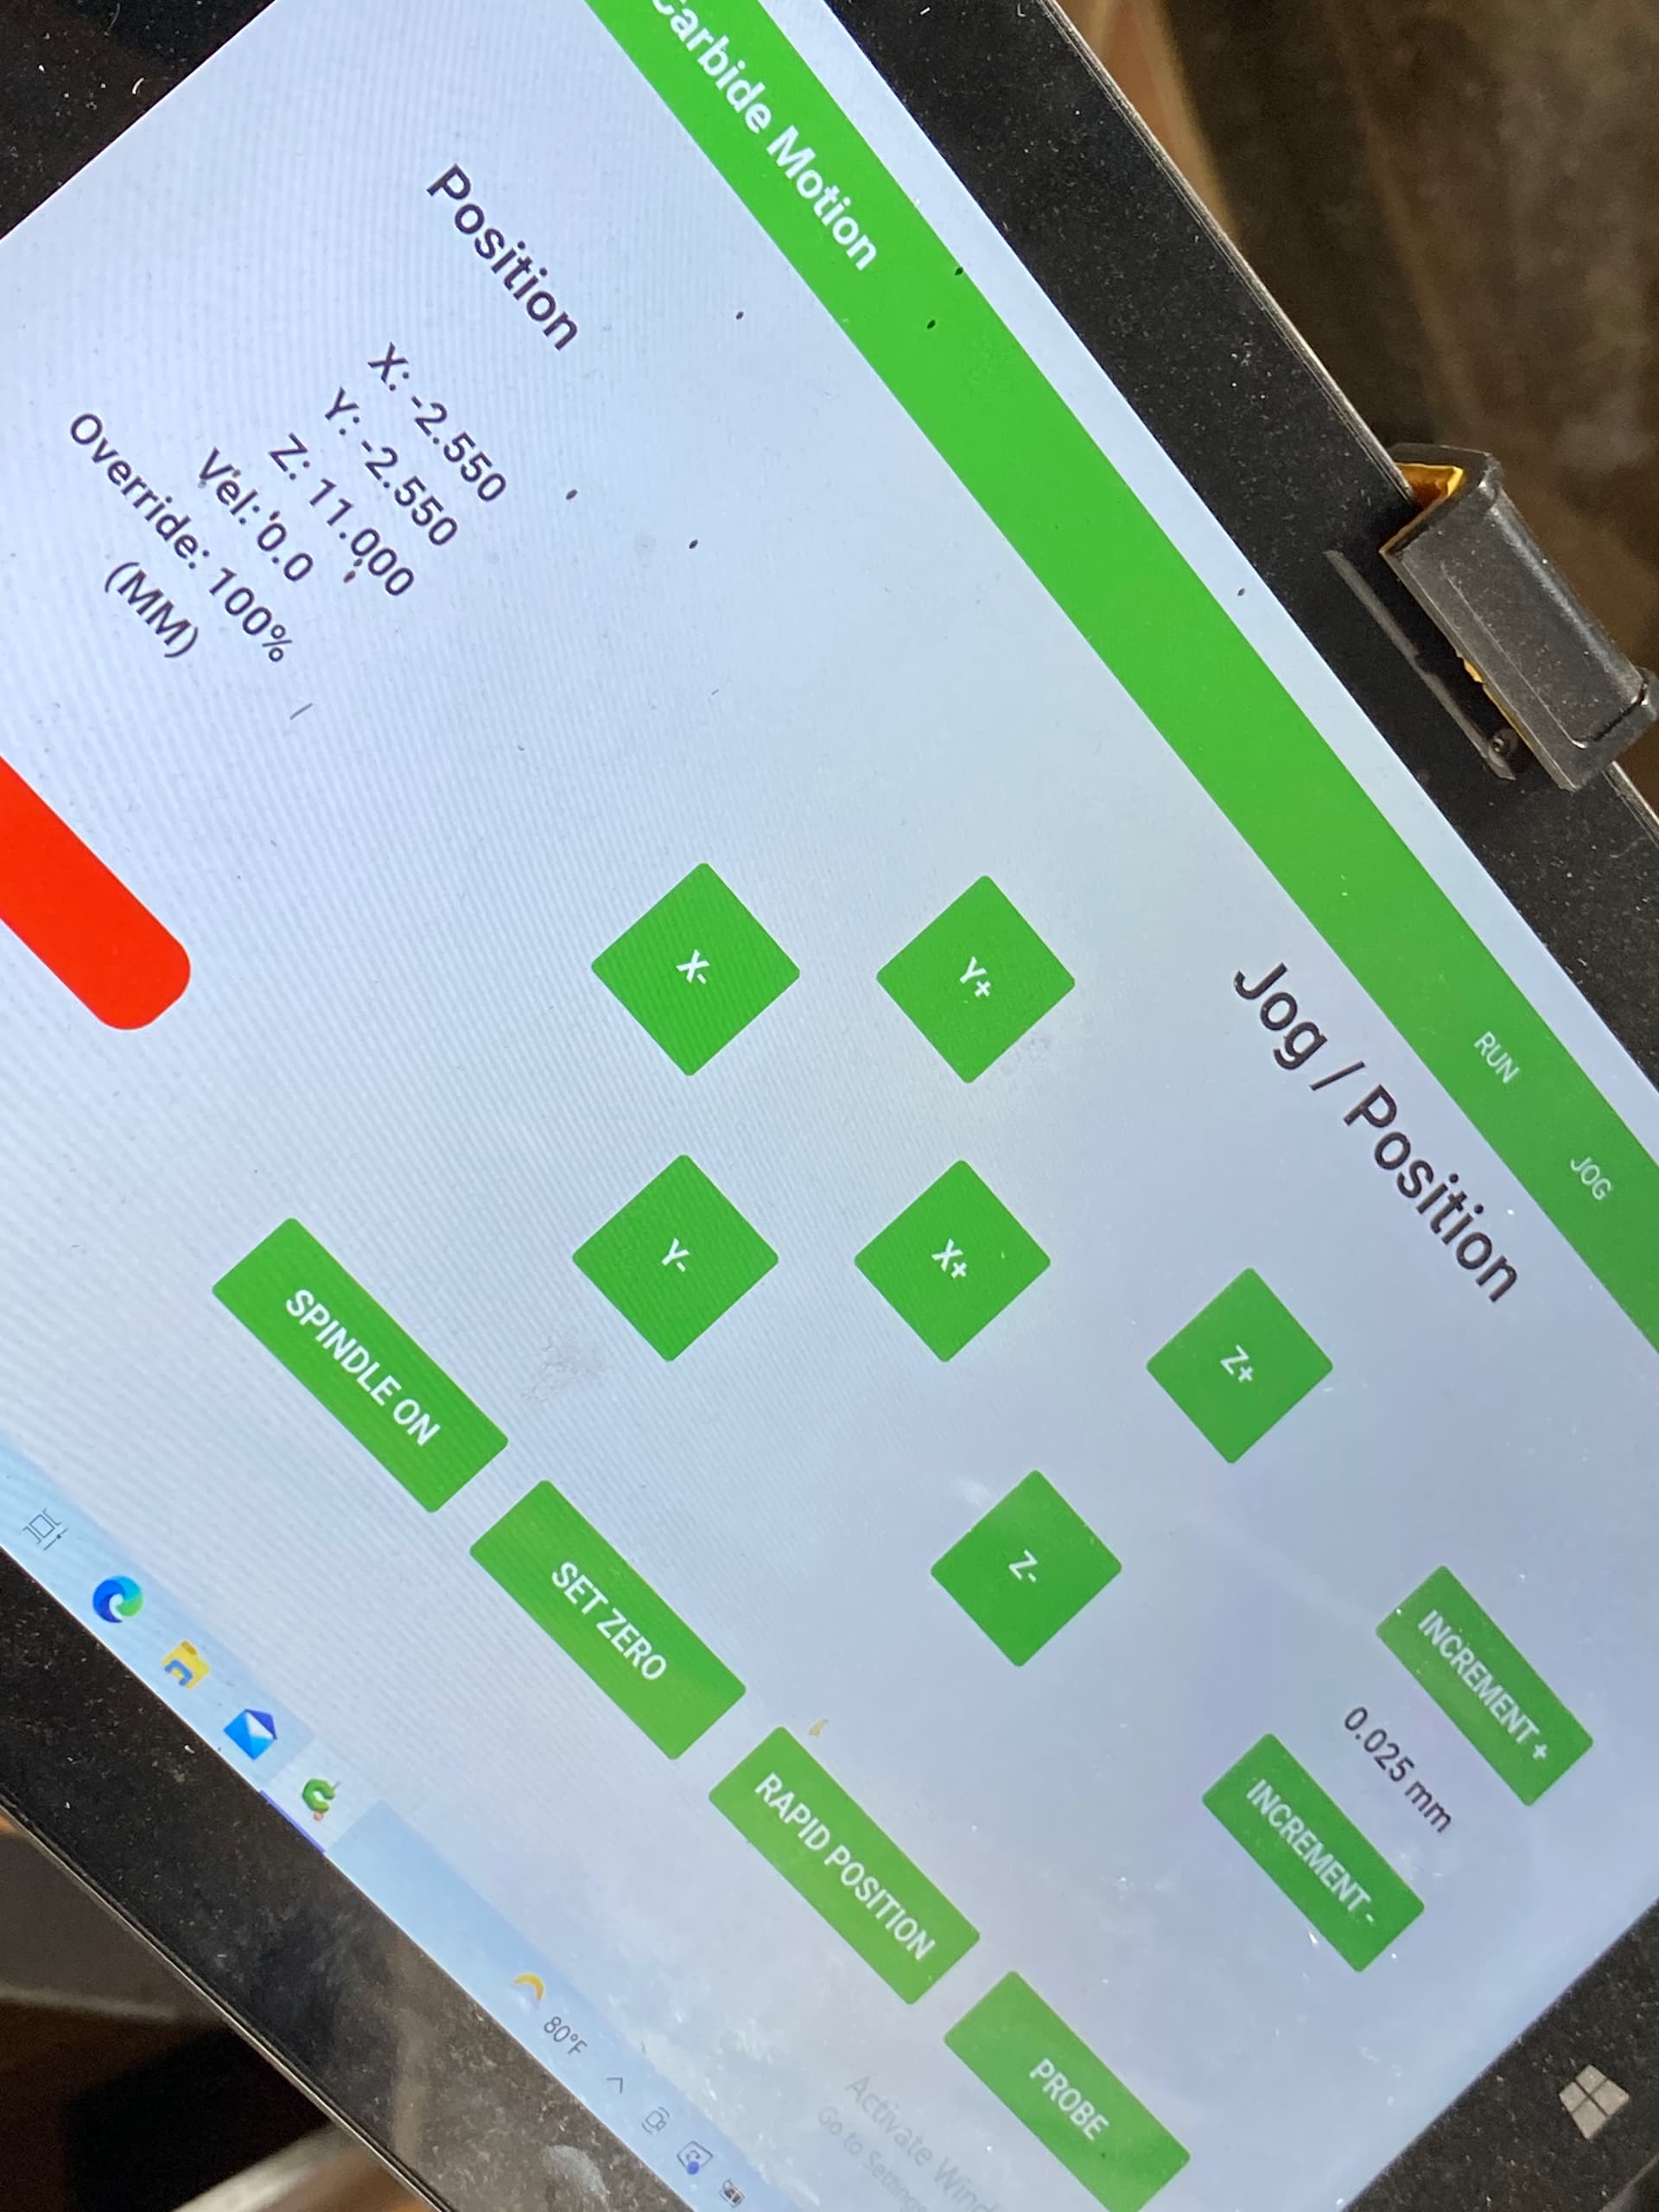
For corner features I touch probe the X & Y, set zero, then move to that zero location and adjust the XY by 1/2 of the probe (2.55mm) then rezero XY and it is almost dead perfect every time
2 Likes
Two things for you. First off, in carbide motion you can click on the box beside the “Zero X/Y” button and enter a number in there and hit enter. After hitting enter, your current position is now the number that you entered.
To zero in the middle of two points (e.g. circle), I probe one side and then zero at that point. I then probe the opposite side and divide the value by 2 and hit enter to set that as my current location.
This saves having to go back to the middle and clicking the set zero button.
Normally, I also go back and reprobe the first side to sanity check myself as well just to make sure it shows the value I think it should.
The second one is that I like to use middles as my zero as much as possible. Instead of probing a corner, I’ll probe 4 opposite sides and use the middle point. Doing so means that a lot of potential sources of error can can themselves out (e.g. the probe diameter).
3 Likes
You explained it a lot better than me, but I agree the center is good. Though with the edge finder and an offset it’s pretty easy to get on the mark.
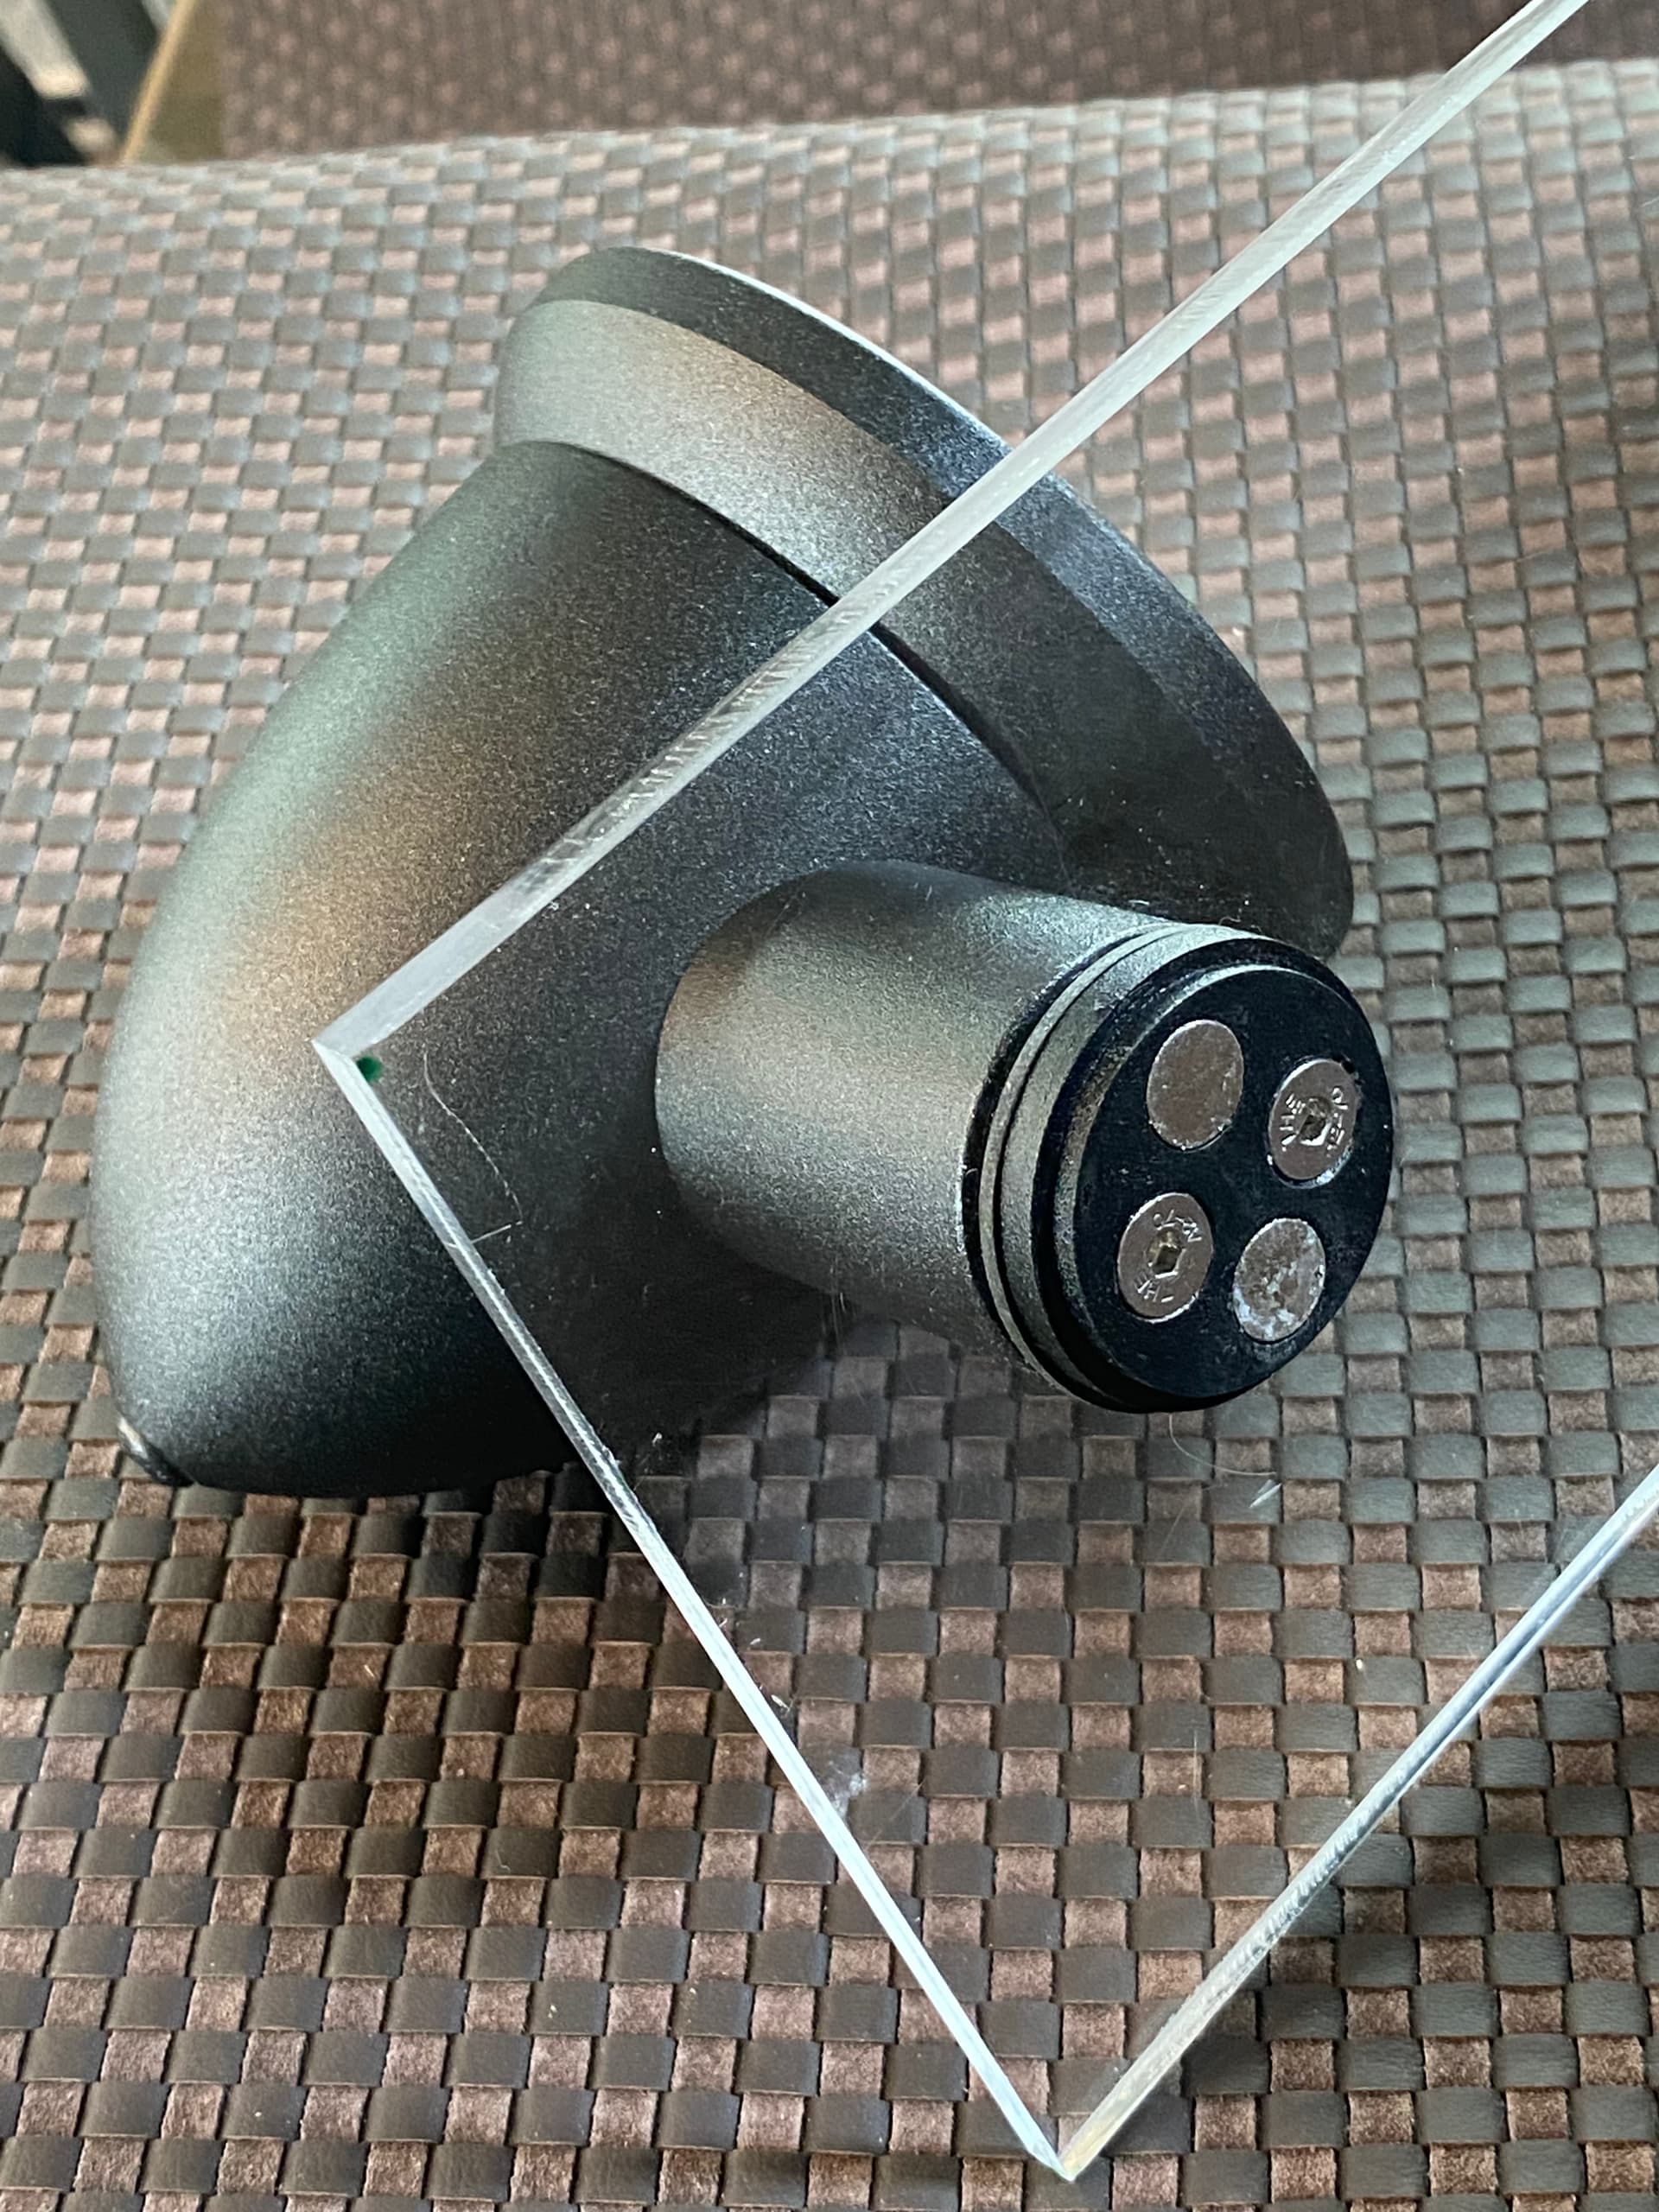
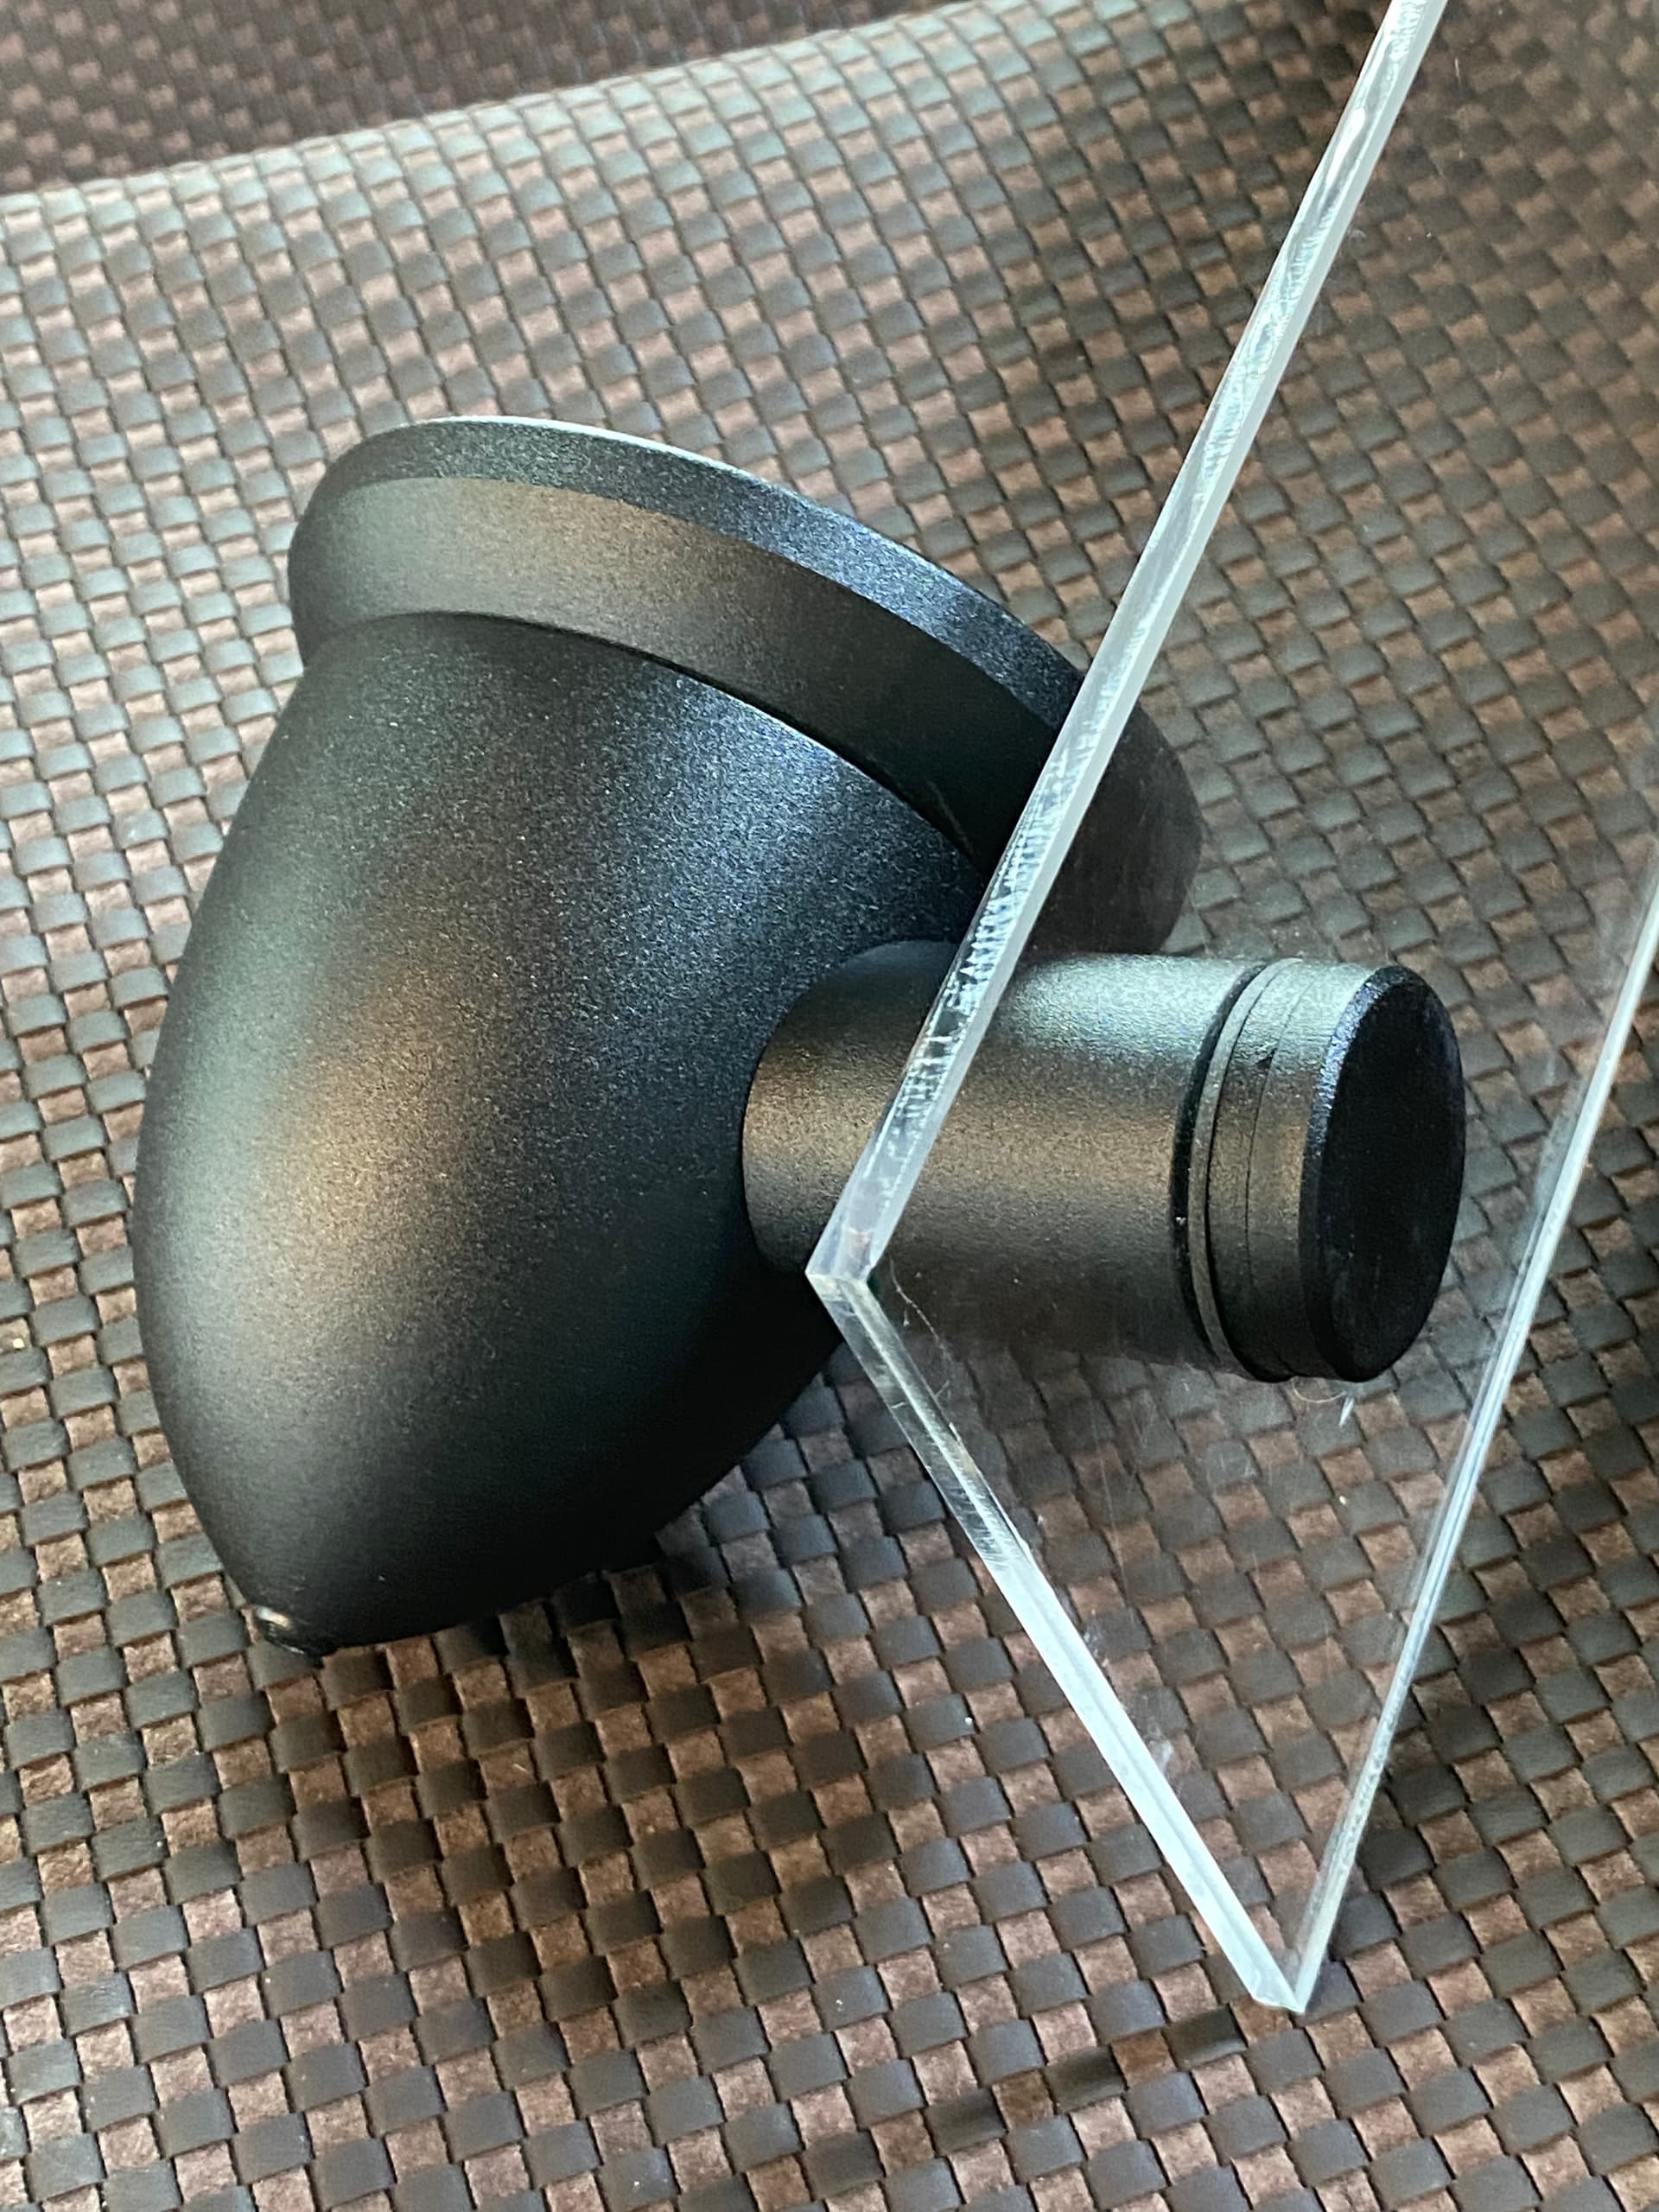
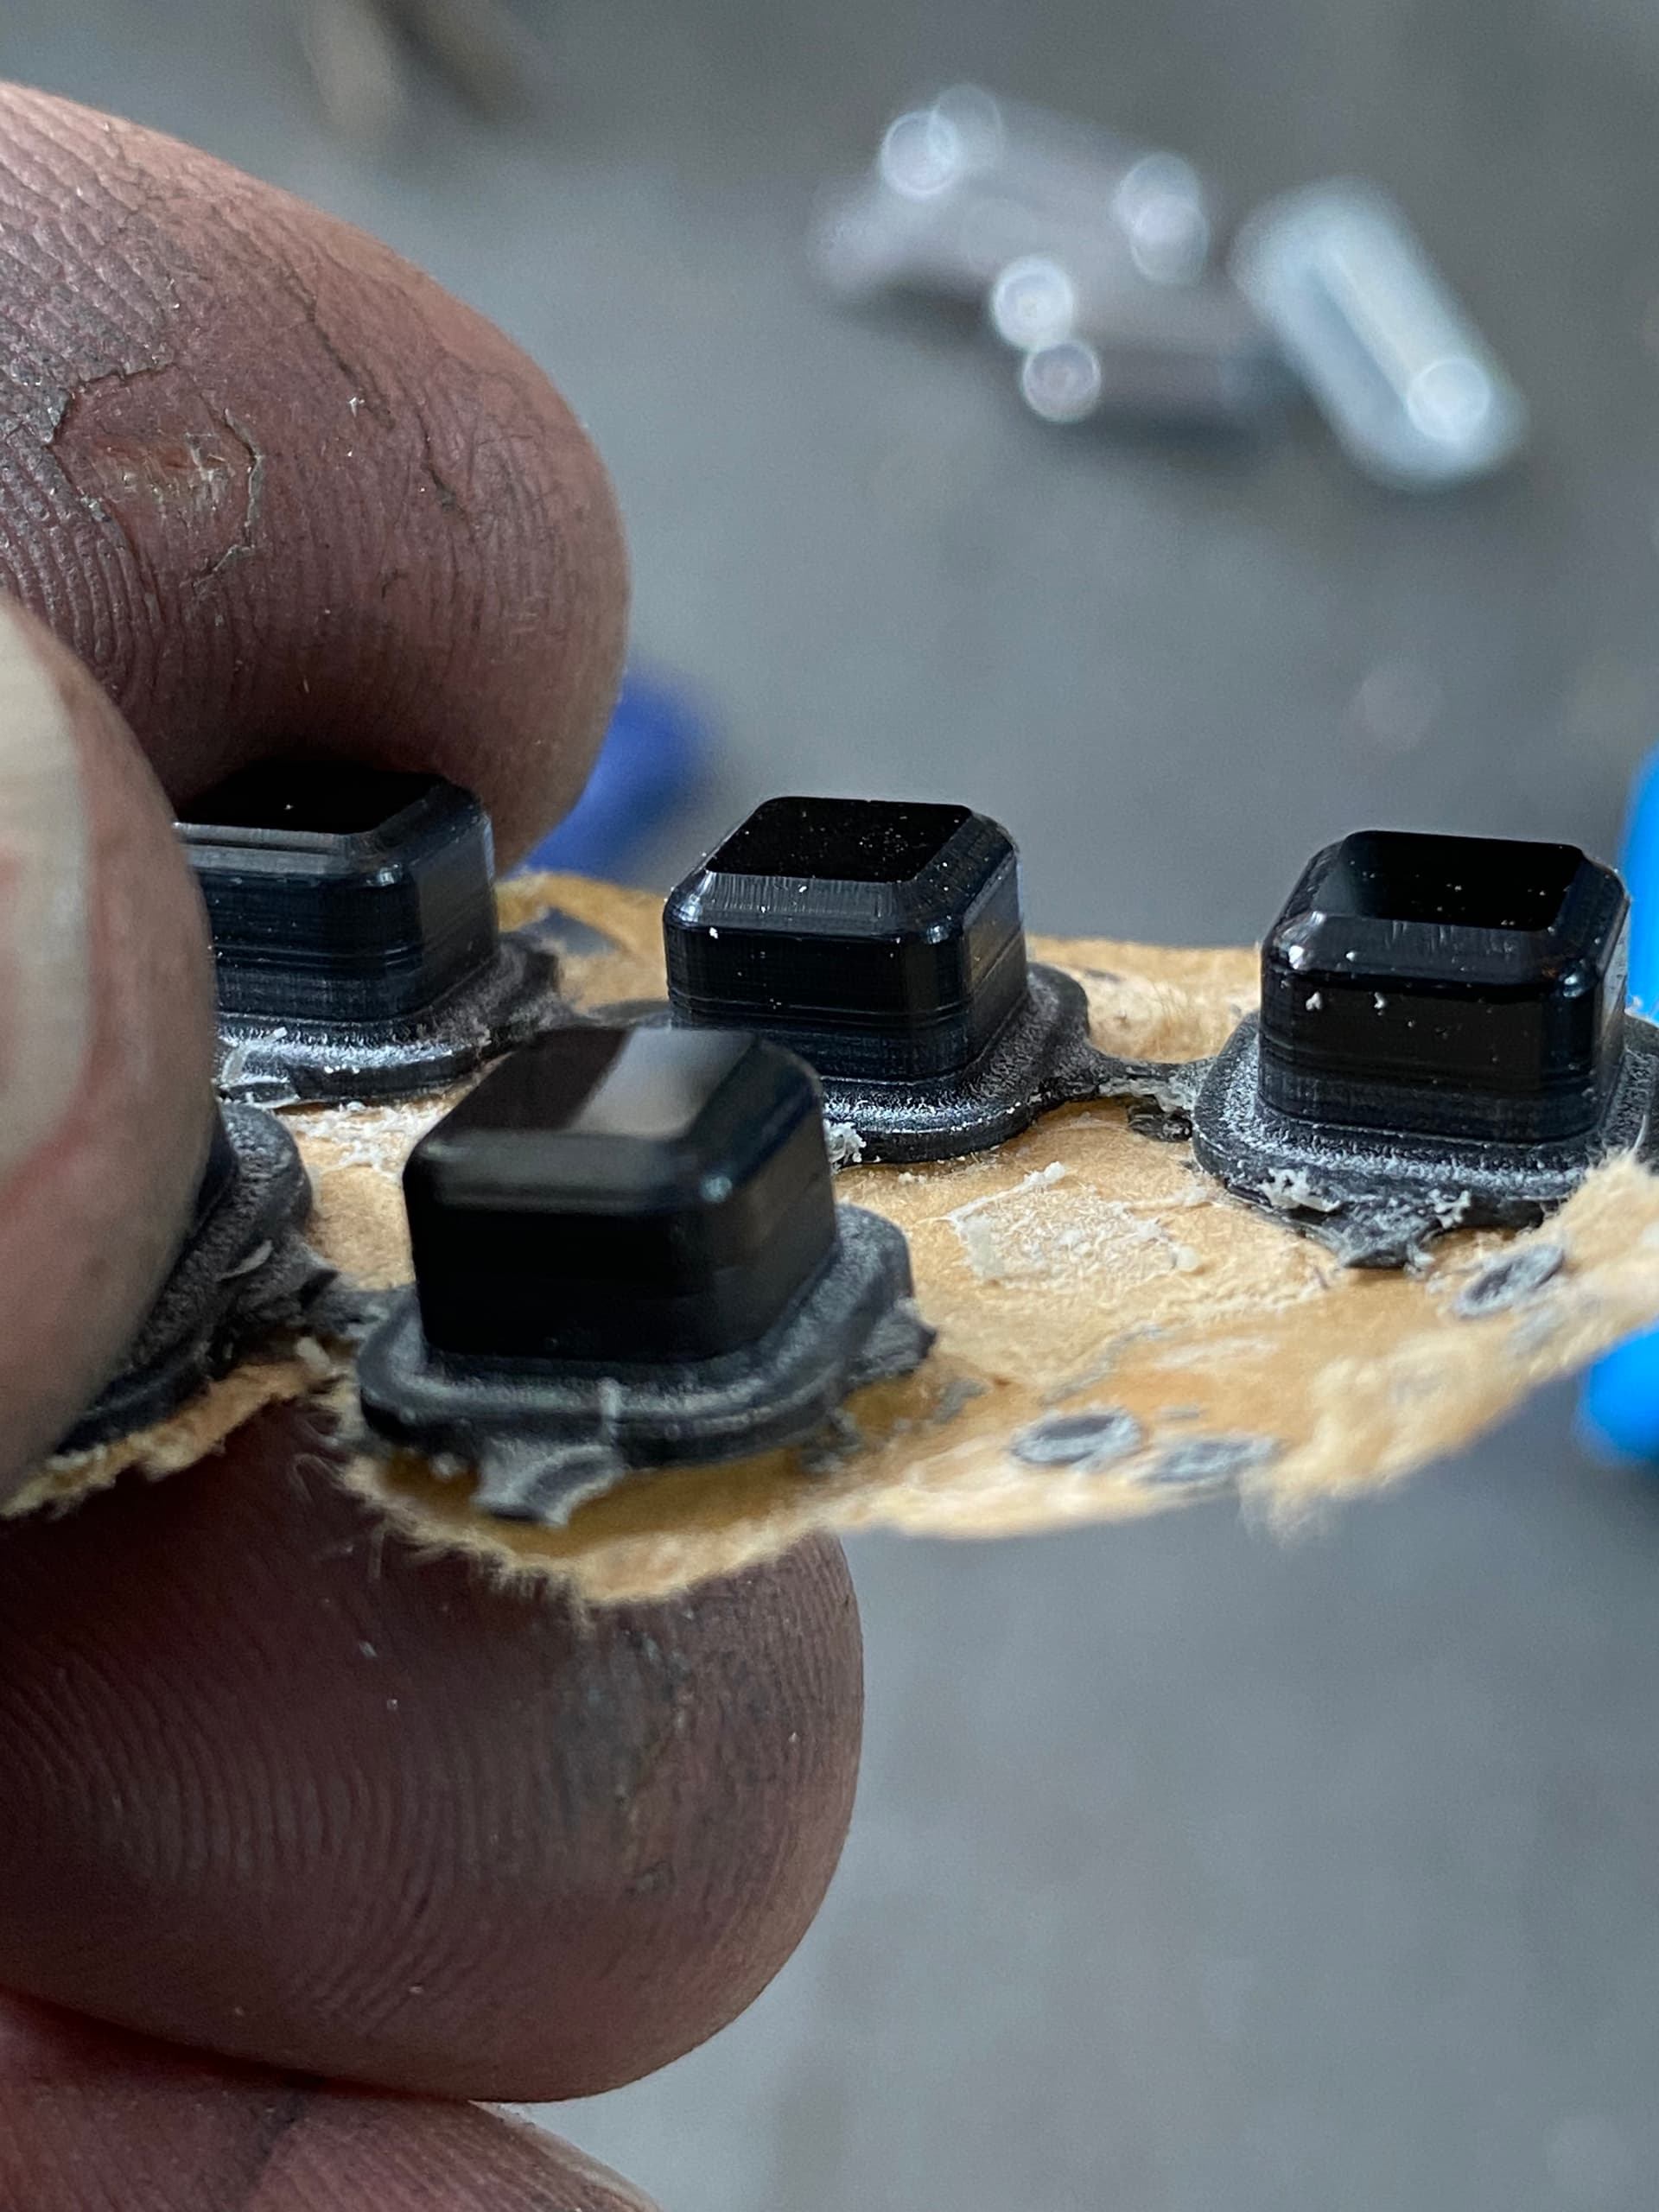
Today I did some small 7mm buttons for our dash inserts out of acrylic. Amazed at the level of finish and that I was able to leave a .25mm set of tabs to keep the final opp in place and it worked like a charm for 4 sets. On the Pro XXL I had to do two sets to get one set of Six parts that looked ok.
4 Likes
I nailed down drilling and threadmilling for M3 holes this week, using multi form thread mills and drilling is changing the game for me on small threads, M5 and some M4 in the past, but not with the drilling operation. It makes the process so much better.
8 Likes
If you ever do big chamfers I recommend 1/2" chamfer tool this thing left a great finish in 1 pass.
So far drilling I have had perfect results with 10k 30 Ipm pecking .04 with full retract from 3.1mm to 6.4mm drills.
If my adding pics and stuff makes you feel like I’m hijacking your thread let me know I’ll start a new thread. I figured I’d just add to an already existing thread.
Love seeing your work keep it up
6 Likes
No problem, I’m trying to share inspiration for others to allow them to dive deep like I have thanks to people like @Vince.Fab did as I was looking to jump into this for our shop… now it’s a huge part of the business and want to inspire others….
So the short is, the more the merrier, love everyone’s POV and approaches. If we can help a few people not destroy bits it’s a win!