@Able actually mentioned putting brushes infront of the rollers and i think that is a great solution to chips on top of the belt.
I didnt even see the min pulley diameter. these might be better McMaster-Carr
@Able actually mentioned putting brushes infront of the rollers and i think that is a great solution to chips on top of the belt.
I didnt even see the min pulley diameter. these might be better McMaster-Carr
I’d love to see a video of you cutting heavy so I can get an idea of where the majority of the chips are entering the Y axis by watching the chip stream.
On my So3 I used a 3d printed half circle brush guard on the router. This kept the majority of the chip stream from reaching my top Y rails where the V wheels ride and also stopped a lot of chips from getting into my HDZ ball screw. I do wonder if a flexible weed eater style spindle guard would do the trick and focus everything down while not restricting chip evacuation or travel.
I tried to upload a photo but it kept coming up with an error for some reason.
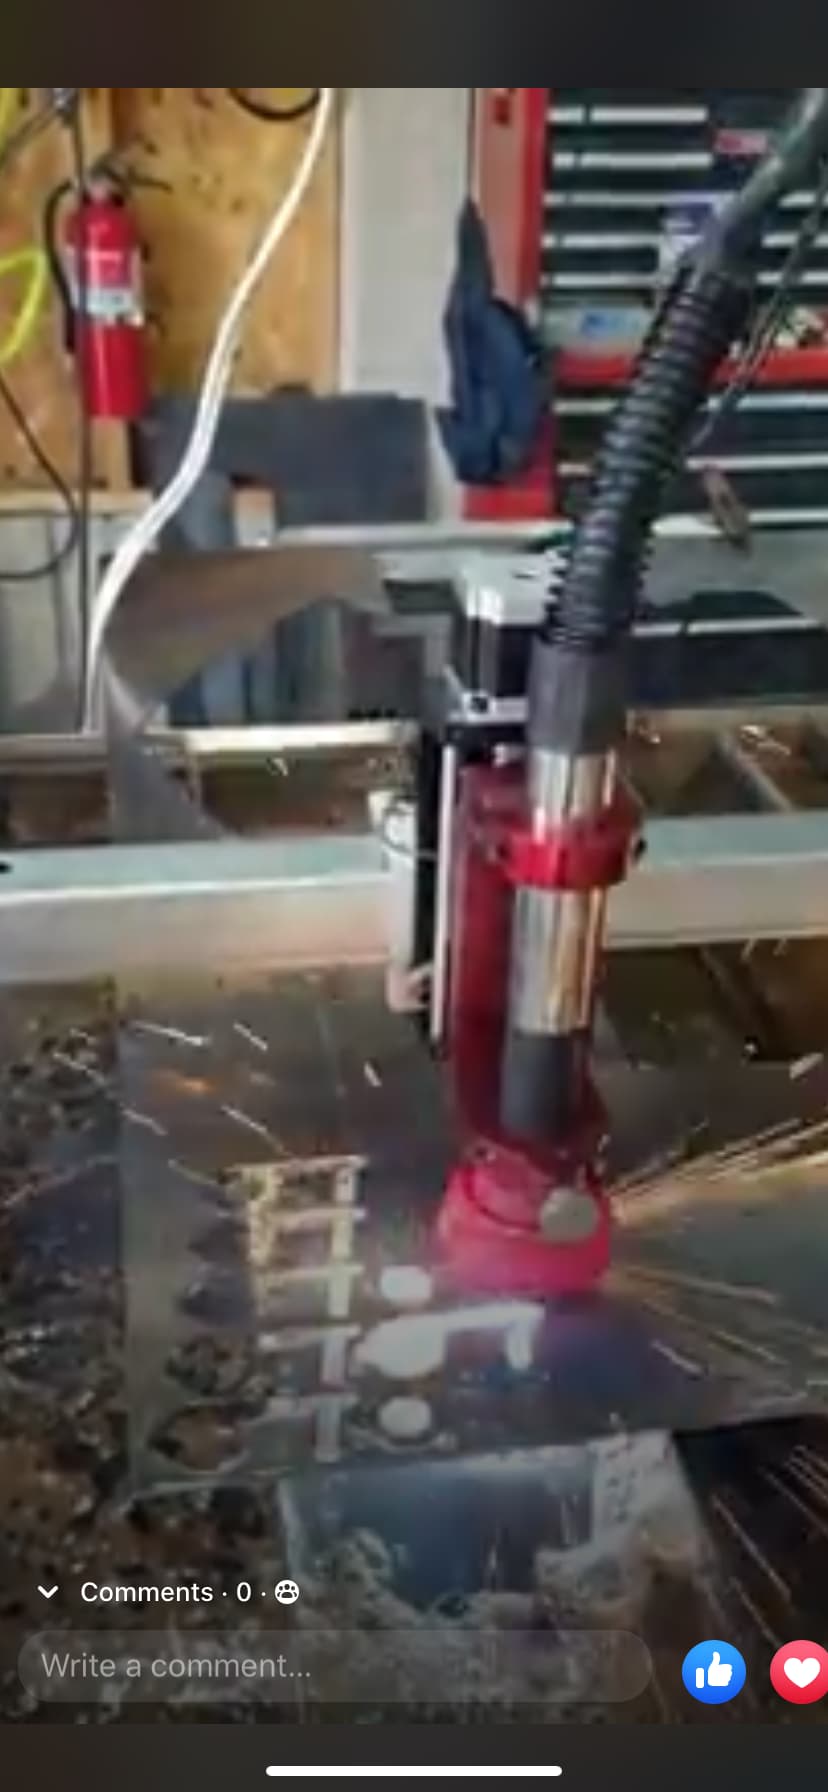
This is with my toned down recipe for reliability and chip evac but it’s only video on my phone with it next material so you can see the chips flying.
This part is centered but alittle closer to either side and chips are just pouring into the y axis
I probably can go to a vac style brush on here now since I cut down to 1 air nozzle and reduced my speeds(to reduce this and not consume gallons of alcohol and air).
If nobody picks up the torch on this one, I’ll eventually flush this out and offer up files for it.
I plan to go to servo spindle and a coolant pump so covers are going to be sorely wanted.
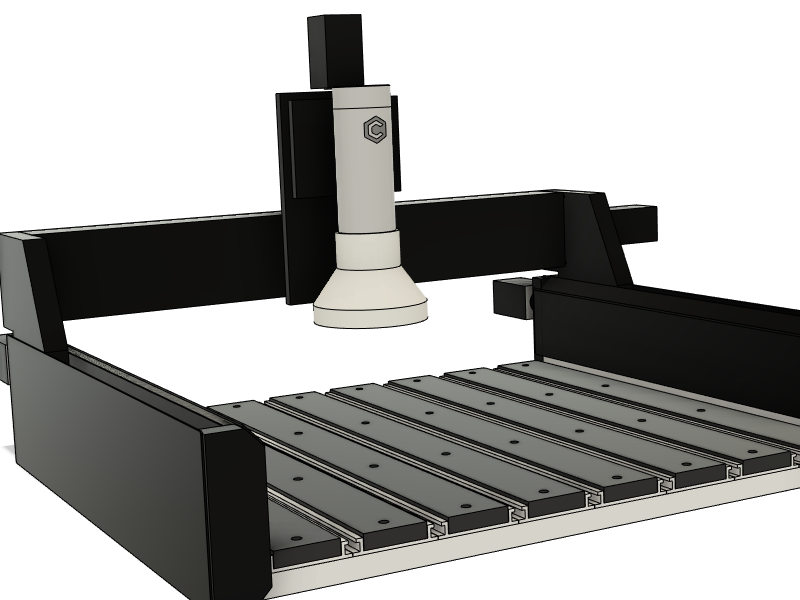
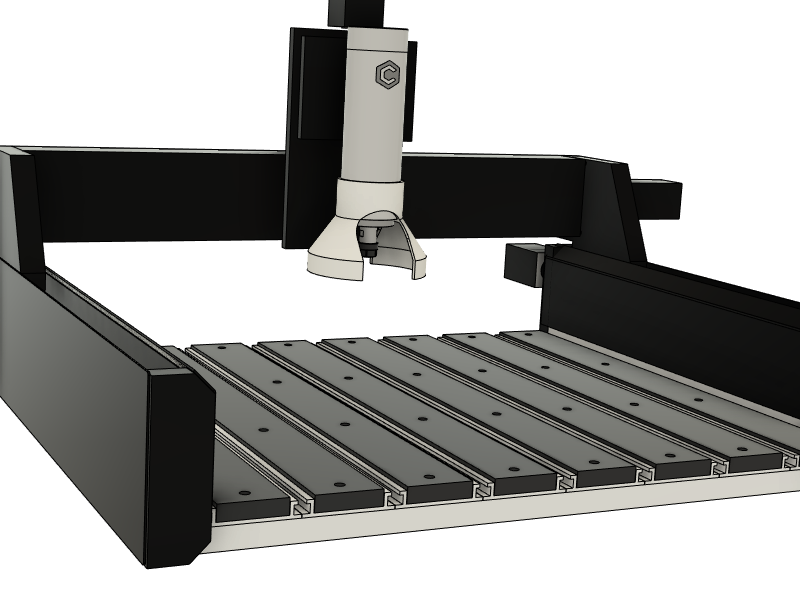
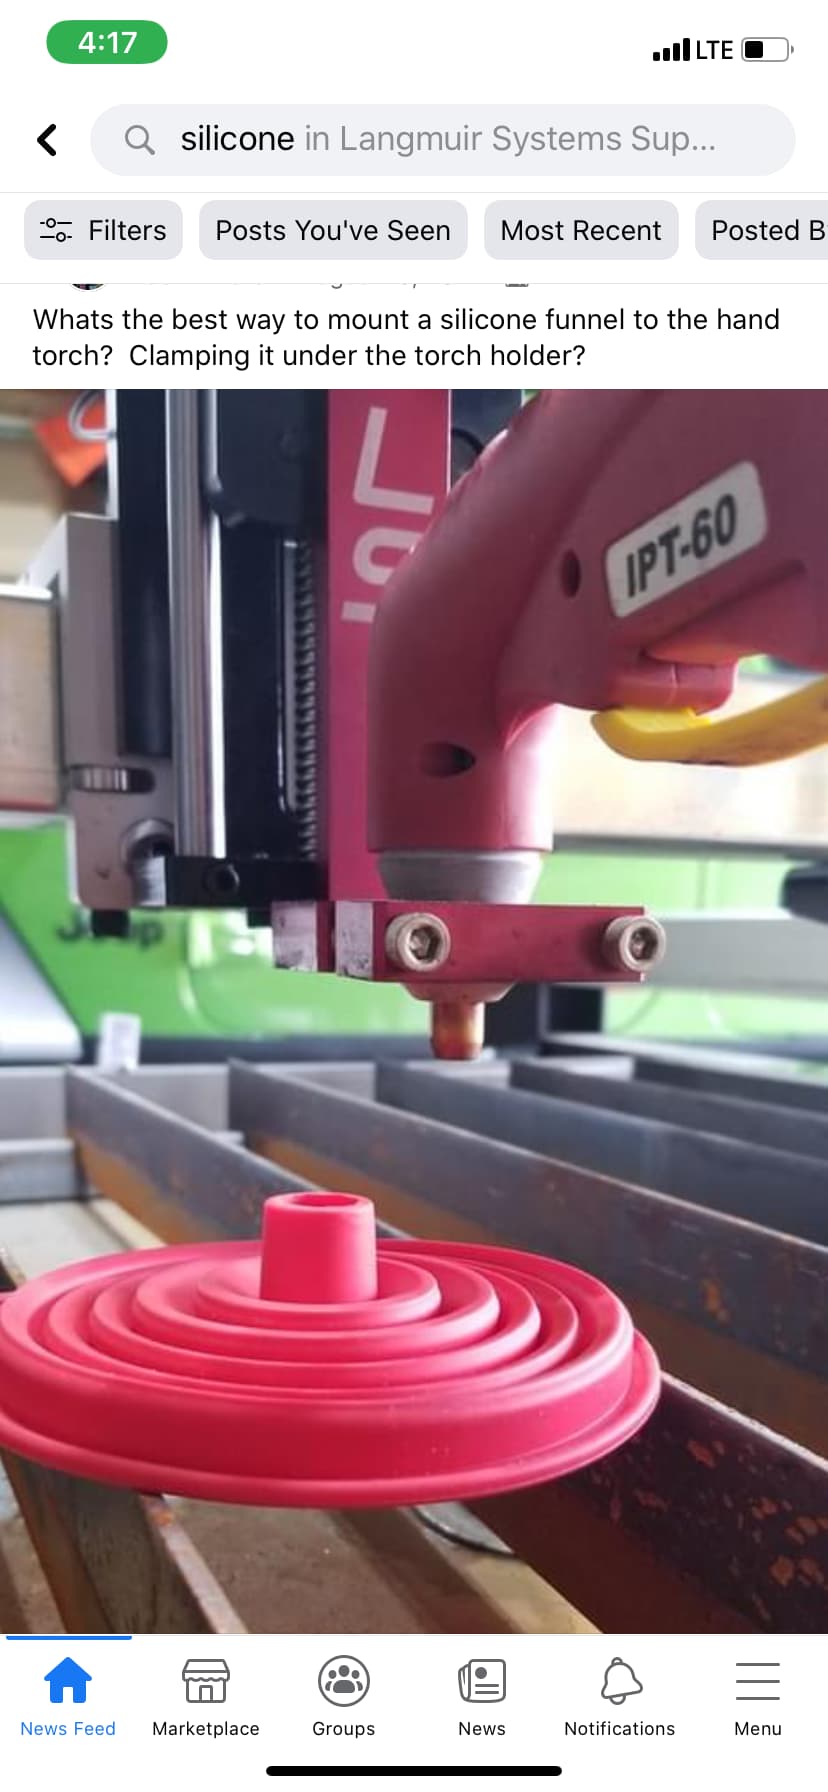
We need a silicone sock or hood that can be stretched over the spindle and divert chips more downward. Something with a shore hardness that it will hold shape but deform if it comes in contact with something. Would be able to be adjusted in height by sliding it up and down. It would only need to be low enough to deflect the chips to a trajectory lower than the top of the rails and really it only needs to block from the sides. Front and rear can be open.
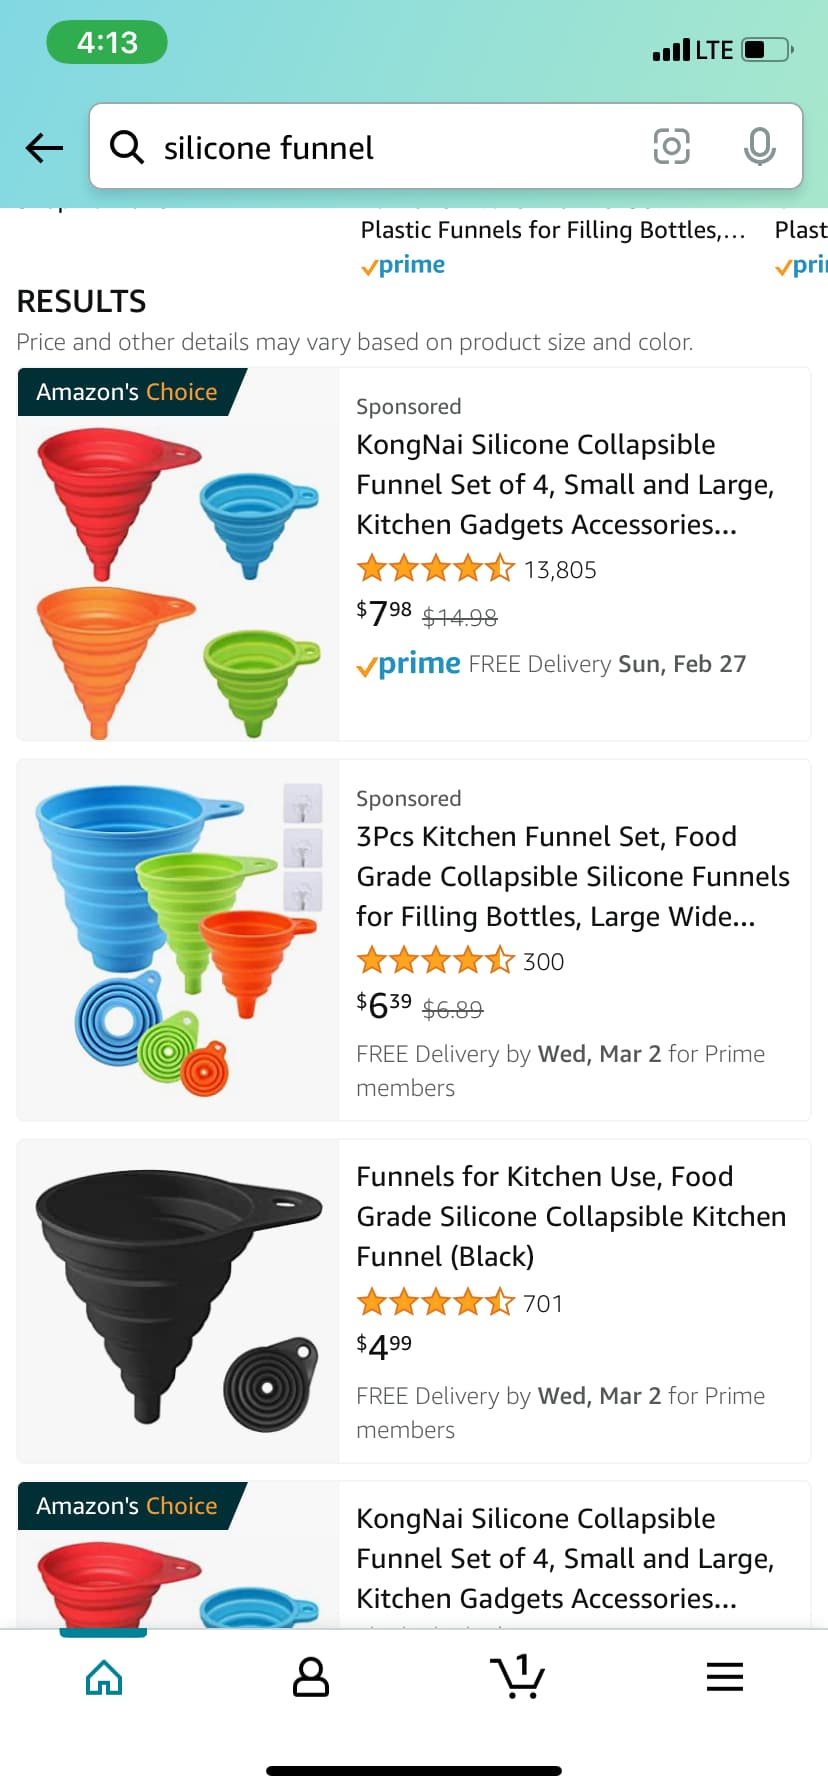
I actually have some of those for my resin 3D printer. Same idea but I’d prefer to make a mold and pour my own.
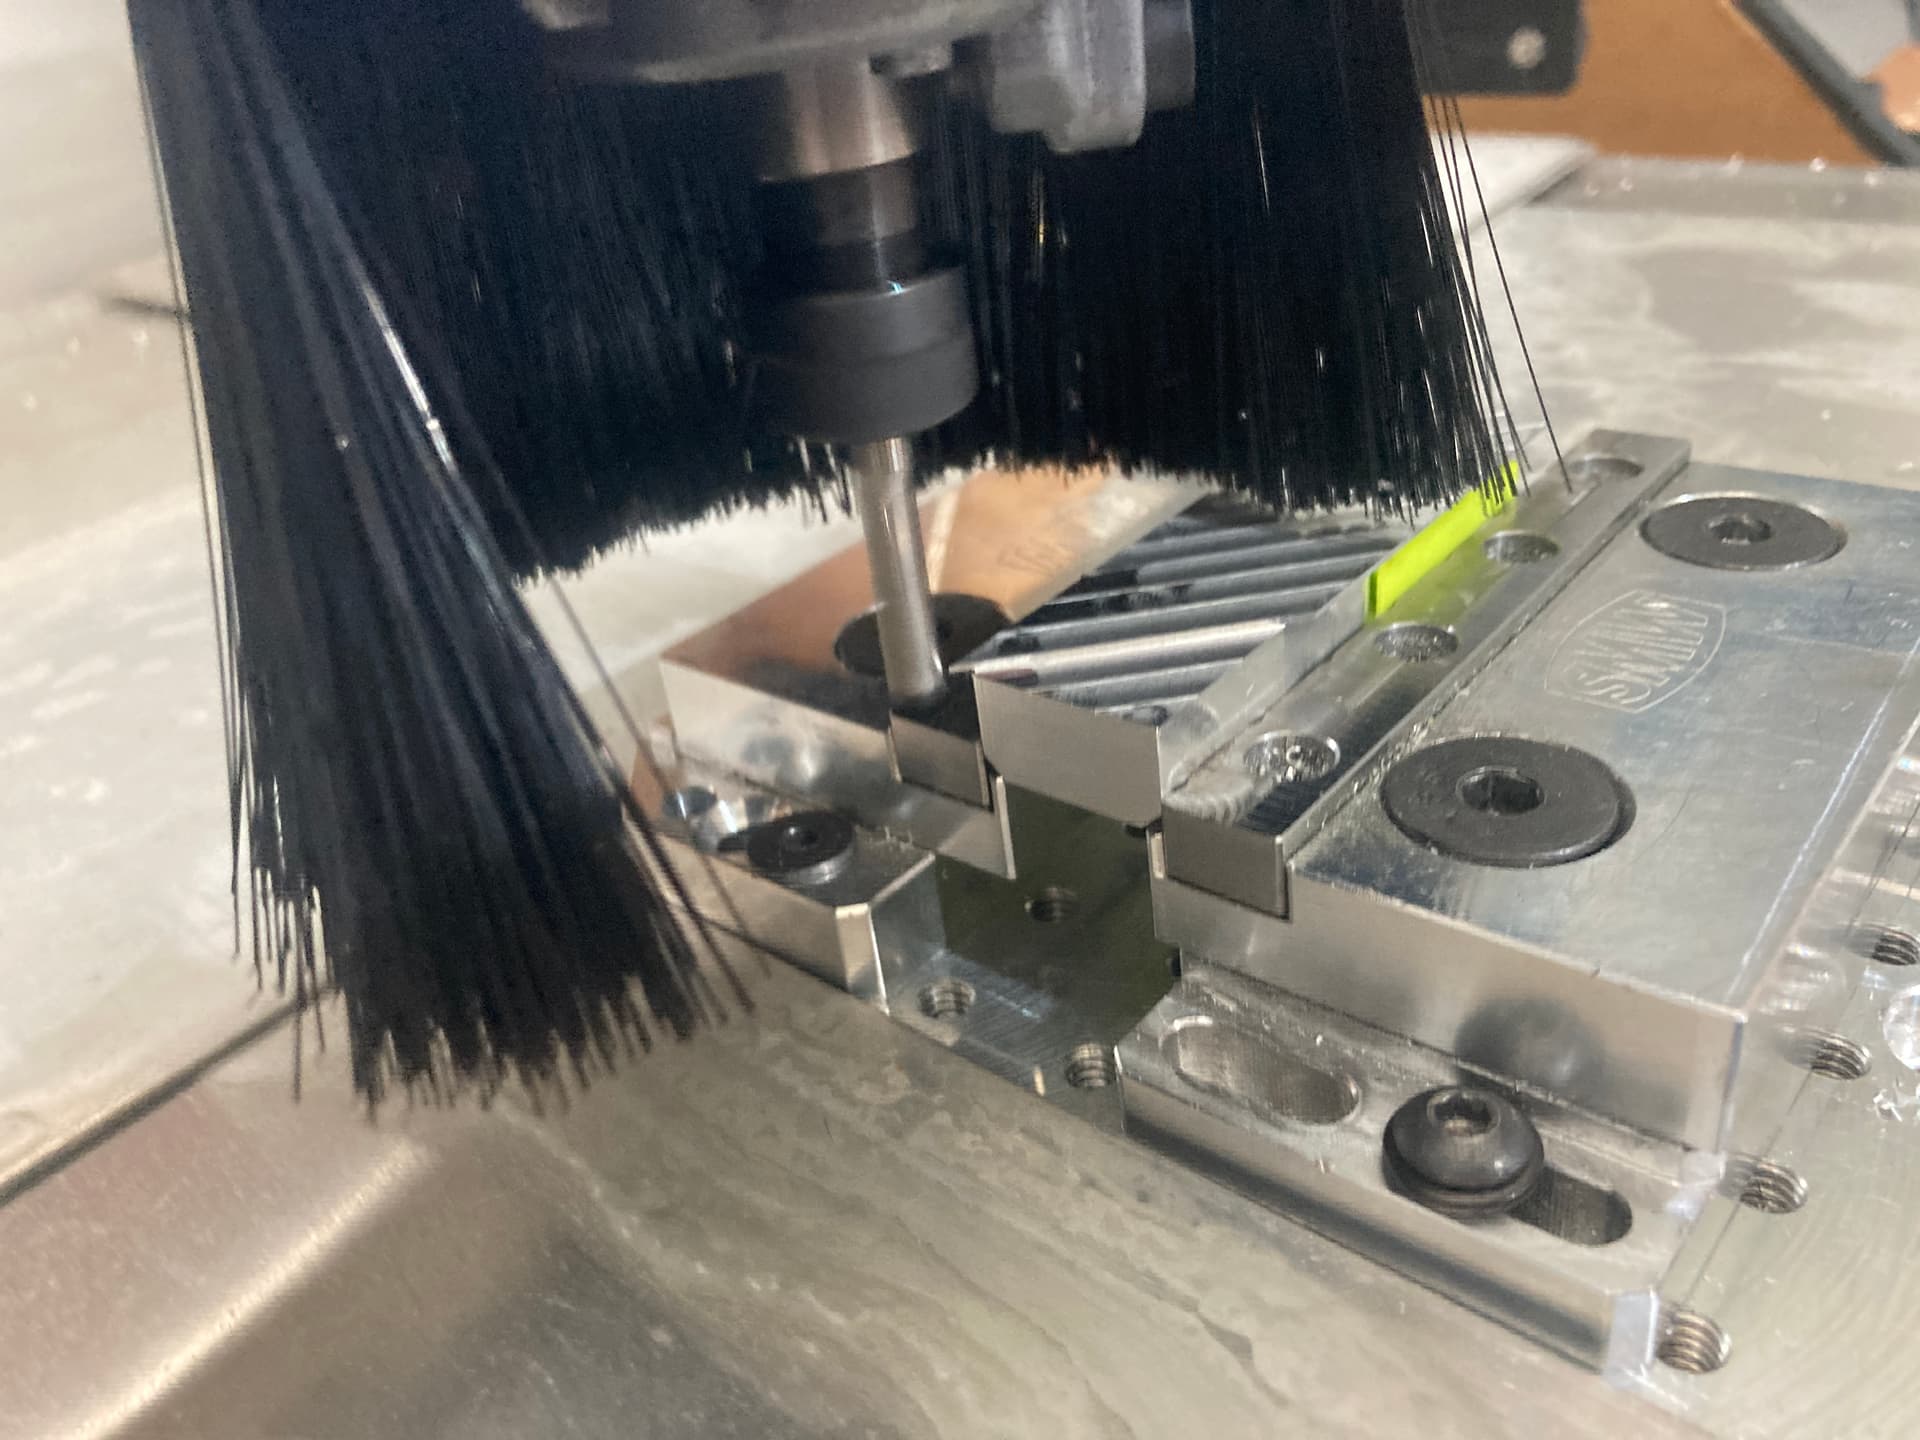
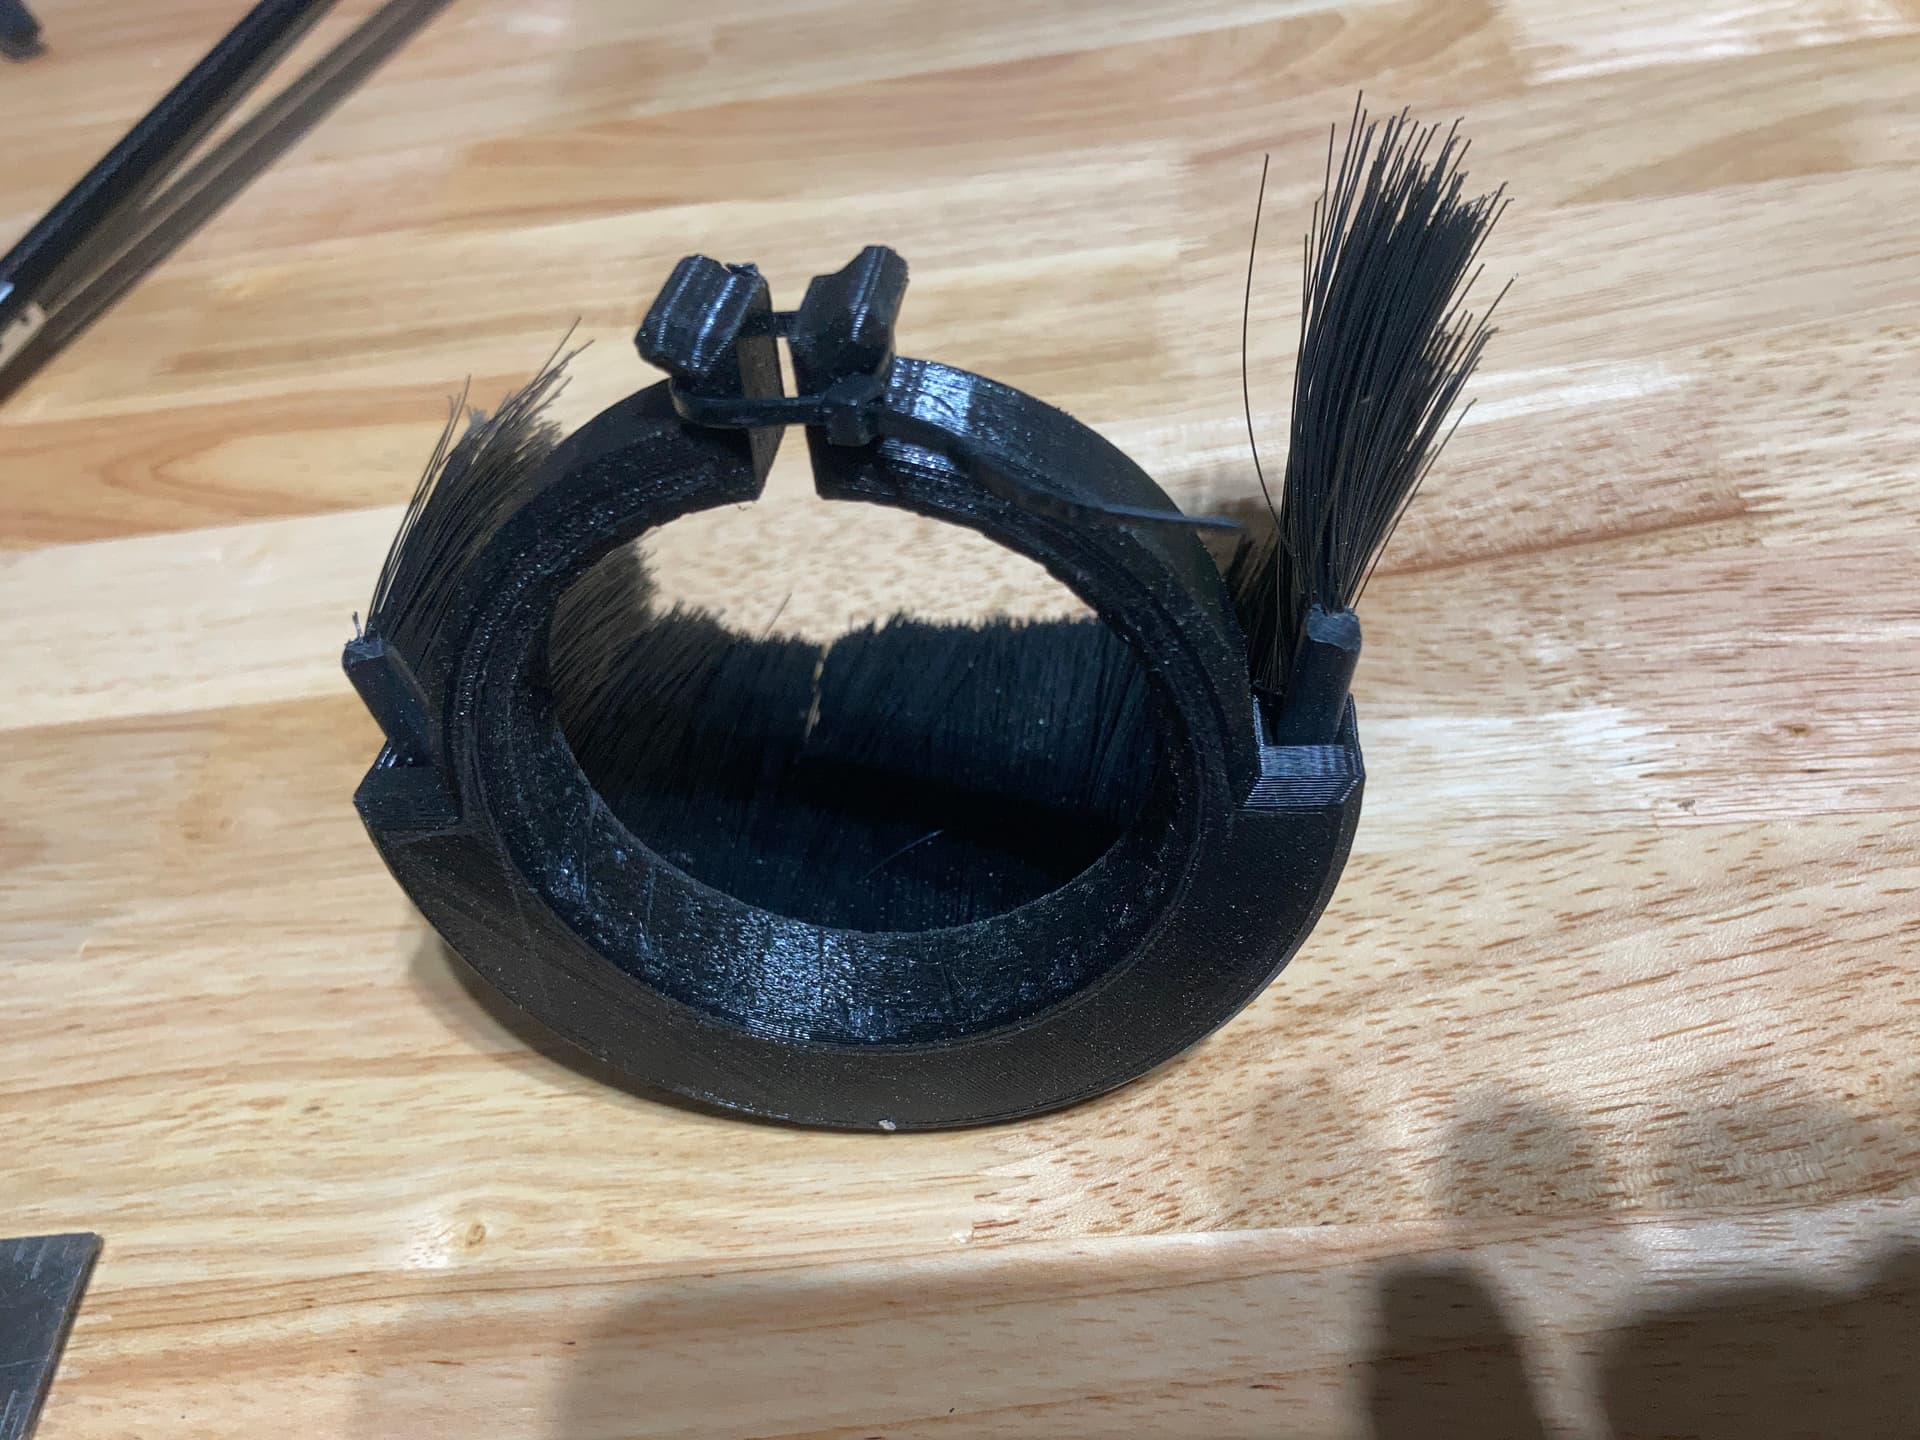
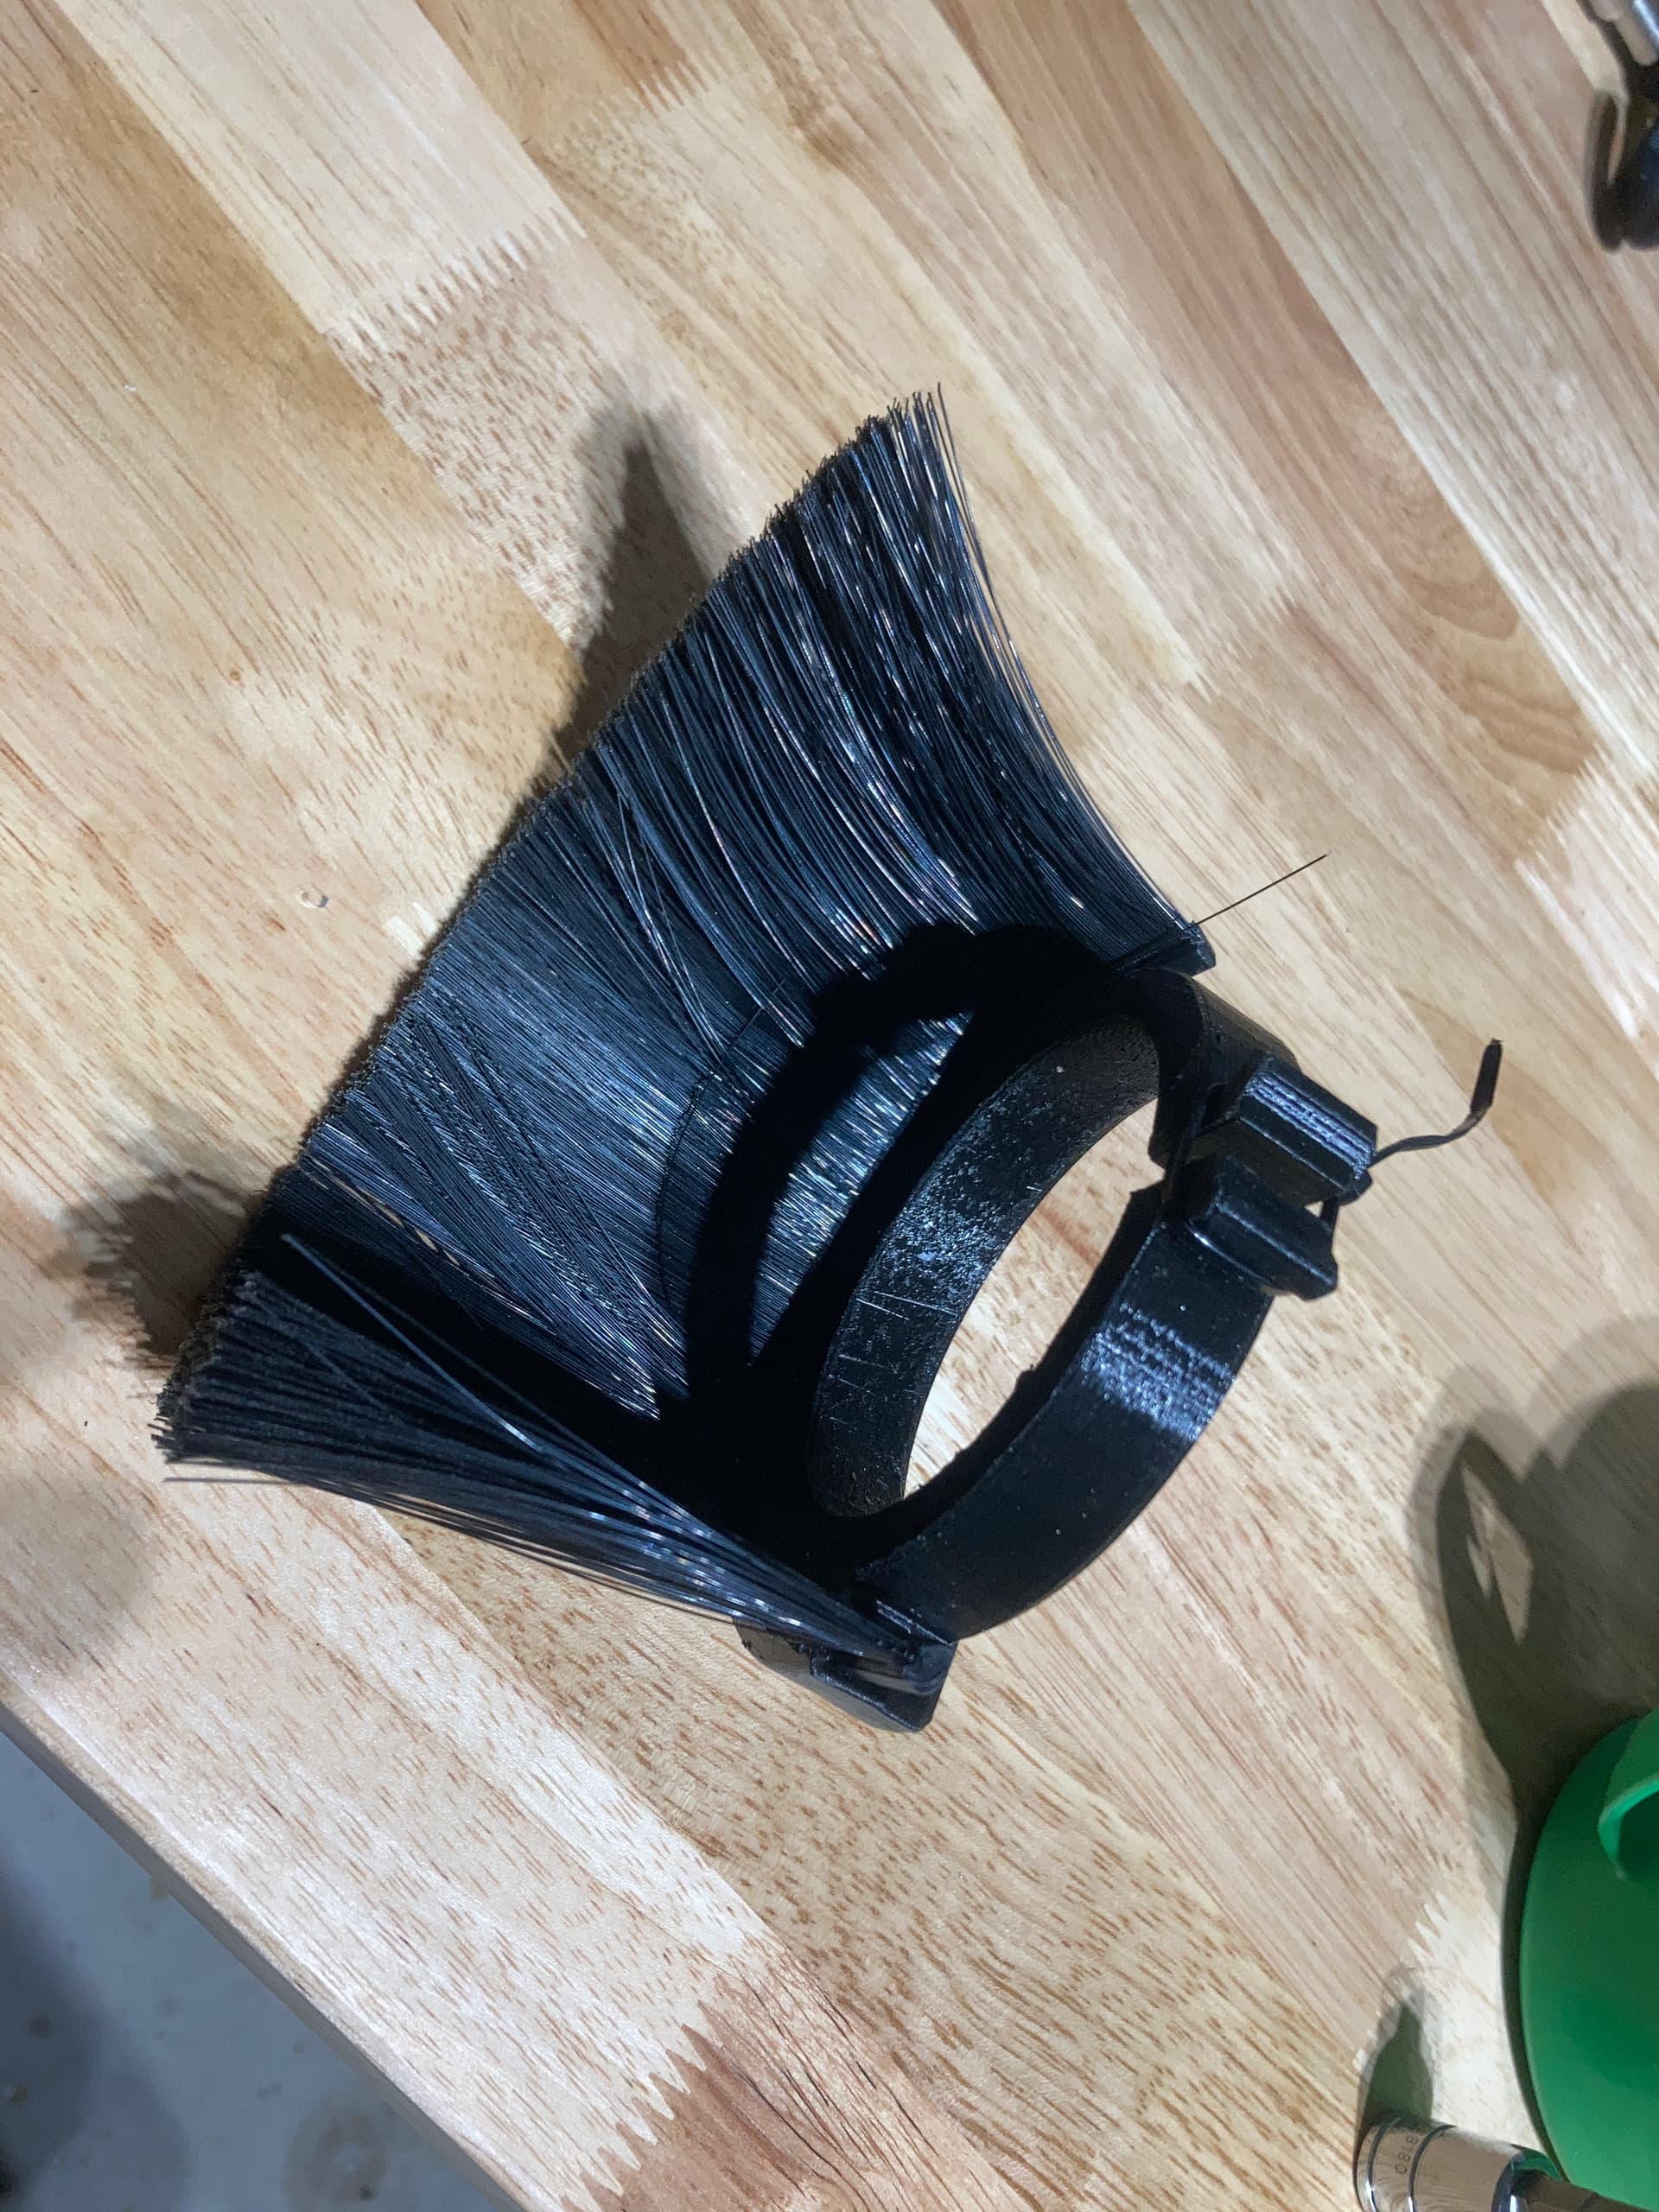
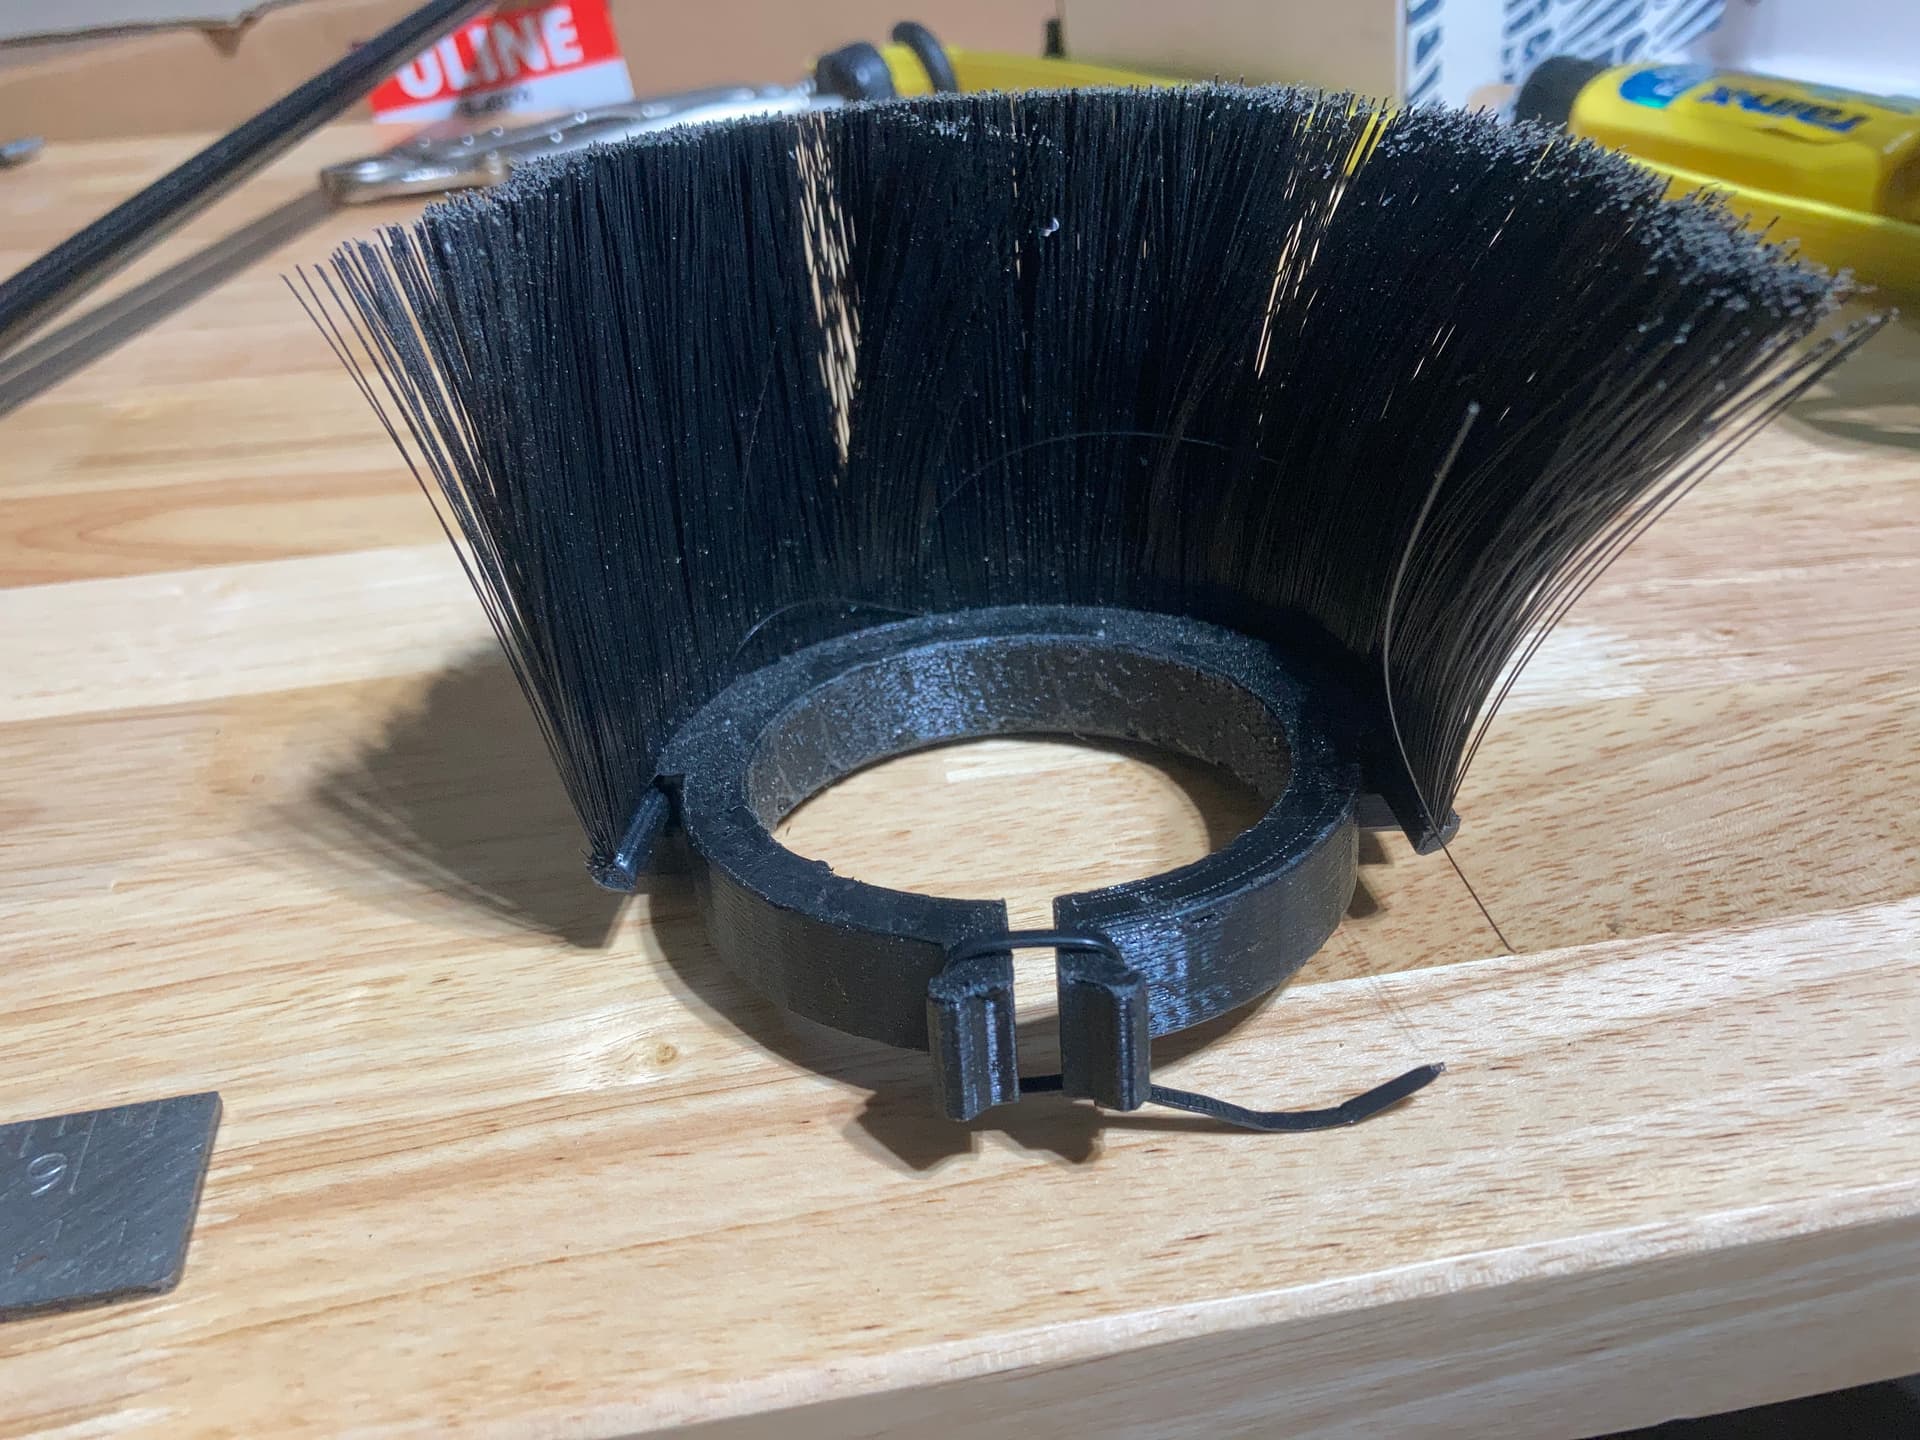
I want to try the 3DP brush holder and brush, half circle, chip blocker idea. I tried one in rubber clamped on with 1" fingers. I quickly found out that rubber is not very machinable when it got caught on one part and pushed into the endmill. ![]()
Let us know how it goes Josh, love the brain storming vibe this thread has going on.
I’ll look to see if I still have the STL file I designed it for 65mm router in sketchup a while back. The brush I bought 3 ft of and it just slides in with a friction fit
I can email you the STL if you Pm me
Is it just me or are you giving your HDM a mullet? ![]()
It was a fusion where function meets the style of the majestic man mane found throughout Florida usually paired with a diesel truck and unique tan line markings.
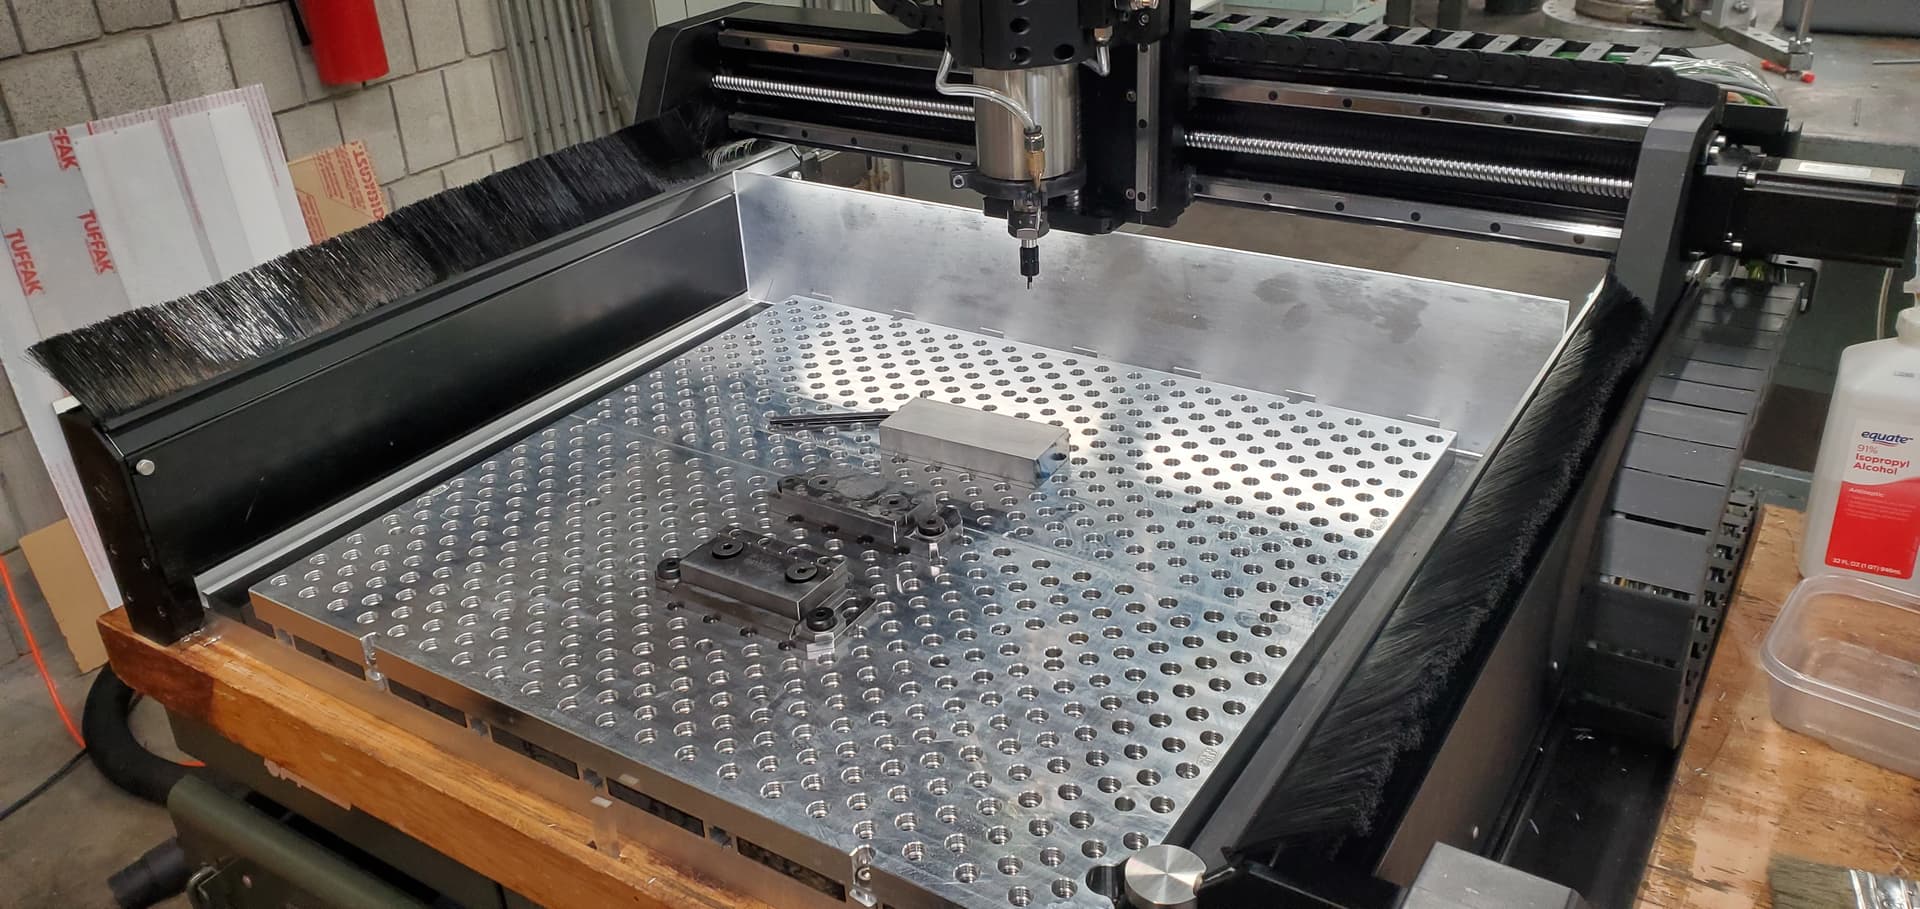
This is my simple first attempt. Just some conveyor brush strips that the Y plates can move thru. Hopefully I’ll be able to shred some aluminum or plastic on it shortly to test effectiveness.
Yassssss love to see it brosiden, also loving the panel at the back. I’ll be doing that as well
I have the same door sweeps on order but also have a 3rd one to attach on the back of the X axis gantry to help reduce chips clearing the back stop plate. I might make a set that attaches to the side of the spindle or Z carriage to shield the Z. I won’t be able to work it out until my machine is finally placed on it’s table where I can reach it and the newly installed 220v electrical inspected.
I also have the 3rd strip planned and have the brush. I just need to design a way to mount it.
Did you use a 2.5" brush or 3"? Also threaded focus magnets are great for easy disconnect mounting and are incredibly strong. Mount a steel plate with command release strips to the aluminum plates and you have a great quick connect breakaway mounting point. Keep in mind you can increase or decrease the steel plate thickness to adjust the holding power until you reach the magnets peak. There are loads of strength options from 12-200 lbs.
I first started using them for getting canned goods at the store. I put a zip tie through an eye loop magnet so I could stick it to what ever can I wanted. It saved me a lot of hassle of having to ask for help.
Also dove tail slide mounts are great if you have access to a 3d printer.
I got 3" brushes, but 2.5" would likely work just as good, if not better. I got the ones that use the slide-in mount and double sticky-ed them to the side plates. So if something catches, they may pull-out of the mount strip. It was the easiest way to test the theory. If it works as good as I hope, I’ll likely bolt them down once the double sticky tape fails.
The rear brush on the X rail is a bit trickier. The HDM has a bracket that wraps around the back of the extrusion that moves with the X/Z carriage. So I need to mount a rail behind that. There are not a lot of mounting options for that, so I need to ponder a bit. Or I might just mount it upwards to the blocker plate. That allows the machine to go all the way back in Z. The next option is to grab some more plexi from the rack, and put a couple of bends in it so I can get it higher without the gantry hitting it.