Running the Suckit Pro dust shoe since July '19, and decided to go for the HDZ recently. I was left with my vacuum hose in hand after installing the HDZ. With Suckit contemplating whether or not to continue supporting other CNC machines, and their products out of stock, enter the project out of projects: HDZ Suckit Retrofit. All of the CAD/CAM was through Fusion360.
Big thanks to @MadHatter for taking the time to send me some pictures so I could reference his setup; and thank you to the C3D community for not only sharing speeds and feeds but more importantly, the inspiration to go out and make stuff.
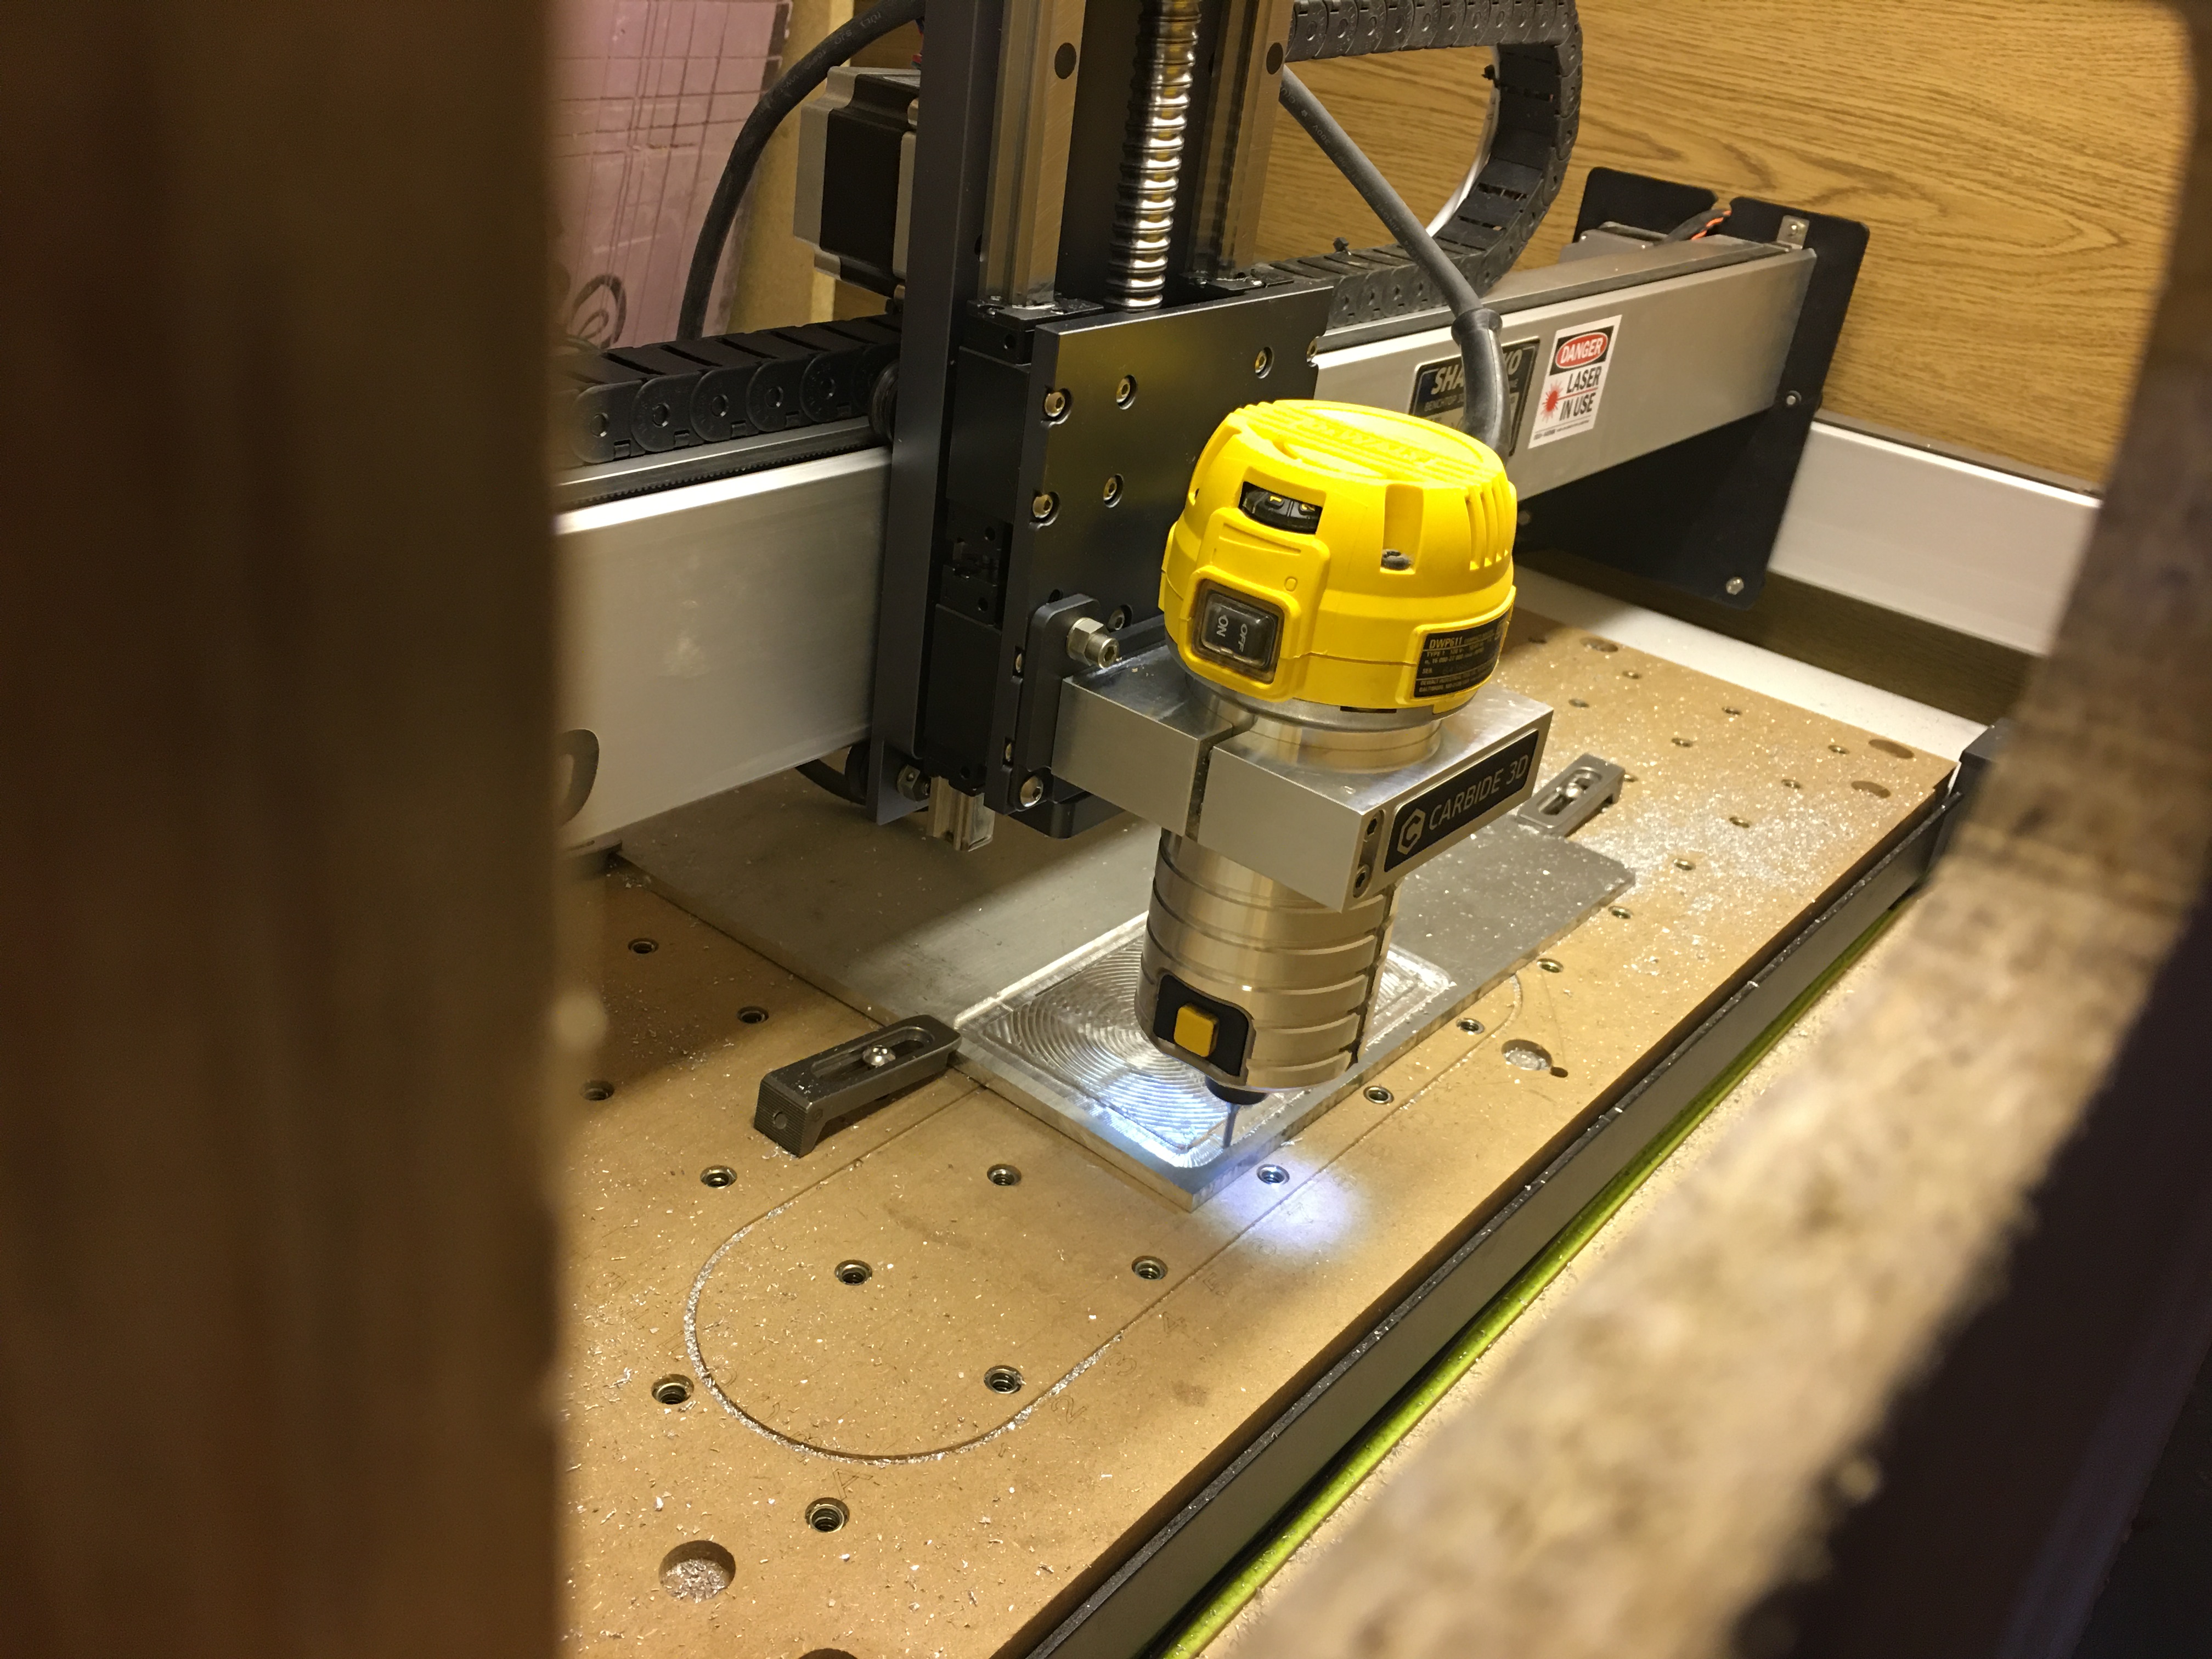
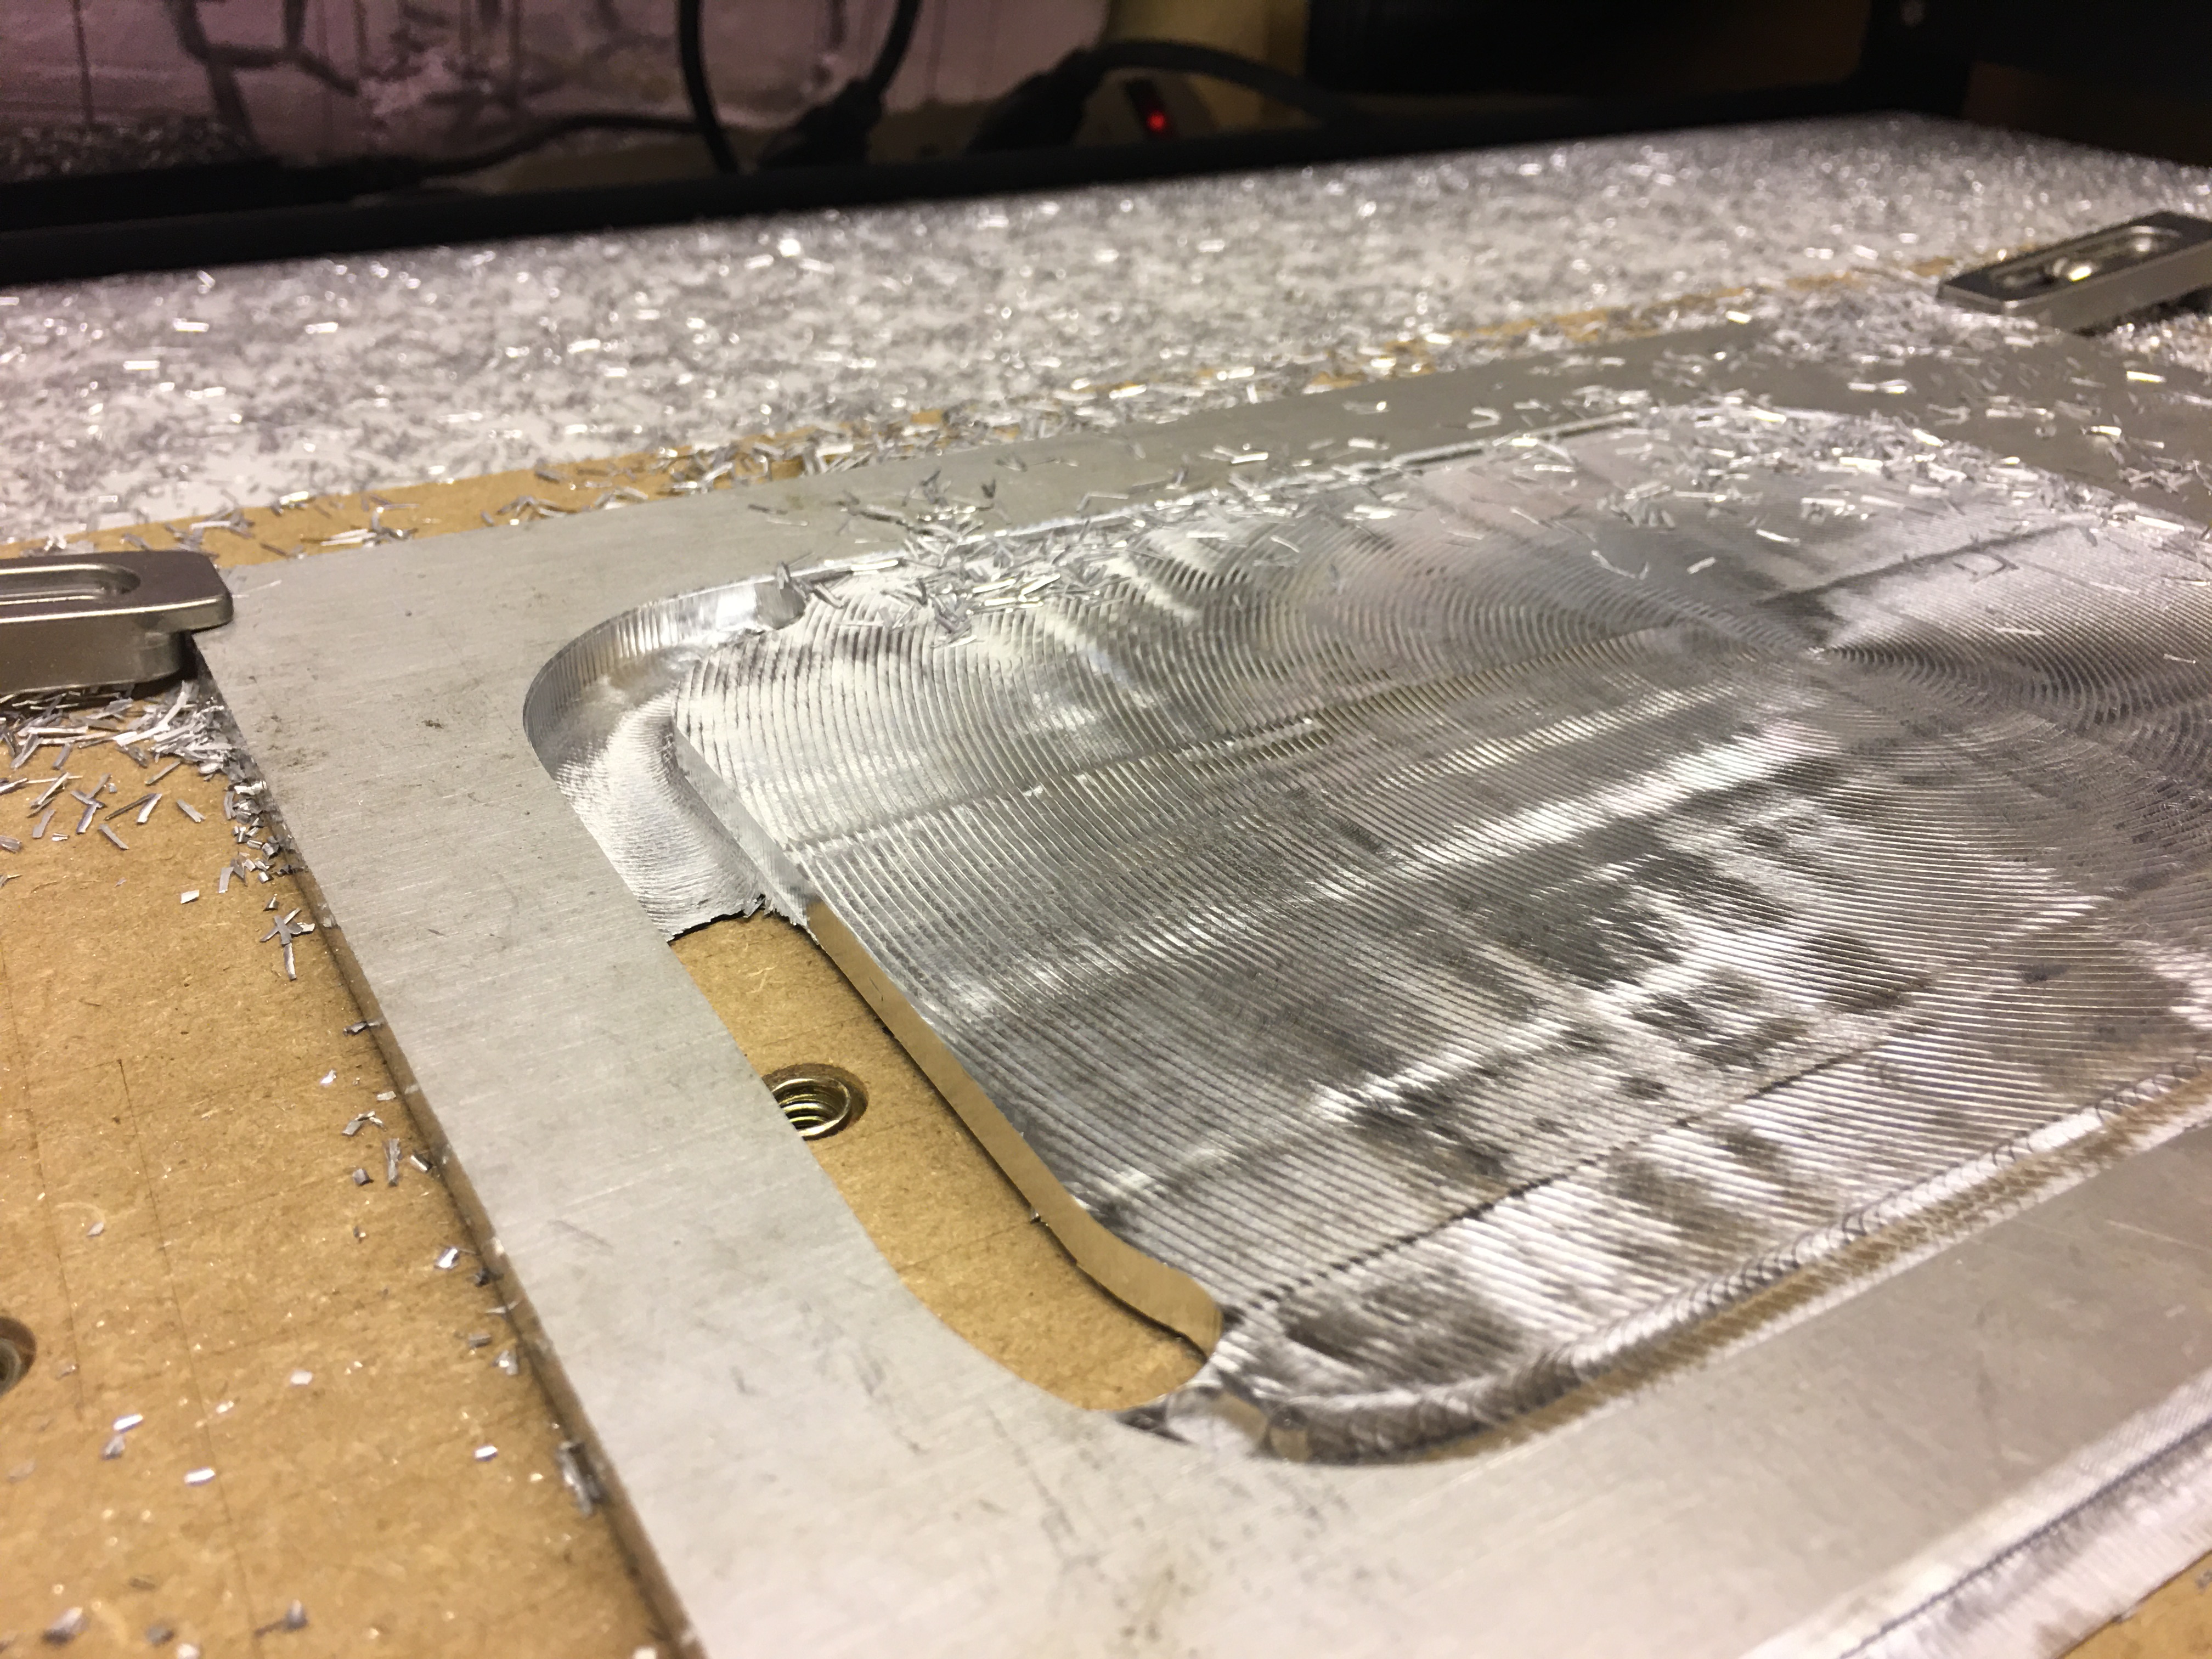
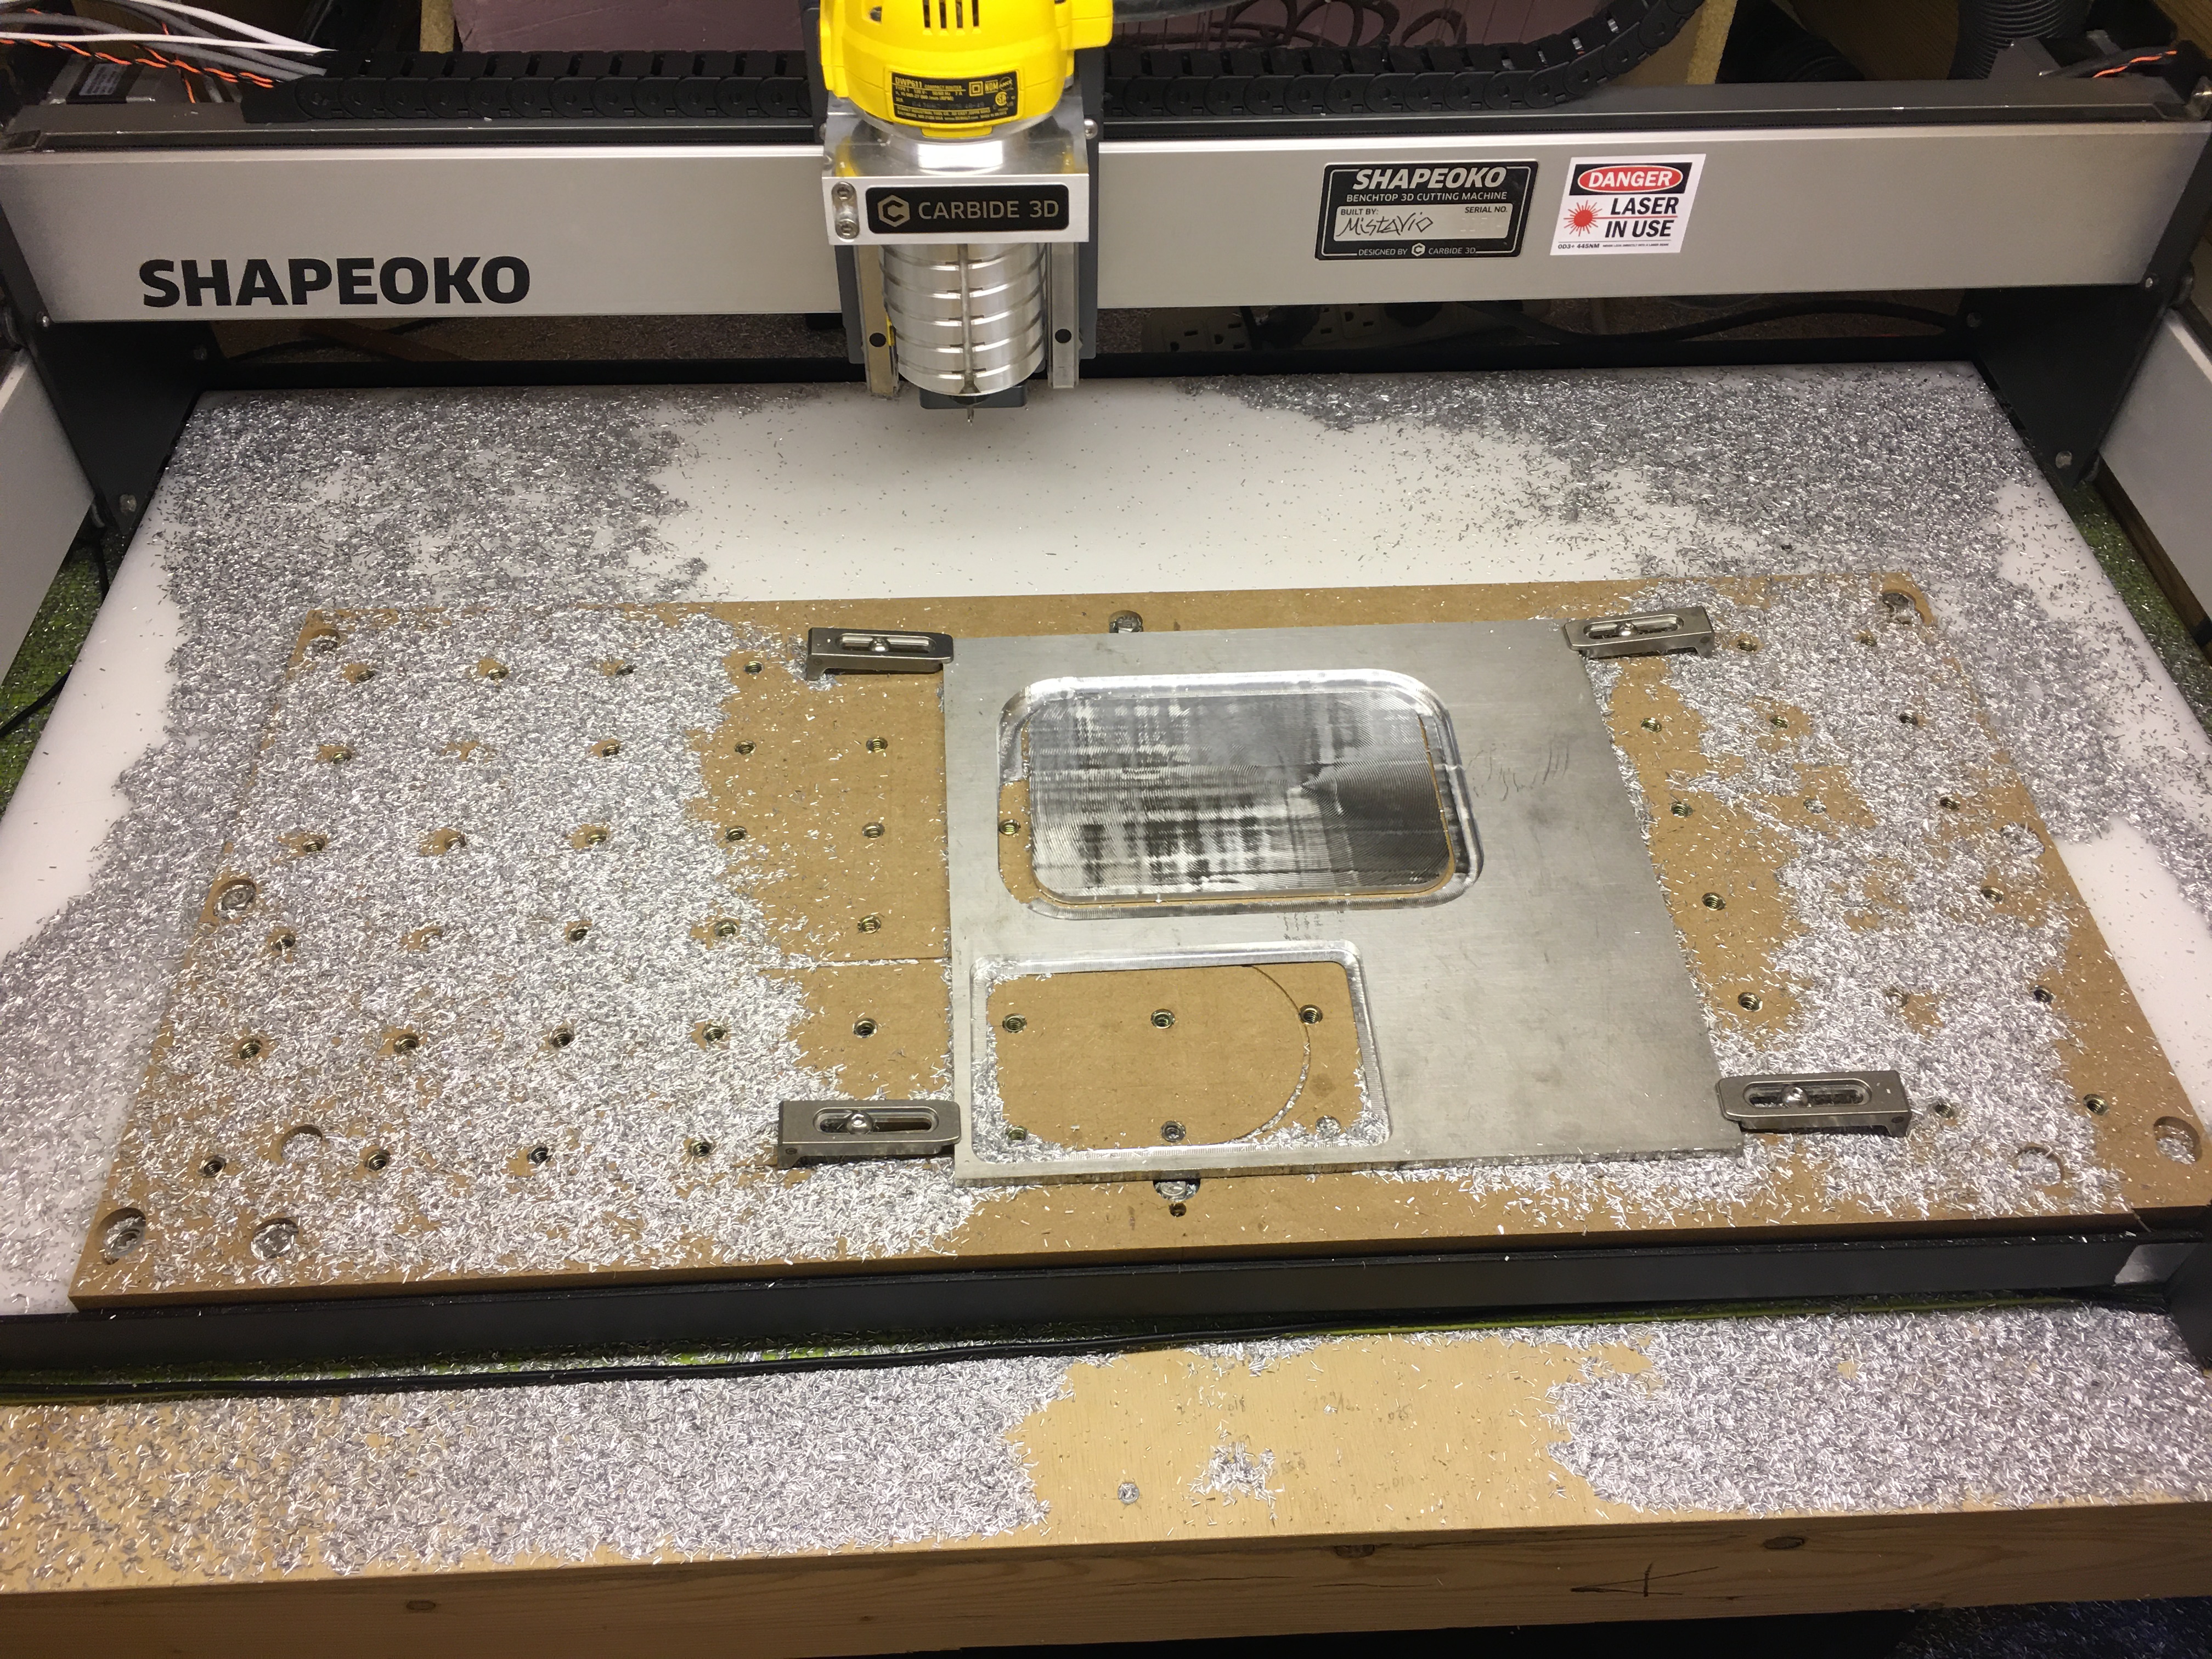
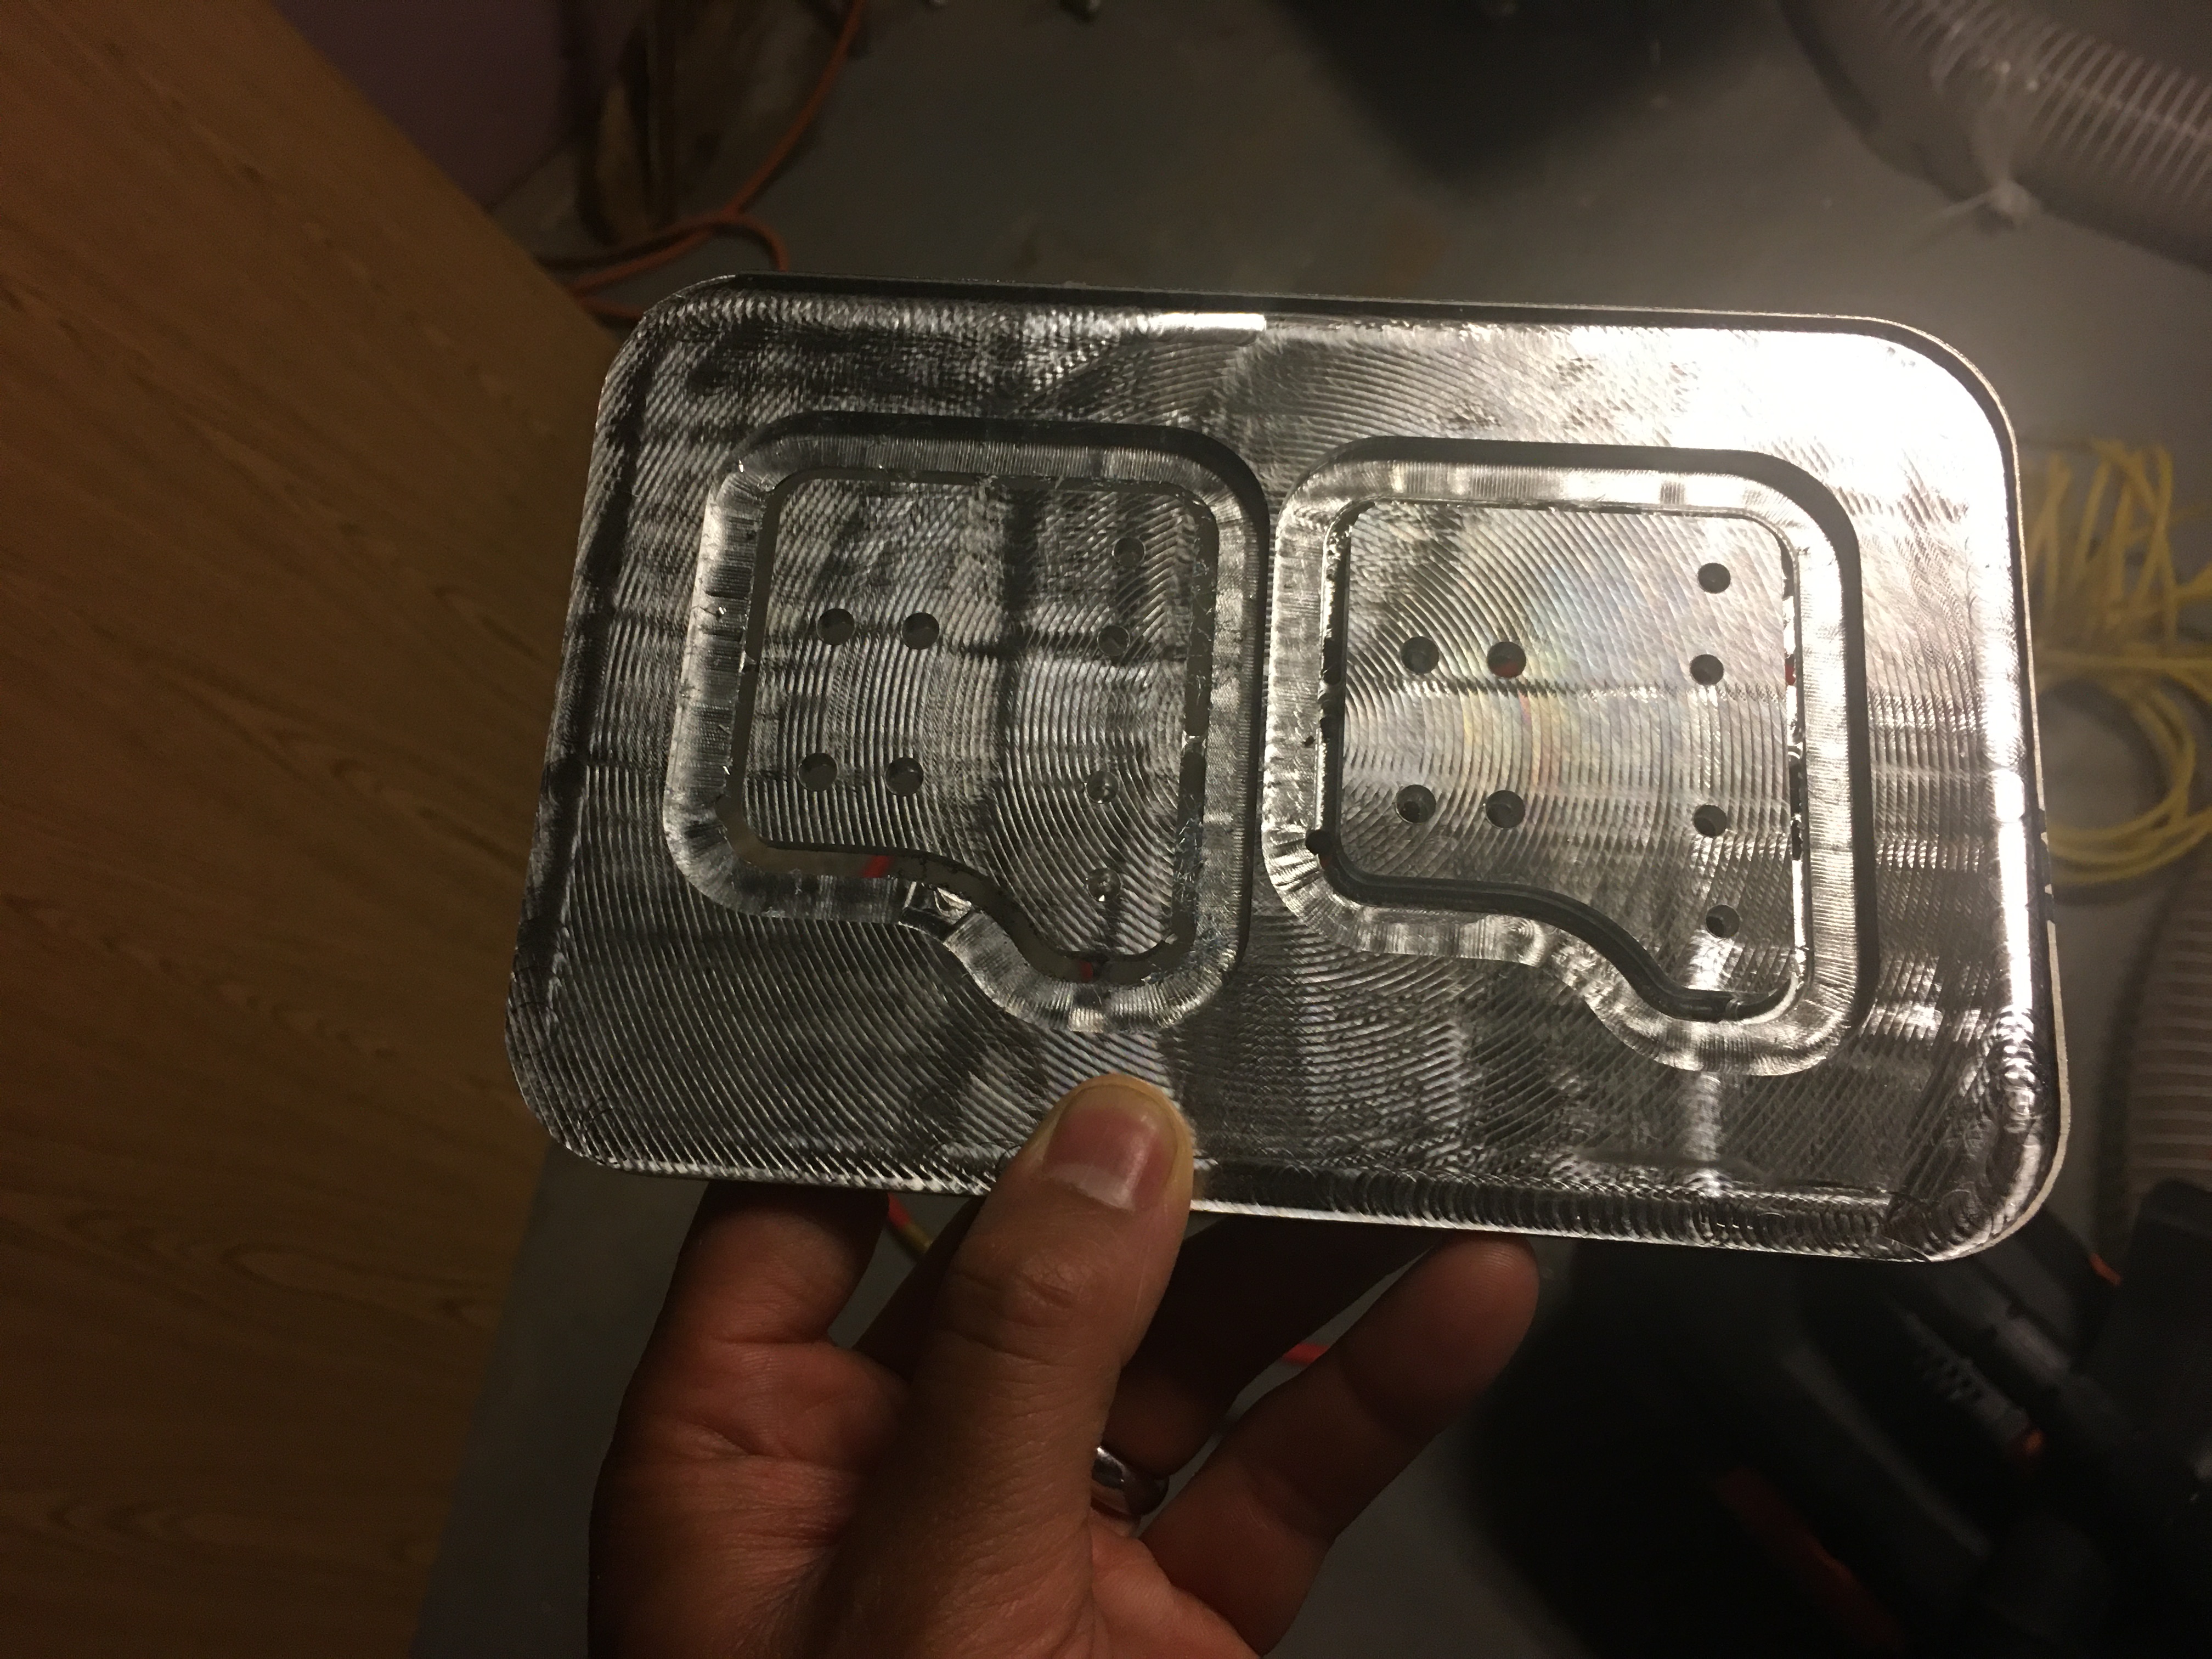
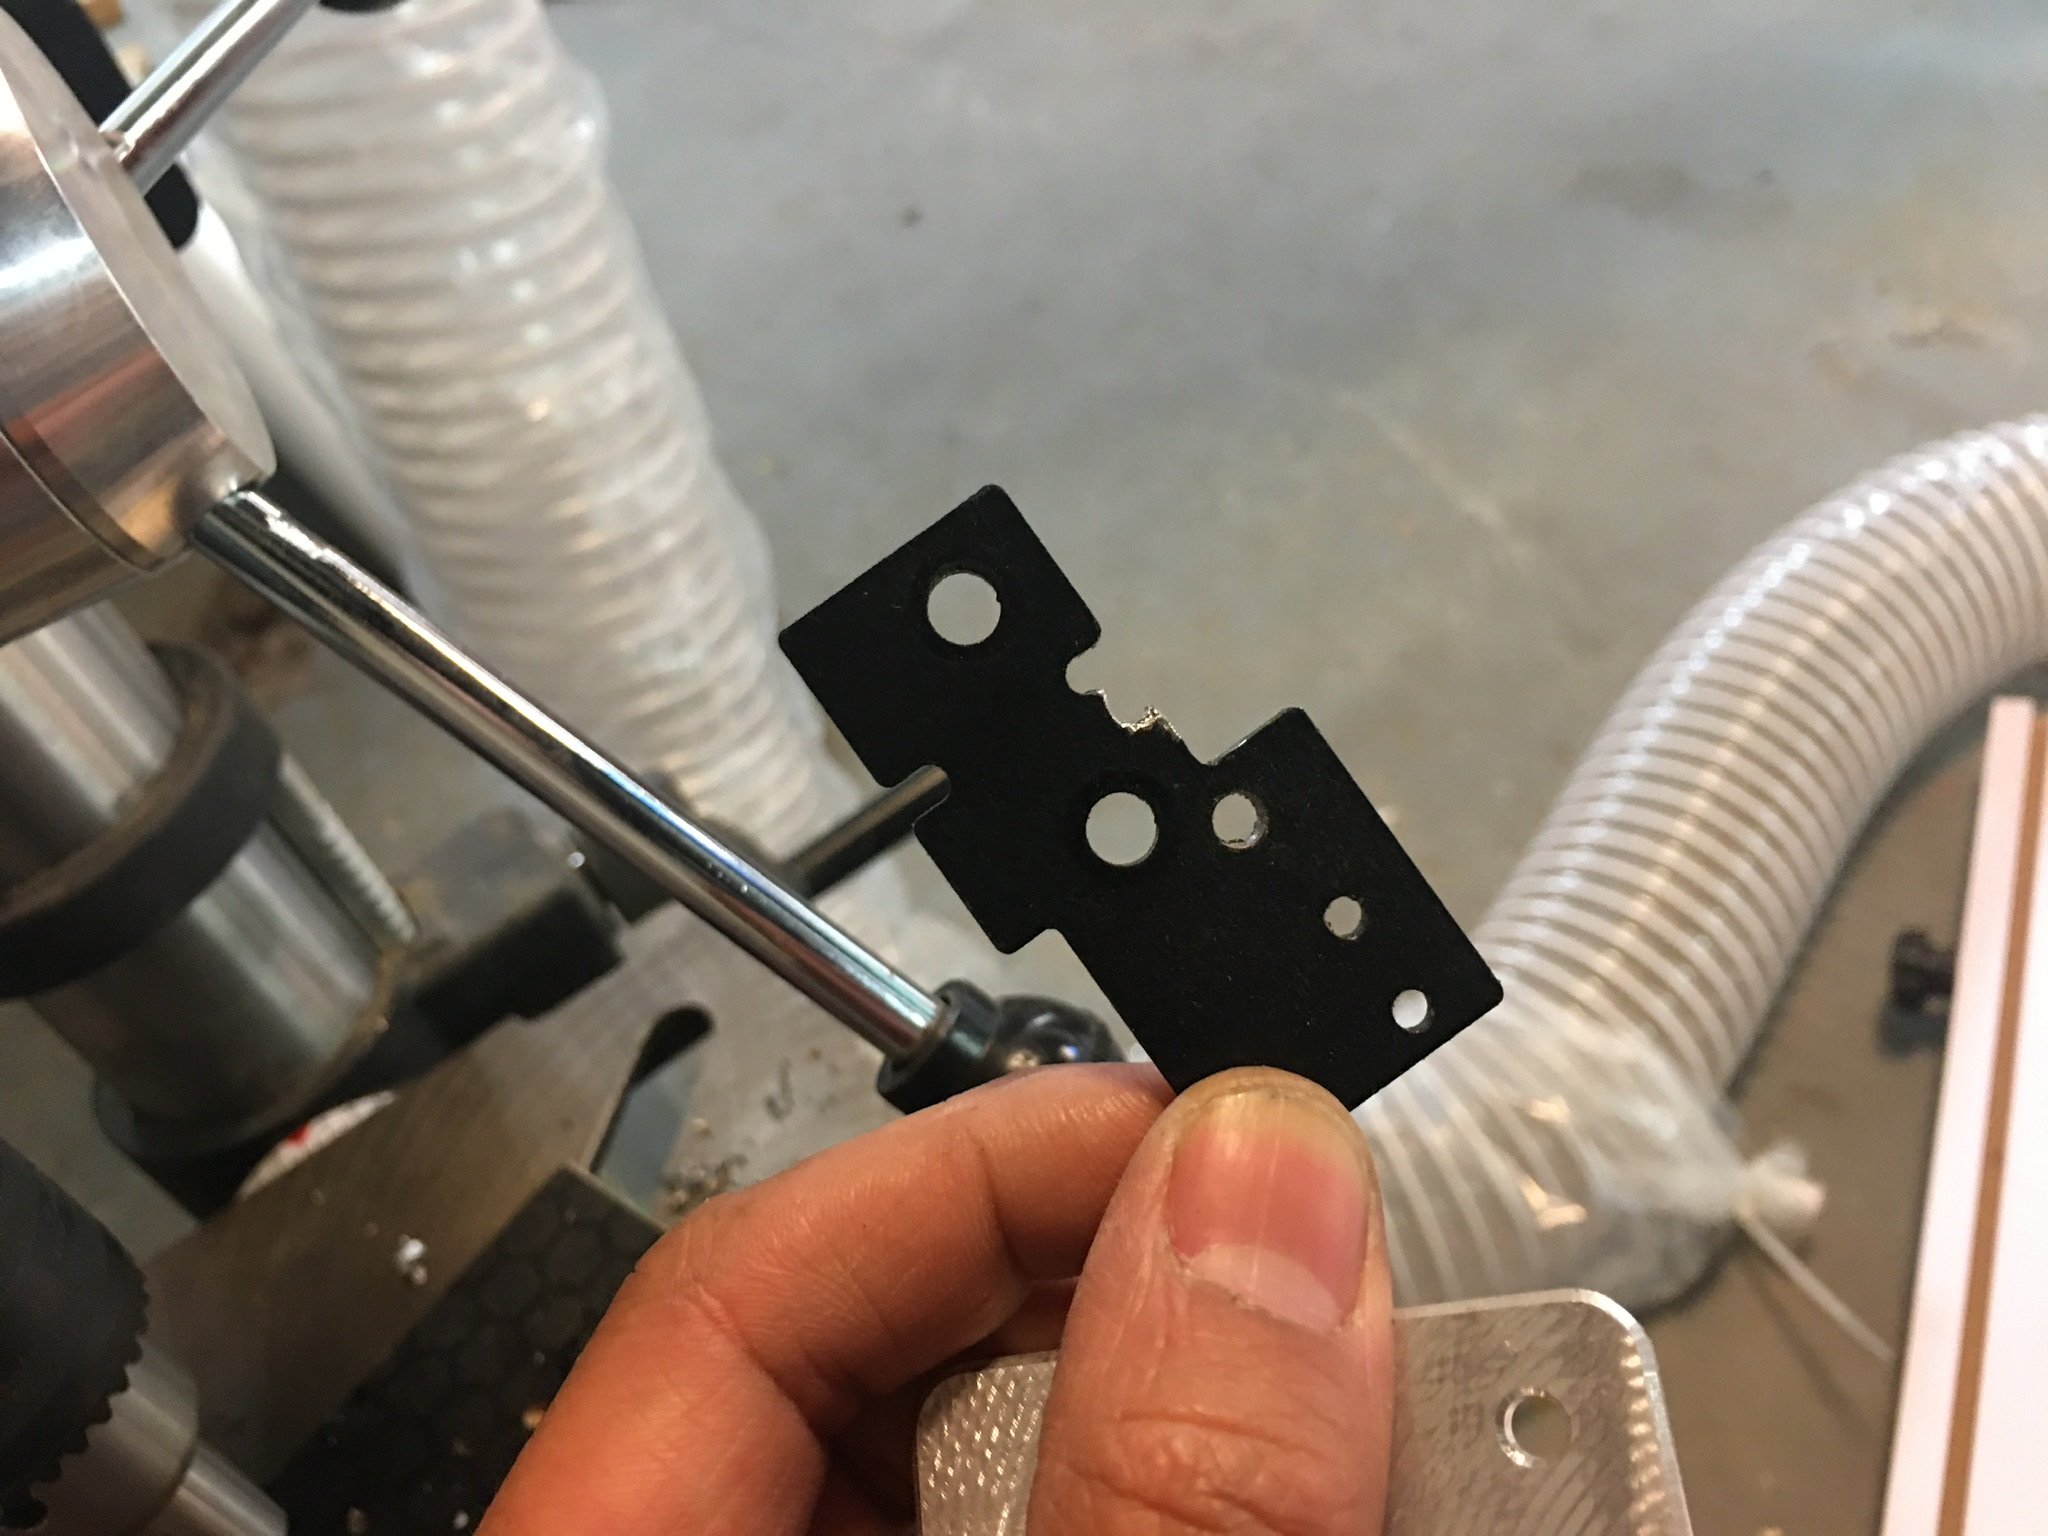
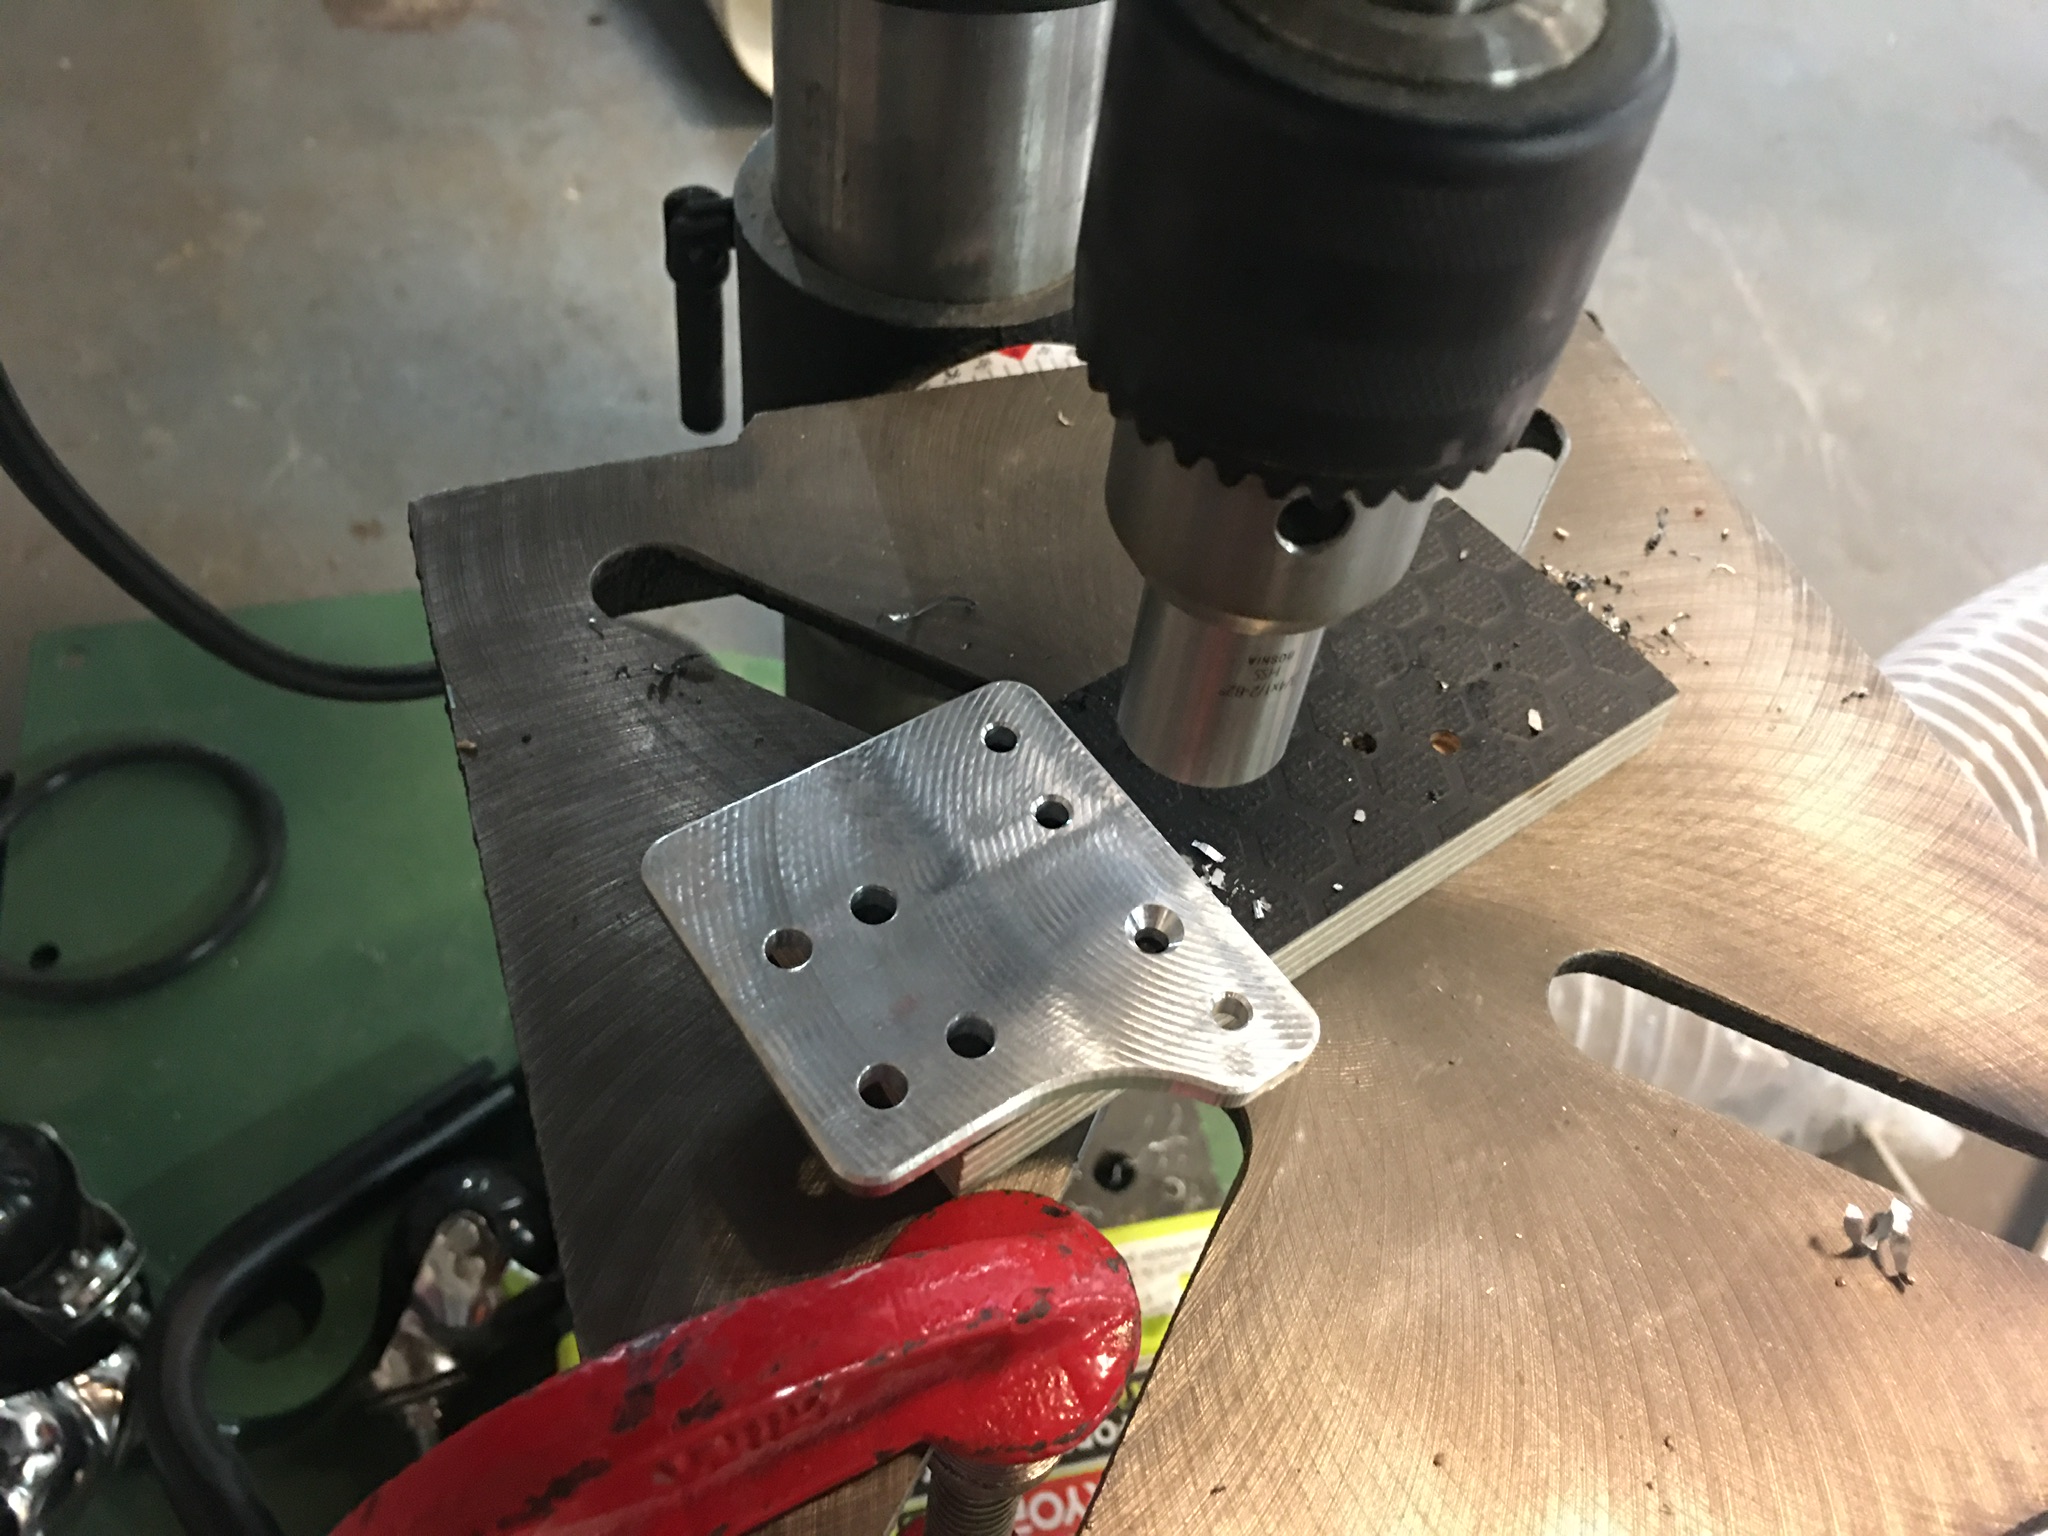
Started with the mounting plates referred to as “ears” by using C3D’s docs with CAD file provided. This became an opportunity for my first aluminum cutting experience with a plate that I had bought at a local metal supplier’s scrap bin nearly a year ago.
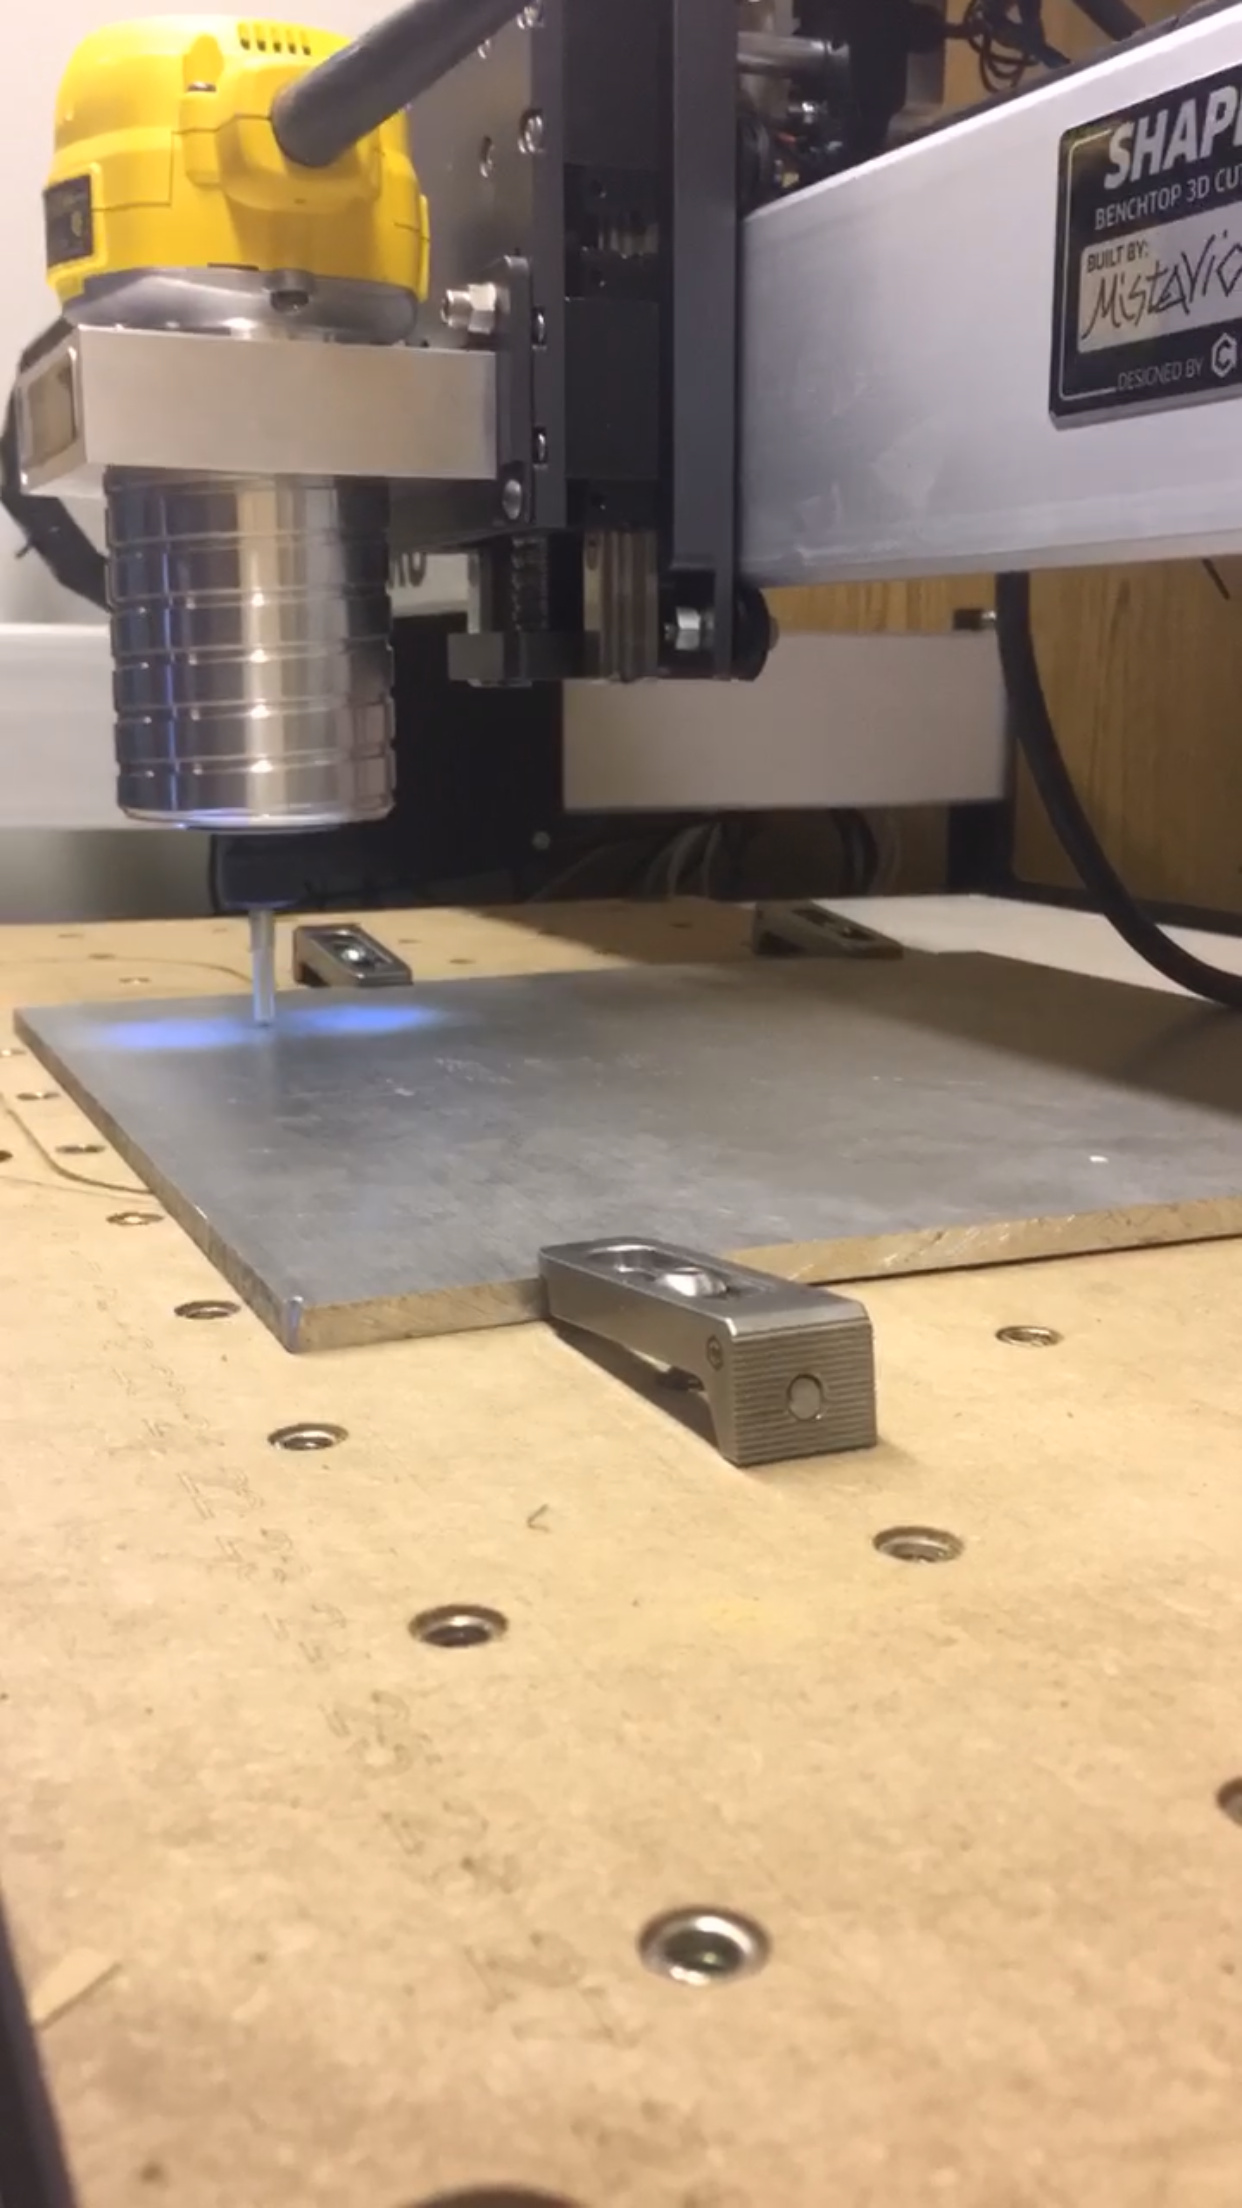
I gummed up a handful of bits, snapped one, and had my double sided tape job fail once along the way. I eventually subscribed to @Vince.Fab’s technique of listening and observing to adjust feed rates and router speed on the fly; this worked well especially coupled with a C3D ZrN coated end mill (unfortunately, I only had the 201Z at the time).
!

image|666x500

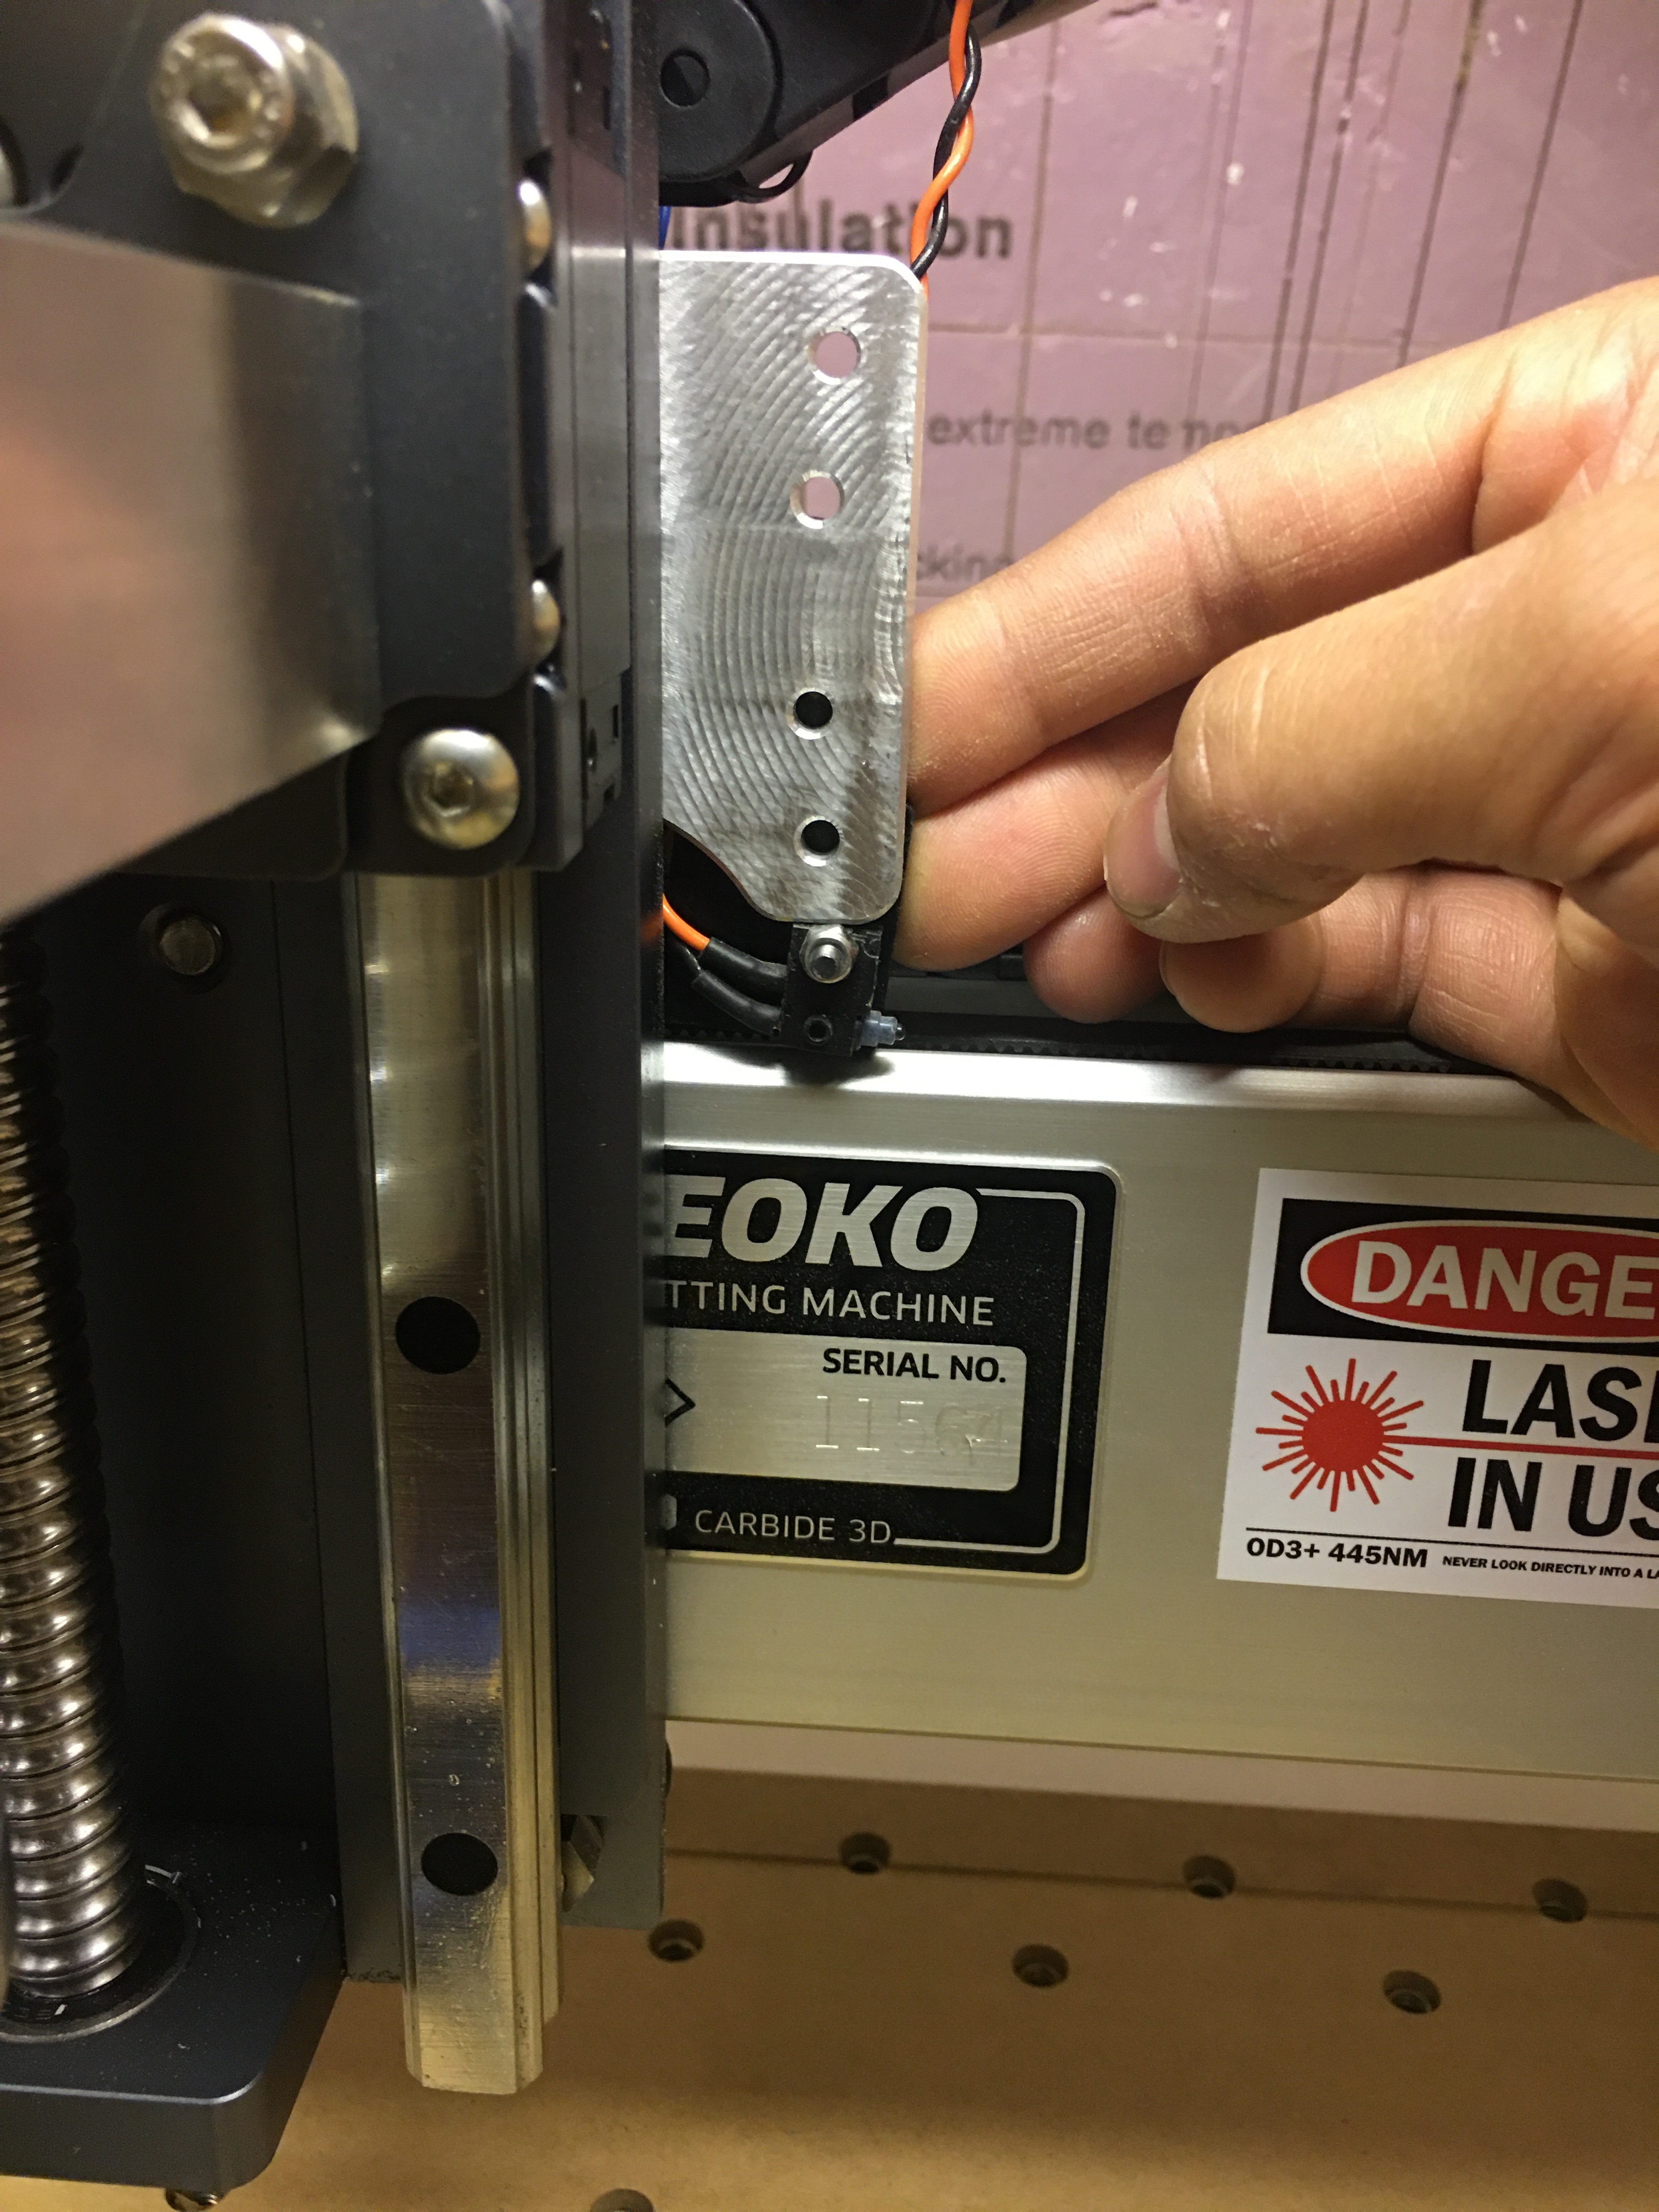
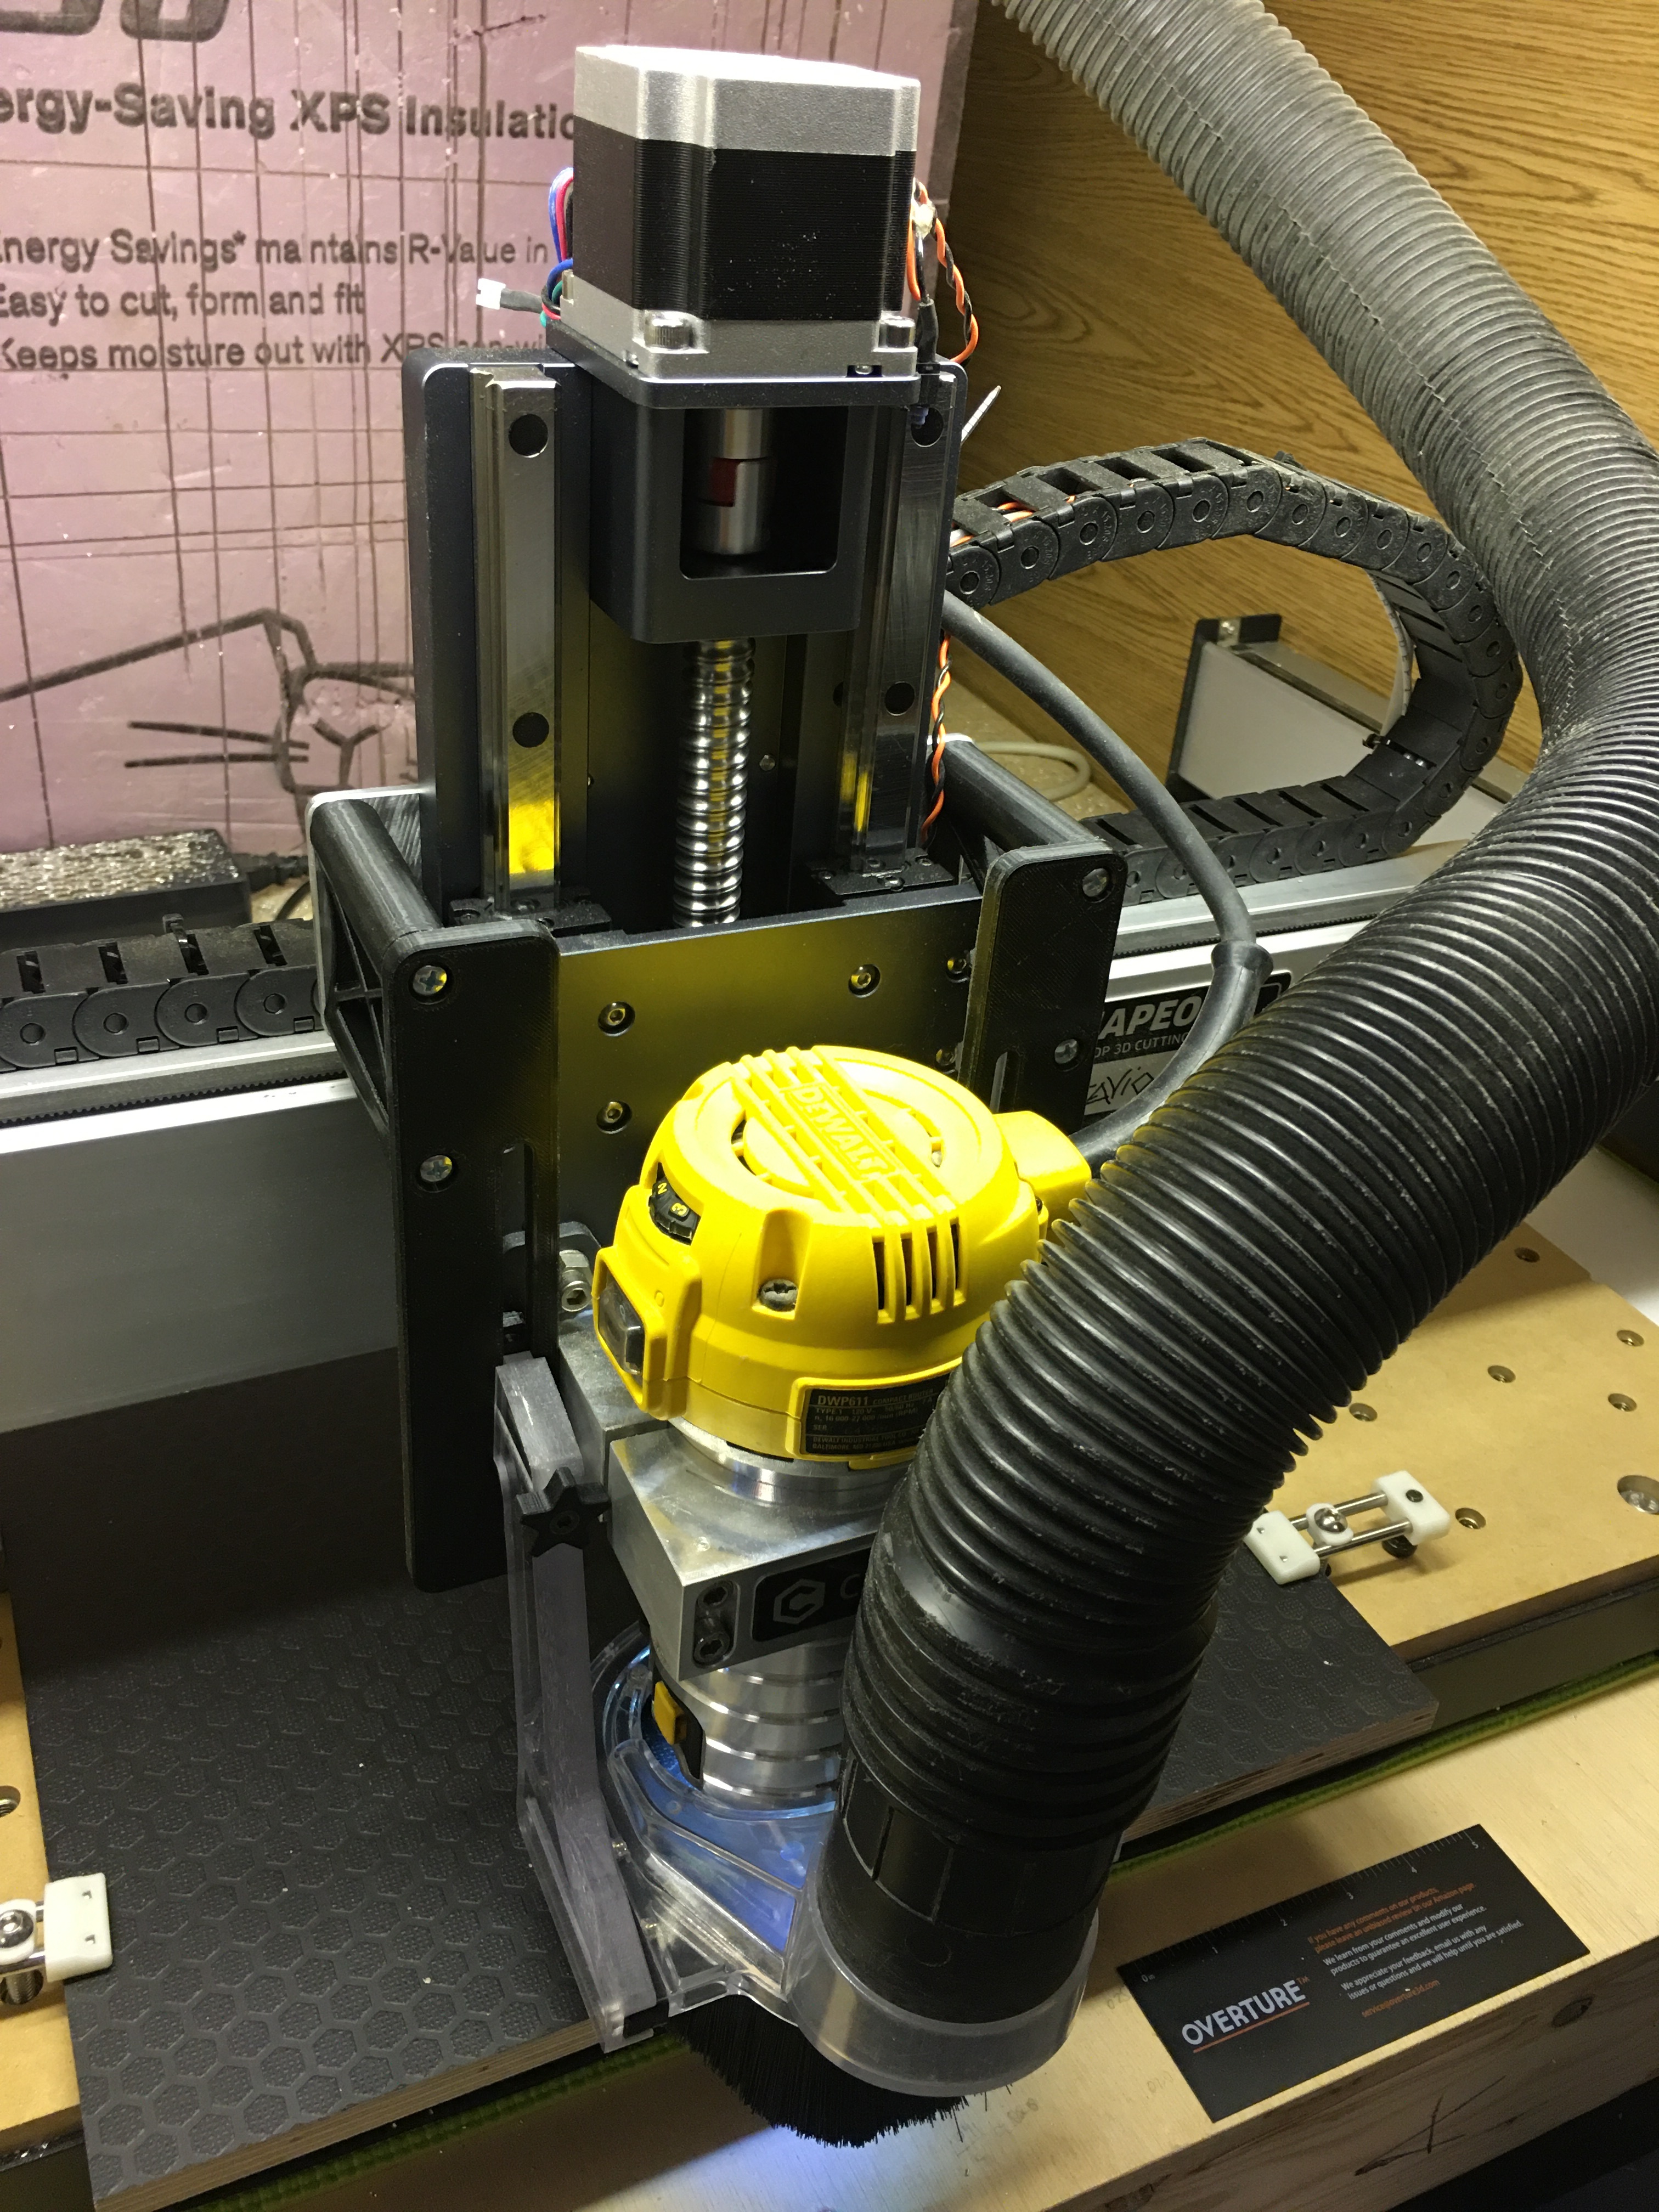
I had spent a chunk of my HDZ savings on a 3D printer with little hope that availability would come around again. With my 3D printer in transit via freight container, the opportunity came and I jumped at a chance for a new Z-axis; sometimes it’s better to ask forgiveness than permission. I 3D printed supports/spacers.

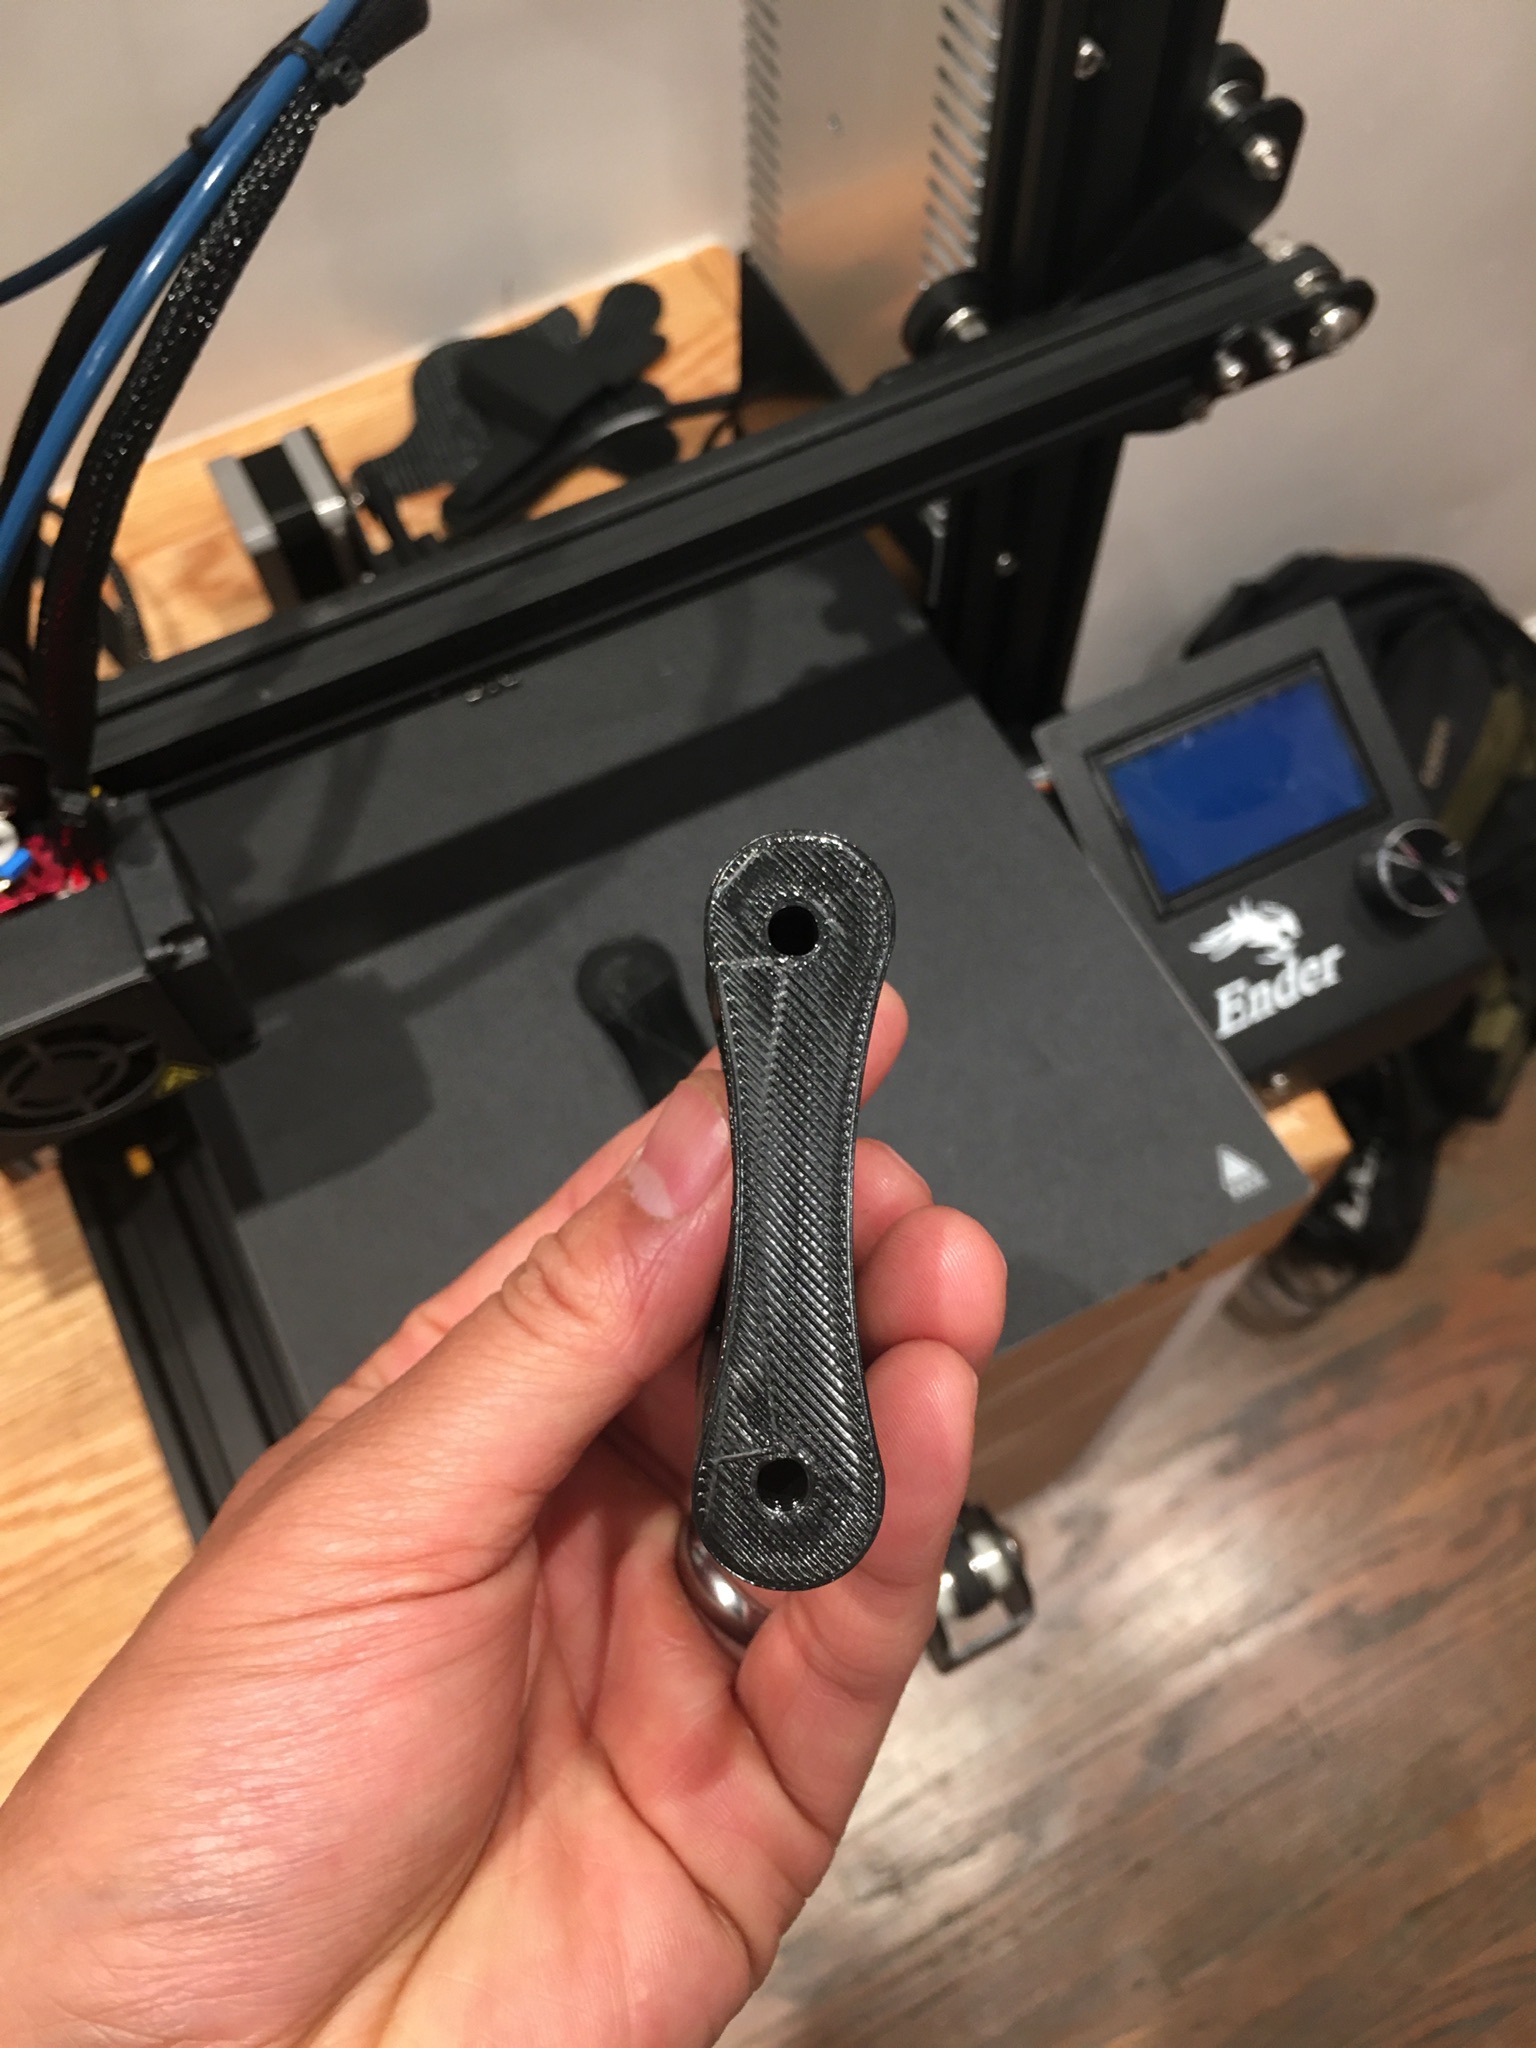
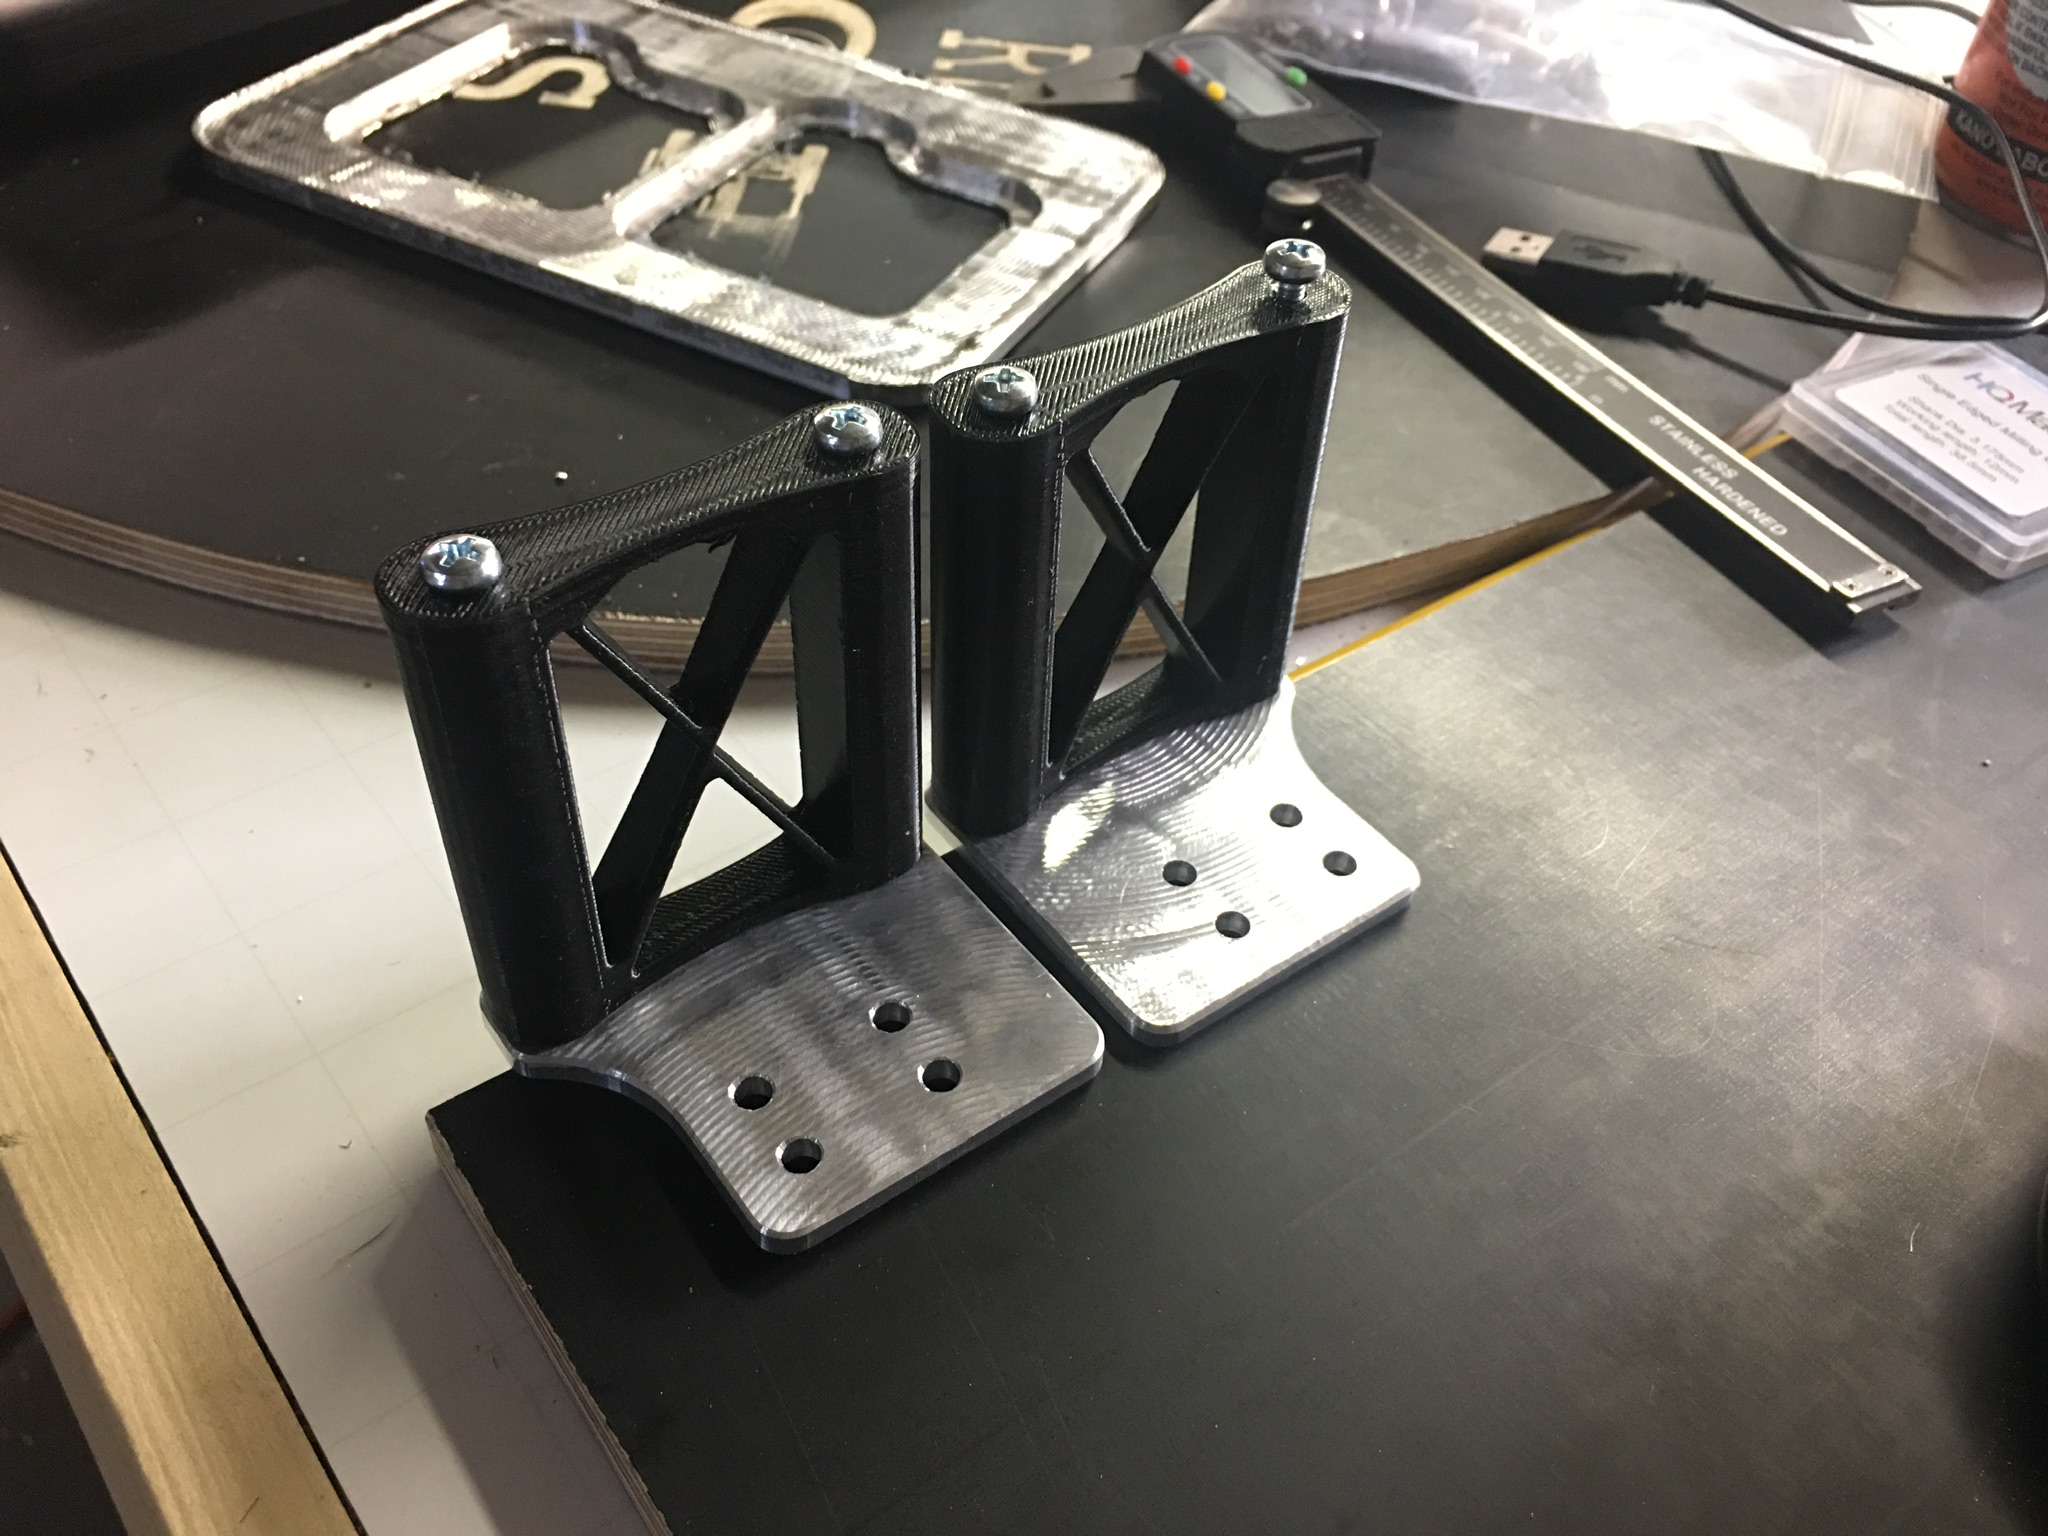

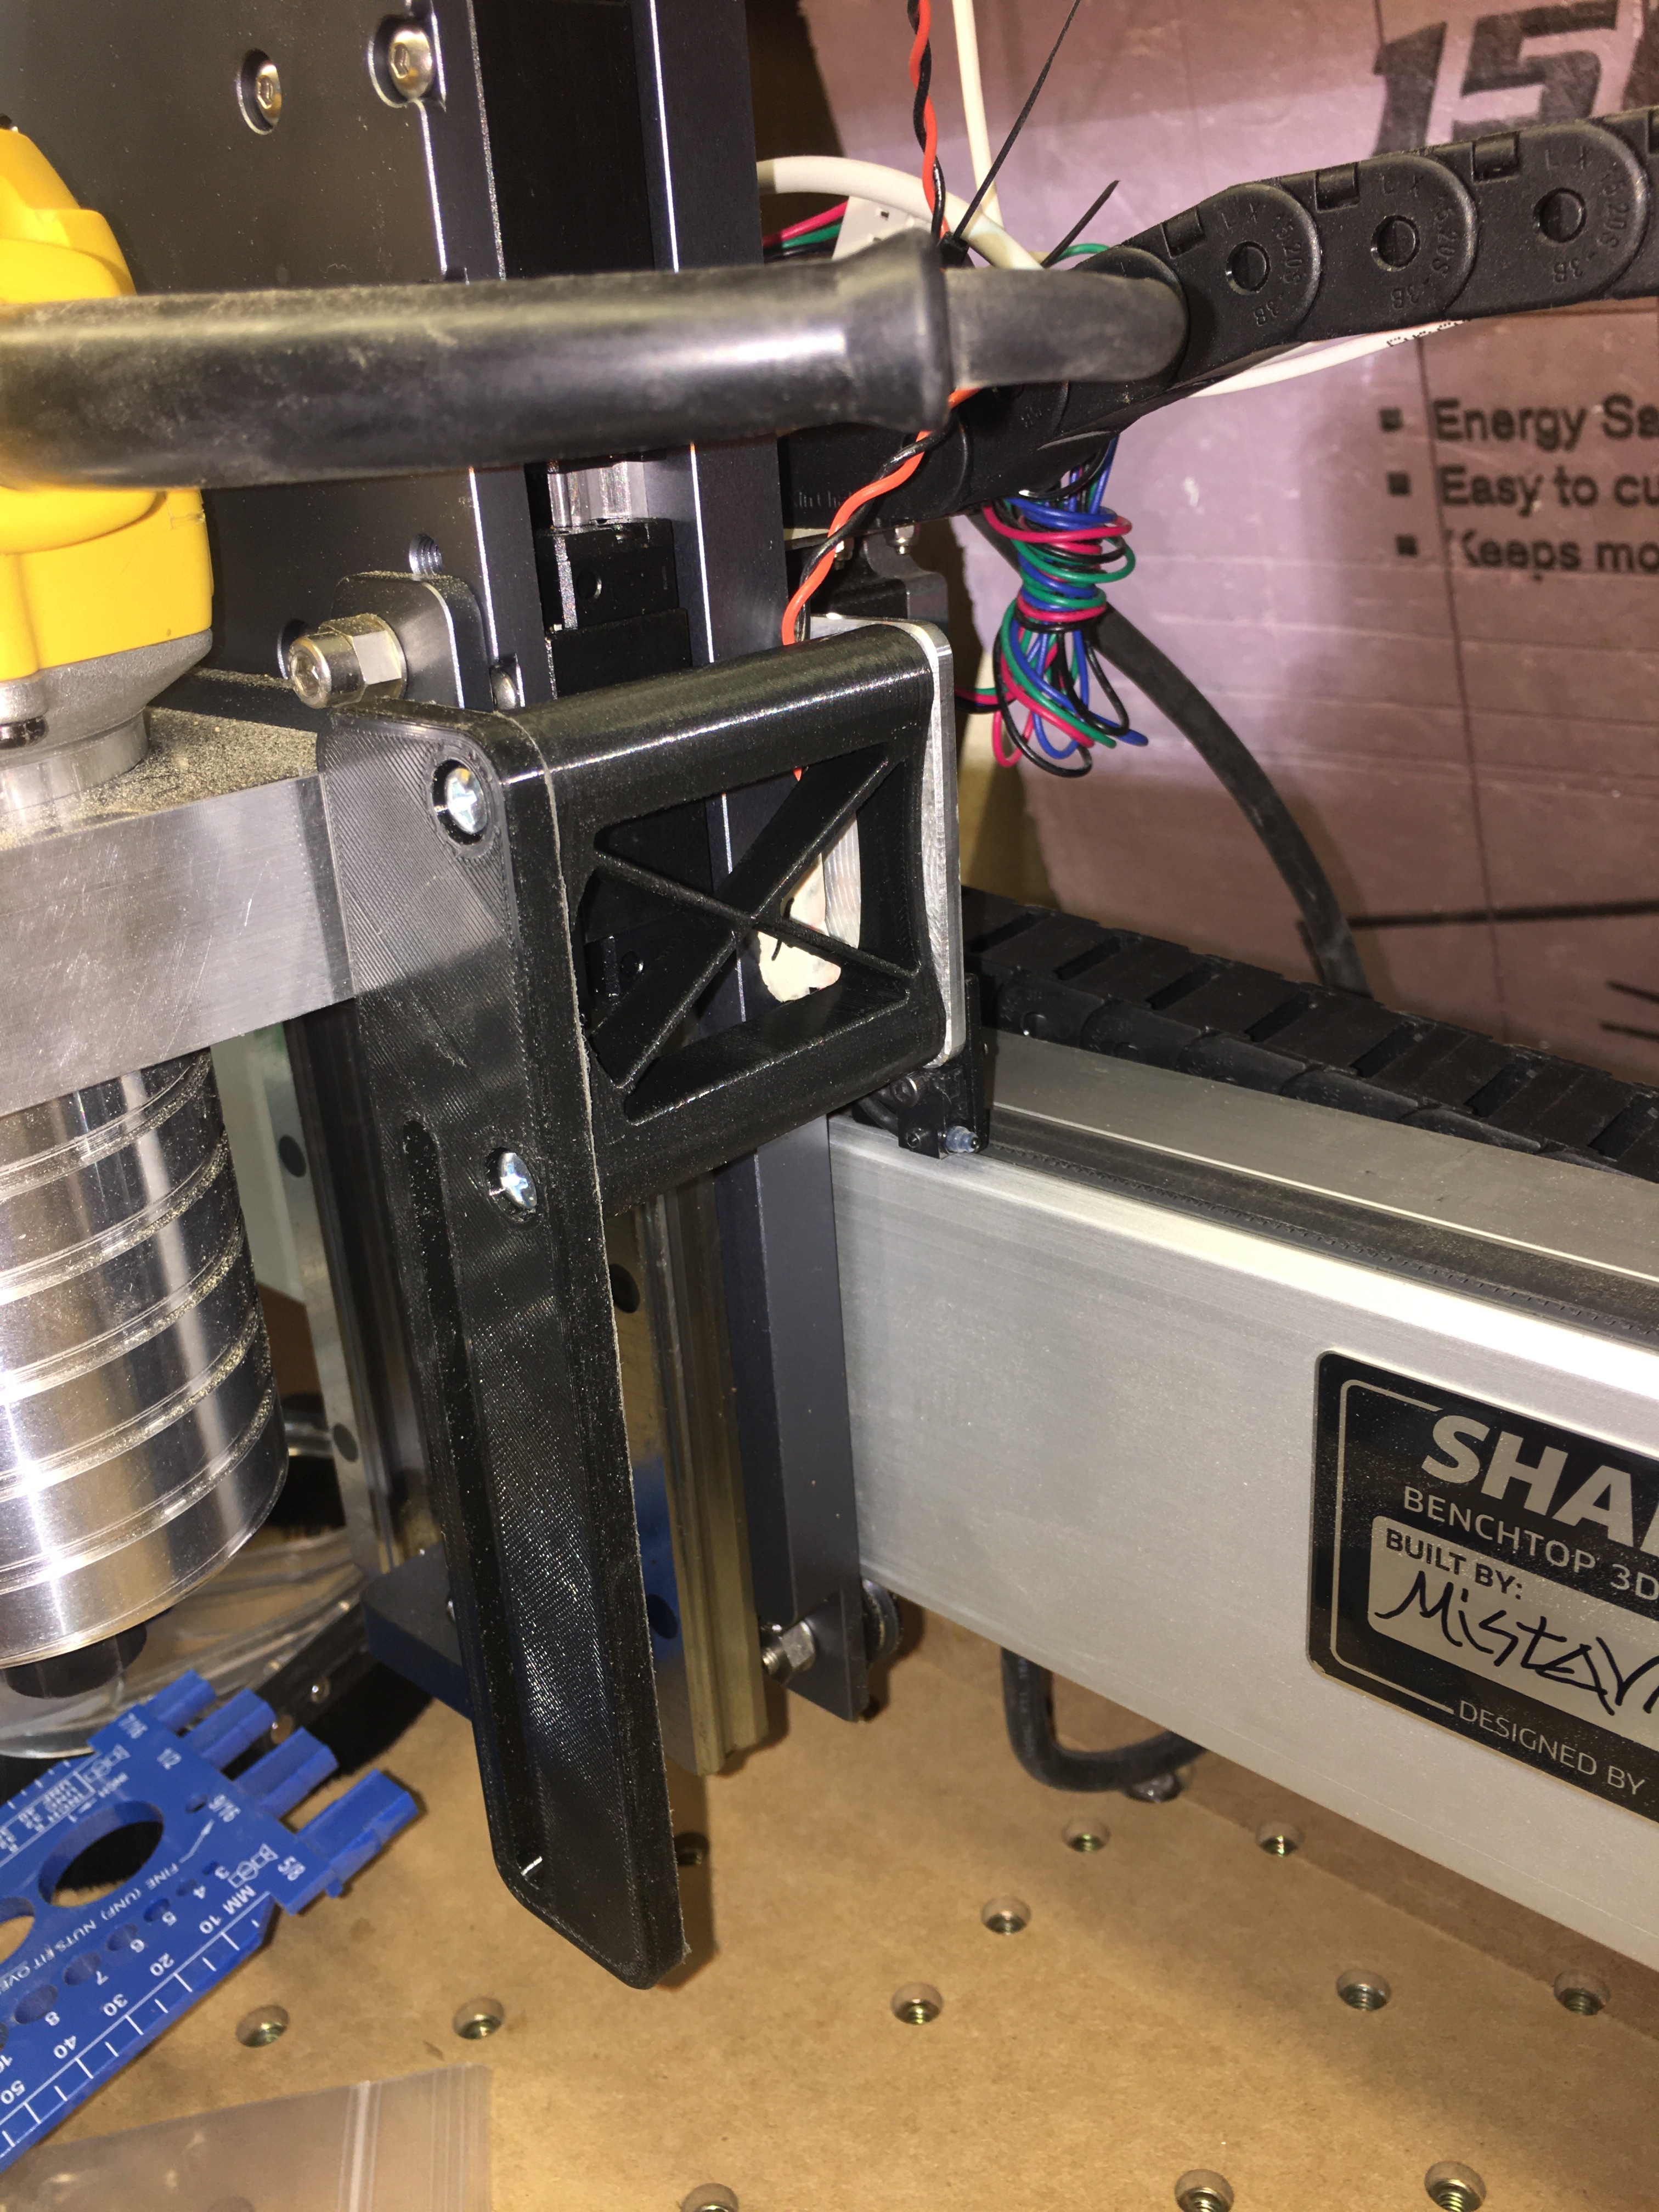
I also printed the arms to test my design and proper fitment - it worked first try despite having printed two of the same part (I just ignored the use of the counterbores).
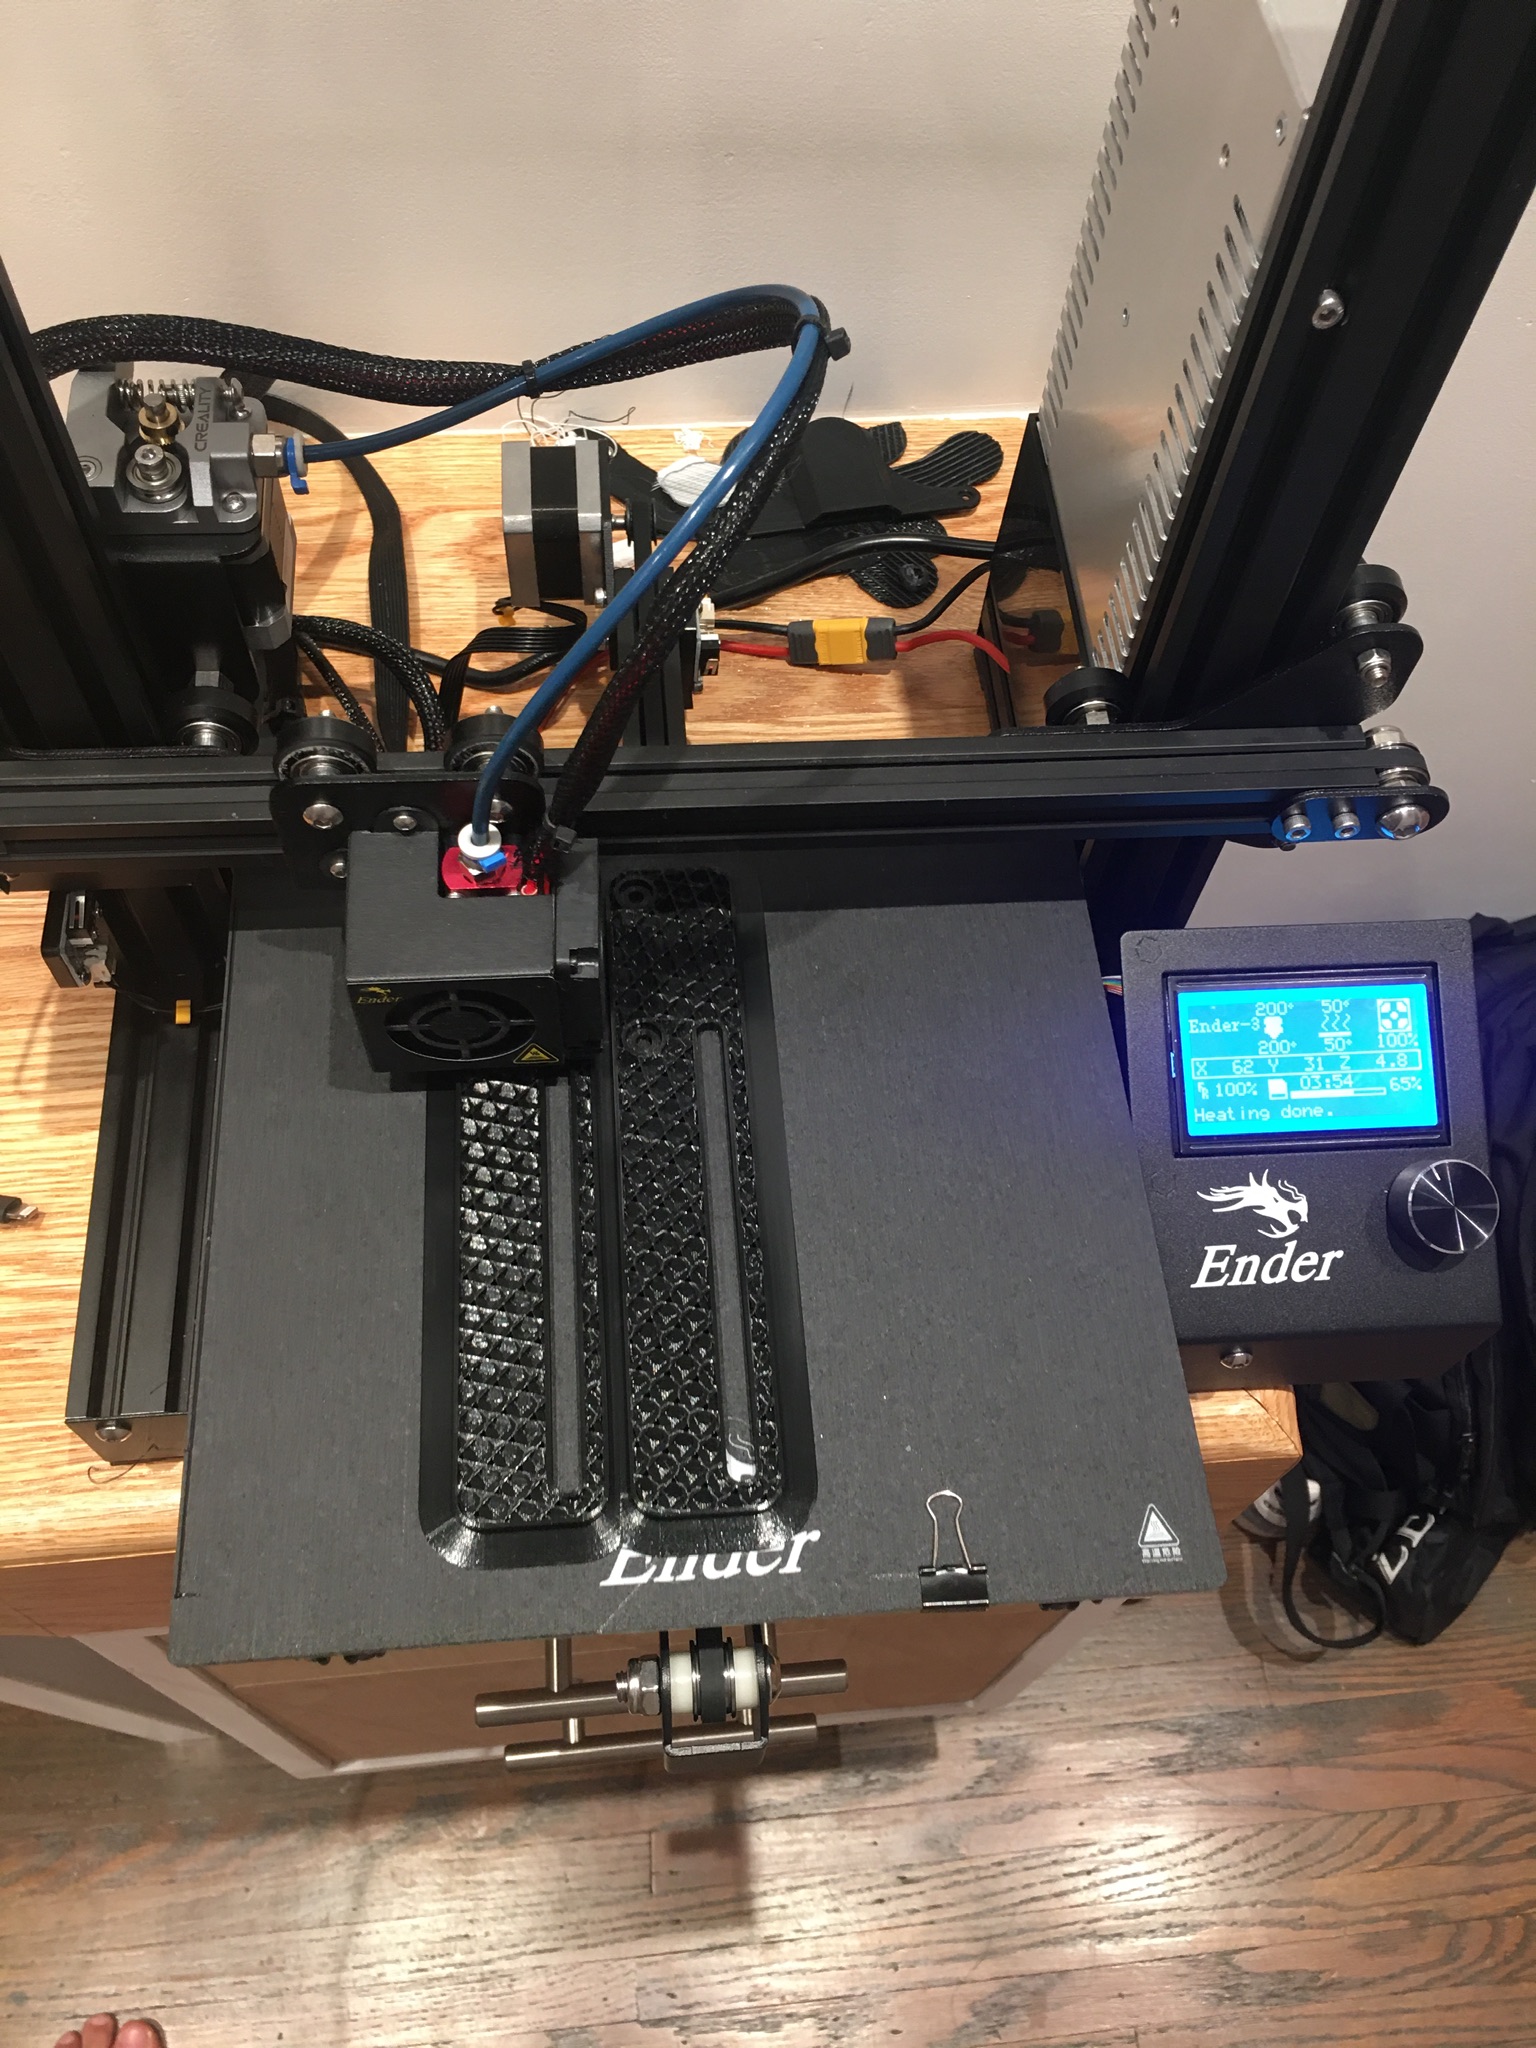

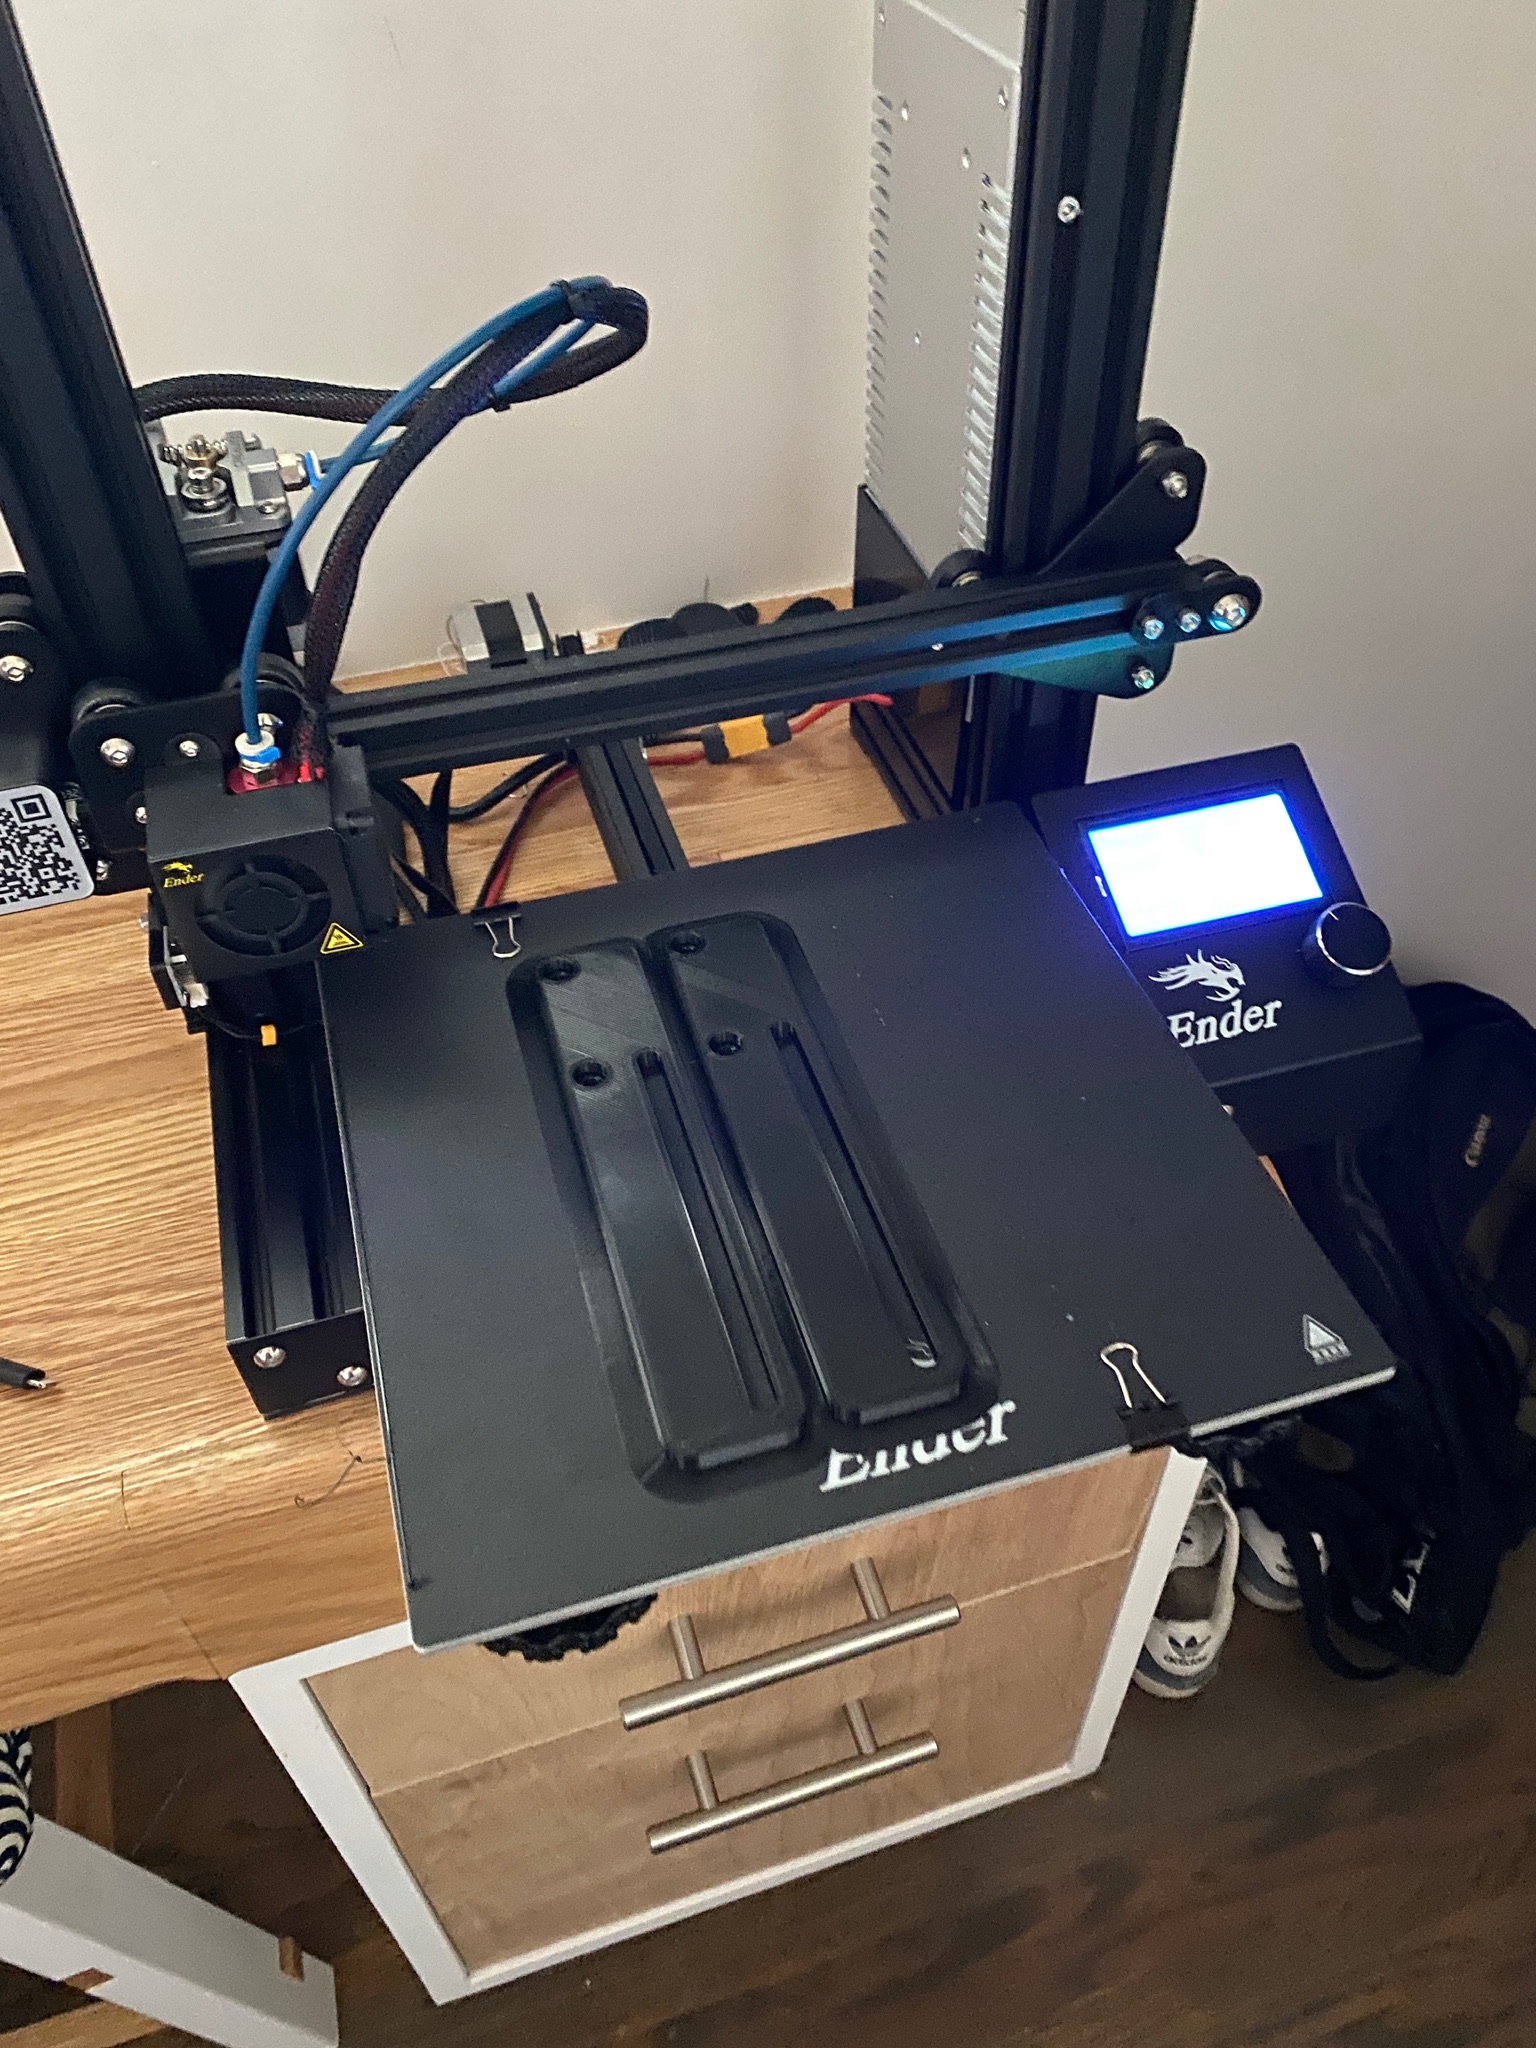

I had to relocate the X-axis limit switch.
image|375x500

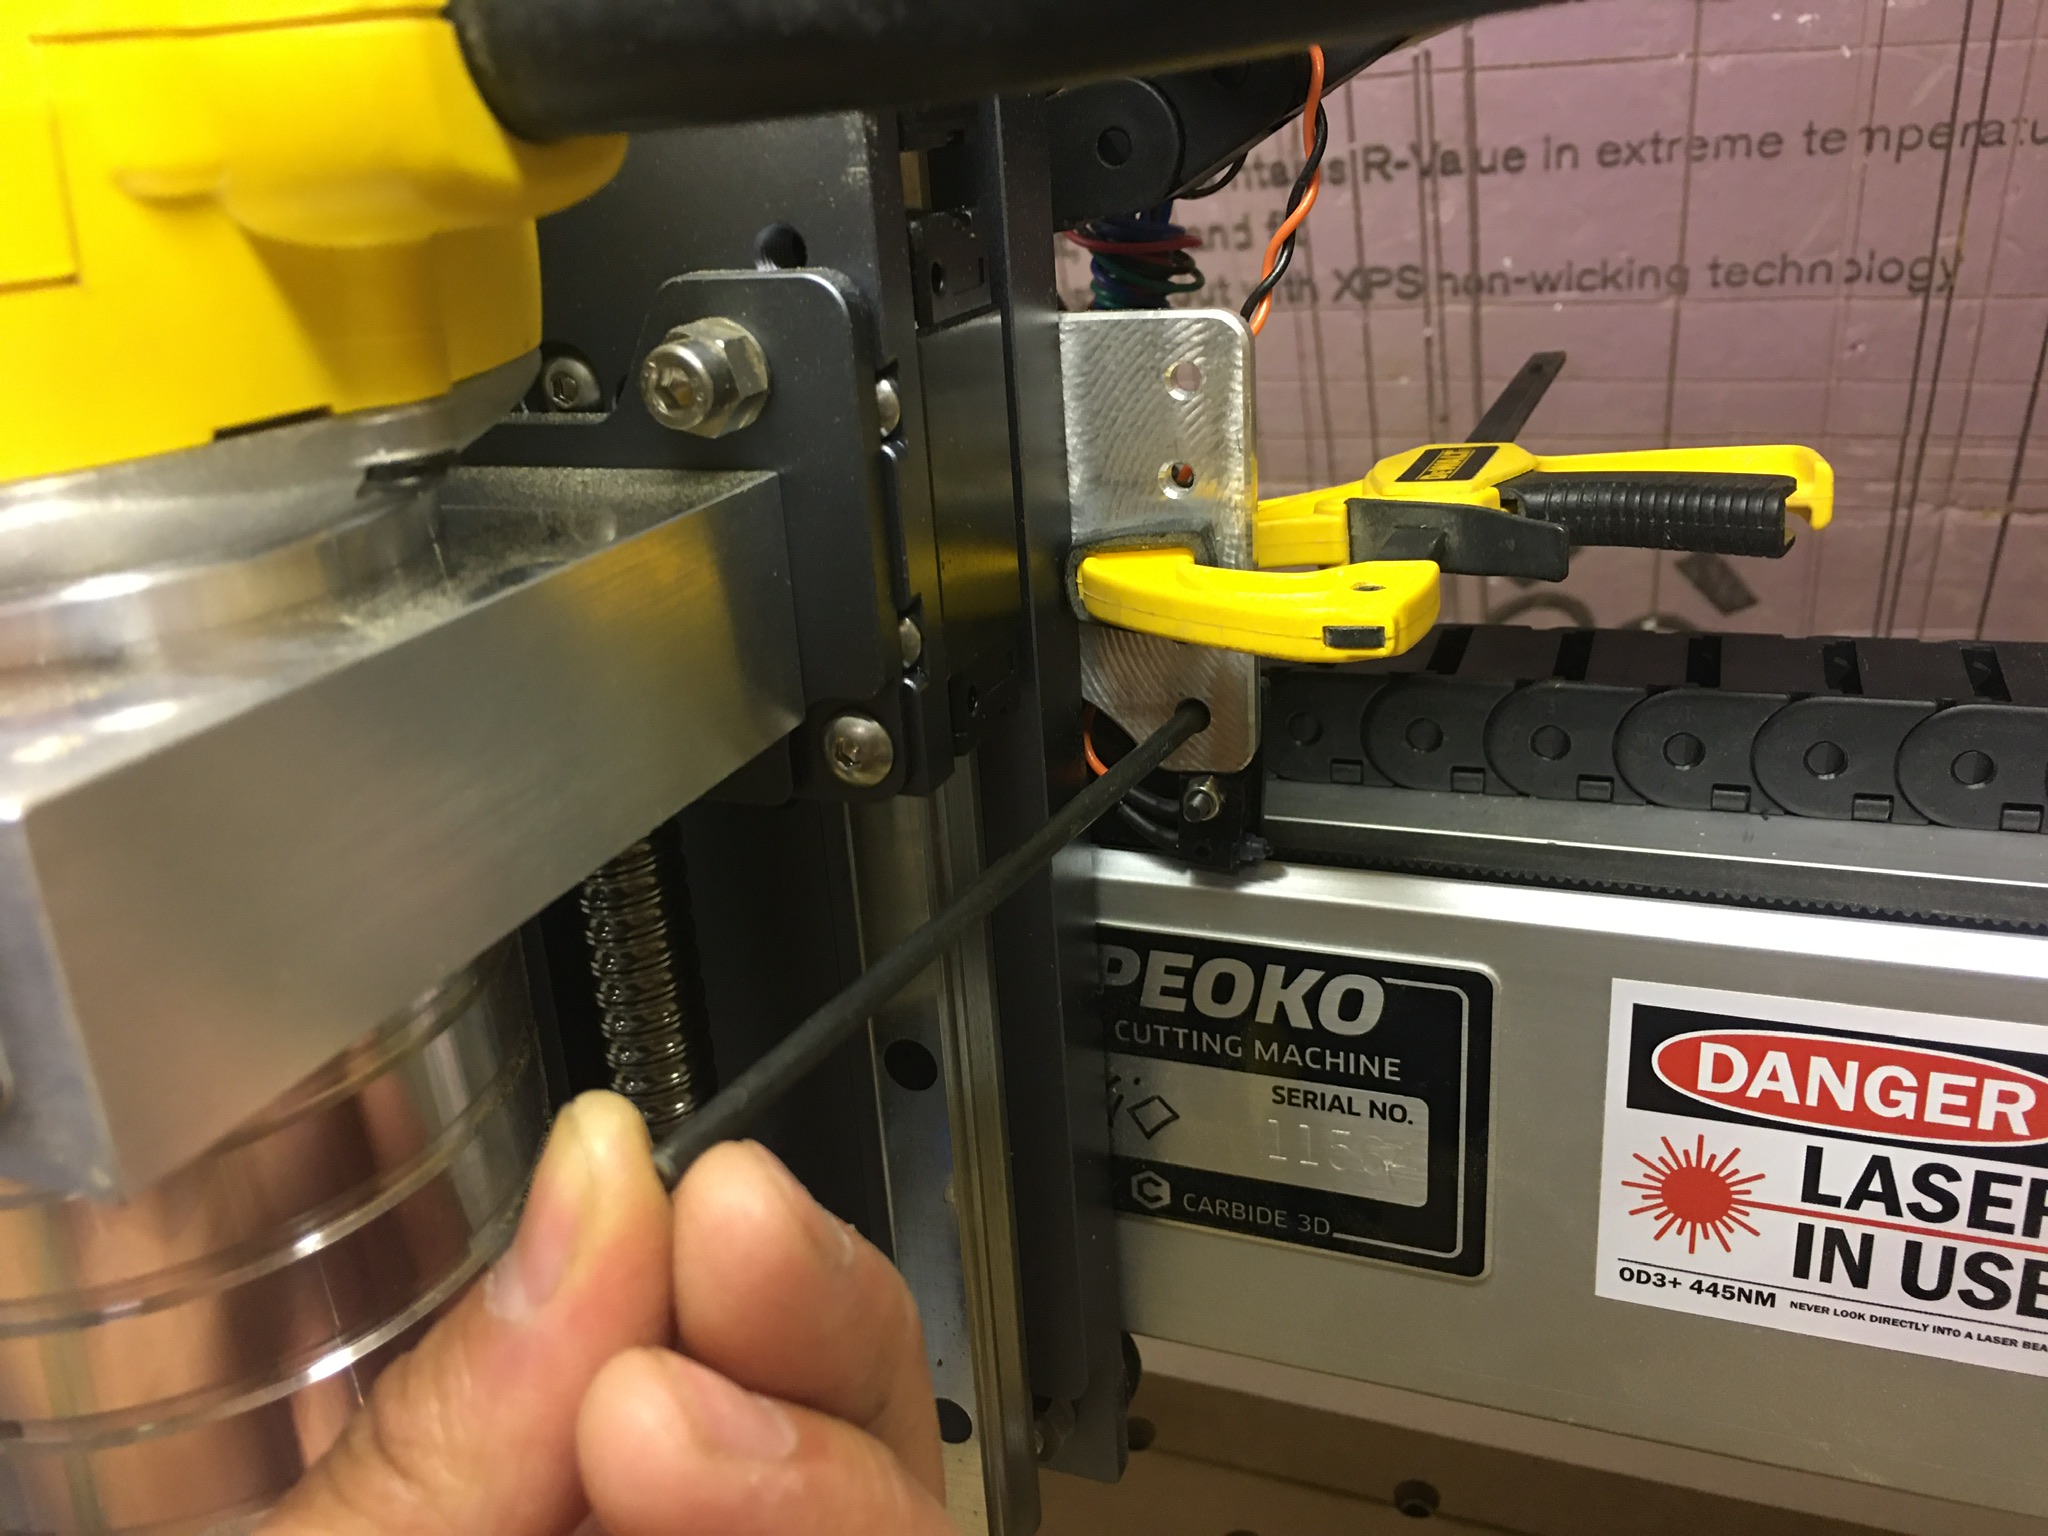
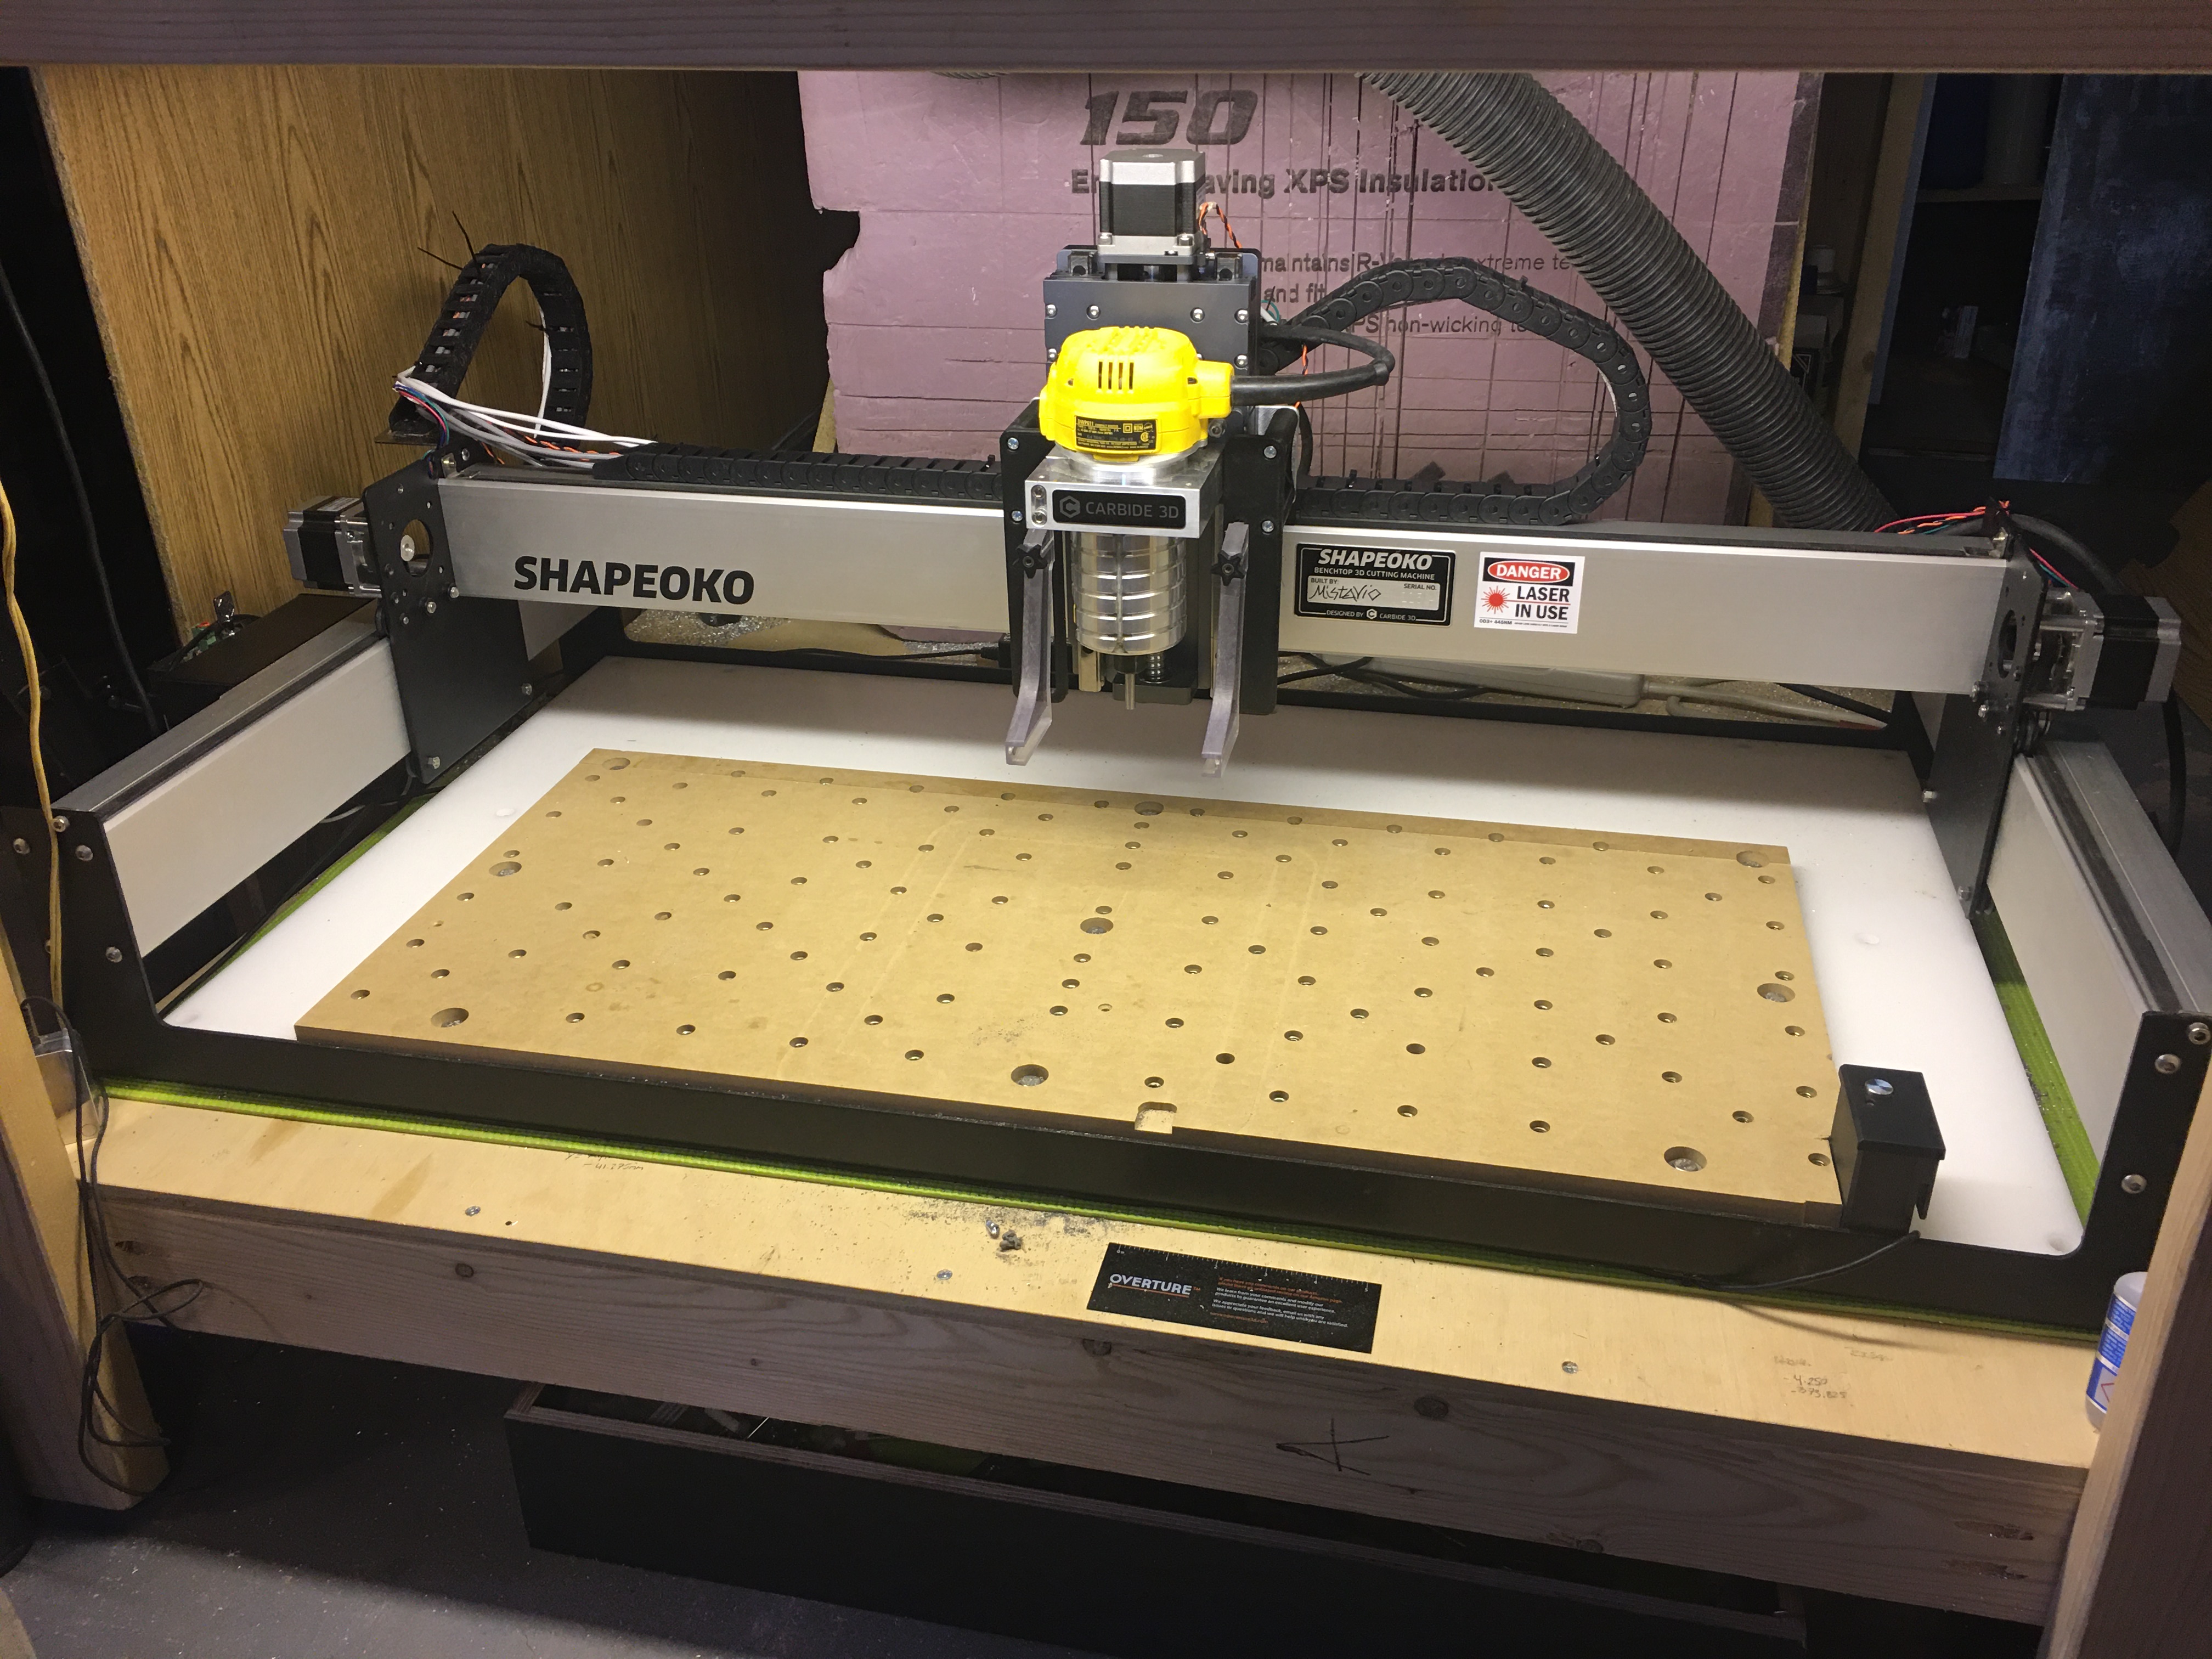
I plan on making small tweaks and remaking the arms in aluminum, but despite the bit of flexing that exists, the current setup is quite functional.
If anybody has questions let me know.
Here are the STP and STL files for the spacers and arms.
*NOTE 1: Spacers have one side that is flat and the other includes a radius (top side when printing) in the webbing. The radius could’ve been larger because printing unsupported, there is some sag/stringiness/fray. If you print as is and unsupported, orient the spacer with the flat side against the ears, it won’t be so noticeable.
*NOTE 2: Mounting holes in the spacers are eccentric relative to the corner radius - the thinner walled section is to be facing away from the spindle.
*NOTE 3: I used 80mm M4 Phillips pan head screws (what was available to me locally) with washers and nuts. If you use other hardware, they may stick out of the counterbores.