WillAdams
(William Adams (Carbide 3D))
1
This one came in over the transom at projects@carbide3d.com as a support request.
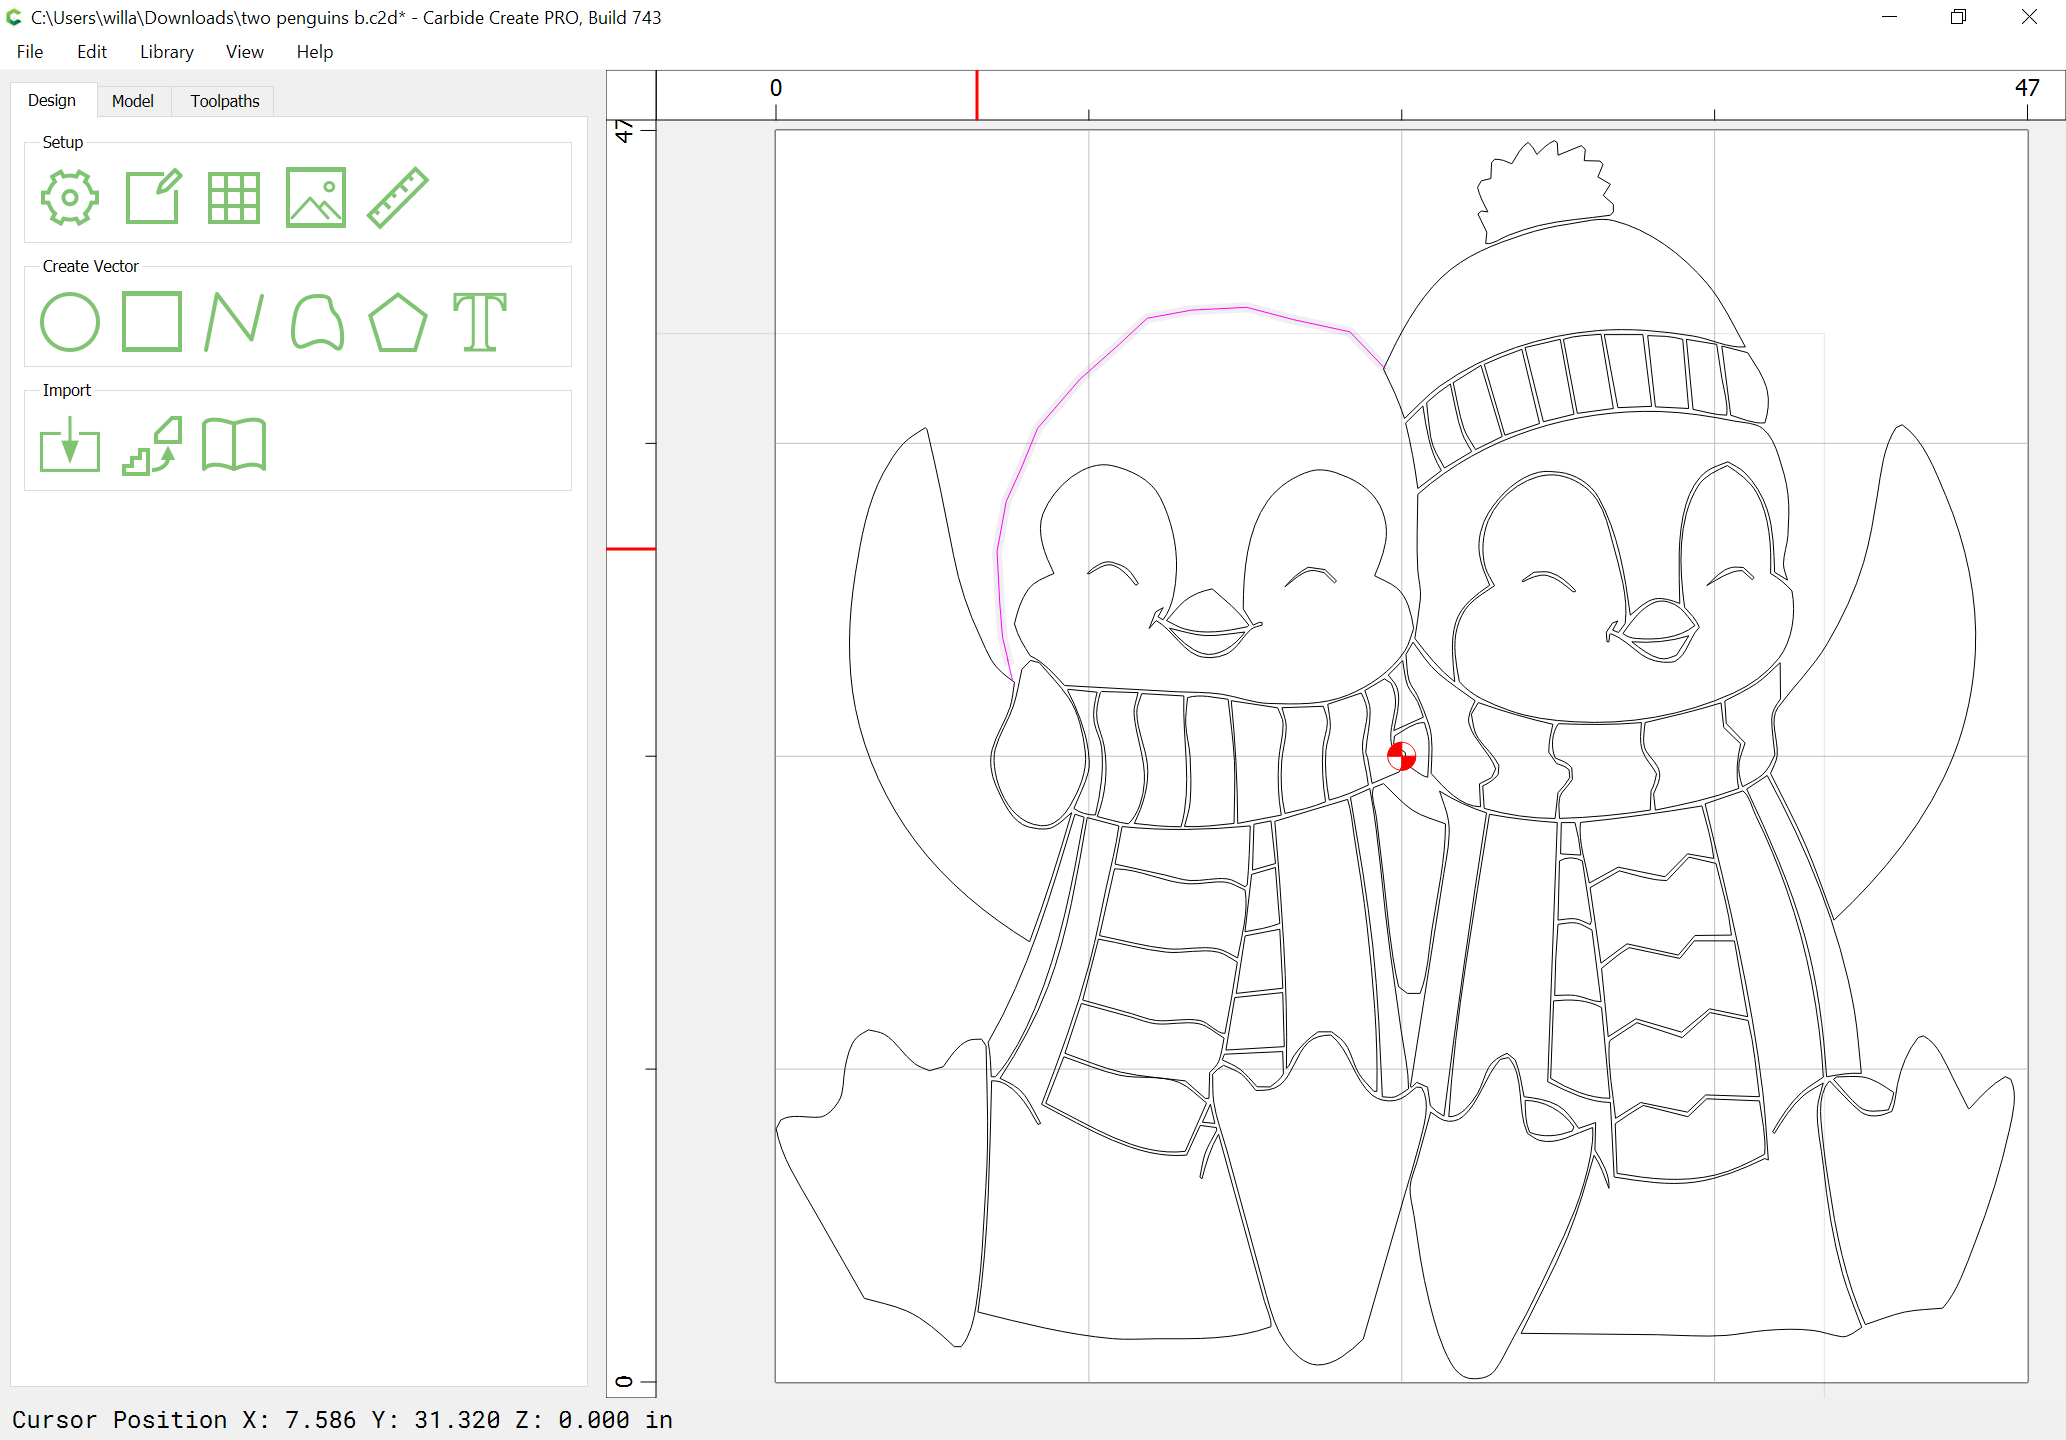
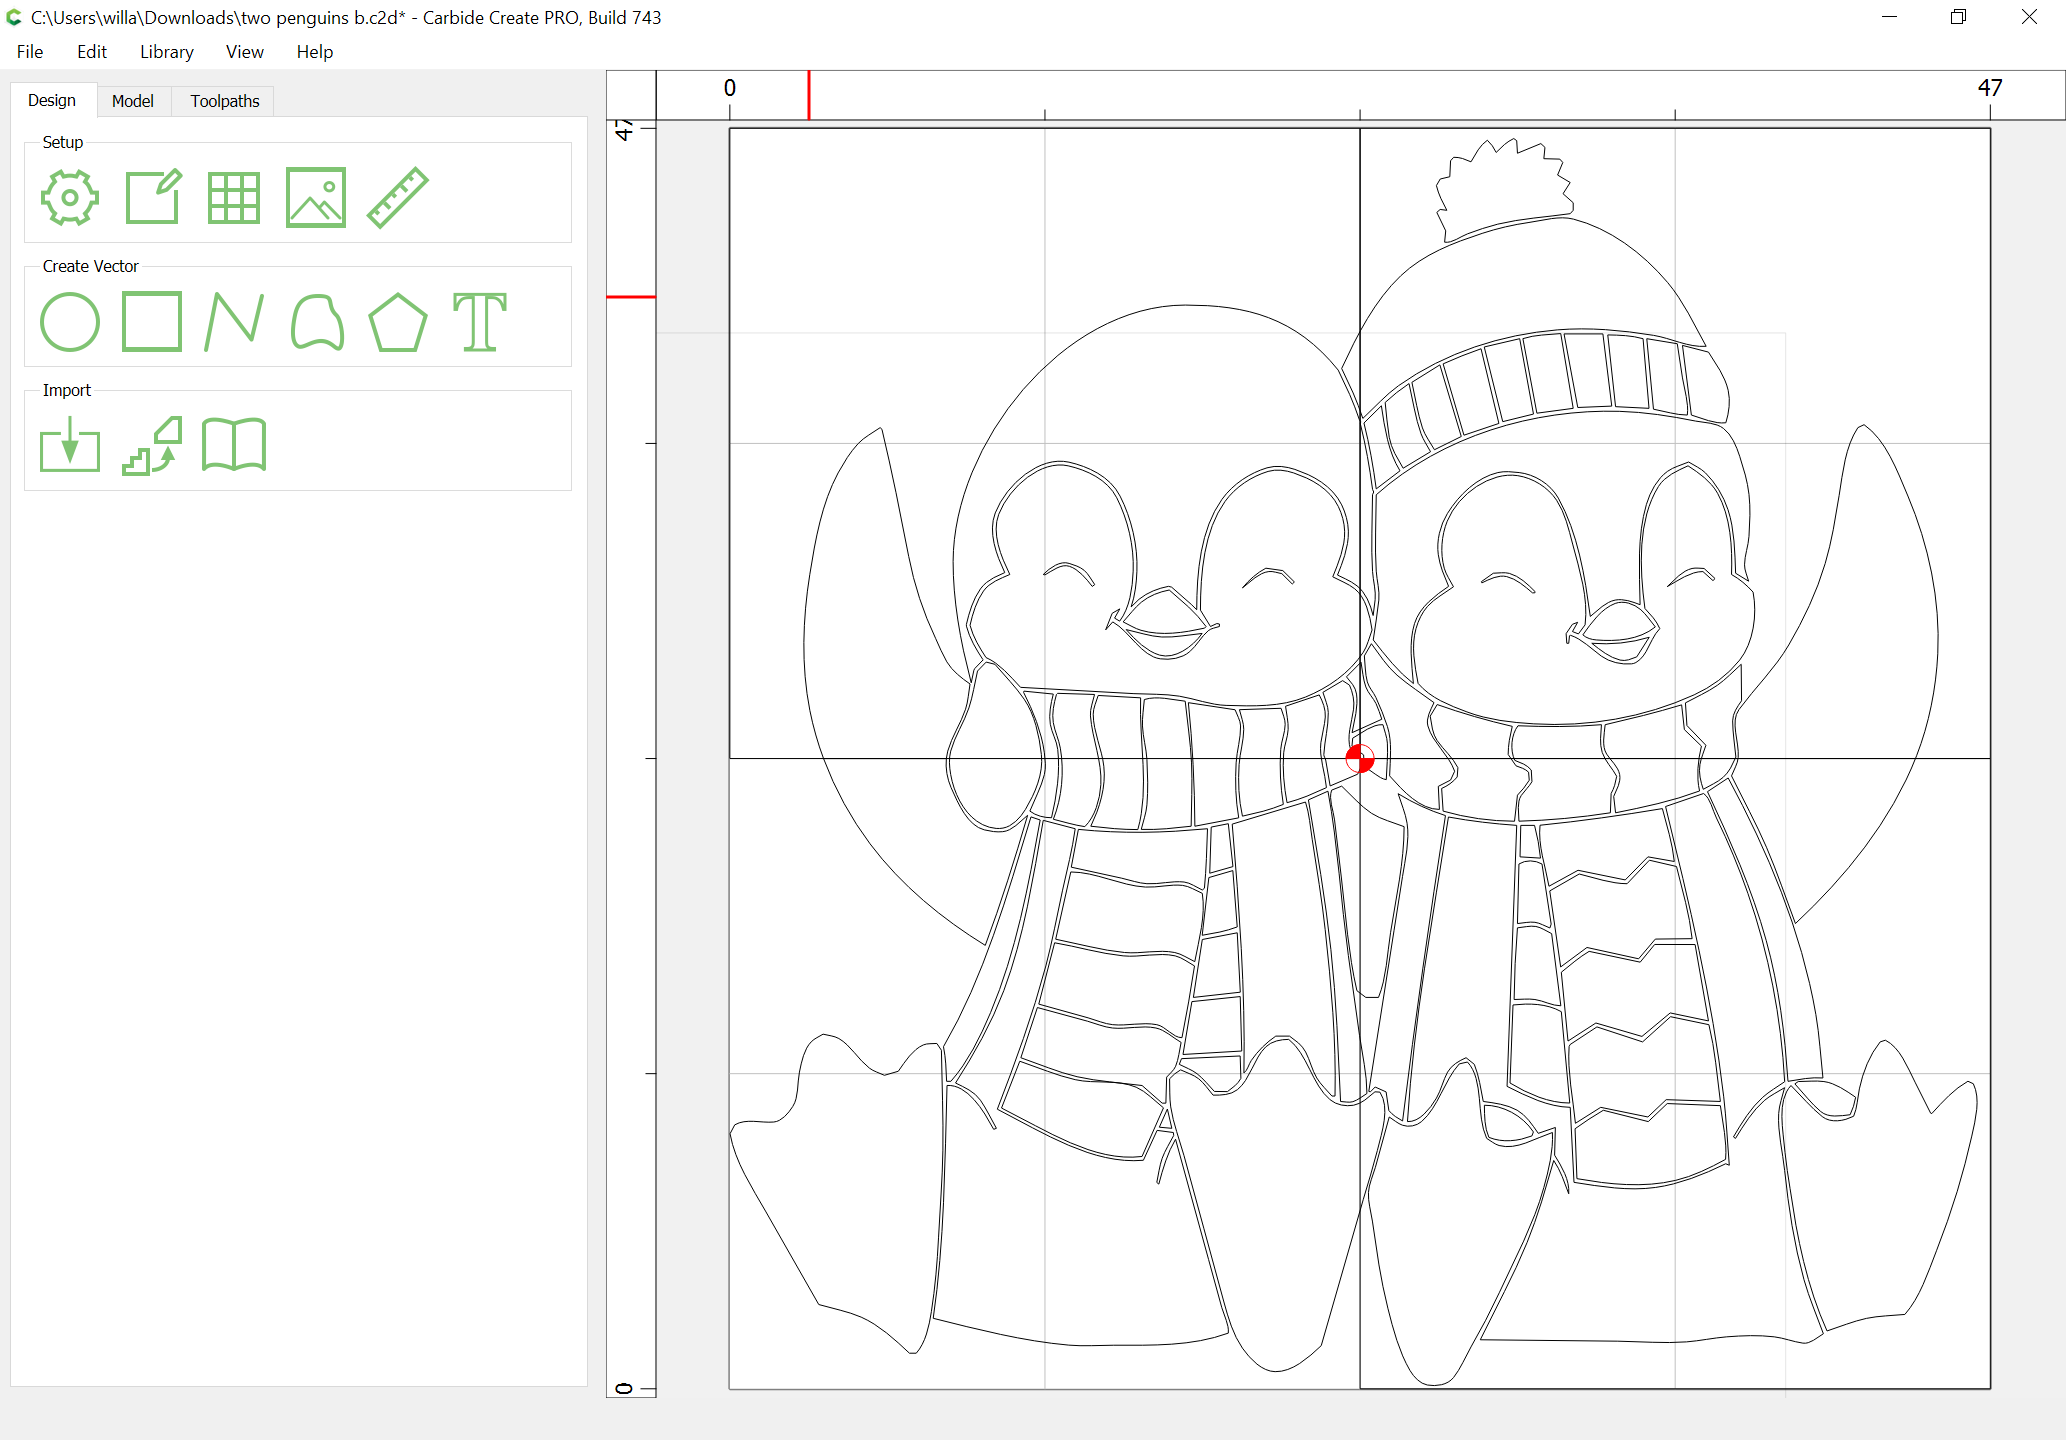
If one has an image such as:
which one wishes to cut into parts which may then be cut on the machine, this is easily done by adding some rectangles and using the Trim Vector tool.
WillAdams
(William Adams (Carbide 3D))
2
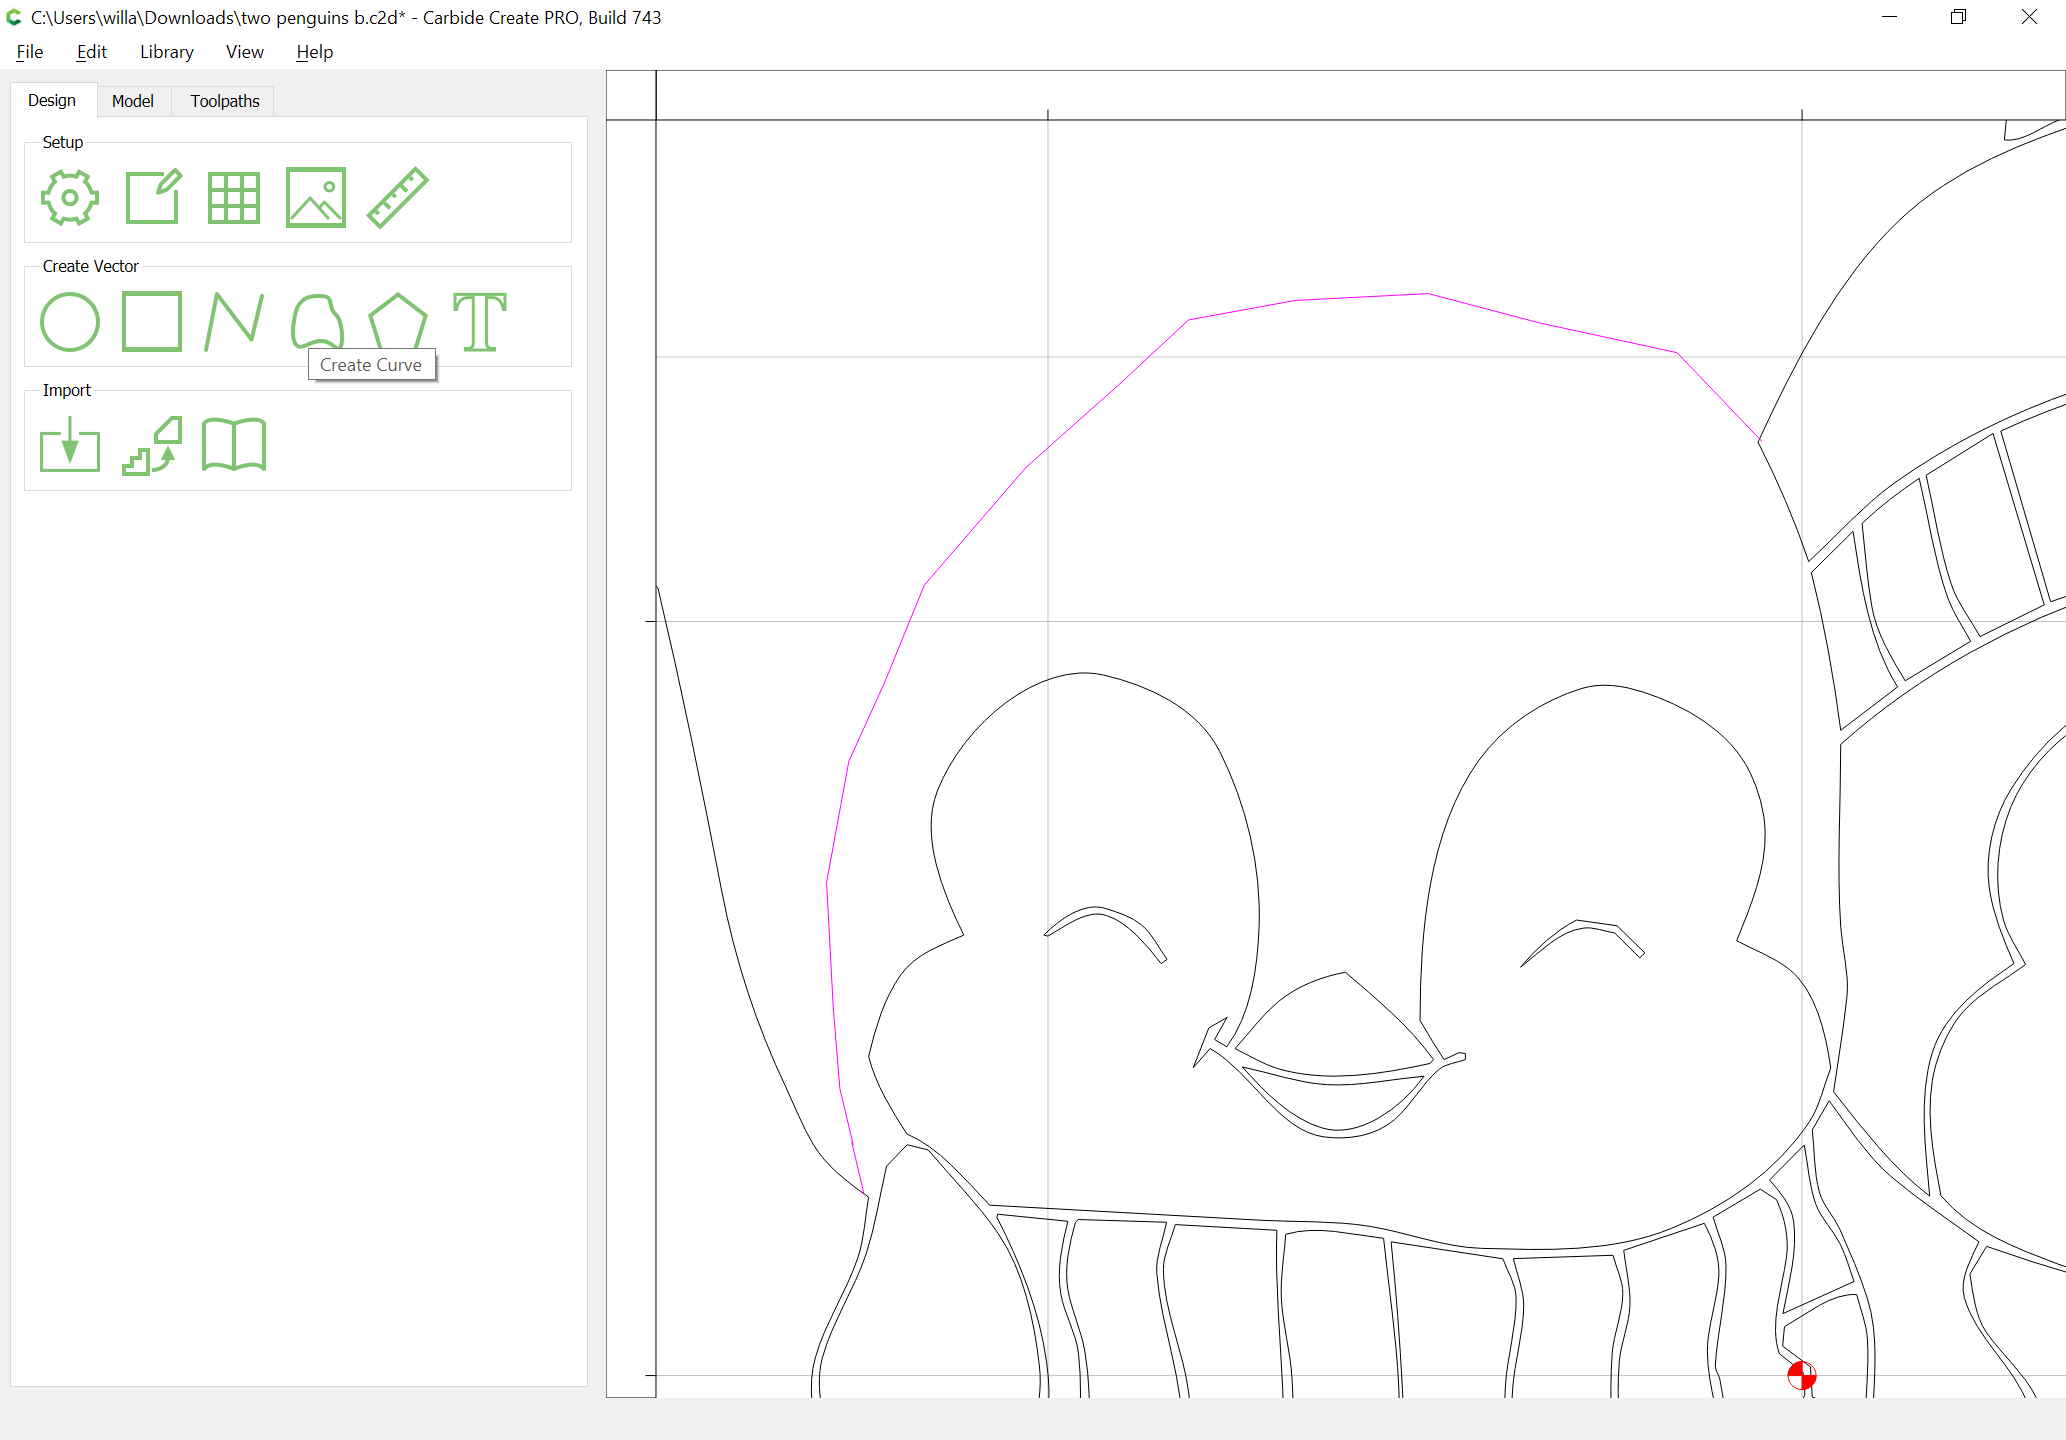
The first thing which must be addressed though, is the open geometry and how the face of the penguin on the left will be drawn.
This could be done in one of two ways:
- reconstruction by offsetting
- redrawing using the Curve tool
We will do the latter.
WillAdams
(William Adams (Carbide 3D))
3
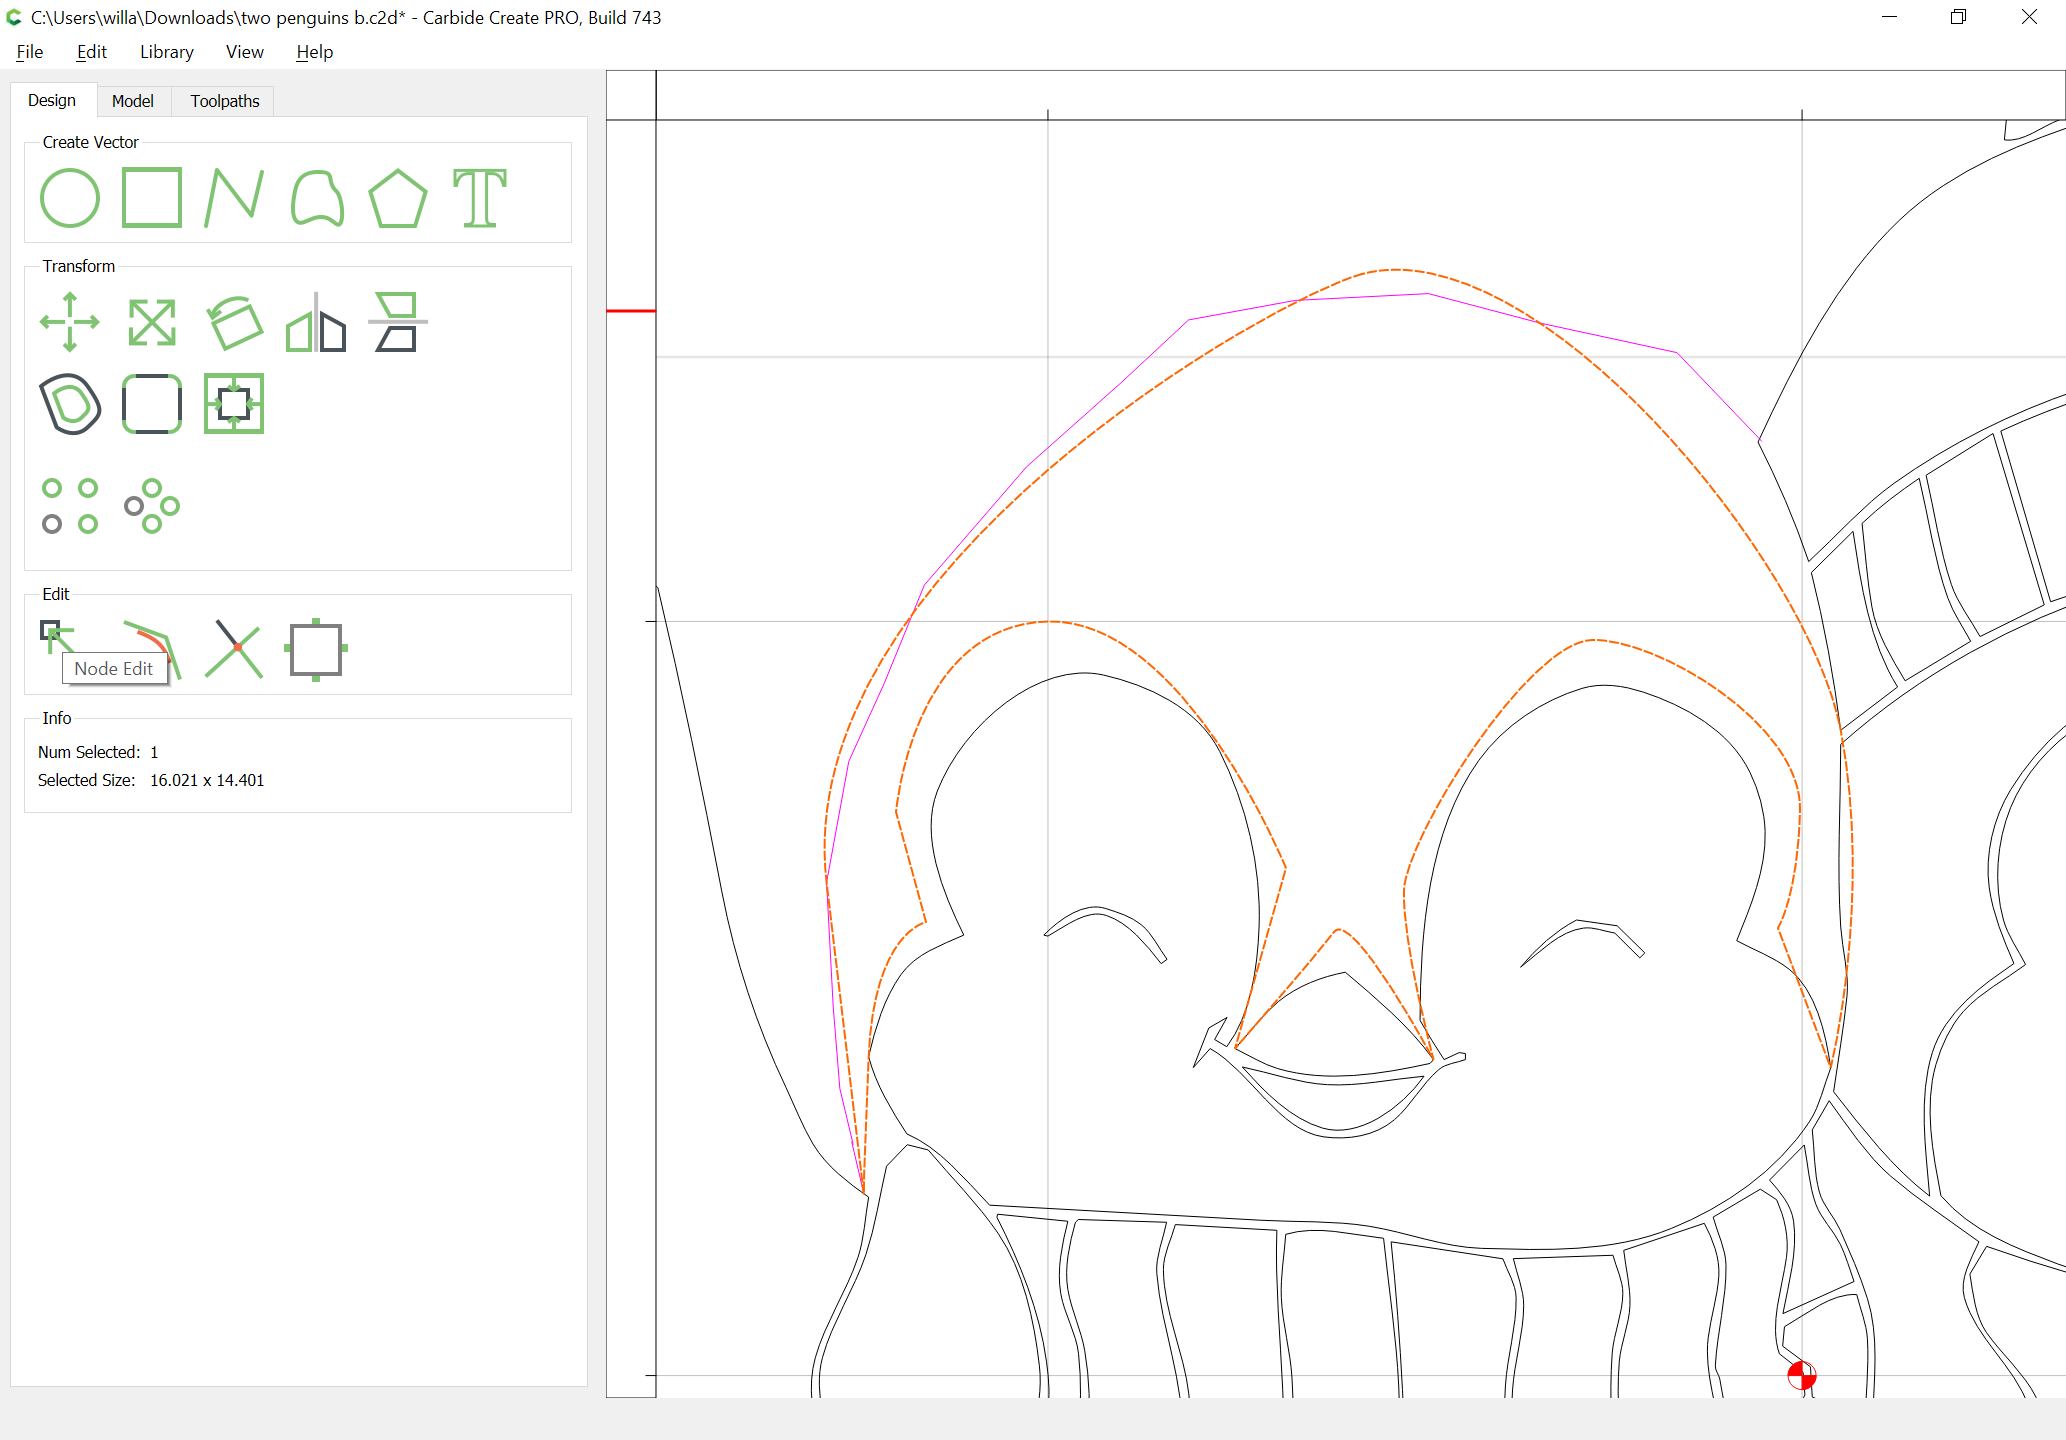
Zoom in on the area in question:
click on the Create Curve tool:
Click and drag to create a rough approximation of the geometry which will be needed:
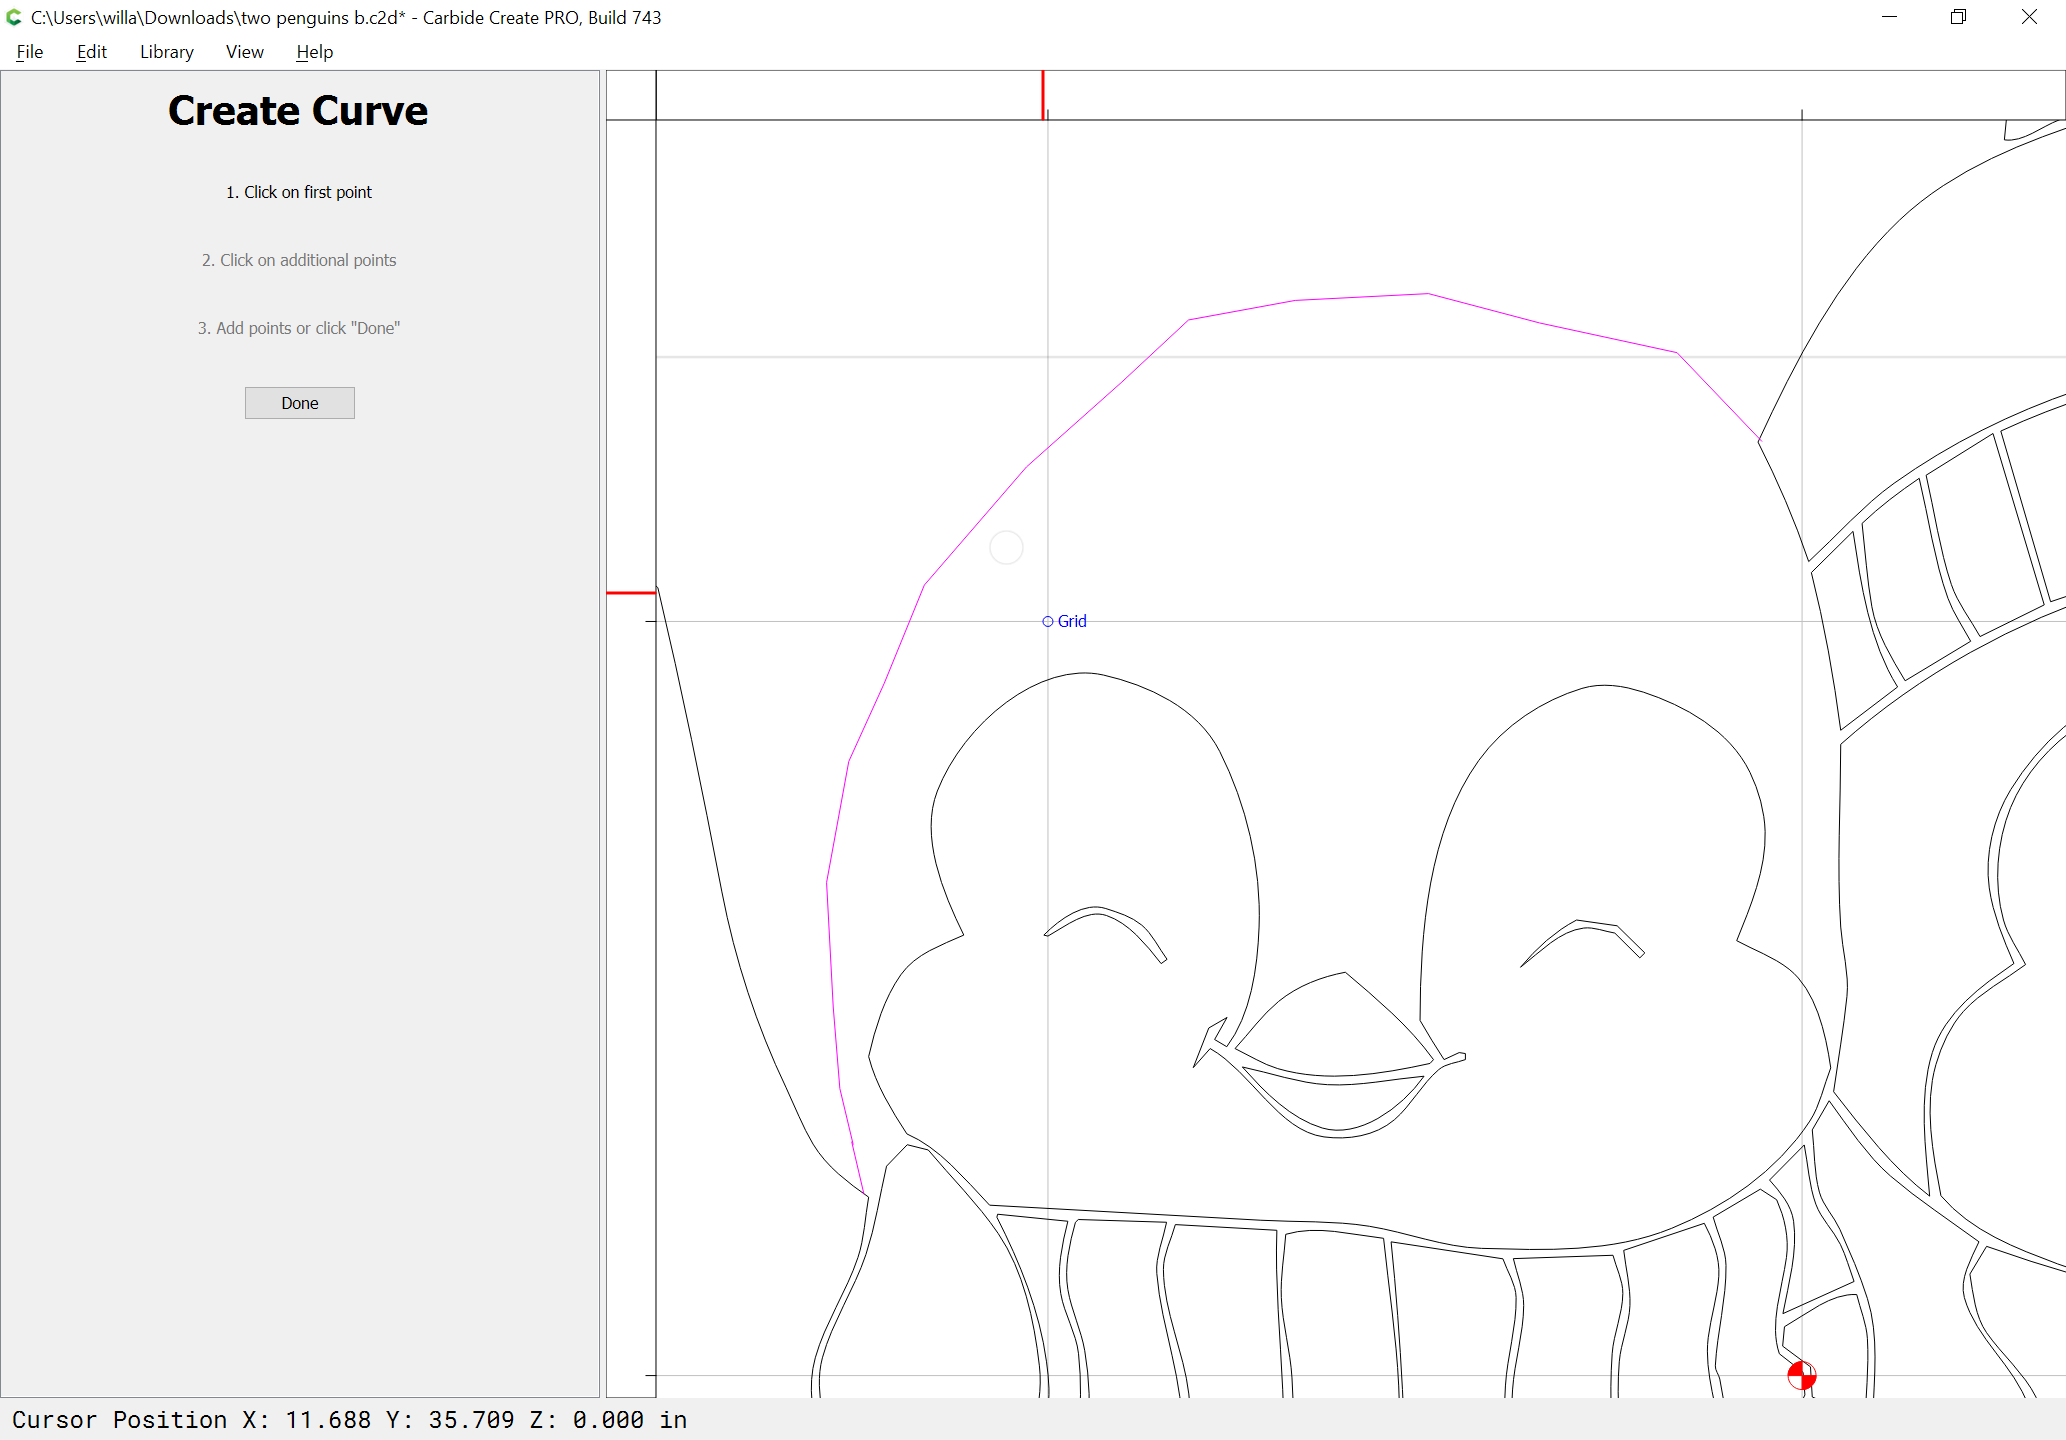
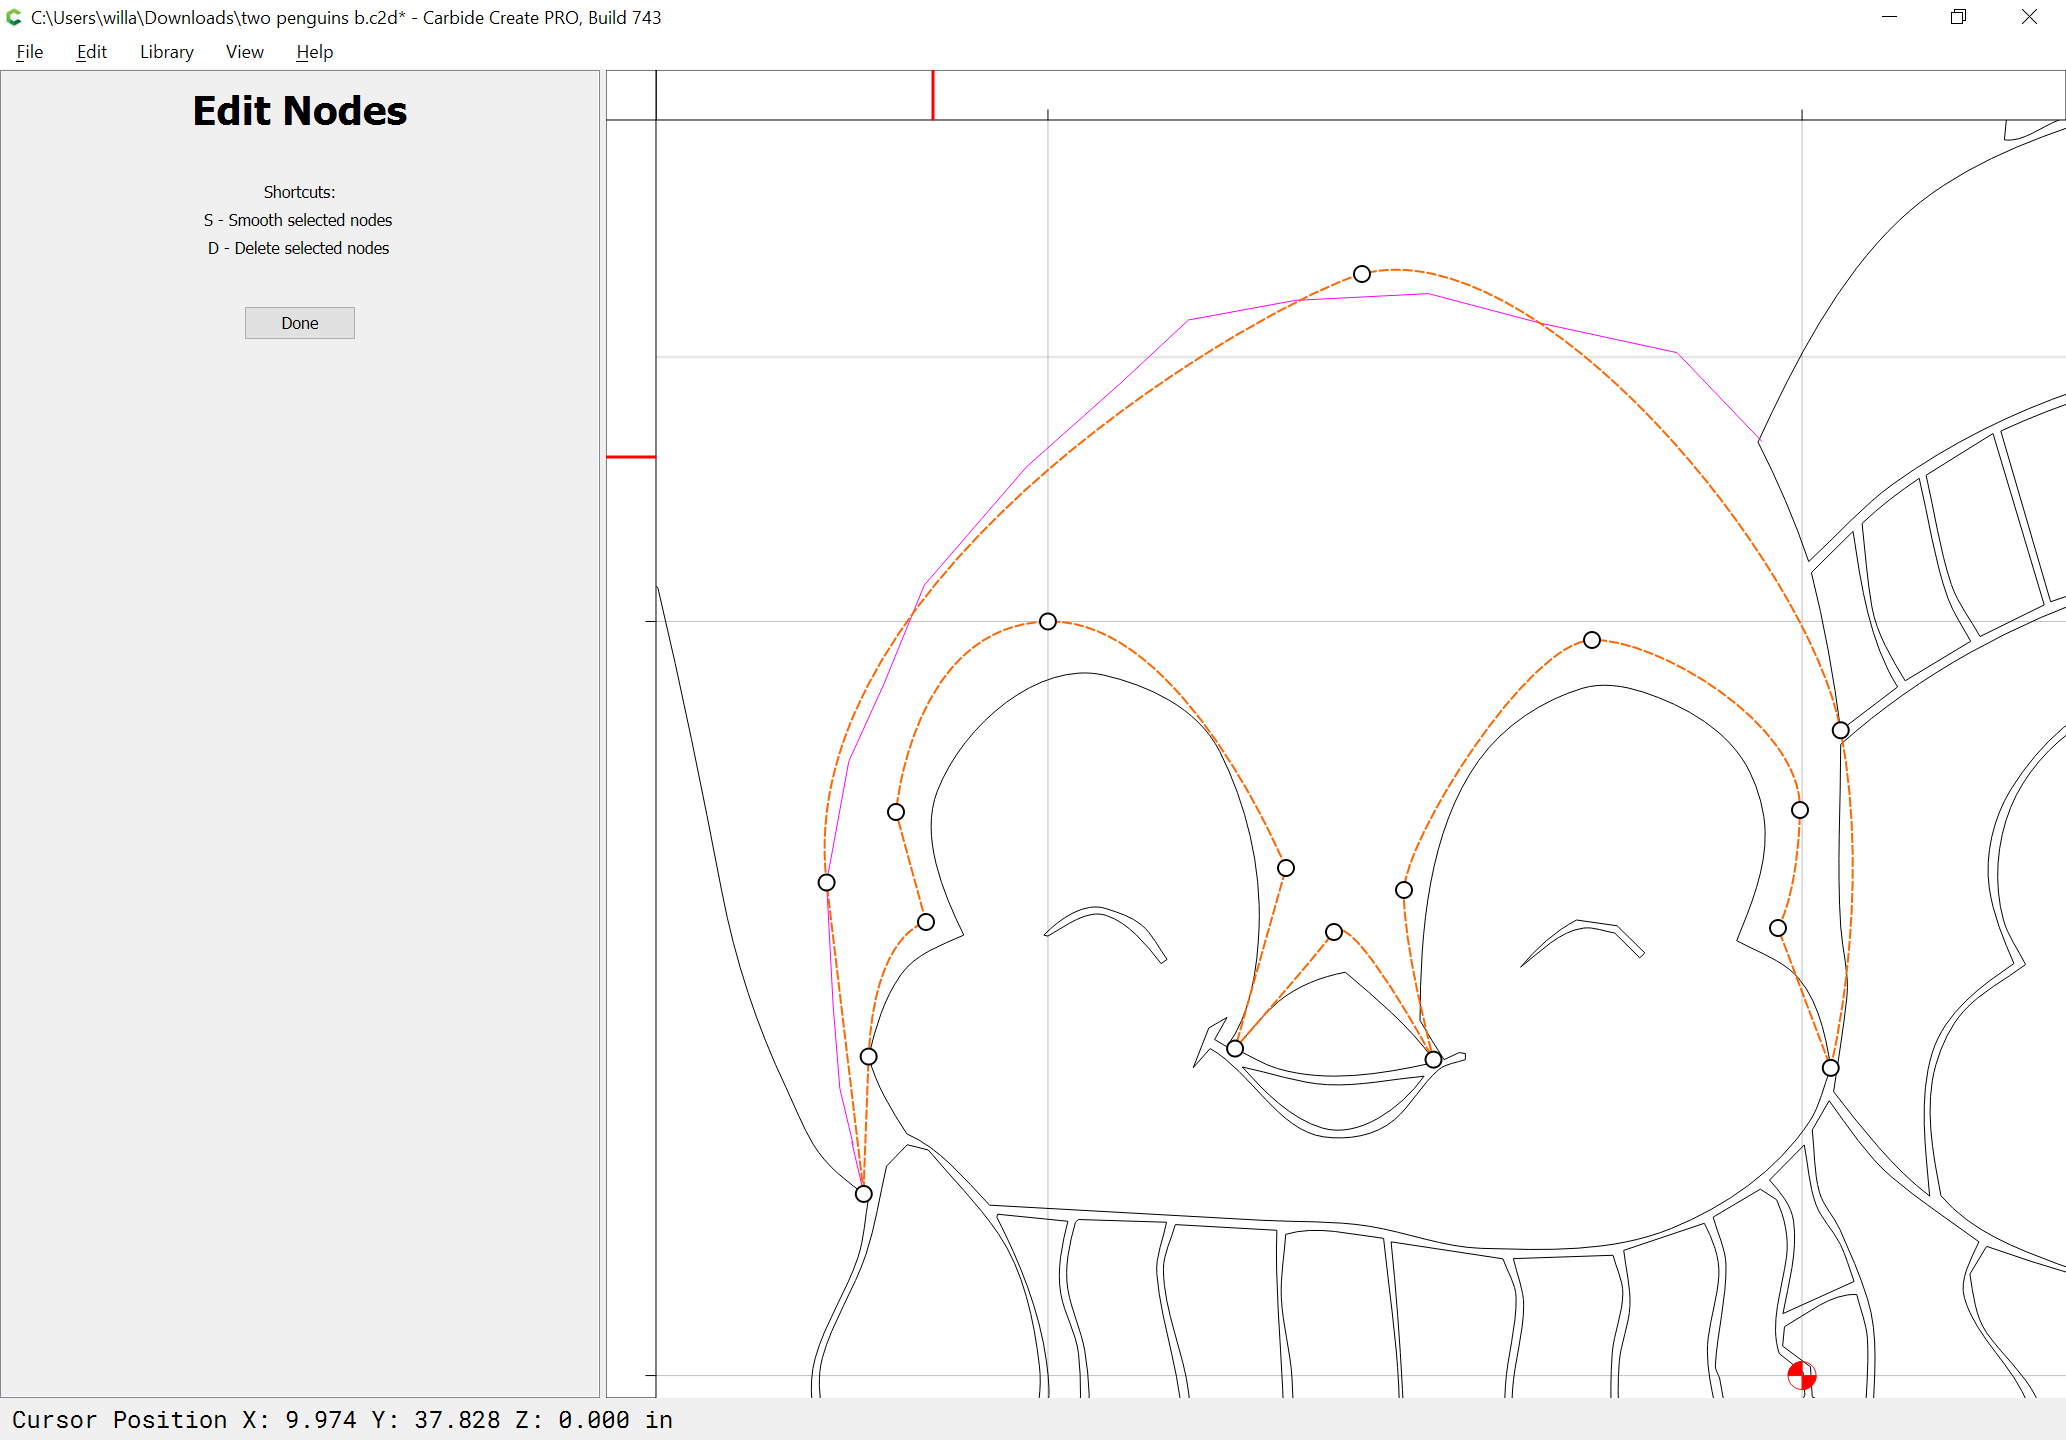
Go into Node Edit mode:
and drag things around until one has the desired geometry.
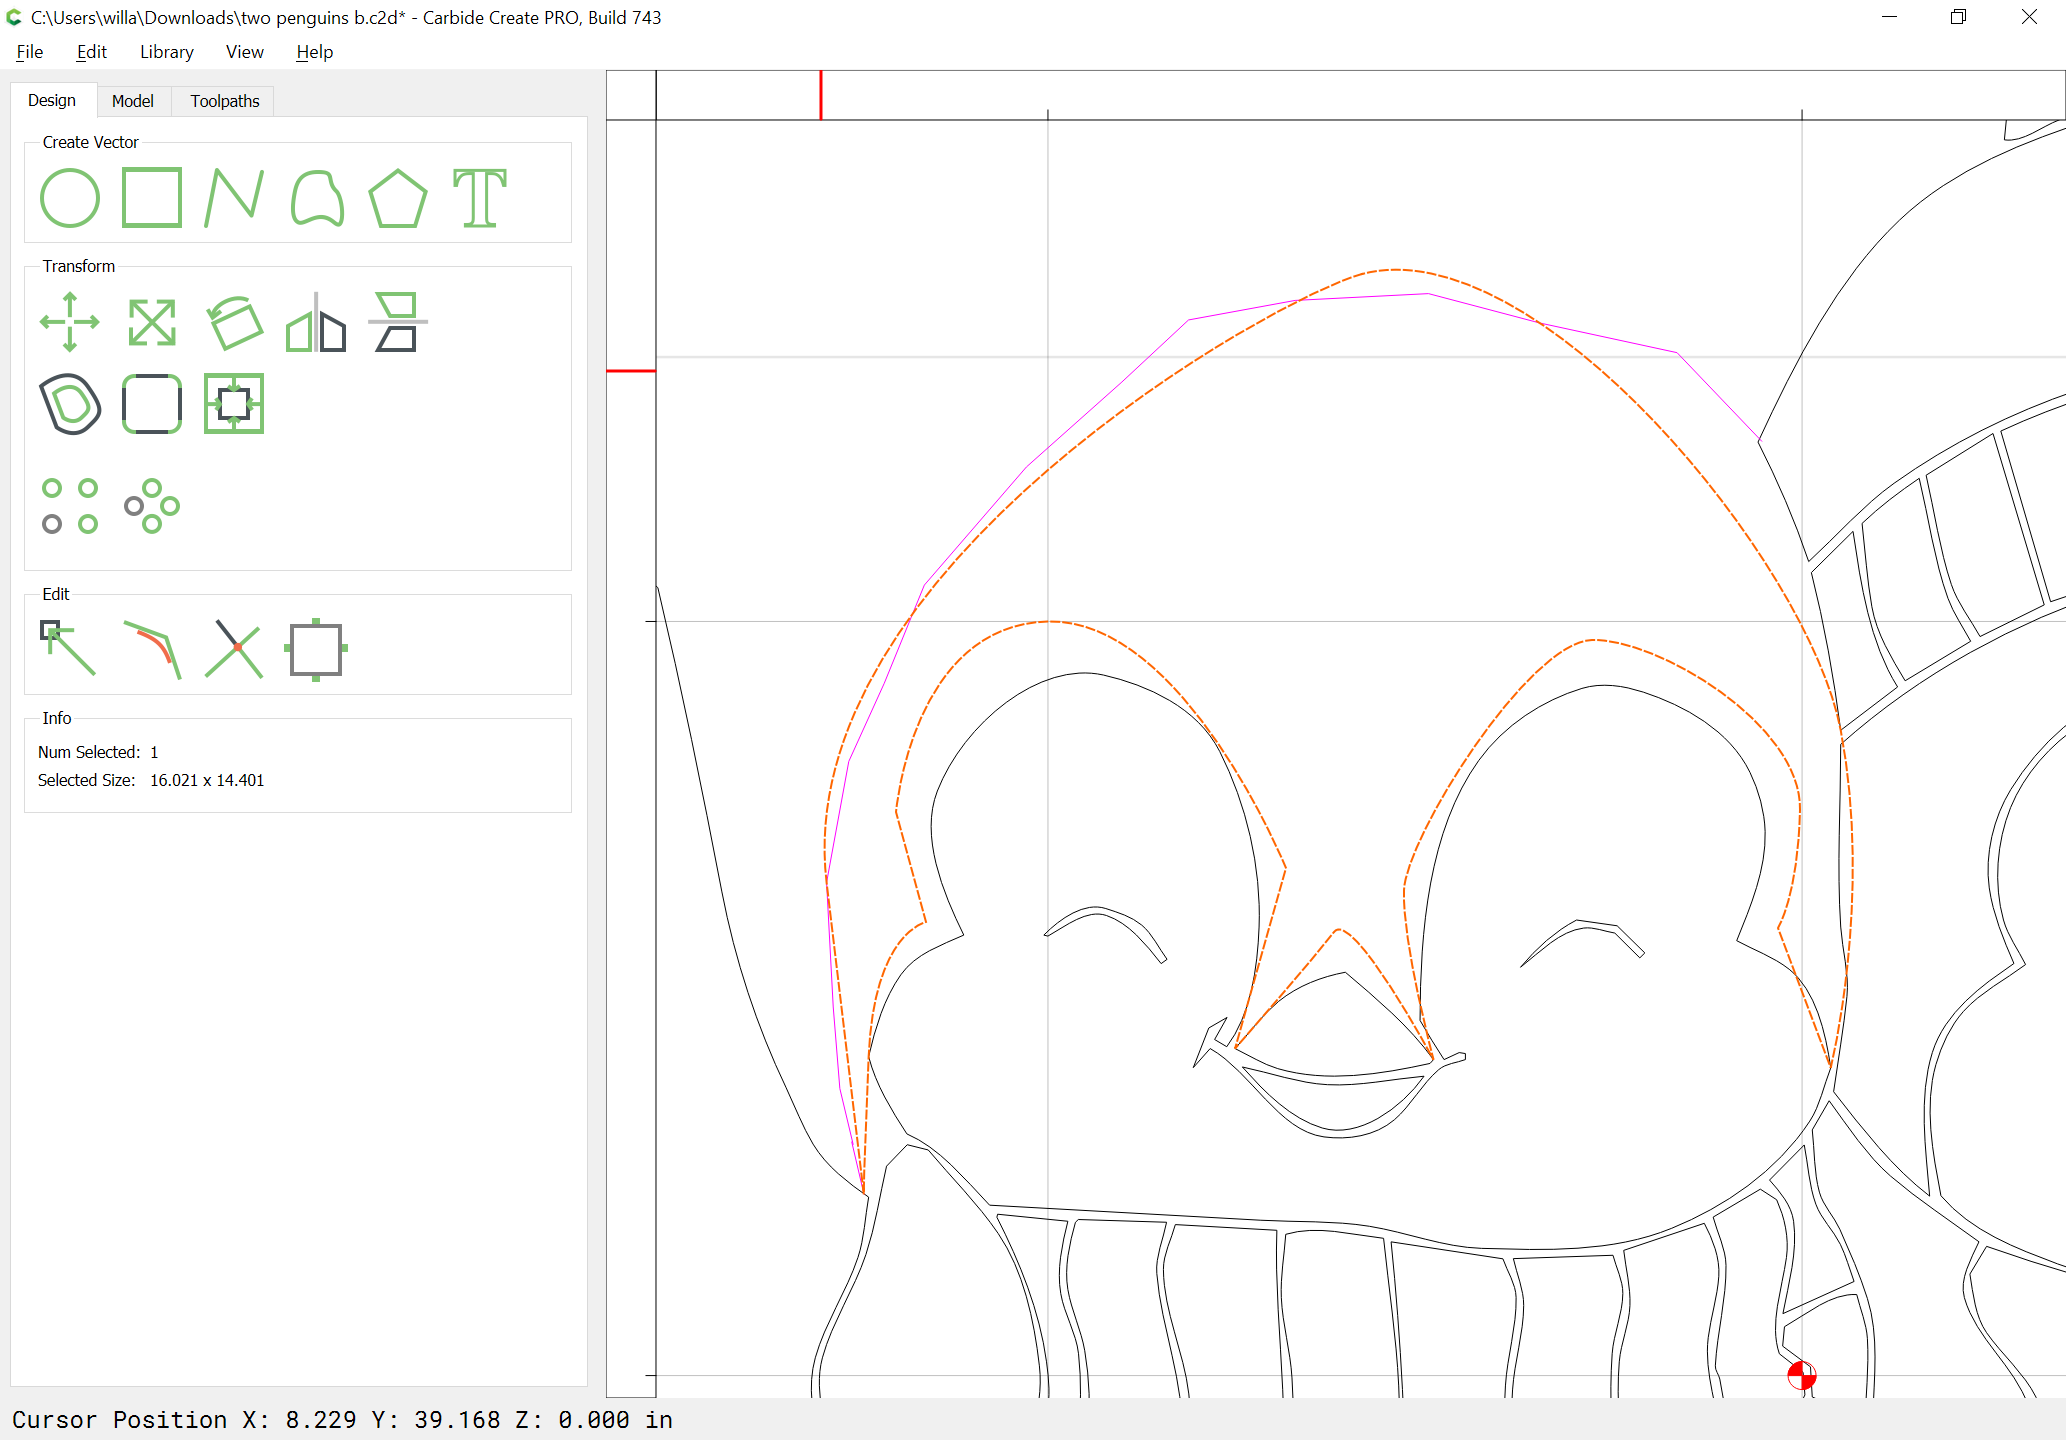
See:
and
WillAdams
(William Adams (Carbide 3D))
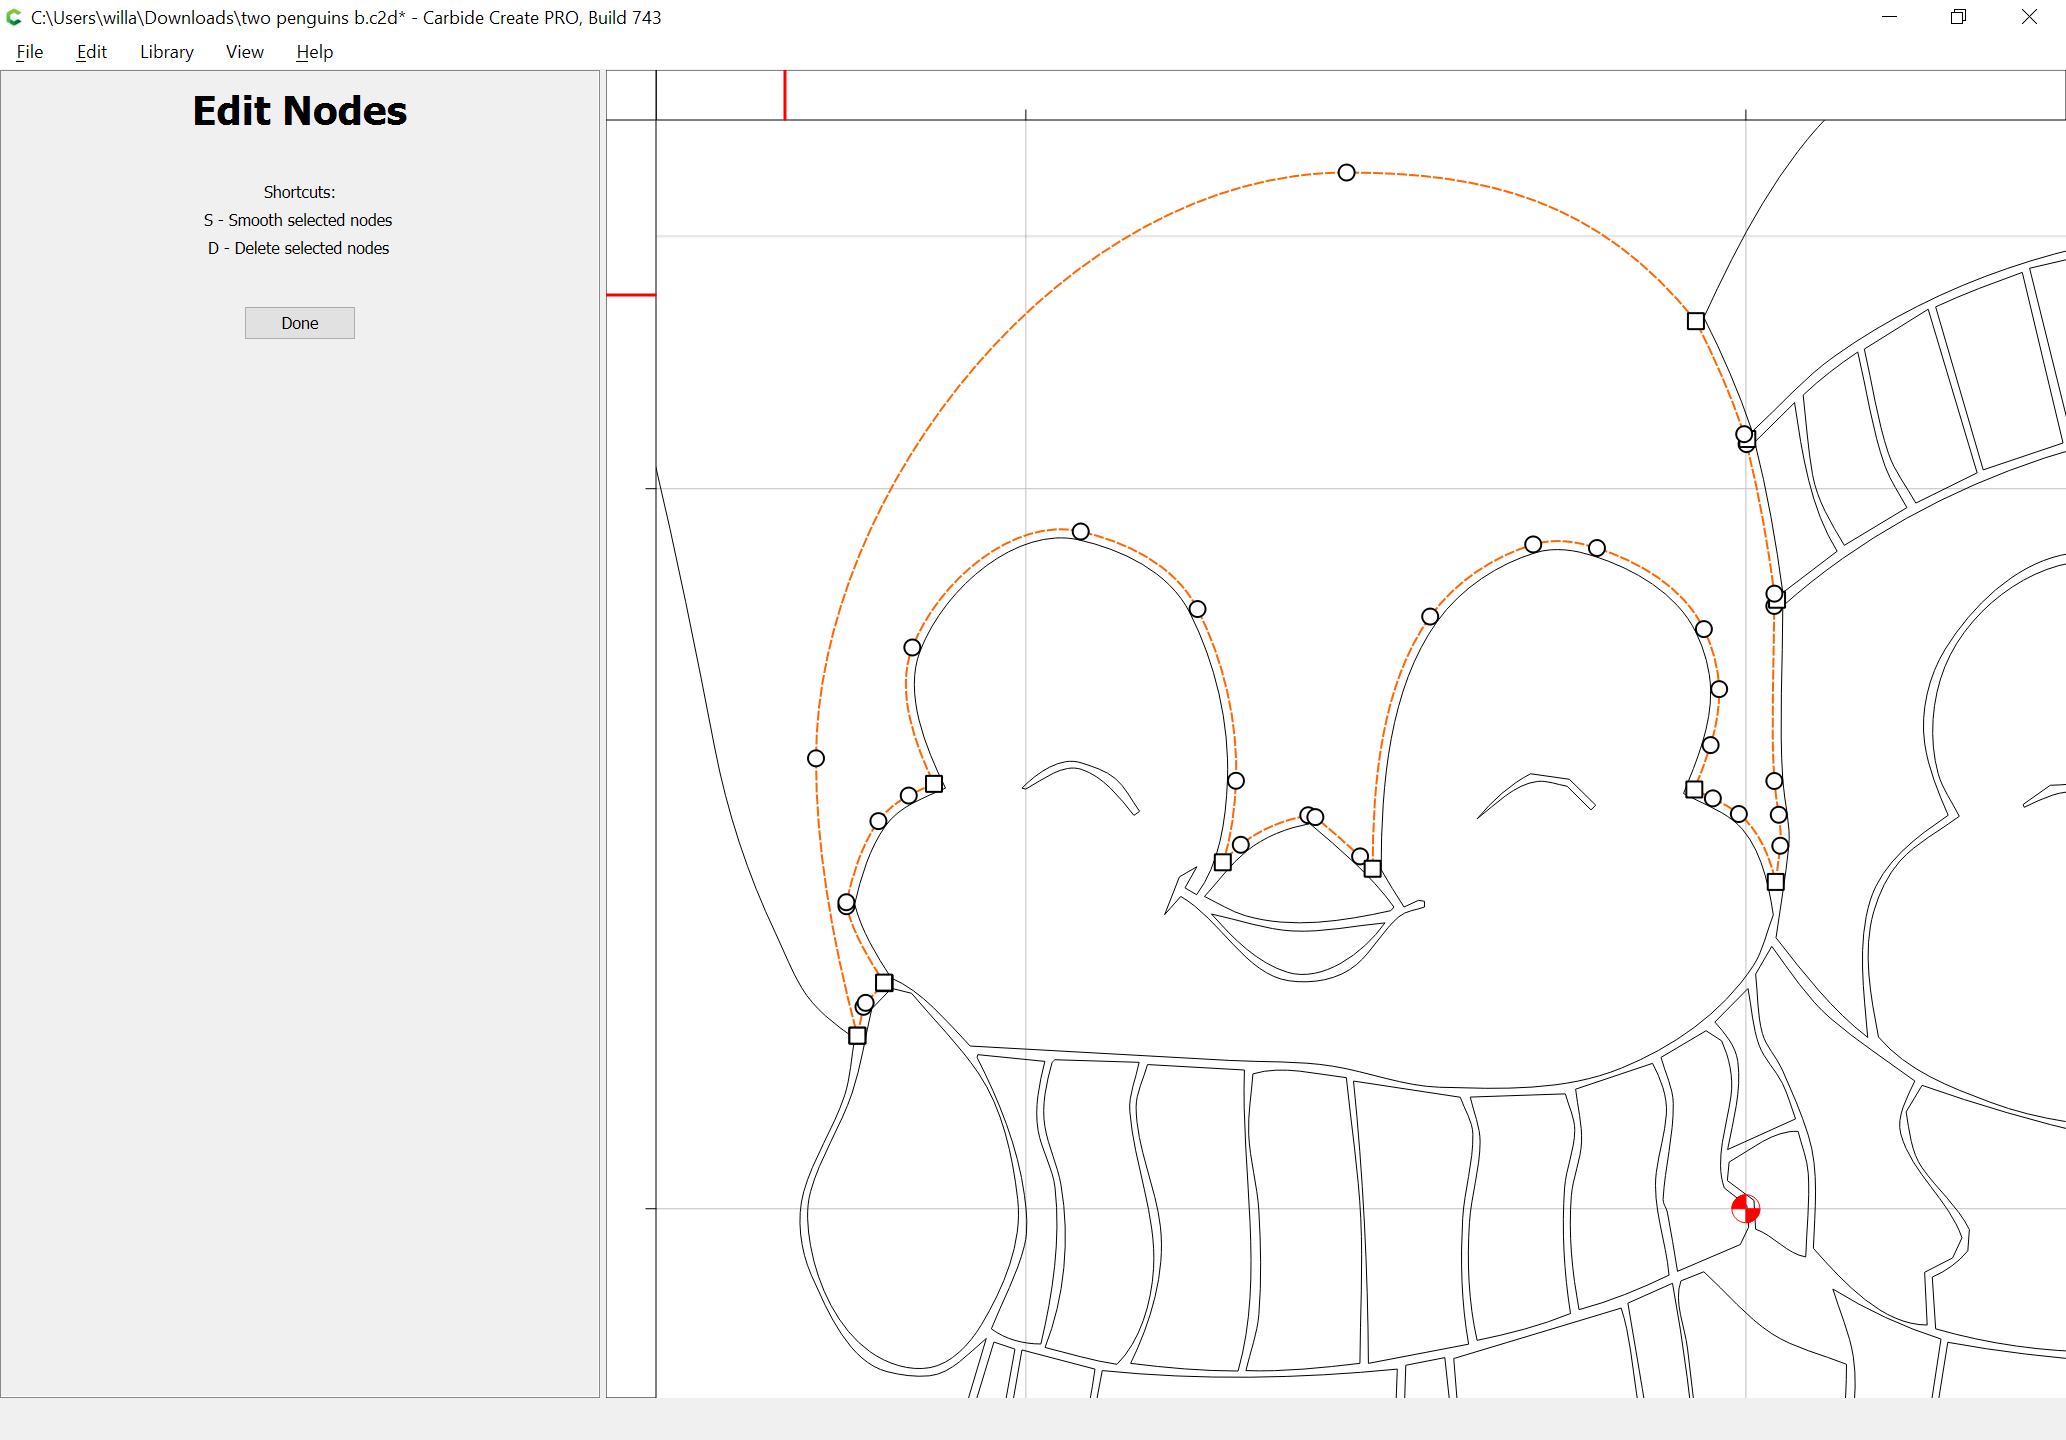
4
After a bit of work, one arrives at:
WillAdams
(William Adams (Carbide 3D))
5
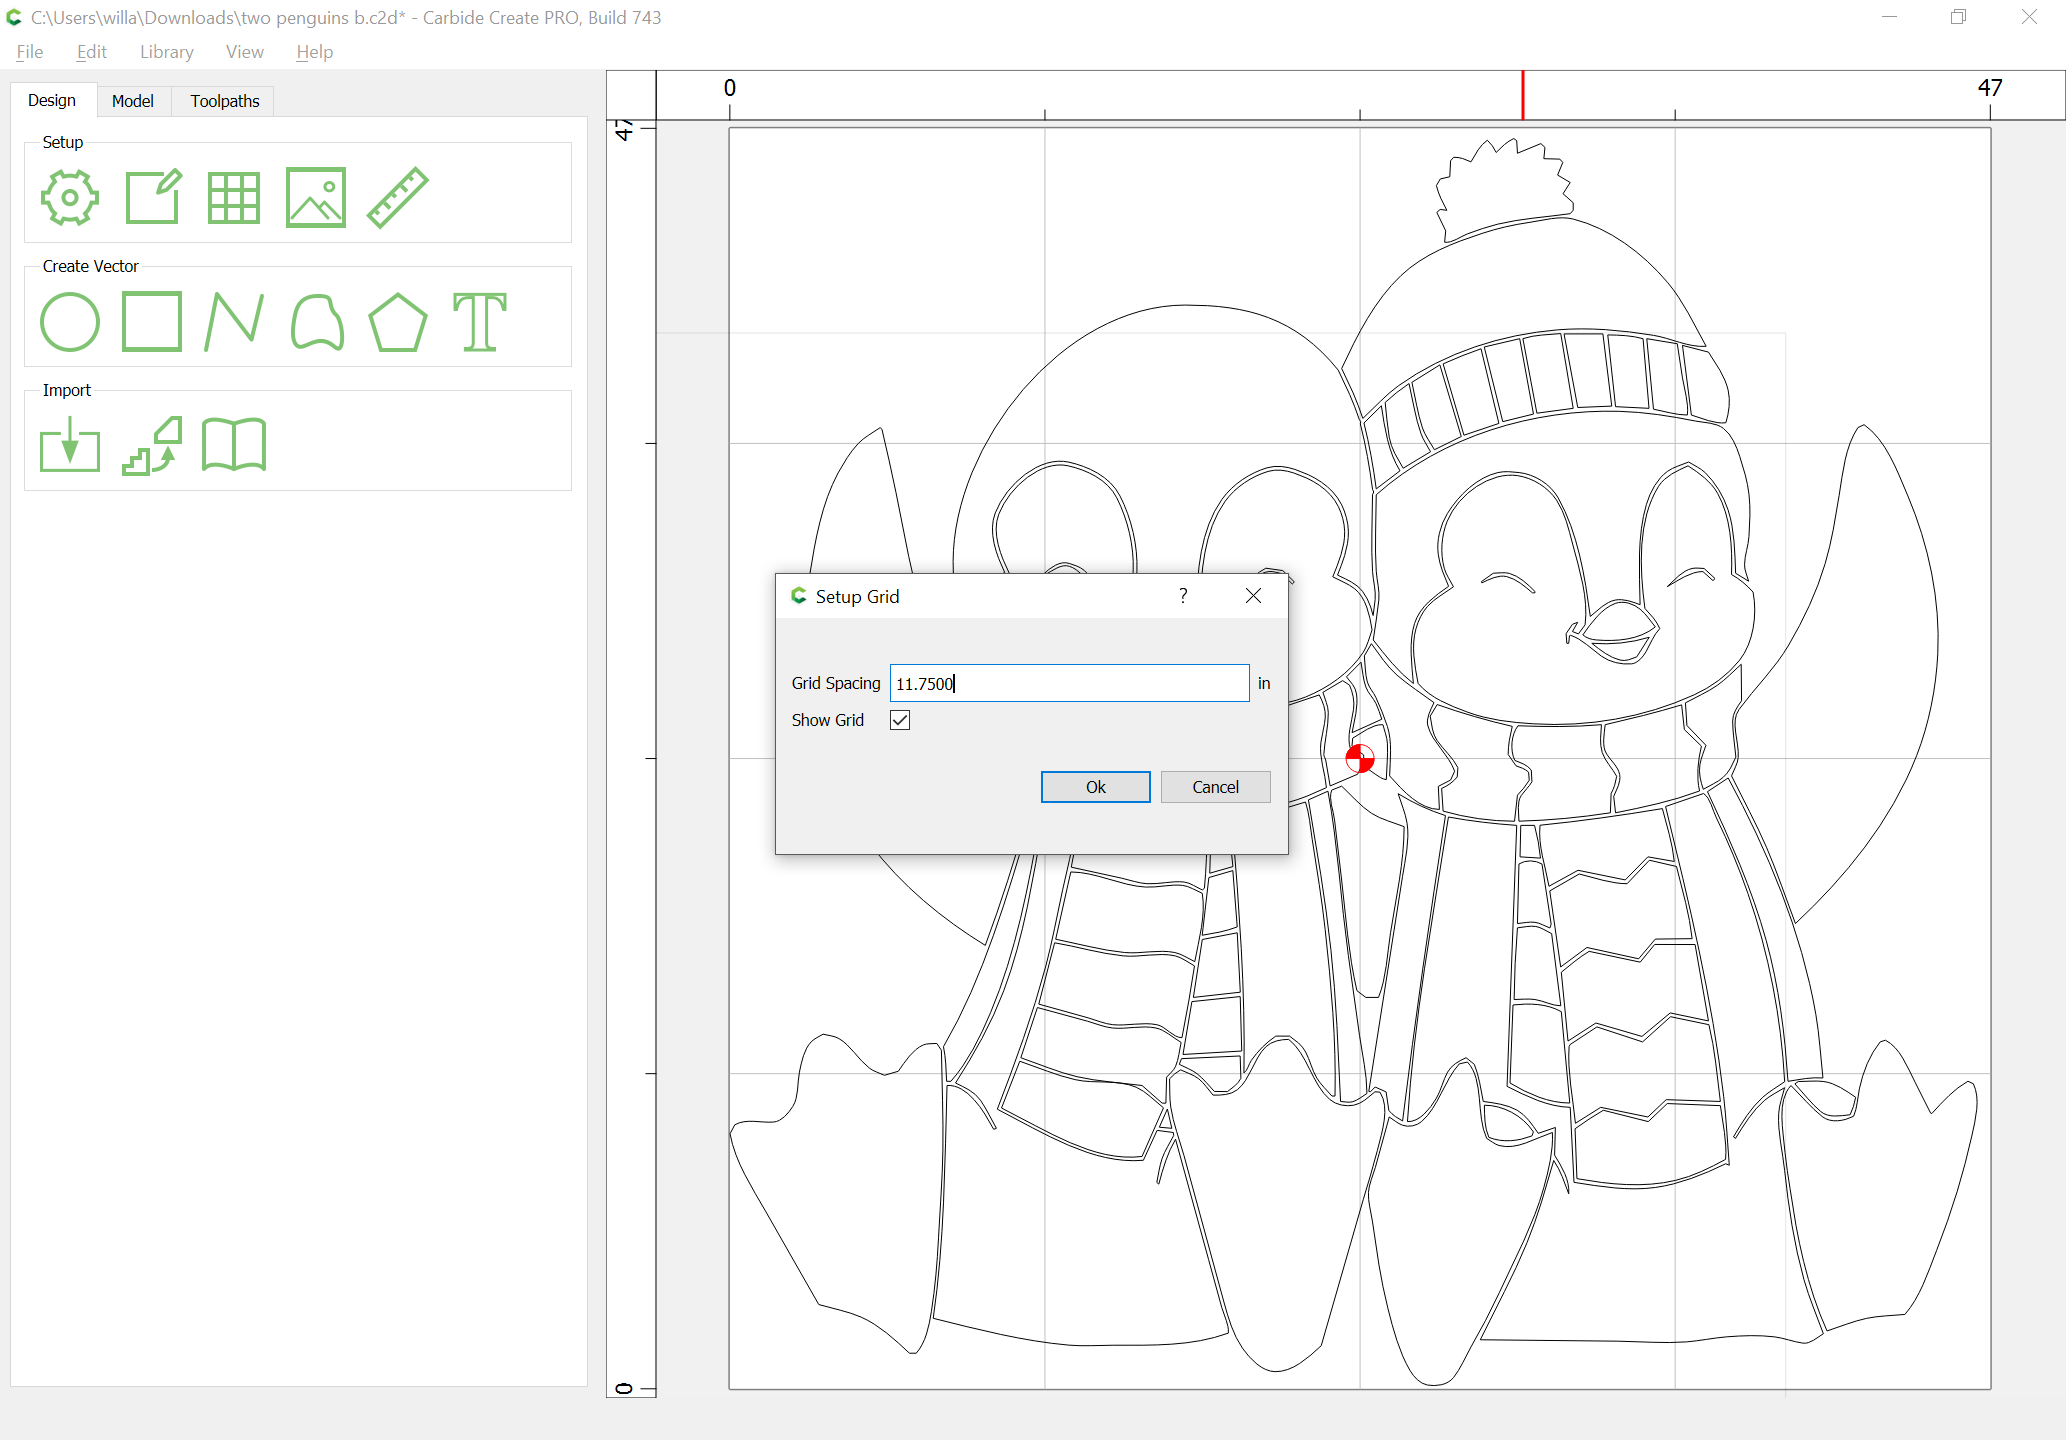
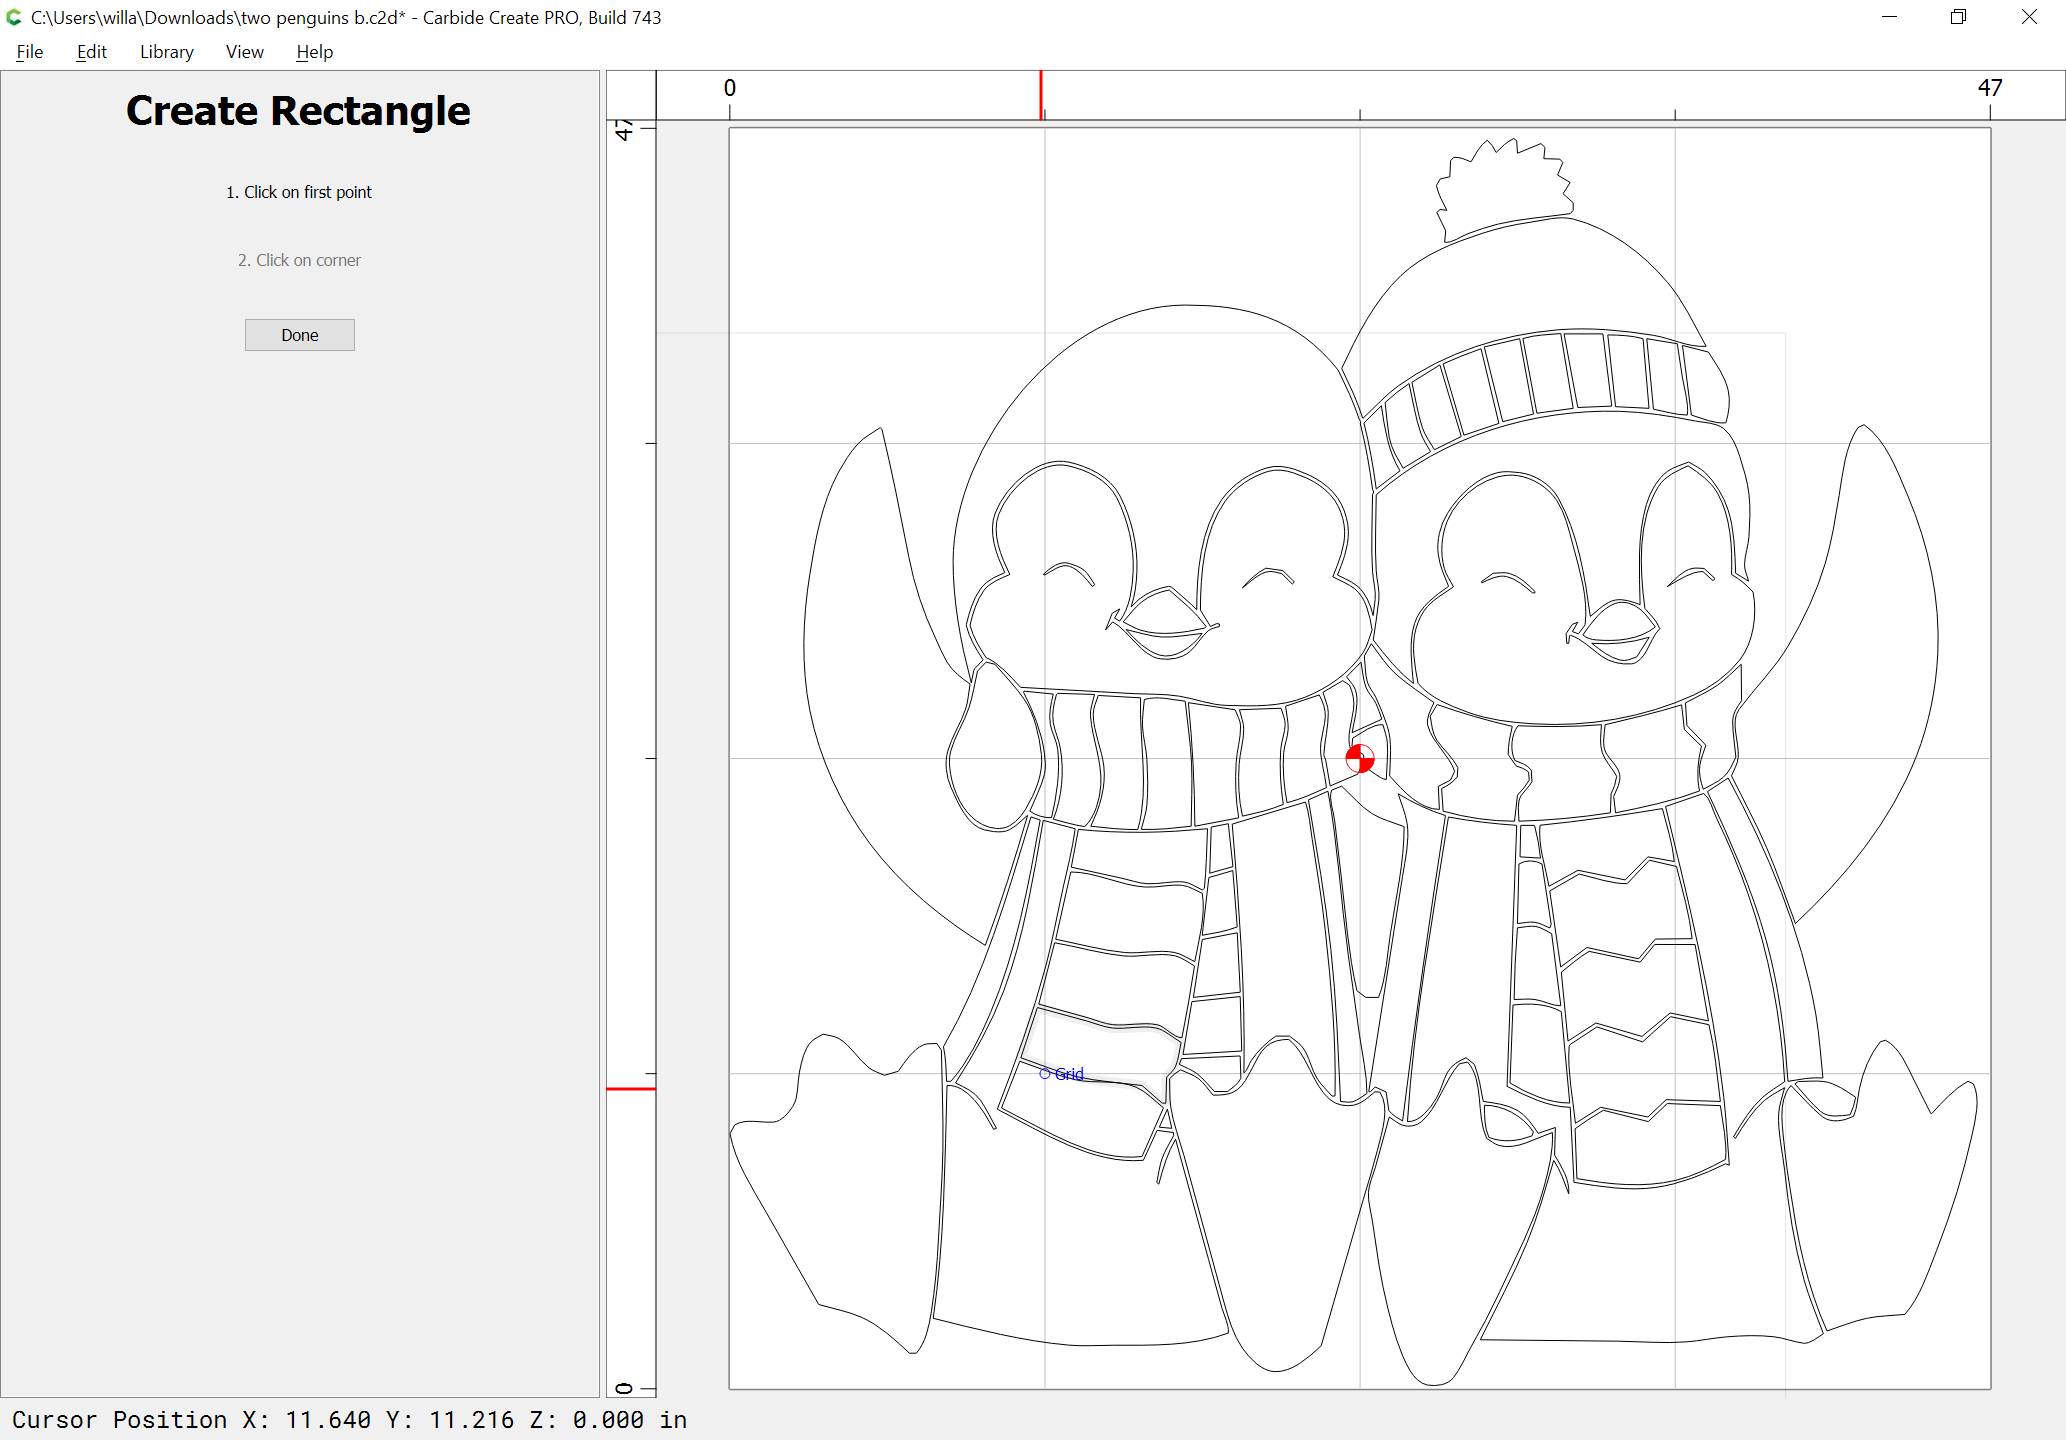
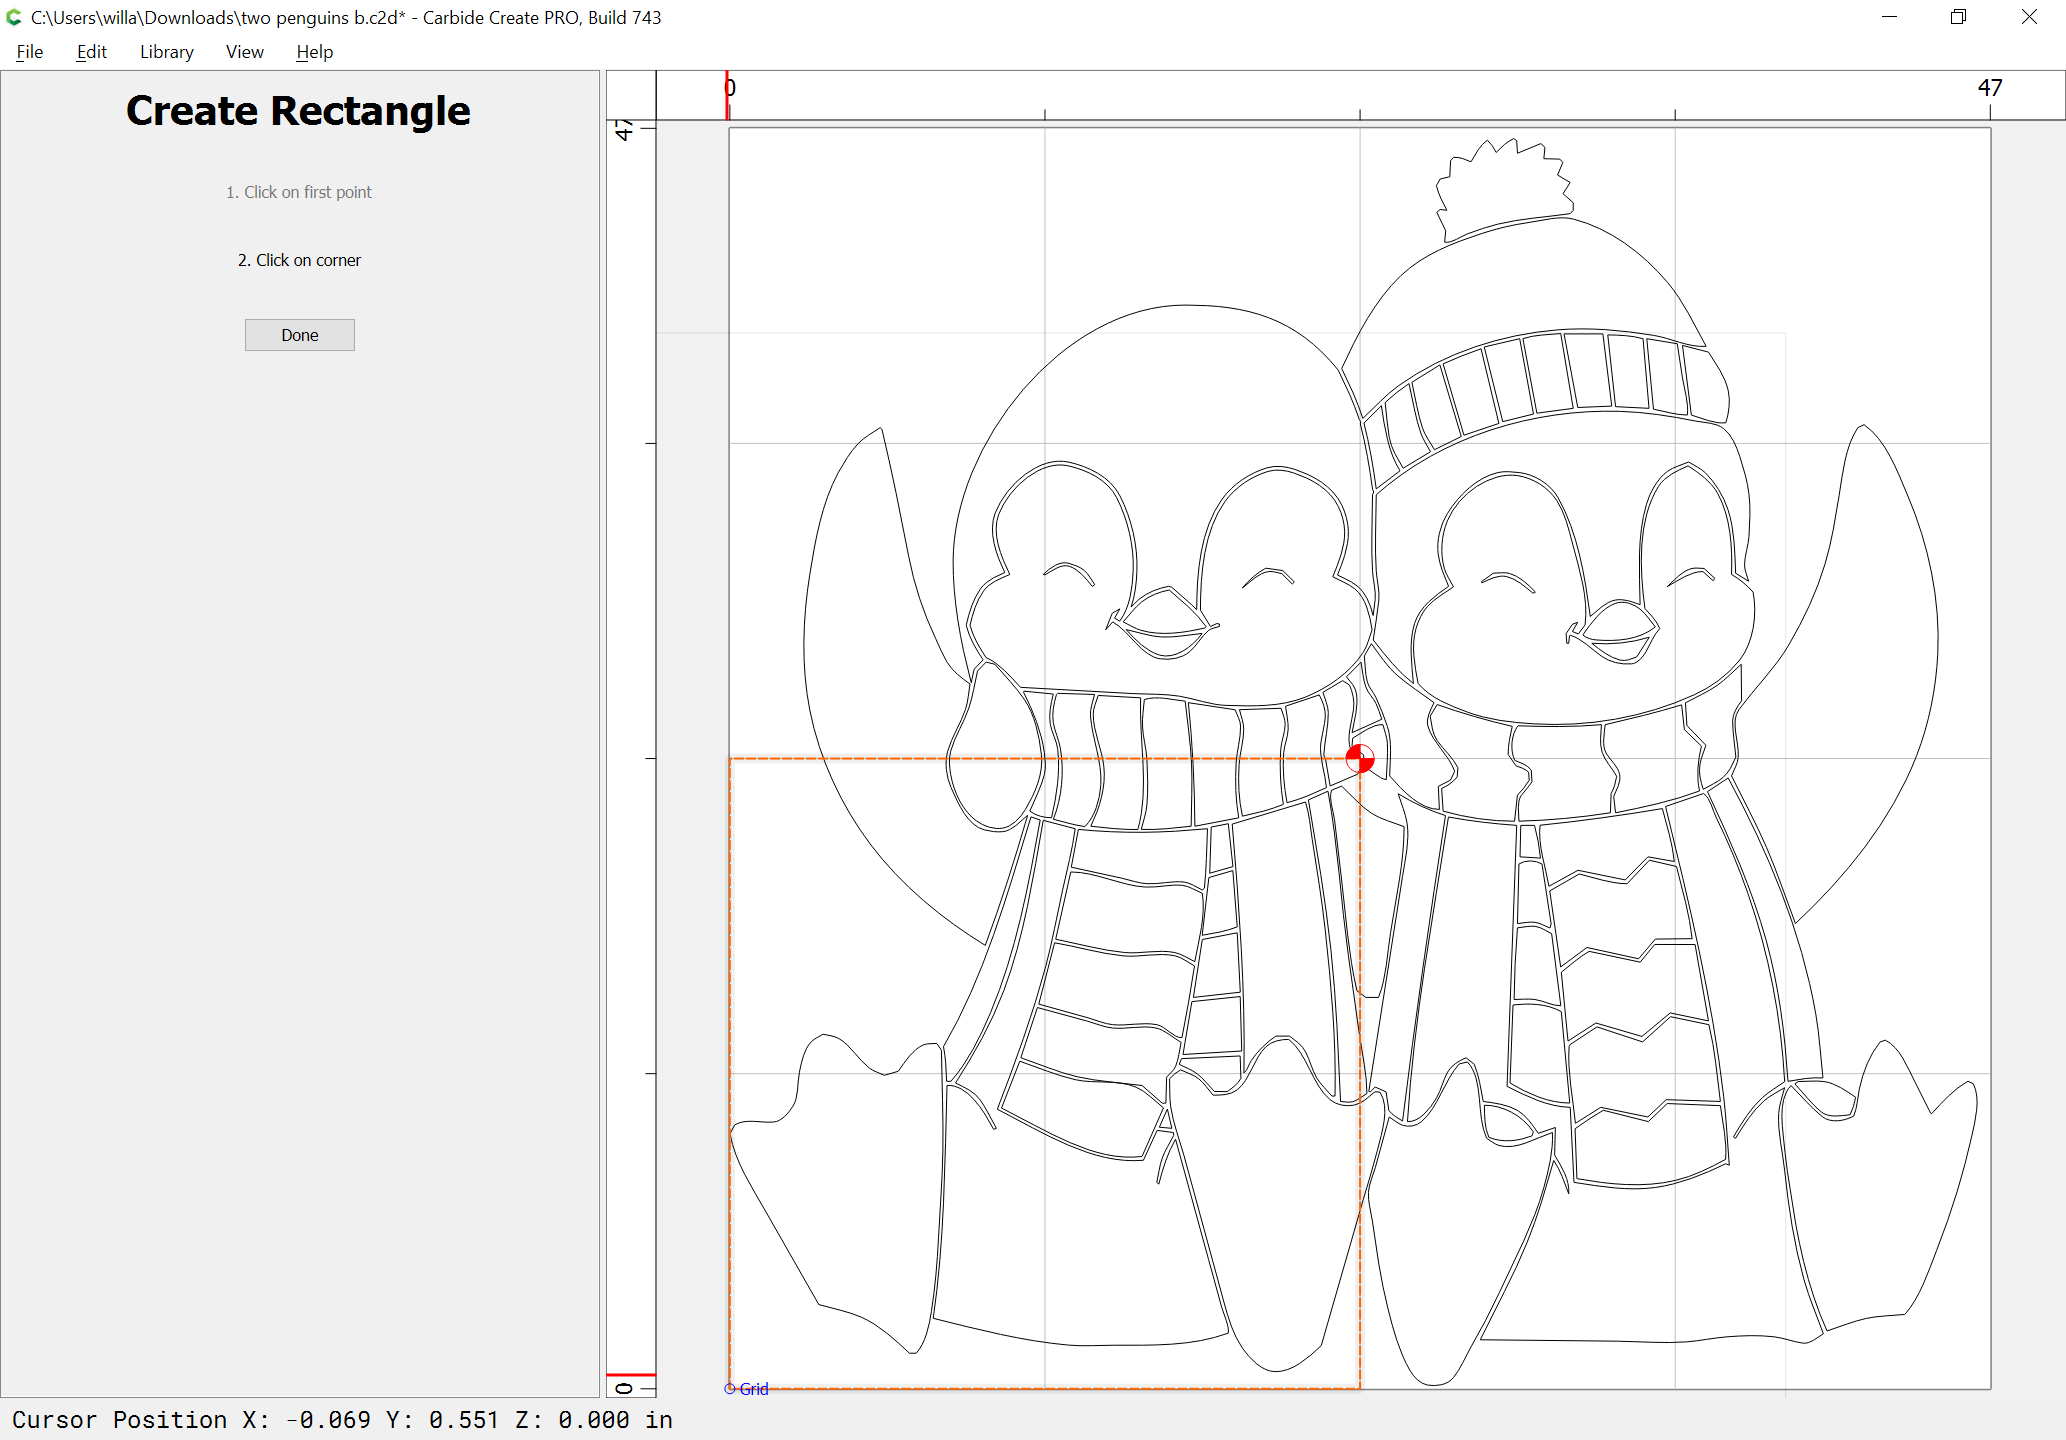
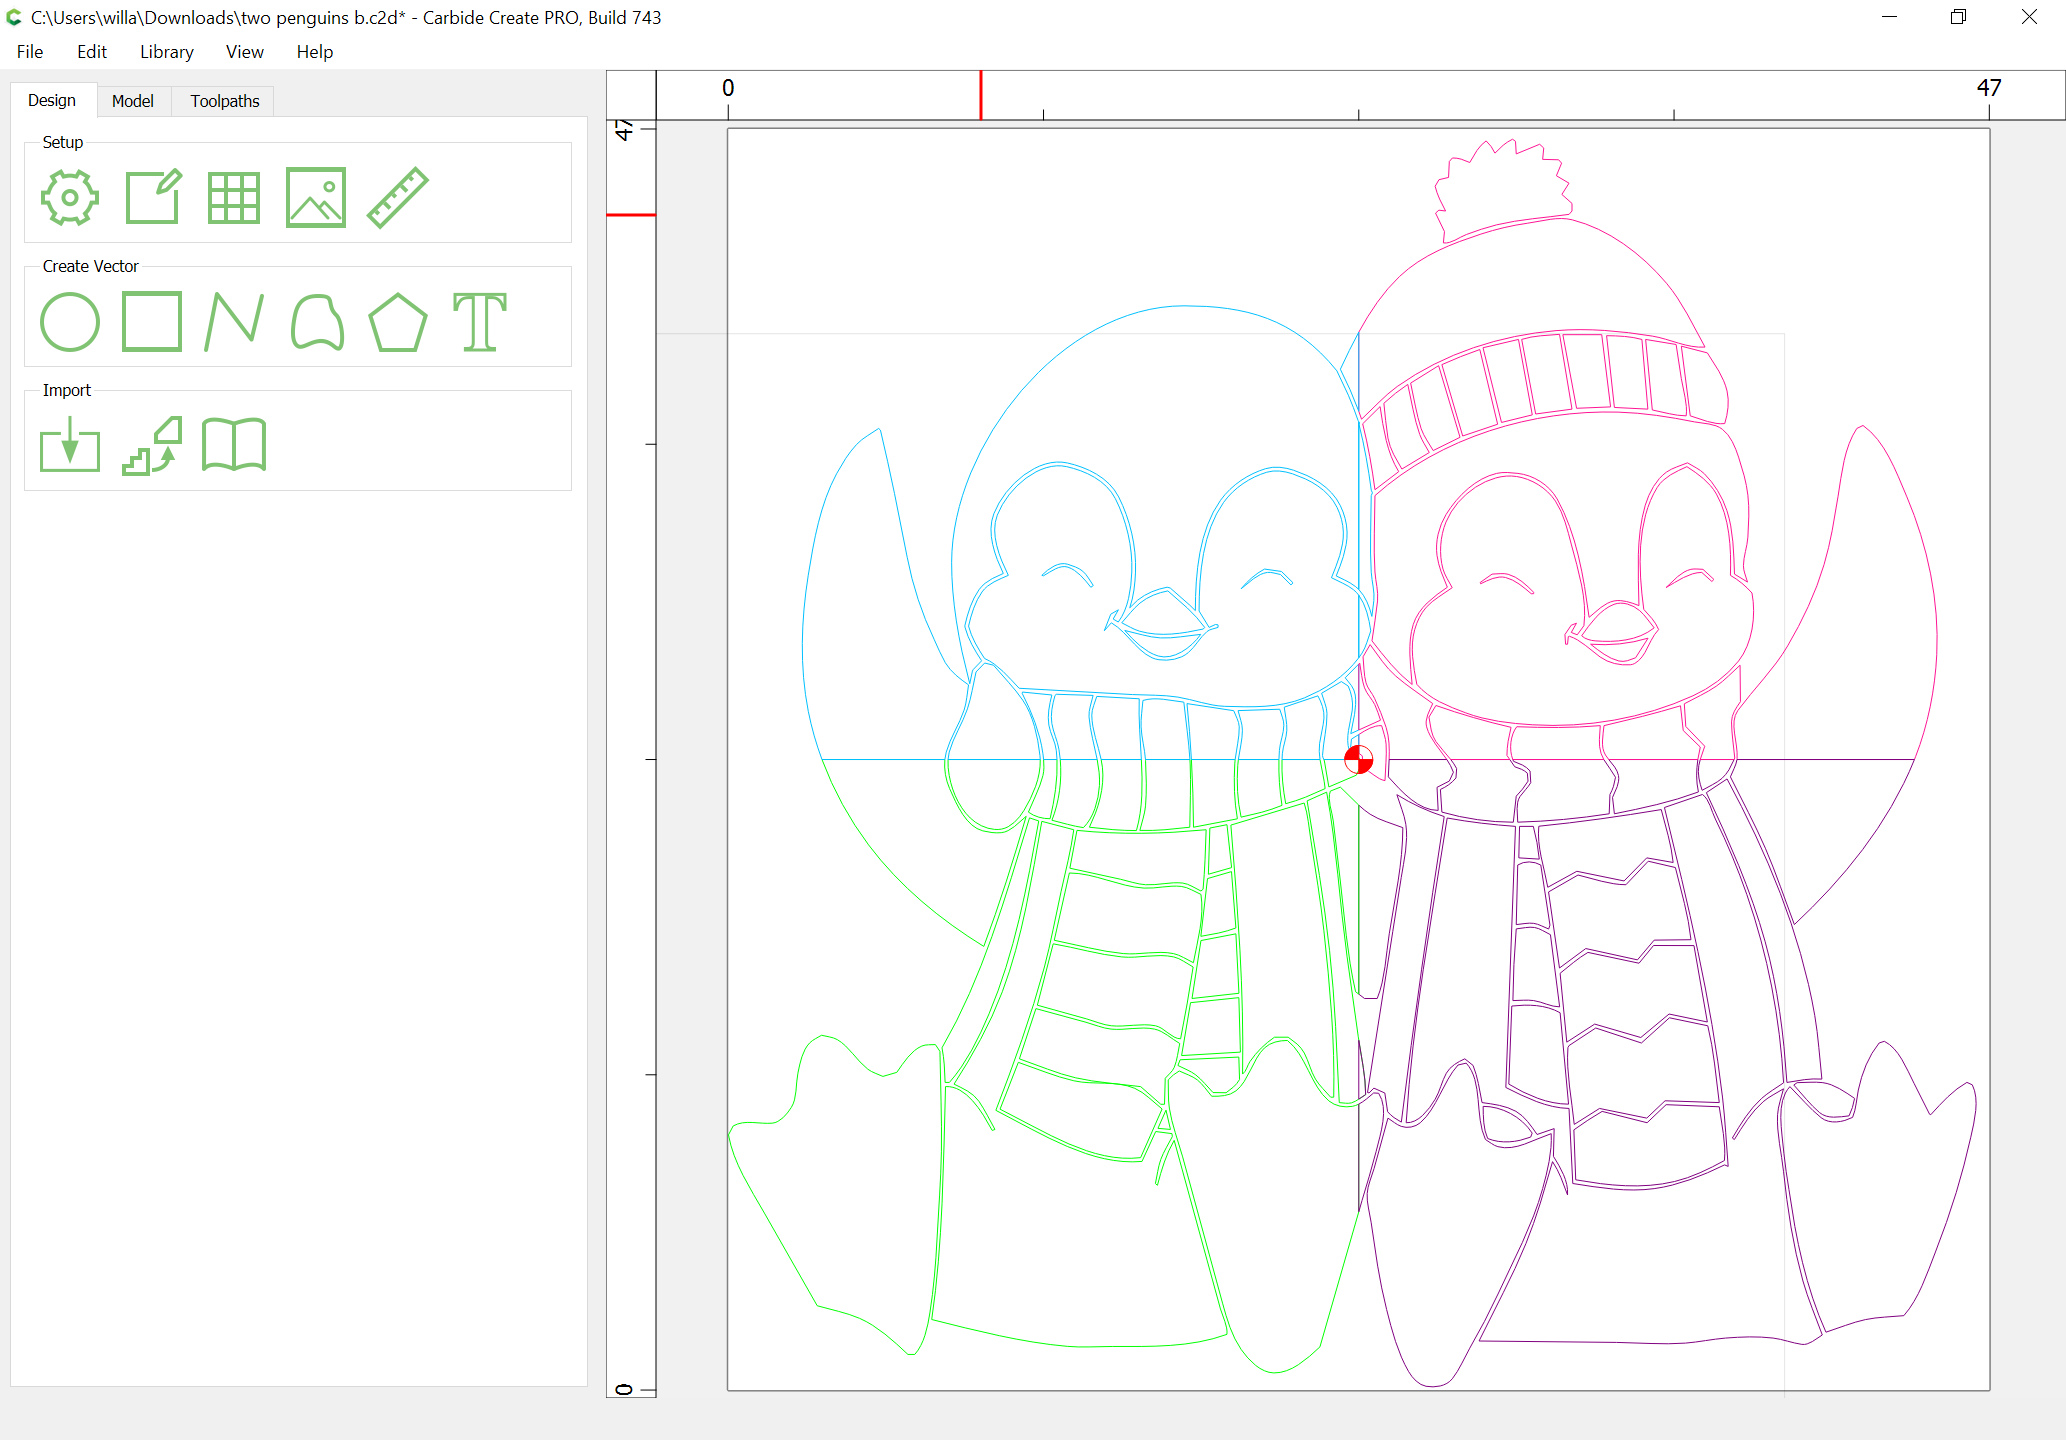
Drawing in the rectangles is simple if one sets the grid to define them:
Then just click on the grid intersection at the center:
and at one of the corners:
Repeat for the other four:
WillAdams
(William Adams (Carbide 3D))
6
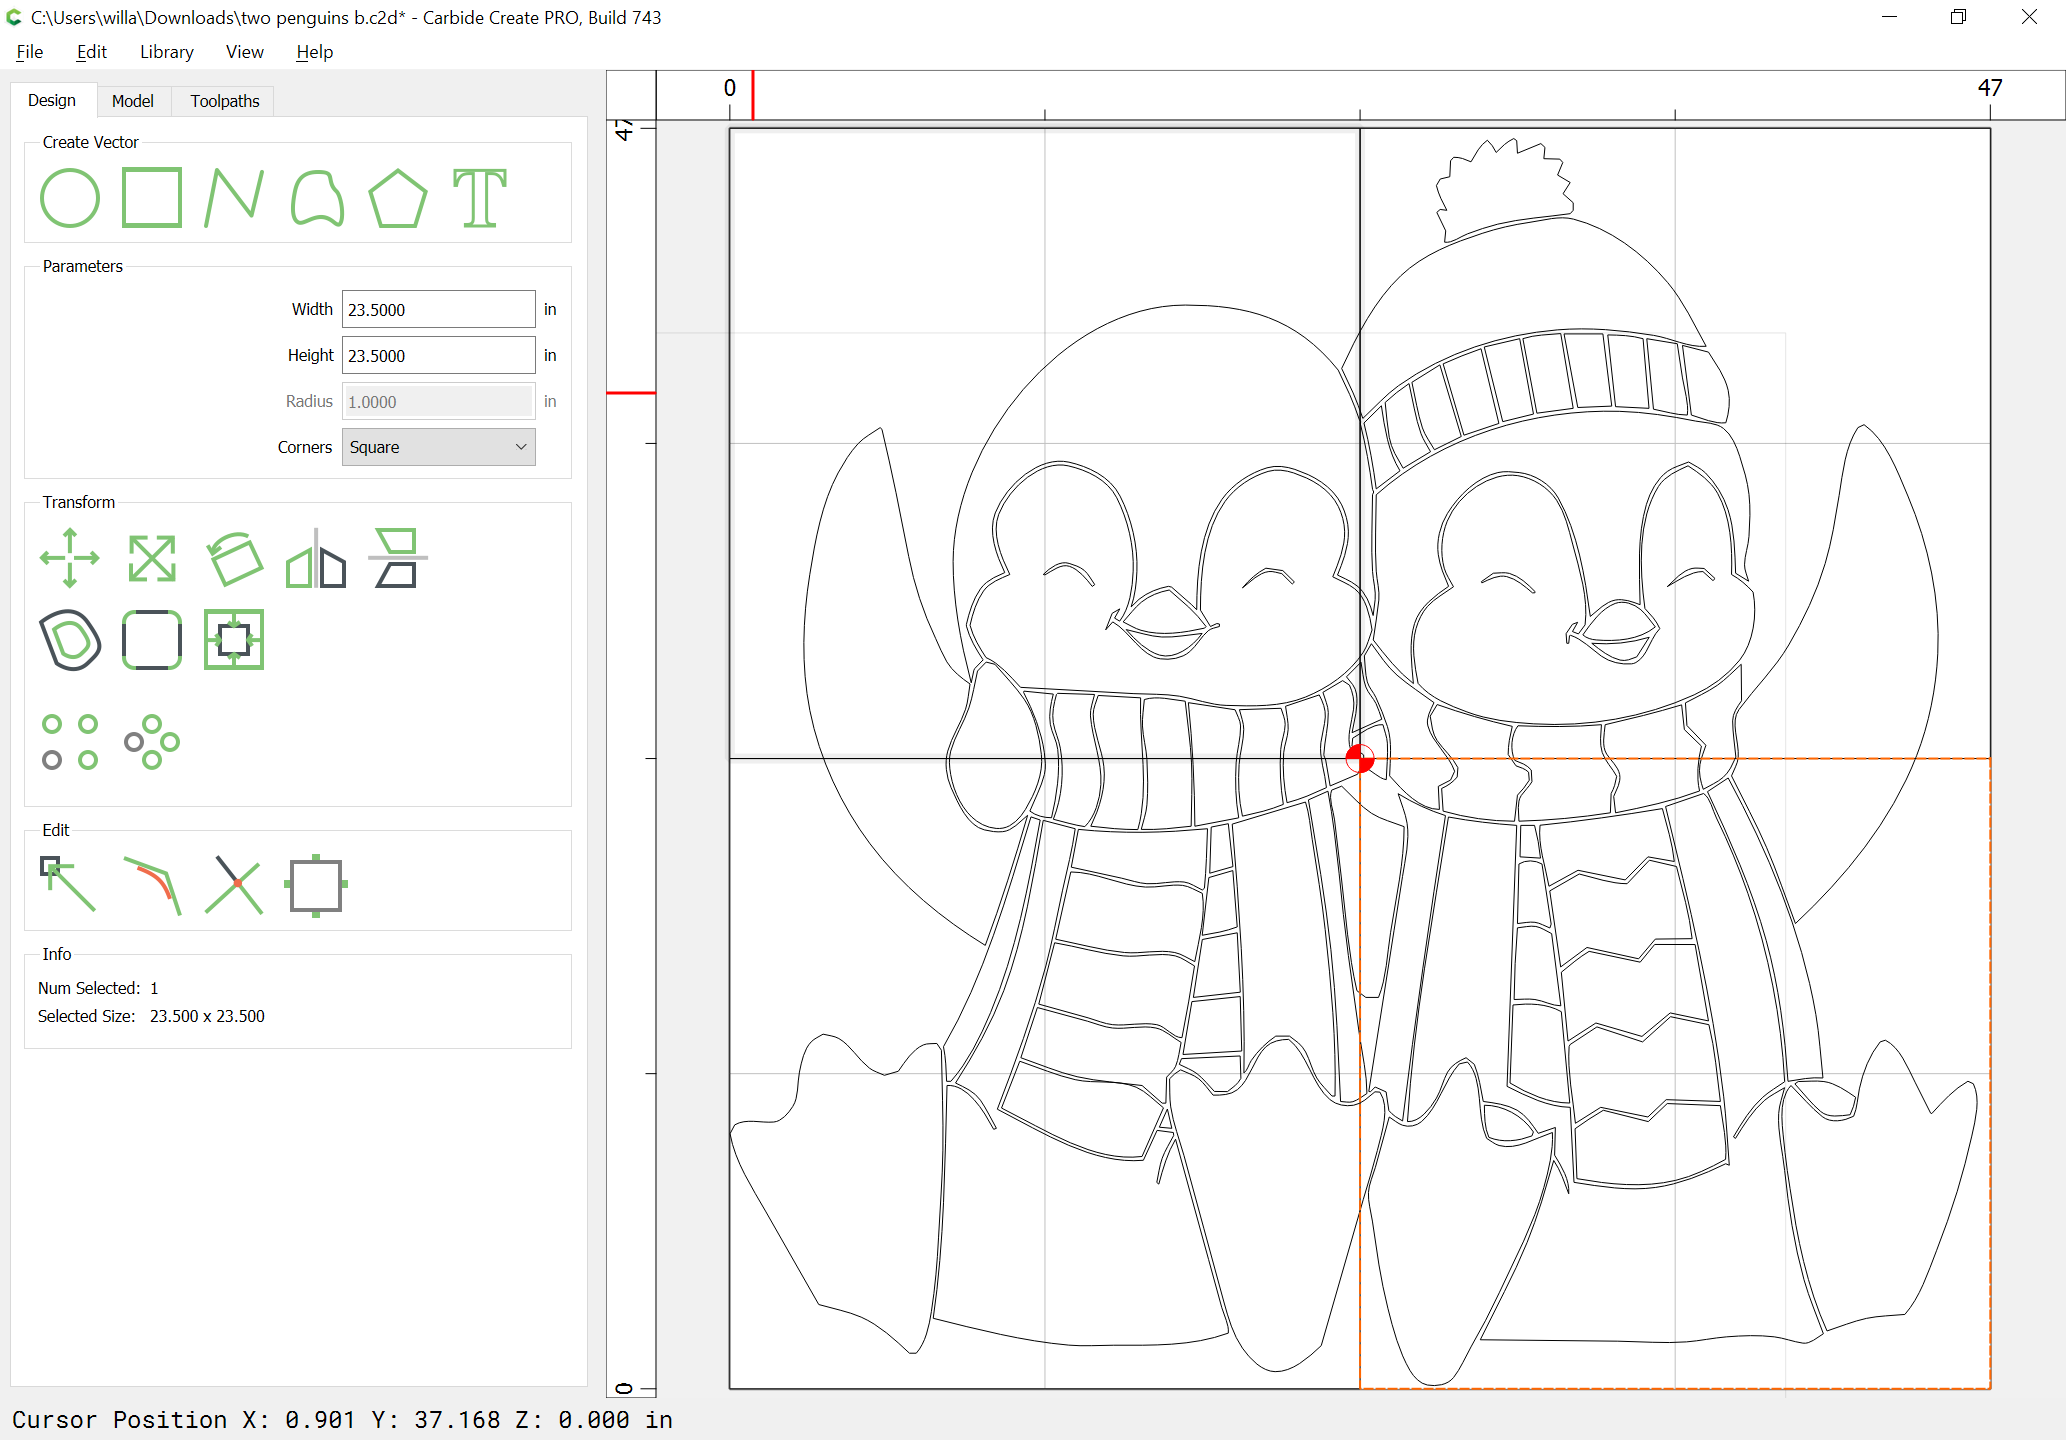
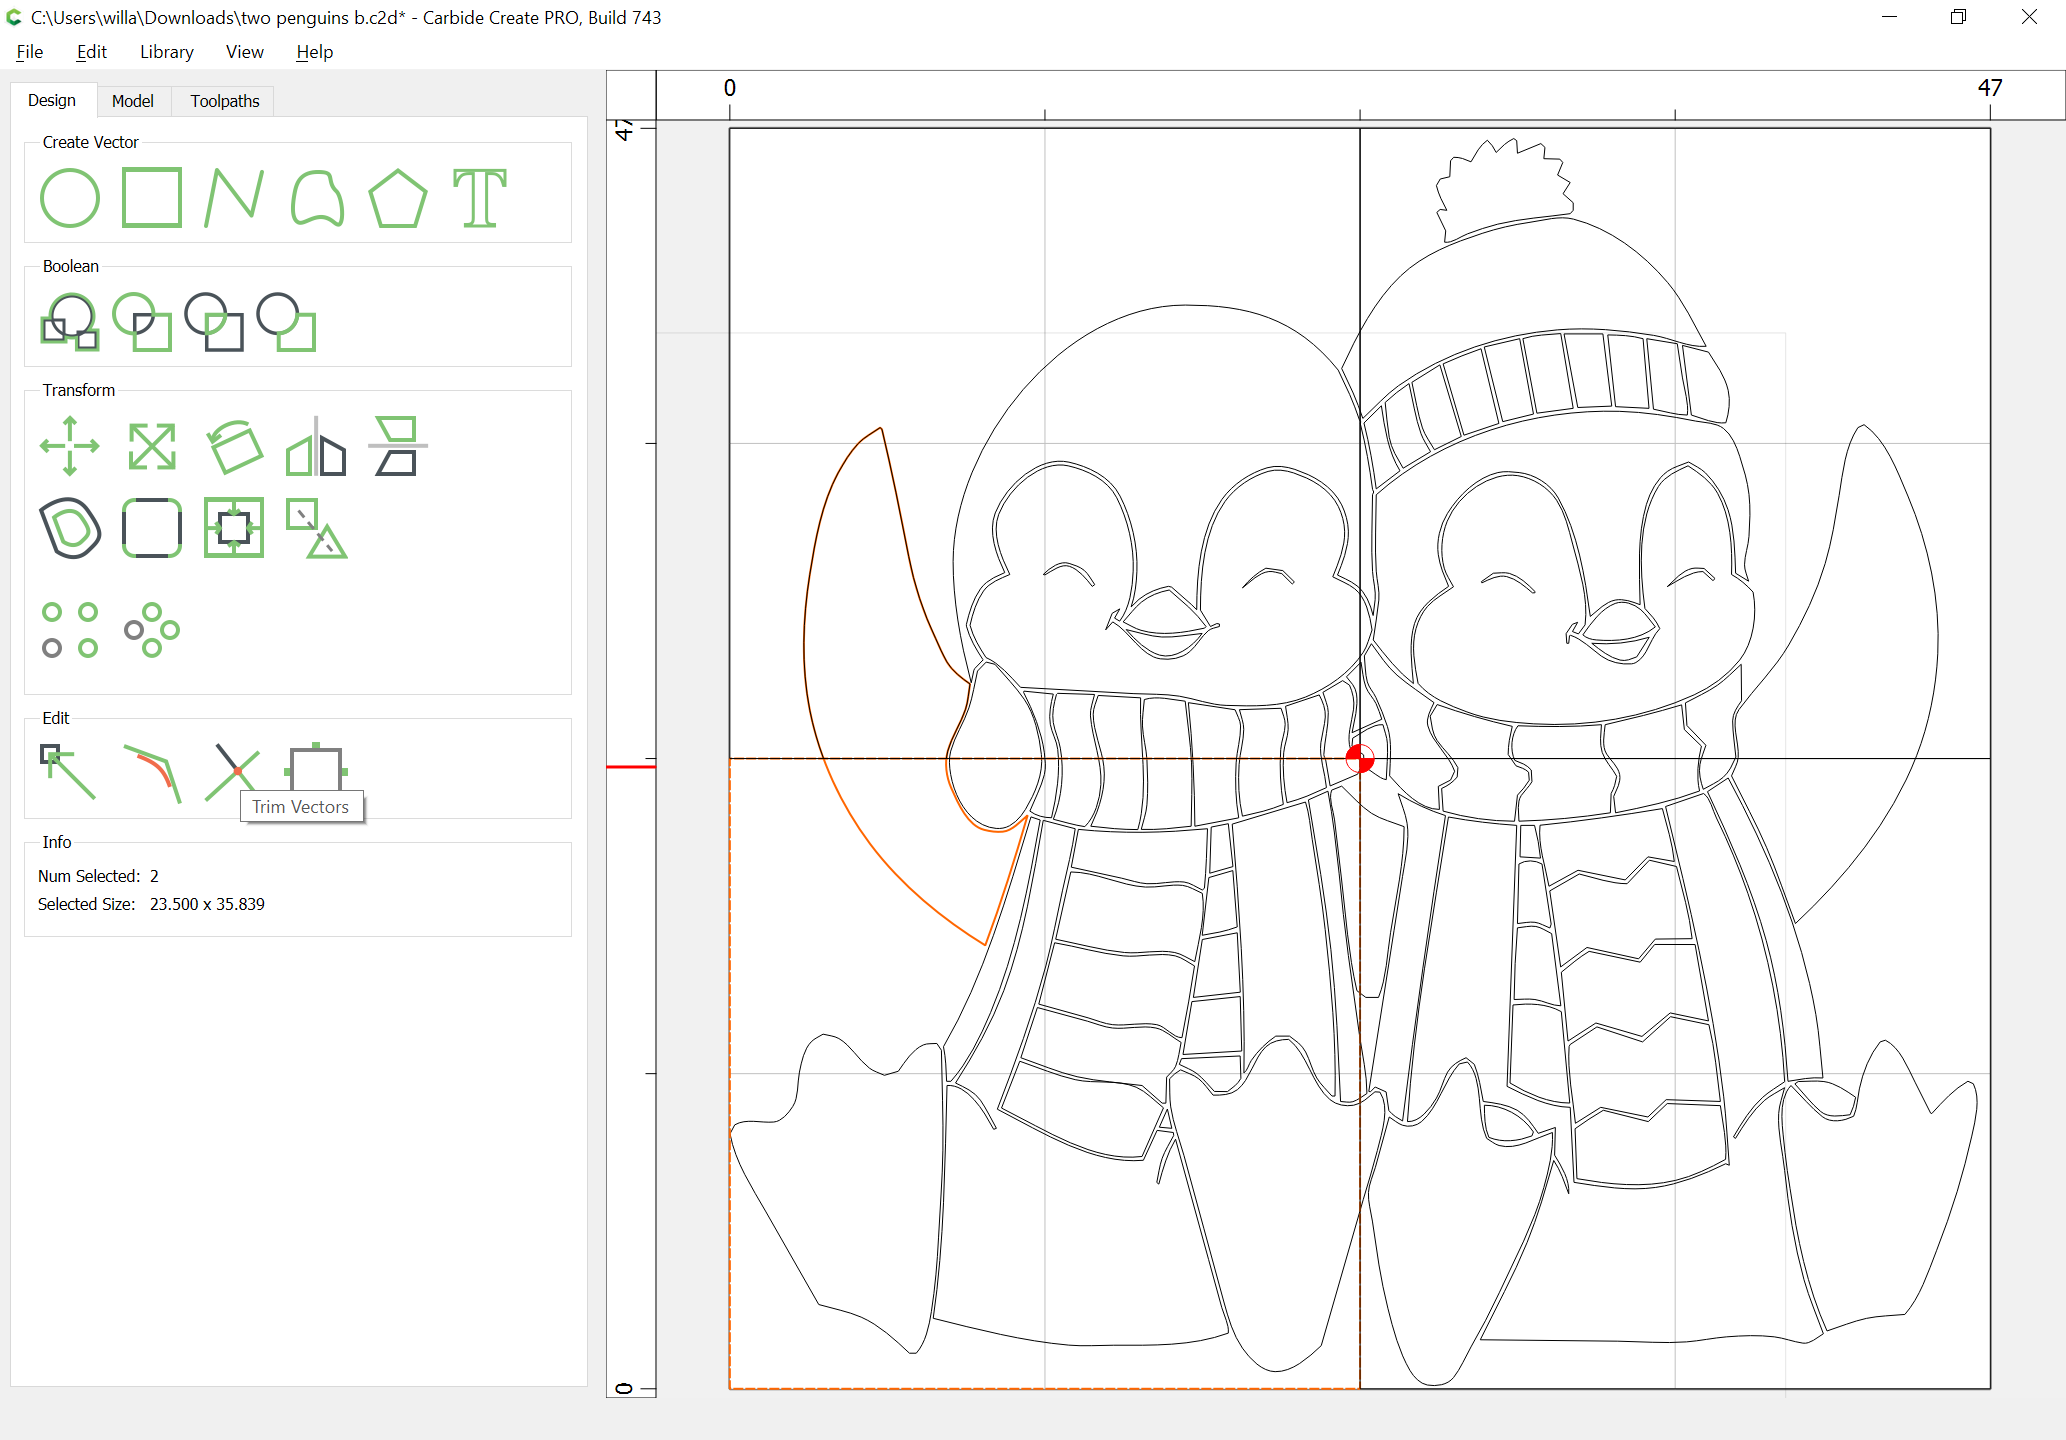
To actually do the division, select an object which crosses the line and a rectangle:
copy and paste them into place:
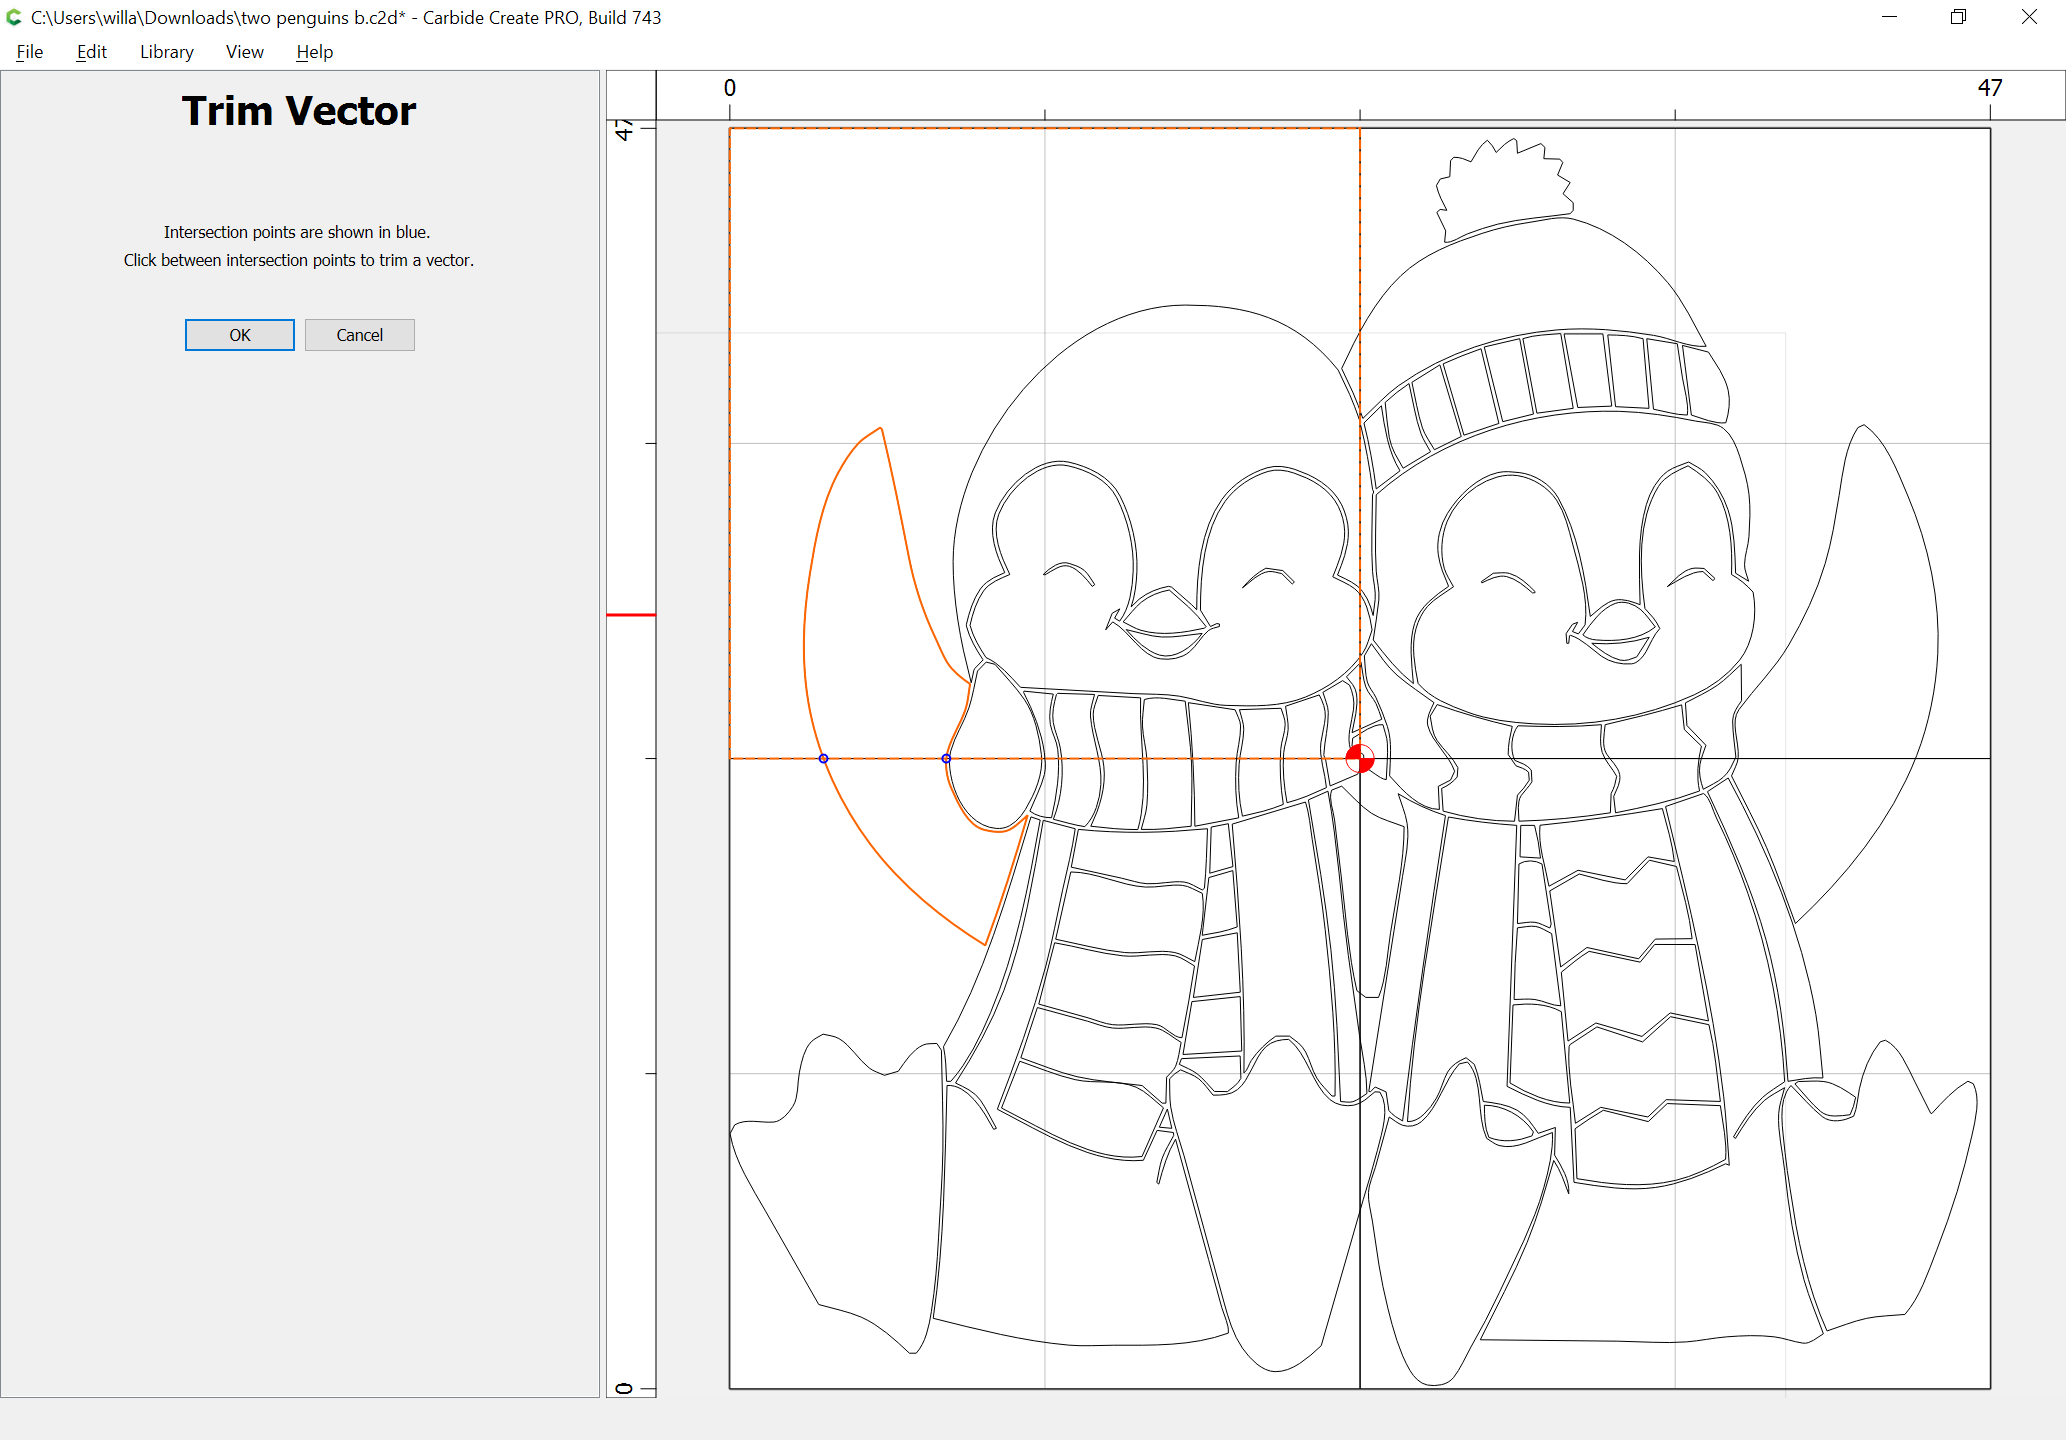
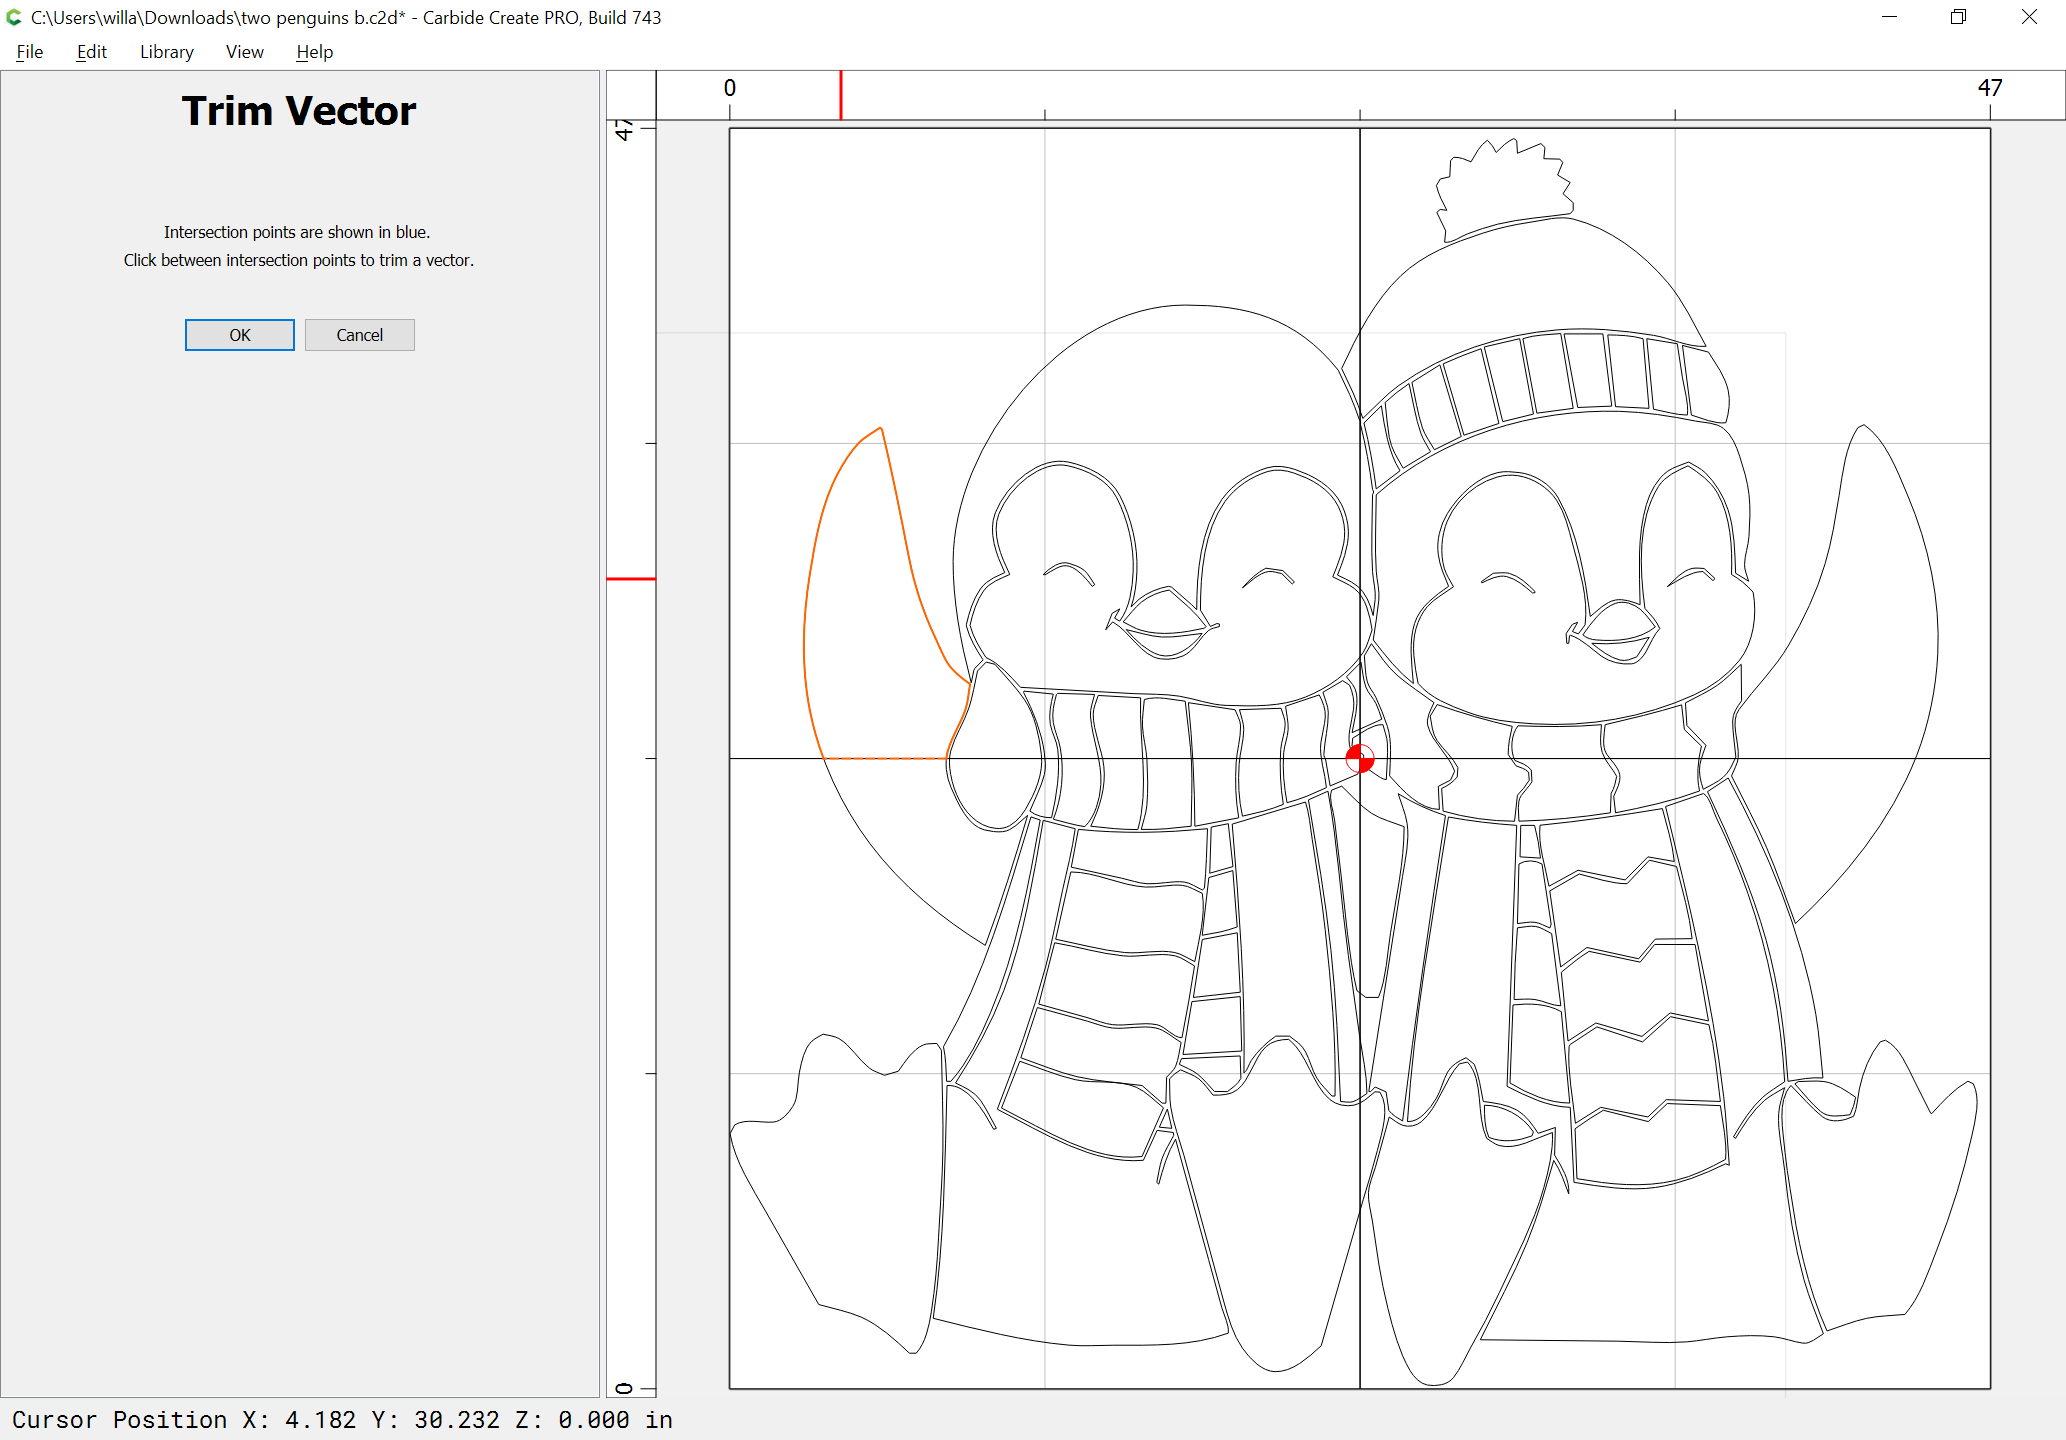
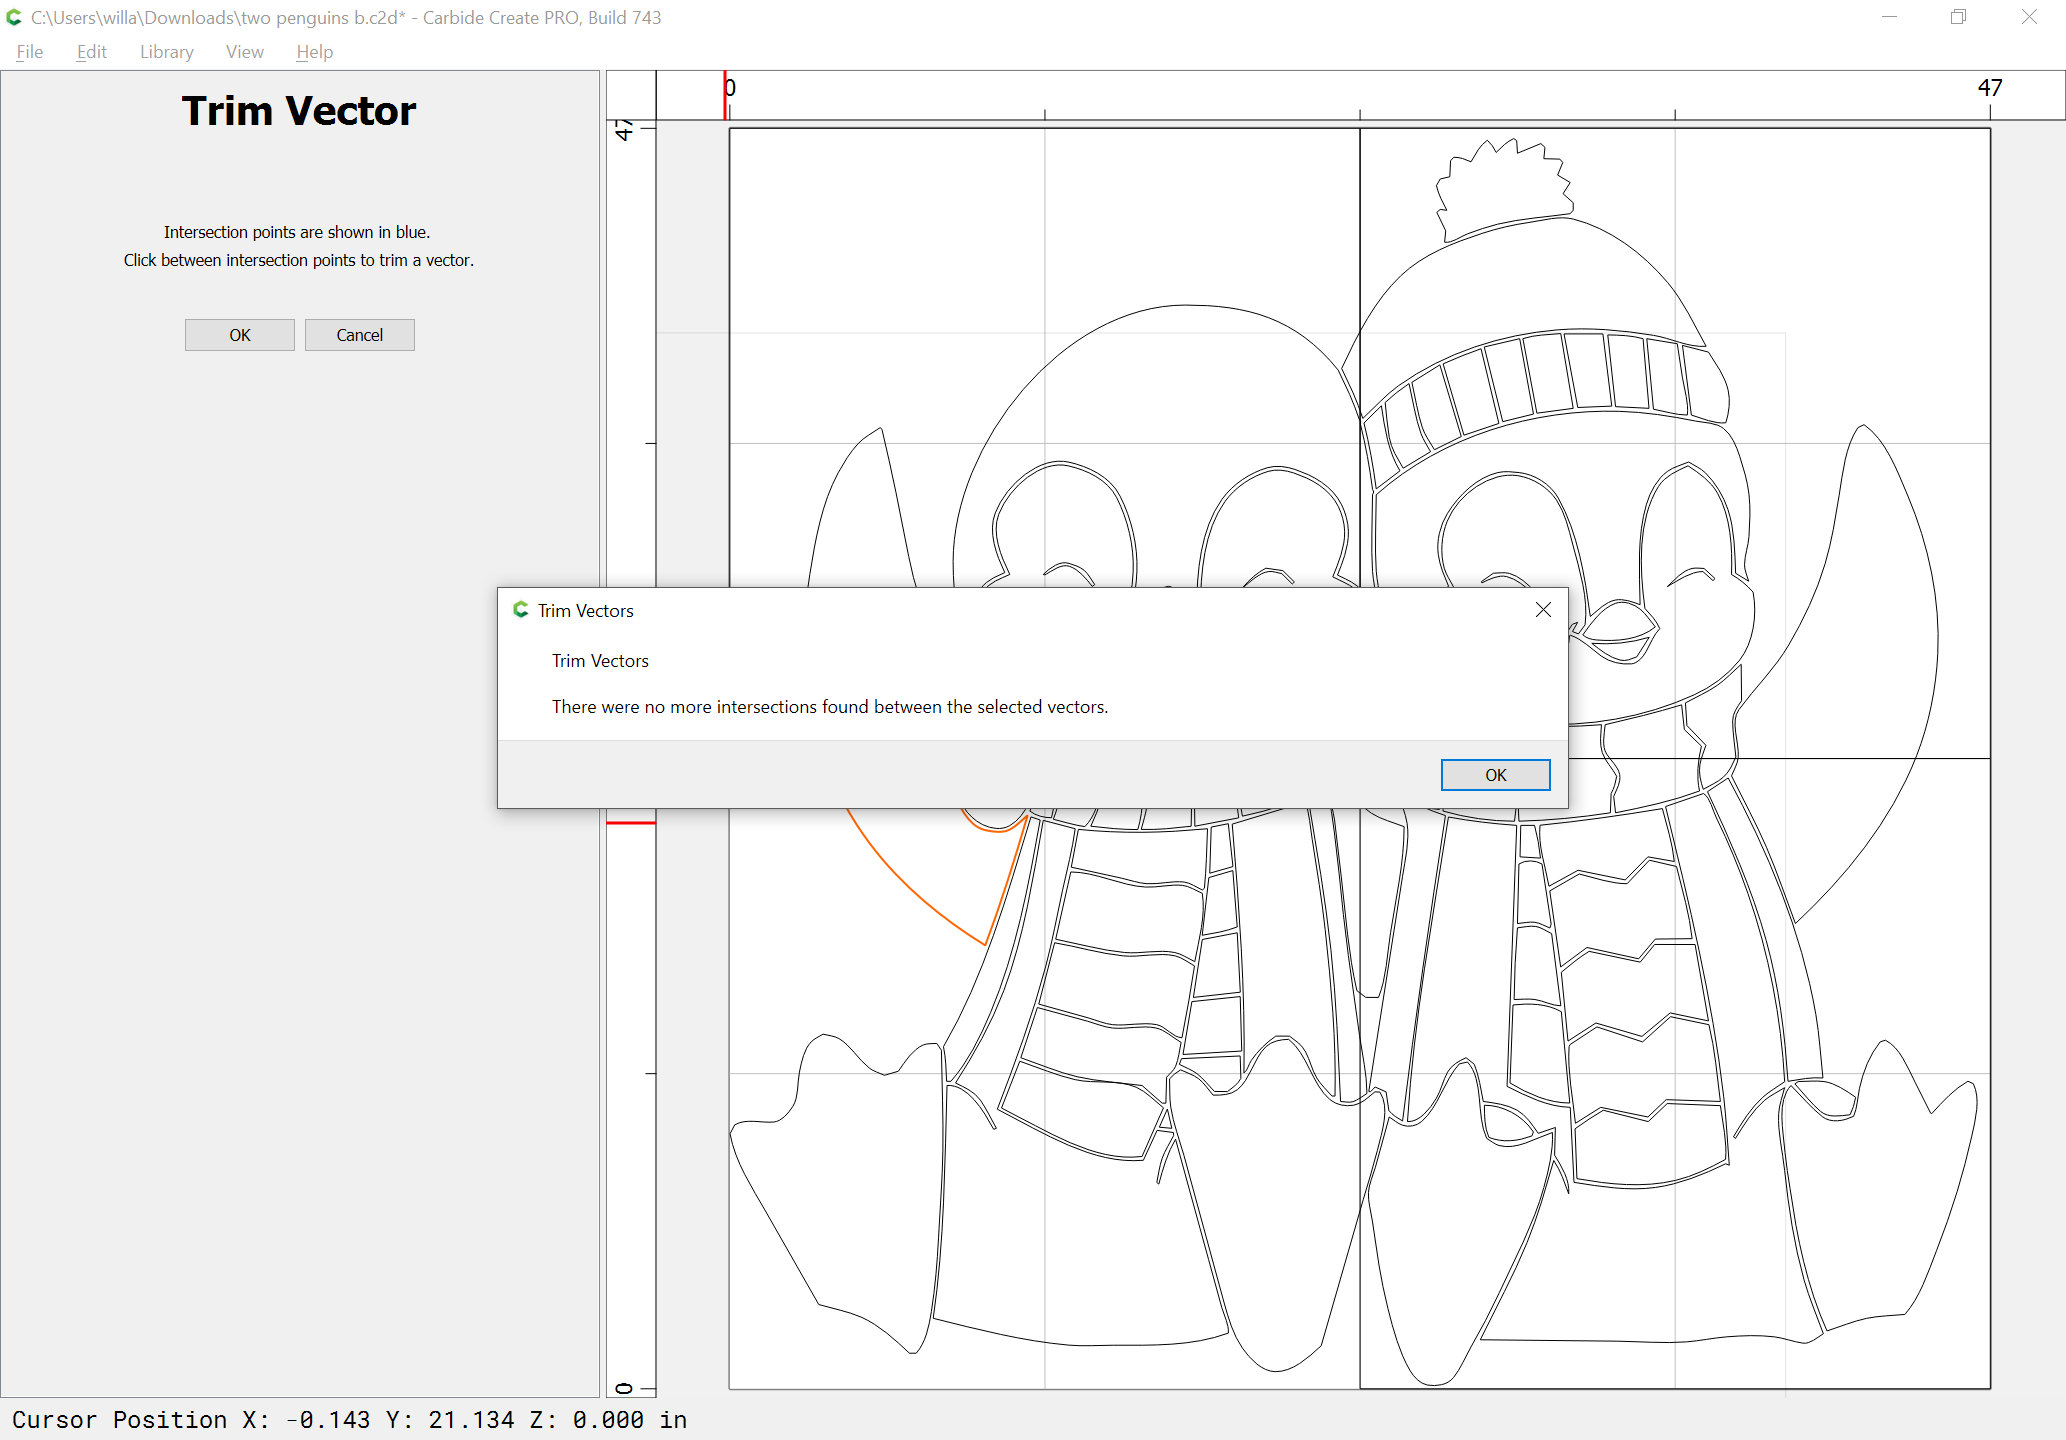
Then use the Trim Vectors tool:
to remove what isn’t wanted:
OK
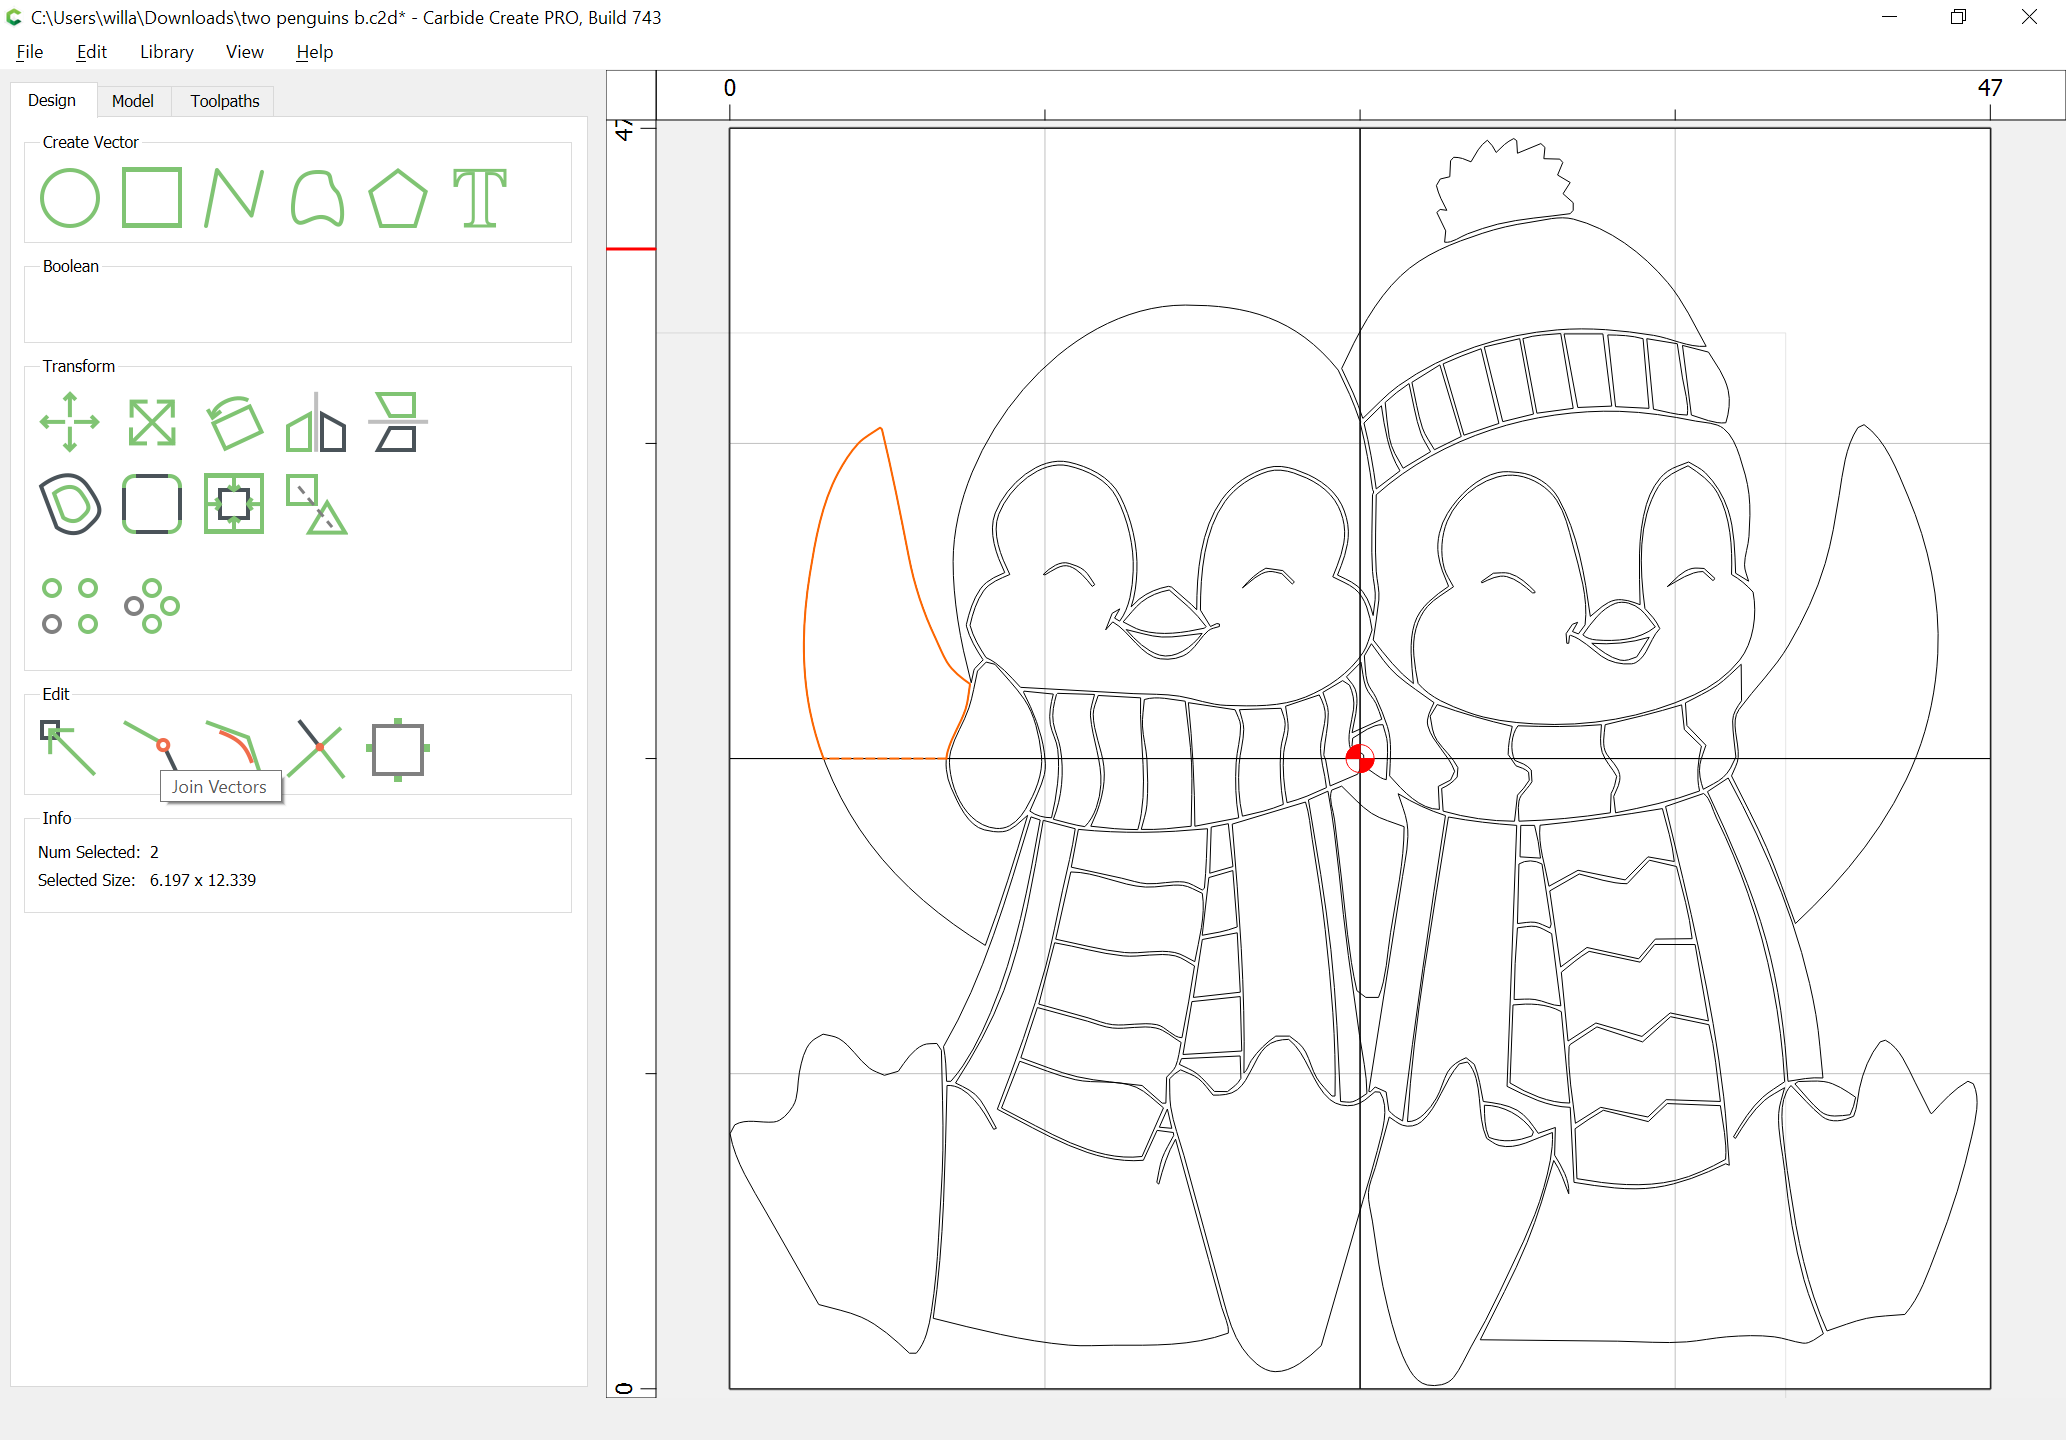
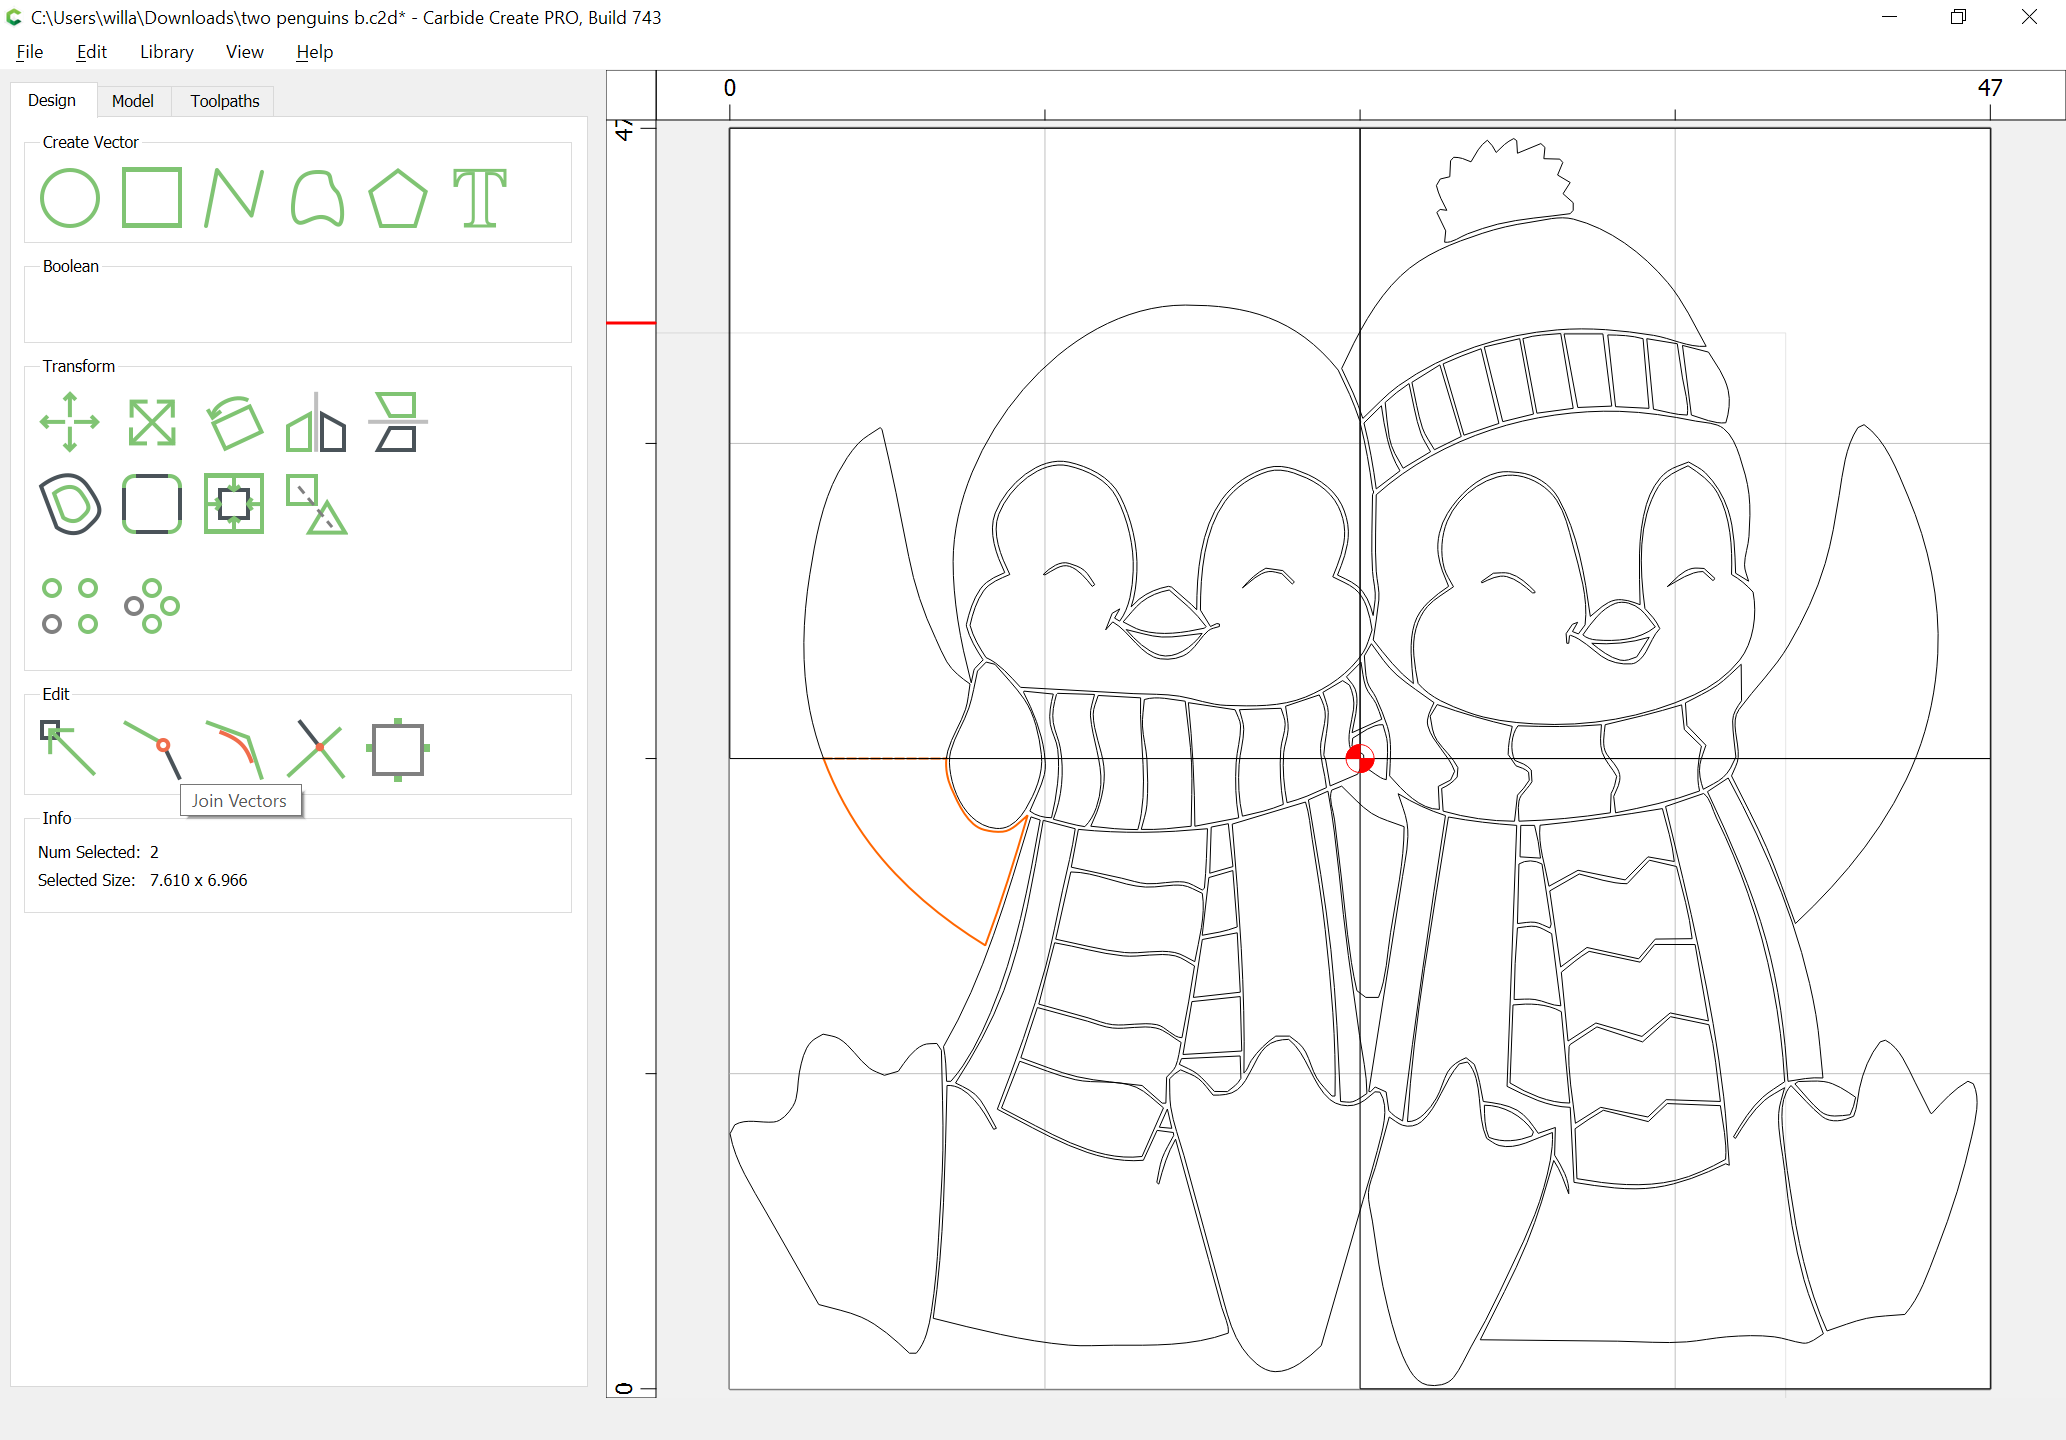
Then use the Join Vectors command to join the two open vectors:
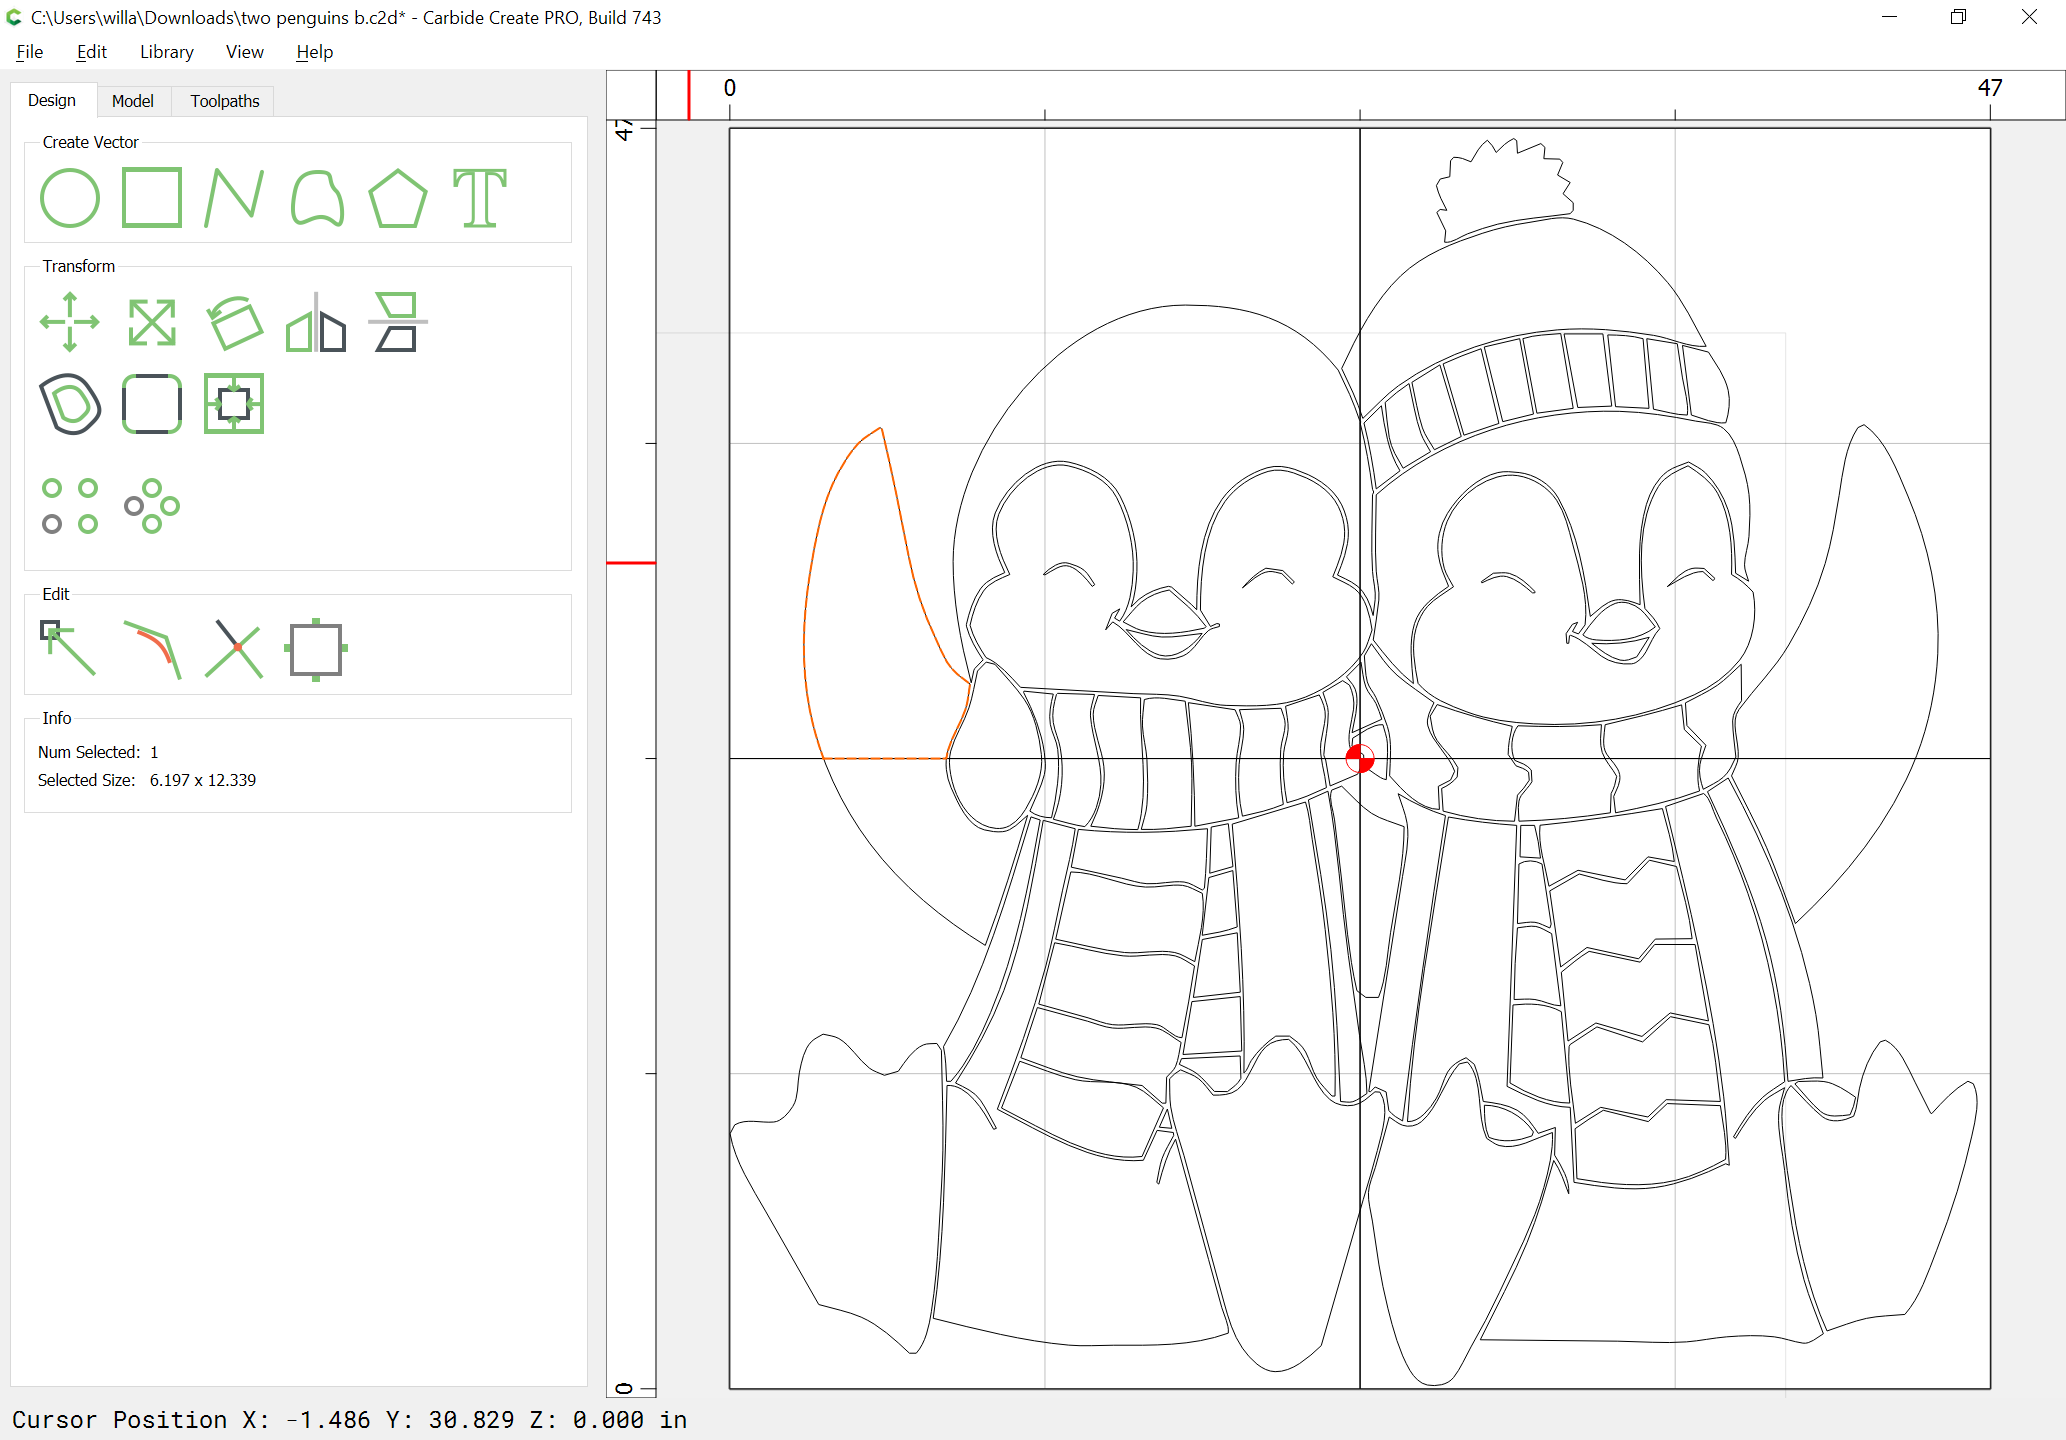
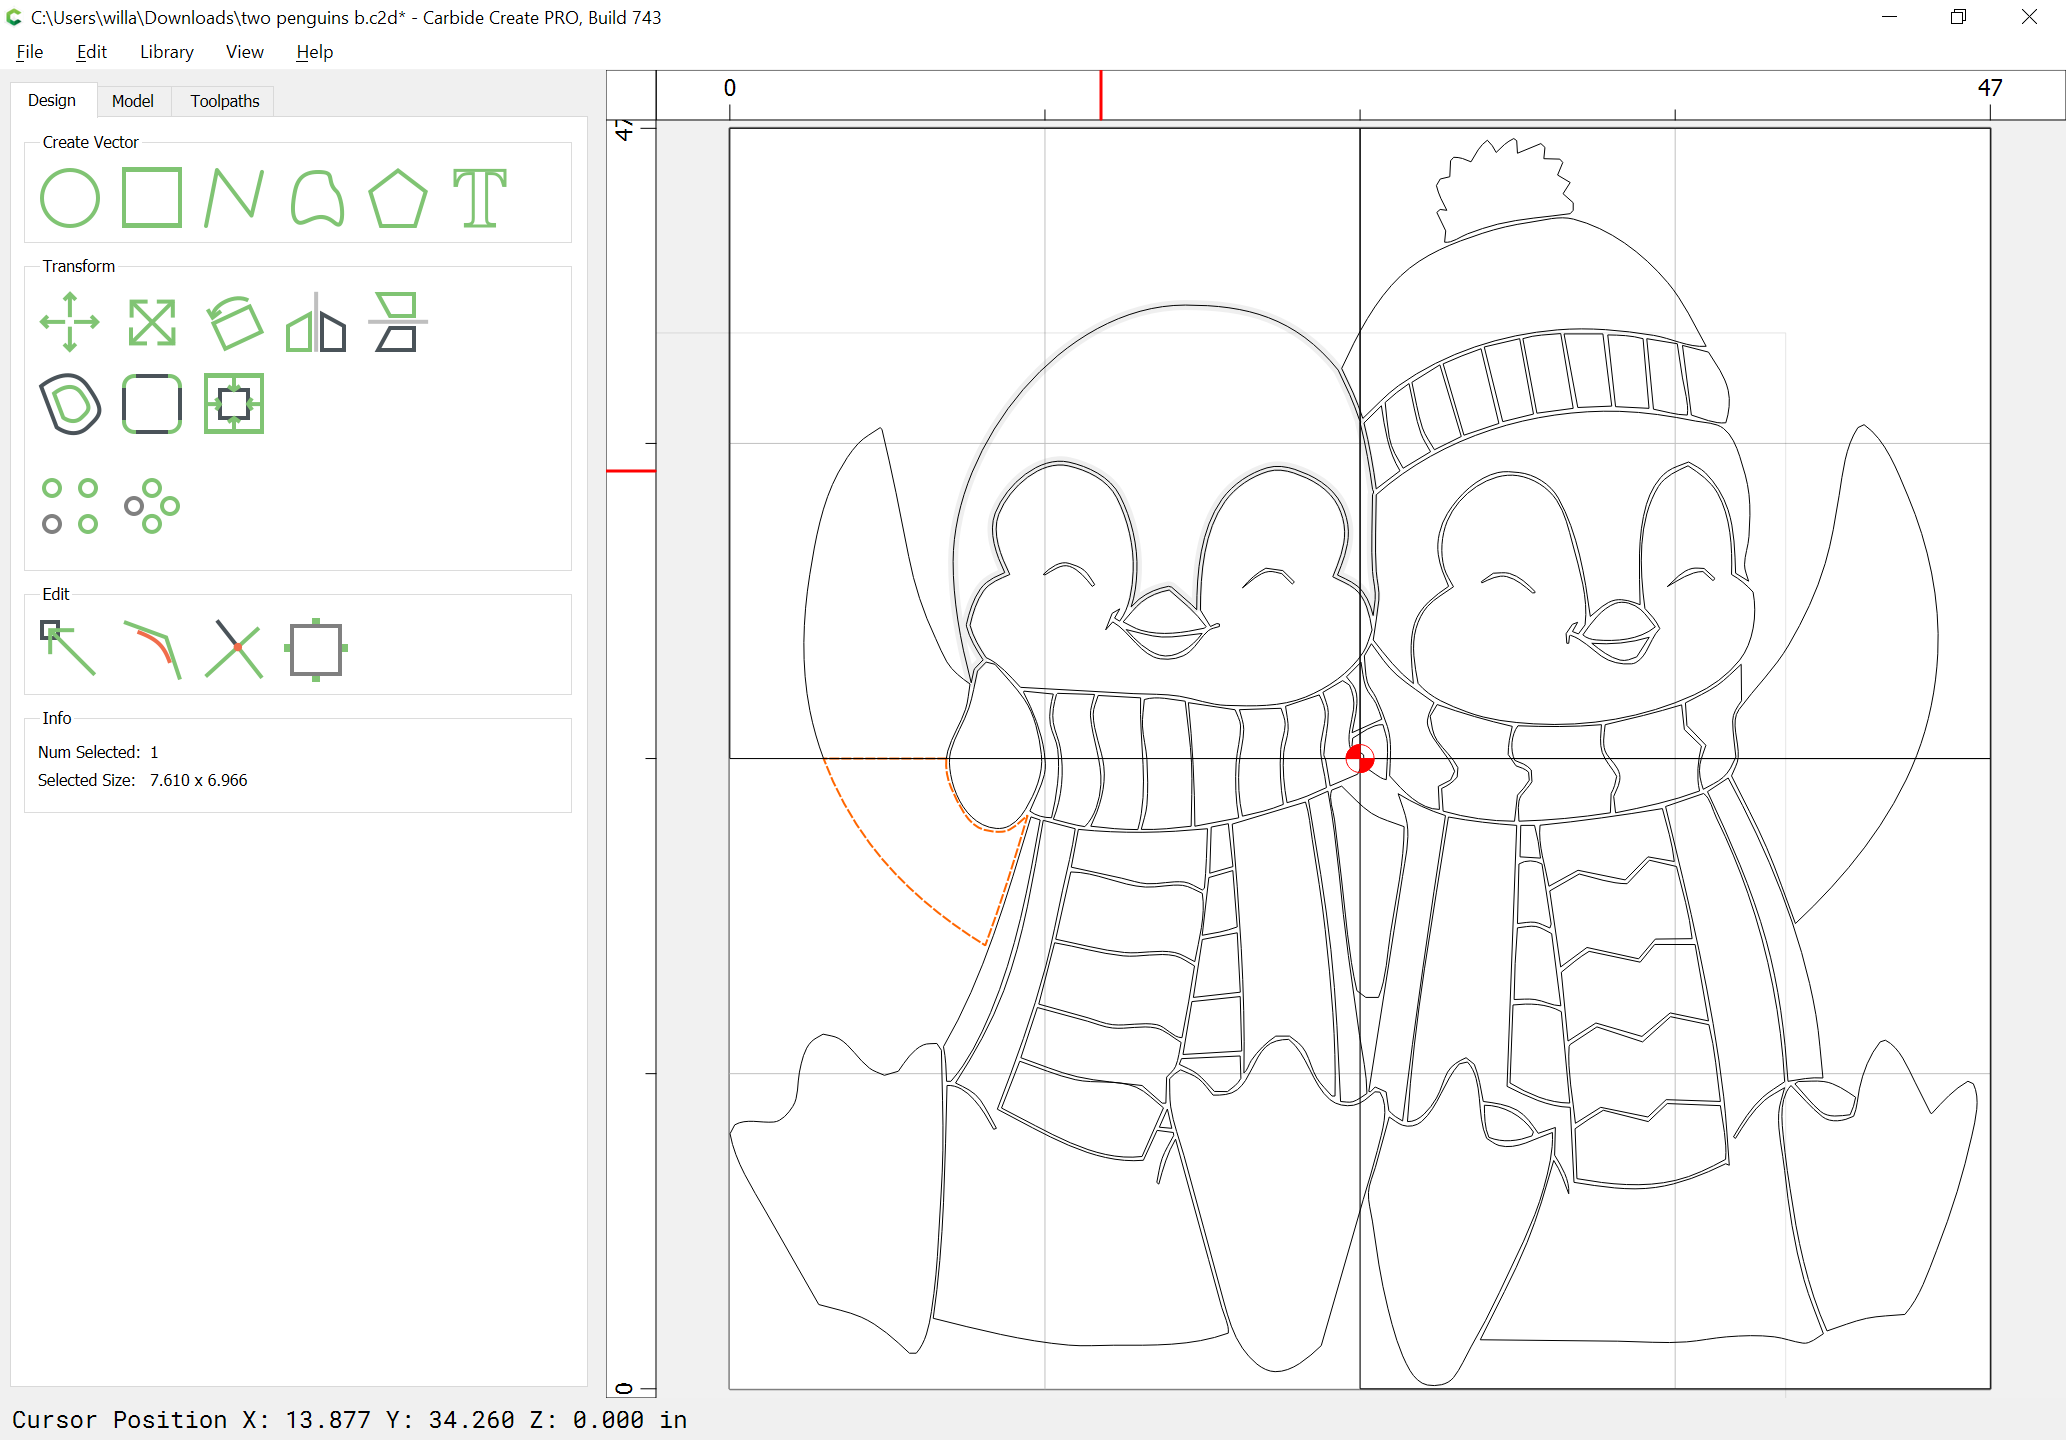
Repeat for the other side:
(no need to paste)
OK
OK
Join Vectors
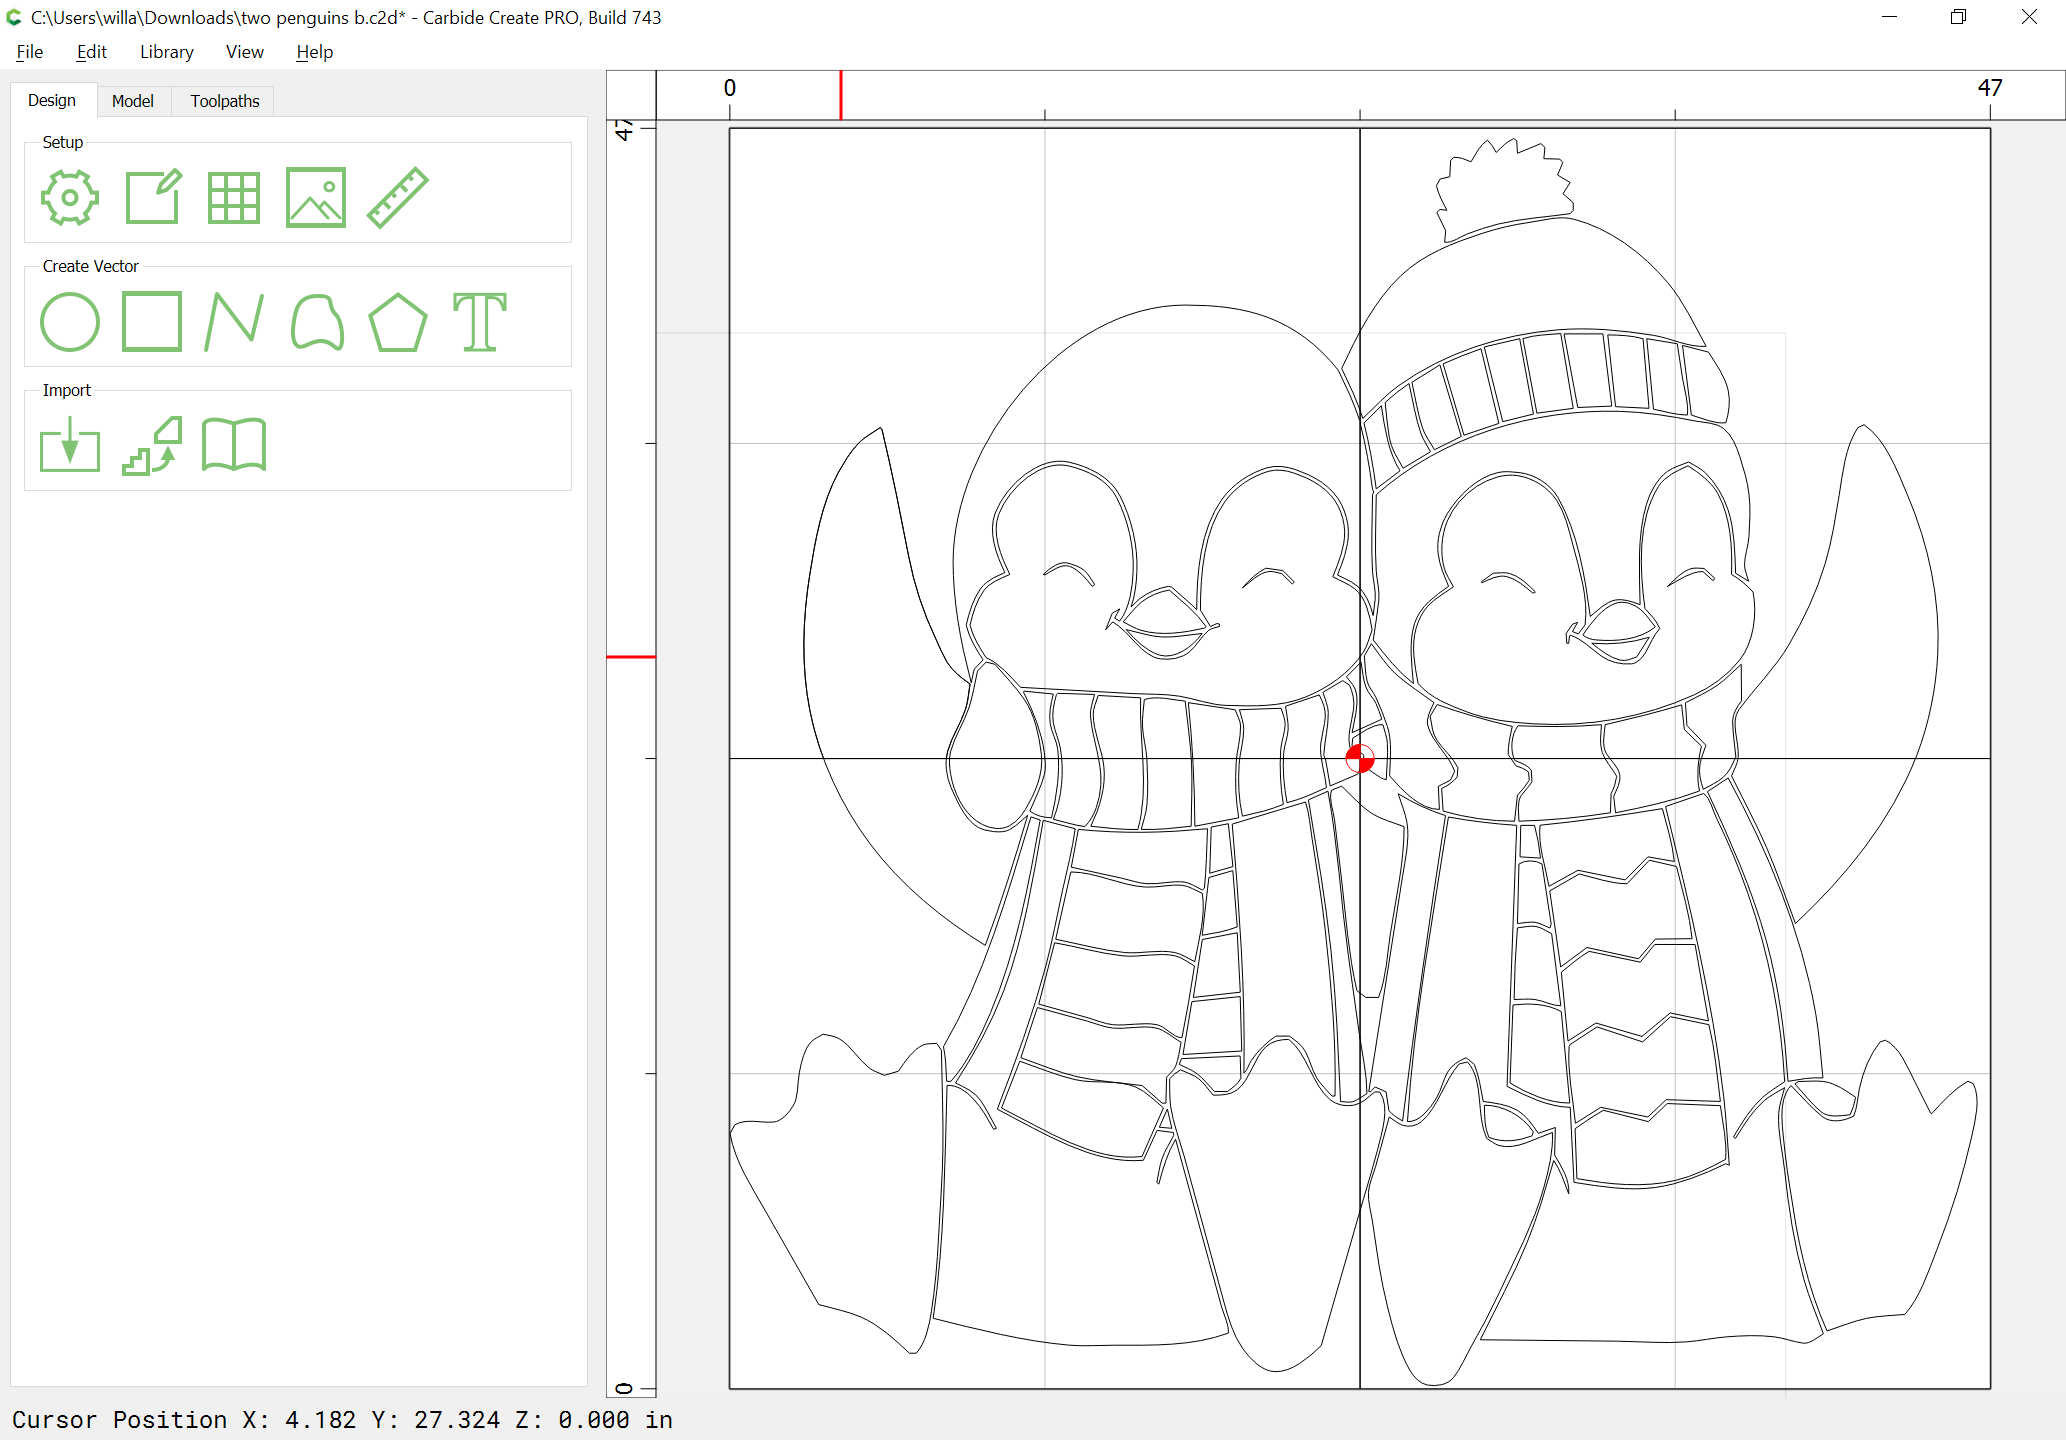
Repeat for all other shapes which cross the dividing lines.
WillAdams
(William Adams (Carbide 3D))
7
Eventually one will arrive at:
Attached as a v7 file:
Penguin_divided_v7.c2d (200 KB)
2 Likes
system
(system)
Closed
8
This topic was automatically closed after 30 days. New replies are no longer allowed.