So I have gone down a rabbit hole!
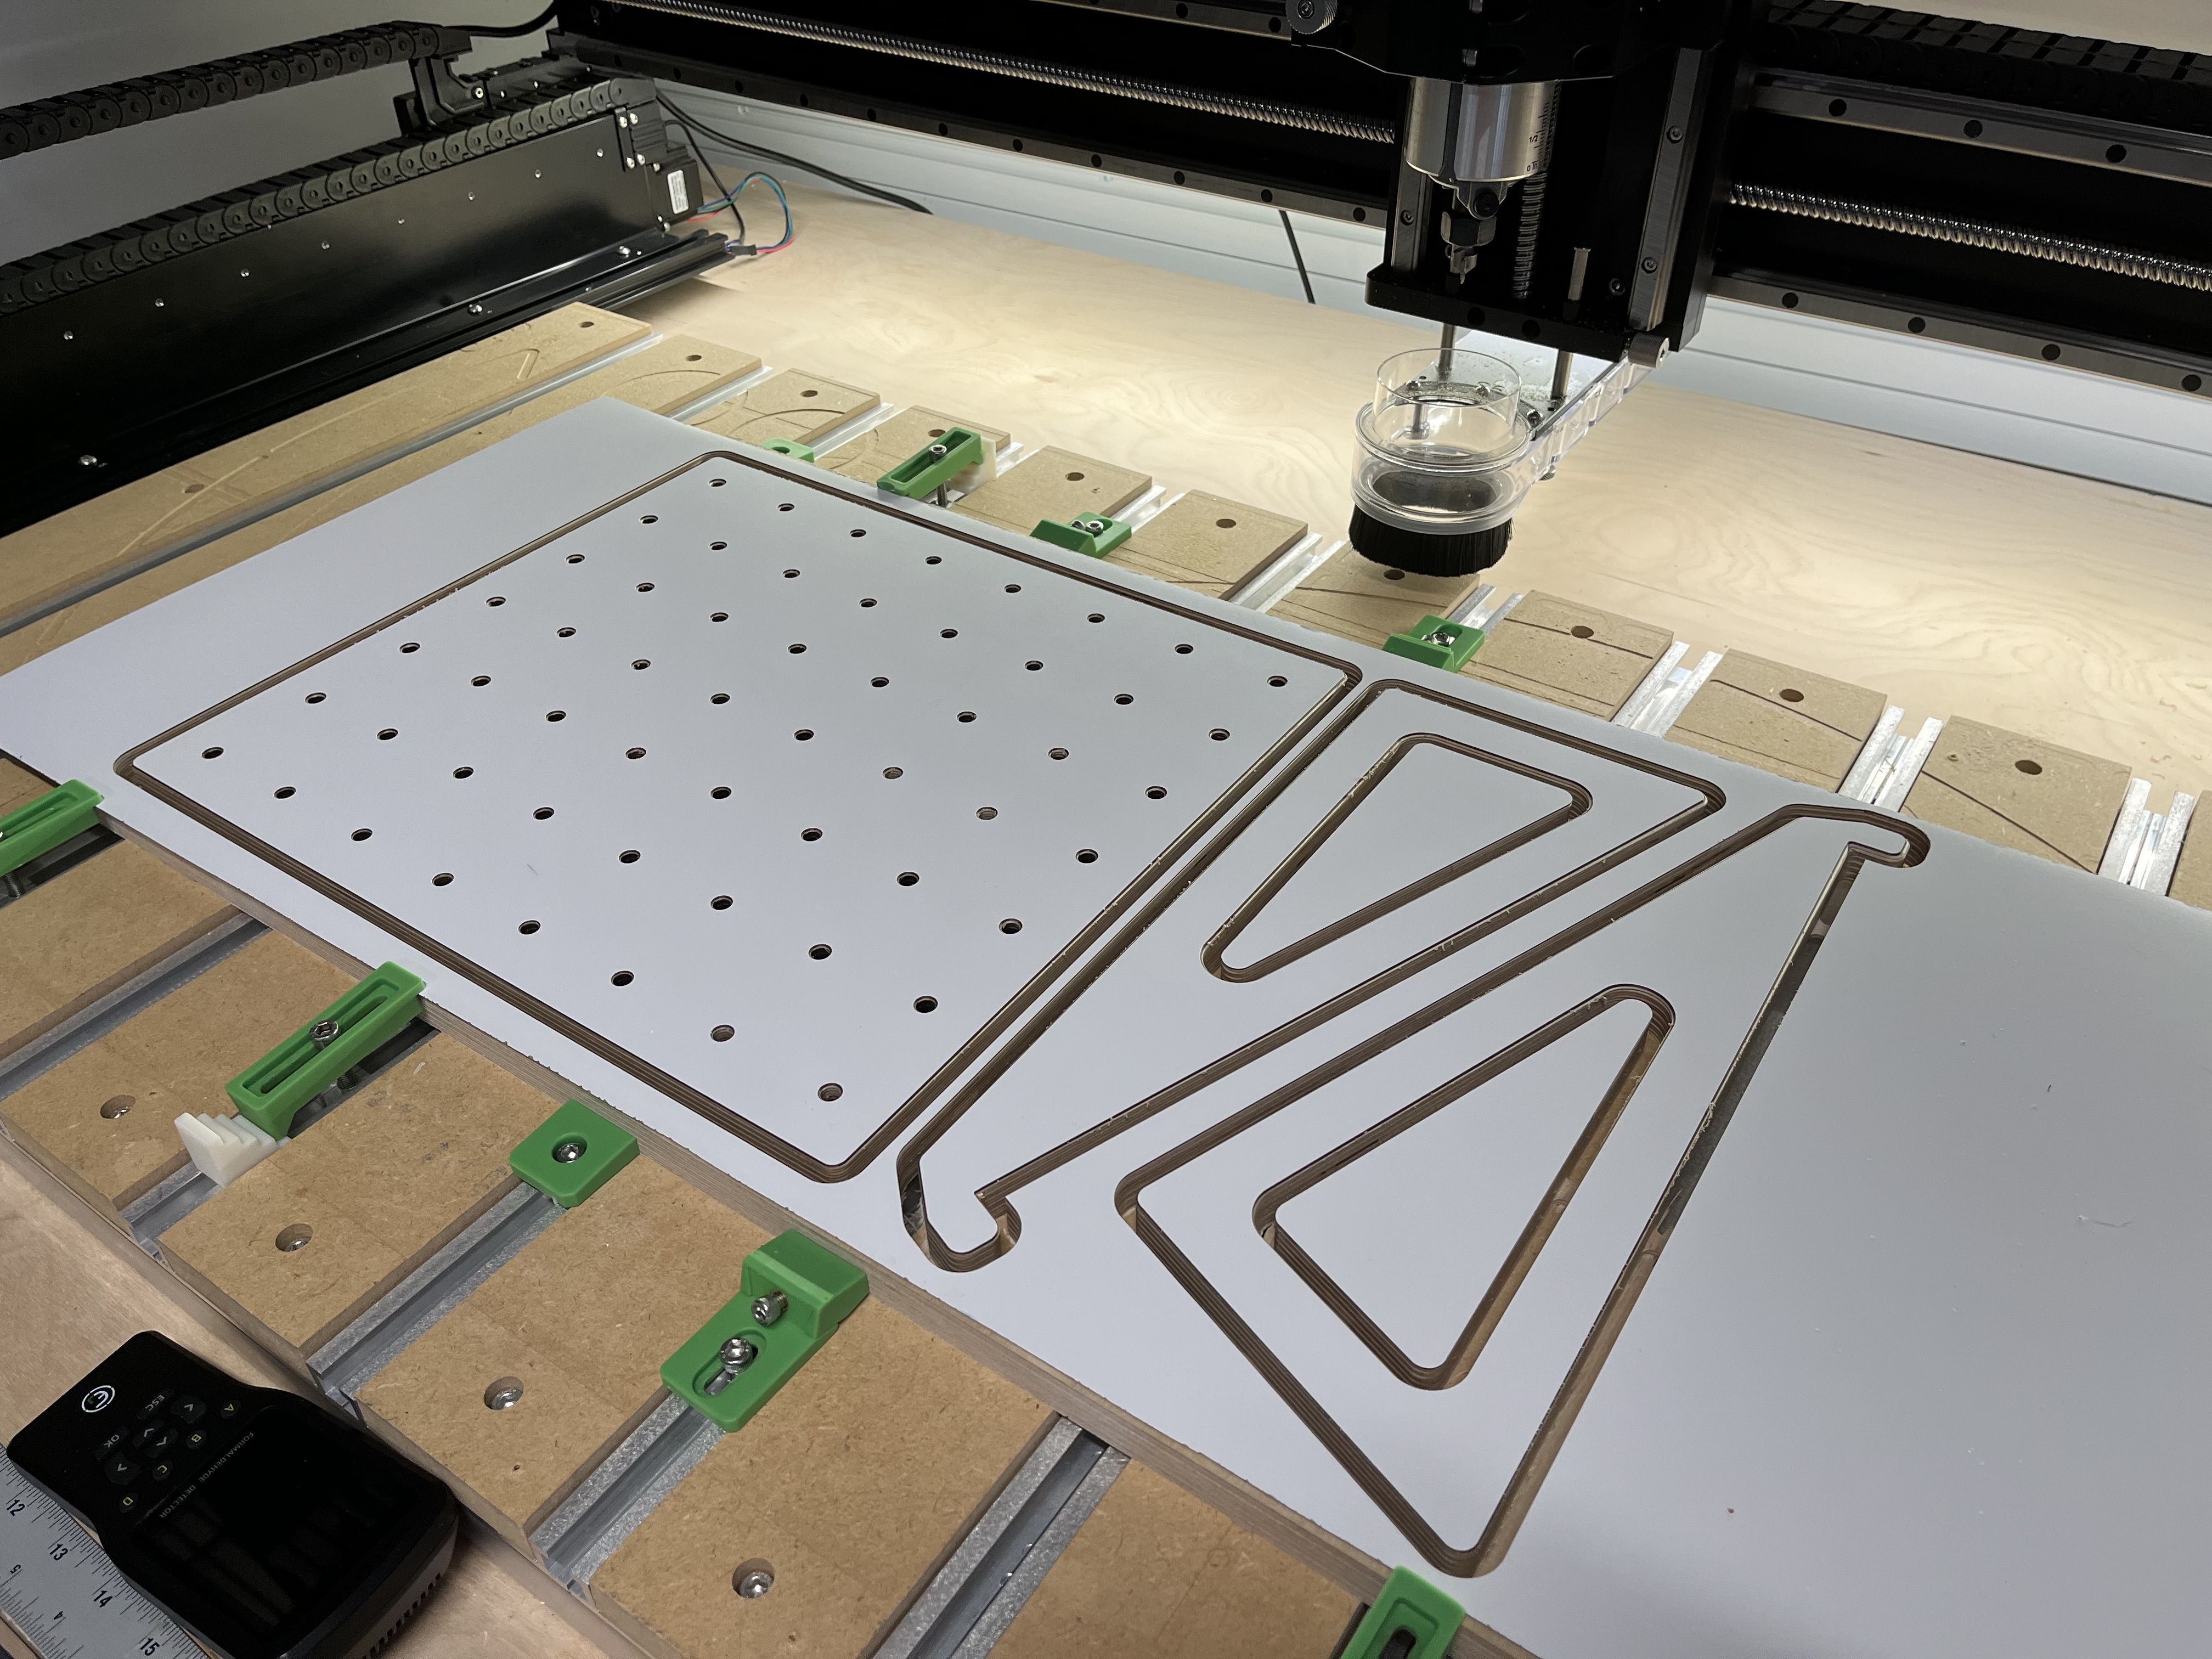
I have yet to work up the courage to try cutting another piece of expensive Baltic birch but I decided to eliminate a few other possibilities this evening.
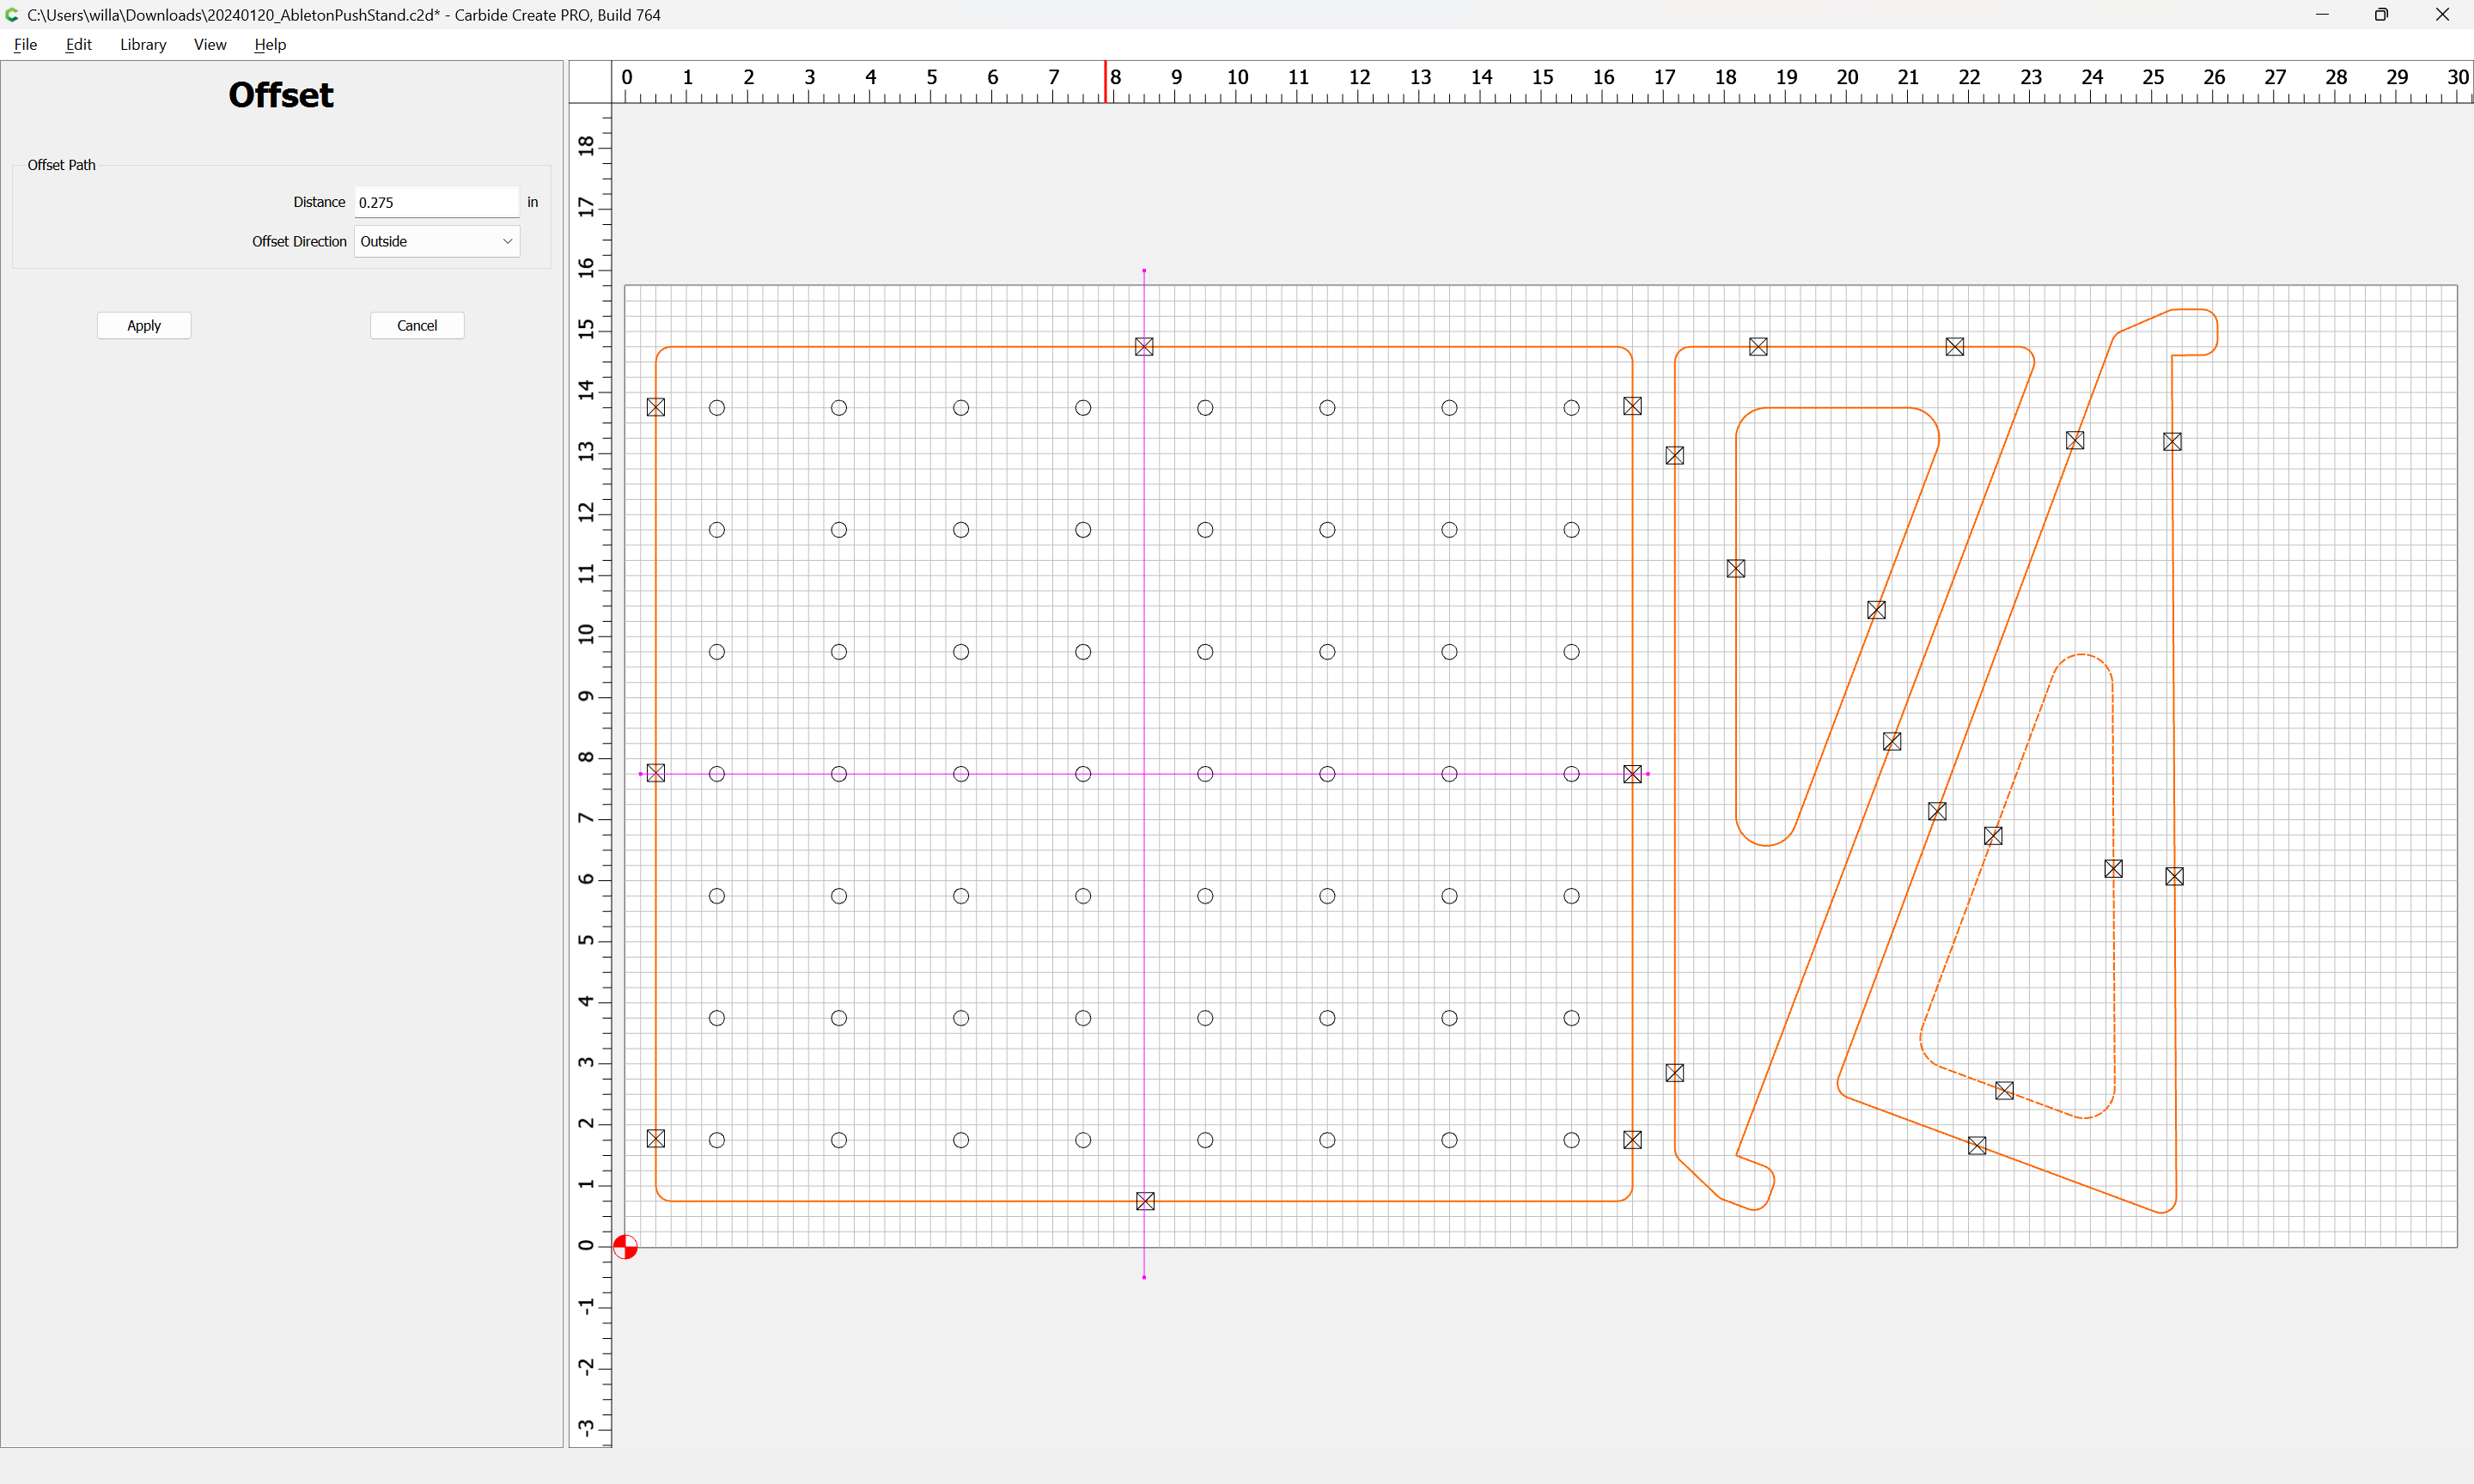
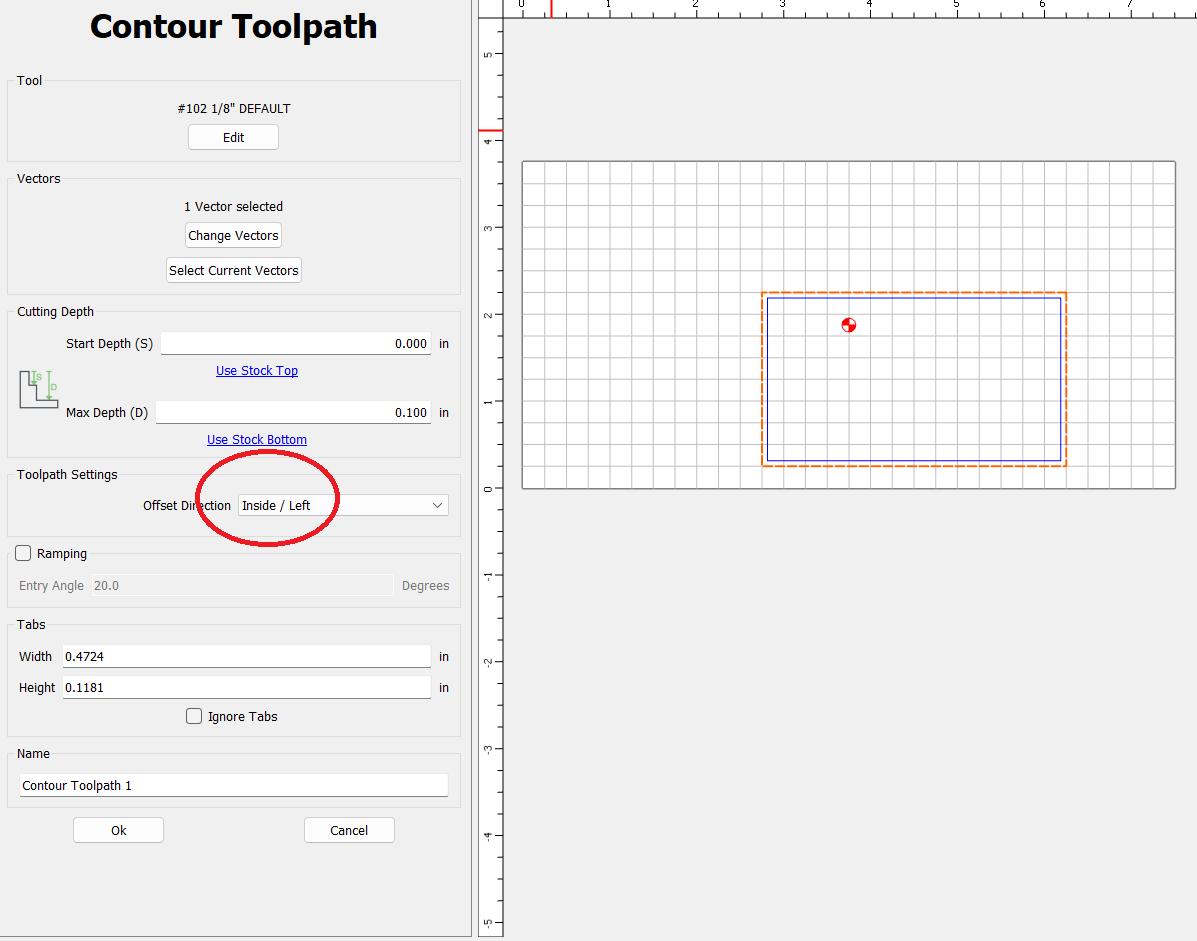
I had verified a handful of times that my program dimensions weren’t wonky, and that I was measuring the width from the top edge as well as the bottom edge that was facing the spoil board.
I verified that my carbide #201 bit was indeed the right diameter, so that is good!
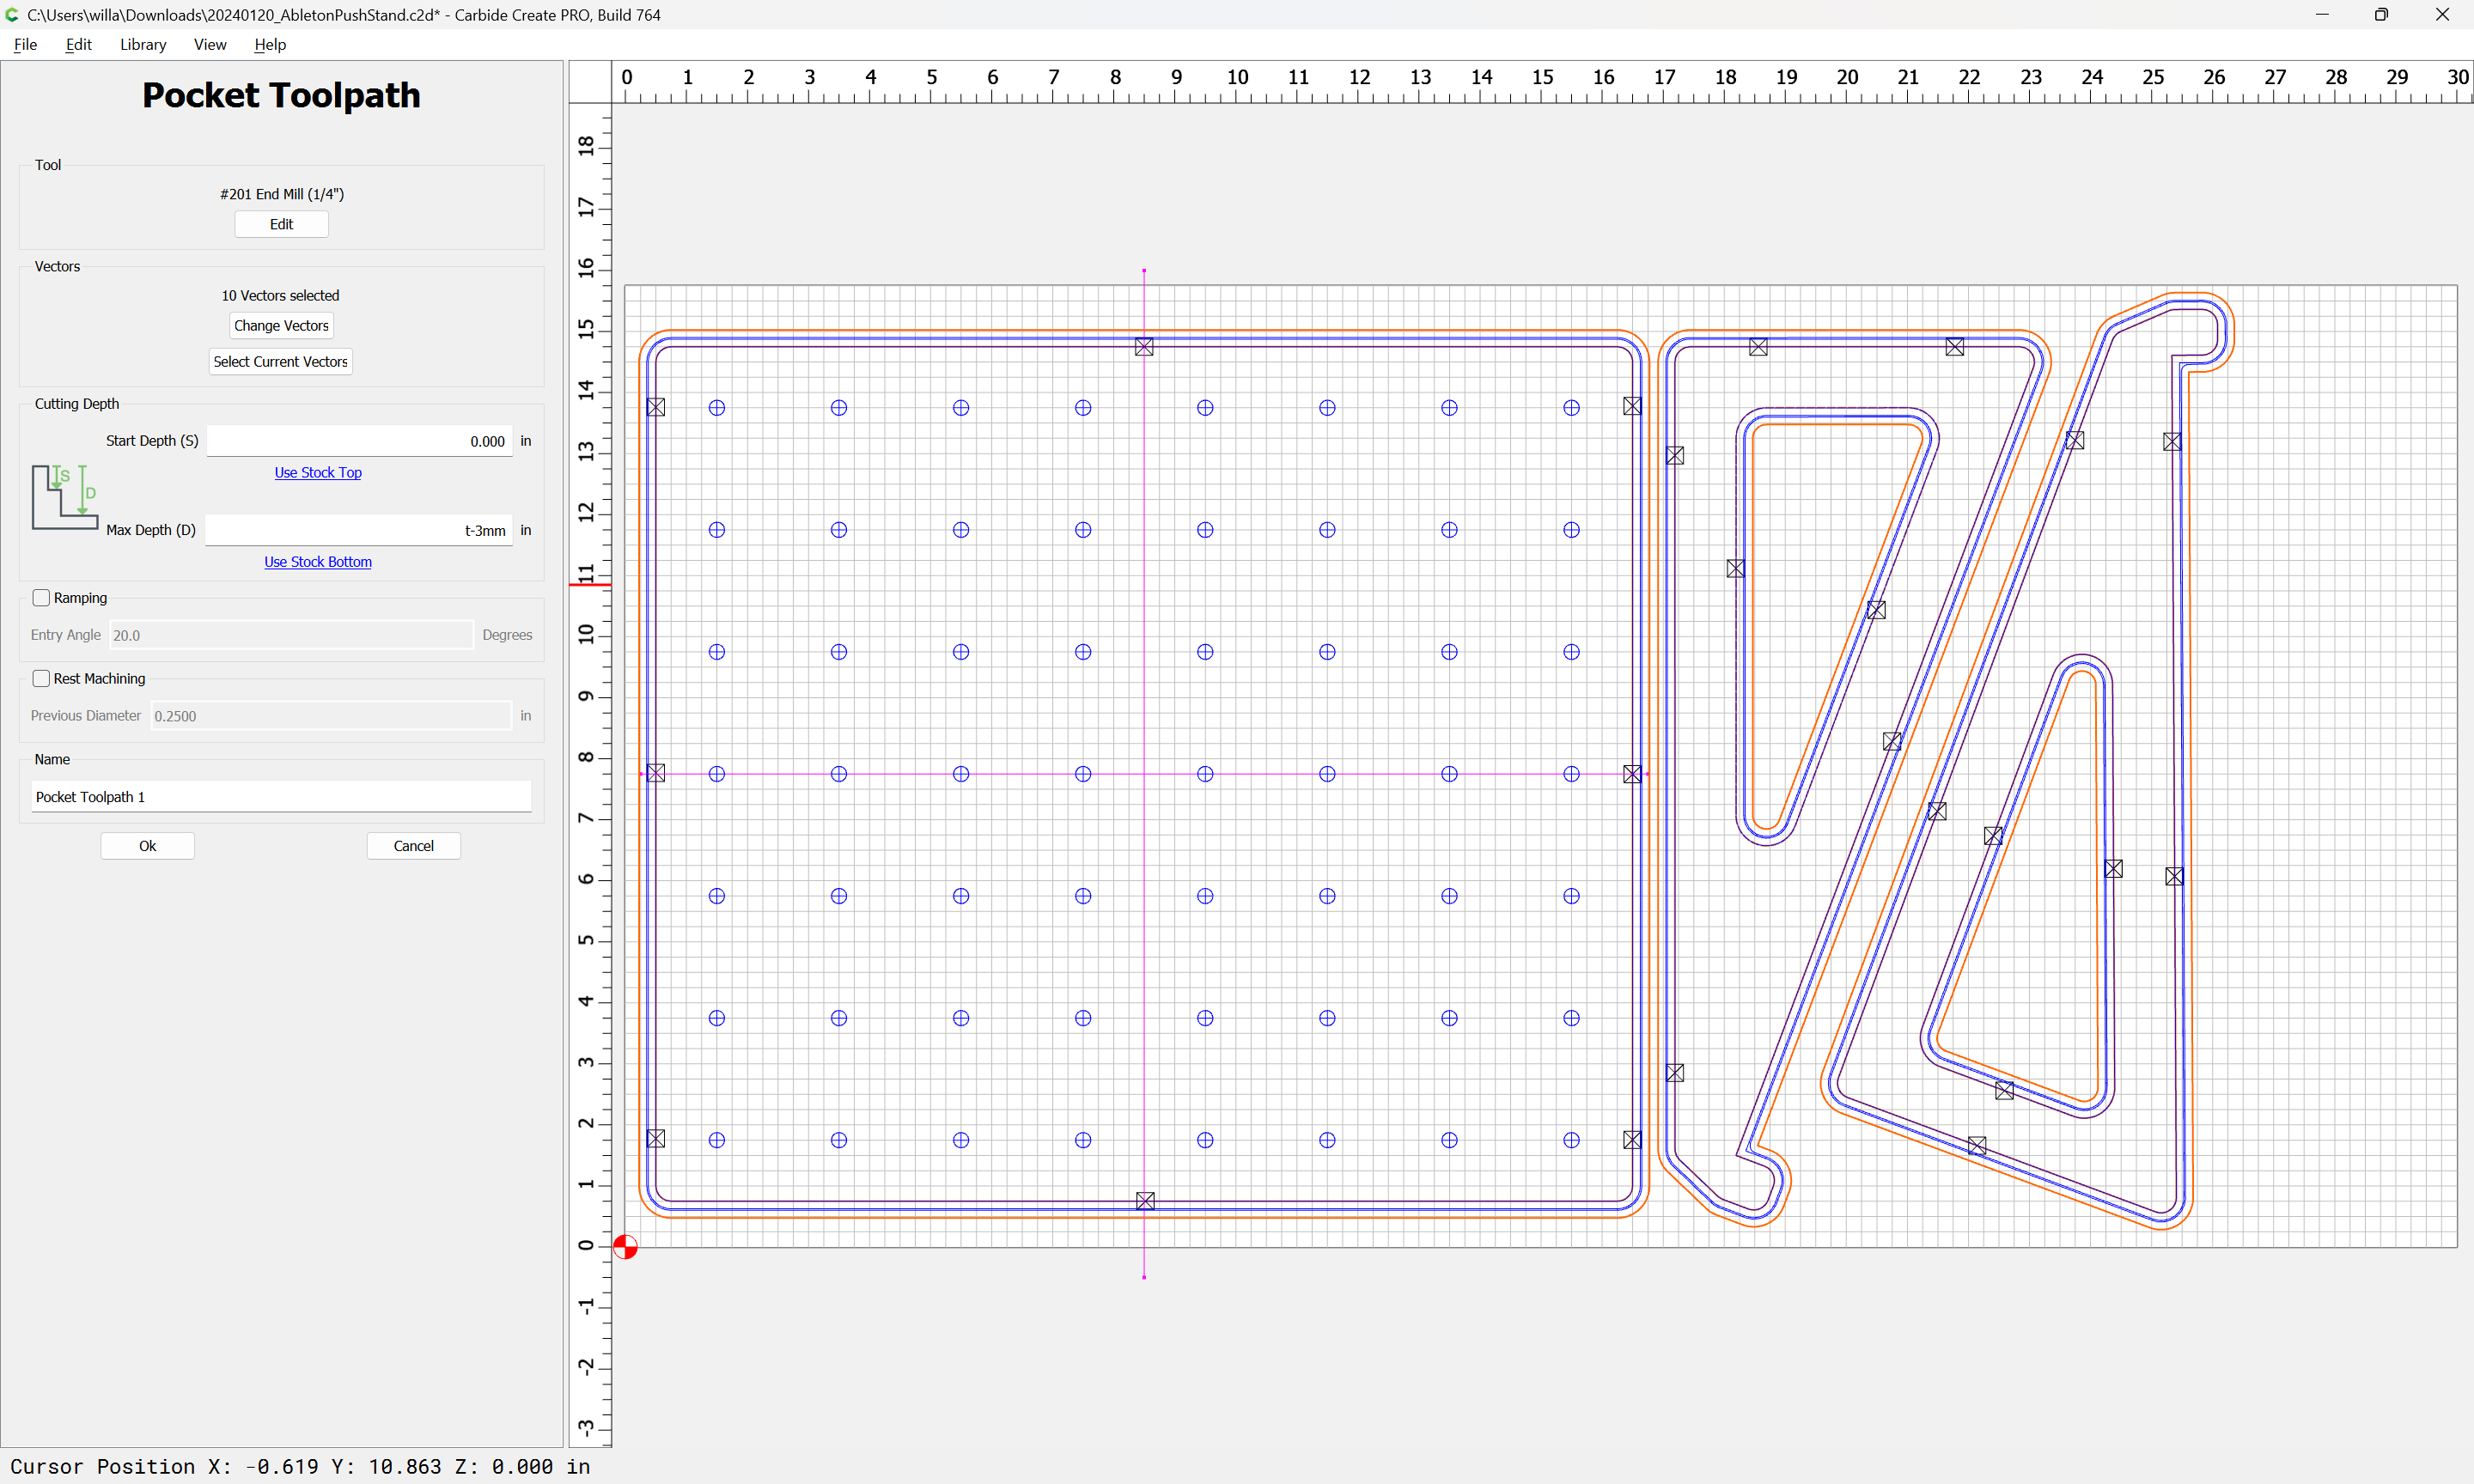
I then decided that a reasonable thing to do would be to eliminate the cutting from the equation and first verify that the stepper movements were accurate, despite everyone telling me that these should be calibrated from the factory. I’m hard headed sometimes, I suppose.
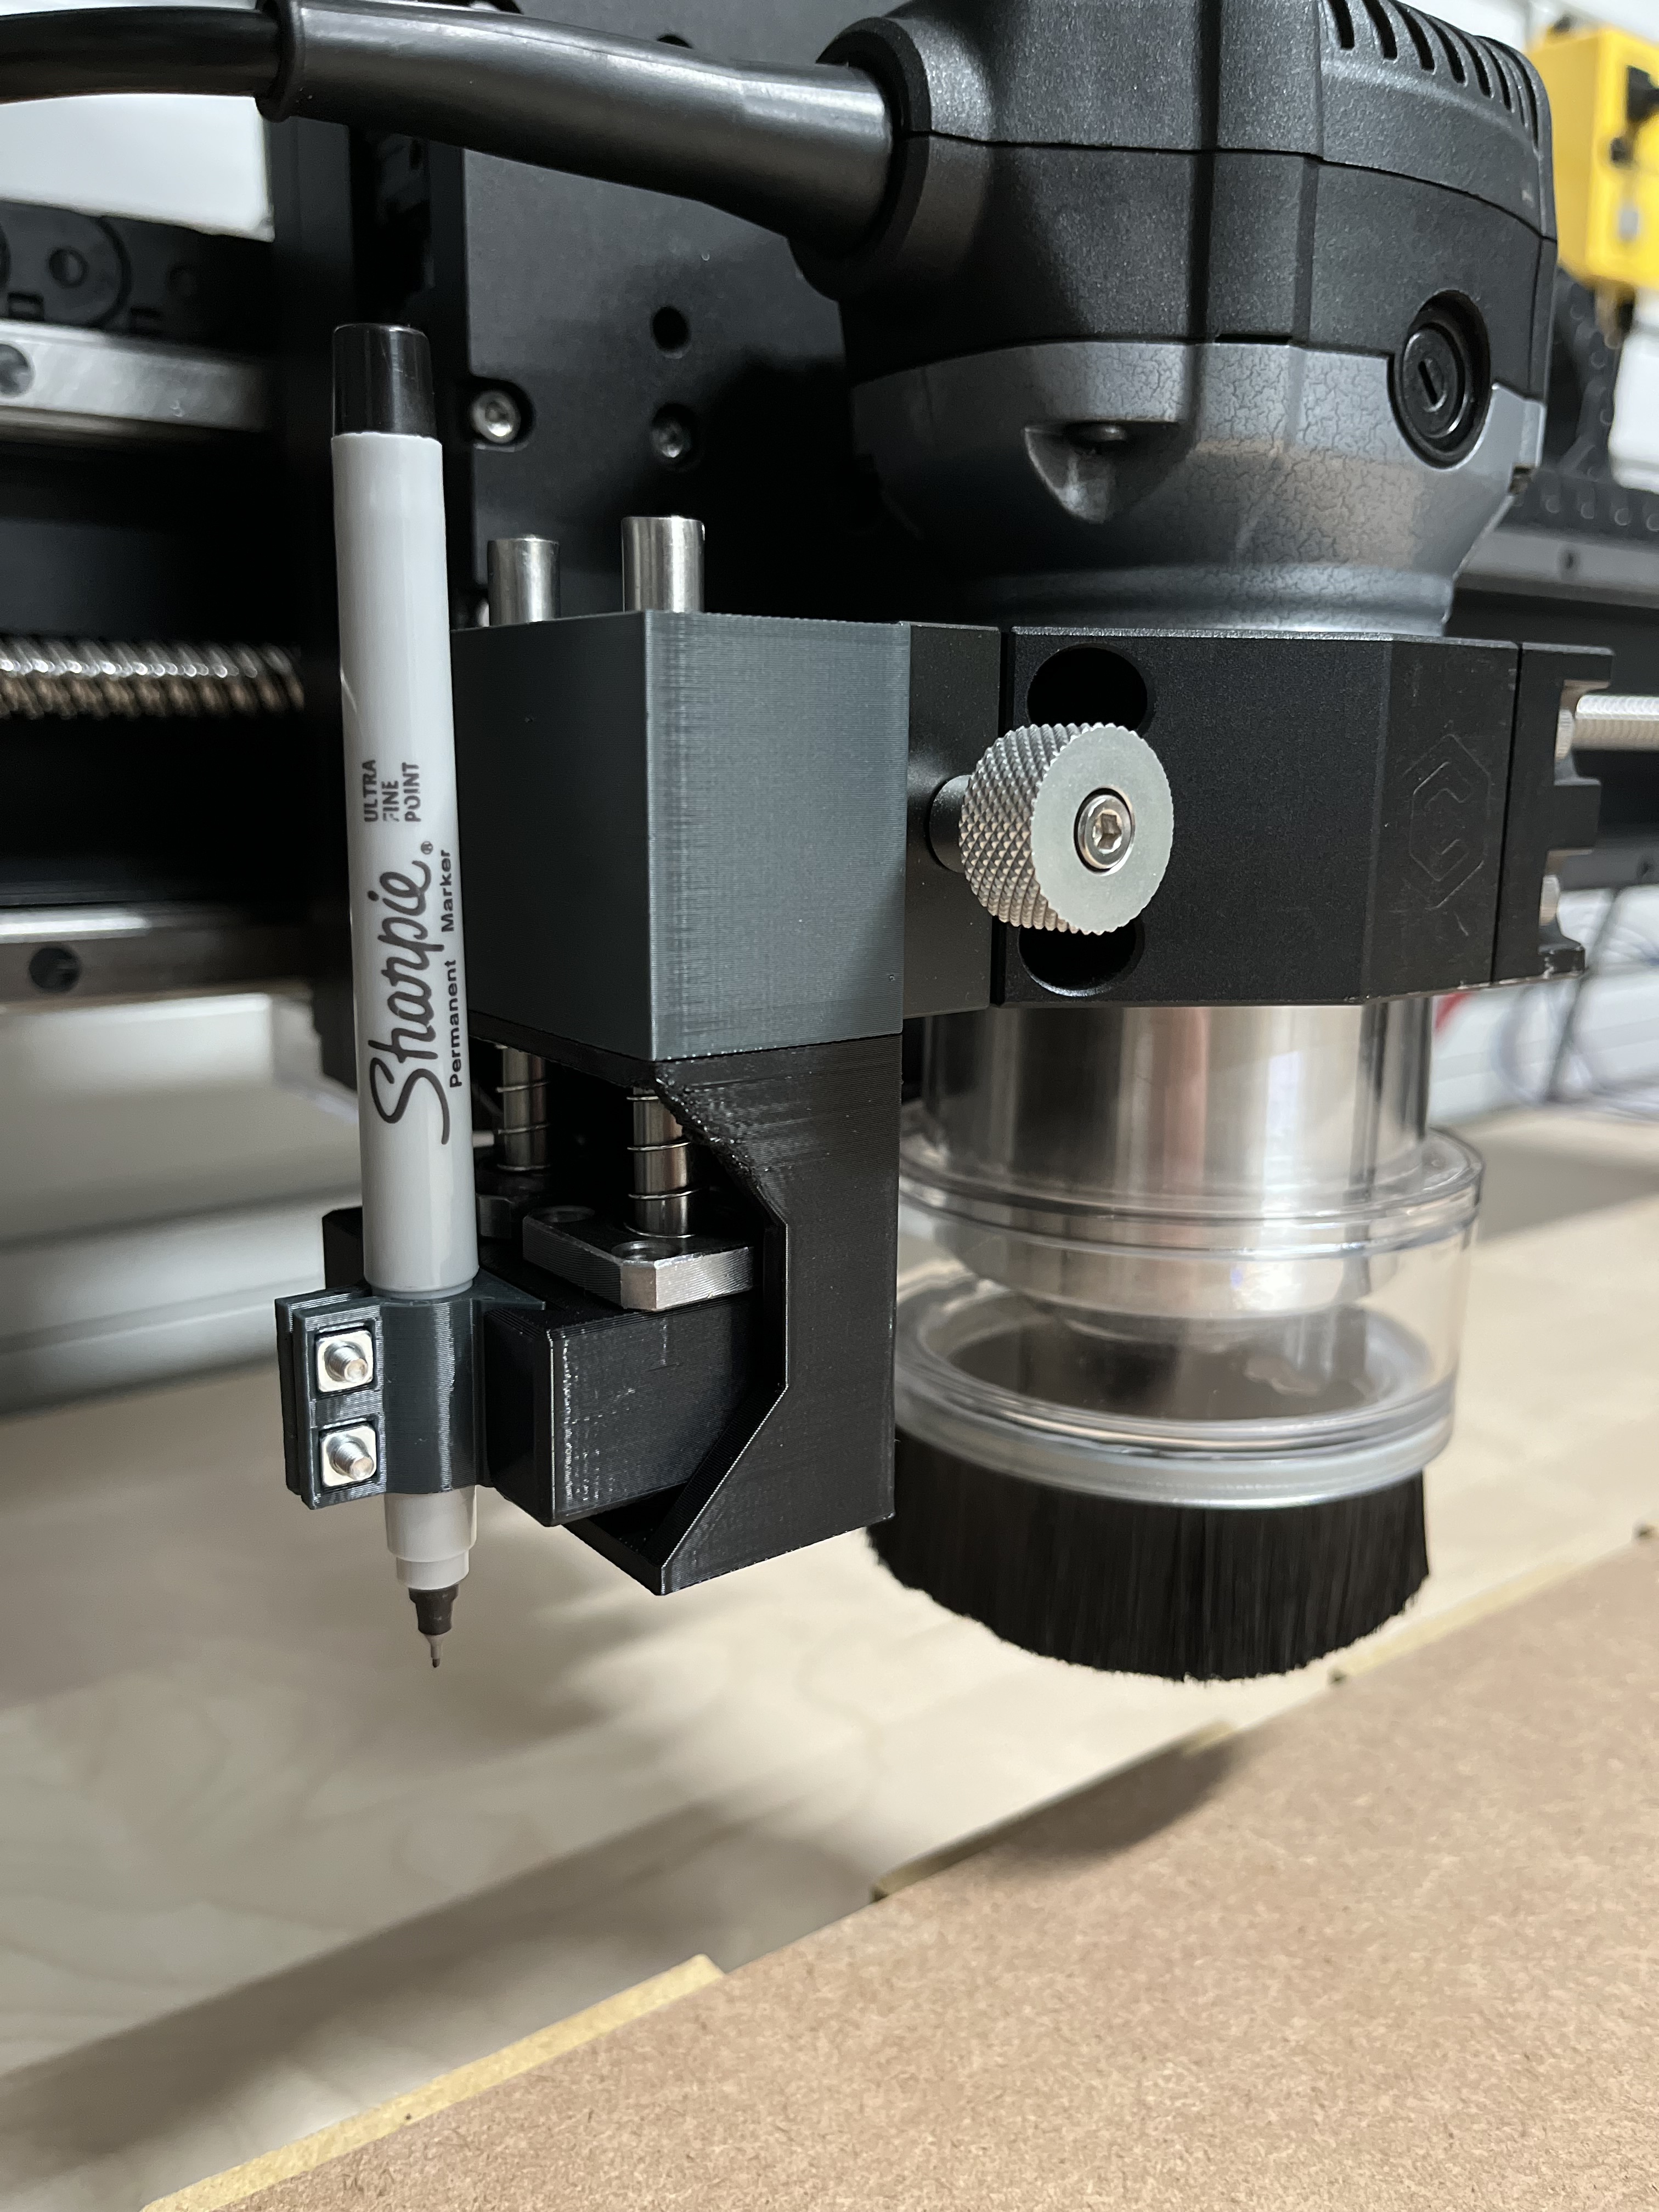
I decided to try and build a rigid sharpie mount which had no play in the X and Y directions, but allowed for movement in the Z direction. This was probably a very unnecessary rabbit hole to go down, but I had fun. I found some old 3D printer parts in my parts bin and designed the monstrosity you see below. It’s quite stable in the X/Y direction but will allow the pen to move upwards in the Z direction as the Z axis is pressed into the work piece. There are two linear 8mm bearings which keep the movement smooth and almost entirely isolated to the Z axis. I am aware there are simpler ways, but I had fun making this. 
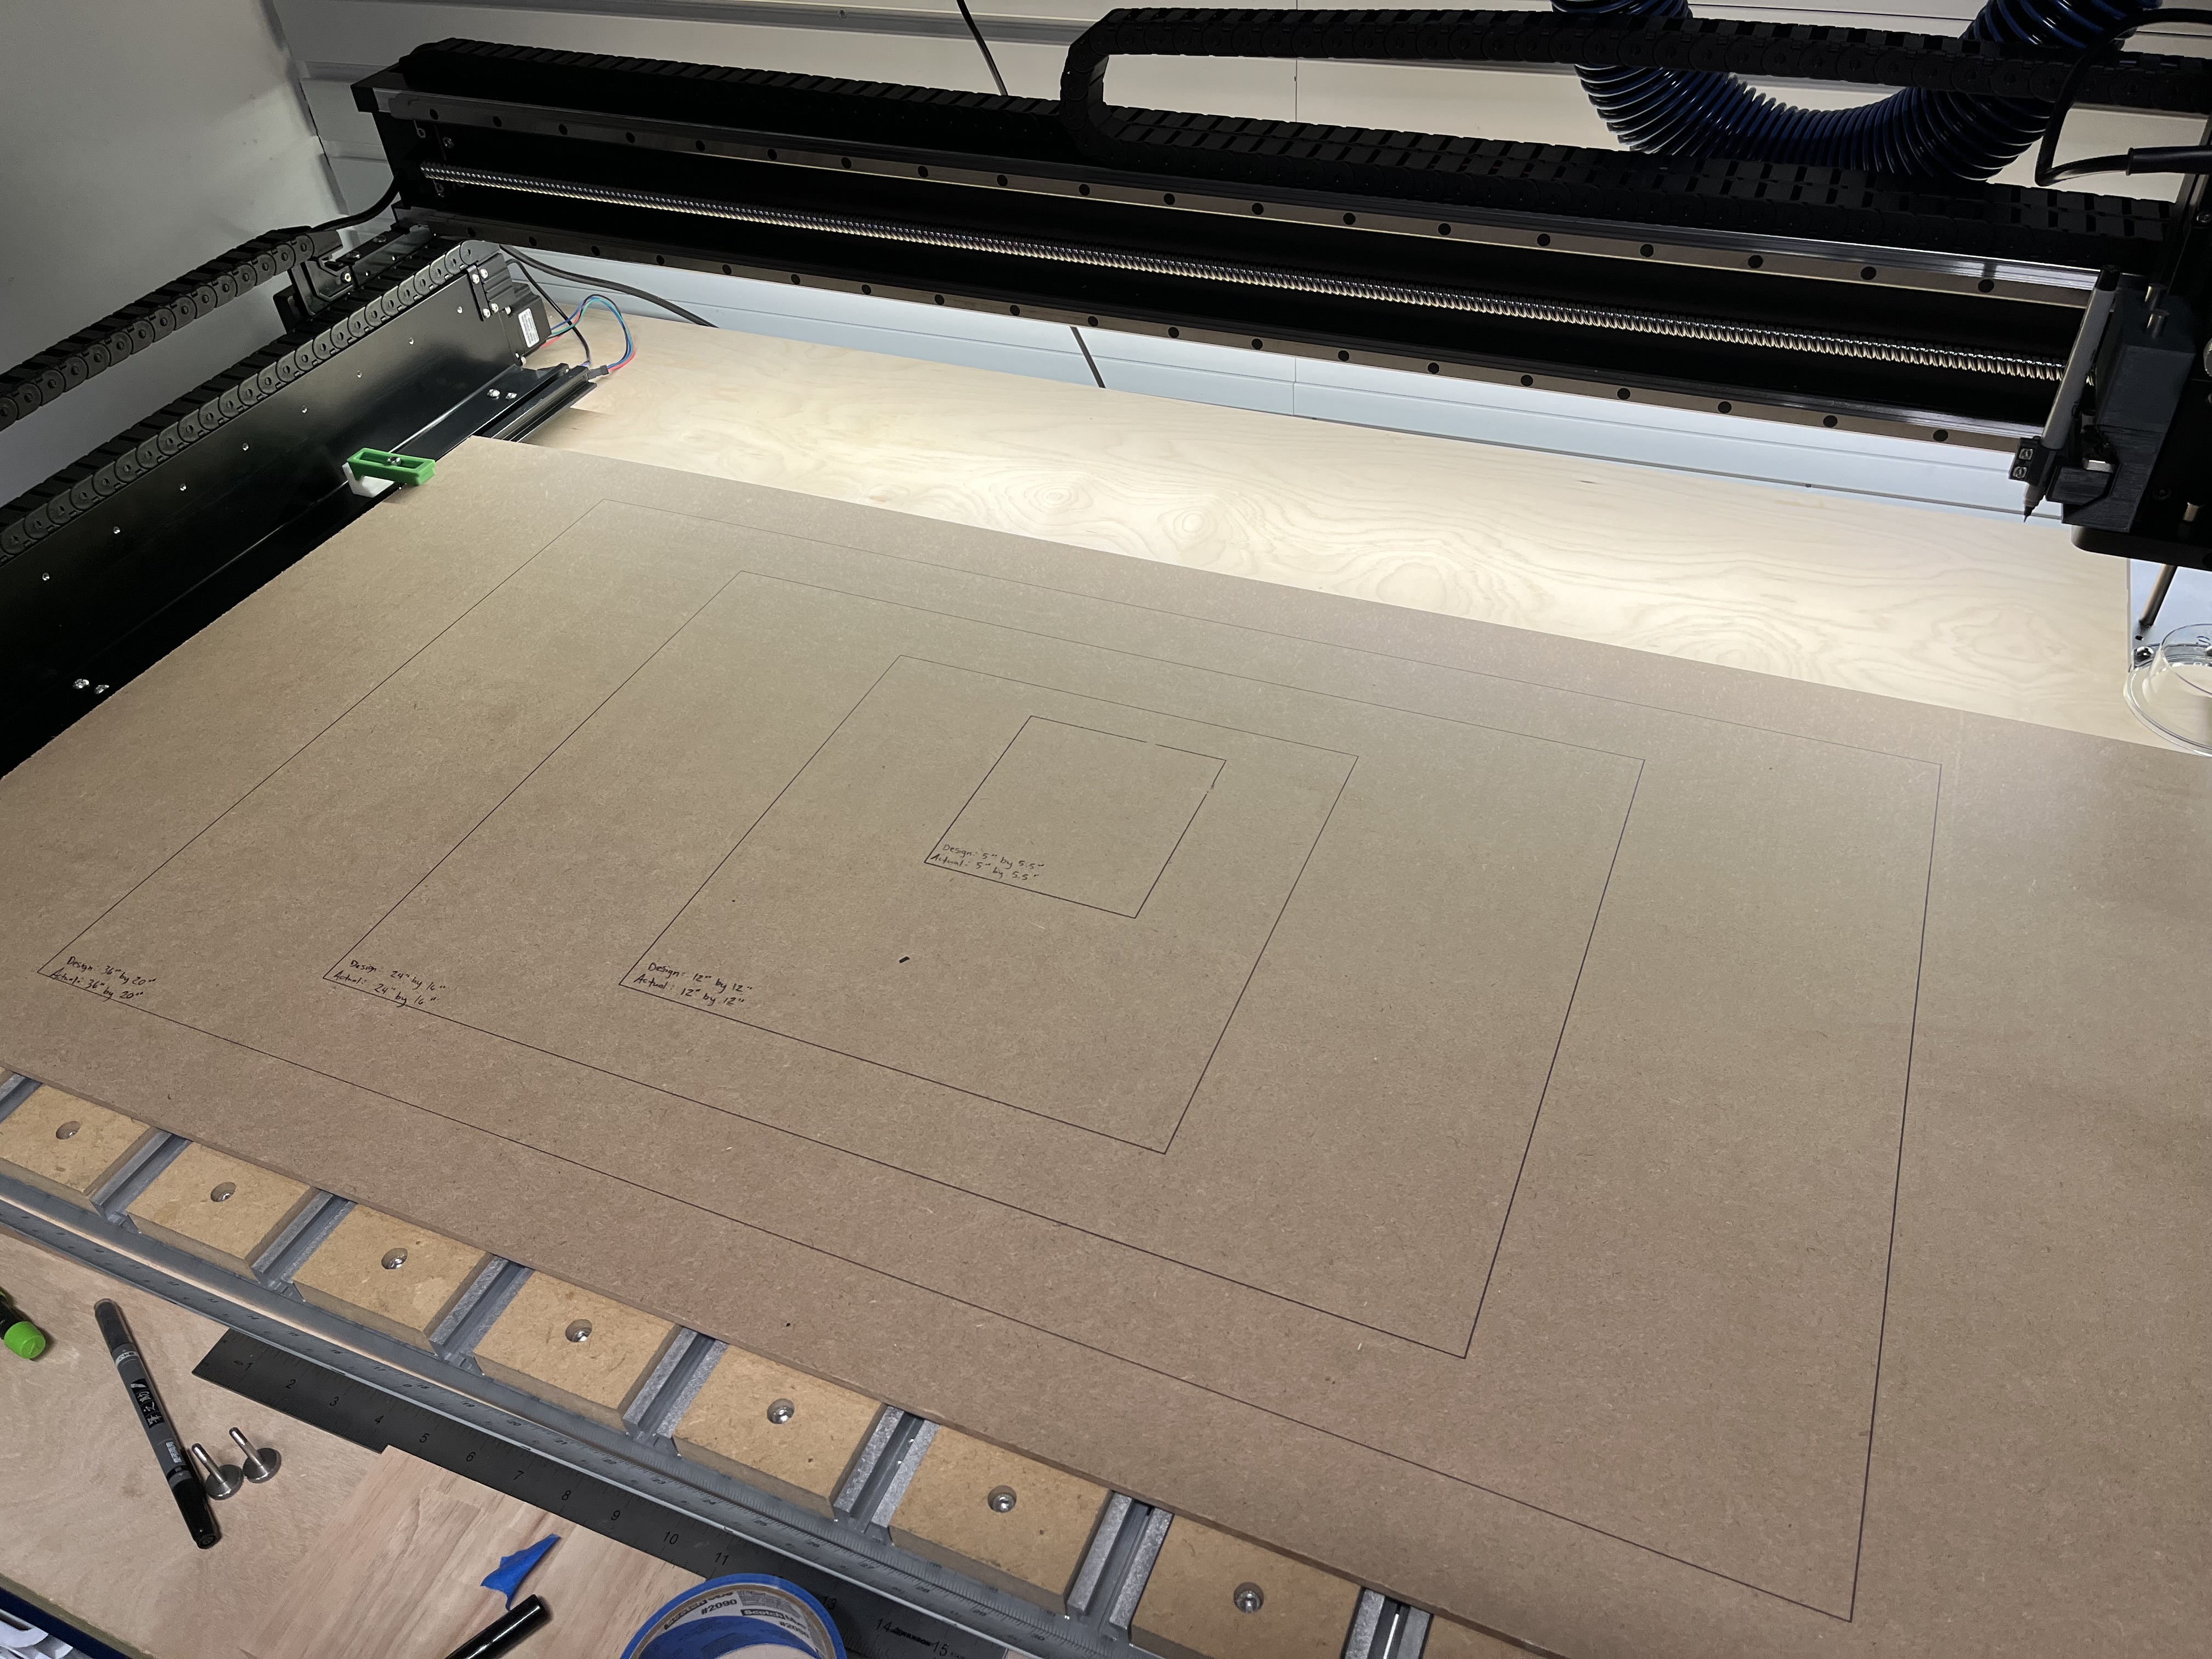
I then programmed a simple set of rectangles of various sizes on my 2’ by 4’ bed, and I traced them out on a sheet of MDF, and measured the rectangle sizes. I know this isn’t the most scientific method, but I thought my results would be decent given that the sharpie isn’t able to flex in the X/Y.
Anyway, my rectangles were drawn quite nicely by my crazy attachment contraption, and they all came out measuring exactly the dimensions I’d entered in my design file in Carbide Motion! So I am now confident that I can eliminate stepper calibration from the list of possible issues.
I suppose I now have a little sharpie attachment which I think I’ll try to use for some drawings.  The pen holder can be removed with a thumbscrew so you could theoretically hot swap a few different colors and leave the main assembly attached.
I will be moving back to trying out some actual cuts now and attempting a few of the methods recommended by Will. I went down a very unnecessary rabbit hole for a few days working on this sharpie mount, but I had a lot of fun.