@robgrz, what is the thought process on vCarve or pocket first? Is the theory that the fragile bits on design may fare better of the vcarve is done first since the wood is better supported?
Good question.
The software side of V carving before pocketing worked fine for the V carving:
Next up, the pocketing operation.
2 Likes
It’s purely that some people want to minimize tool changes and they may want to do all of the V-carving prior to any pocketing or cutouts.
In theory, I’d probably prefer to pocket first but if it’s in wood, I think the V-cutter will probably be OK either way.
4 Likes
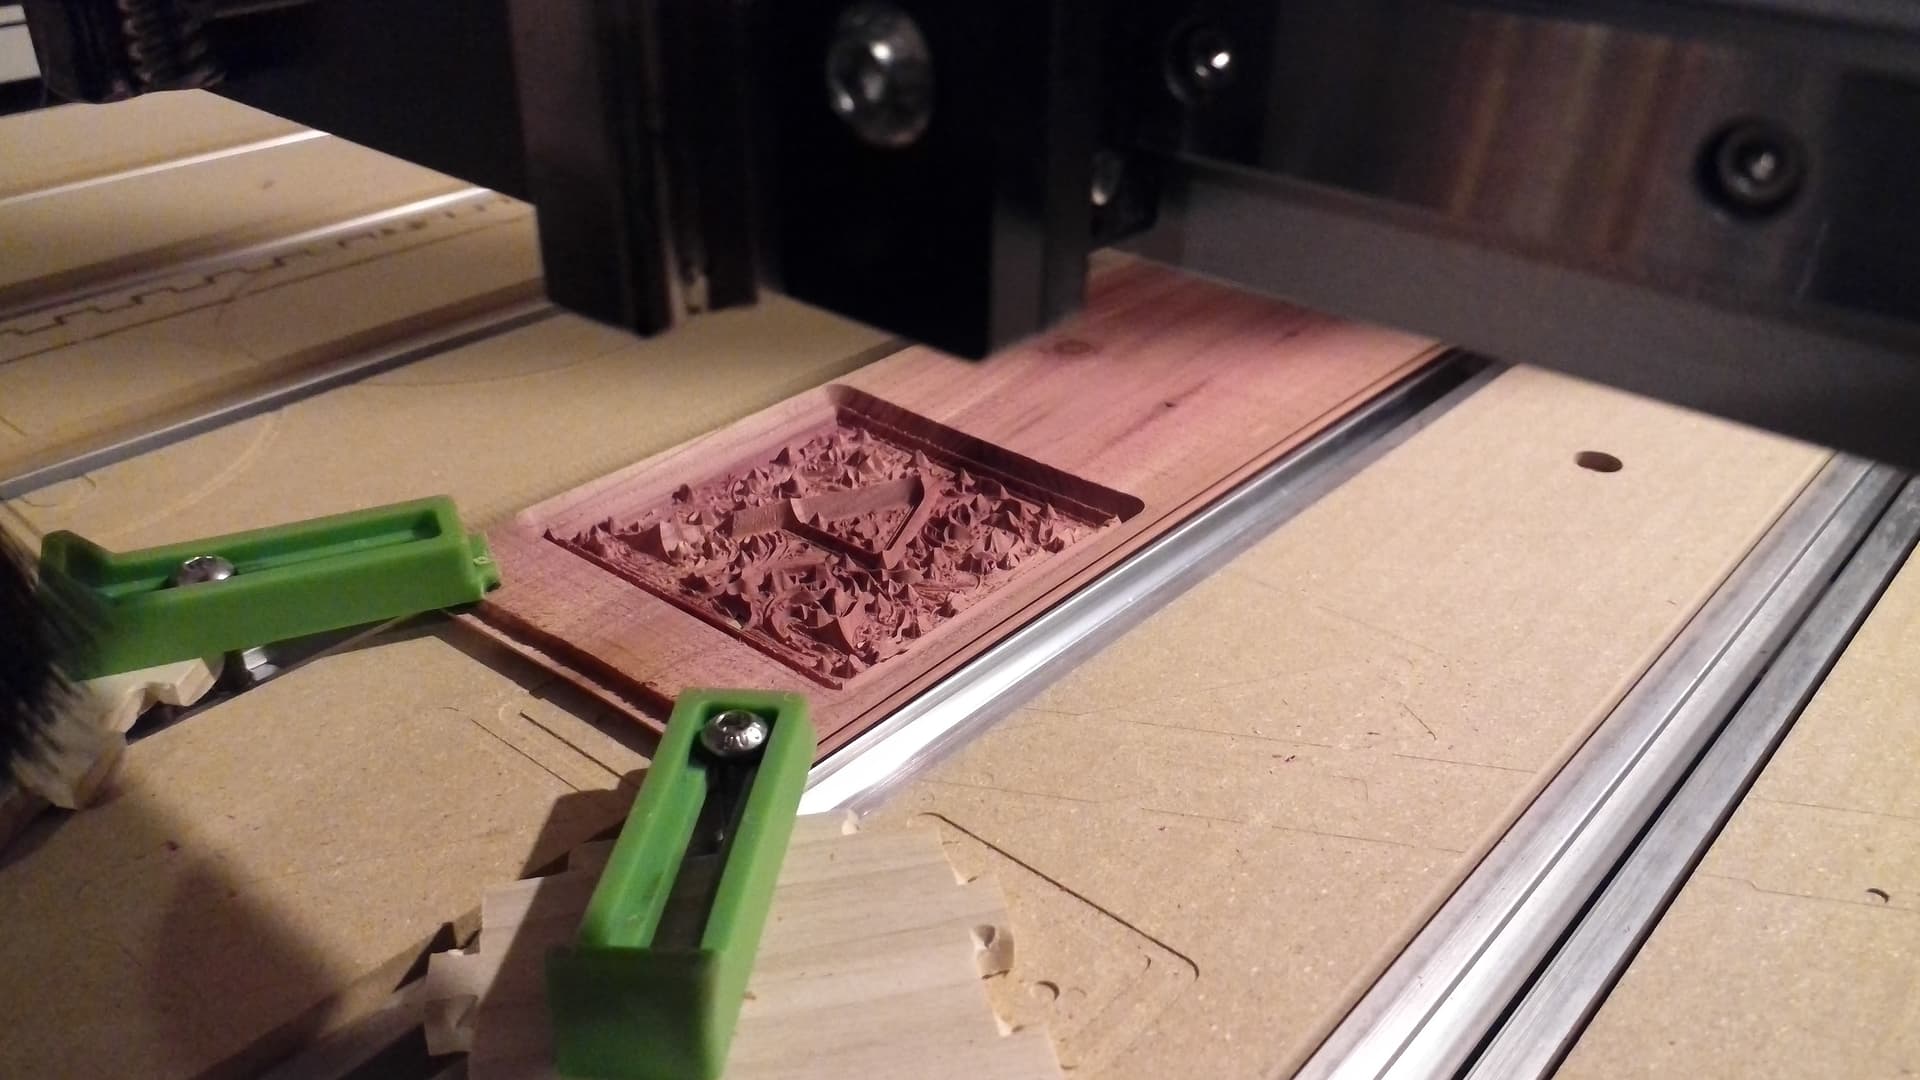
Which was successful, save for having been a bit too aggressive about minimizing the material left behind:
Hopefully nothing too important was under that one spot.
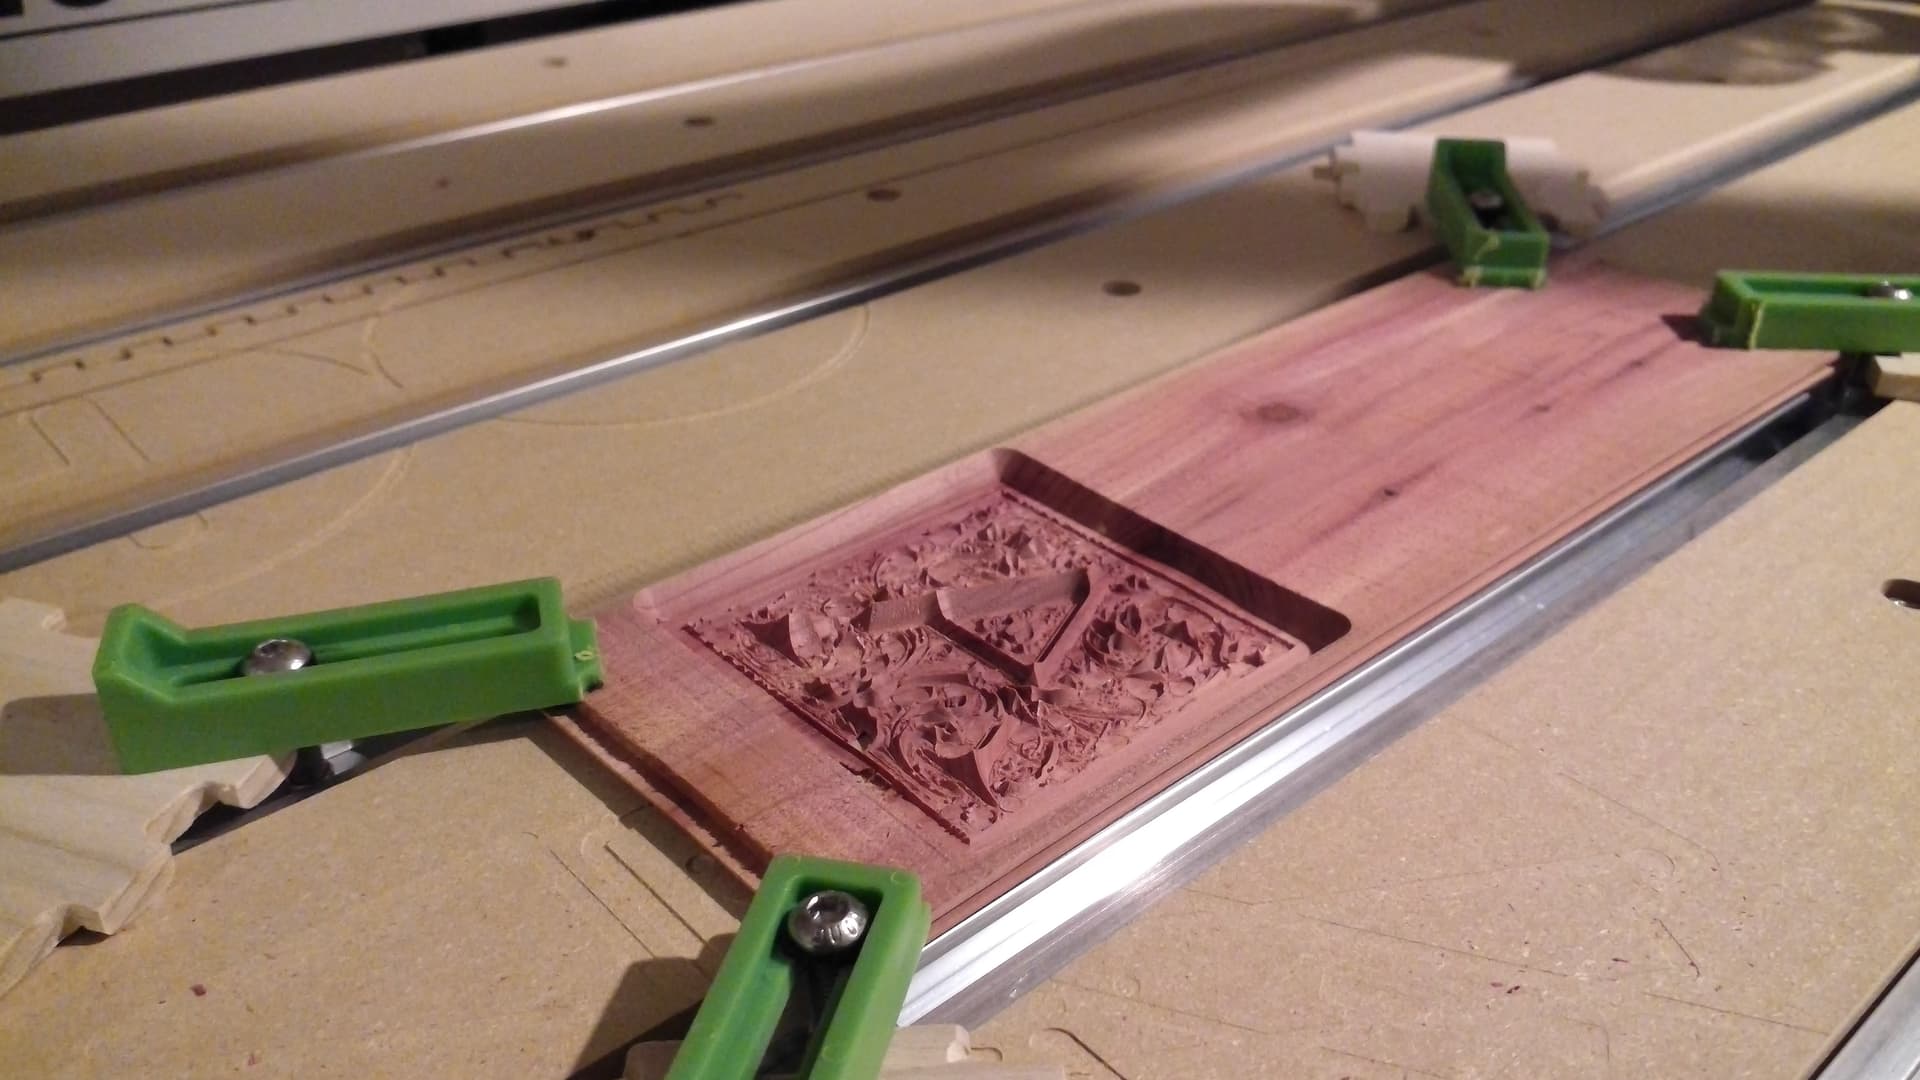
Next up is cutting things free and gluing up.
and the G-code:
A-inlay - Center Bottom 0_25.nc (1.8 MB)
2 Likes
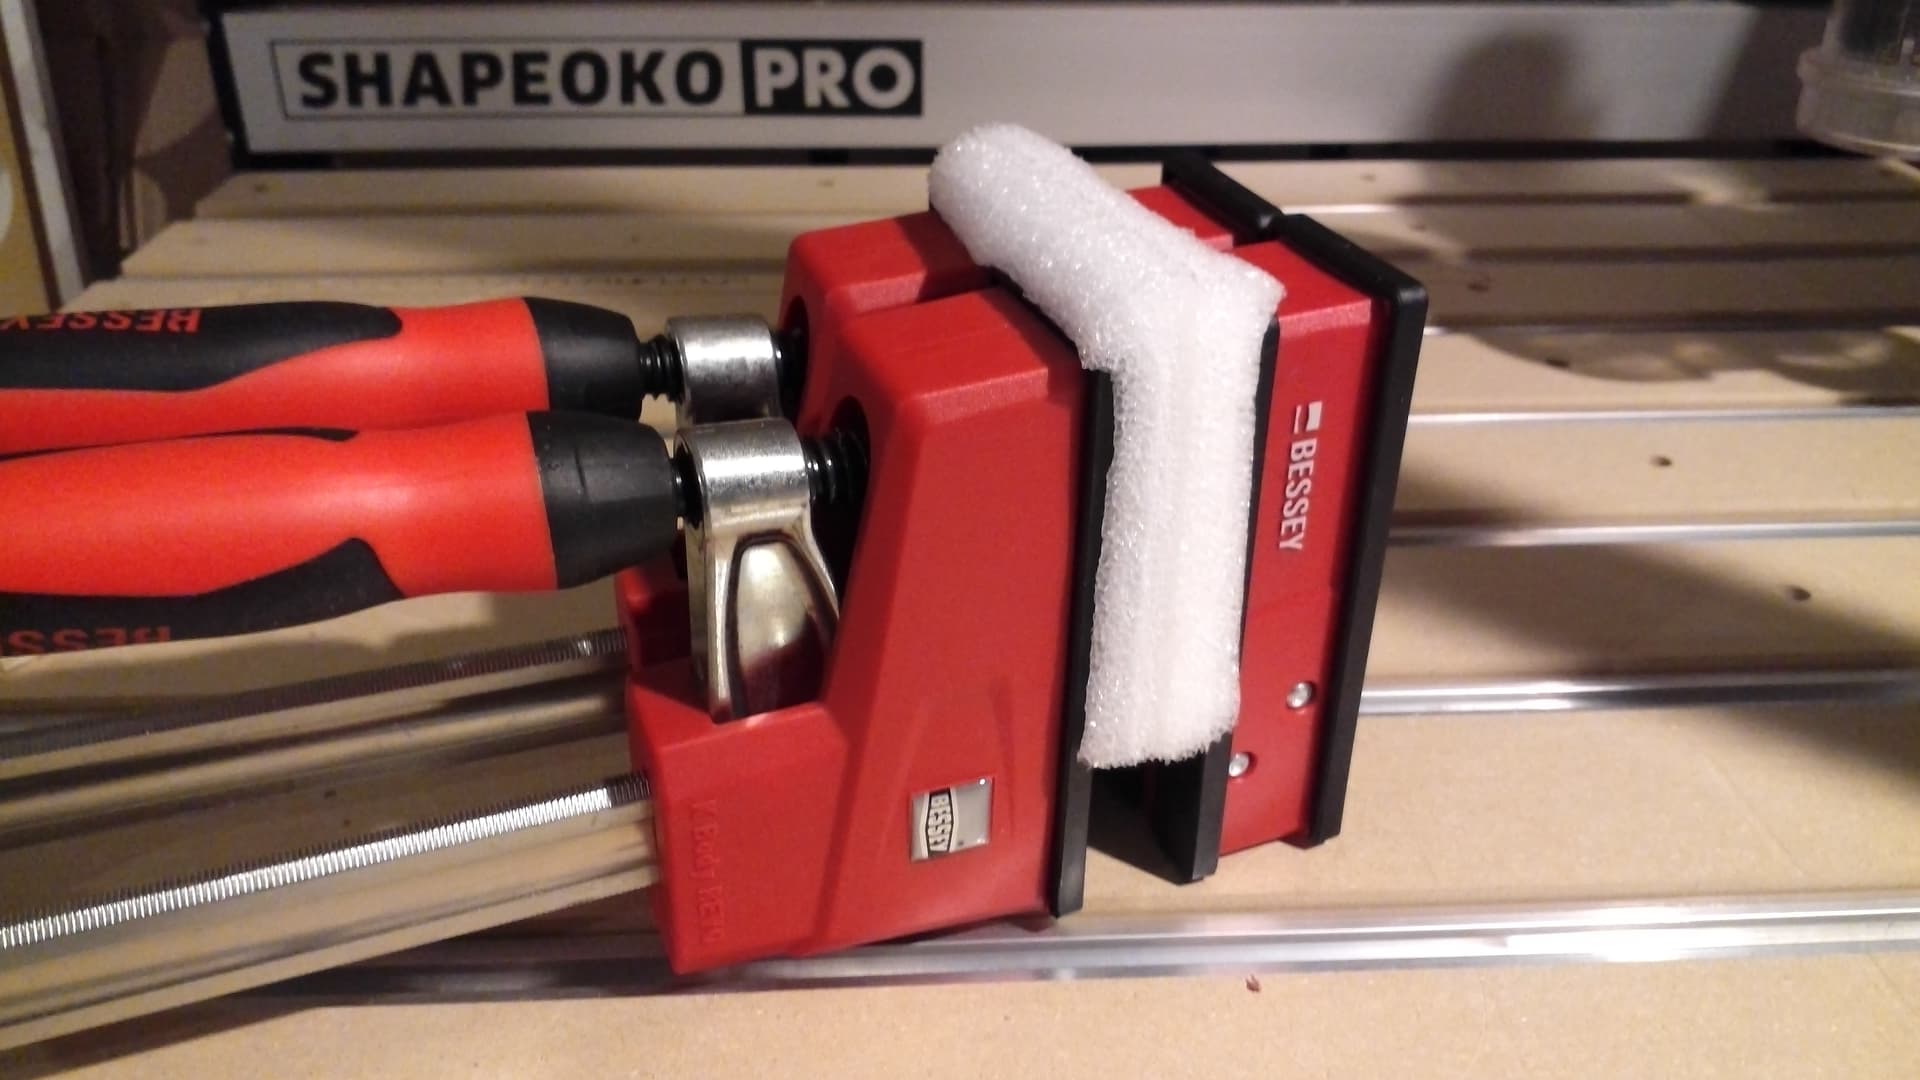
Clamping delicate inlays can be challenging — fortunately, I had a spare piece of foam to distribute the pressure:
2 Likes
Will, which vee bit are you using for that detail.
I tried the coaster I posted above after making a few changes such as increased the scale and max depth but I still lost some of the finer details. I am using the 60 degree bit in maple for the insert. Would a 30 degree be better?
I’m using a #302 (60 degree) for both. I’m pretty sure I’ll lose some details – that’s the point of this test cut — a test cut has to be designed to test to the point of failure, so you’ll know at what point things still work.
Not sure how you would have changed the “A” though, since the files I uploaded are G-code which was hard-coded for V endmill angle and depth — did you buy the font and make your own?
Sorry, I wasn’t clear.
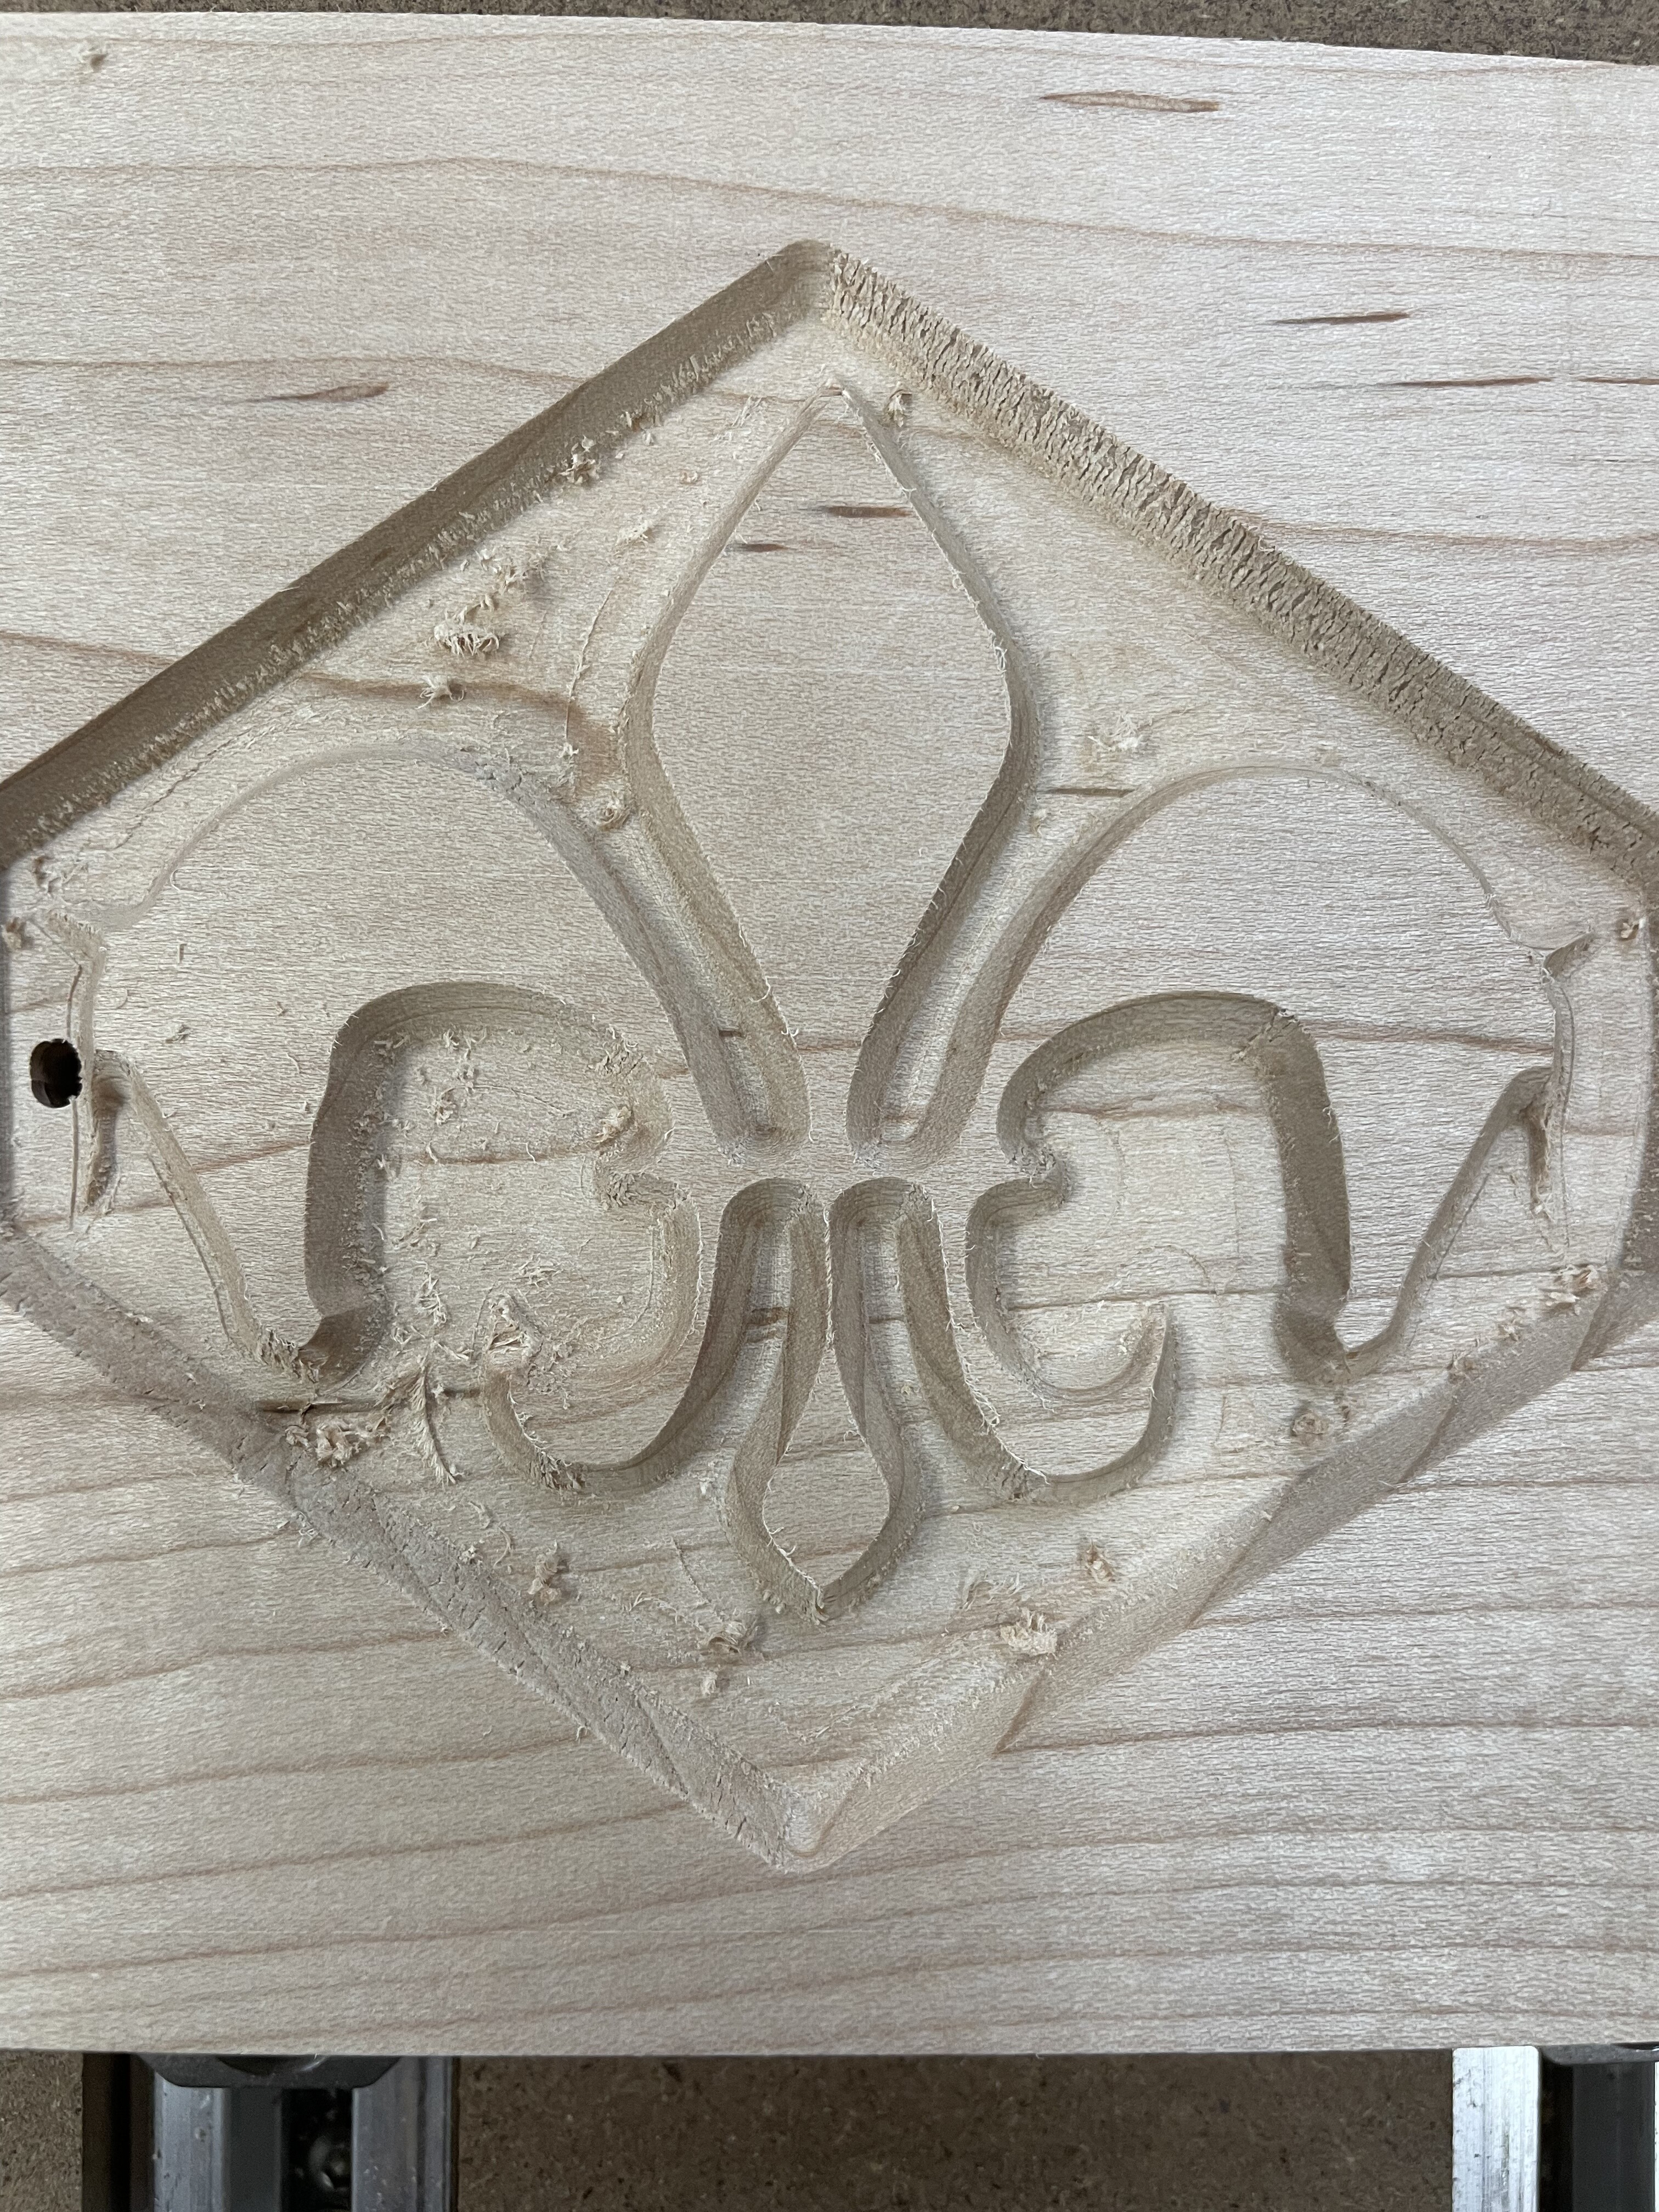
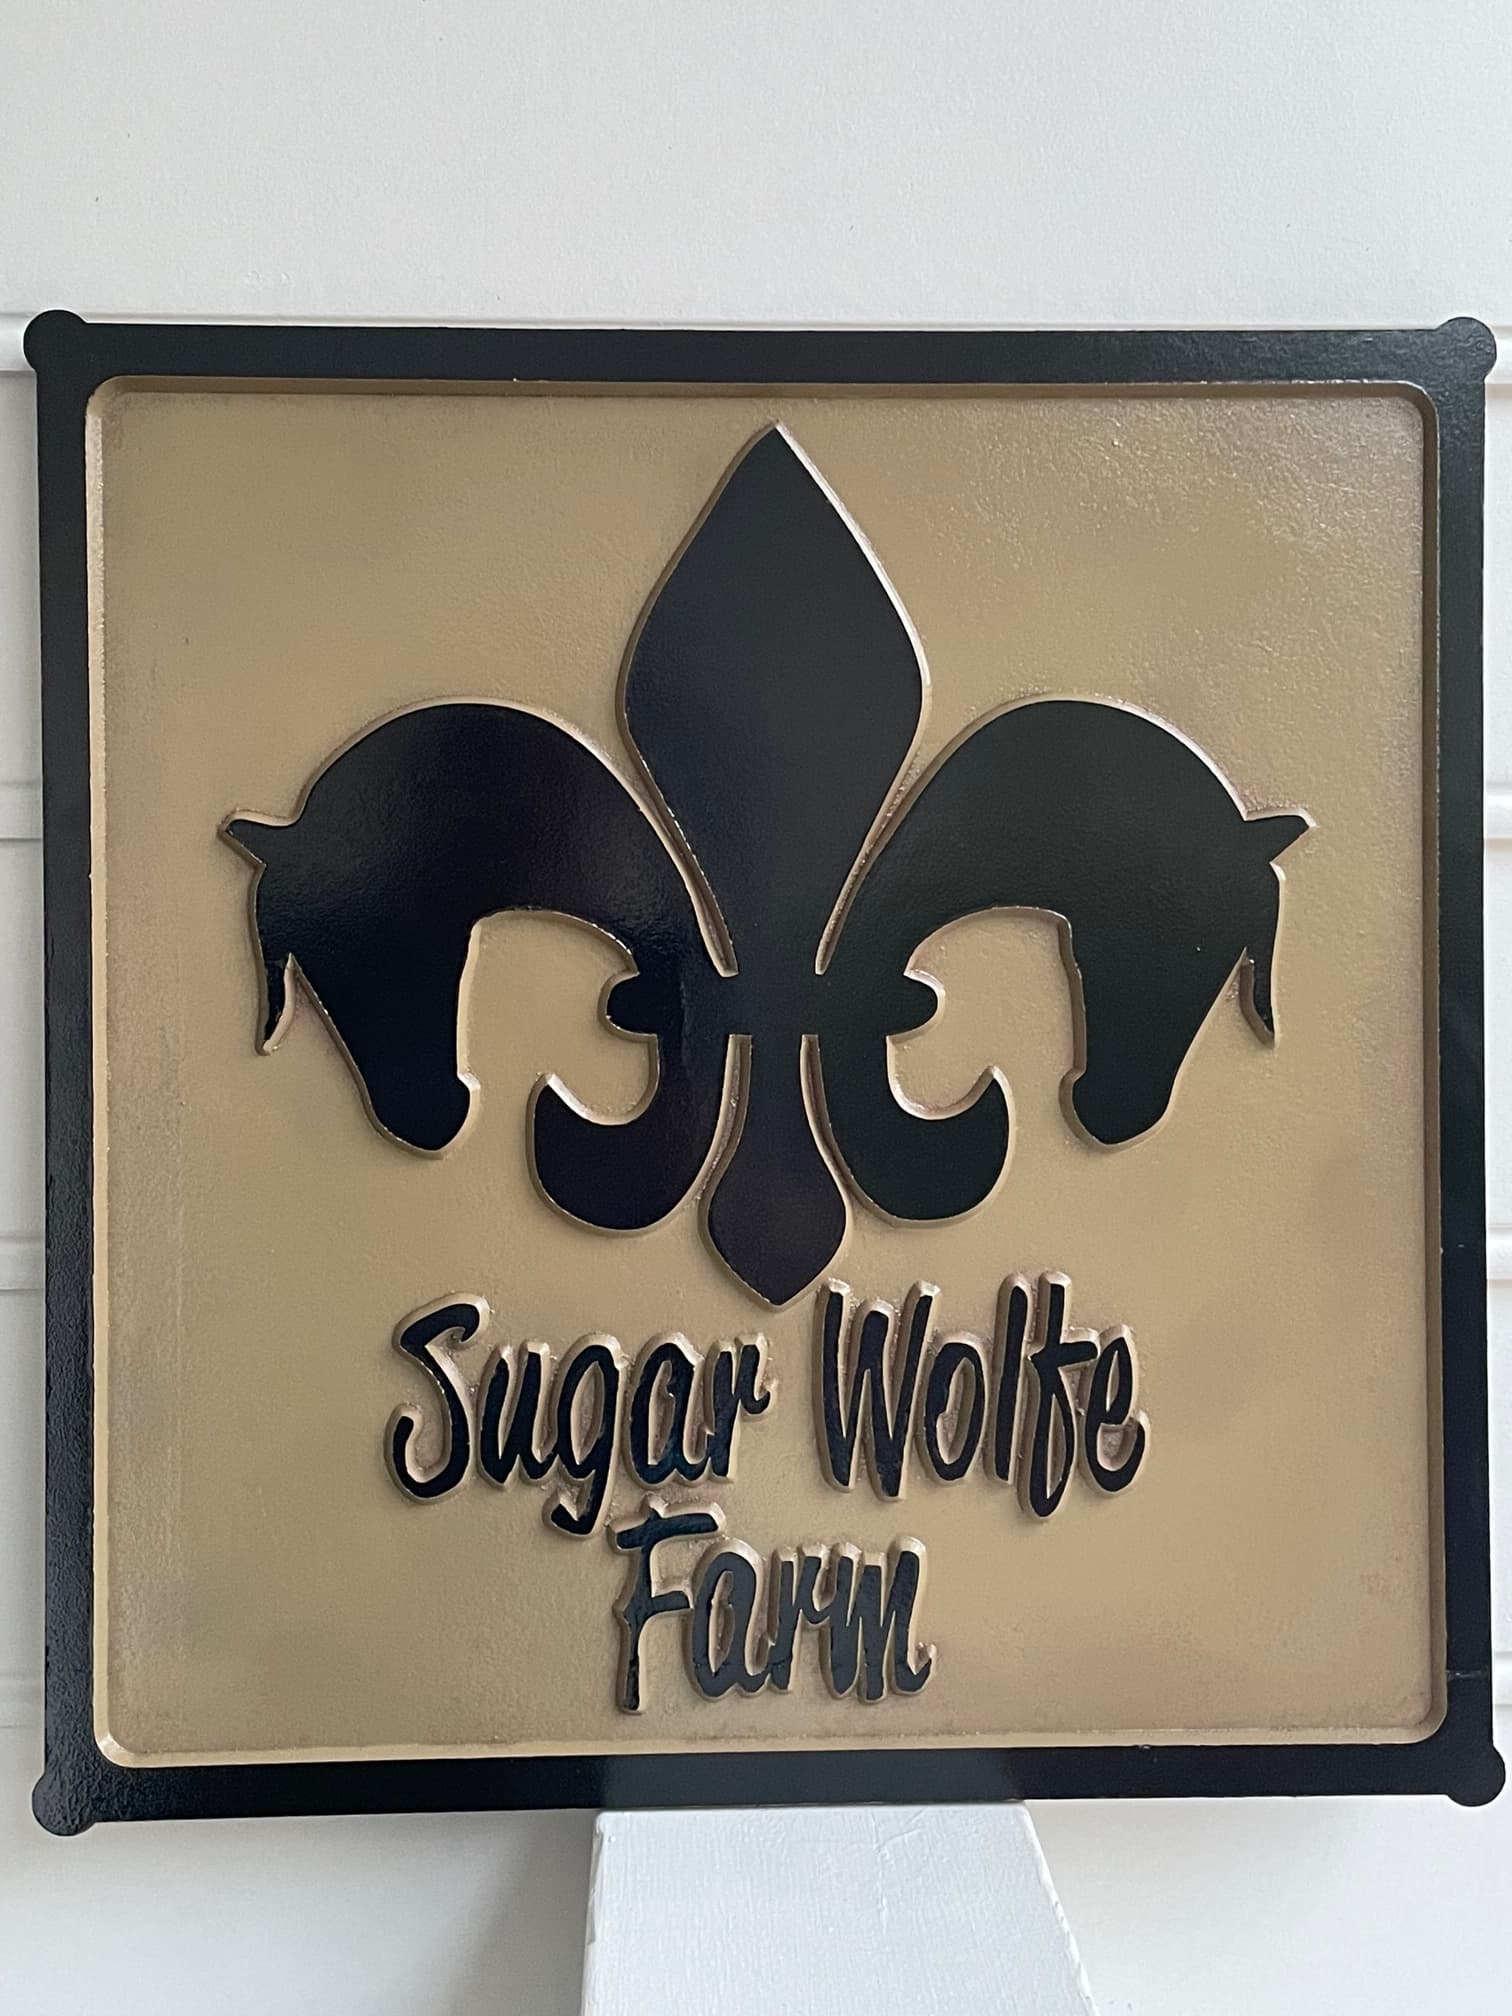
I did not try the A. I was retrying the coaster I posted earlier in the thread with the Fleur-de-lis looking symbol. The left and right are actually horse heads and when the new cut was done I am pretty sure that the part above the horses face (forelock) is too small to survive the gluing and flattening process.
Maybe I went the wrong direction with the depth of cut? I increased it from .15 to .185. Ignore that hole plunged through the left of the insert, stupid user error that luckily I could recover from.
The contour circle is 4.25 diameter and the material is 5x5x.25.
Maybe my bits need replacing or sharpening, I bought my setup used including all the bits so I don’t know what results from a new bit should look like. However, I have a couple of those Downtown Jenny bits arriving today that I am eager to try. Maybe your A would be a good test for them.

Post the file — we’re discussing the geometry of inlays and are trying to work up test/edge cases now.
Here they are.
I made that diamond shape to minimize the pocketing time with the 1/8 end mill. I would cut the rest away with a bandsaw before gluing.
Also attached is a sign I made with the same logo. It is 18x18 and gives a better idea of what it should look like.
Oh, and I did use the 754 build for the cc files for the coaster.
SW_CoasterInlay.c2d (84 KB)
SW_CoasterBase.c2d (88 KB)
1 Like
How is the gap between the two boards handled? It is nice to have some gap so you can bandsaw the male portion off more easily. It could be as simple as making it the same as the “Bottom Gap” value. Or you could add a “Top Gap” value on the “Inlay Mode” menu.
I don’t believe that we have that feature.
Delicate inlays are a bit challenging:
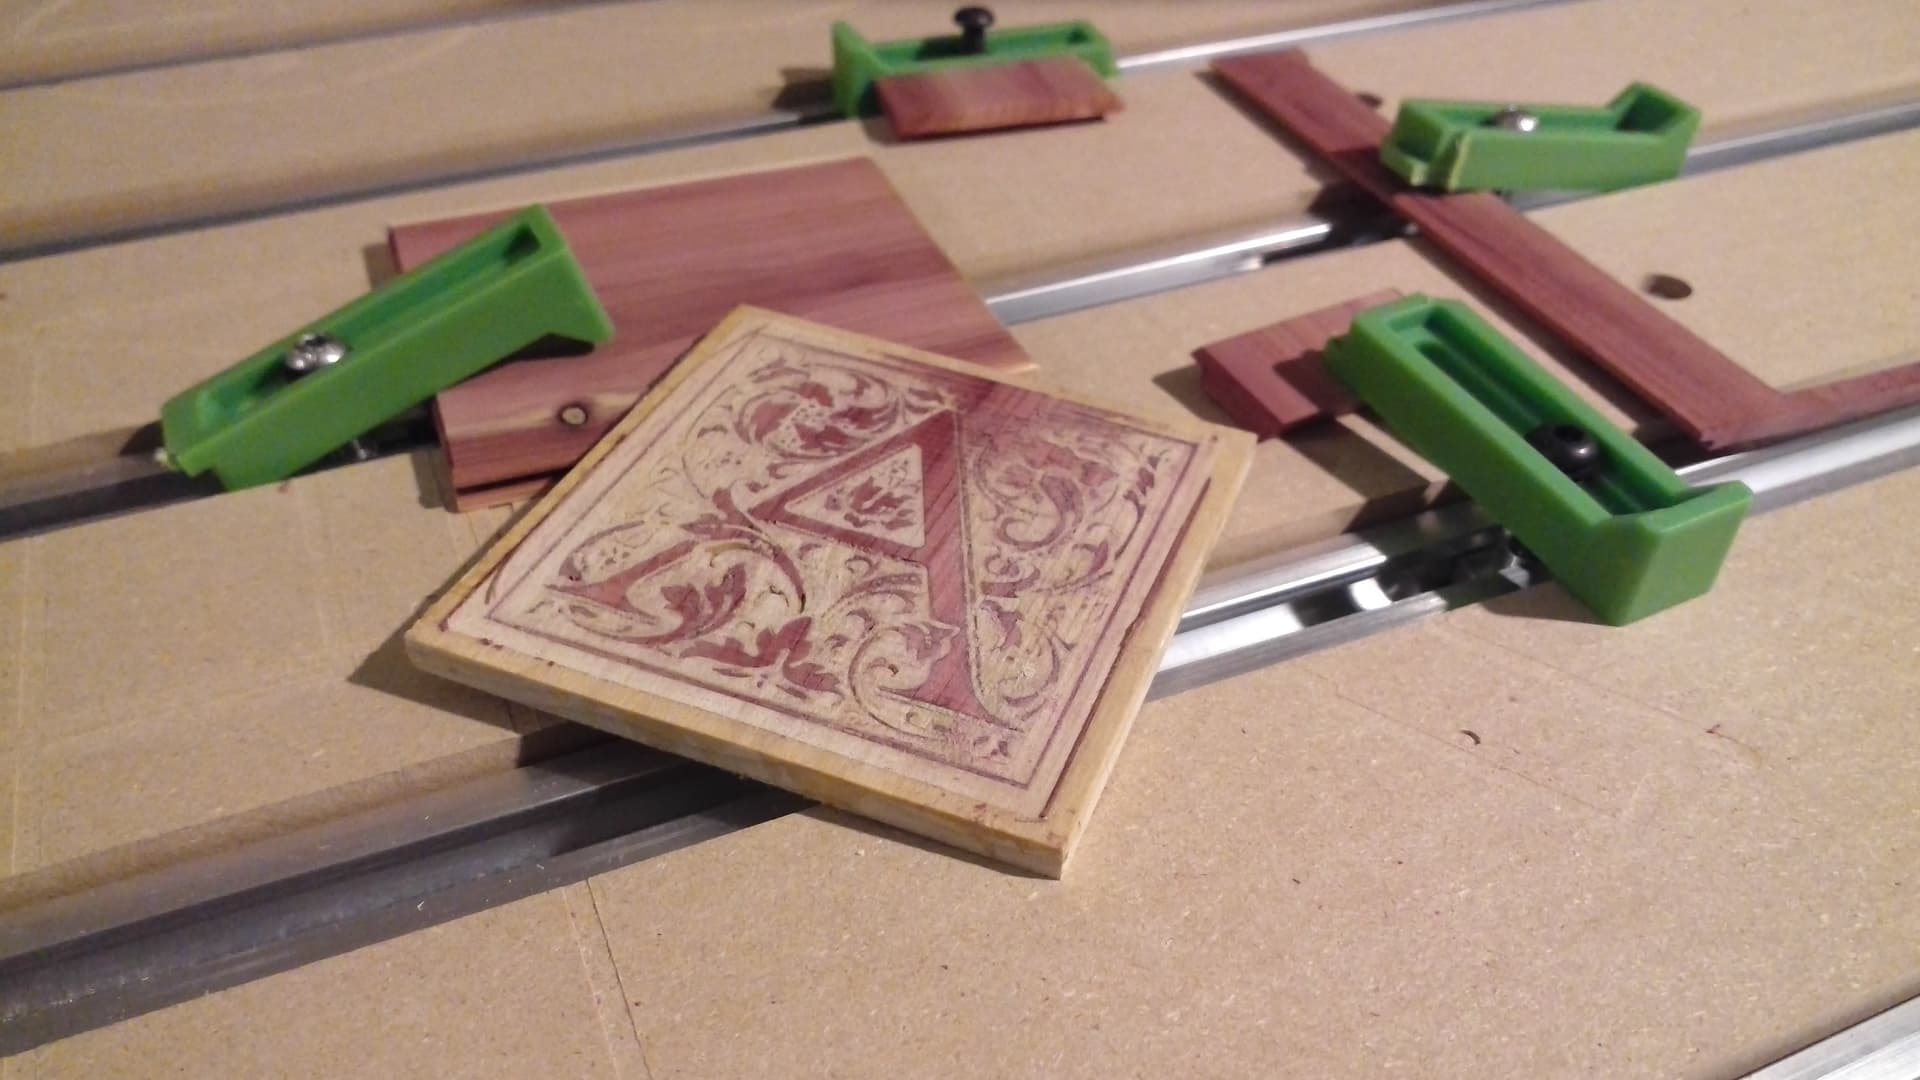
I believe I watered down the hide glue a bit too much when thinning and spreading it — or maybe it was just too old. Hopefully, a bit of work w/ a scraper and some sandpaper will get it to a point where filling in w/ some glue and scraps will suffice.
4 Likes
Considering how punishingly intricate that pattern was, it turned out really well. Was the red wood cedar?
Edit, nm, I kept scrolling up. It was. ![]()
Thanks. I think it’ll clean up pretty well, esp. once some finish is applied.
Yes, some left-over cedar from lining a closet.
Would hardwoods fare better than softwoods for holding detail in inlays? I’d be worried about the softwood snapping out pieces when cut that thinly.
Yes, a finer grained hardwood would be preferable, and should yield better results.
I recently found a youtube video showing layered inlays that might inspire people for ideas. One thing to note is that this inlay was done on the endgrain, perhaps stronger, but also harder to maintain uniform color.

3 Likes
I just machined the ware part of the insert off rather than using the bandsaw so no gap was needed.
That video looks like it took forever to execute and twice that to design and plan.
Very impressive.
That’s an interesting question.
For what its worth: I did 3 VERY simple inlay tests using the new bottom glue-gap “inlay mode” and the “cut pocket first” features yesterday using V60, V30, and v15 bits.
The v60 male component actually seated the tightest, plus it left a very slight space between the two component’s surfaces.
That slight space did make it easier to band saw off the excess material, which reduced the amount of finish sanding needed.
While the other 2 inlays (using the v30 and v15 bits ) worked well, there was no space between the component’s two surfaces like there was for the v60 inlay components.
Regardless, all 3 inlays fit and sanded/finished up perfectly.
Later today I will be dissecting the inlays to see much of an “inlay mode” glue-gap resulted.
3 Likes