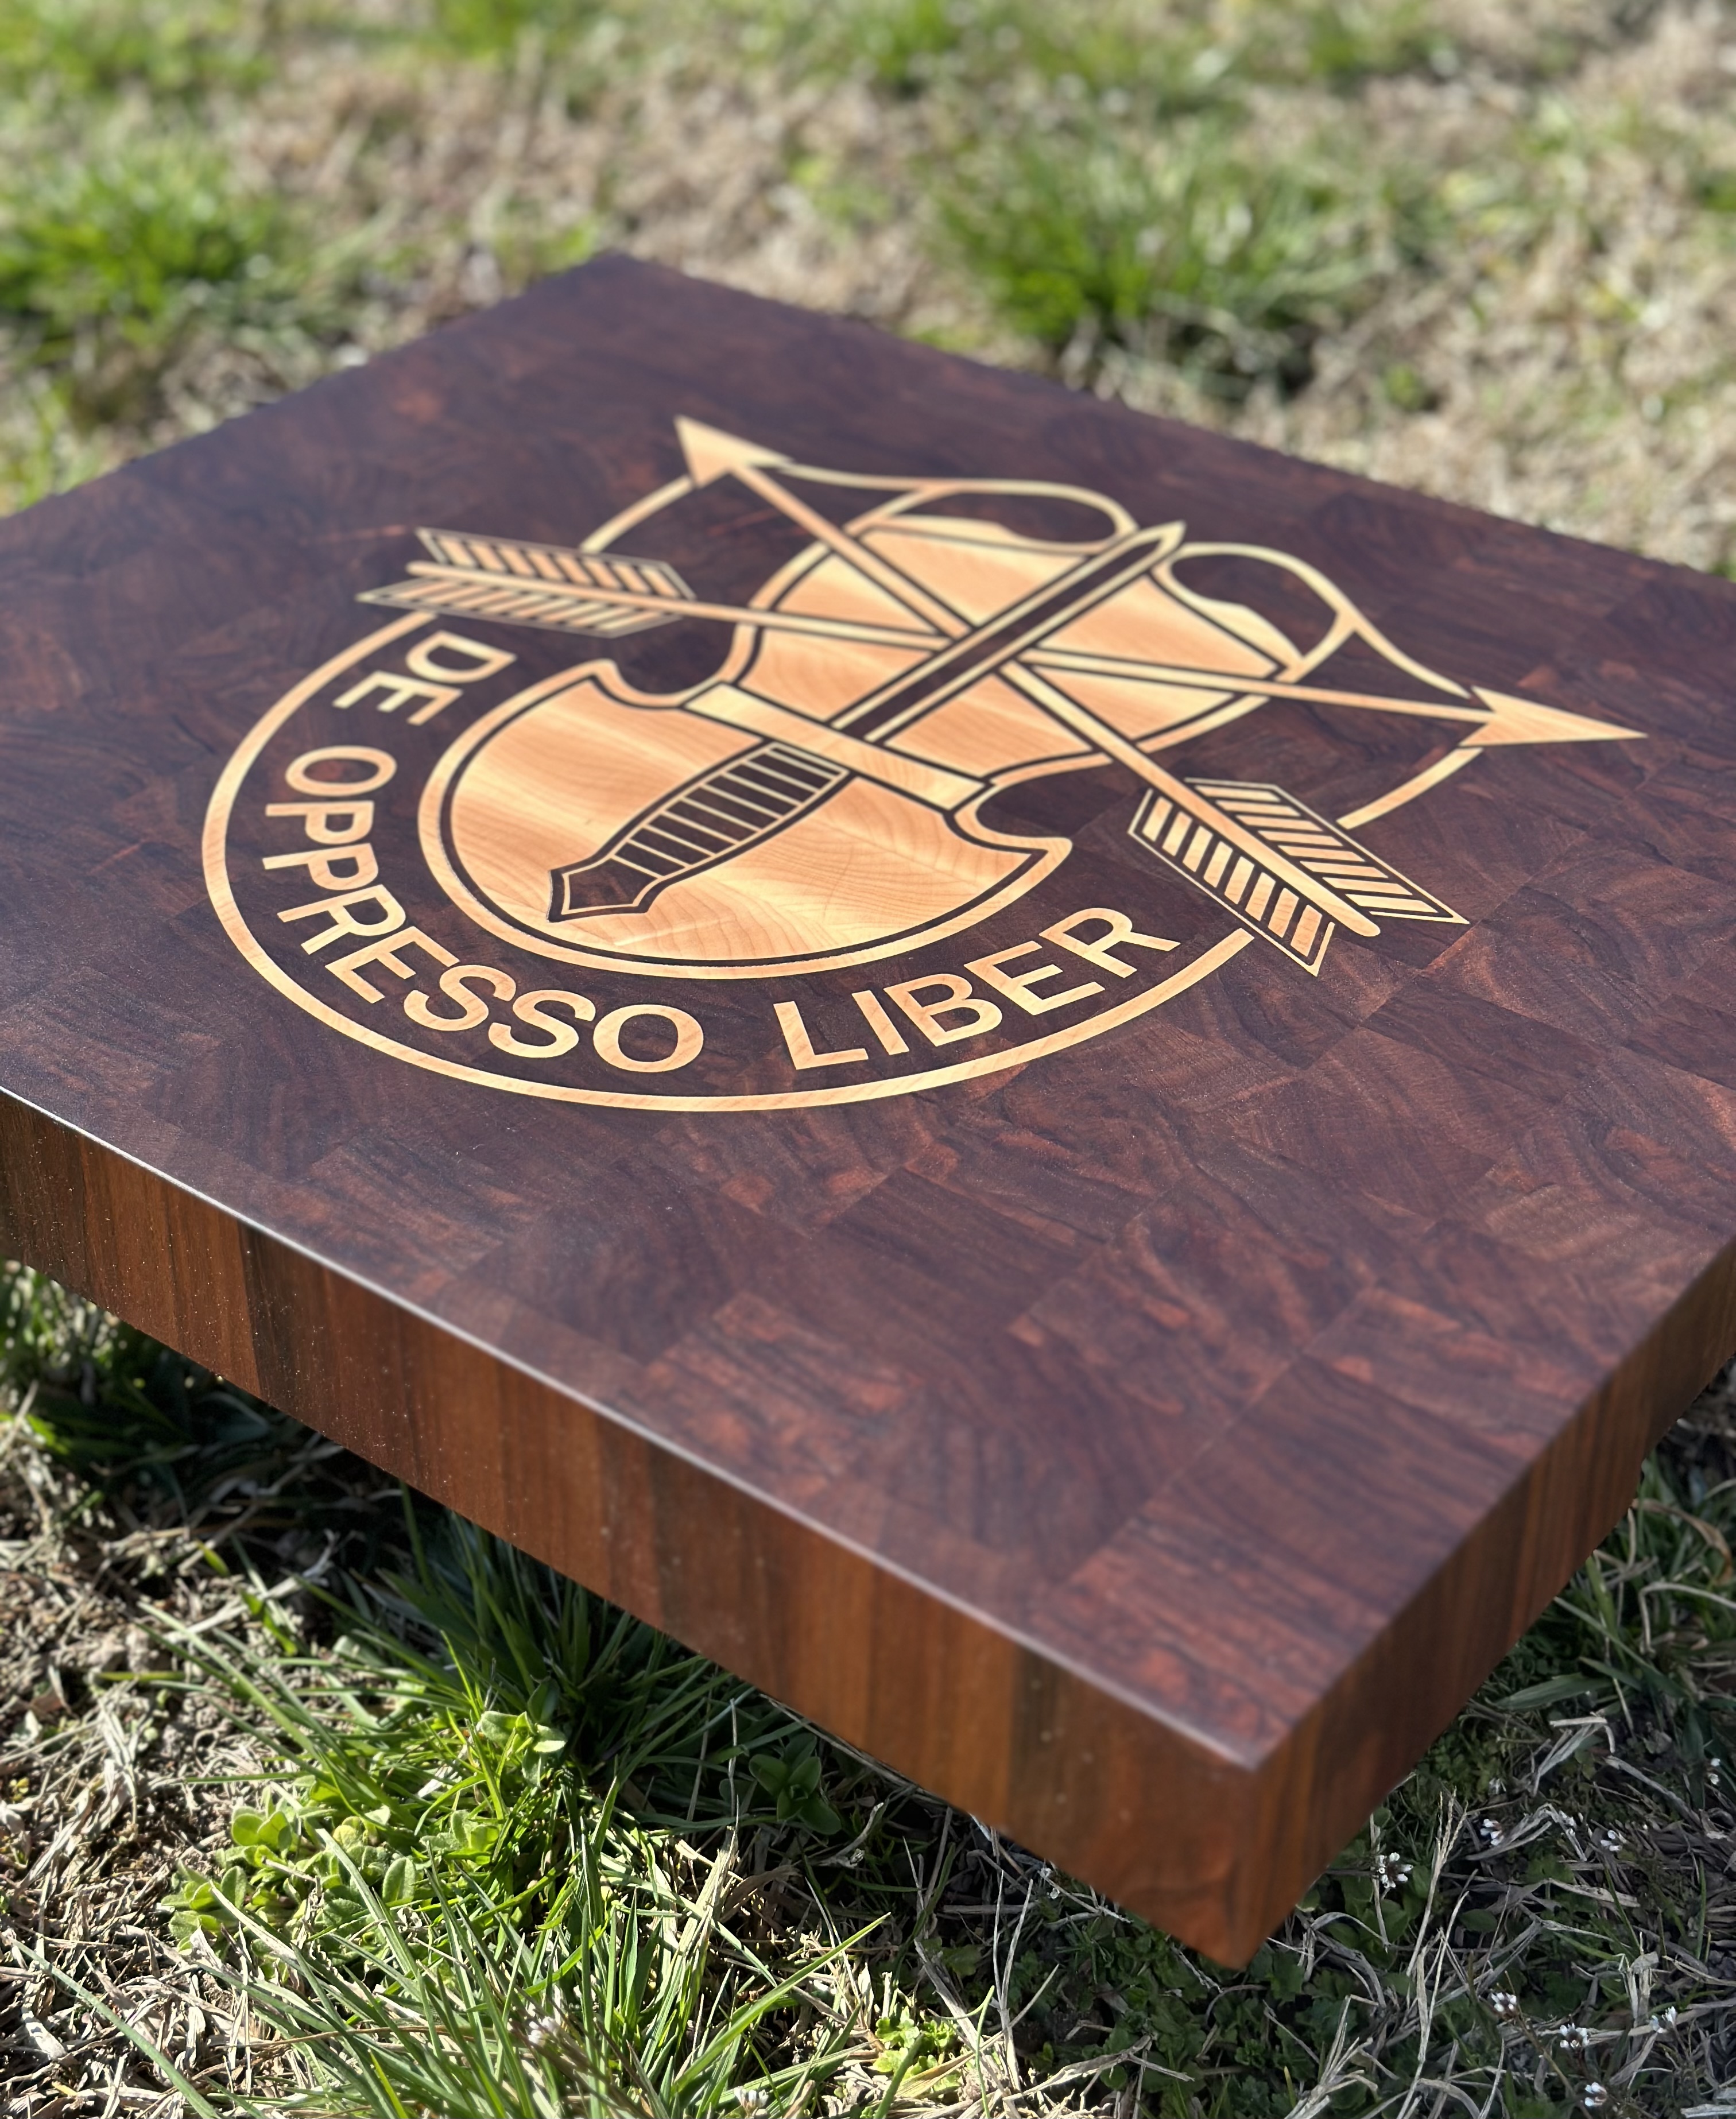
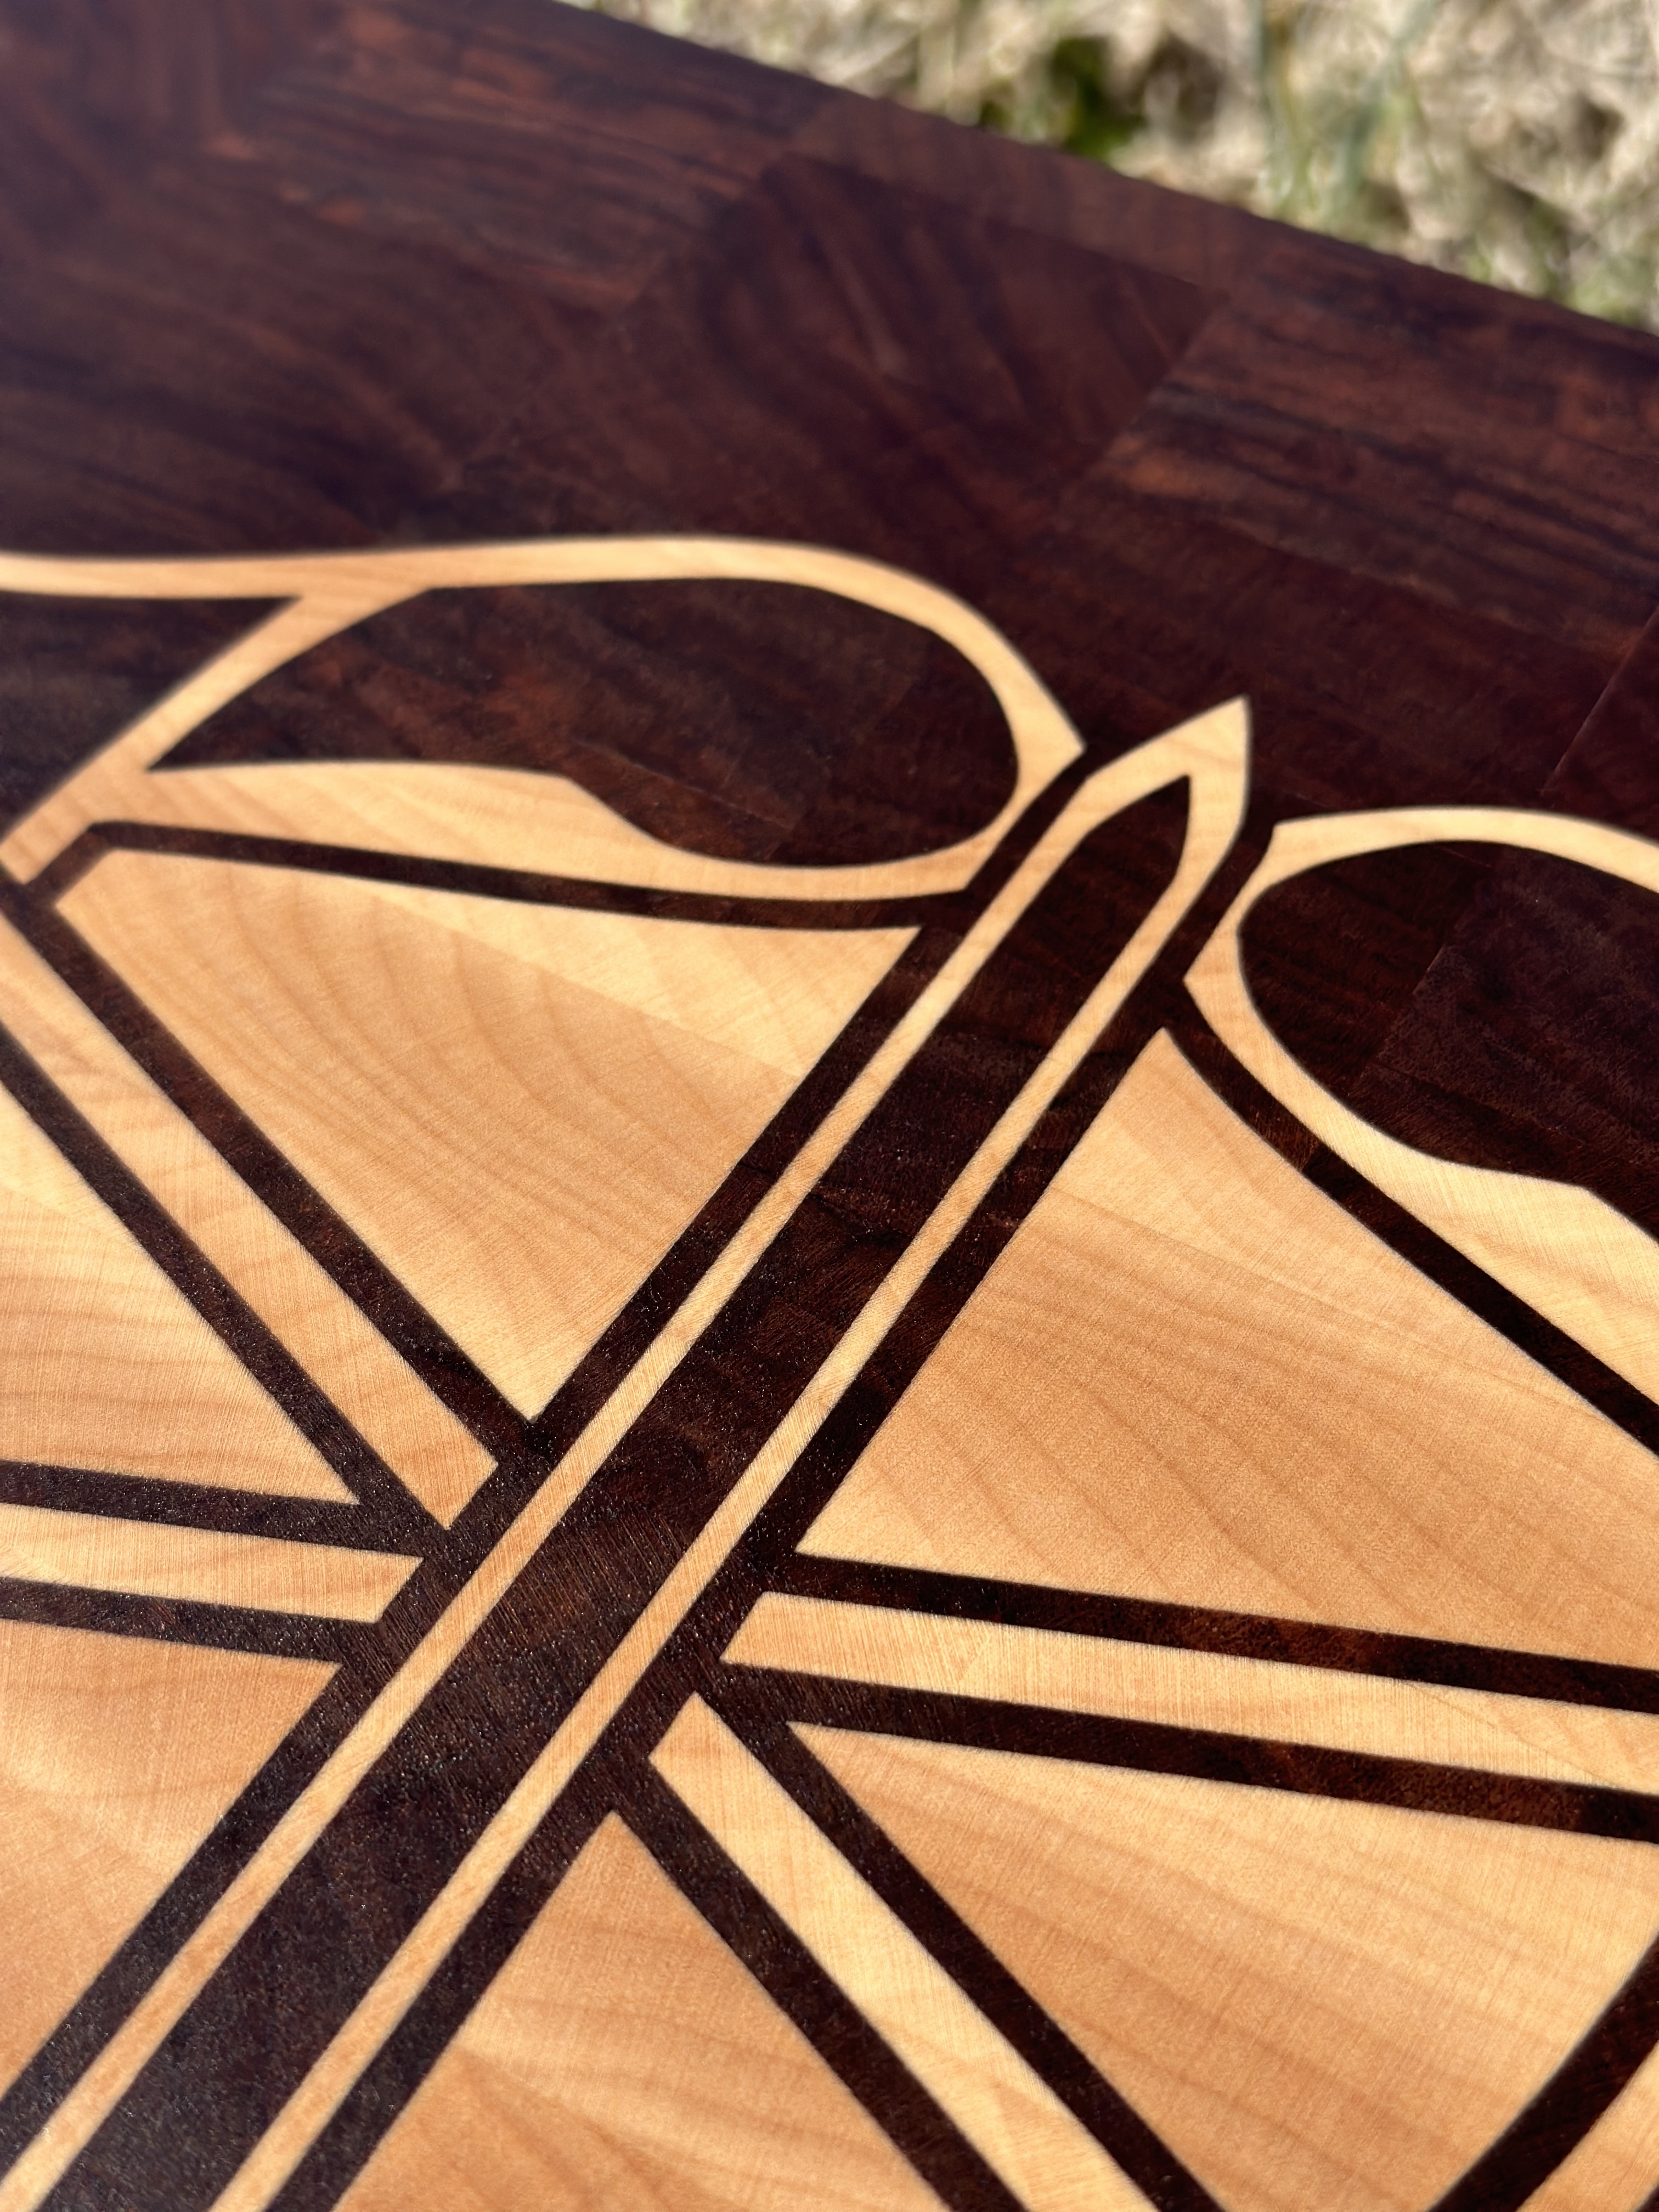
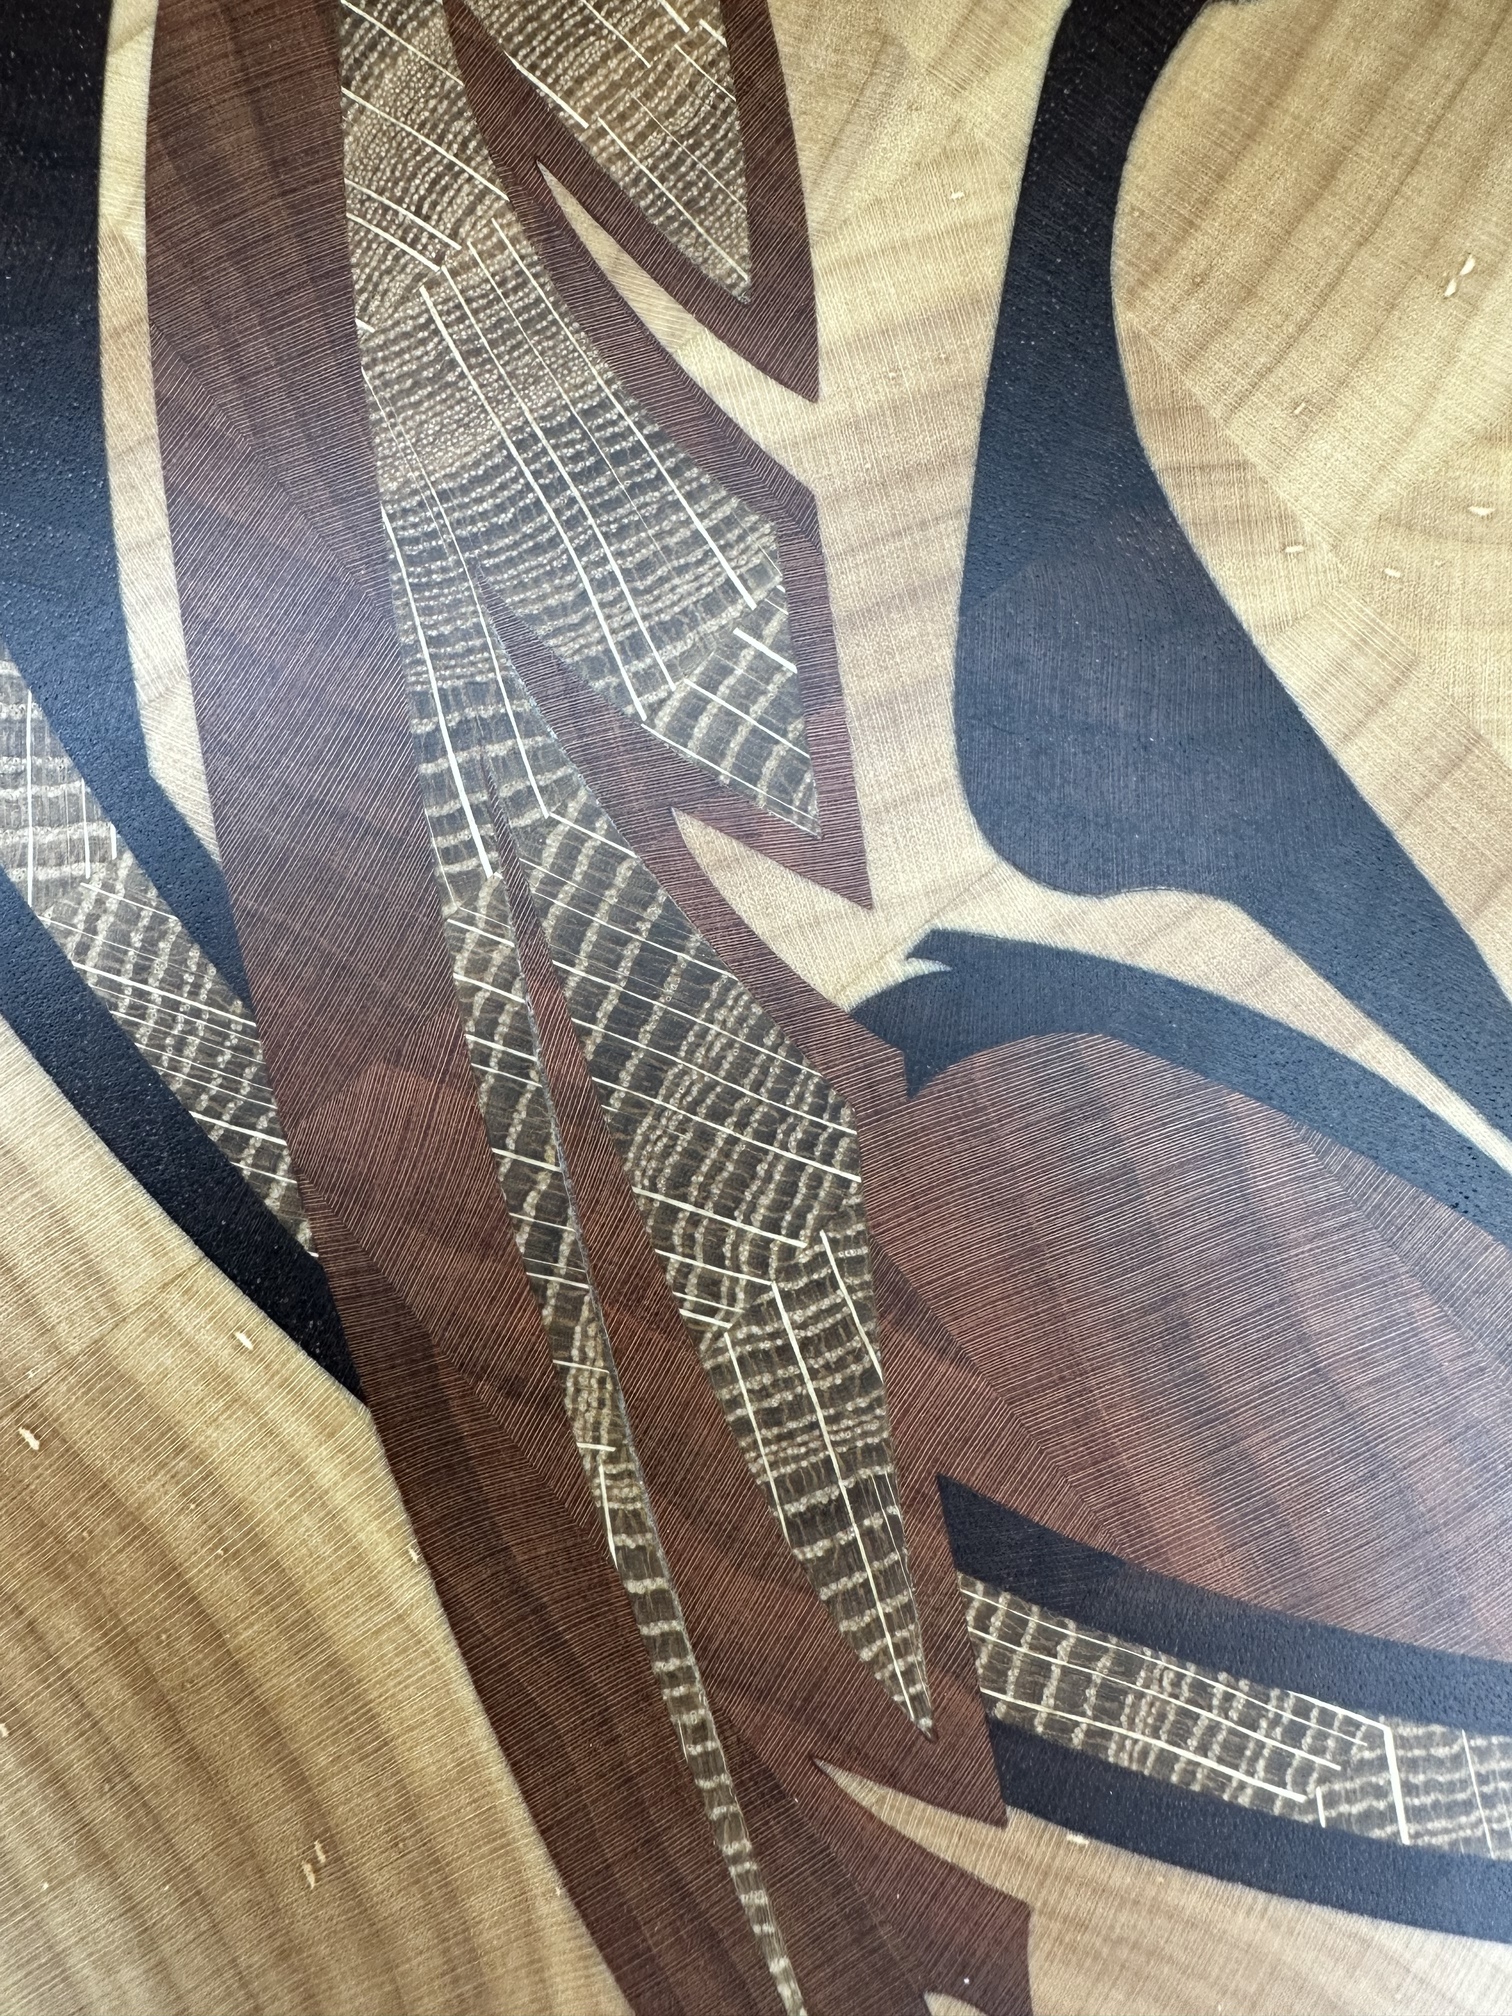
Very clear, very tight grained American Cherry and Hard White Maple inlays, (.125" deep with a .02 glue-gap).
Note: I made 1 male and 1 female component for each v-bit per wood species (ie: 1 Maple inlay inserted into a Cherry pocket, and 1 Cherry inlay inserted into a Maple pocket for each v-bit, thus 6 inlays total)
The v60 and V30 inlays had the best sidewall contact.
The V60 inlay had and a noticeable “glue gap” at the bottom while the v30 male inlay component appeared to “bottom out” (no noticeable glue-gap), but it still maintained 100% sidewall contact.
The v15 inlay showed very small voids in its sidewall contact (meaning it bottomed out before making full sidewall contact) which resulted in a very small glue line on the inlay’s finished surfaces that will definitely show up once a finishing product, like stain, is applied.
For me, depending on the inlay’s detail, I will only use V60 and V30 v-bits.
It goes without saying, “Your actual mileage may vary”.
When I was making my river boards/maps with the inlays I was using smoked sugar maple as the plug and due to the process to get it that color is inherently a much more brittle product than it’s natural wood version (just kiln dried) version of itself. I’d suspect there are a whole list of wood species that are more prone to chipout so choosing woods for more delicate inlays is probably a key part to the decision making.
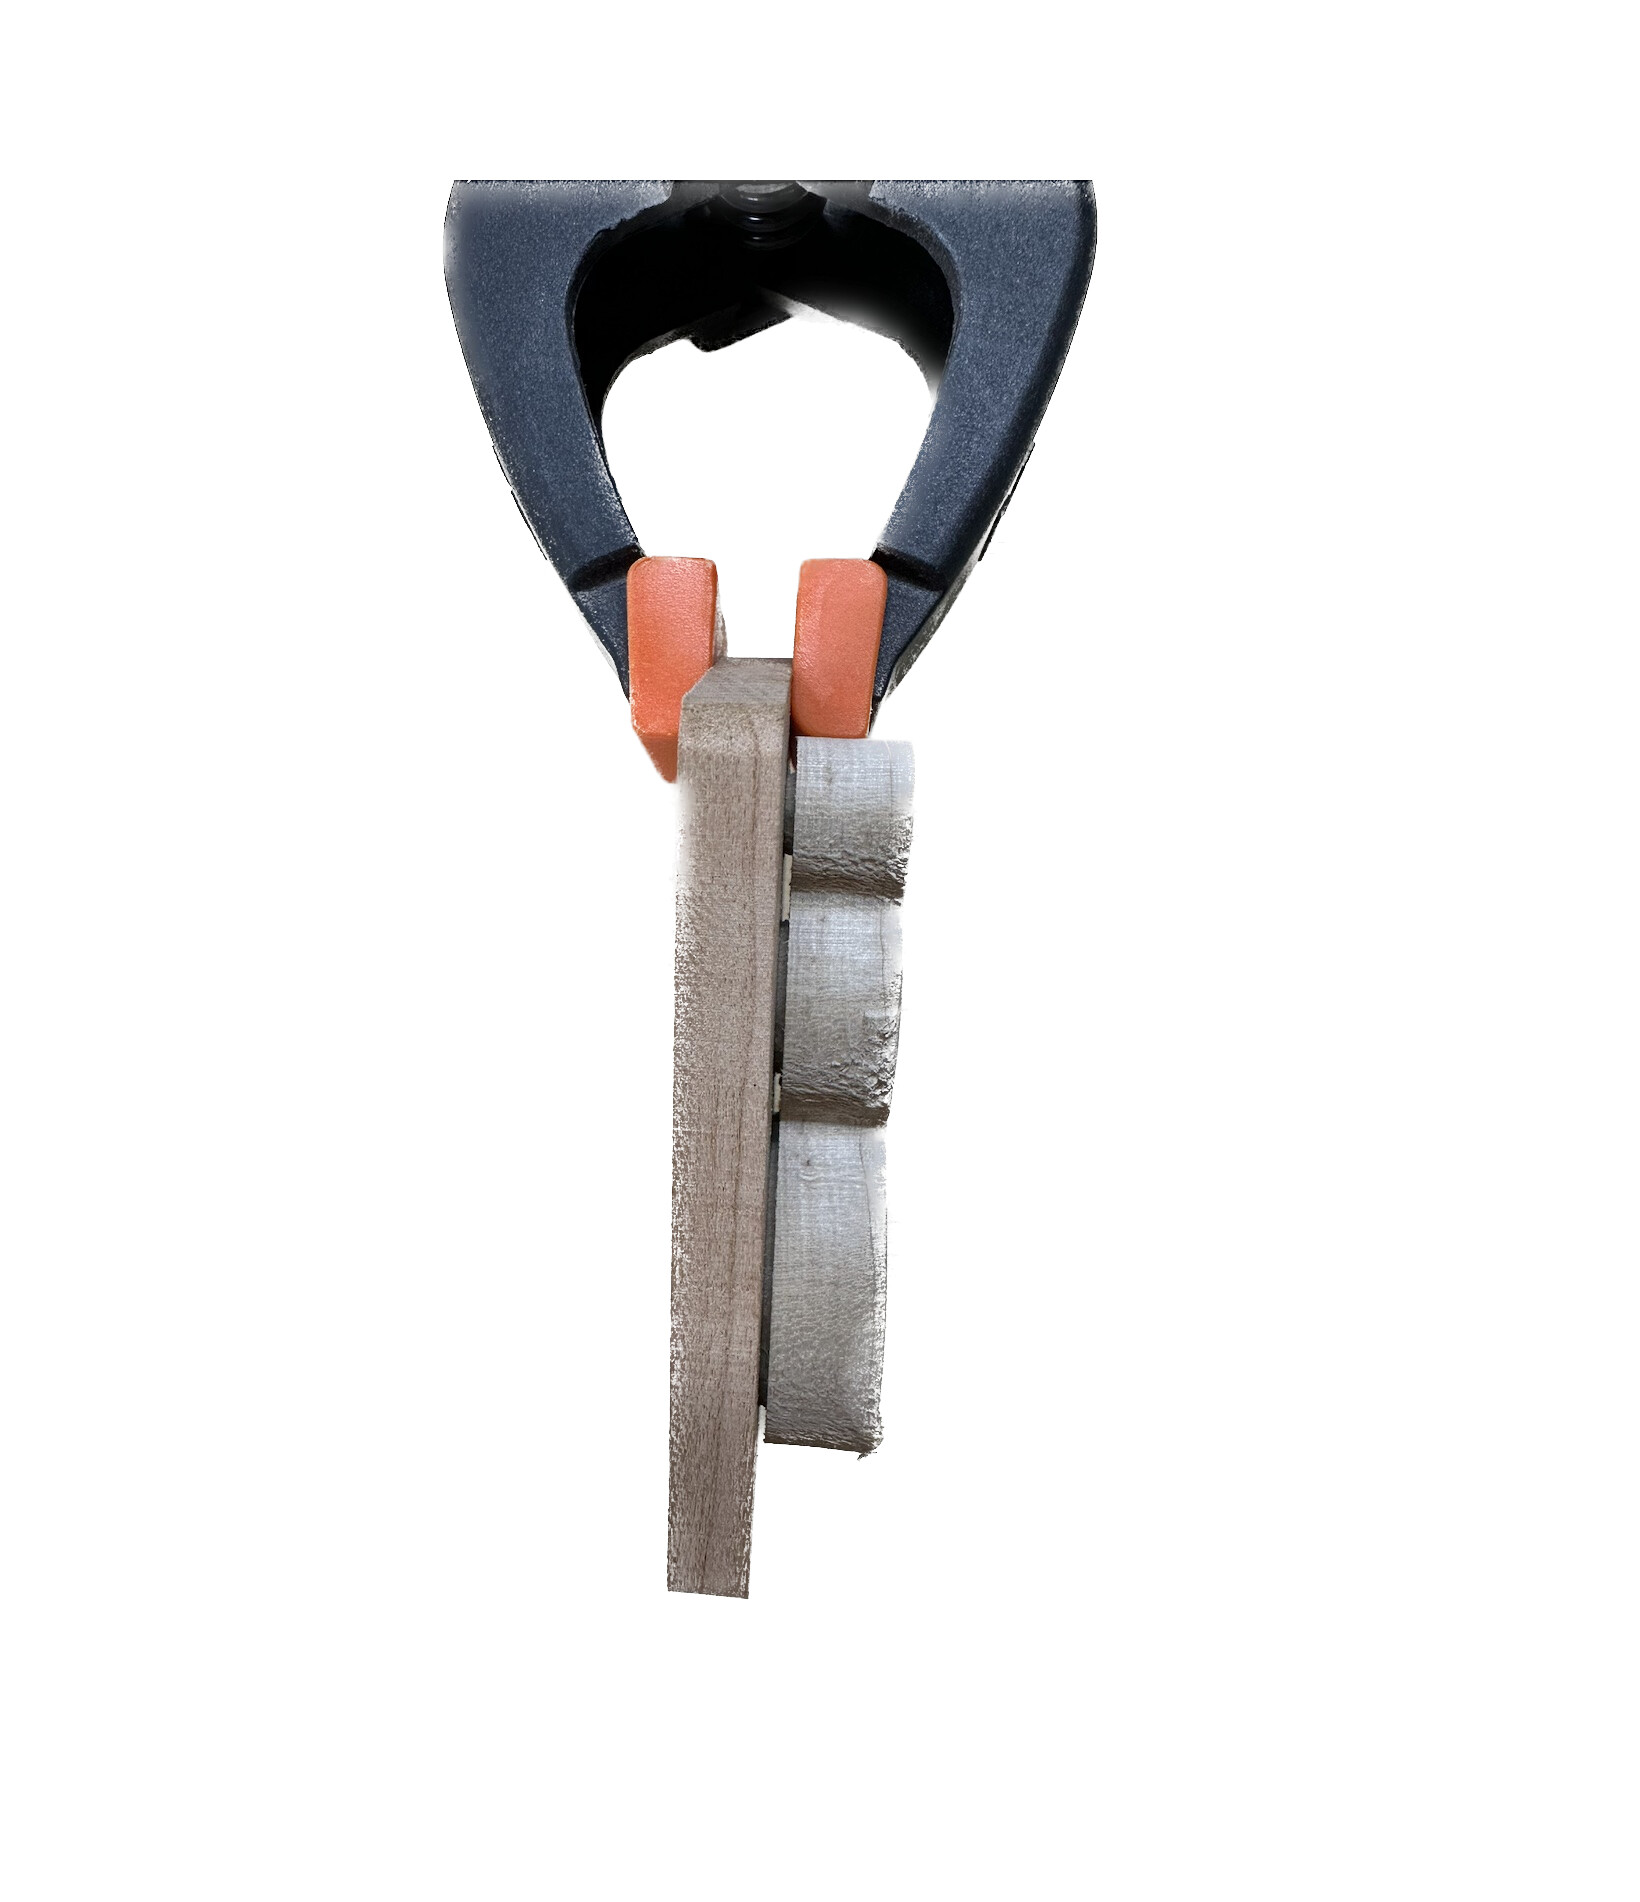
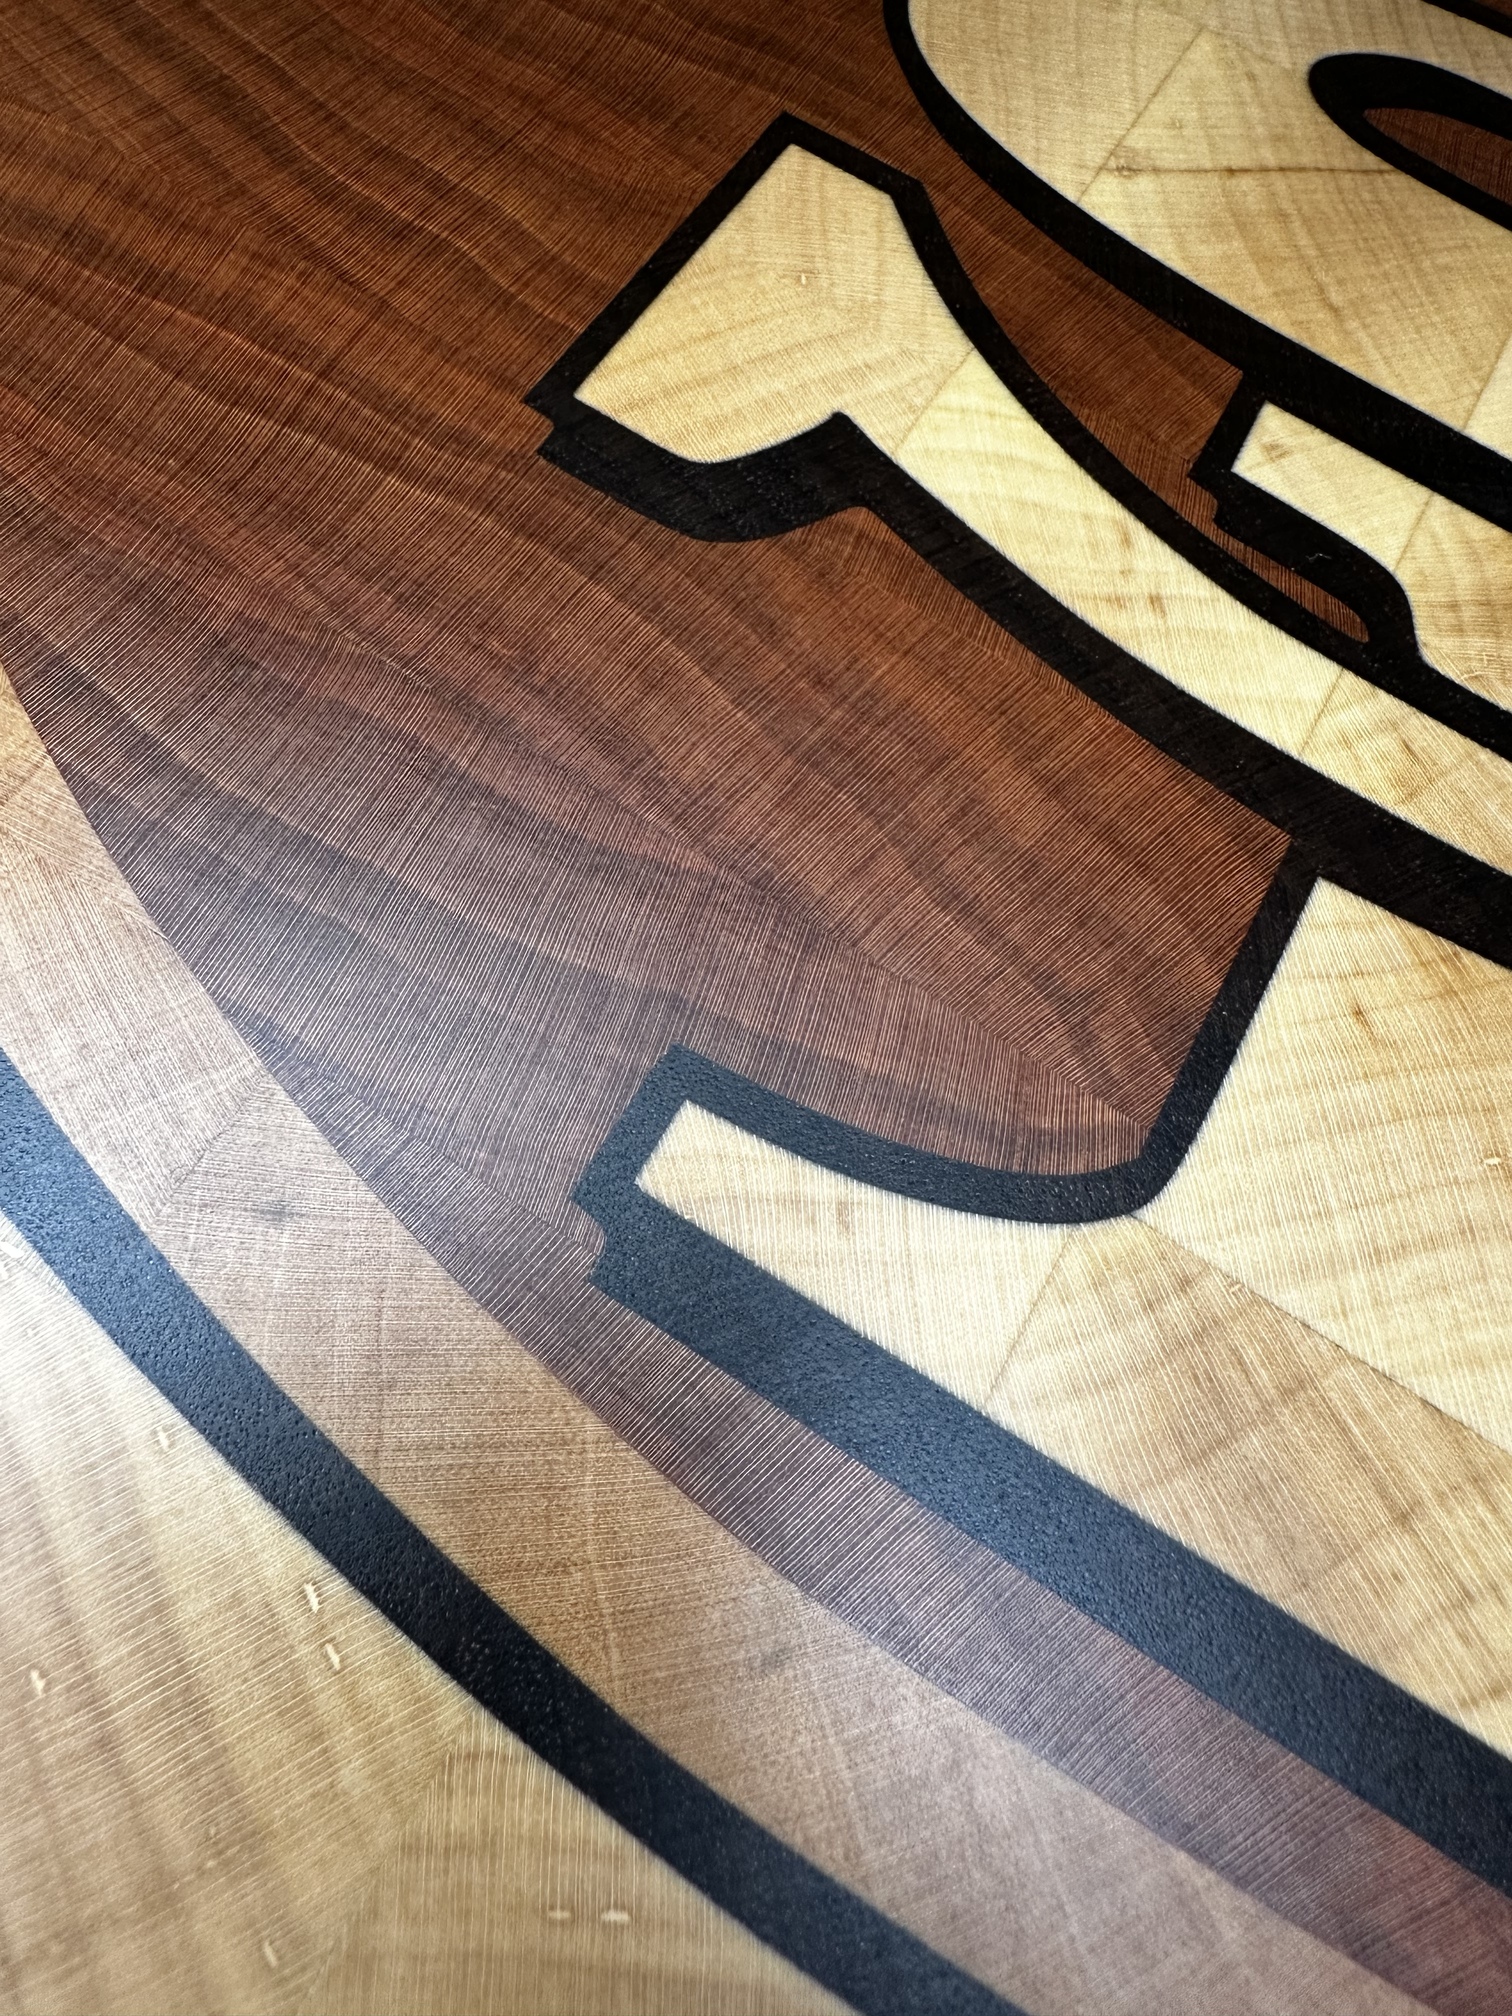
I quickly made two more “test” inlays, but this time I used a v45 bit. This bit, just like the v60 bit, allows the male and female parts to tightly seat together and leaves a small “surface gap” between the inlay & pocket component faces.
I attached a photo to illustrate the “surface gap”. (male inlay on the right, female pocket on the left)
I have not used this inlay feature yet but it is interesting.
I have found using a max depth for the pocket of .2 and a start depth of .18 and .26 max depth for the plug gives fantastic results. I use a 30 degree 3 flute Vee bit. I am intrigued is how the new update will work given the results I’m able to achieve with those numbers. Also, I am very confused about the idea of “glue gaps”. At least for me I do not want gaps under my inlays especially in cutting boards because of the risk of moisture and mold developing
Right now you should not play games with the start depth adn max depth to get the fit you need. That’s what people do in Vectric, and it’s what we’re trying to avoid. (We could find out that it’s necessary, but we’re trying to avoid that for now.)
I gotcha… yea I won’t mess around with the start depth in the new function. But for right now it’s hard to get away from given the results I’m able to get.
If you’re happy with the results, no problem. (and that looks great, by the way) I just want to get ahead of any directions that contradict the intended workflow before we create new support problems.
As for the “glue gap”, I found that using the new inlay feature with a v30 doesn’t create a “glue gap”. Rather, the two inlay components seat together very tightly, such that the male inlay fully seats into the female pocket (ie: 100% sidewall and bottom pocket contact).
On the other hand, I found that a “glue gap” resulted when I used a v60 with the new inlay feature.
Like you, I prefer my v30 bit since it has given me the best detail.
And for what its worth, I now prefer using the new “inlay” and “pocket first” features over my old manual inlay method.
Everything is end grain… I will never mix end with edge/ face grain especially with inlays.
As for how press them in I use both clamp and hydraulic press methods. For the clamps I use large throat C clamps so I can get the best distribution of pressure. Just depends on the inlay and the amount of projects I have going on since I only have one press in my shop.
Thanks for confirming, guess I wasn’t looking close enough.
Is it fair to say your inlay cut parameters work just as well irrespective of your clamping choice? I had read somewhere else that someone was professing that a press was the only way to get results. Thanks.
Cut parameters don’t have anything to do with how you apply pressure. You can have the best parameters but if you have uneven pressure across the inlay, you will most likely have gaps. I have the same results with hydraulic press and deep throat C clamps. Clamps are just more of a pain and time consuming. Also, I will note it is crucial not to apply too much pressure. Just because you can apply loads of pressure with a press does not mean you should. Significant pressure does not equal tighter inlays.
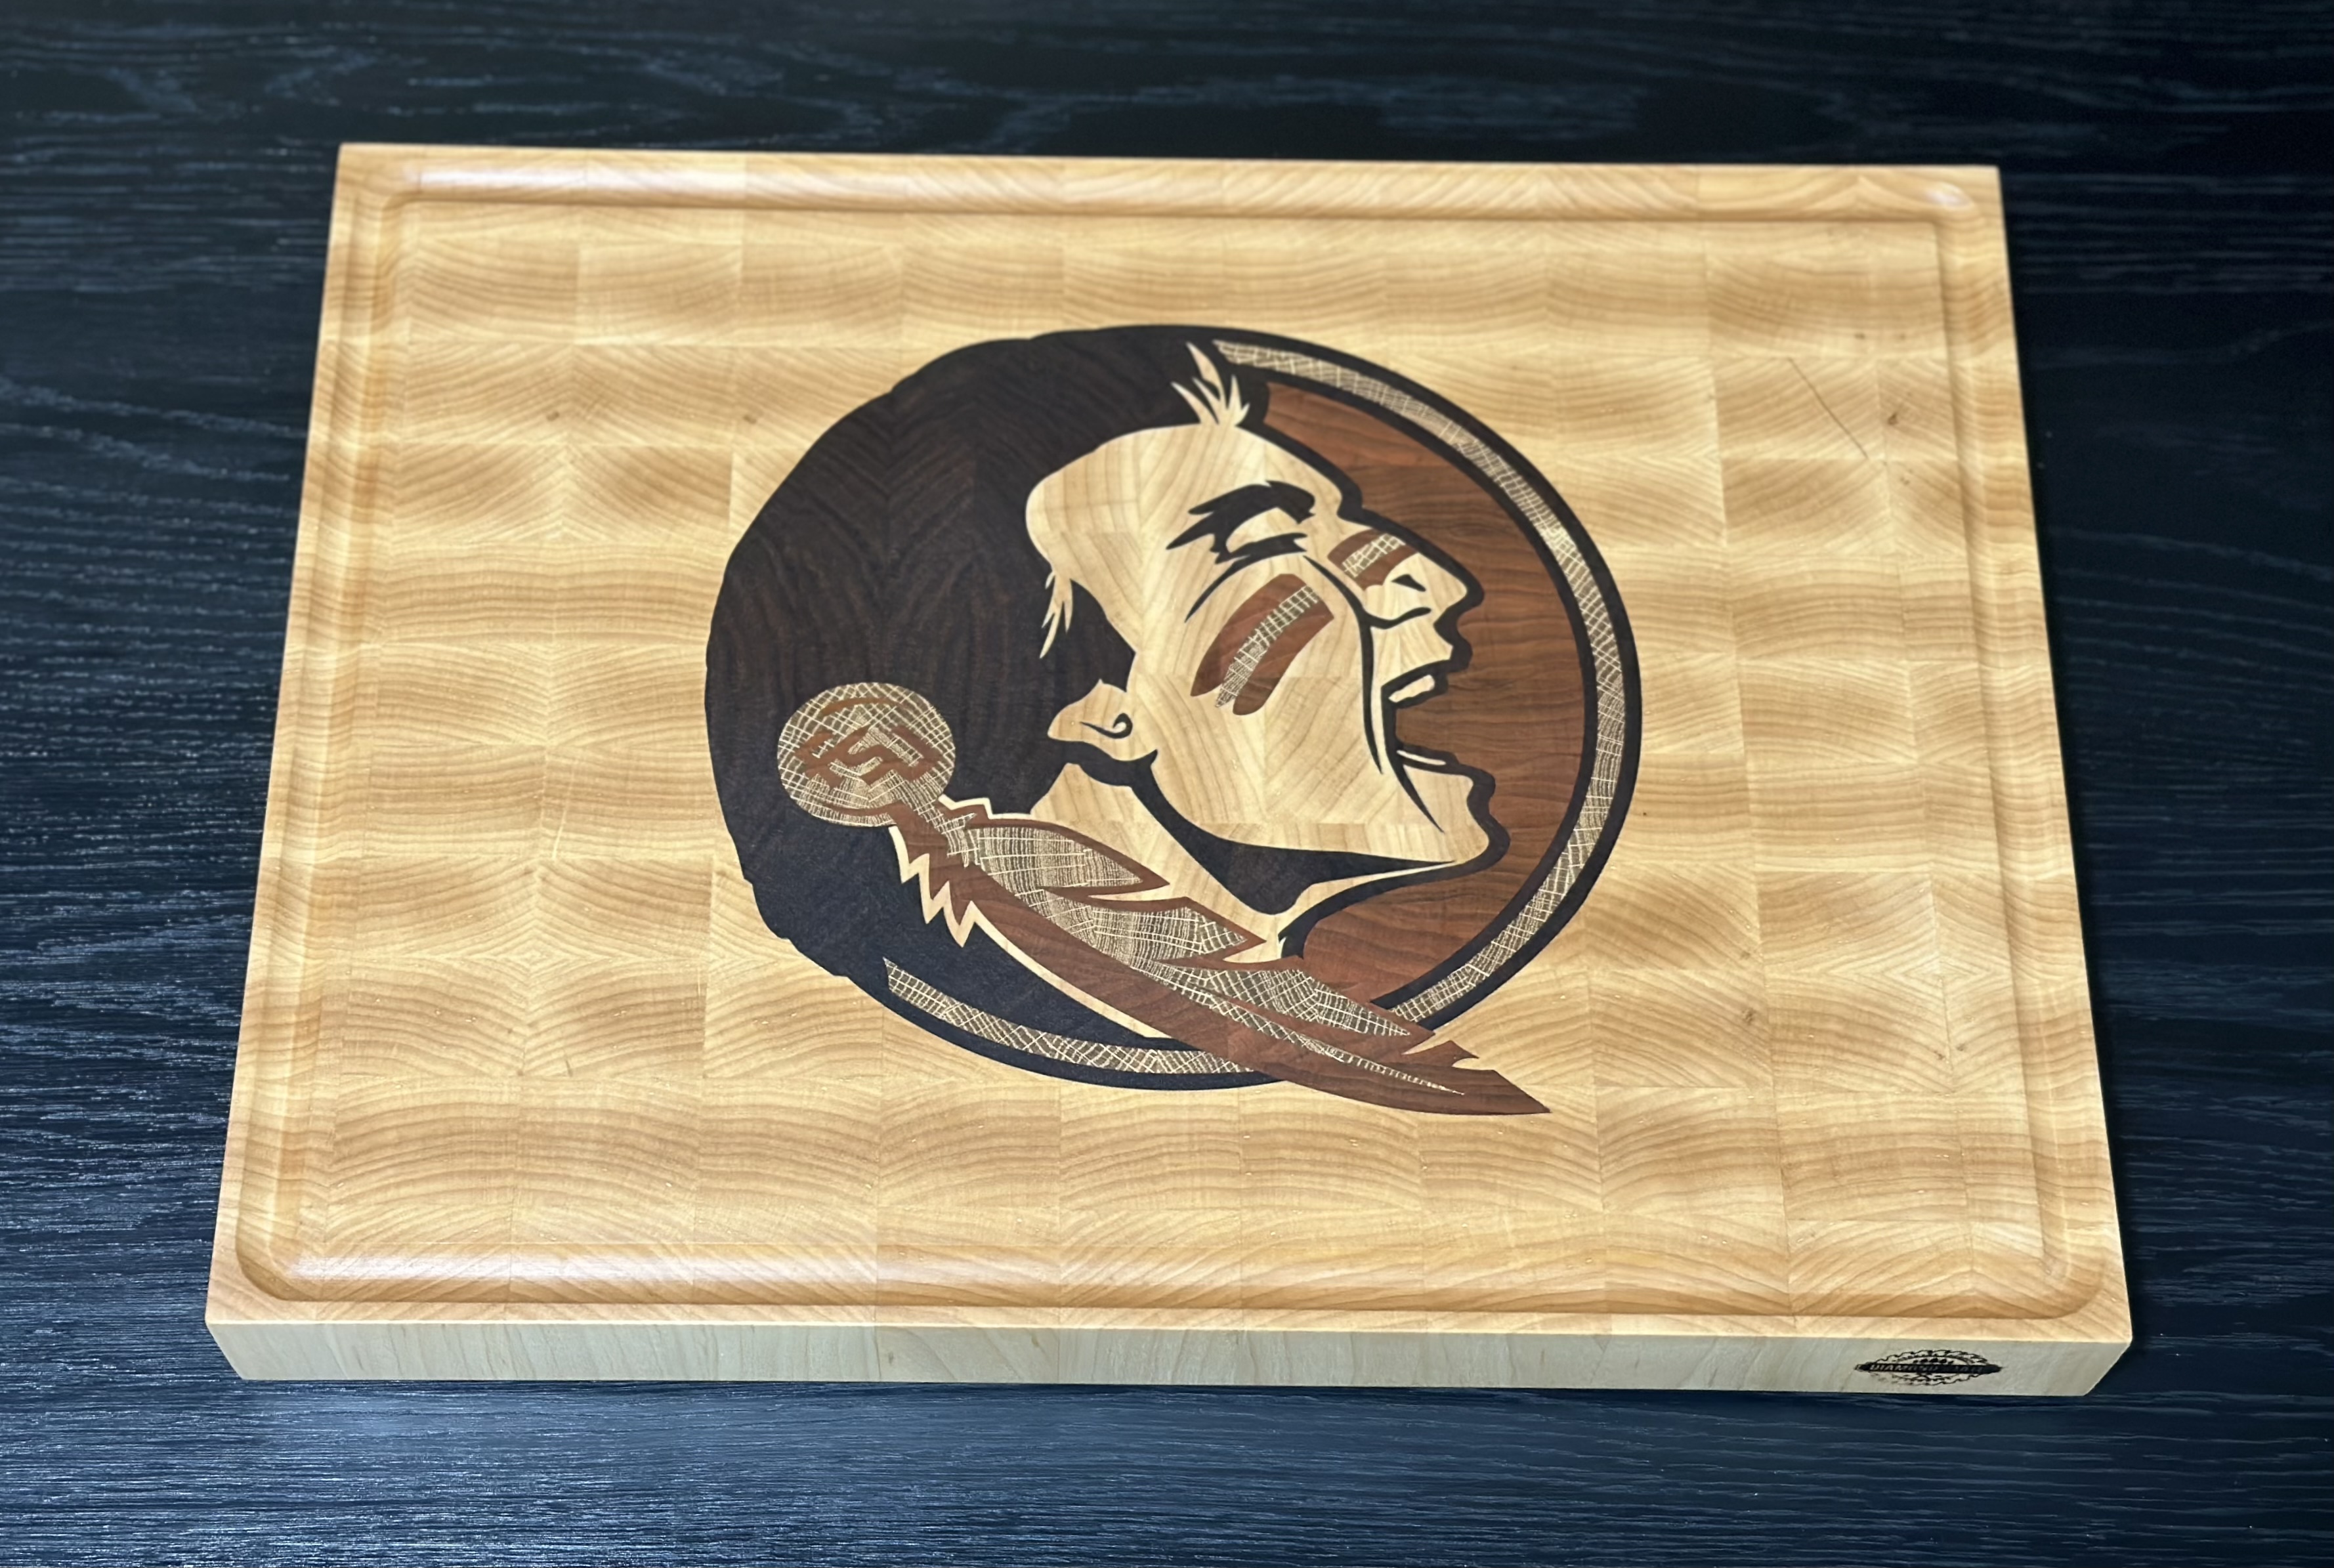
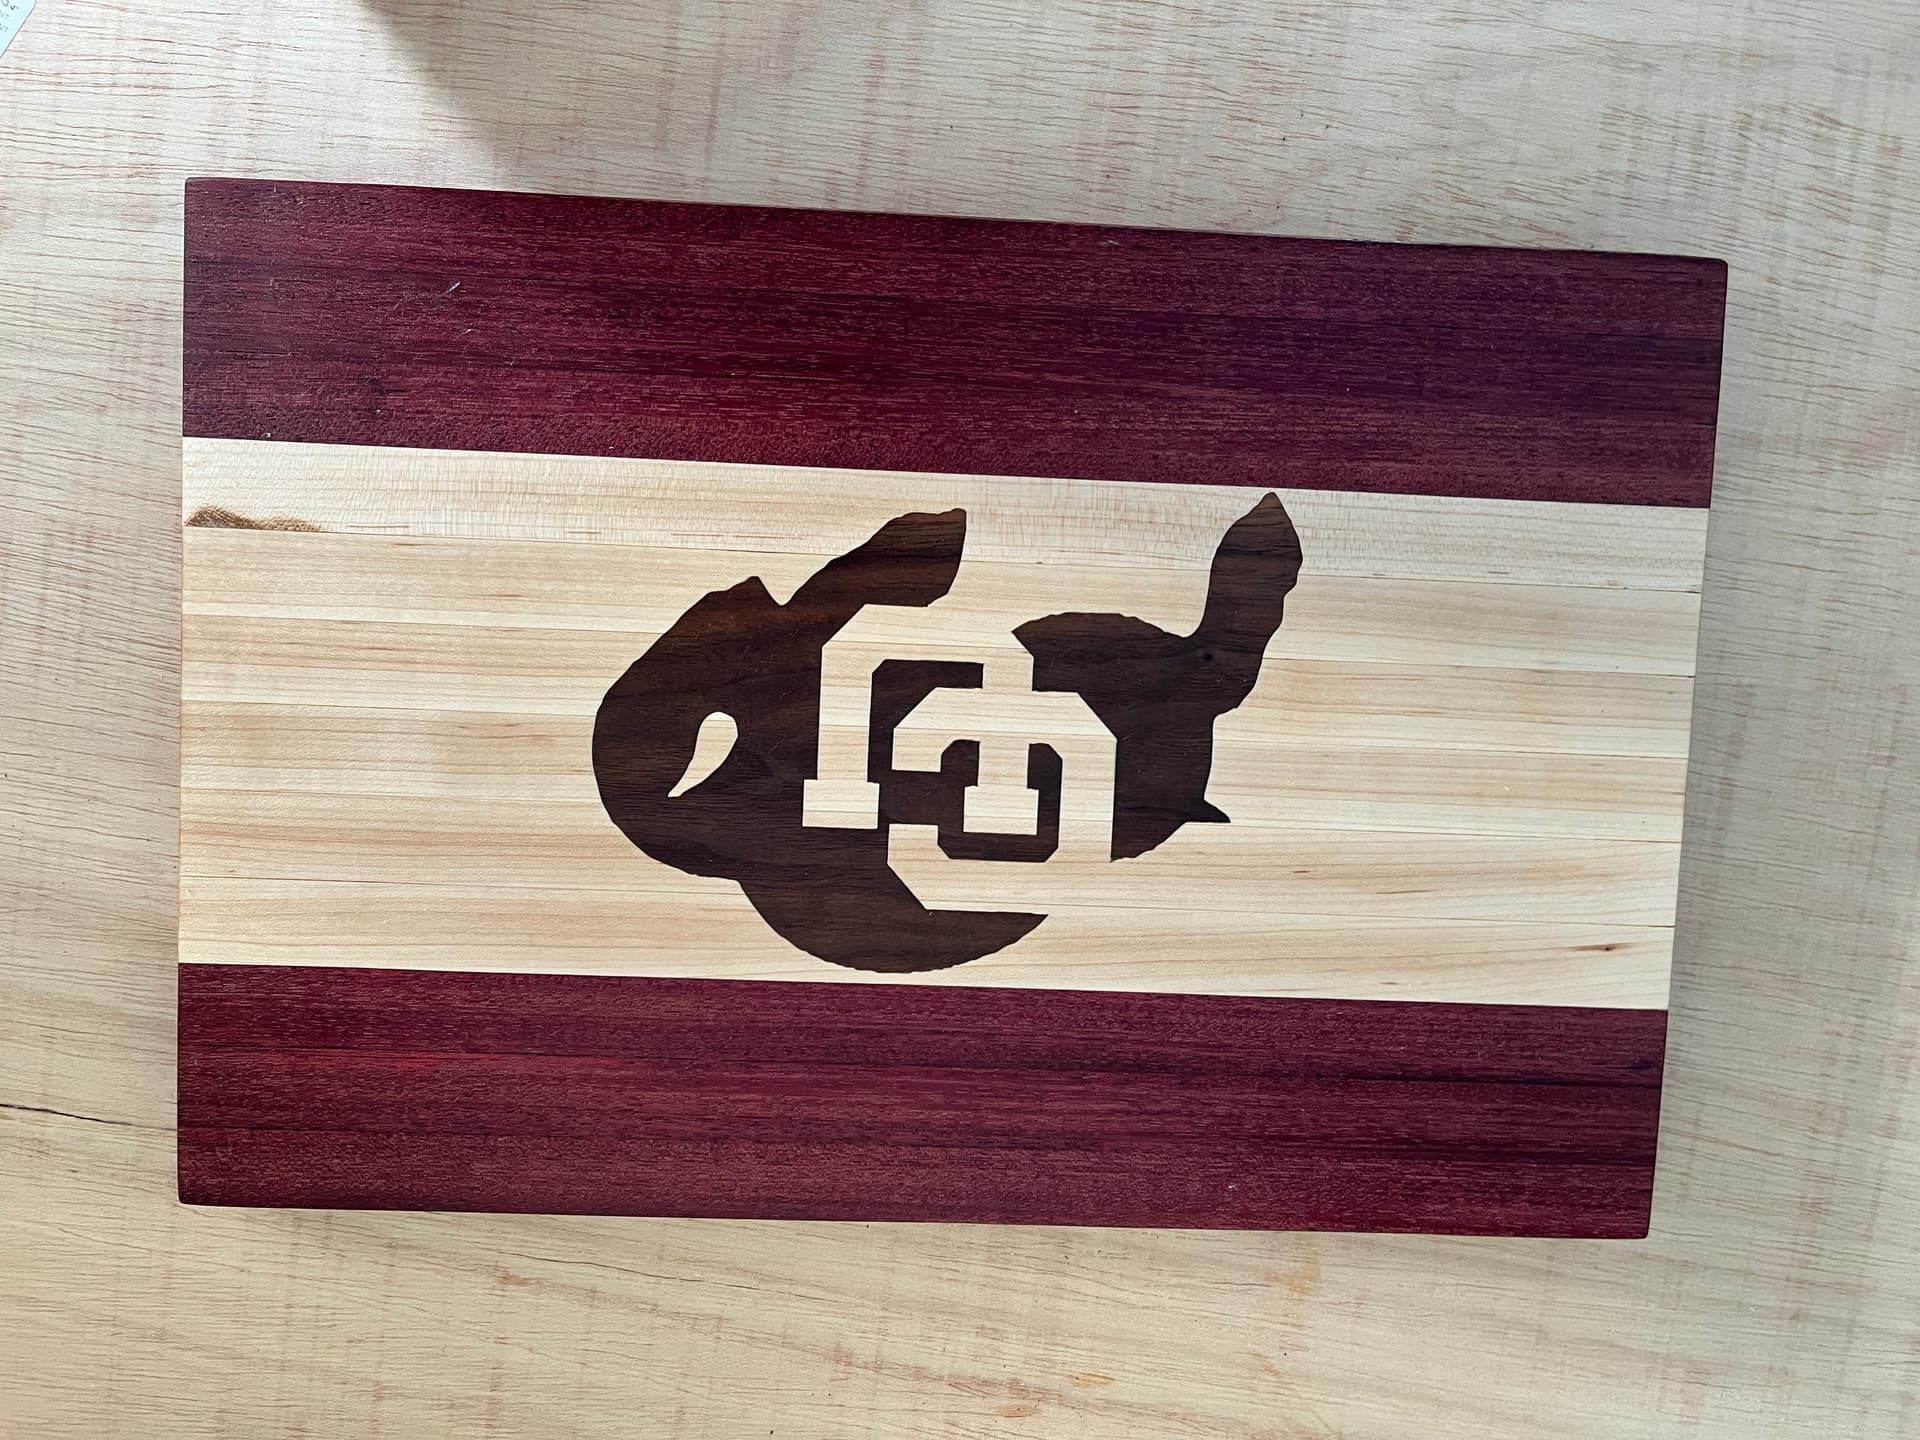
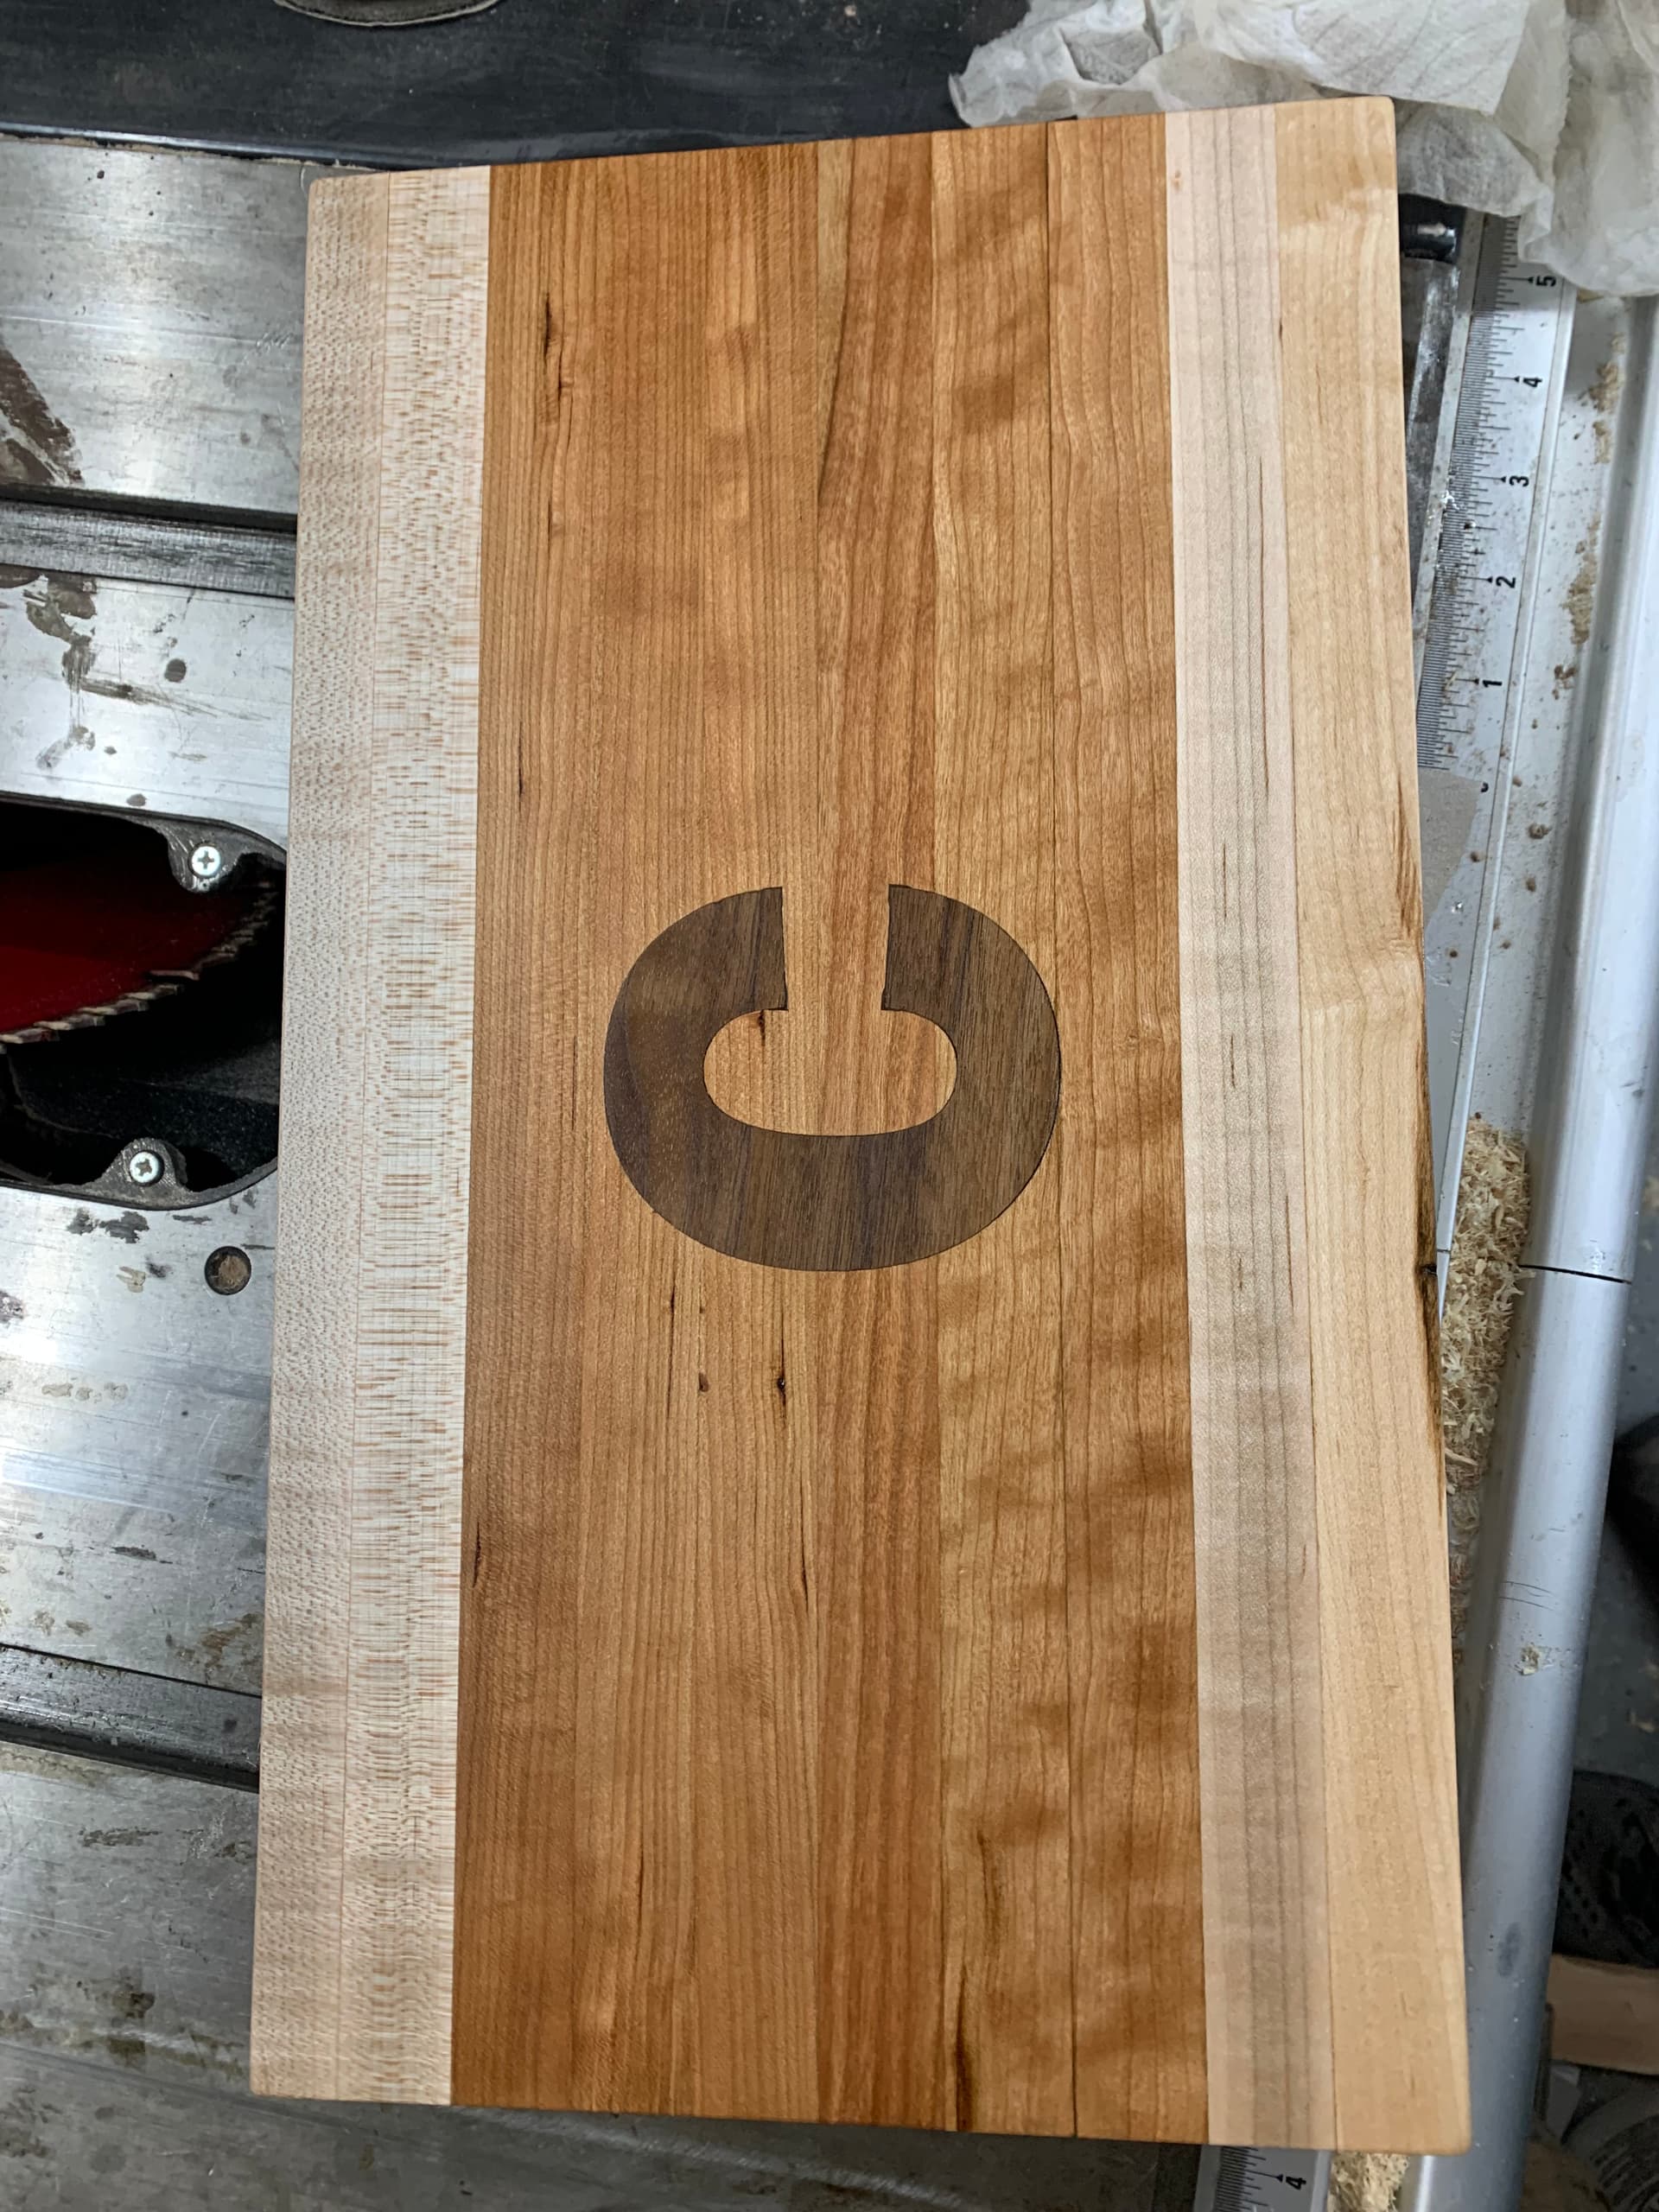
I have done several inlay projects for charcuterie boards. The old way was to pocket the female end and then do an offset for the male (plug) part. This had to be done in 3 or so layers and was kinda a pain. As soon as I saw this update I was like, yes please, and immediately downloaded the beta. Now I just gotta get some time to go use it.
As for clamping, I did both deep inlays and thin inlays and both clamped the same way, either with heavy stuff stacked on it or some clamps (the middle of a cutting board is difficult to clamp) and all came out with equal quality and no gaps. If your pieces fit properly, excessive clamping pressure will just squeeze out glue and cause a bad joint. No different than any other glue joint.
Yes just tried the pro version tonight with the vcarve inlay. .2 max depth, and bottom gap od .03. Came out with zero top gap. We need top gap…Clamped and drying now. Yesterday’s trial was horrible. Worst inlay i ever did. Today trying to split it up into 5 inlays on the redo. My s3xxL just may not be accurate/consistant enough for inlays.
Tried playing today with the new feature… I used a 30 degree V bit, I cut the pocket to .20 and the inlay to .20 also . I made the glue gap .020 and the inlay is loose in the pocket … I glued it to see how off it is . Any tips on why it would have fit loose with those settings ?