If starting at 0 results in 4 passes, then that makes perfect sense (6 * 4 = 24). The new option allows you to use the Depth of Cut from the tool, rather than cutting full depth in one pass.
Posted in slack, but I’ll post here as well.
I think my plug shifted when I glued it up, so I’m going to have to redo the section with the words.
As Jorge said, I ducked up

I did carve the body for the maple inlay. Need to cut the maple inlay tonight
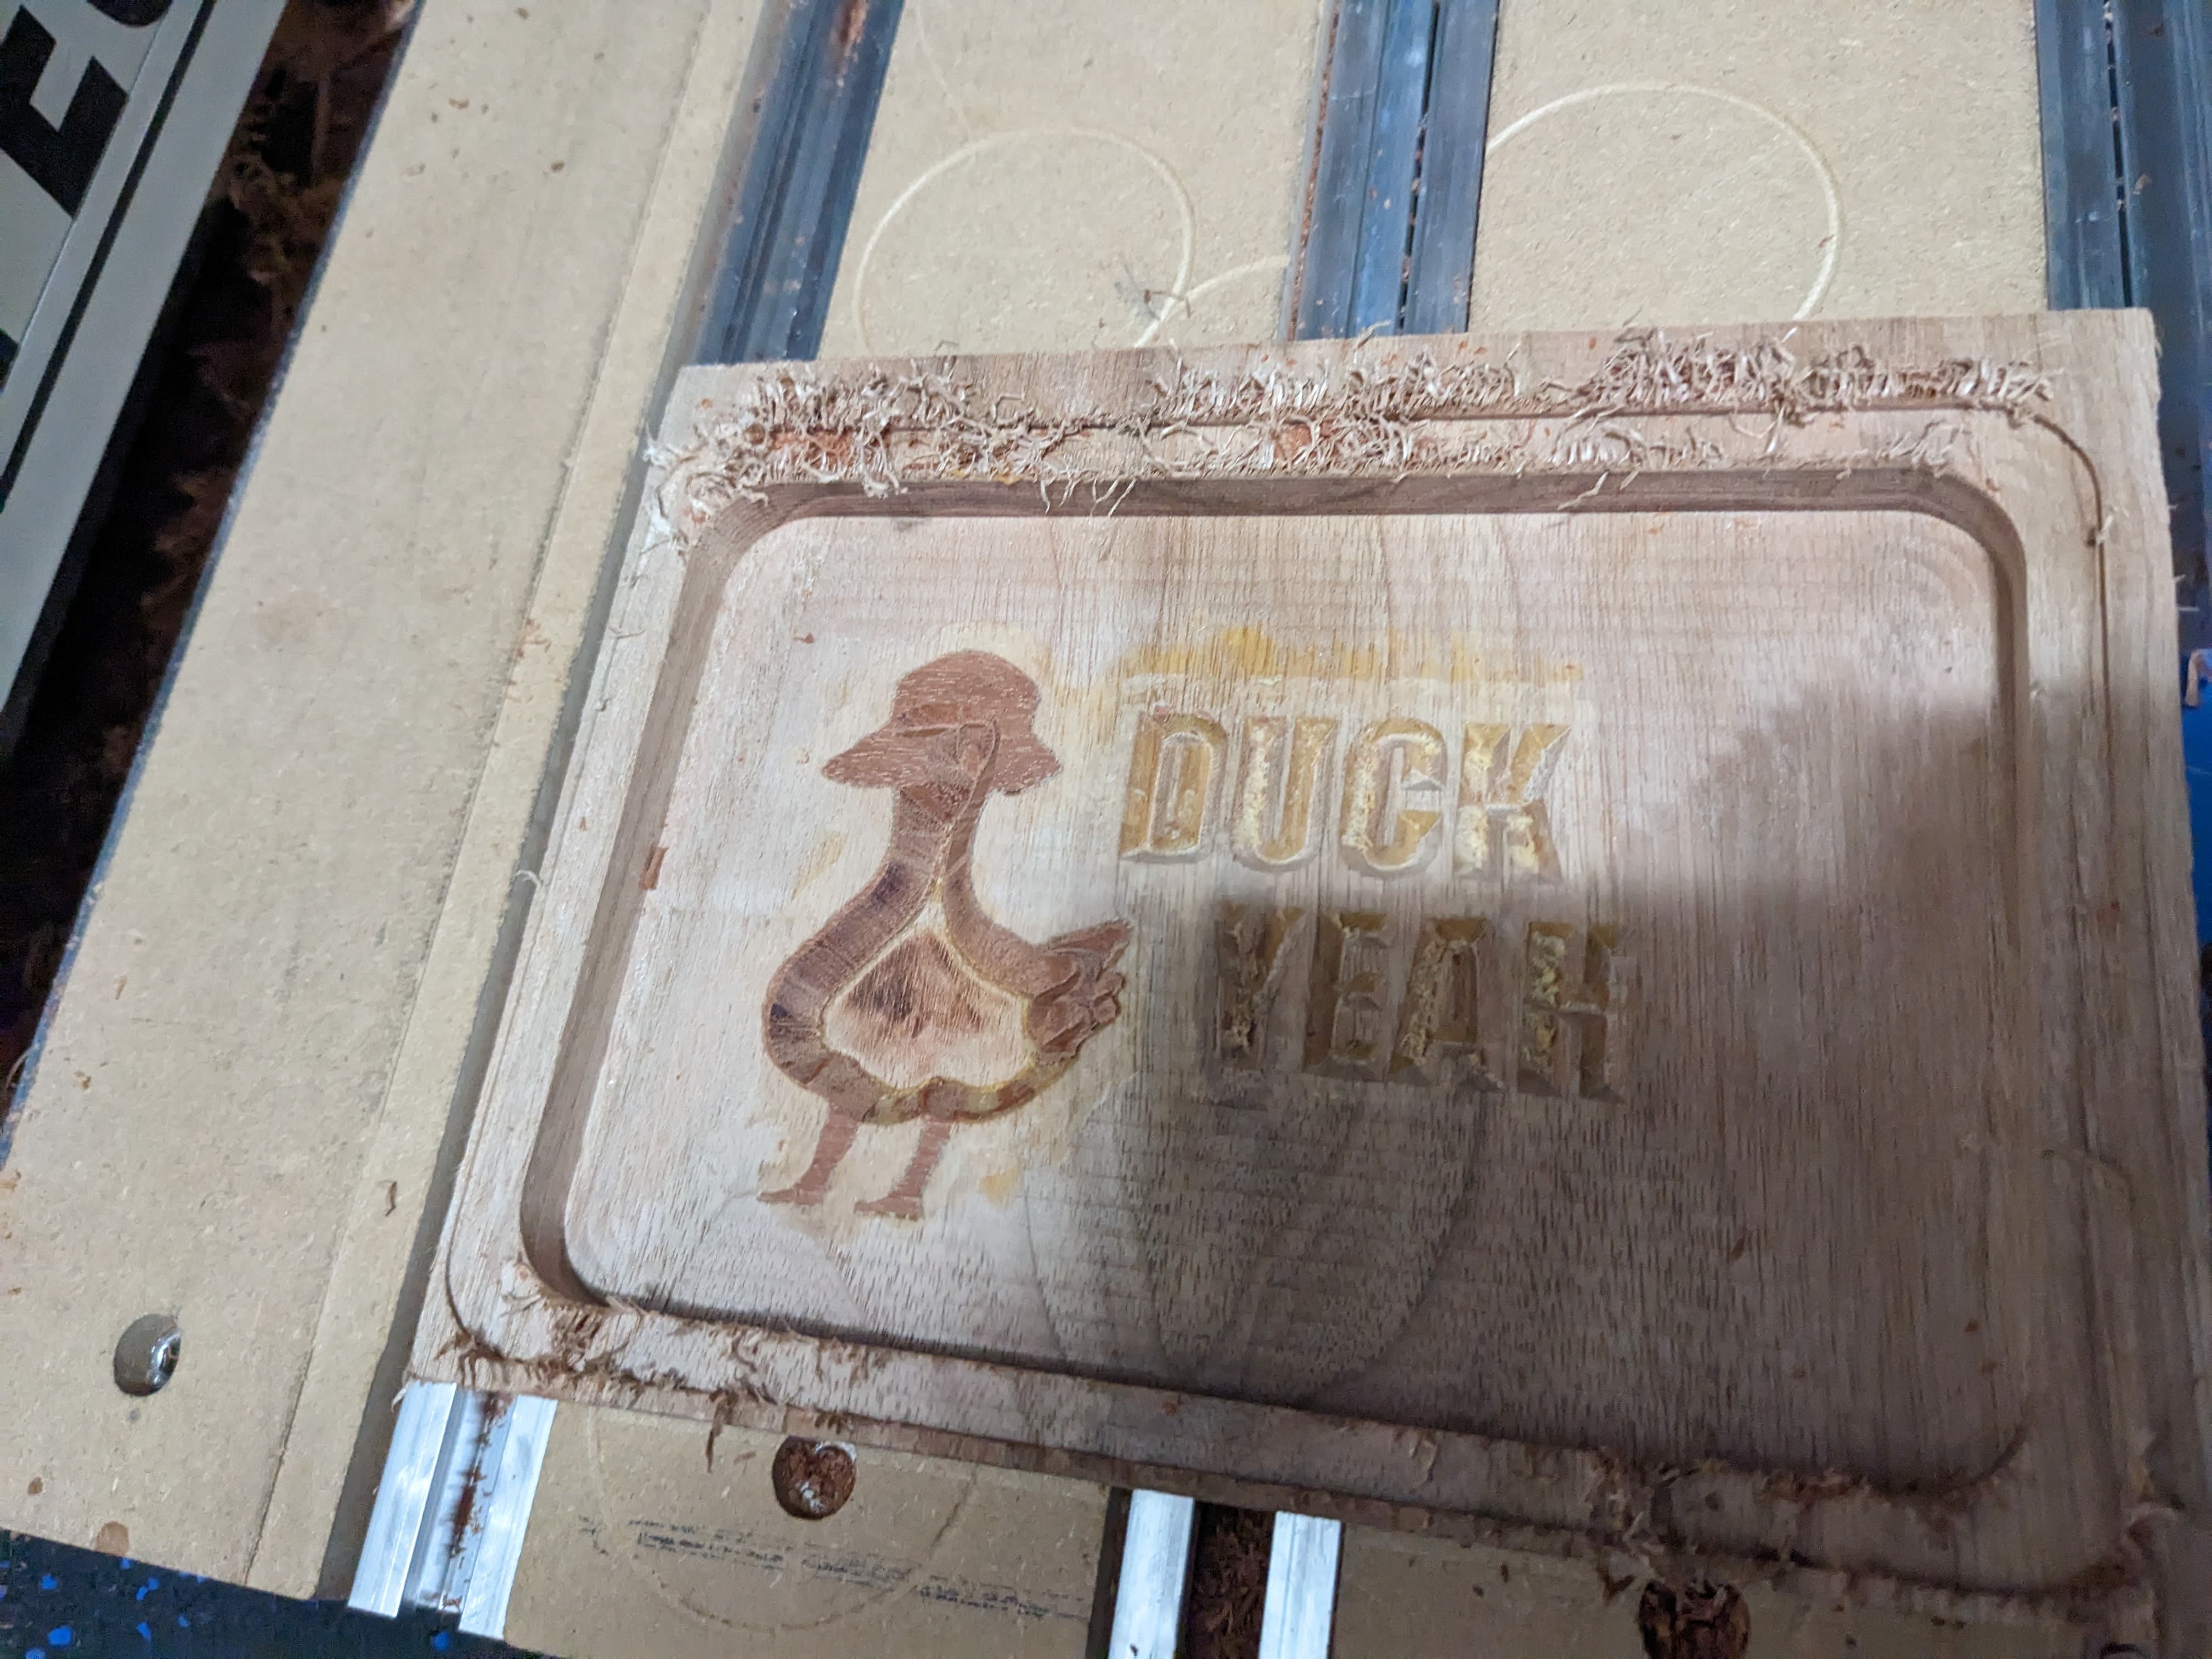
Edit: I think overall I should maybe have considered having a larger border for the sapele, as right now it’s pretty thin. Not sure that it would have been worth to the first inlay. I may play around with another version this weekend
6 Likes
Yup, totally agree.
You can either go with the new “Bottom Gap” feature, or risk being “too aggressive” with the manual approach by using this formula:
Start by understanding that both the Male and Female Max Depths must be exactly the same (I typically use .125") and that the exact same v-bit must be used for both the pocket and the inlay components.
Male Inlay Formula:
The Inlay’s Max Depth “minus” (-) the Inlay’s Desired Glue Gap “equals” (=) the Male Inlay’s Start Depth
ex: 0.125" - 0.020" = 0.105"
Thus the male inlay’s Start Depth = 0.105" and its Max Depth = 0.125"
Naturally, picking which inlay method to use requires understanding several “risk” factors such as; the inlay’s complexity, the inlay’s thickness, the hardness of the wood, and which clearing/pocketing tools are needed to make a vey crisp inlay (ex: 1/4" EM, or 1/8" EM, or 1/16" EM…etc.).
IMO, the new “Bottom Gap” feature would definitely help prevent breaking bits. ie: pushing a 1/16" EM too hard may not end well…and please don’t ask me how I know that. ![]()
You should not try to create a gap by changing the depths manually. Using the “Bottom Gap” entry for Inlay Mode will create that gap by modifying the geometry to create that space for glue while leaving a tight fit around the perimeter.
I say this mainly for the lurkers who might believe that the two approaches are equivalent, and then end up emailing support (possibly angrily. Don’t ask how I know this)
8 Likes
Yeah, I agree, now that the inlay feature is available, the manual approach I cited is not only obsolete, it should be avoided.
The cheering you hear in the background is from my 1/16” EMs celebrating.
2 Likes
Its nice to see more work on the Advanced Vcarve because I use it more than anything else. My wish is that Advanced Vcarve could use two sizes of end mills to clear out both the big and tiny areas more efficiently and cleanly, like a 1/4 and a 1/16 in succession: a version of rest machining.
10 Likes
Damn, that’s a brilliant suggestion!
I use the REST function quite frequently and would agree, adding it, or something similar to Adv VCarve would take CC to a new level.
I hope they seriously consider your suggestion.
2 Likes
I know Carbide Create Pro has rest machining in the pocket toolpath. I have not thought to see if it is also present in the Advanced VCarve functionality.
It isn’t.
It would be a nice feature, but it would complicate the U.I., and in my experience, the geometries associated w/ Advanced V carving are usually complex and hard to get REST machine toolpaths correct for — we’ll have to see what the developers think.
3 Likes
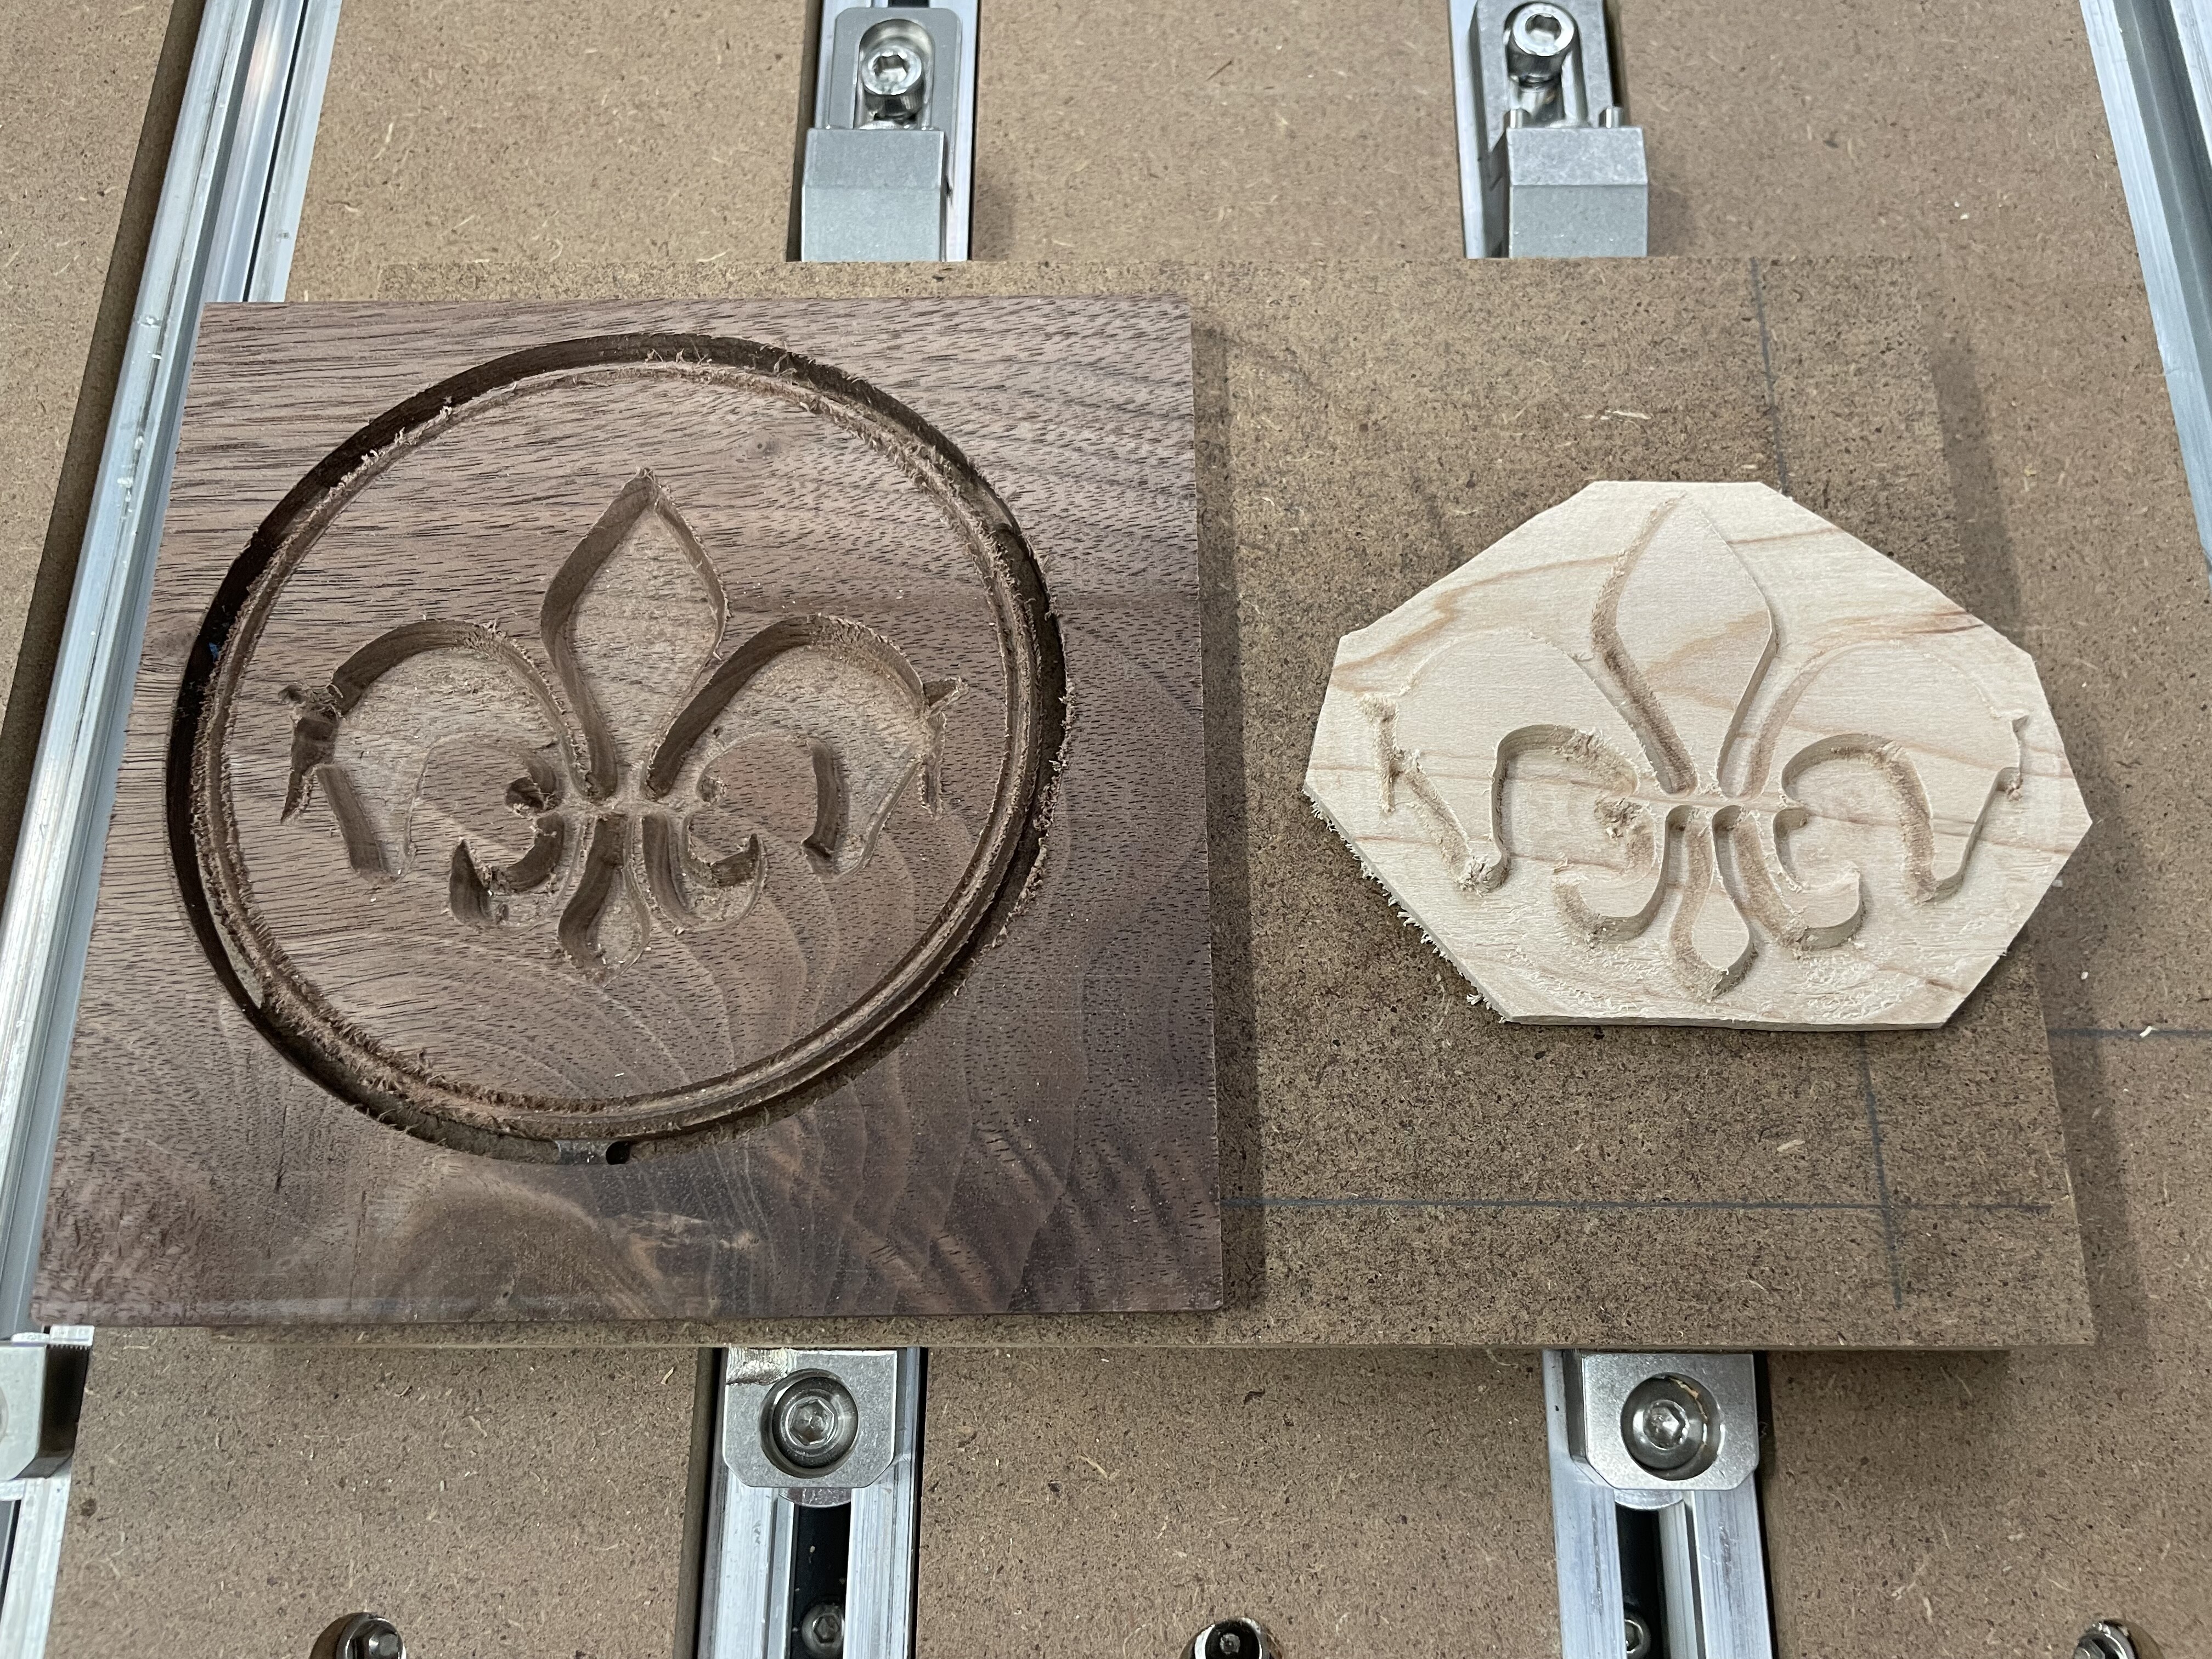
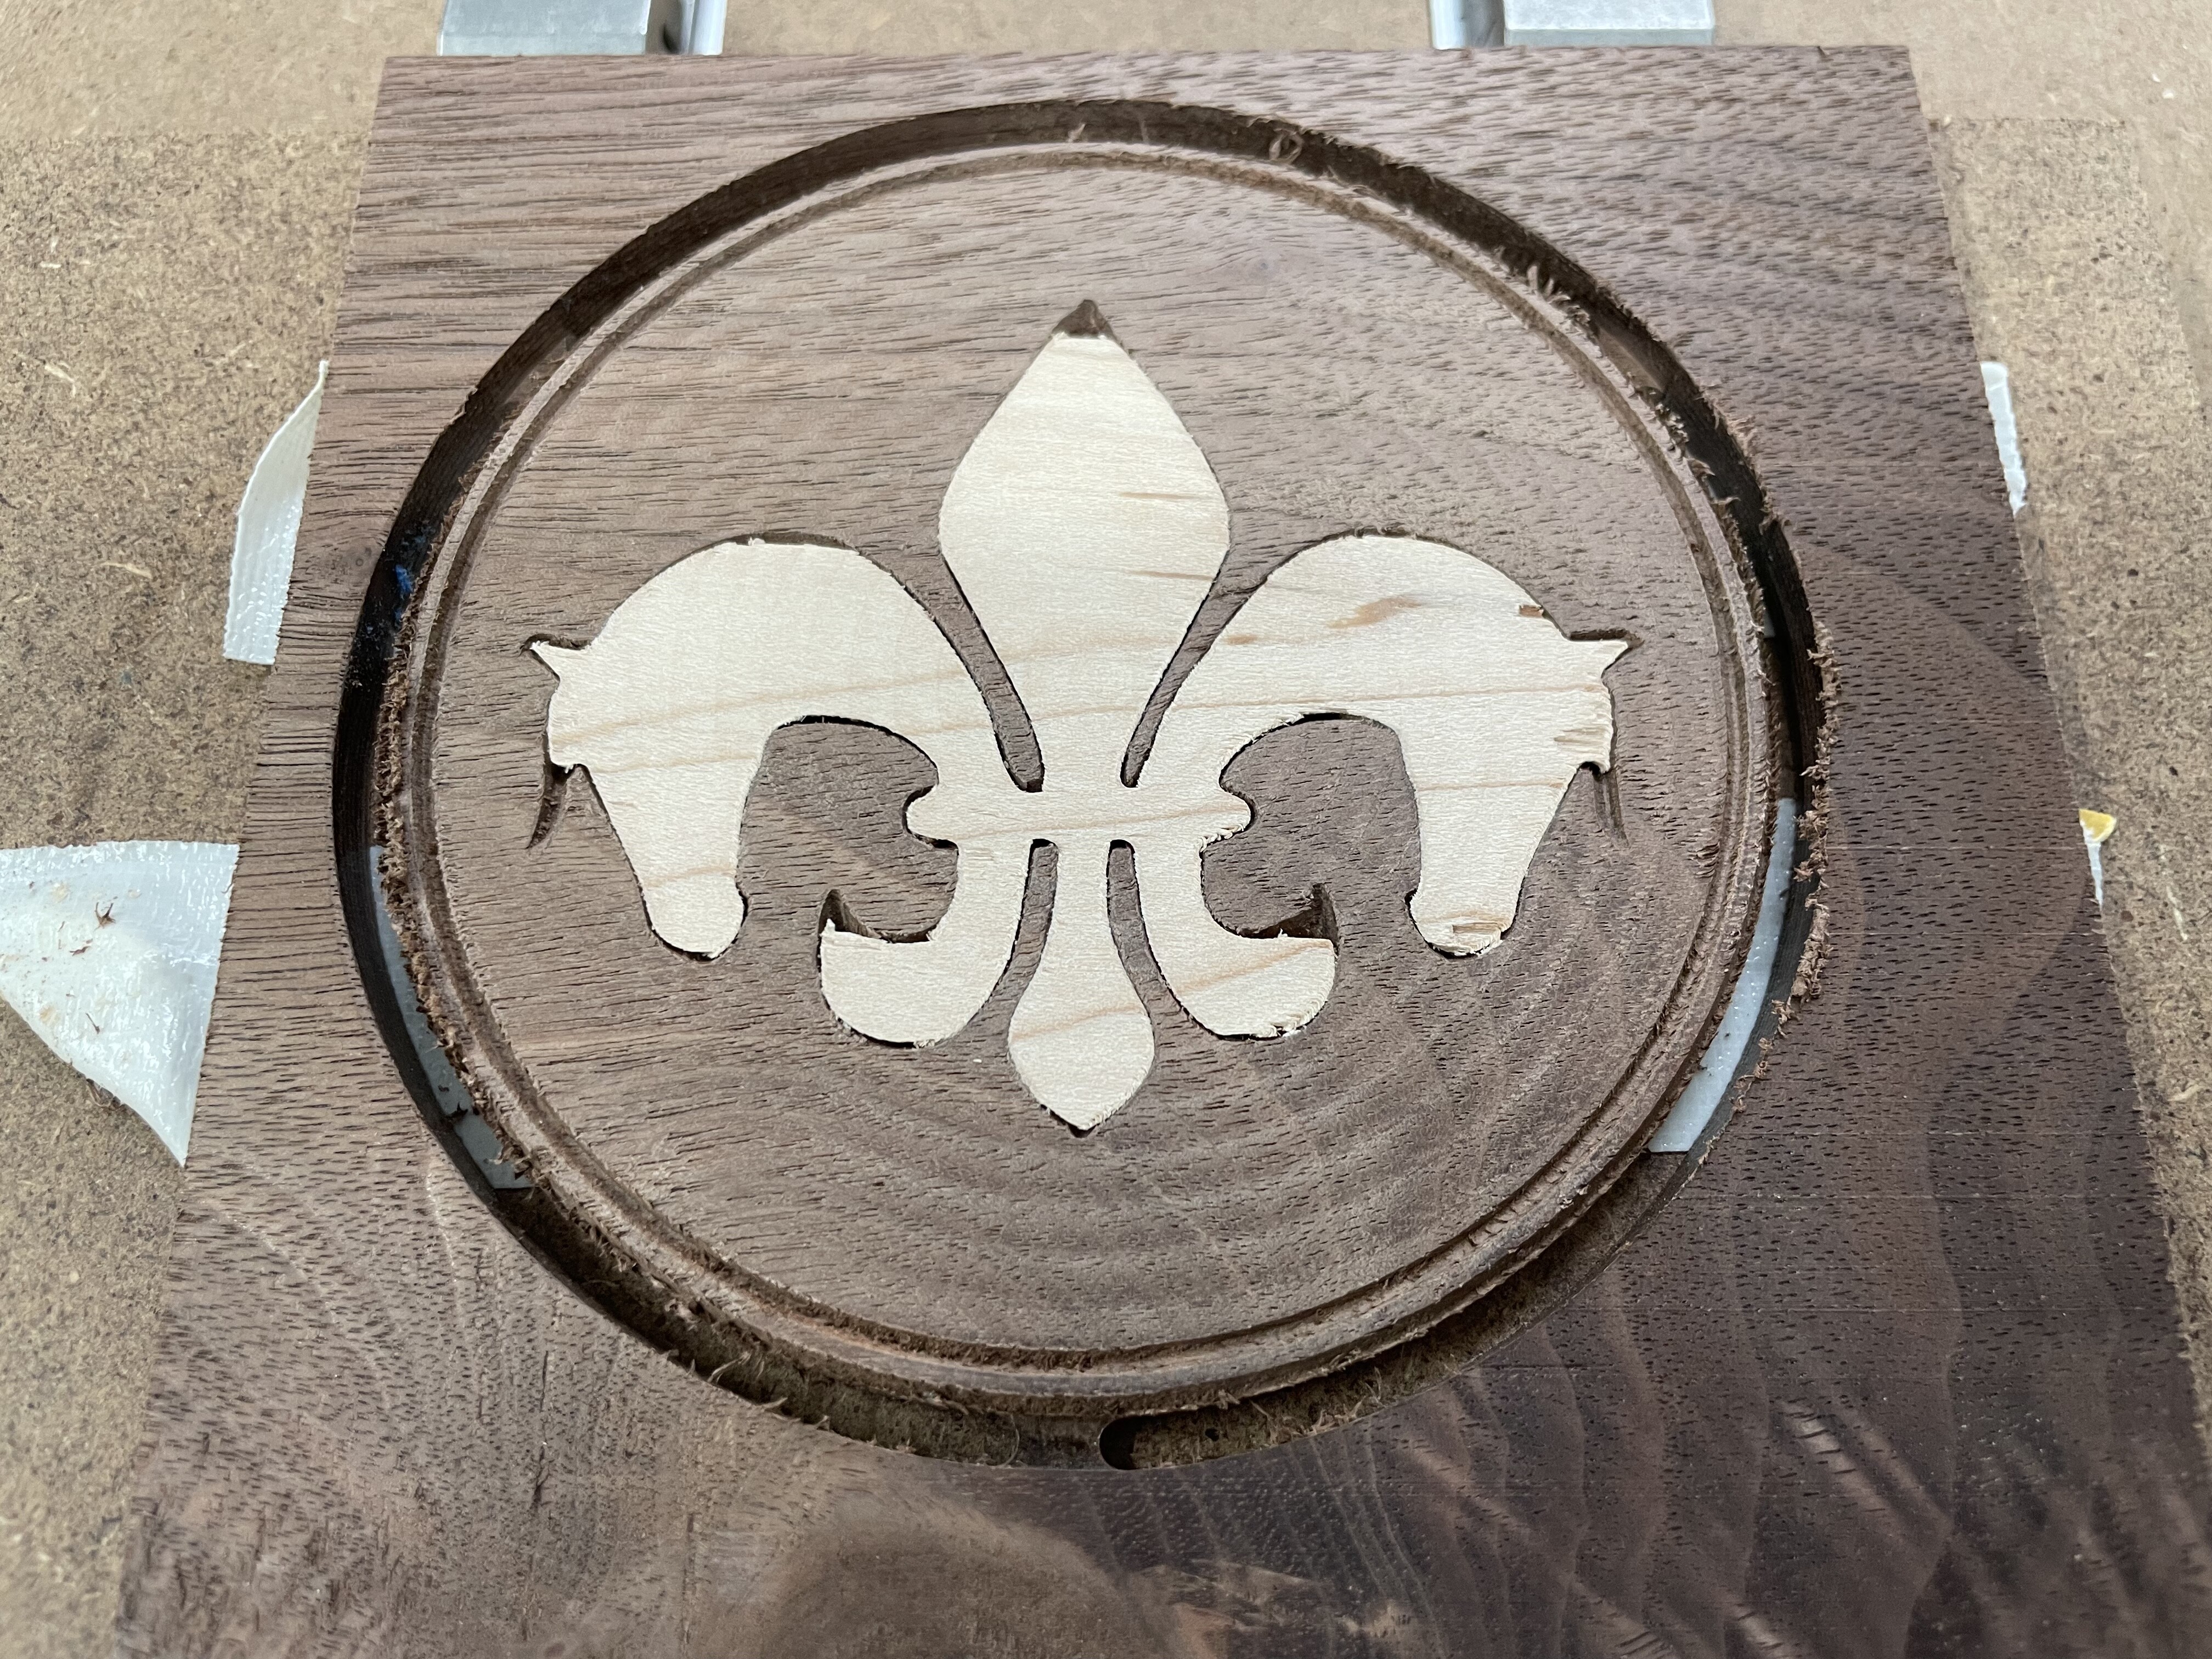
I started making a coaster a couple of week ago using the “manual” method. The insert did not fit and before I had time to recalculate you guys released this update. I cut just the insert today using the new inlay mode and it fit into the base I did before the other way. I didn’t notice that I lost a couple of the details until after gluing and flattening. Maybe I need to make the pocket and the insert a little deeper to provide more material. I think I used .15 depth.
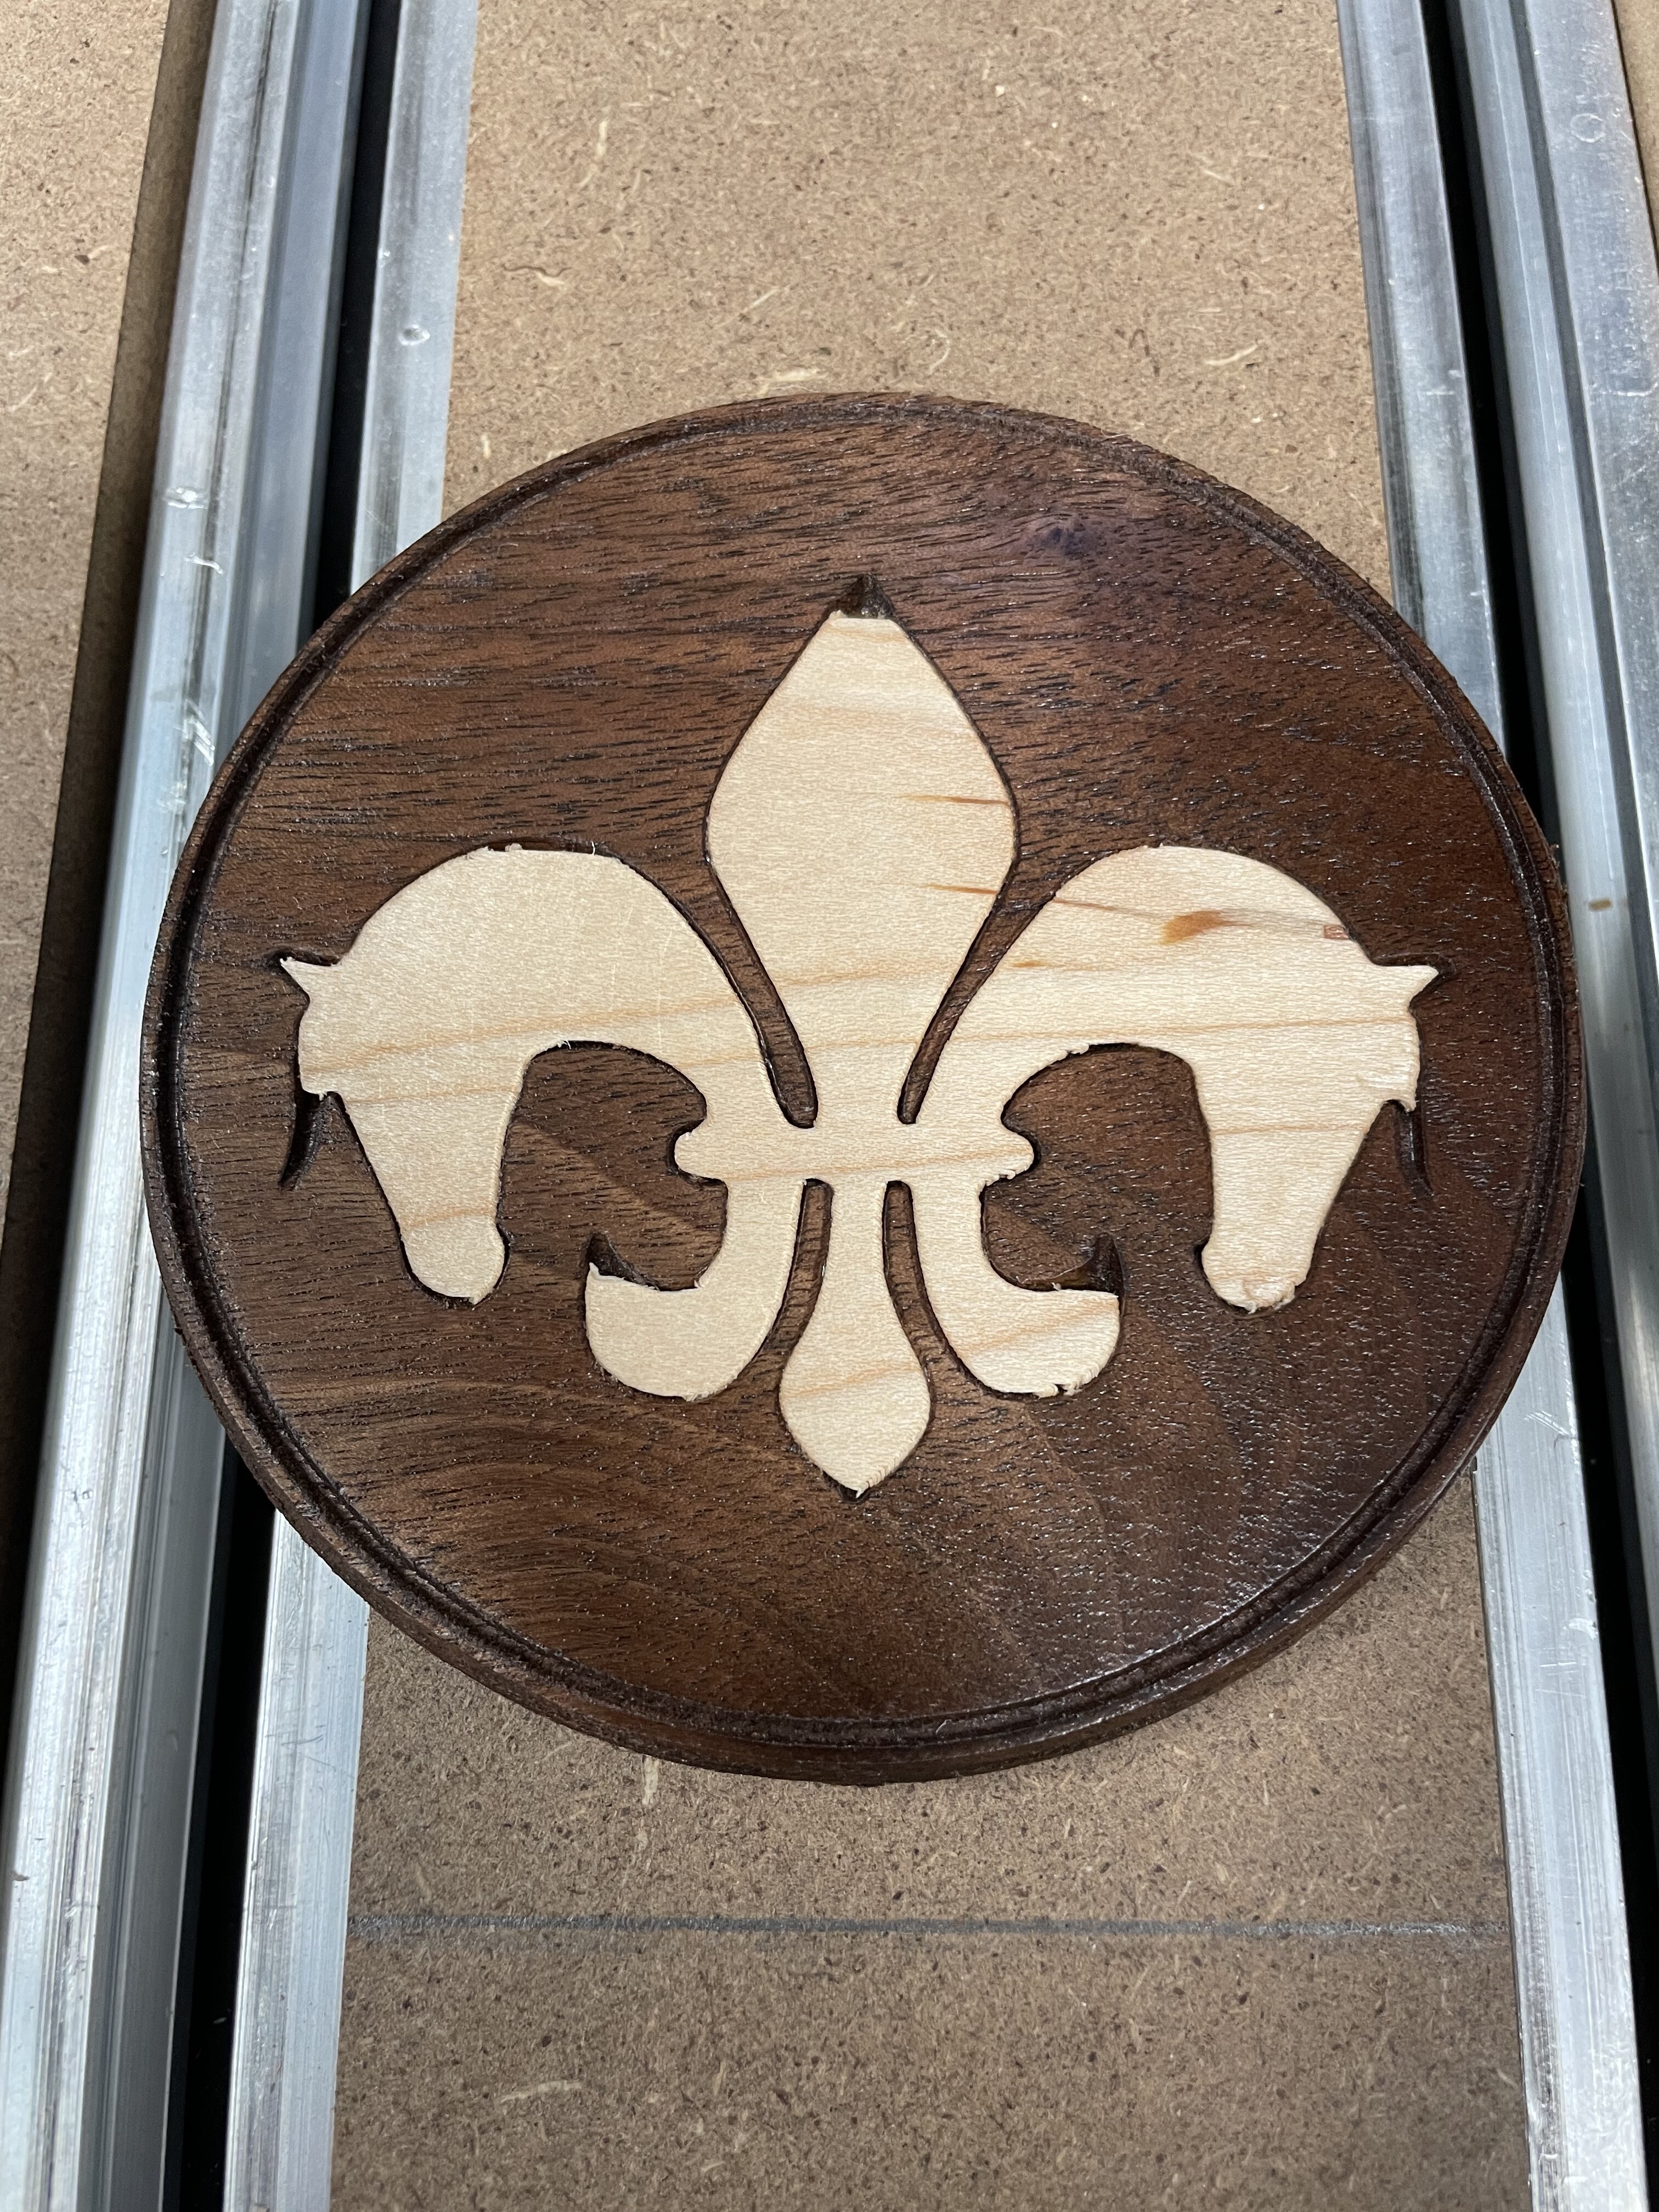
I went ahead and finished it with shellac and lacquer just to see what it would look like.
Looking forward to retrying this weekend.
2 Likes
One more test.
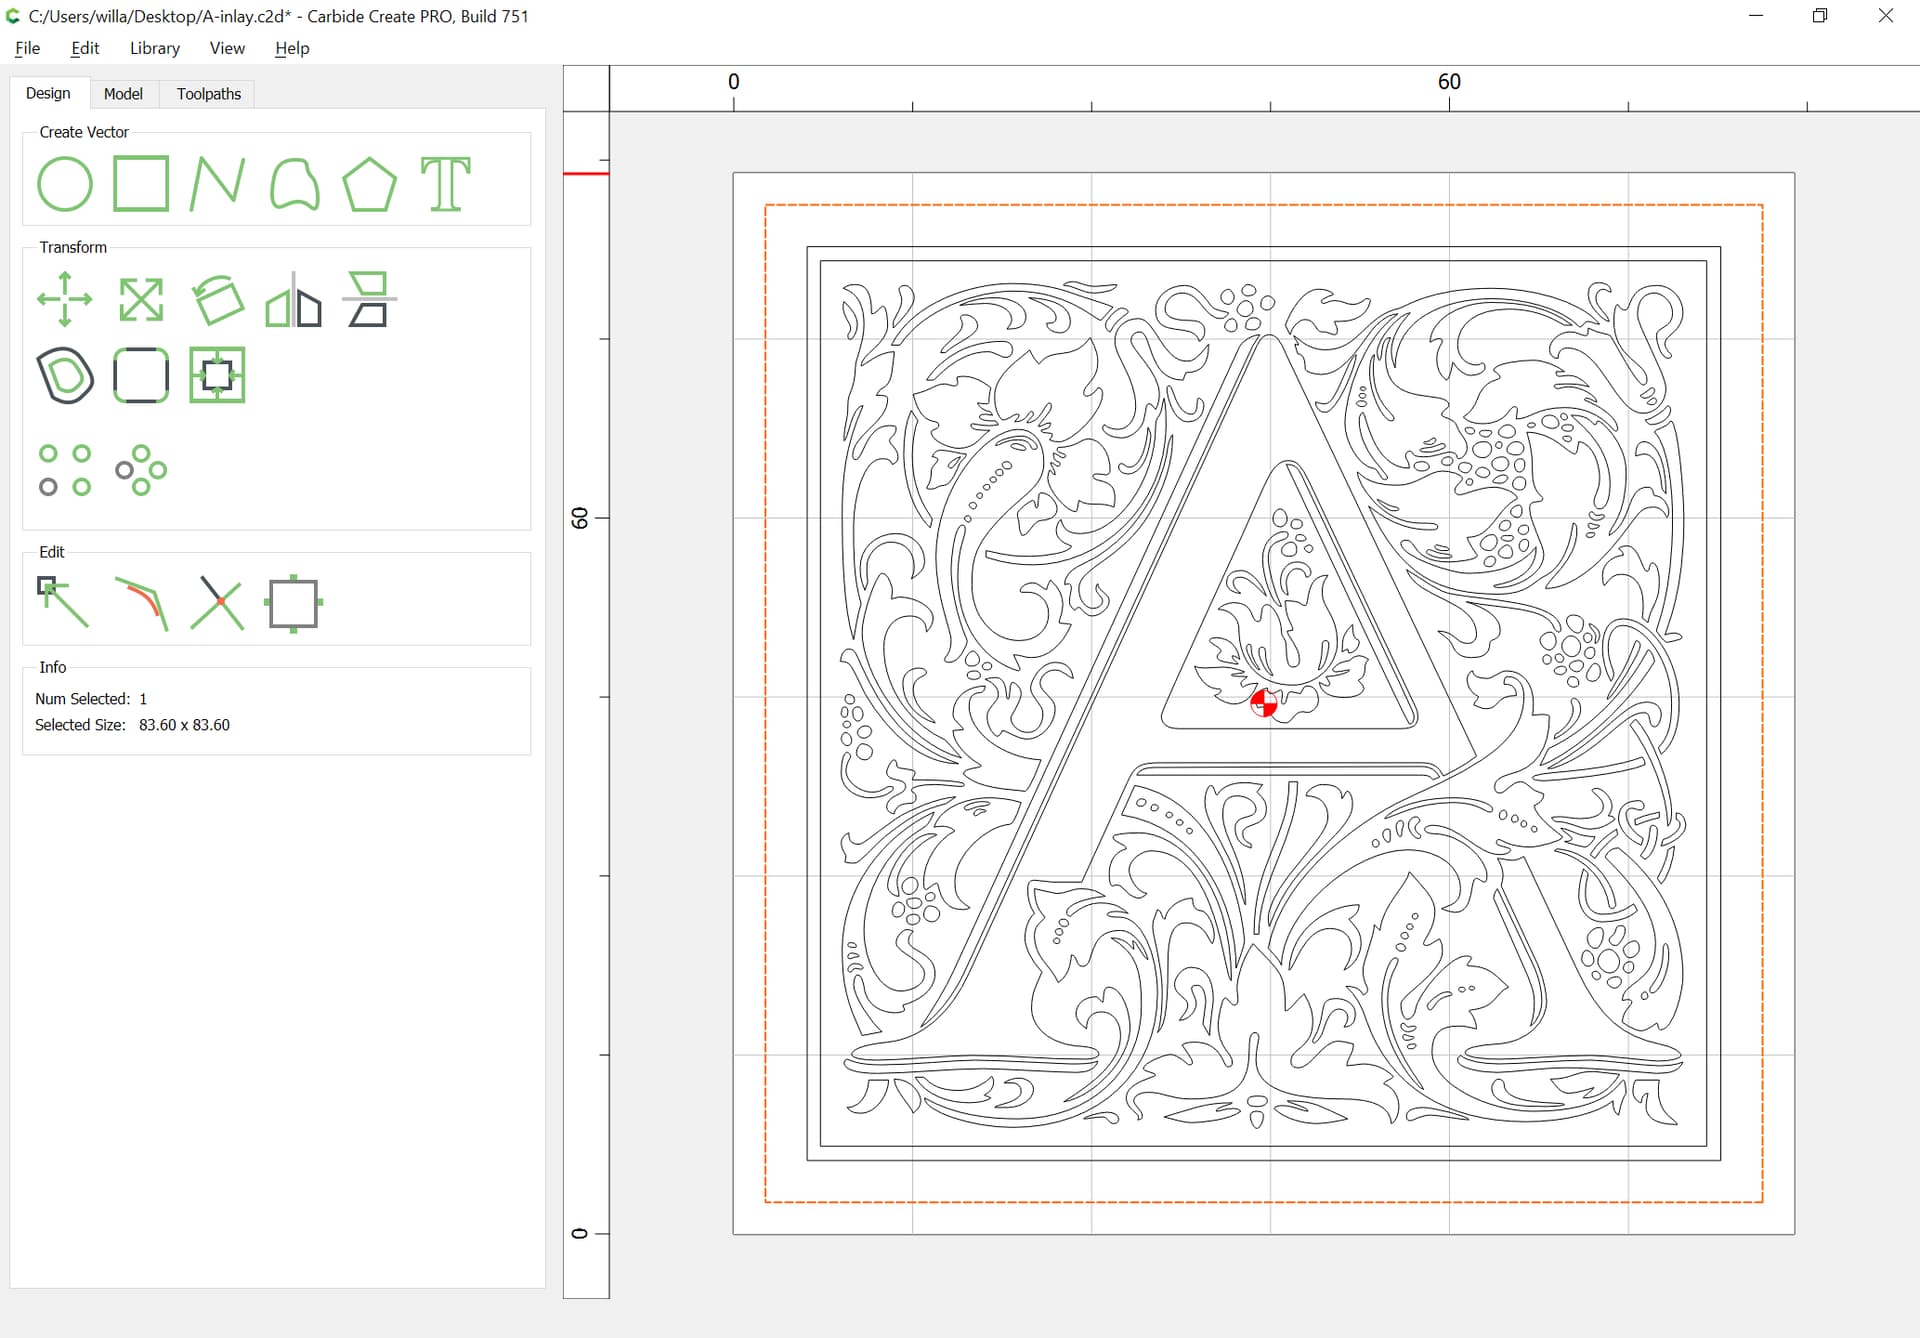
A while back, P22 updated their Goudy Initials font w/ a complete re-drawing by Miranda Roth:
it poses a good example of figure-ground reversal, so…
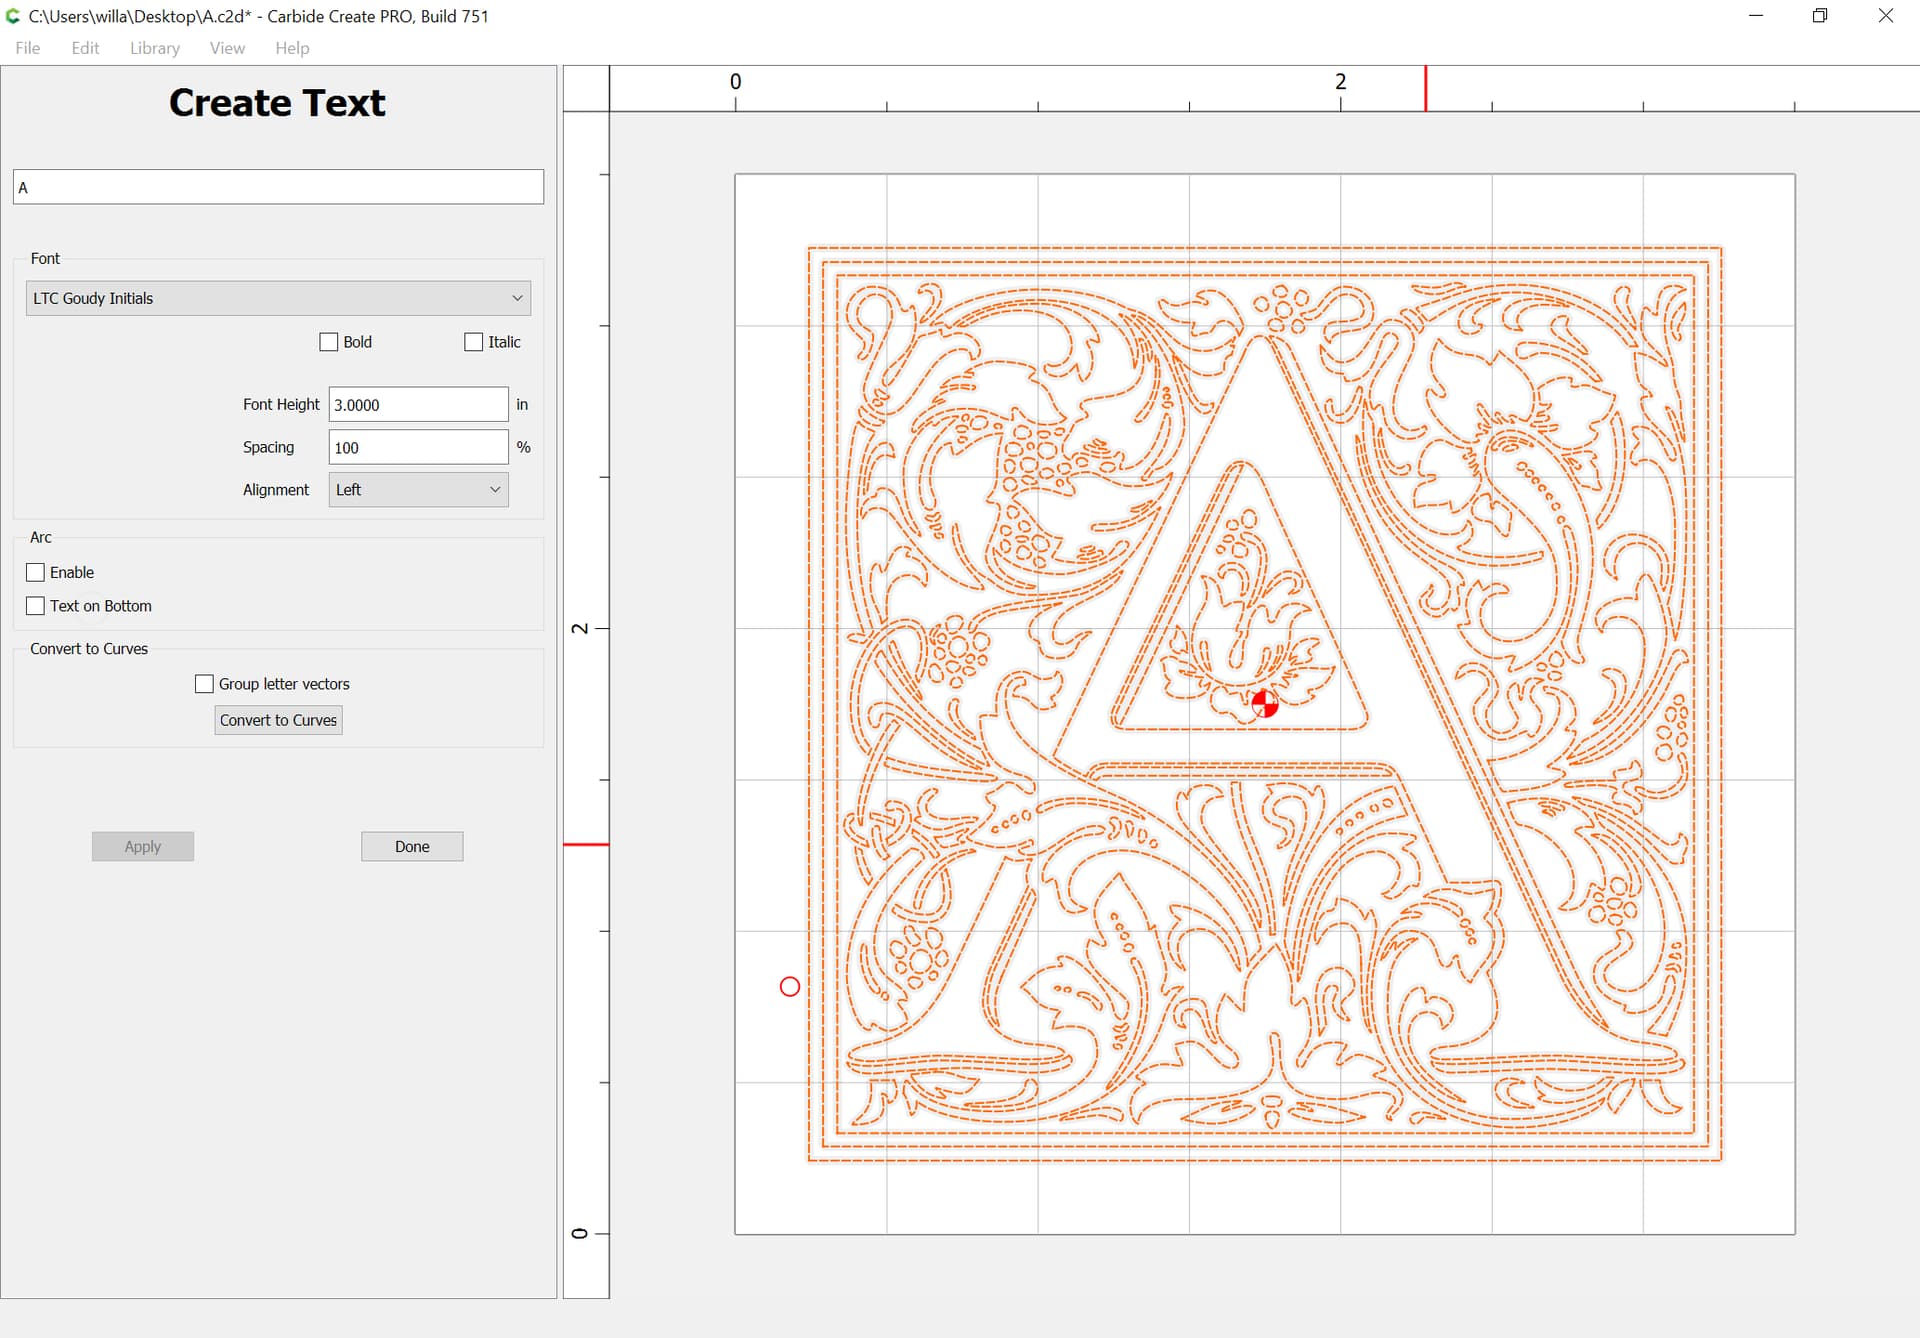
The default appearance would be:
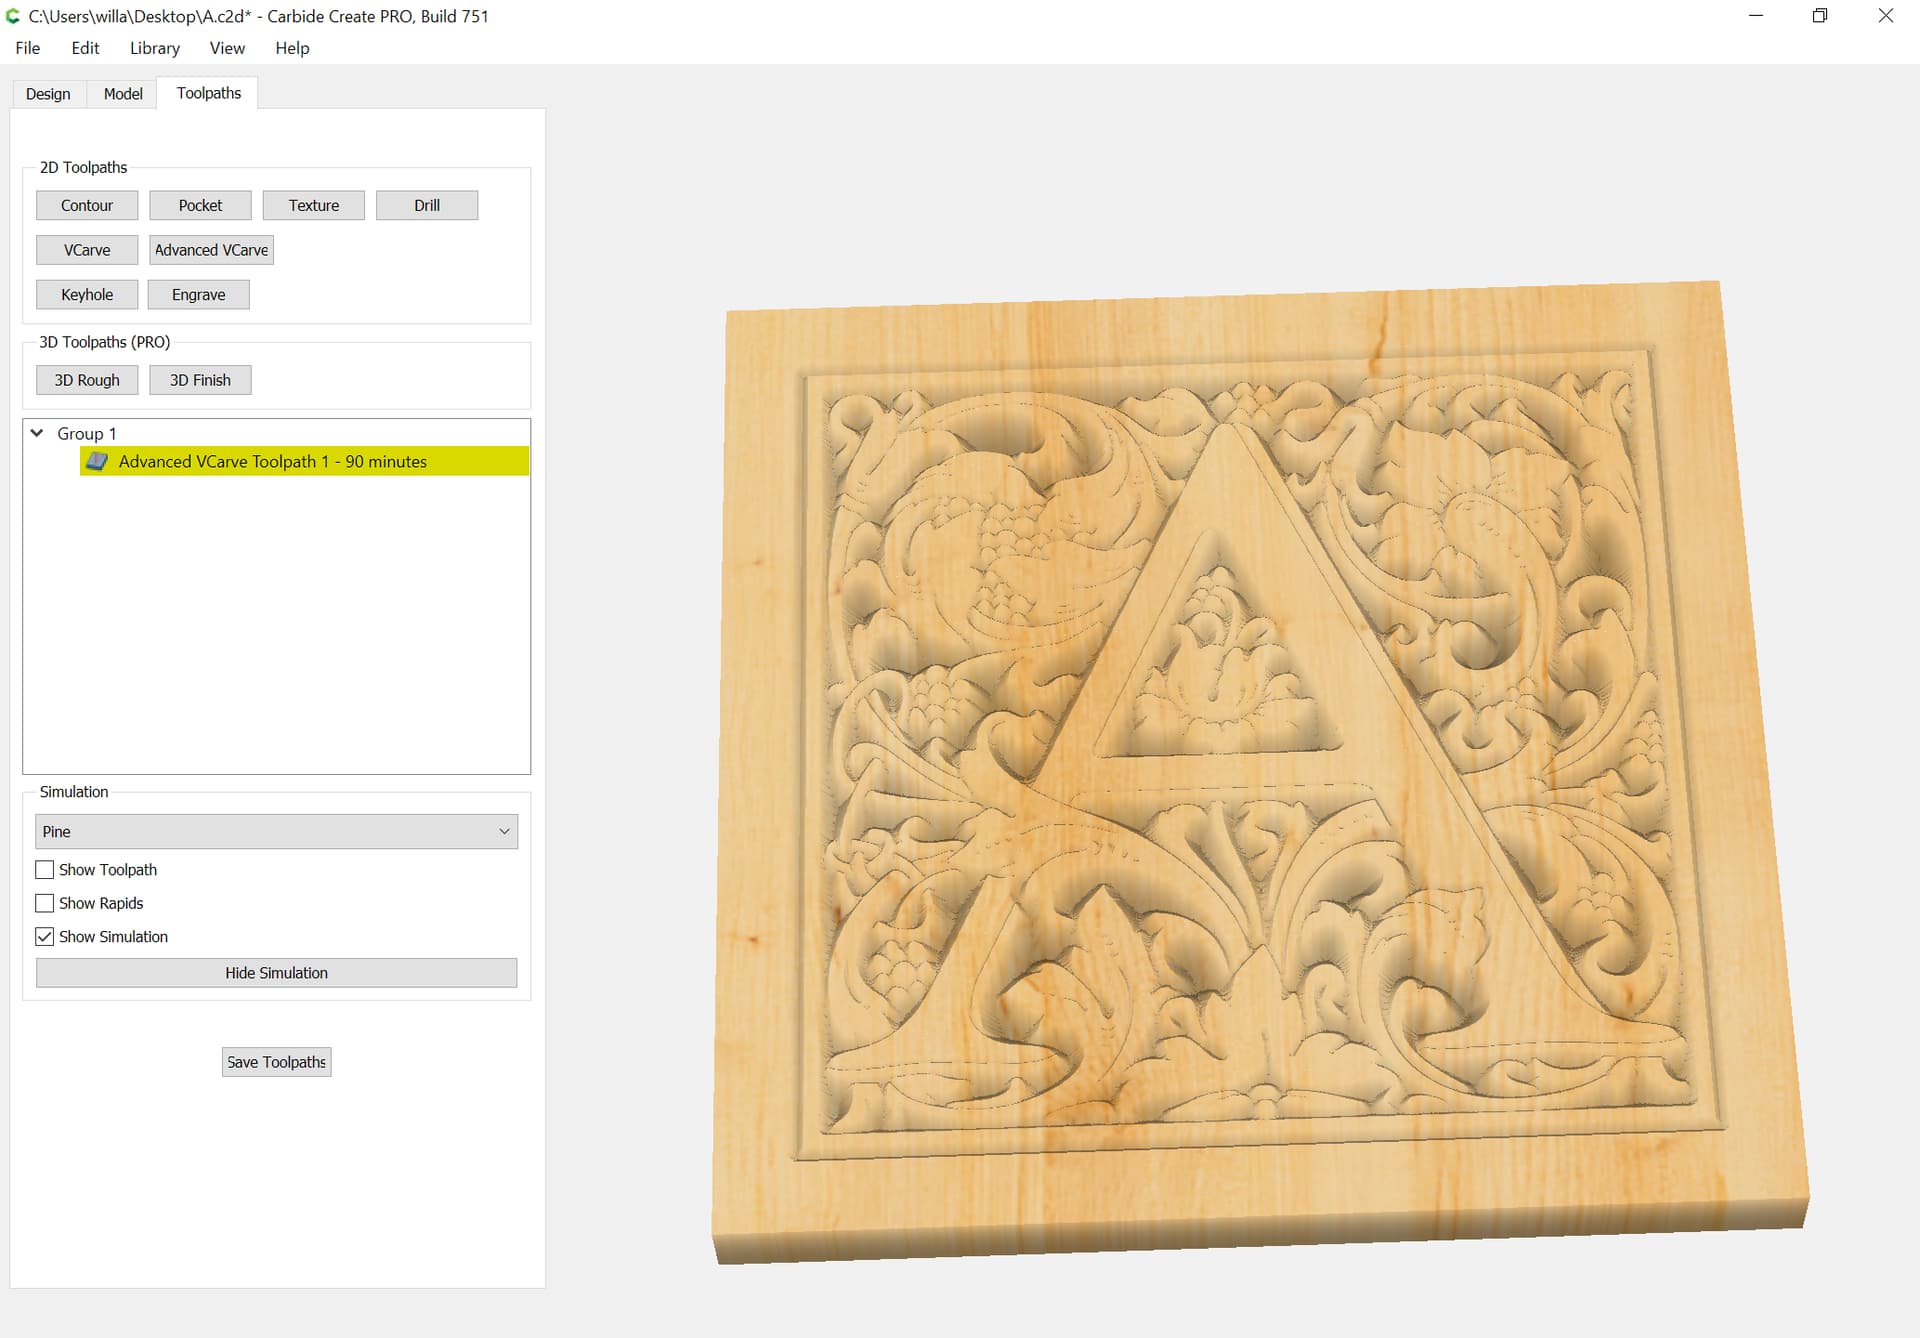
but we want this reversed, so we convert to curves:
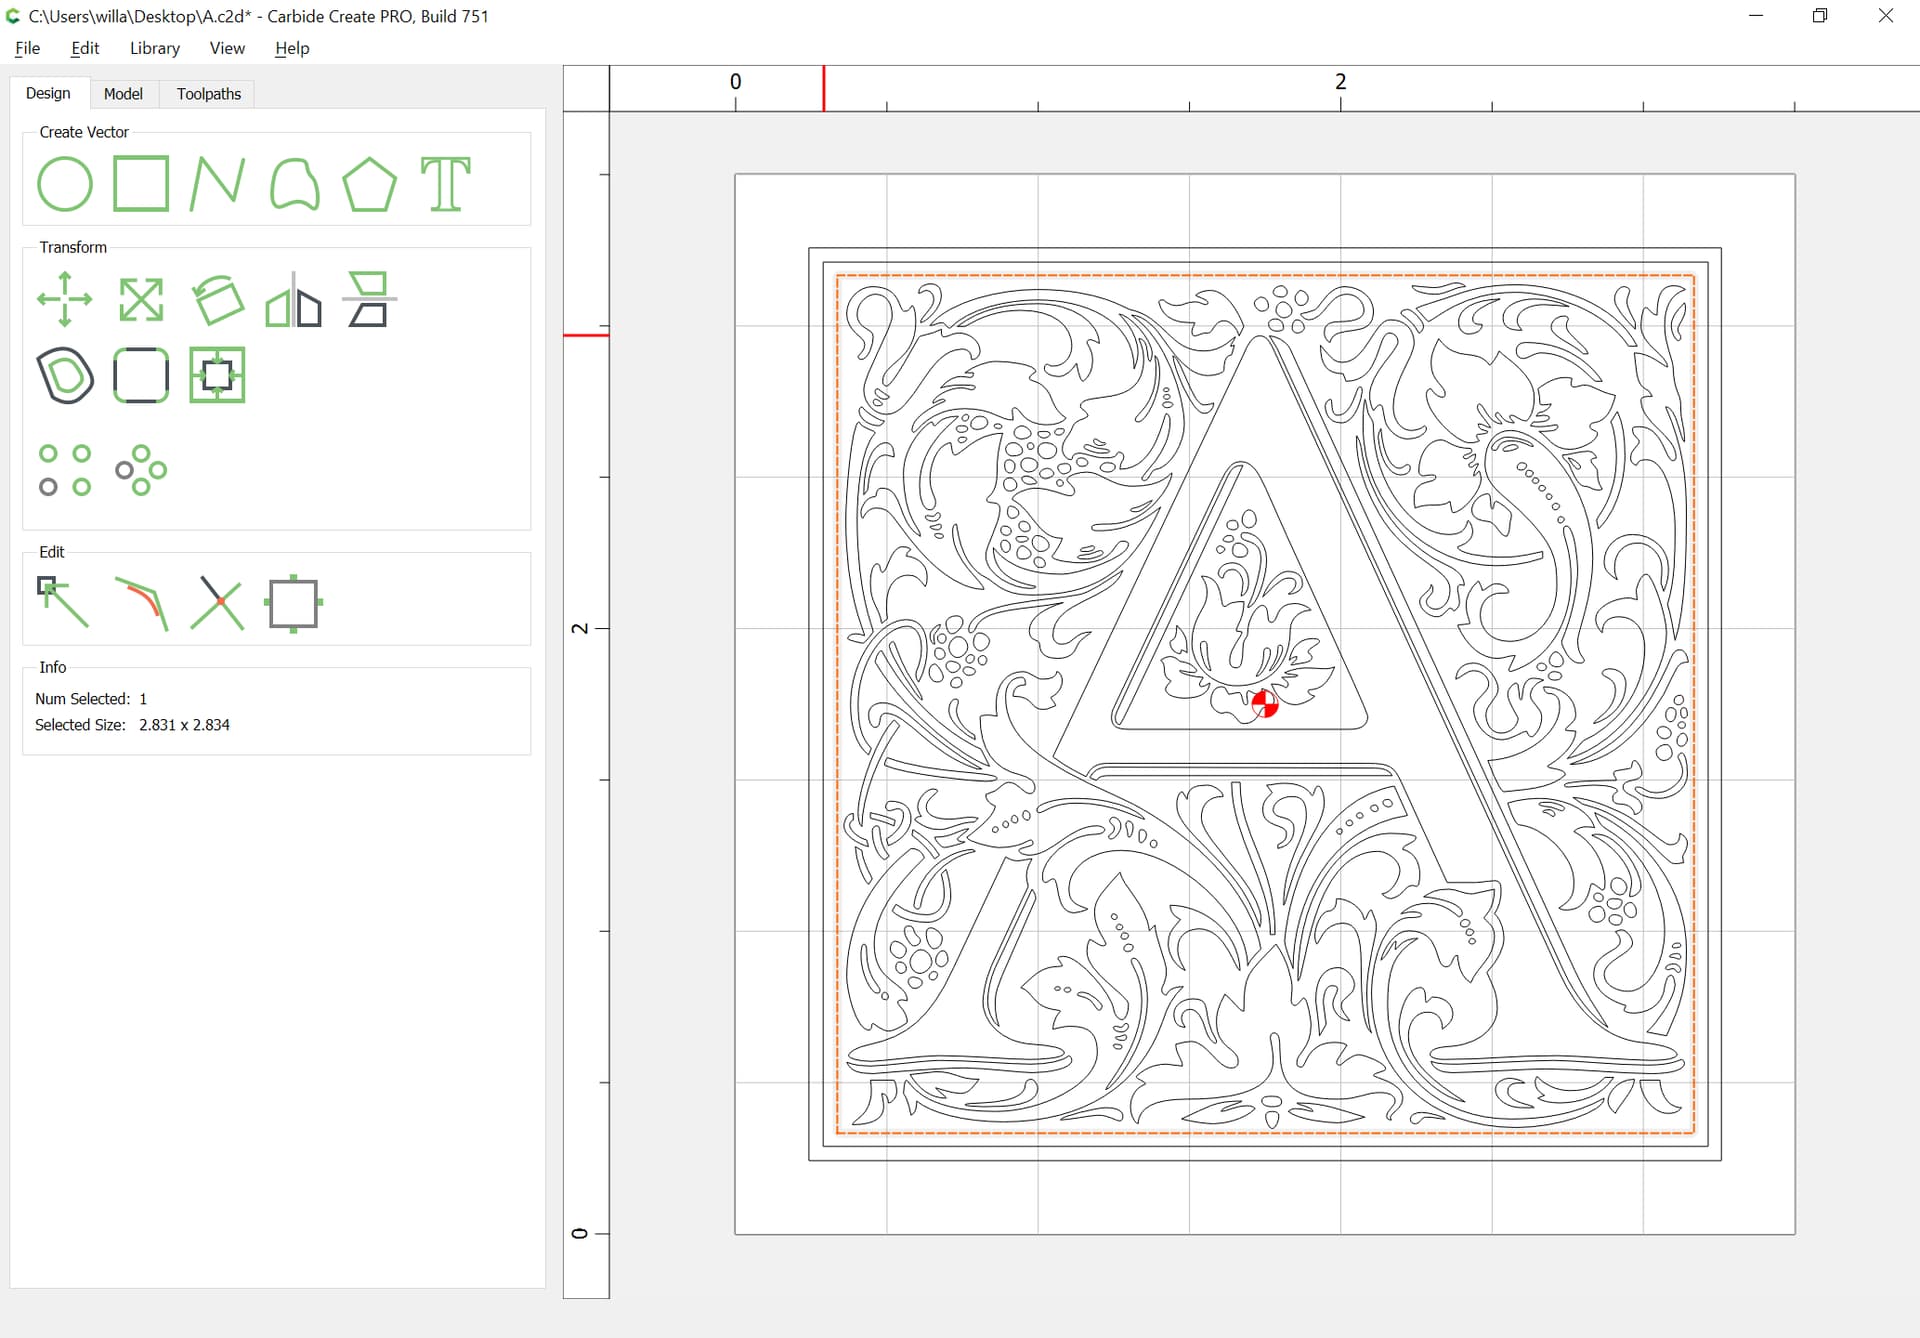
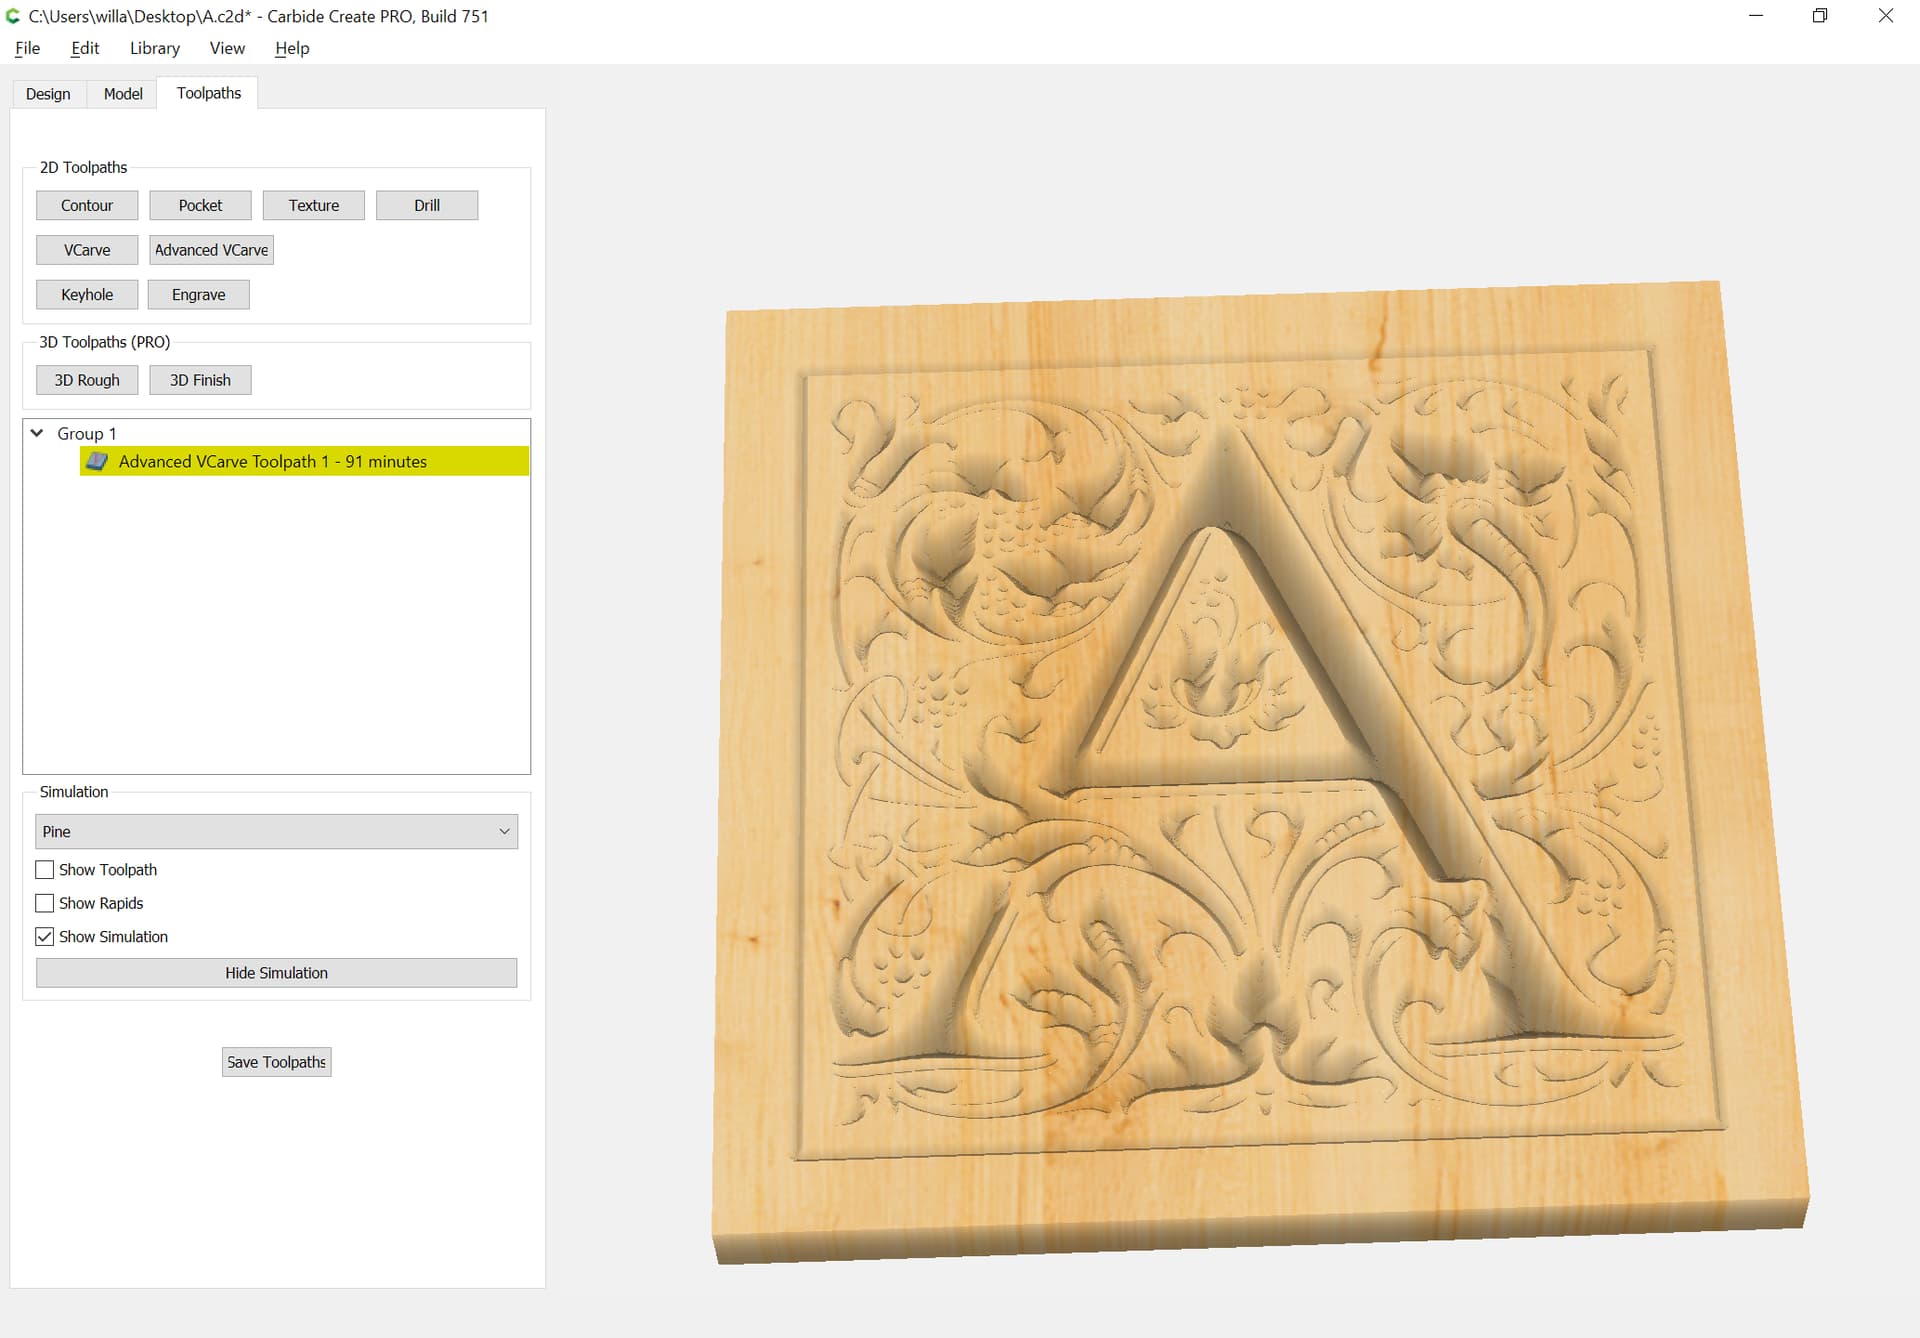
and delete one of the pieces of border geometry and it now previews as:
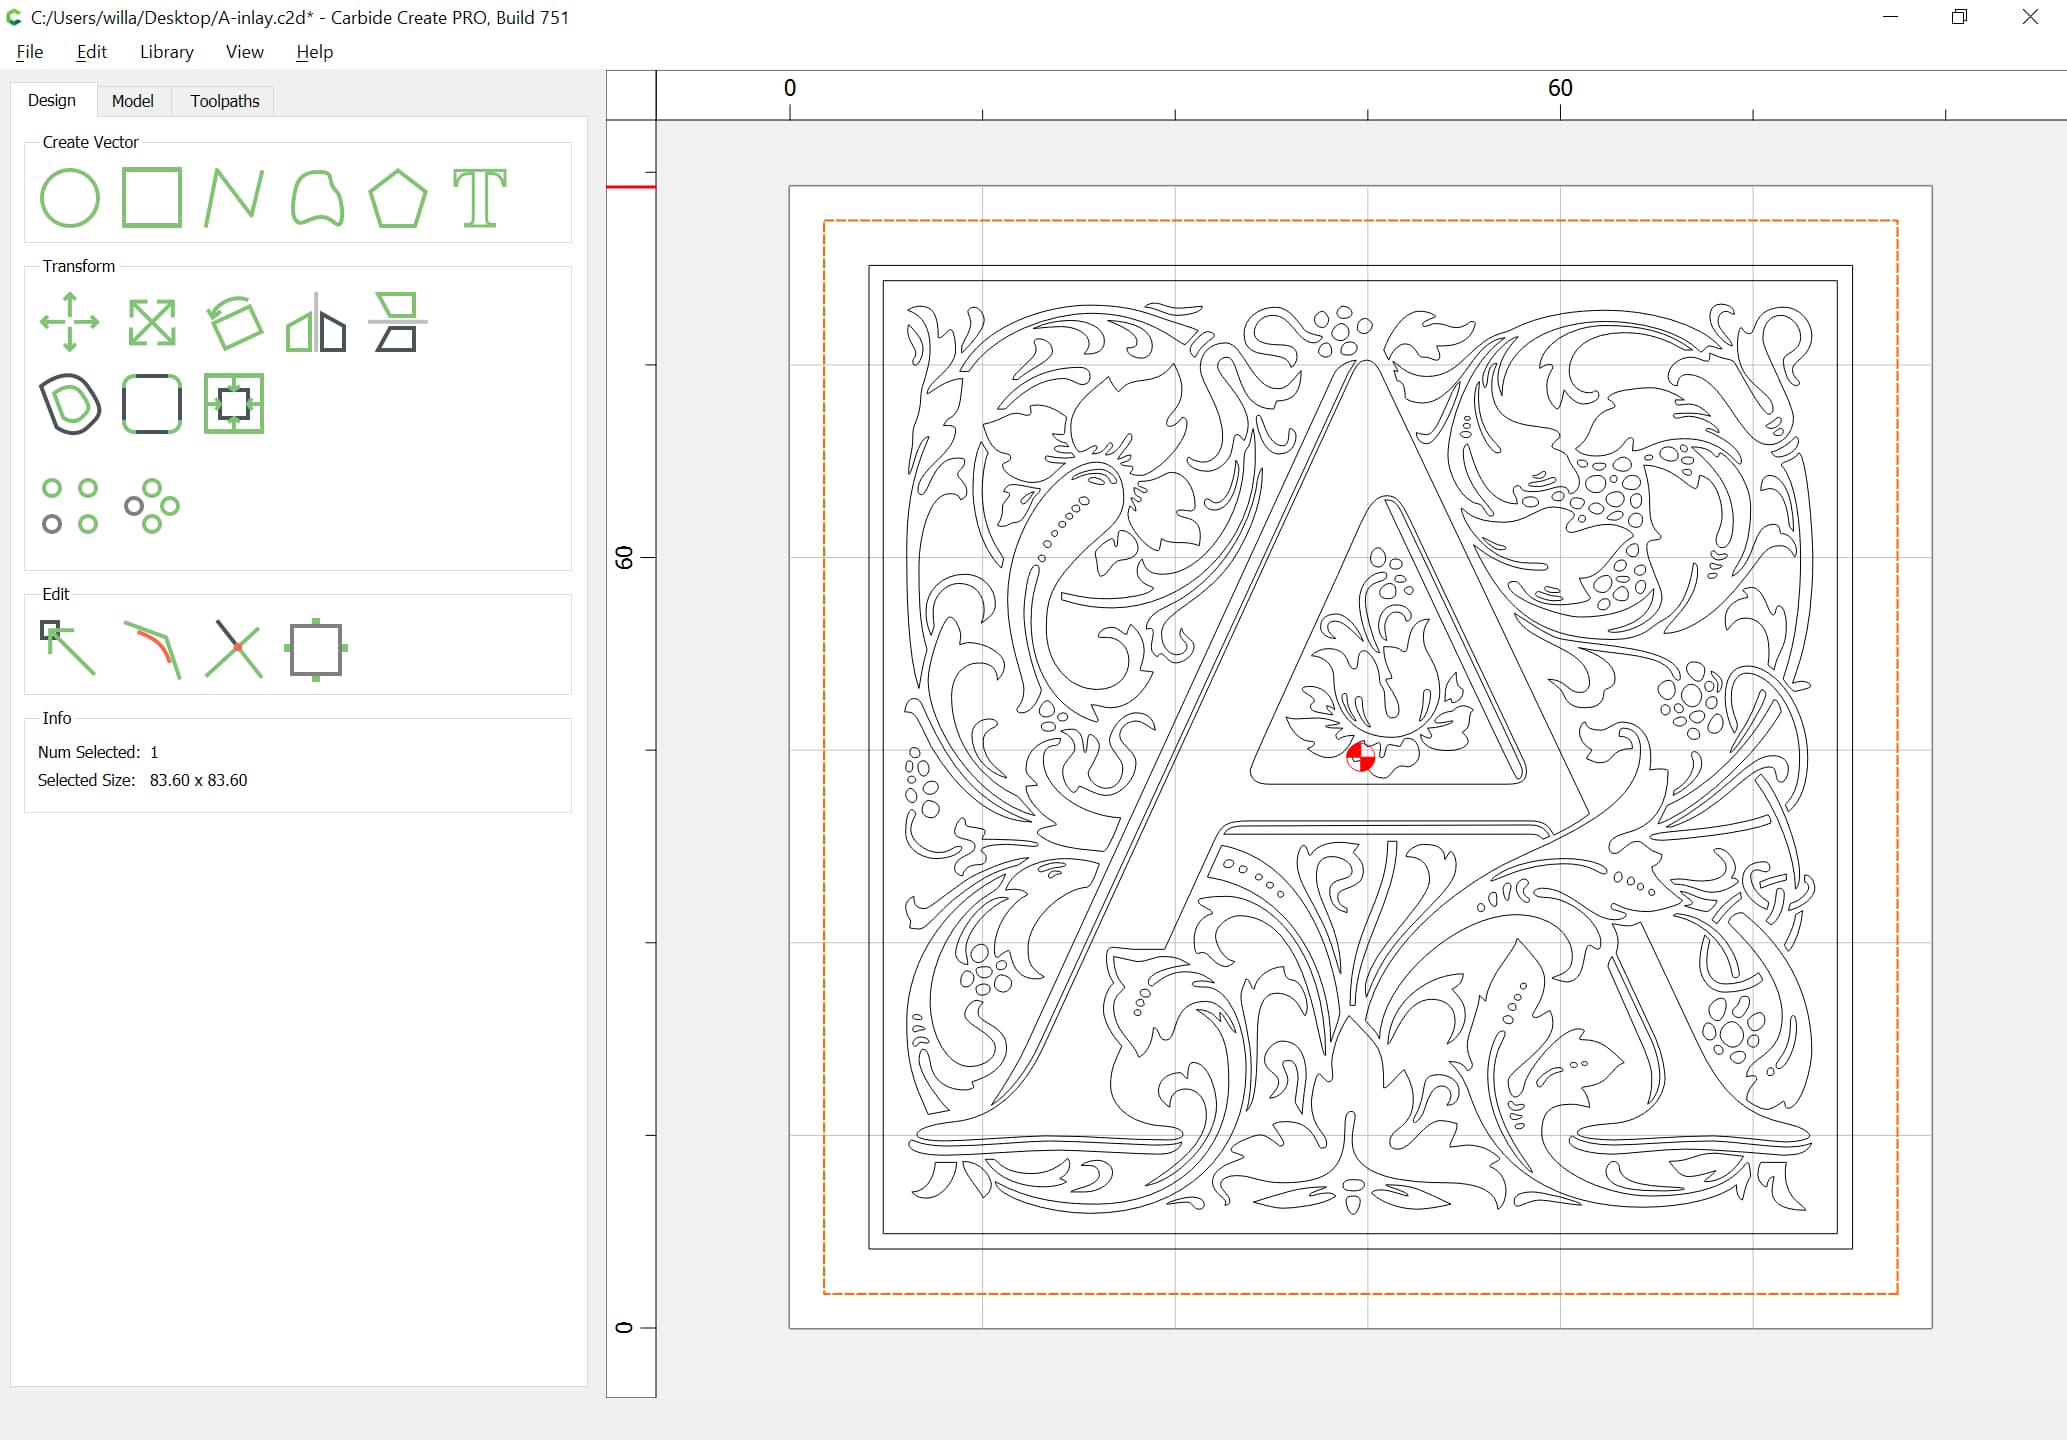
For the mirrored inlay we mirror horizontally and add geometry:
to arrive at:
Hopefully will manage to get these cut and glued up presently.
Advanced vcarve rest machining: It is not so tricky to implement: take design, create an outside offset path. cut this as pocket with rest machining. Use original design with advanced vcarve and the smaller of the end mills used for pocketing earlier, but delete the Gcode for that end mill before running the V bit part. tested and works. So this workflow adds no new underlying complexity to Create, just needs to have the operations chained together in the UI to implement it.
Extremely interested to see how this turns out.
CC Pro might be my future endeavor with the new feature.
Question: For deep inlays with a 6.2 ball nose, do you have to perform any edits for the tool itself?
Please correct me, but shouldn’t there be cases where an outside offset removes small features, that would otherwise survive when using the original geometry with depth-offset?
It needs an interface, and it needs to work reliably and create toolpaths which are efficient enough to justify its existence. In my experience, the designs which are used for V carving are such that it is extremely difficult to create an efficient REST machining toolpath for them.
We do not have support for tapered ball-nosed tooling in Carbide Create at this time — all of our V carving algorithms require a sharp V endmill.
The offset should be small enough that small, delicate features are preserved — if anyone encounters a file where fine details are lost please send them in to us at support@carbide3d.com and we will try to look into them.
1 Like
2 posts were split to a new topic: Tapered ball nose endmills in Carbide Create
Though not strictly related to inlays, we just uploaded a new 754 to Carbide Create Beta Downloads that includes the ability to change the order of the Advanced V-carve toolpath to cut the pockets before or after the V-cutter is done.
Check it out and let us know if anything broke.
7 Likes
looks like a step towards using two pocket tools (rest machining) with Advanced Vcarve!
3 Likes
Cutting the design itself went well:

and here’s the file if anyone else needs an A:
A - Center Top 0_25.nc (231.2 KB)
4 Likes
When you check the Inlay Mode box, it might be useful to see if a flip was recently performed and pop up a warning if not. Or put a button or checkbox to do this as part of enabling the mode. I seem to be a serial “forget to flip” person and have wasted more stock than I like to admit by forgetting to flip.