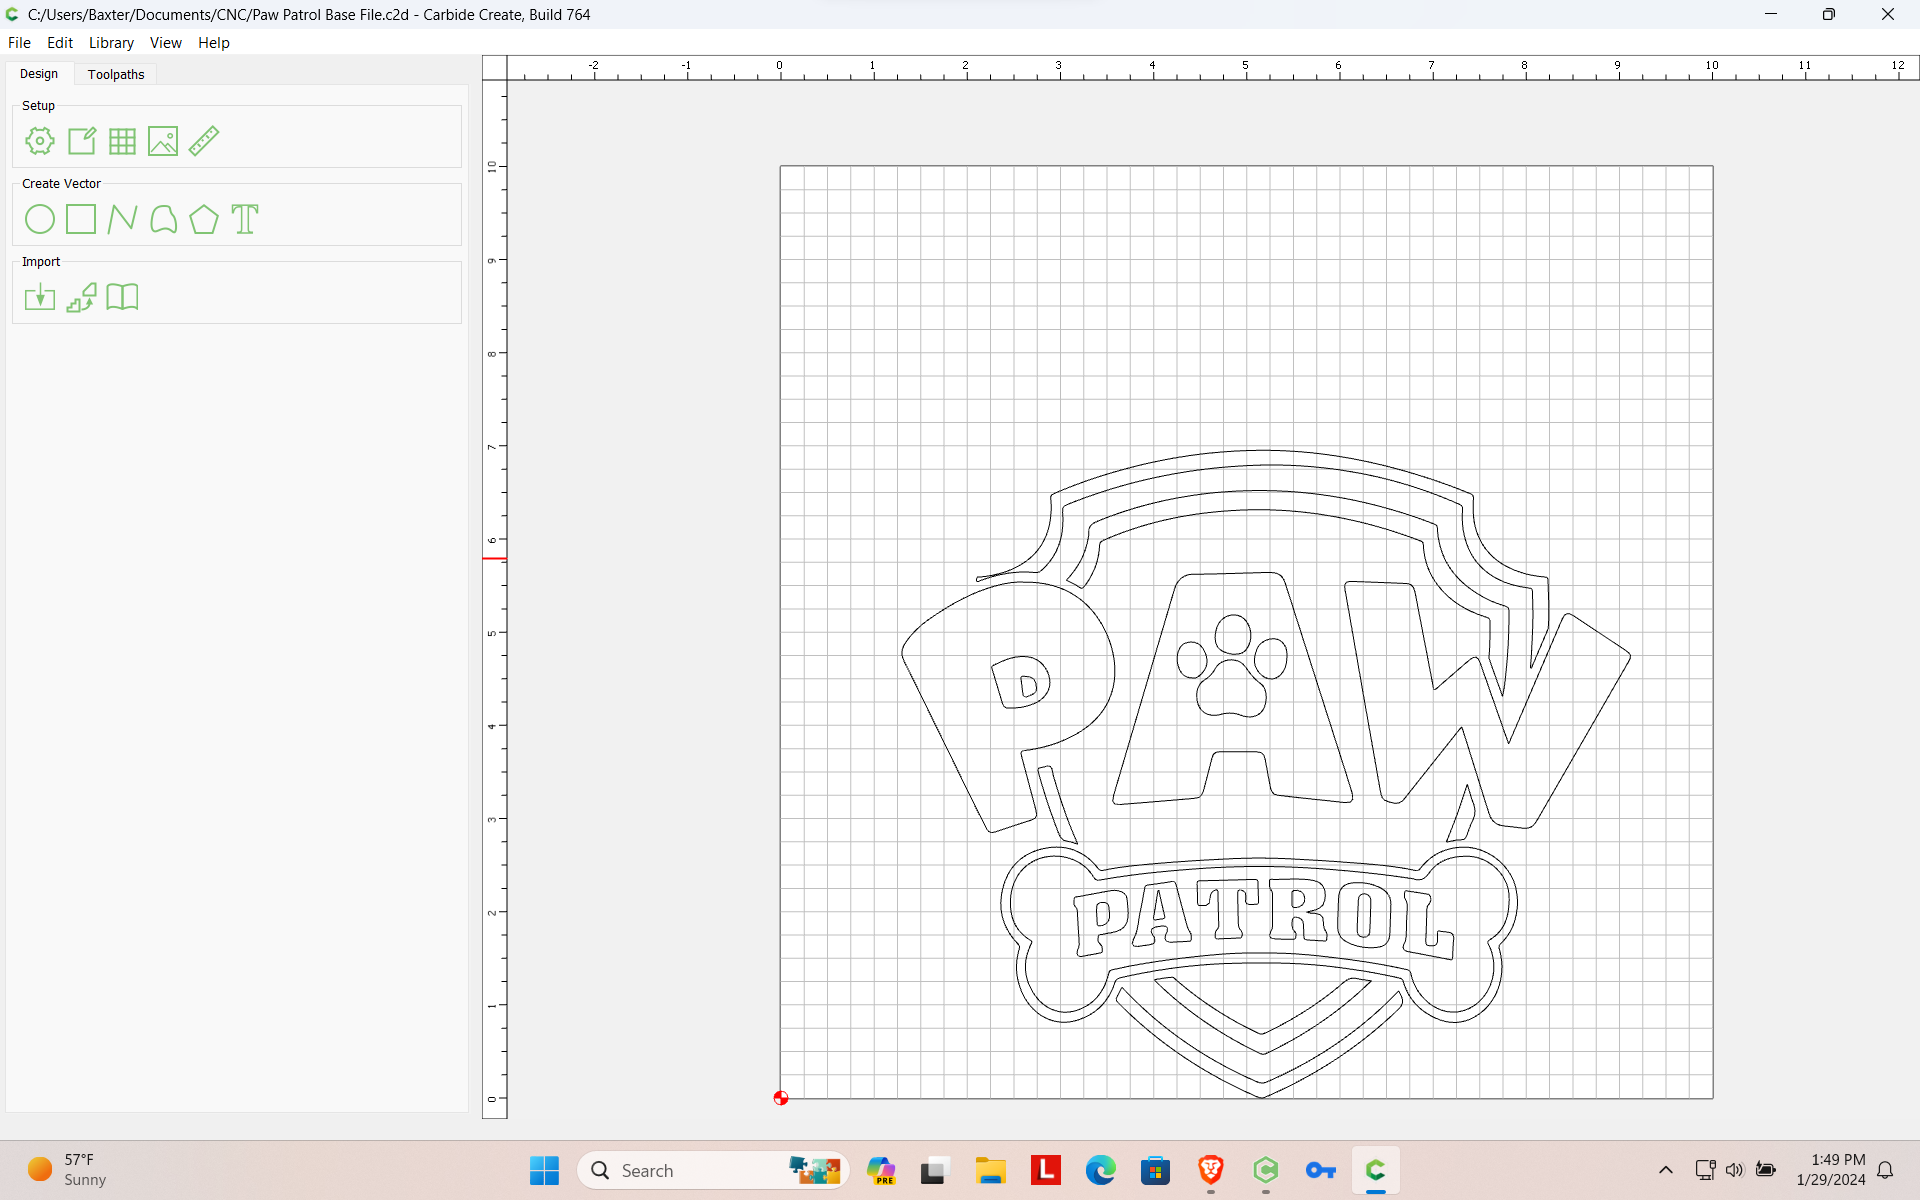
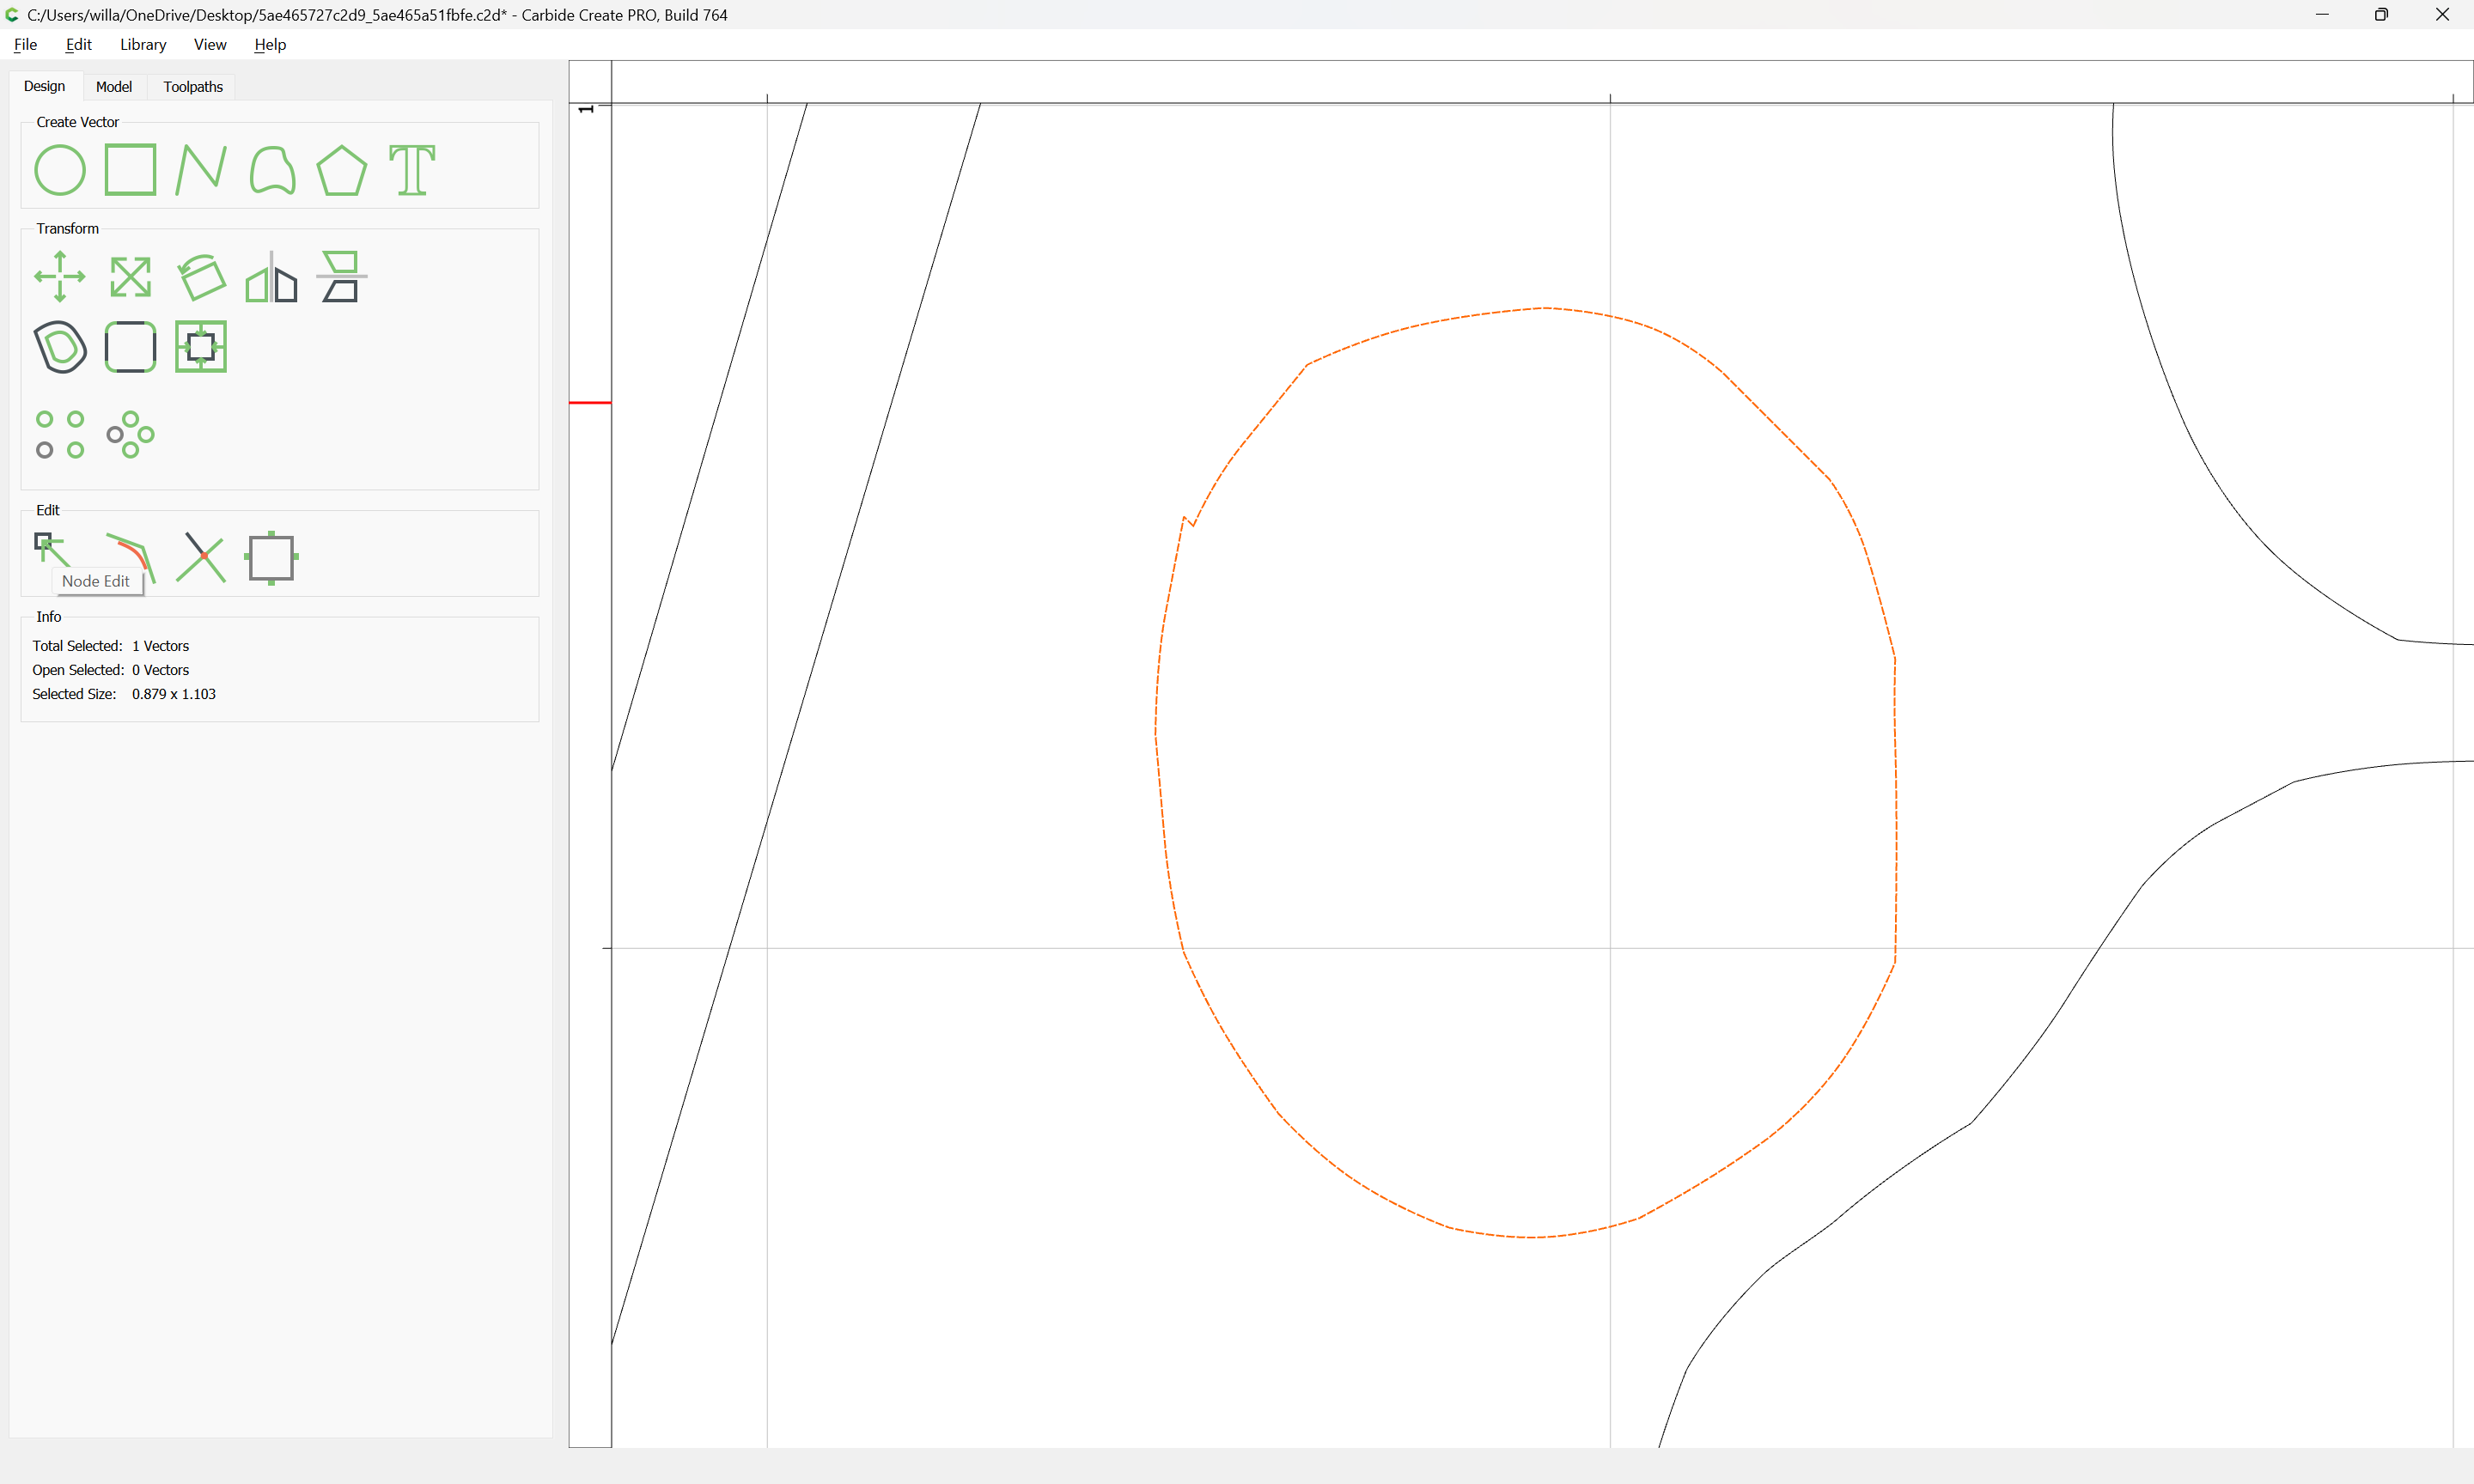
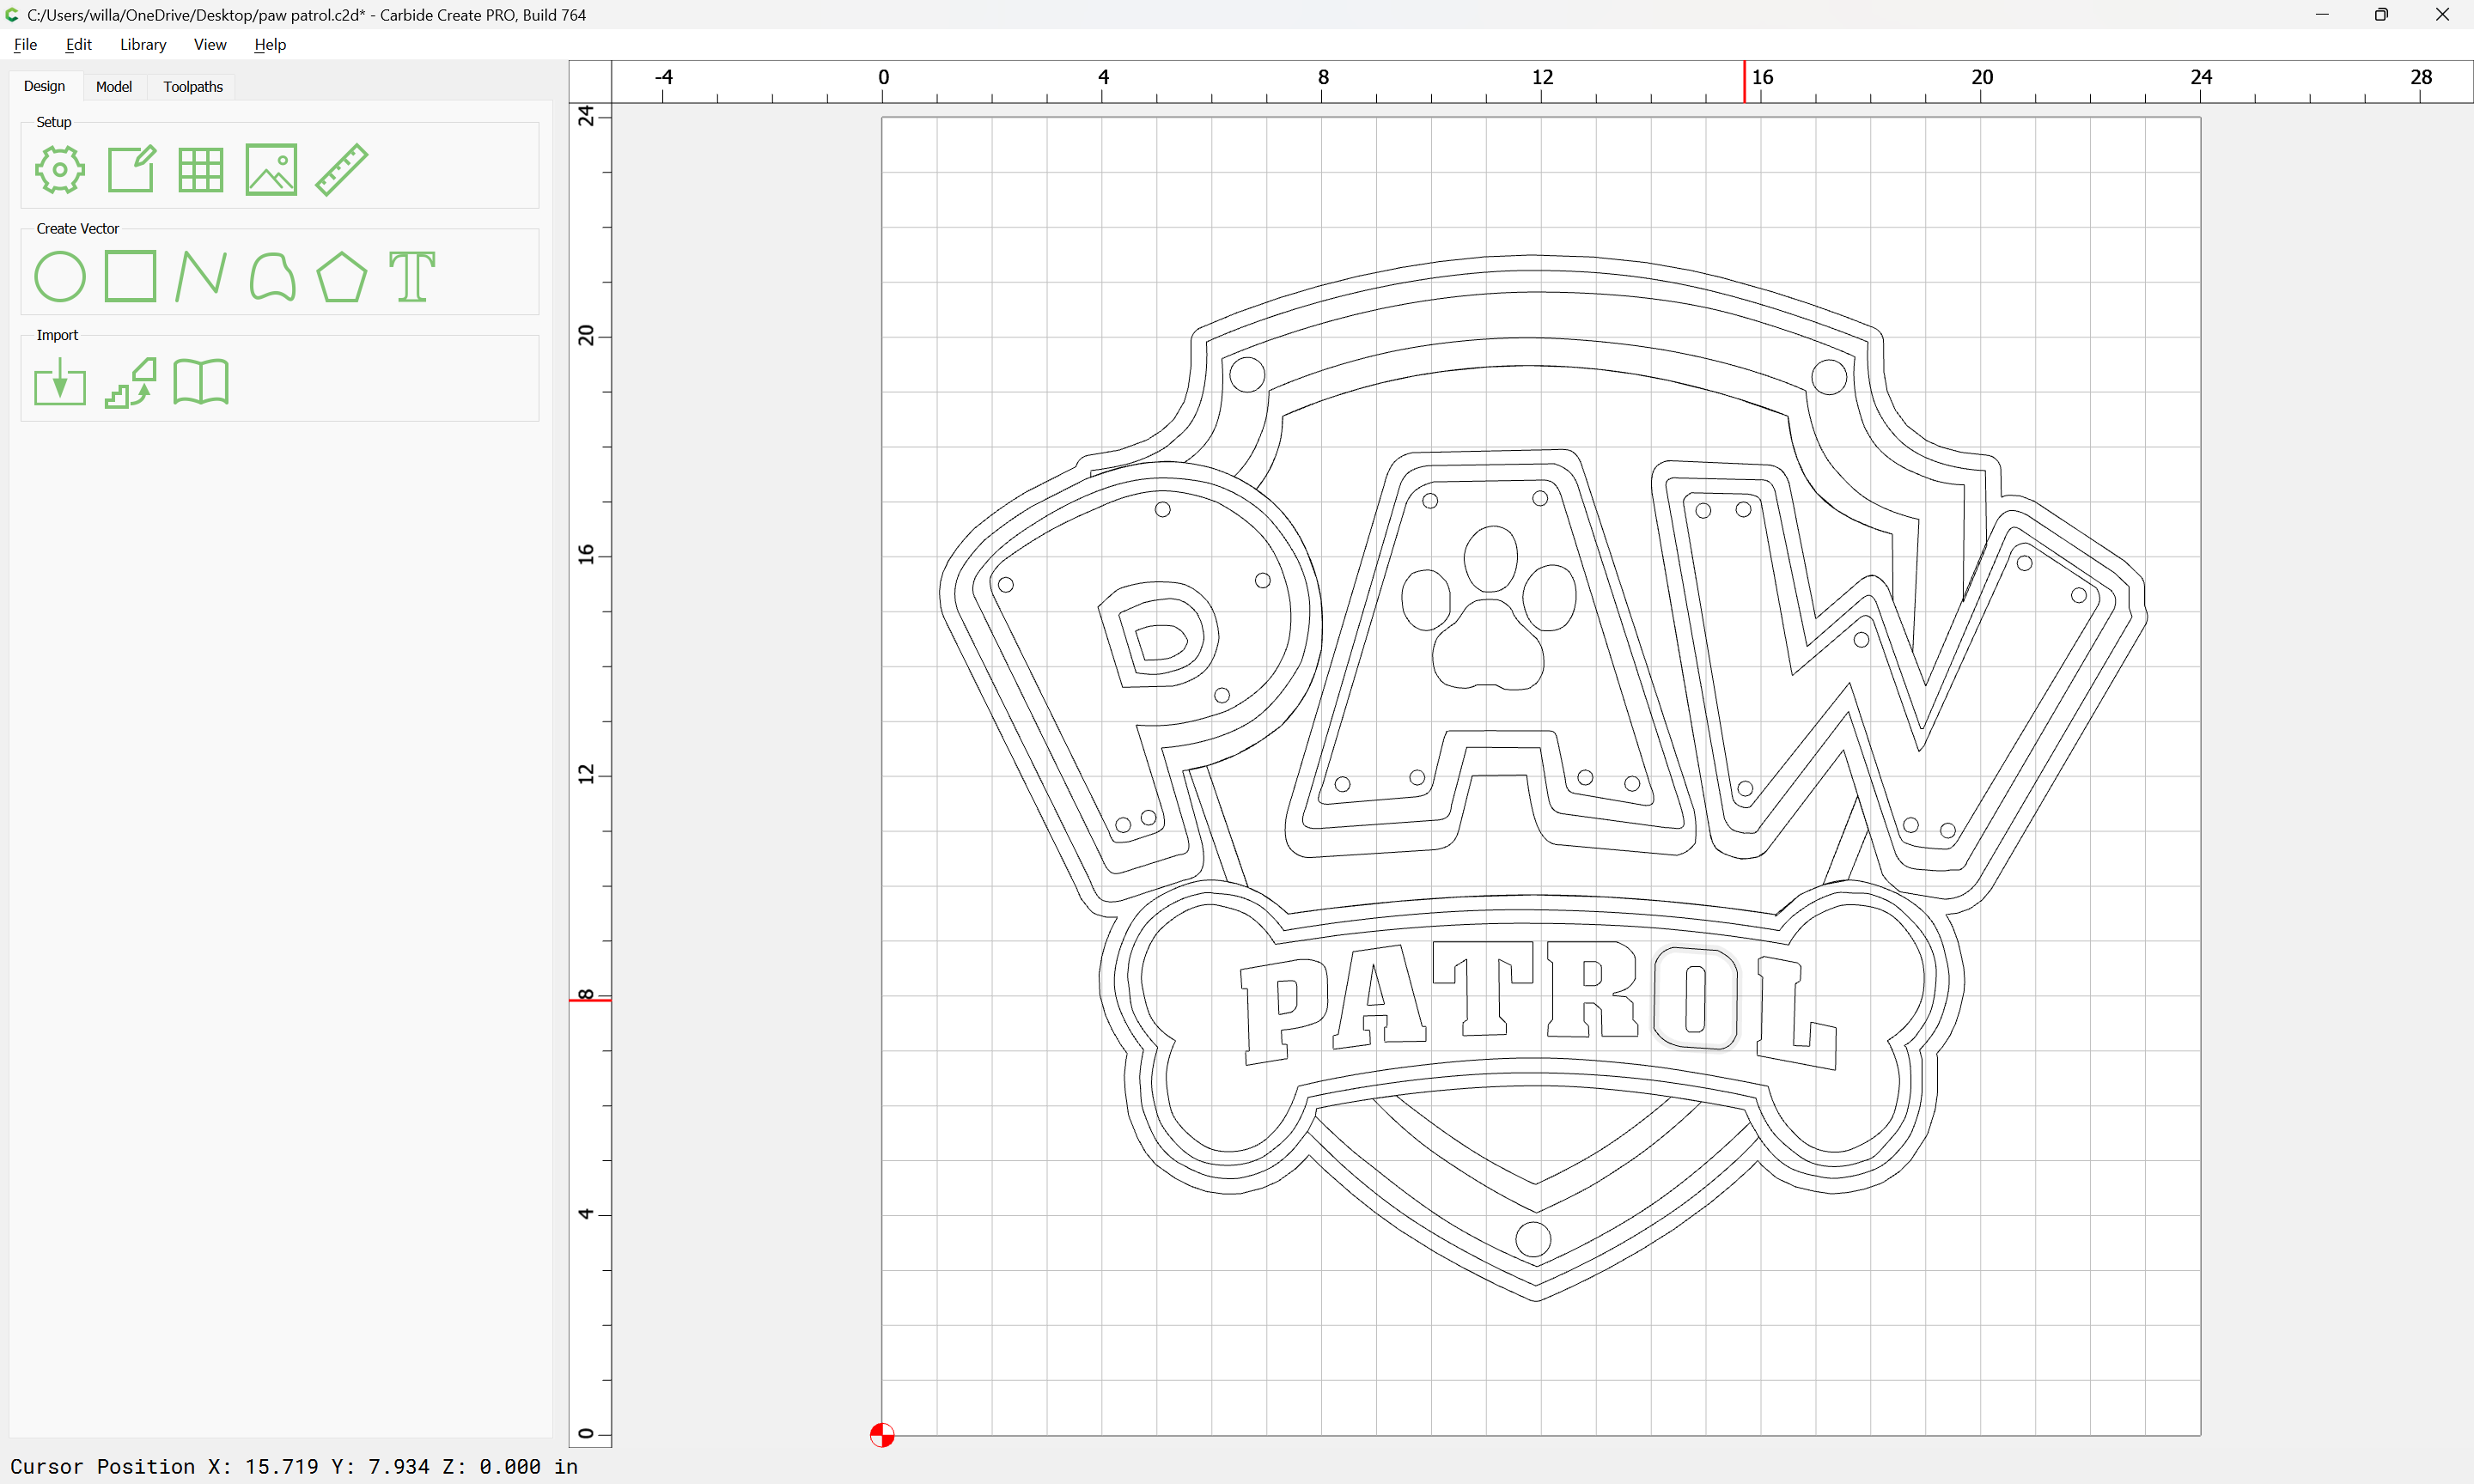
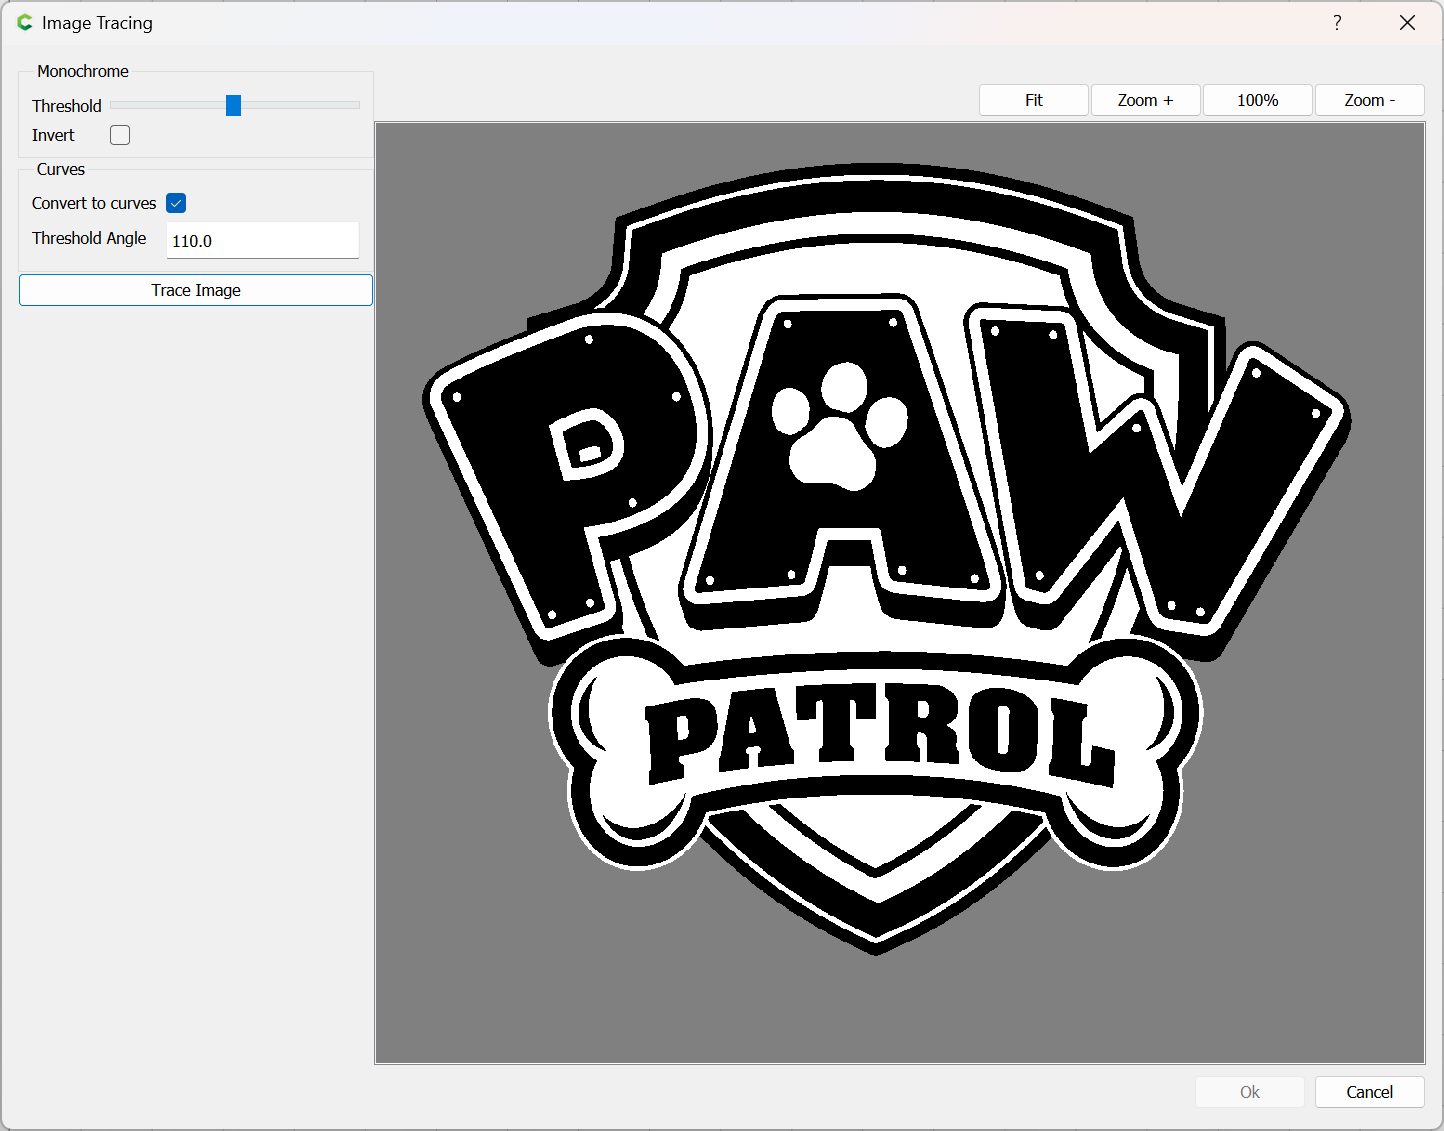
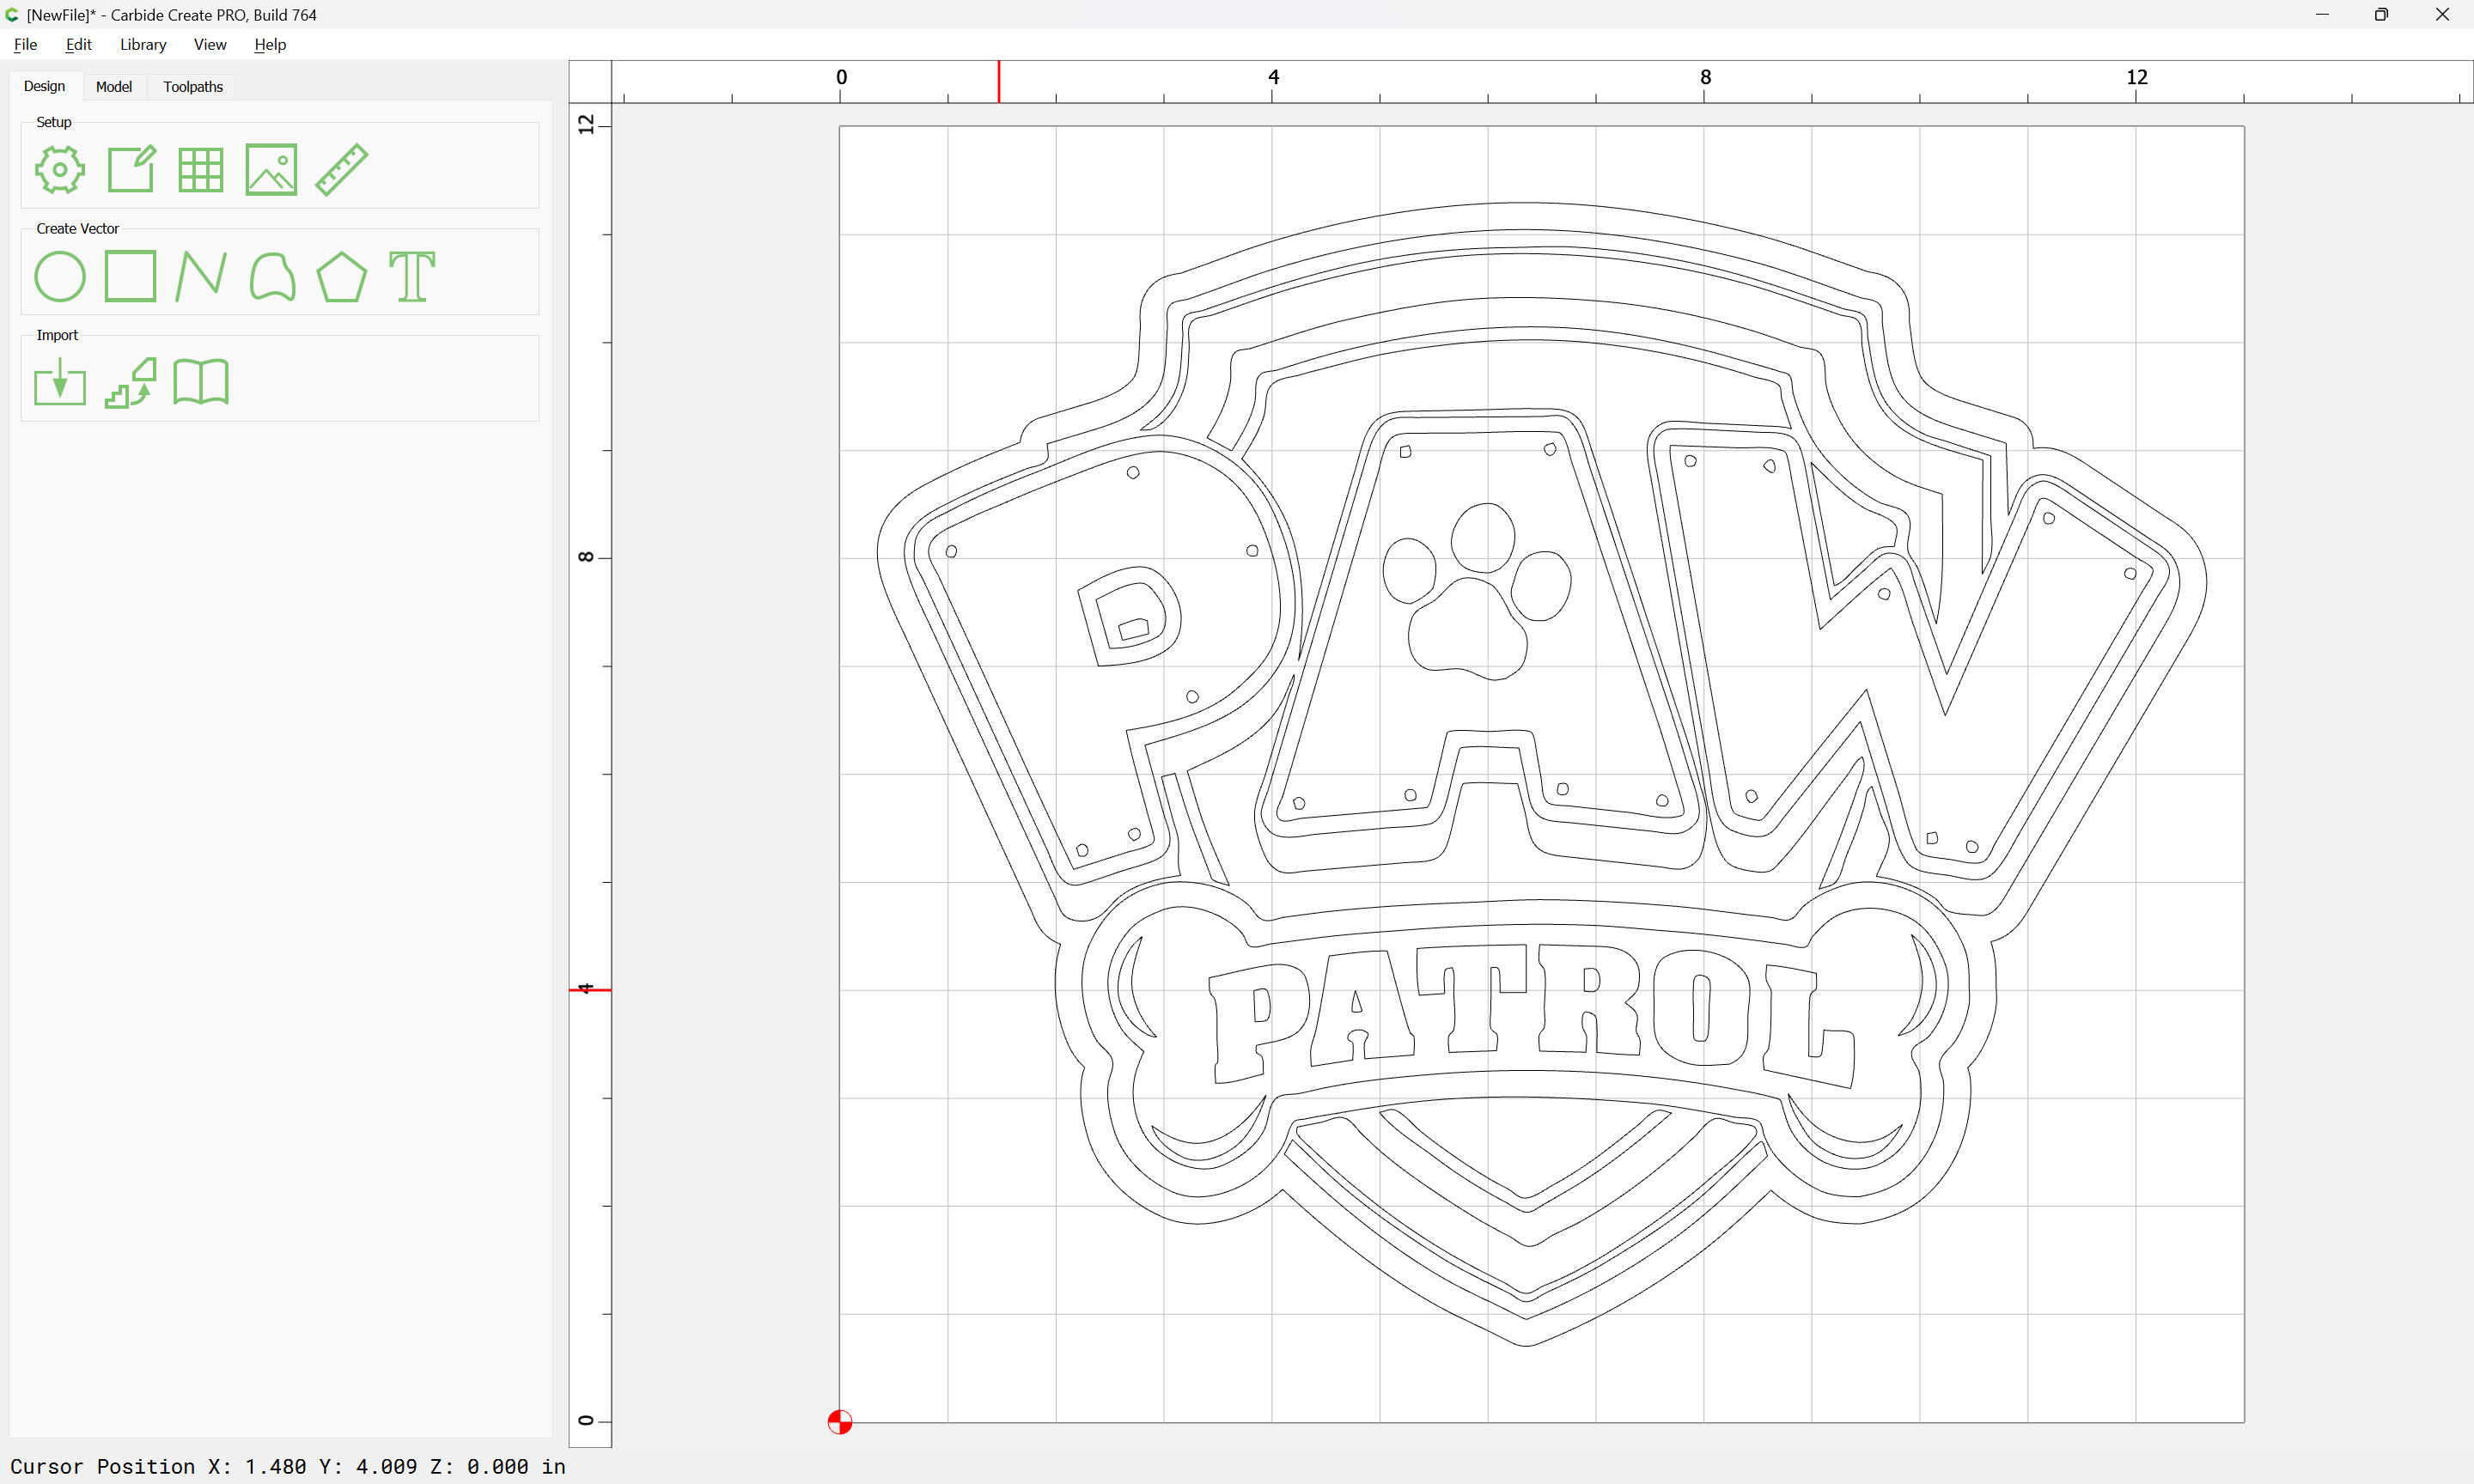
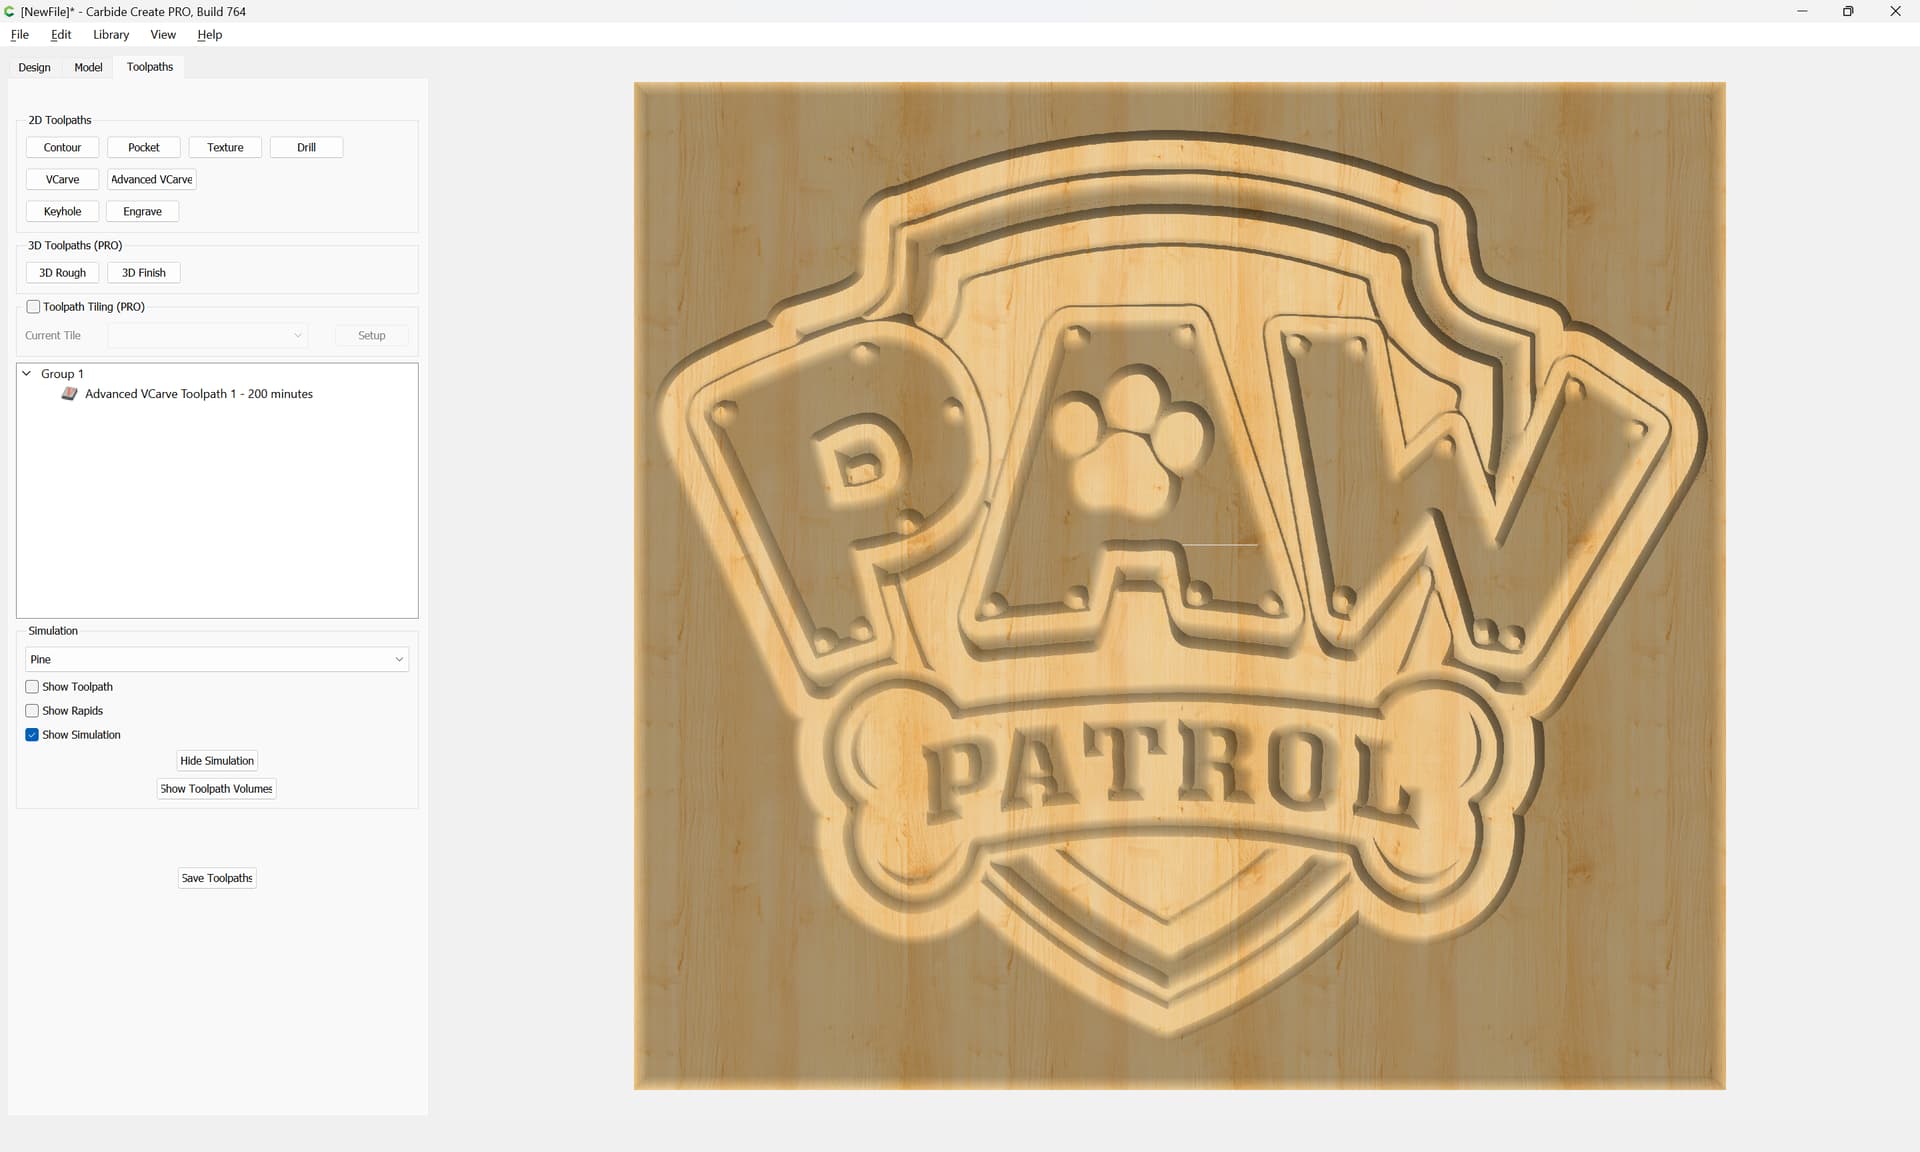
First attempt at anything. Somehow I got this SVG file into CC (my granddaughter is eat up with Paw Patrol). I want to cut it out like a shield. How doth one create a shape that will hug the overall design with all of the breaks to contend with??
(One day, when Im older, I want to be able to create the shield in a convex shape but for now, I just want to get my machine spinning. *I’m aware I haven’t created the tool paths yet.)
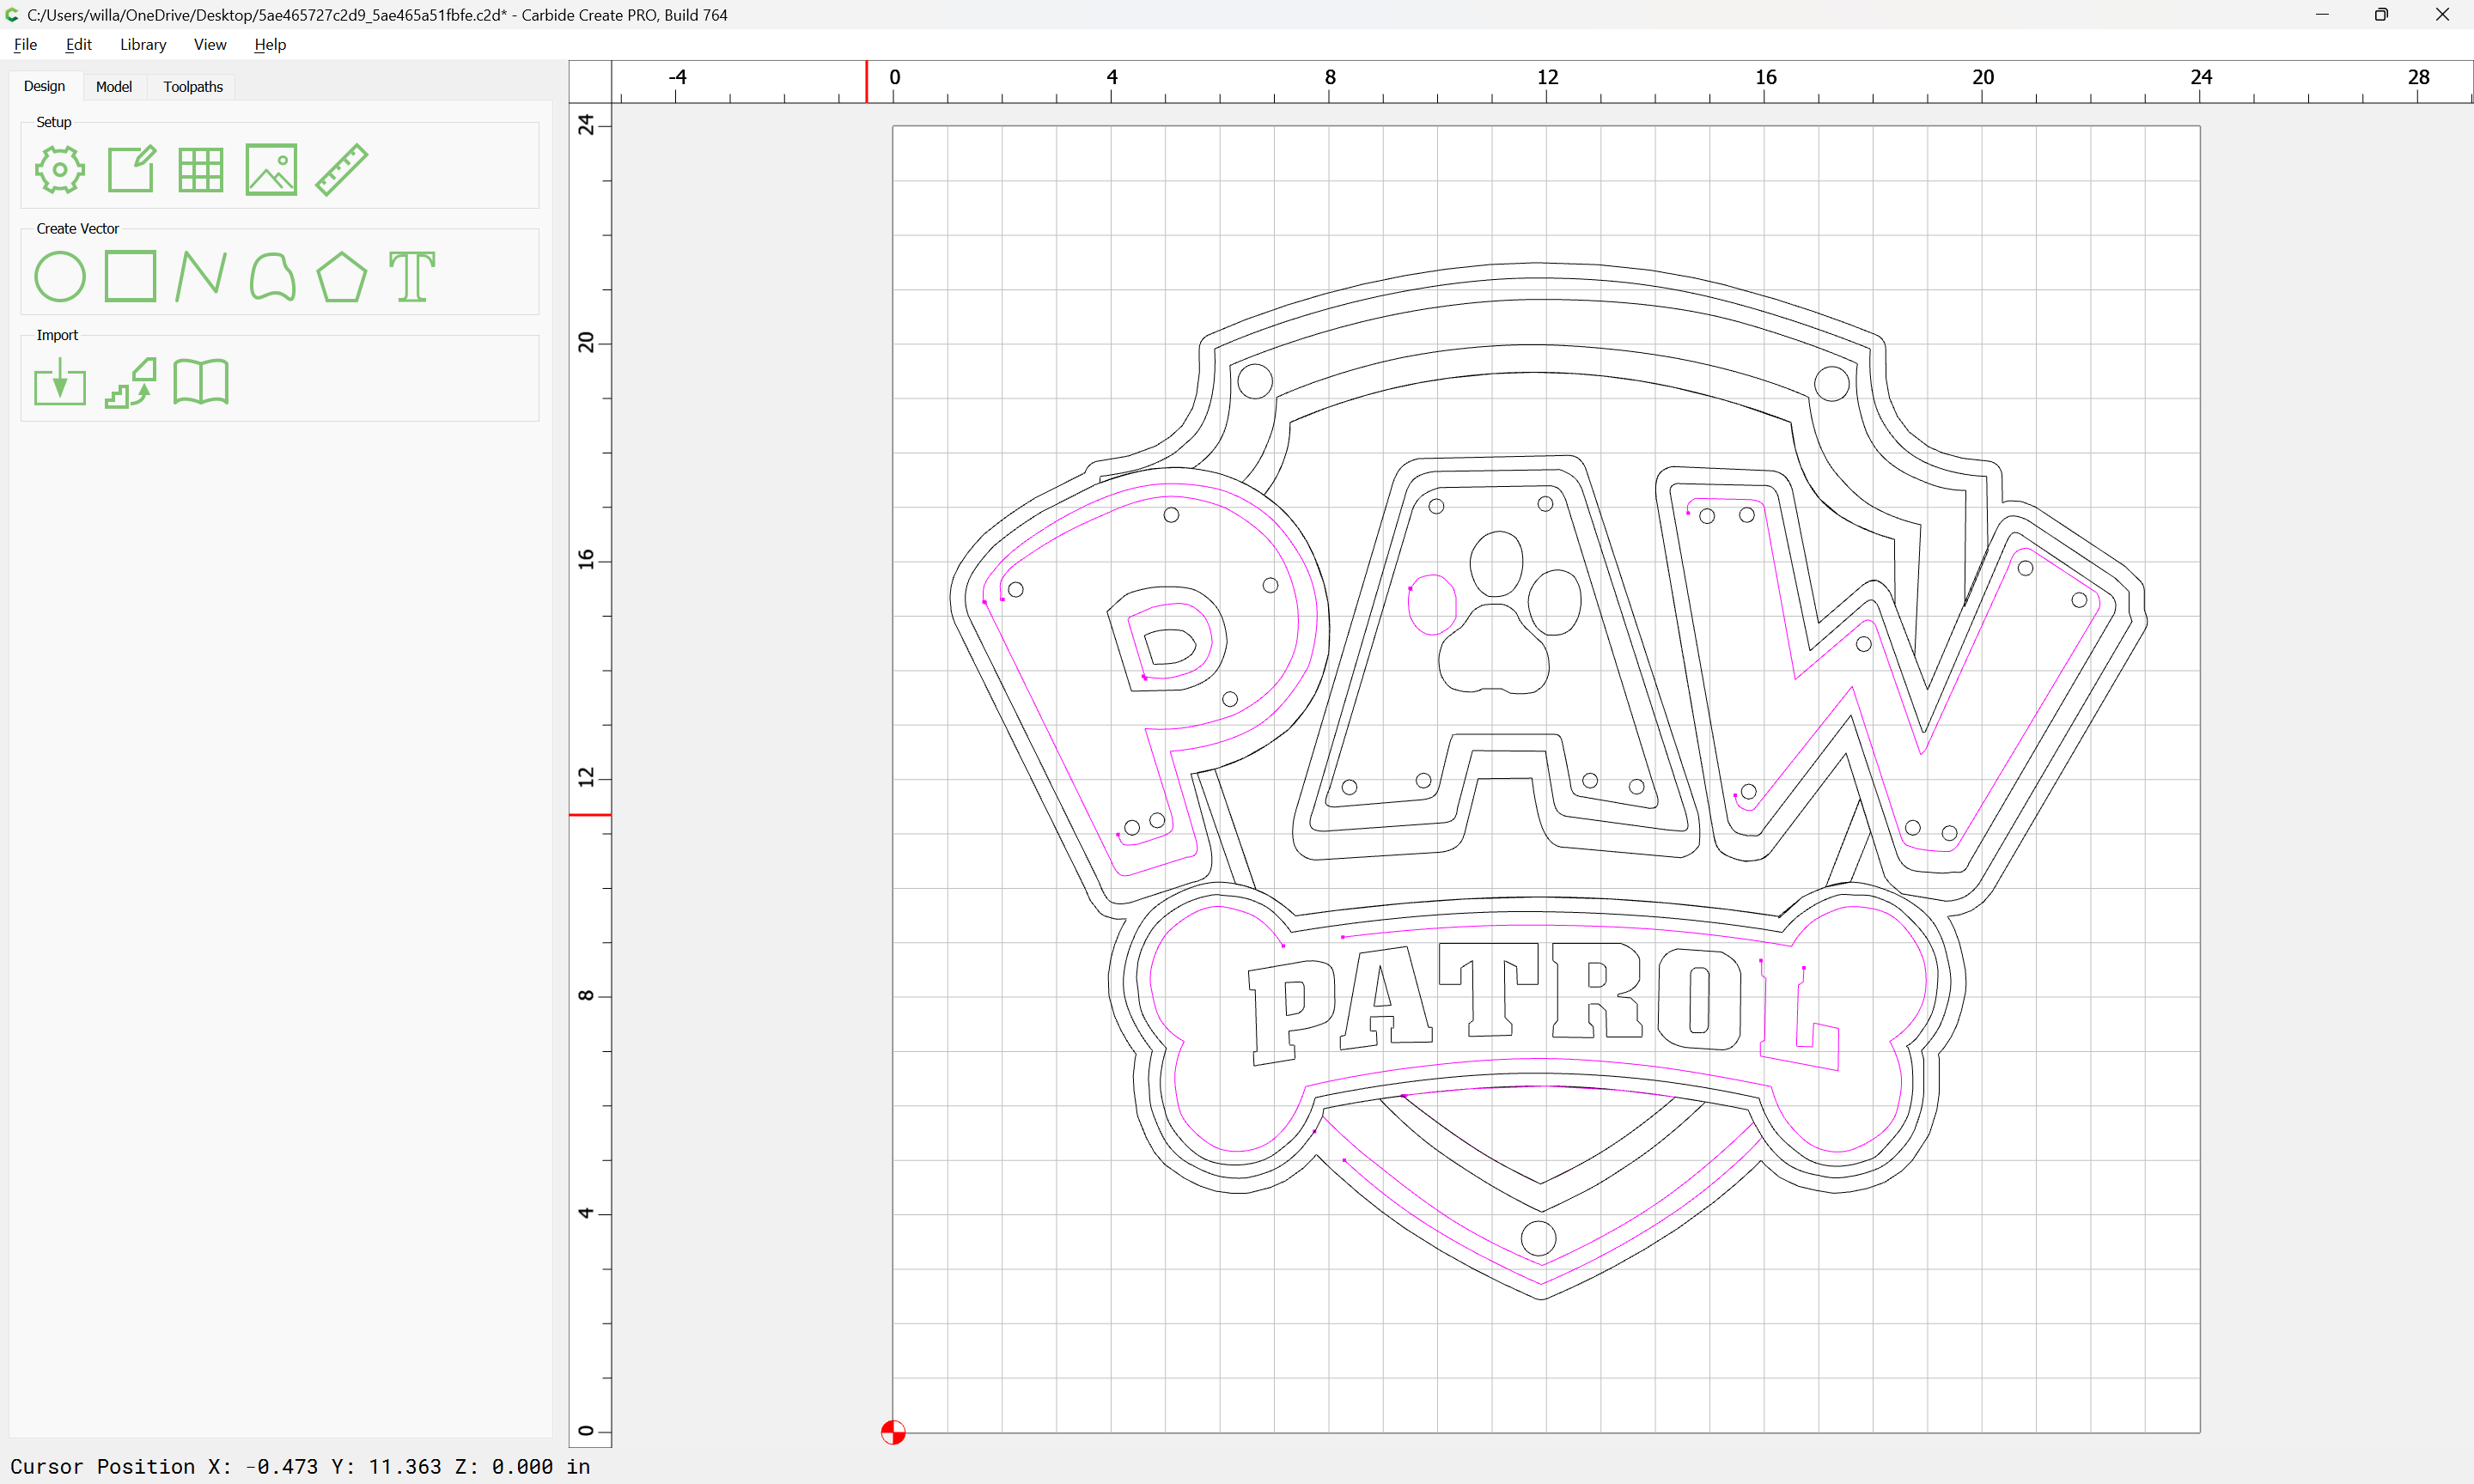
EDIT: This place is great! I happened to remember Cutrocket being mentioned in one of the videos and sure enough Joseph.Roode had already created exactly what I needed!! Thanks Joseph!
Hey Baxter,
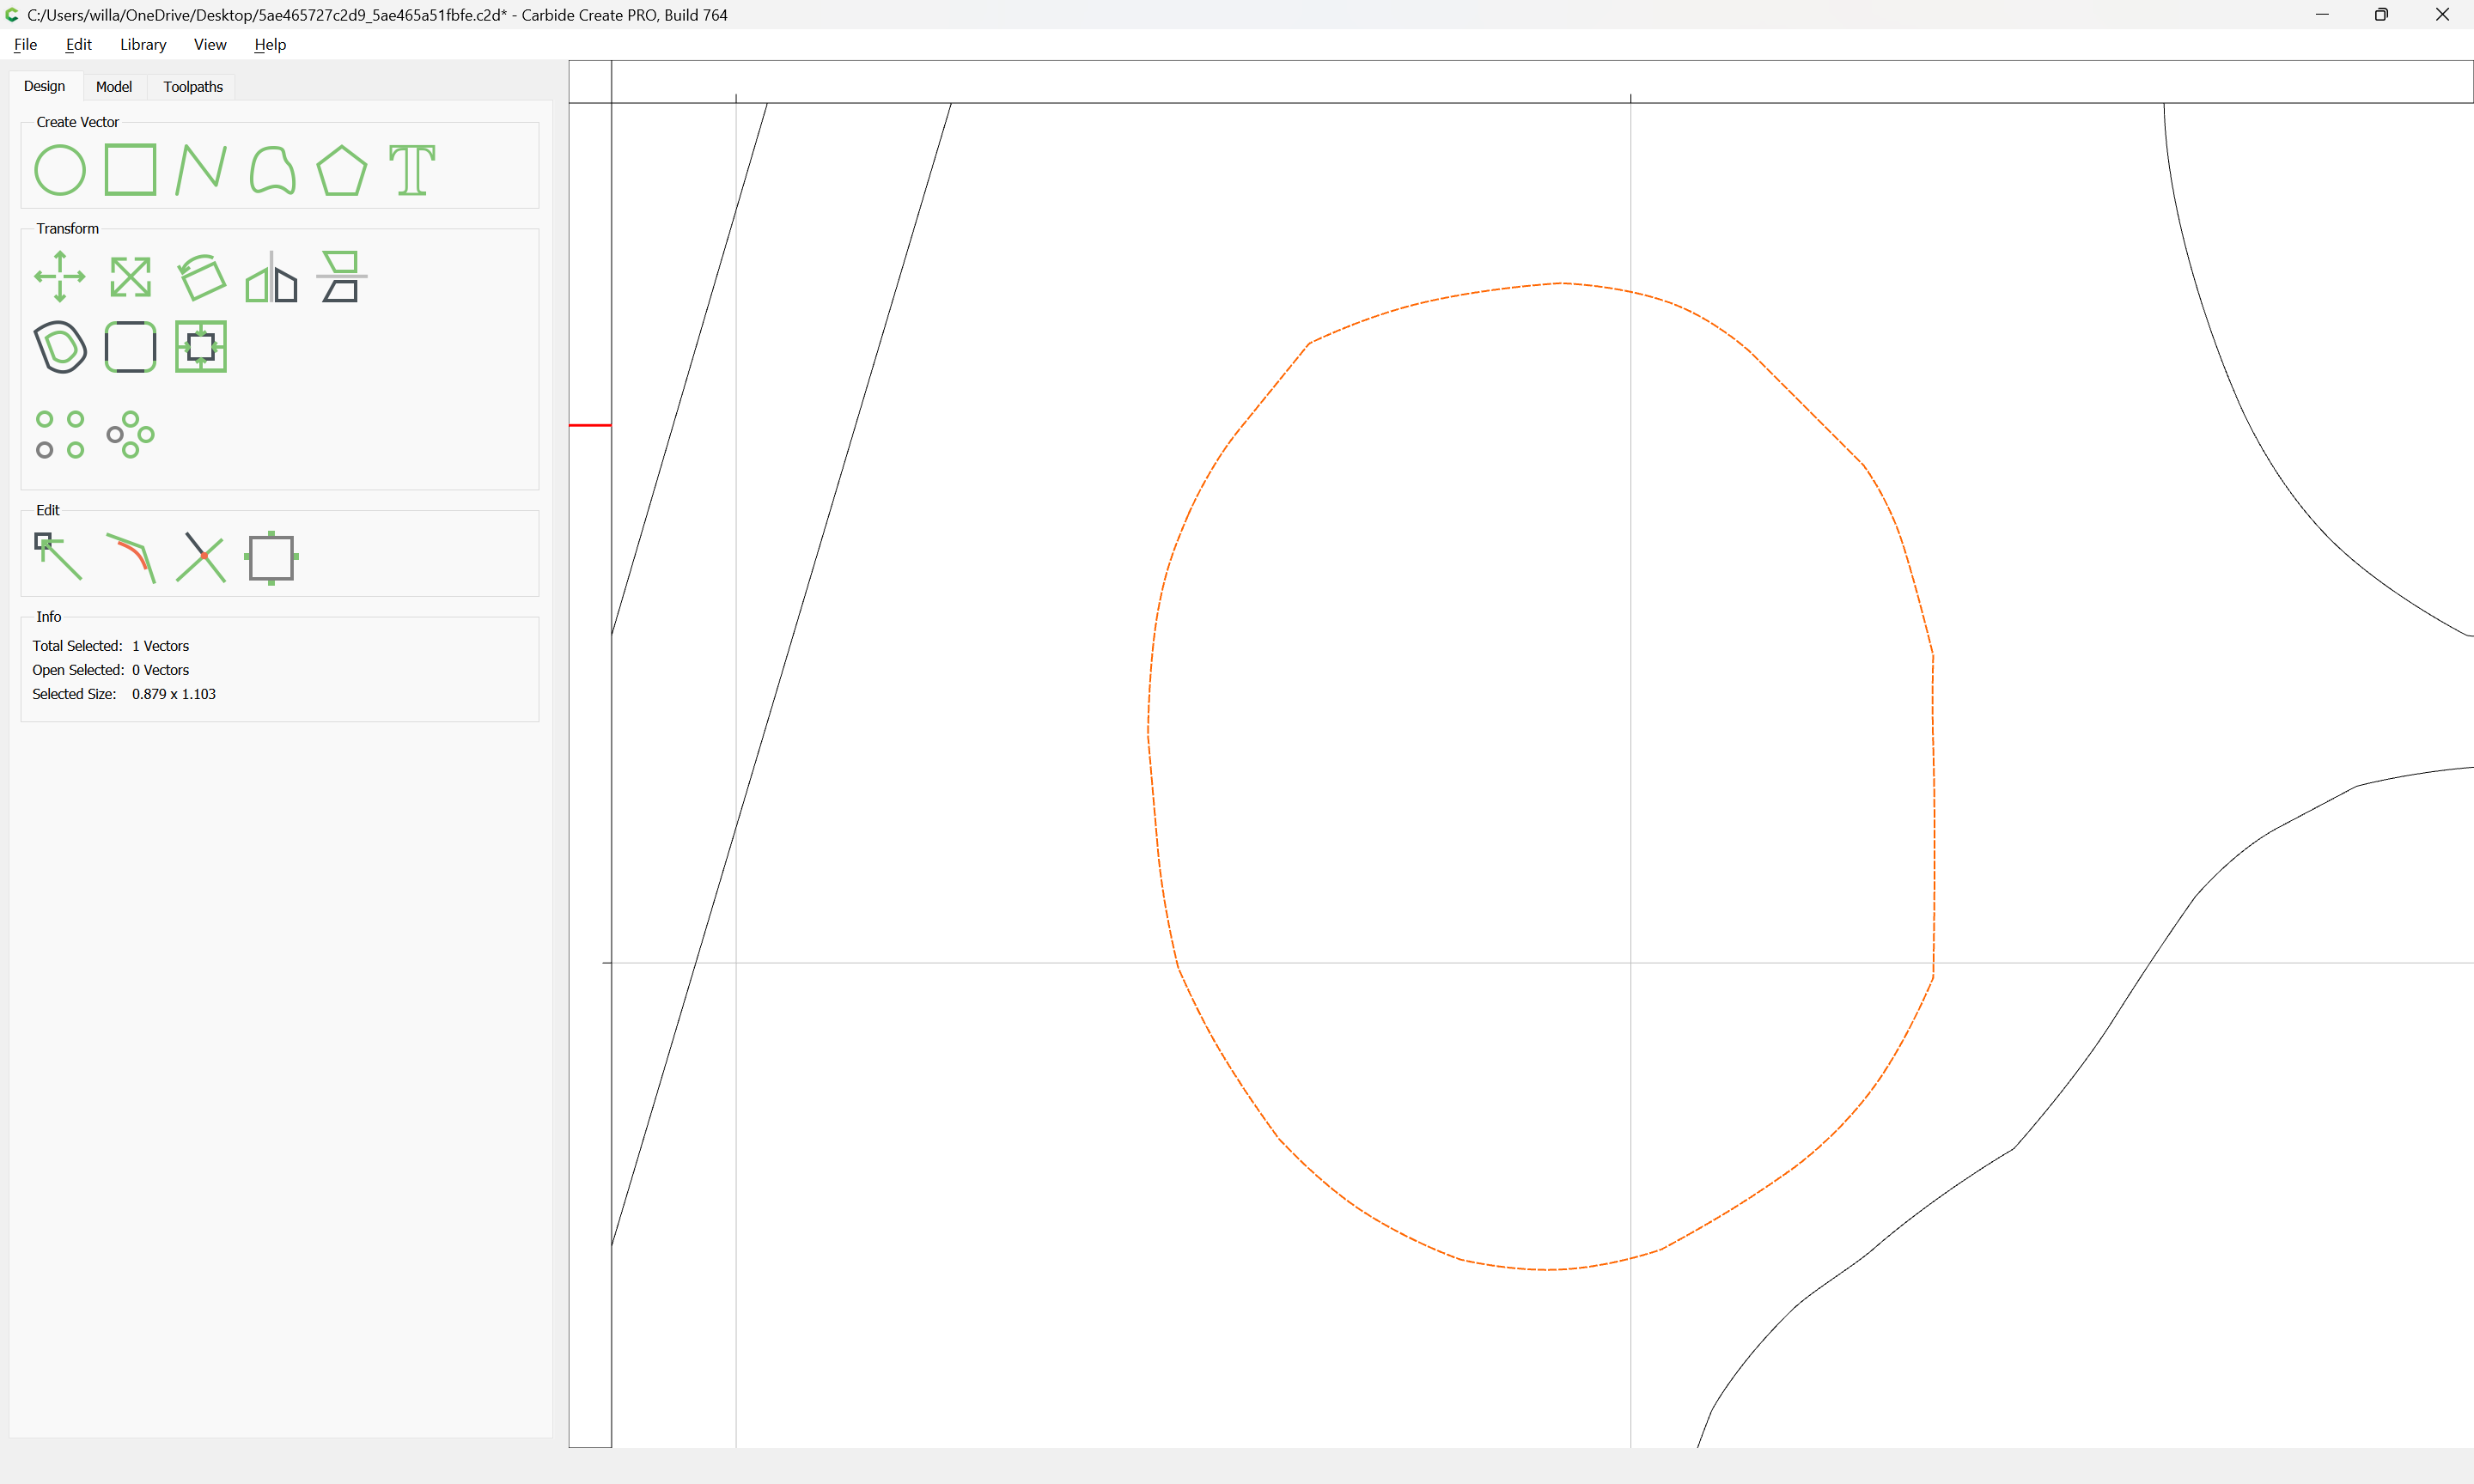
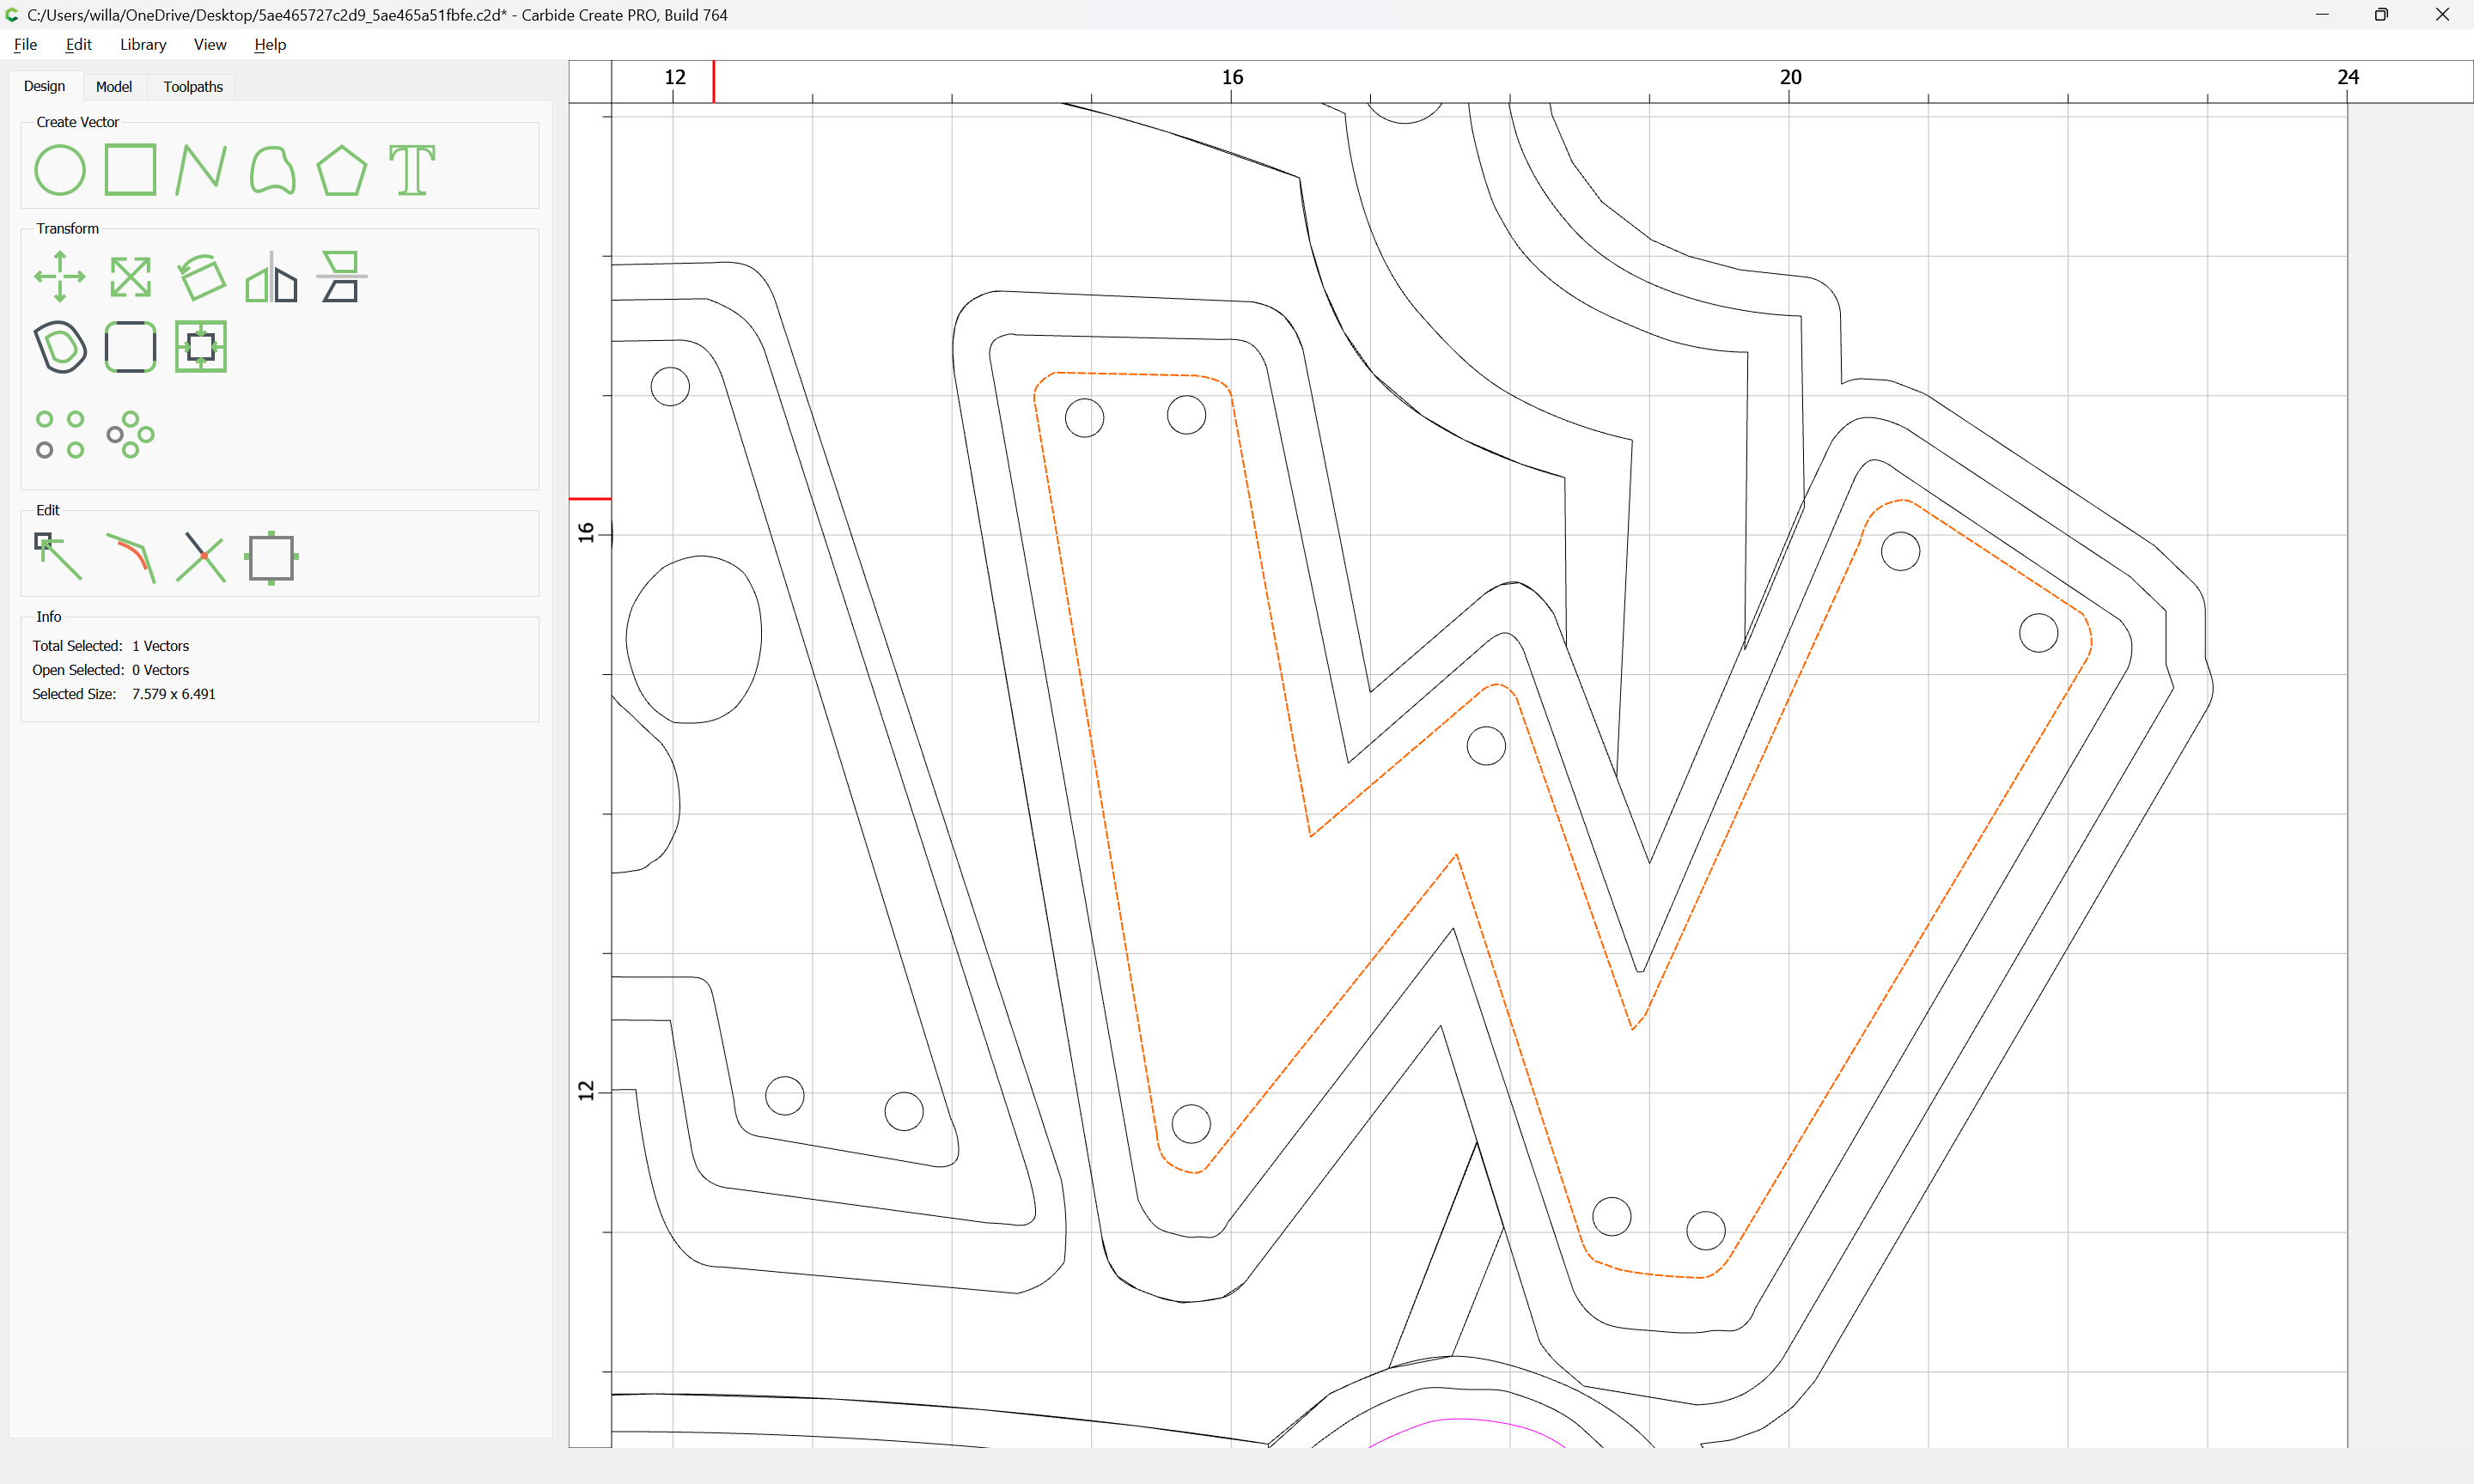
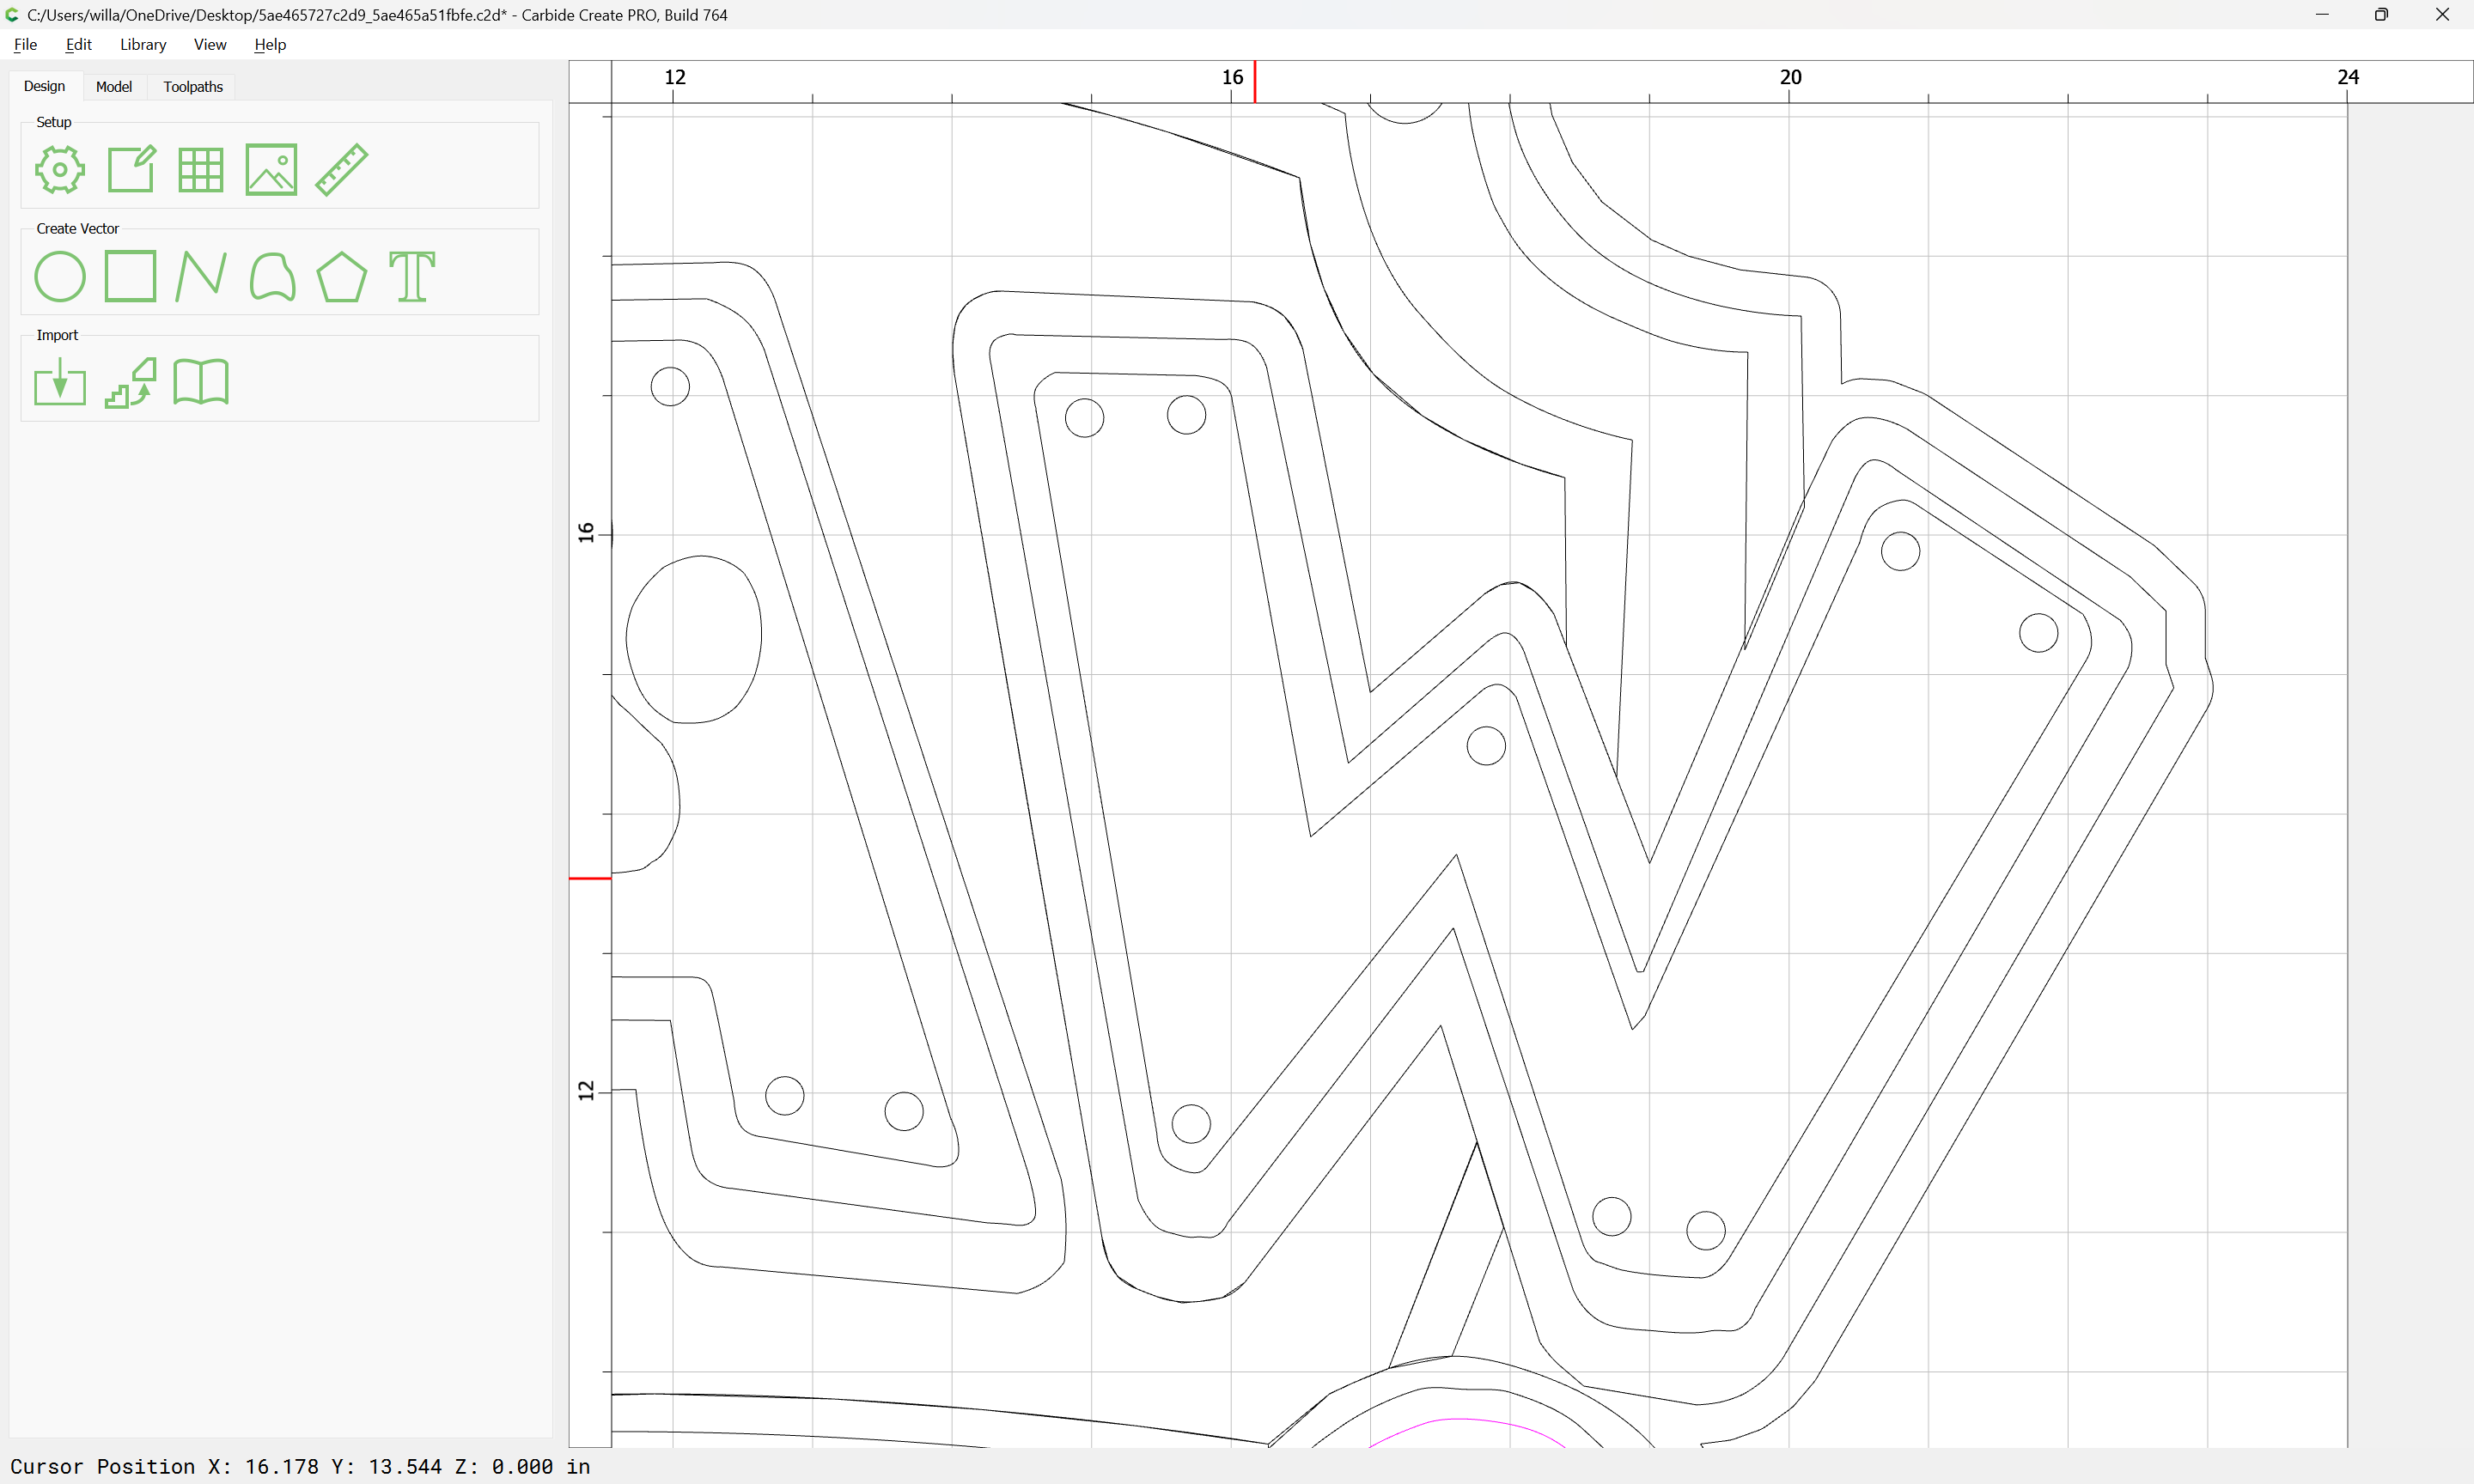
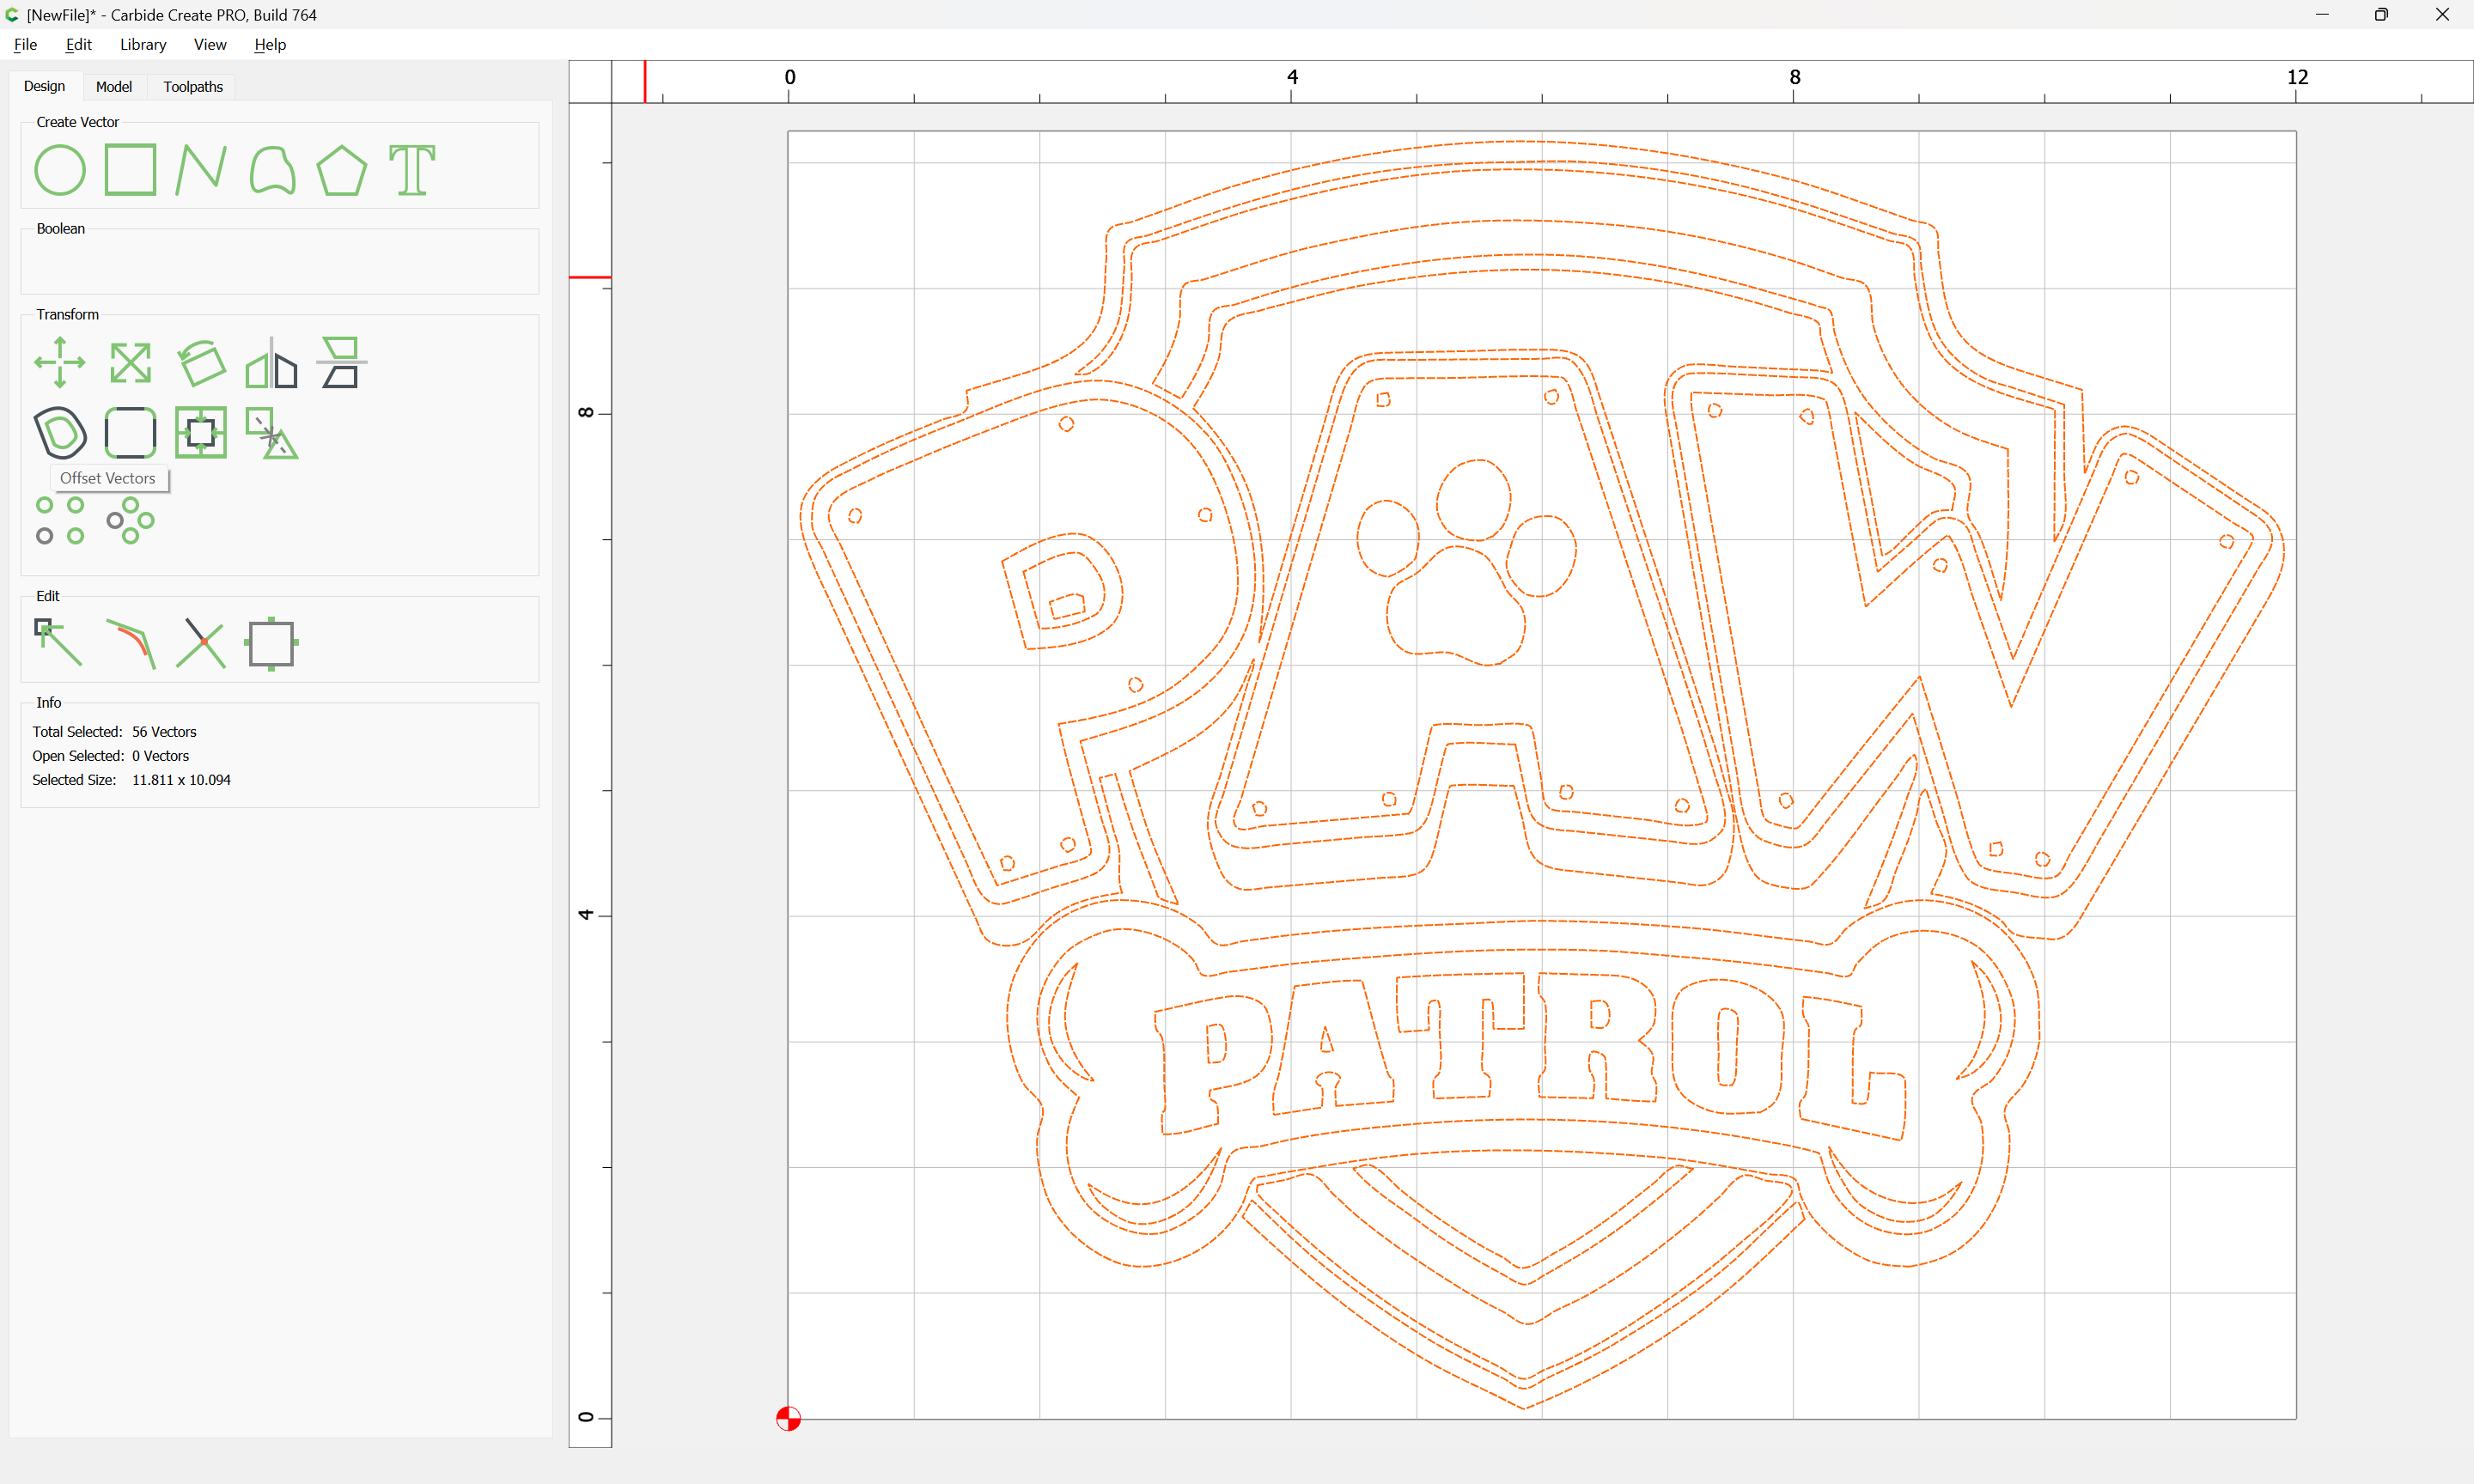
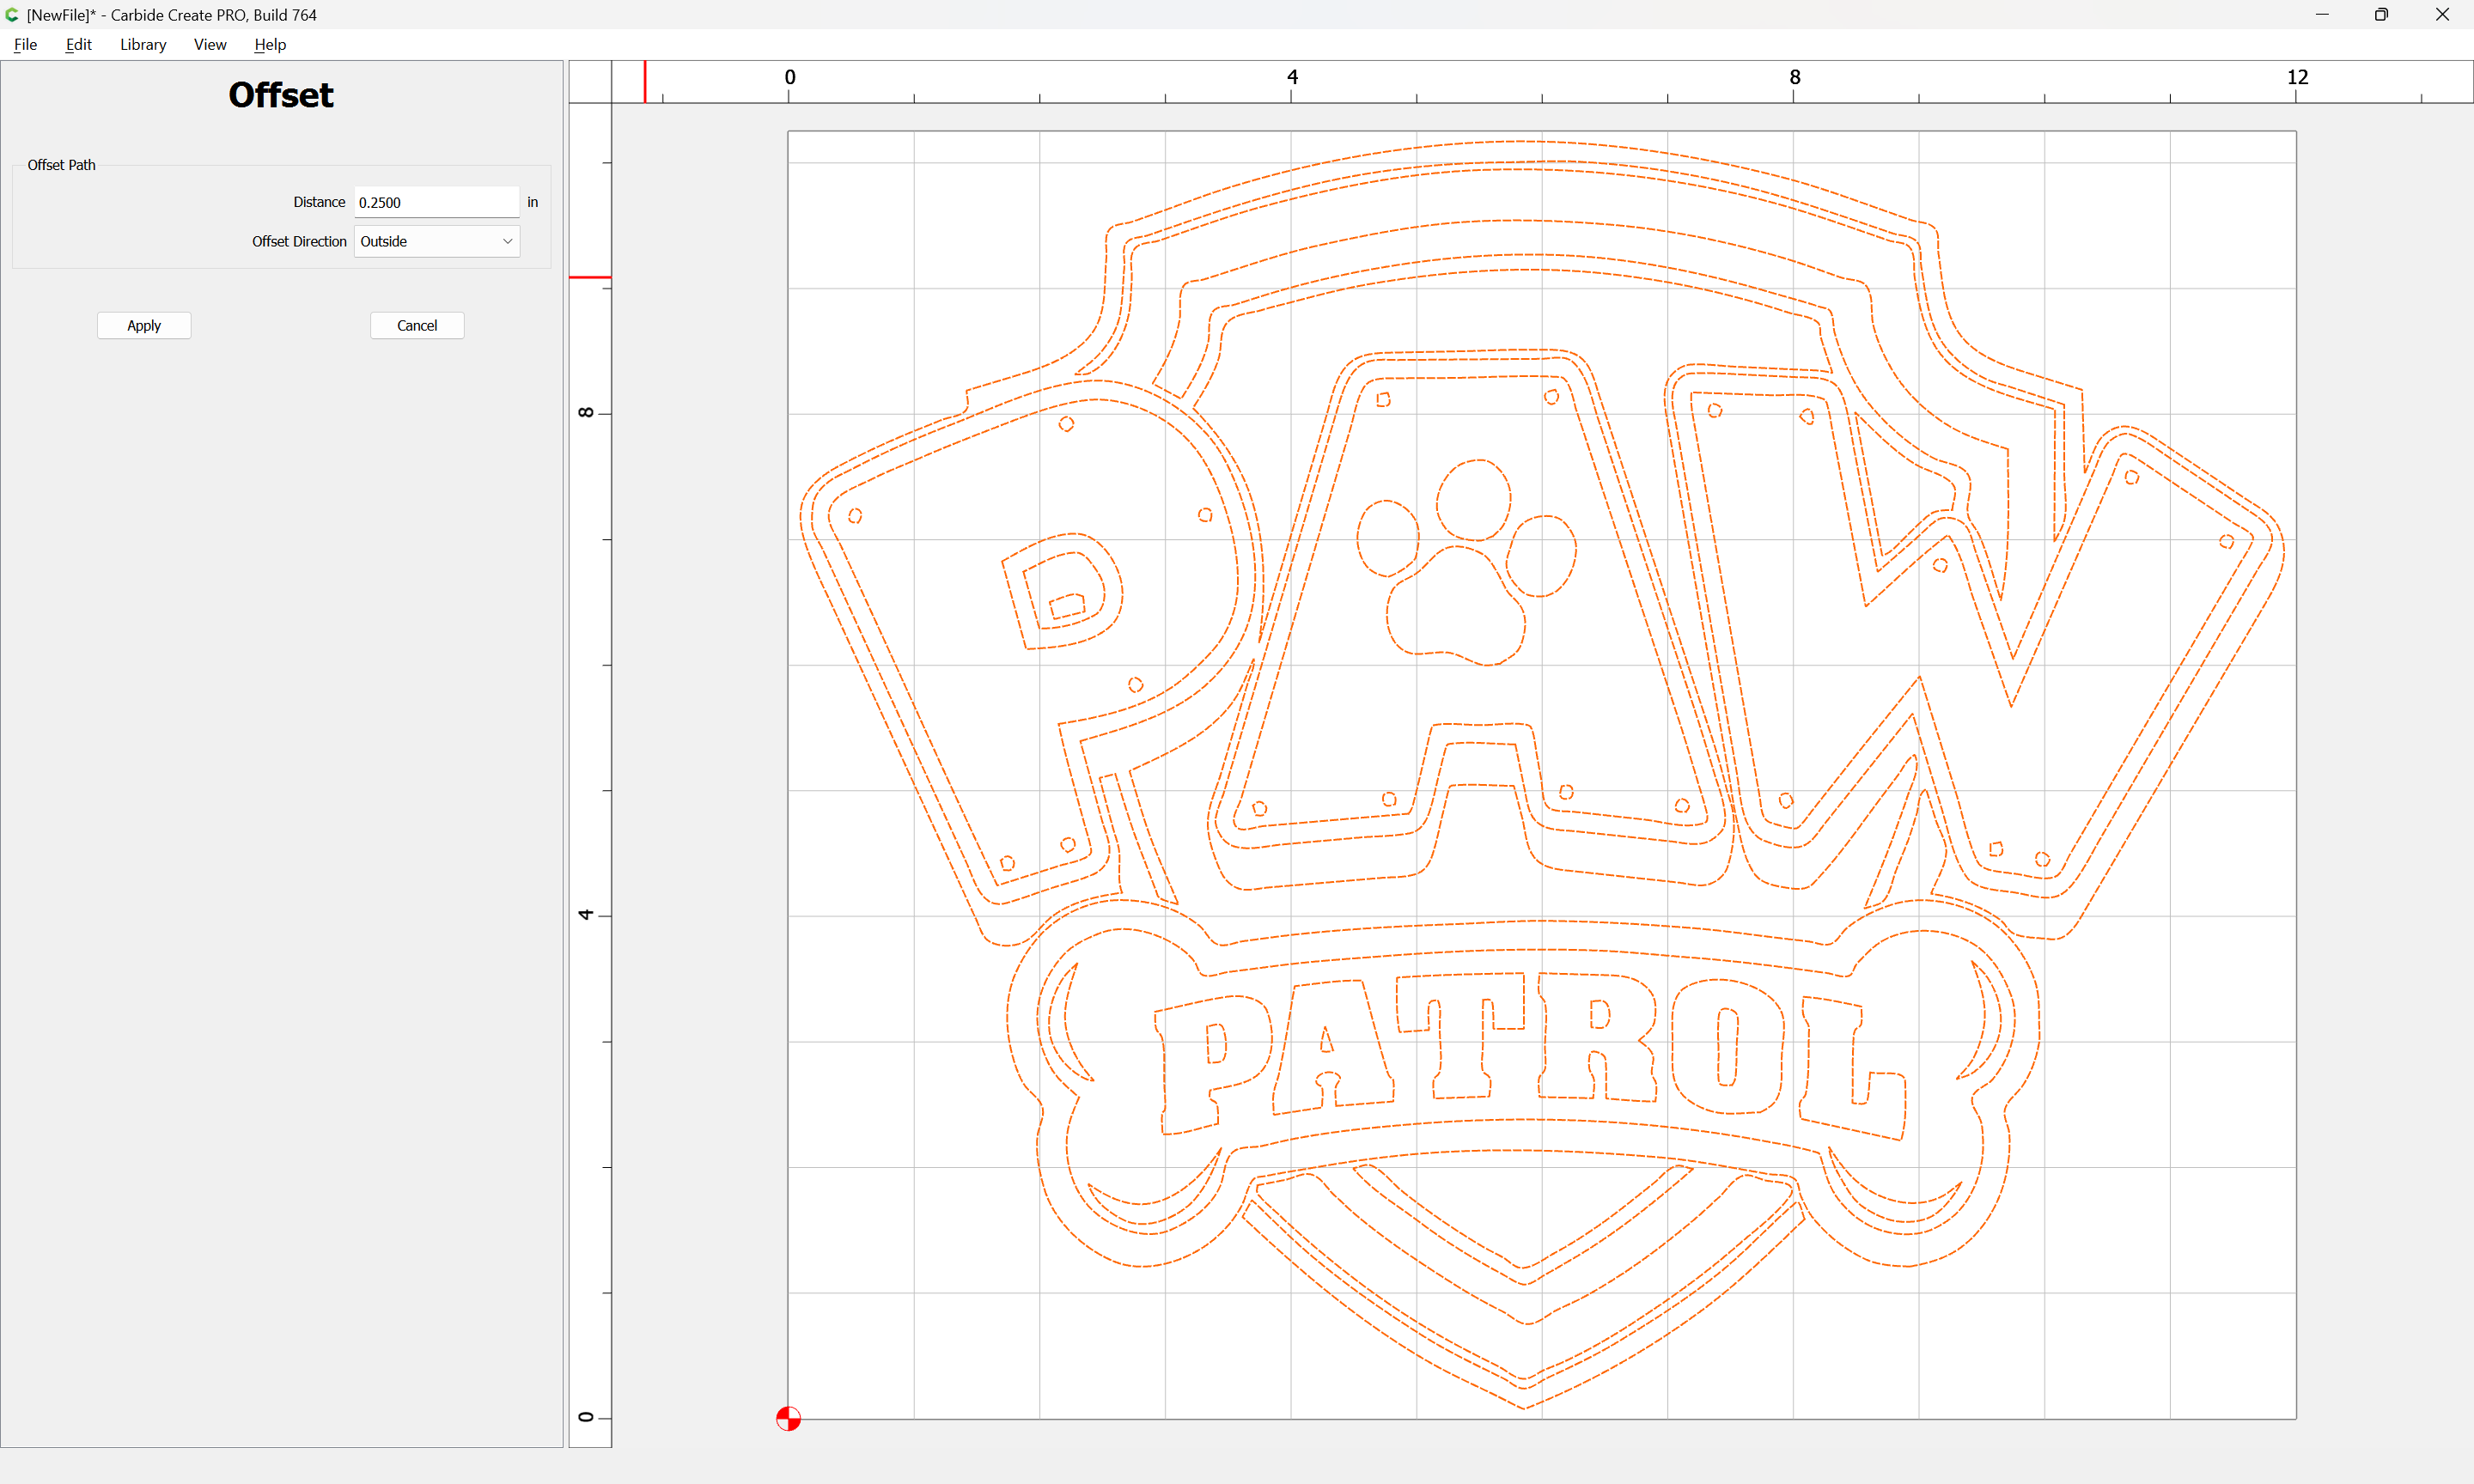
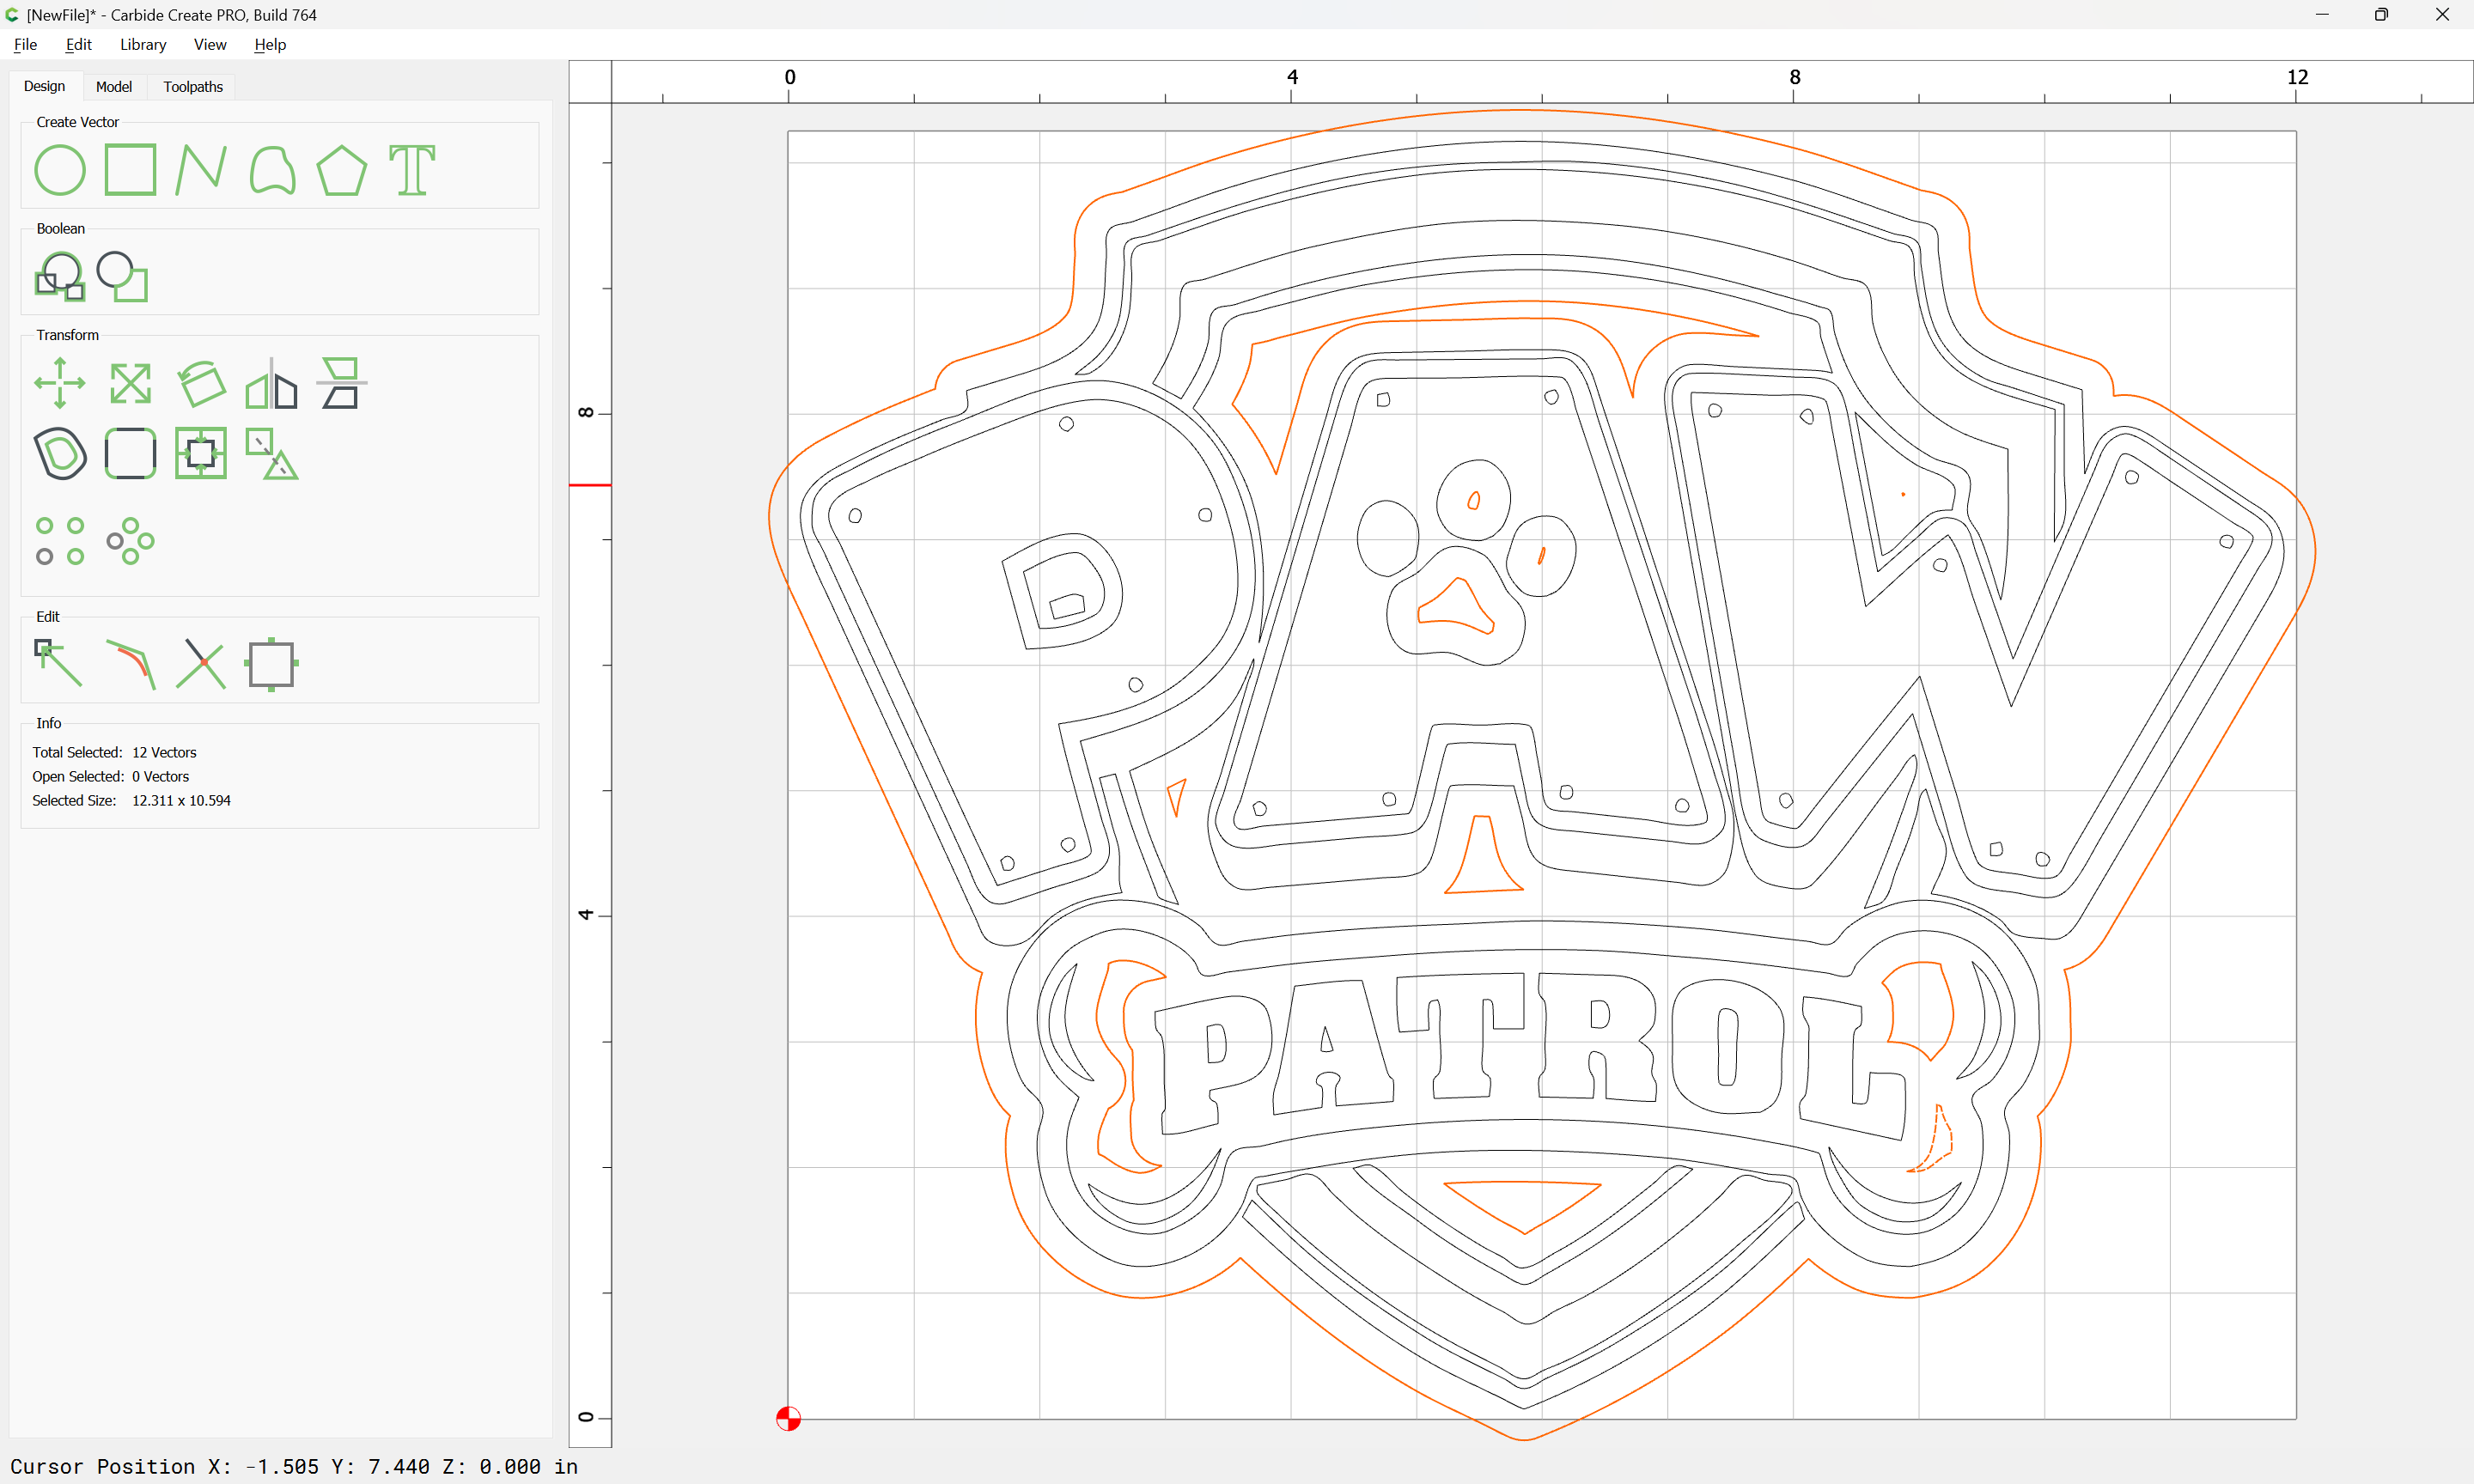
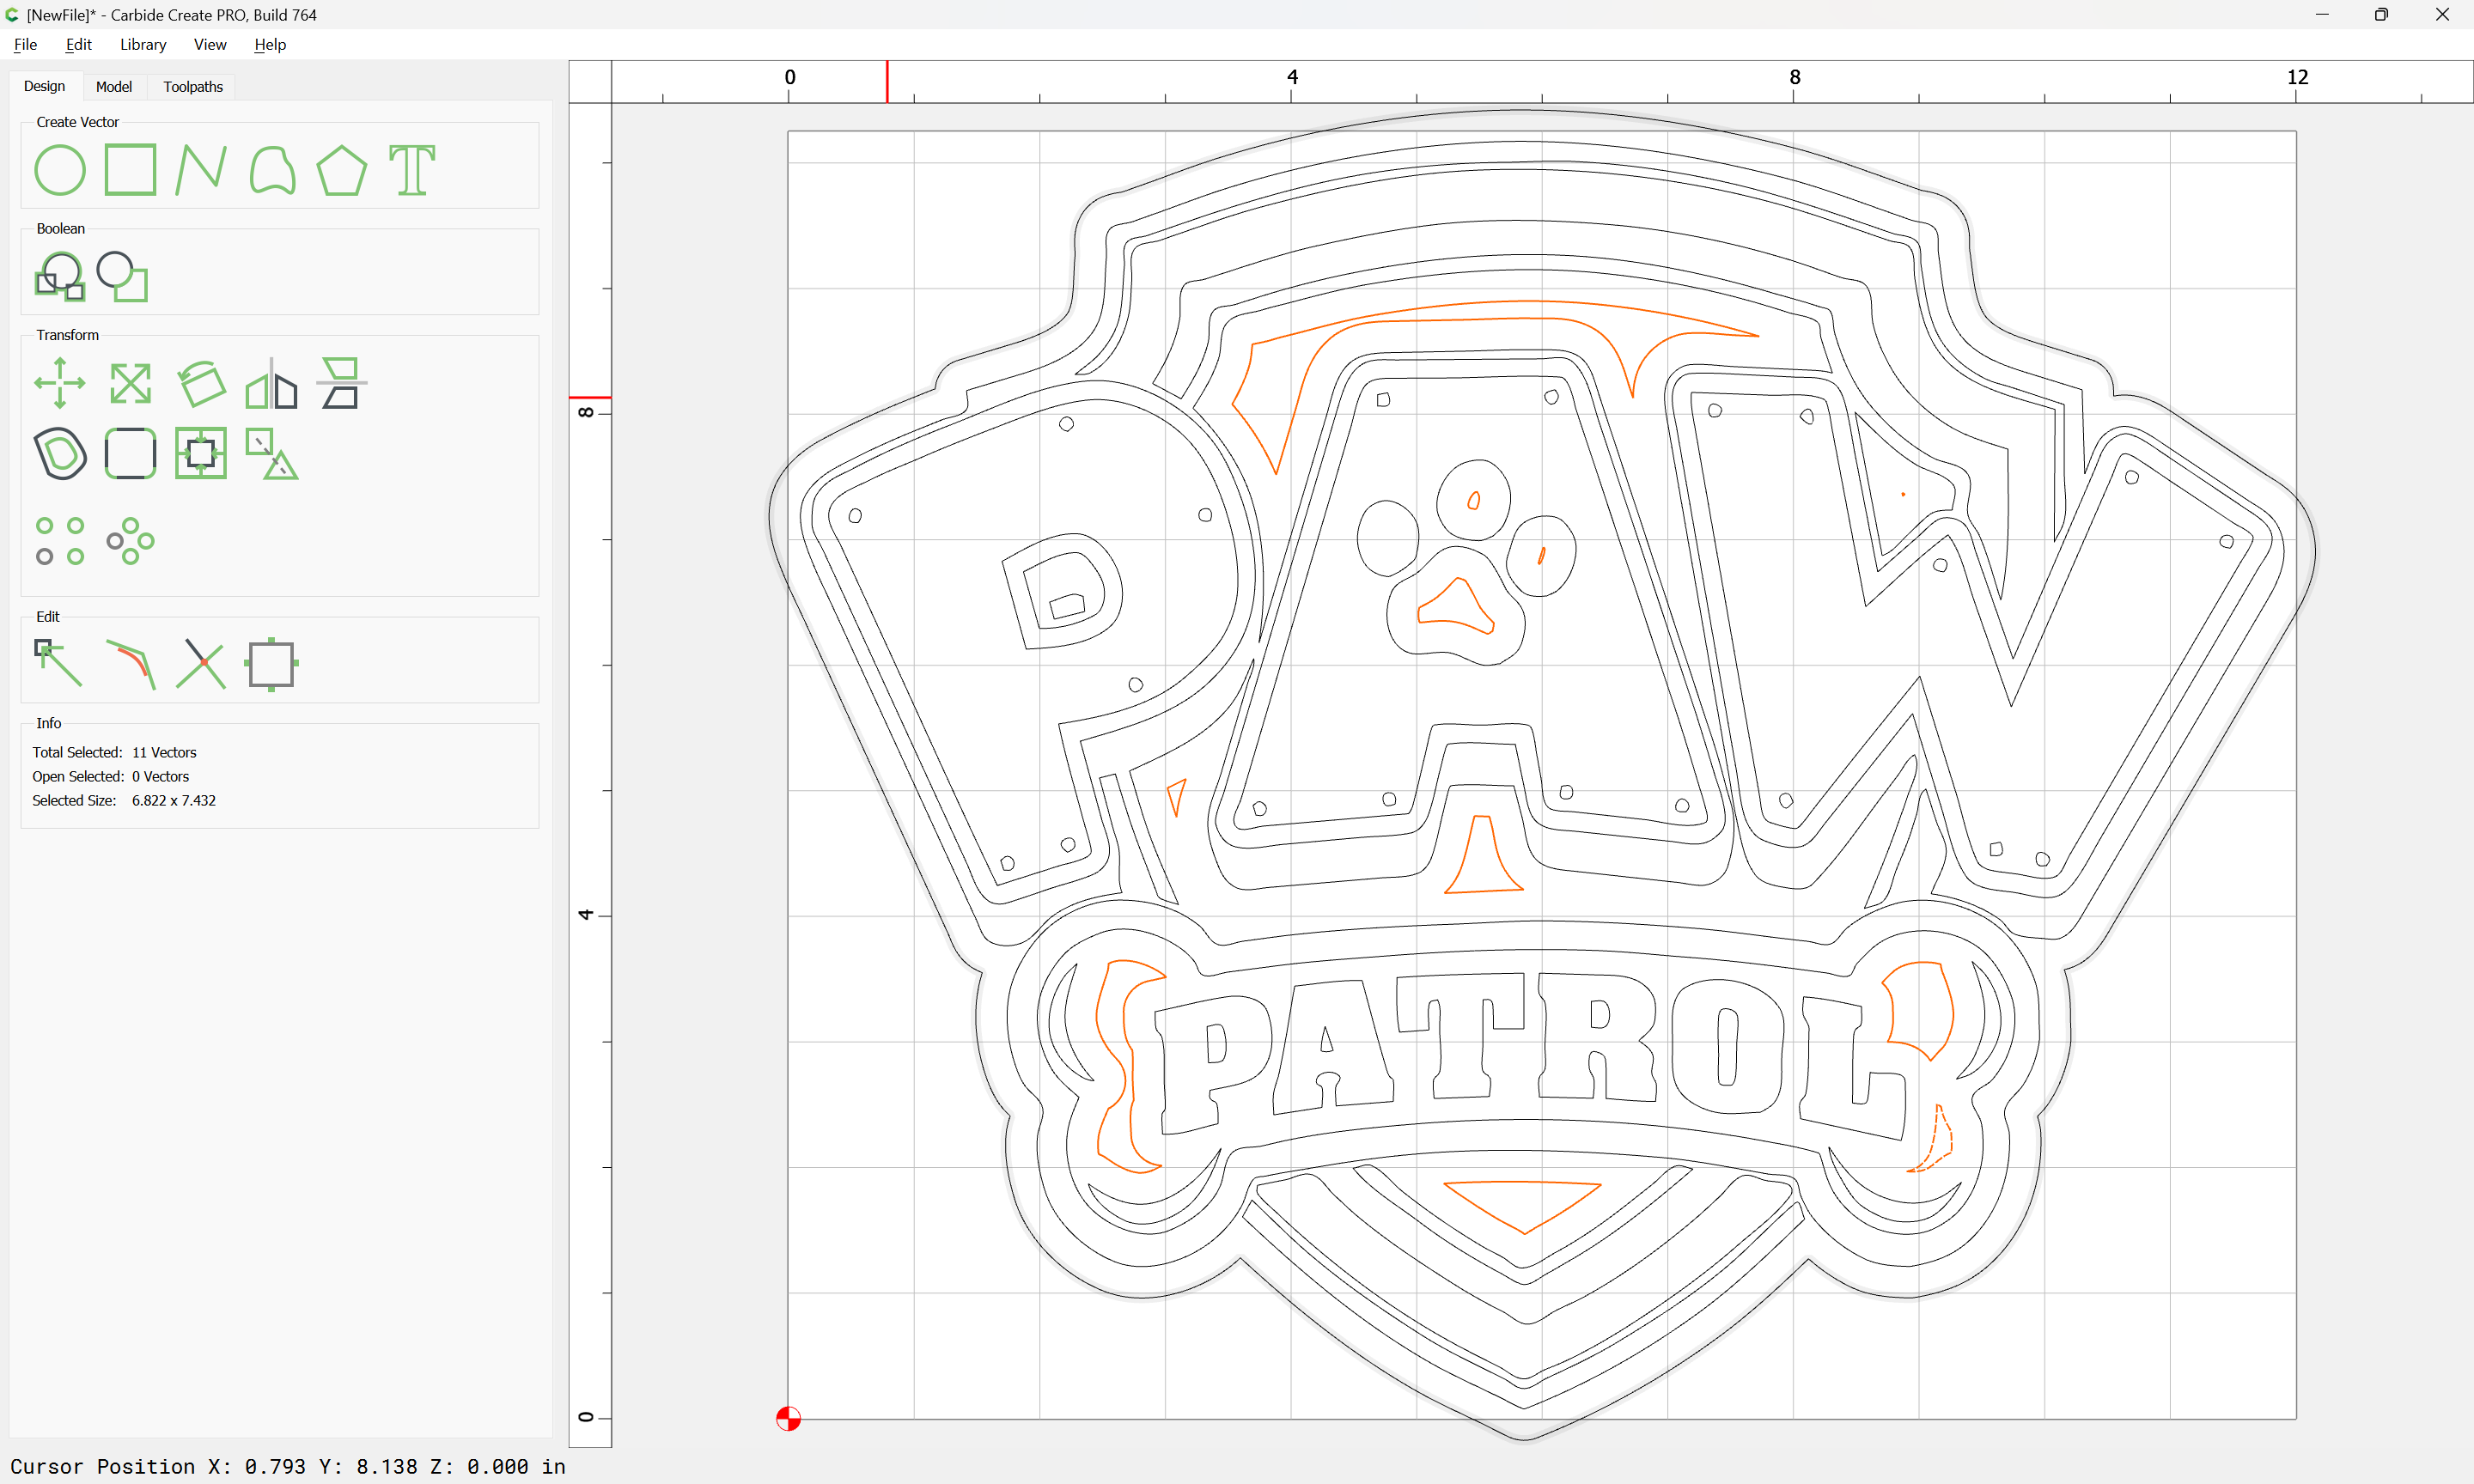
I believe all you need to do is select the whole design, GROUP it, and then apply an OUTSIDE offset at your preferred distance. That should leave you with a nice border around the design. Hope that helps.
@Geeber is correct here. To make a set of disparate shapes which one wants to present on a solid field, select them, offset everything, then if need be, delete everything but the surrounding geometry.
Thanks for your reply! I actually may try that. I am having a time trying to assign tool paths to the piece that Joseph designed on Cutrocket. The more I mess with these features though, the more I realize it’s pretty much like carving or whittling. Much of it has to do with what you want left. Having a block of wood in front of me and uncovering an old man’s face requires no thinking for me anymore. He just kinda “shows up”. (And he’s just as much a surprise to me as he is to everyone else.) This kind of carving is an entirely different ballgame. You have to know exactly what your suspect looks like before you start. That’s gonna take some gettin’ used to.
In the CNC design world, it seems there are two major design workflows
For 3D modelling, you define the model, then the computer figures out how to remove everything else. This is the extra functionality you get in CC Pro.
For what is called “2.5 D” modelling (like your project here), it more like the old joke about carving an elephant - How do you carve an elephant? Step 1, get a block of stone. Step 2, remove everything that doesn’t look like an elephant. Here, you as a designer are responsible for determining what to remove, so that what is left is the object you want.
WOW! Thanks for the links! I have been staring at this screen ALL day long (and I get up early). I’ve spent the last 20 minutes trying to decide whether I was humbled or overwhelmed by your post. I’ve come to the conclusion that I am overwhelmingly humbled. When you get older, you think “I don’t have the time left to get that good!” (I’d settle on understanding at least a portion of your links.)
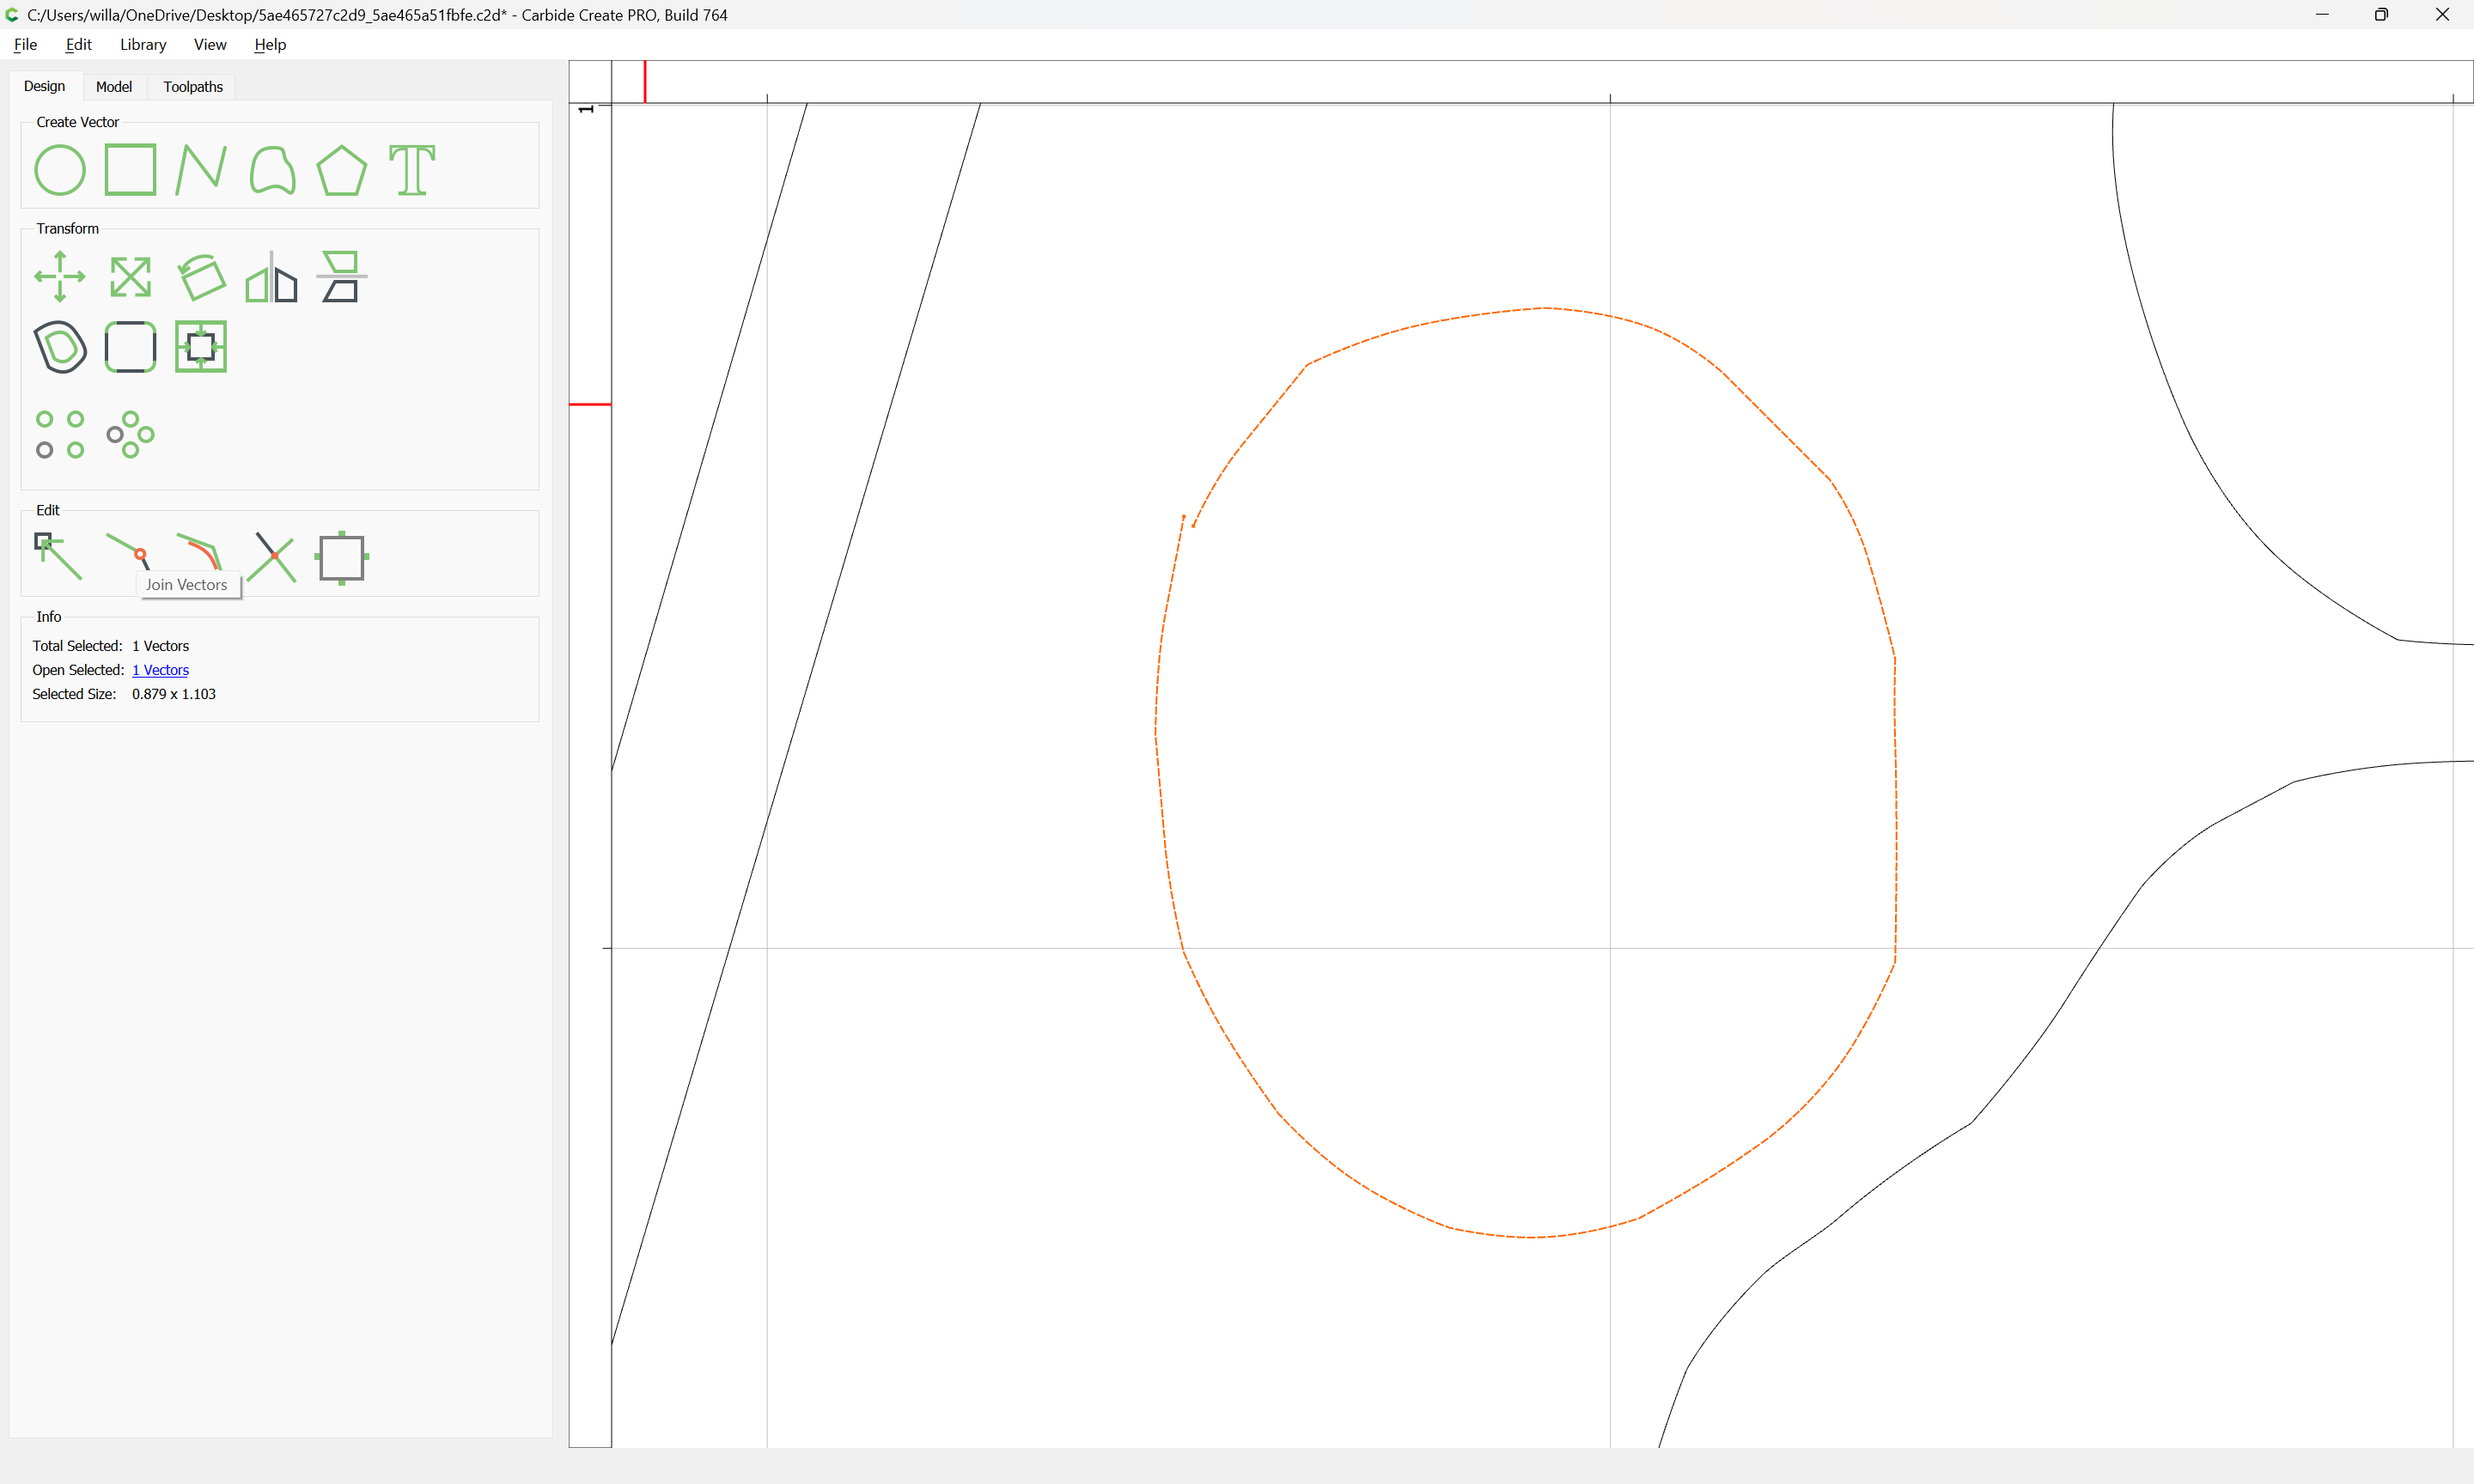
Id be curious to see how difficult you think it would be to assign tool paths to this project posted over at Cutrocket. I went in and connected some vectors and a few other things but it has totally stolen my day. Then I read your post and looked at the links… Geesh!!
I think I am going to call it for today. I 'll look at the links you shared more closely once I get my mind jumpstarted again. They looked pack slam full !
The young should never envy their elders for their experience, for the elders have paid for it by emptying a purse which can never be refilled.
My first job out of college was drawing 40+ hours a week using Freehand and Adobe Illustrator — eventually one puzzles out something.
I am guessing that the file in question was done in an older version of Carbide Create and that the automated process of updating to the current version didn’t quite work as expected:
INCREDIBLE! Thank you so much! How awesome! I have to scour through these and see if I can get one of these cut out tomorrow. My granddaughter would love it. I see her on Wednesdays.
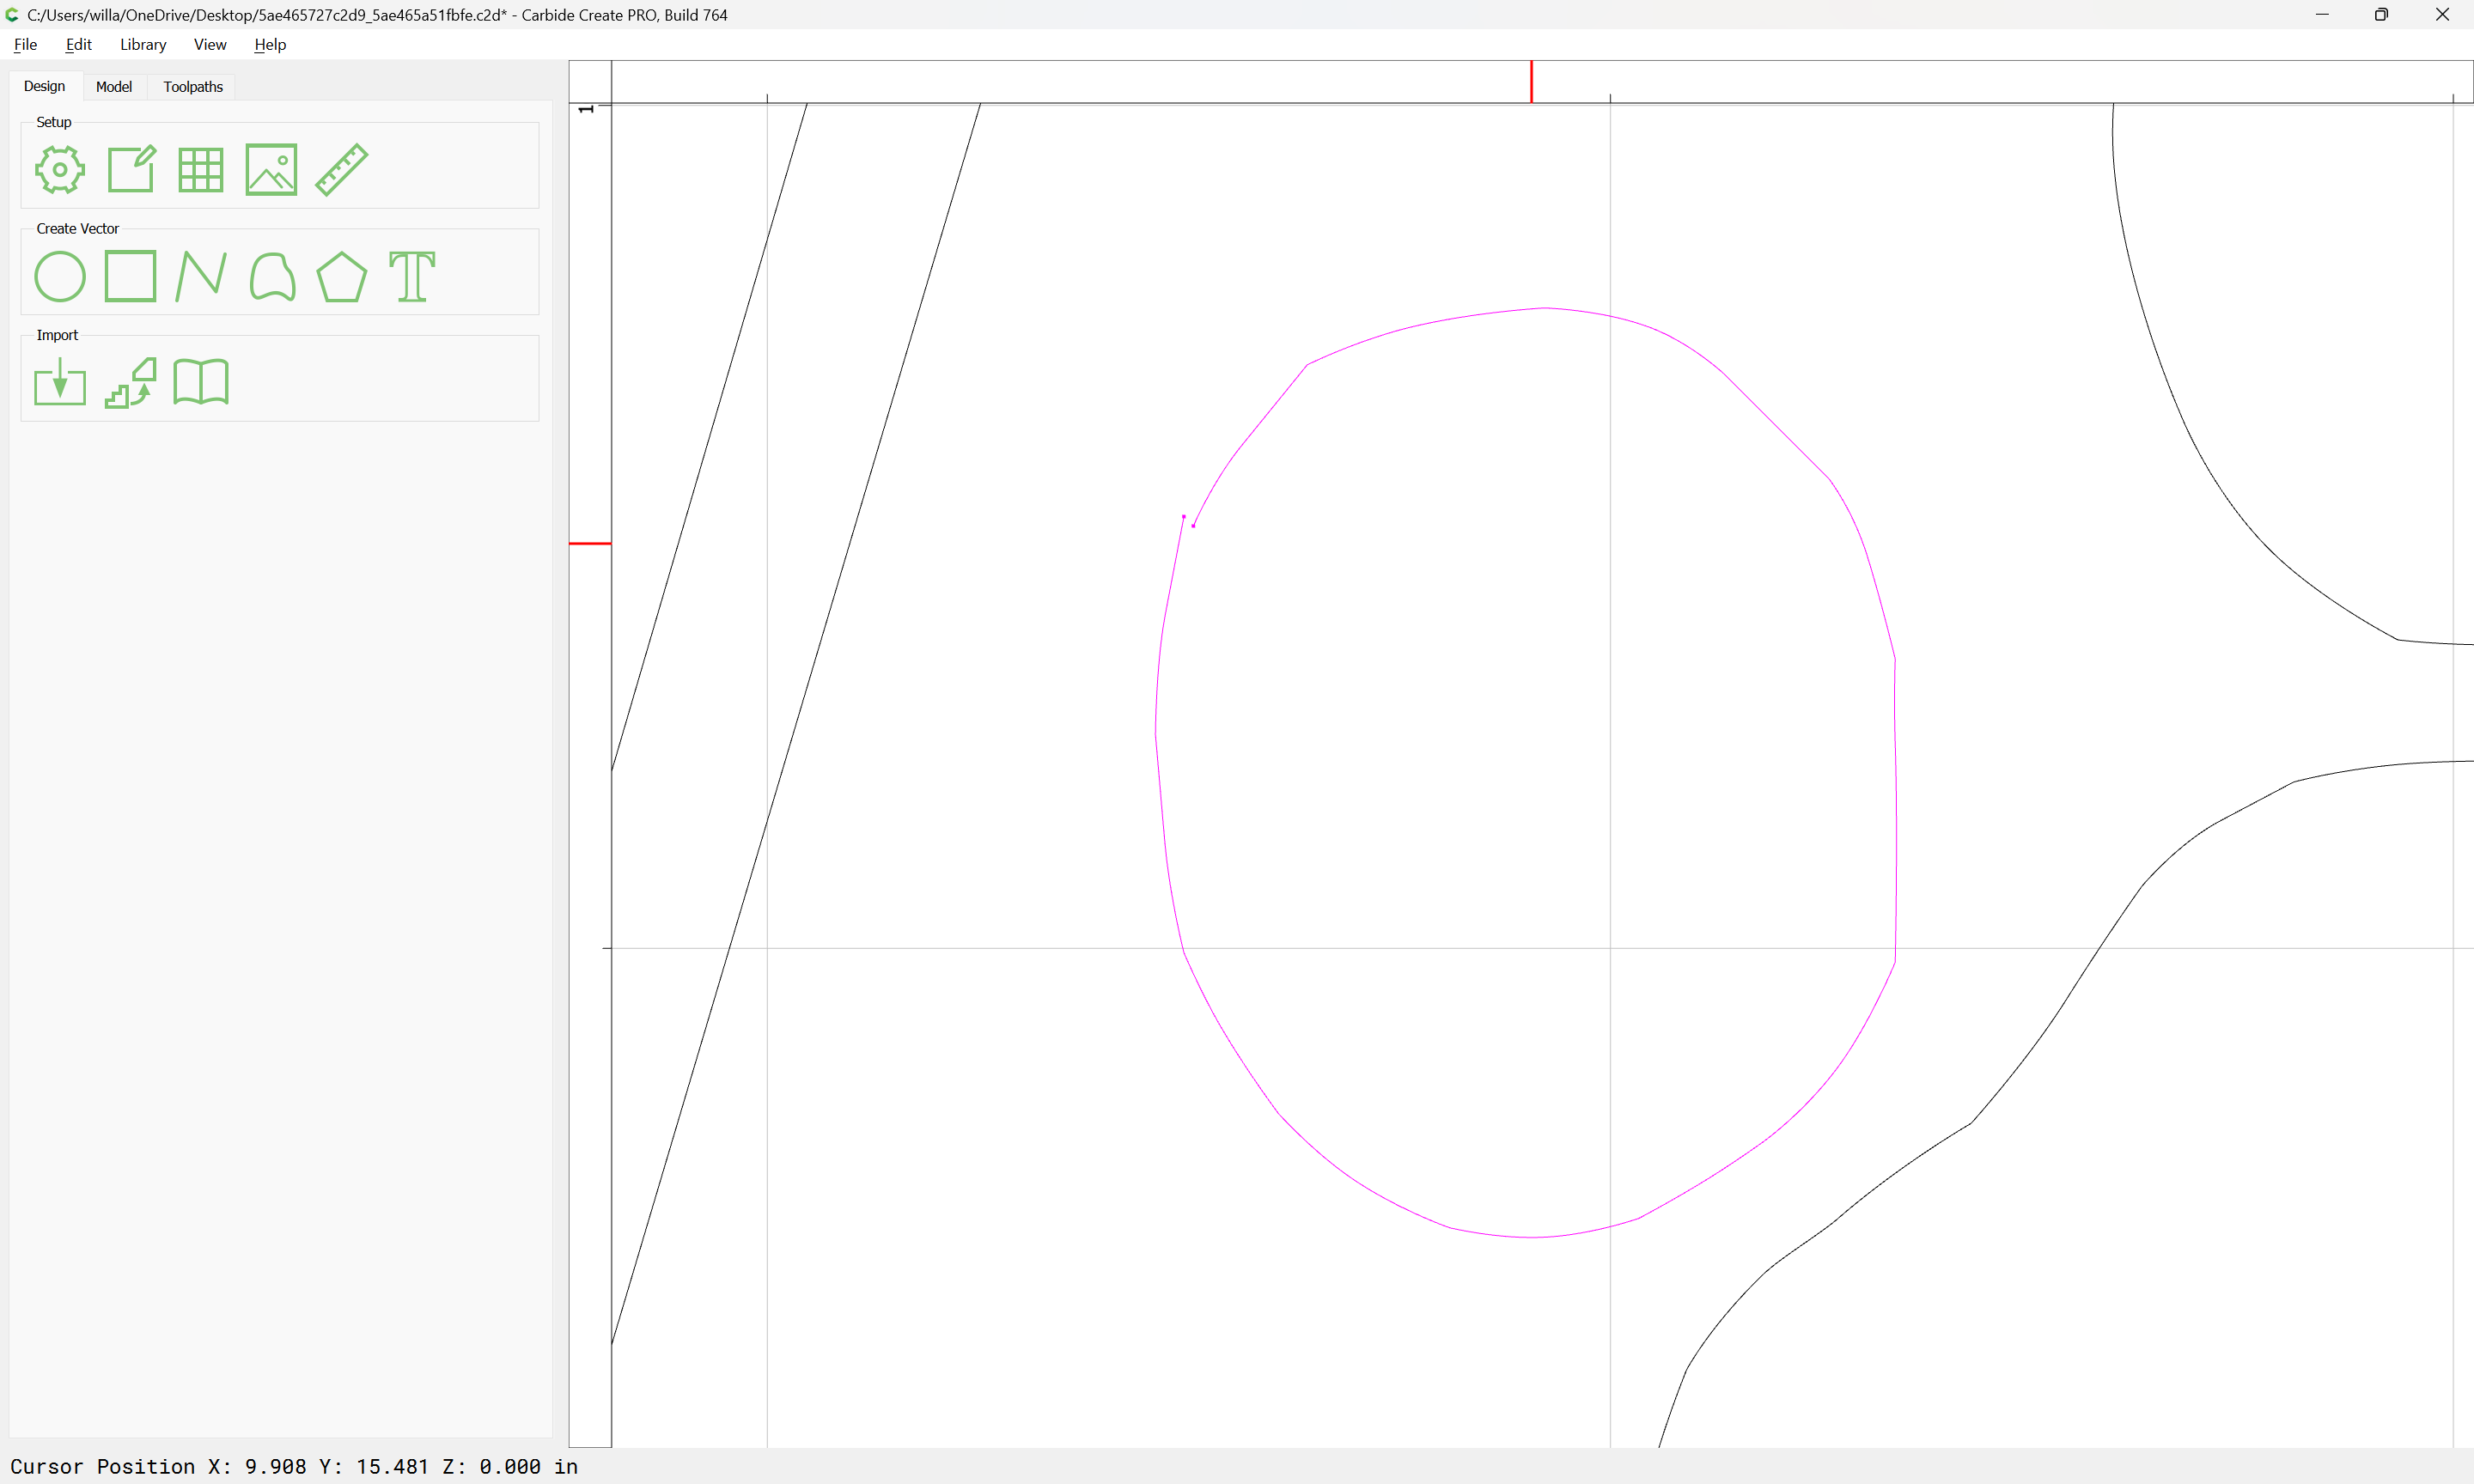
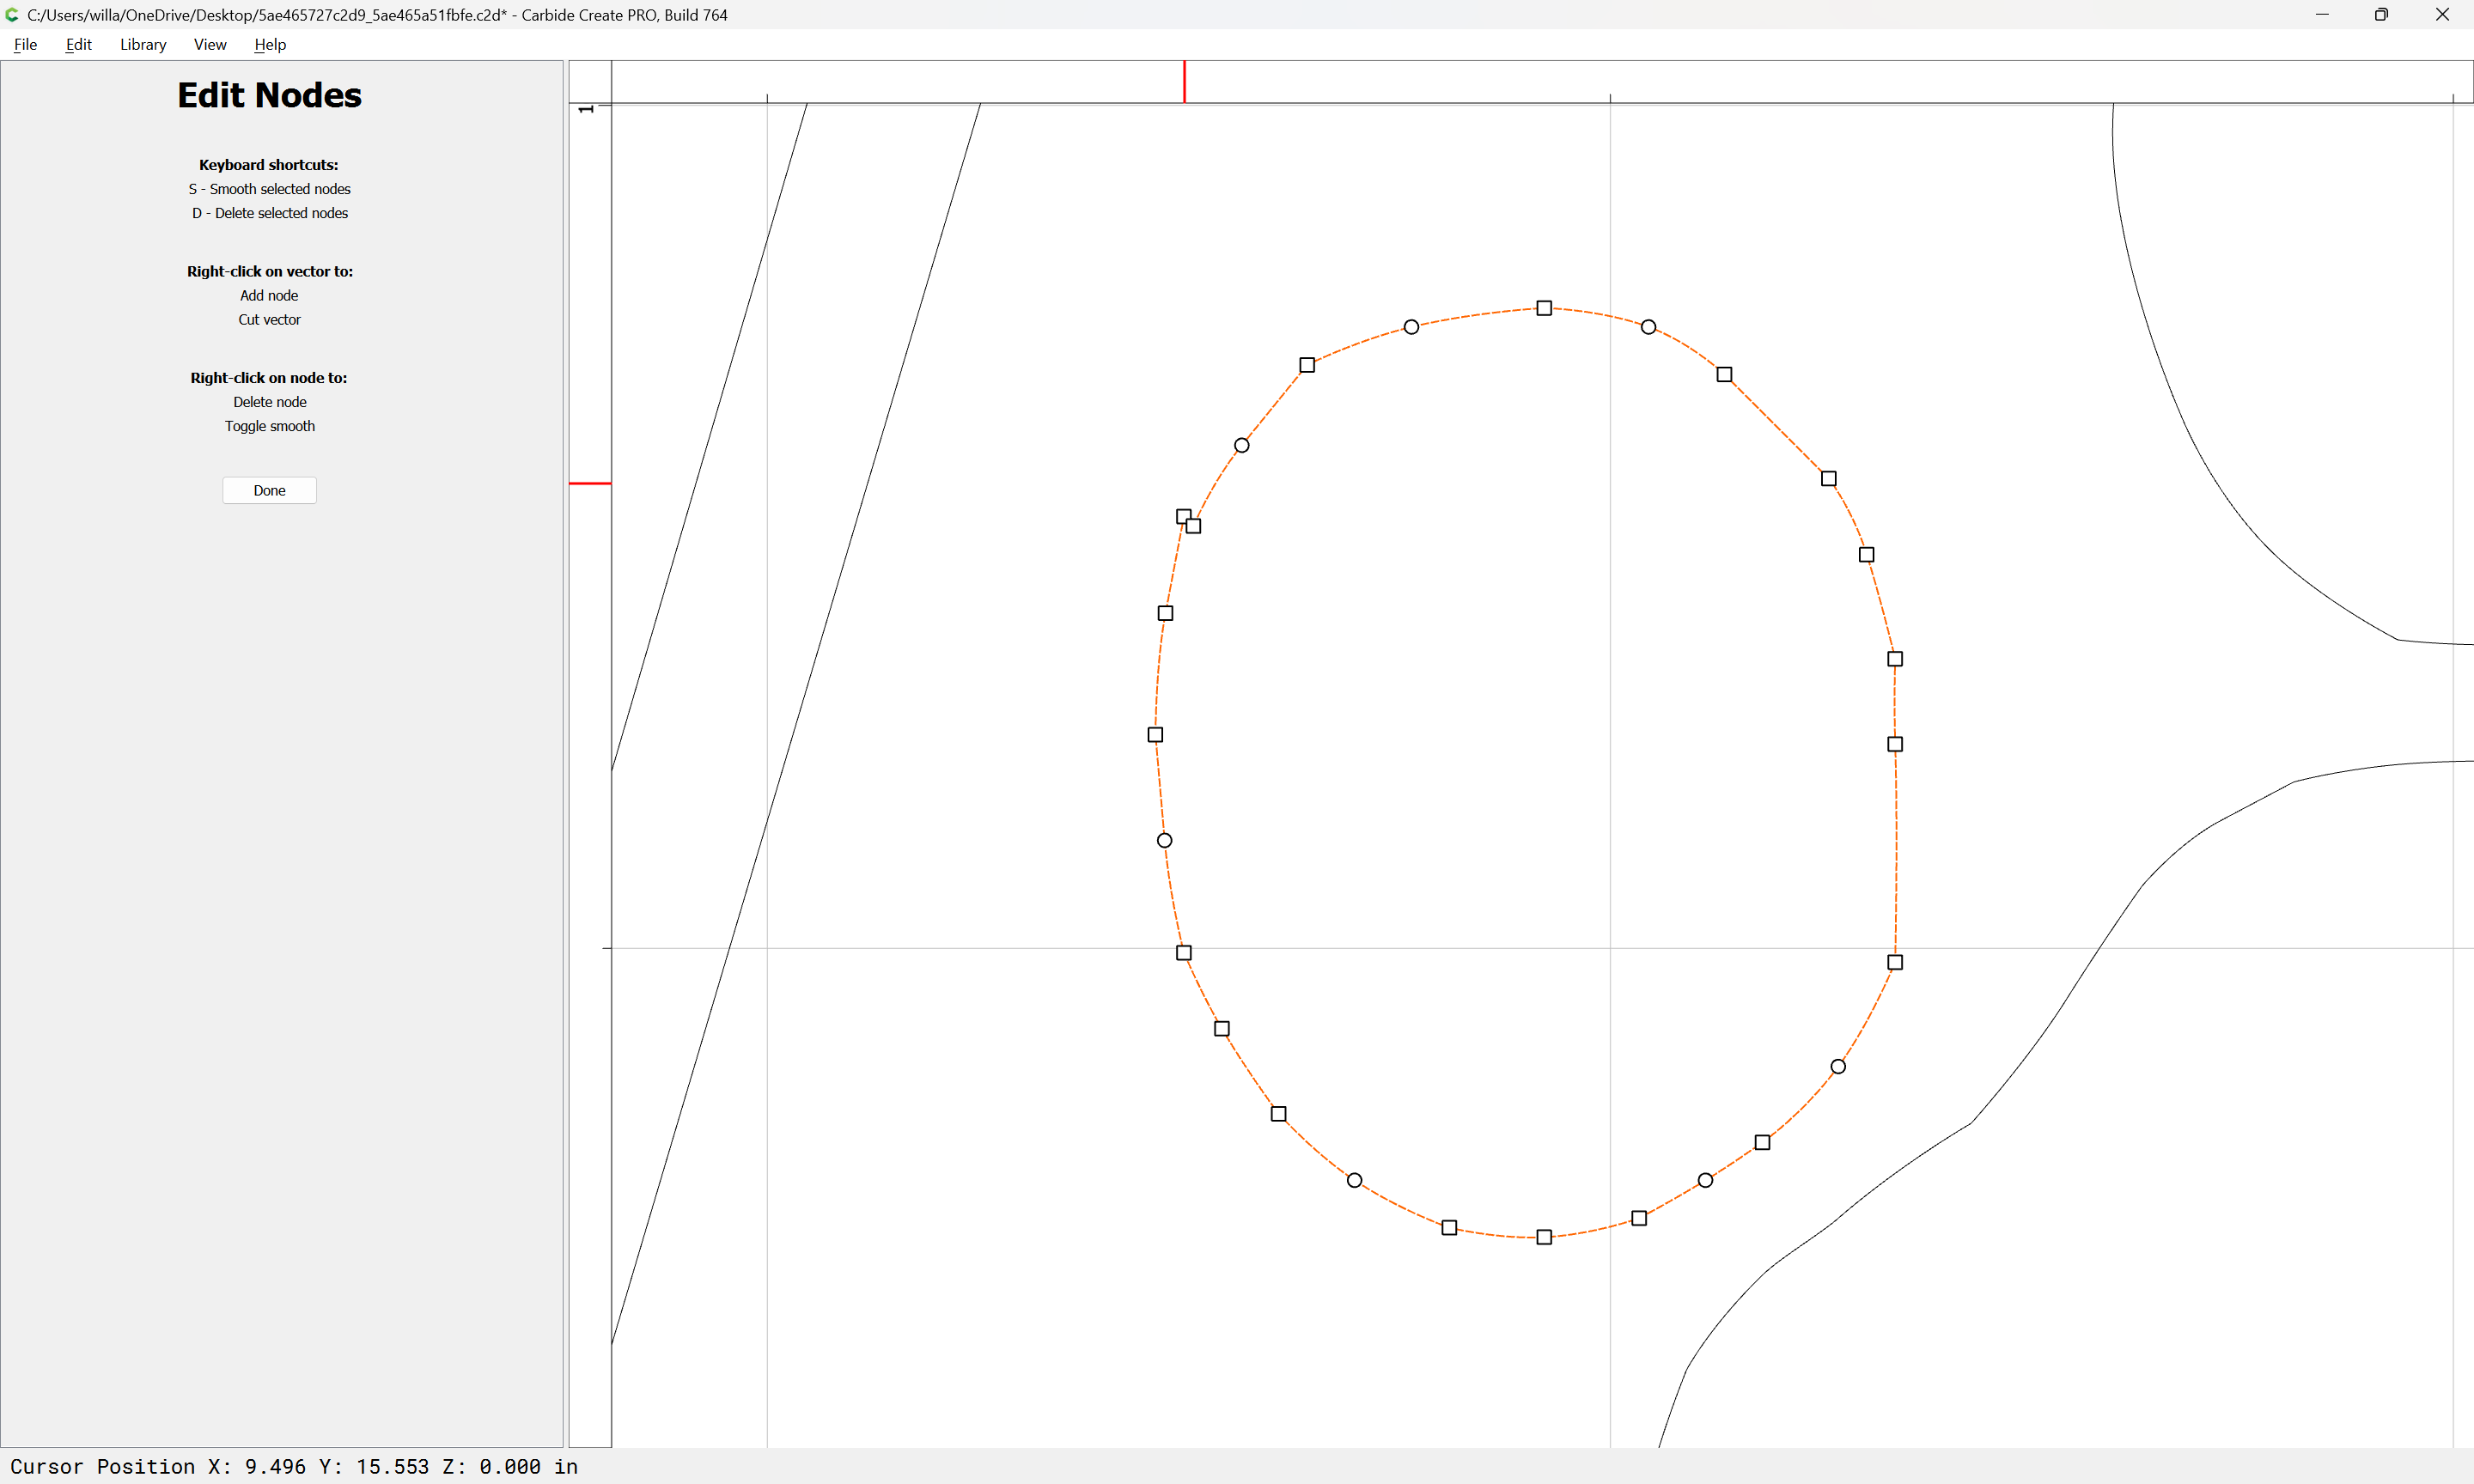
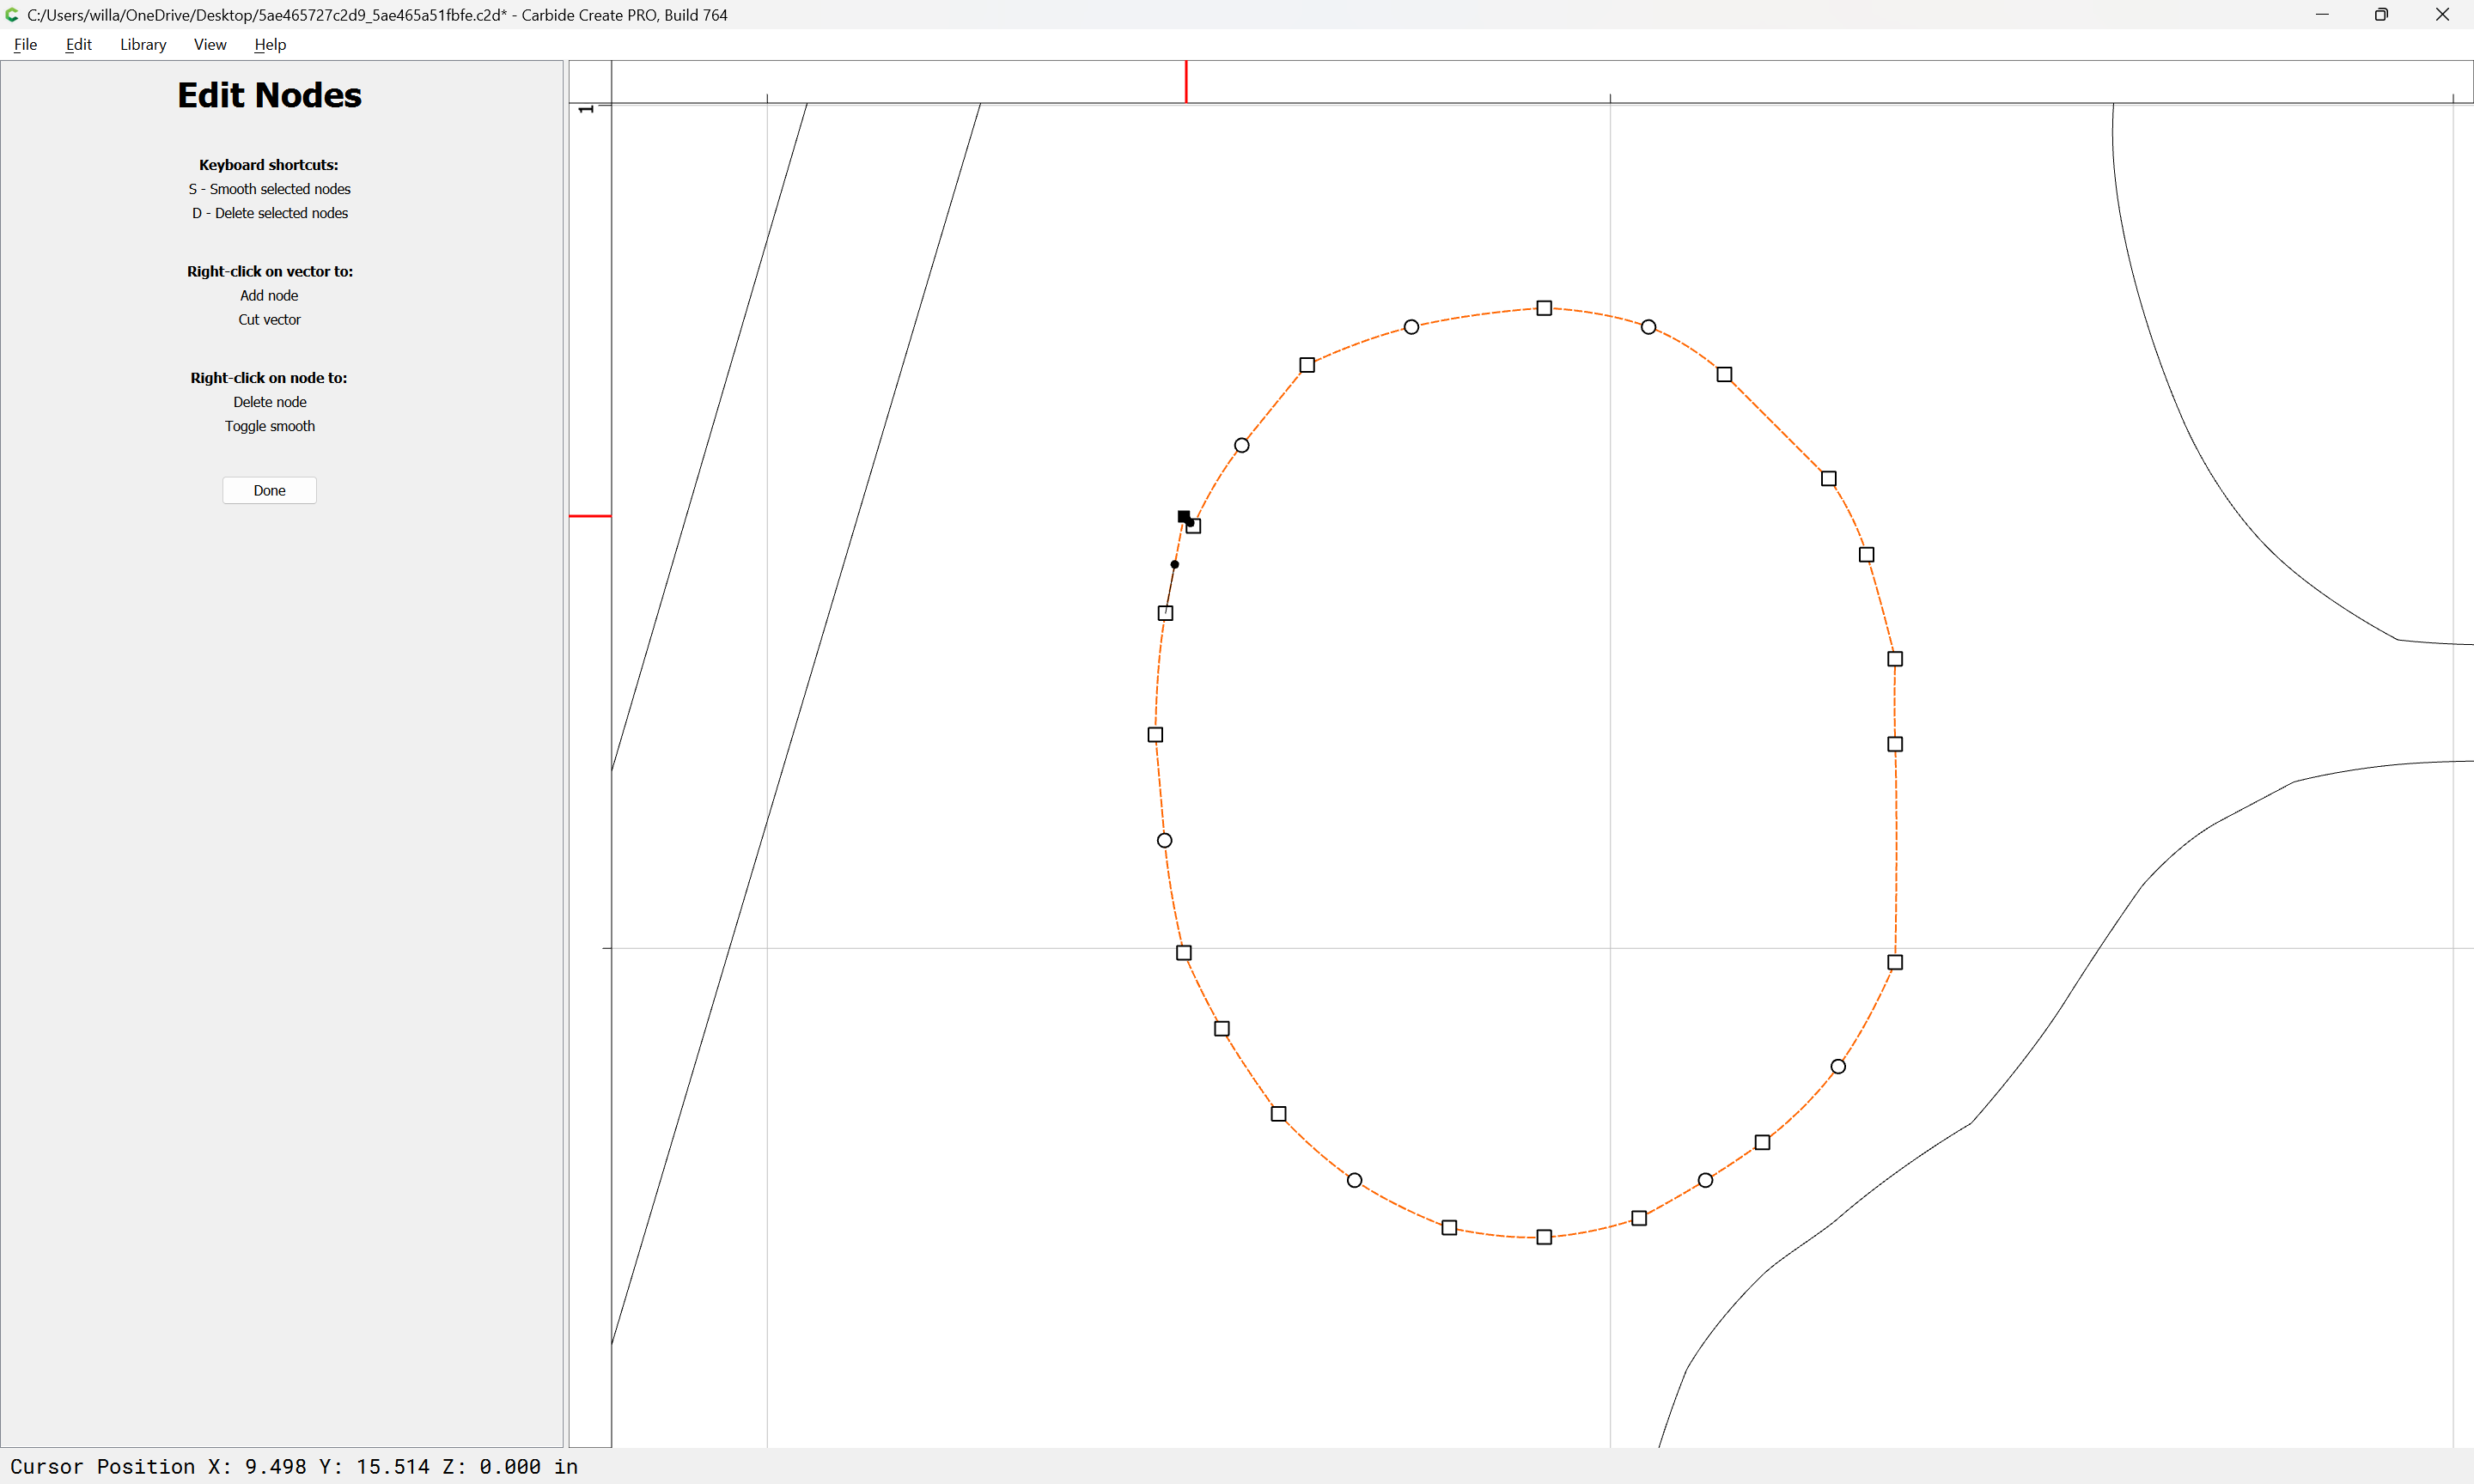
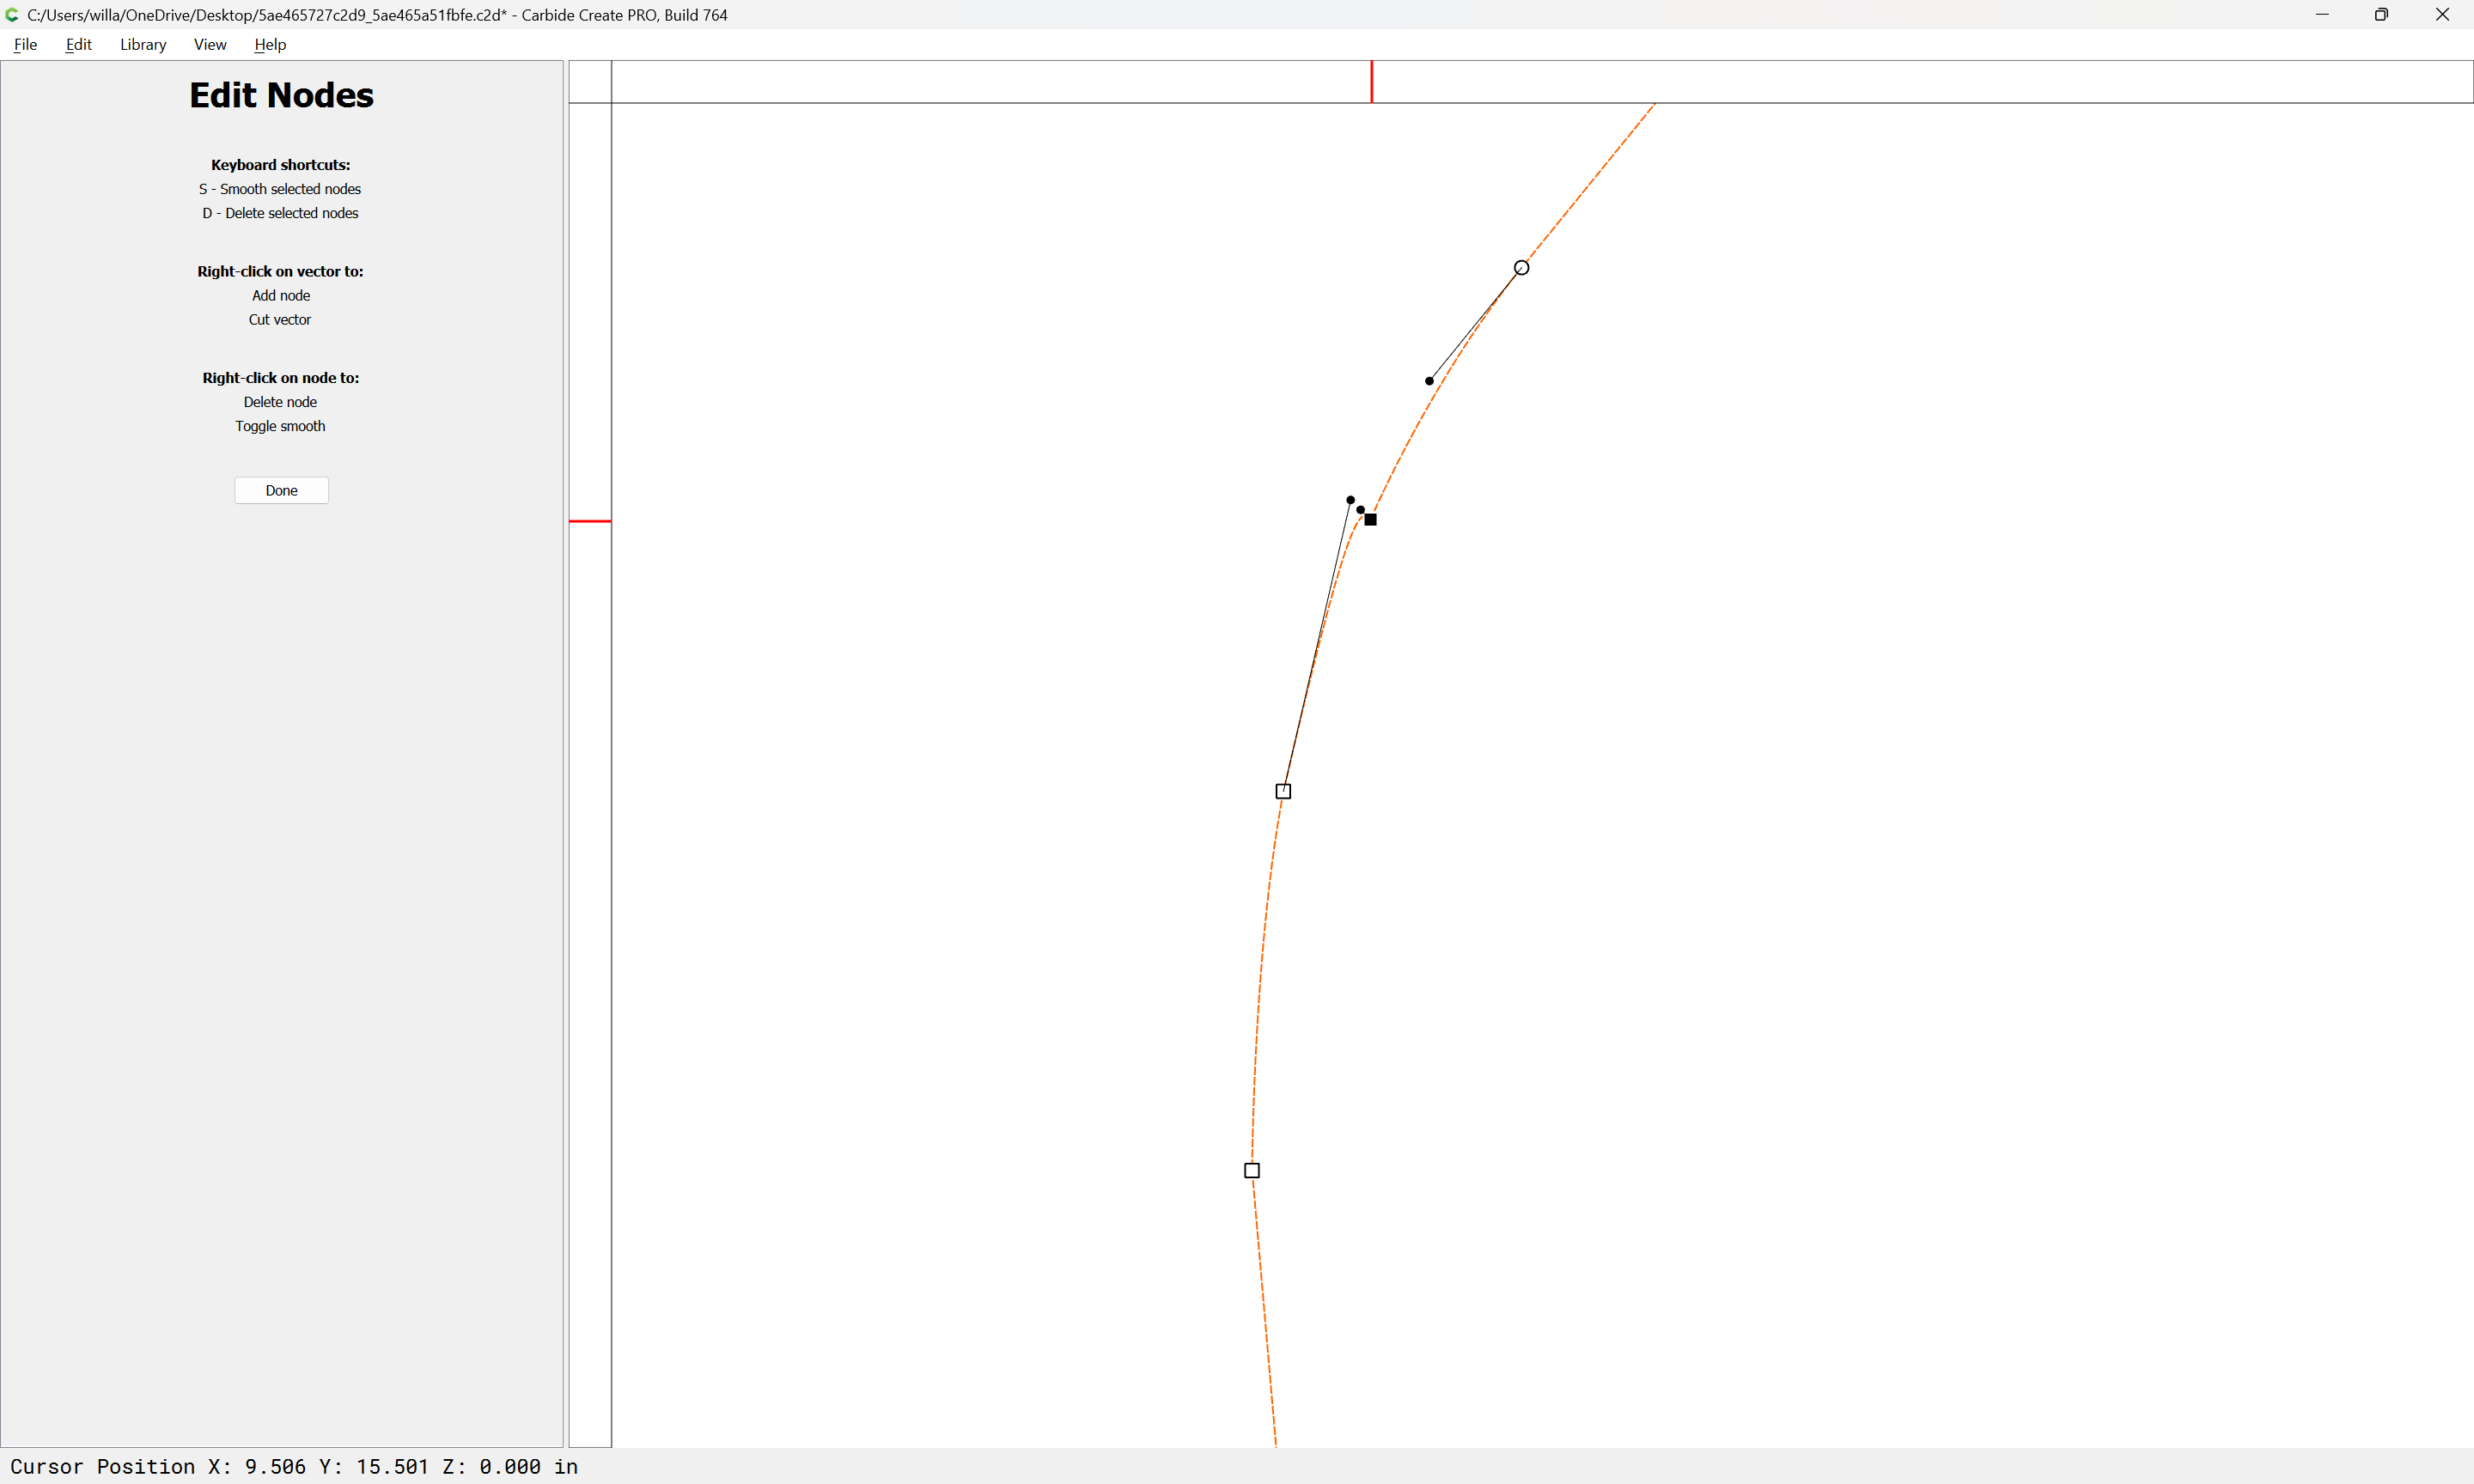
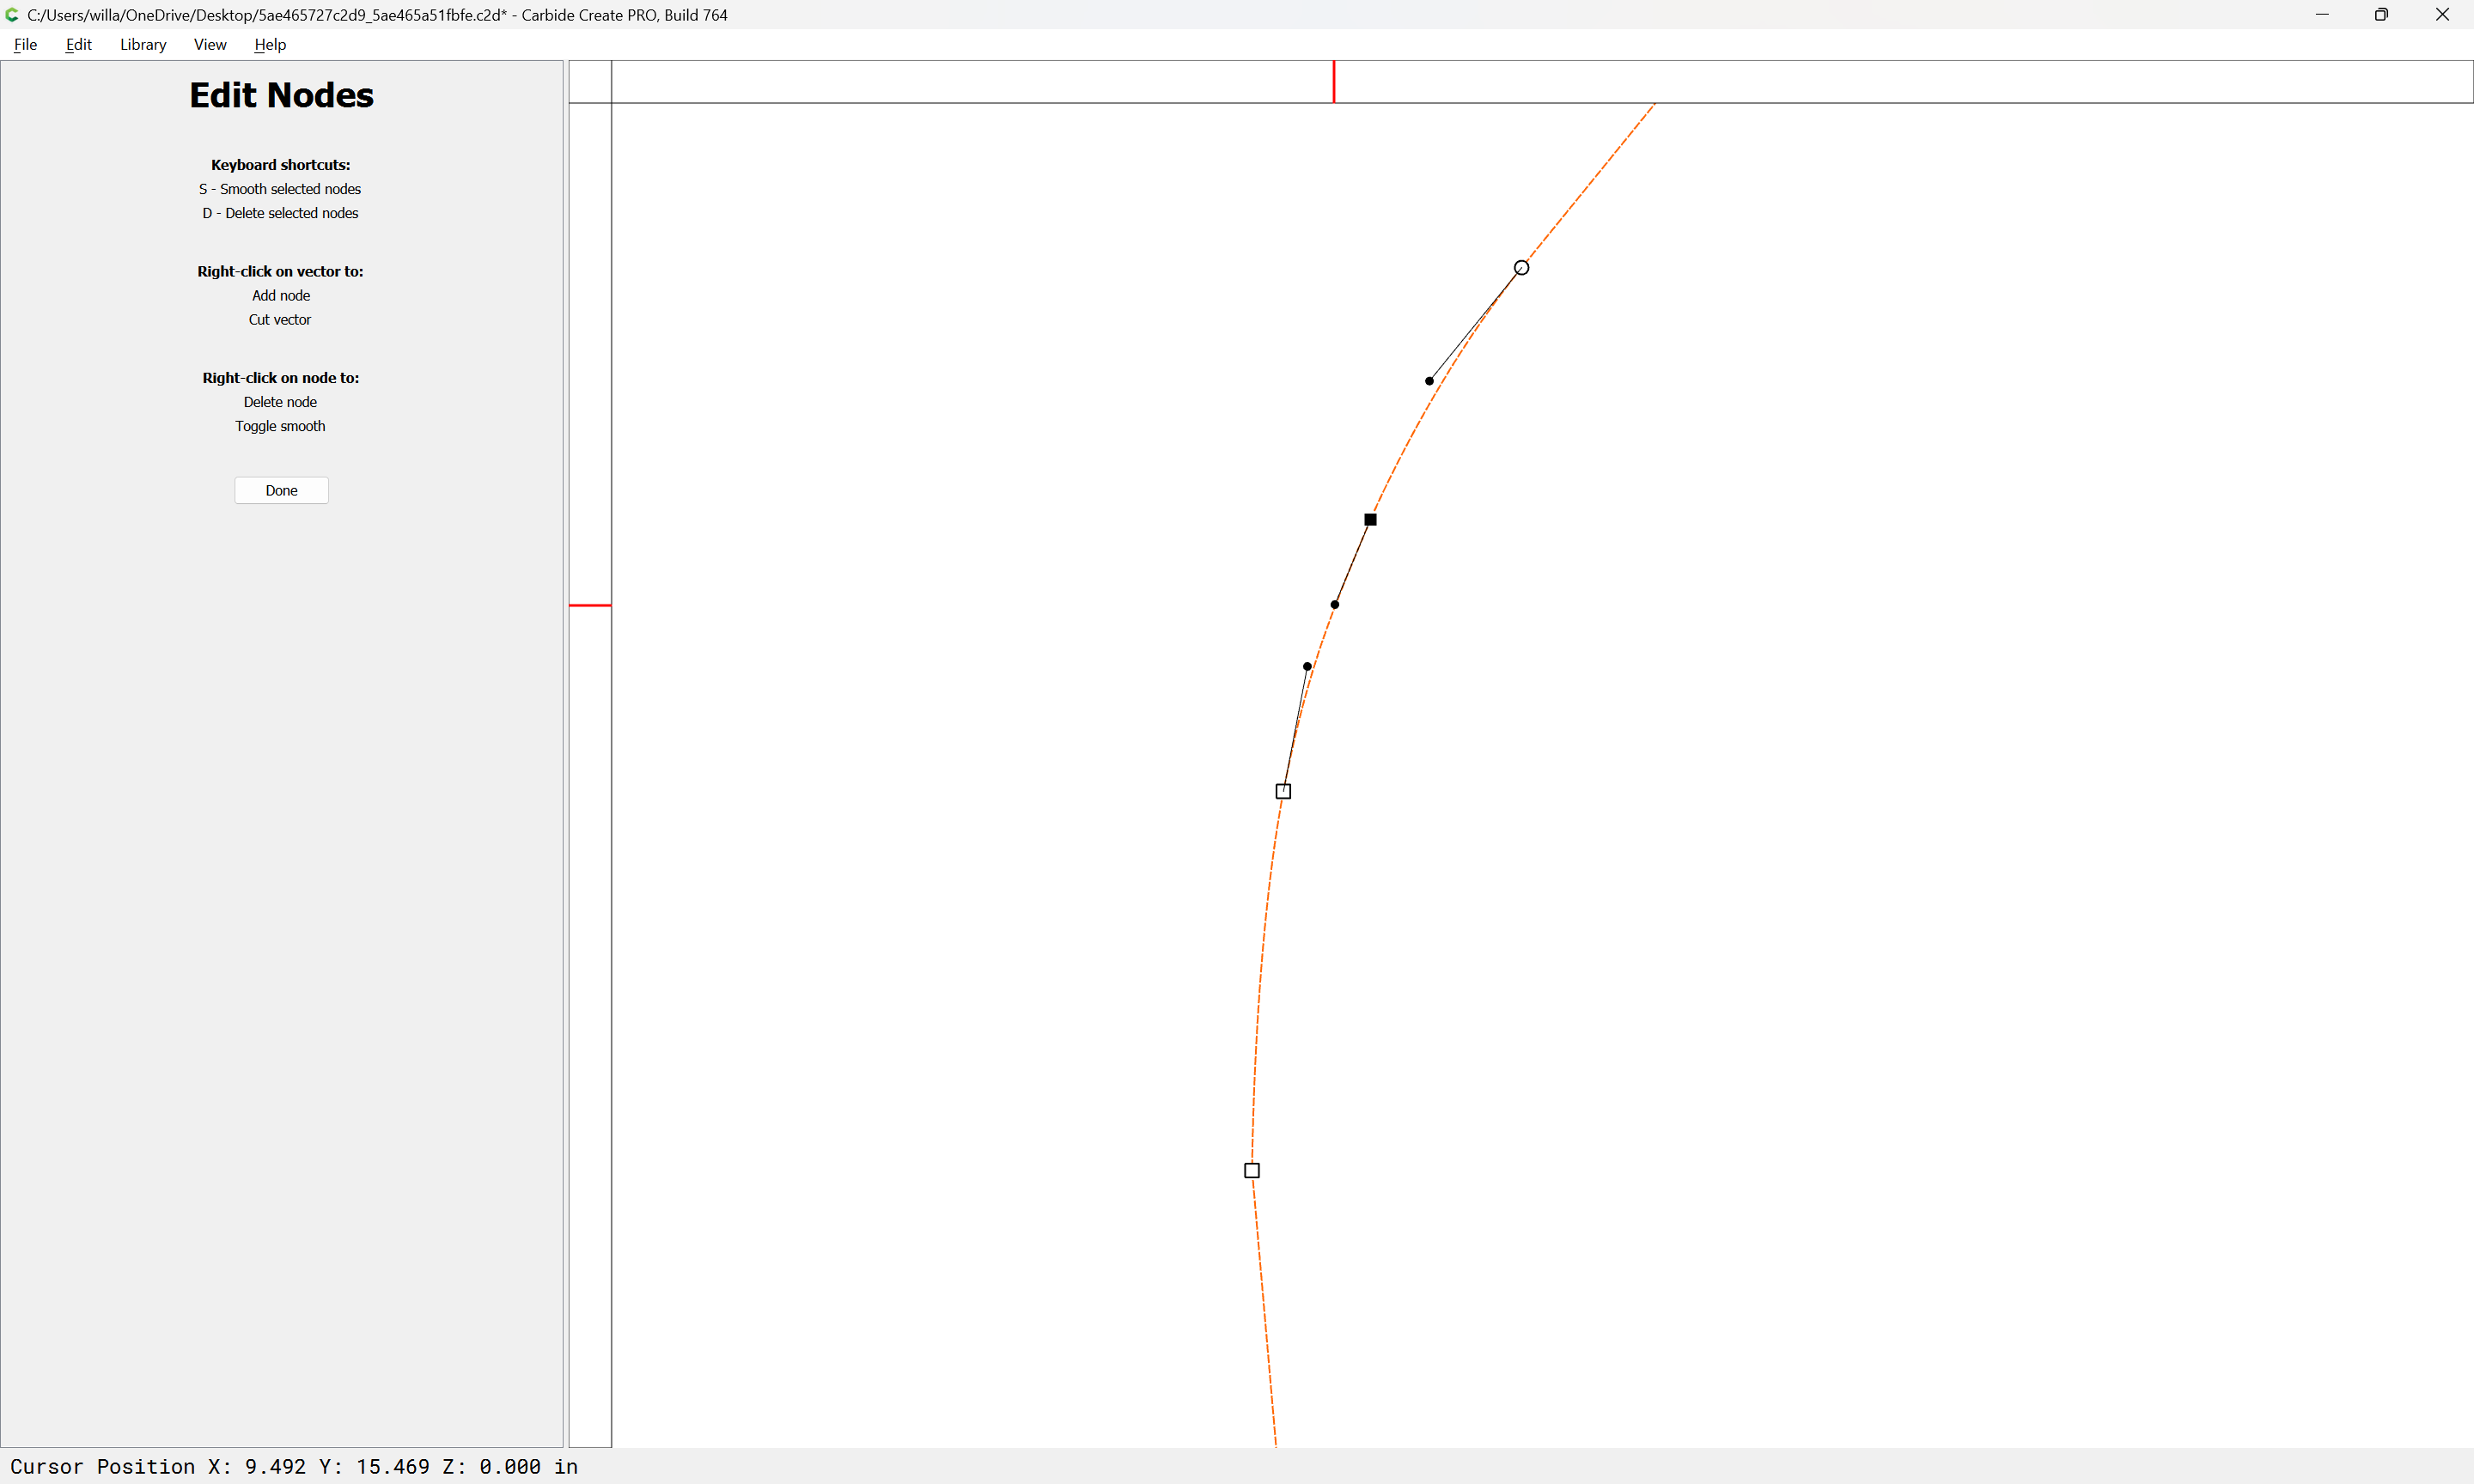
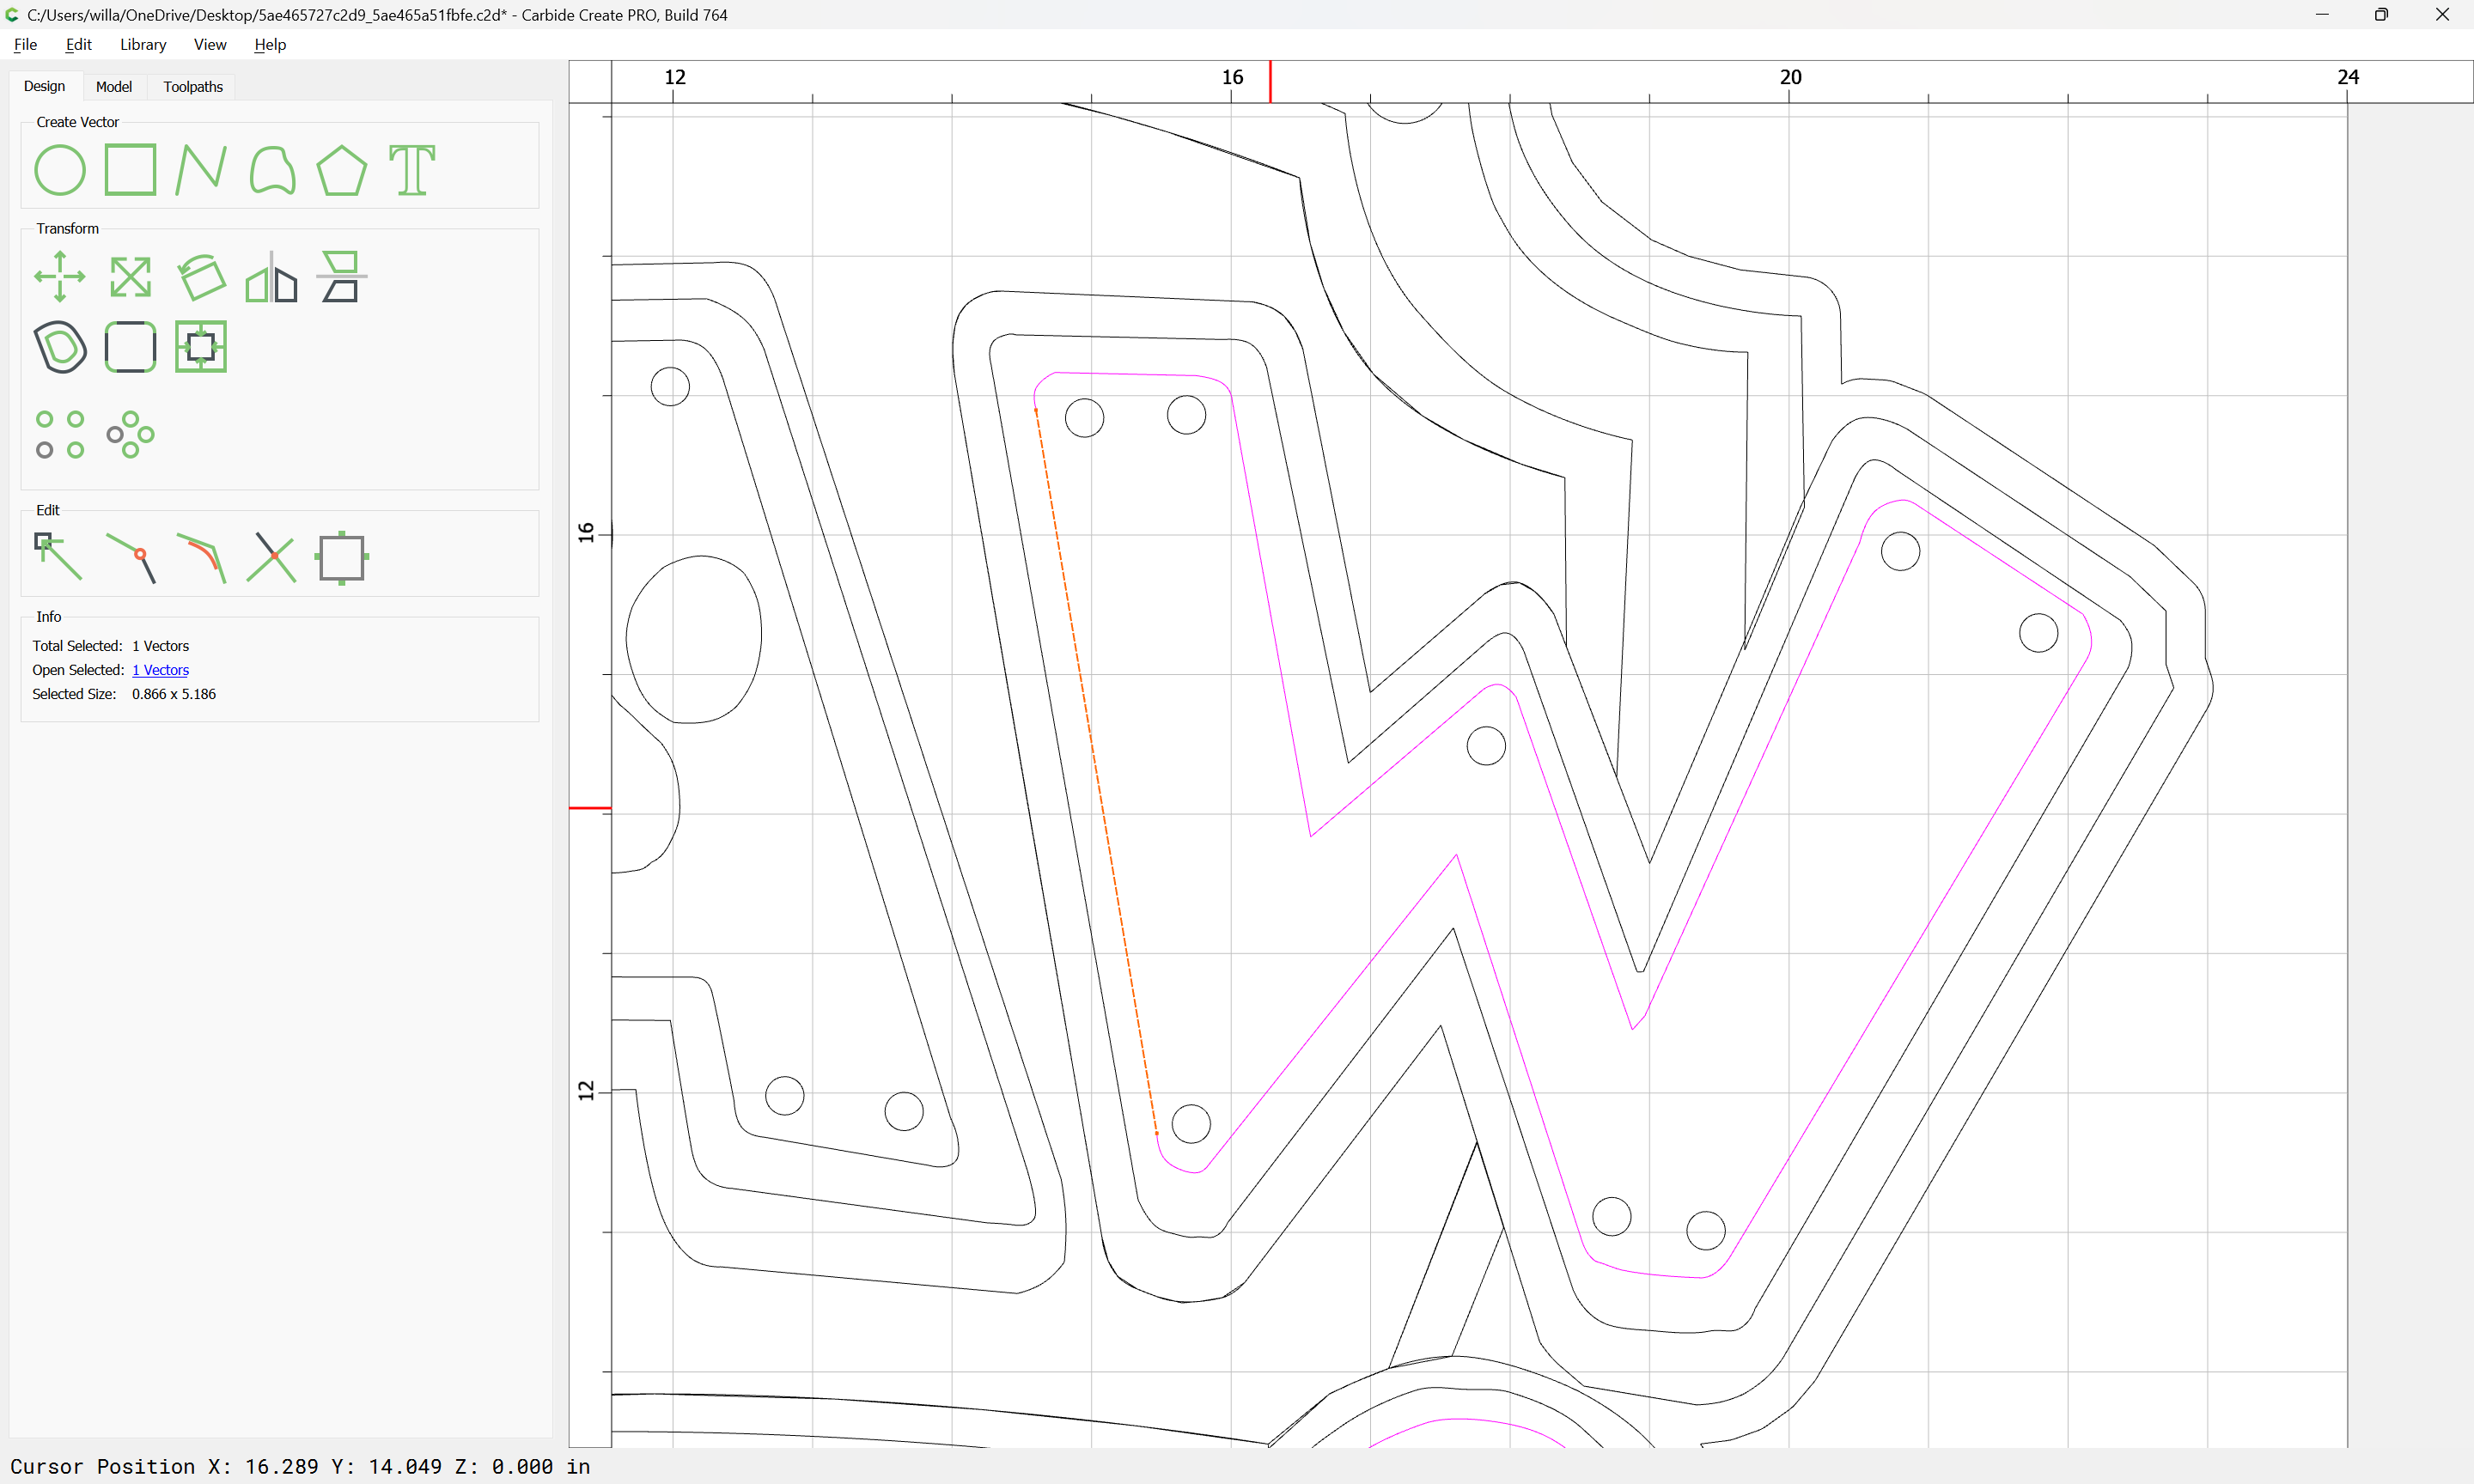
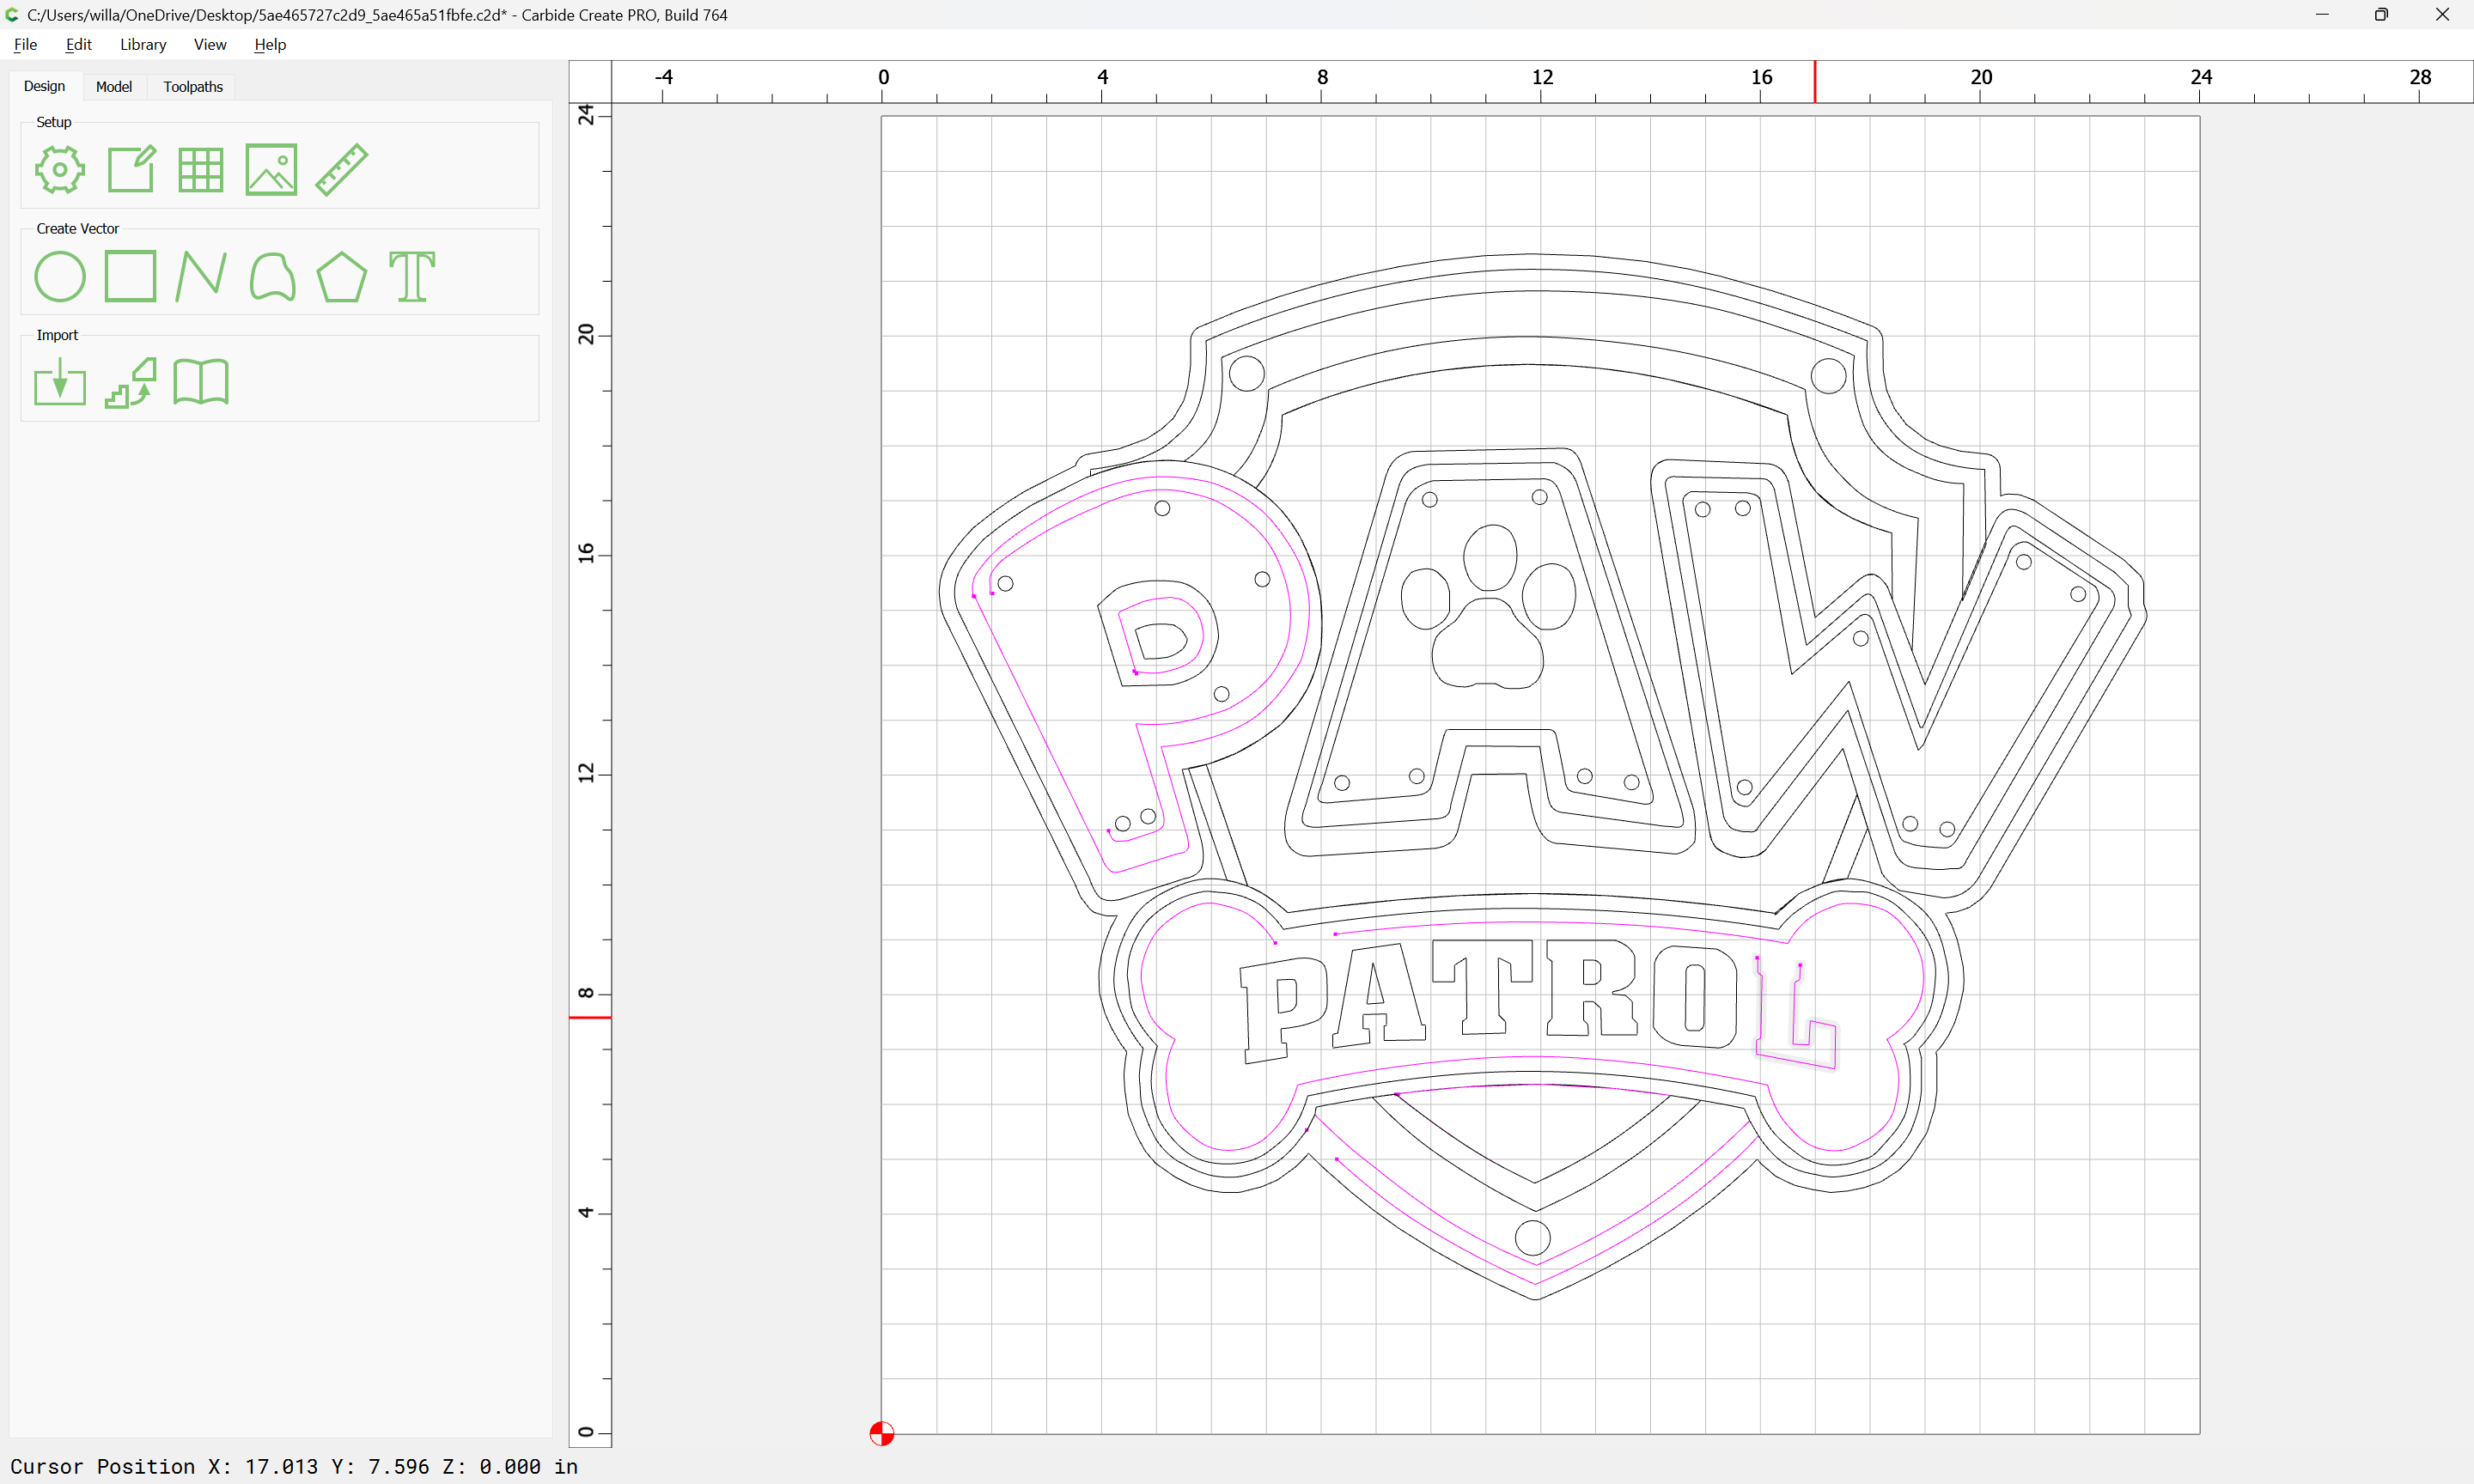
I got the node connections that you did until I got to that W. That thing was a bear. And the background behind PAW I had nailed until I grouped the outline of the three letters and the nodes in the bottom of the W, I could not get to them join with the rest of the letter. I need to look more at what you did.
So, are these different files here ready to go to the machine? I mean do they have the toolpaths and such in them?
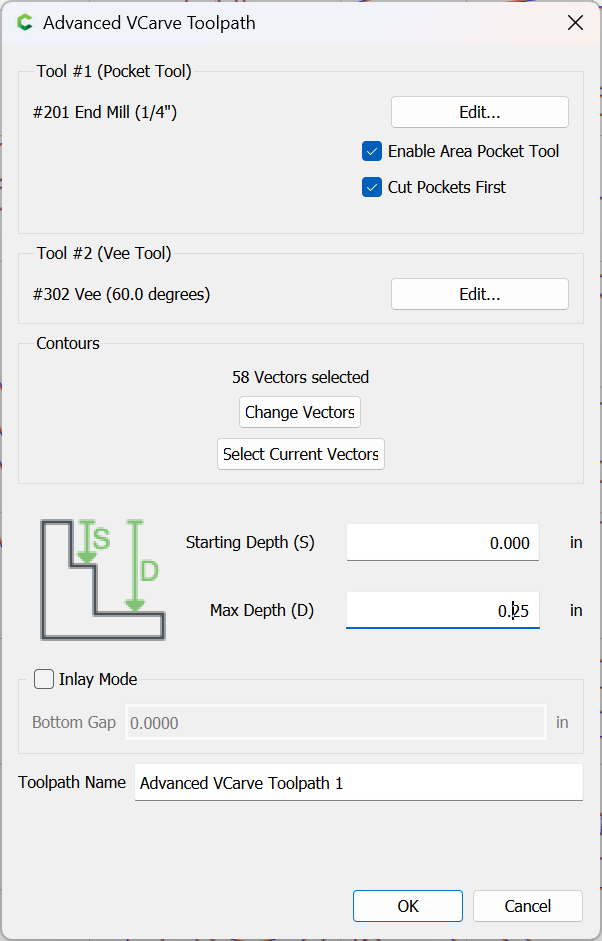
Only the last file has toolpaths. You’ll want to adjust it based on what stock you have, which tools (and whether you are using a BitSetter or no), &c.
Note that you may want to experiment with it a bit — for the relevant concept see:
Yes, I think I can that one will work. I actually ordered some bits from y’all and they are still in the box! I hope I bought the V groove as well. I do have a BitSetter too. (Just need to actually go through the motions.
Im curious though, how does the V groove make everything smooth on the areas that are supposed to be smooth? Is there a tool change? Sorry, I was so jacked about the drawing, I didn’t look very well.
EDIT… Just checked and saw the End Mill! Thanks again!!
I have a Shapeoko 4 XXL. I changed that in the initial setup. Will that make a difference in any other area? Also, I have been been holding off on buying the Pro version but I am guessing it will give me more tools to work with? Is that correct?