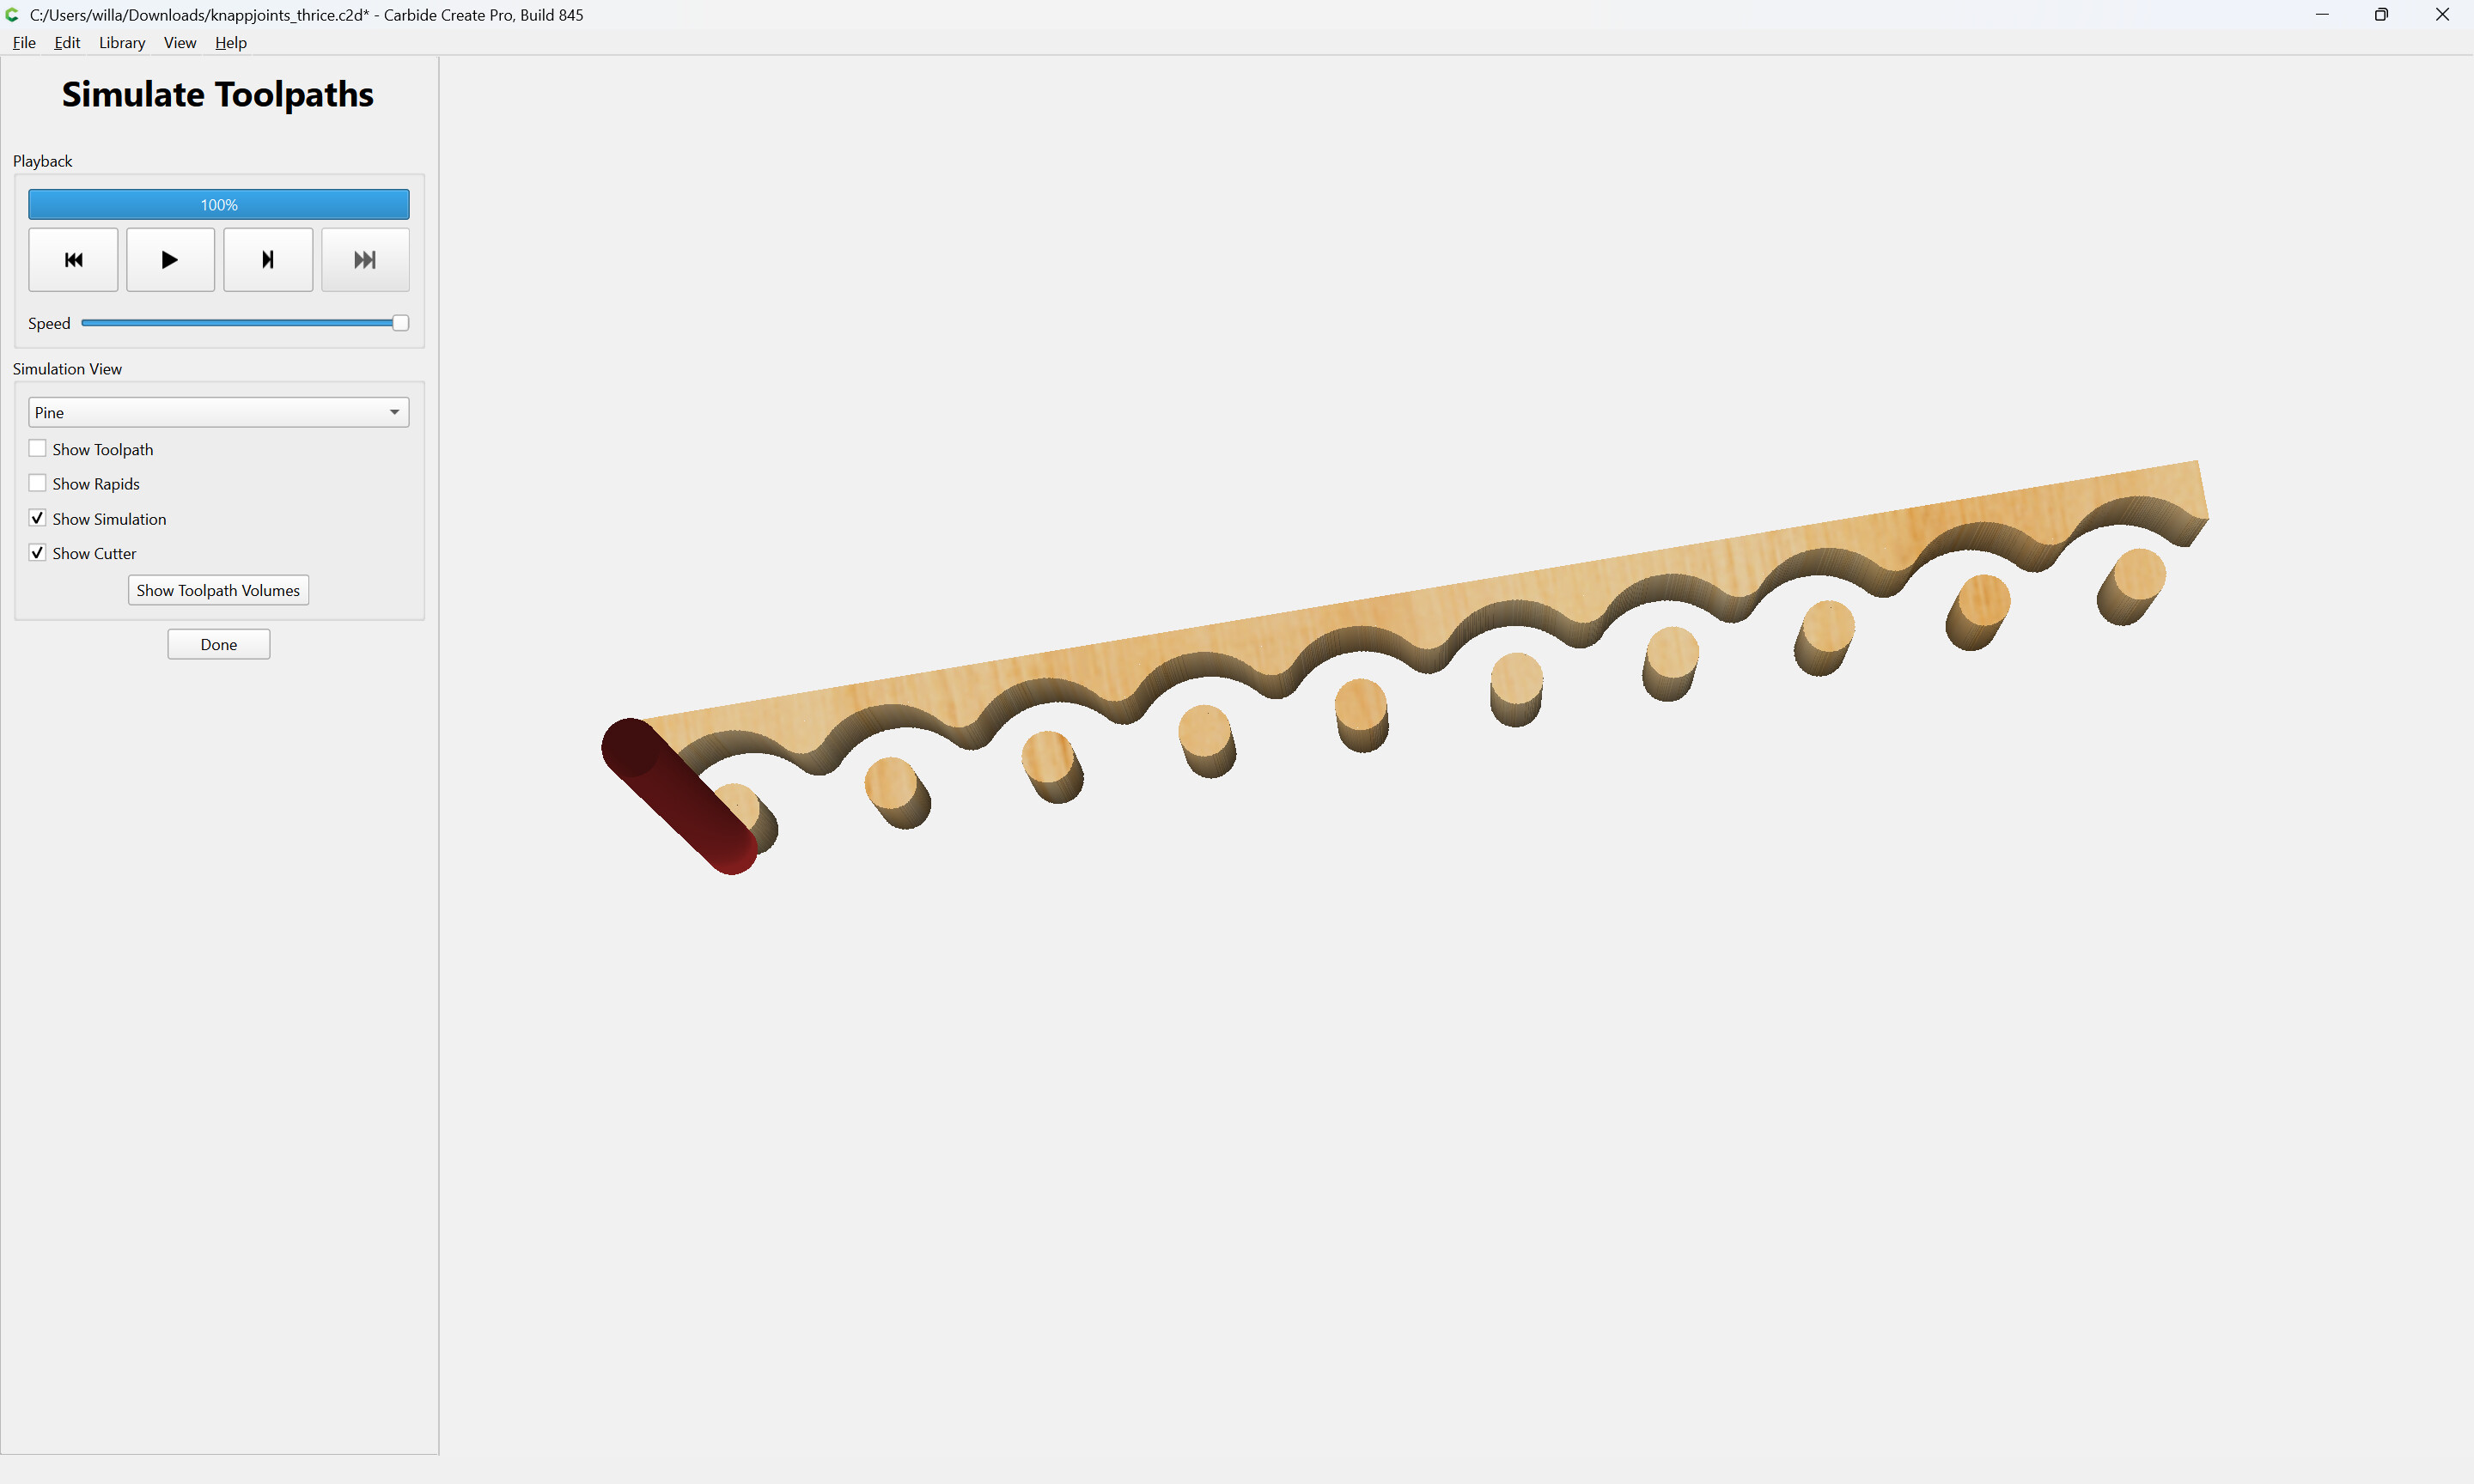
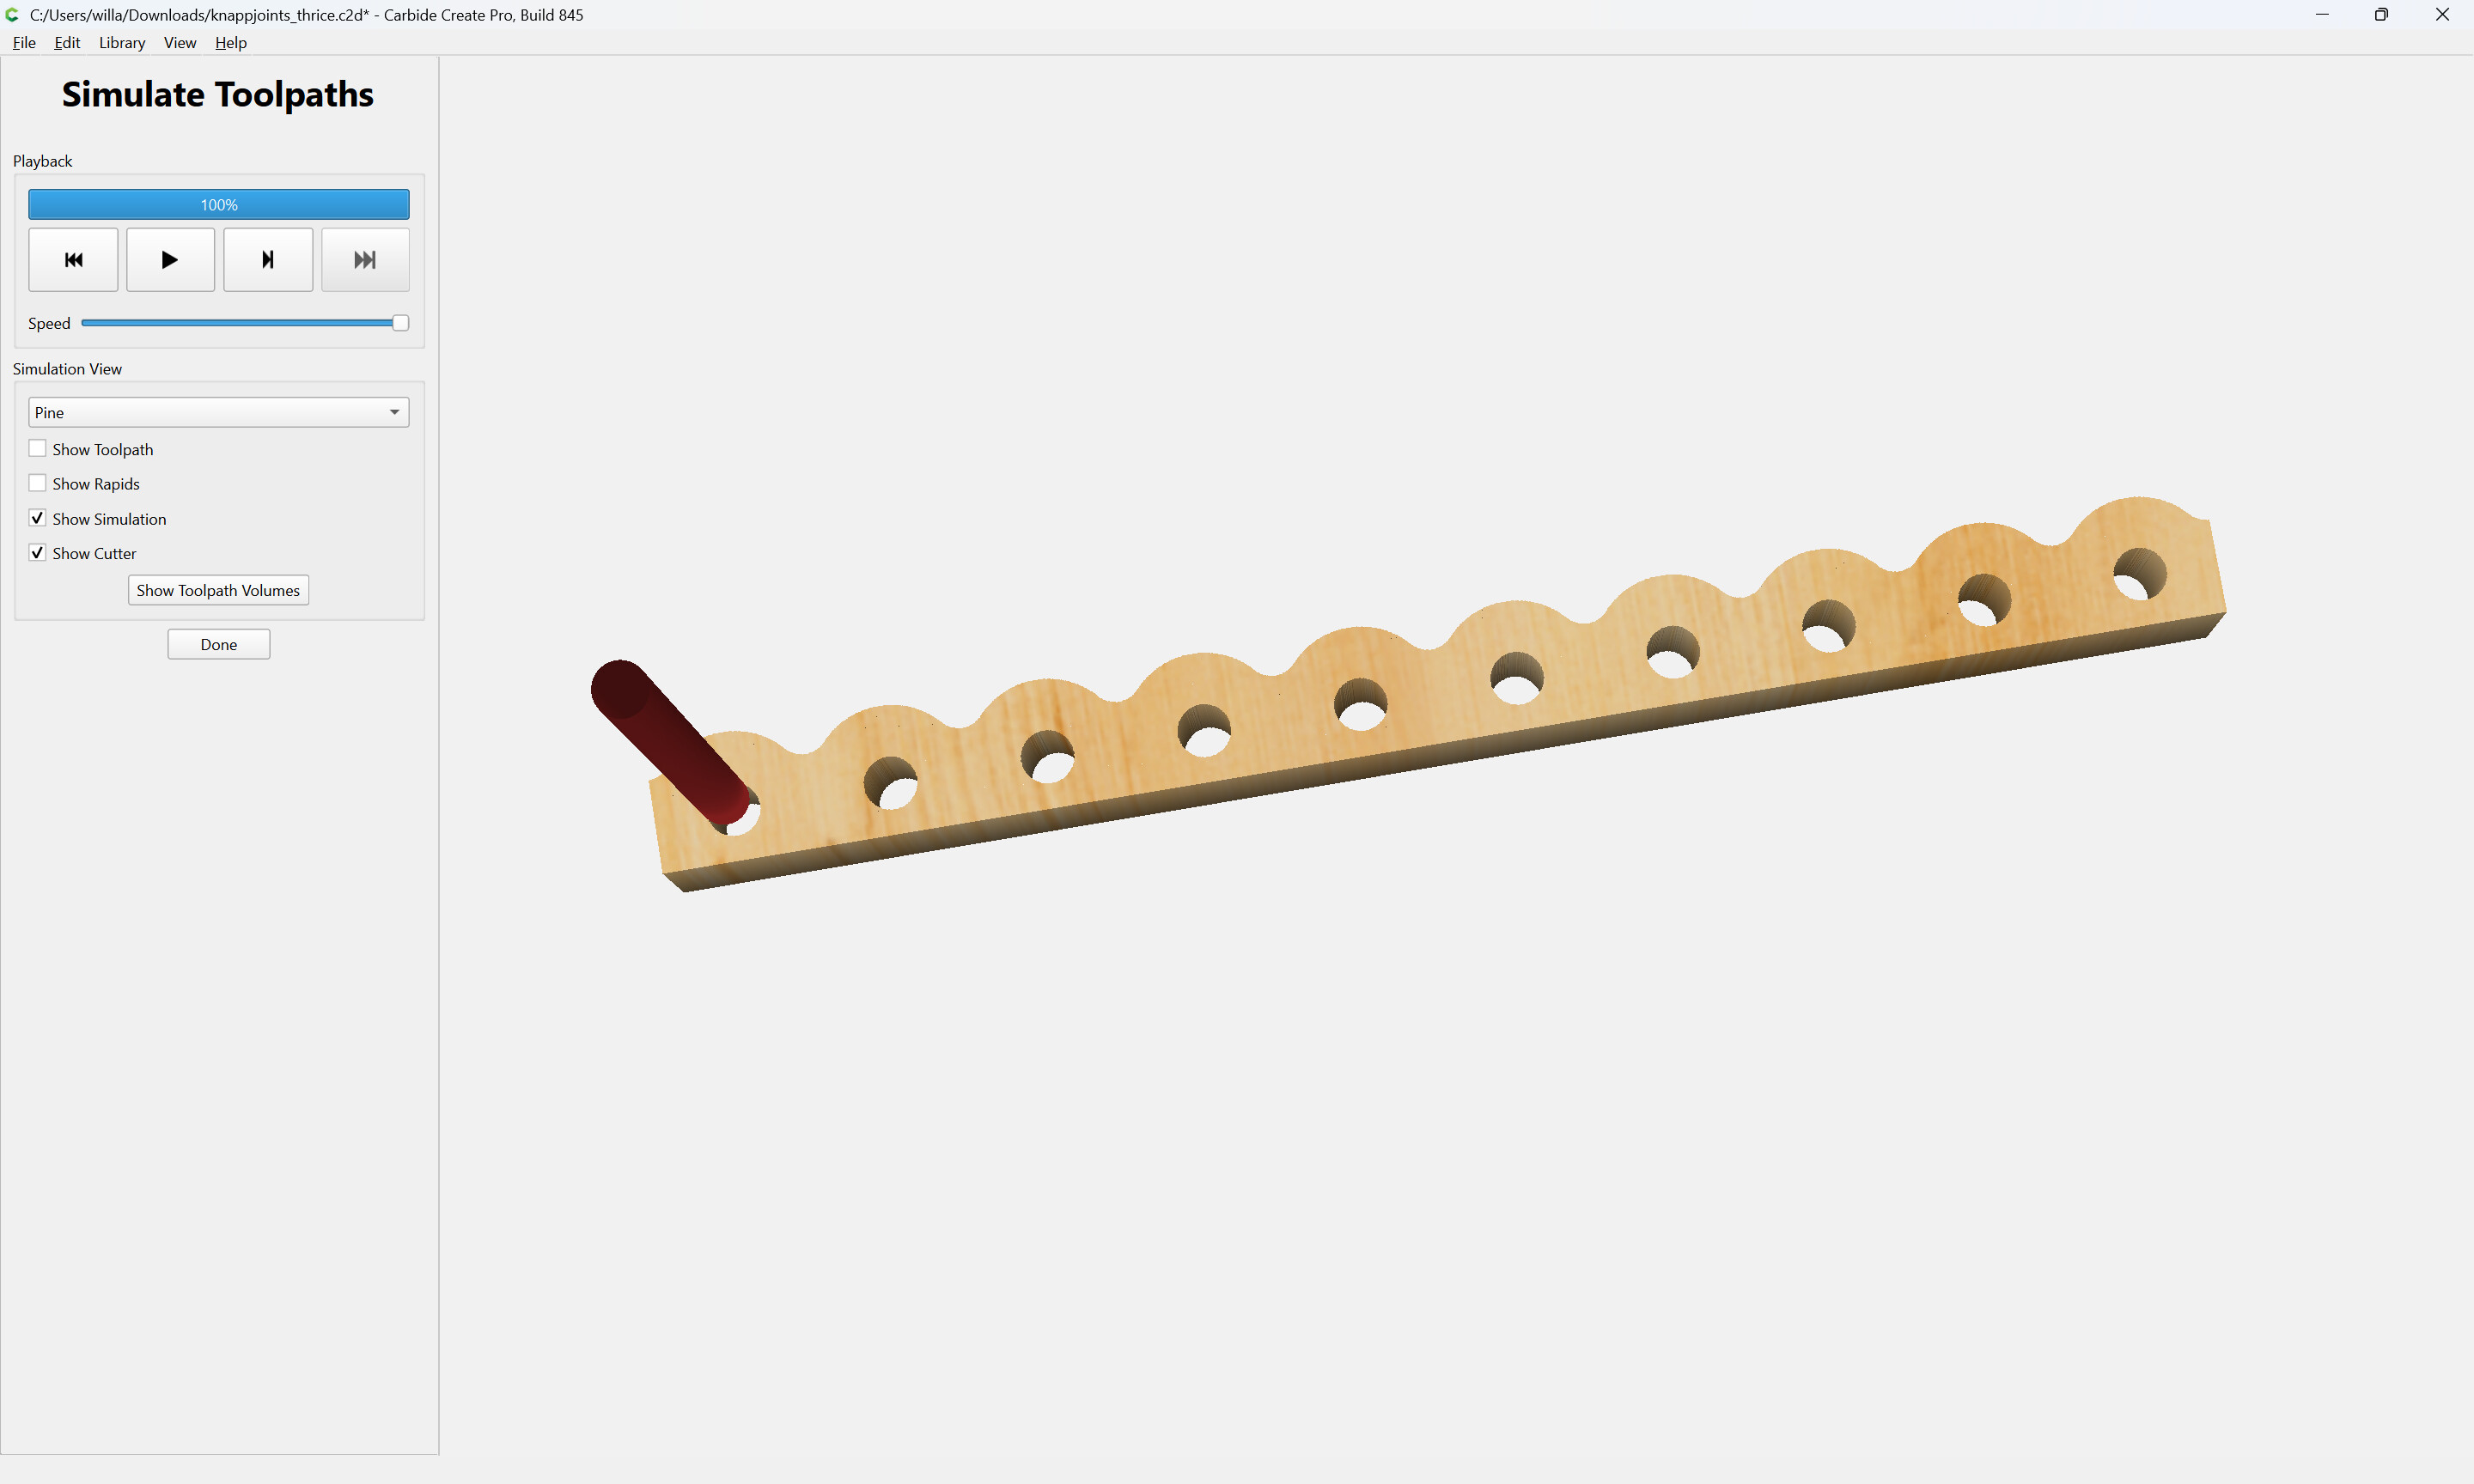
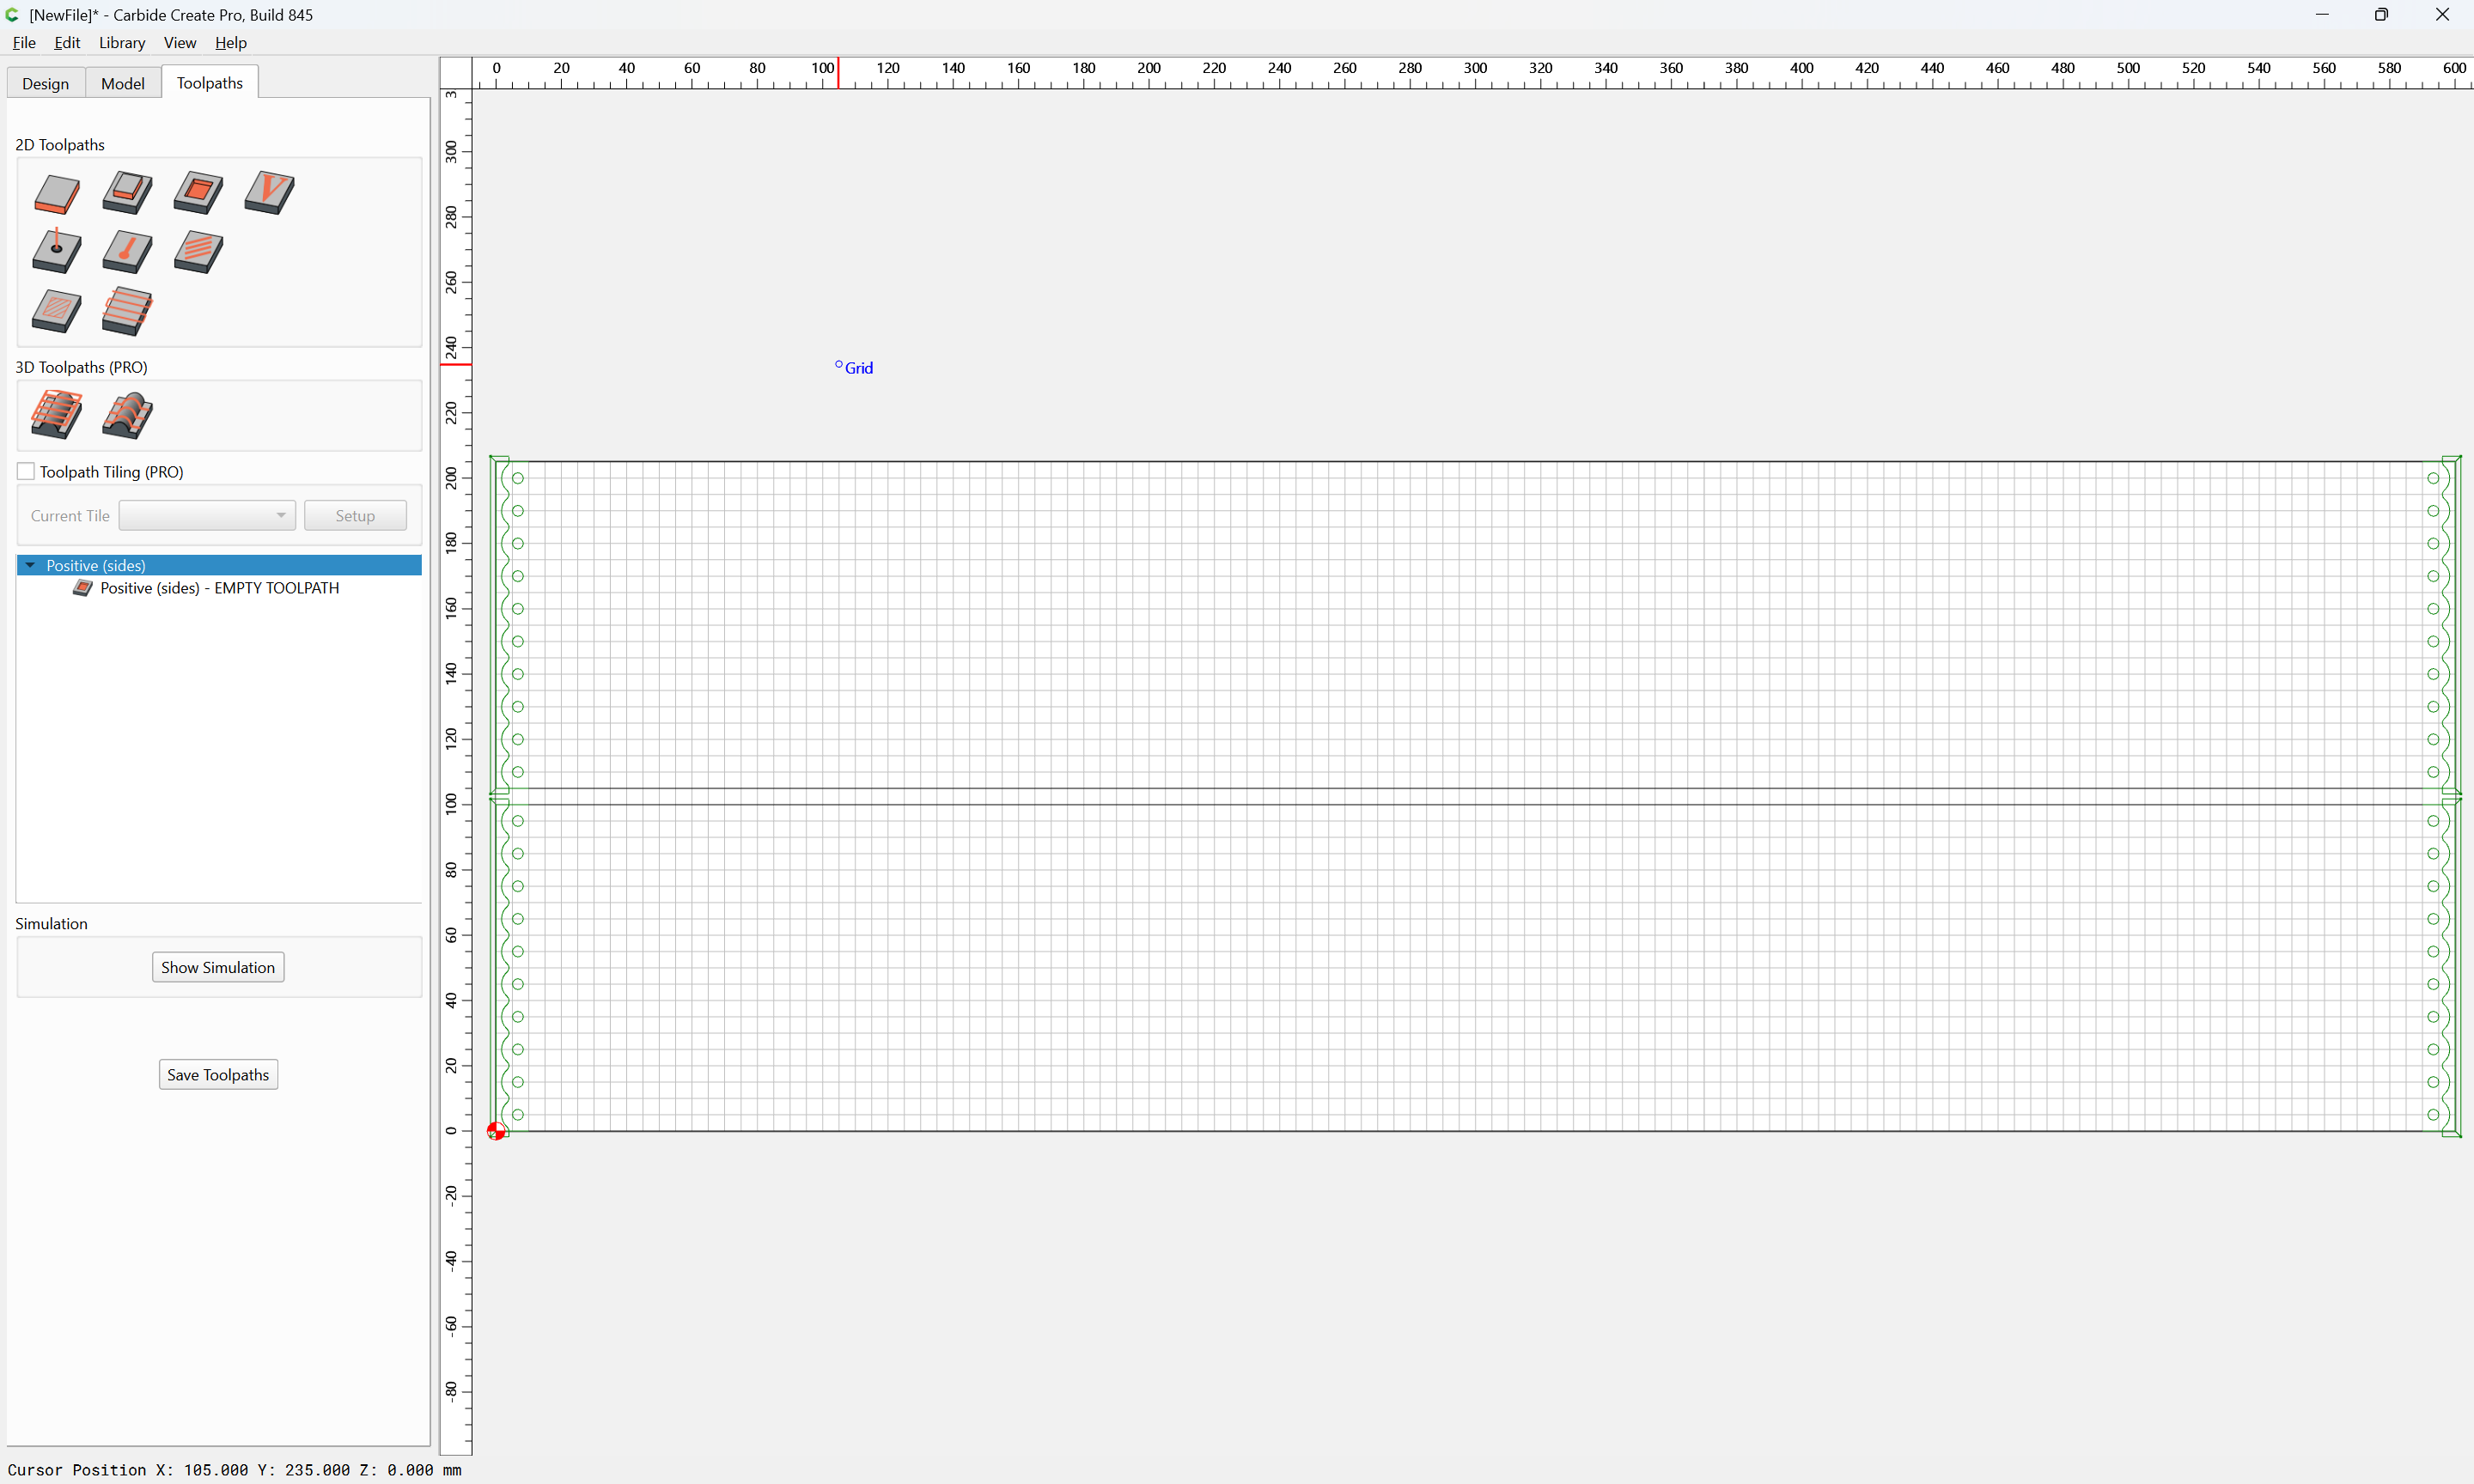
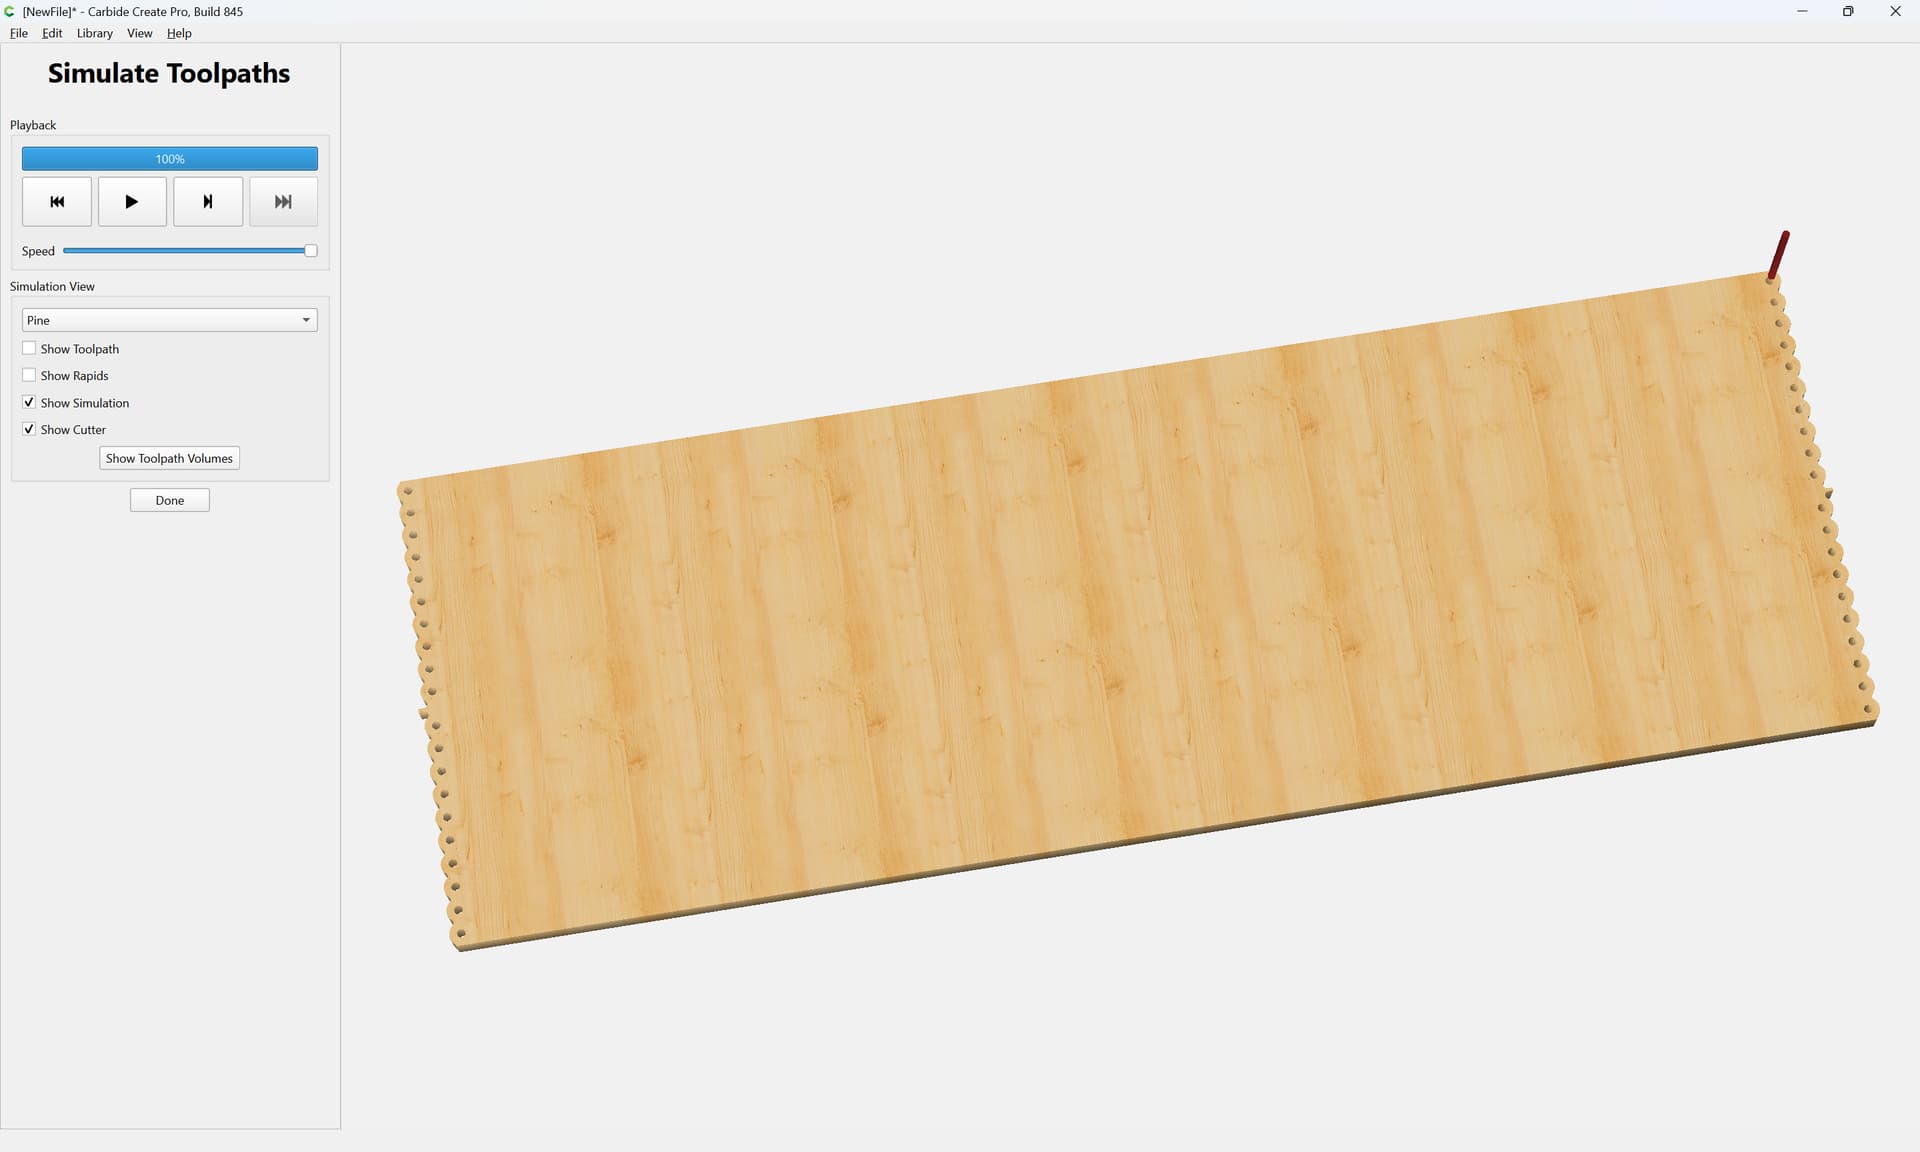
Knapp Joint with CNC

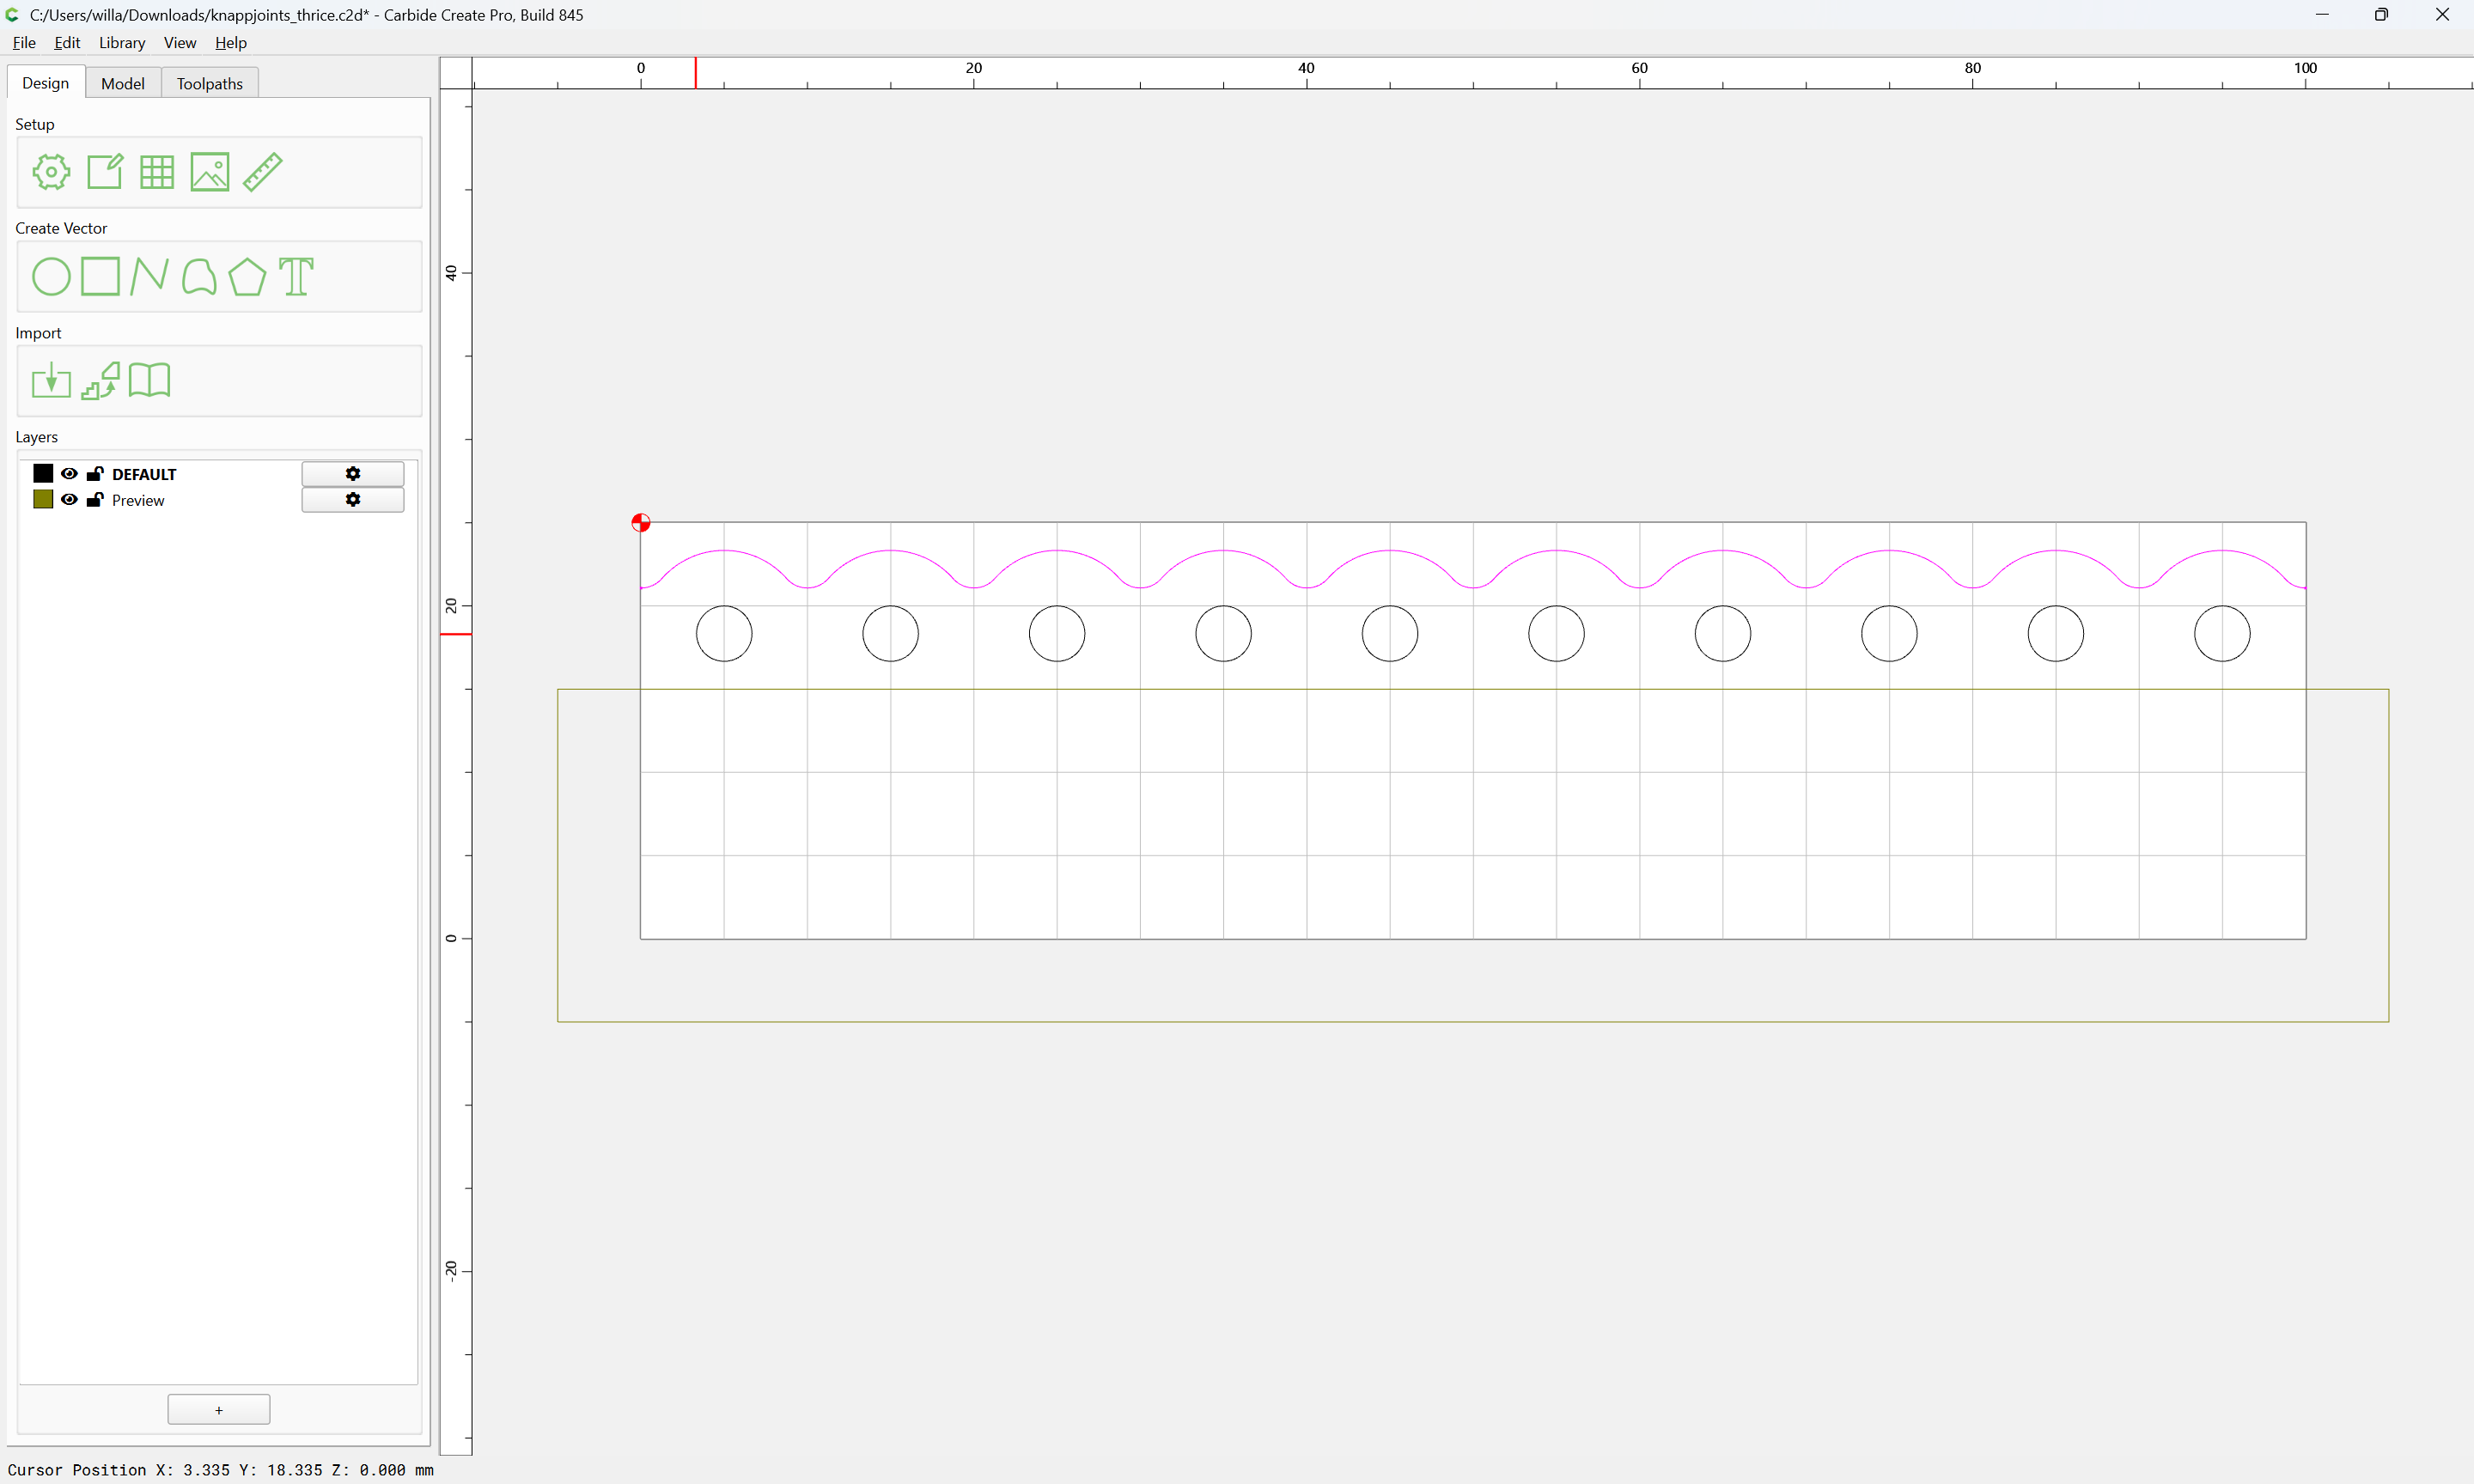
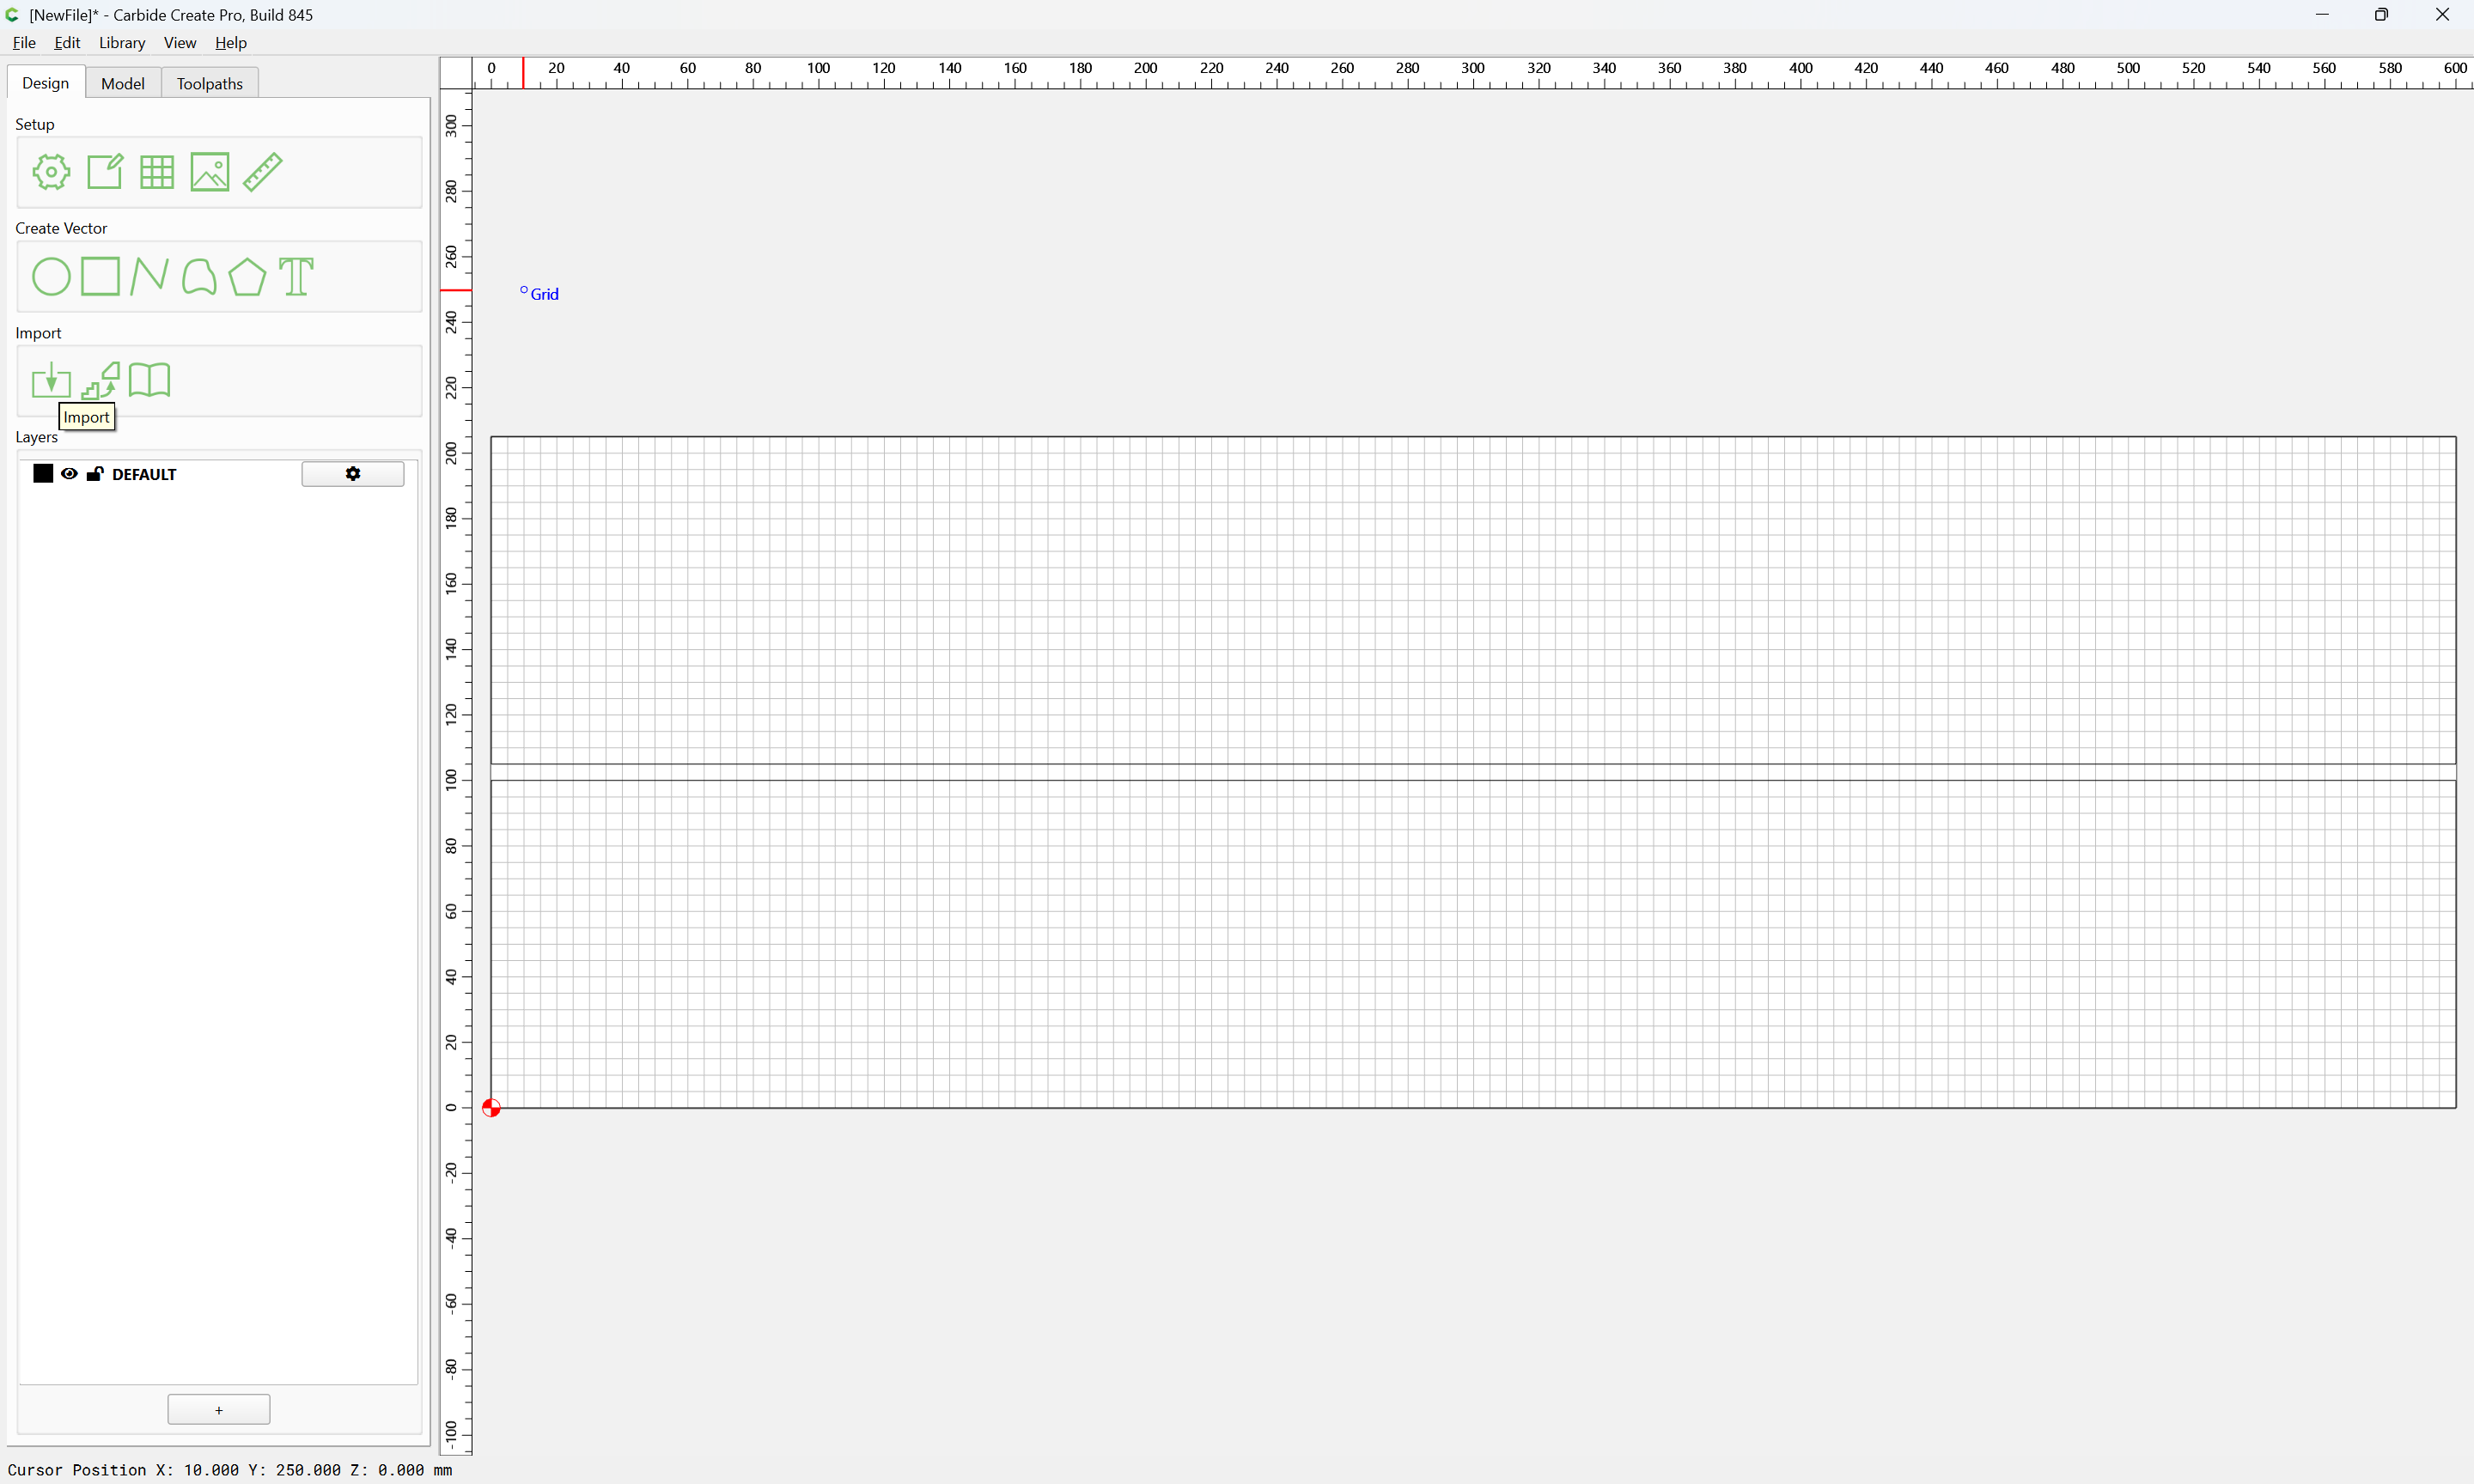
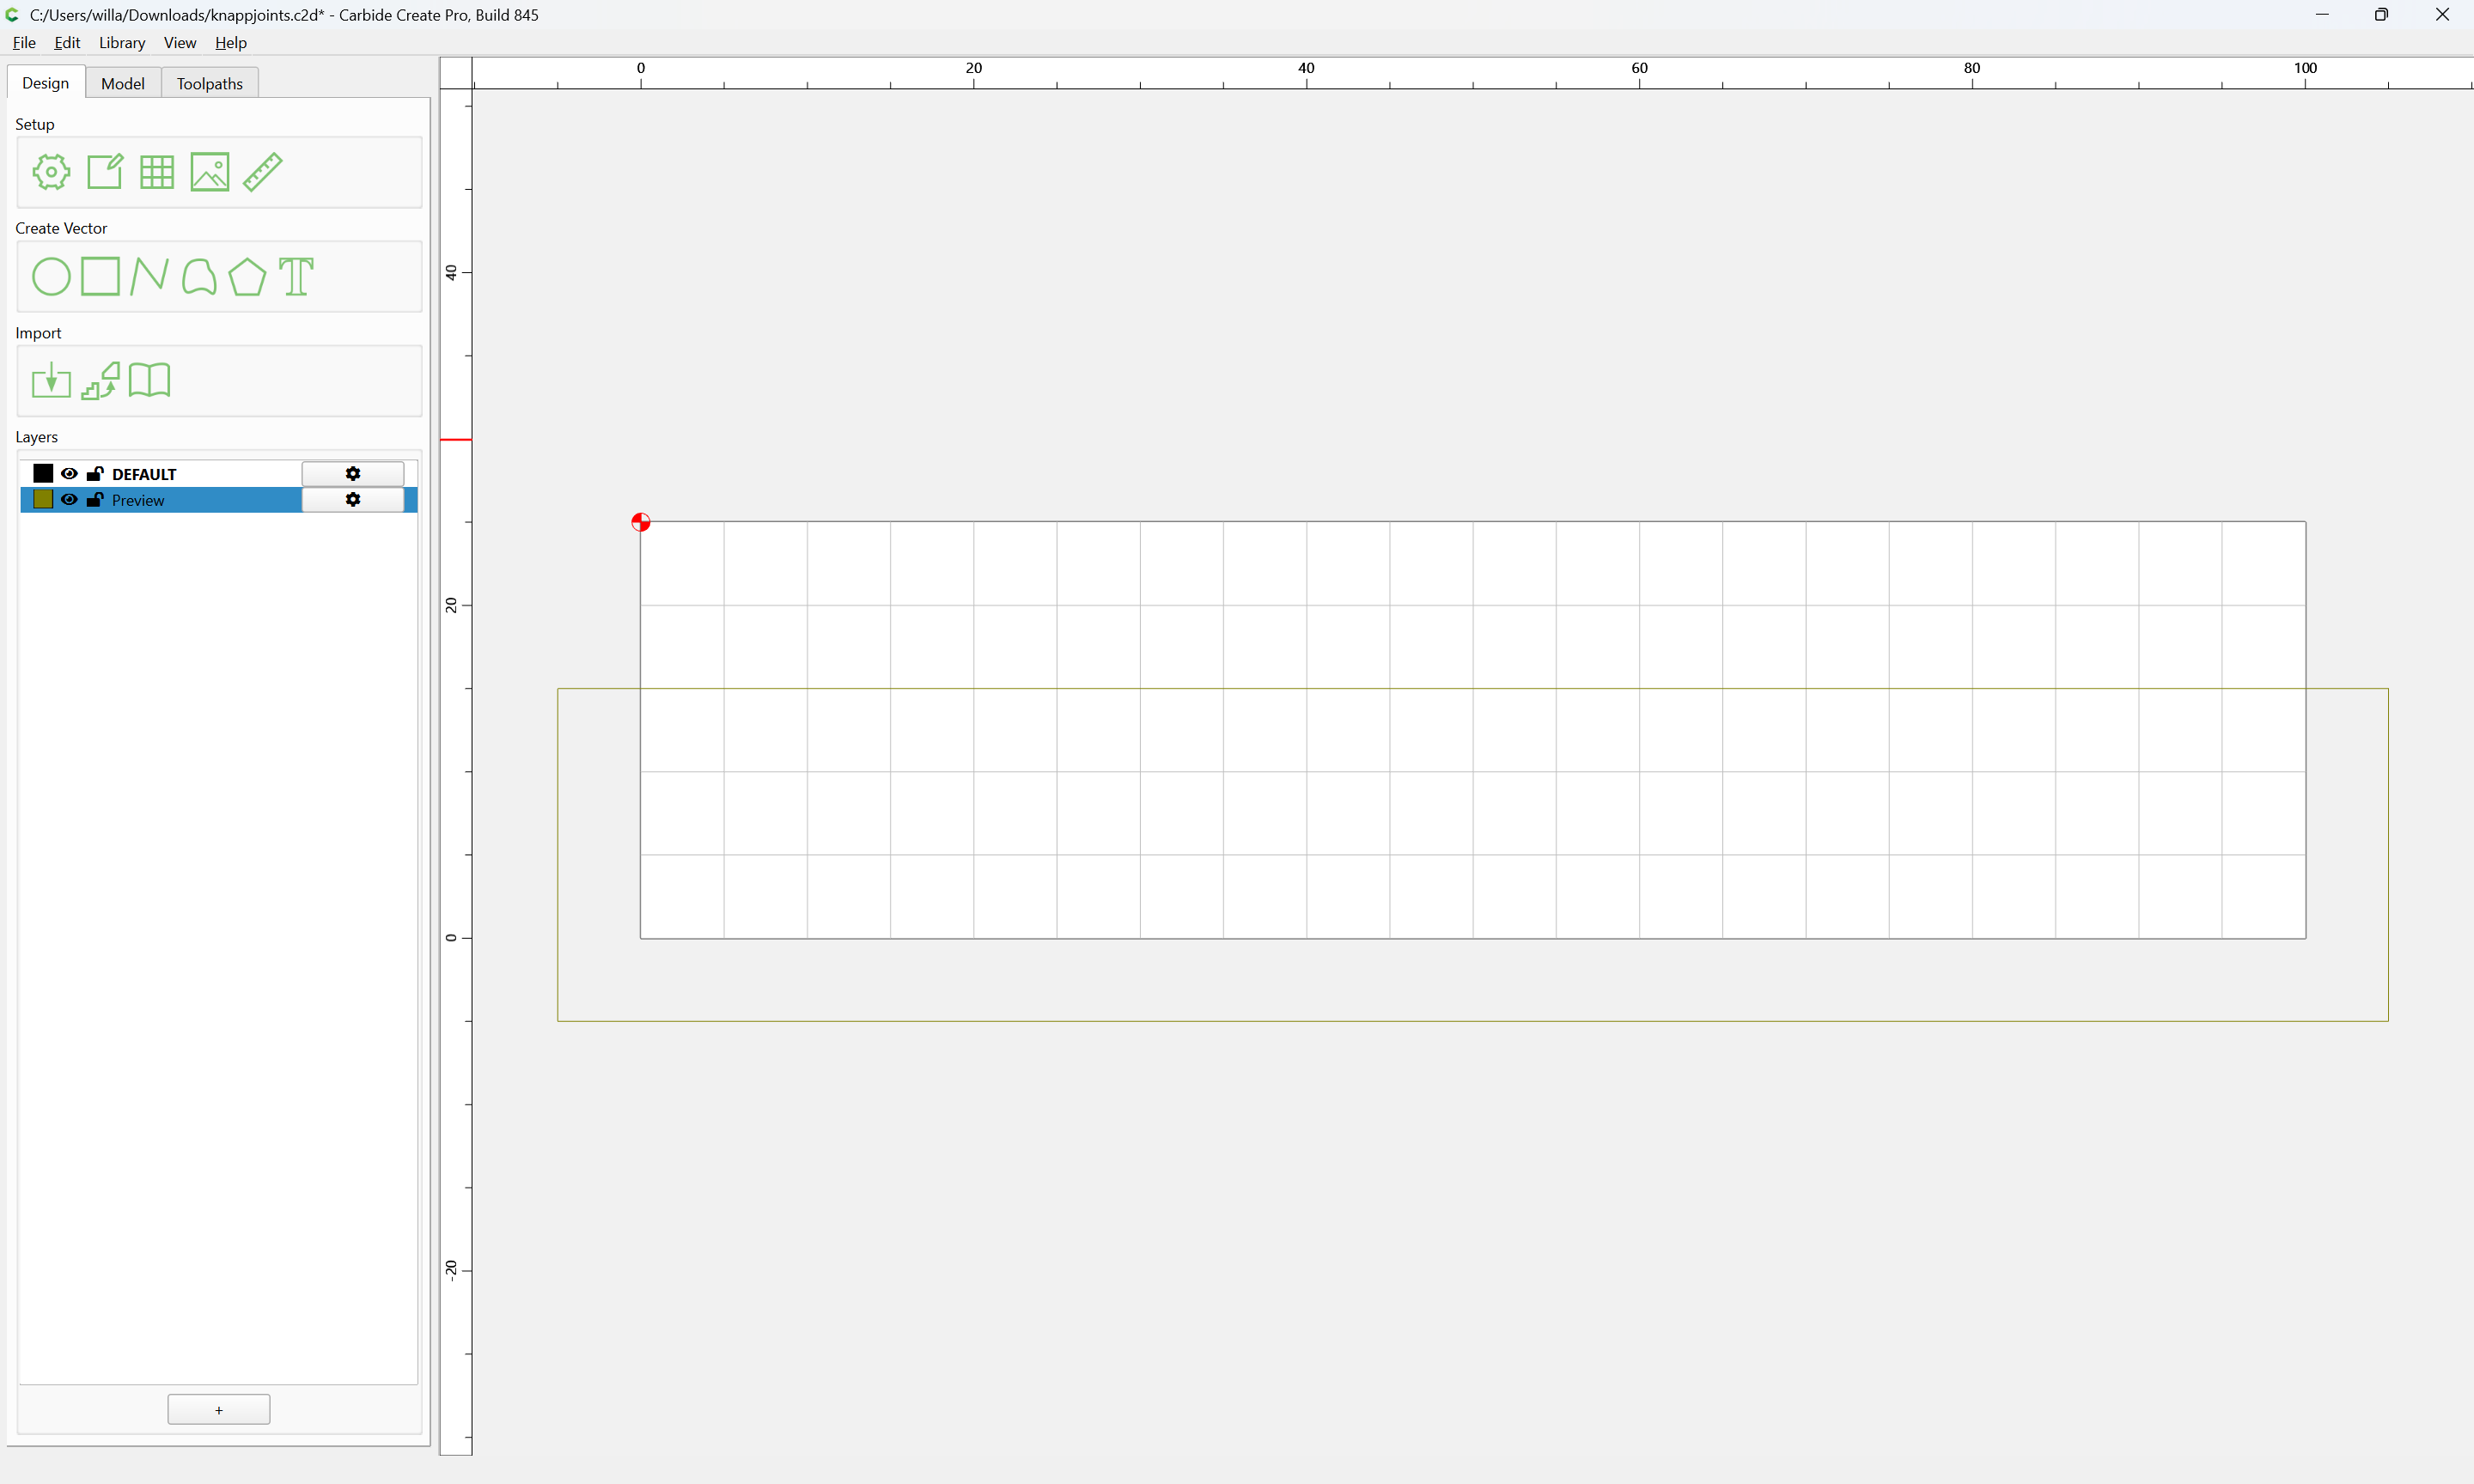
We will set up for a 100mm wide joint in 15mm thick stock:

(note that the origin is set at Top-left under the assumption that it will be most expedient to set the origin at the front of the machine so that it will be invariant of the thickness of material)

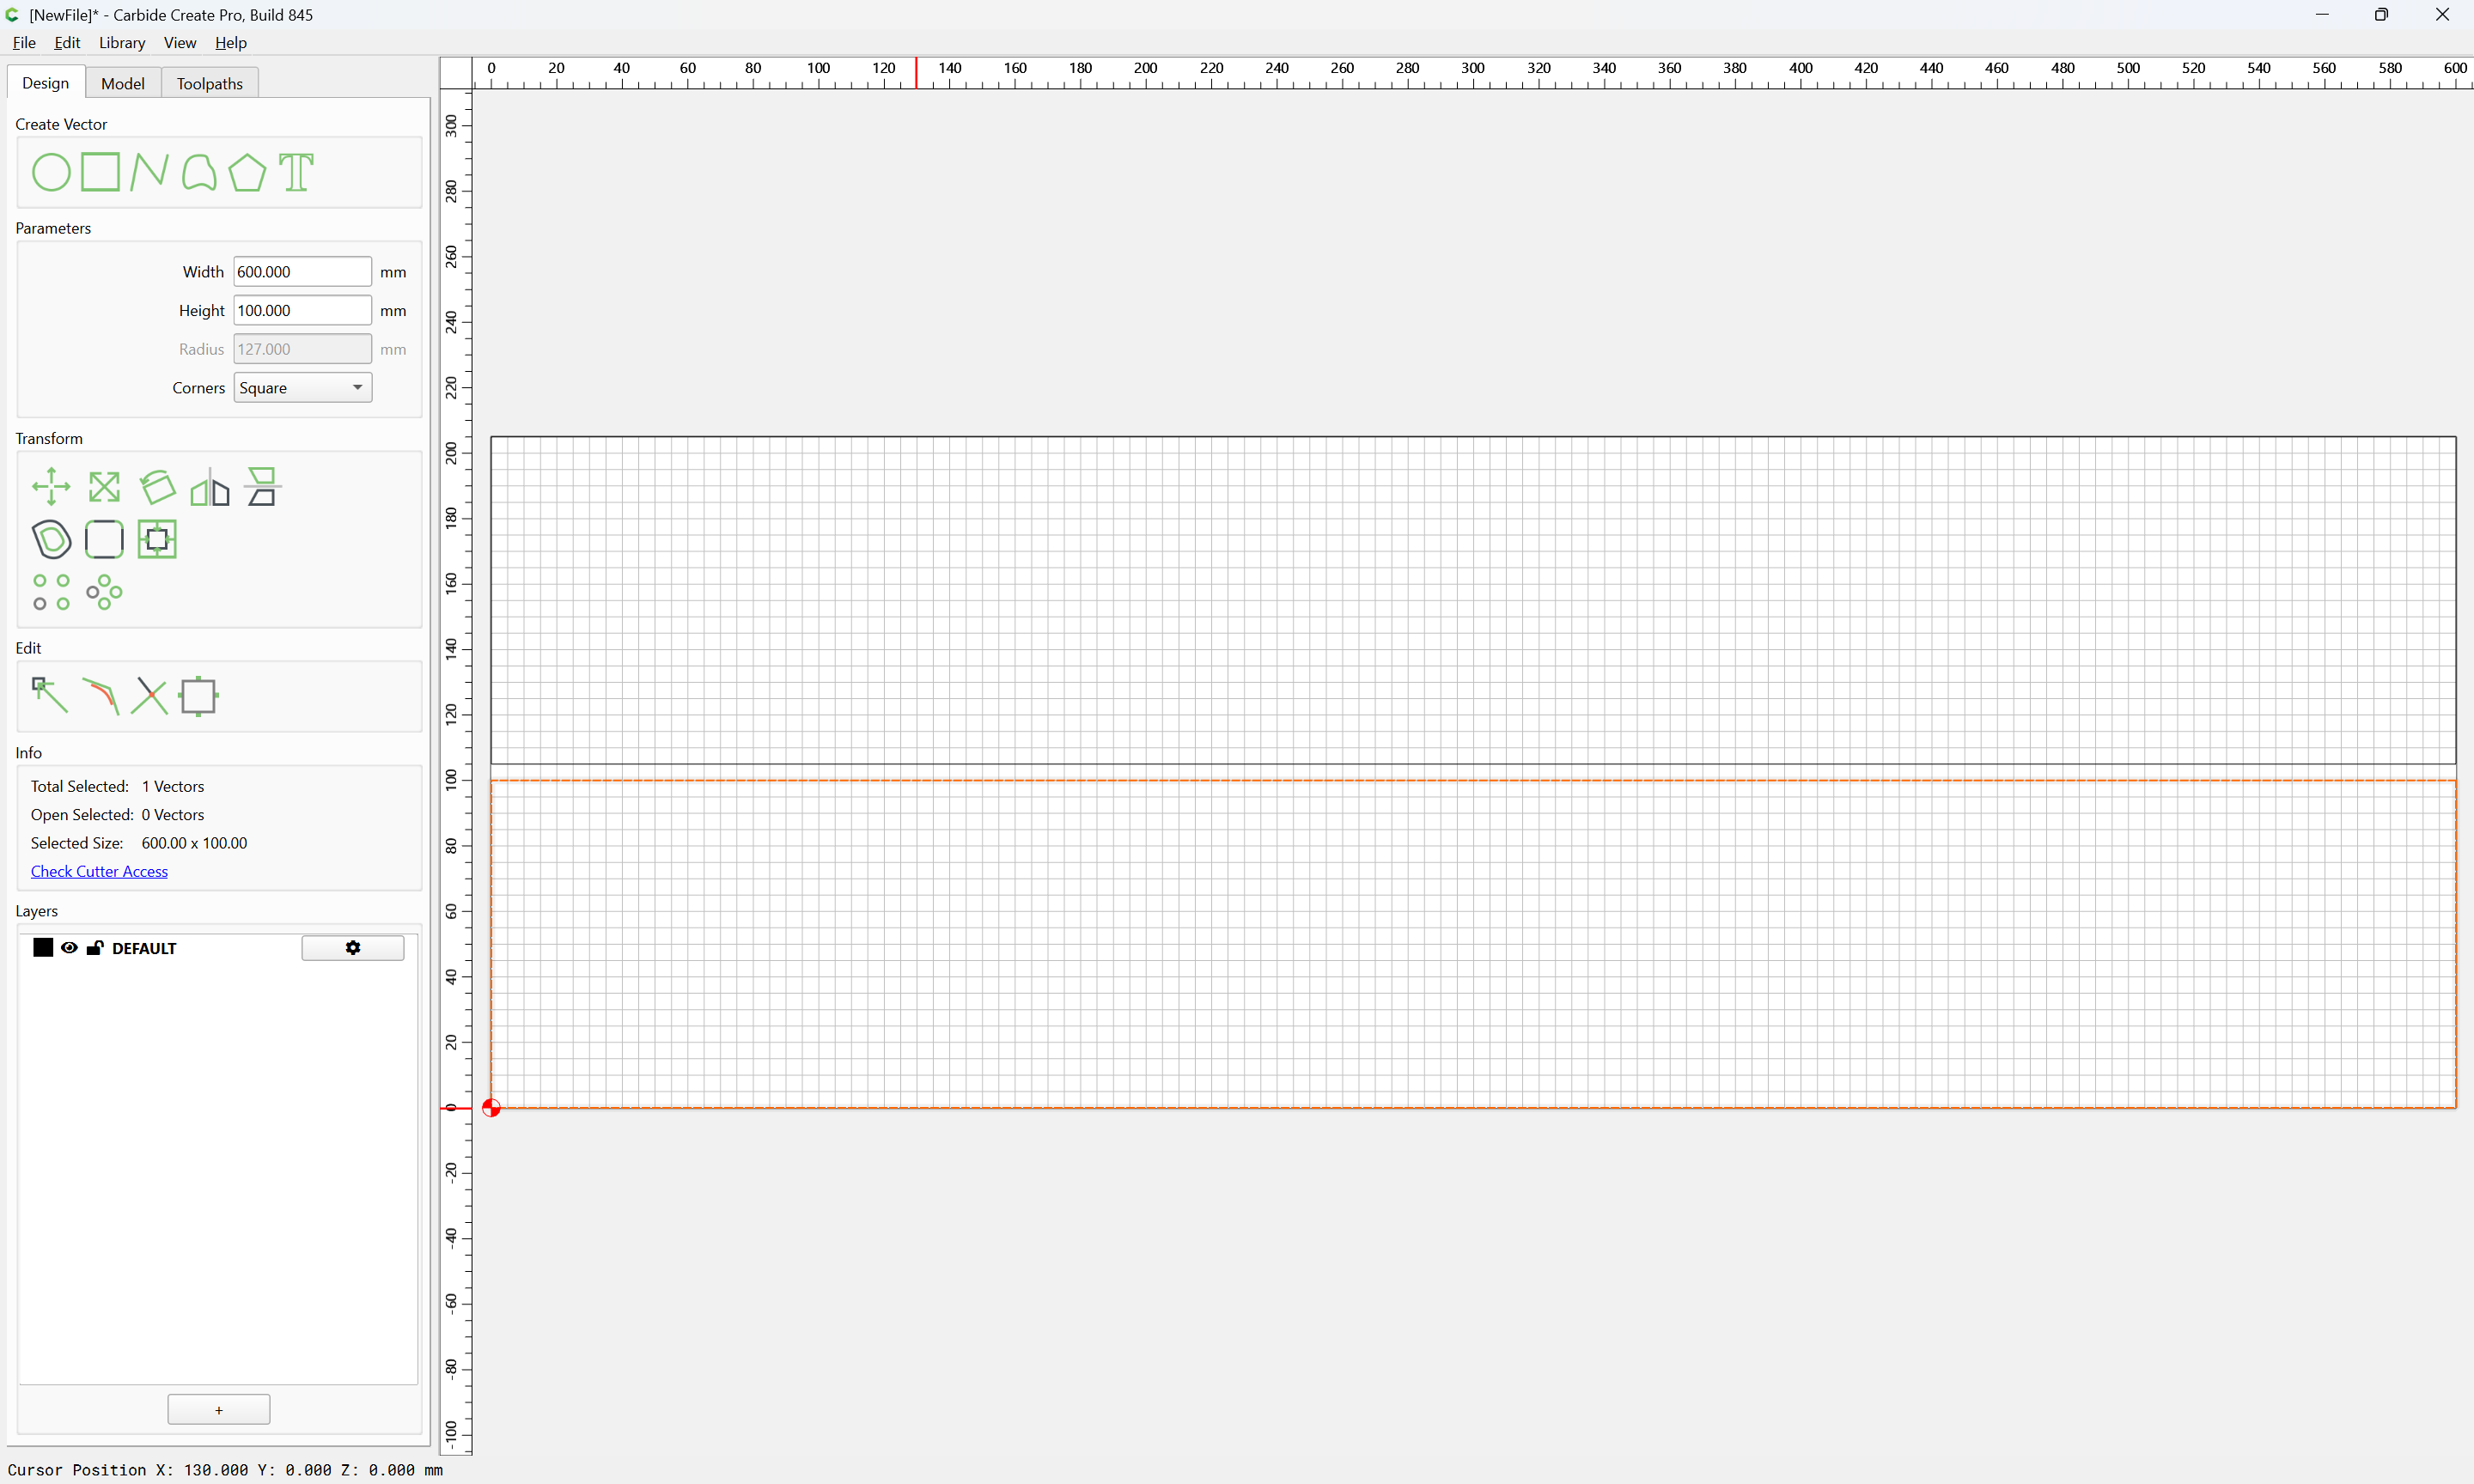
One minor issue with joinery is that the minimum Stock Thickness of 25mm is often thicker than the stock thickness, so one will want a pocket:
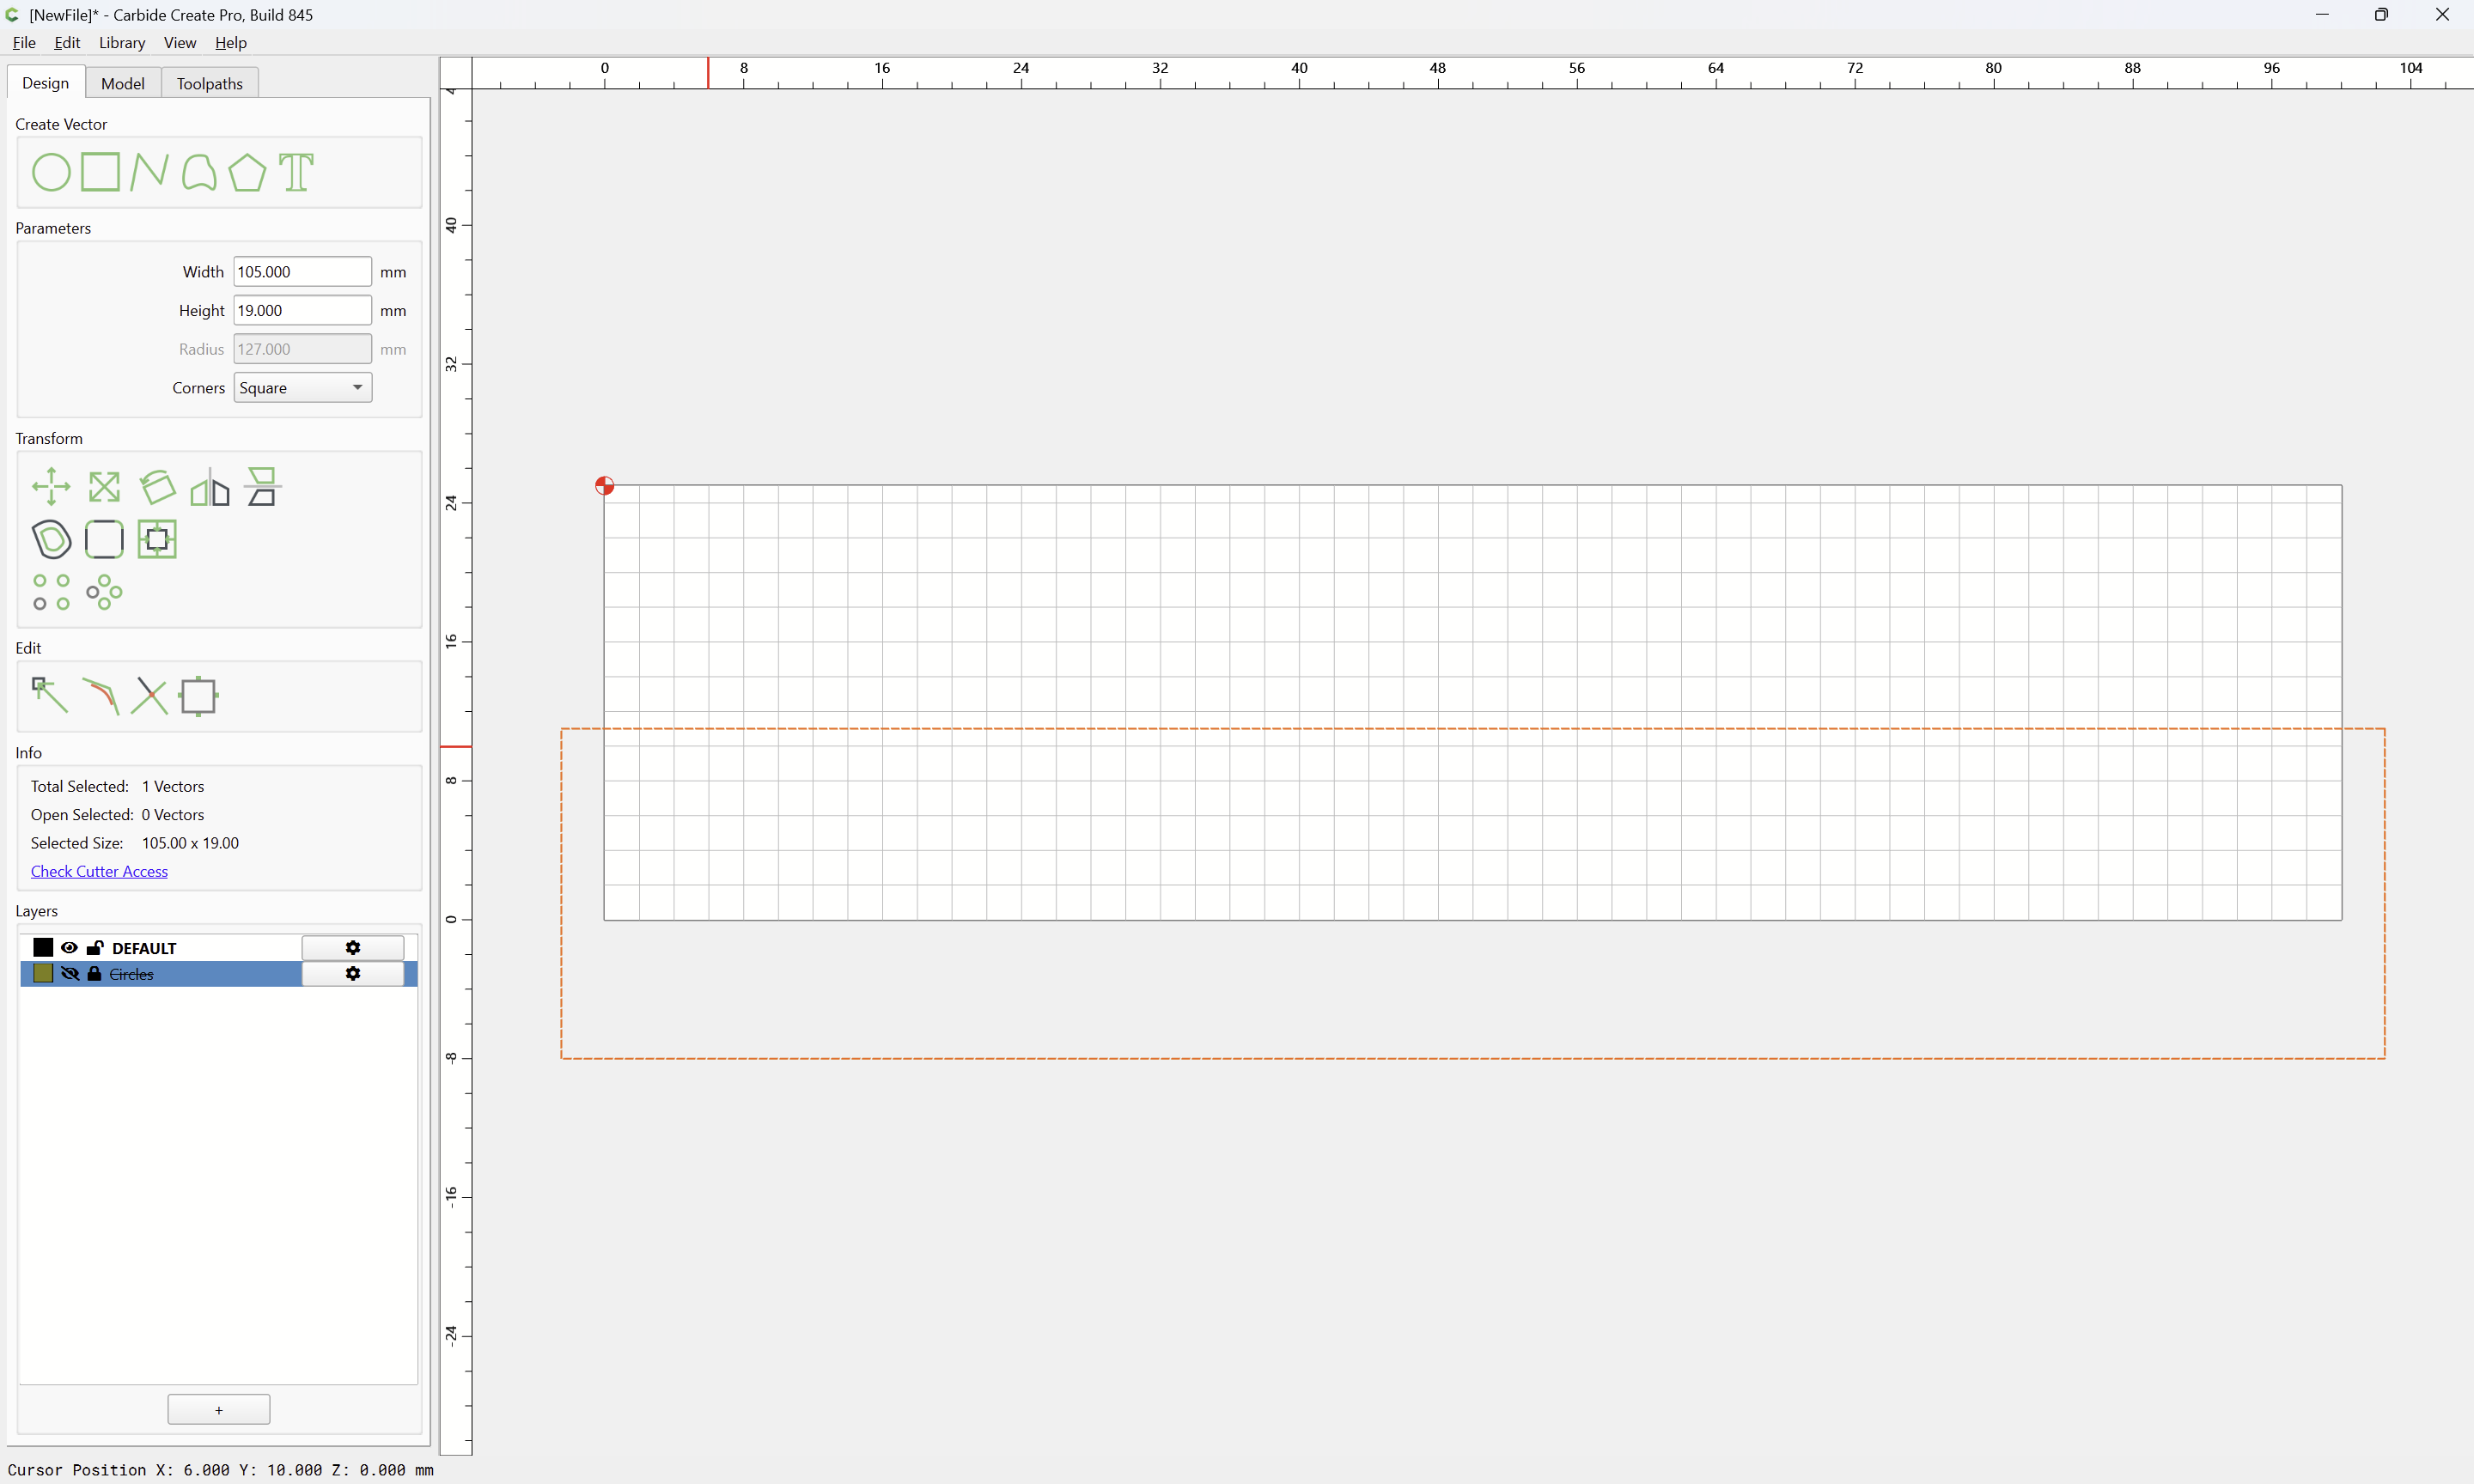
which when removed, leaves only the actual stock area:
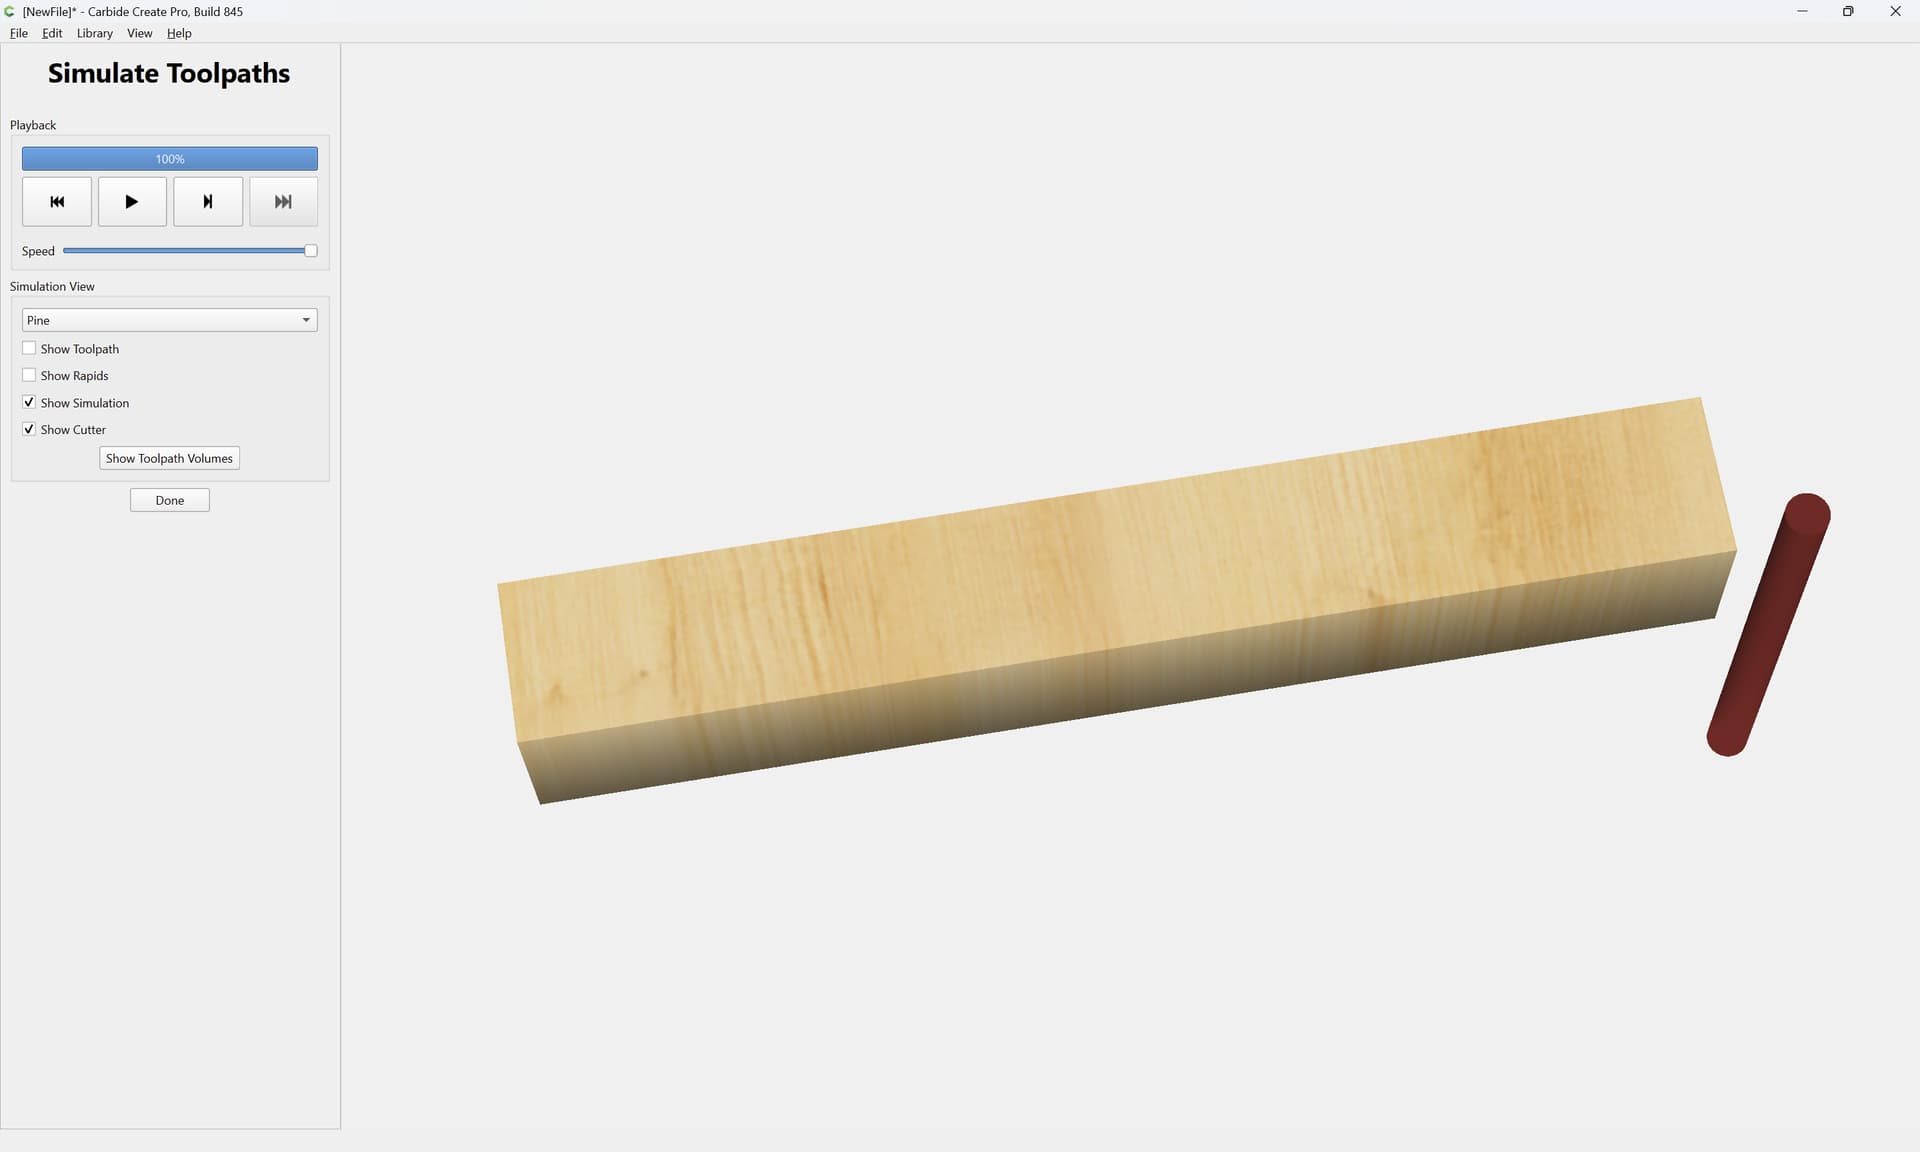
The unit area for each joint section is a square:
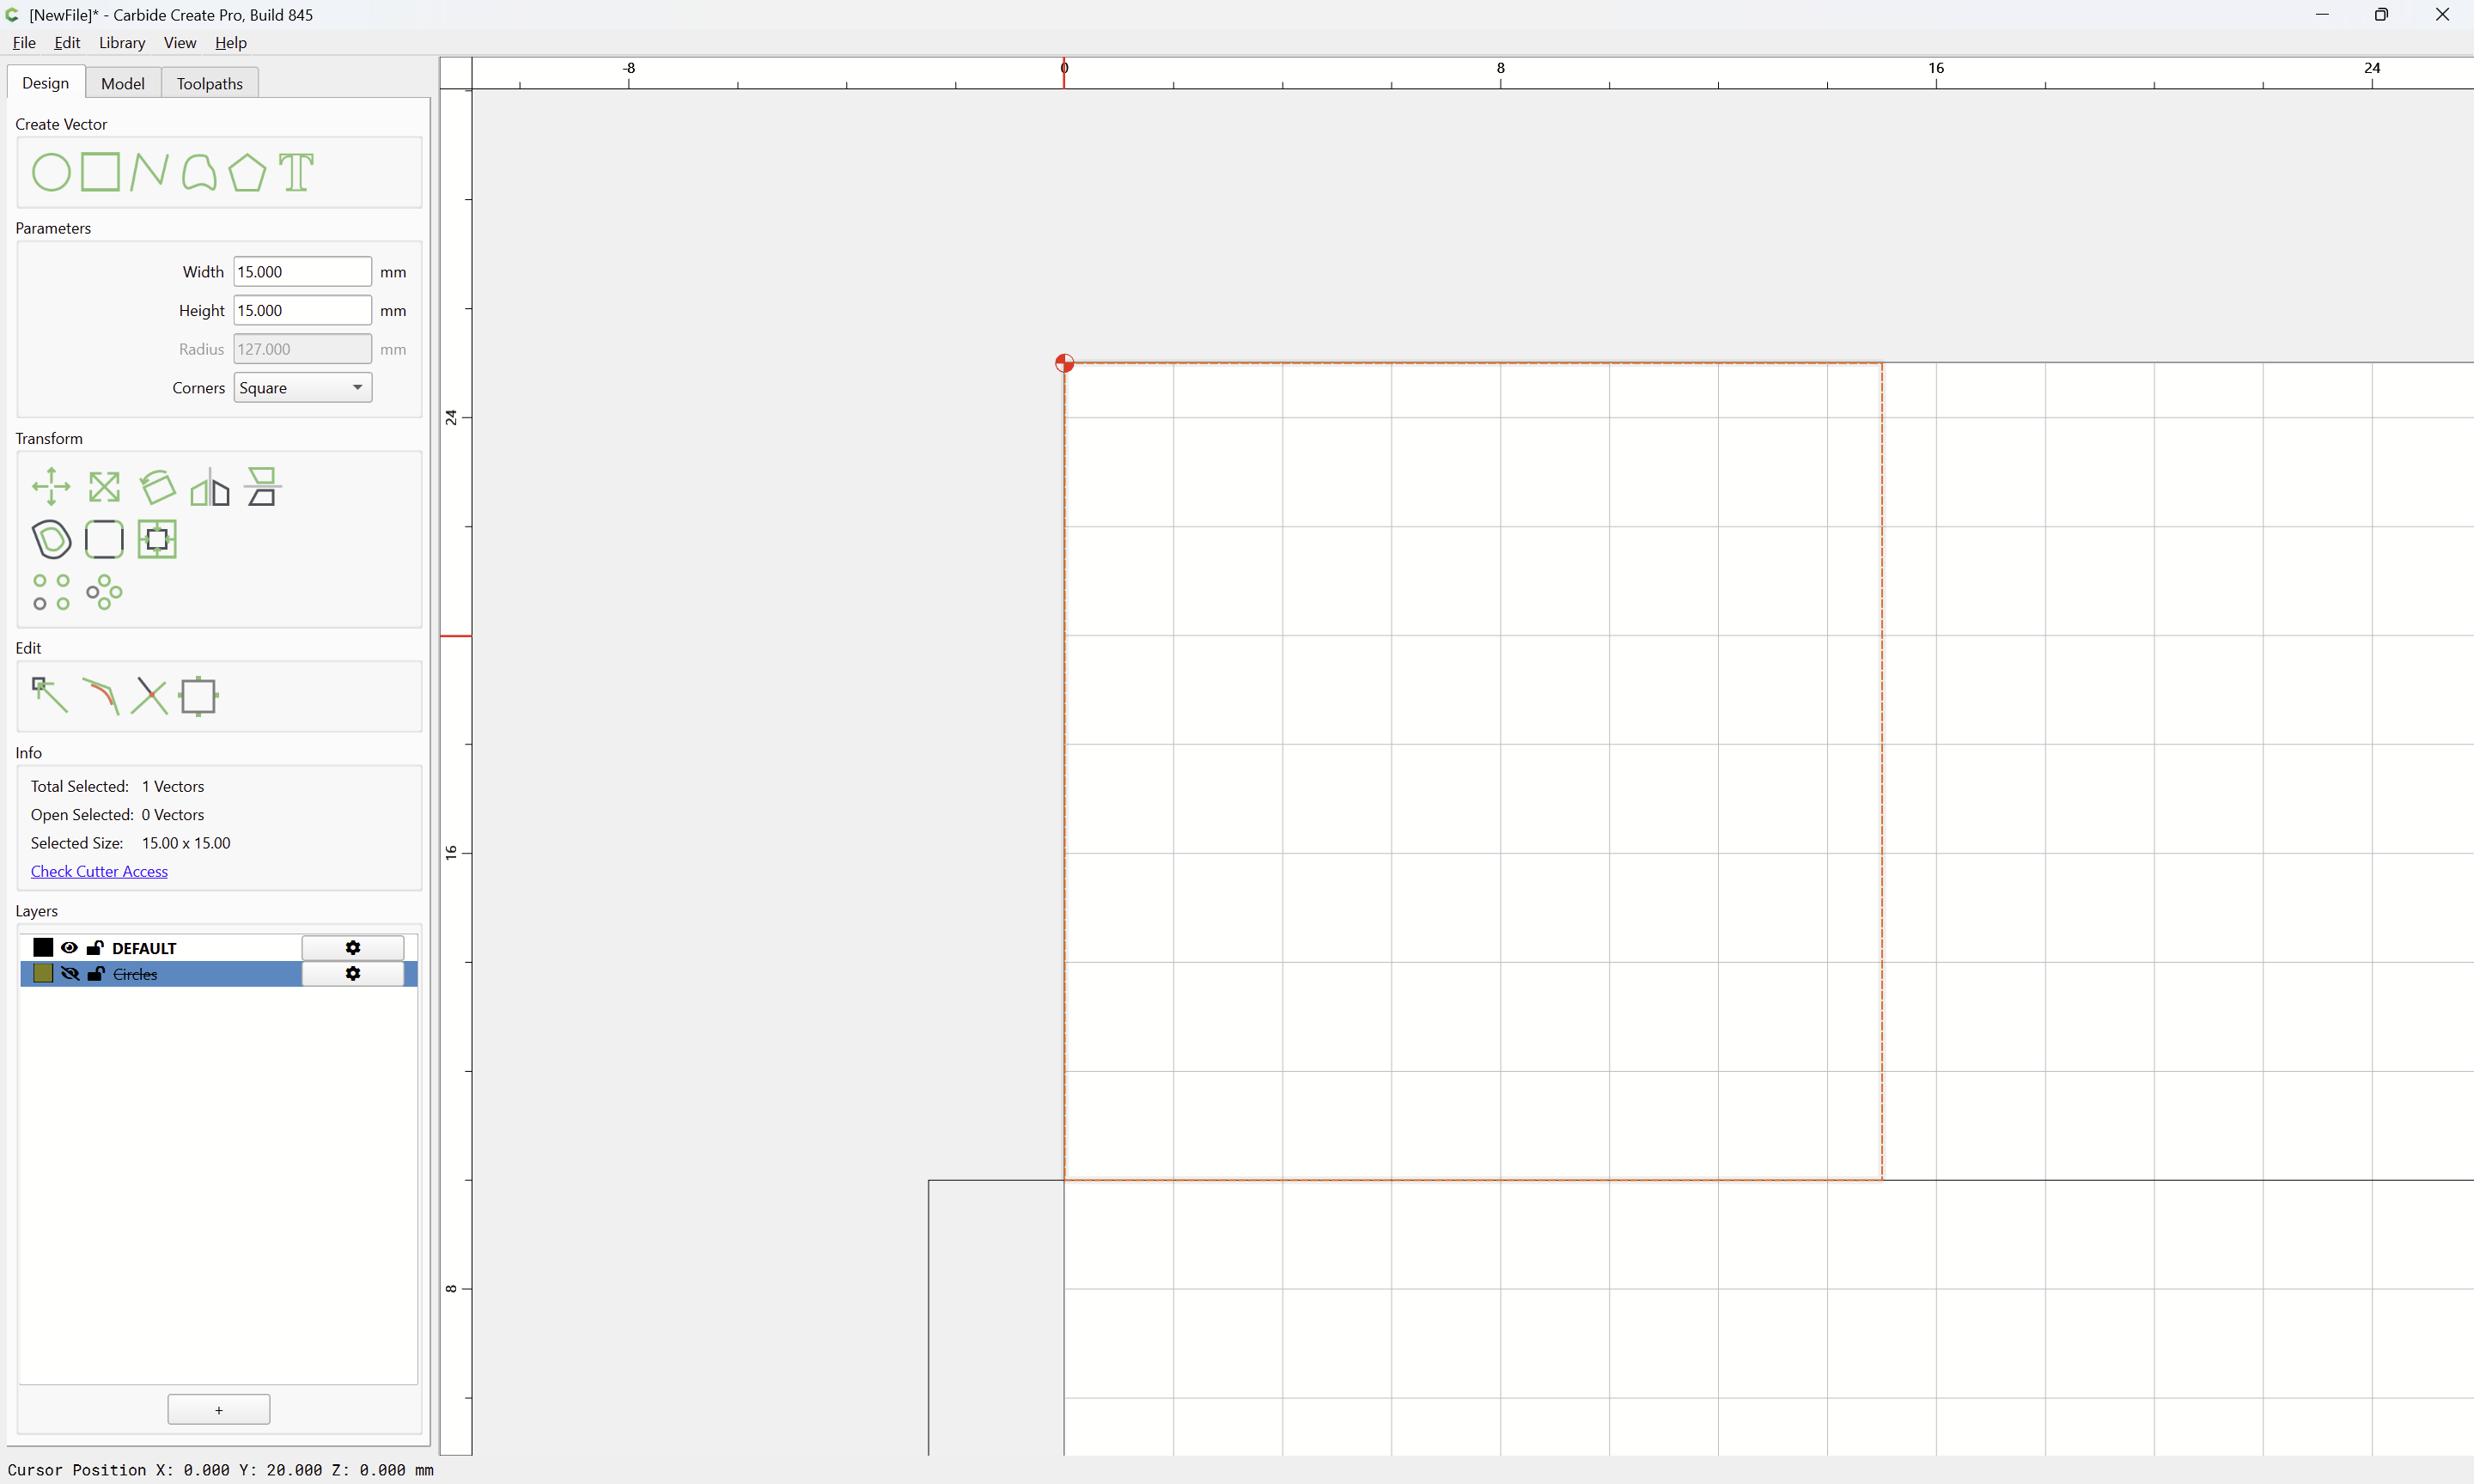
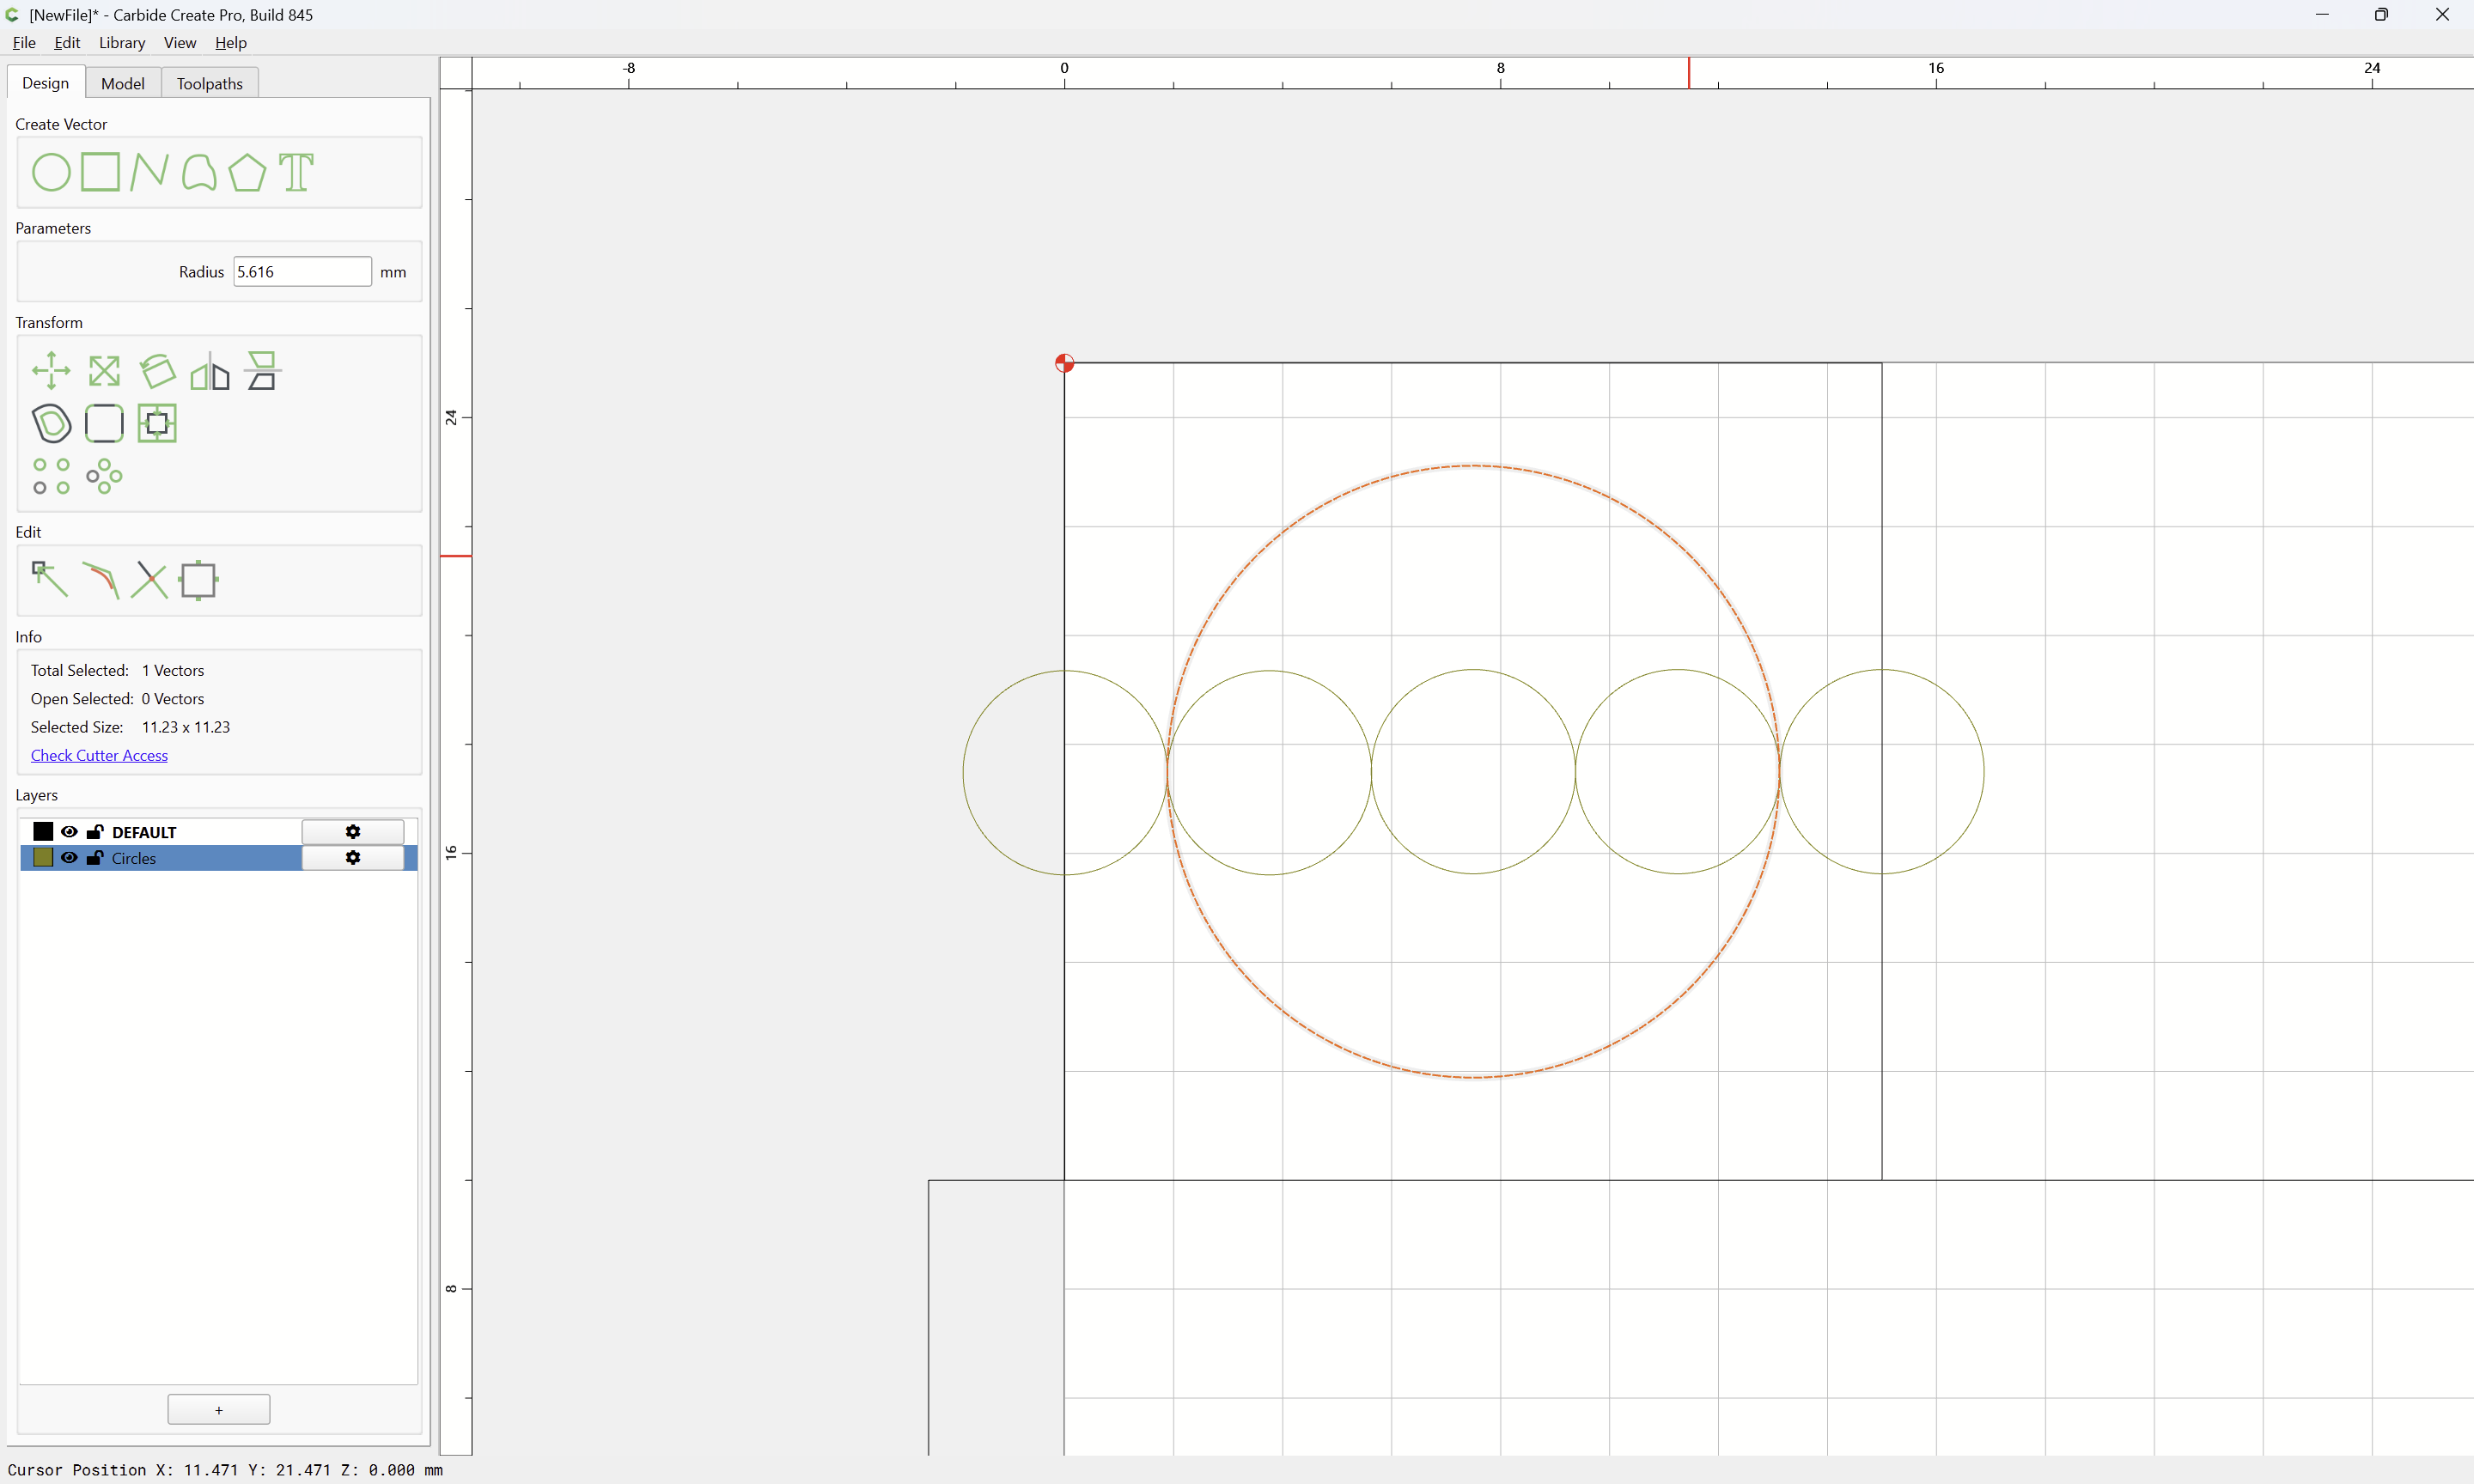
and in it one will need a series of circles:
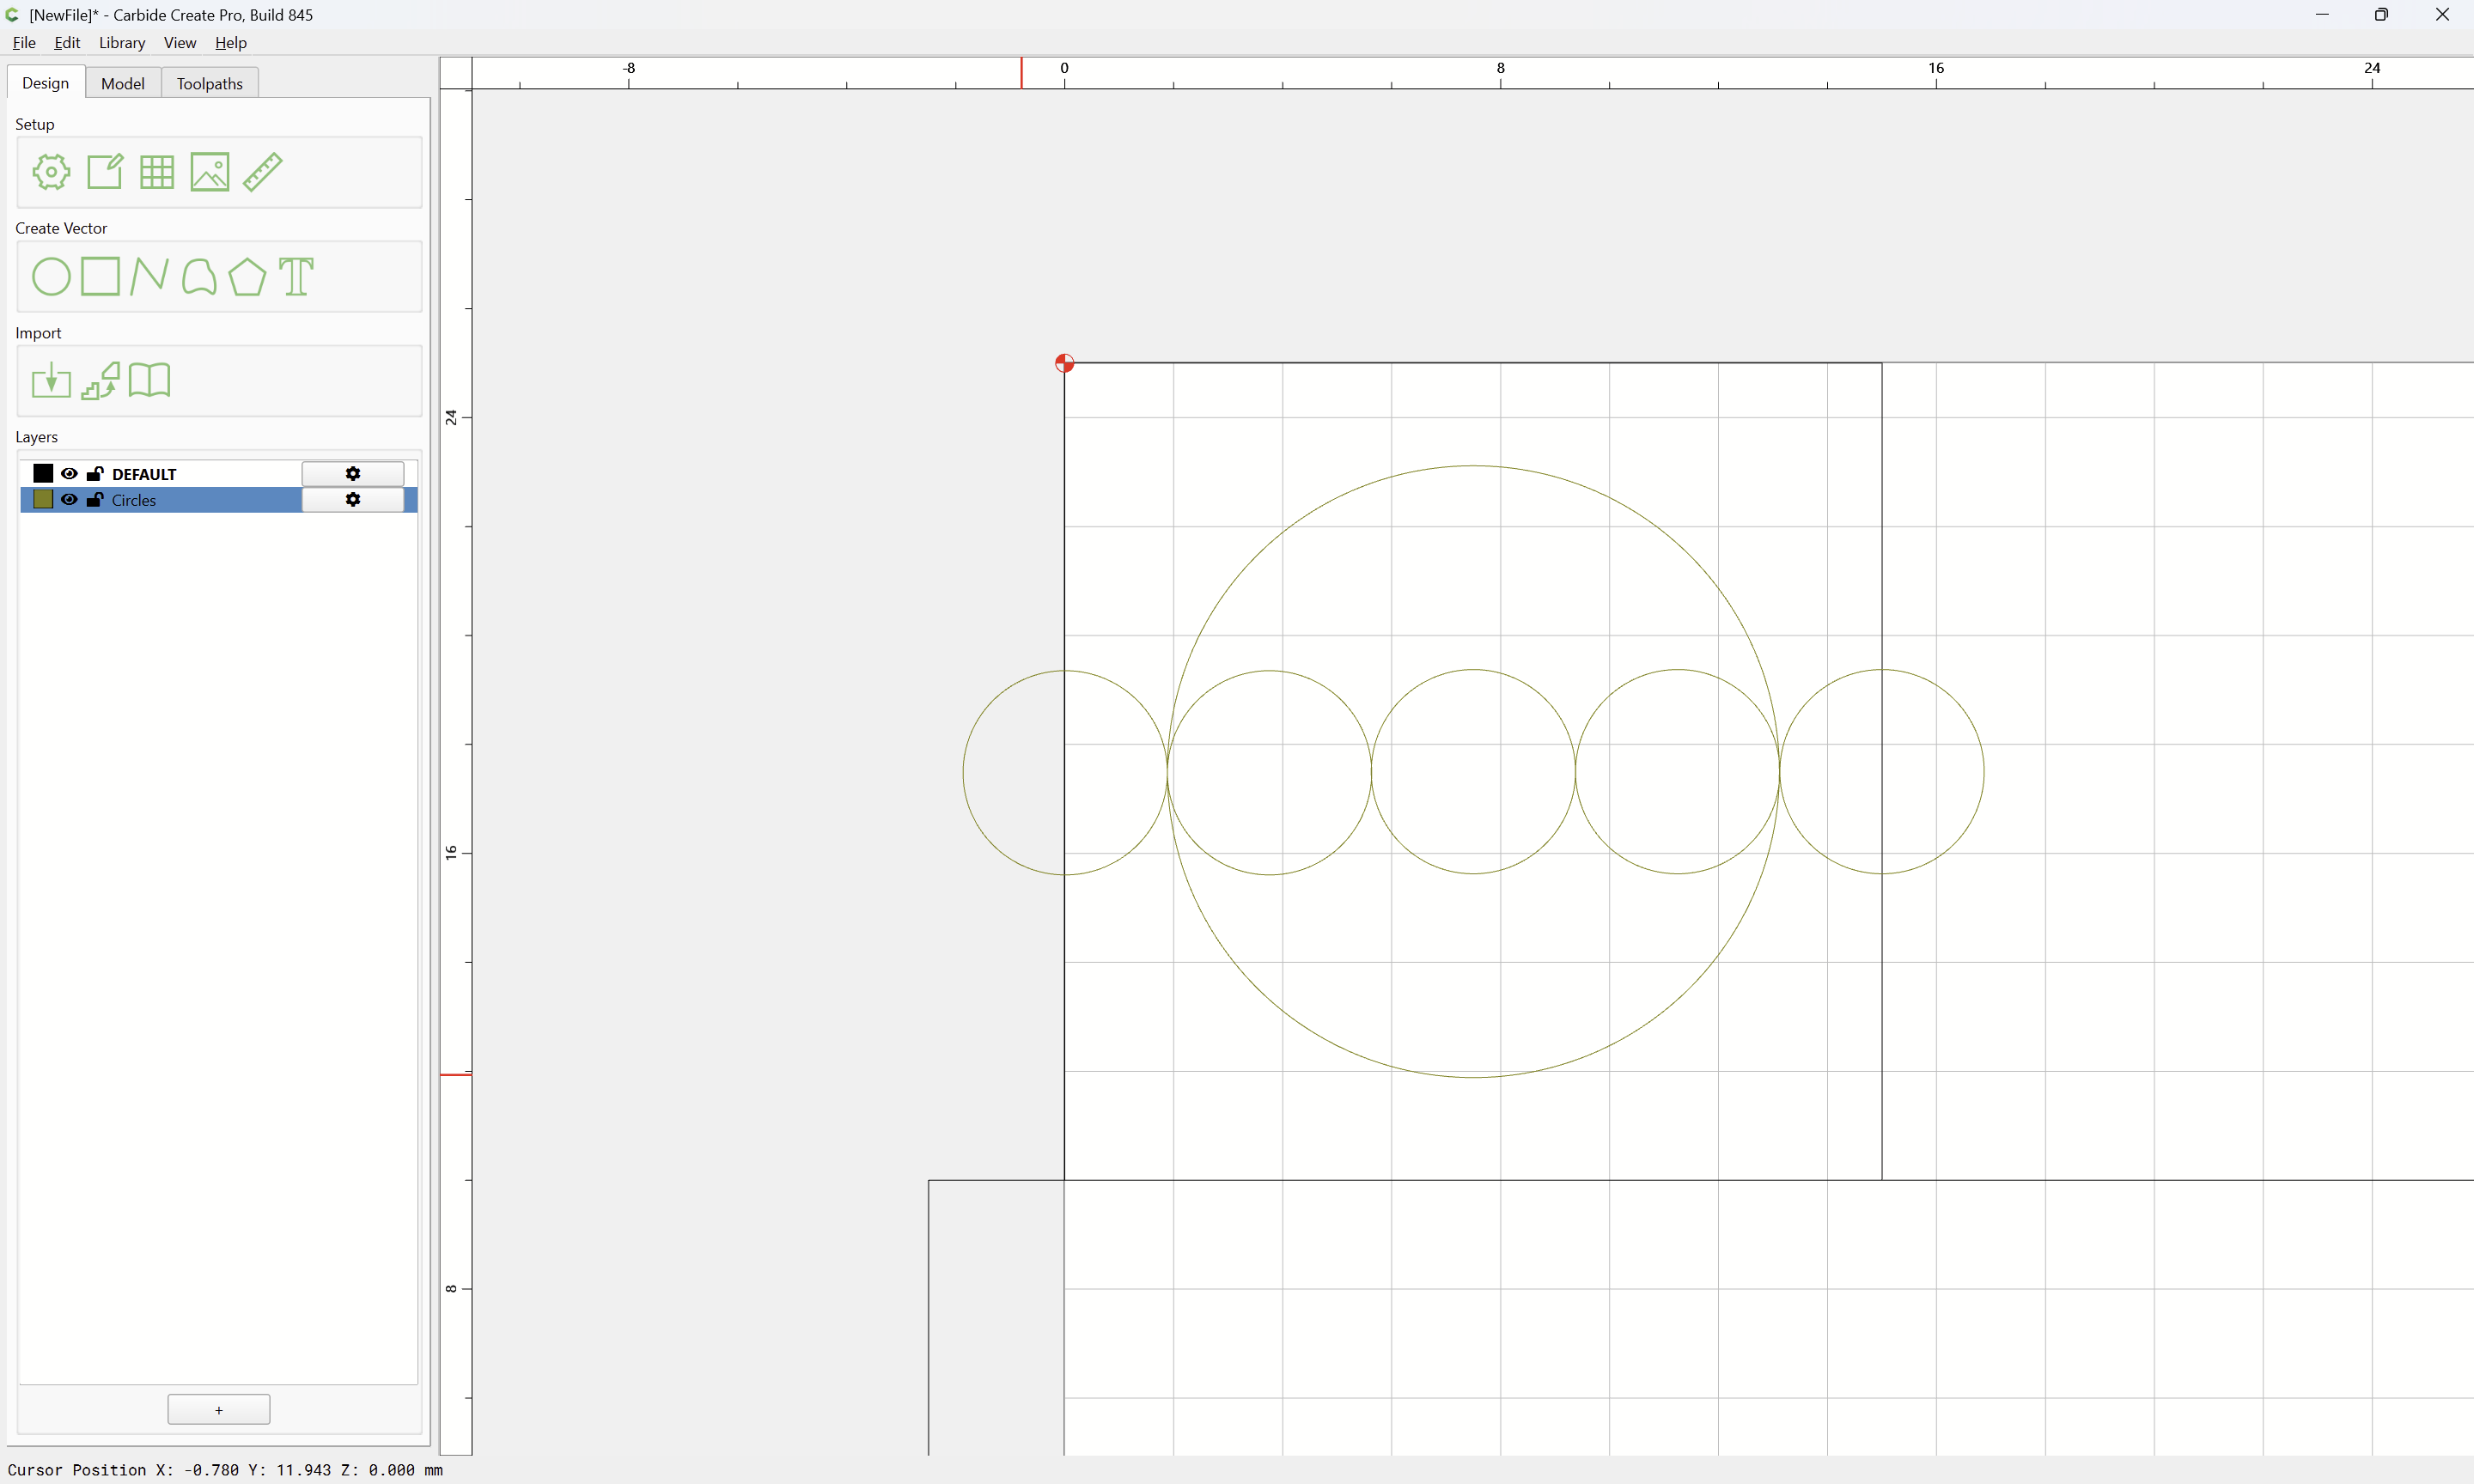
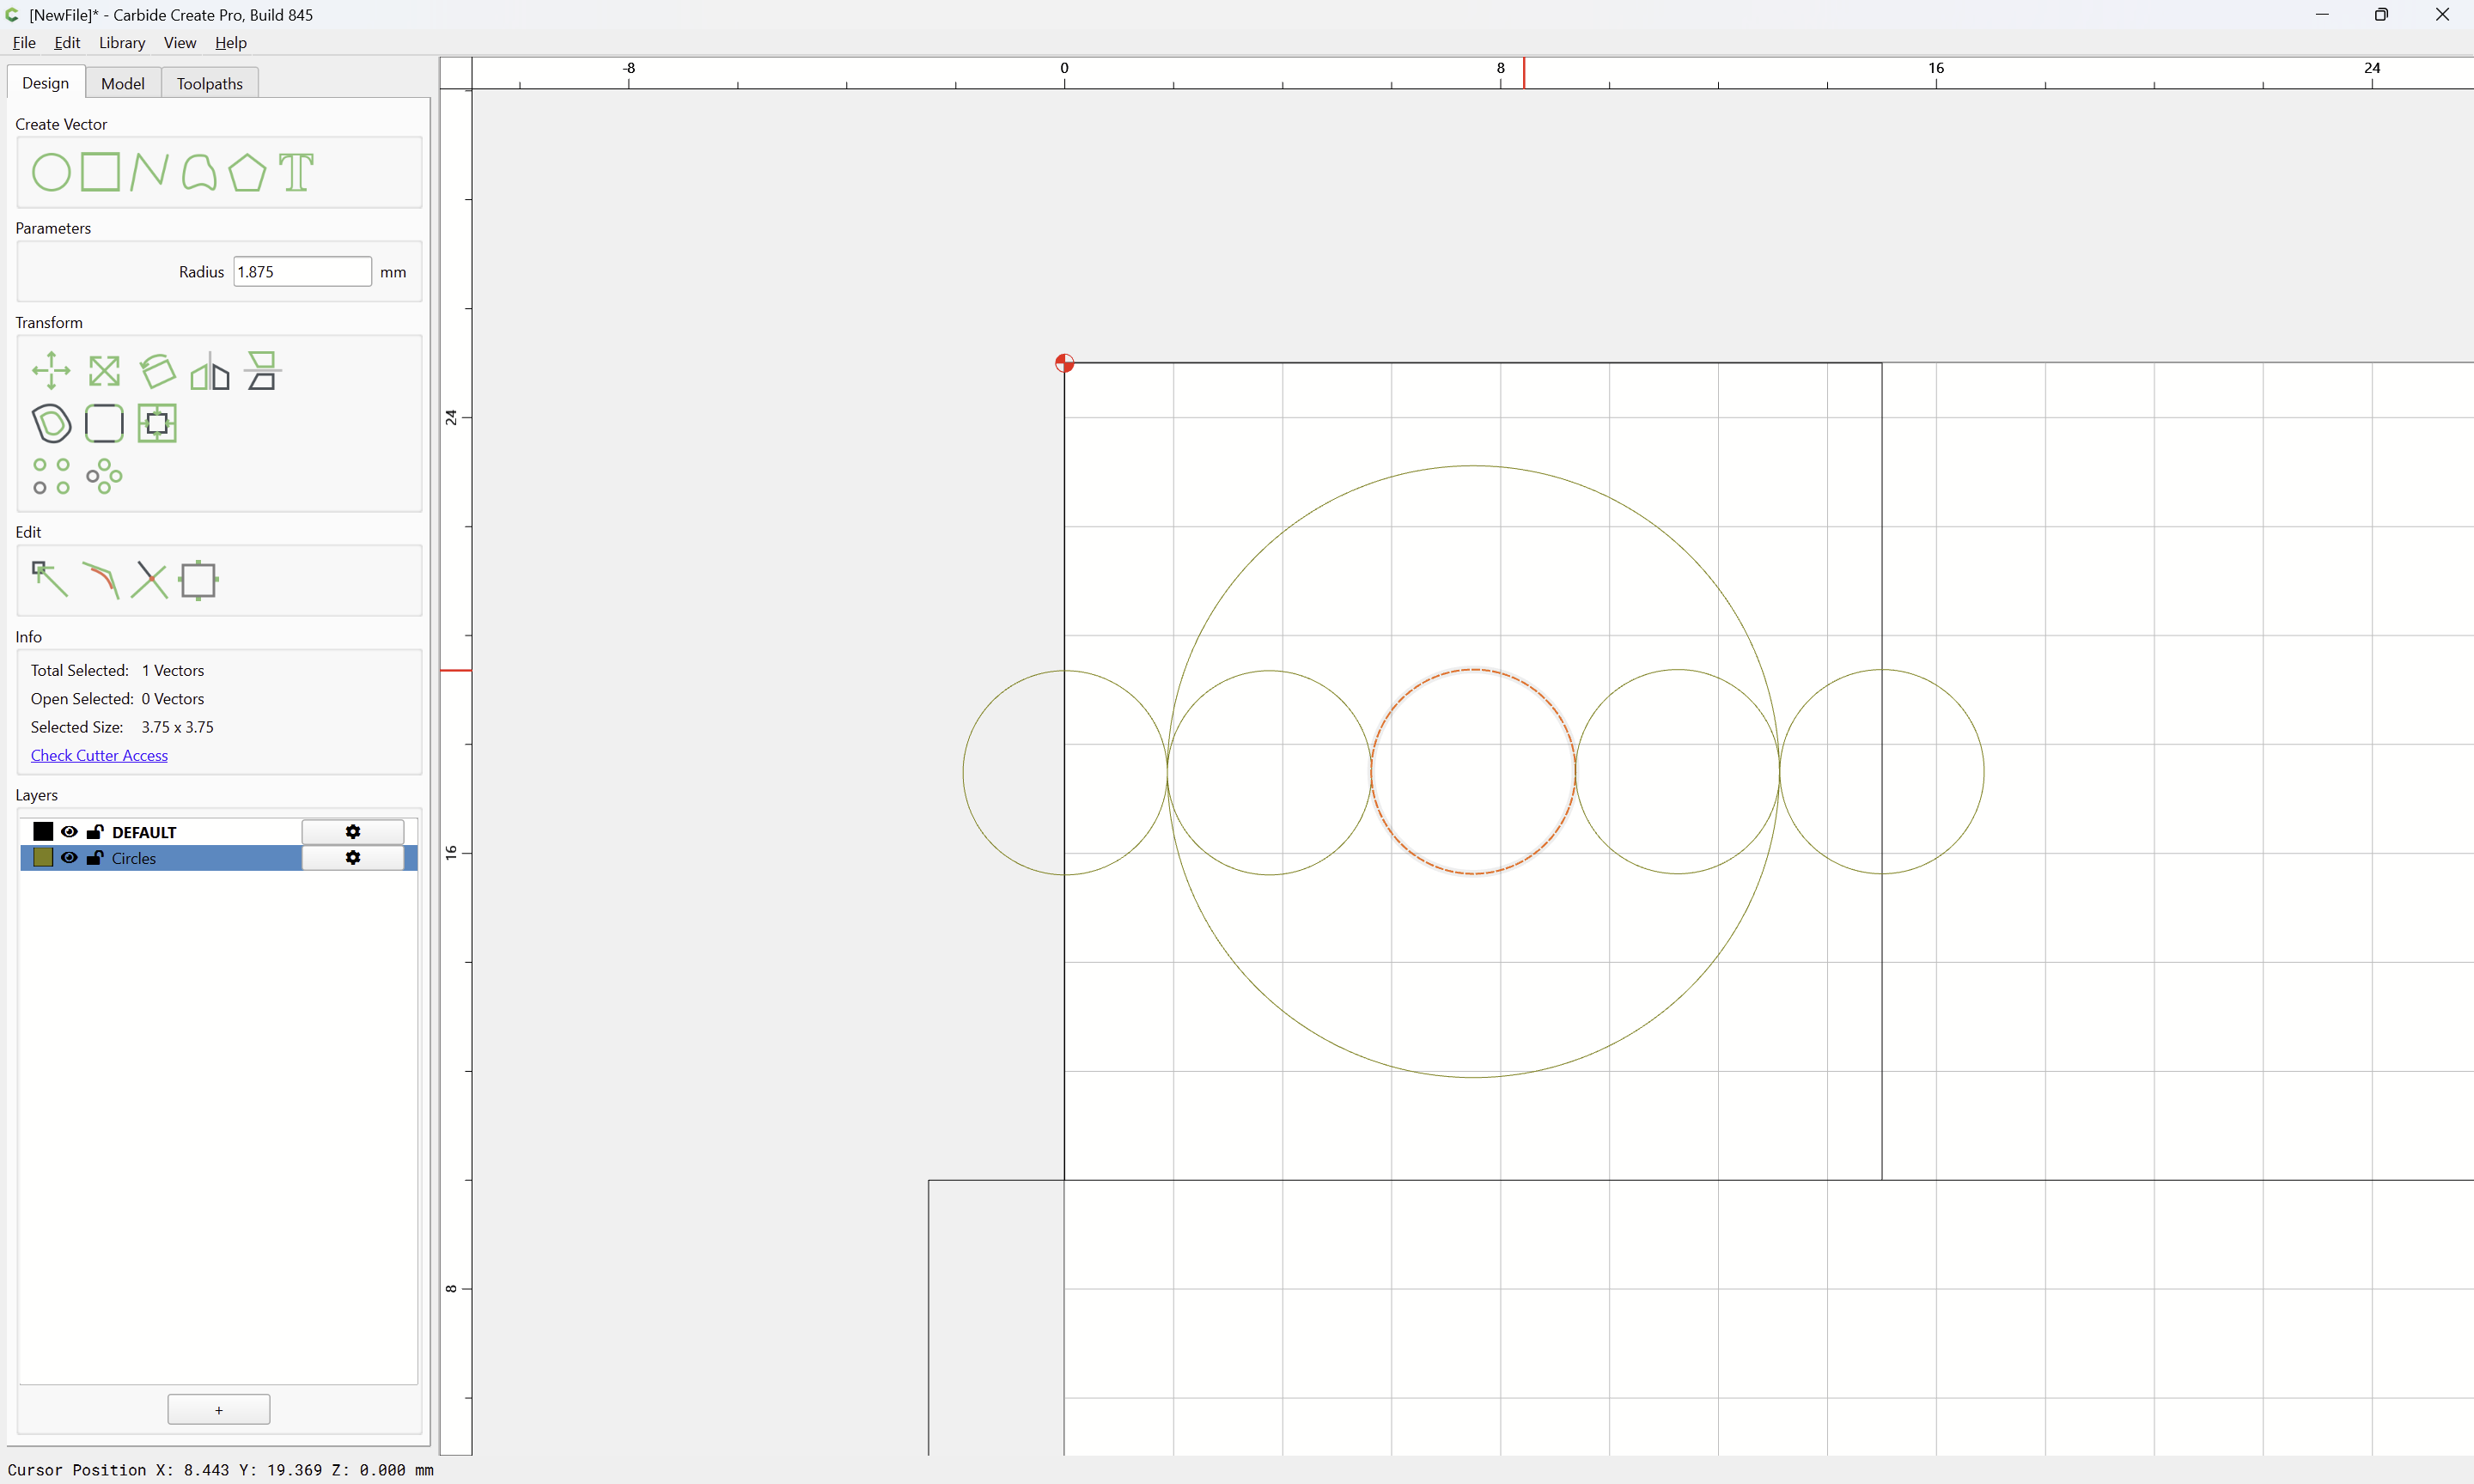
each of which represents a region where the tool will travel.

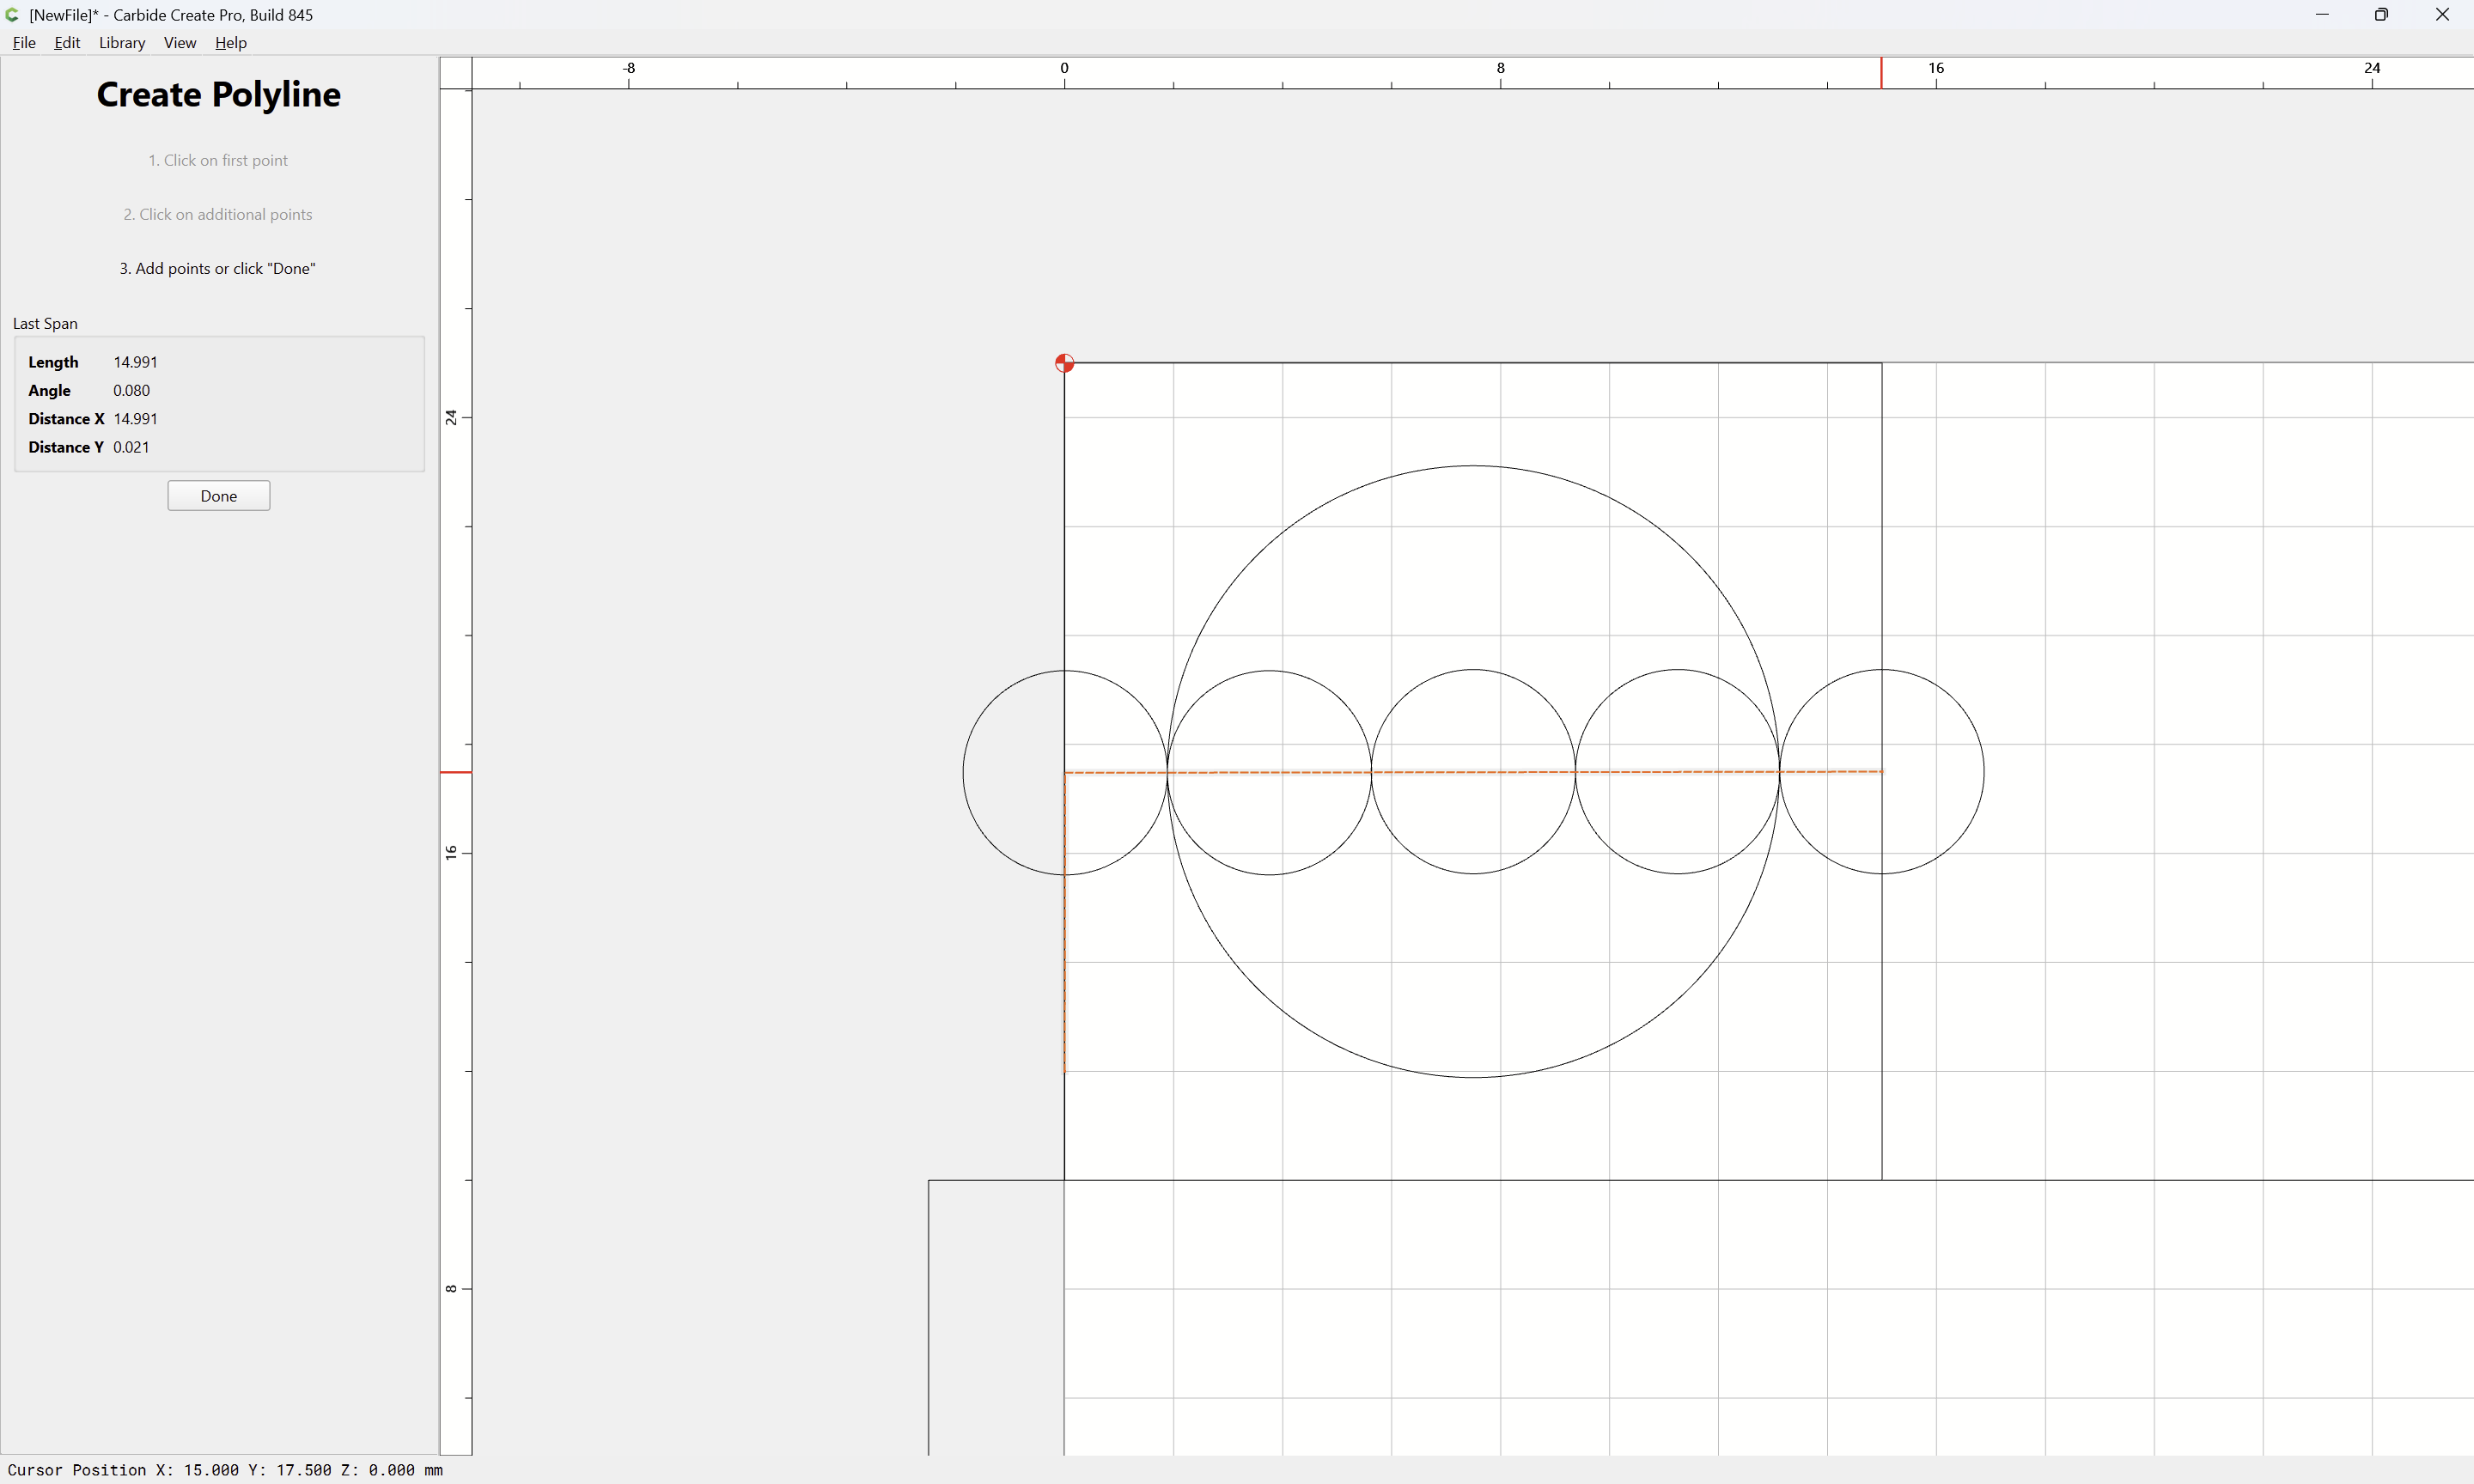
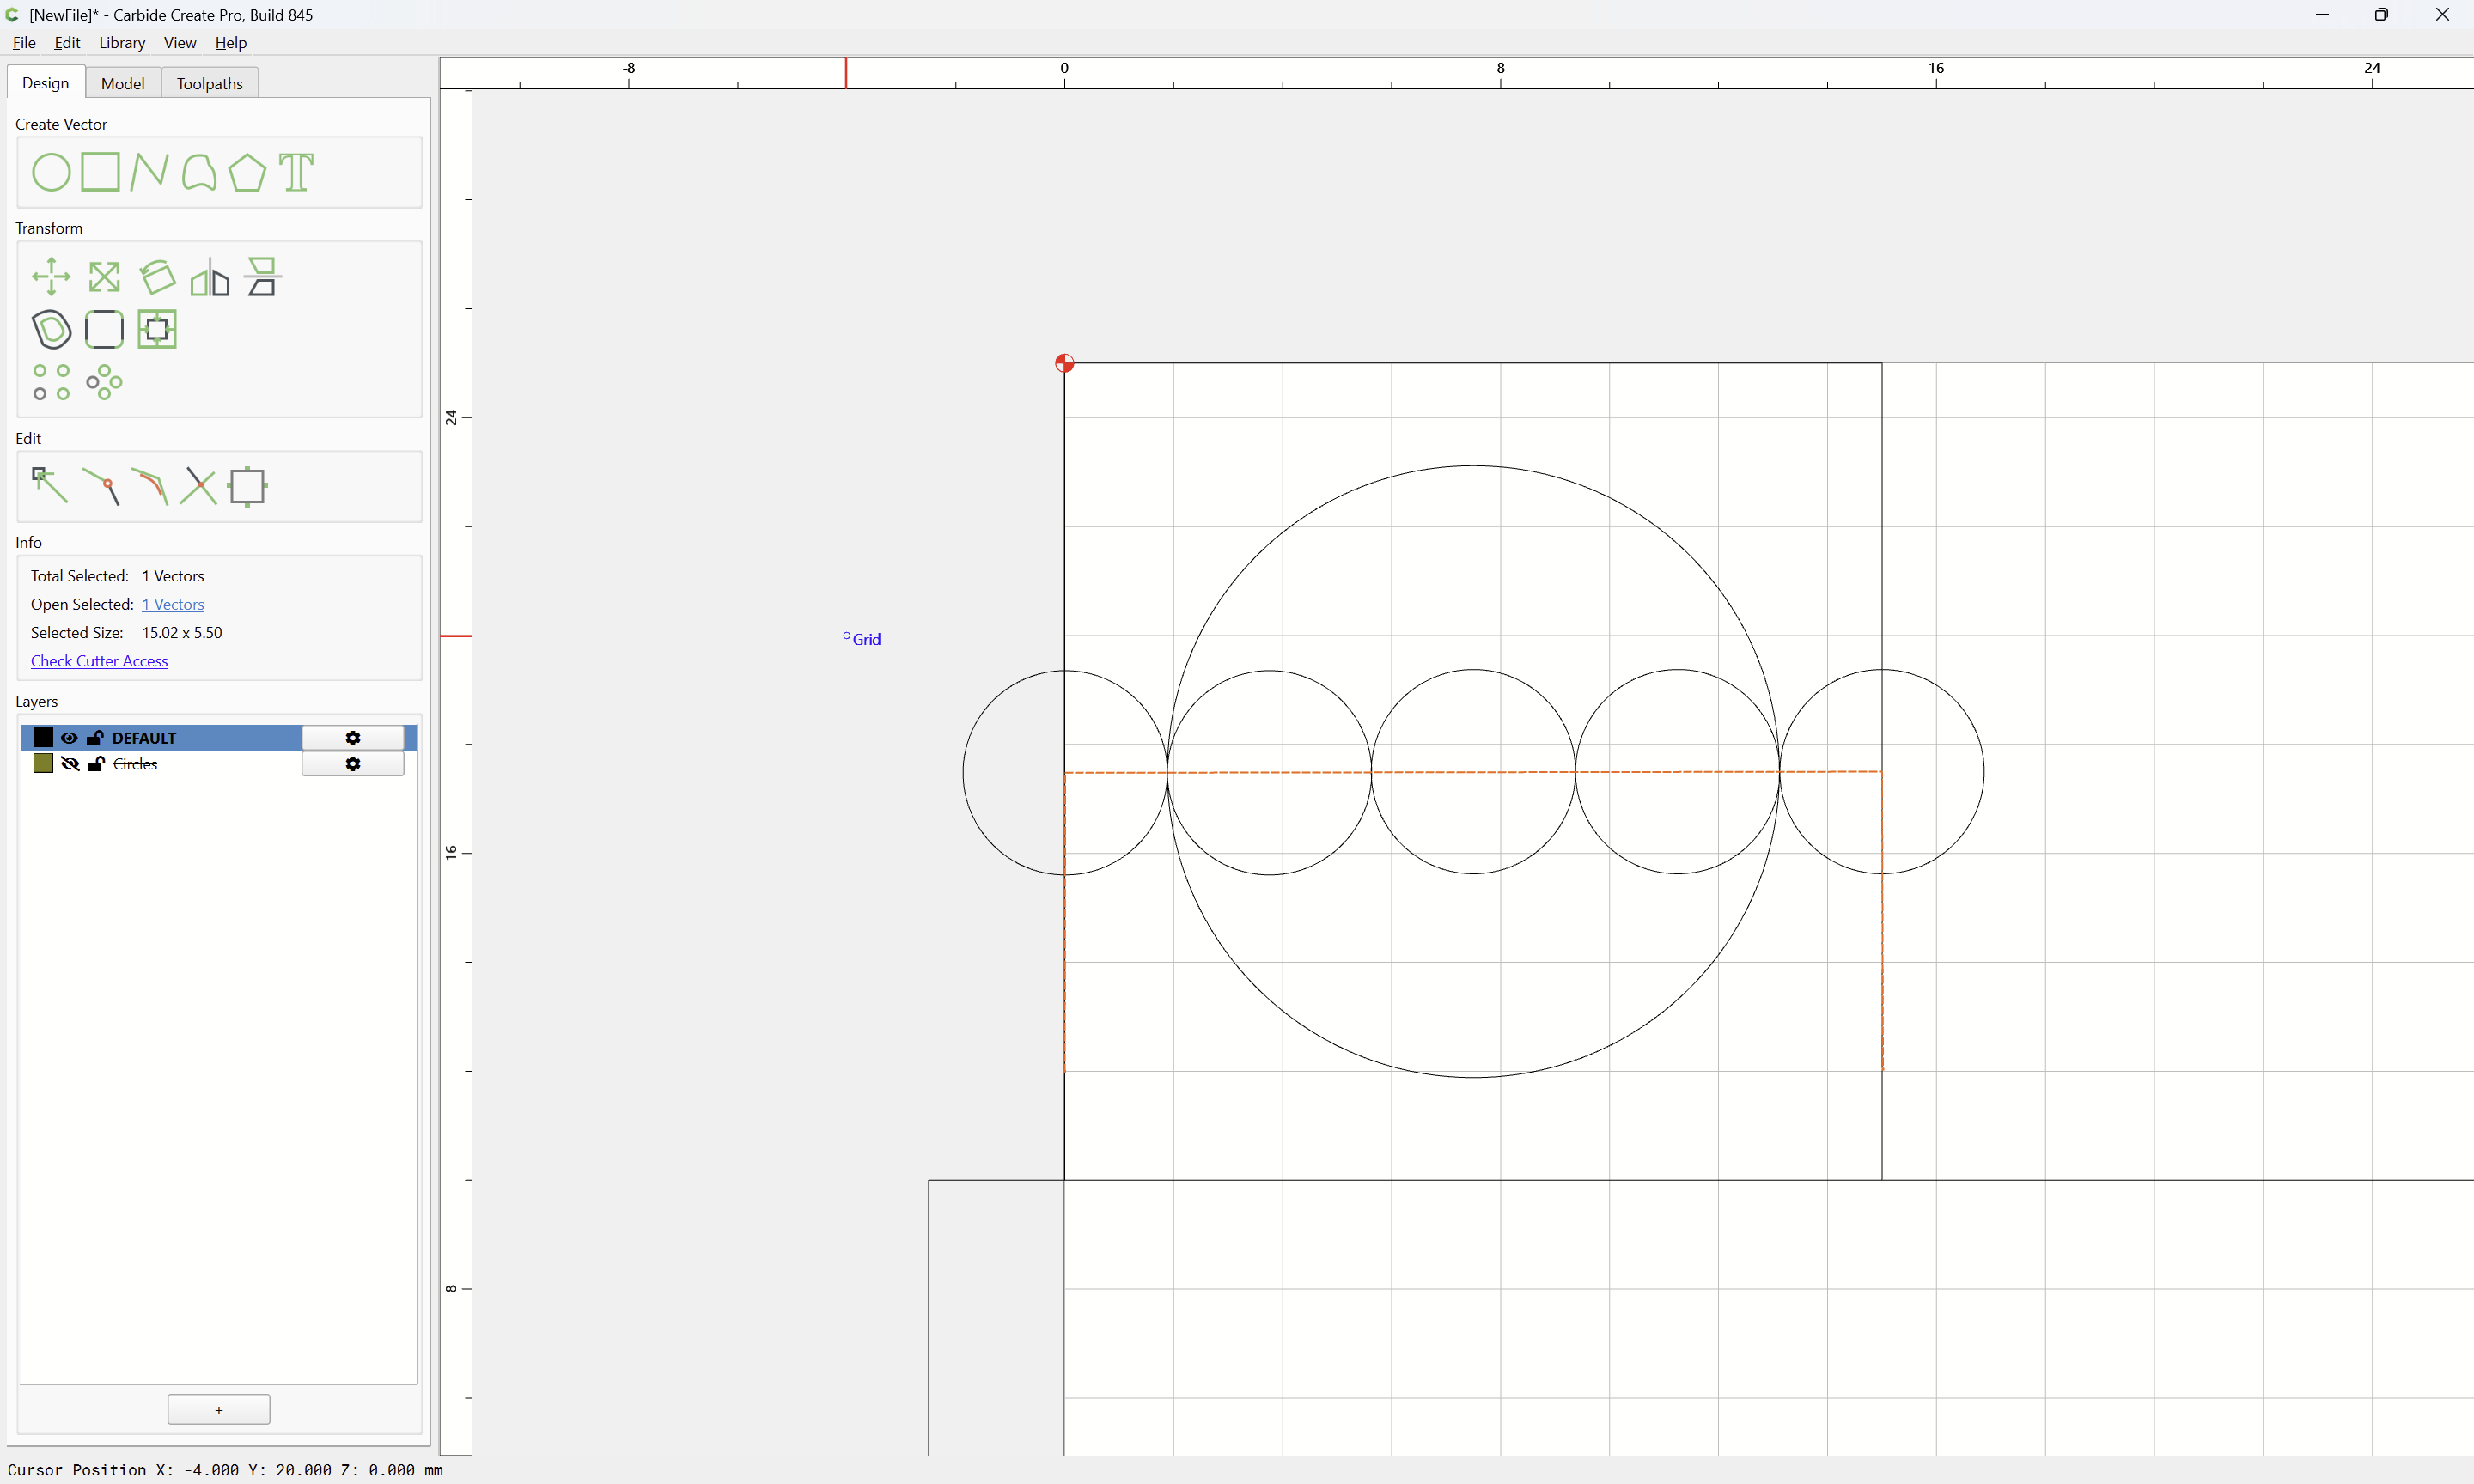
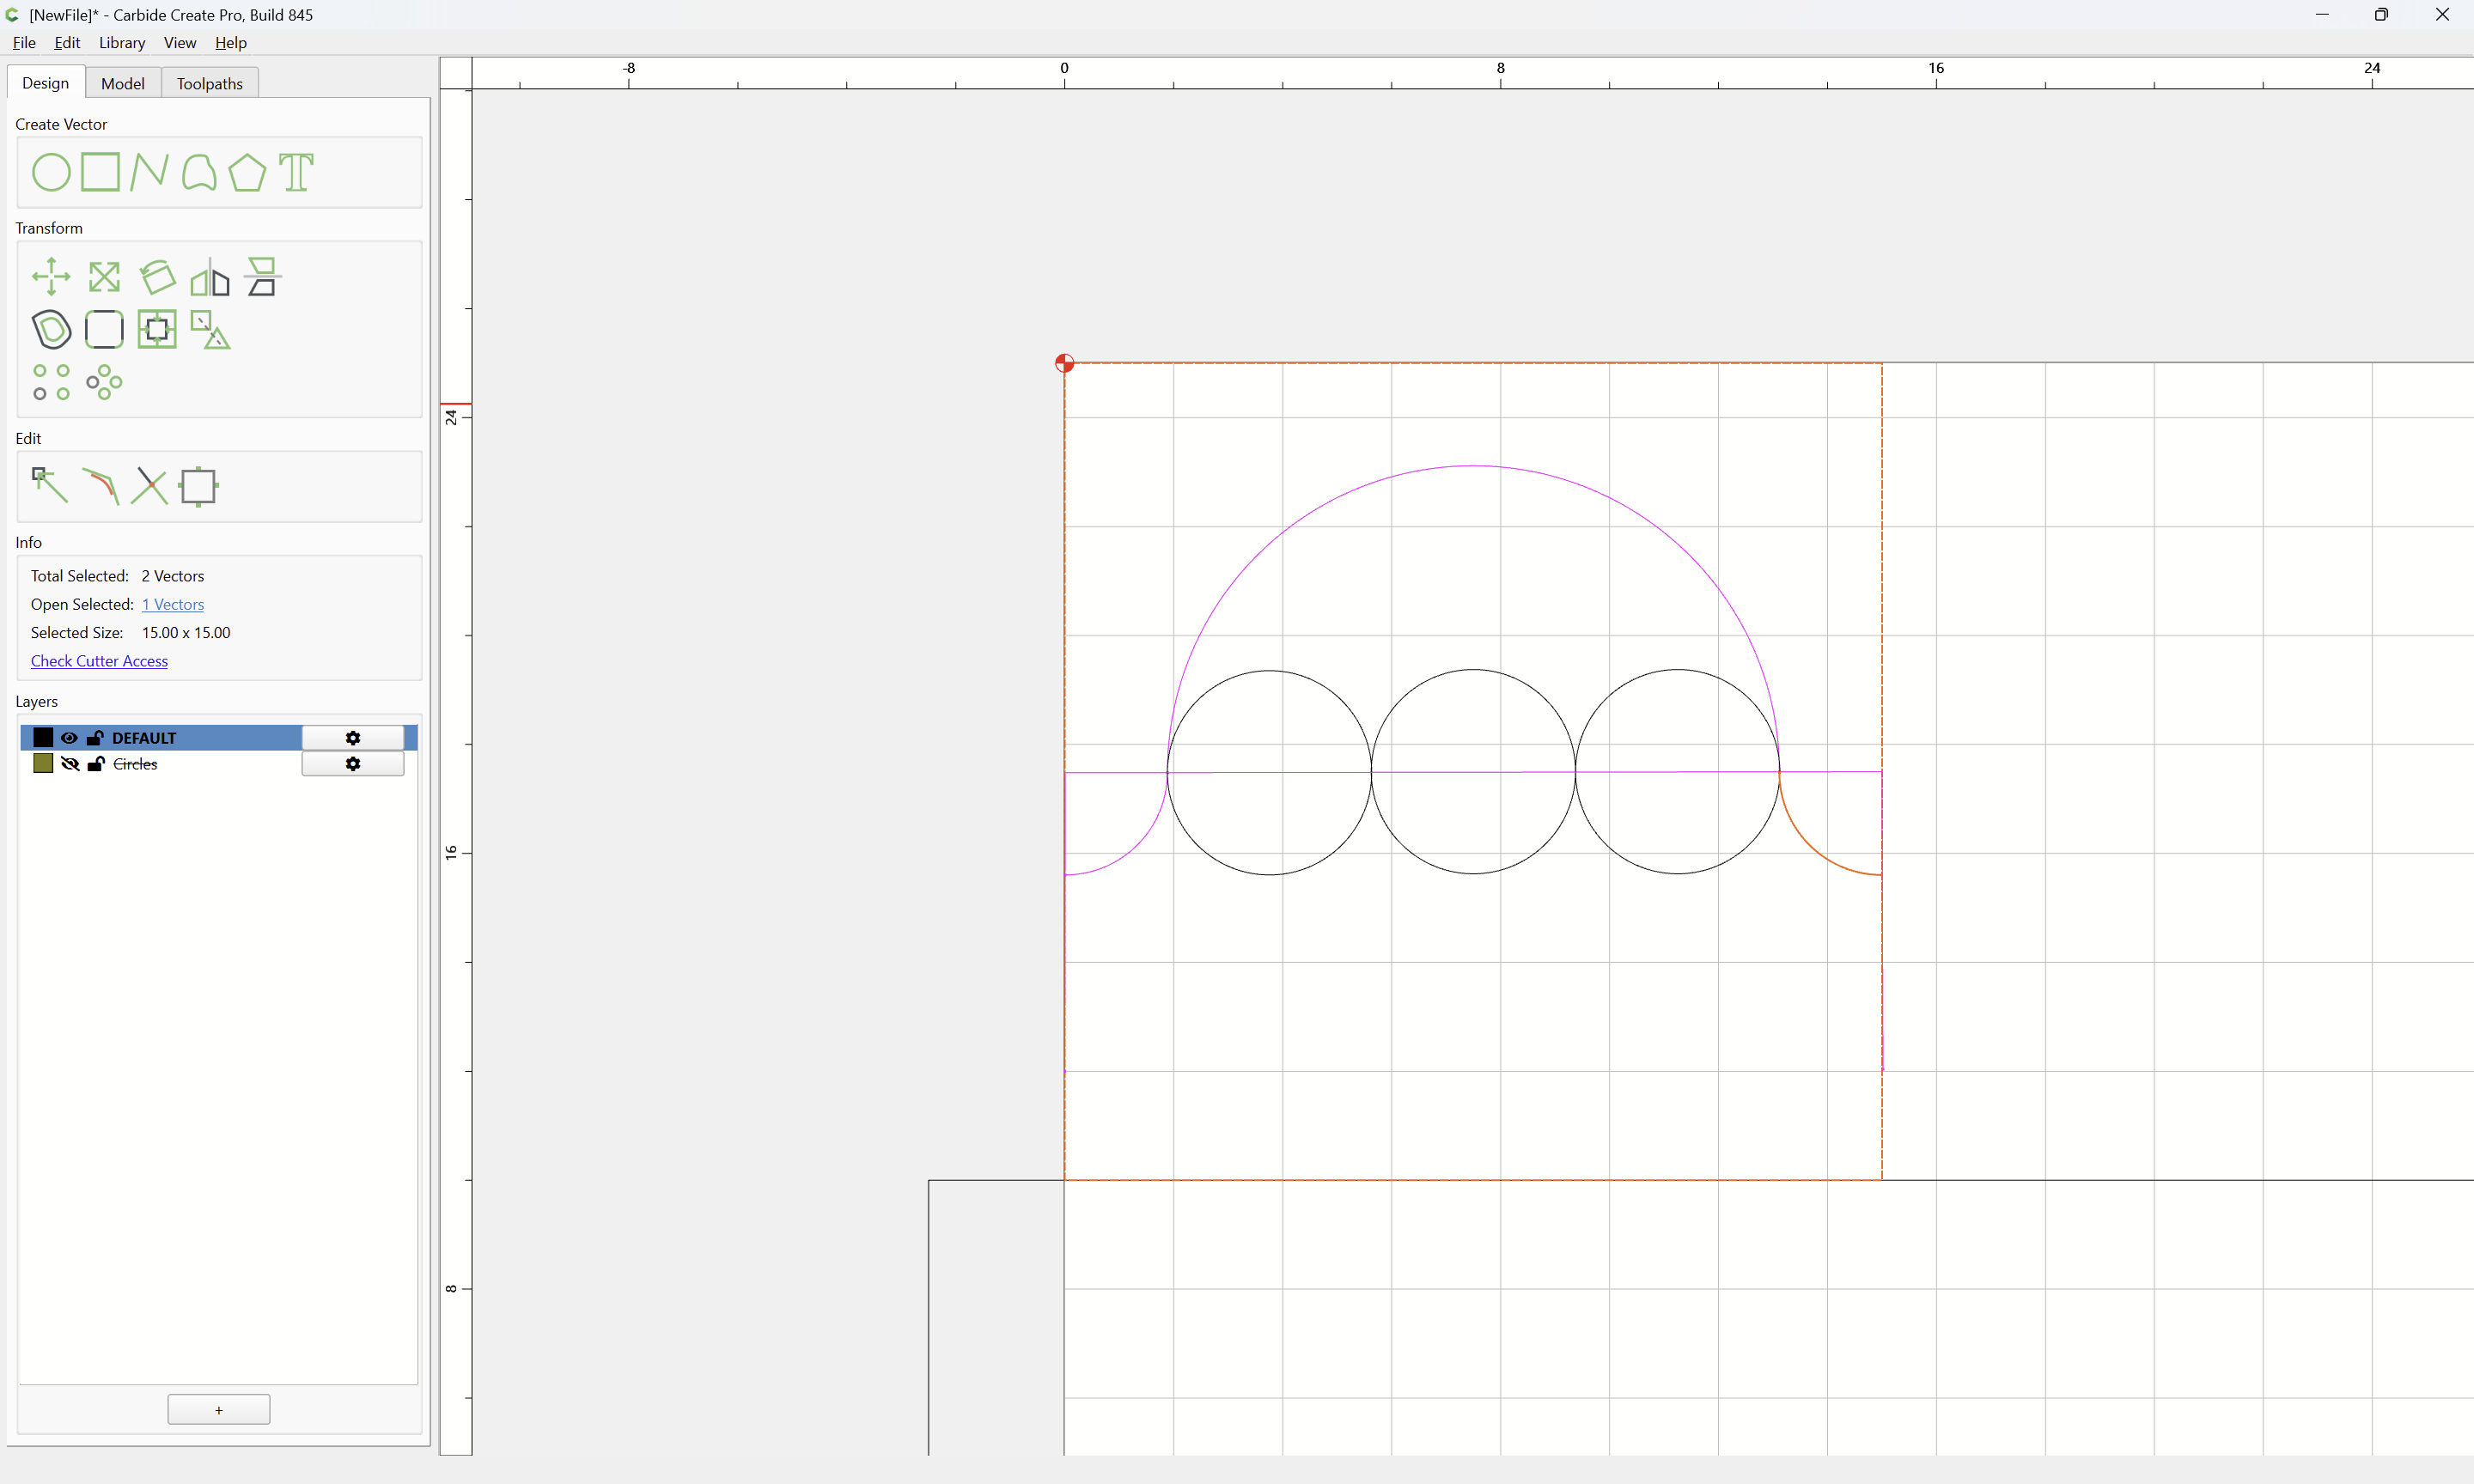
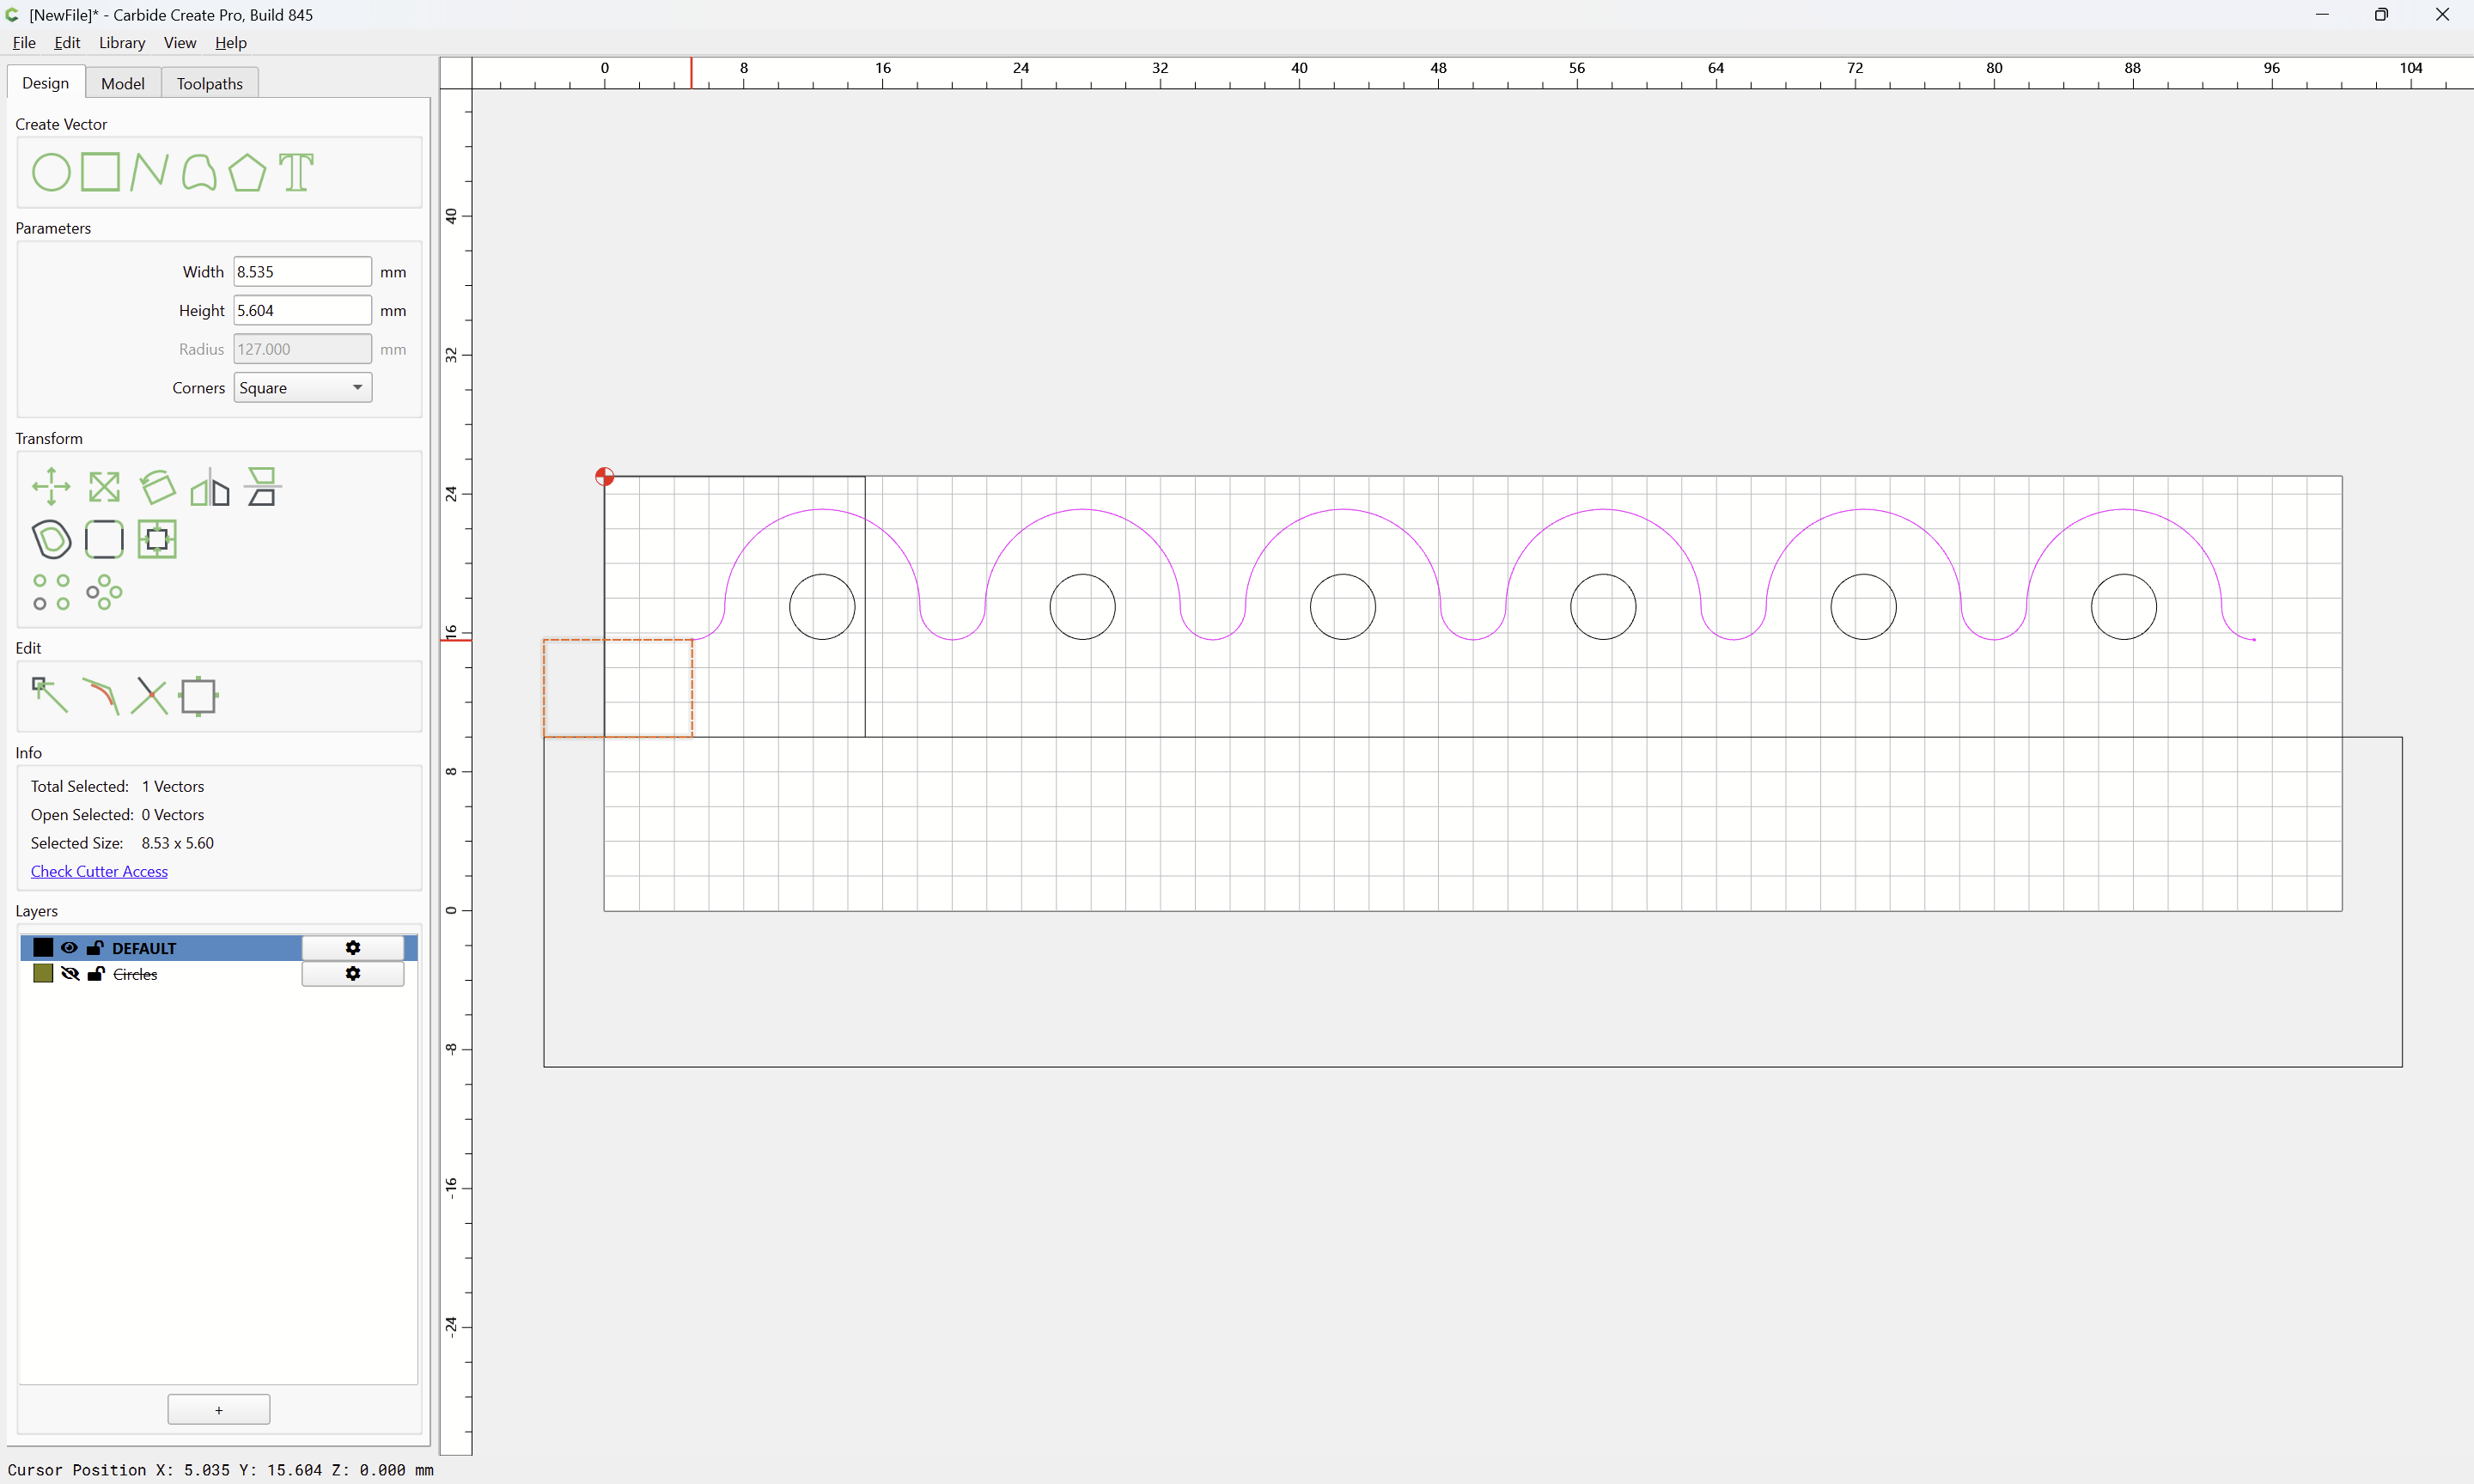
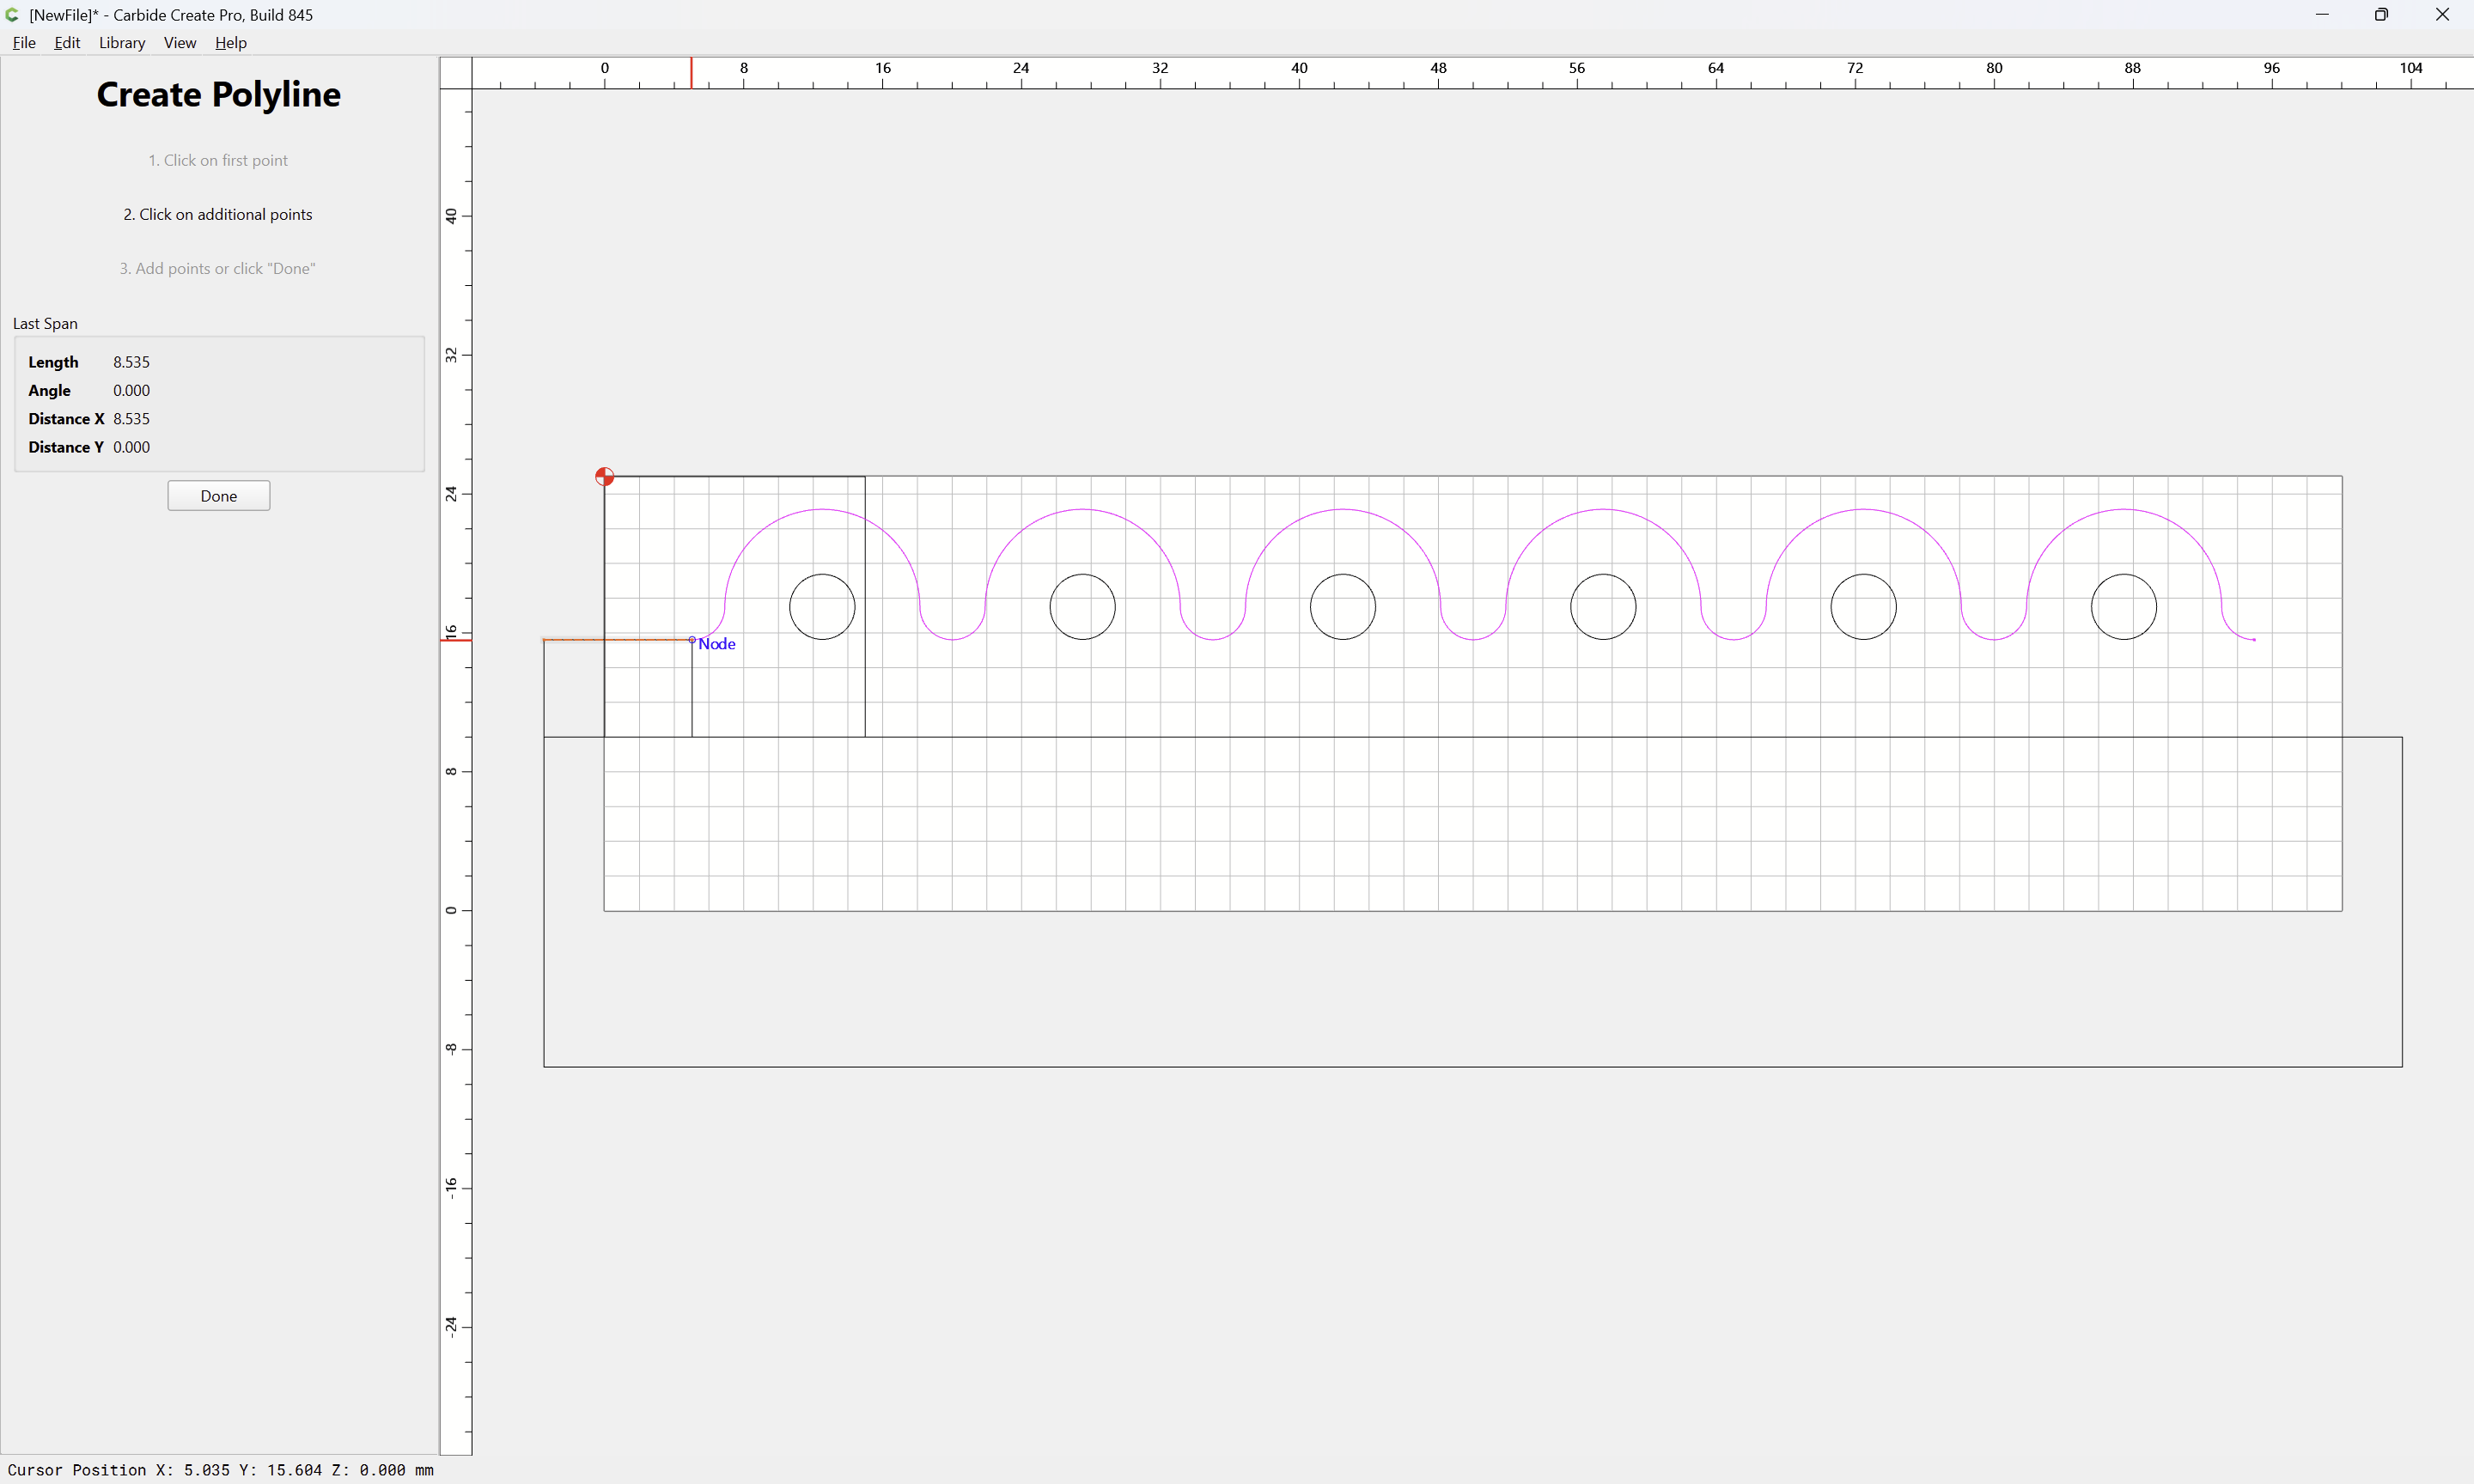
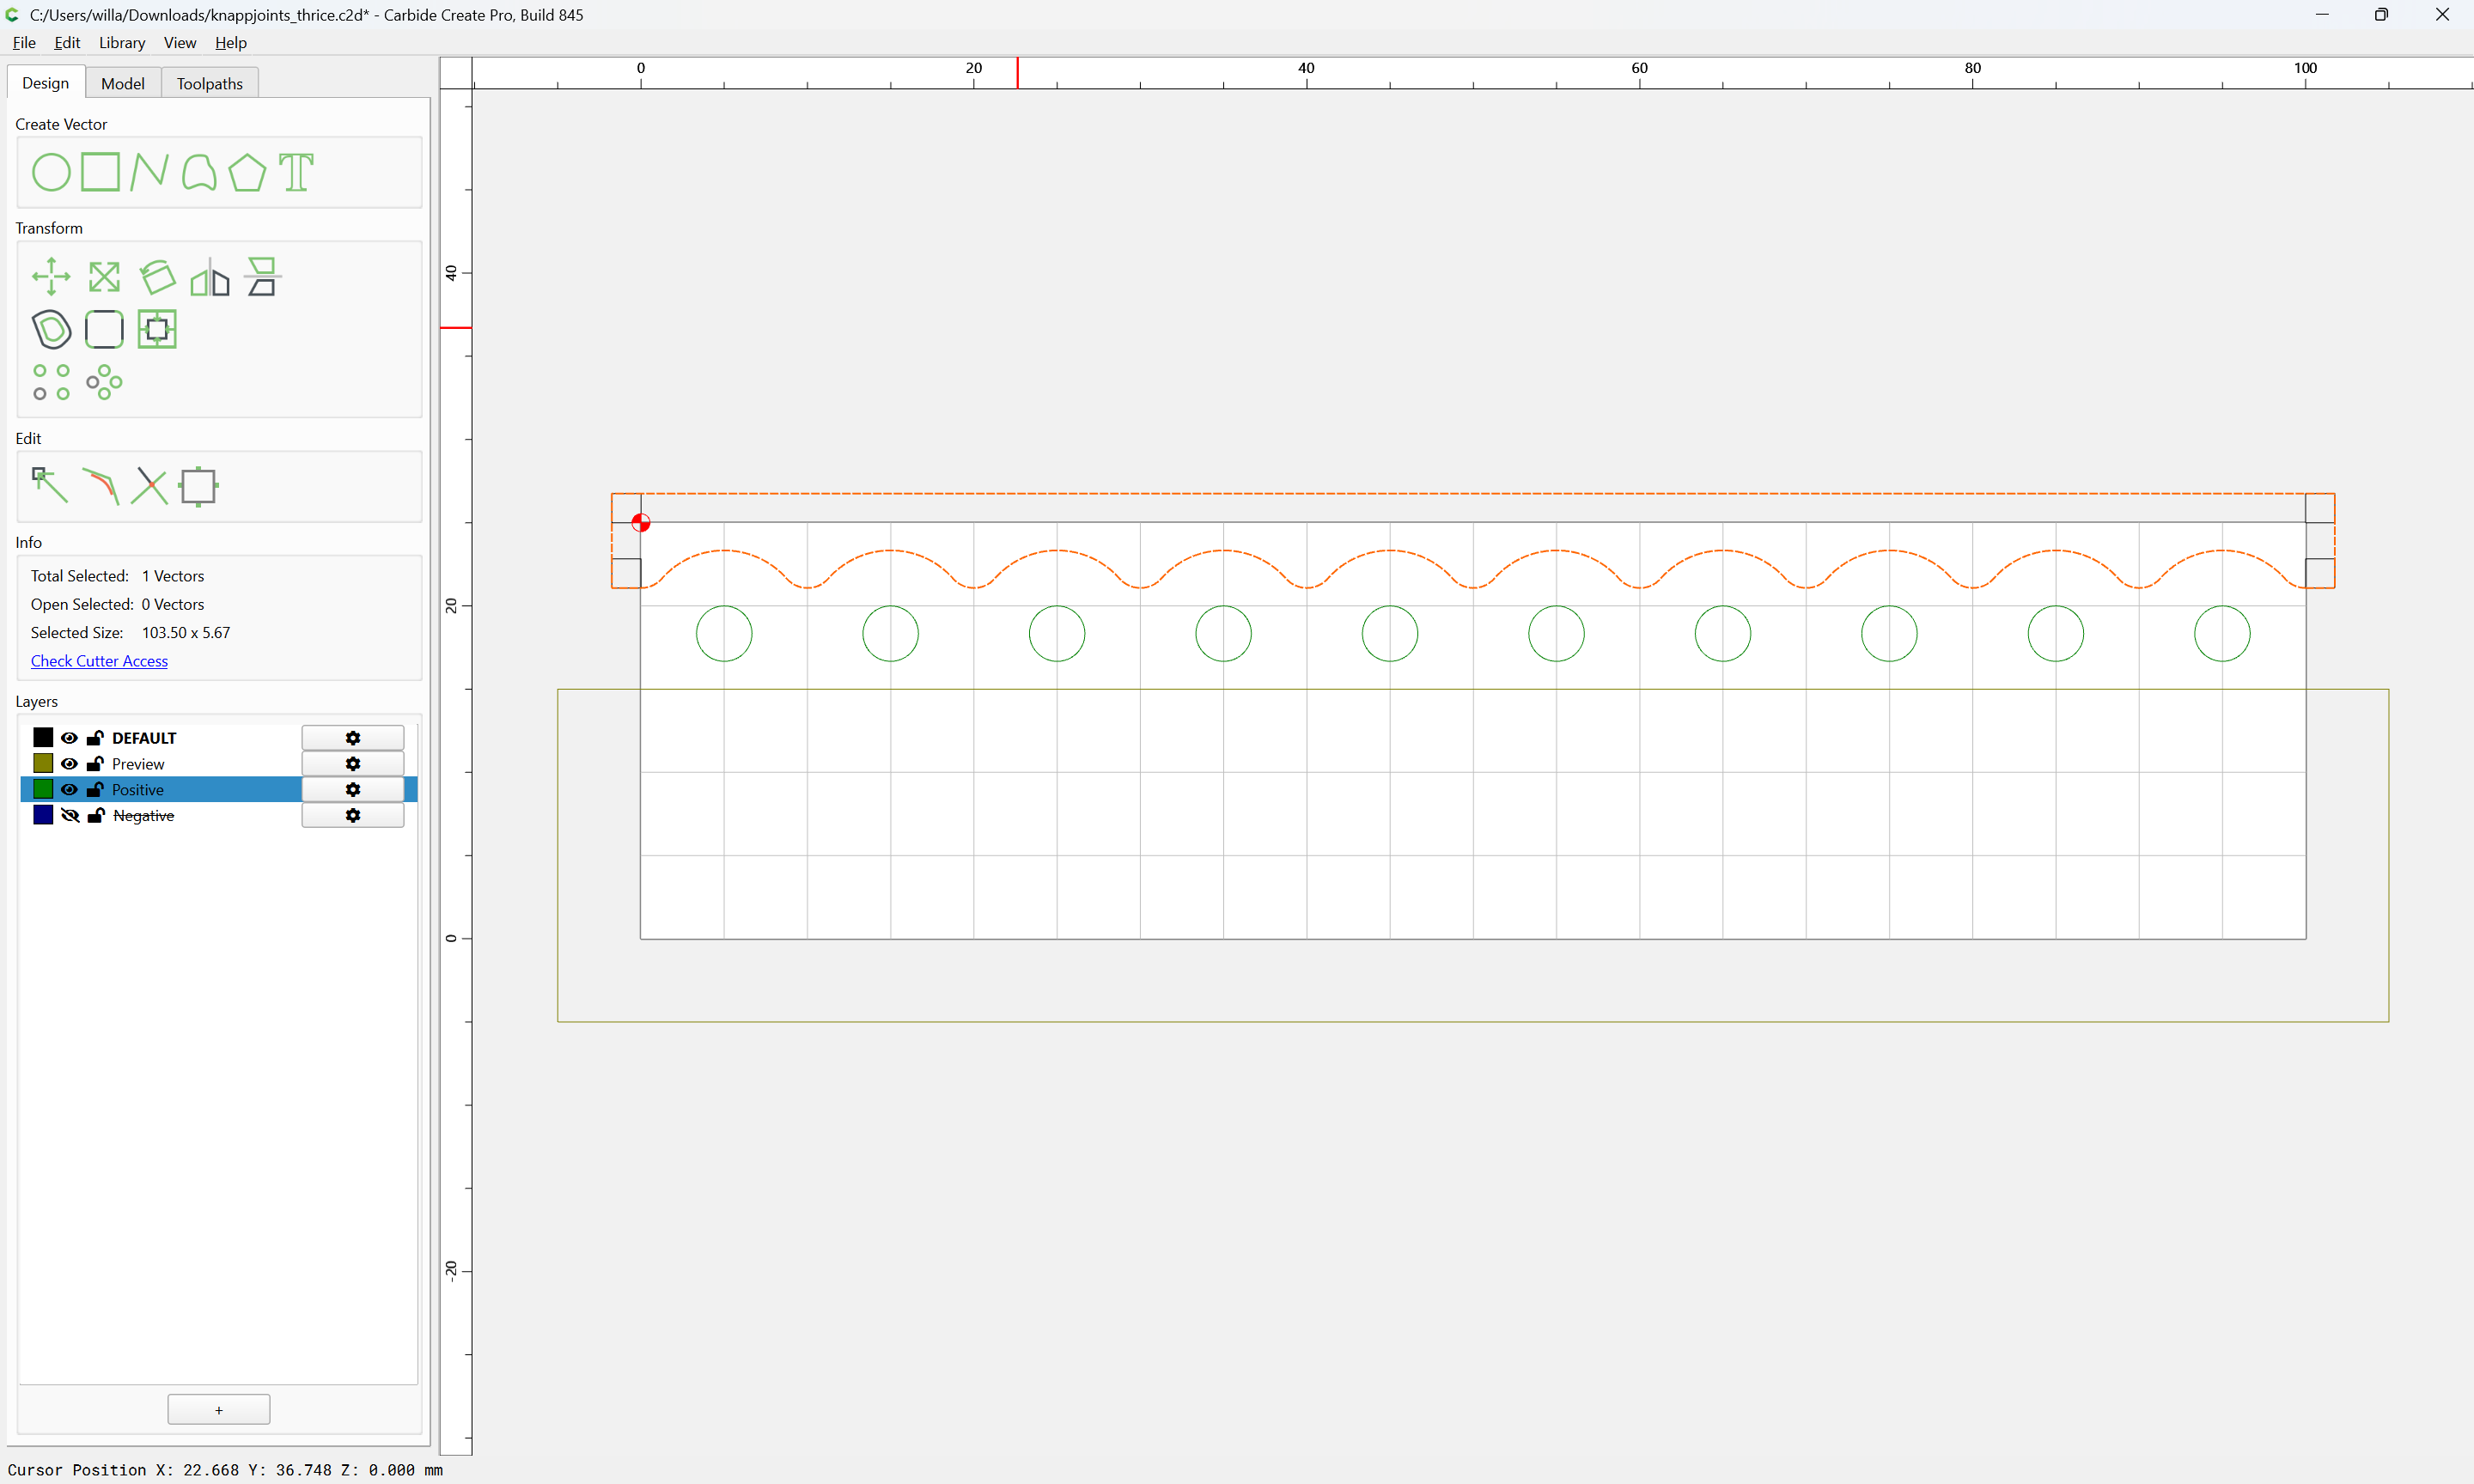
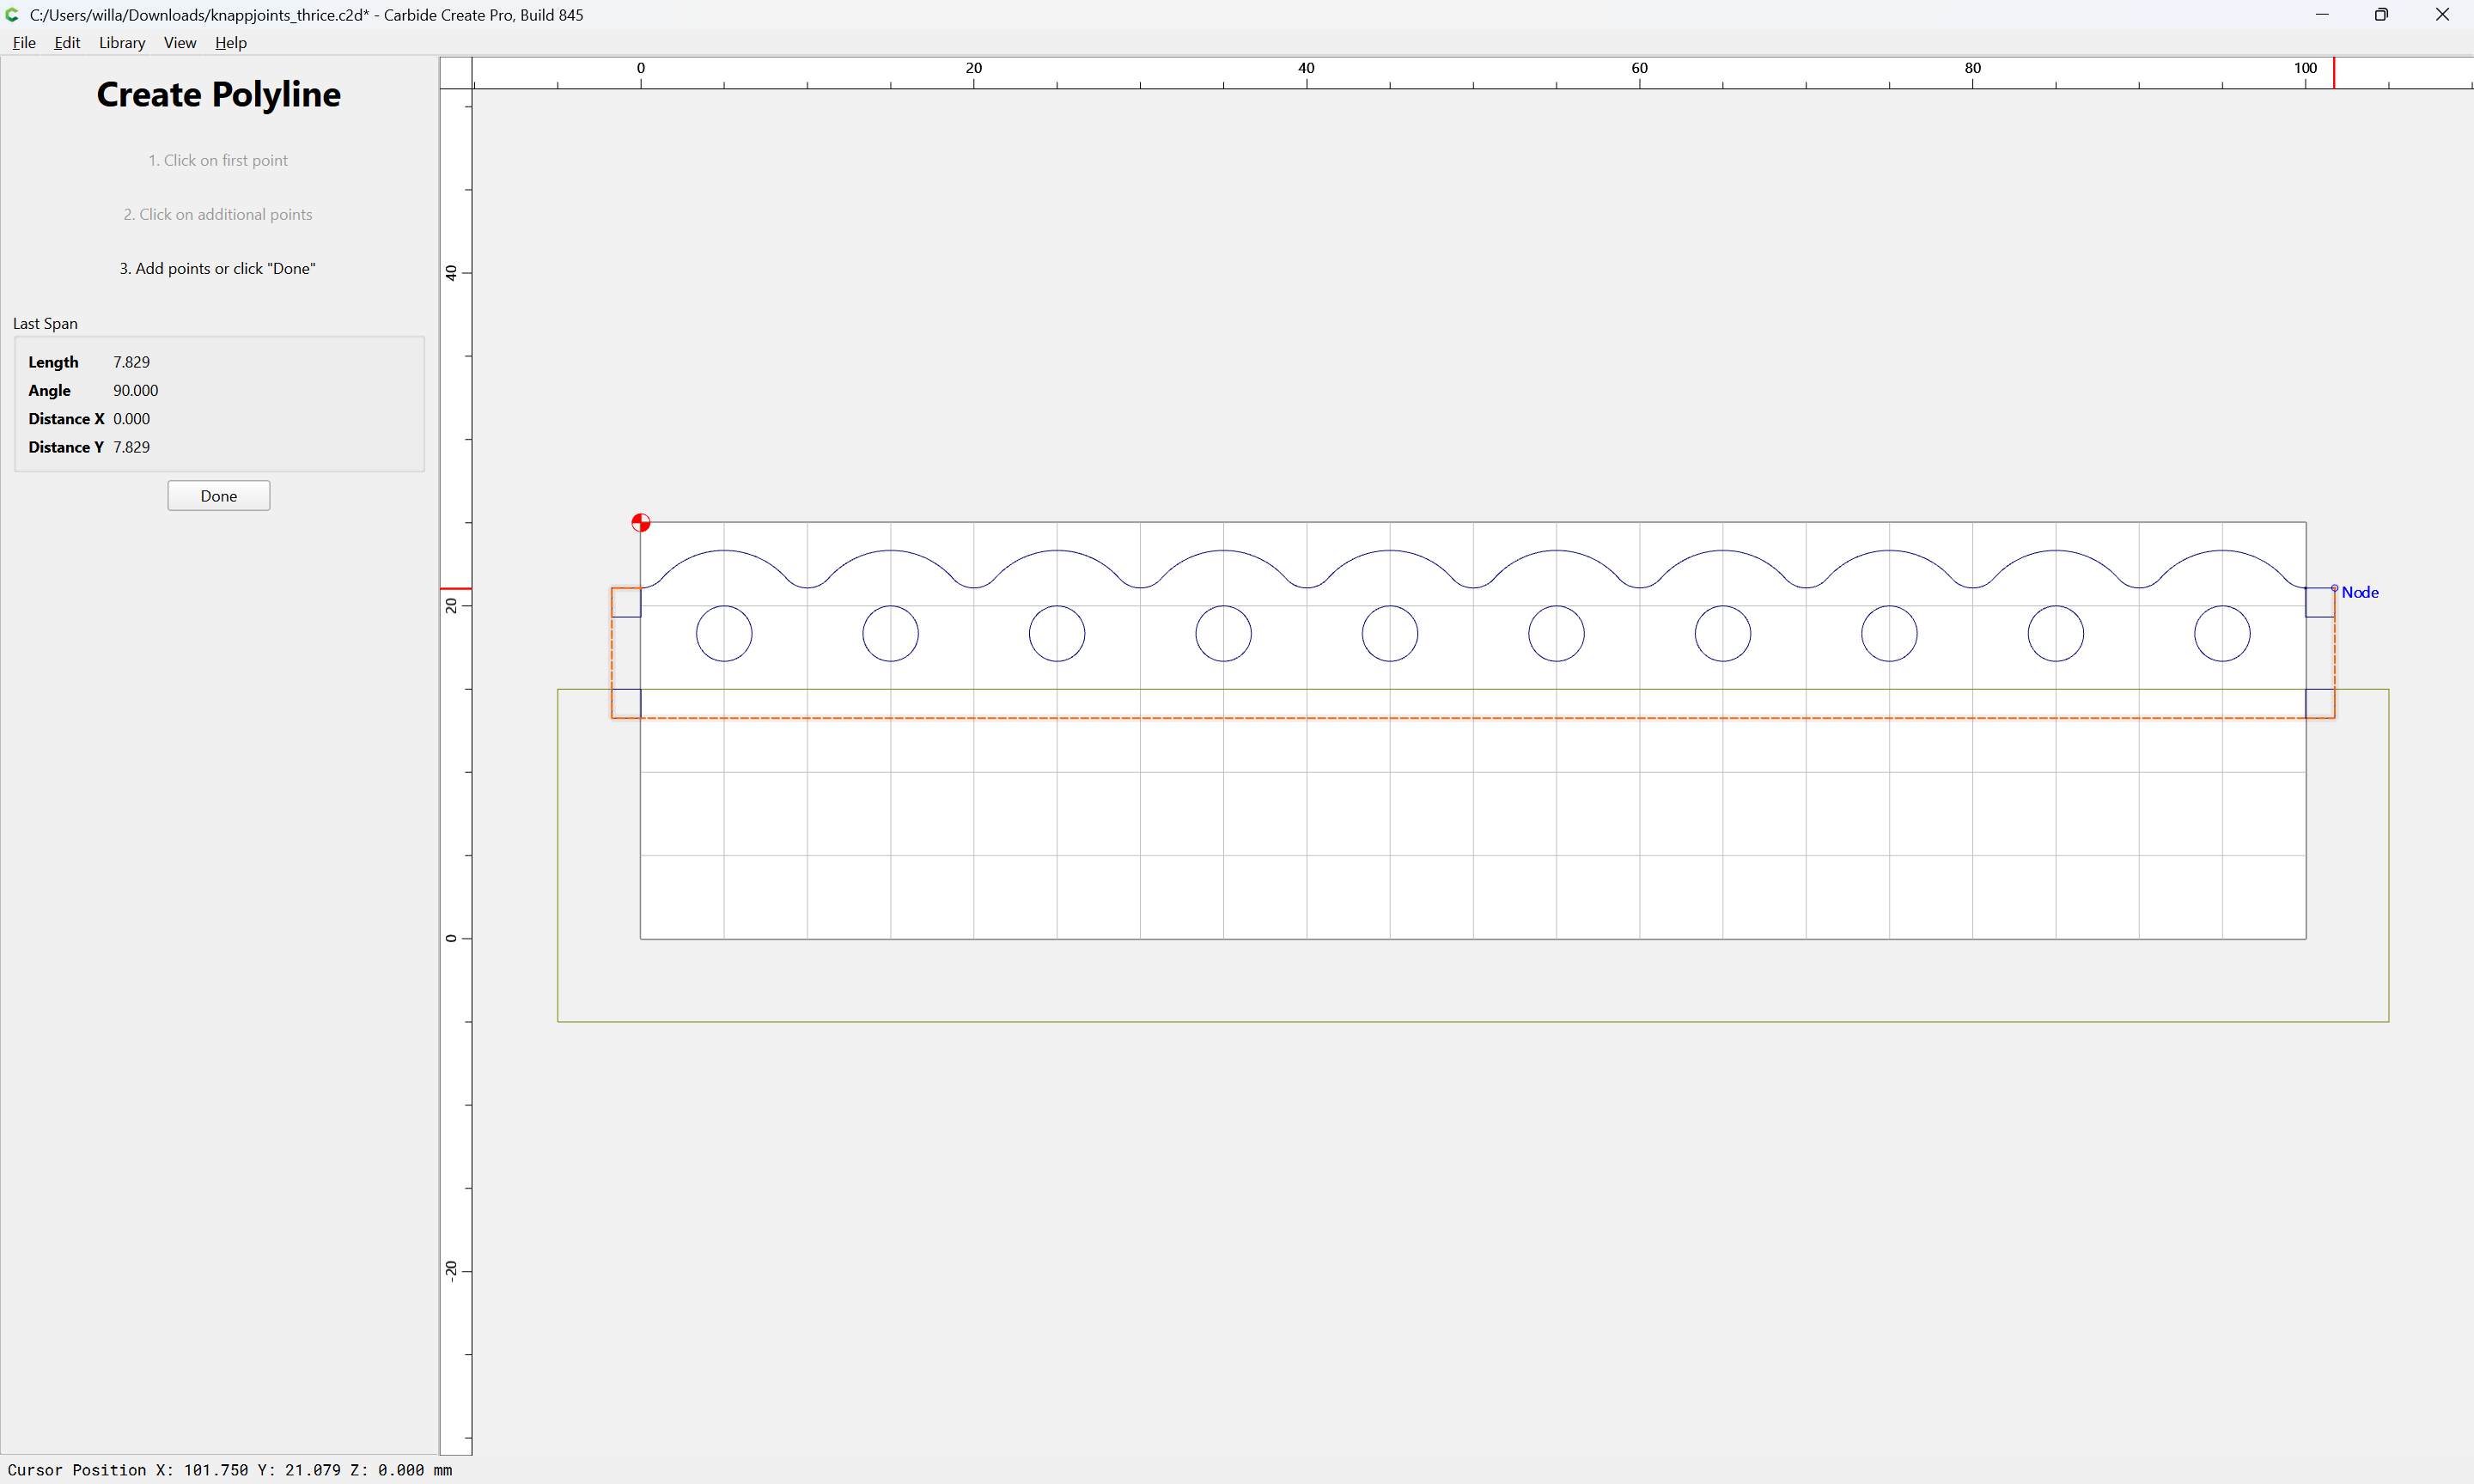
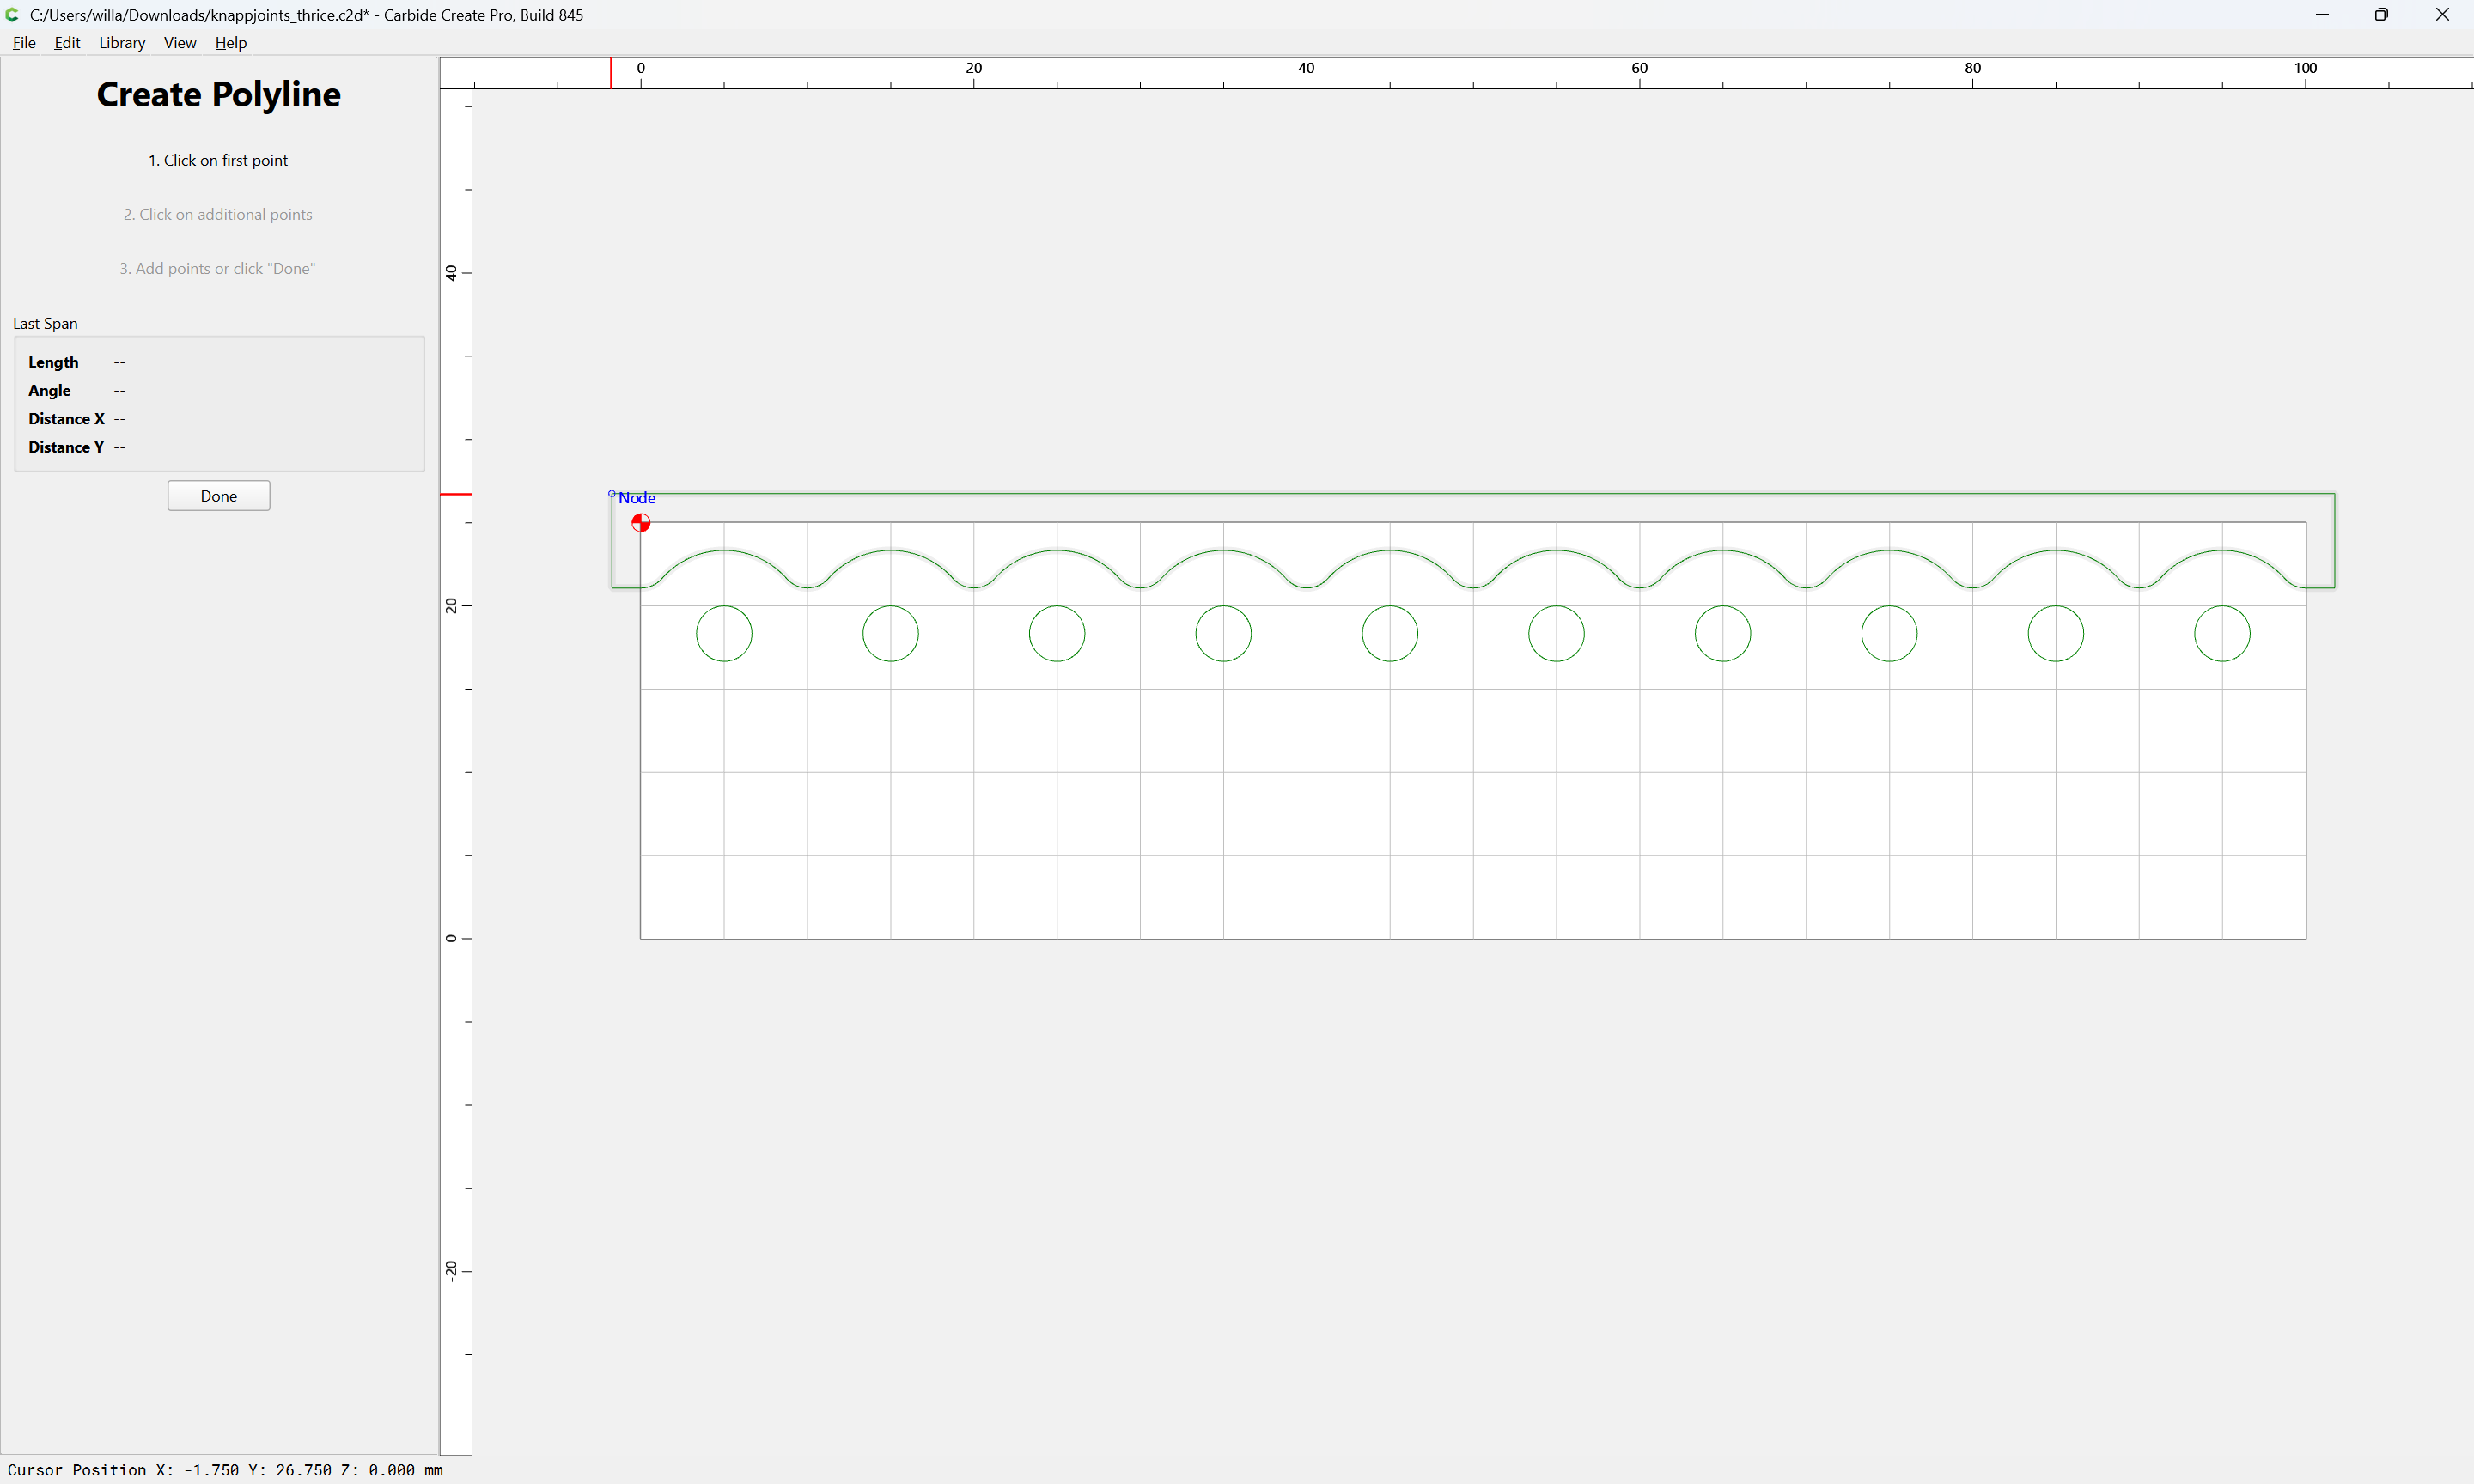
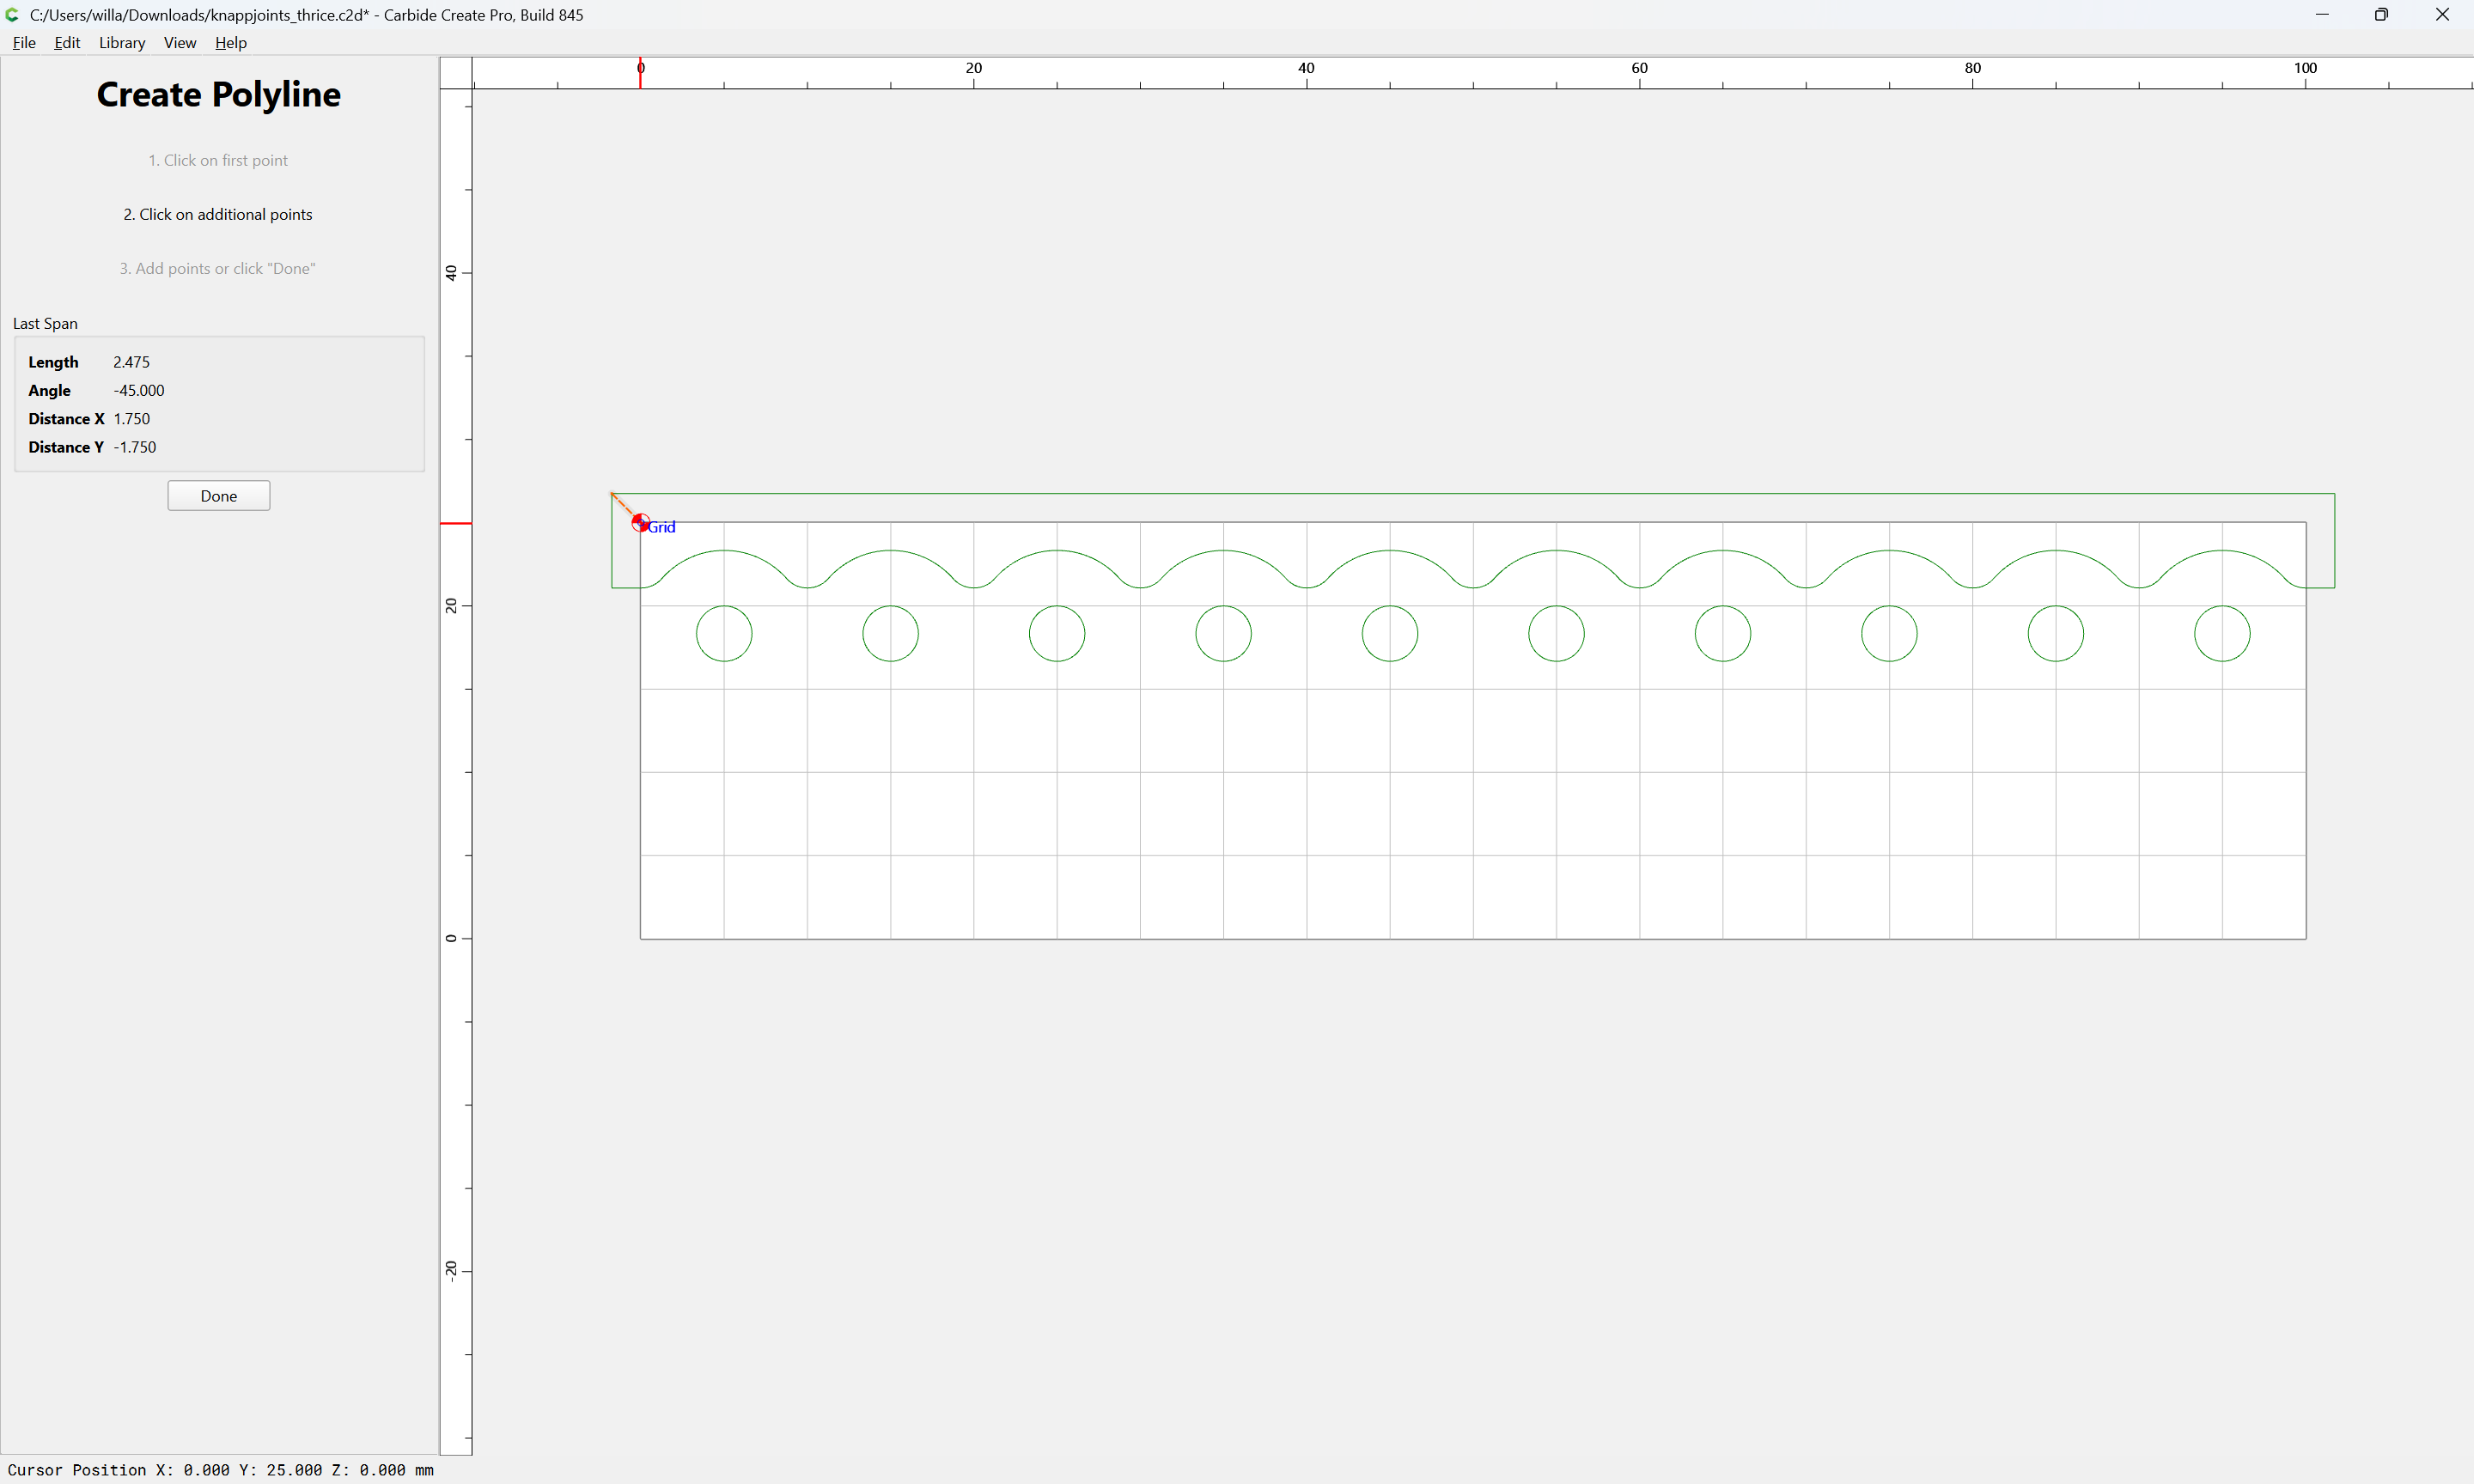
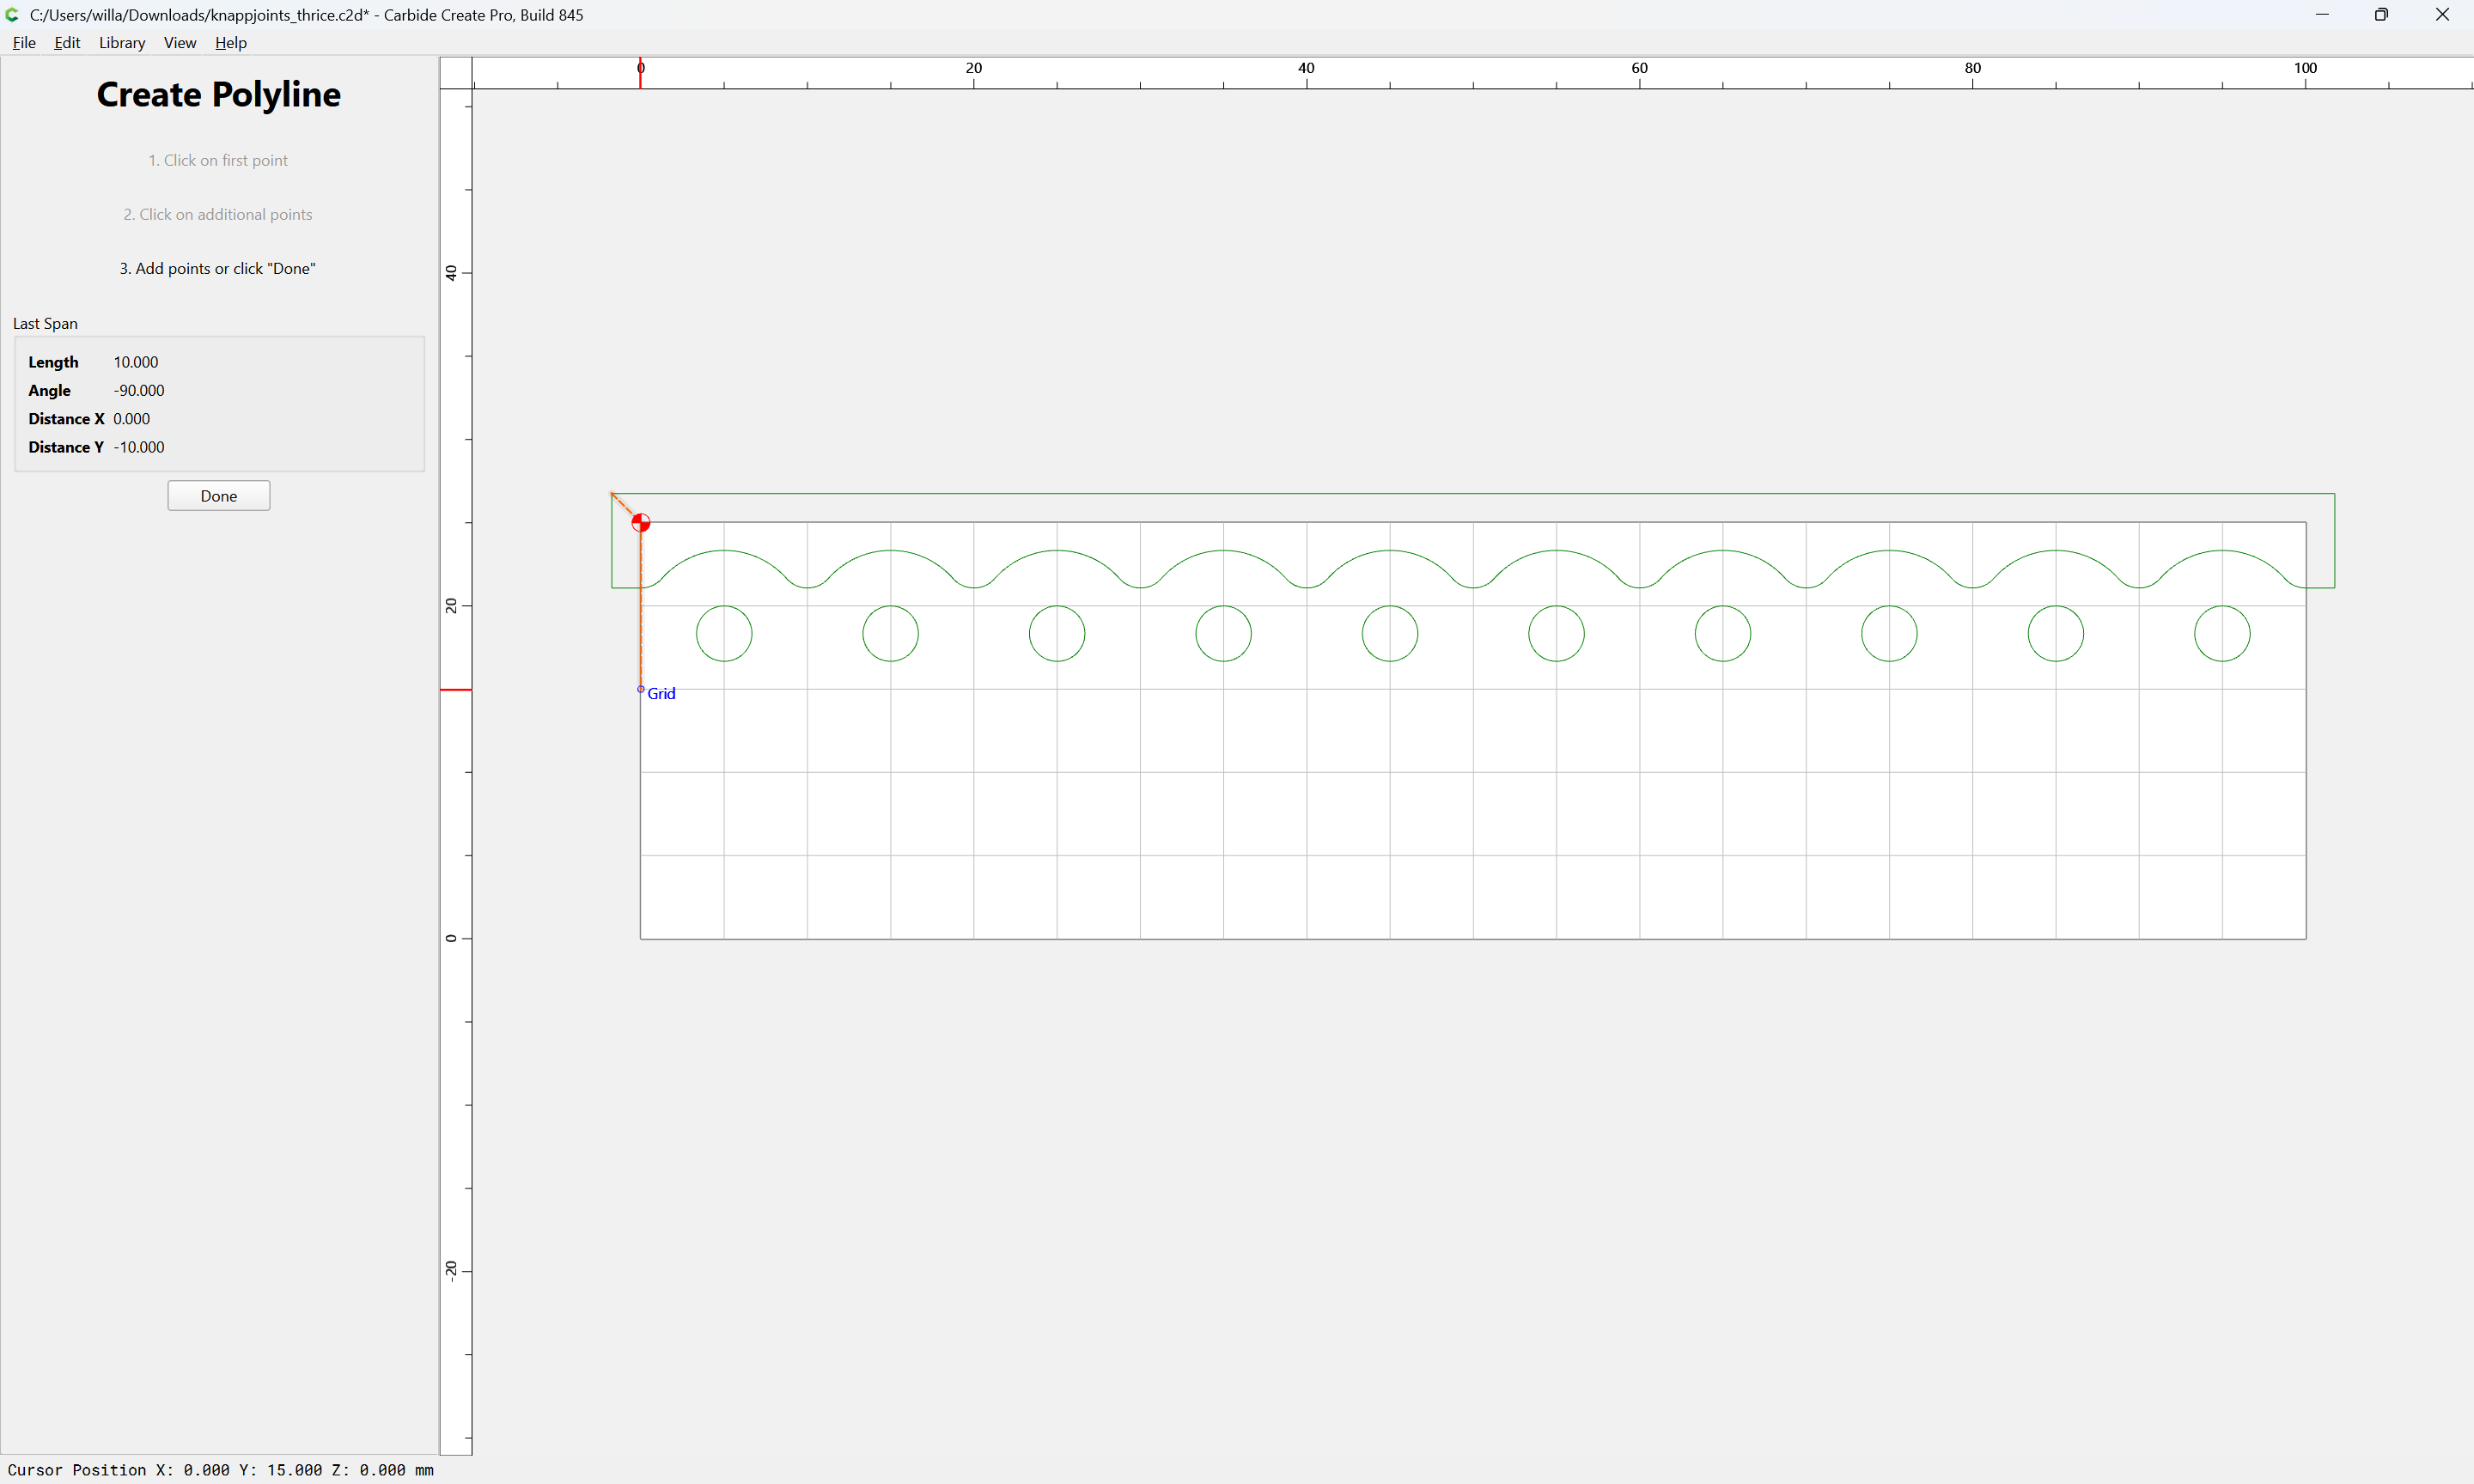
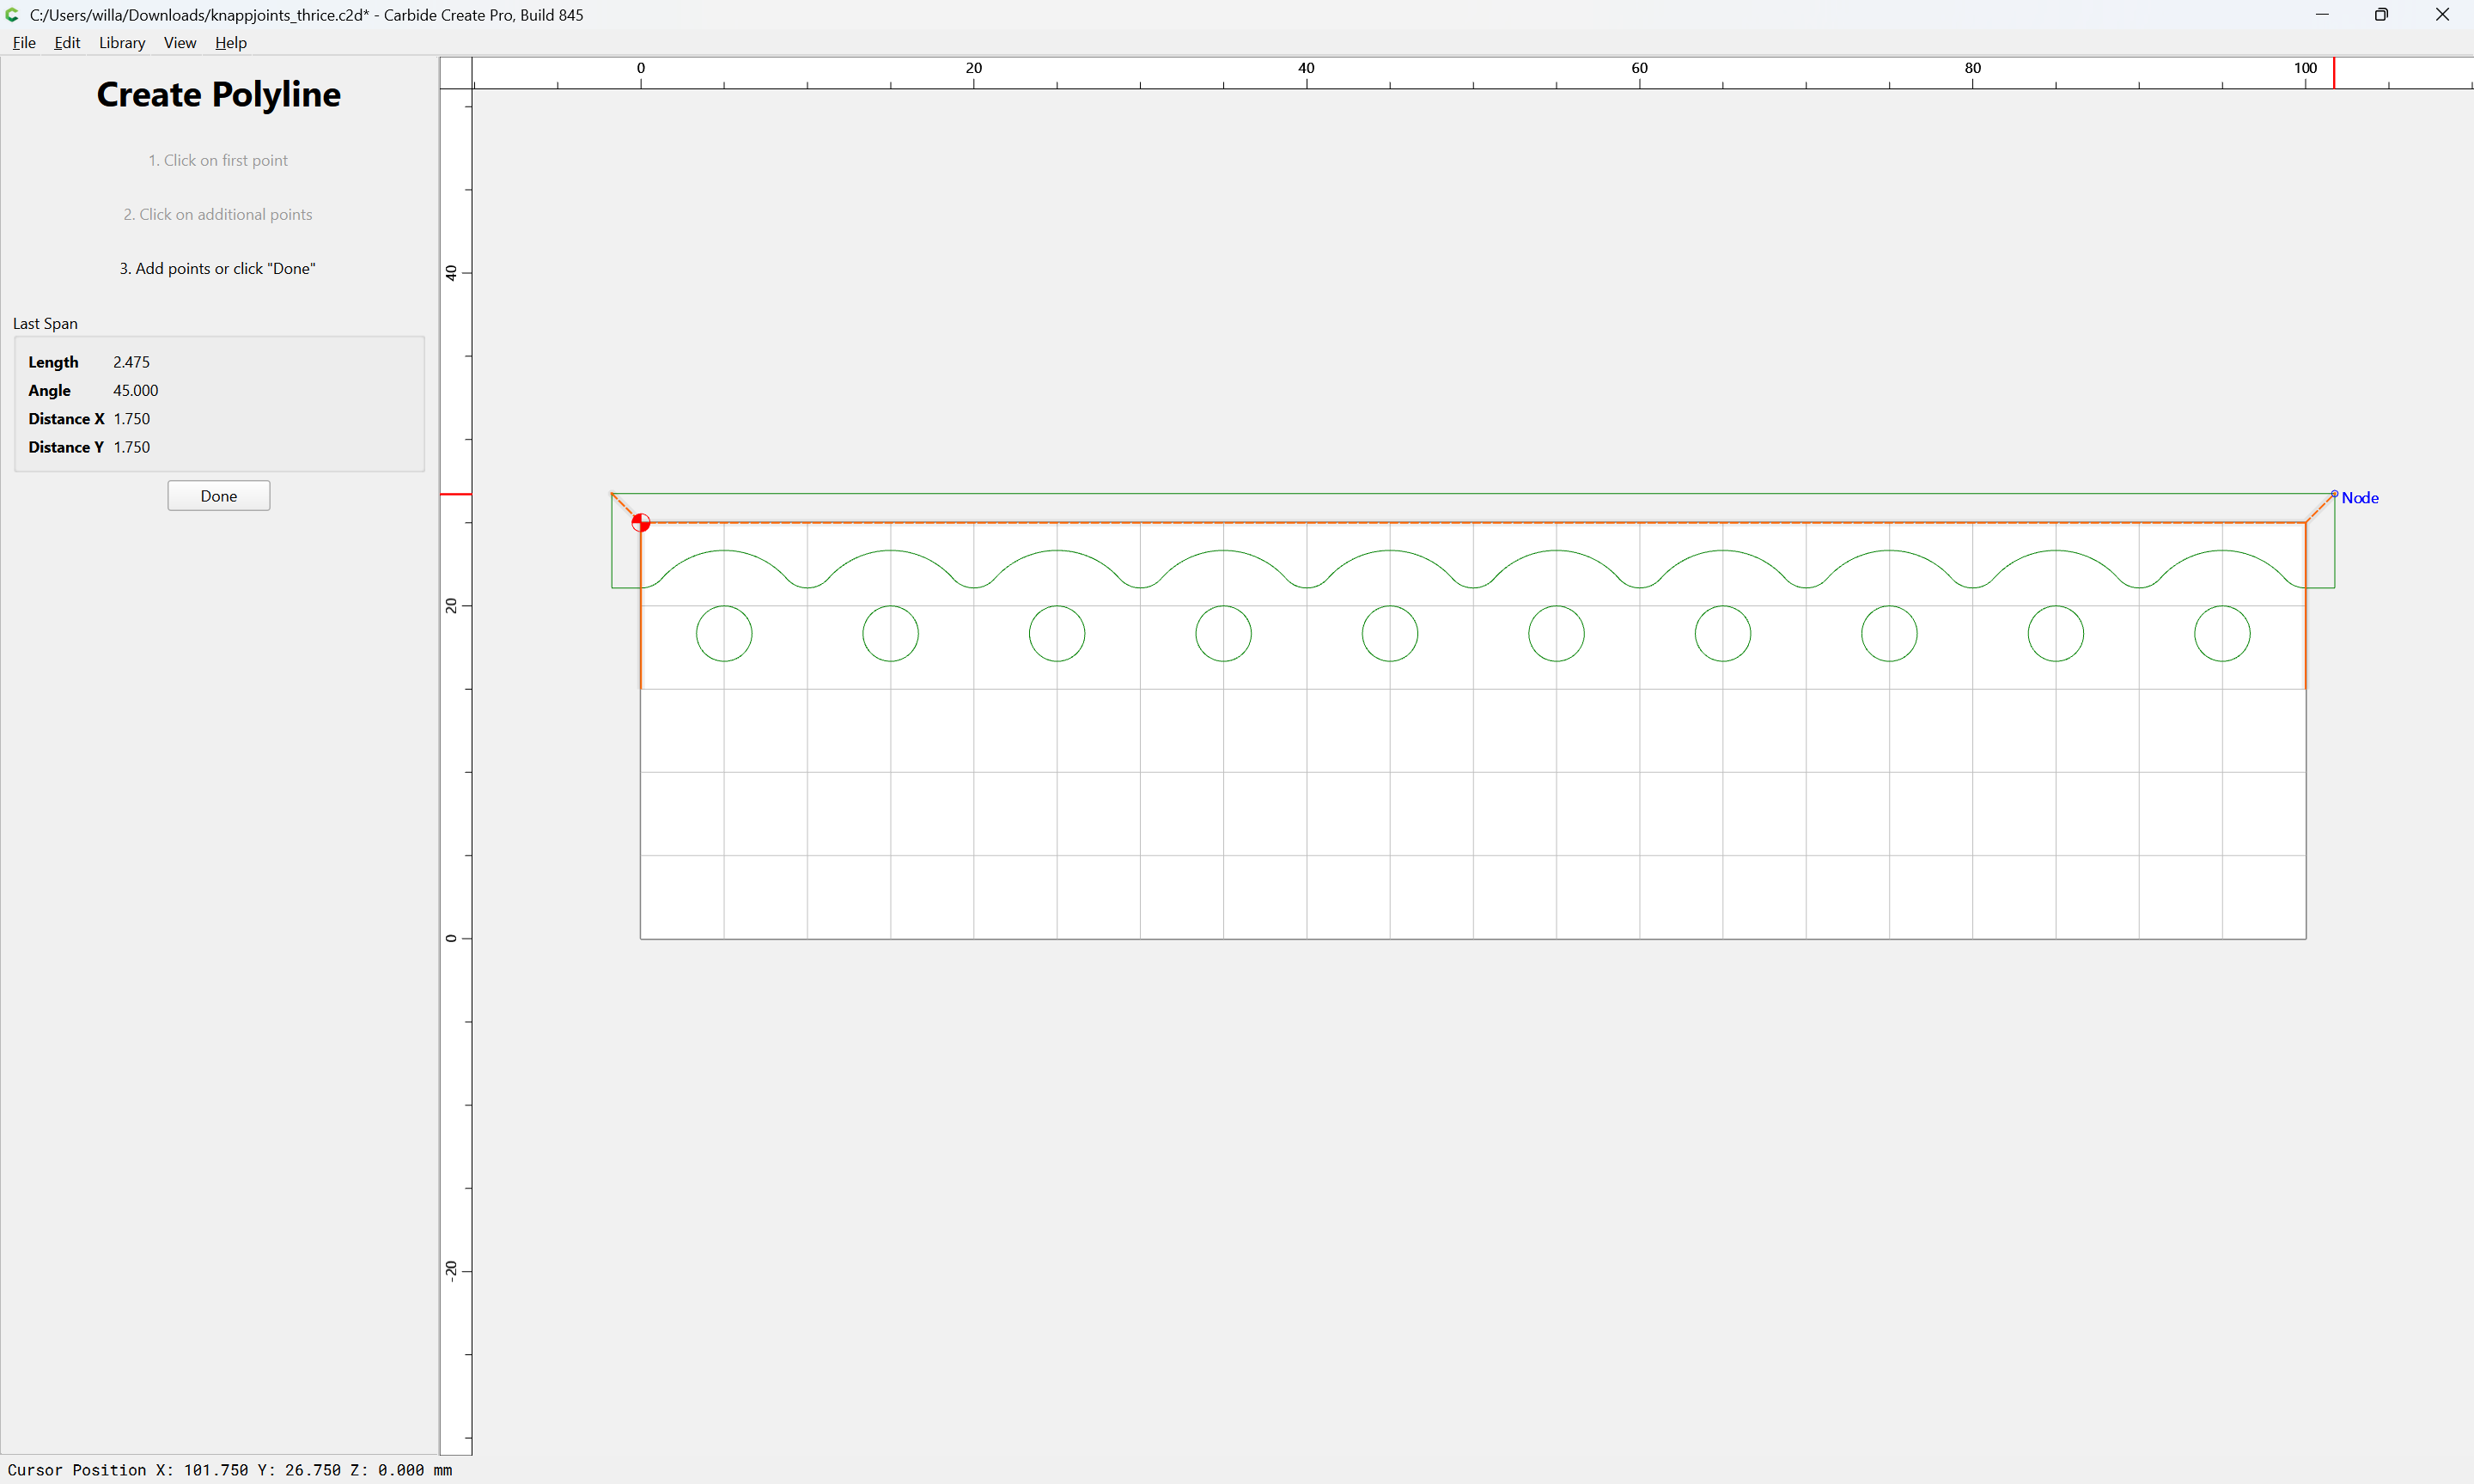
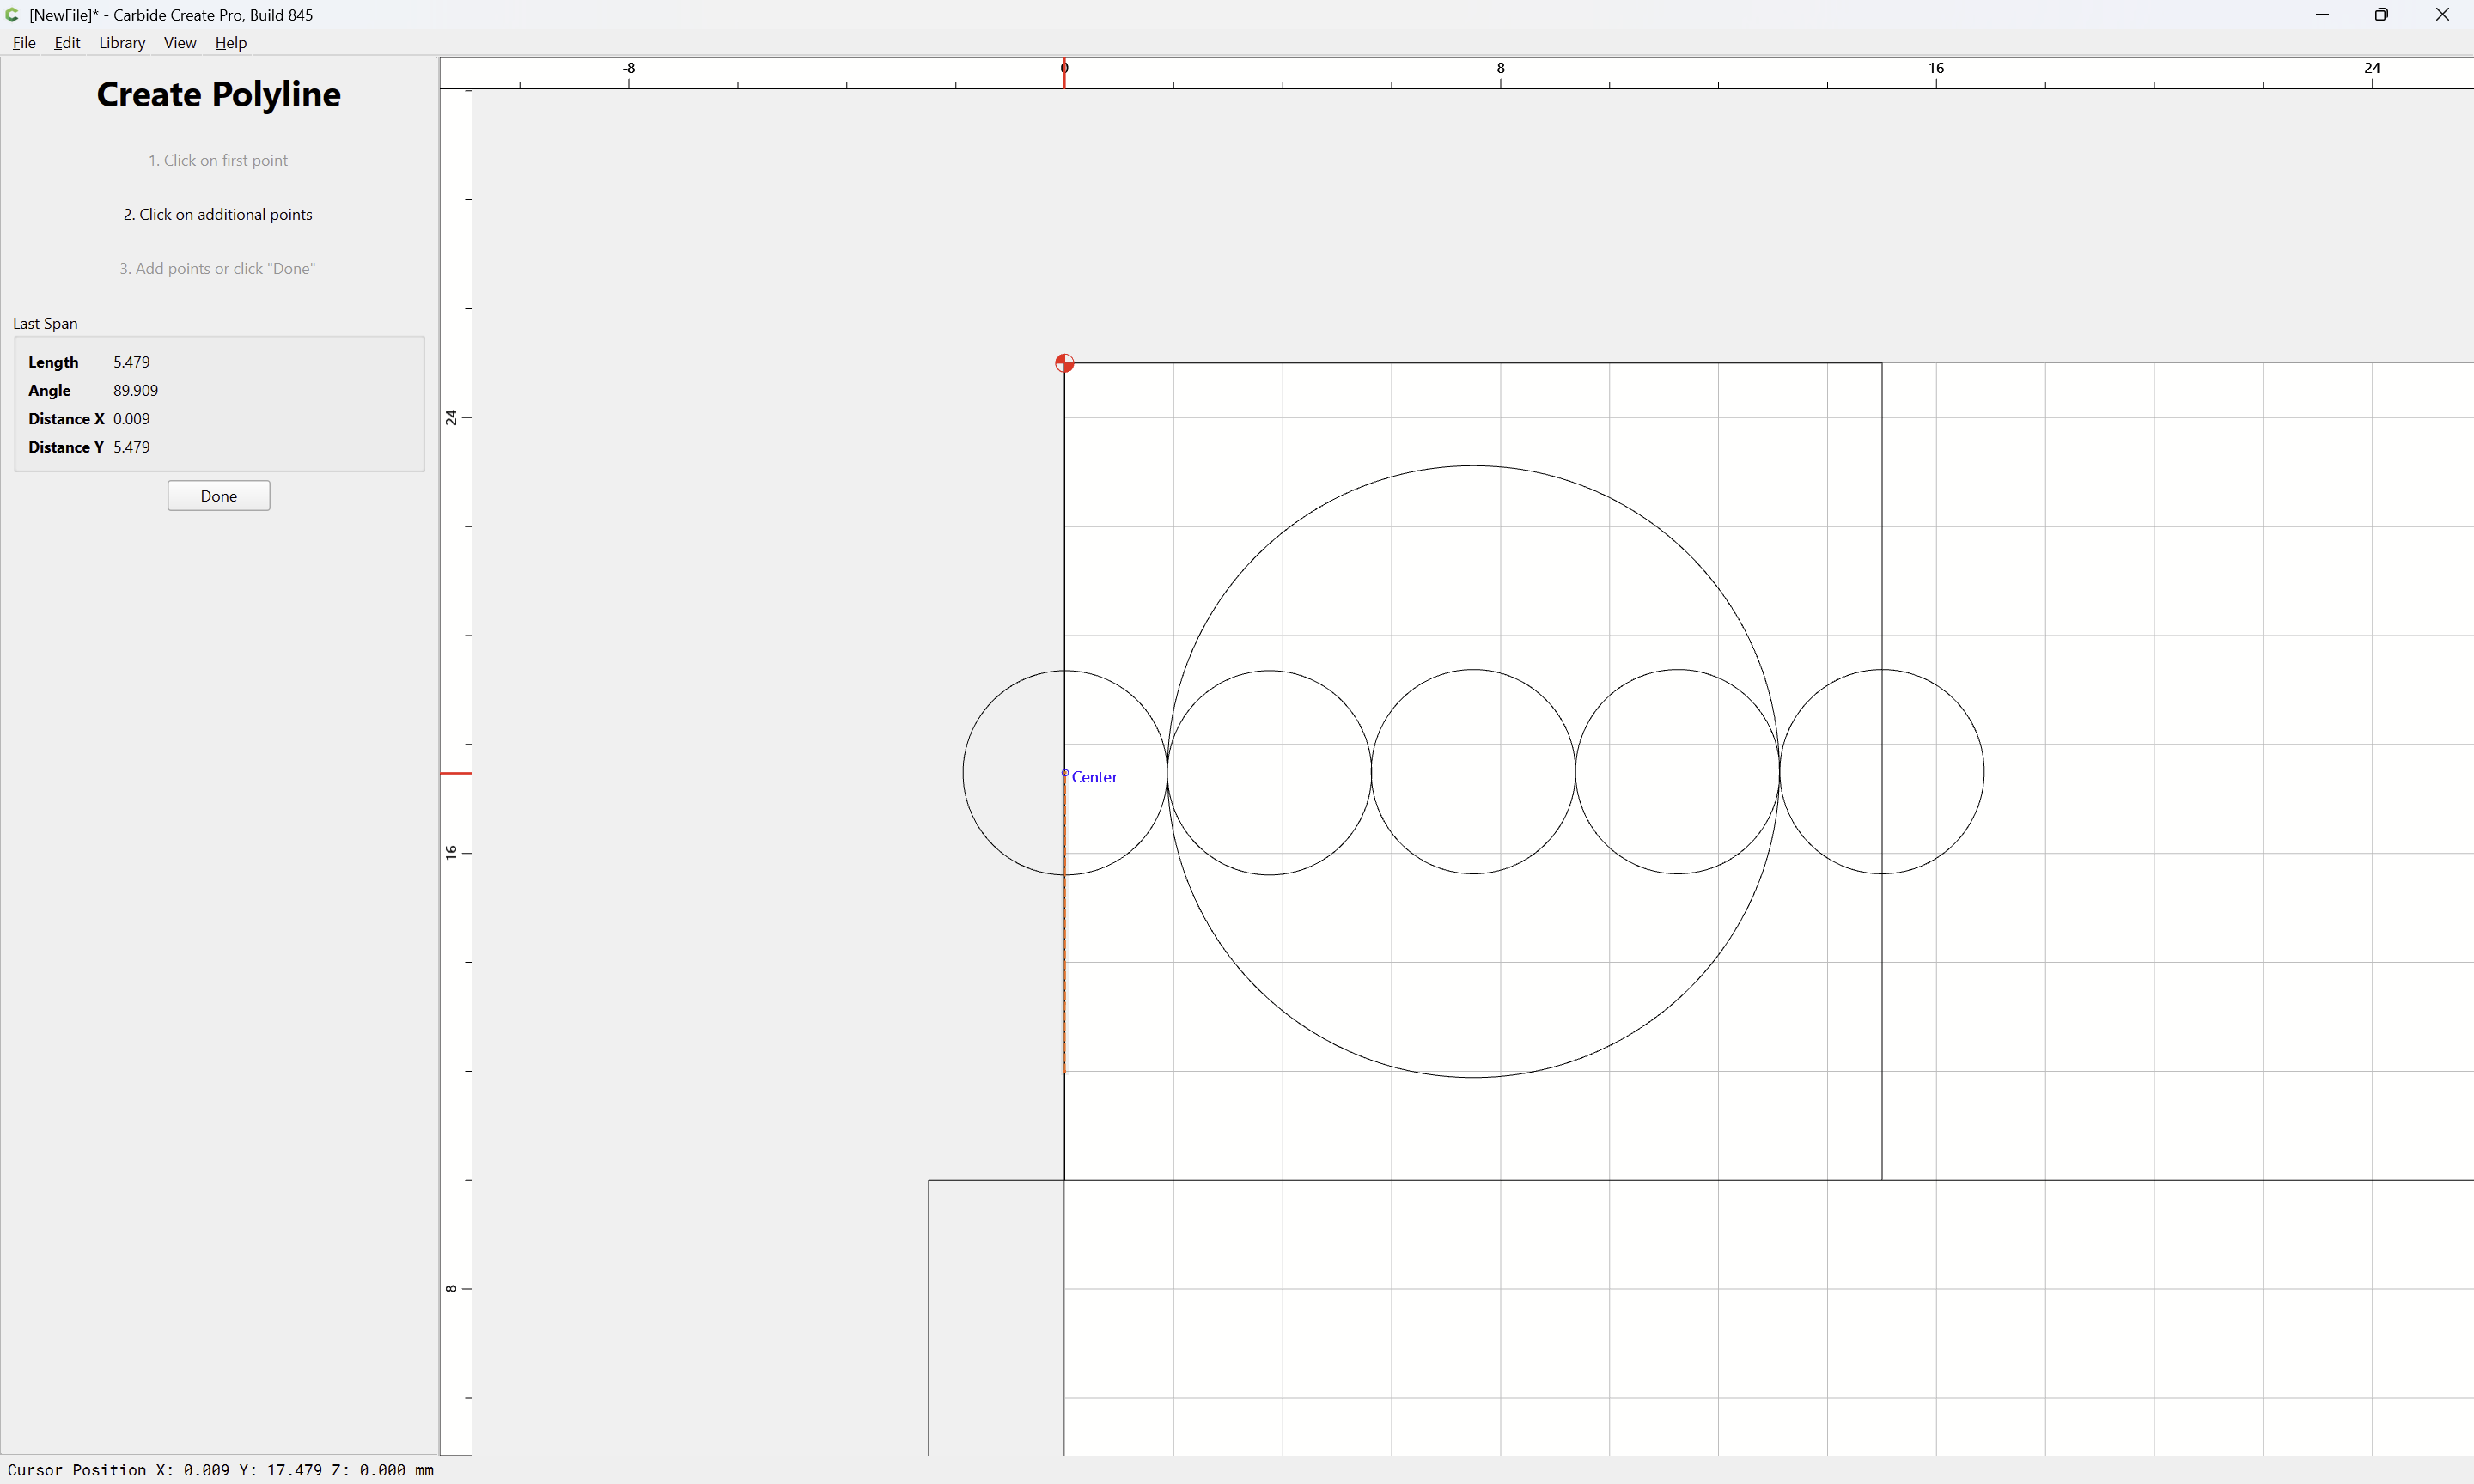
Drawing a polyline allows isolating each section which is needed:
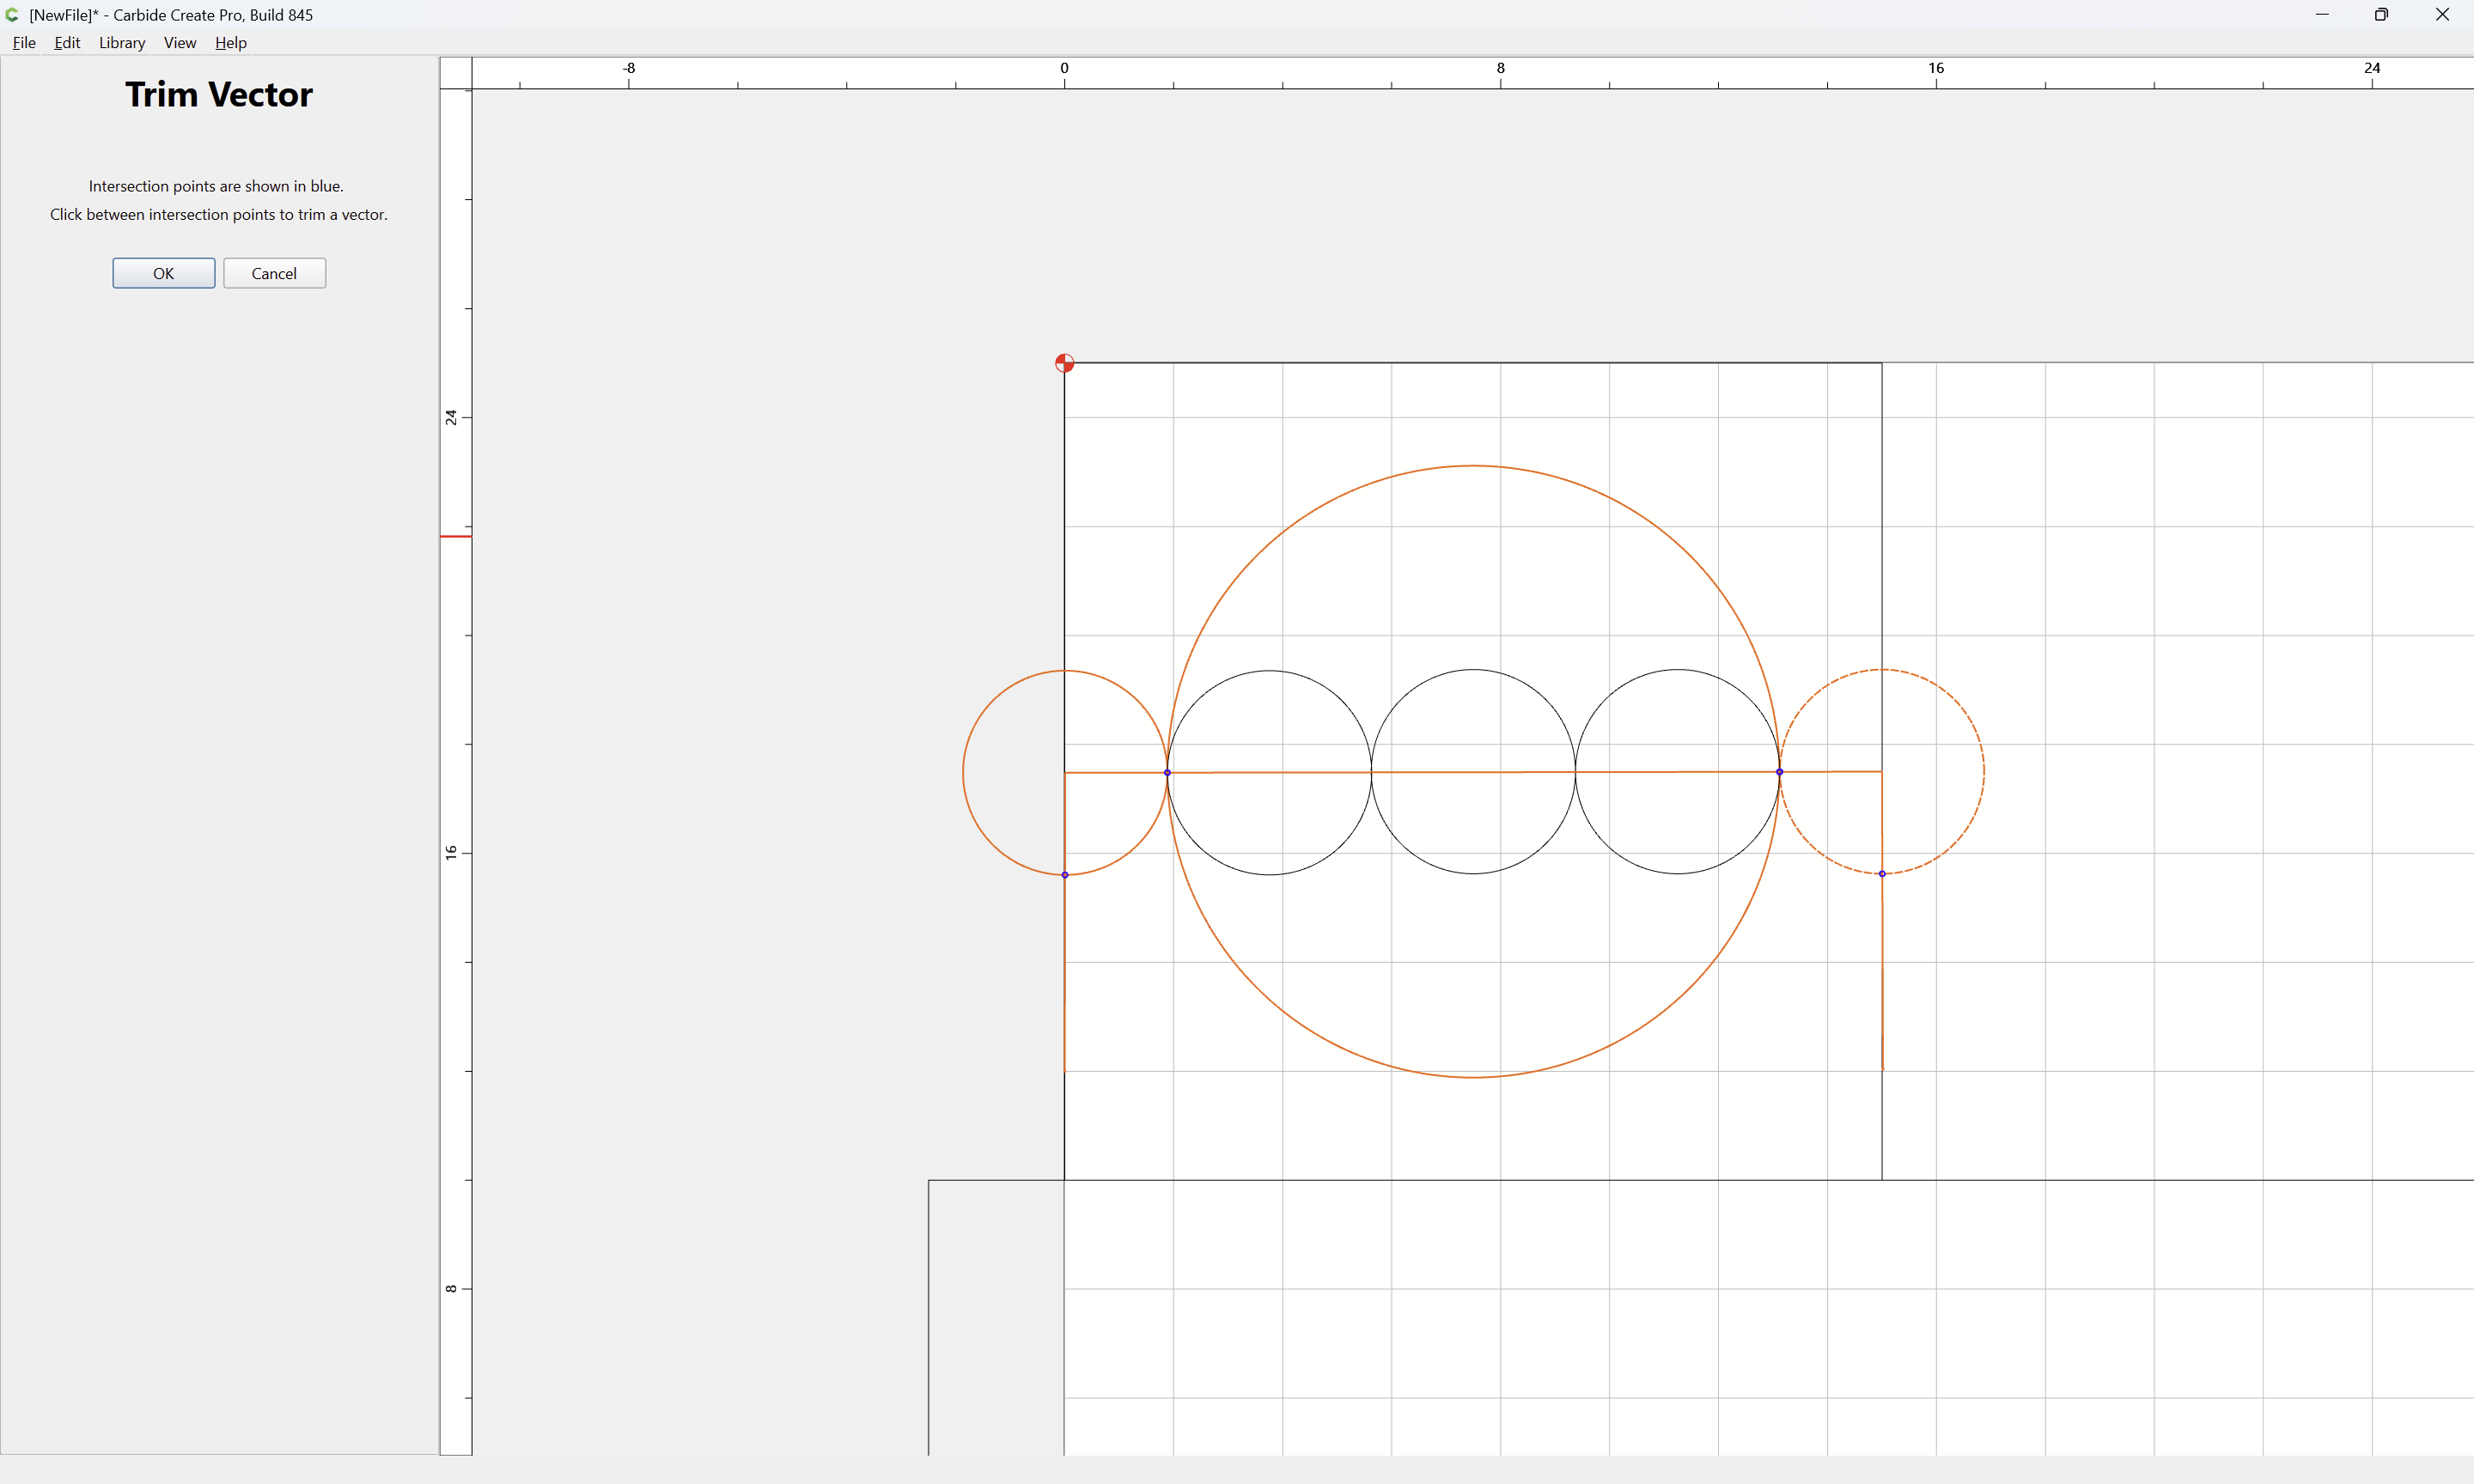
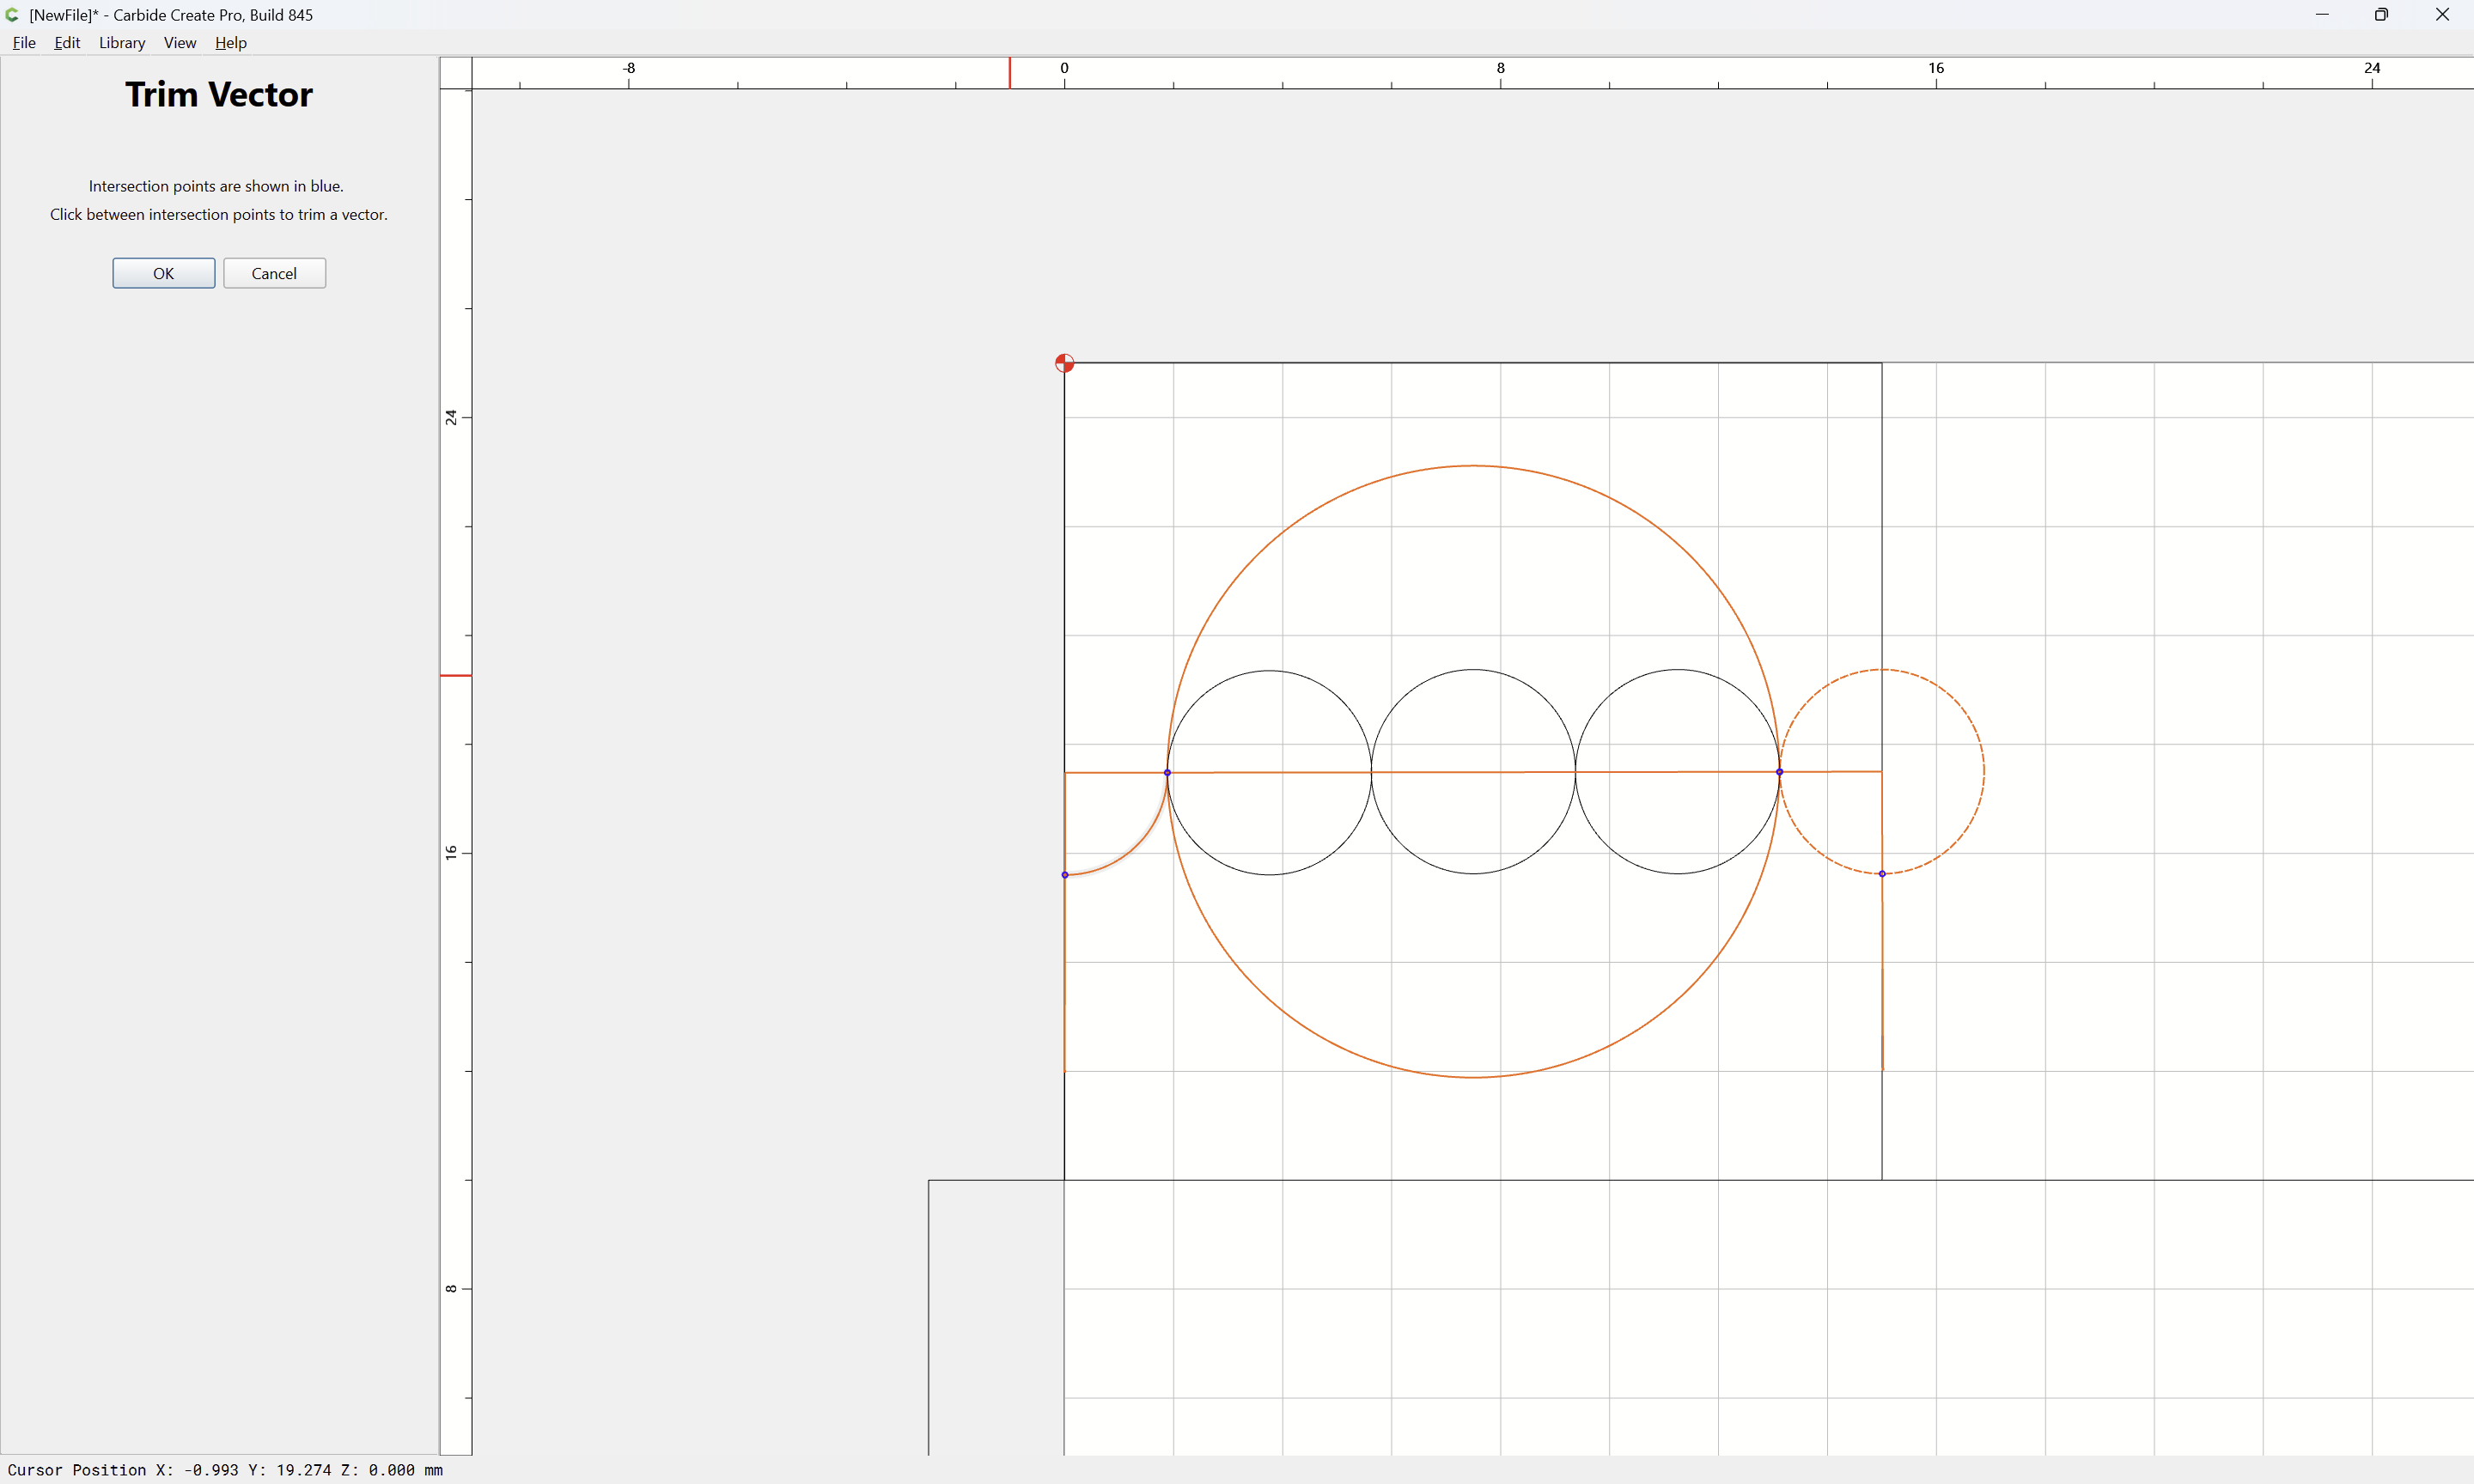
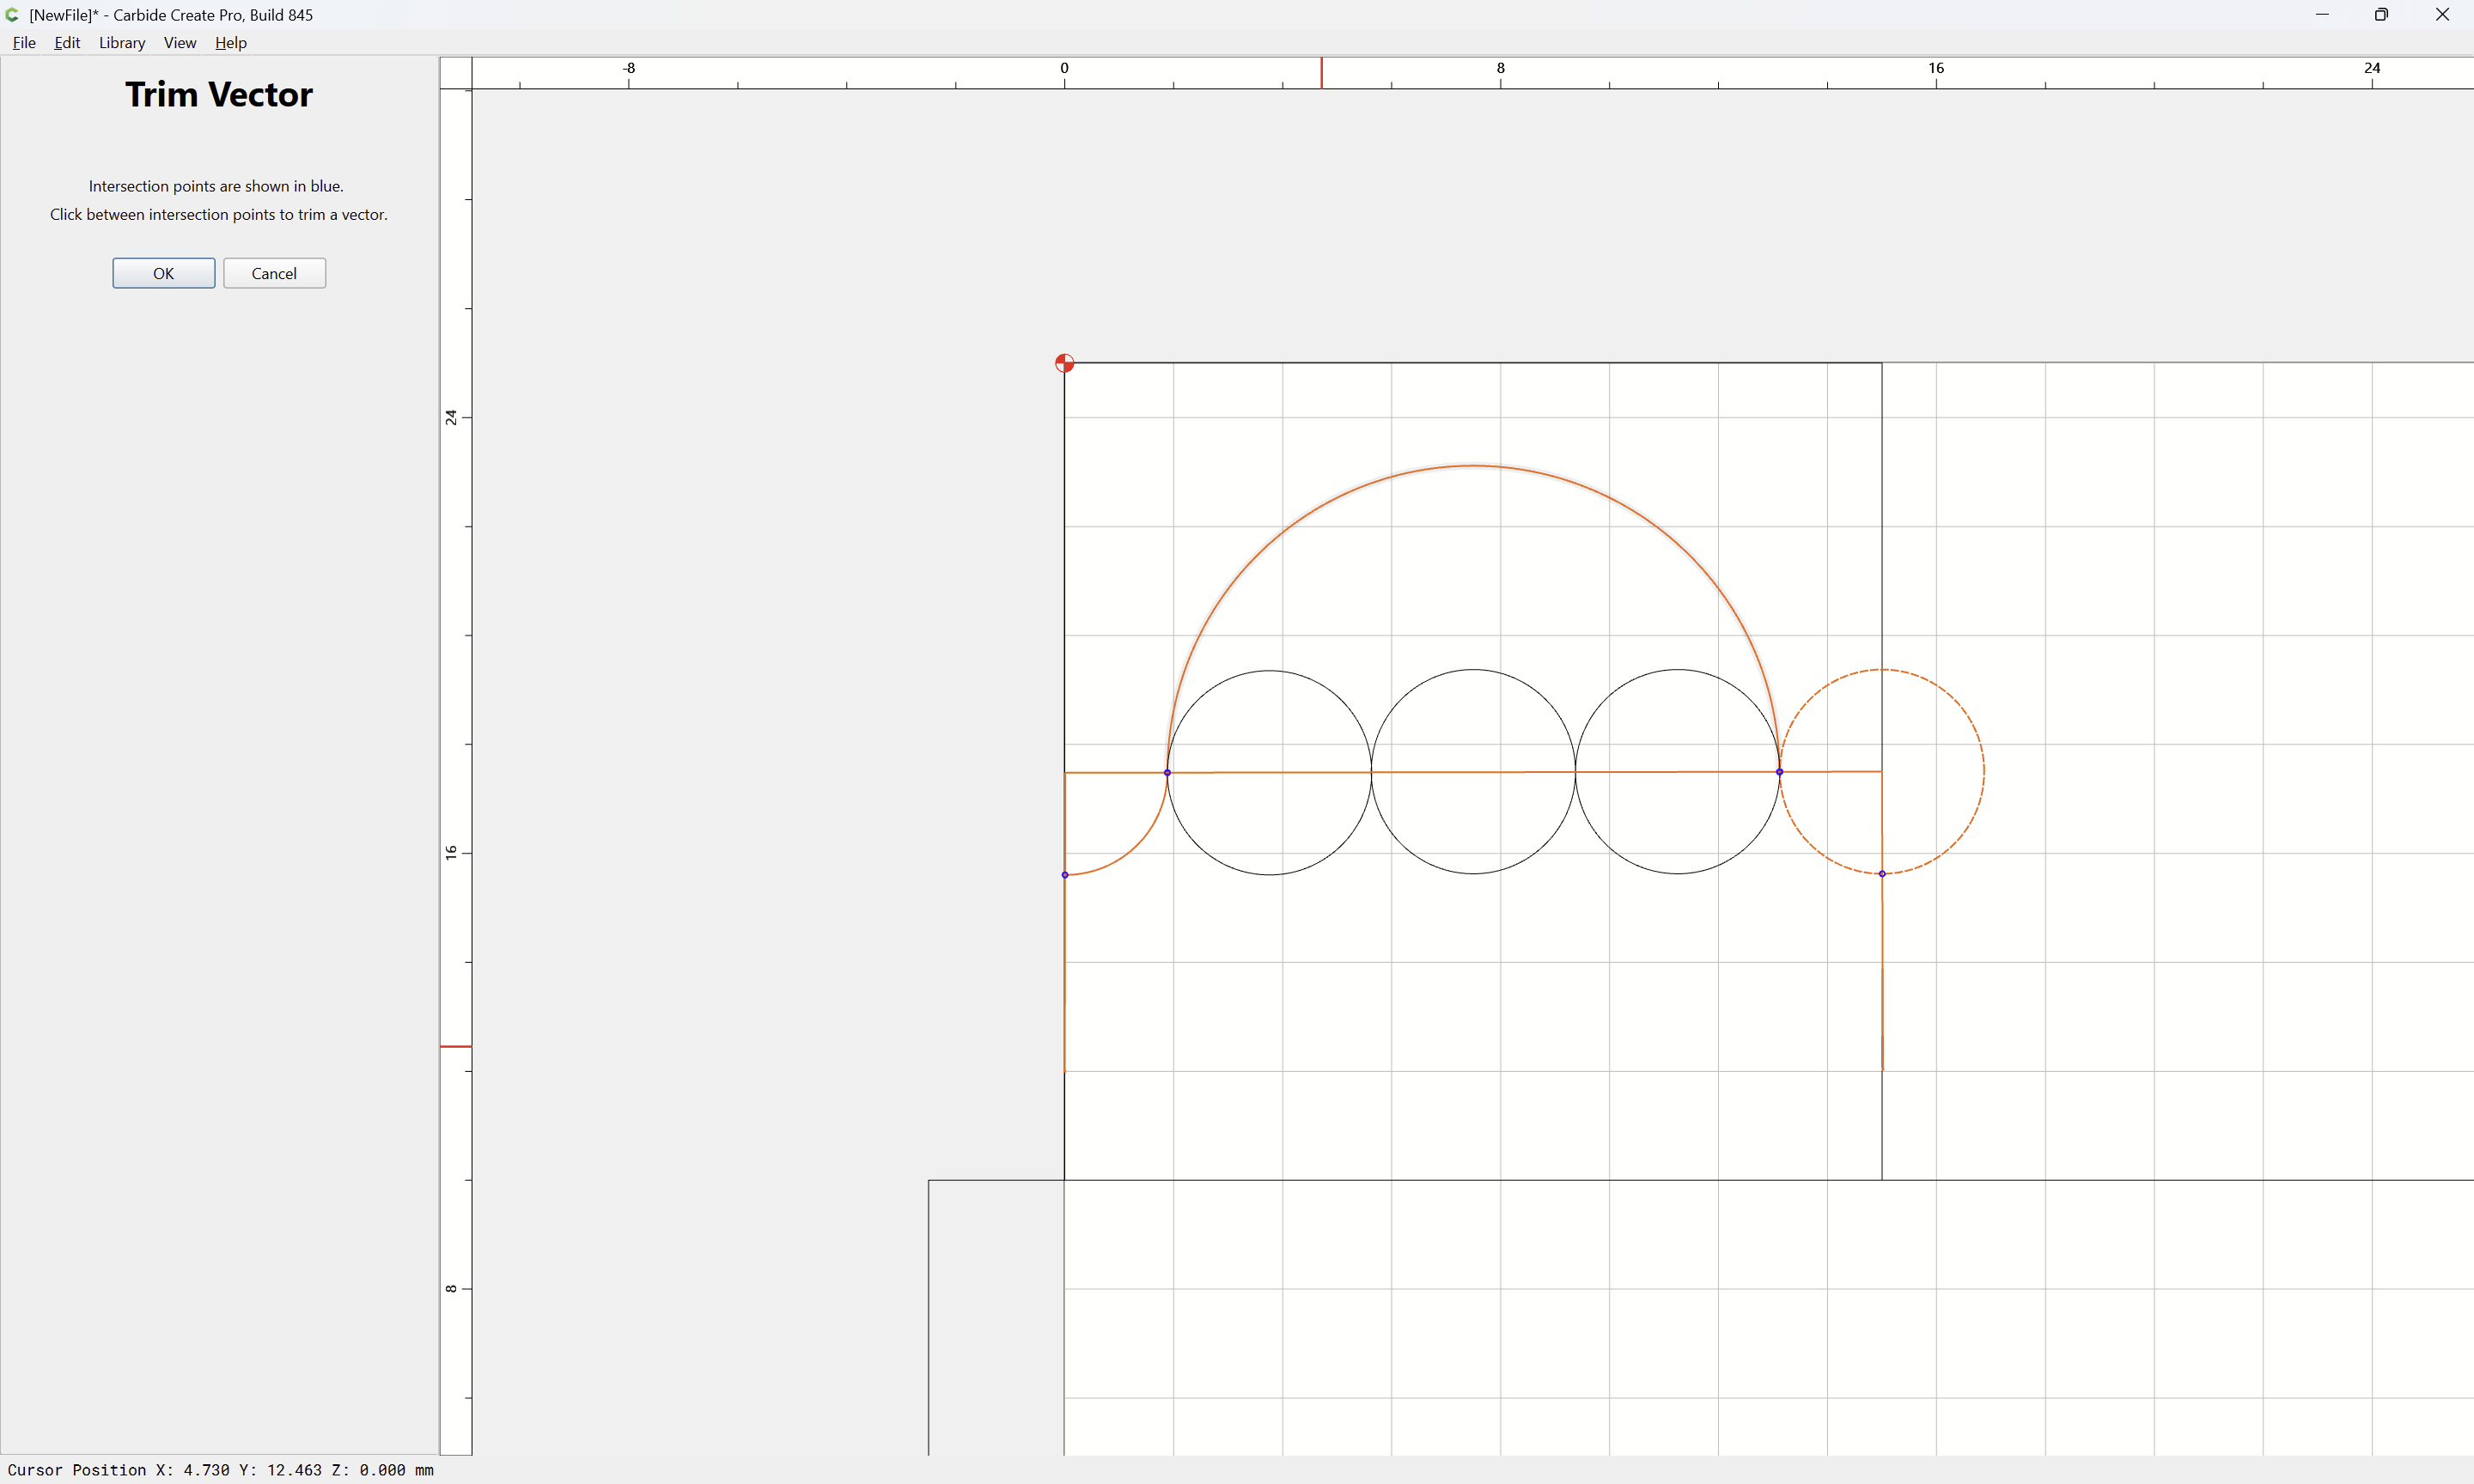
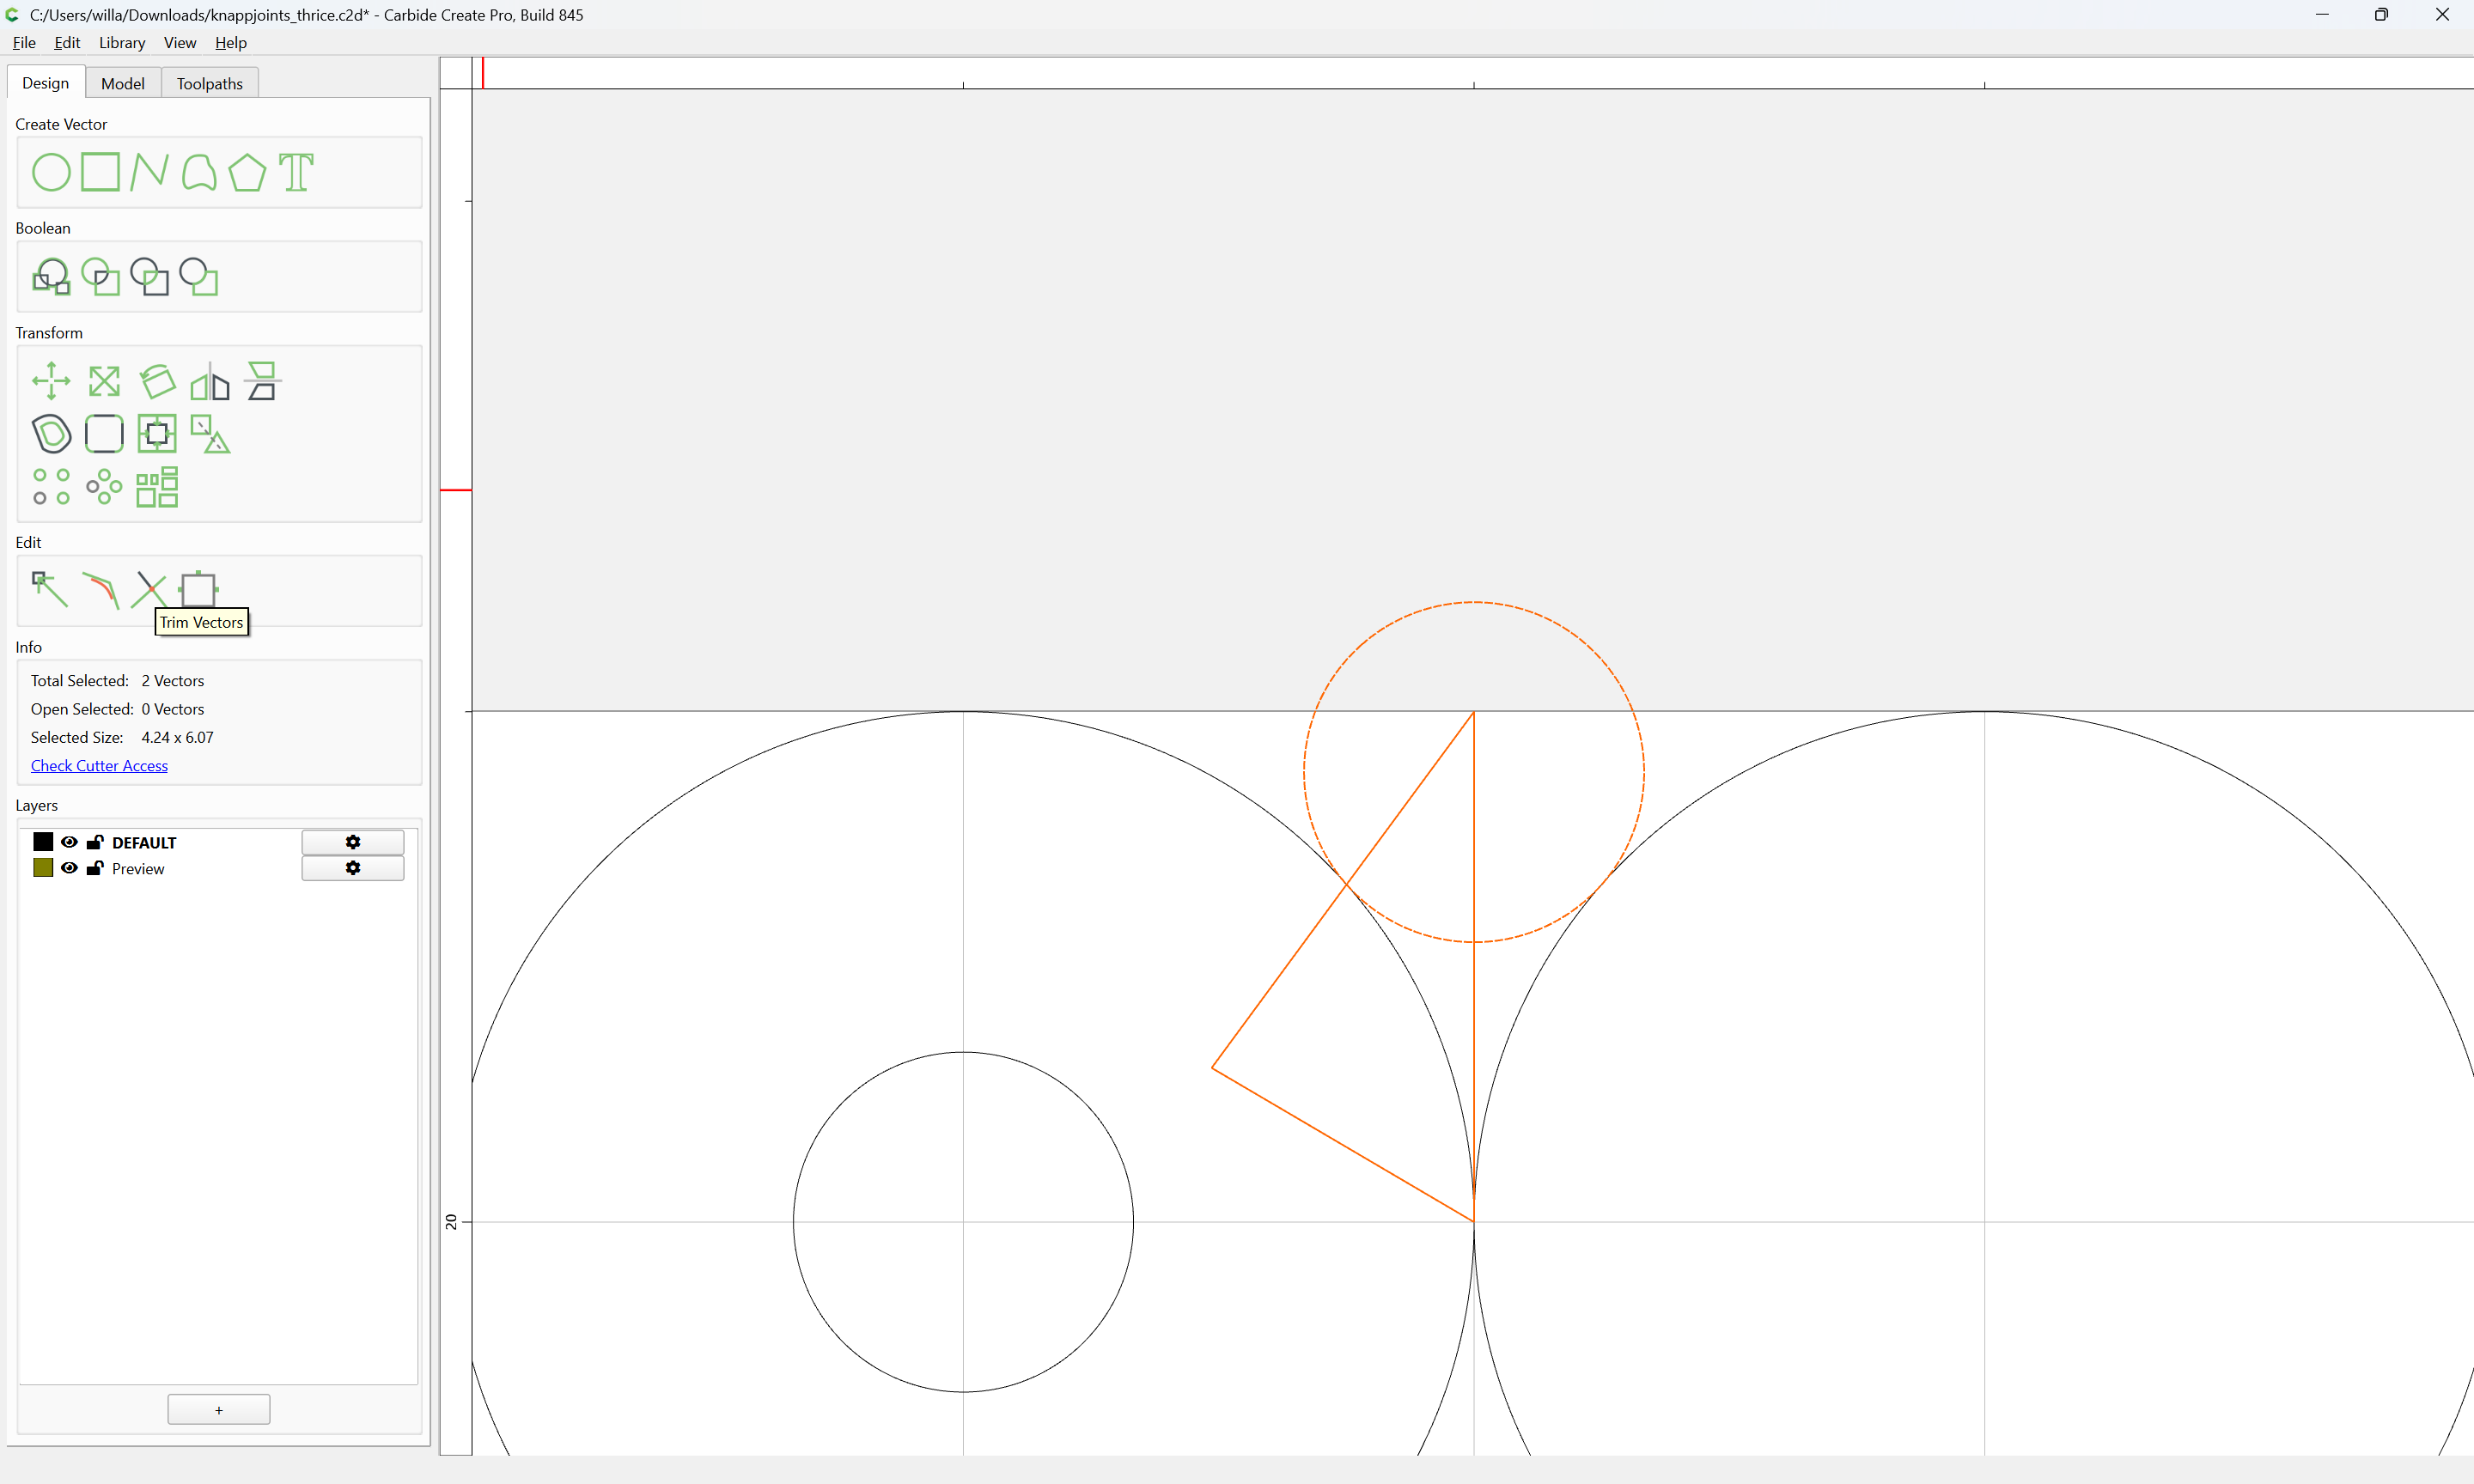
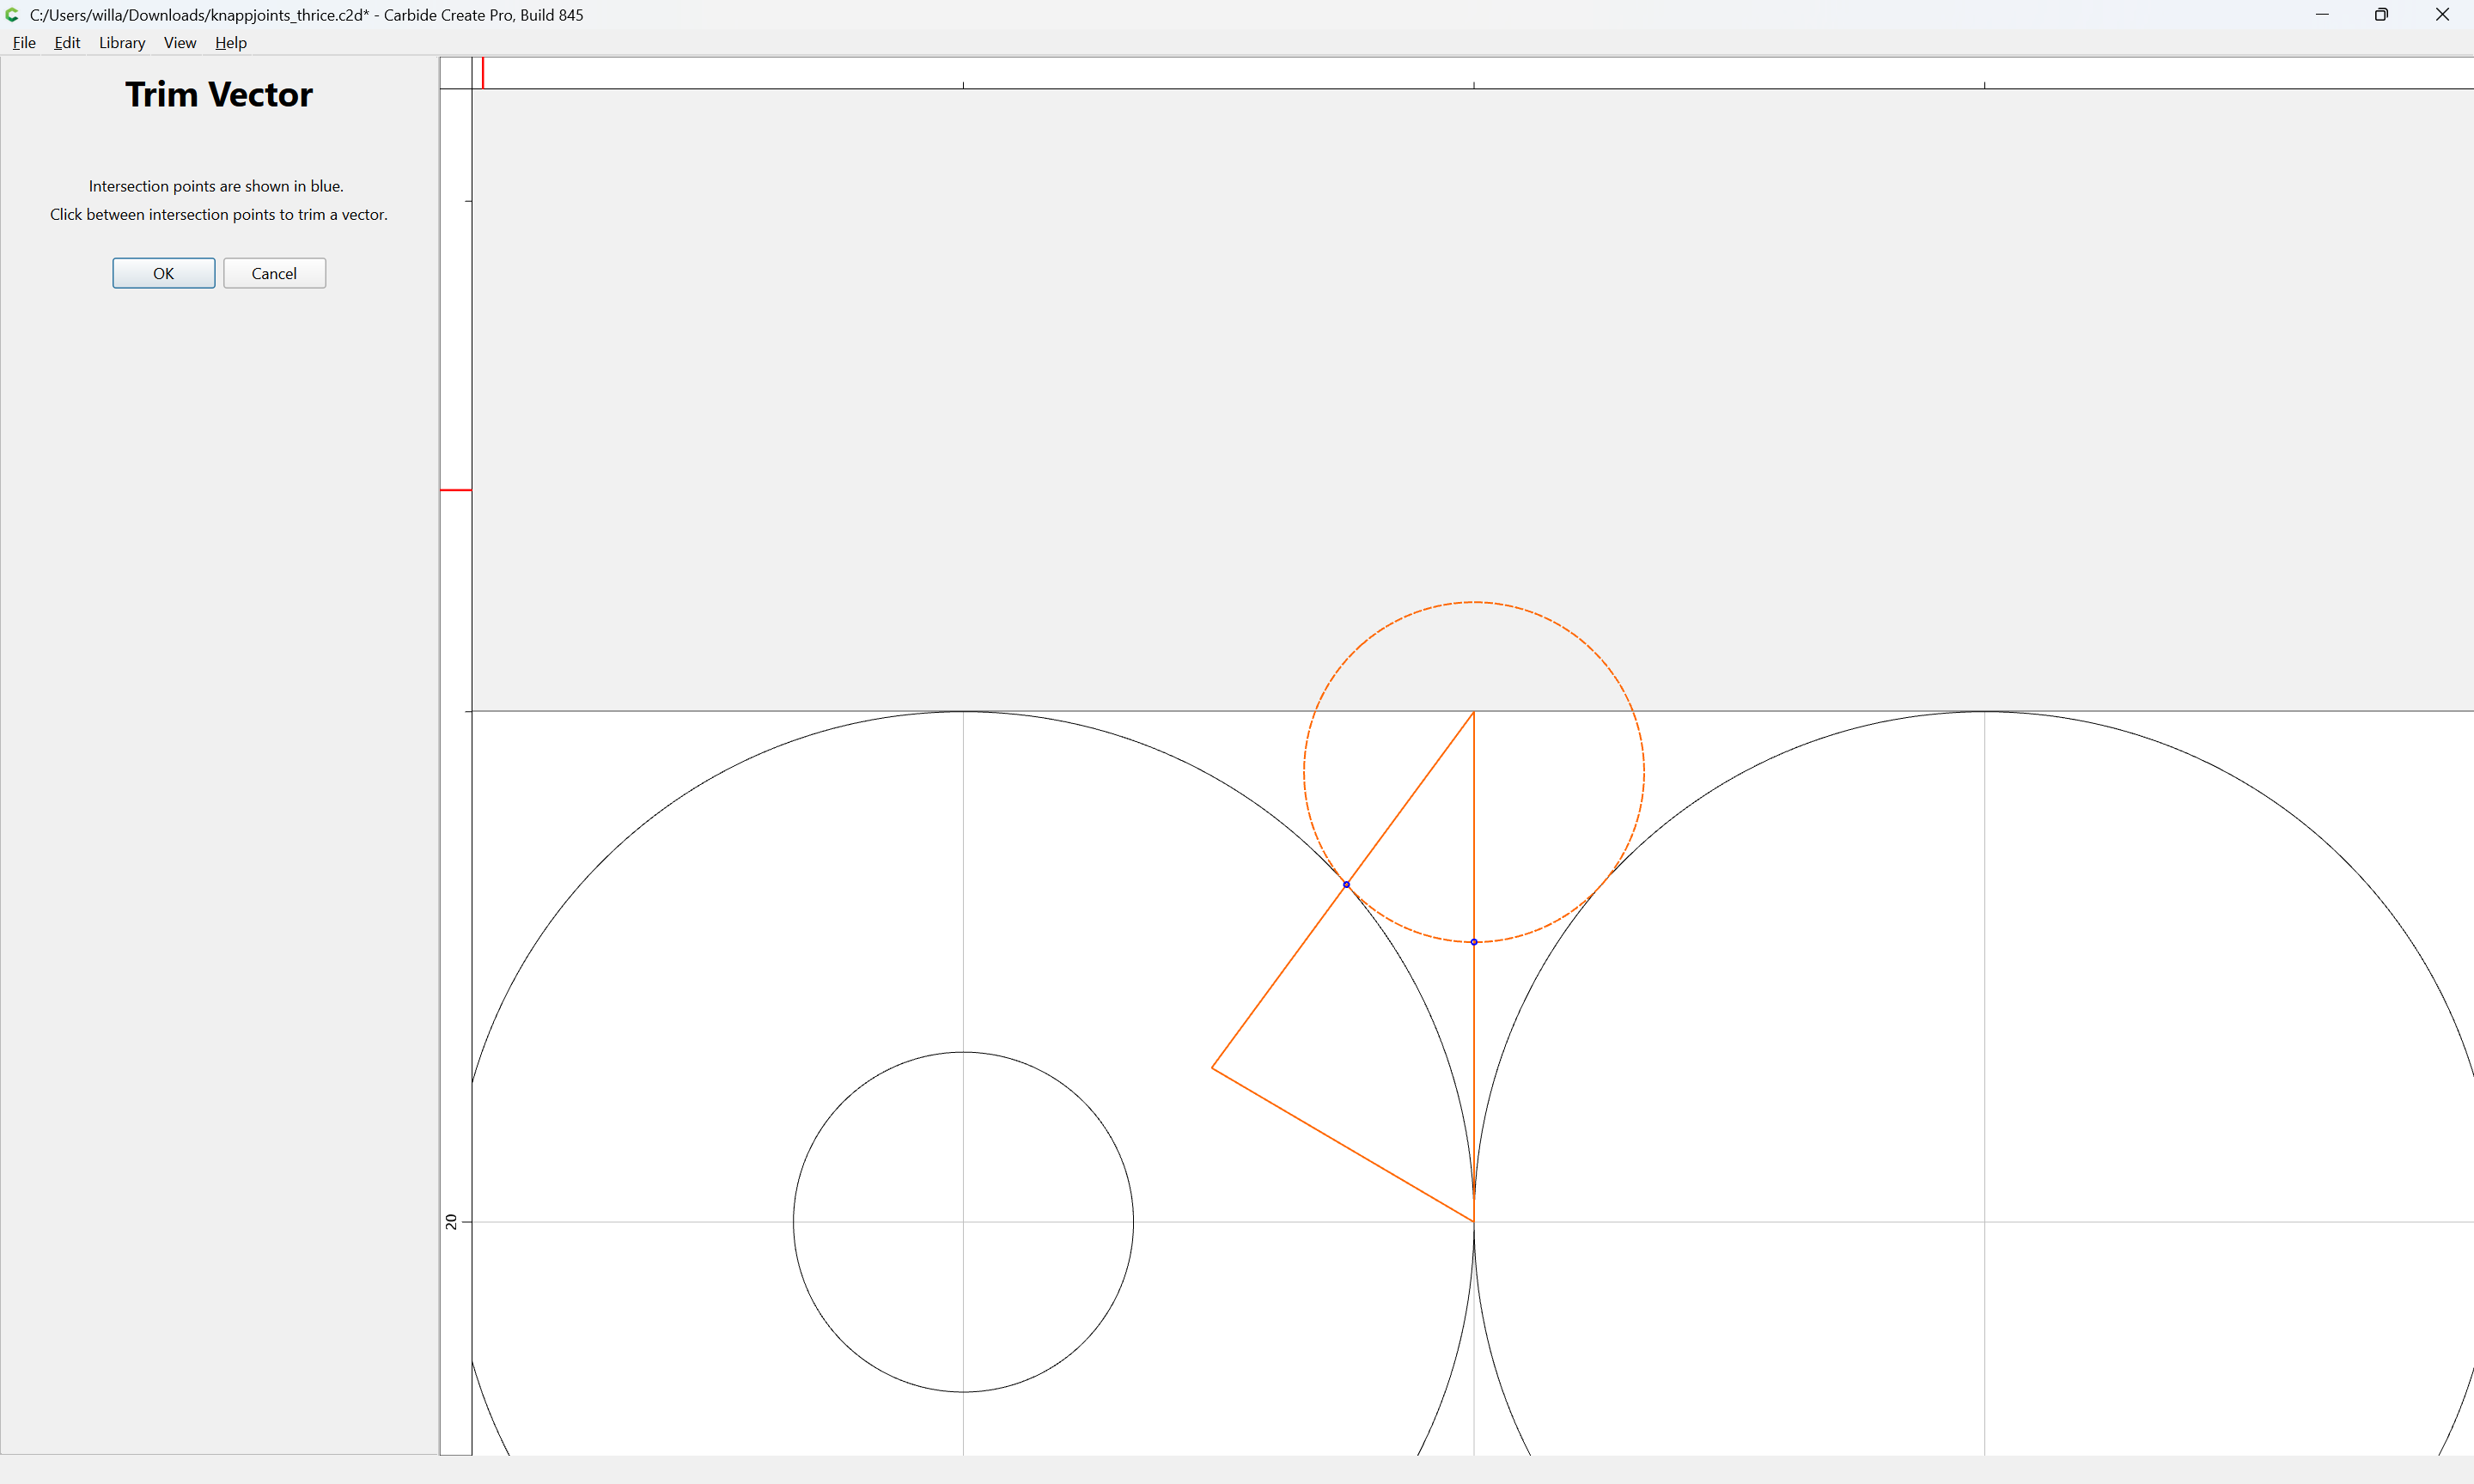
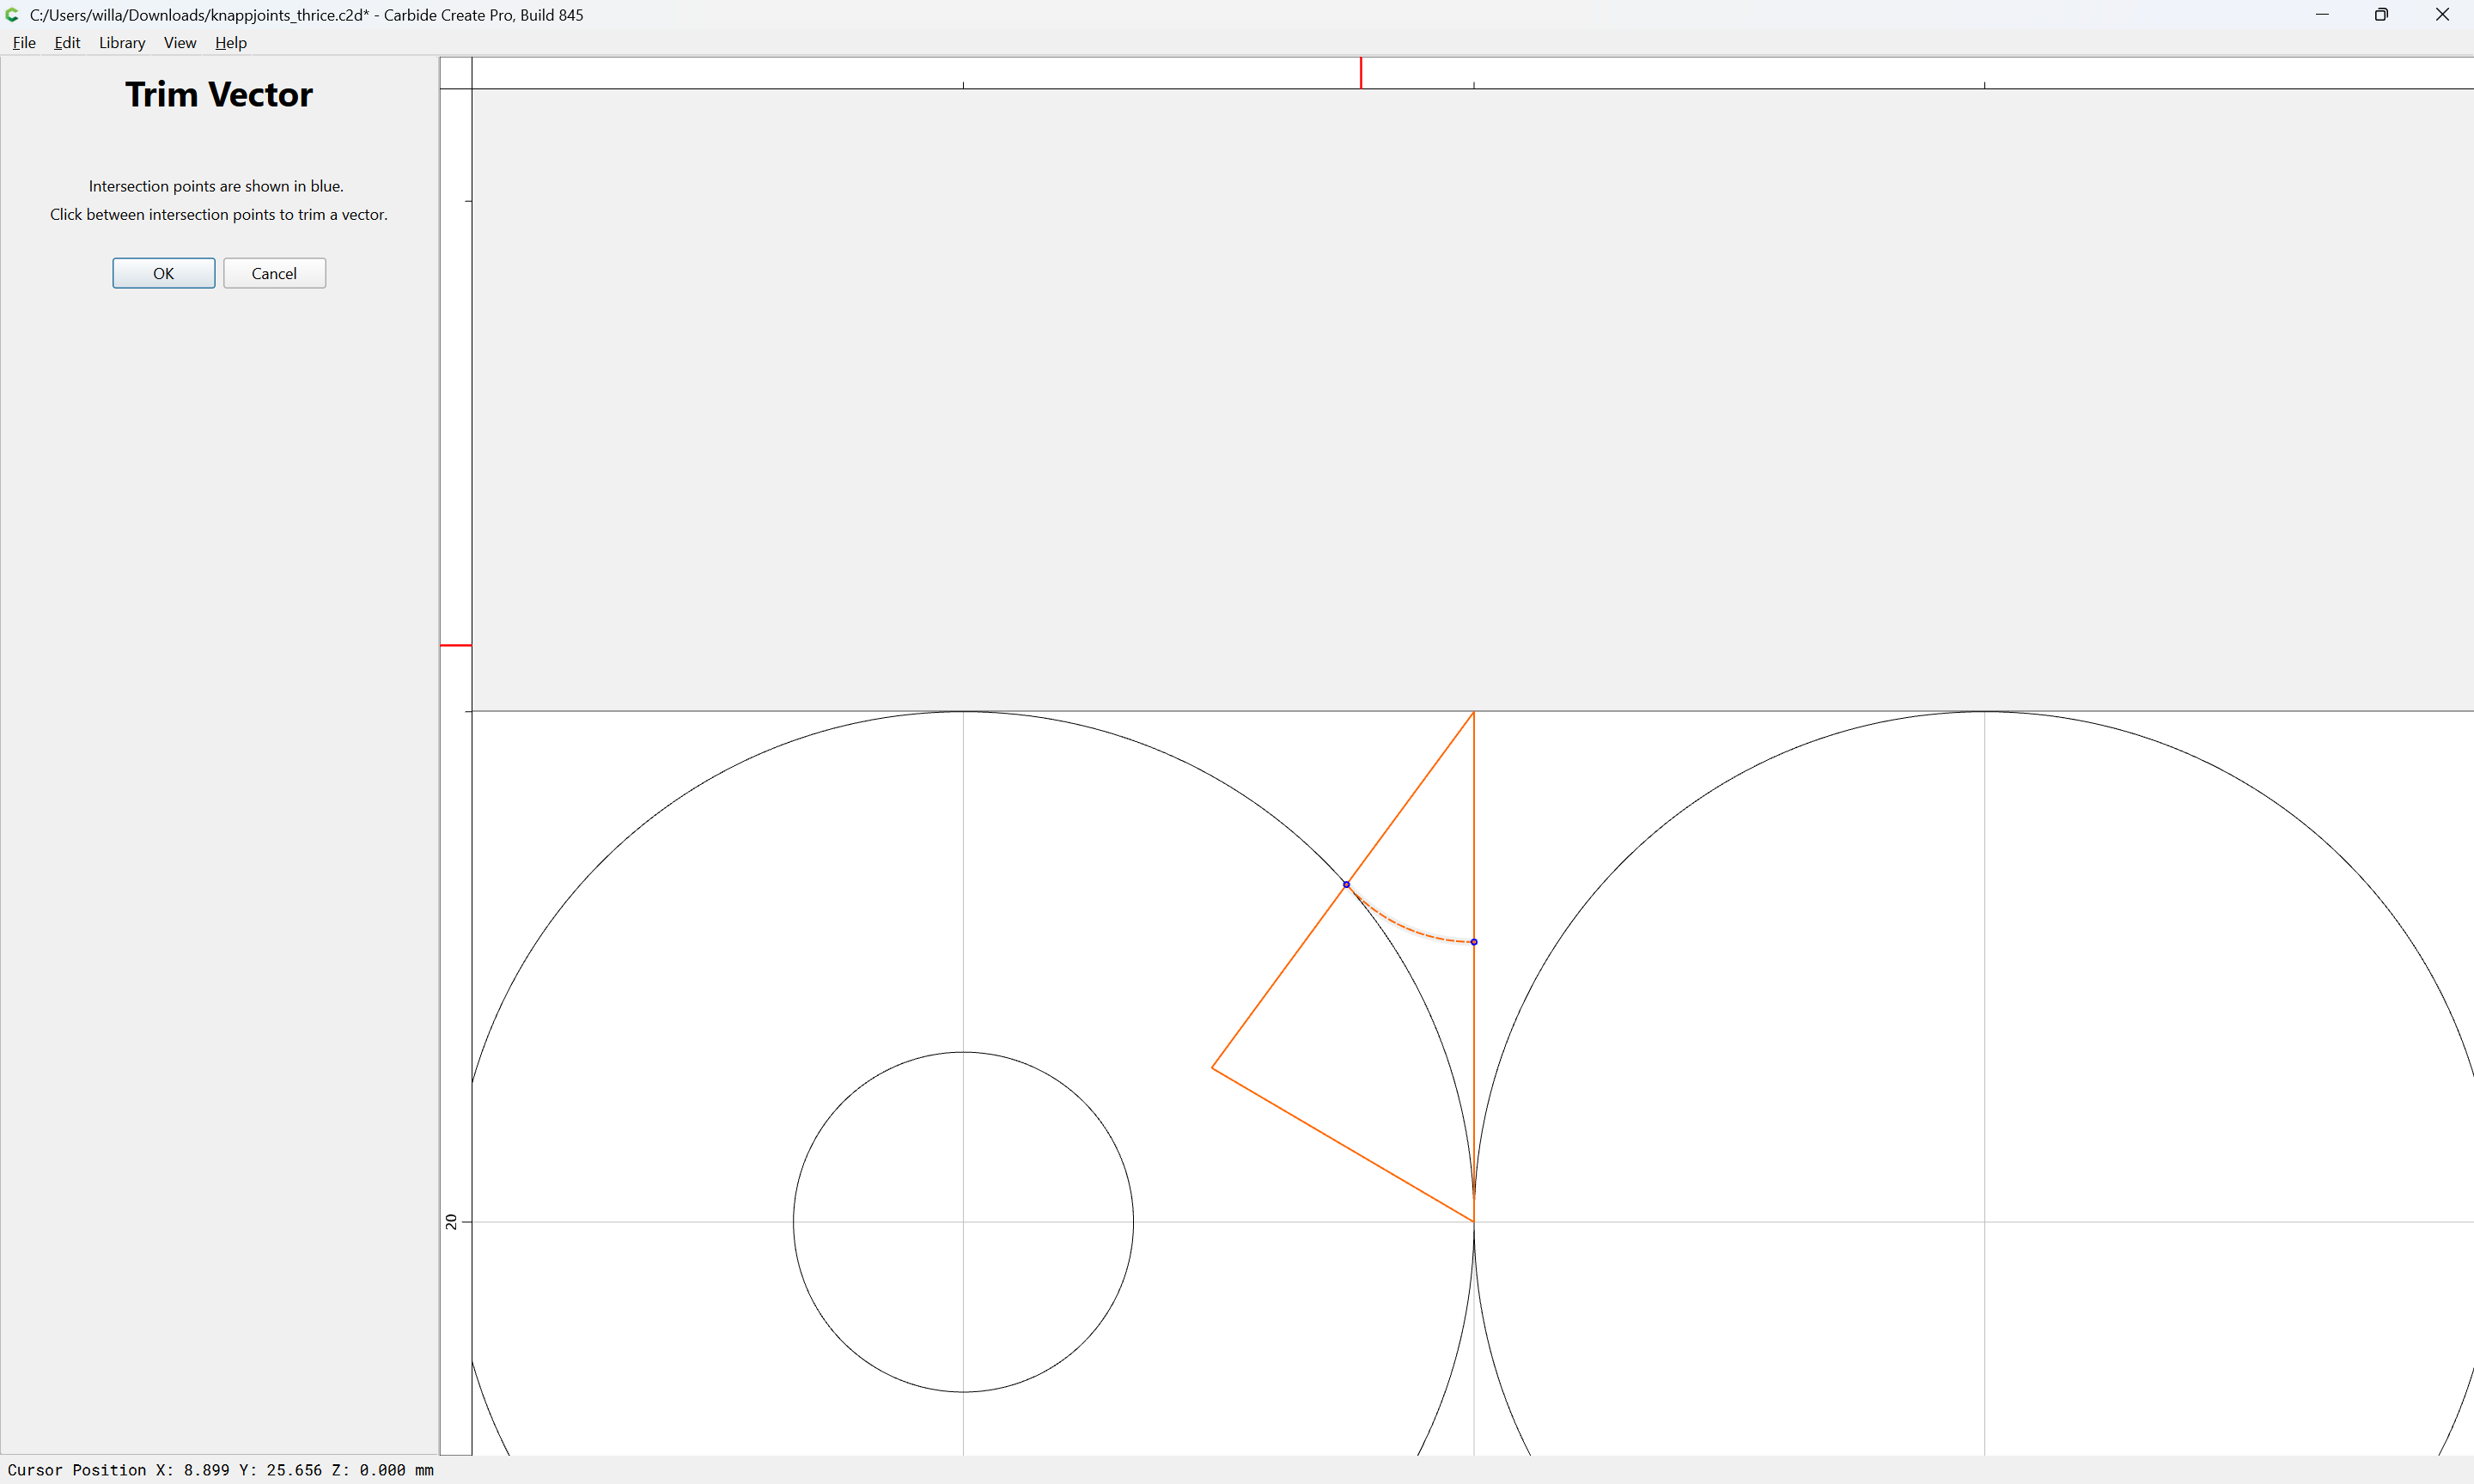
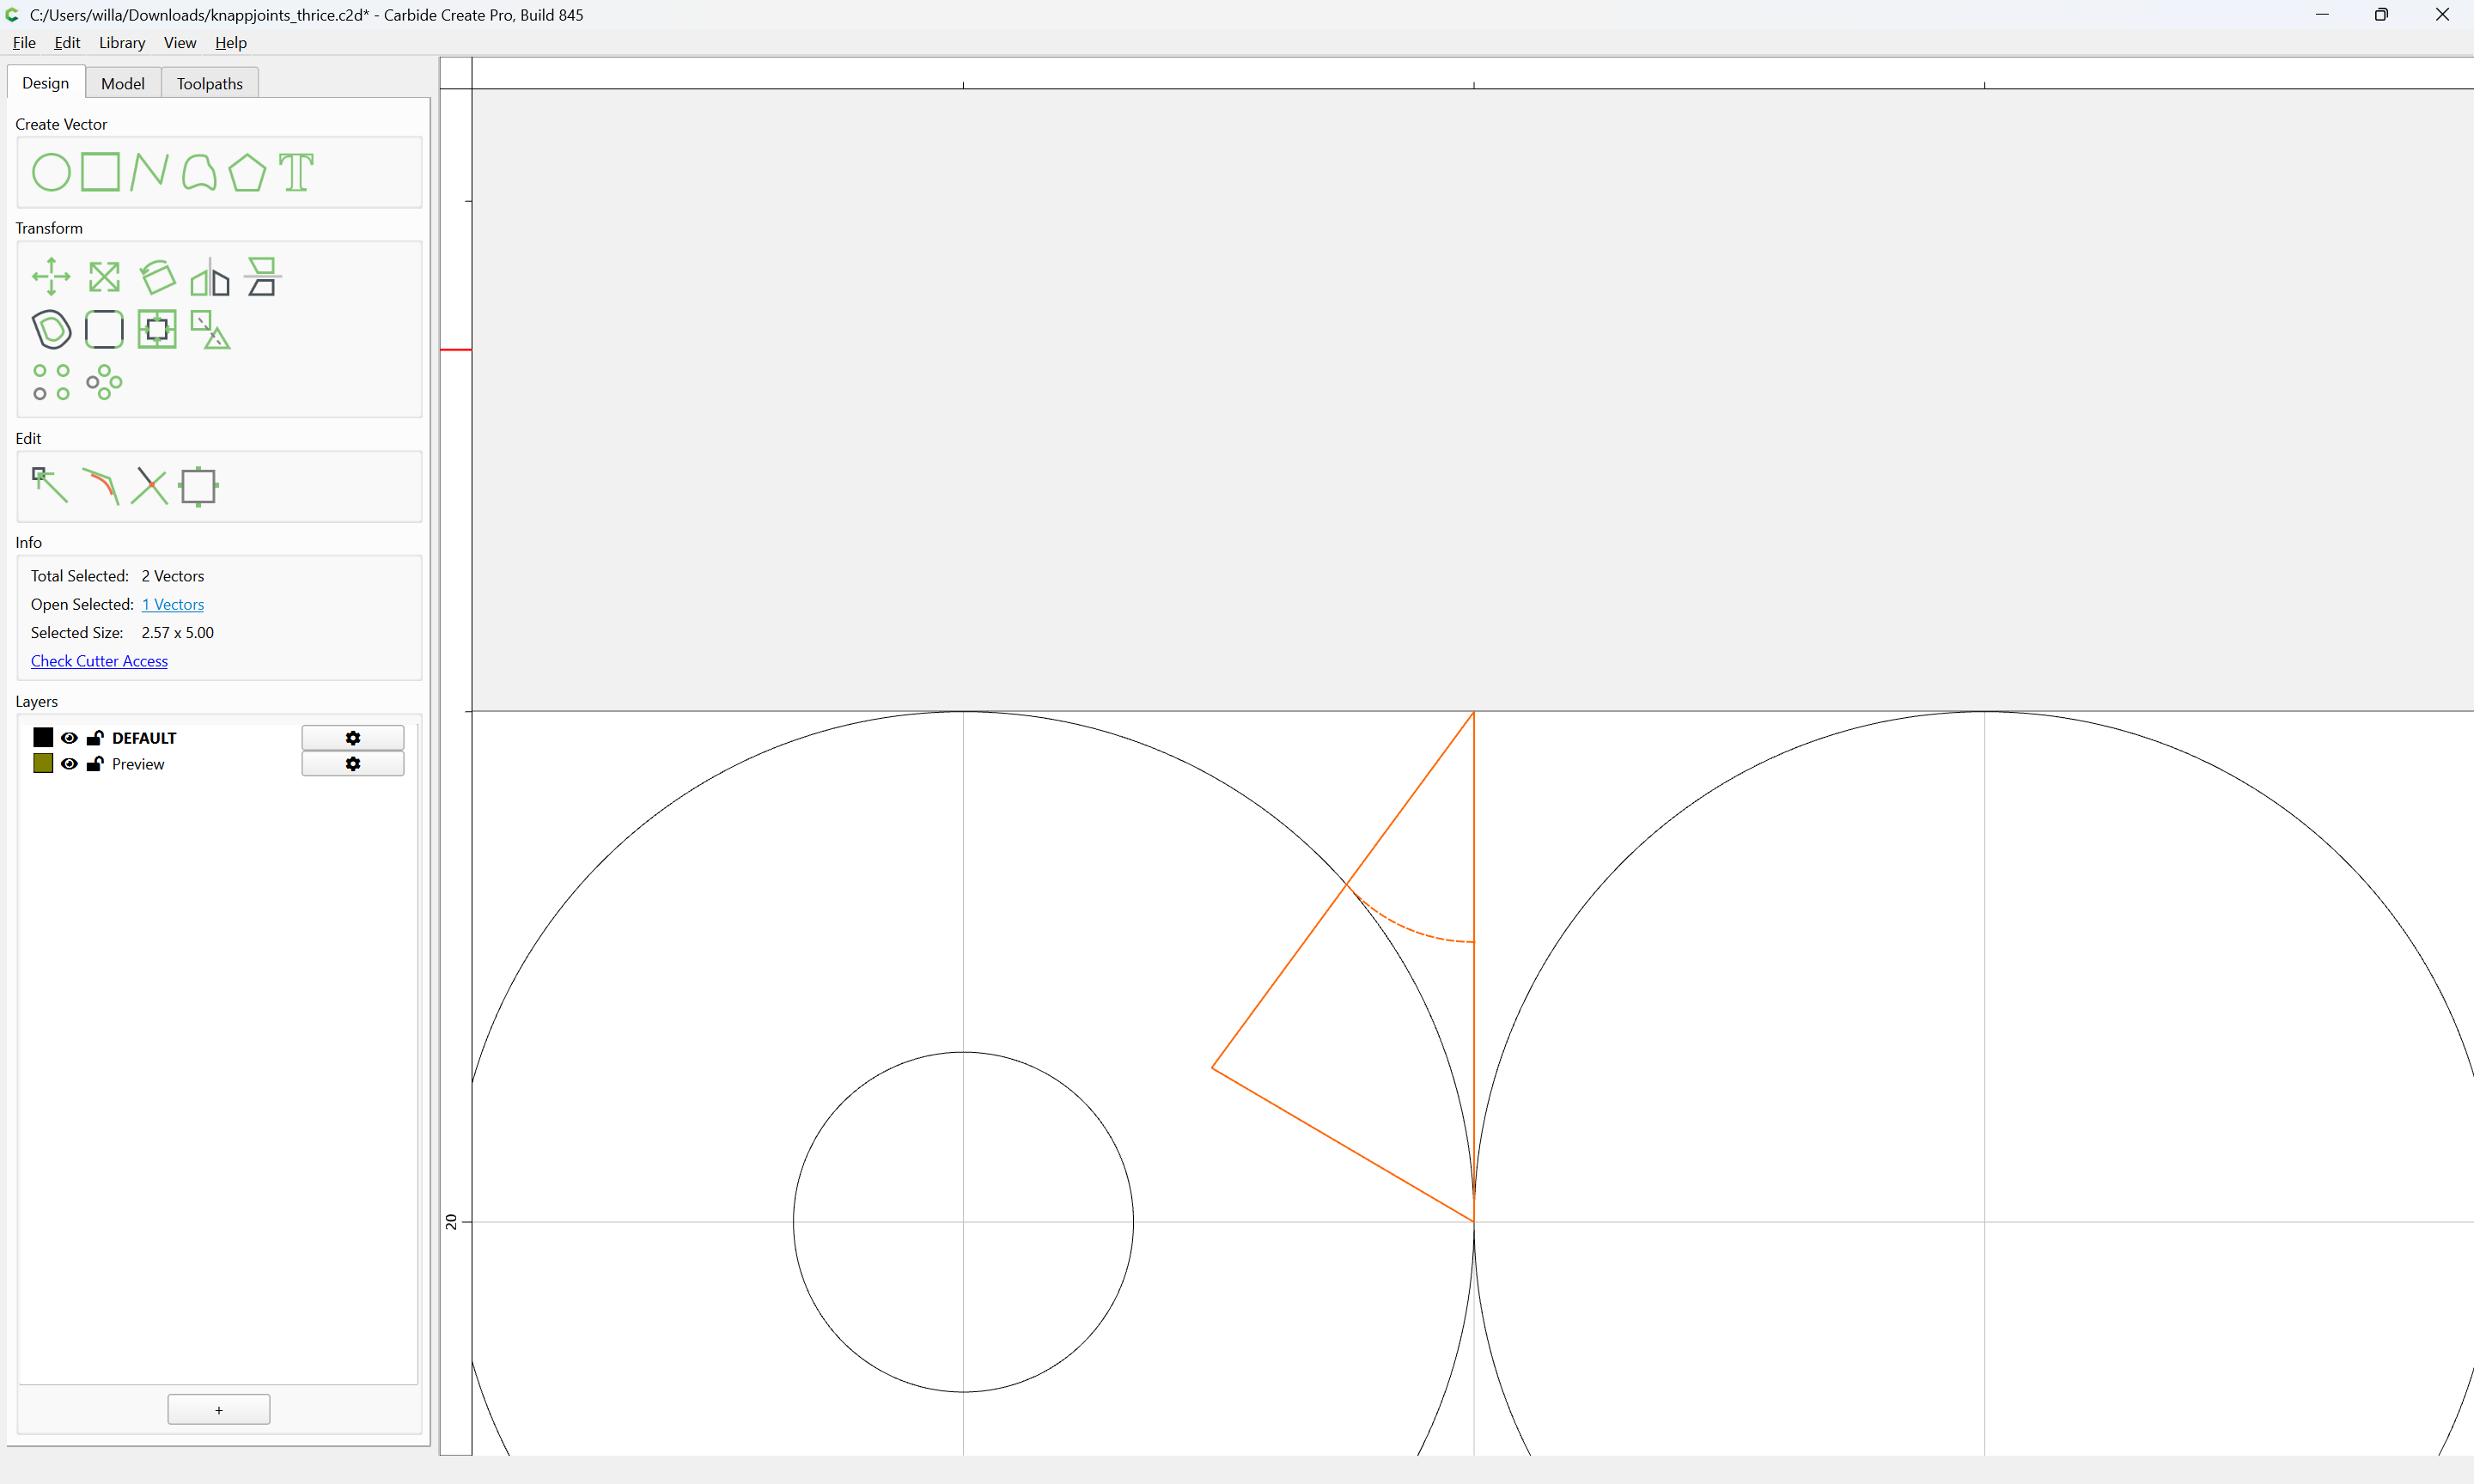
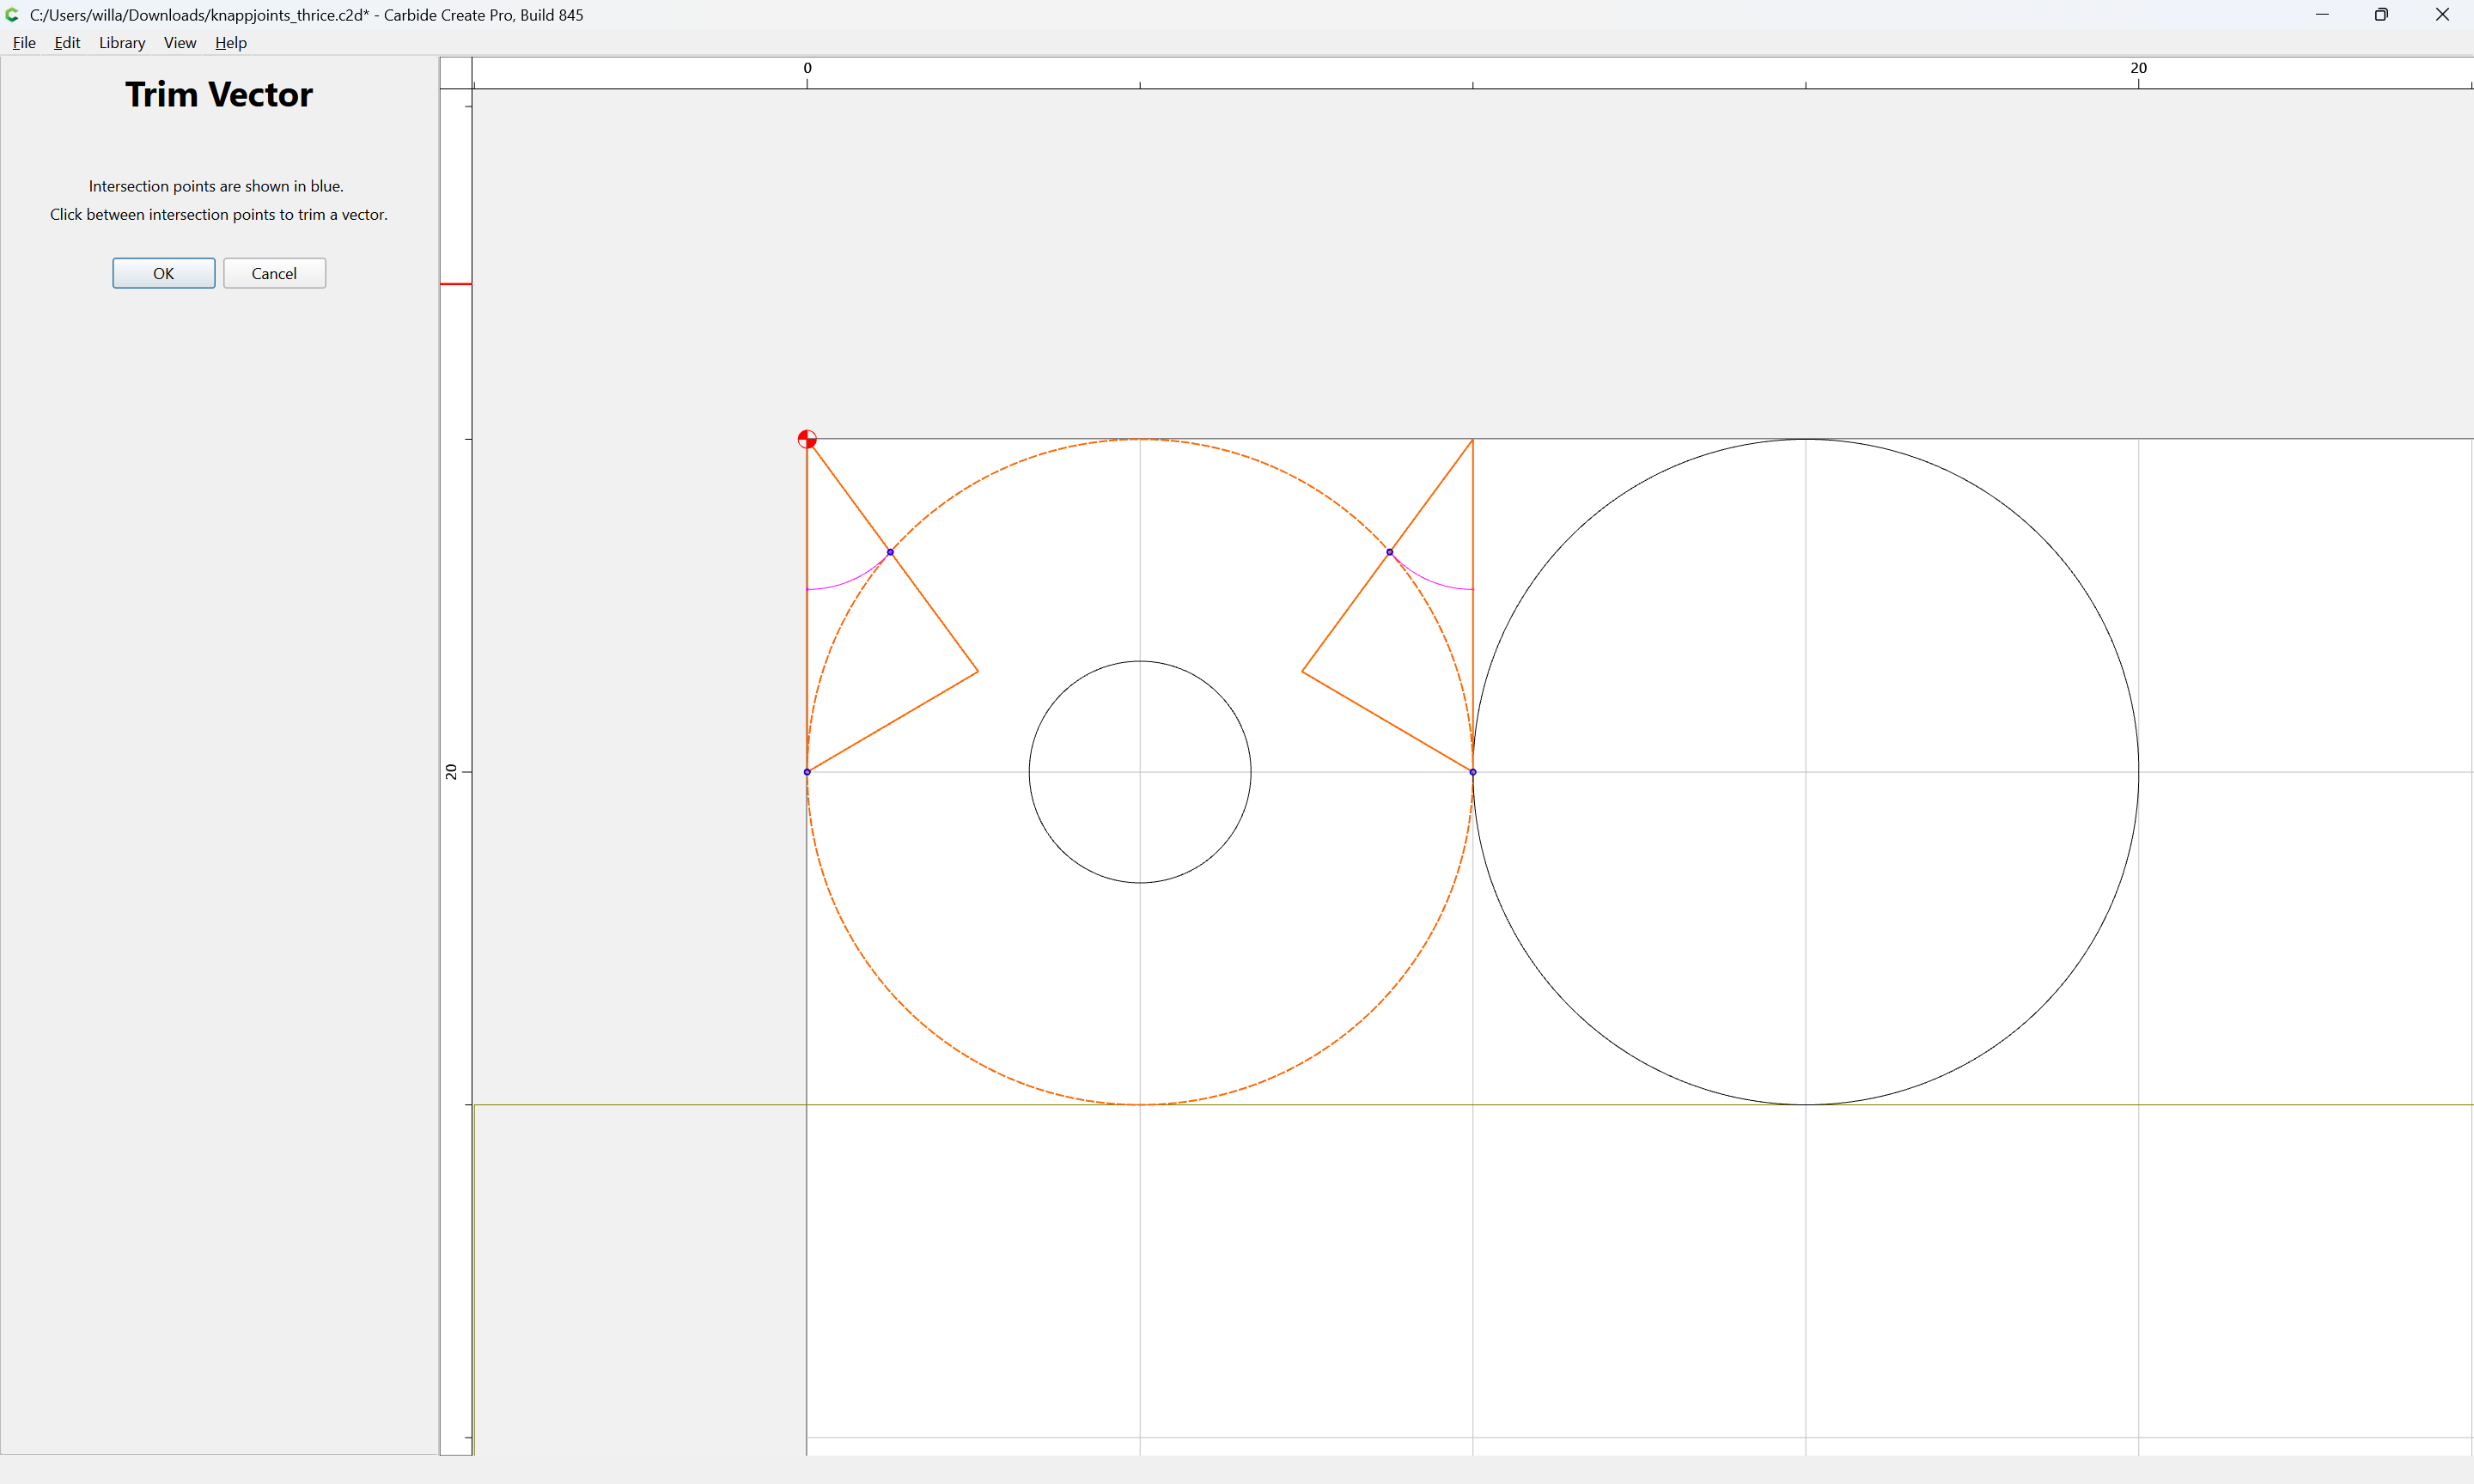
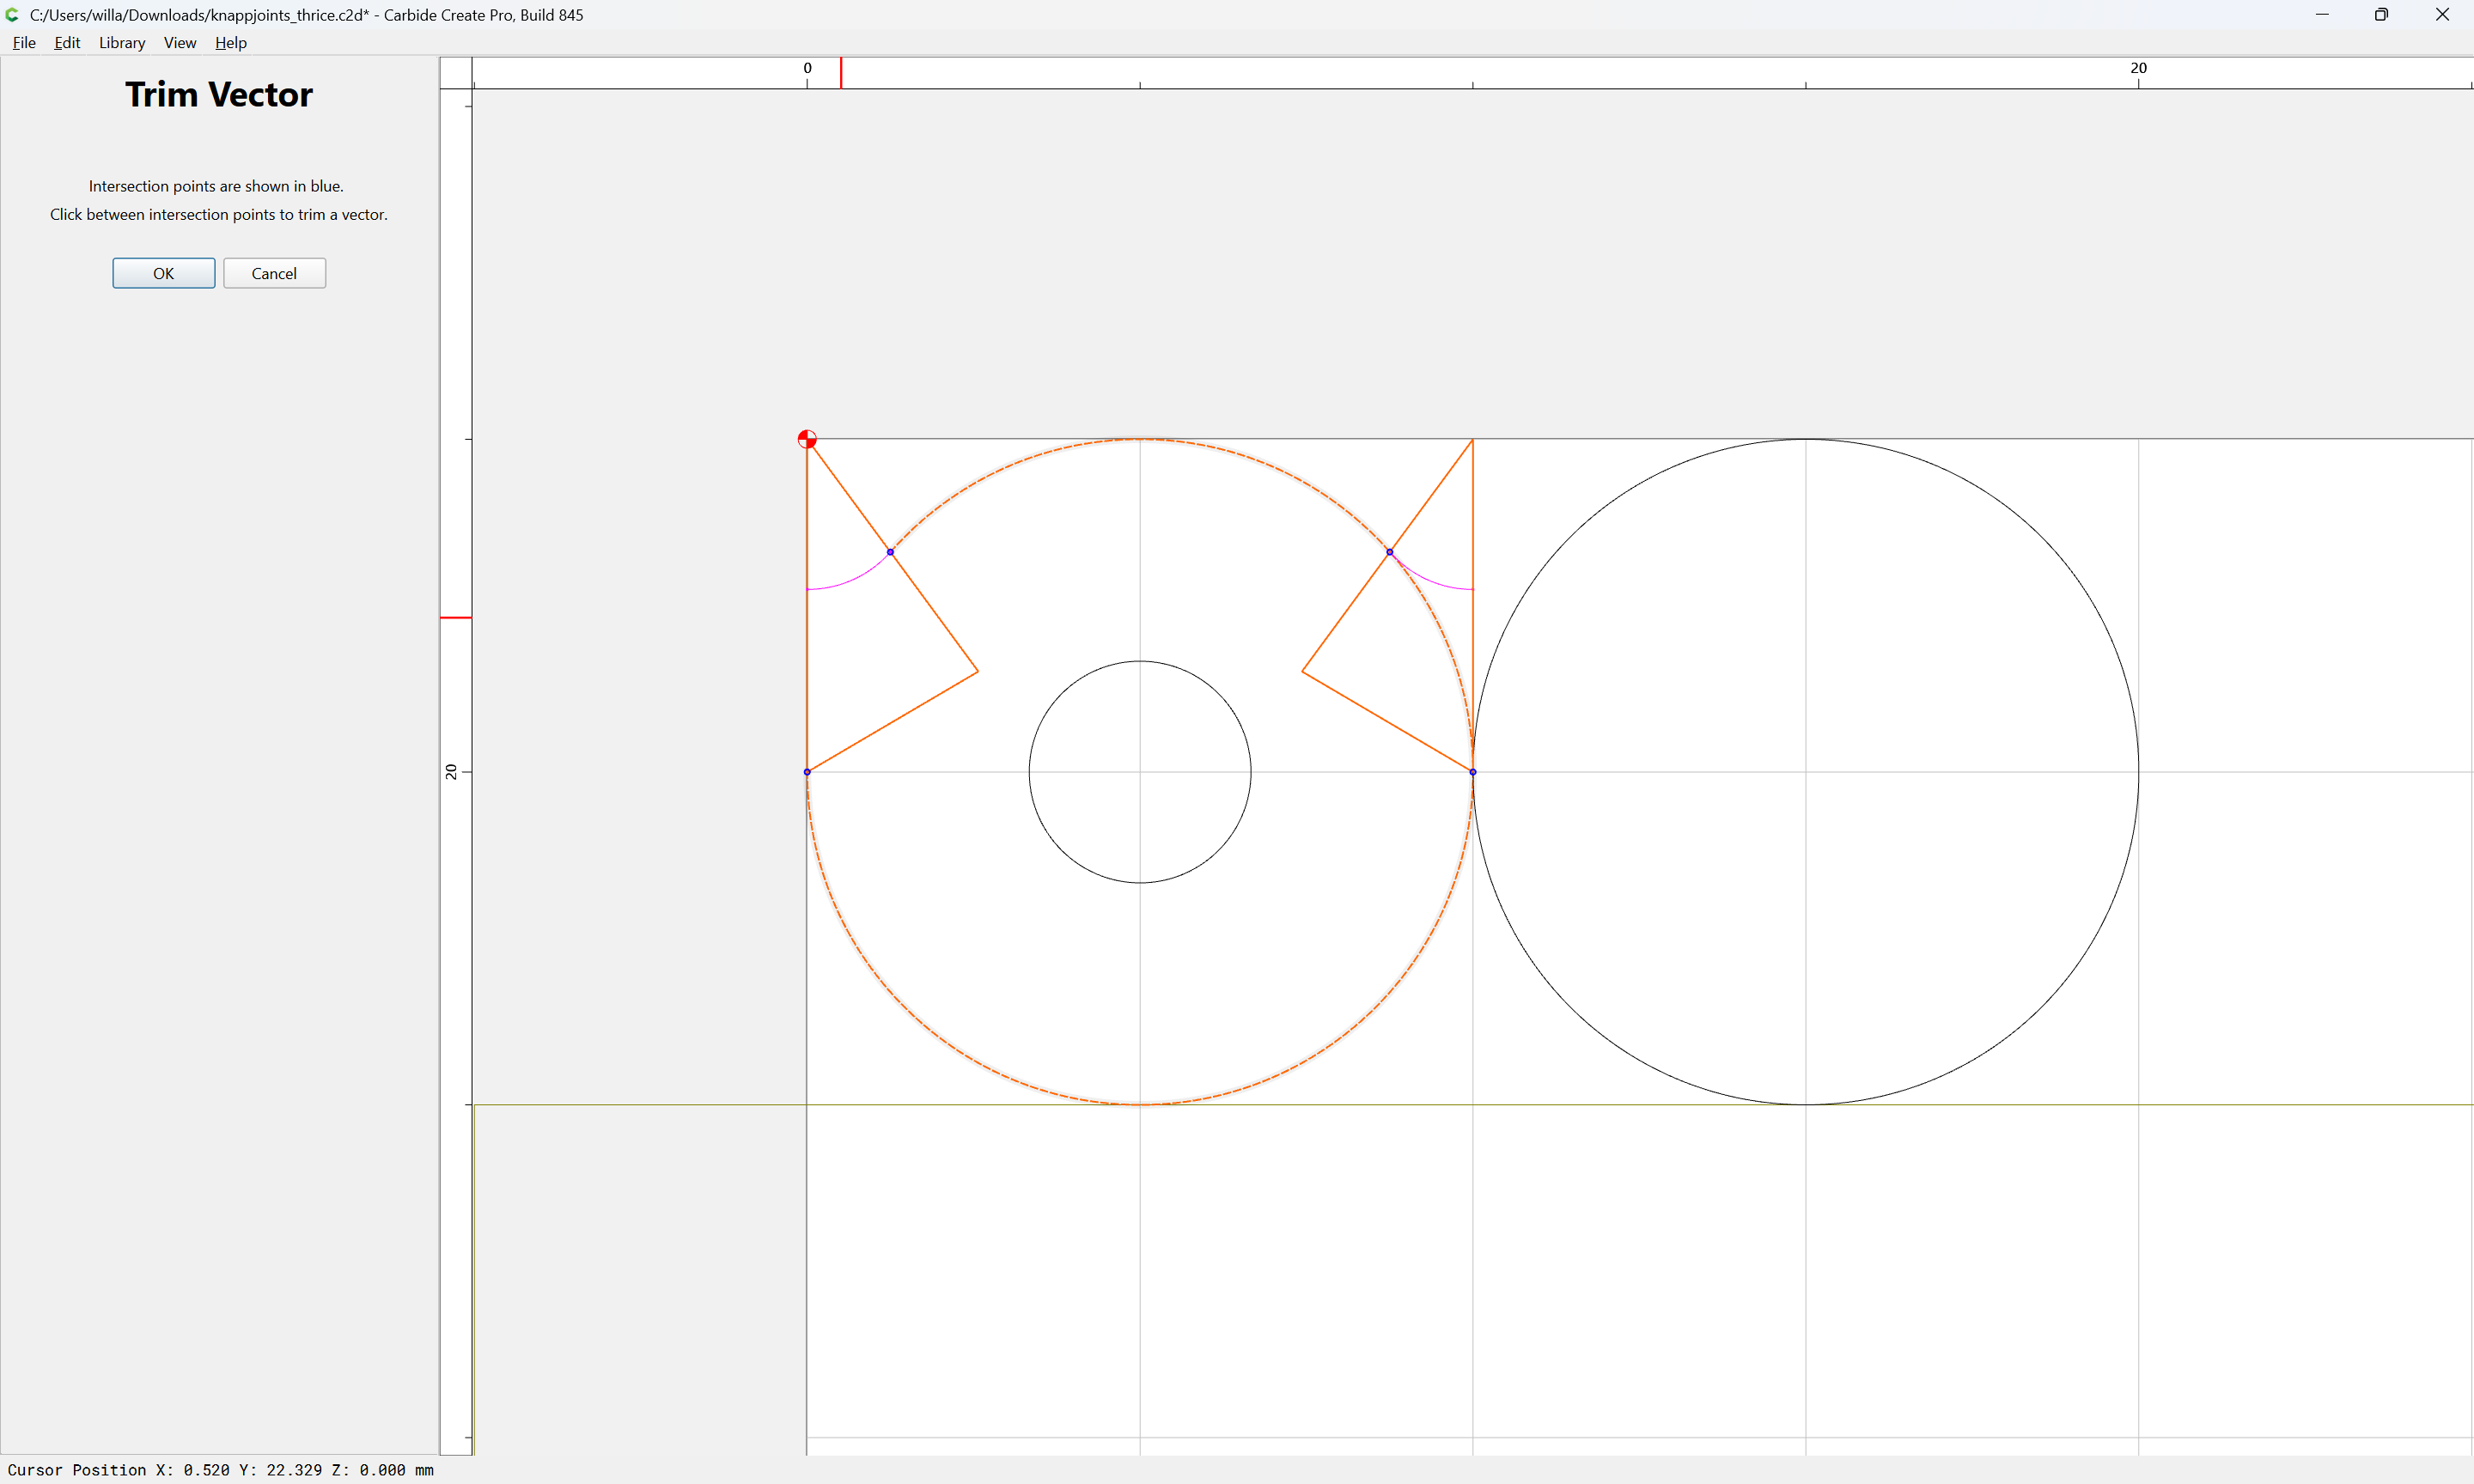
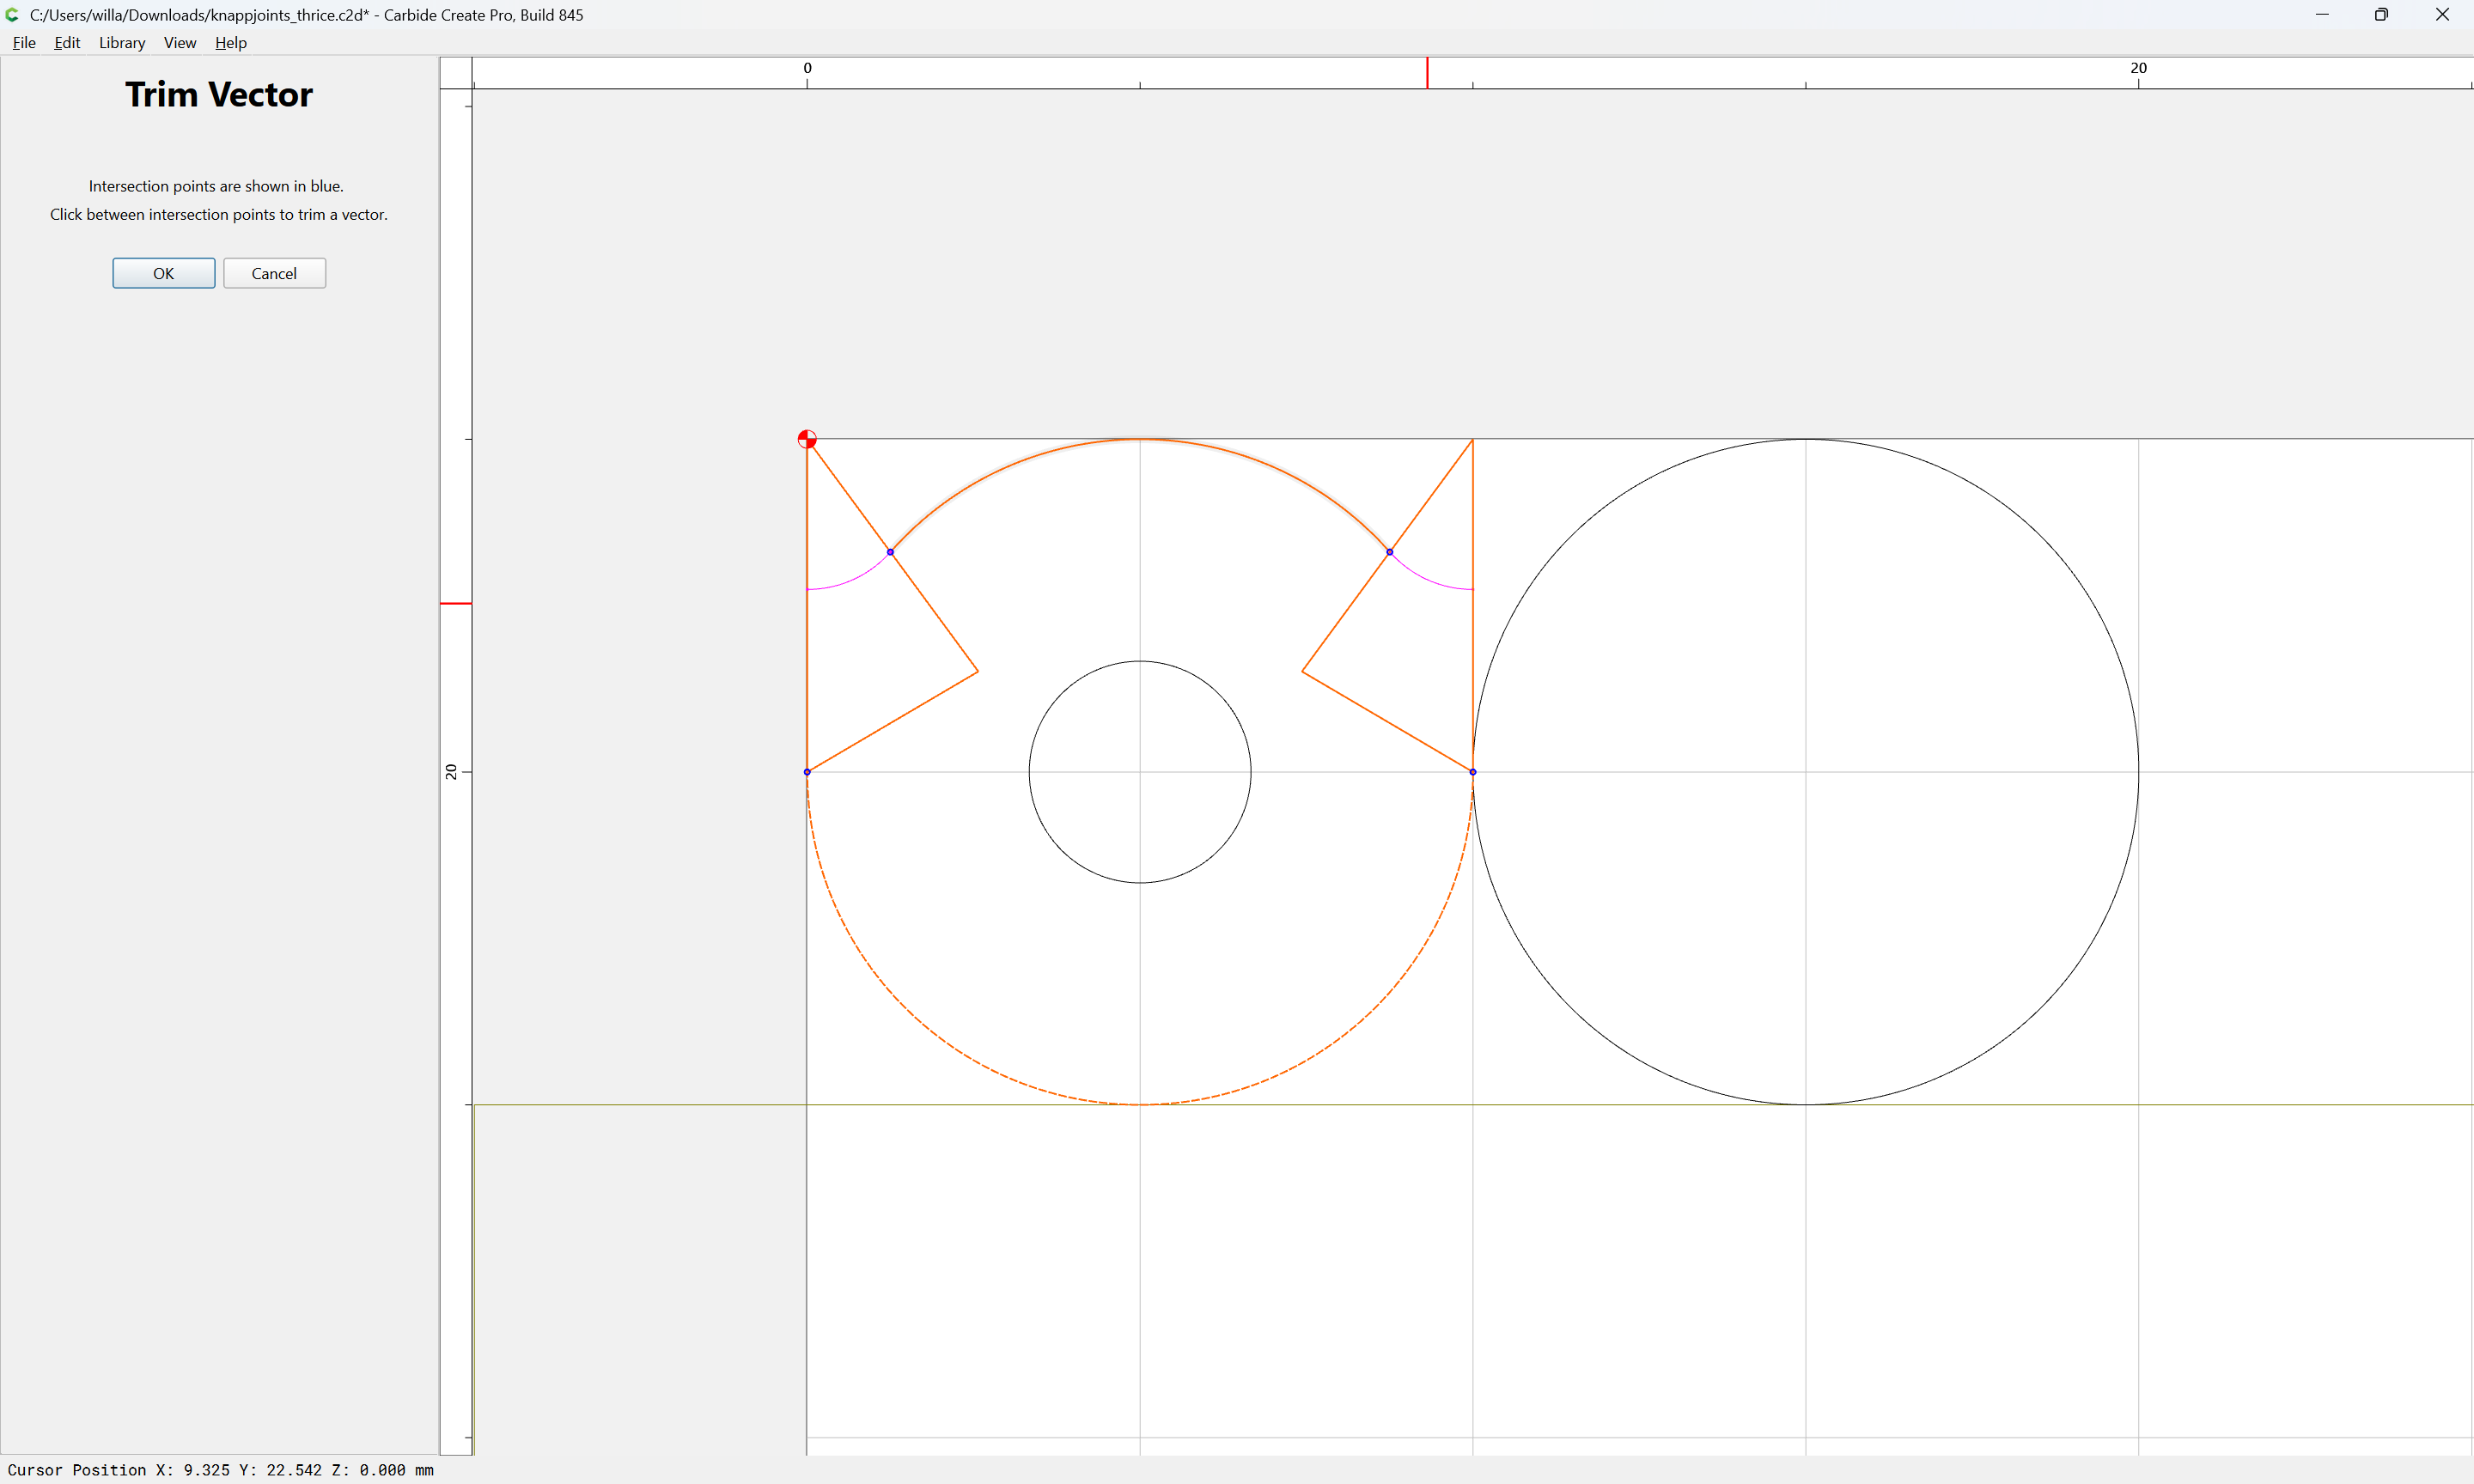
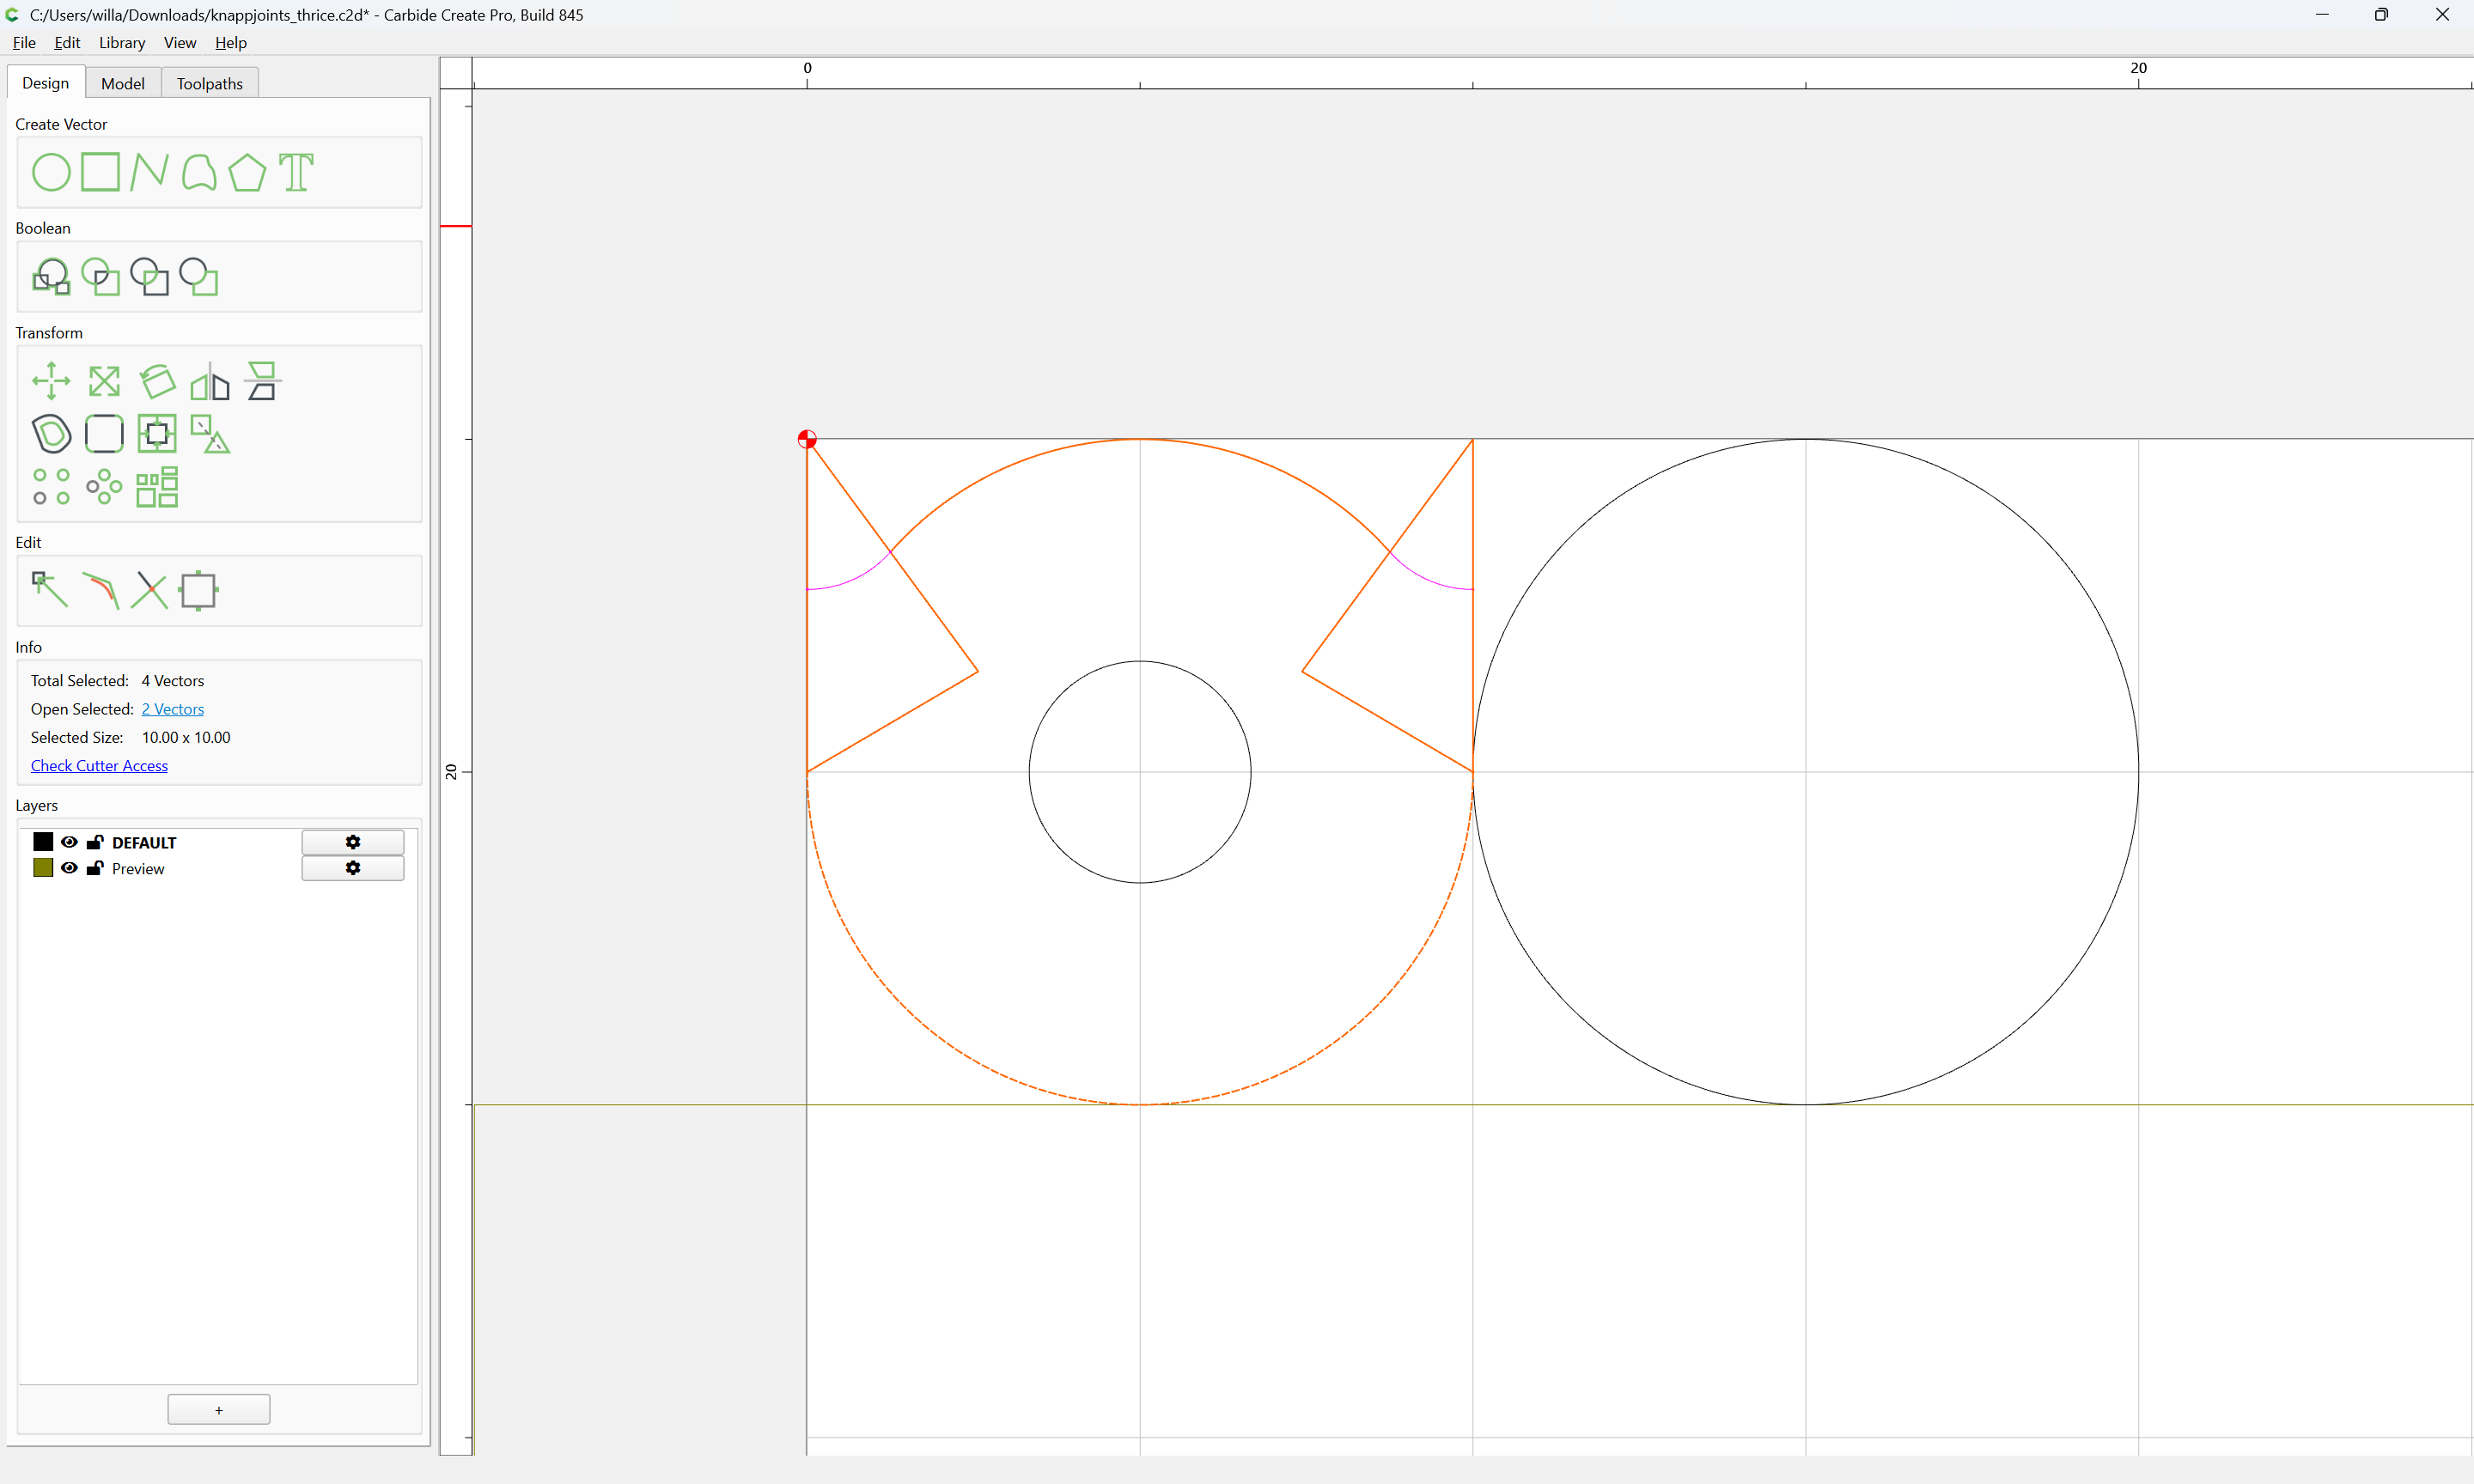
Then Trim Vectors may be used to trim away what is not wanted:
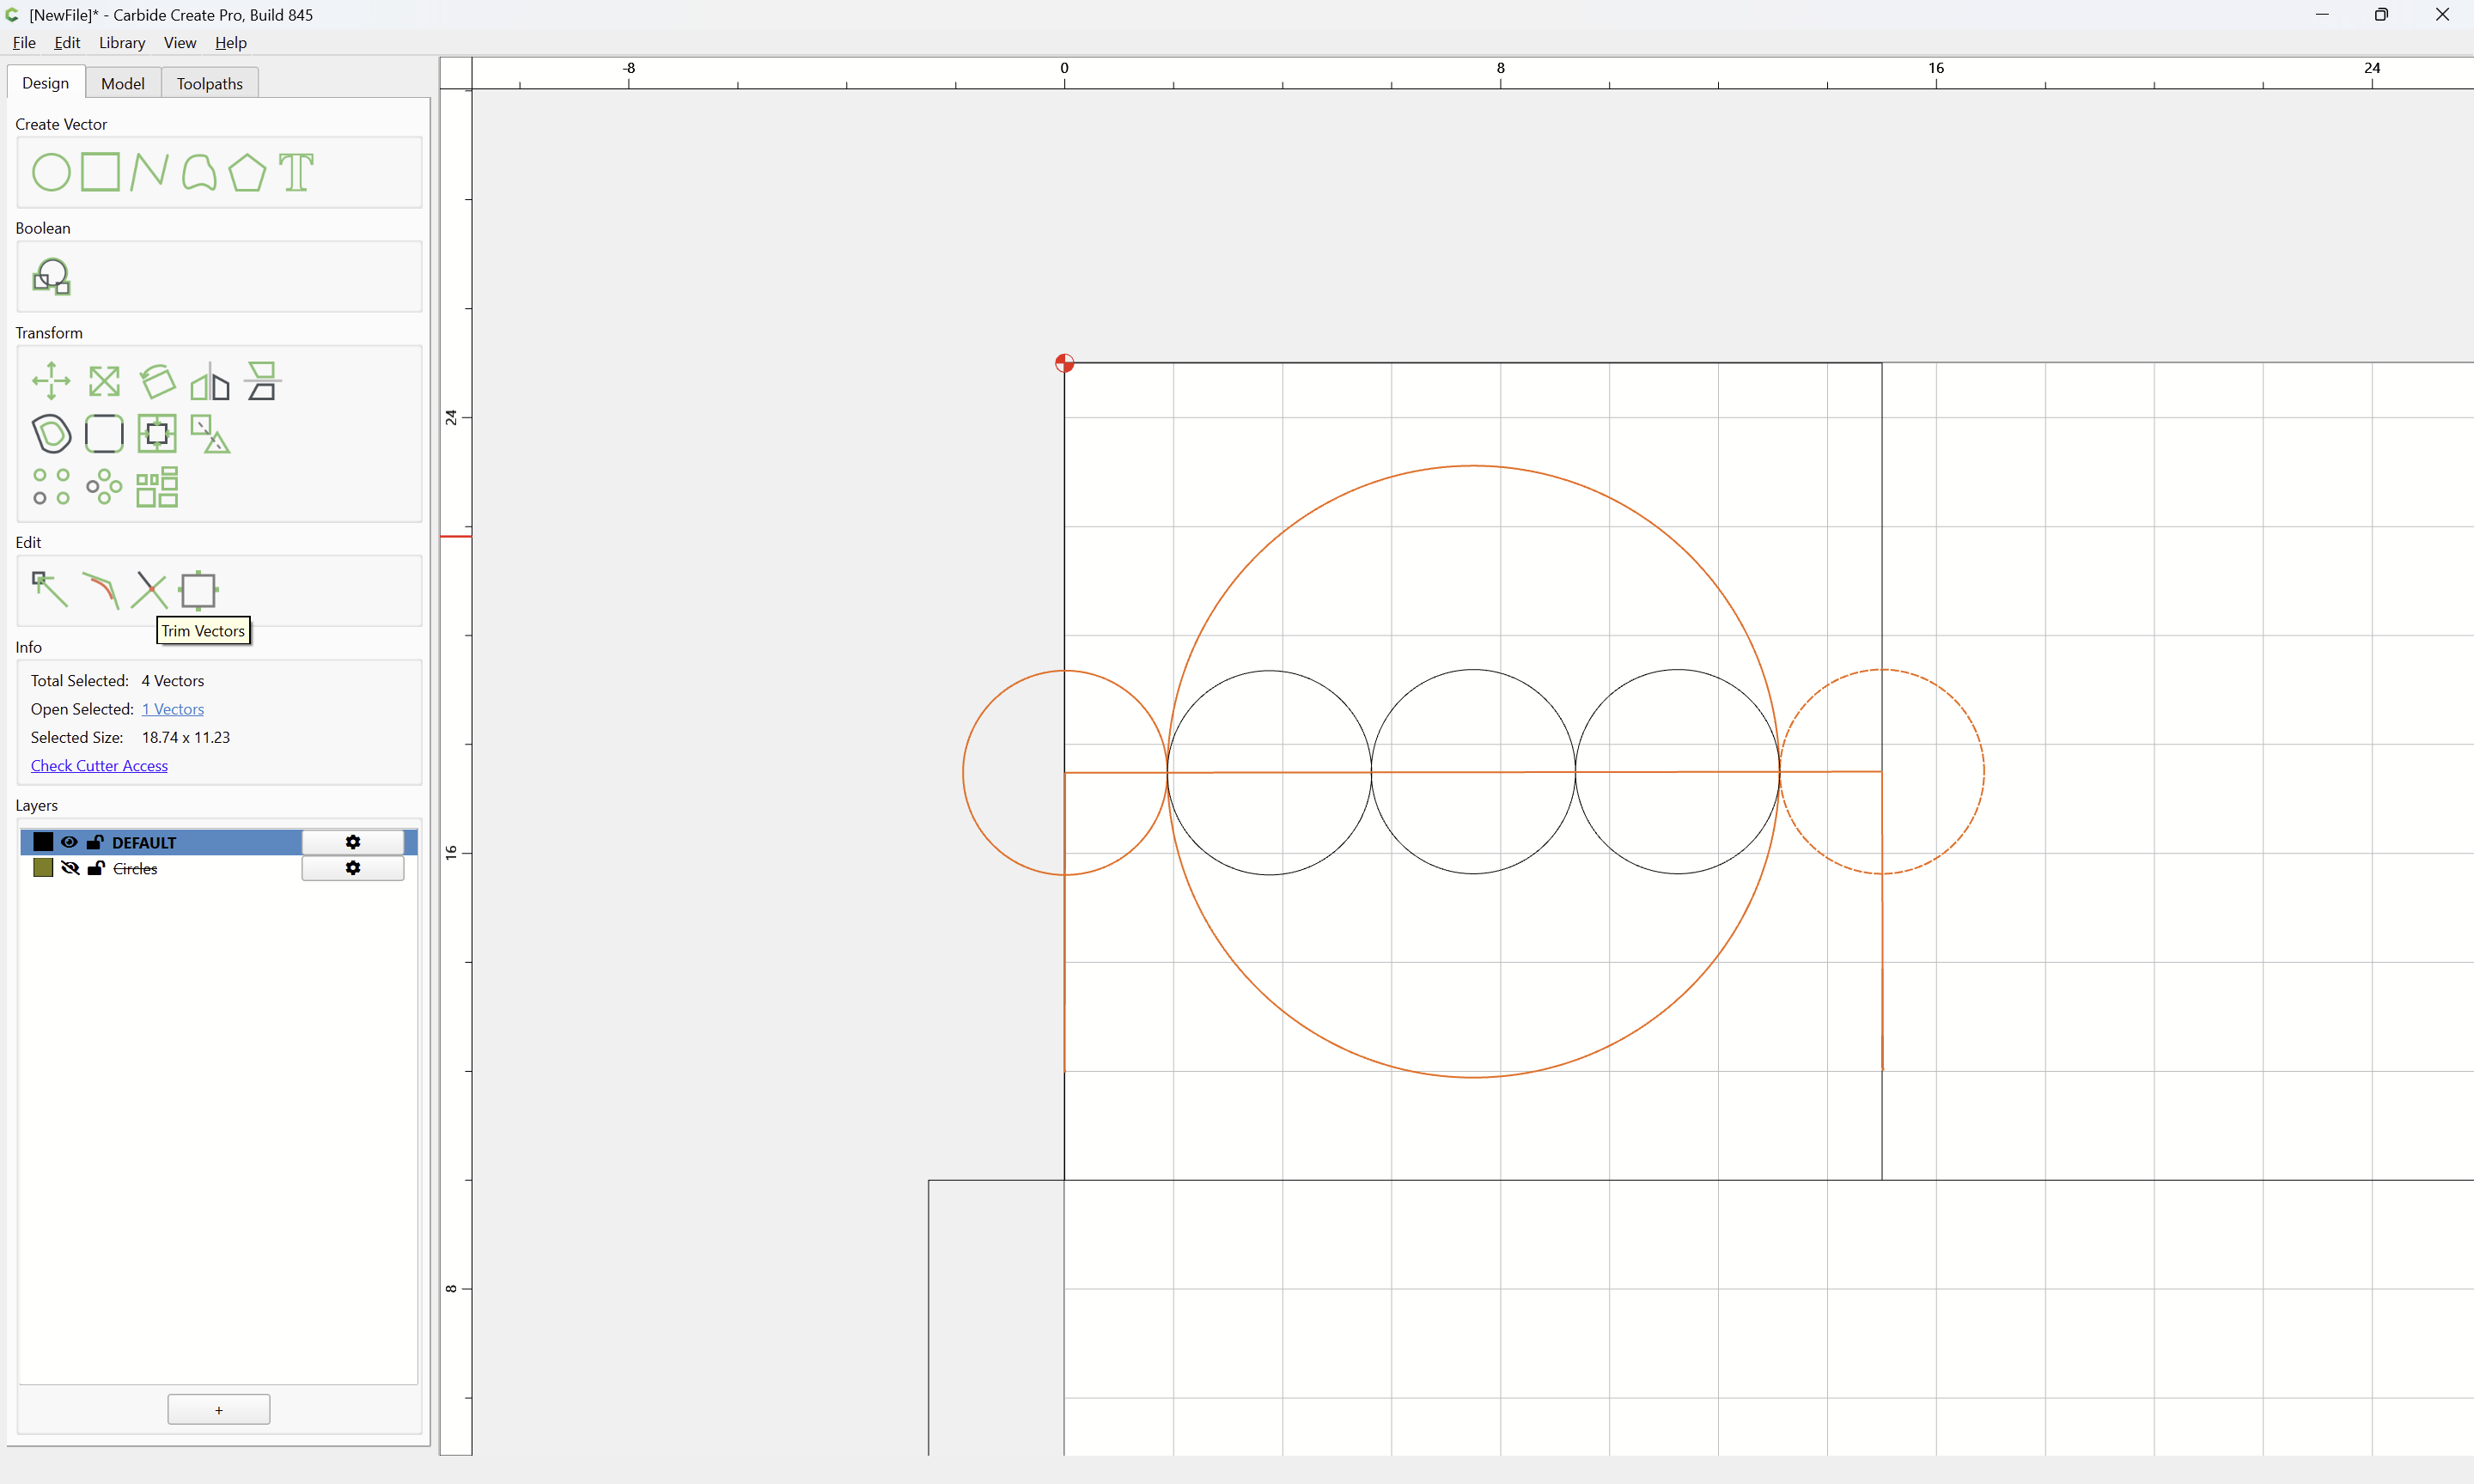
(if a given region will not trim down, then it may be handled manually)

OK
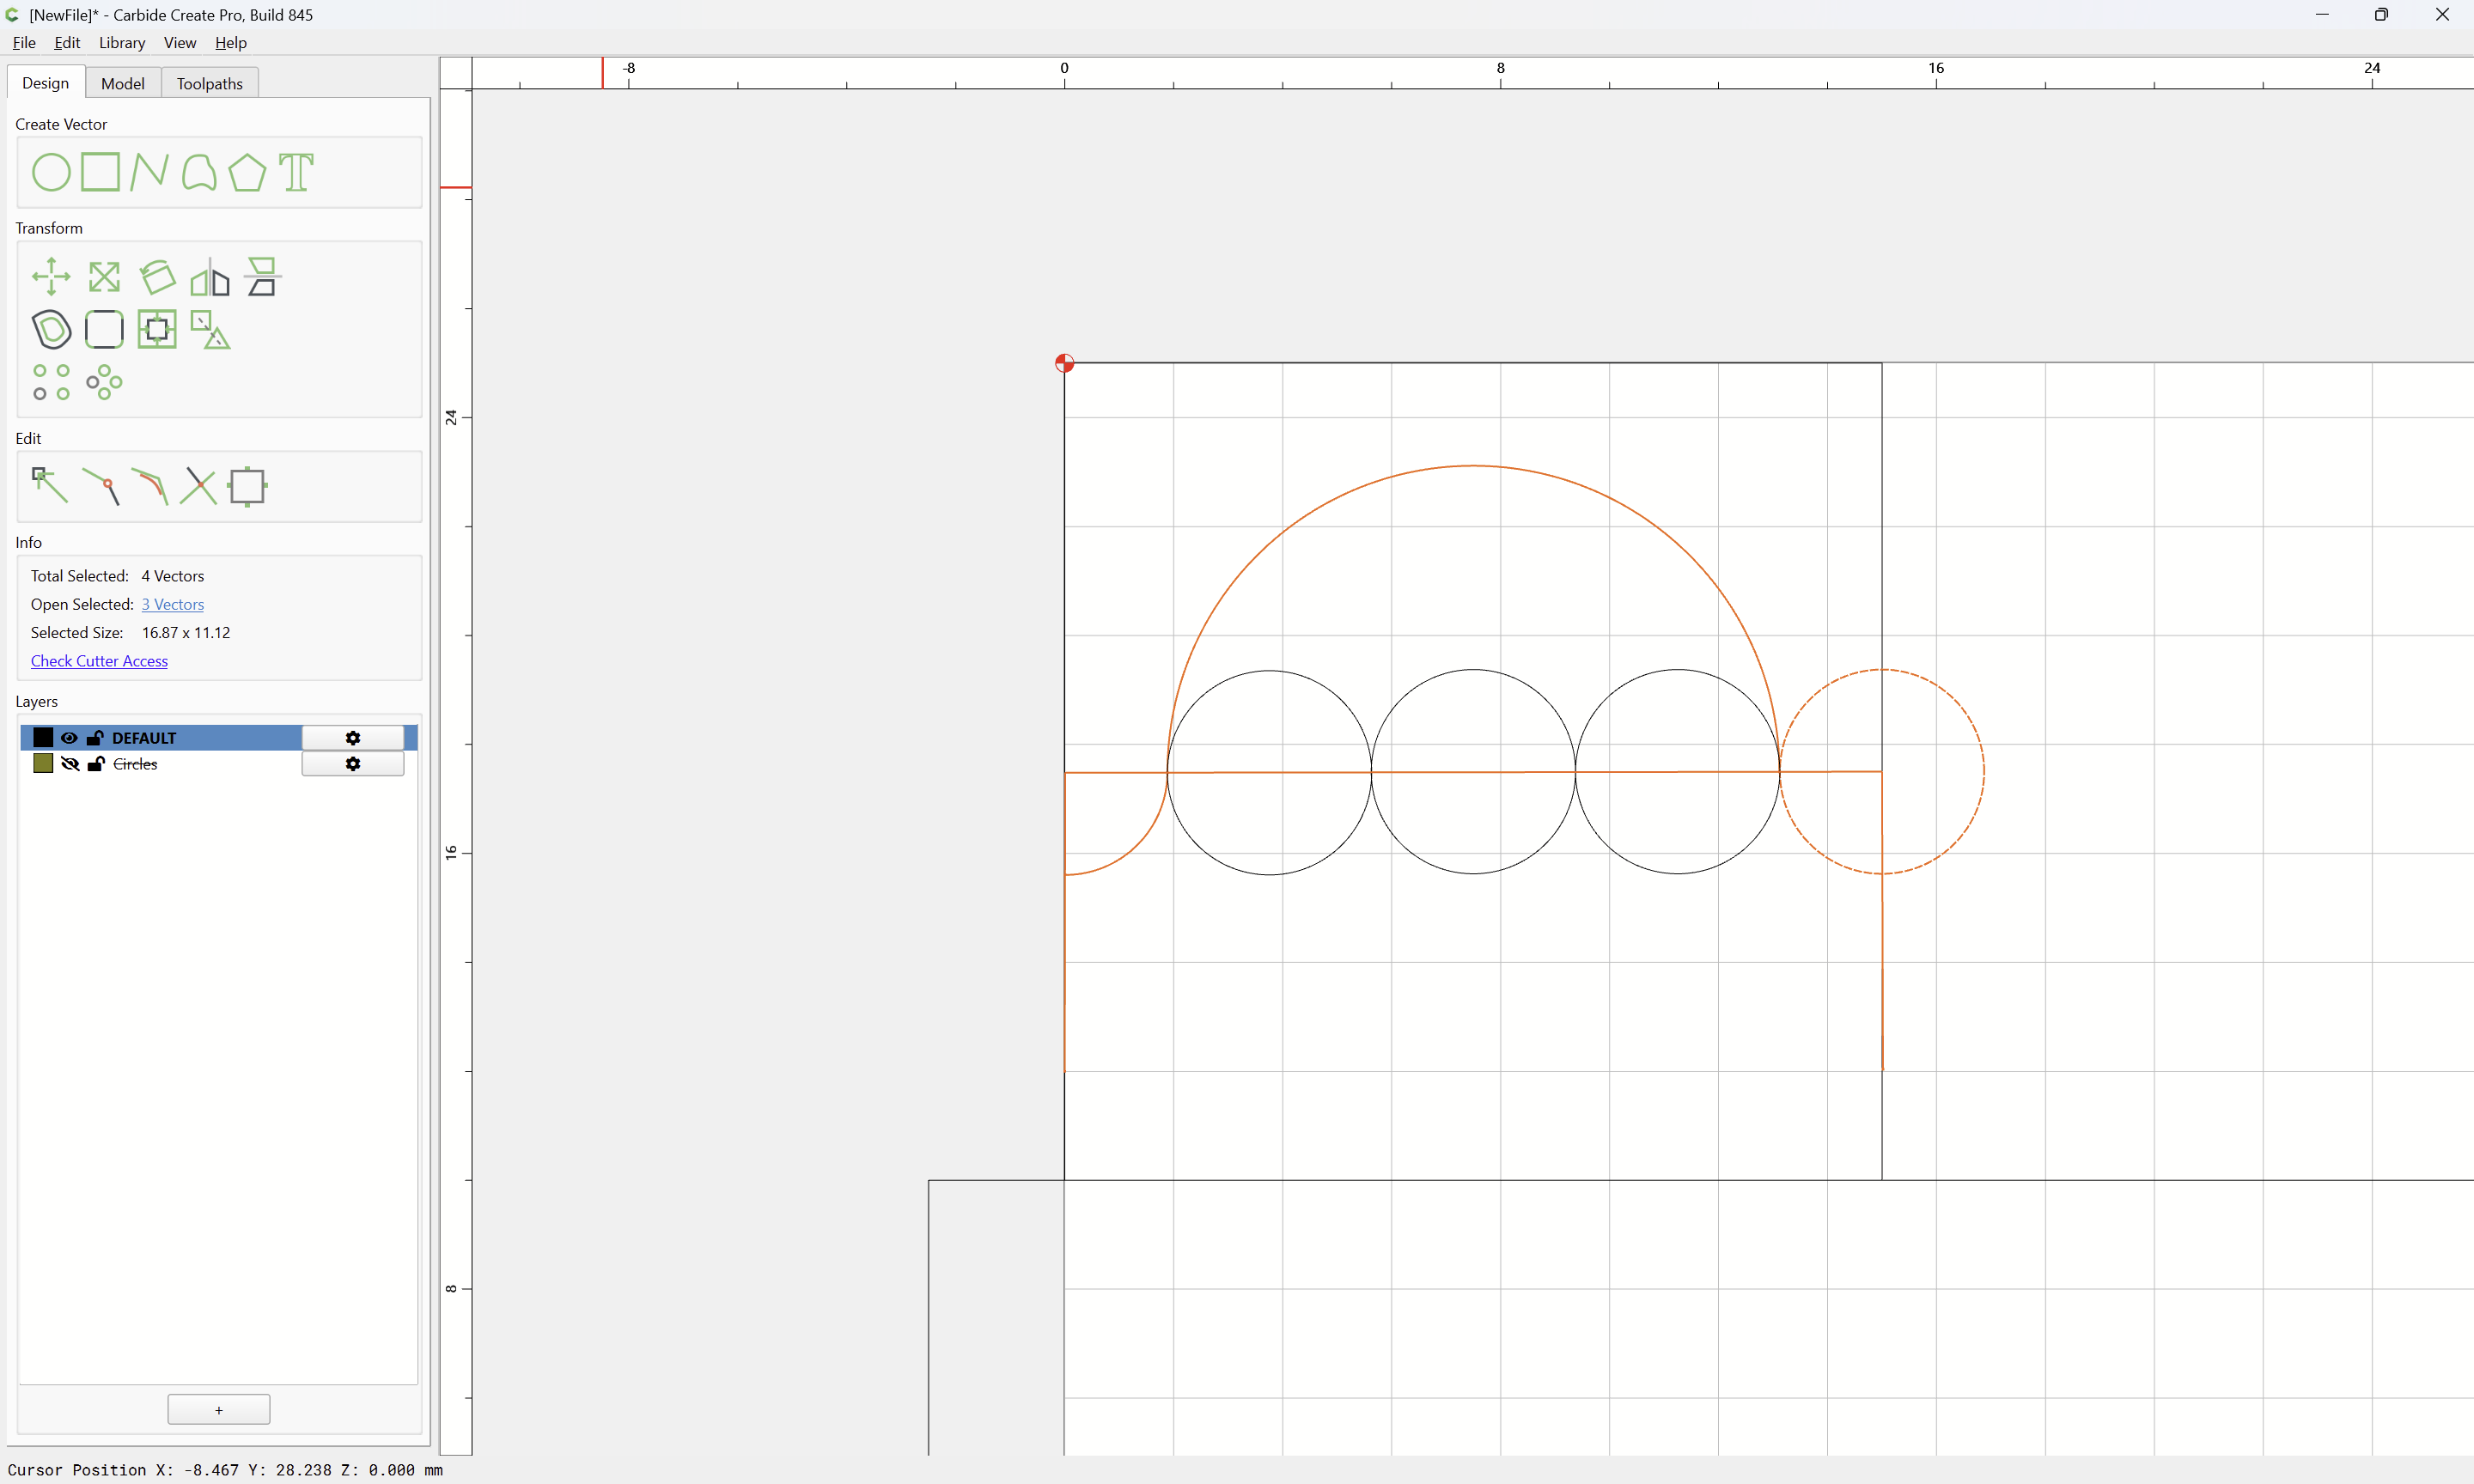
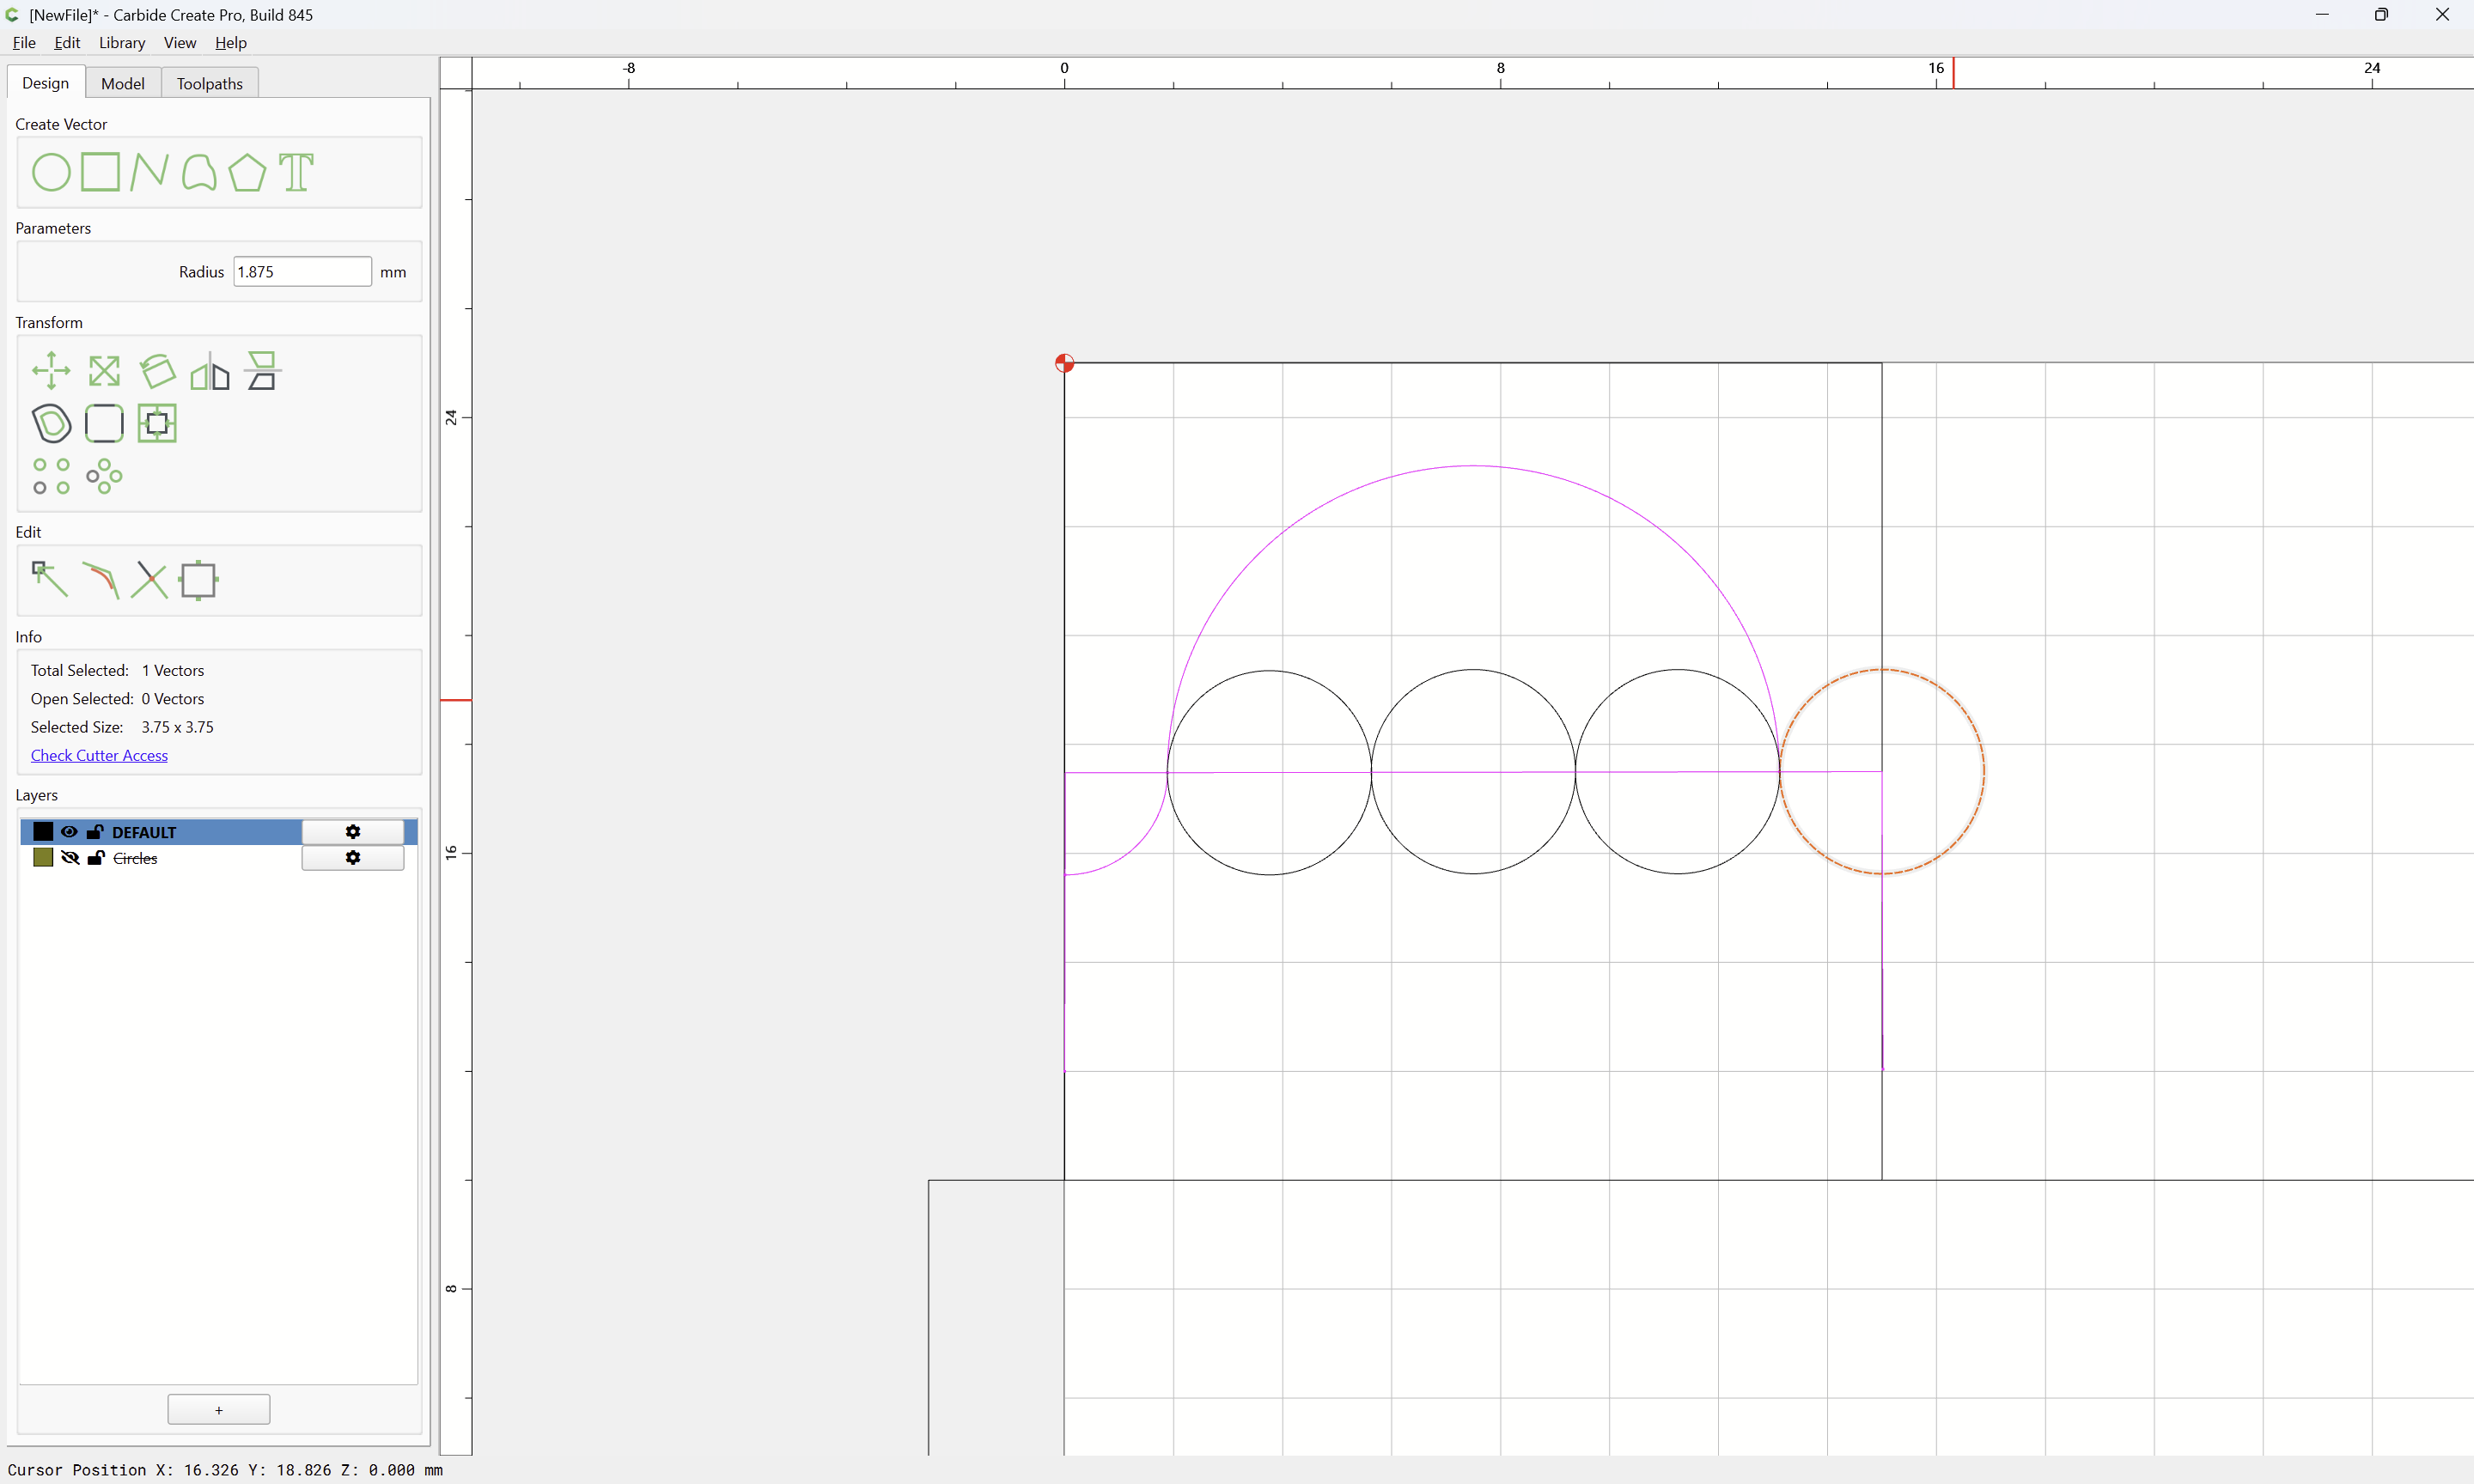
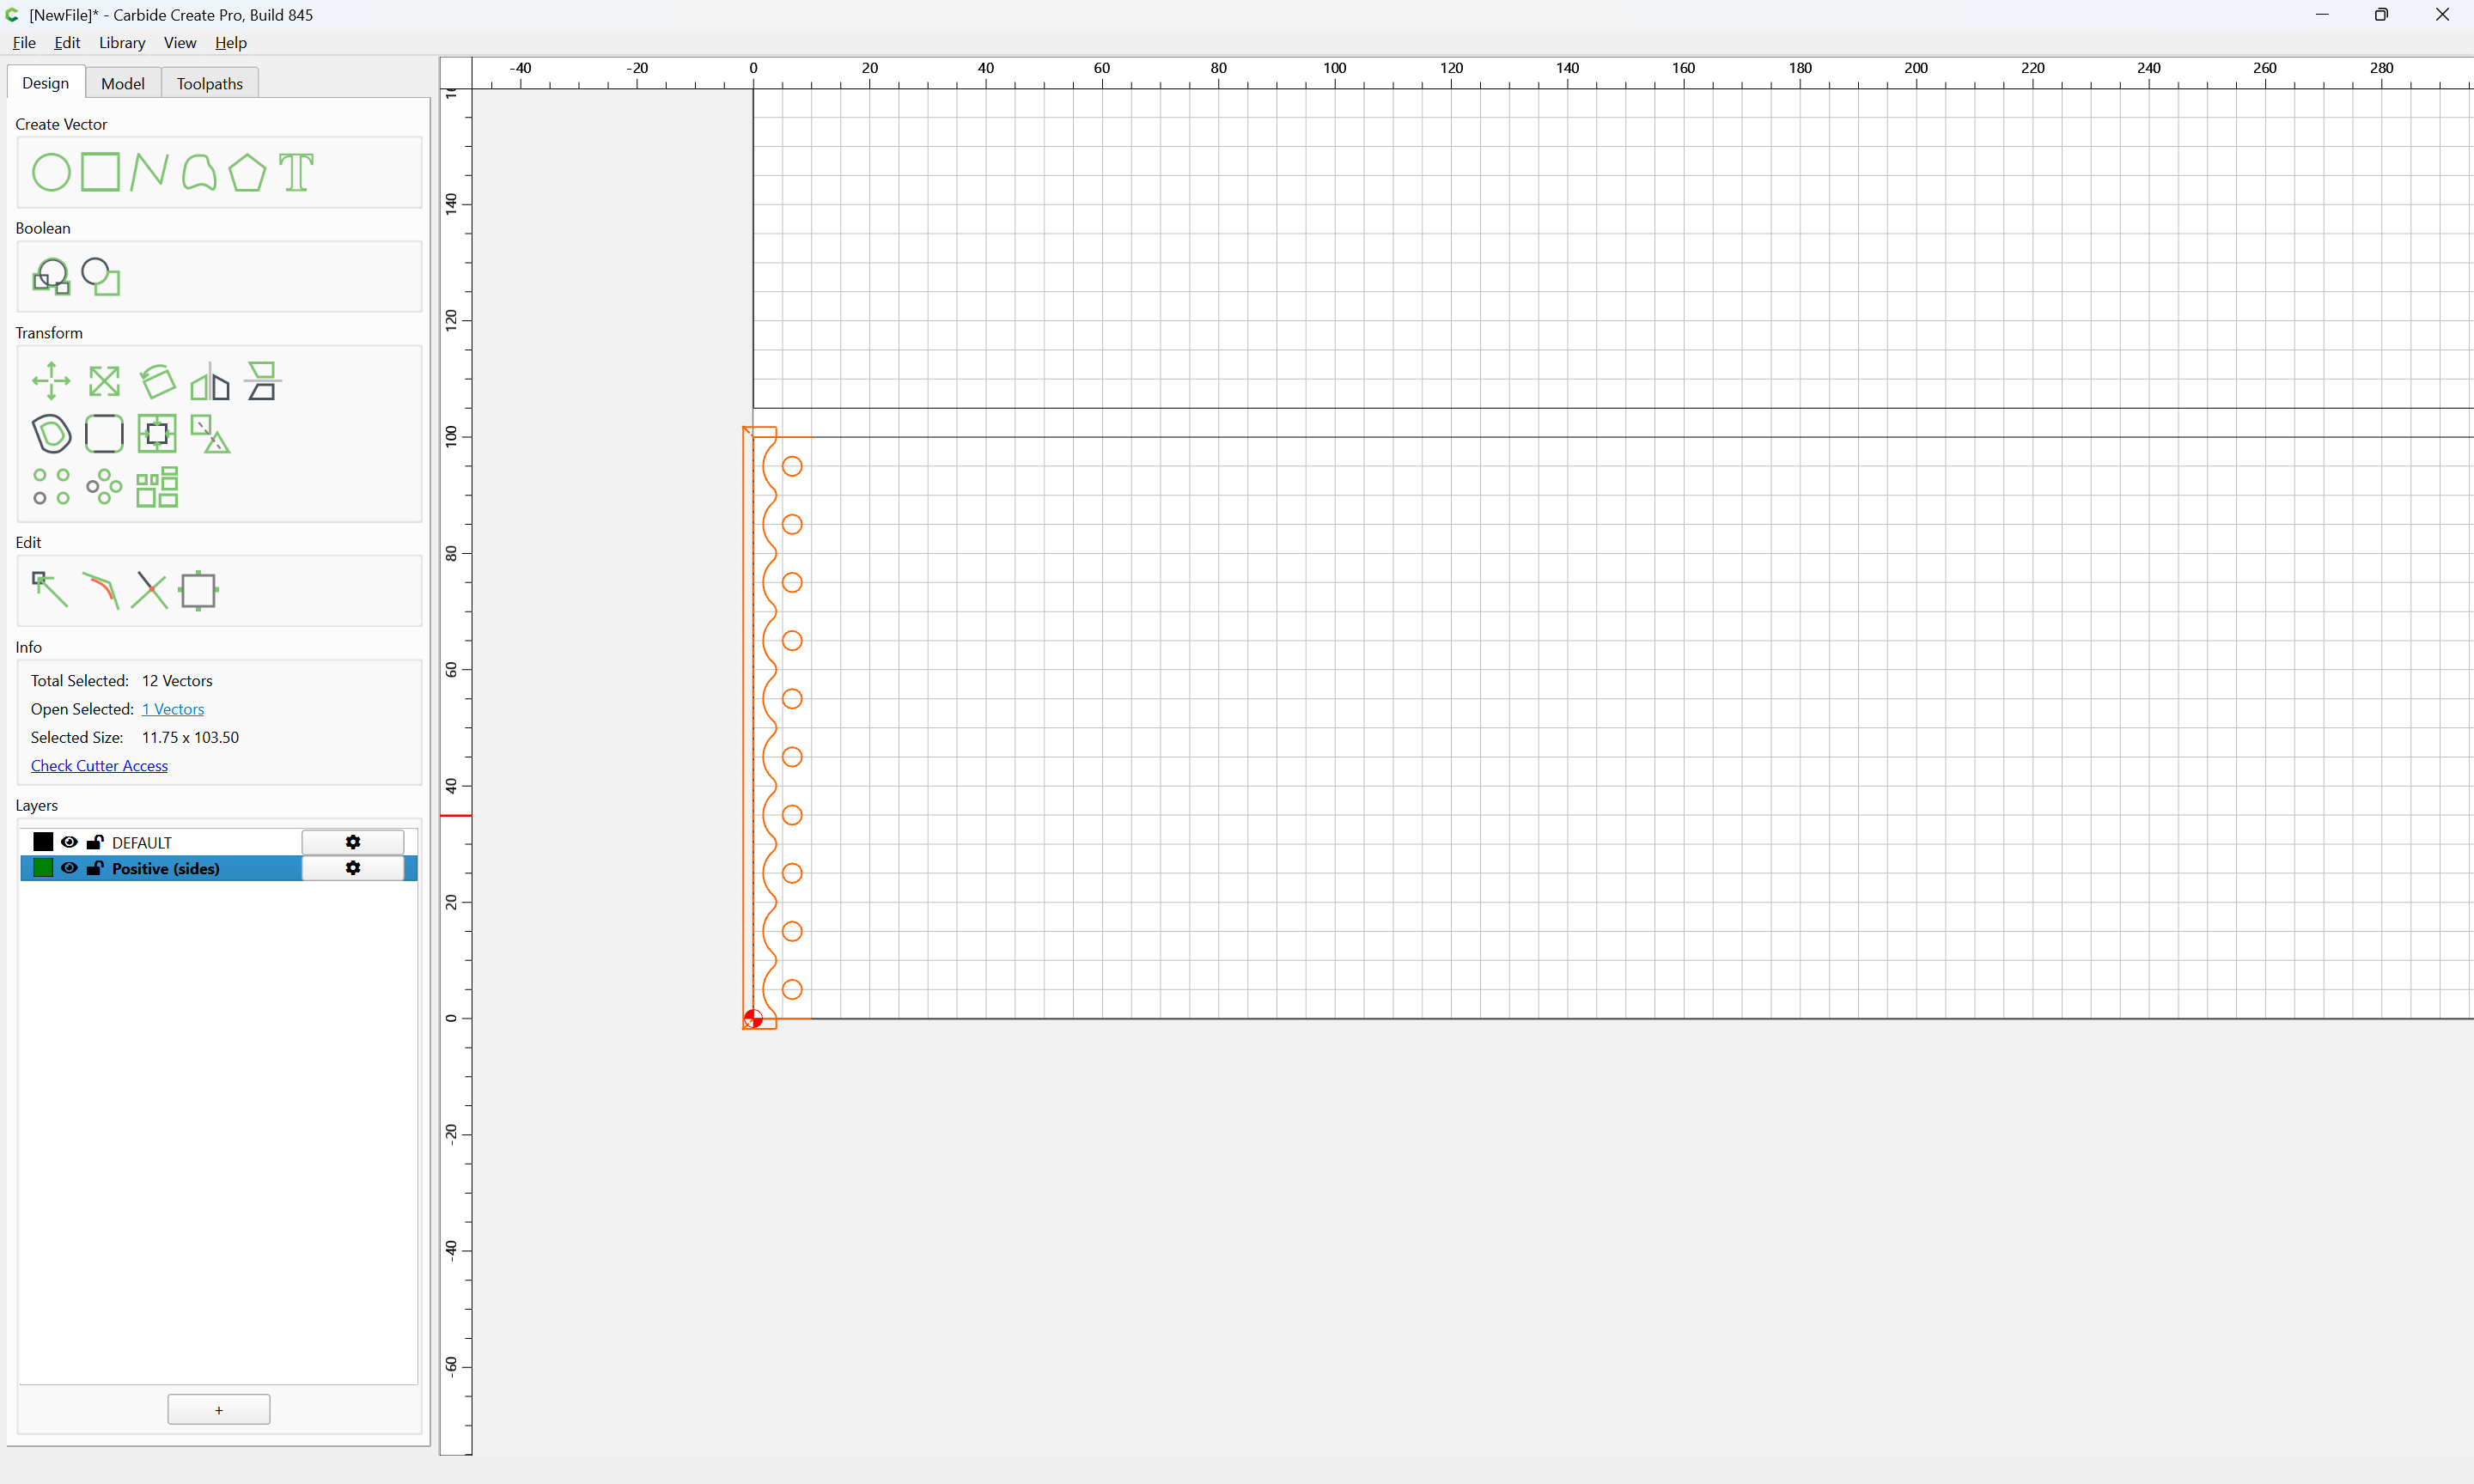
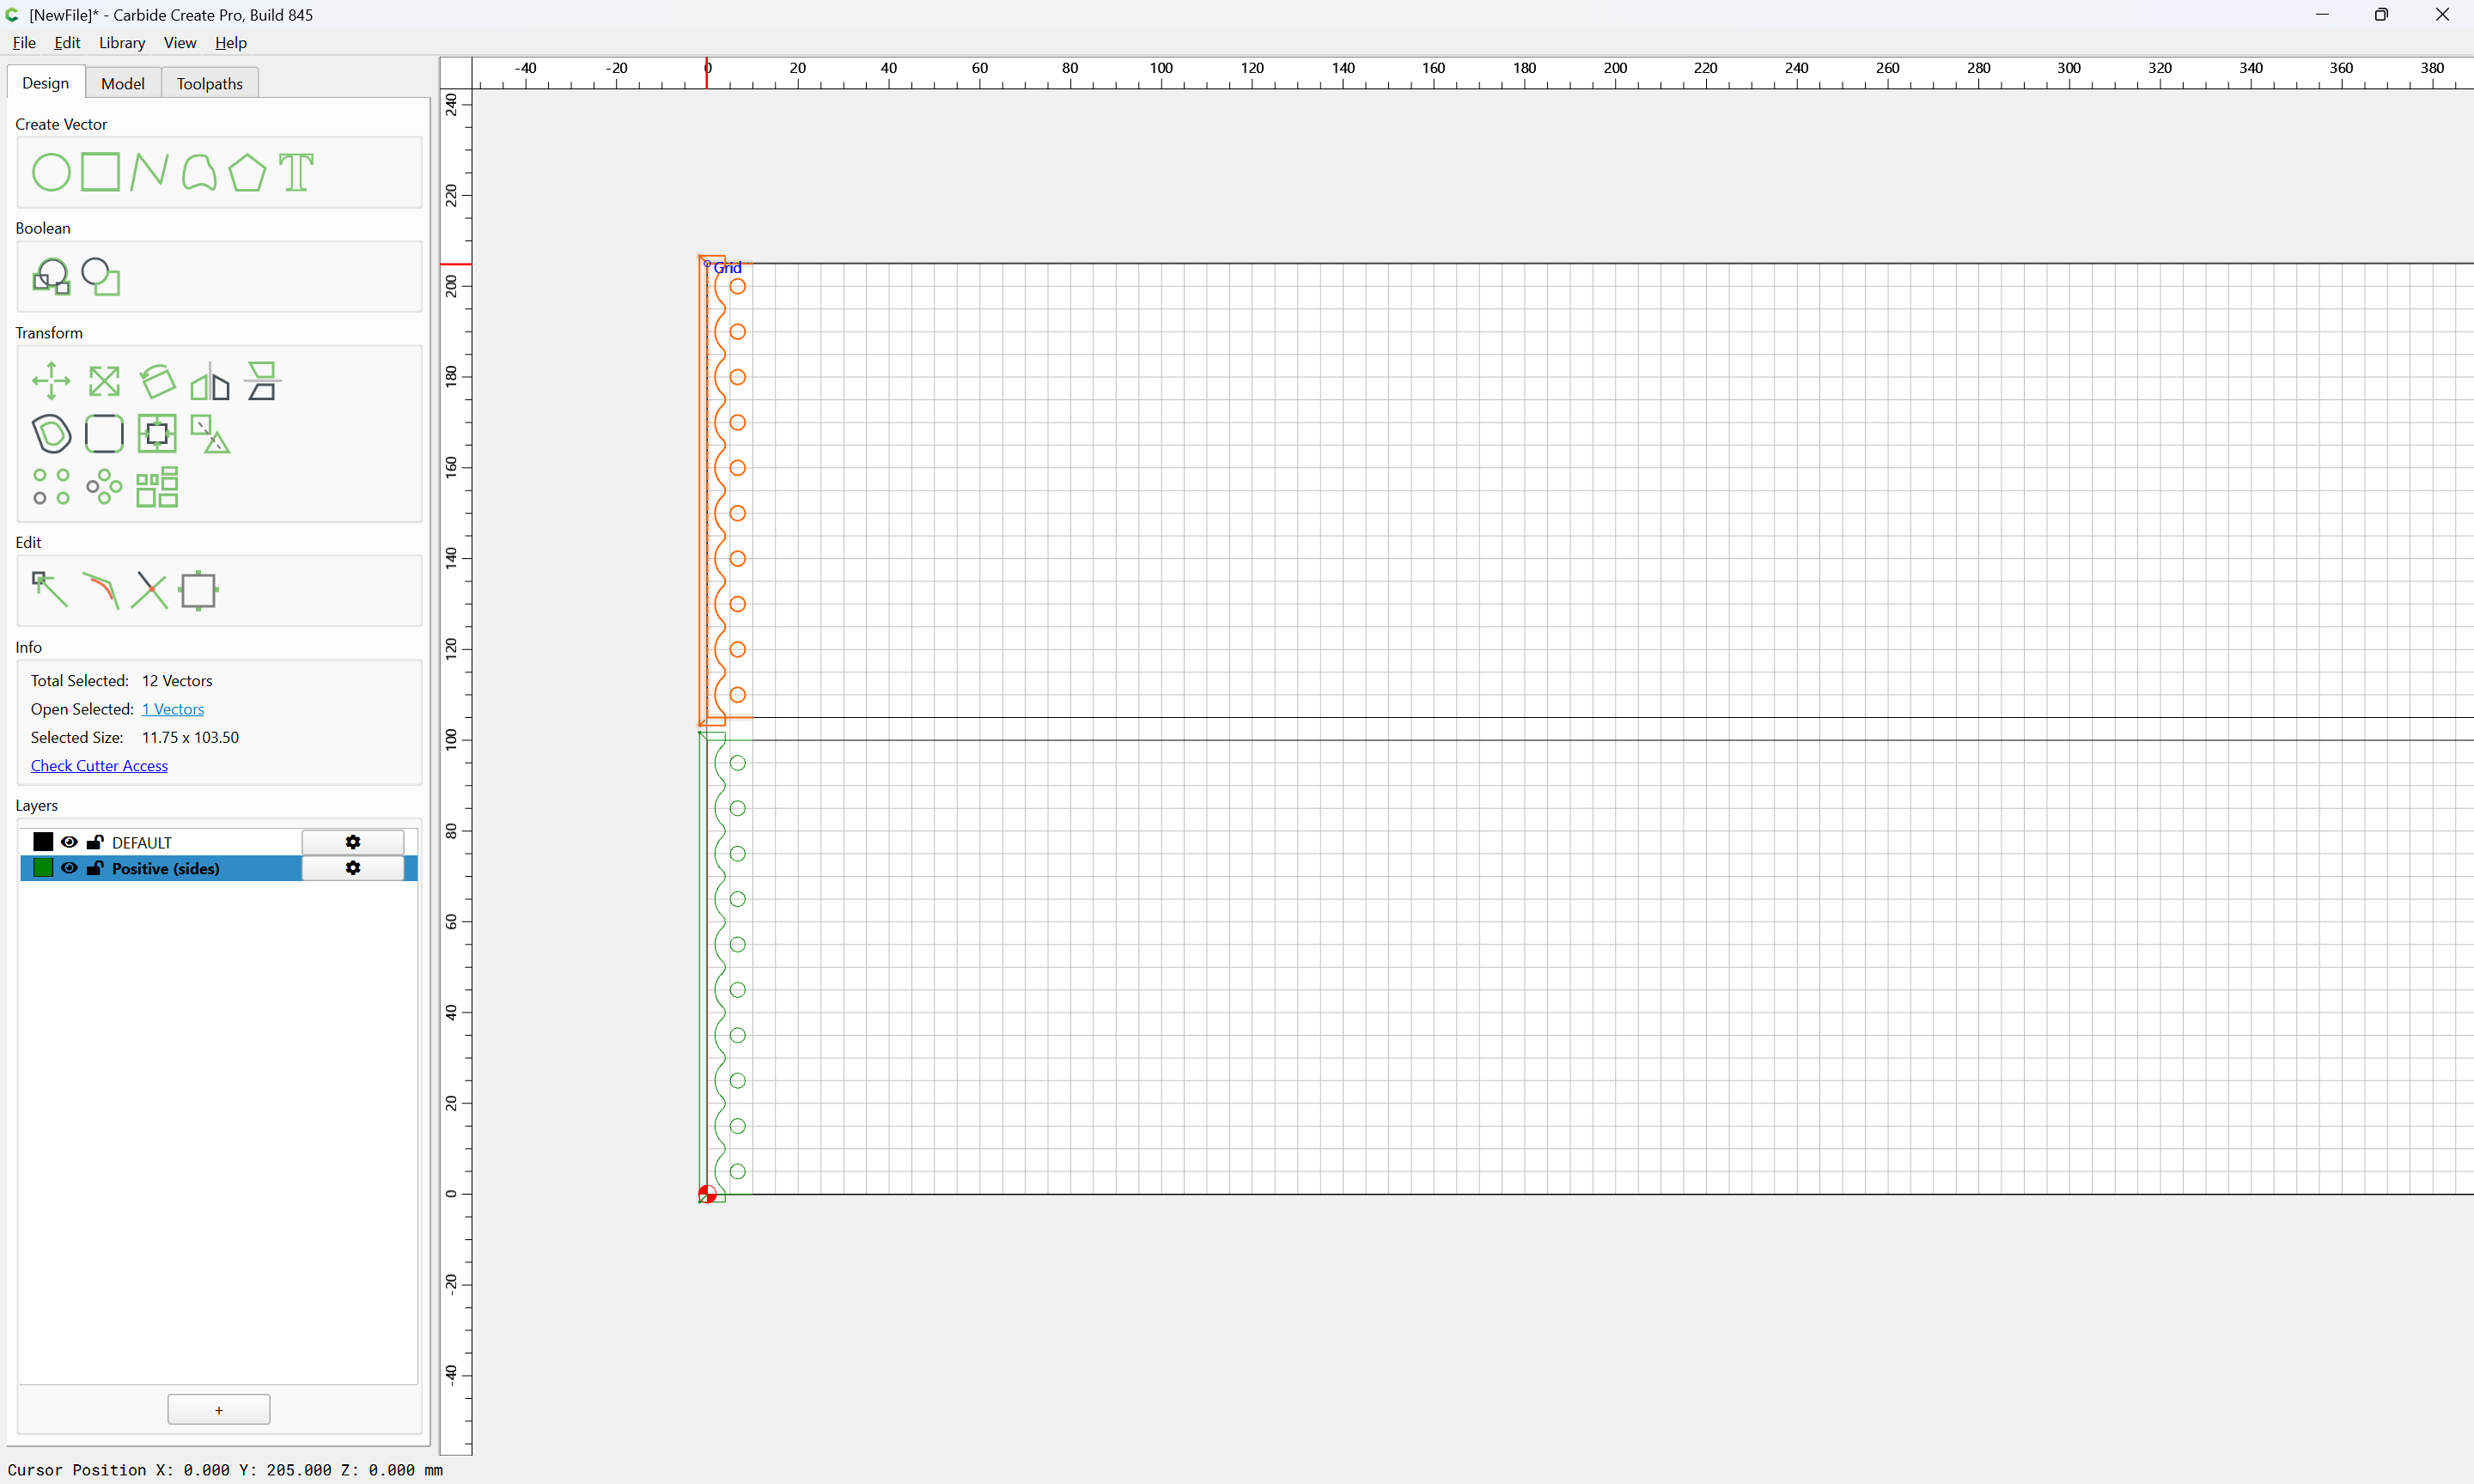
duplicate the wanted section:
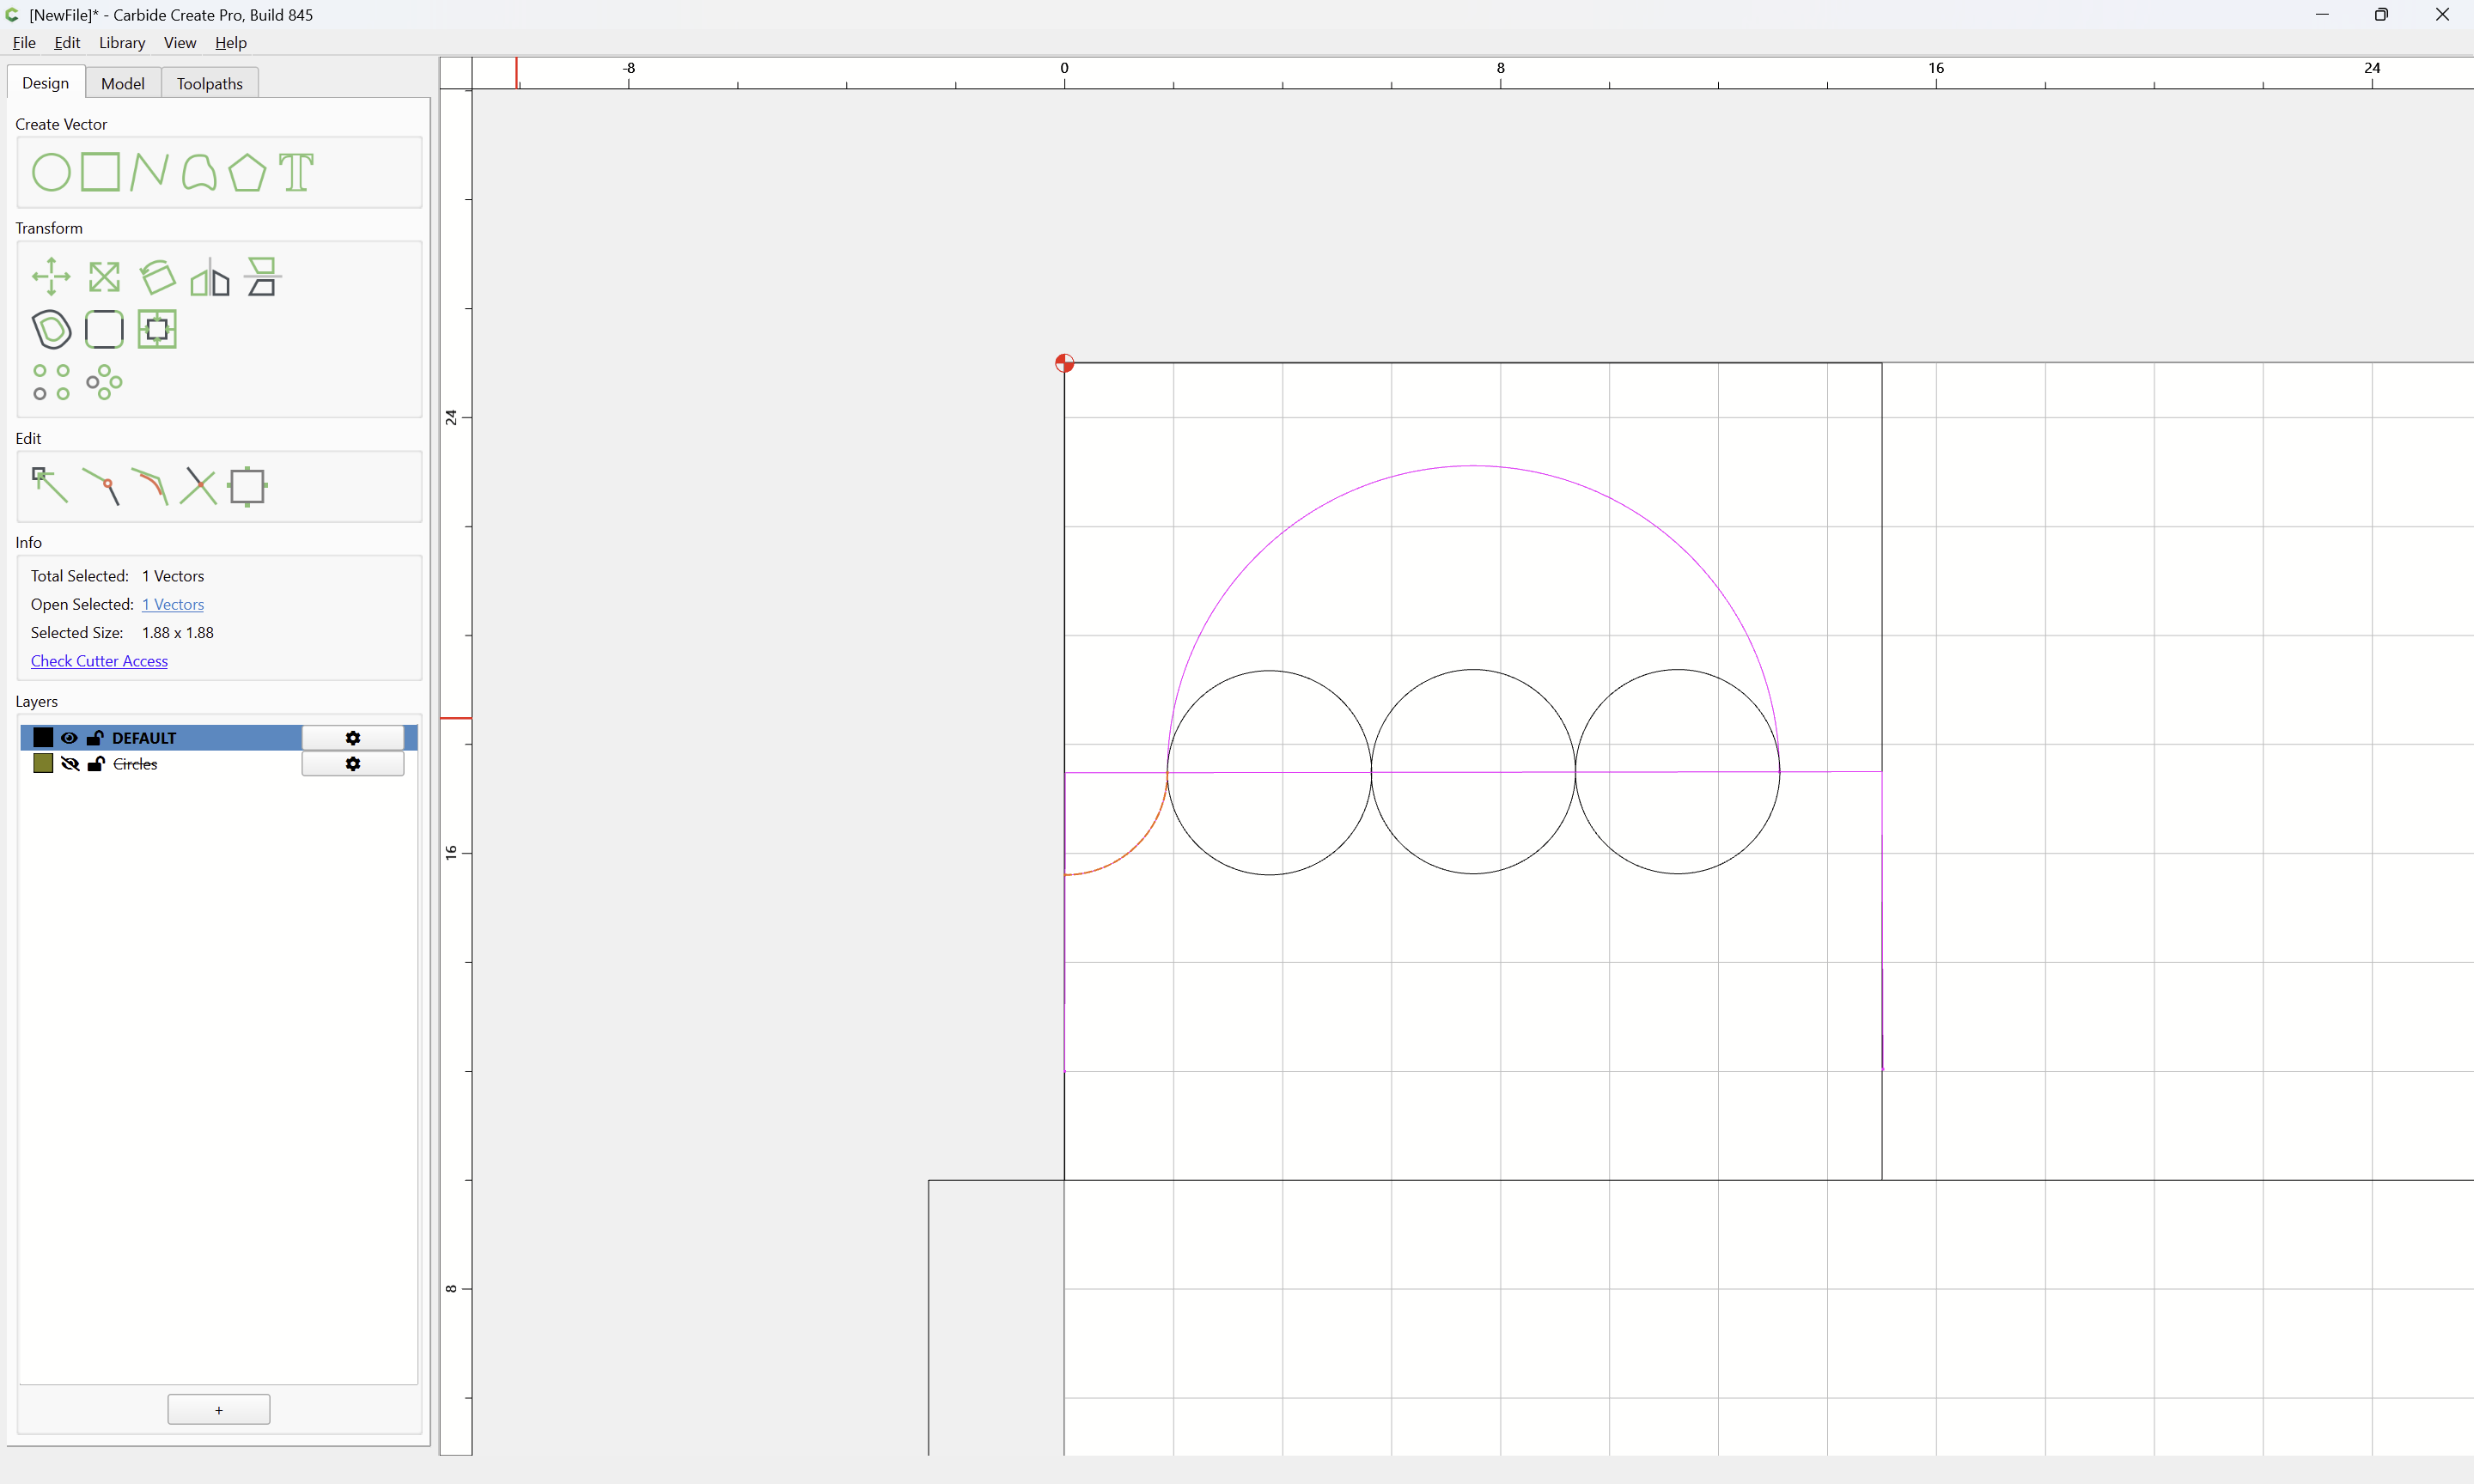
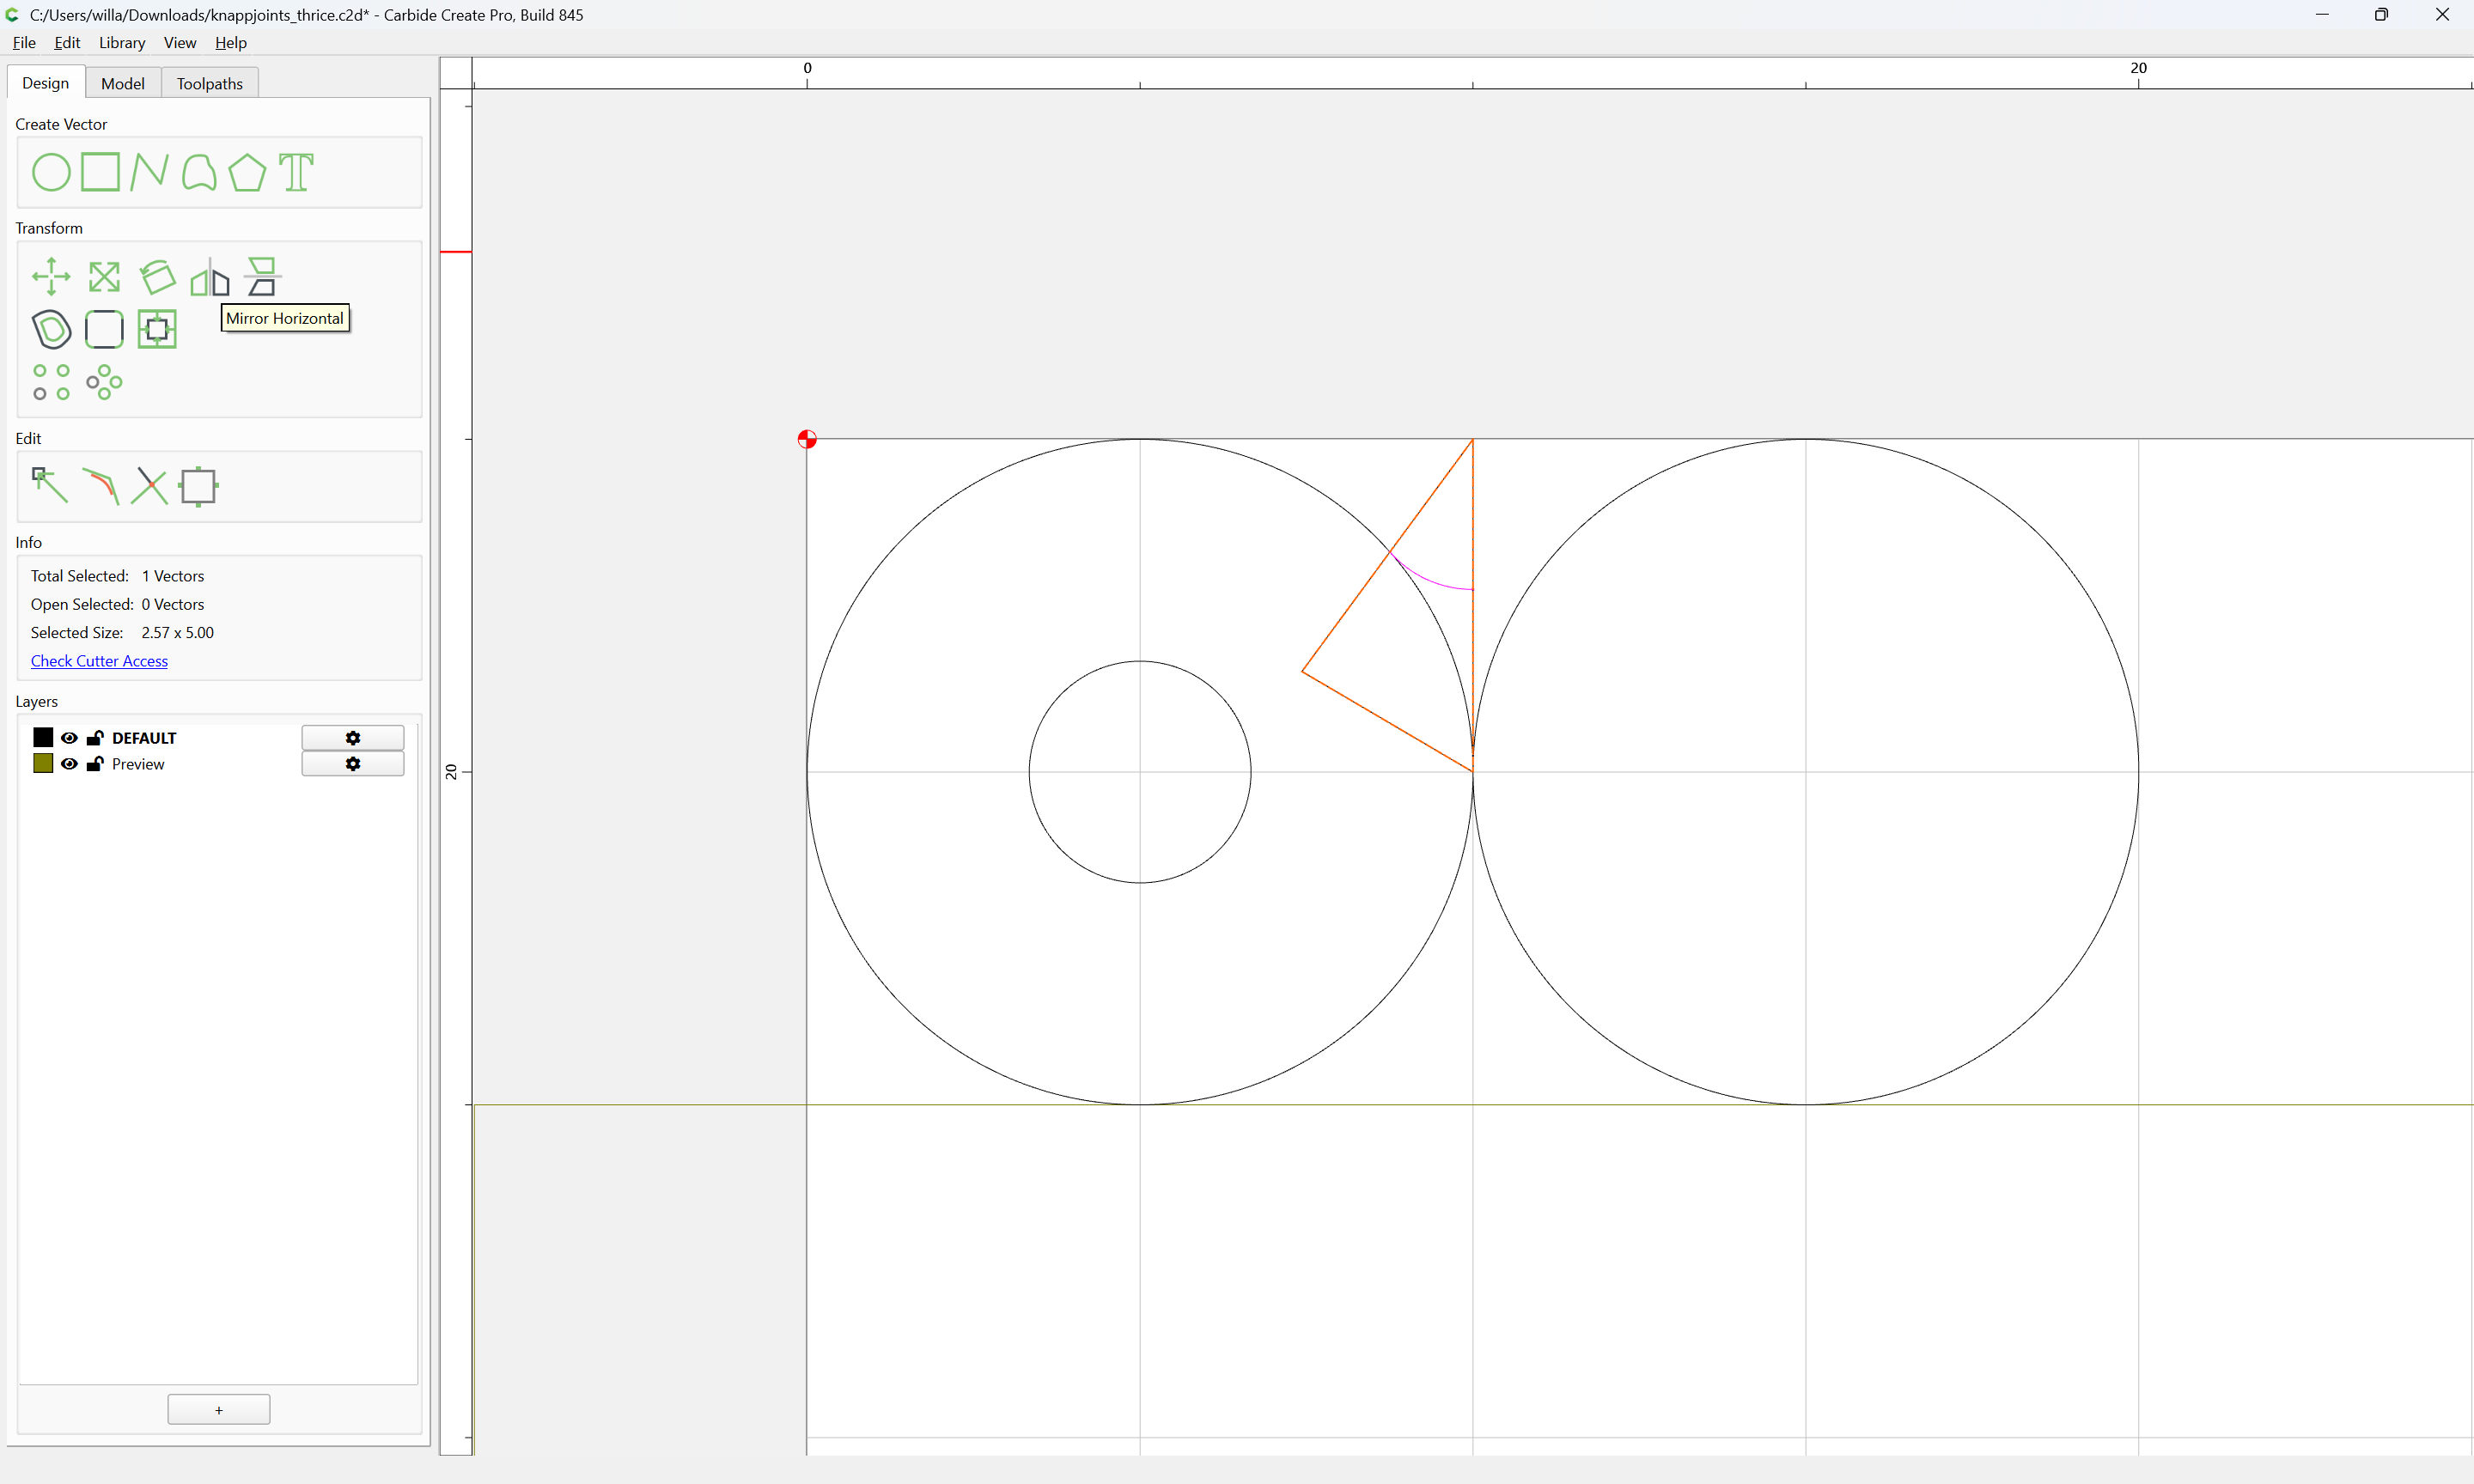
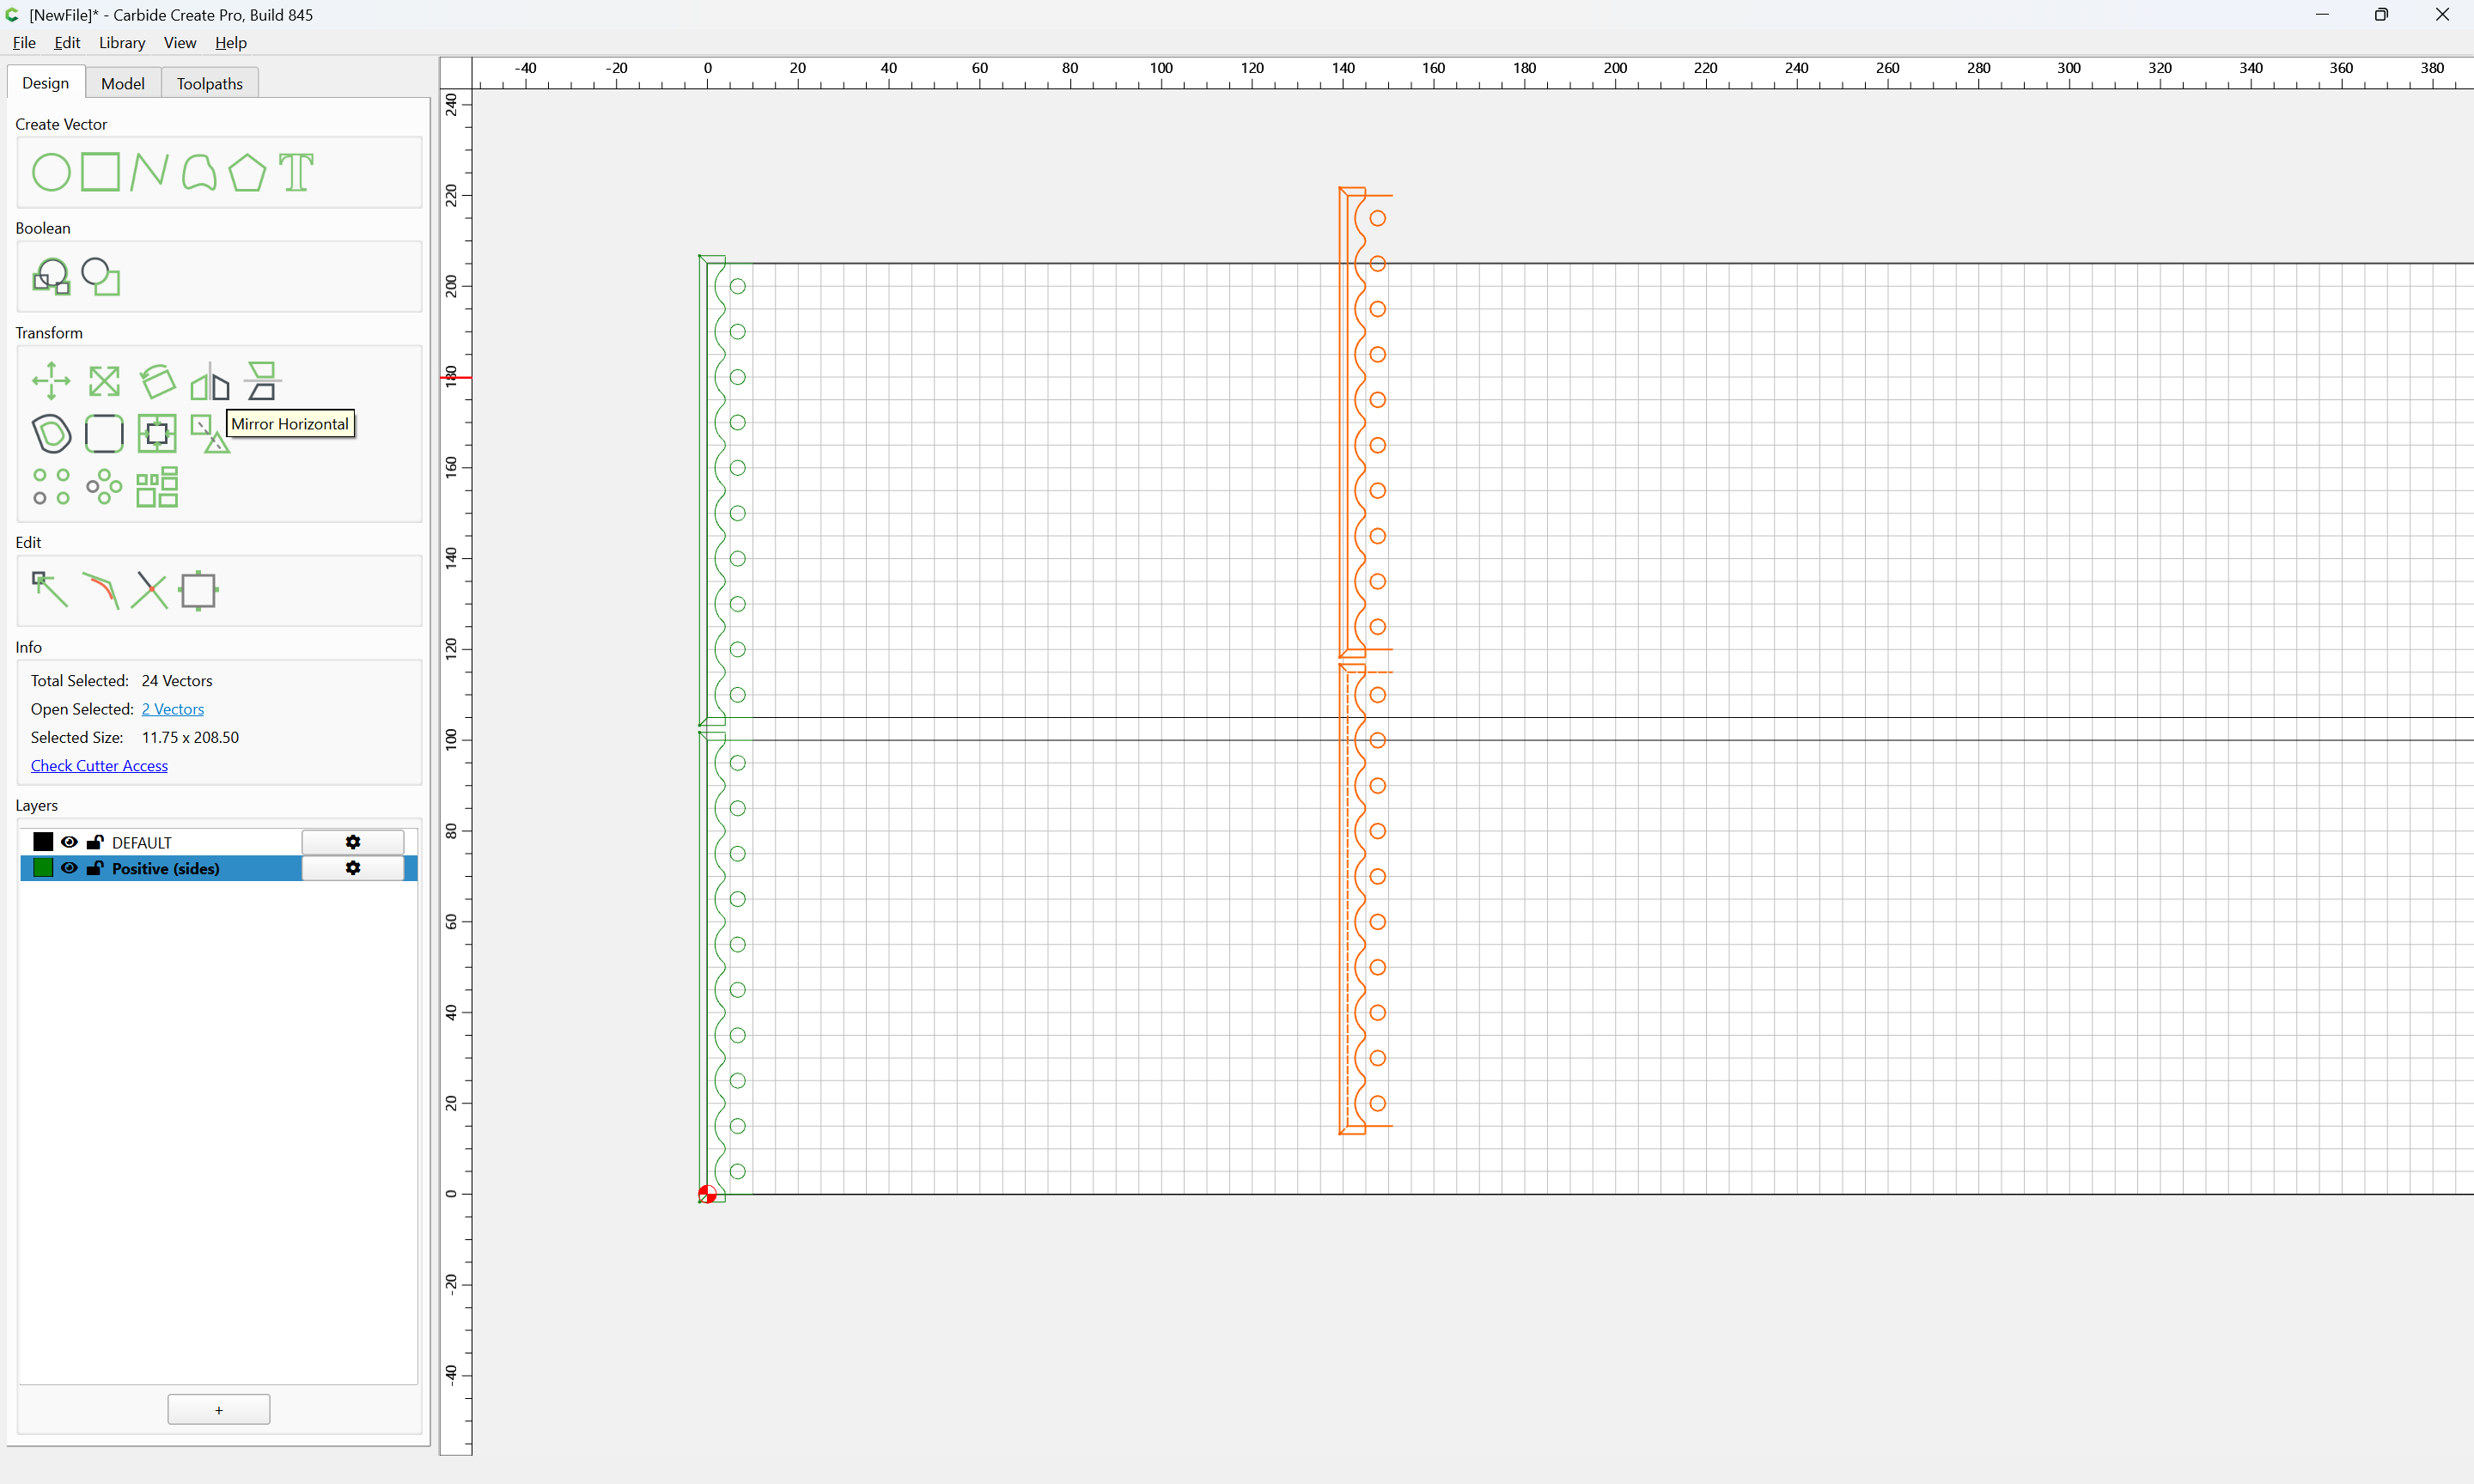
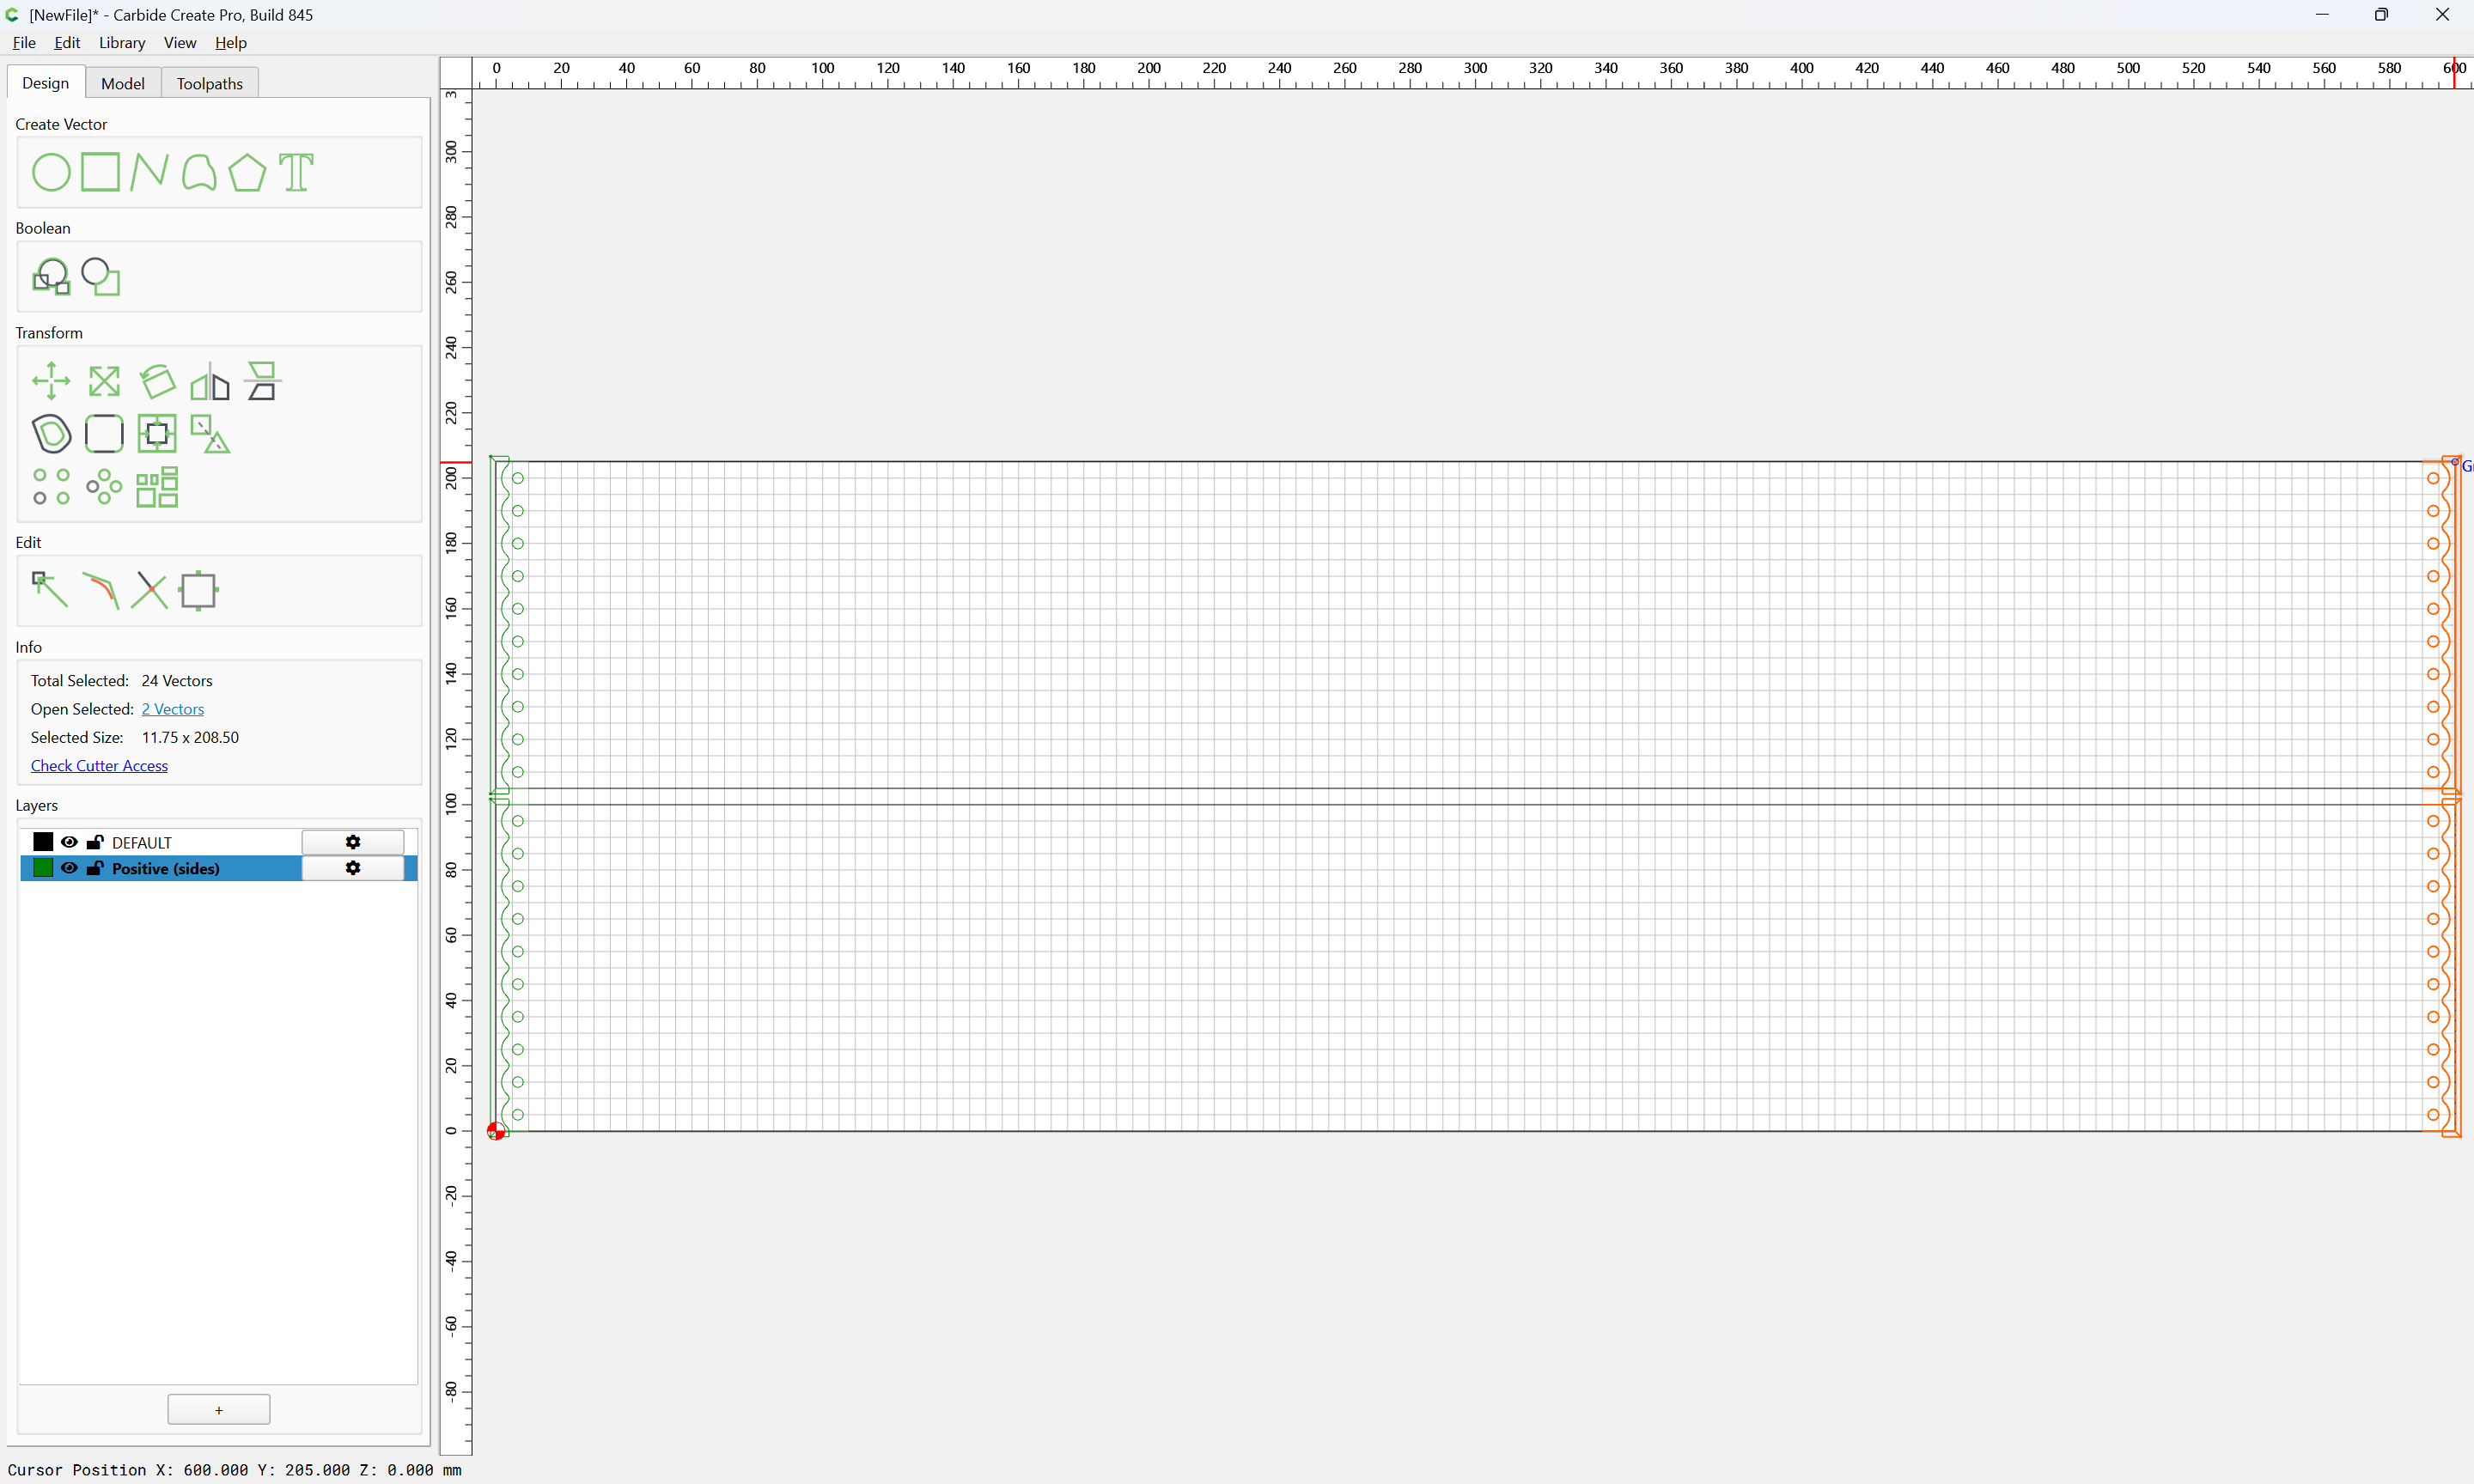
and Mirror it into position:
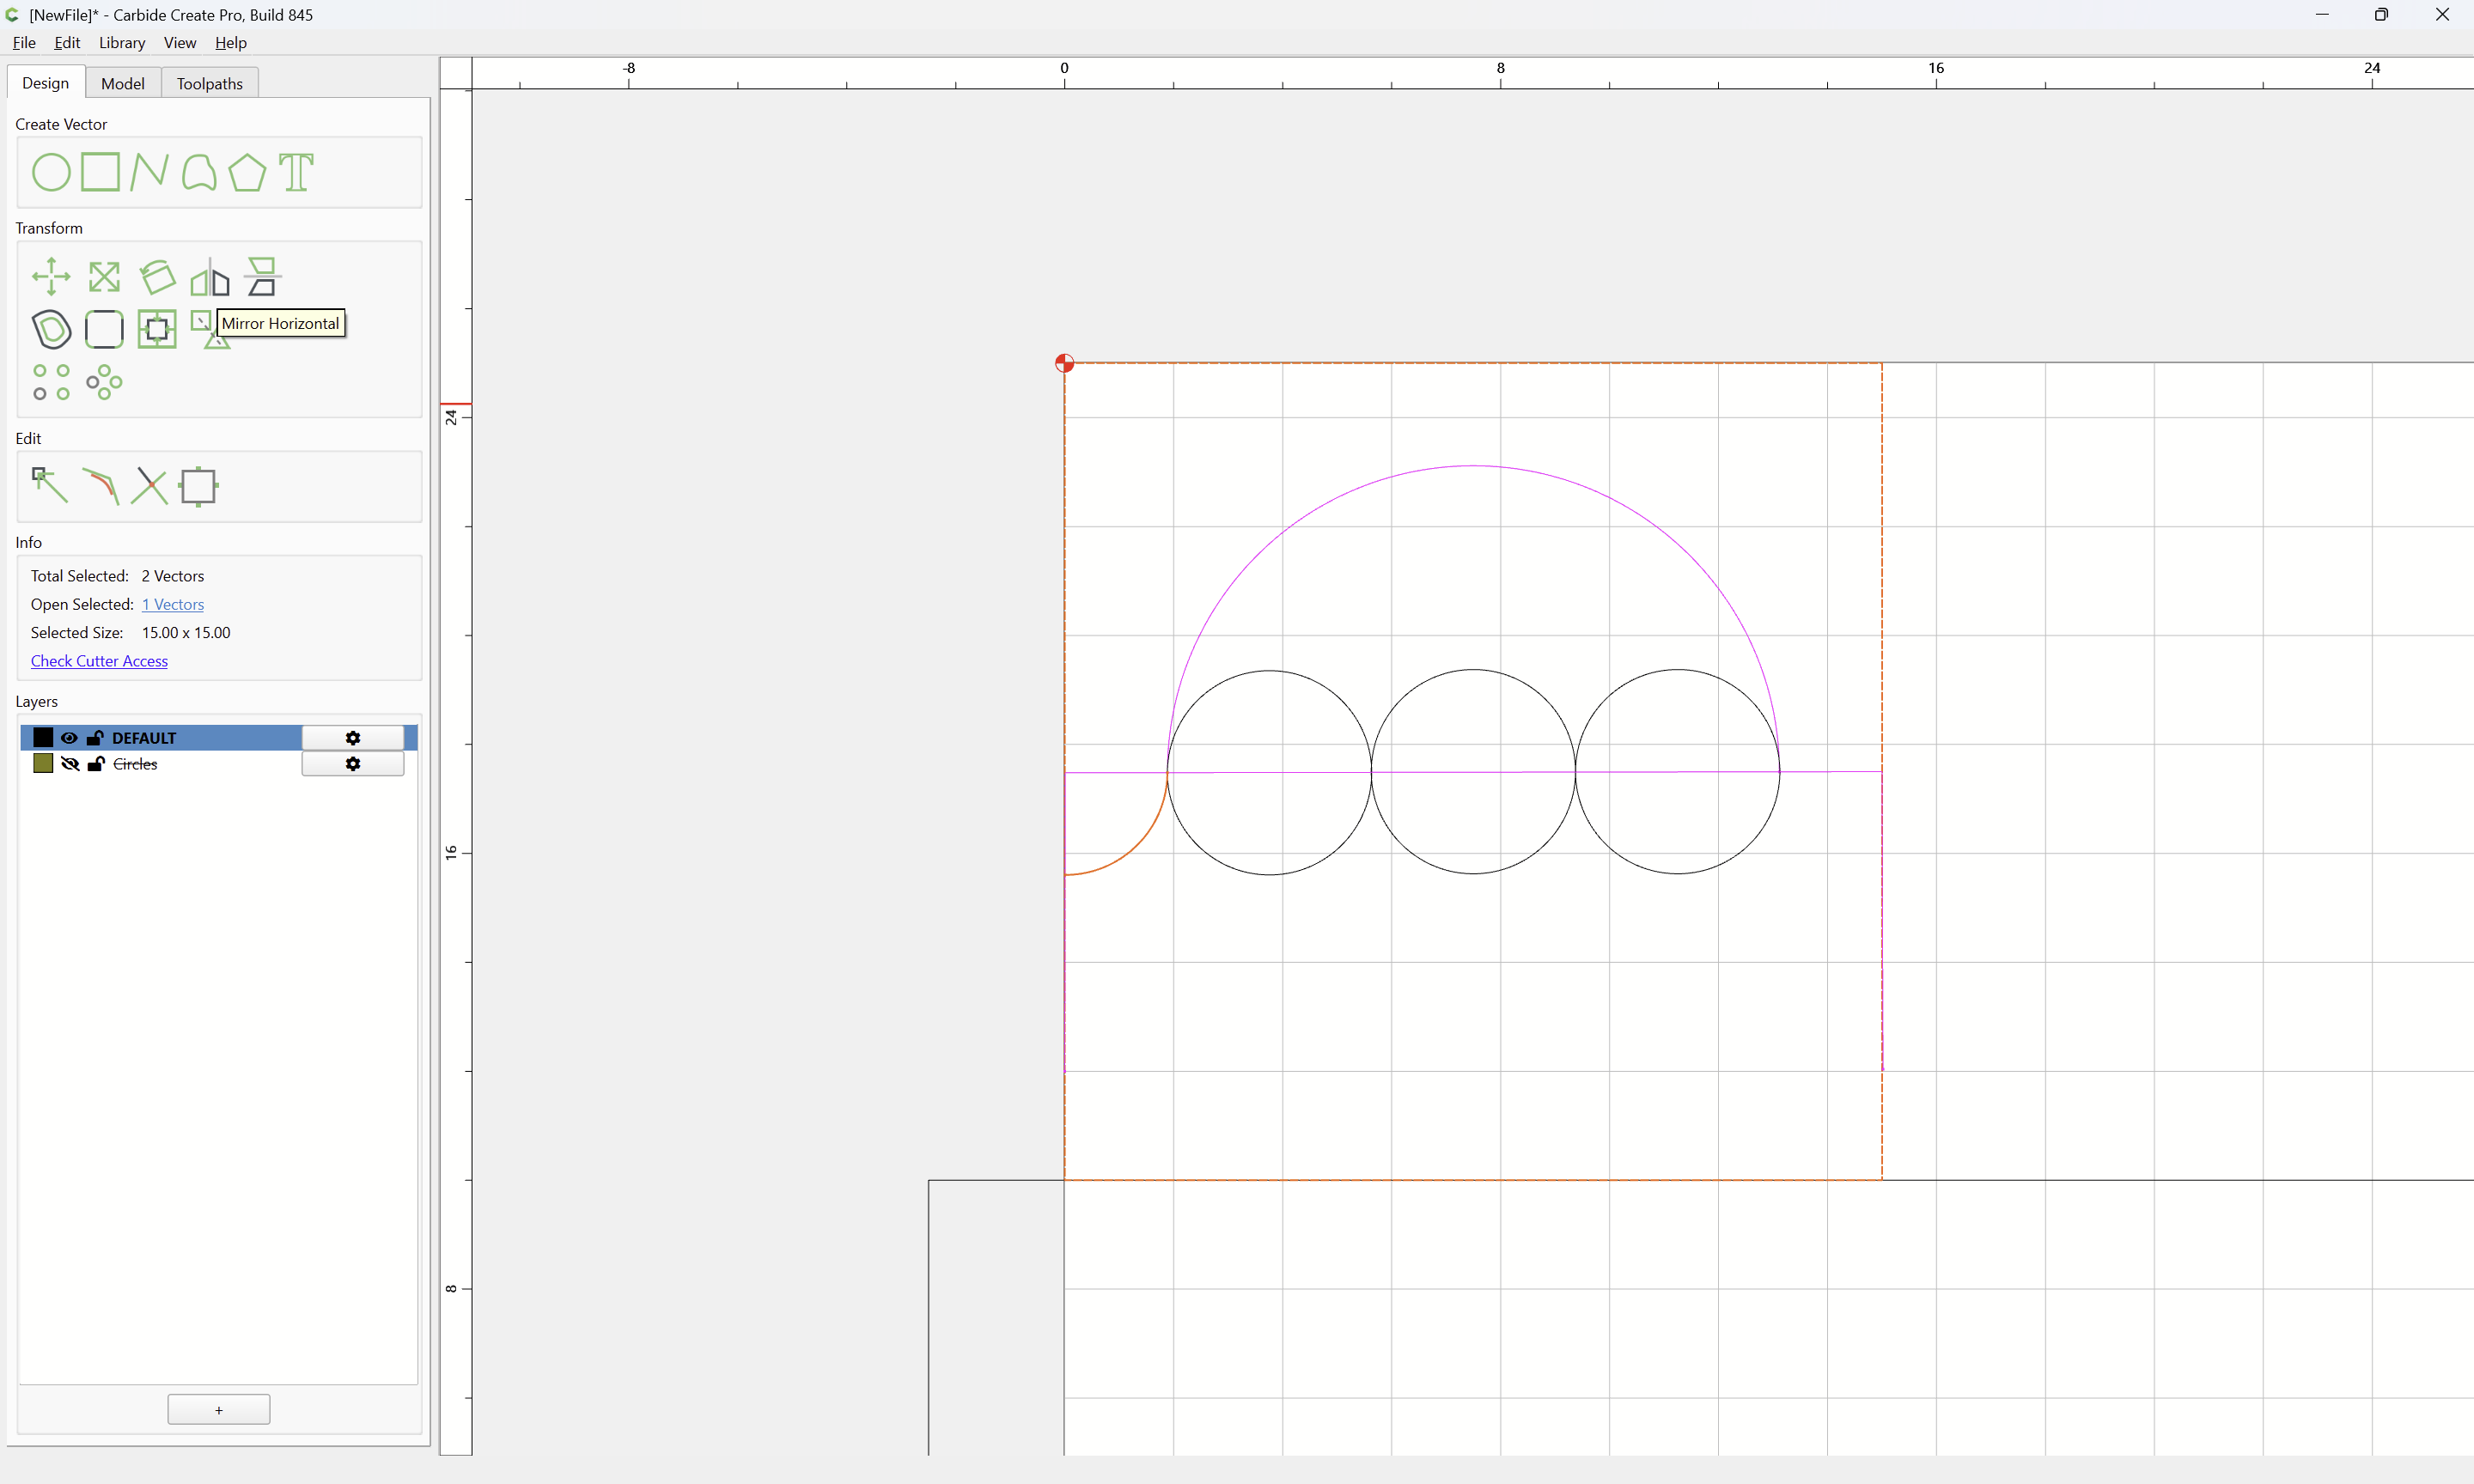
The polyline may be deleted:
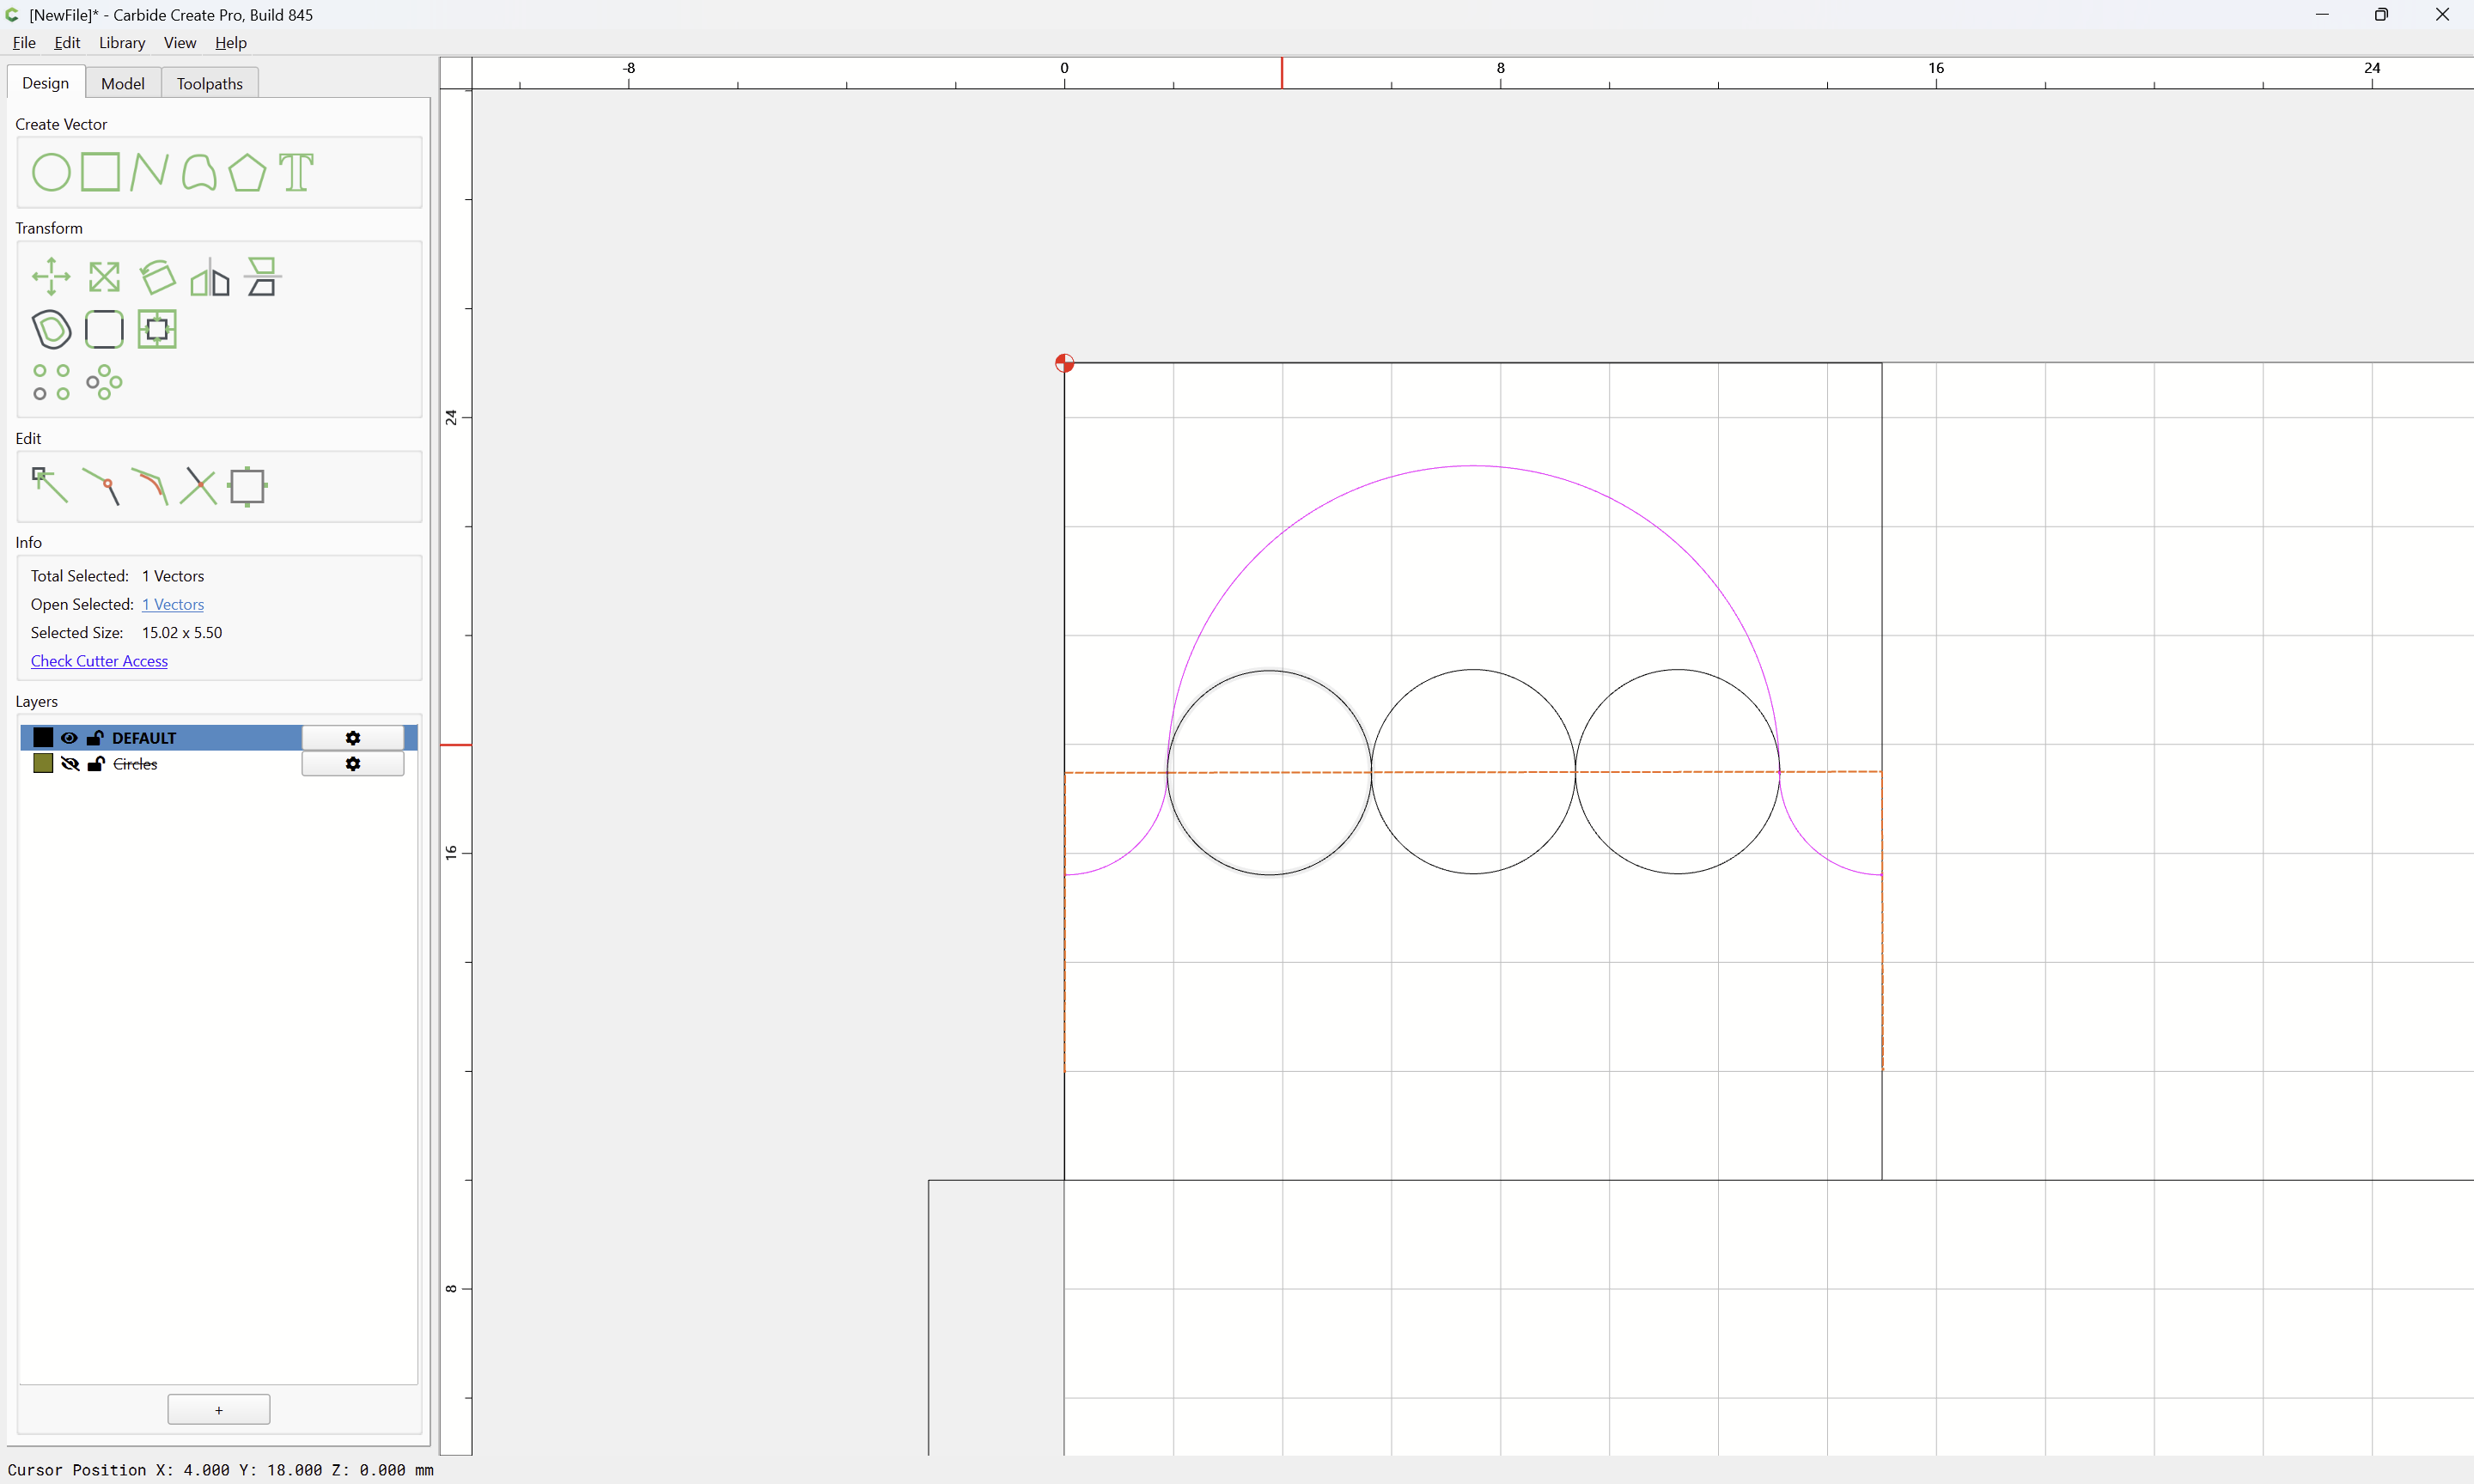
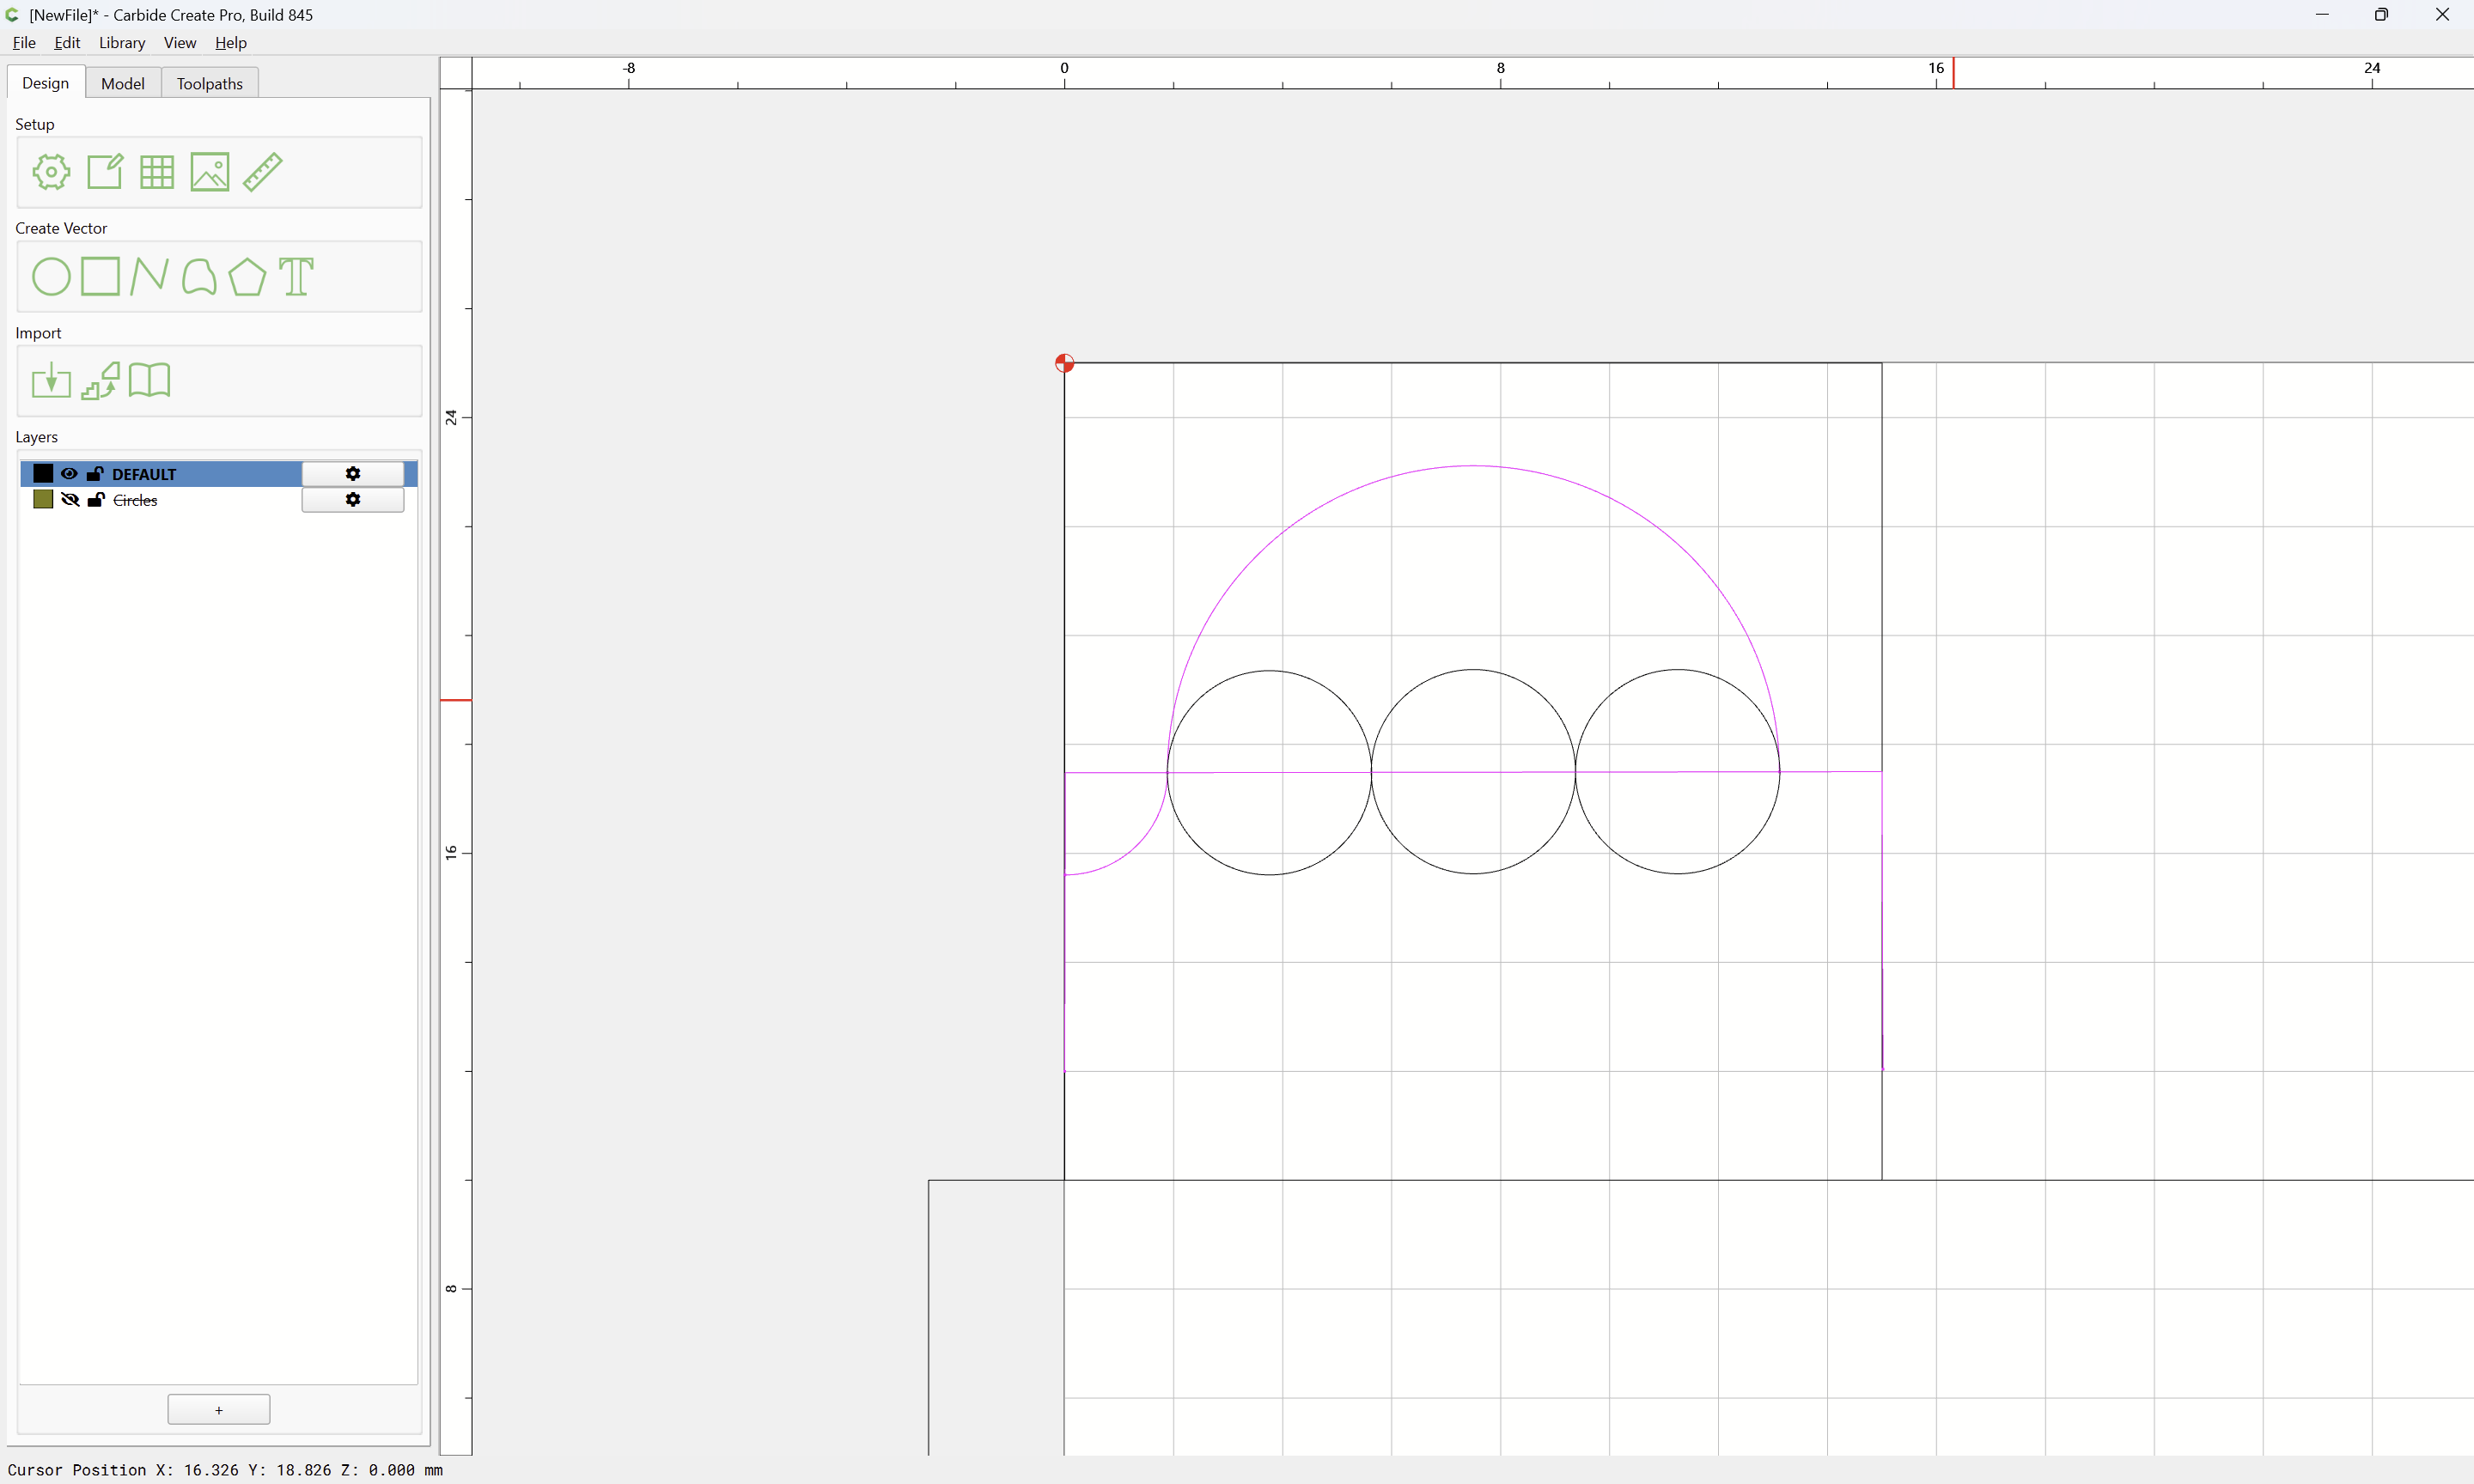
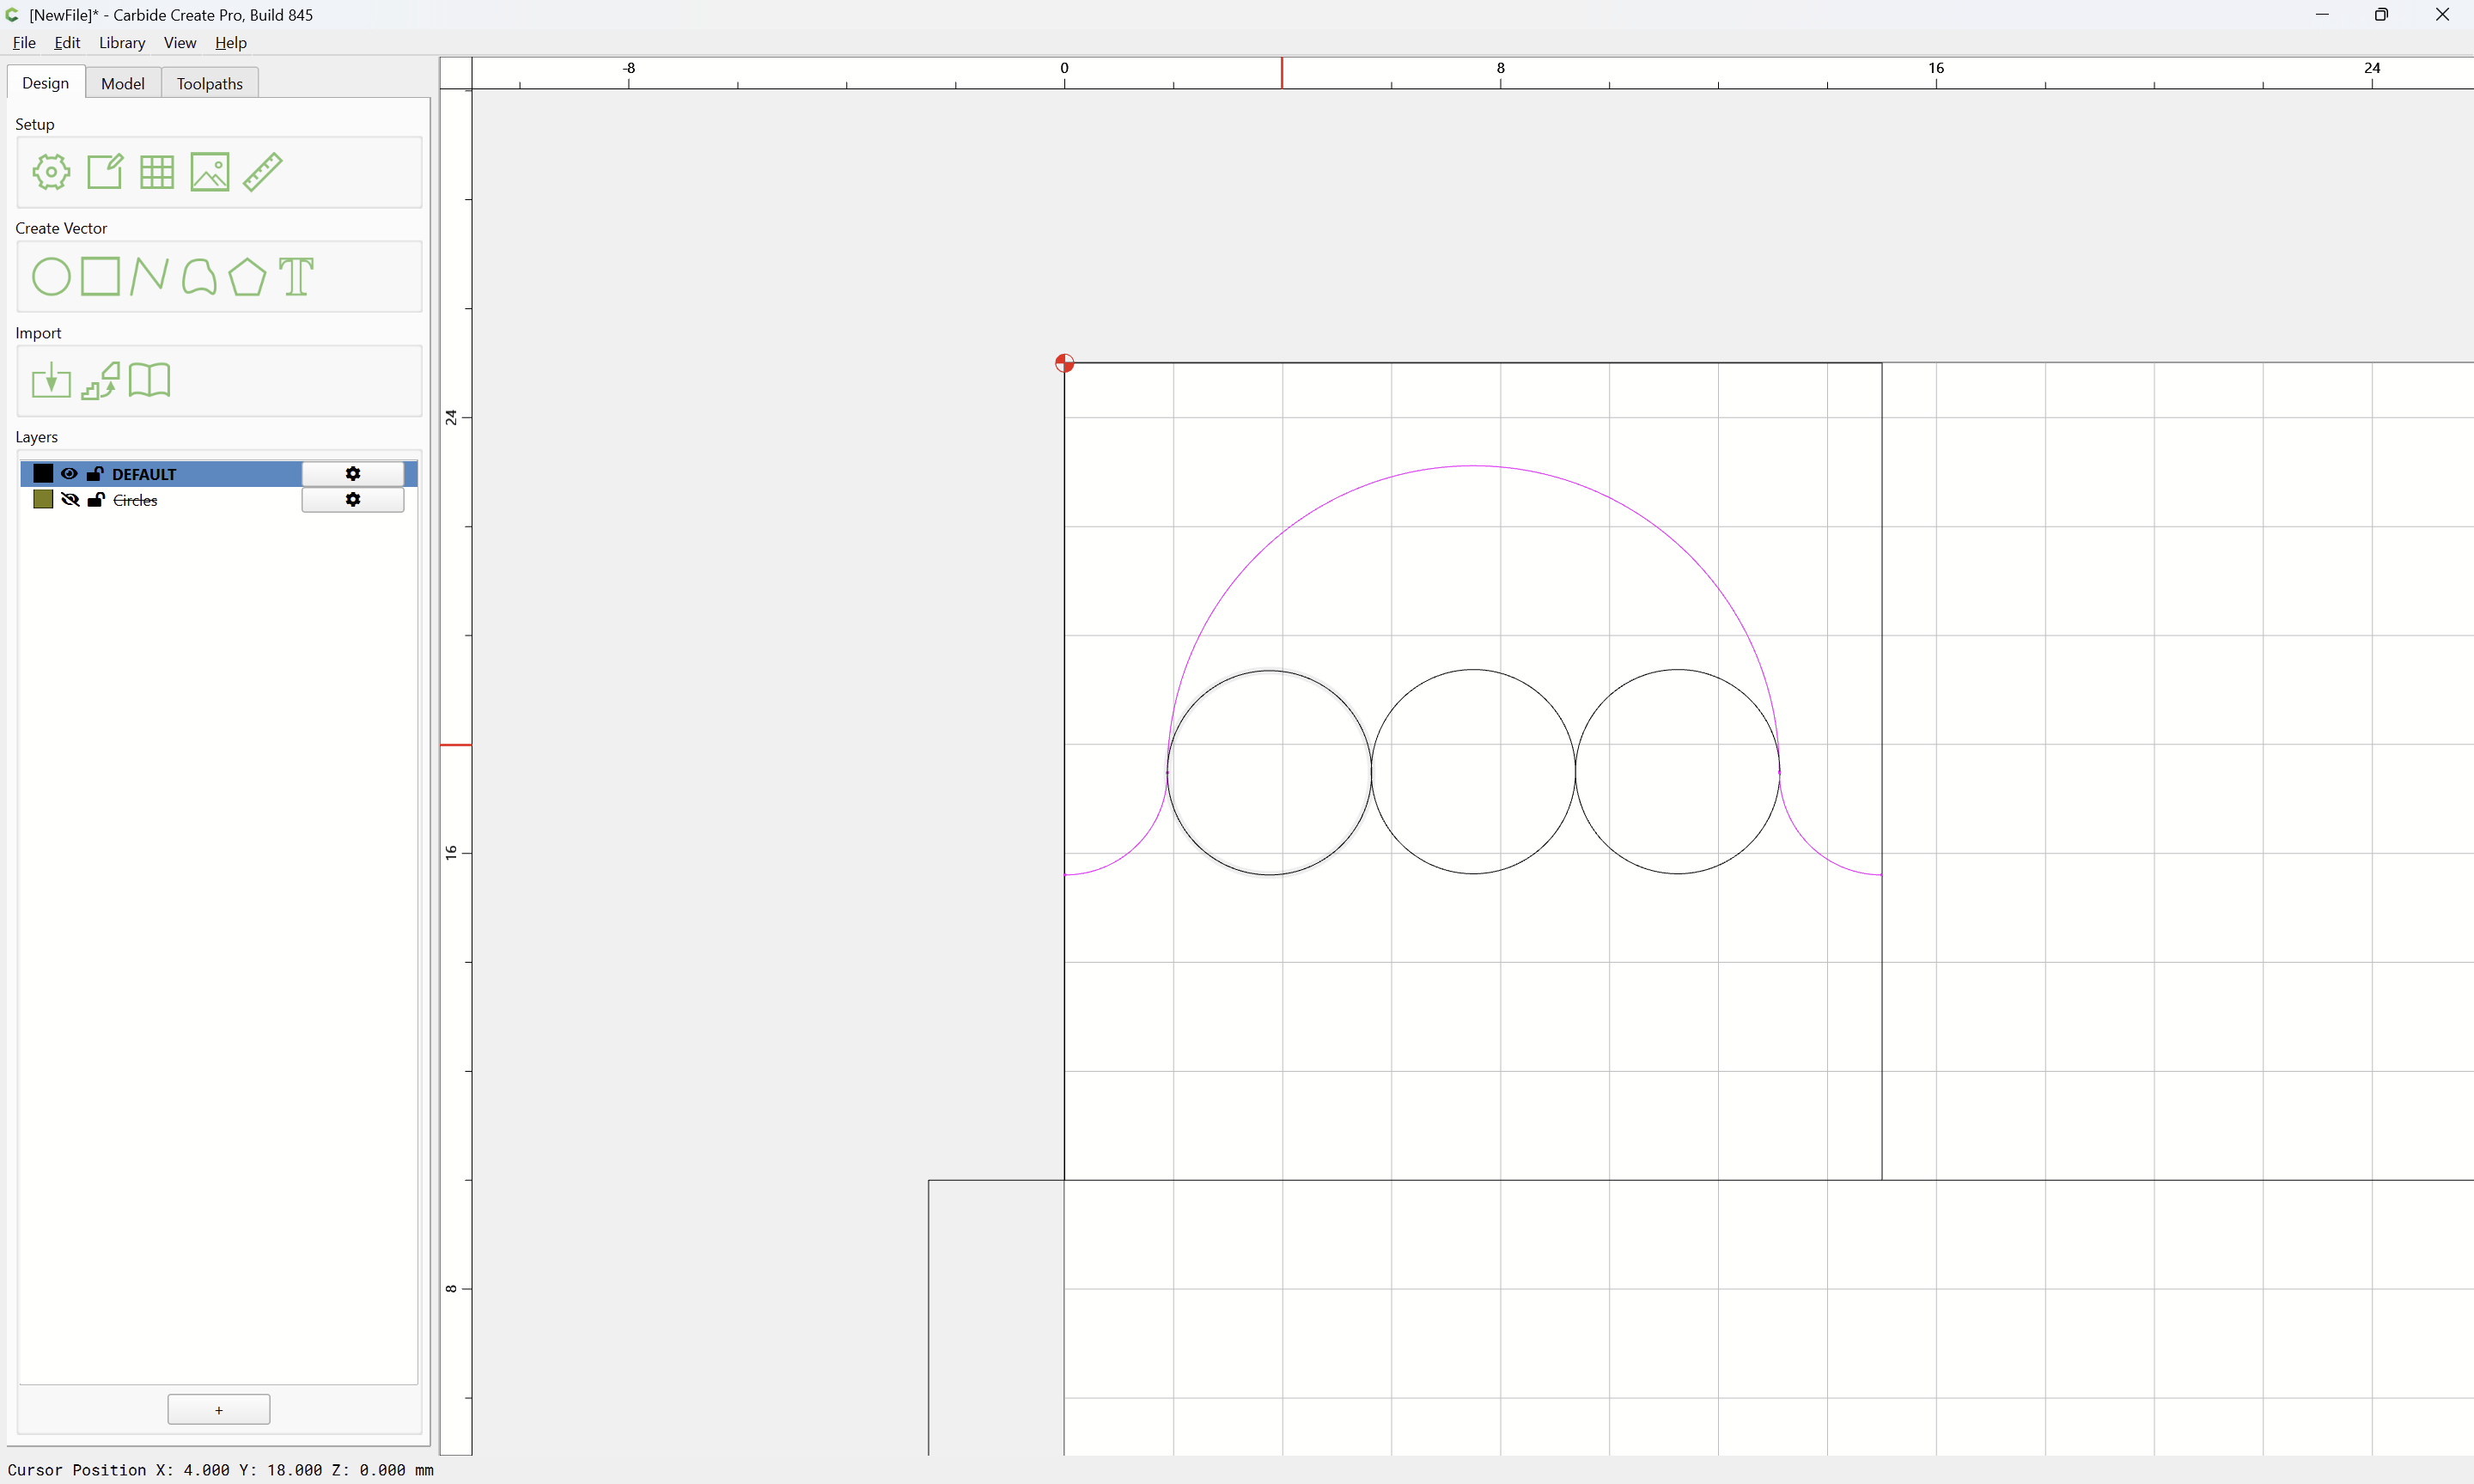
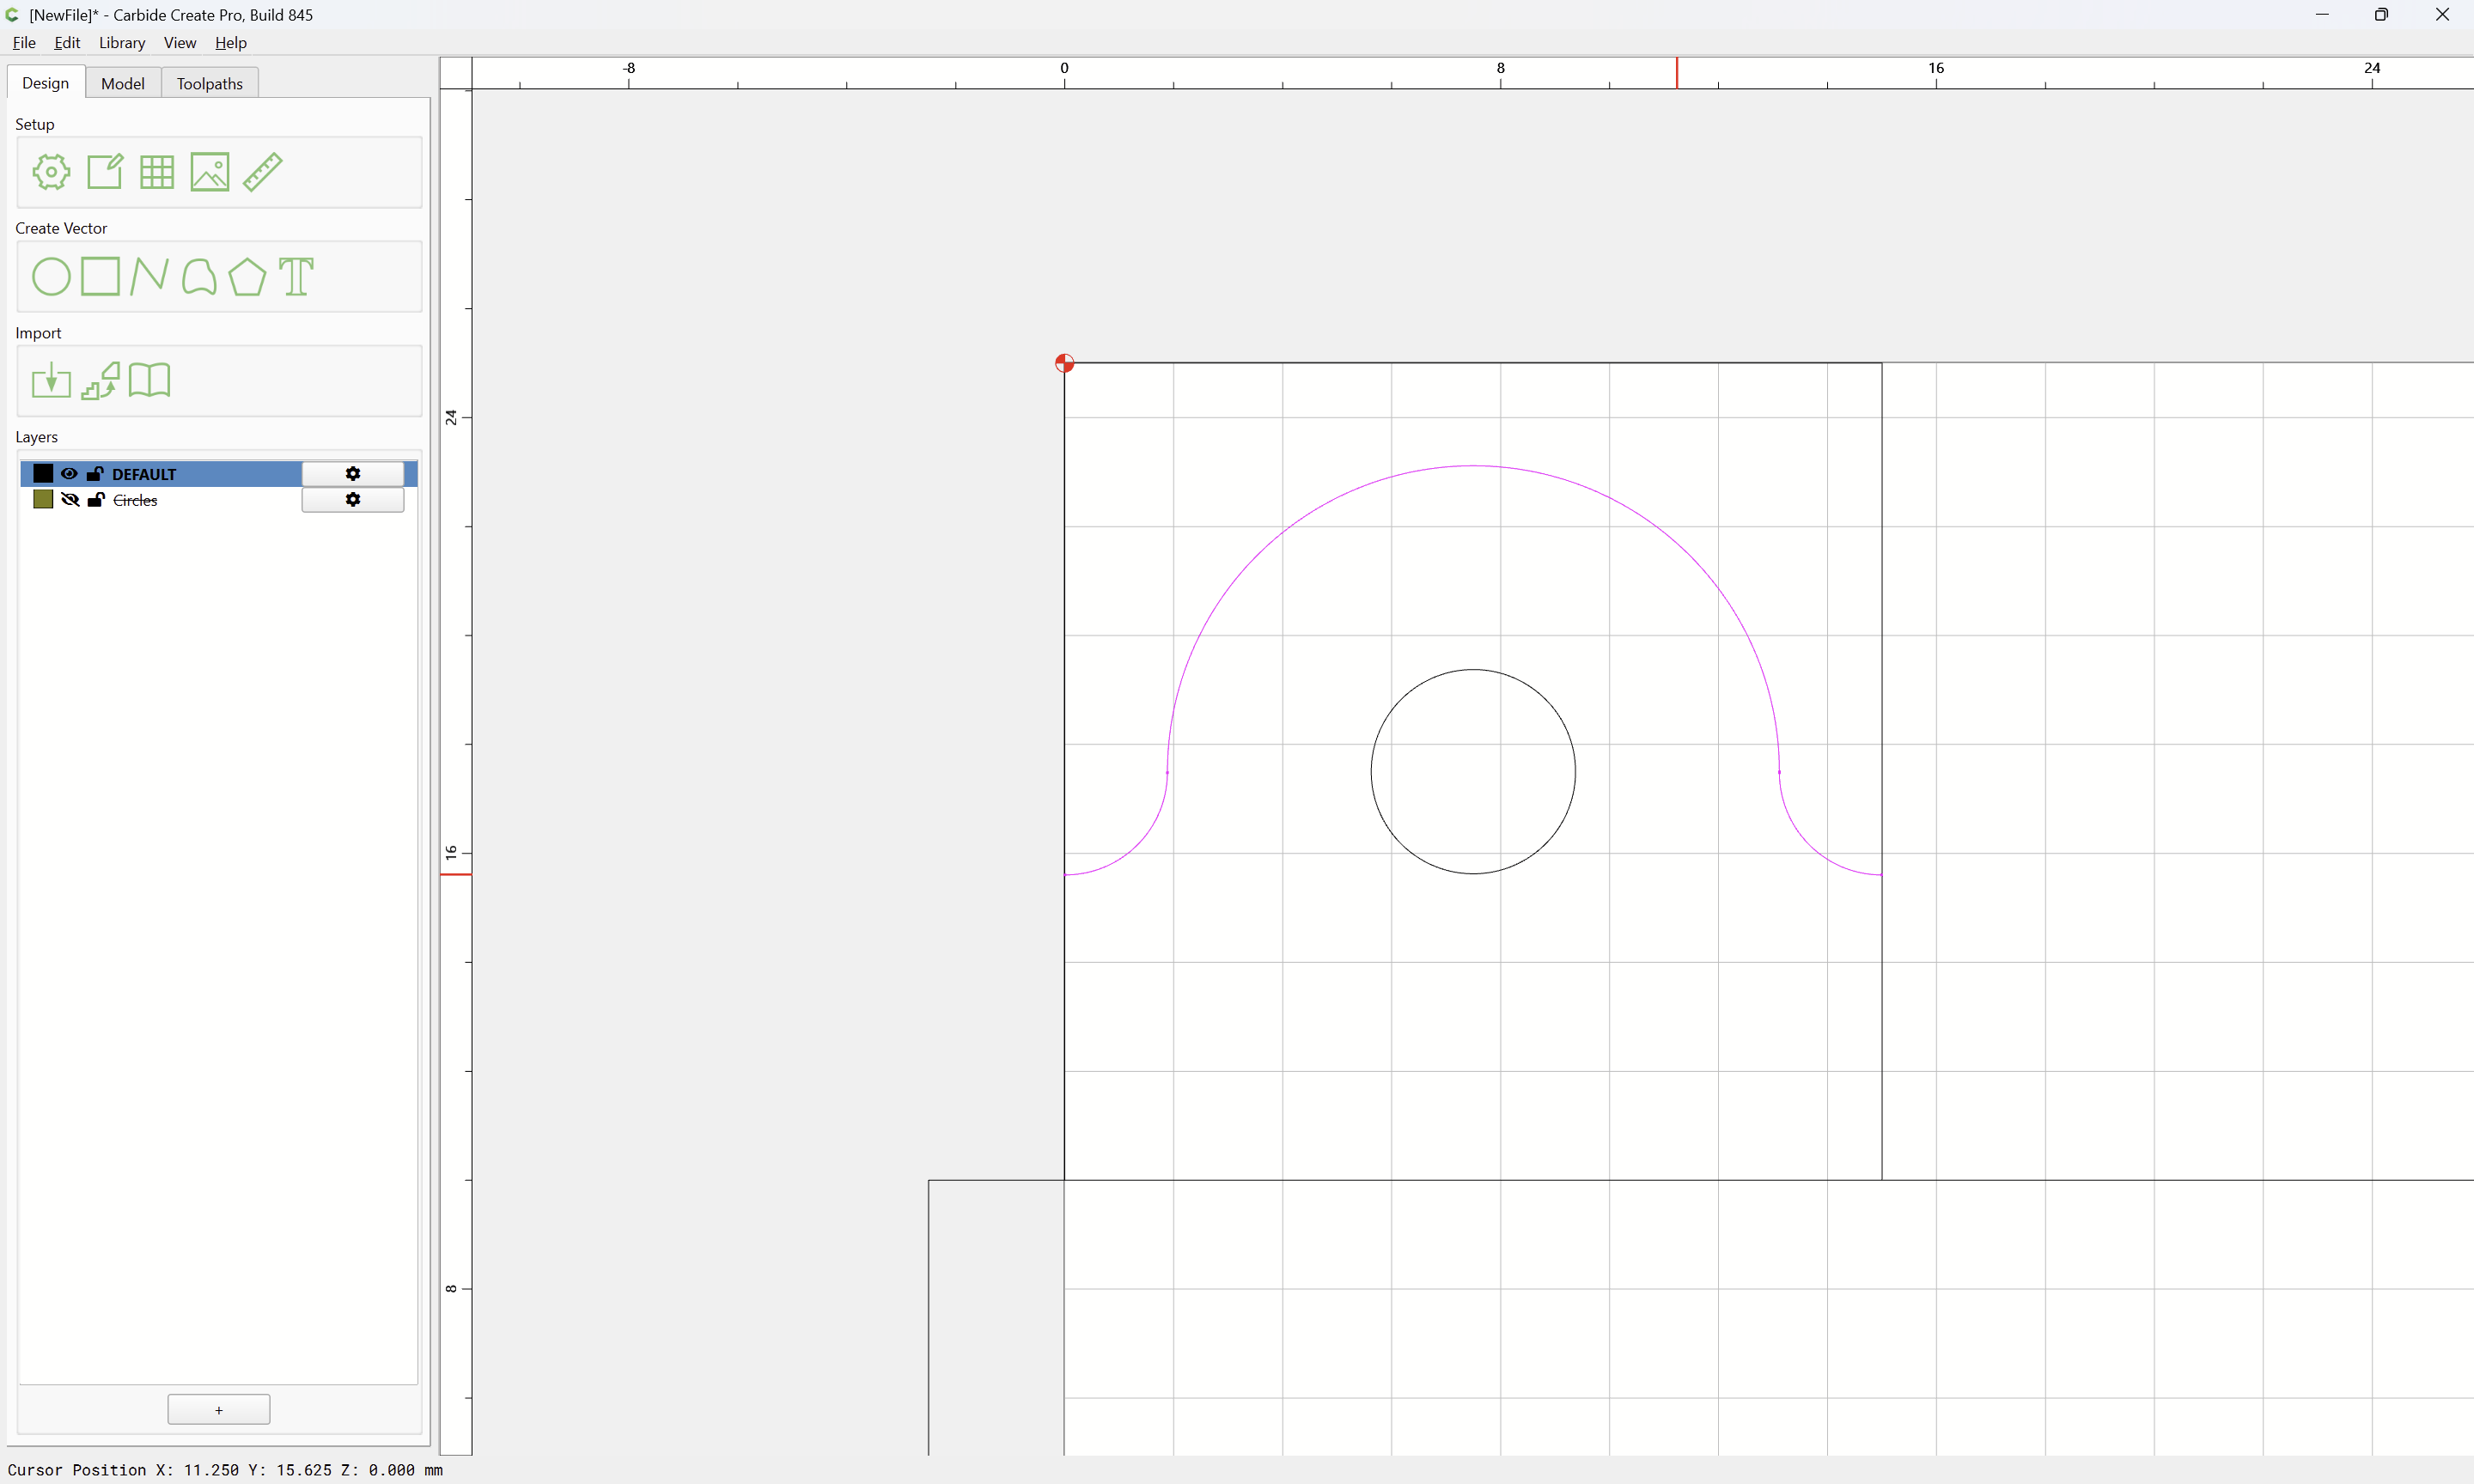
and the unneeded circles removed:
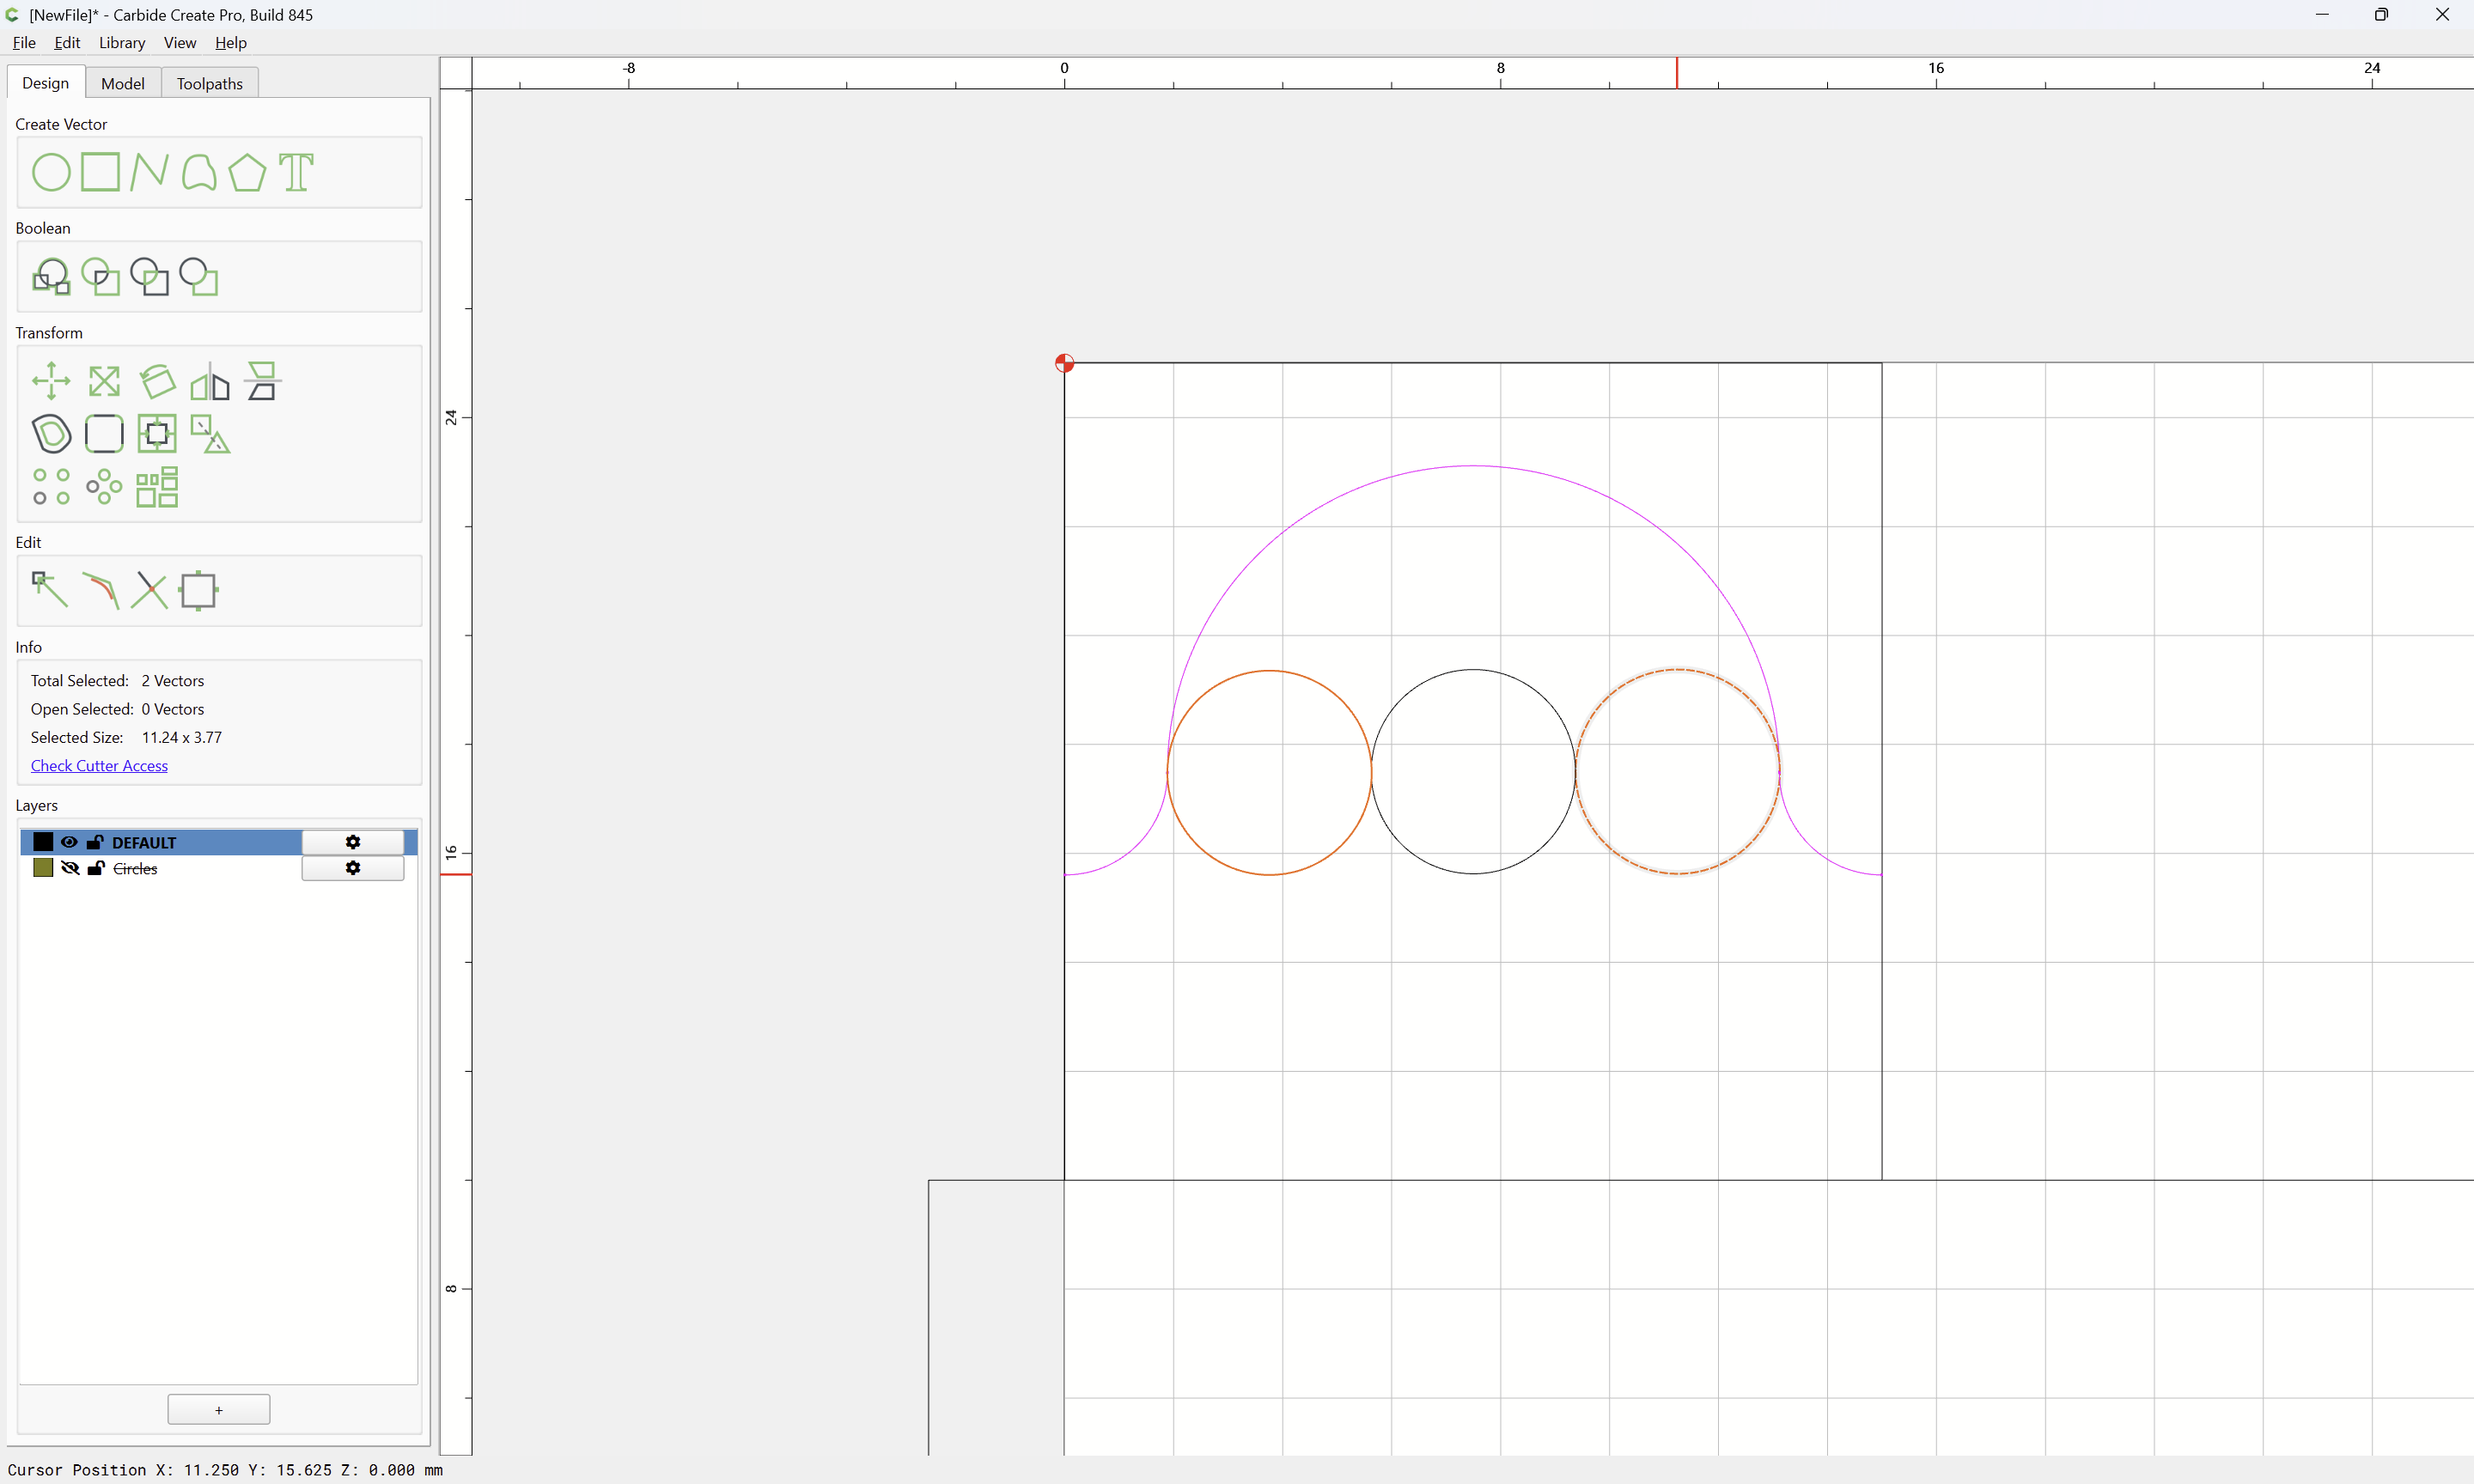
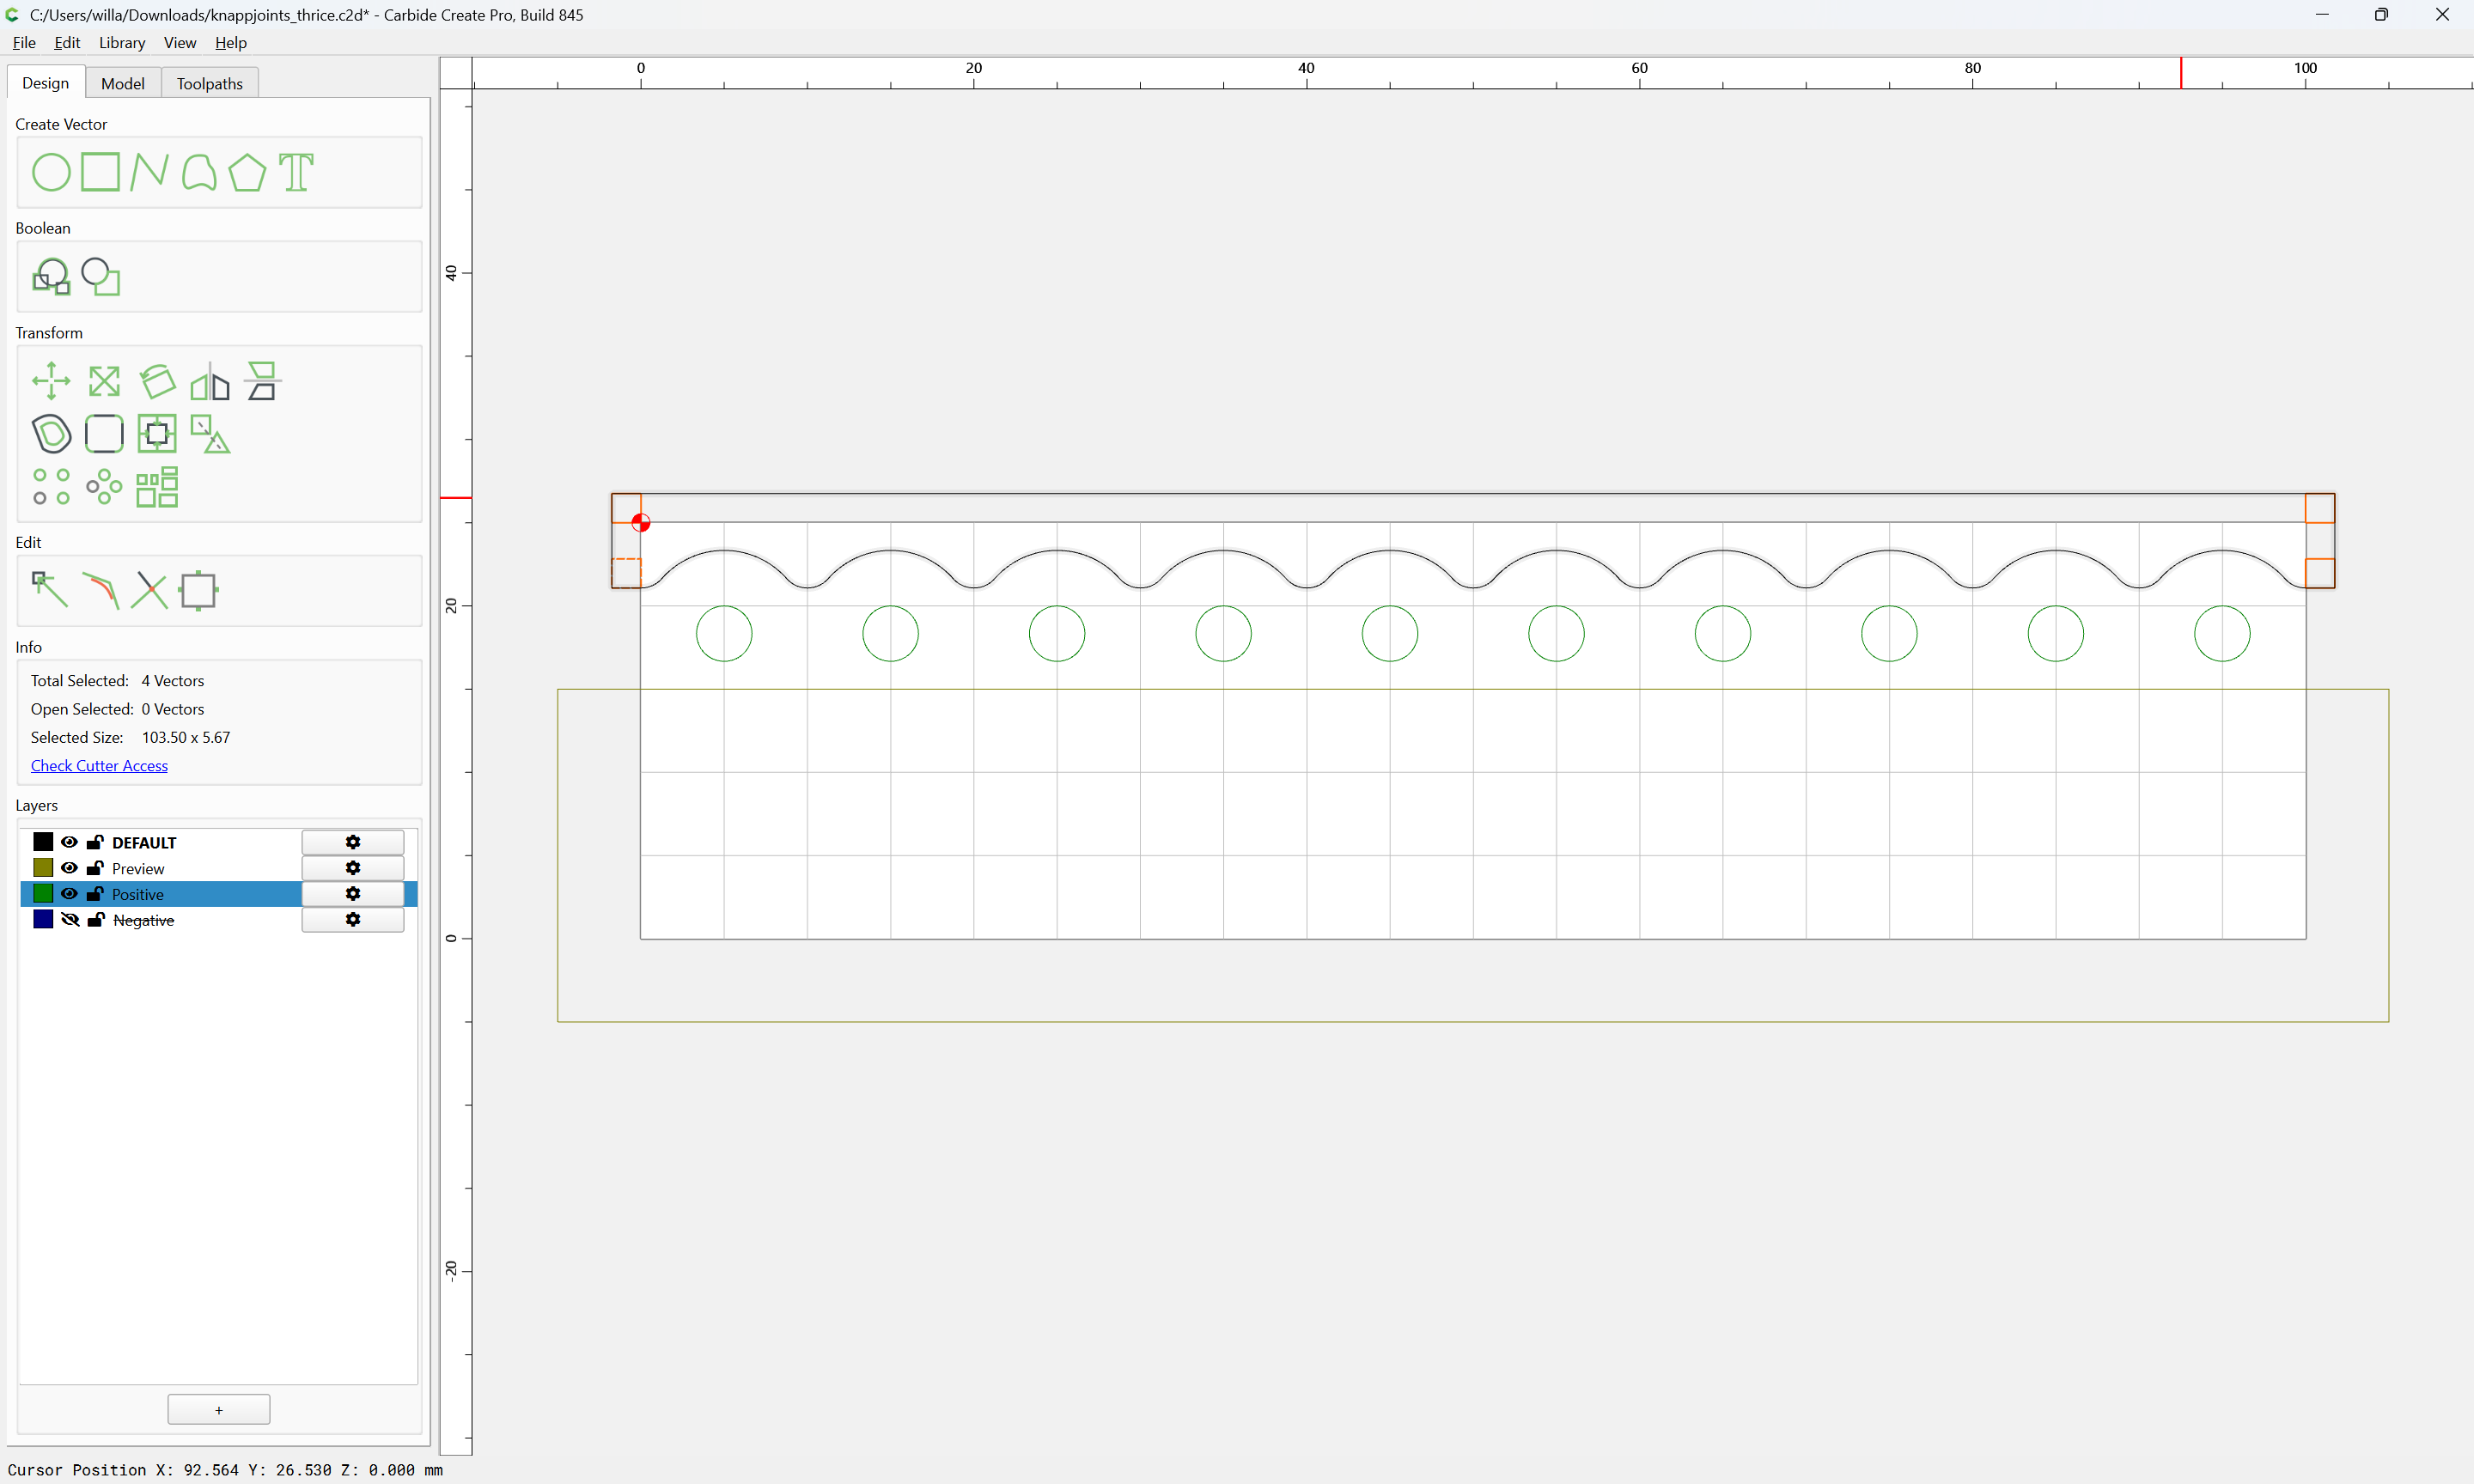
then the trimmed geometry joined:
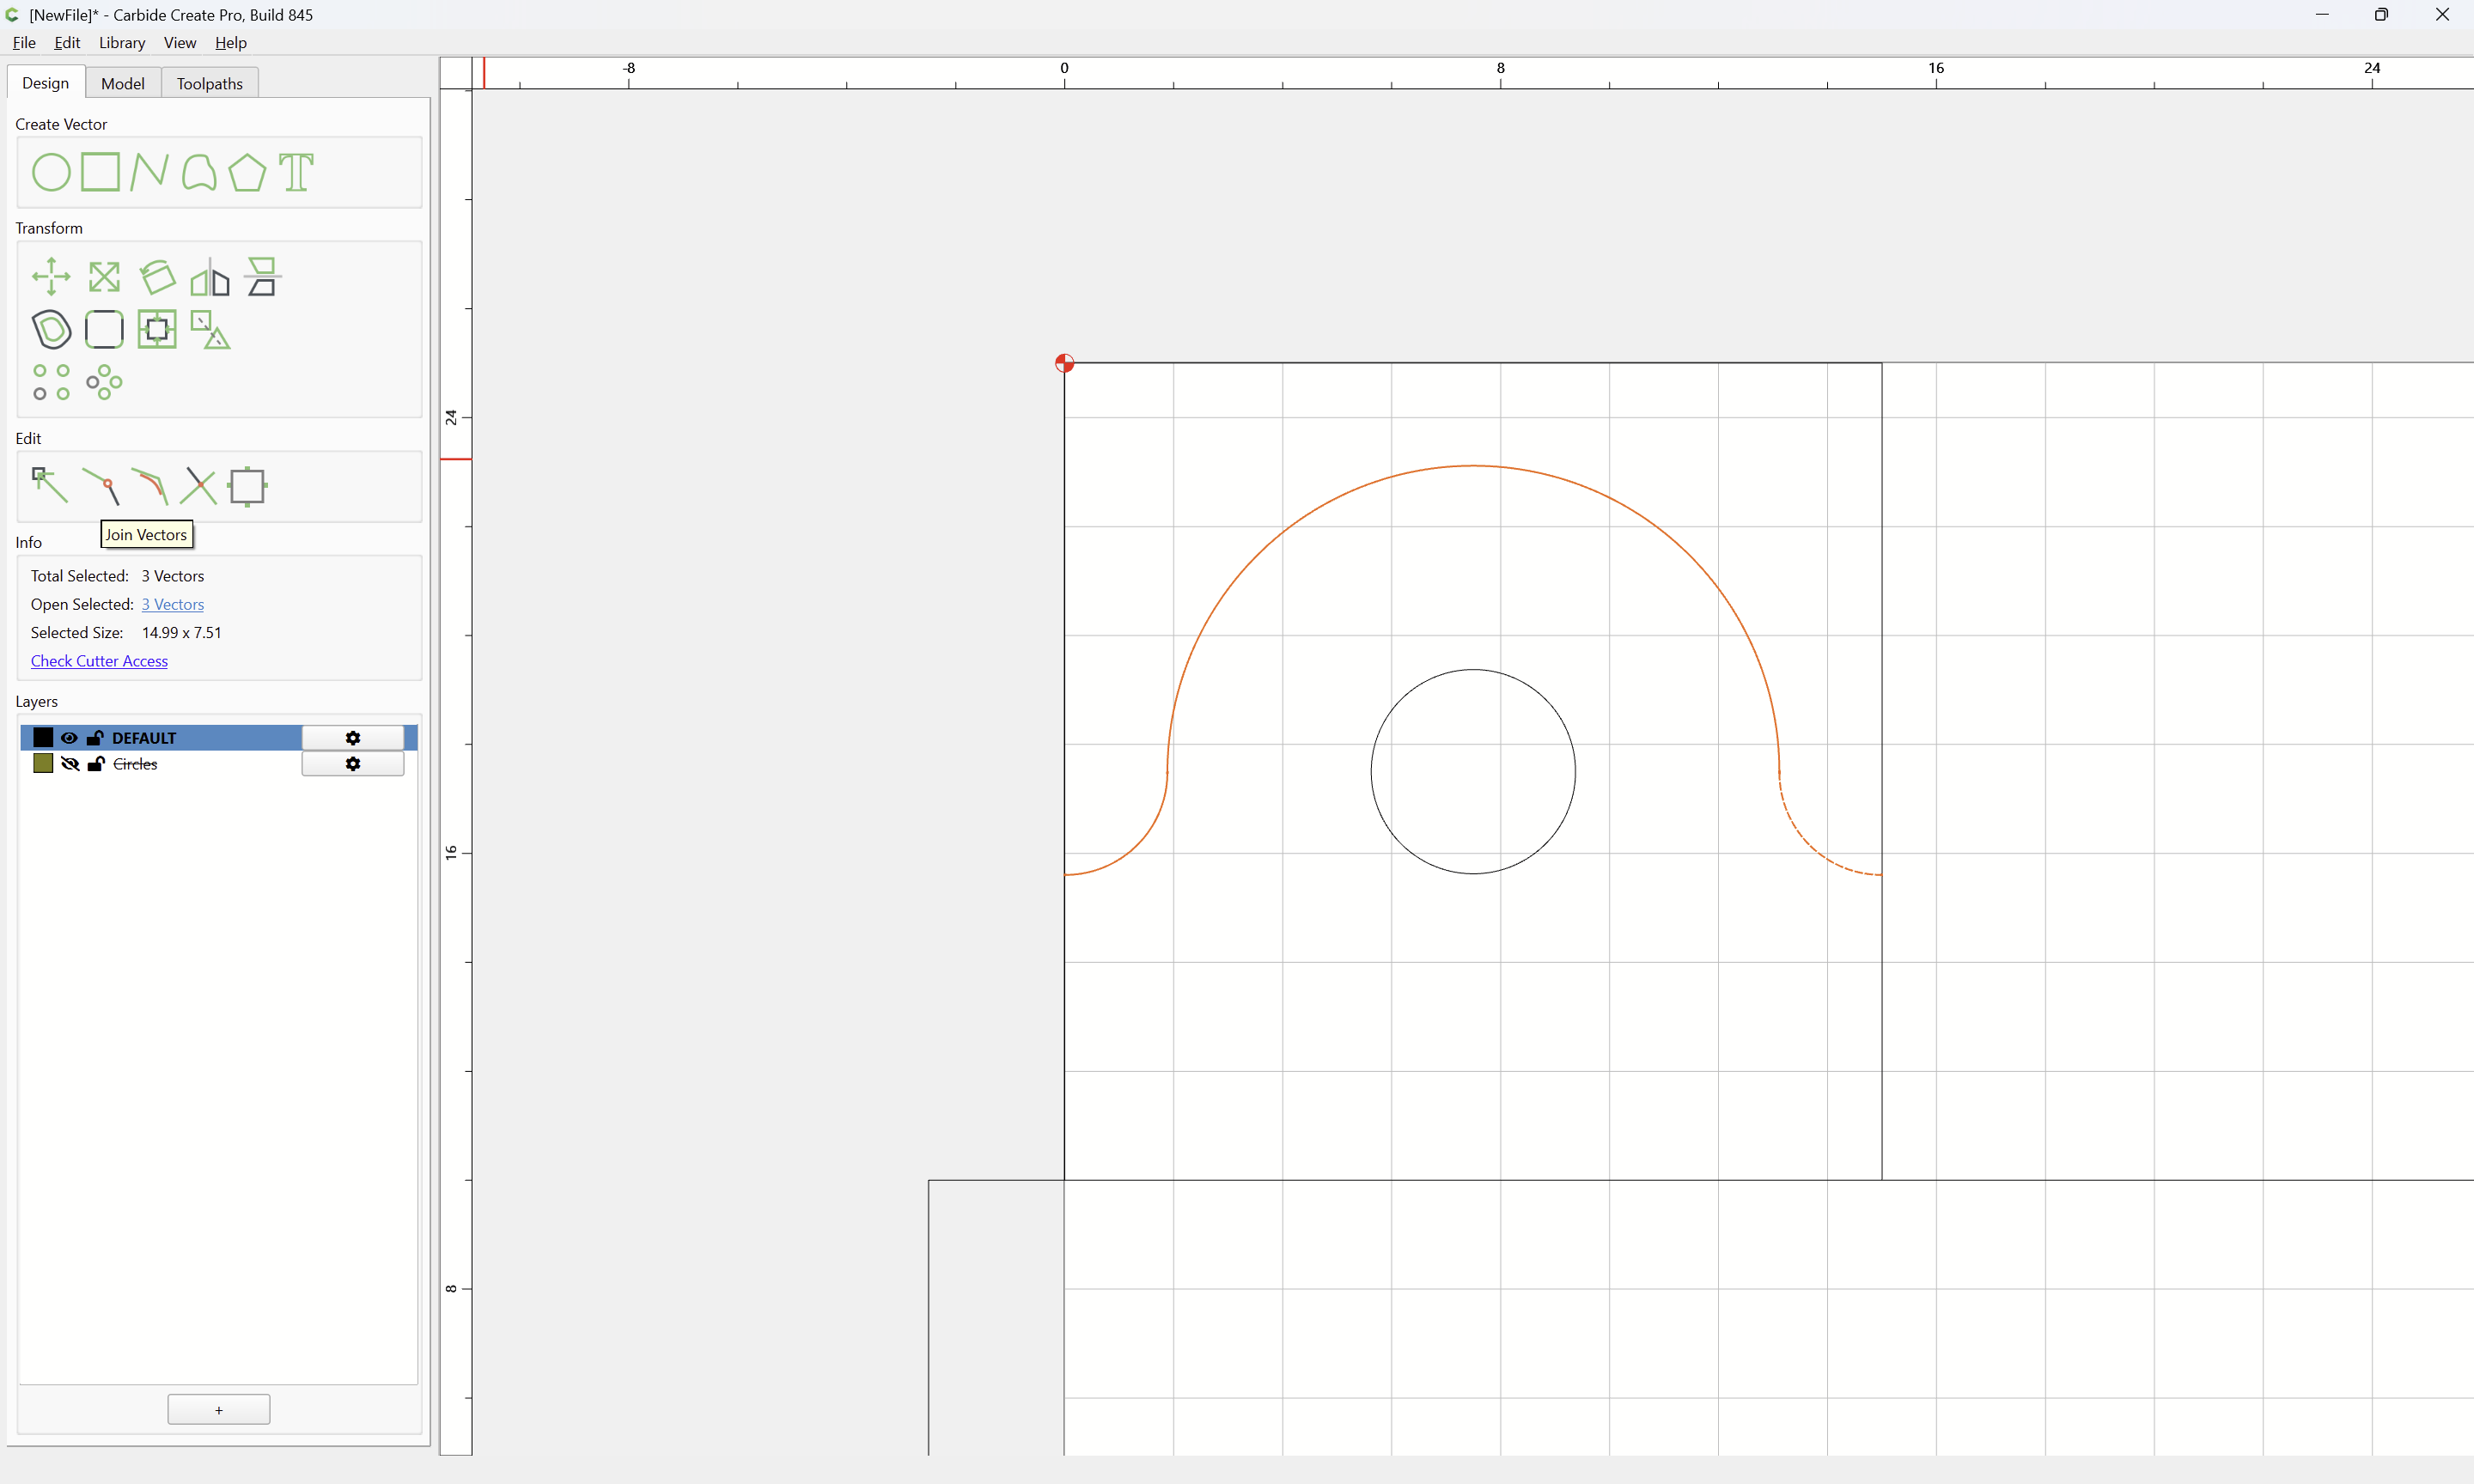
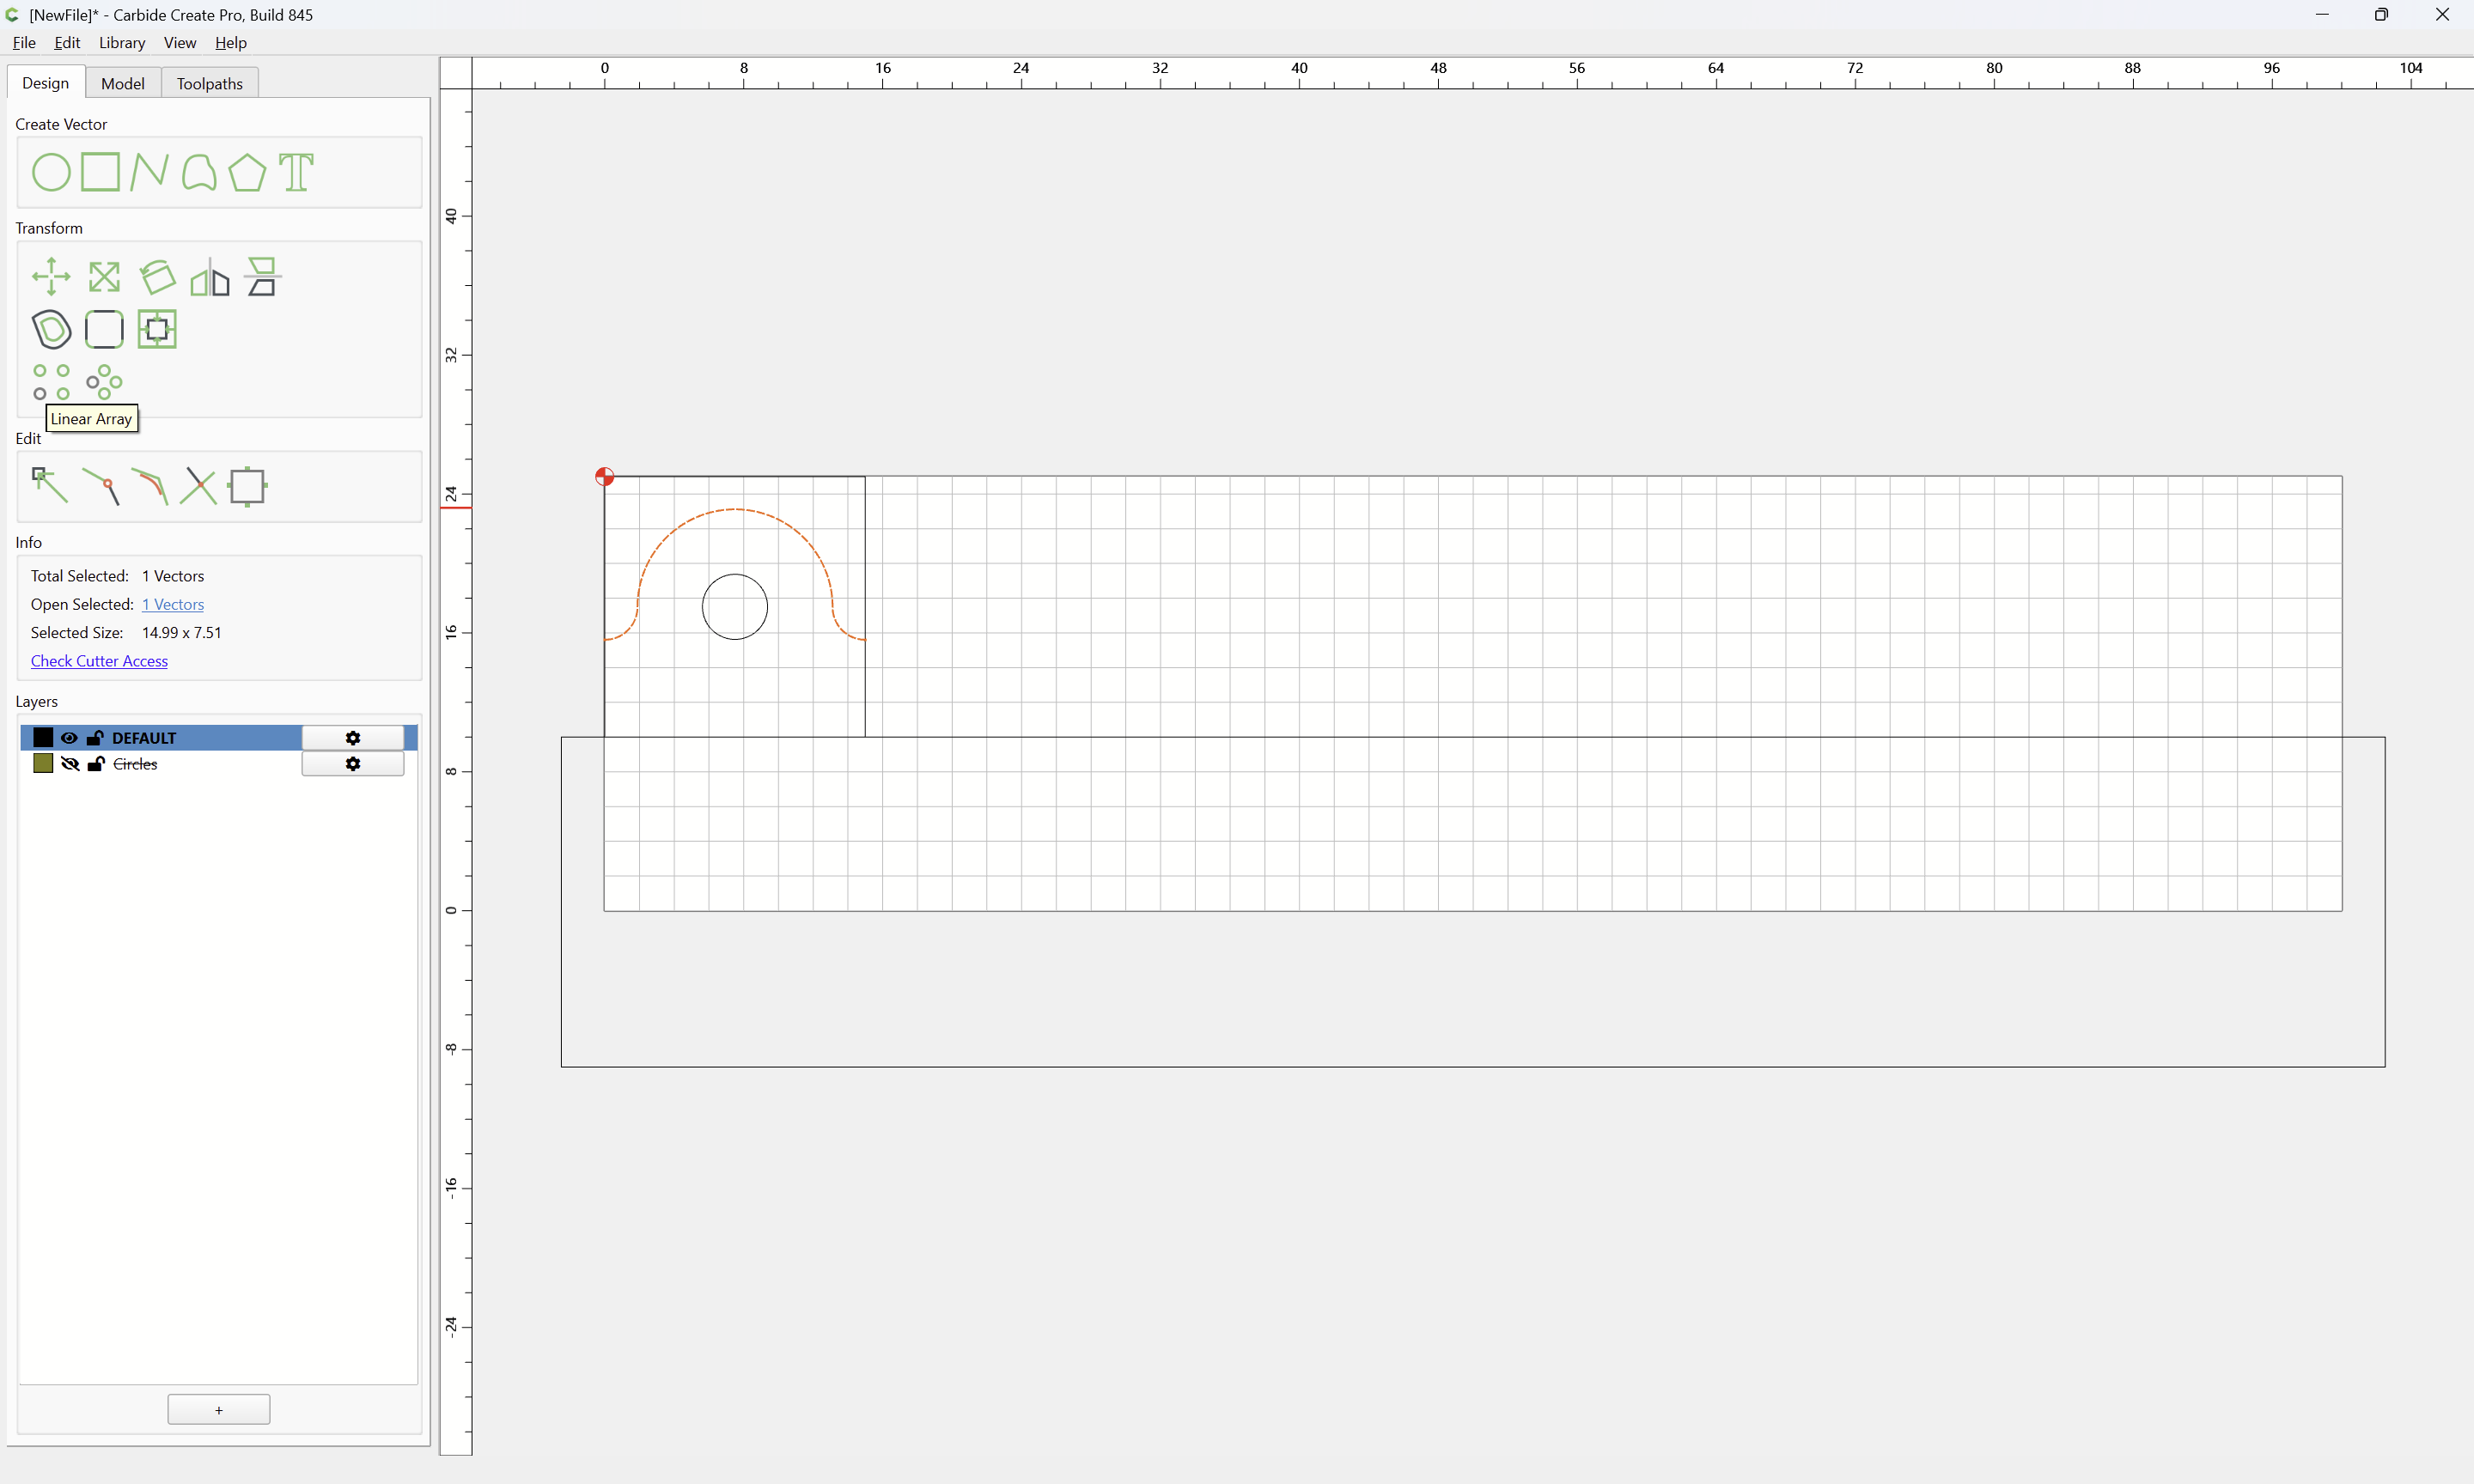
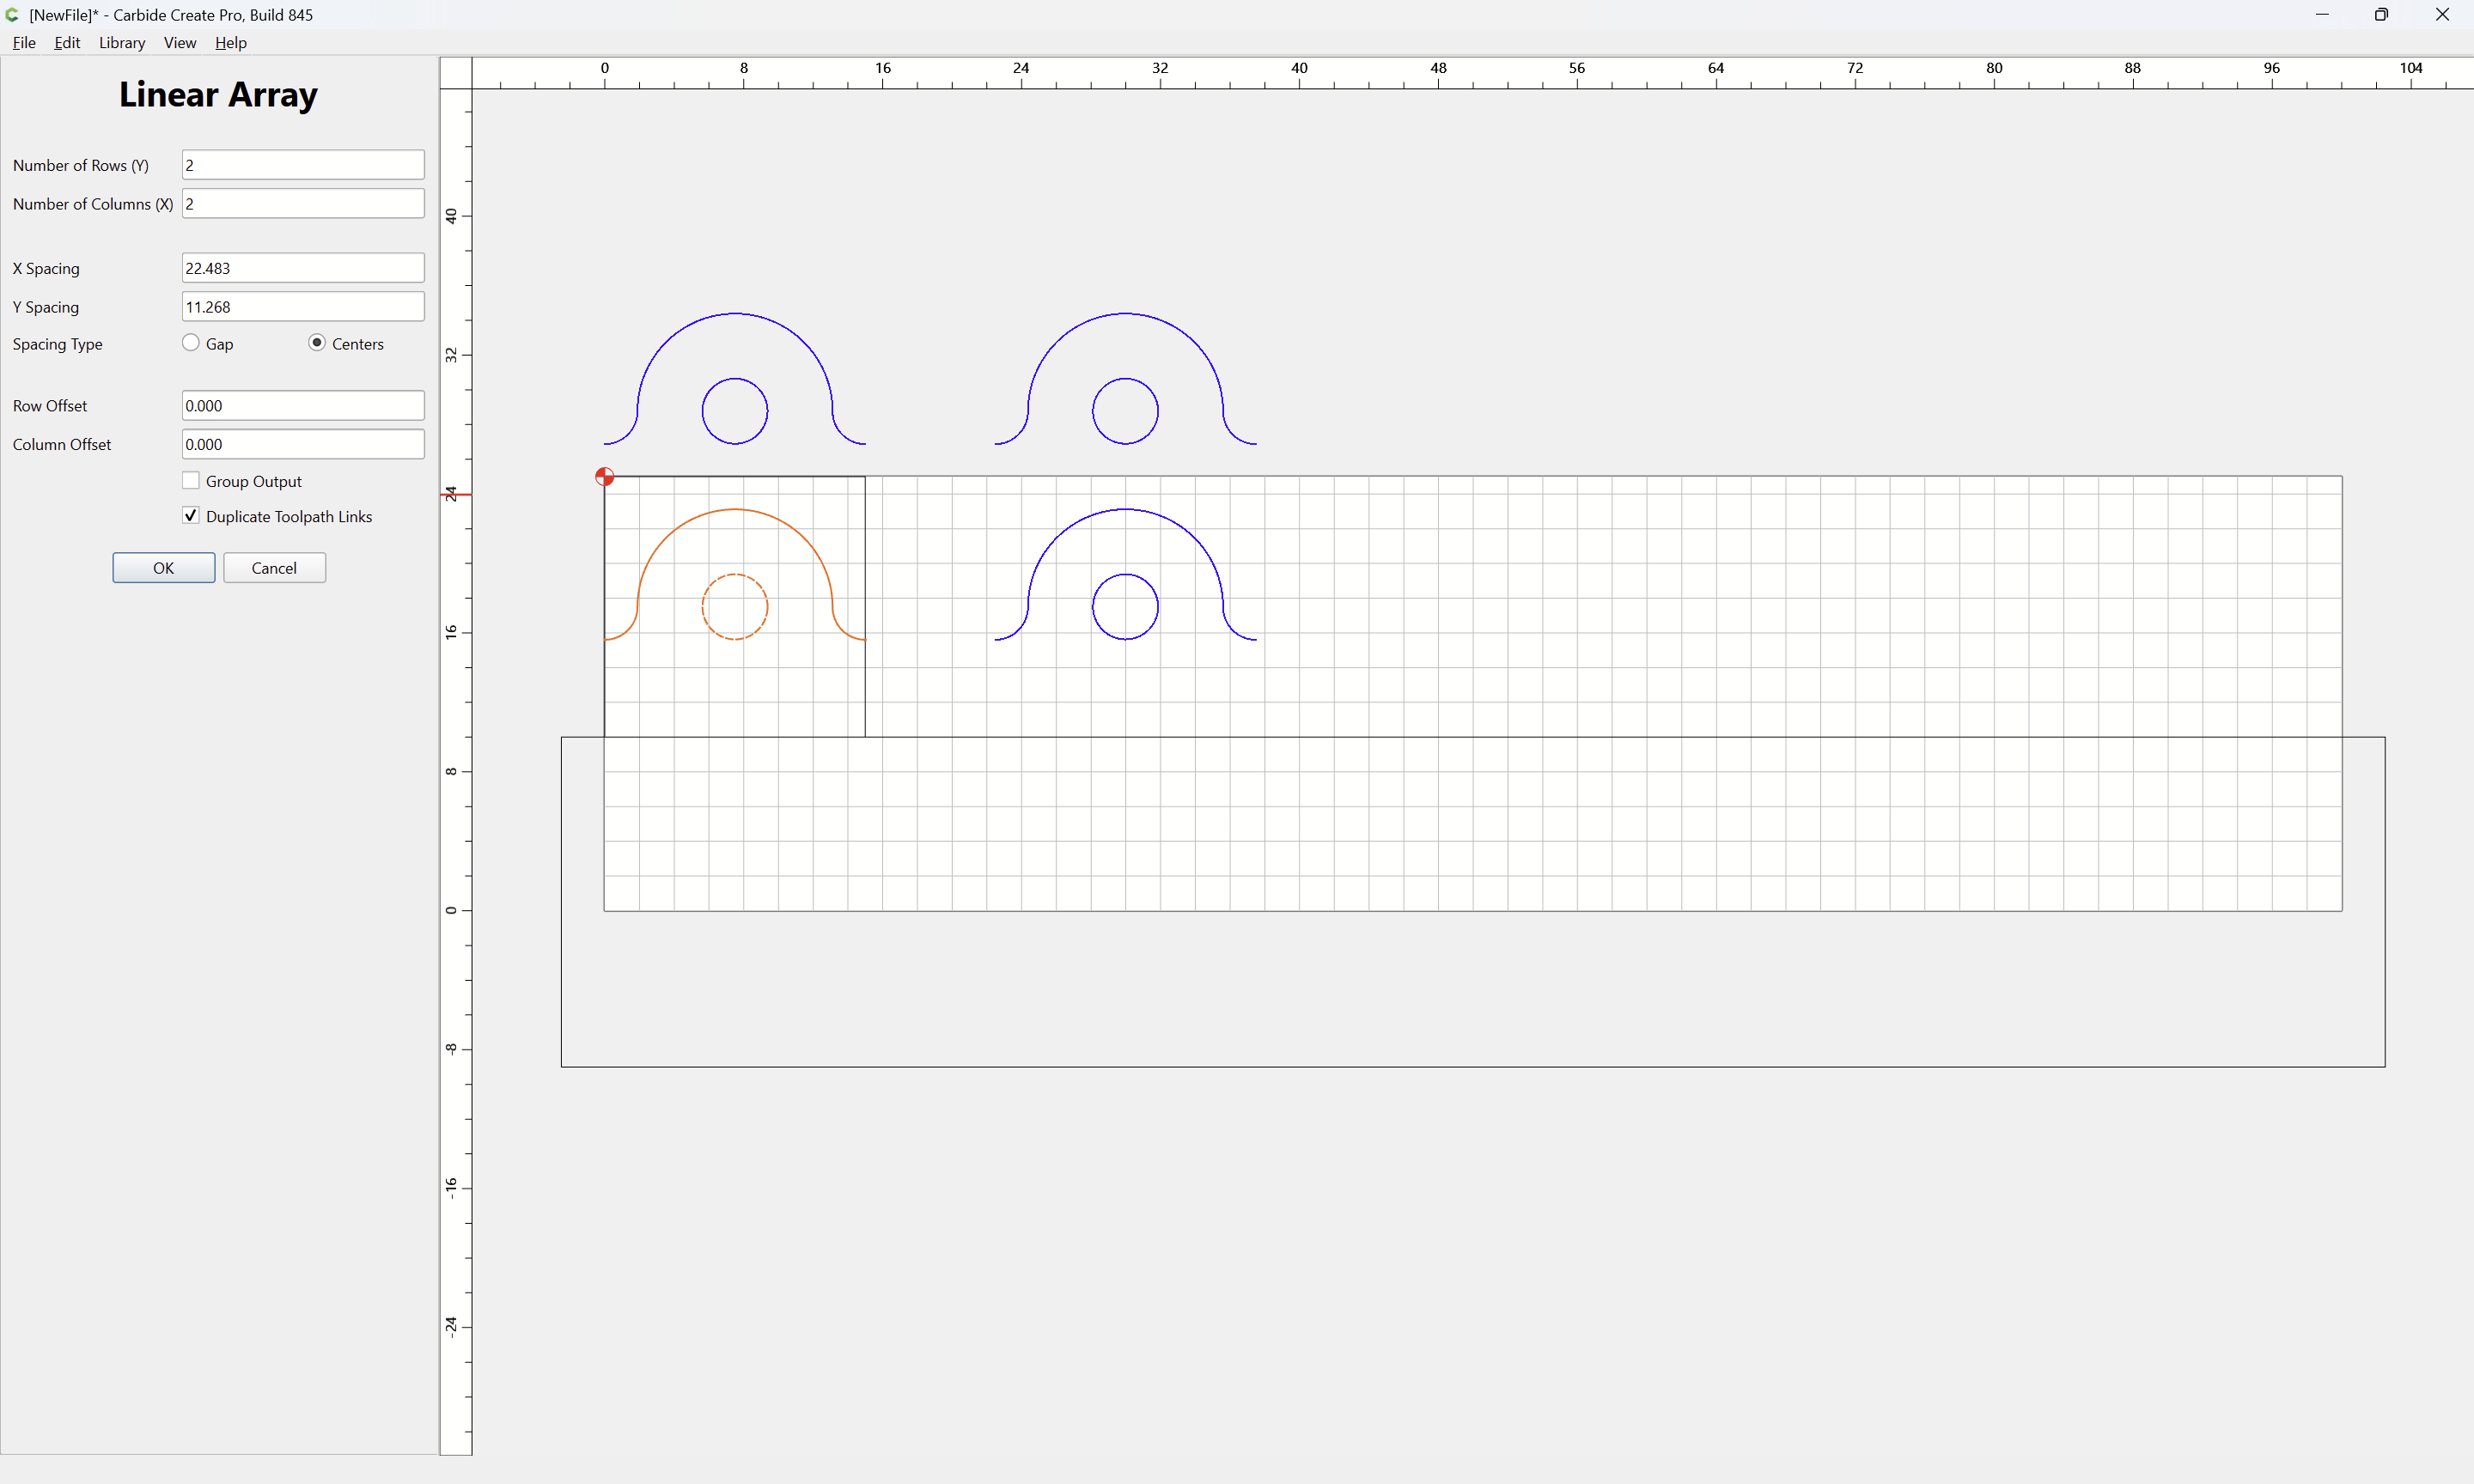
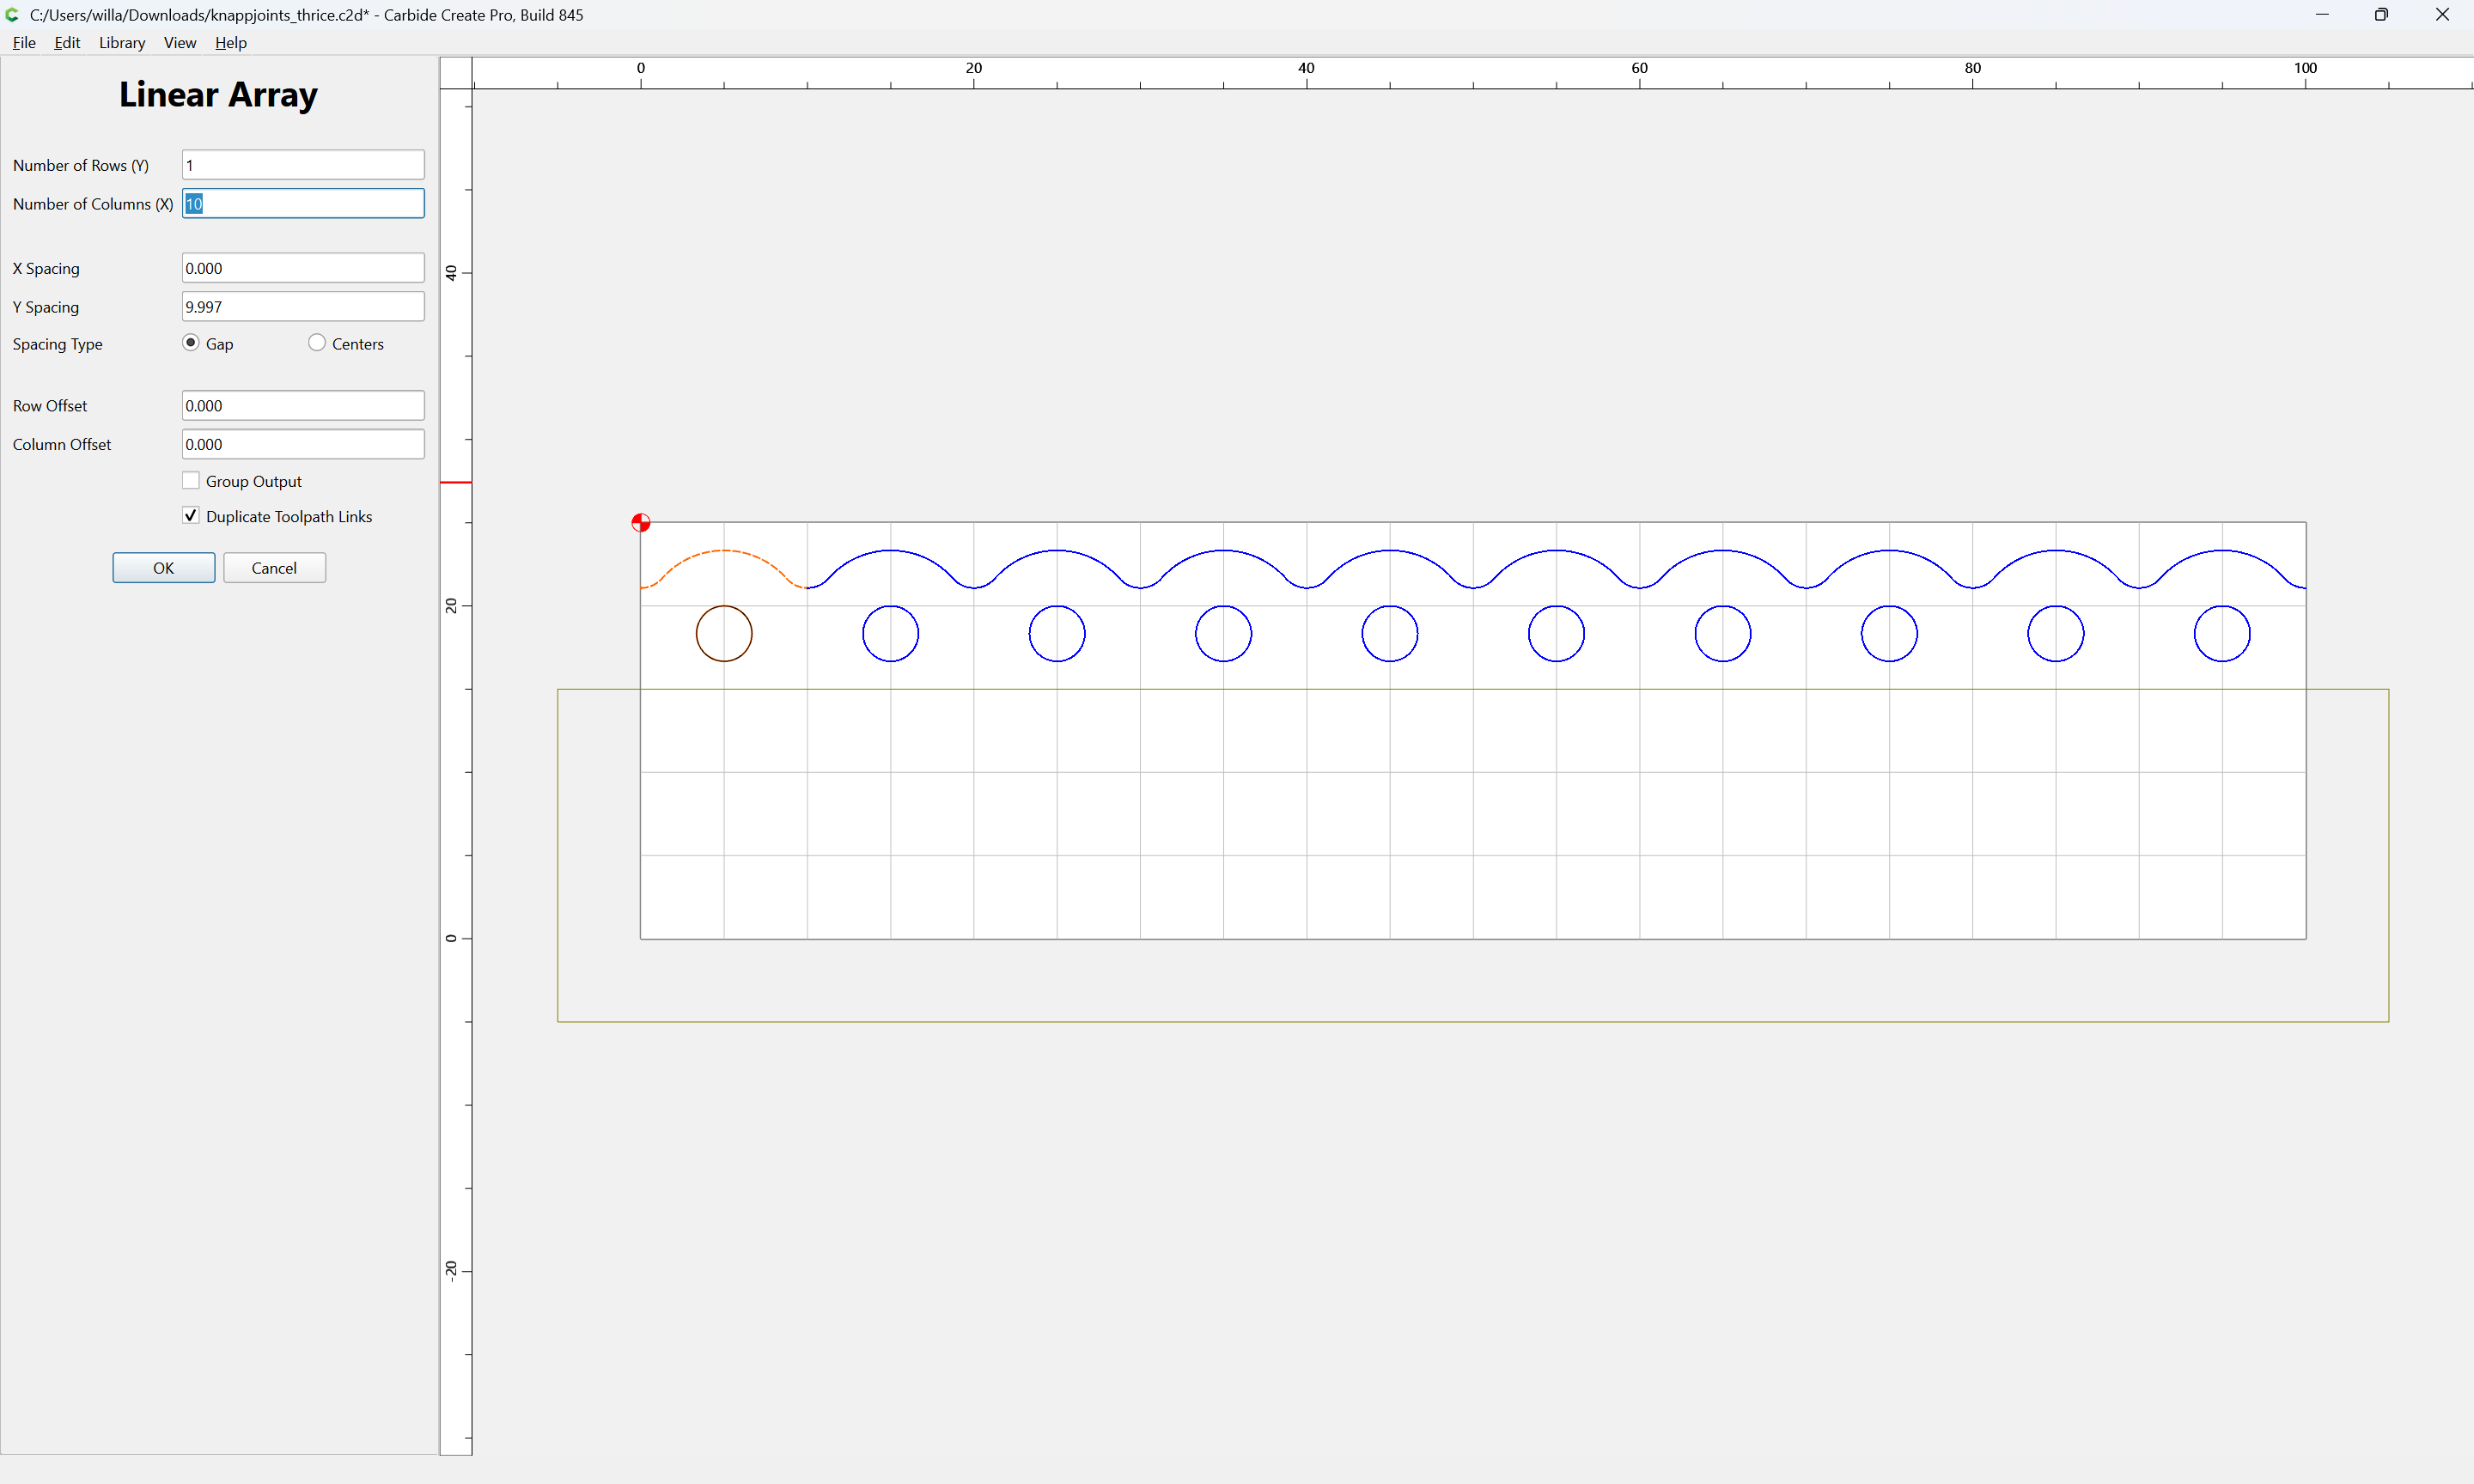
Then Linear Array used to create as many instances as are needed:
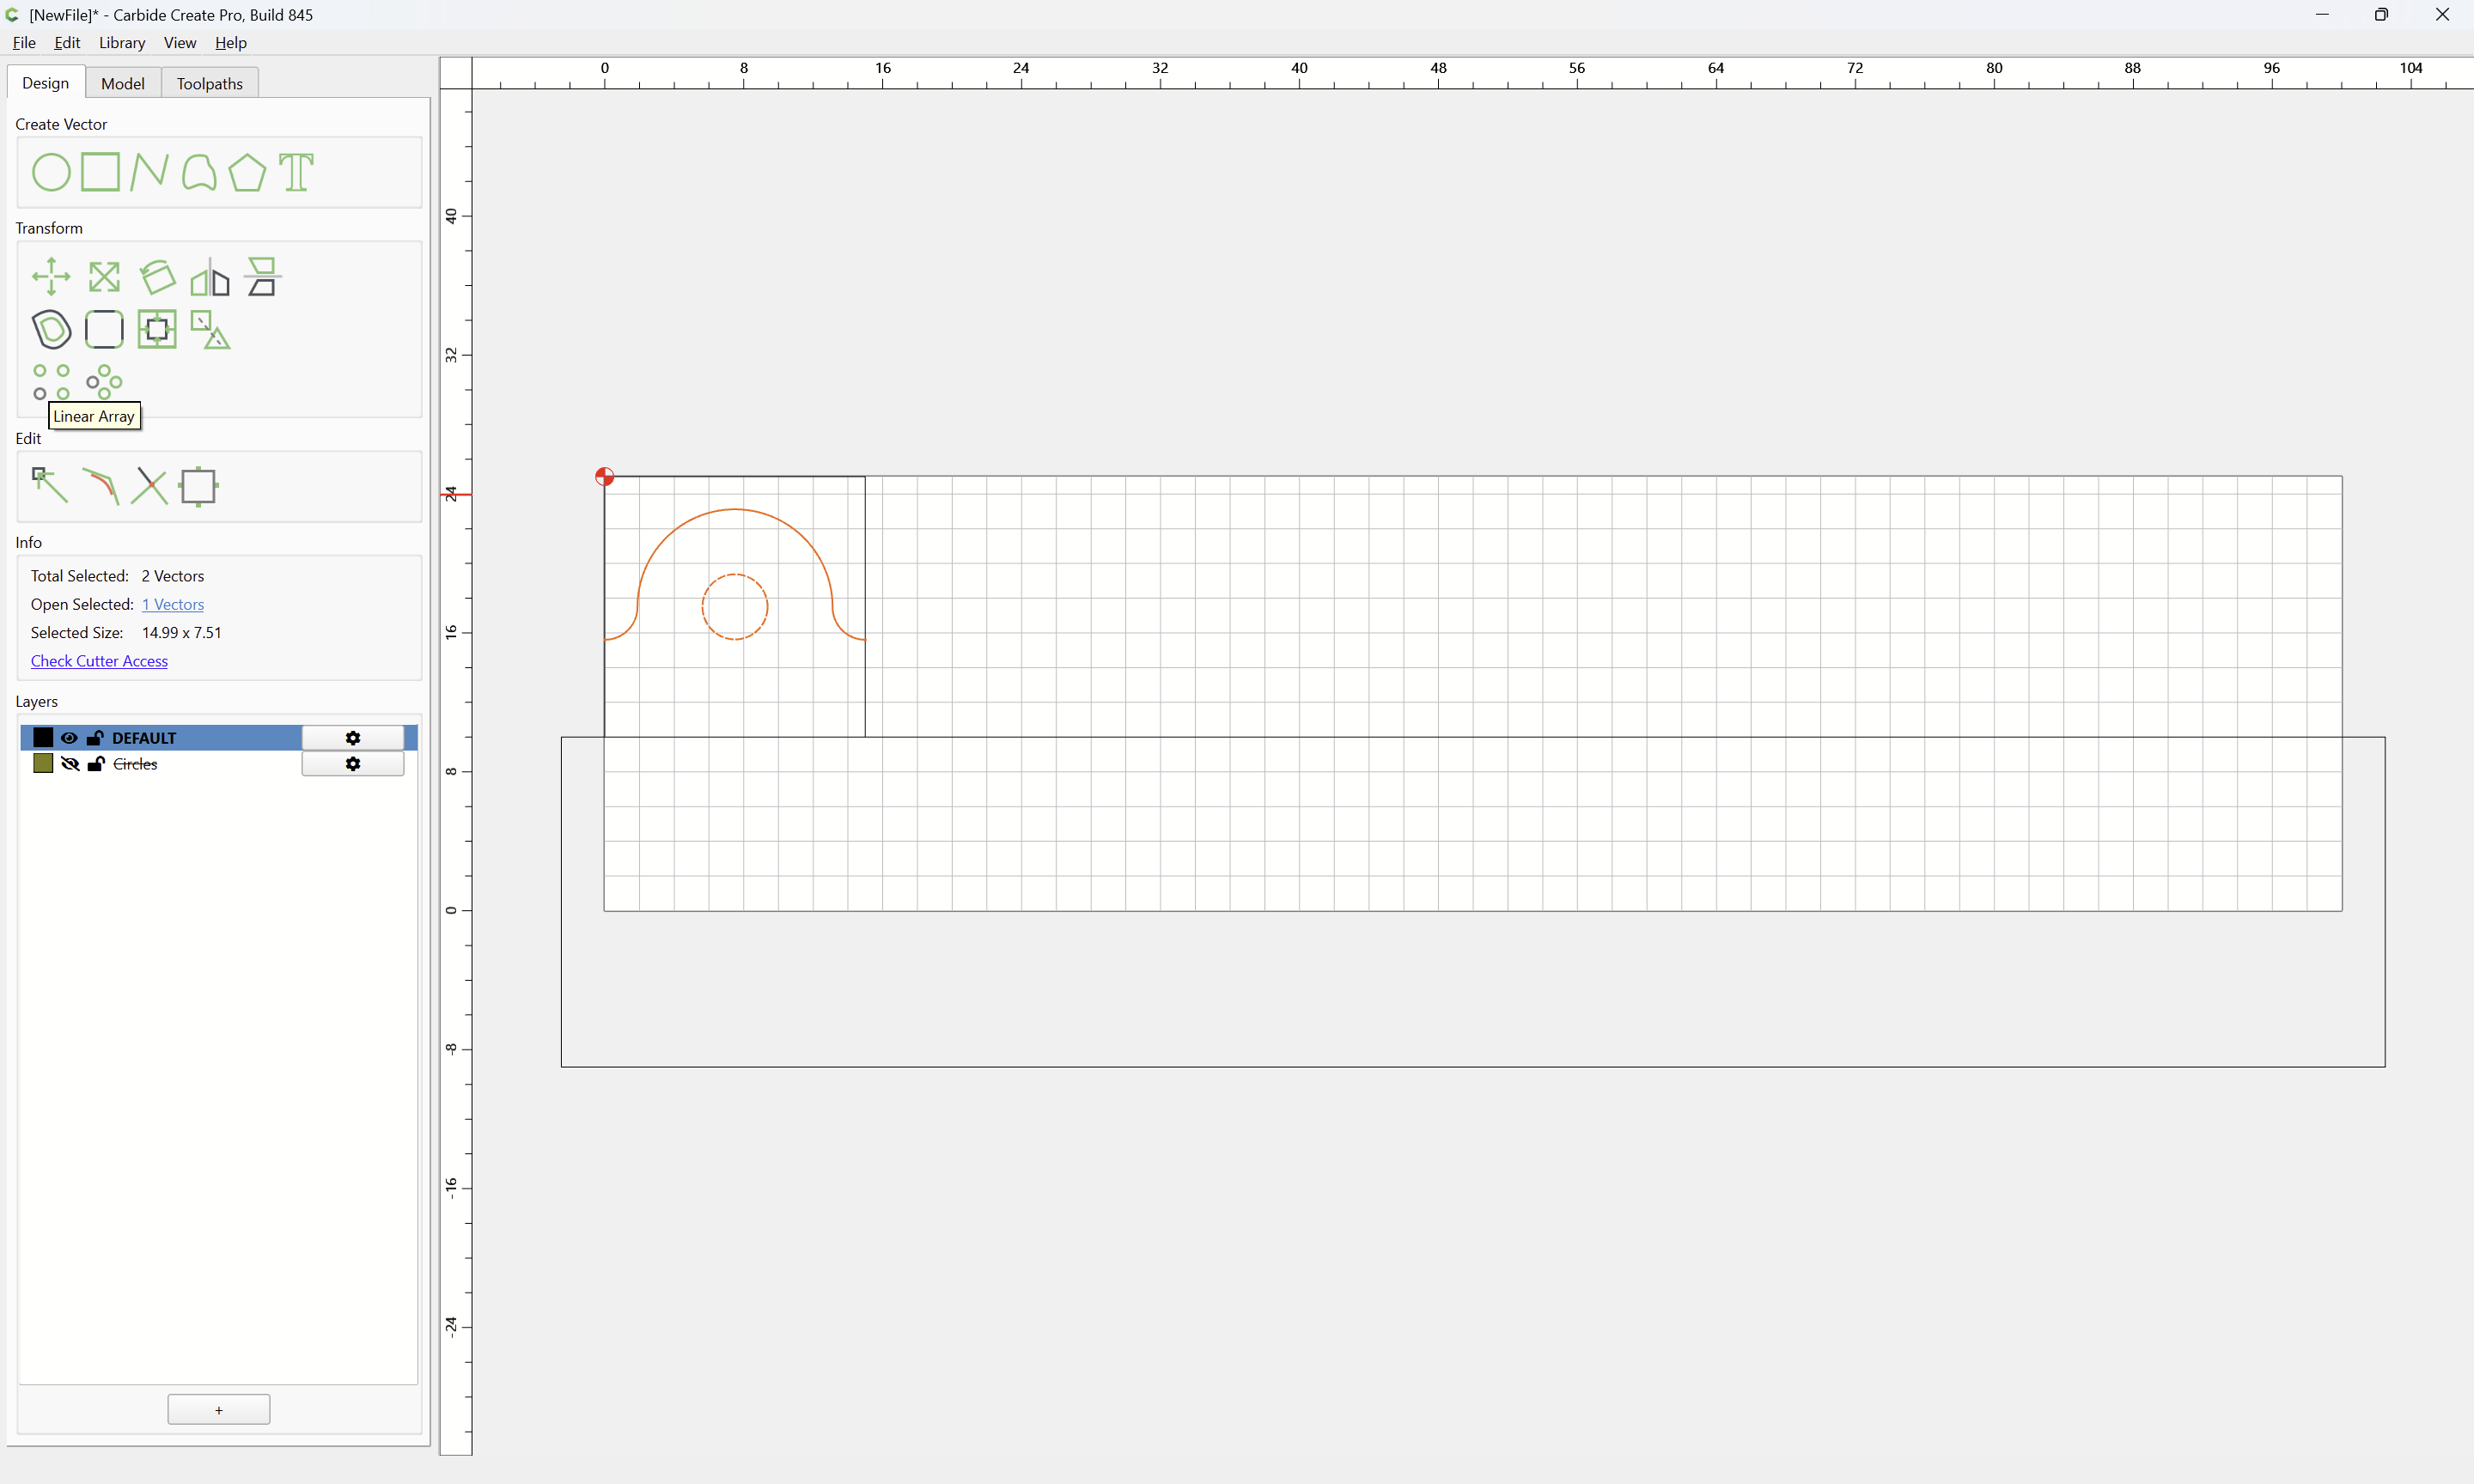
OK
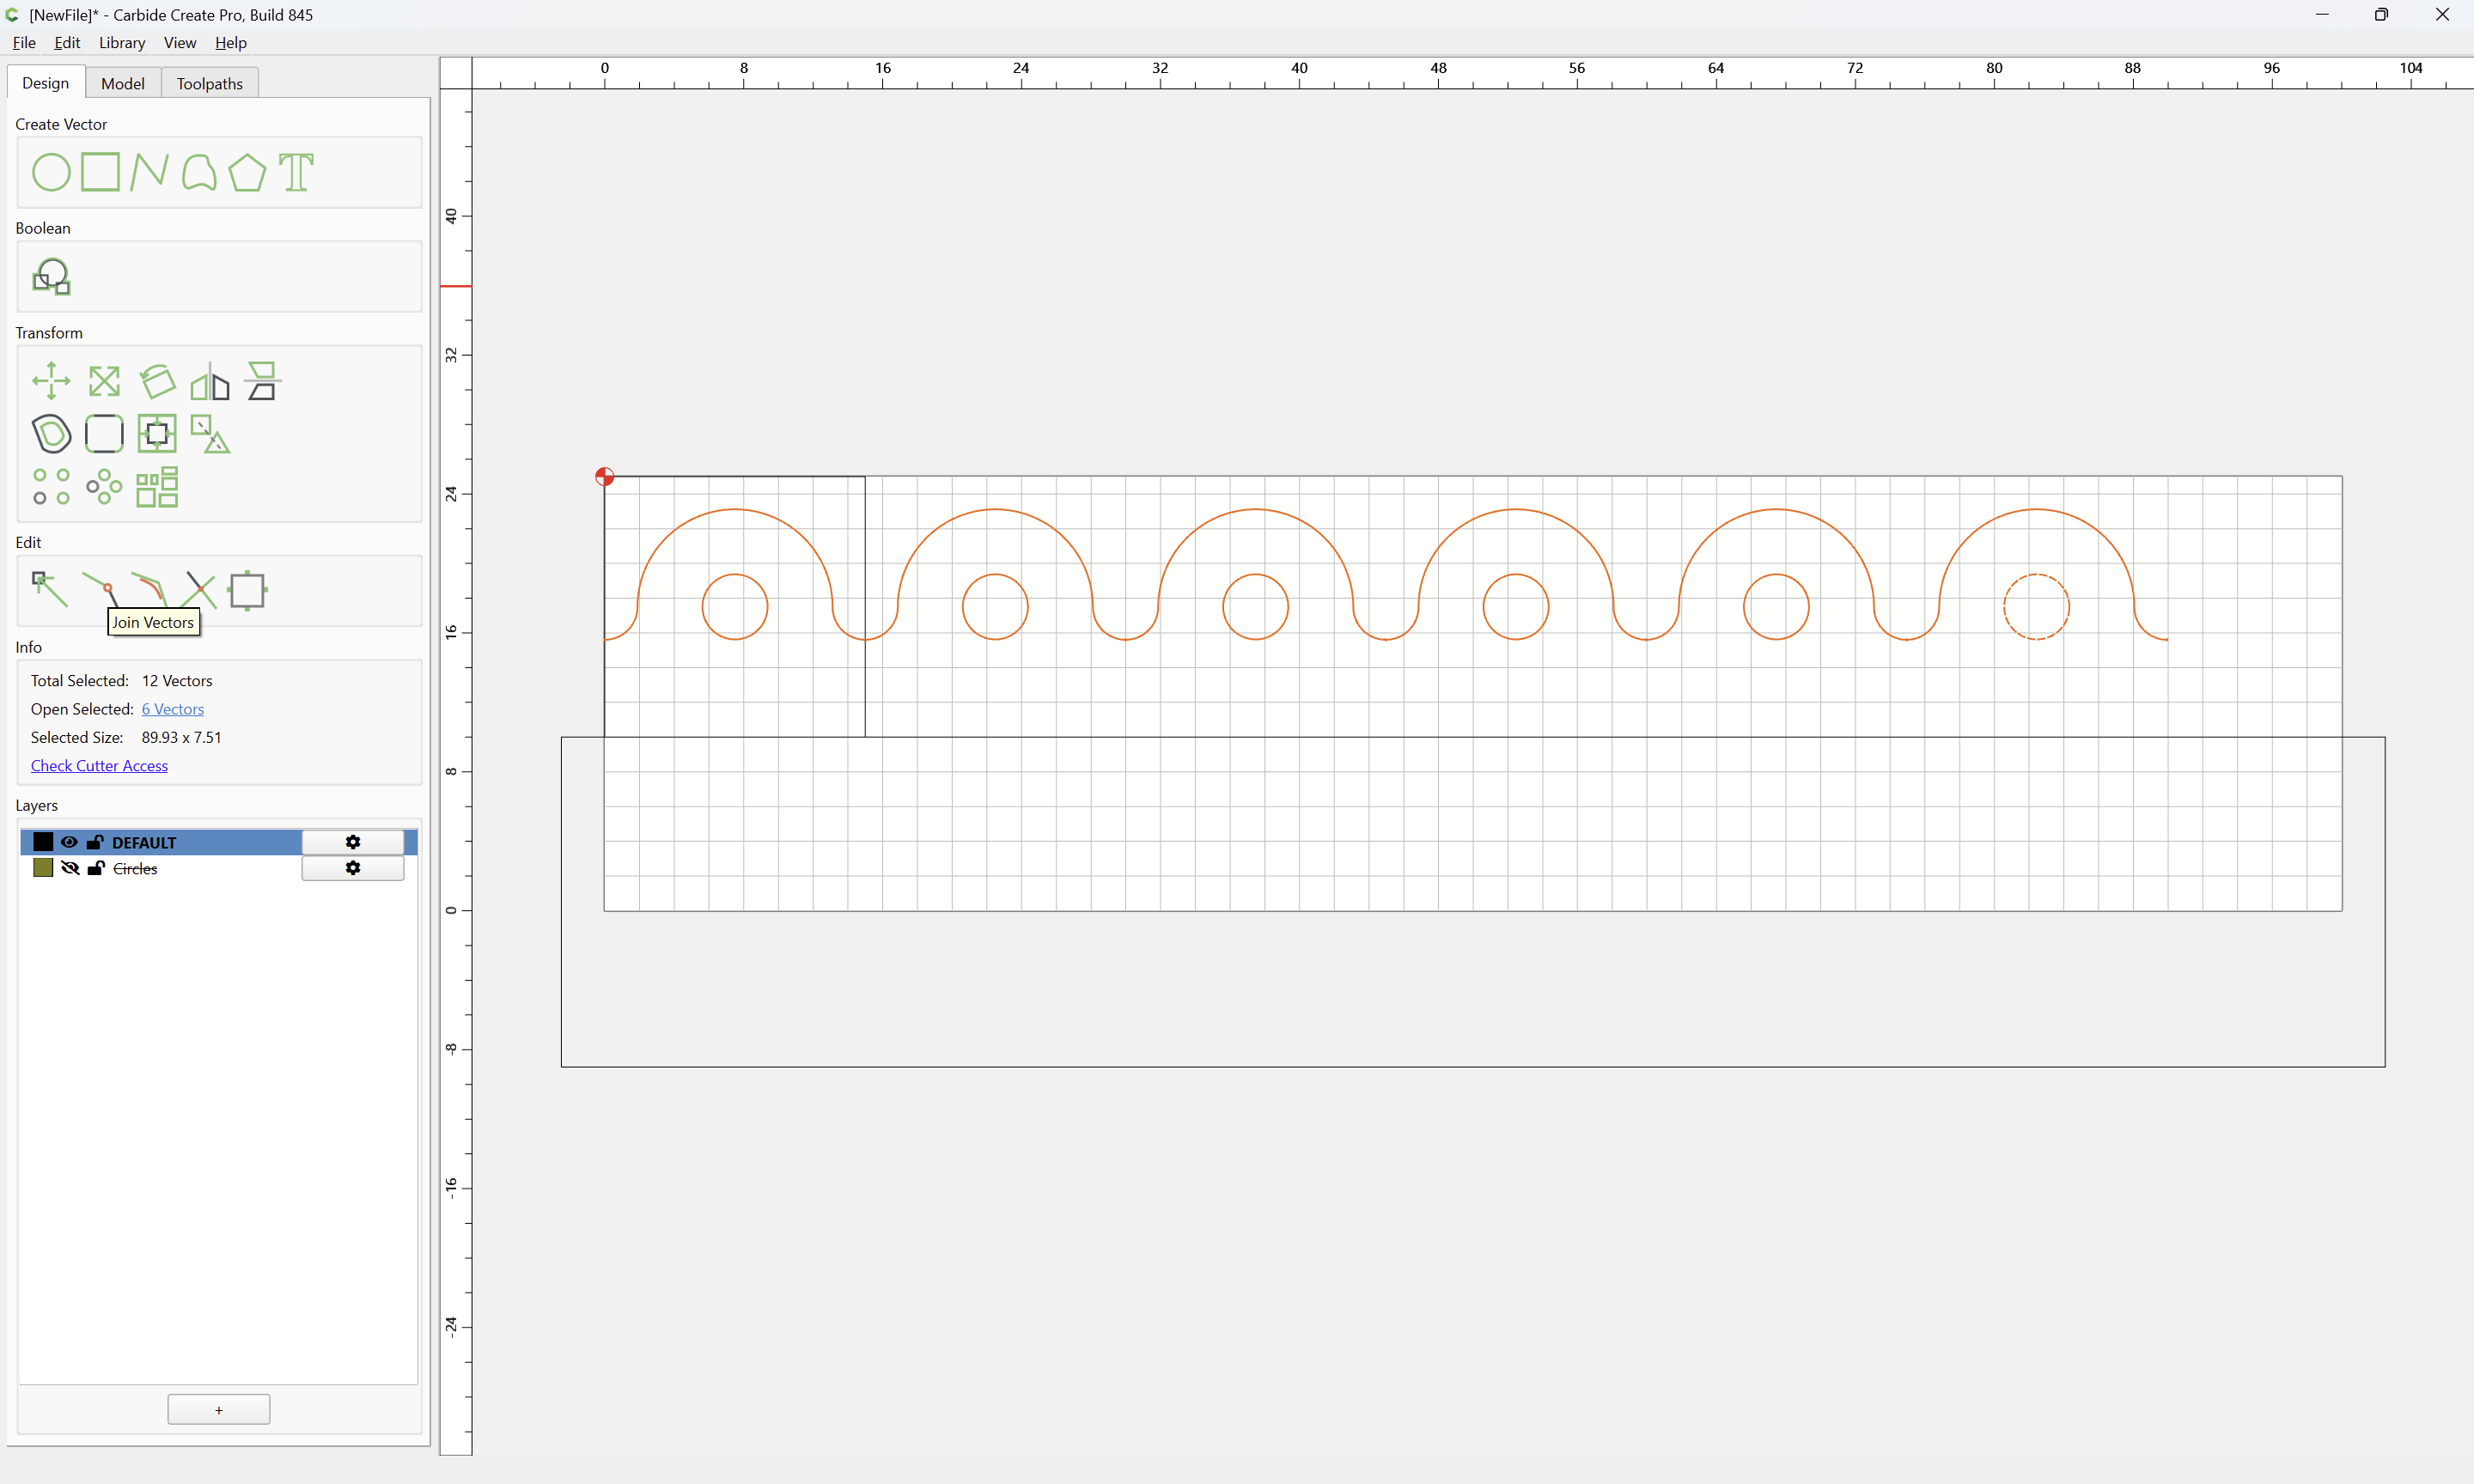
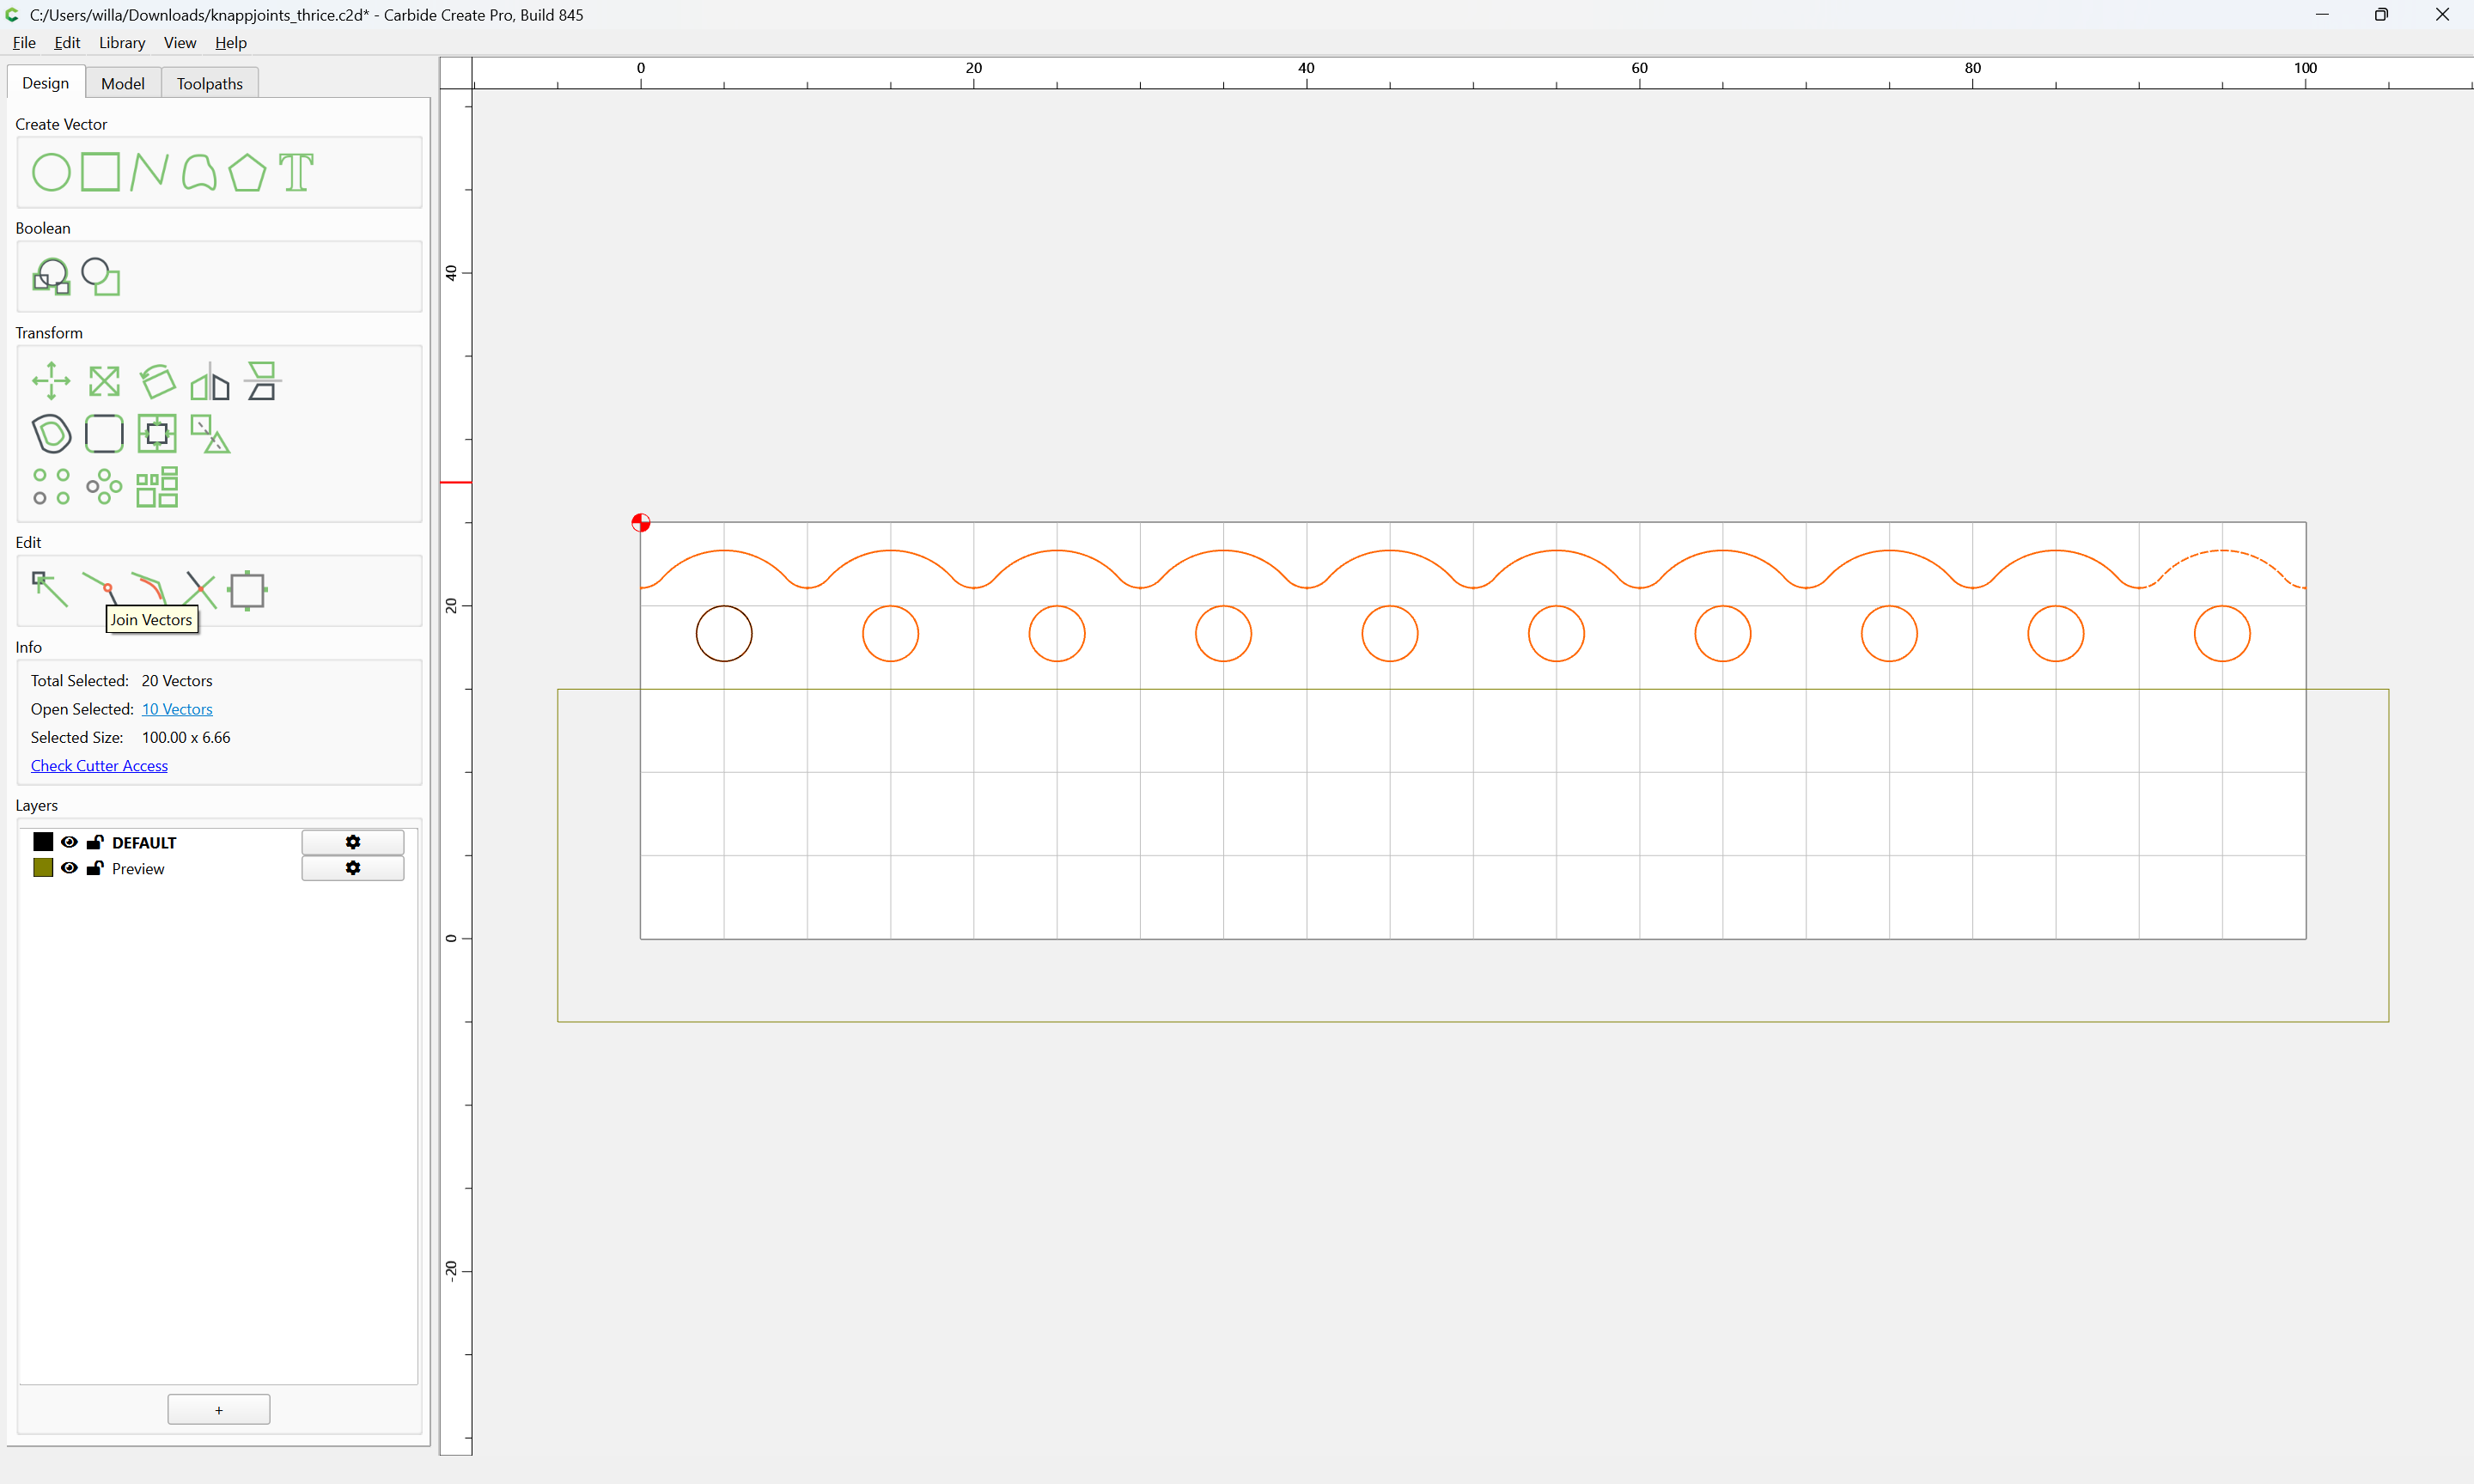
Use Join Vectors
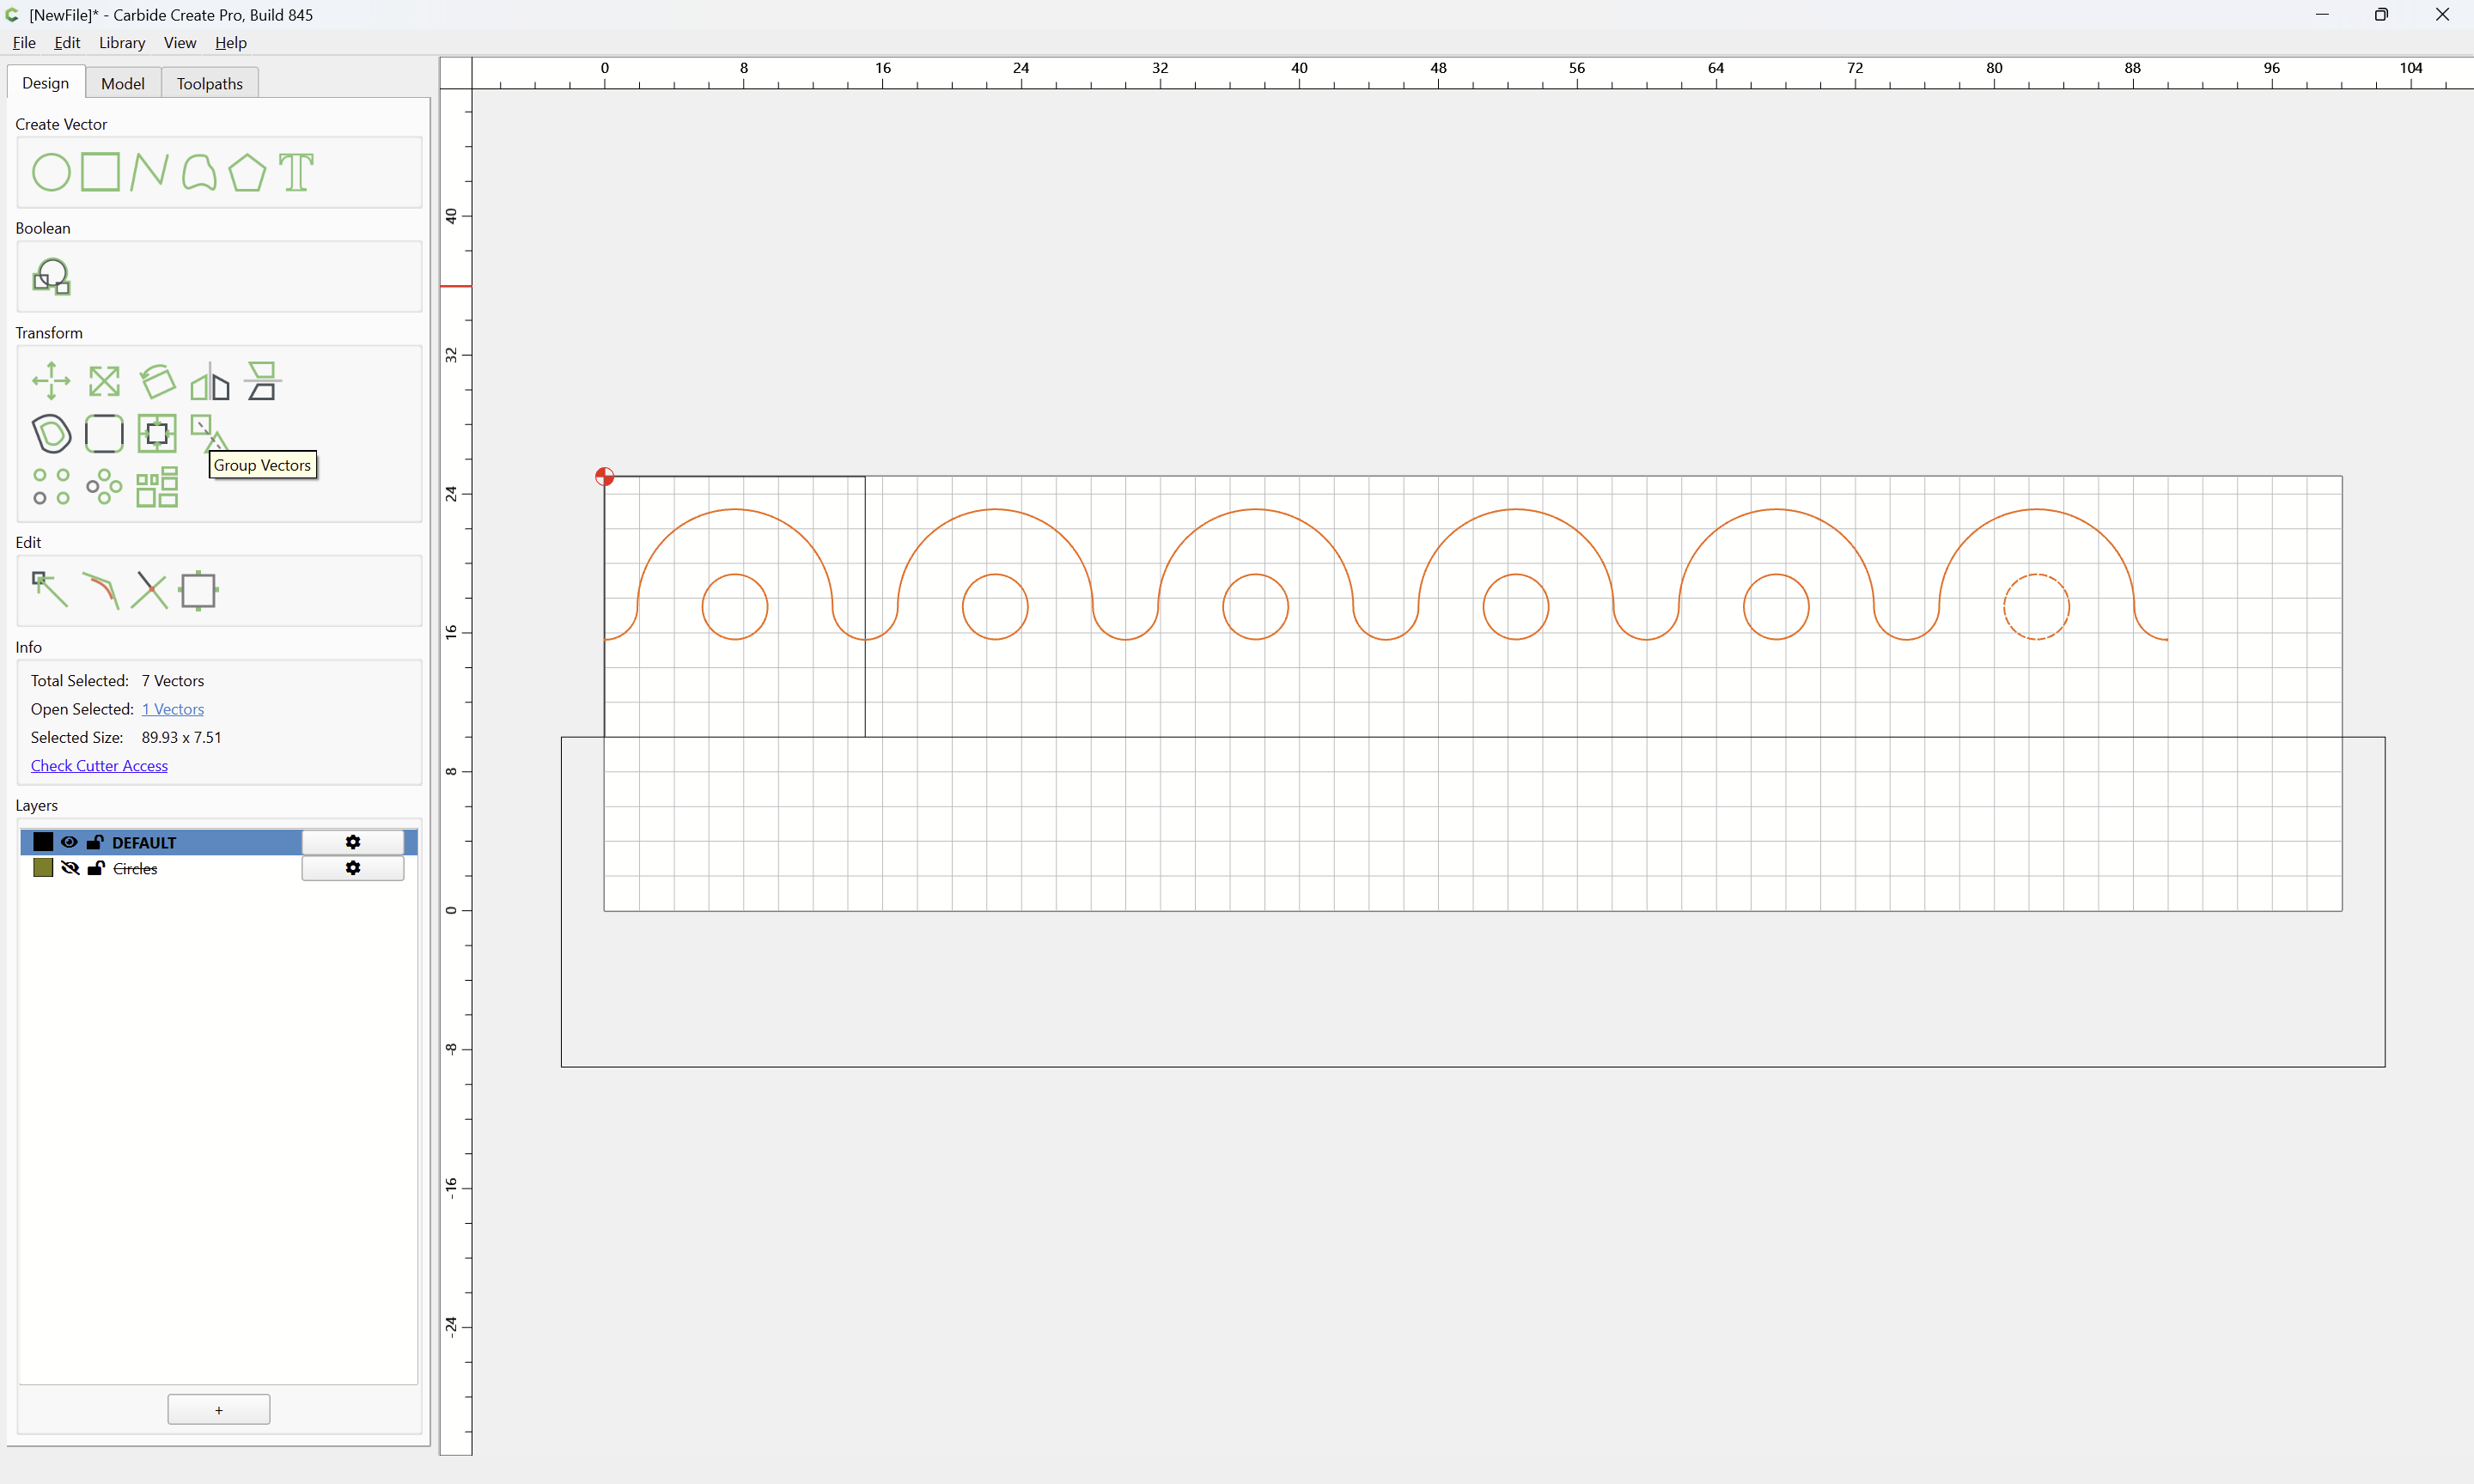
then Group Vectors:
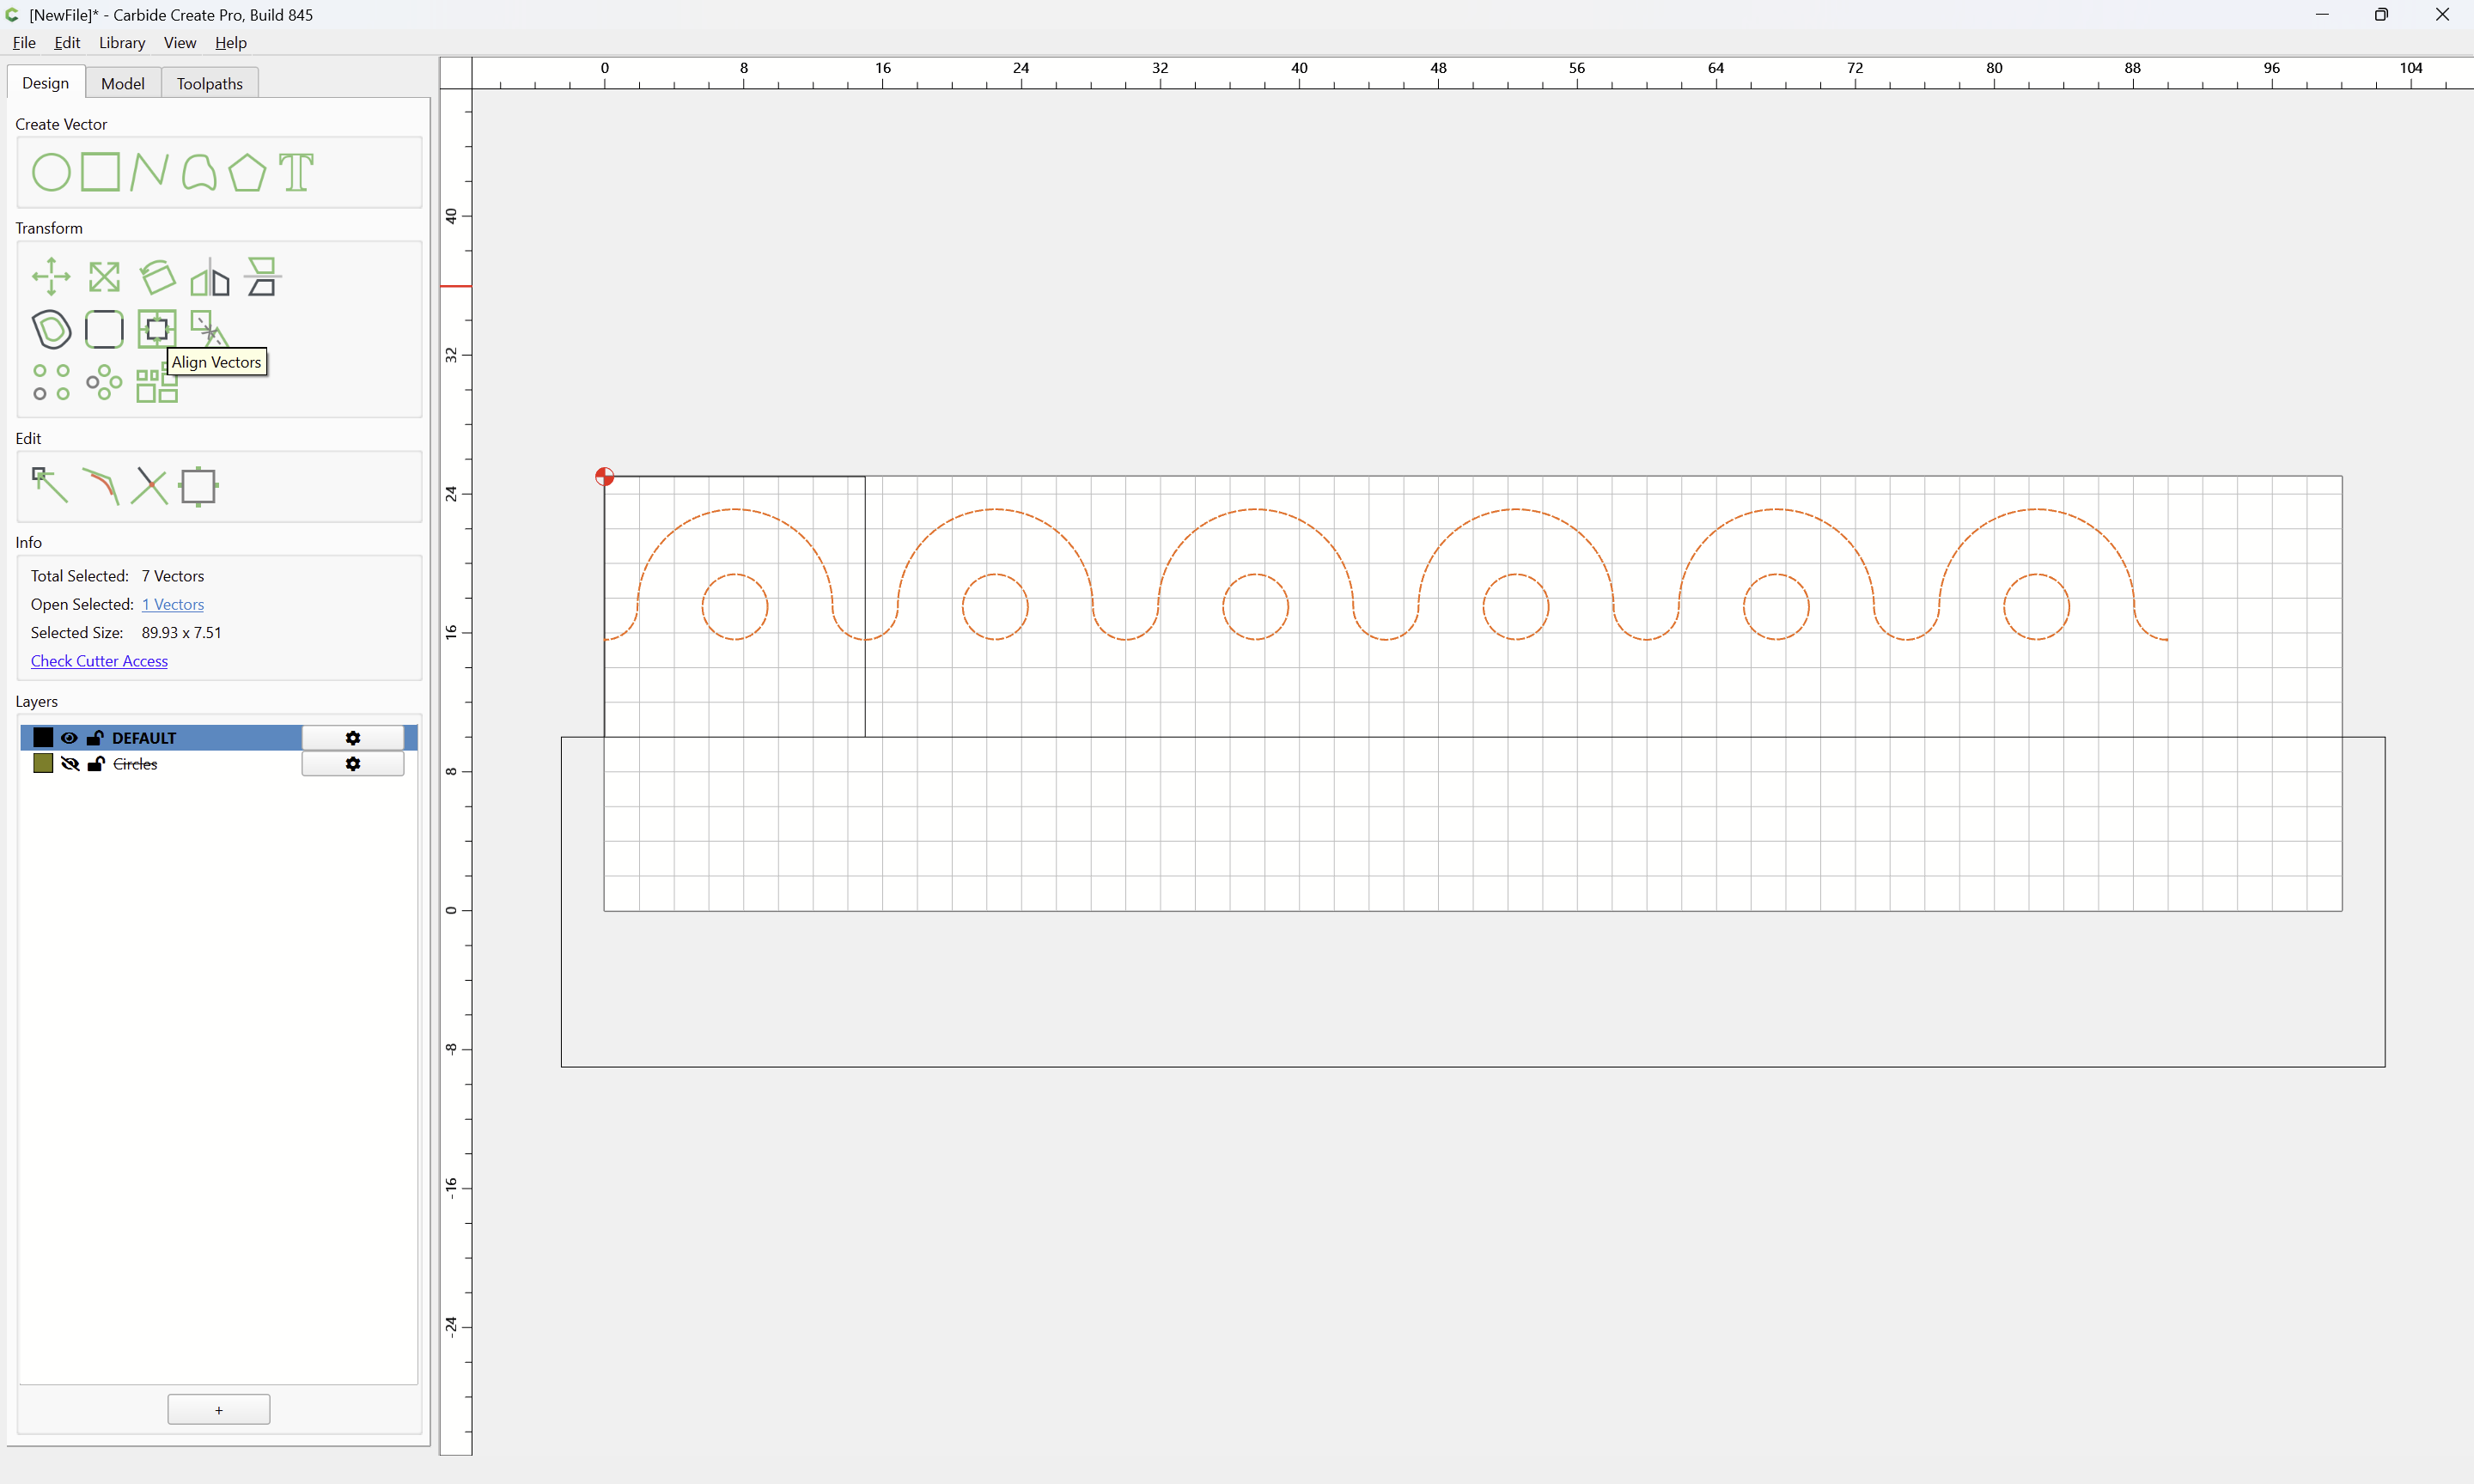
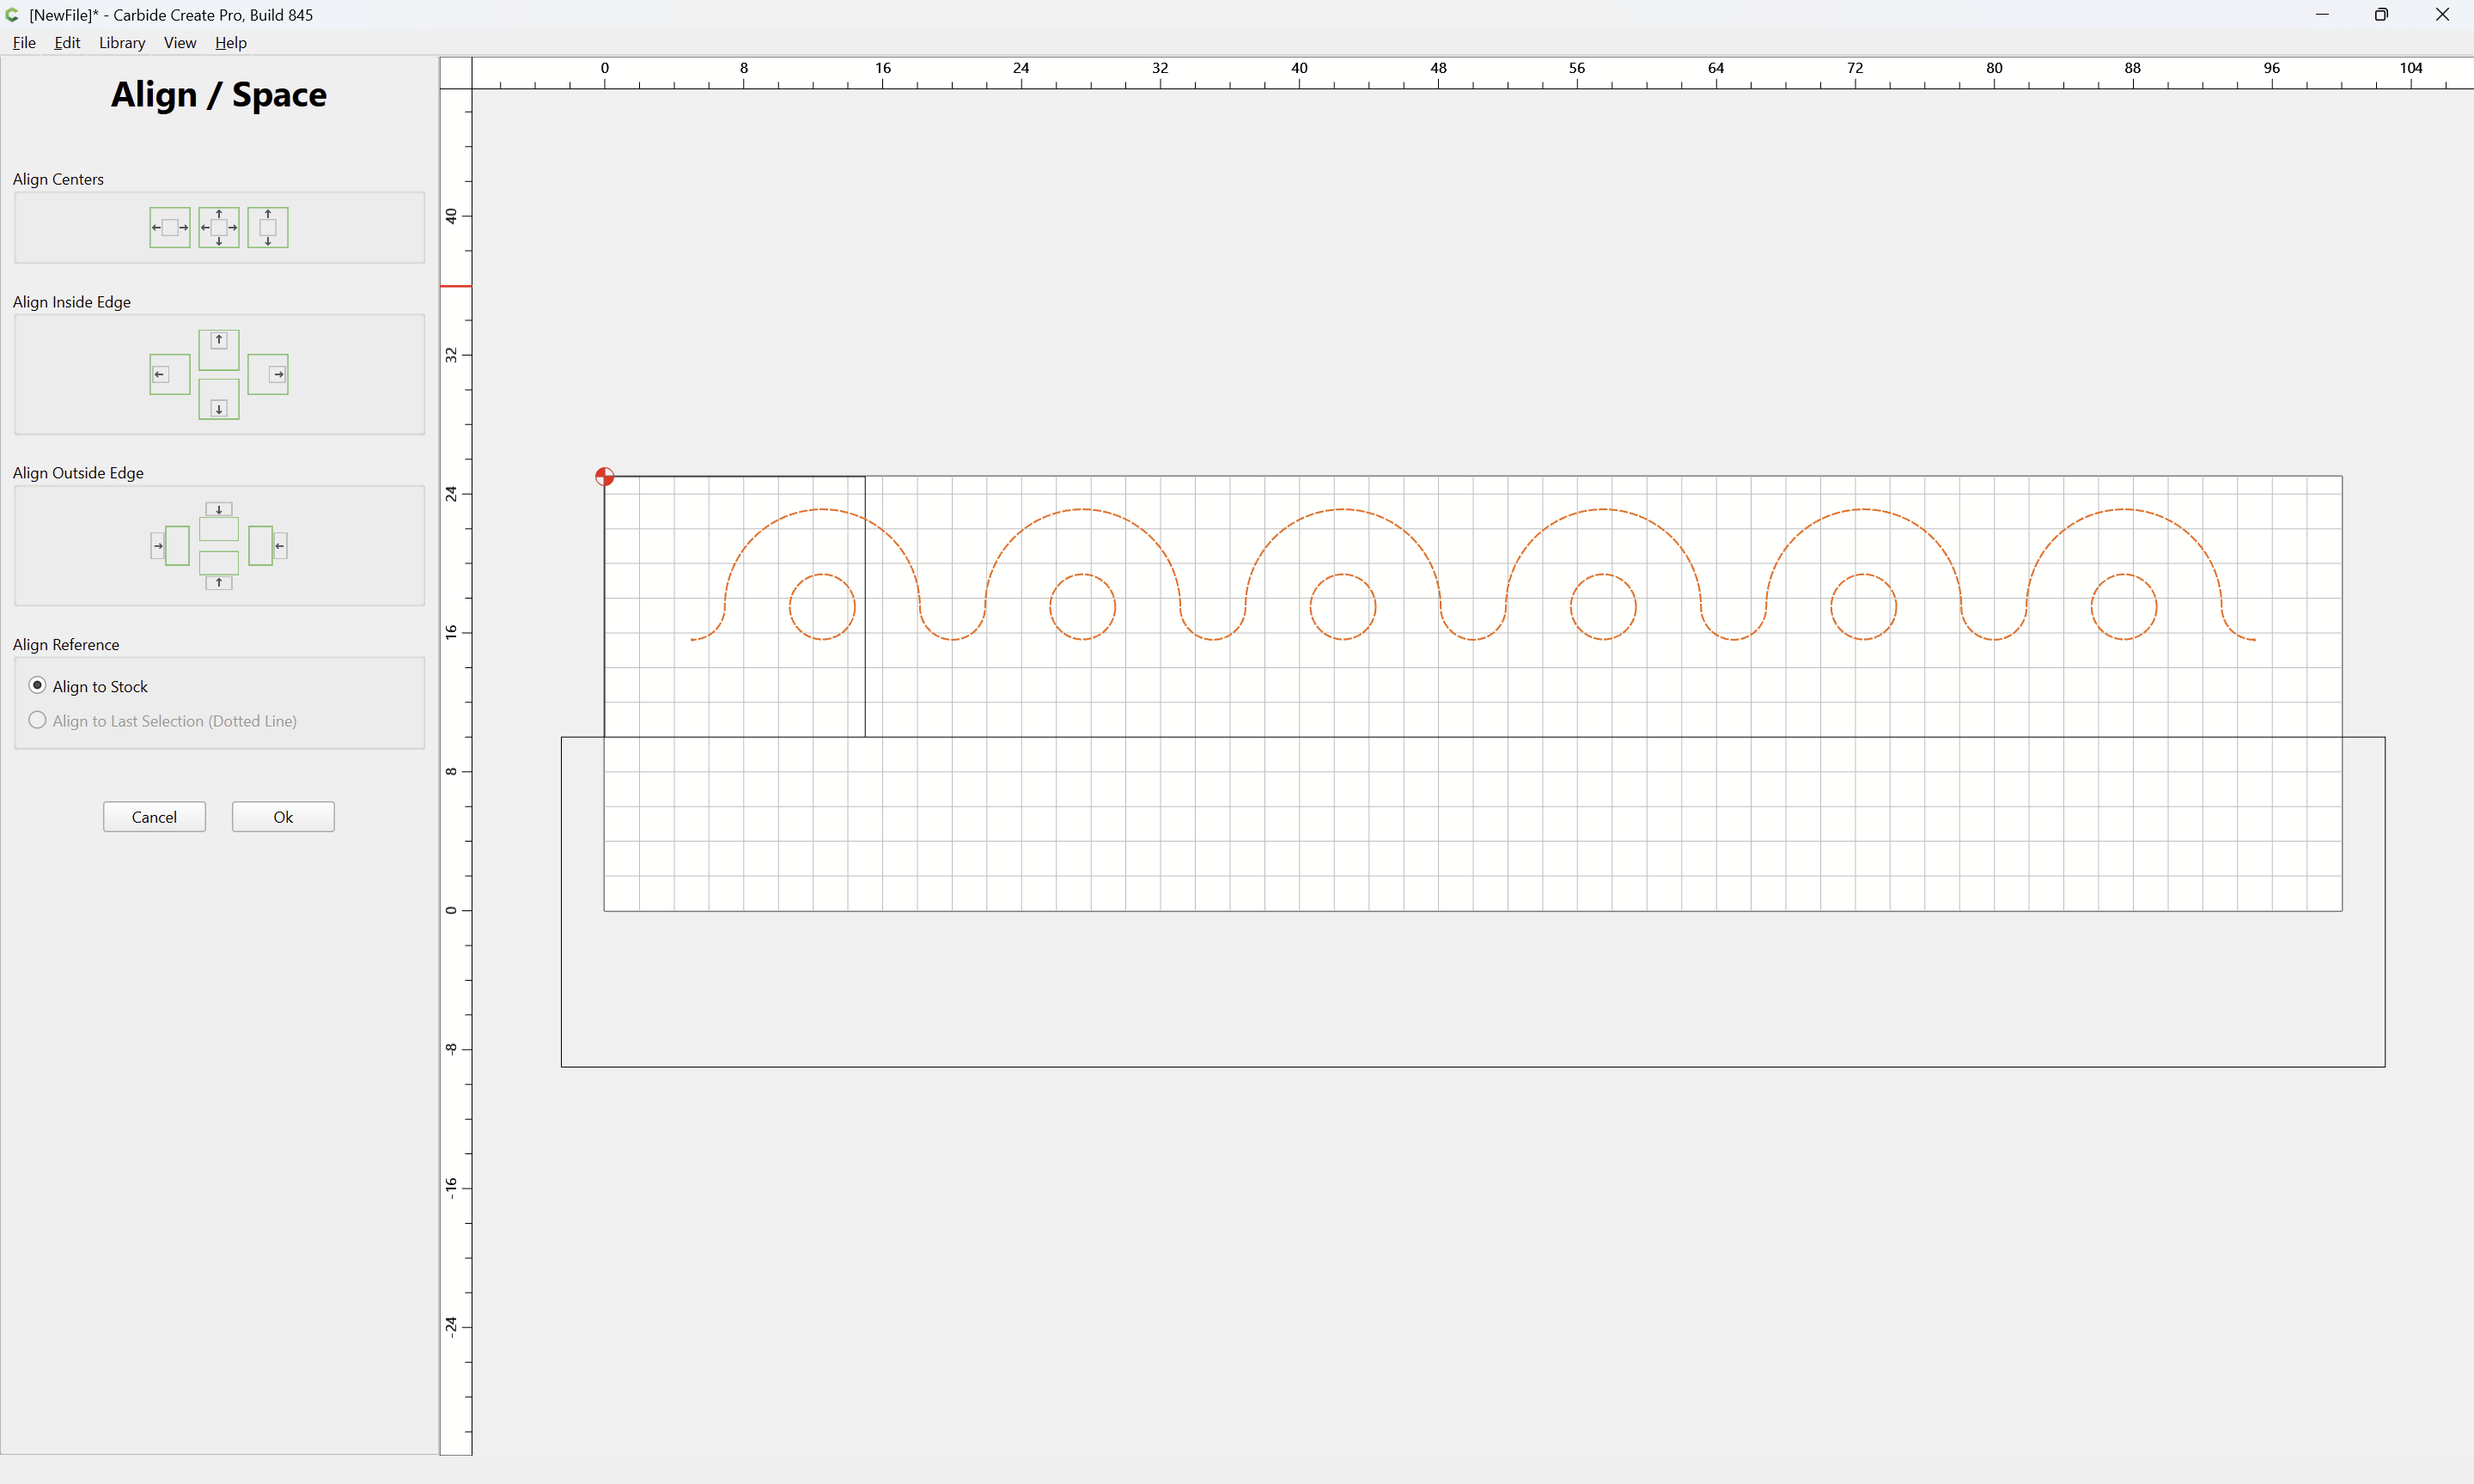
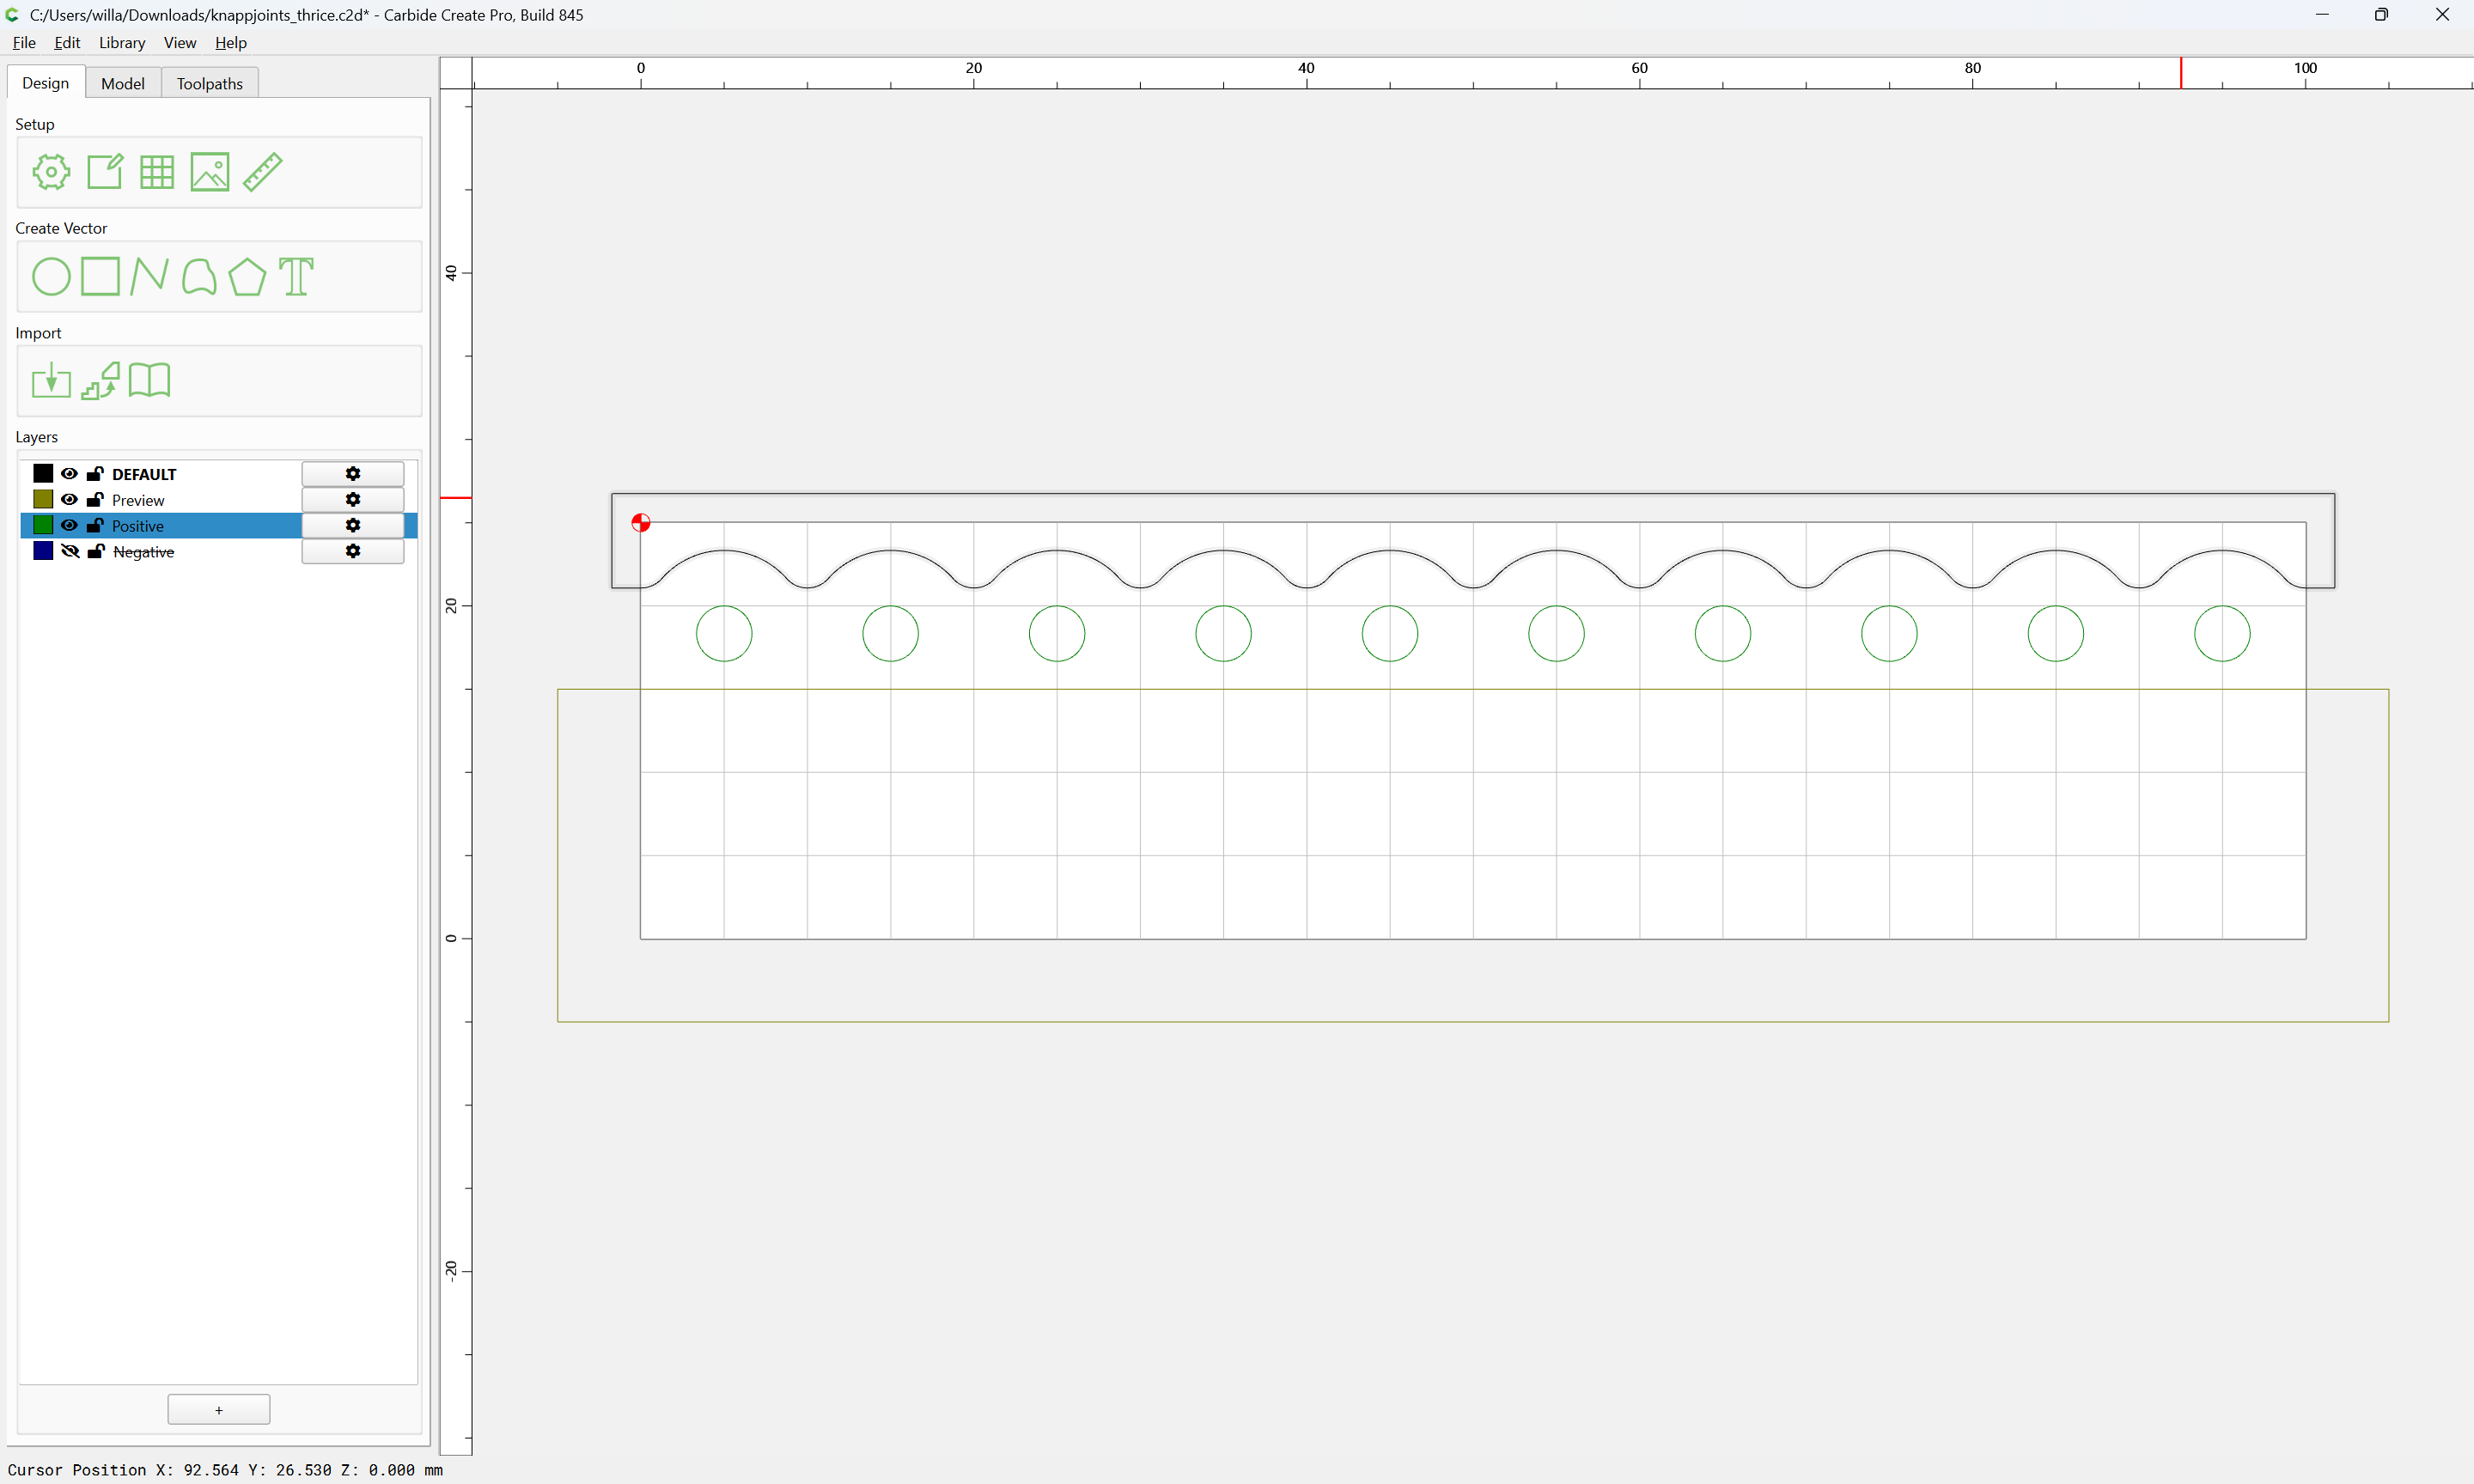
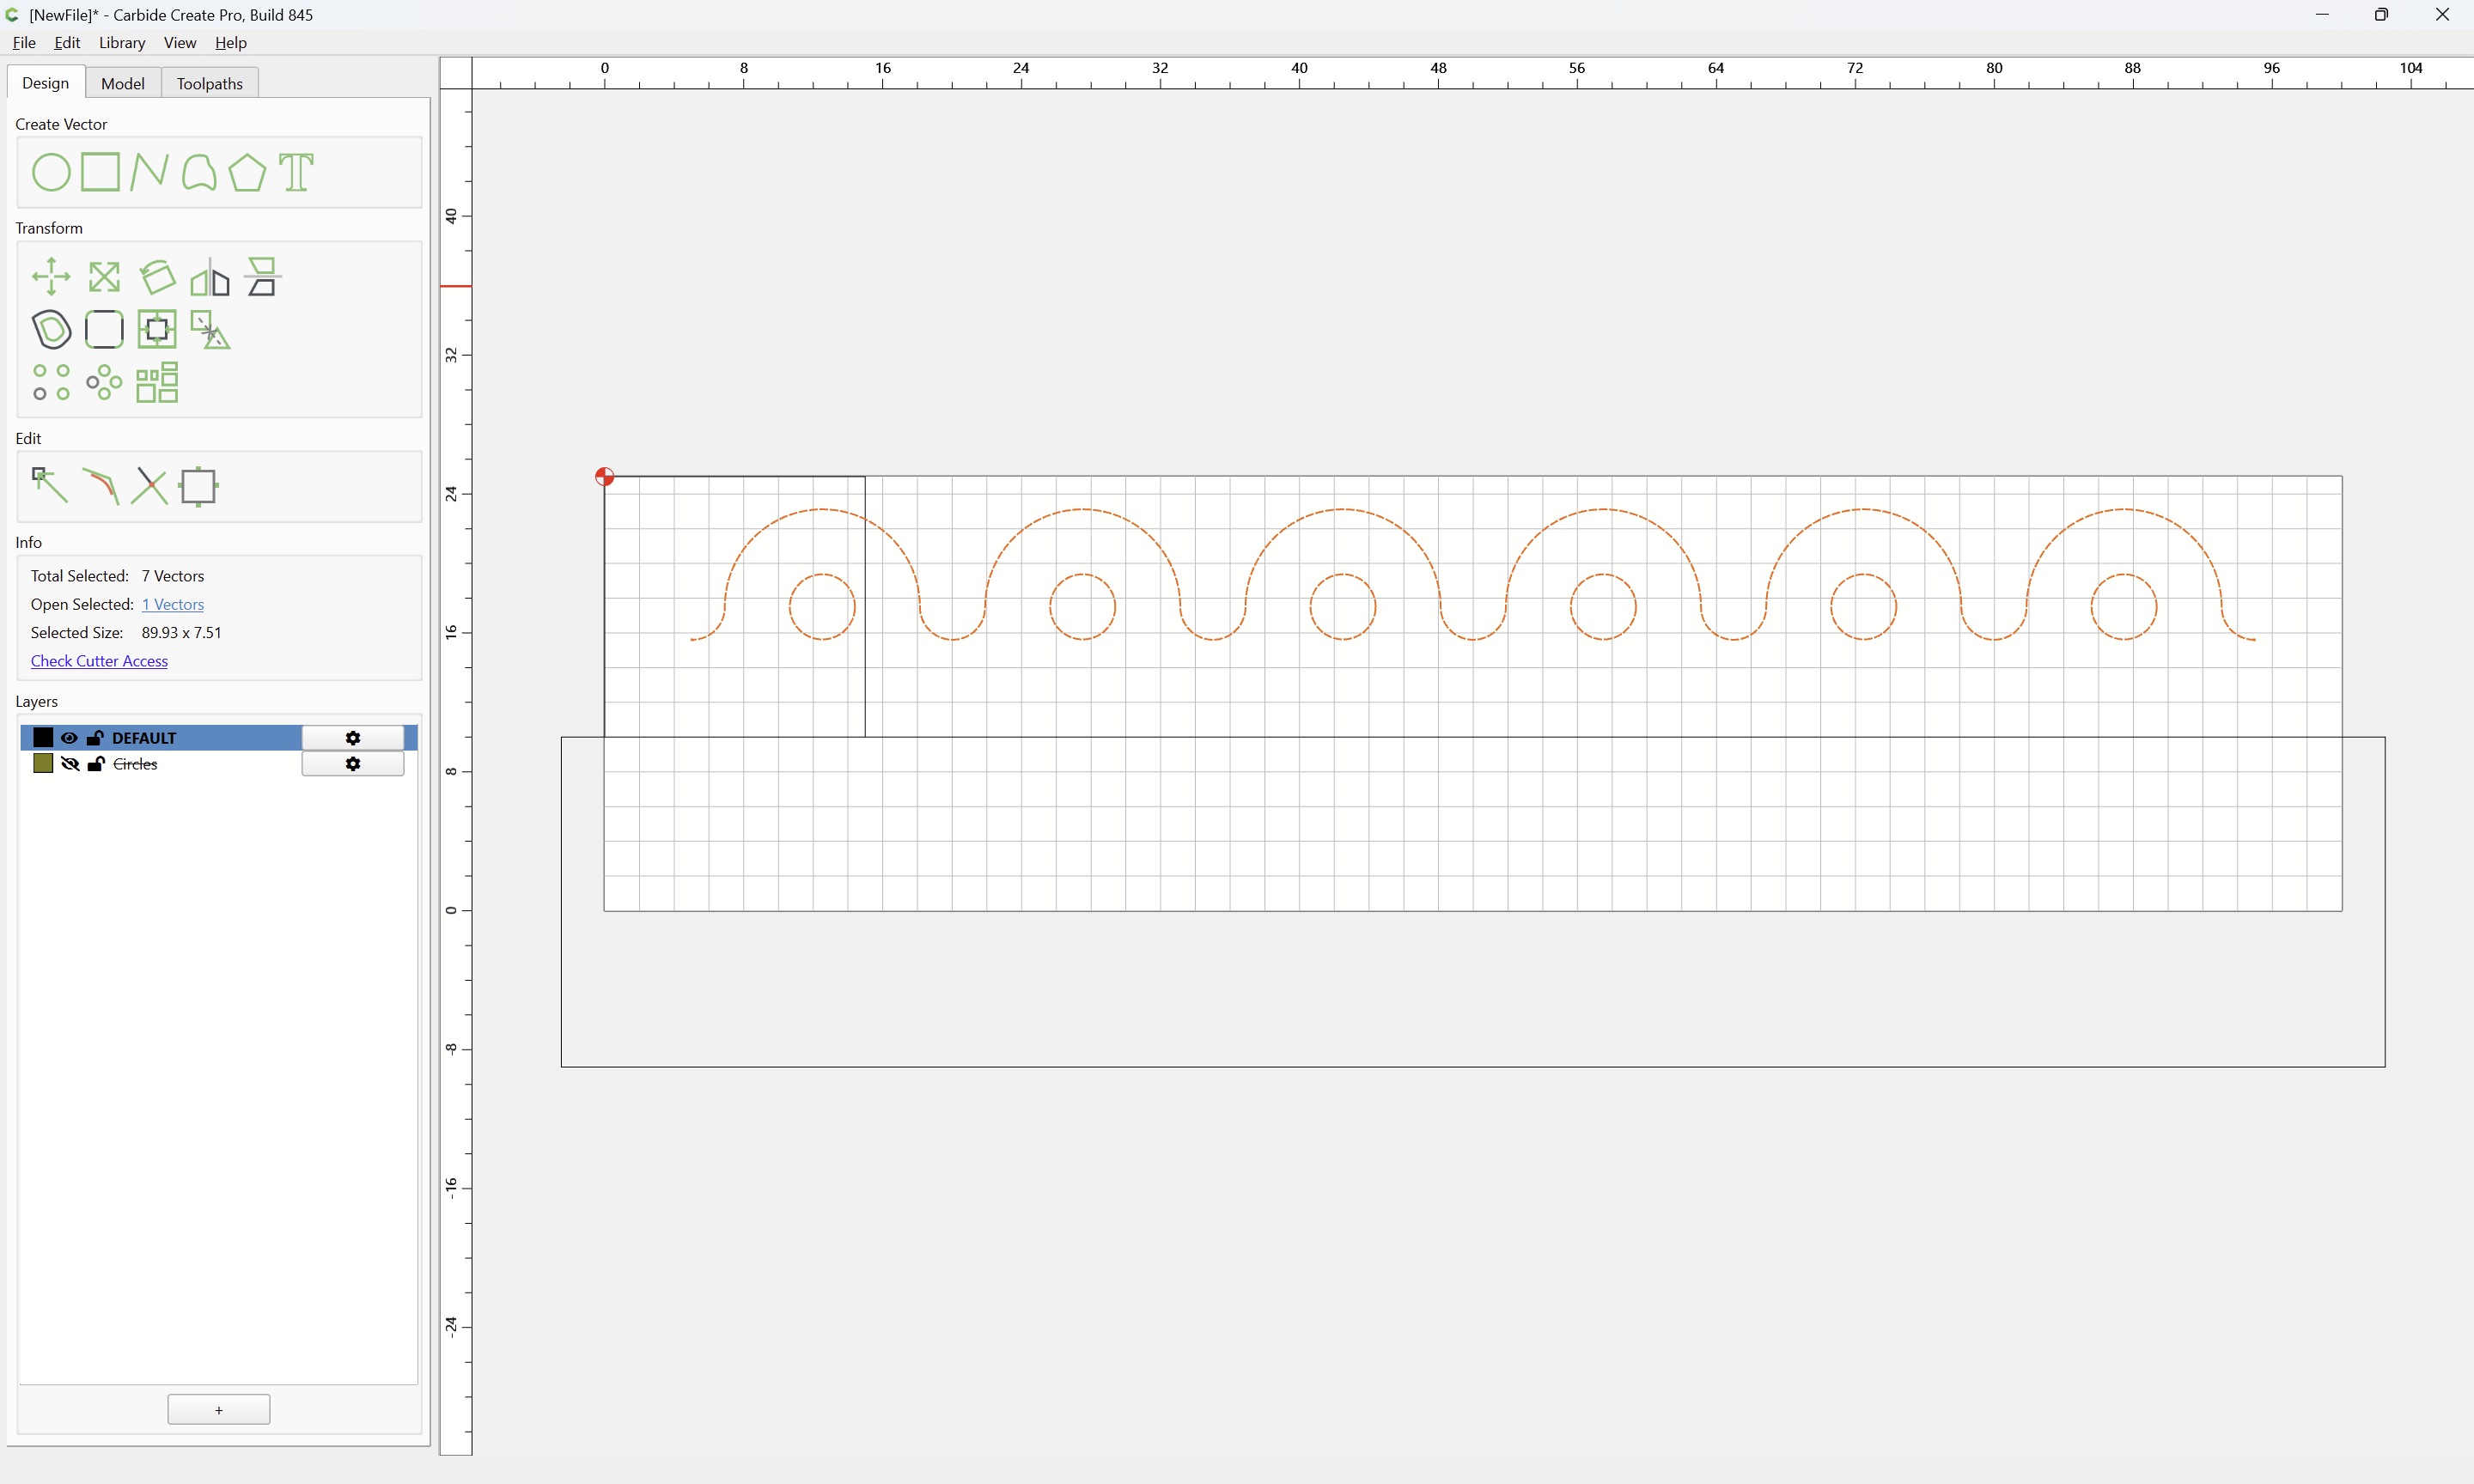
Then align to the Center of the Stock:
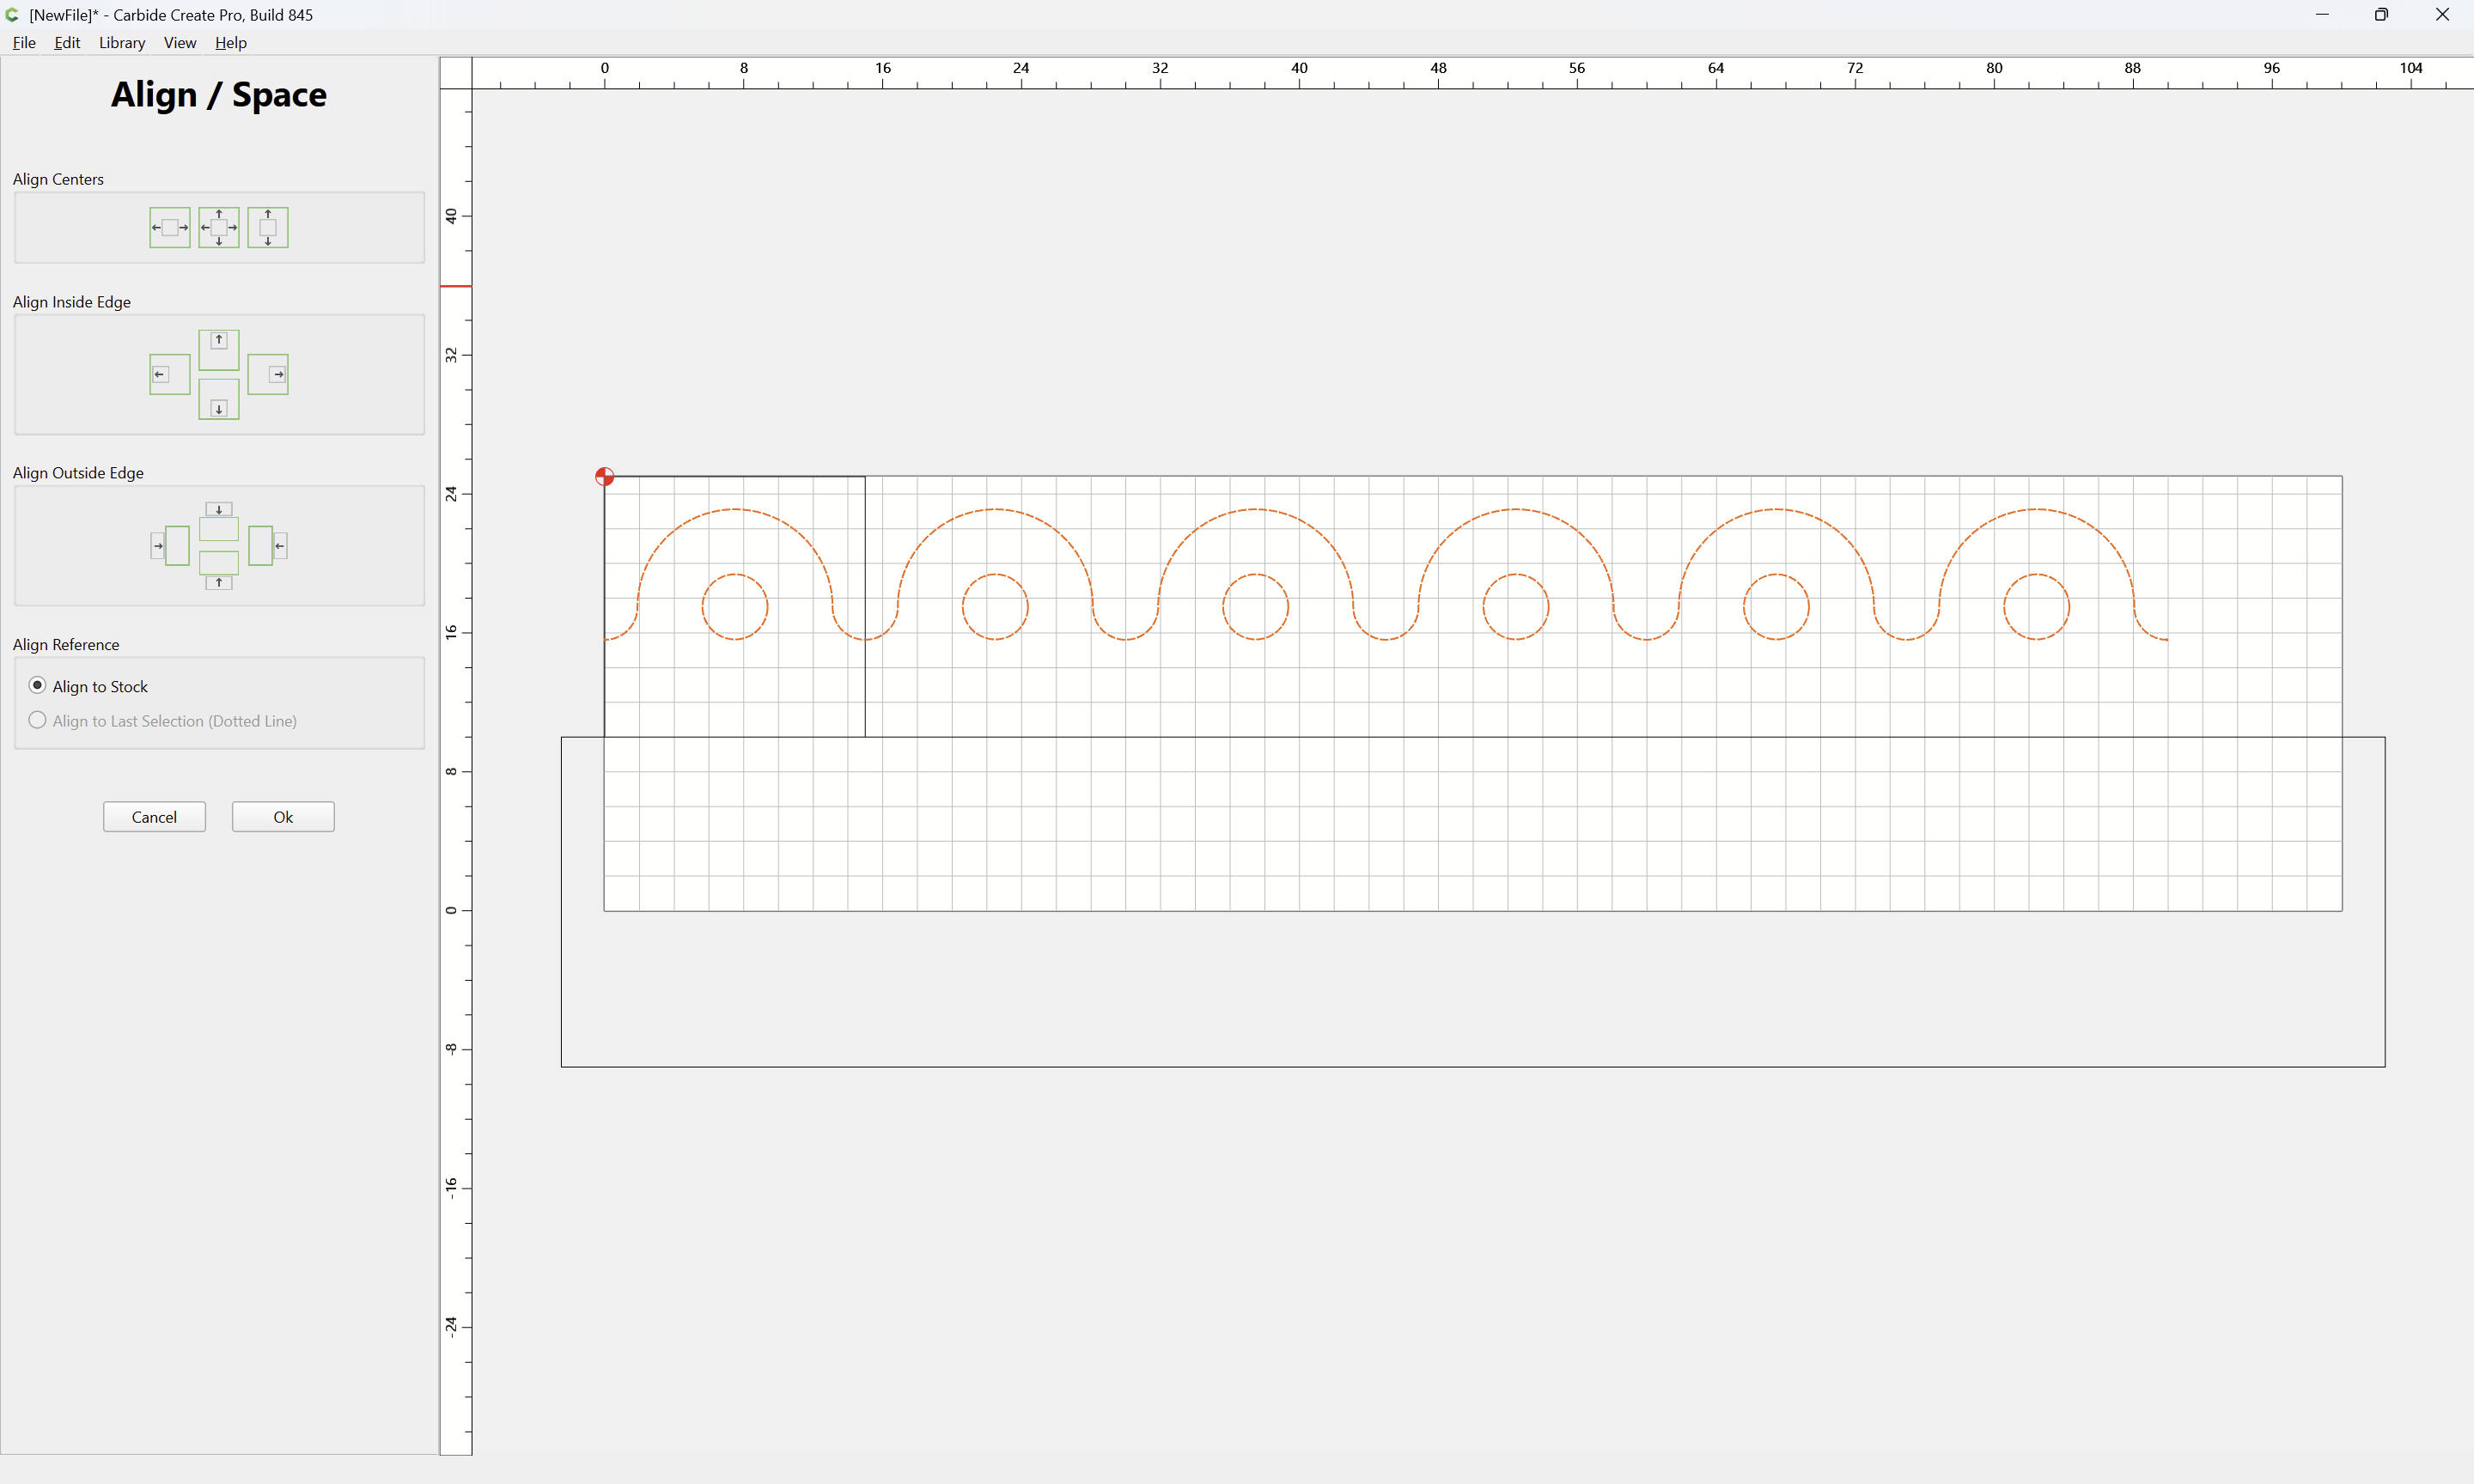
OK
Then draw in a square to allow drawing a line of the desired length to connect to one end:
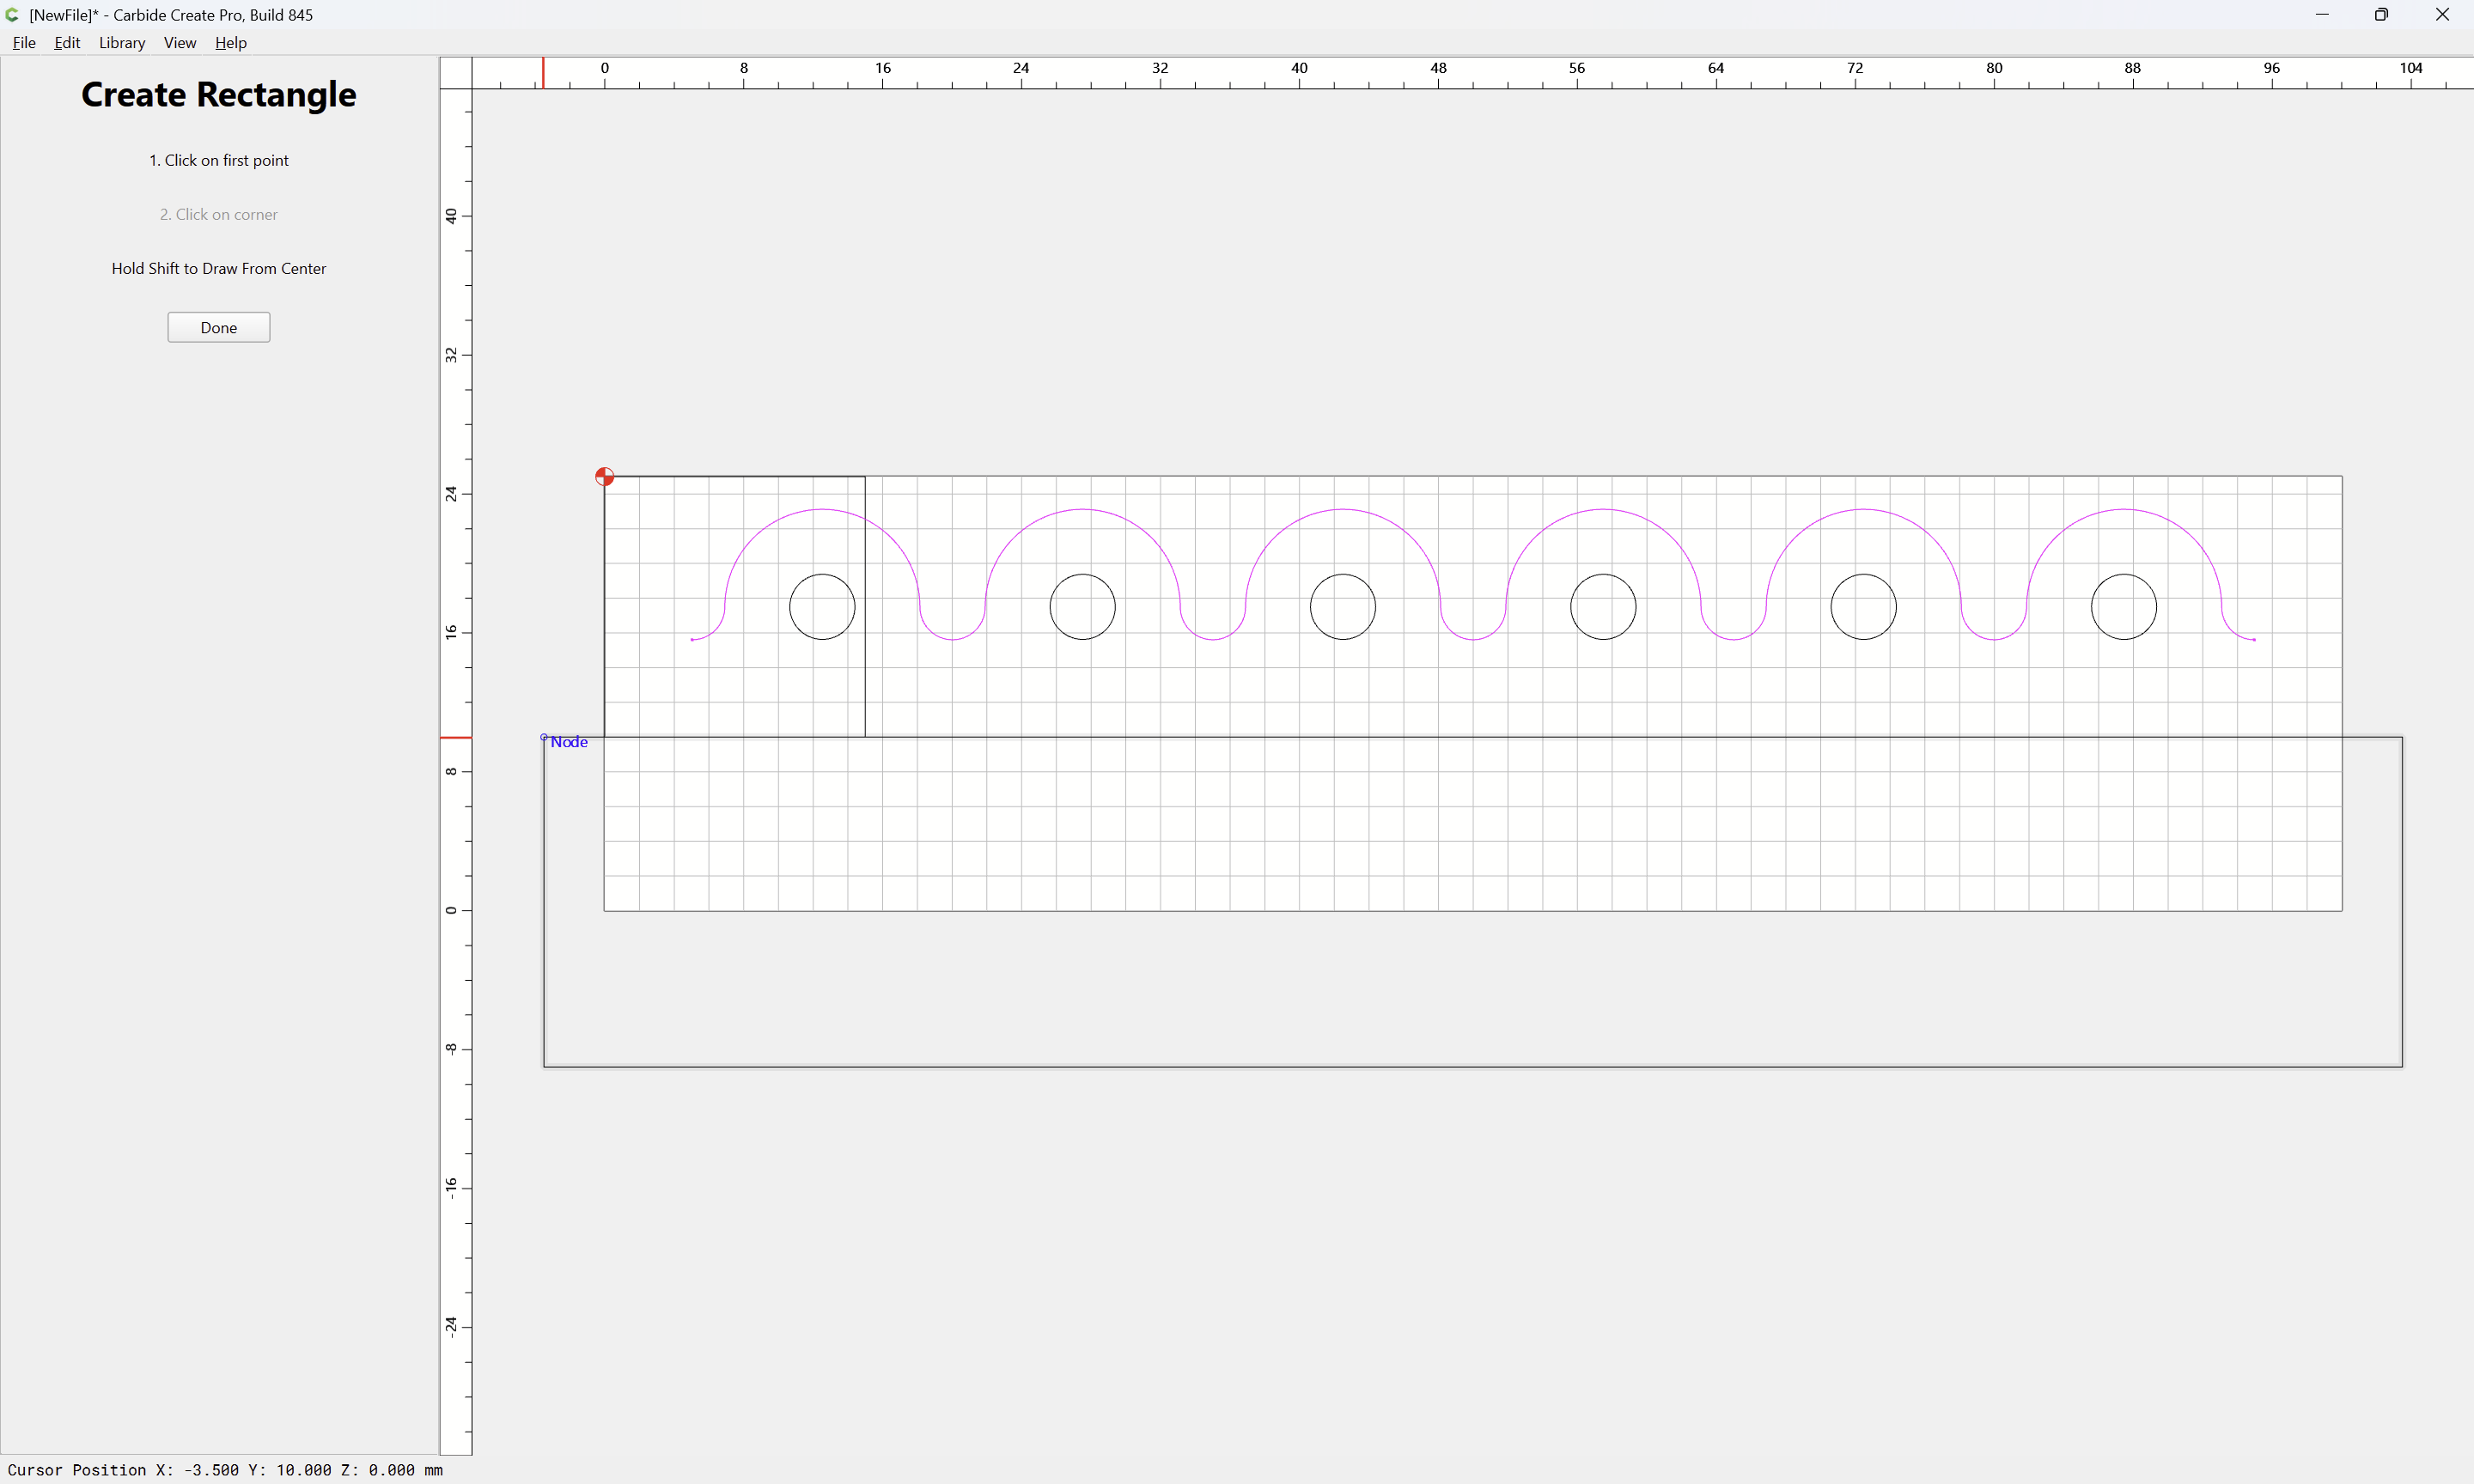
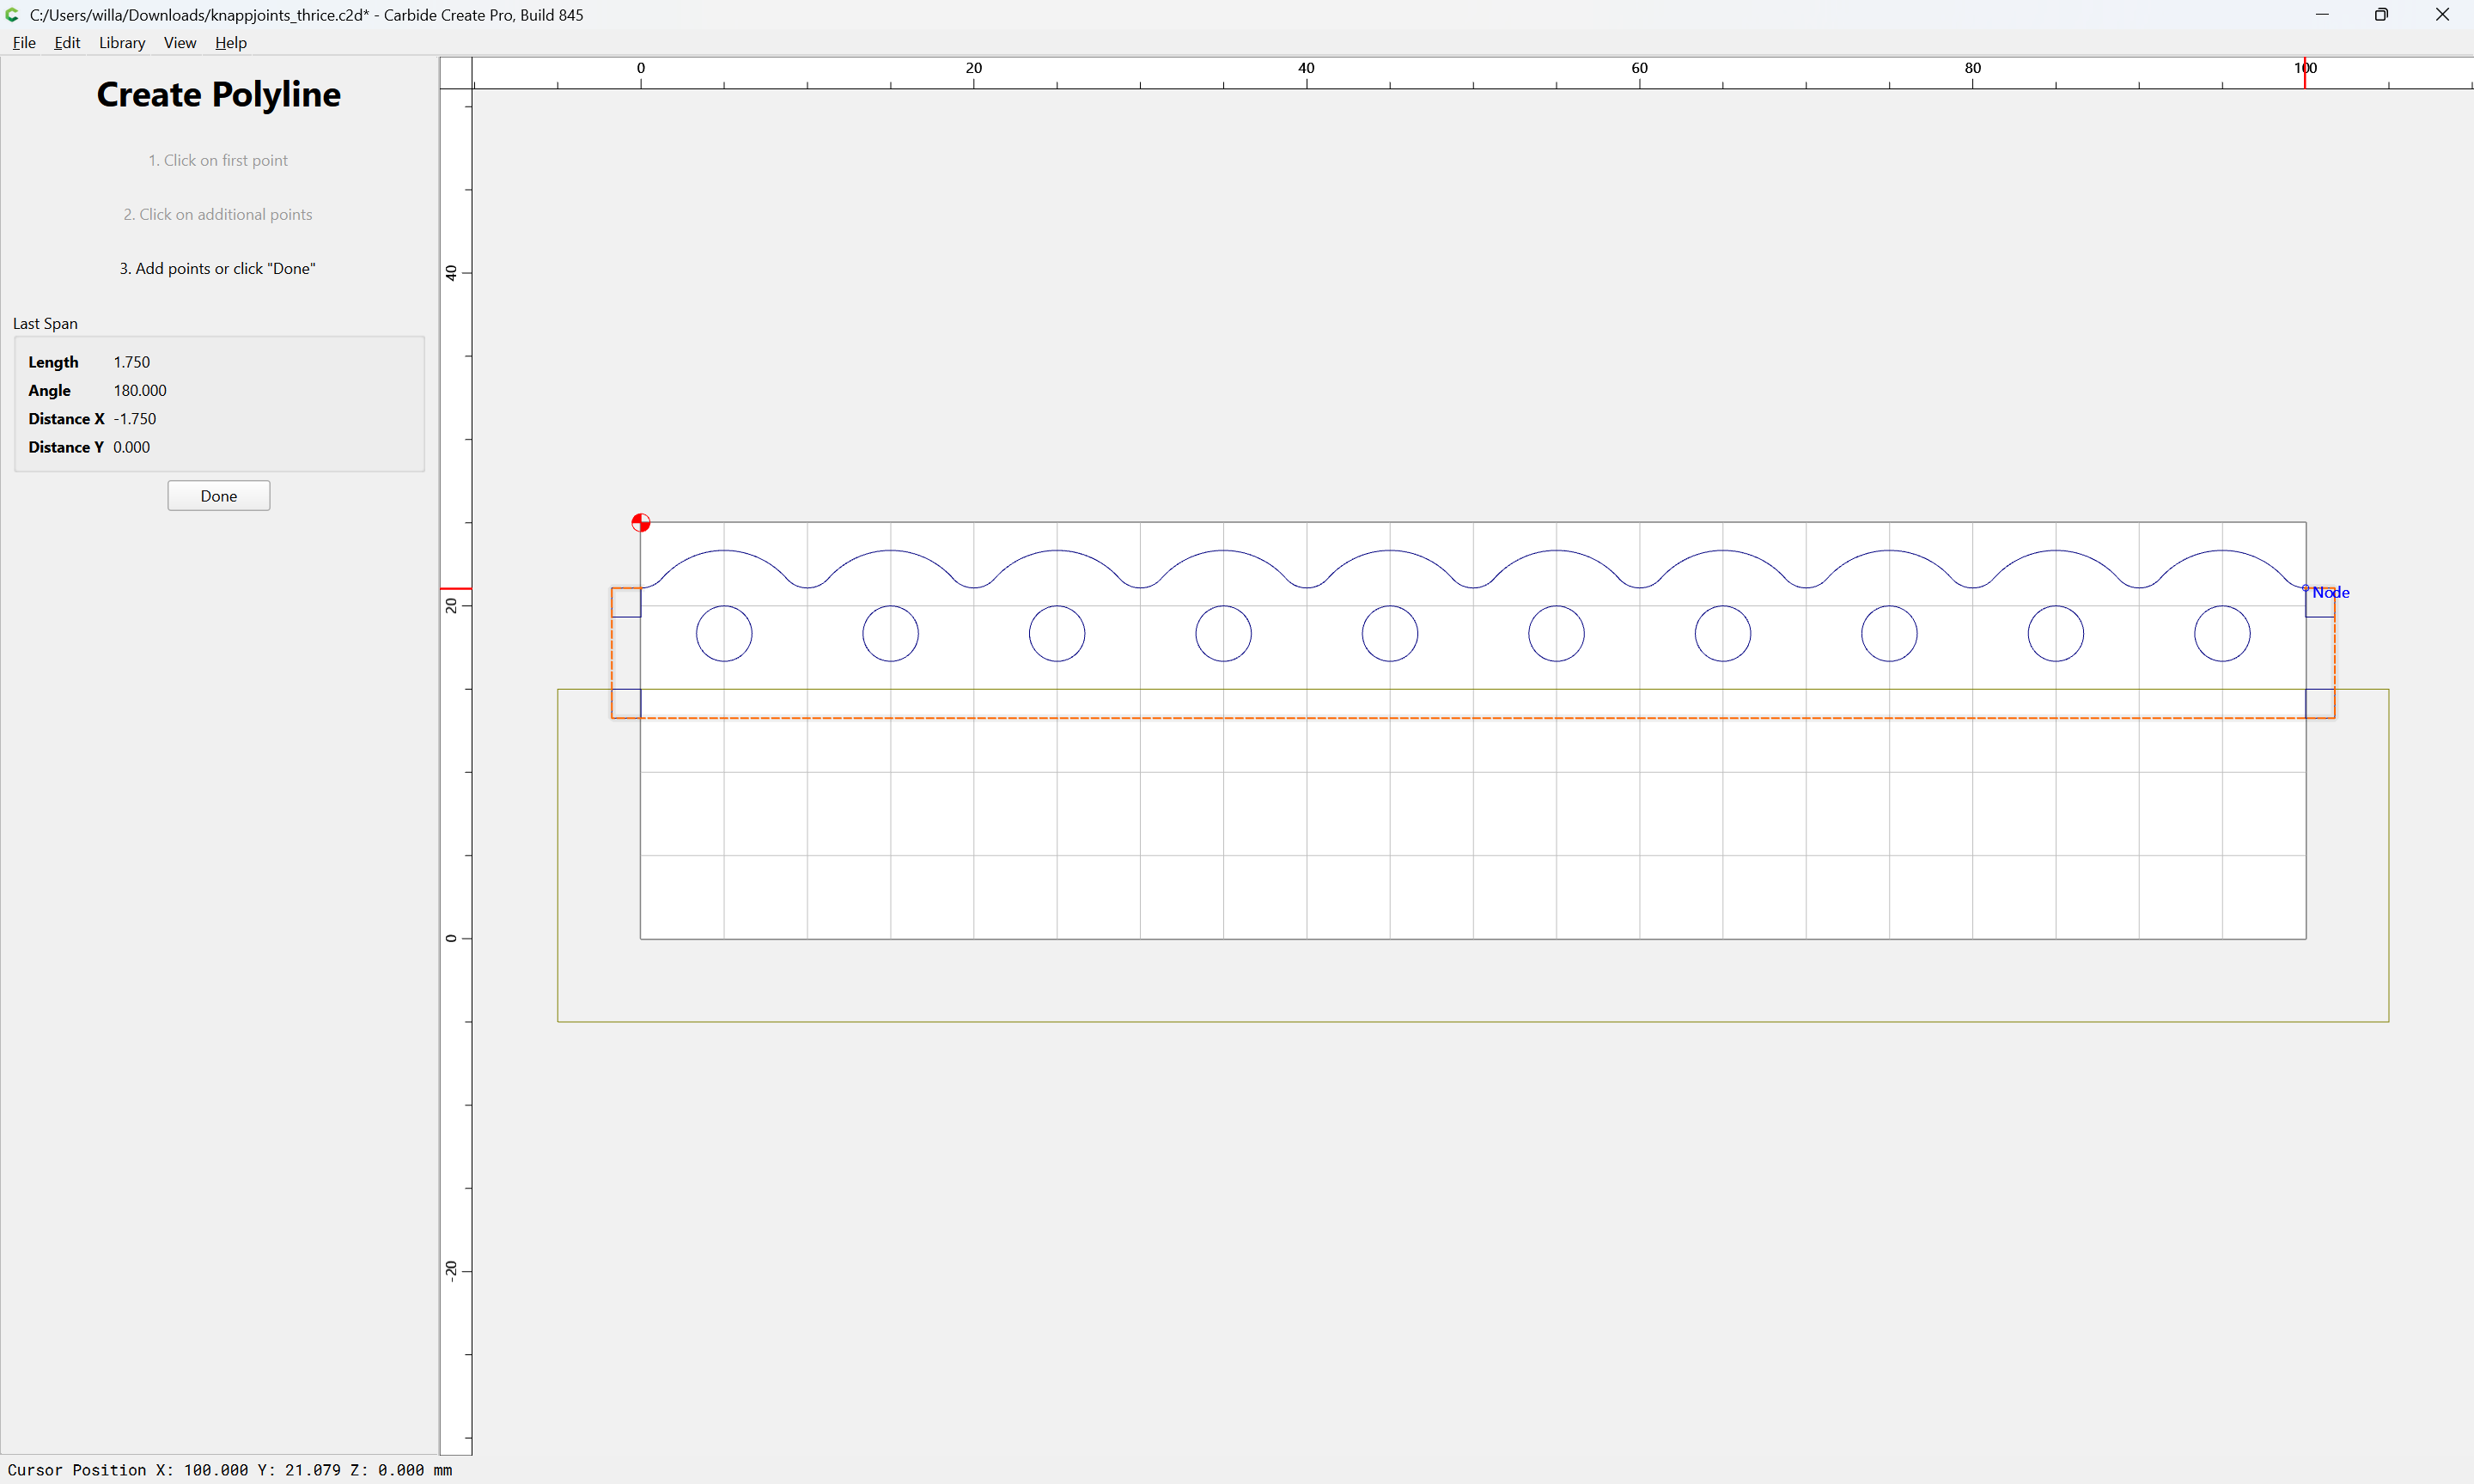
Draw the line:
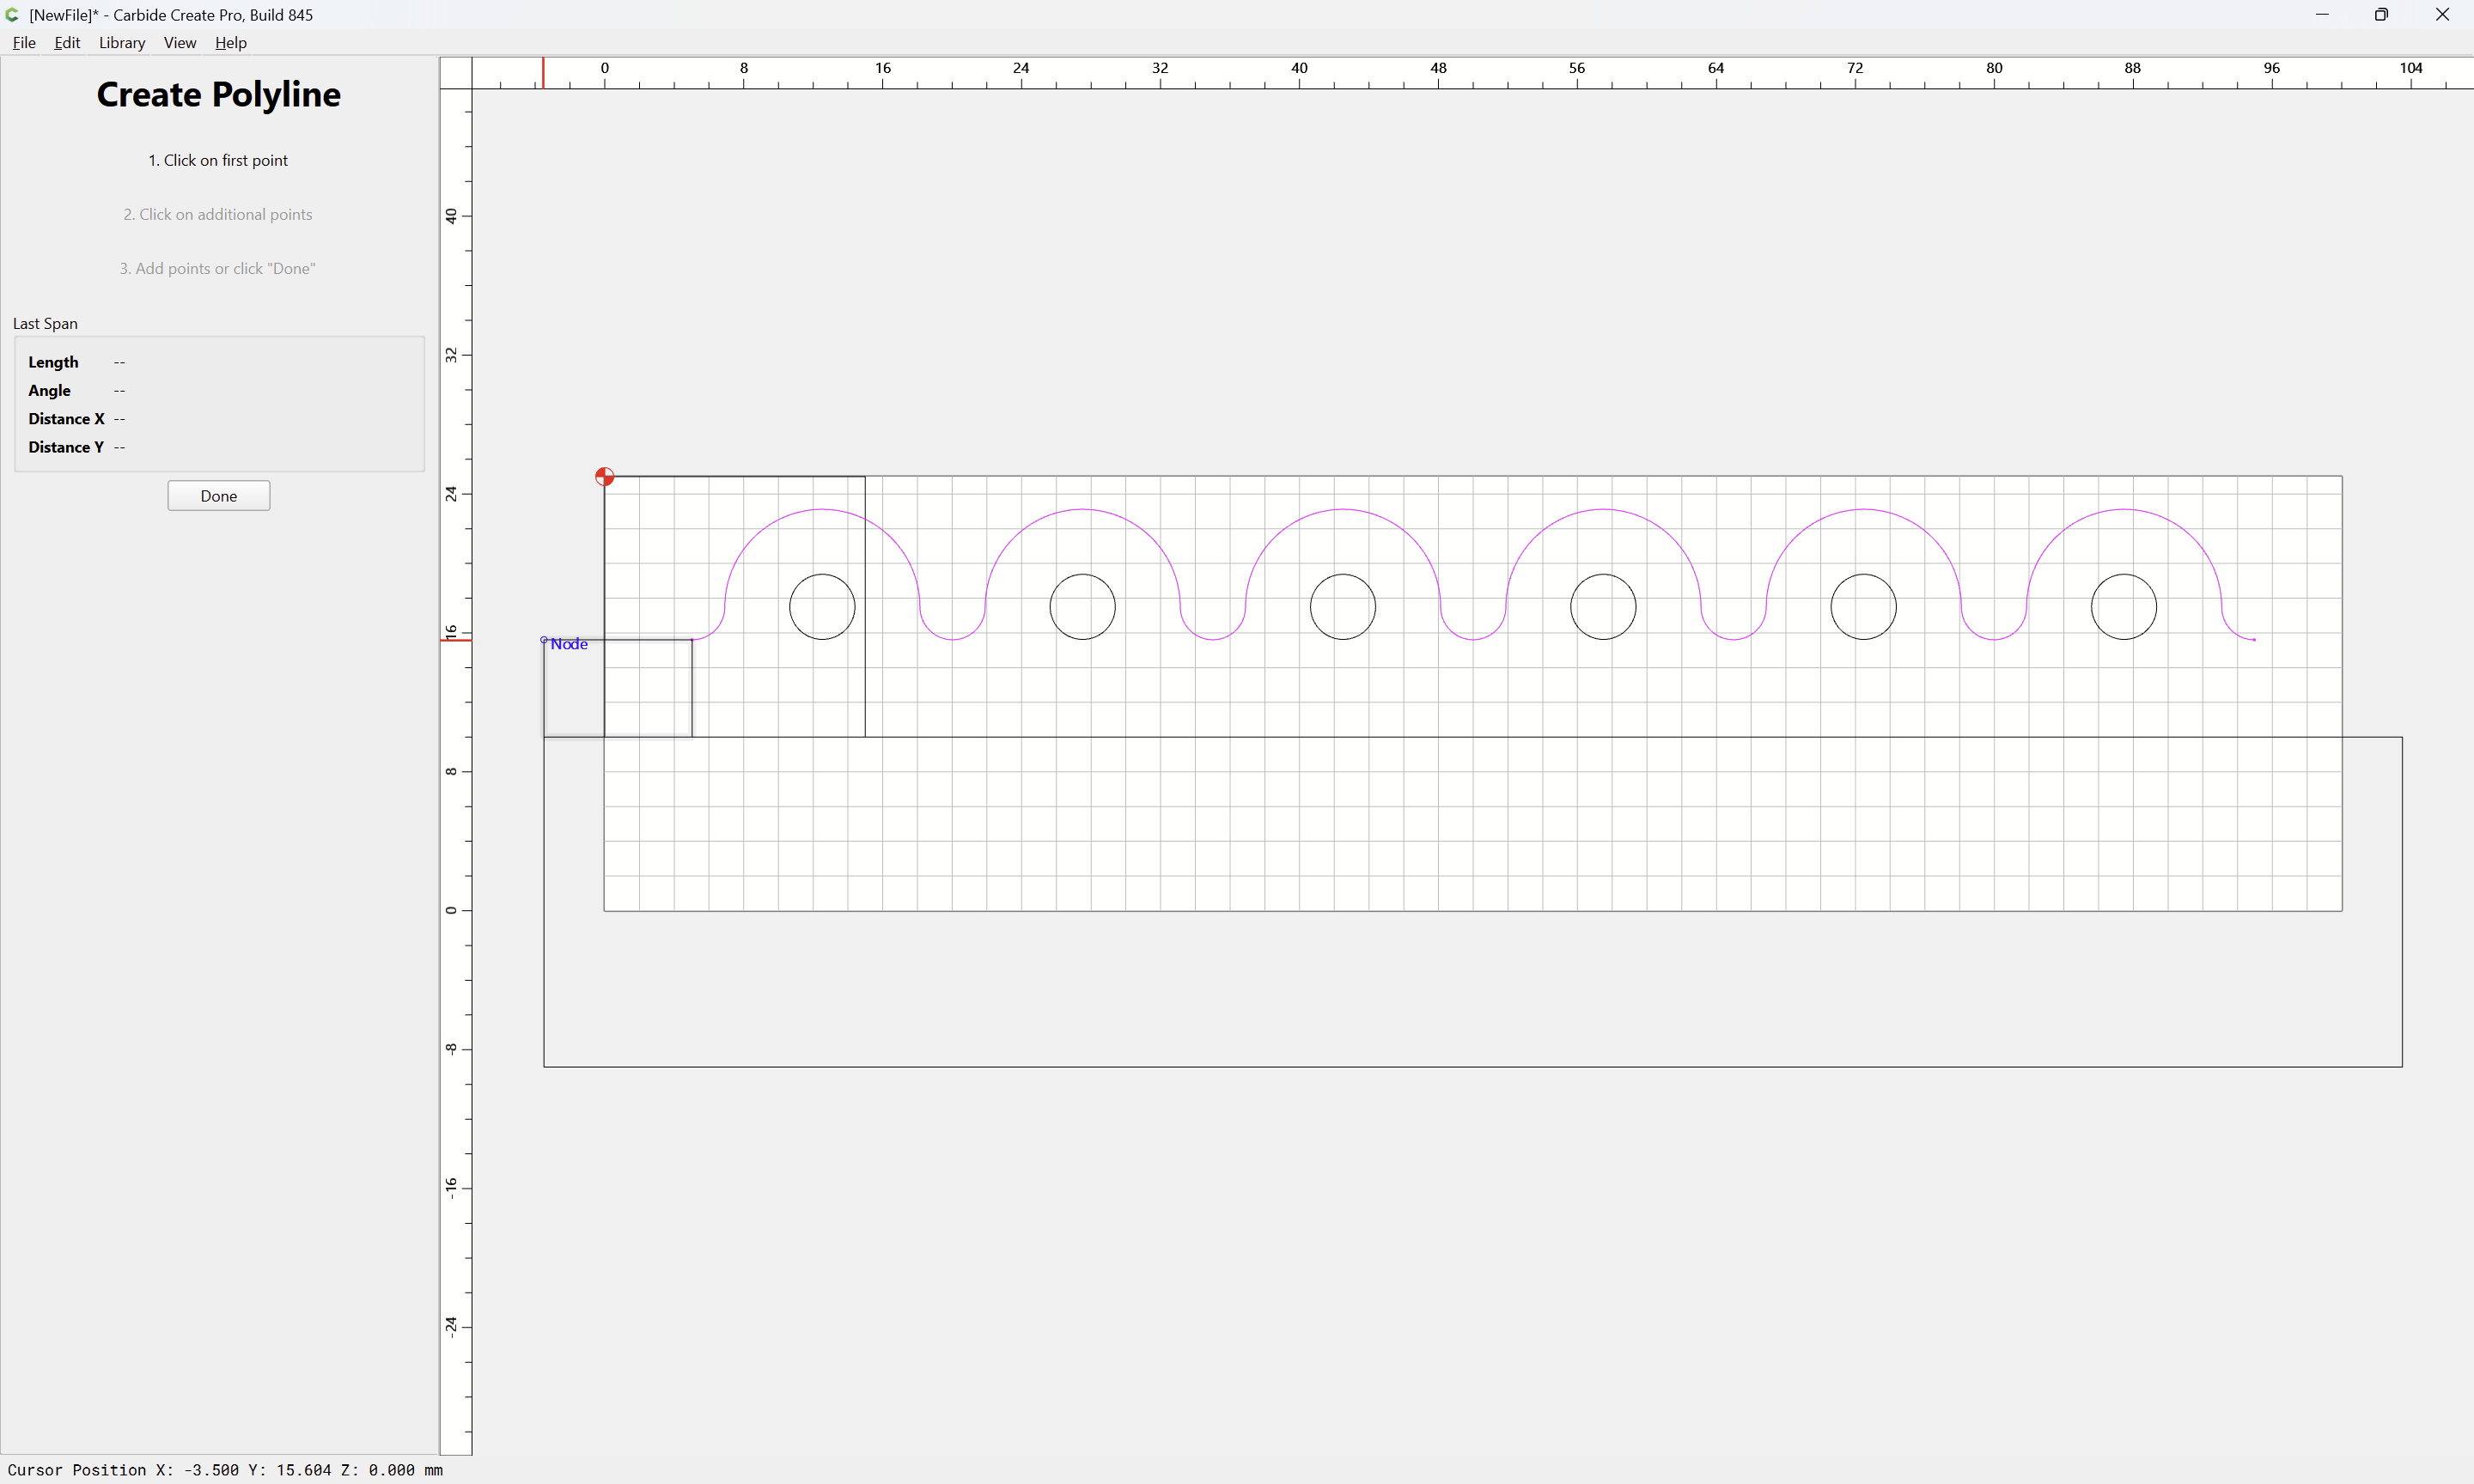
Done
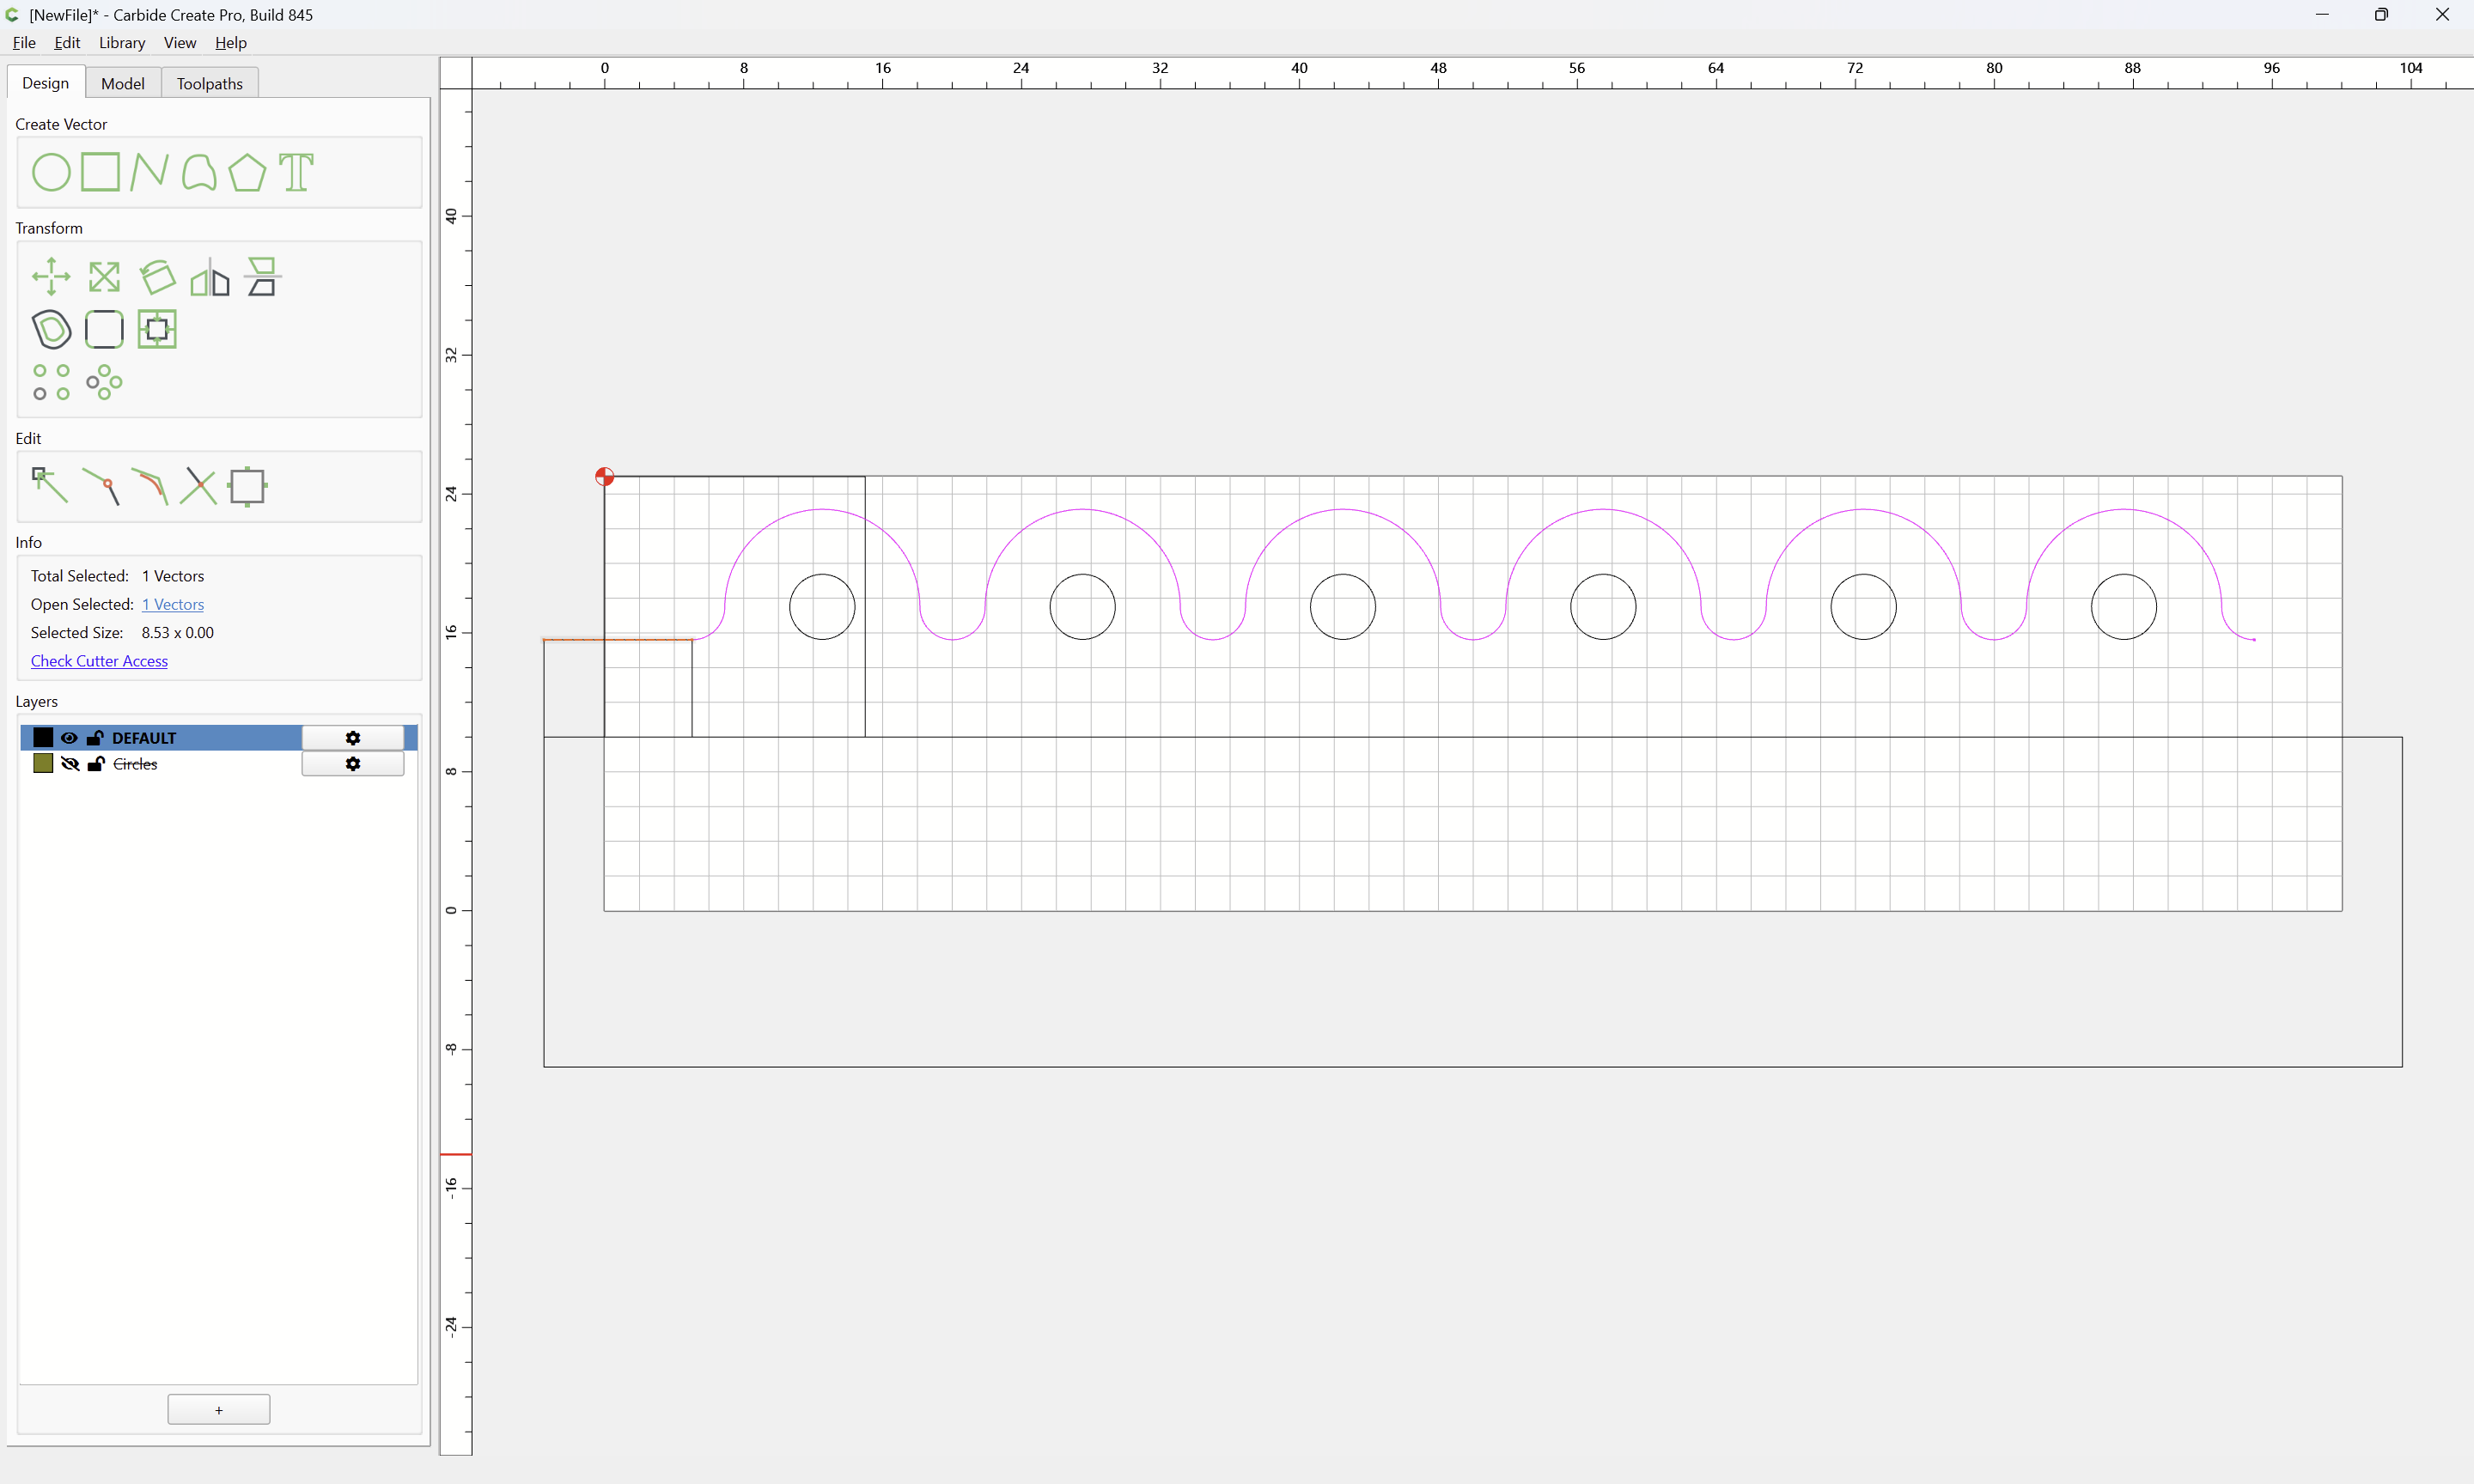
copy-paste the line:
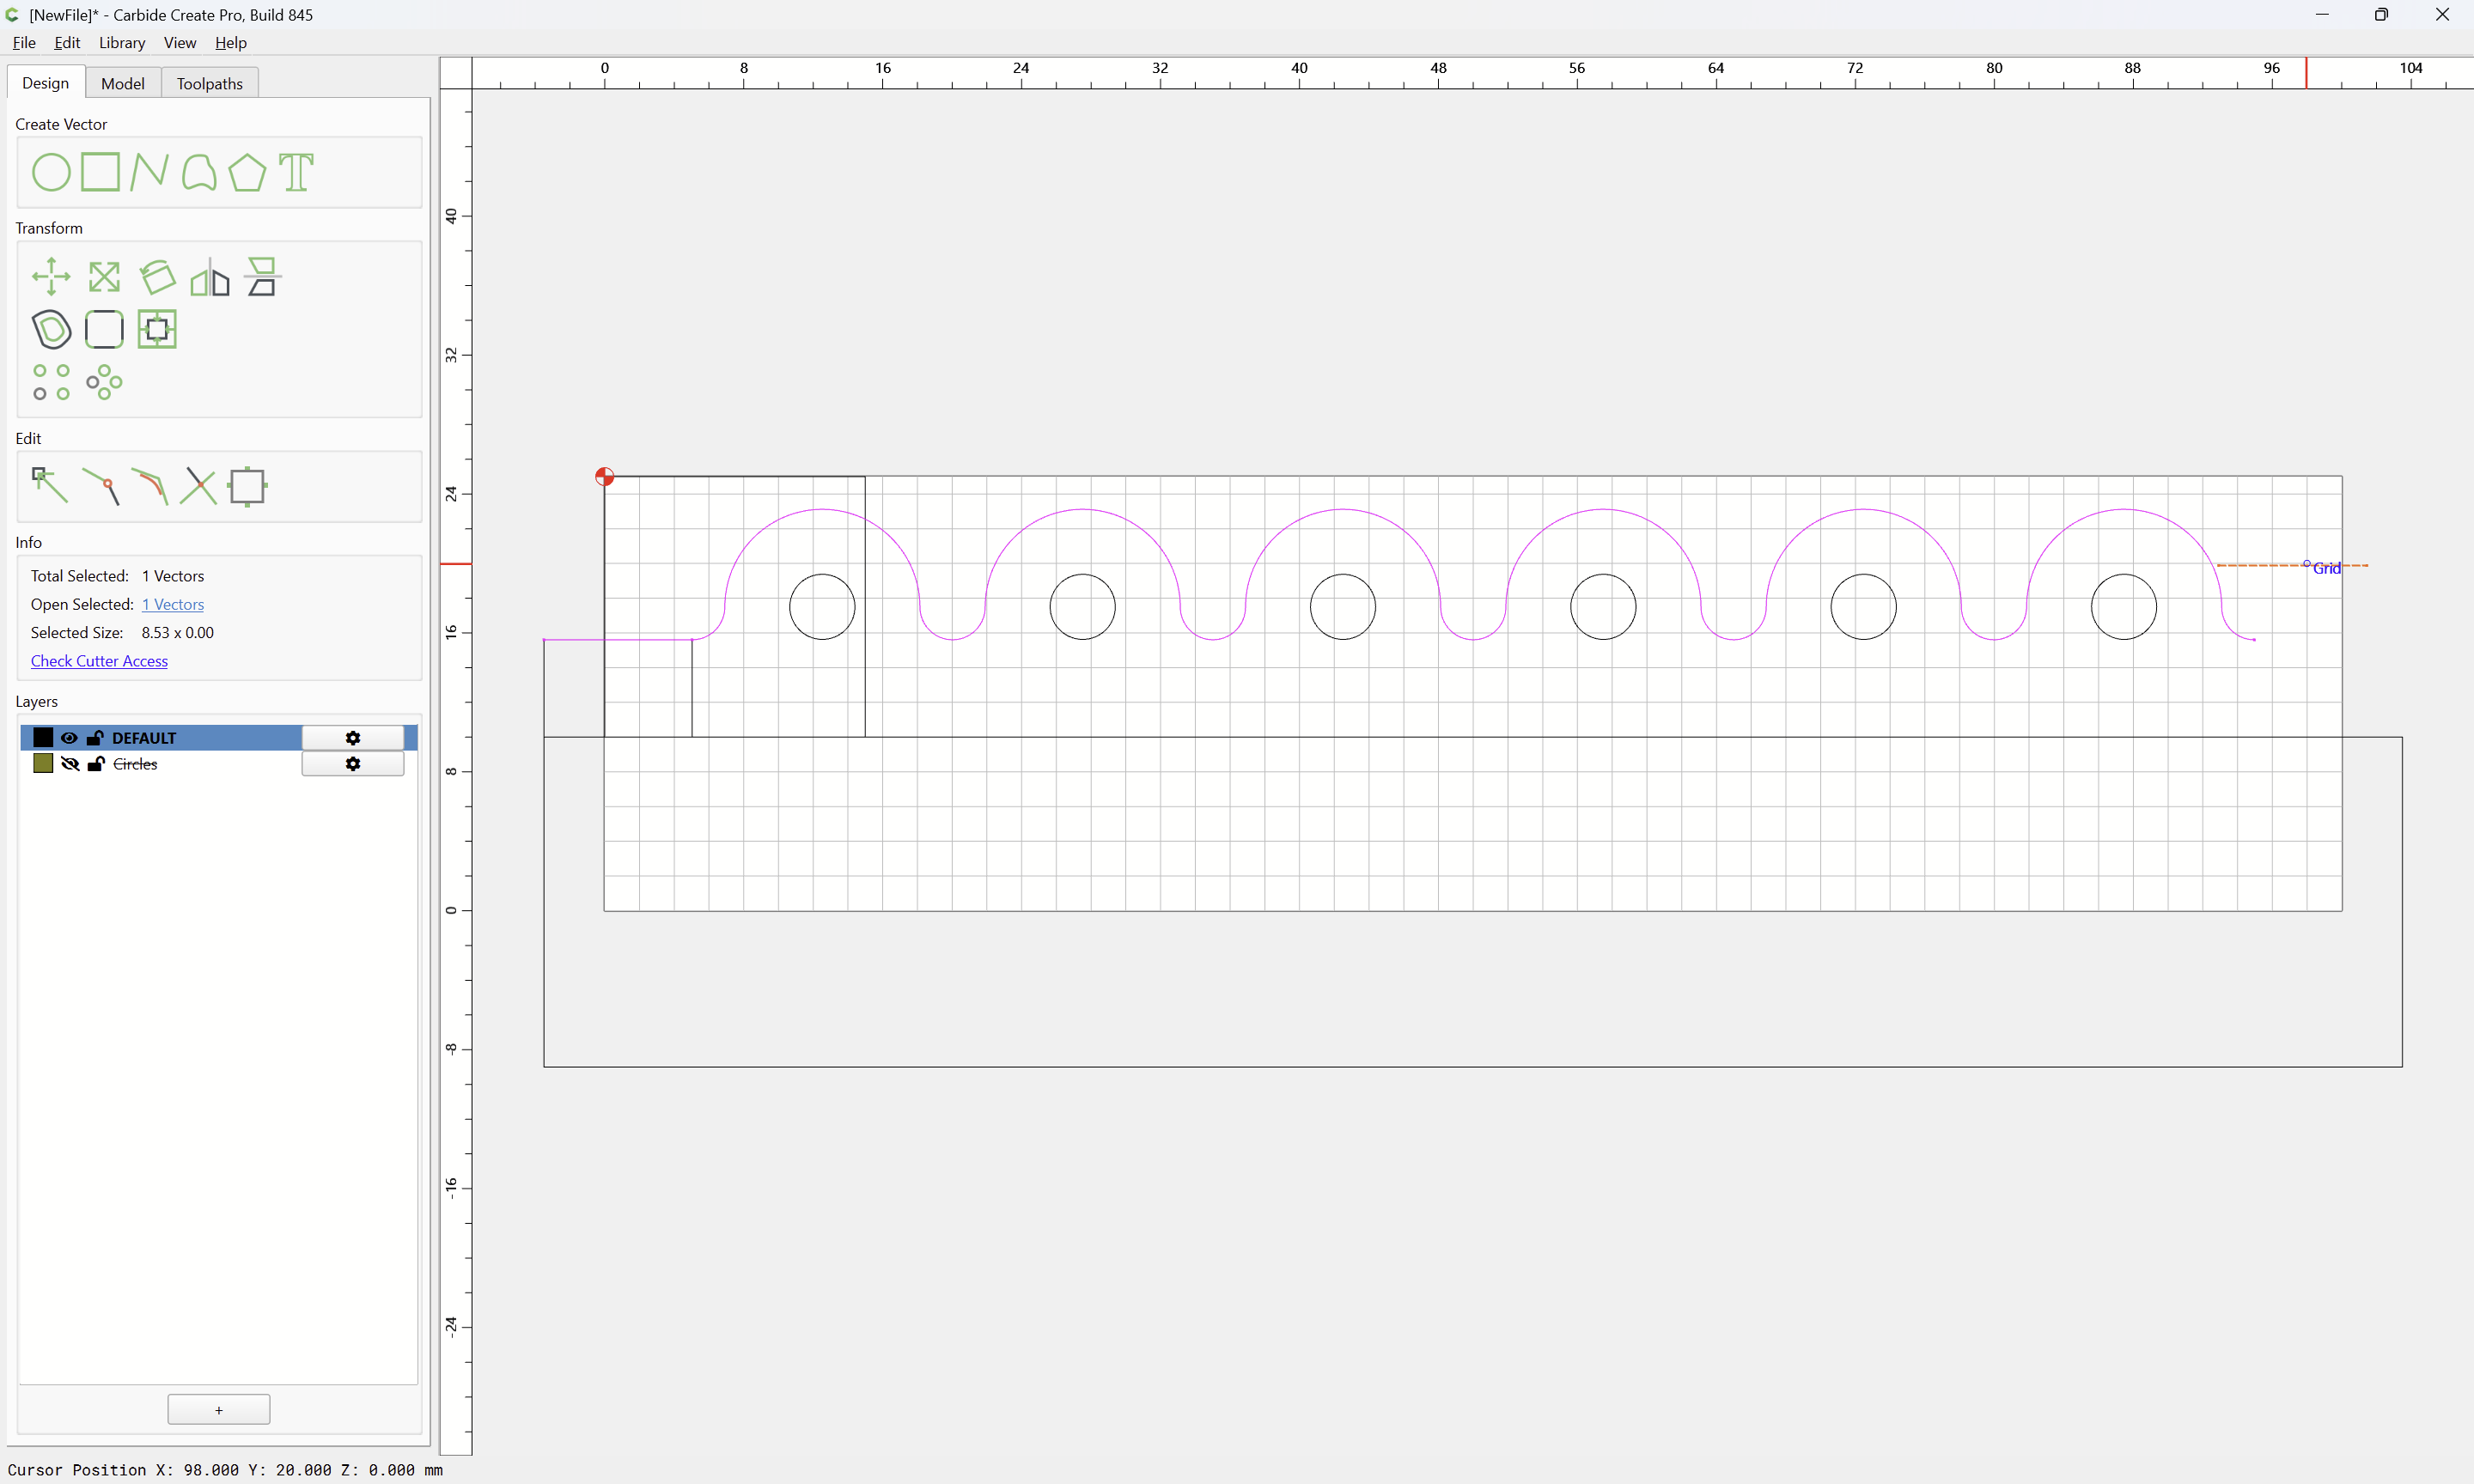
and drag it into registration:
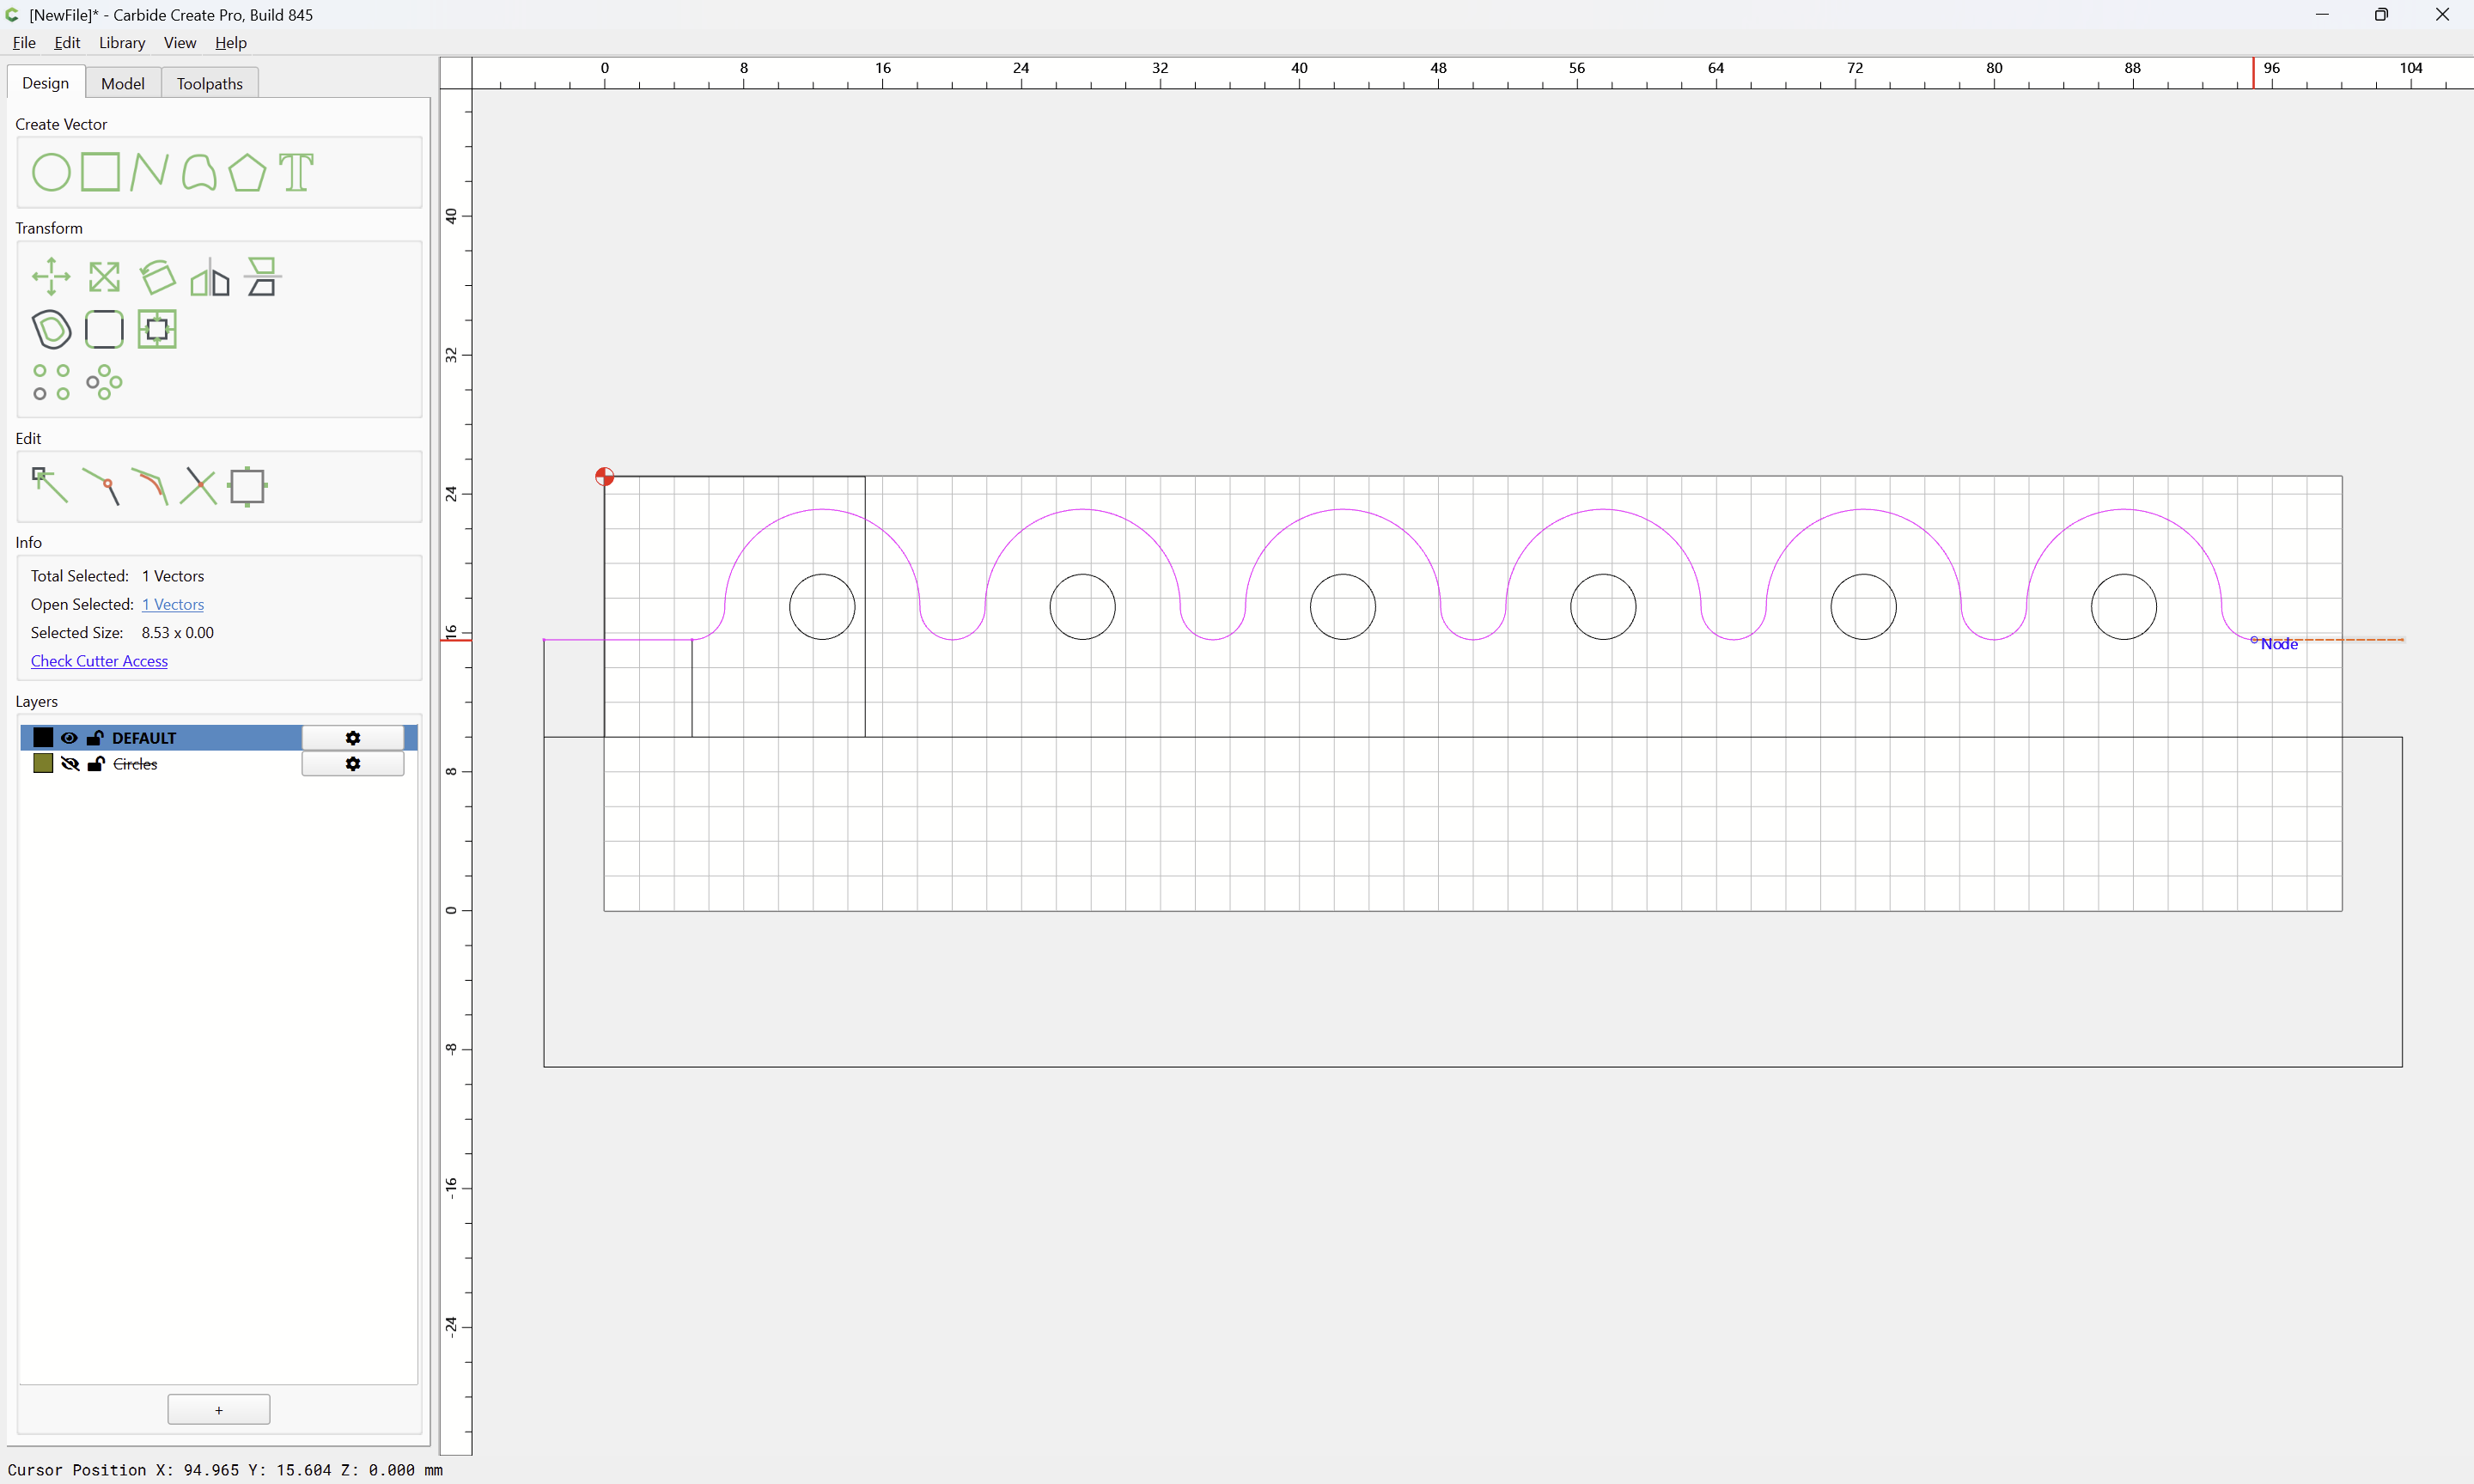
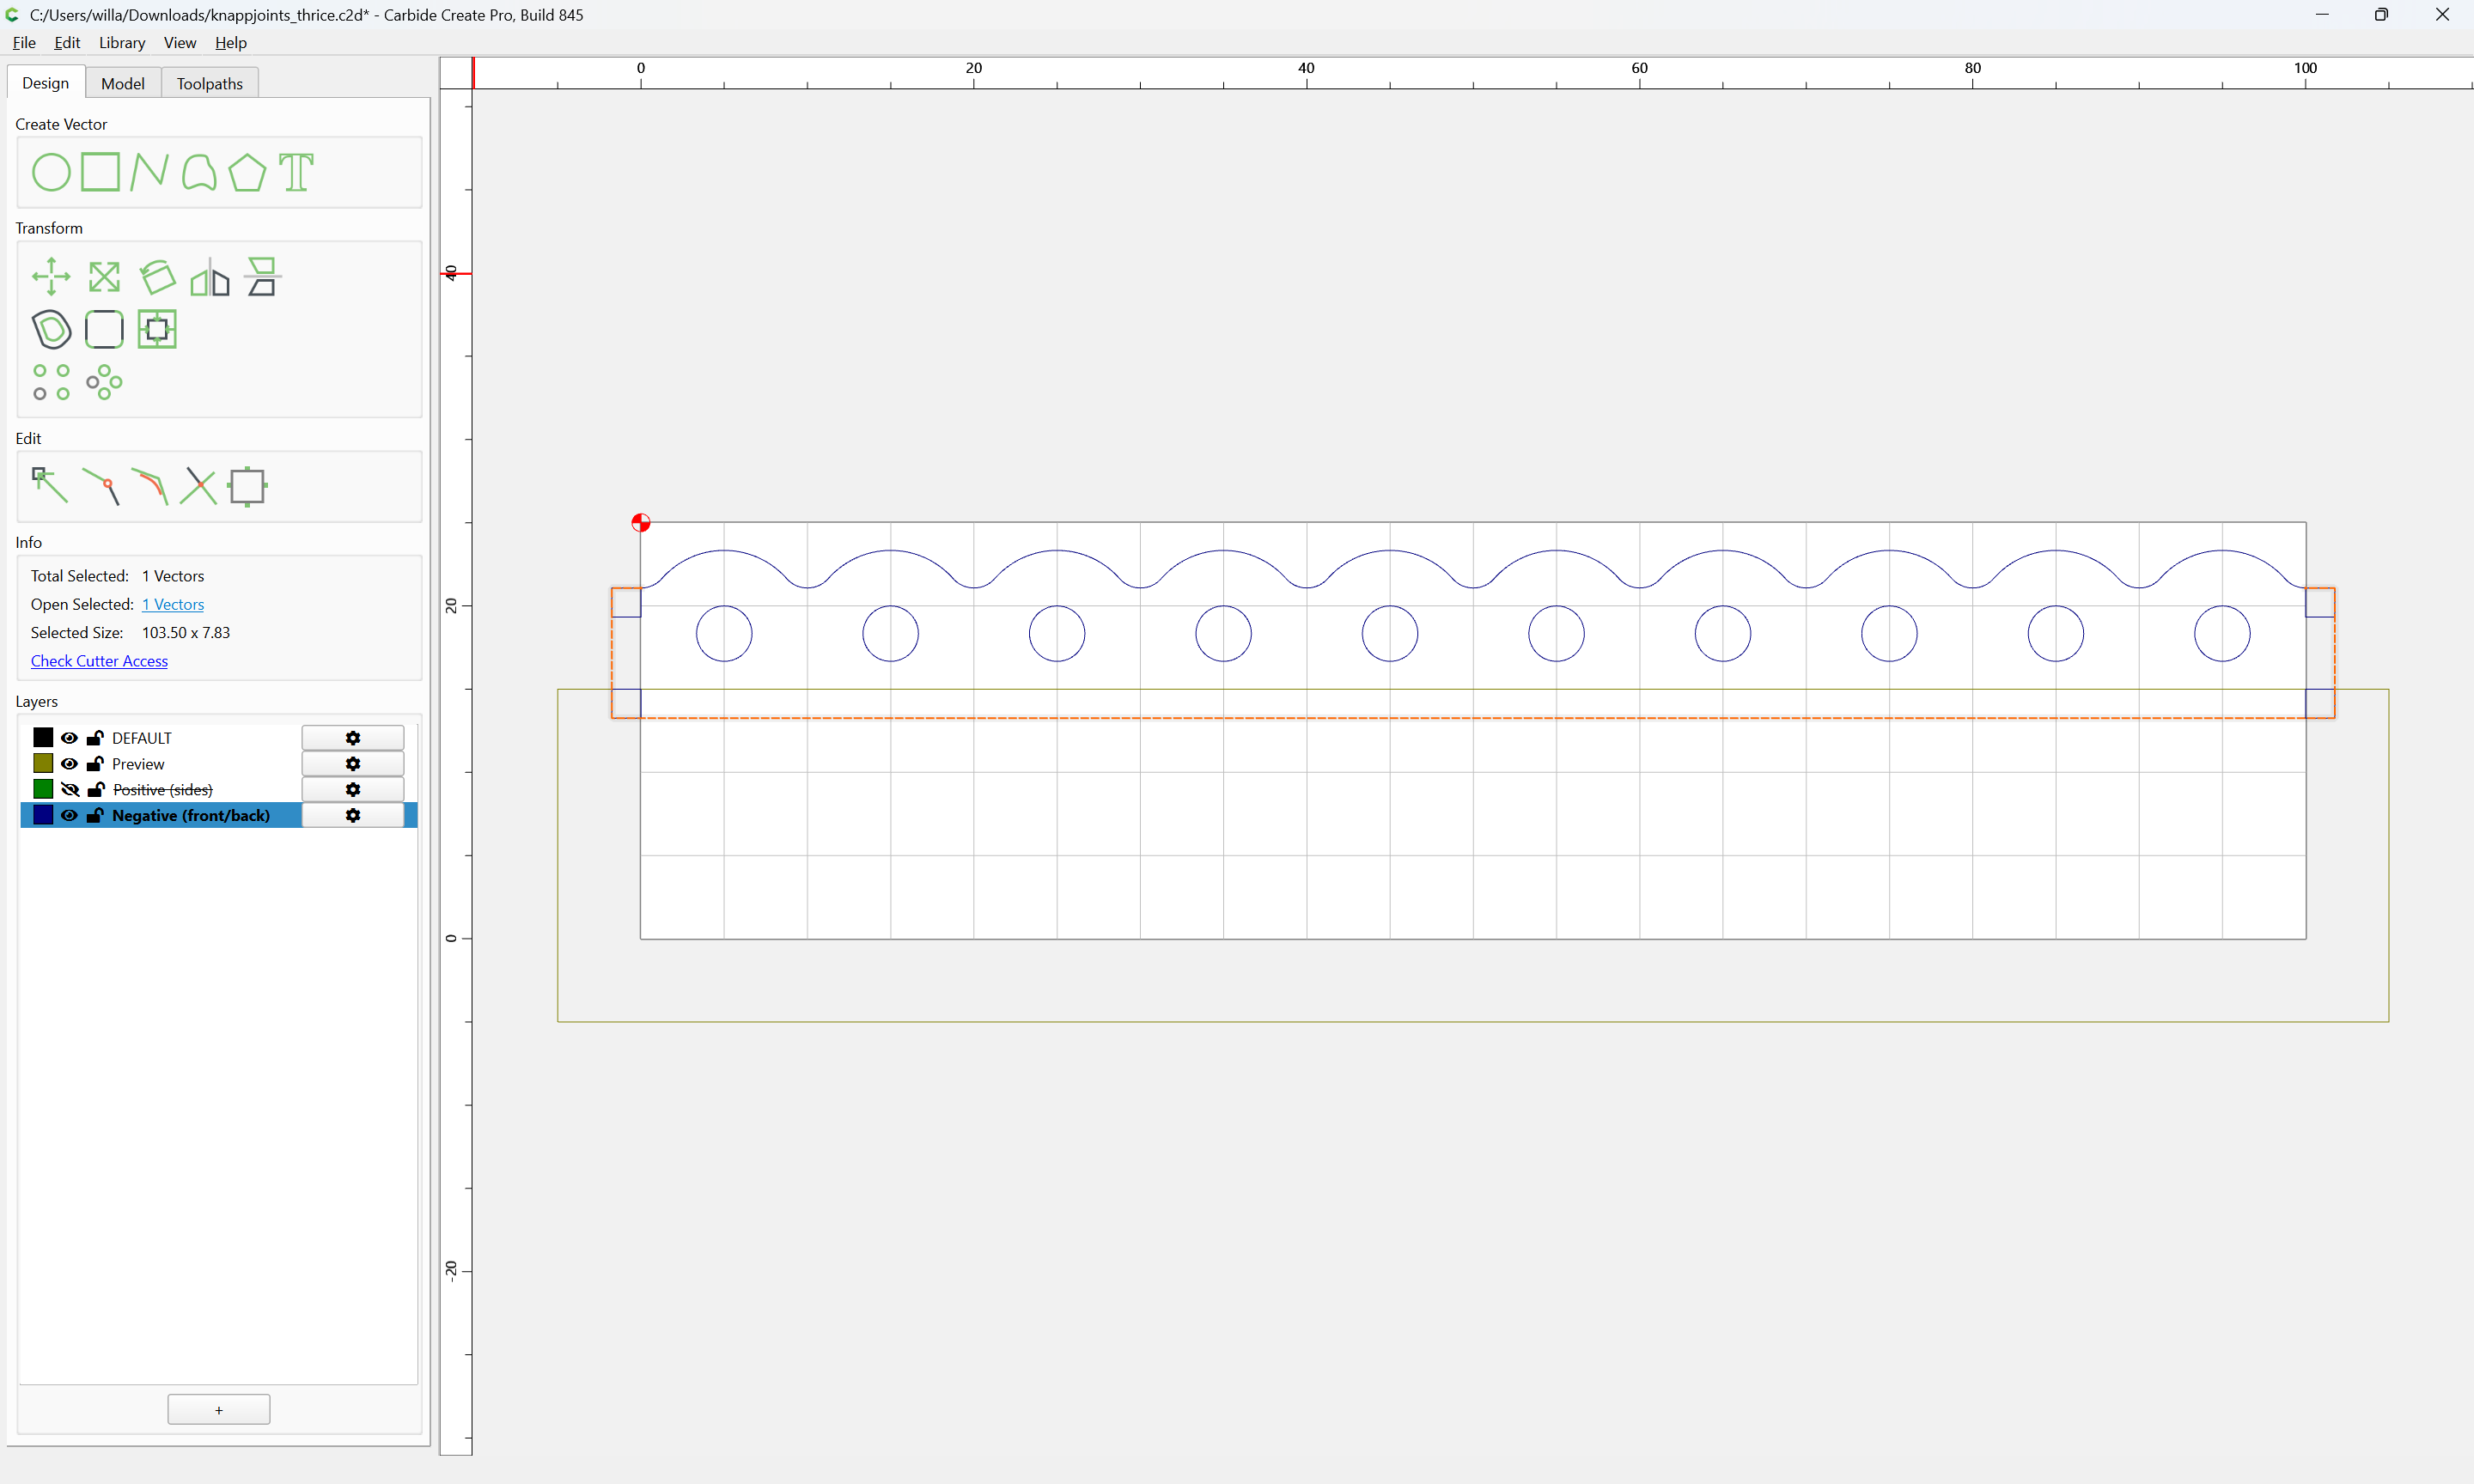
Select the open vectors:
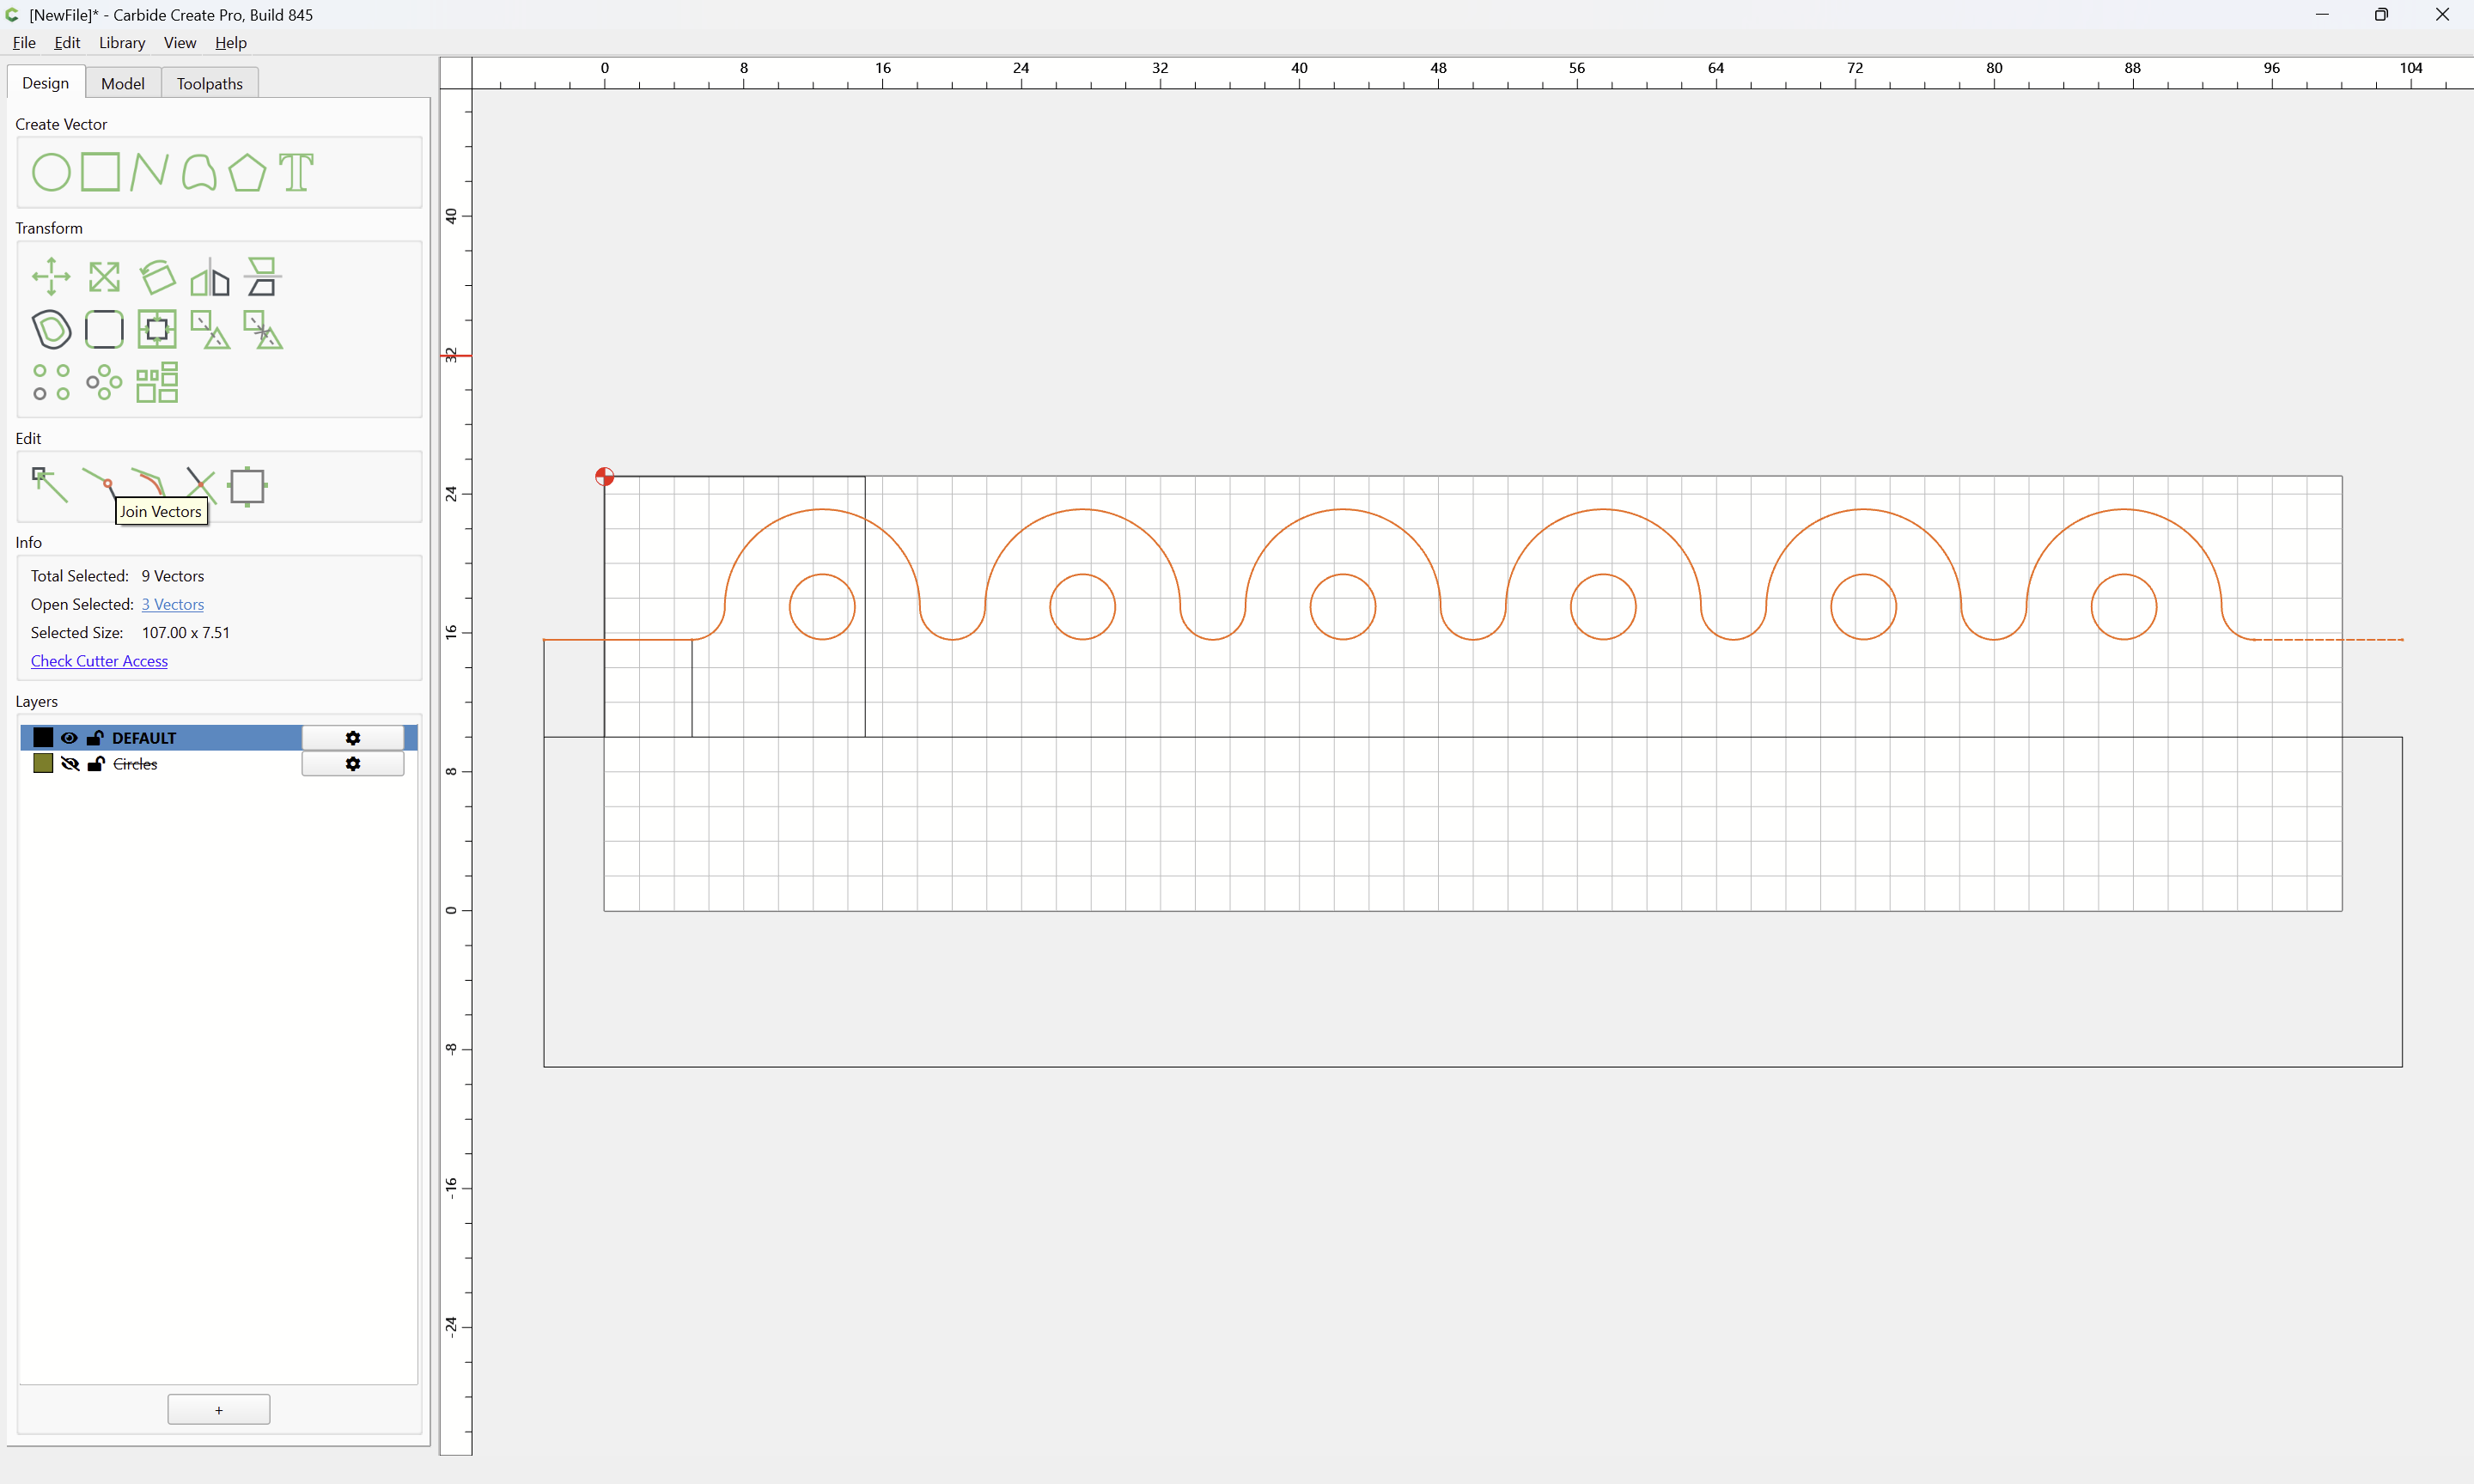
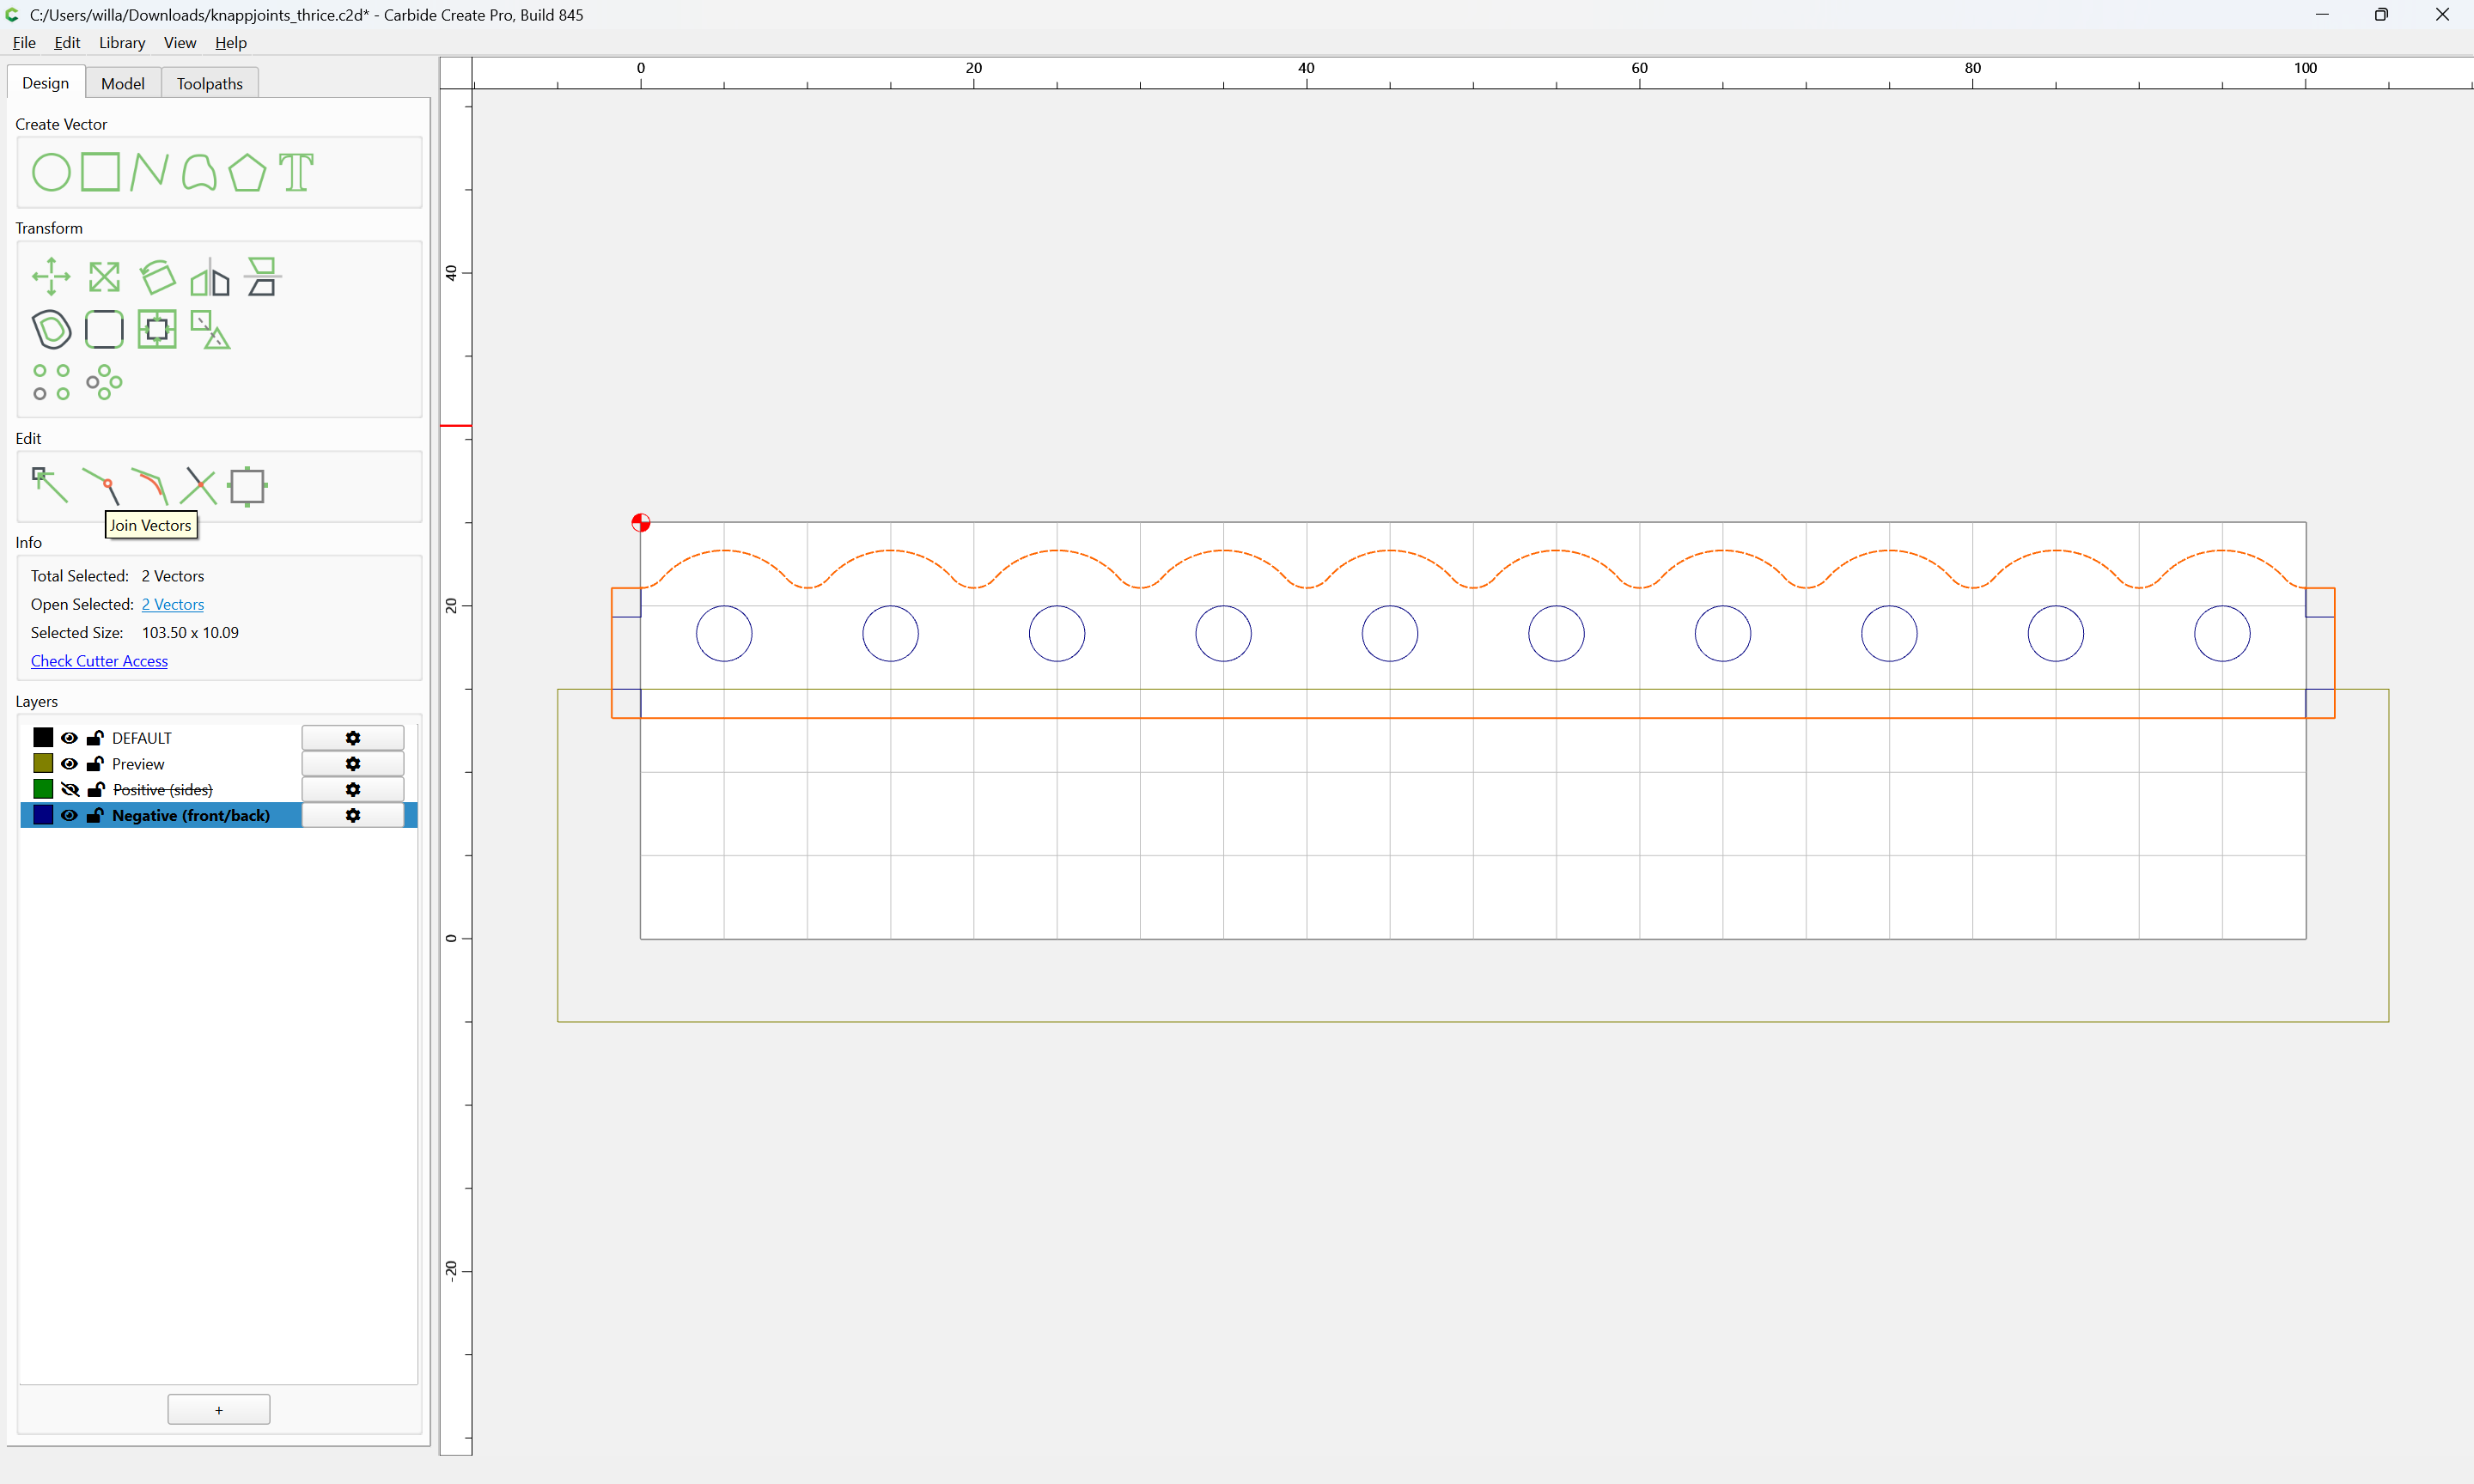
and Join Vectors
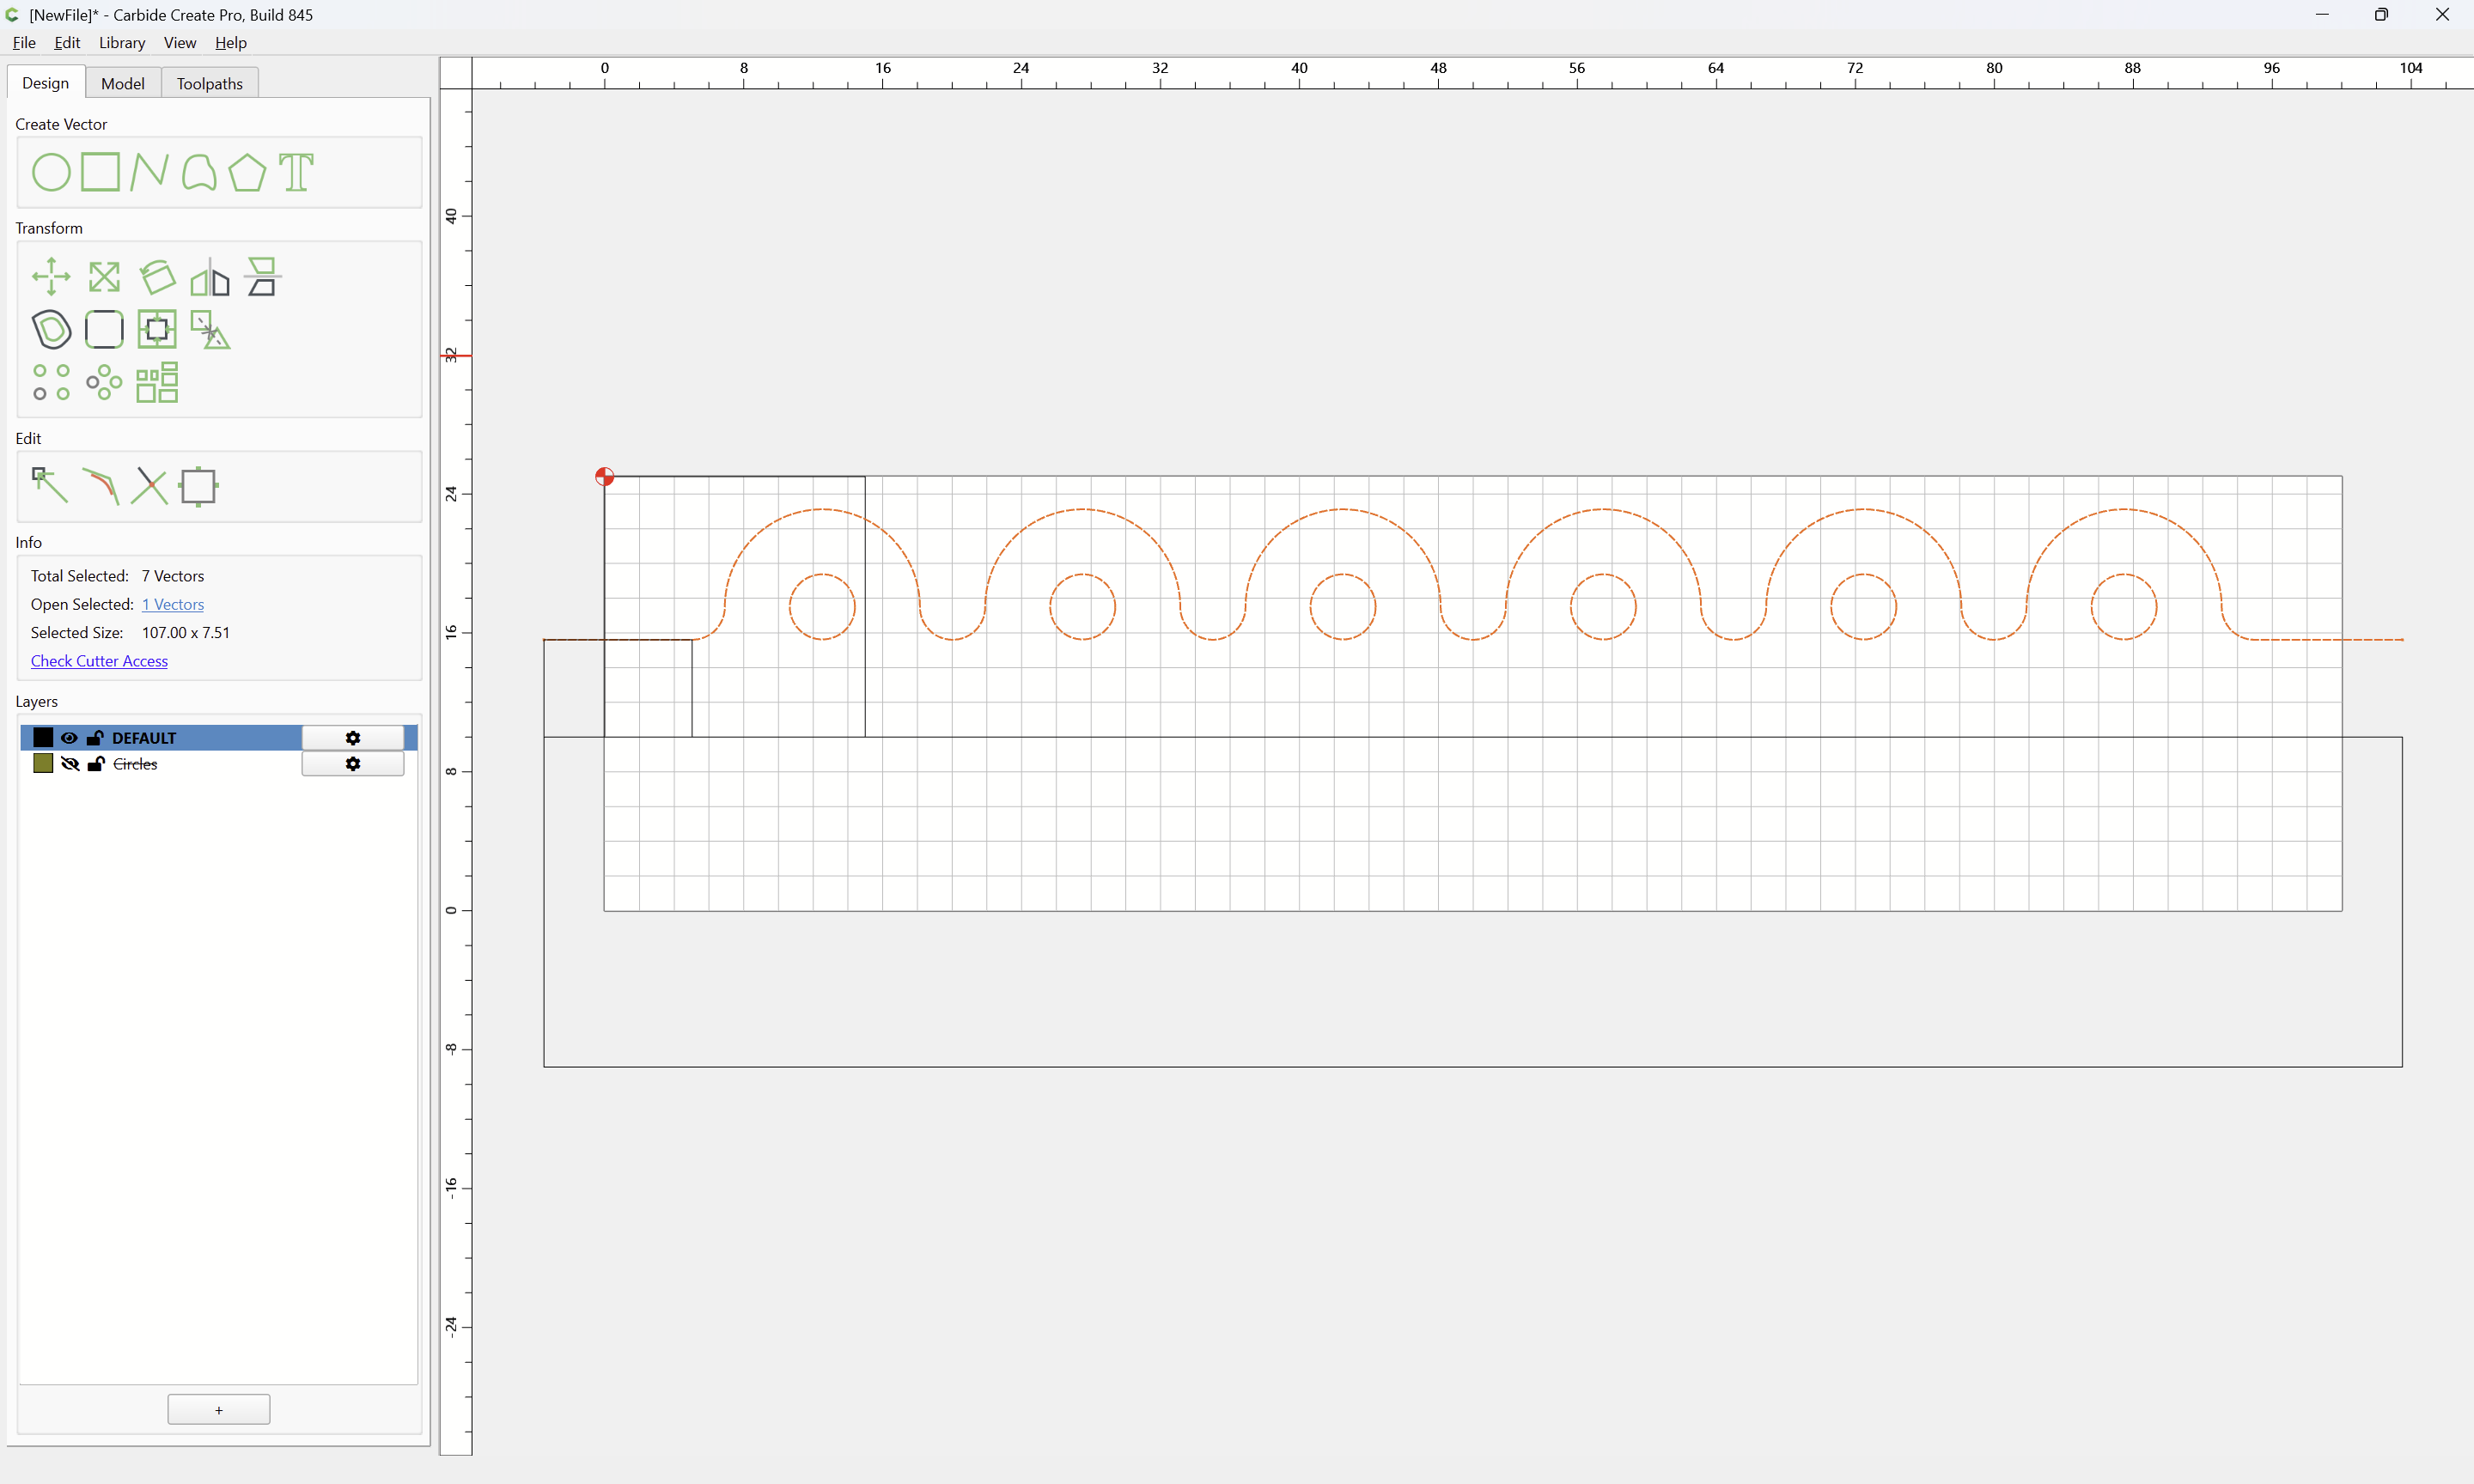
Draw a line from beginning to end:
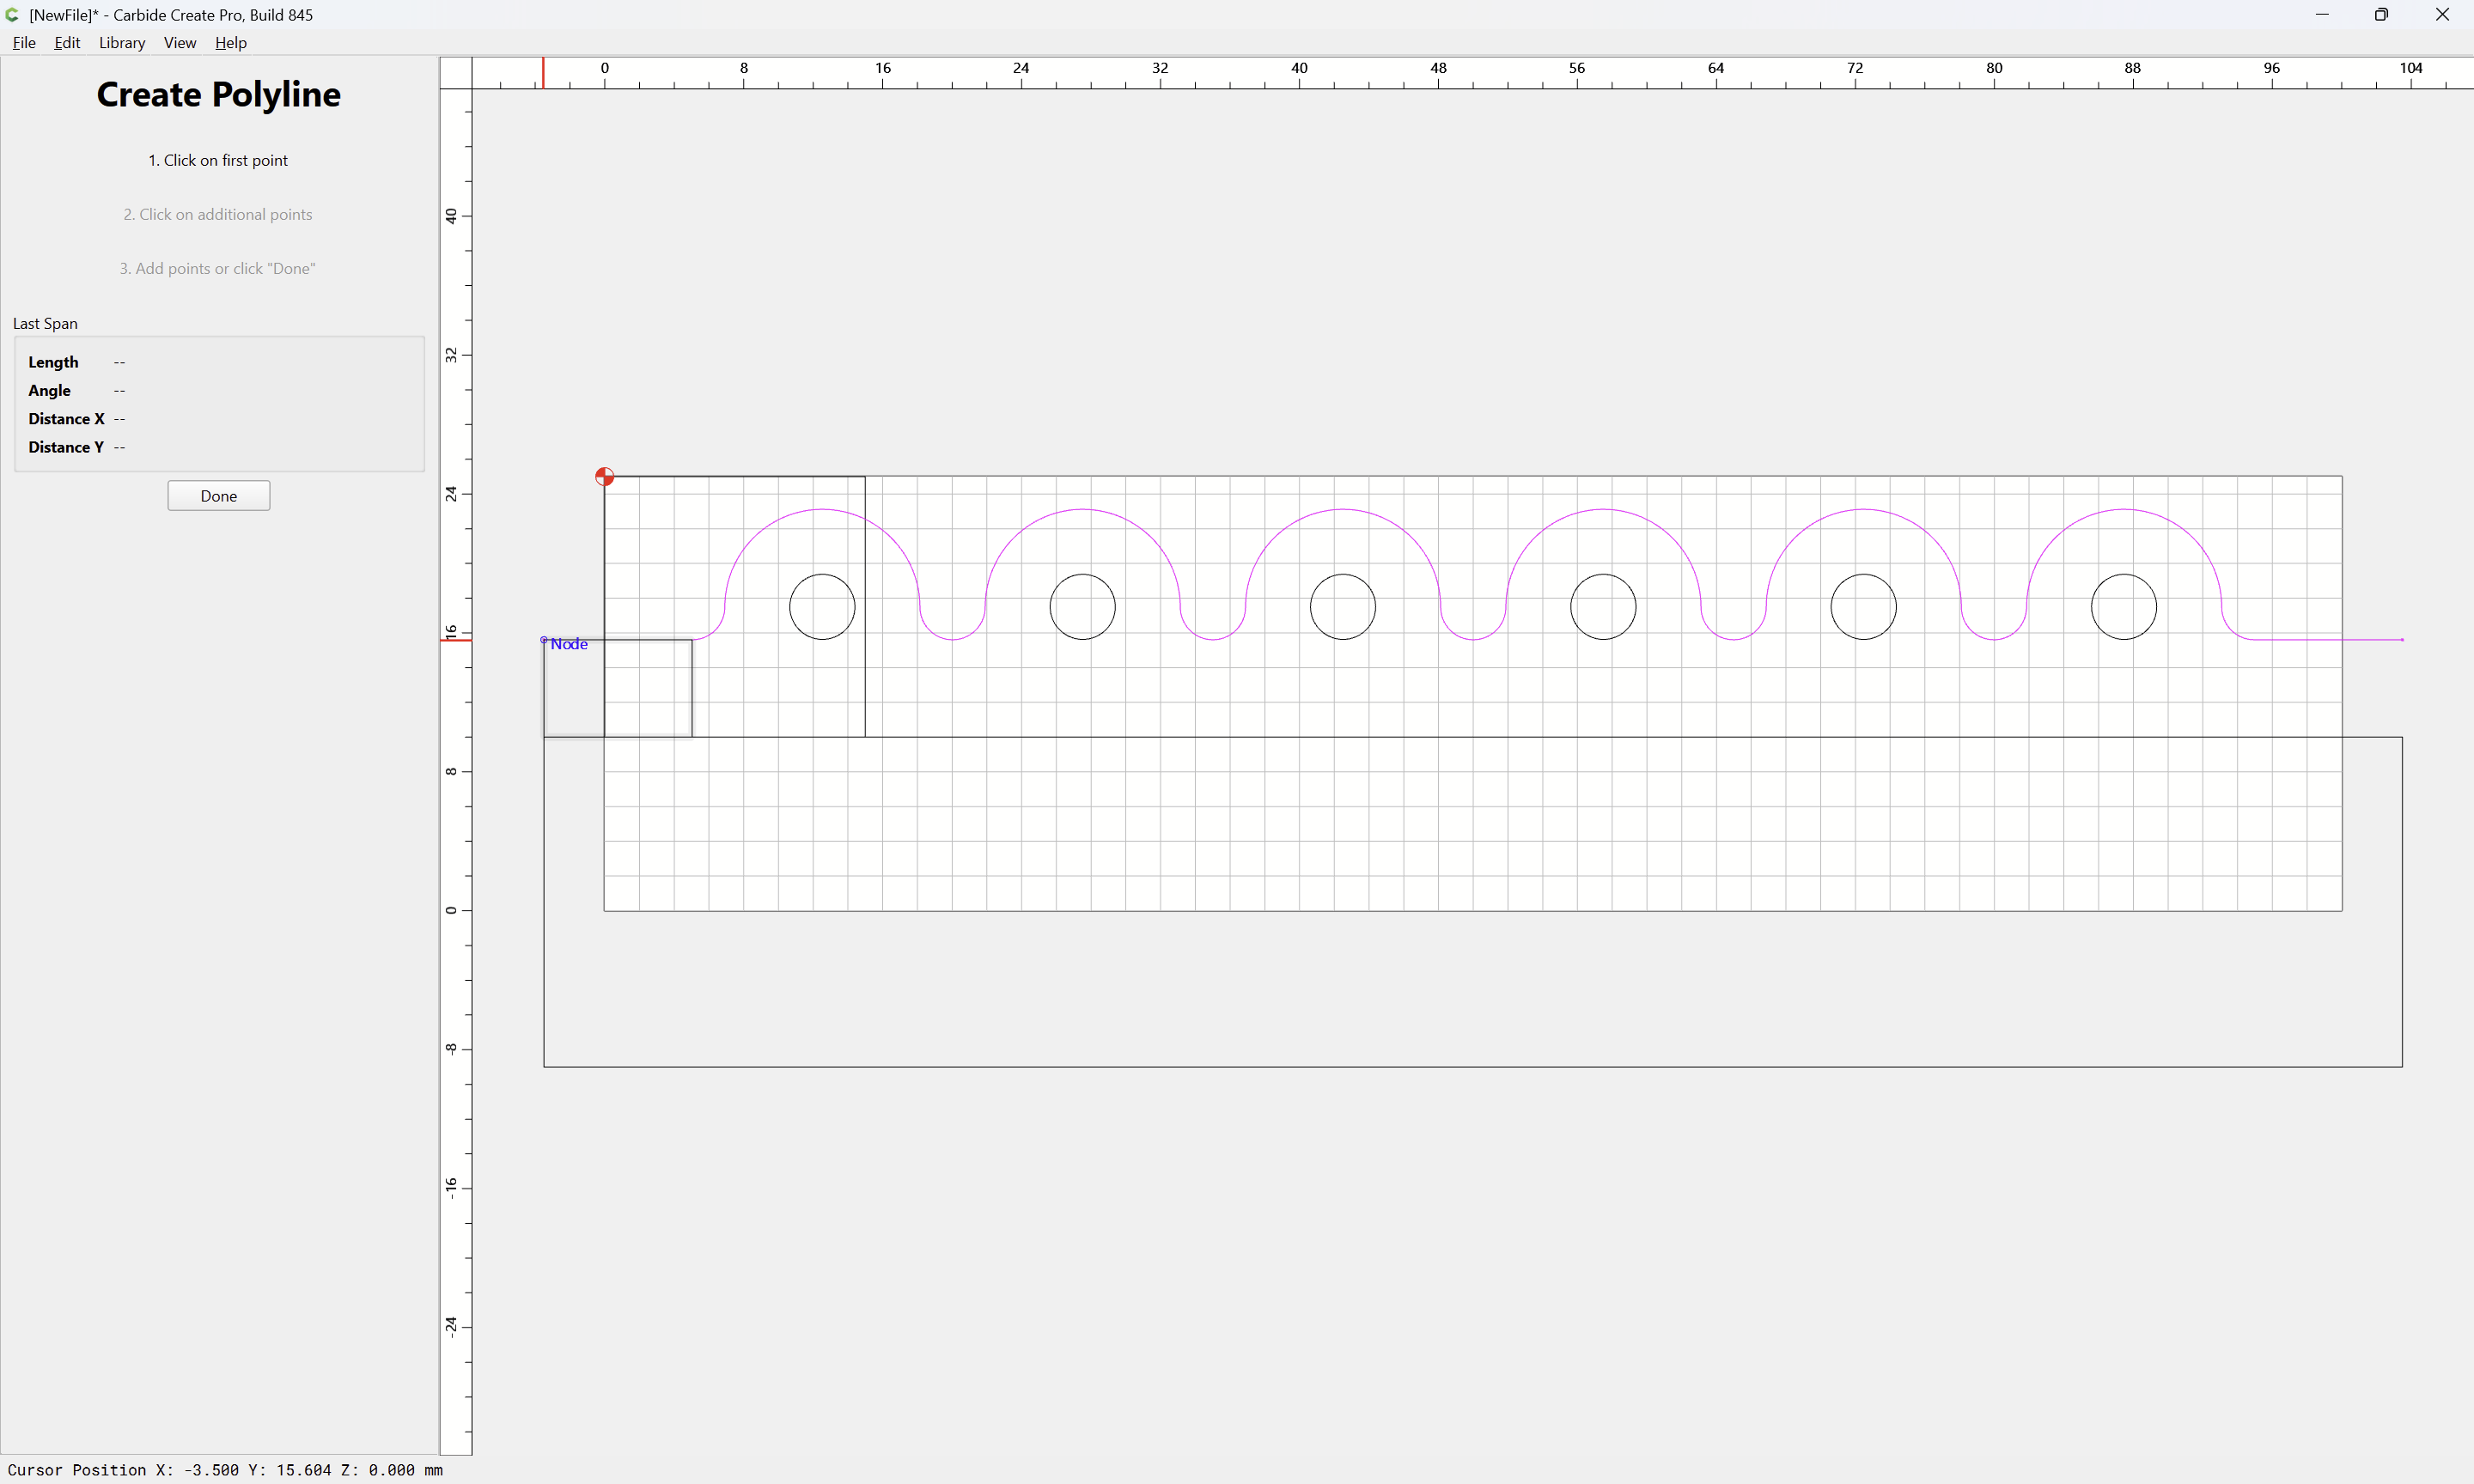
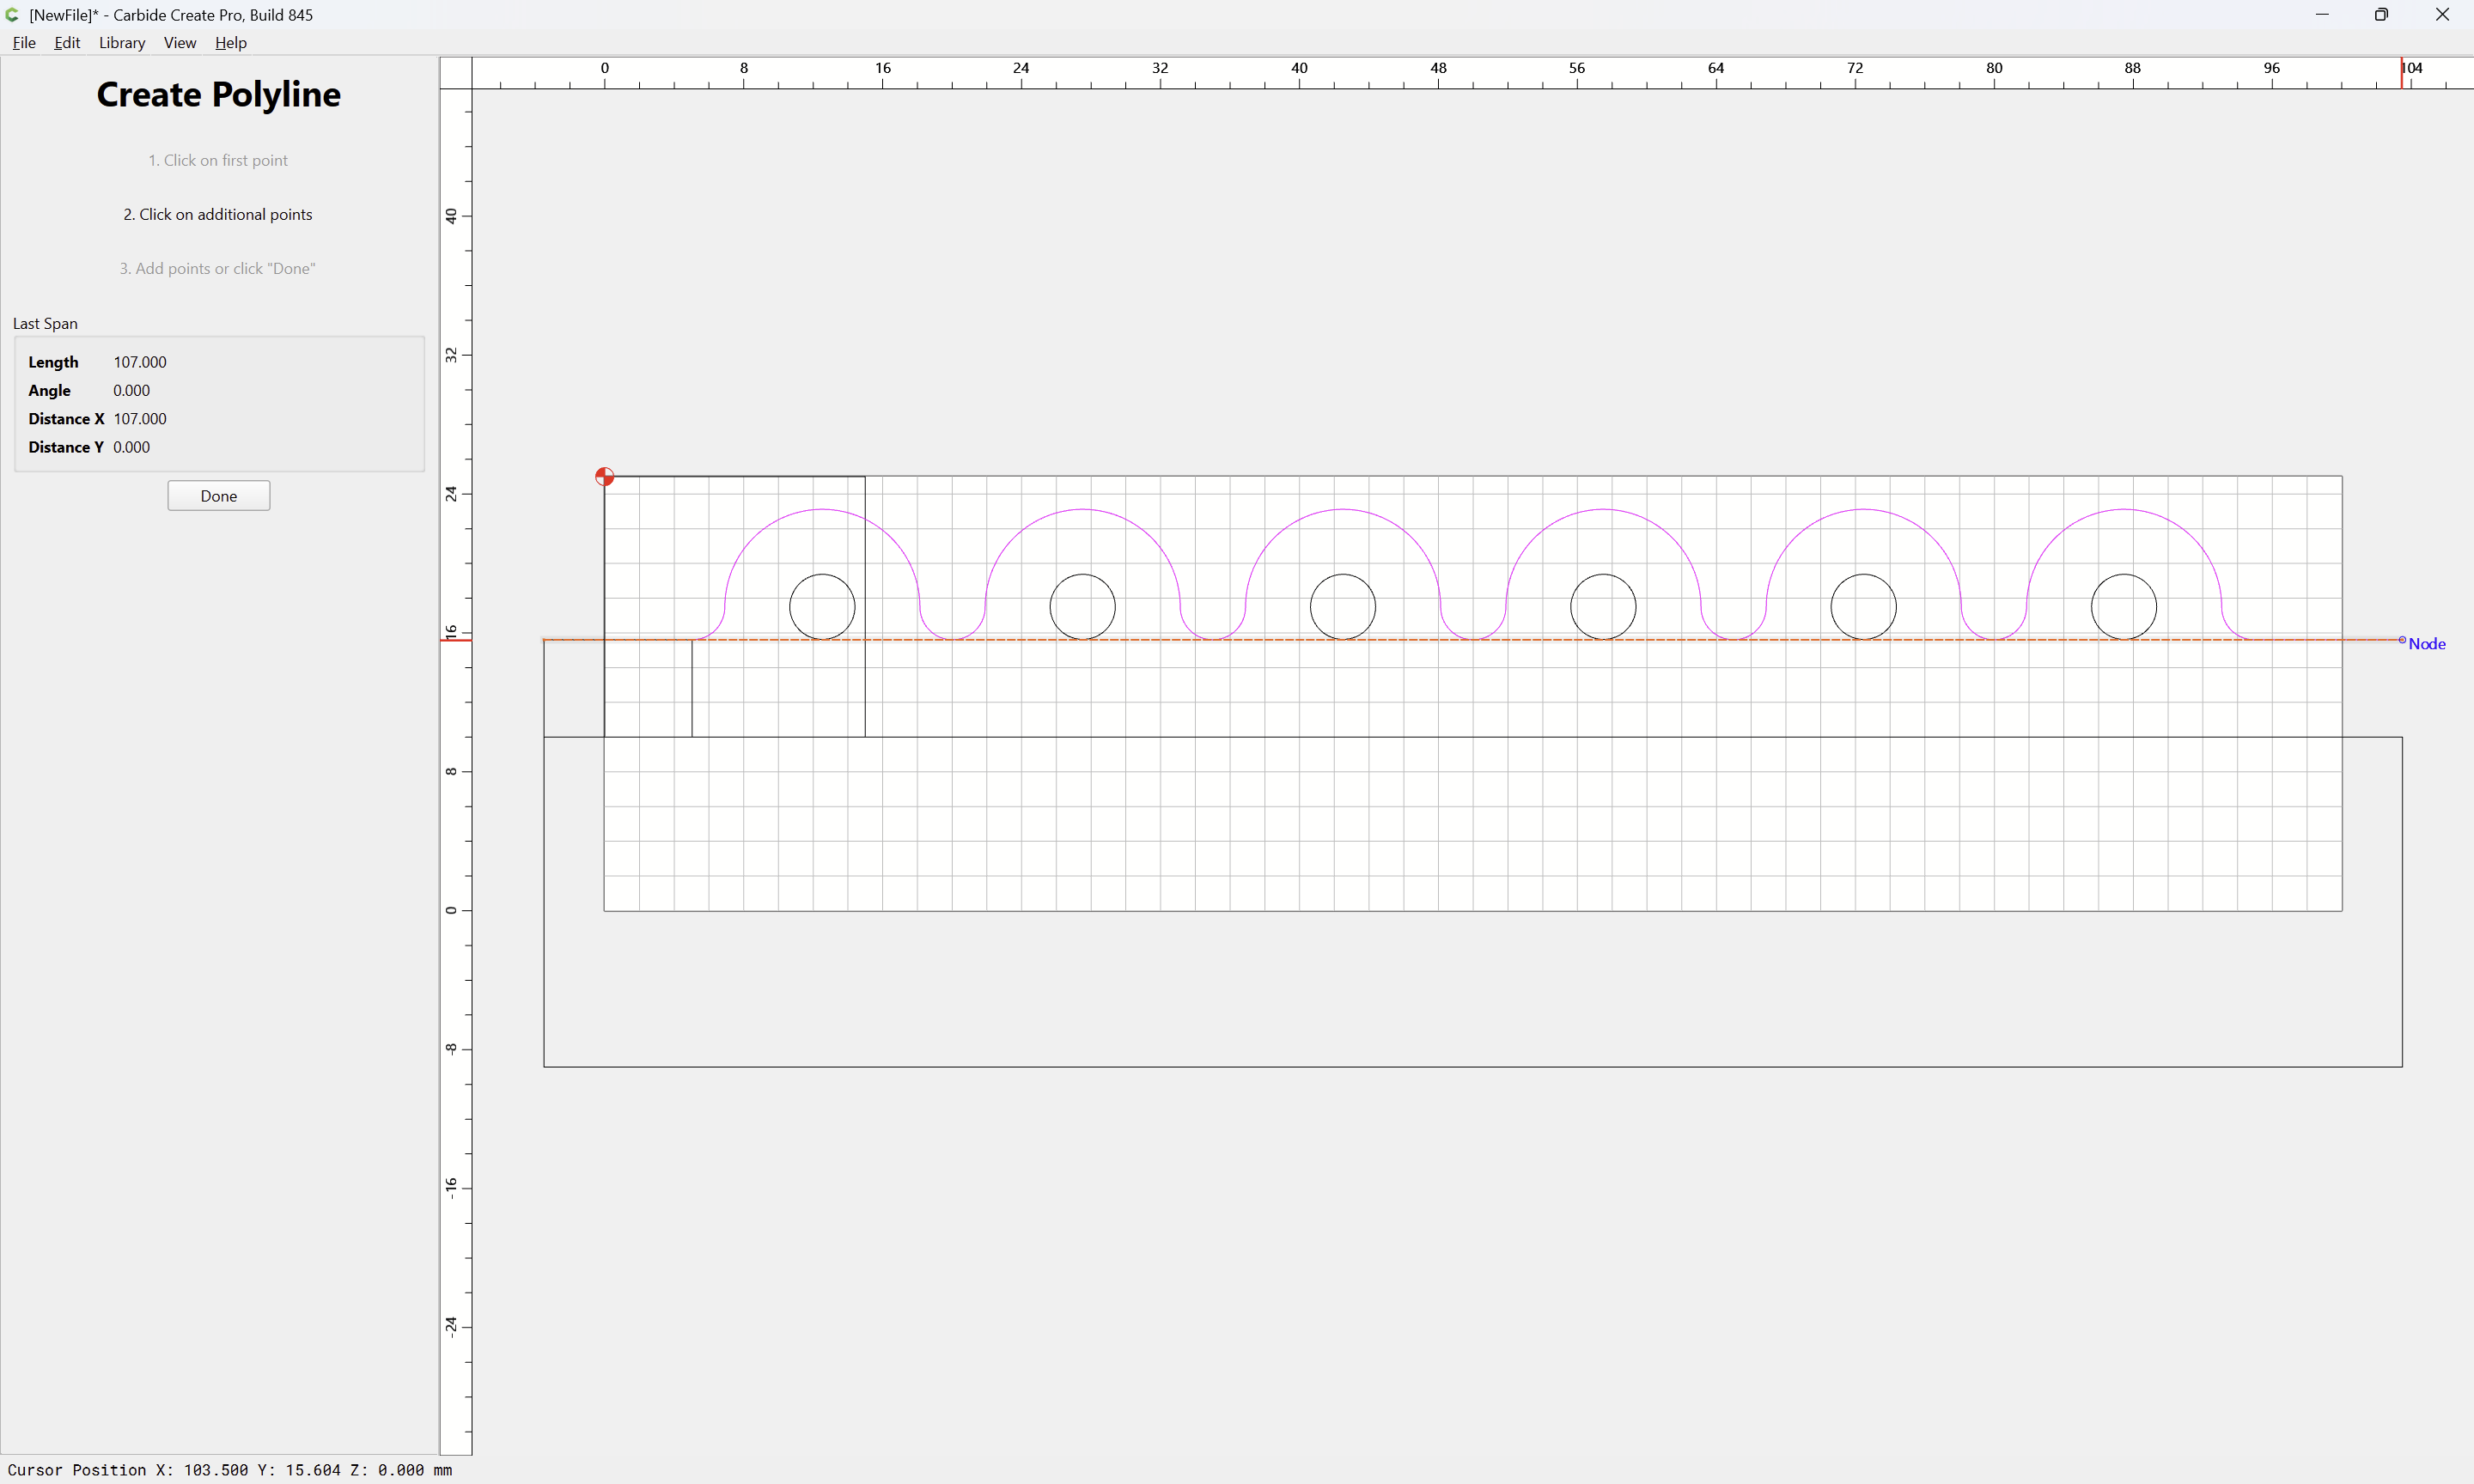
Done
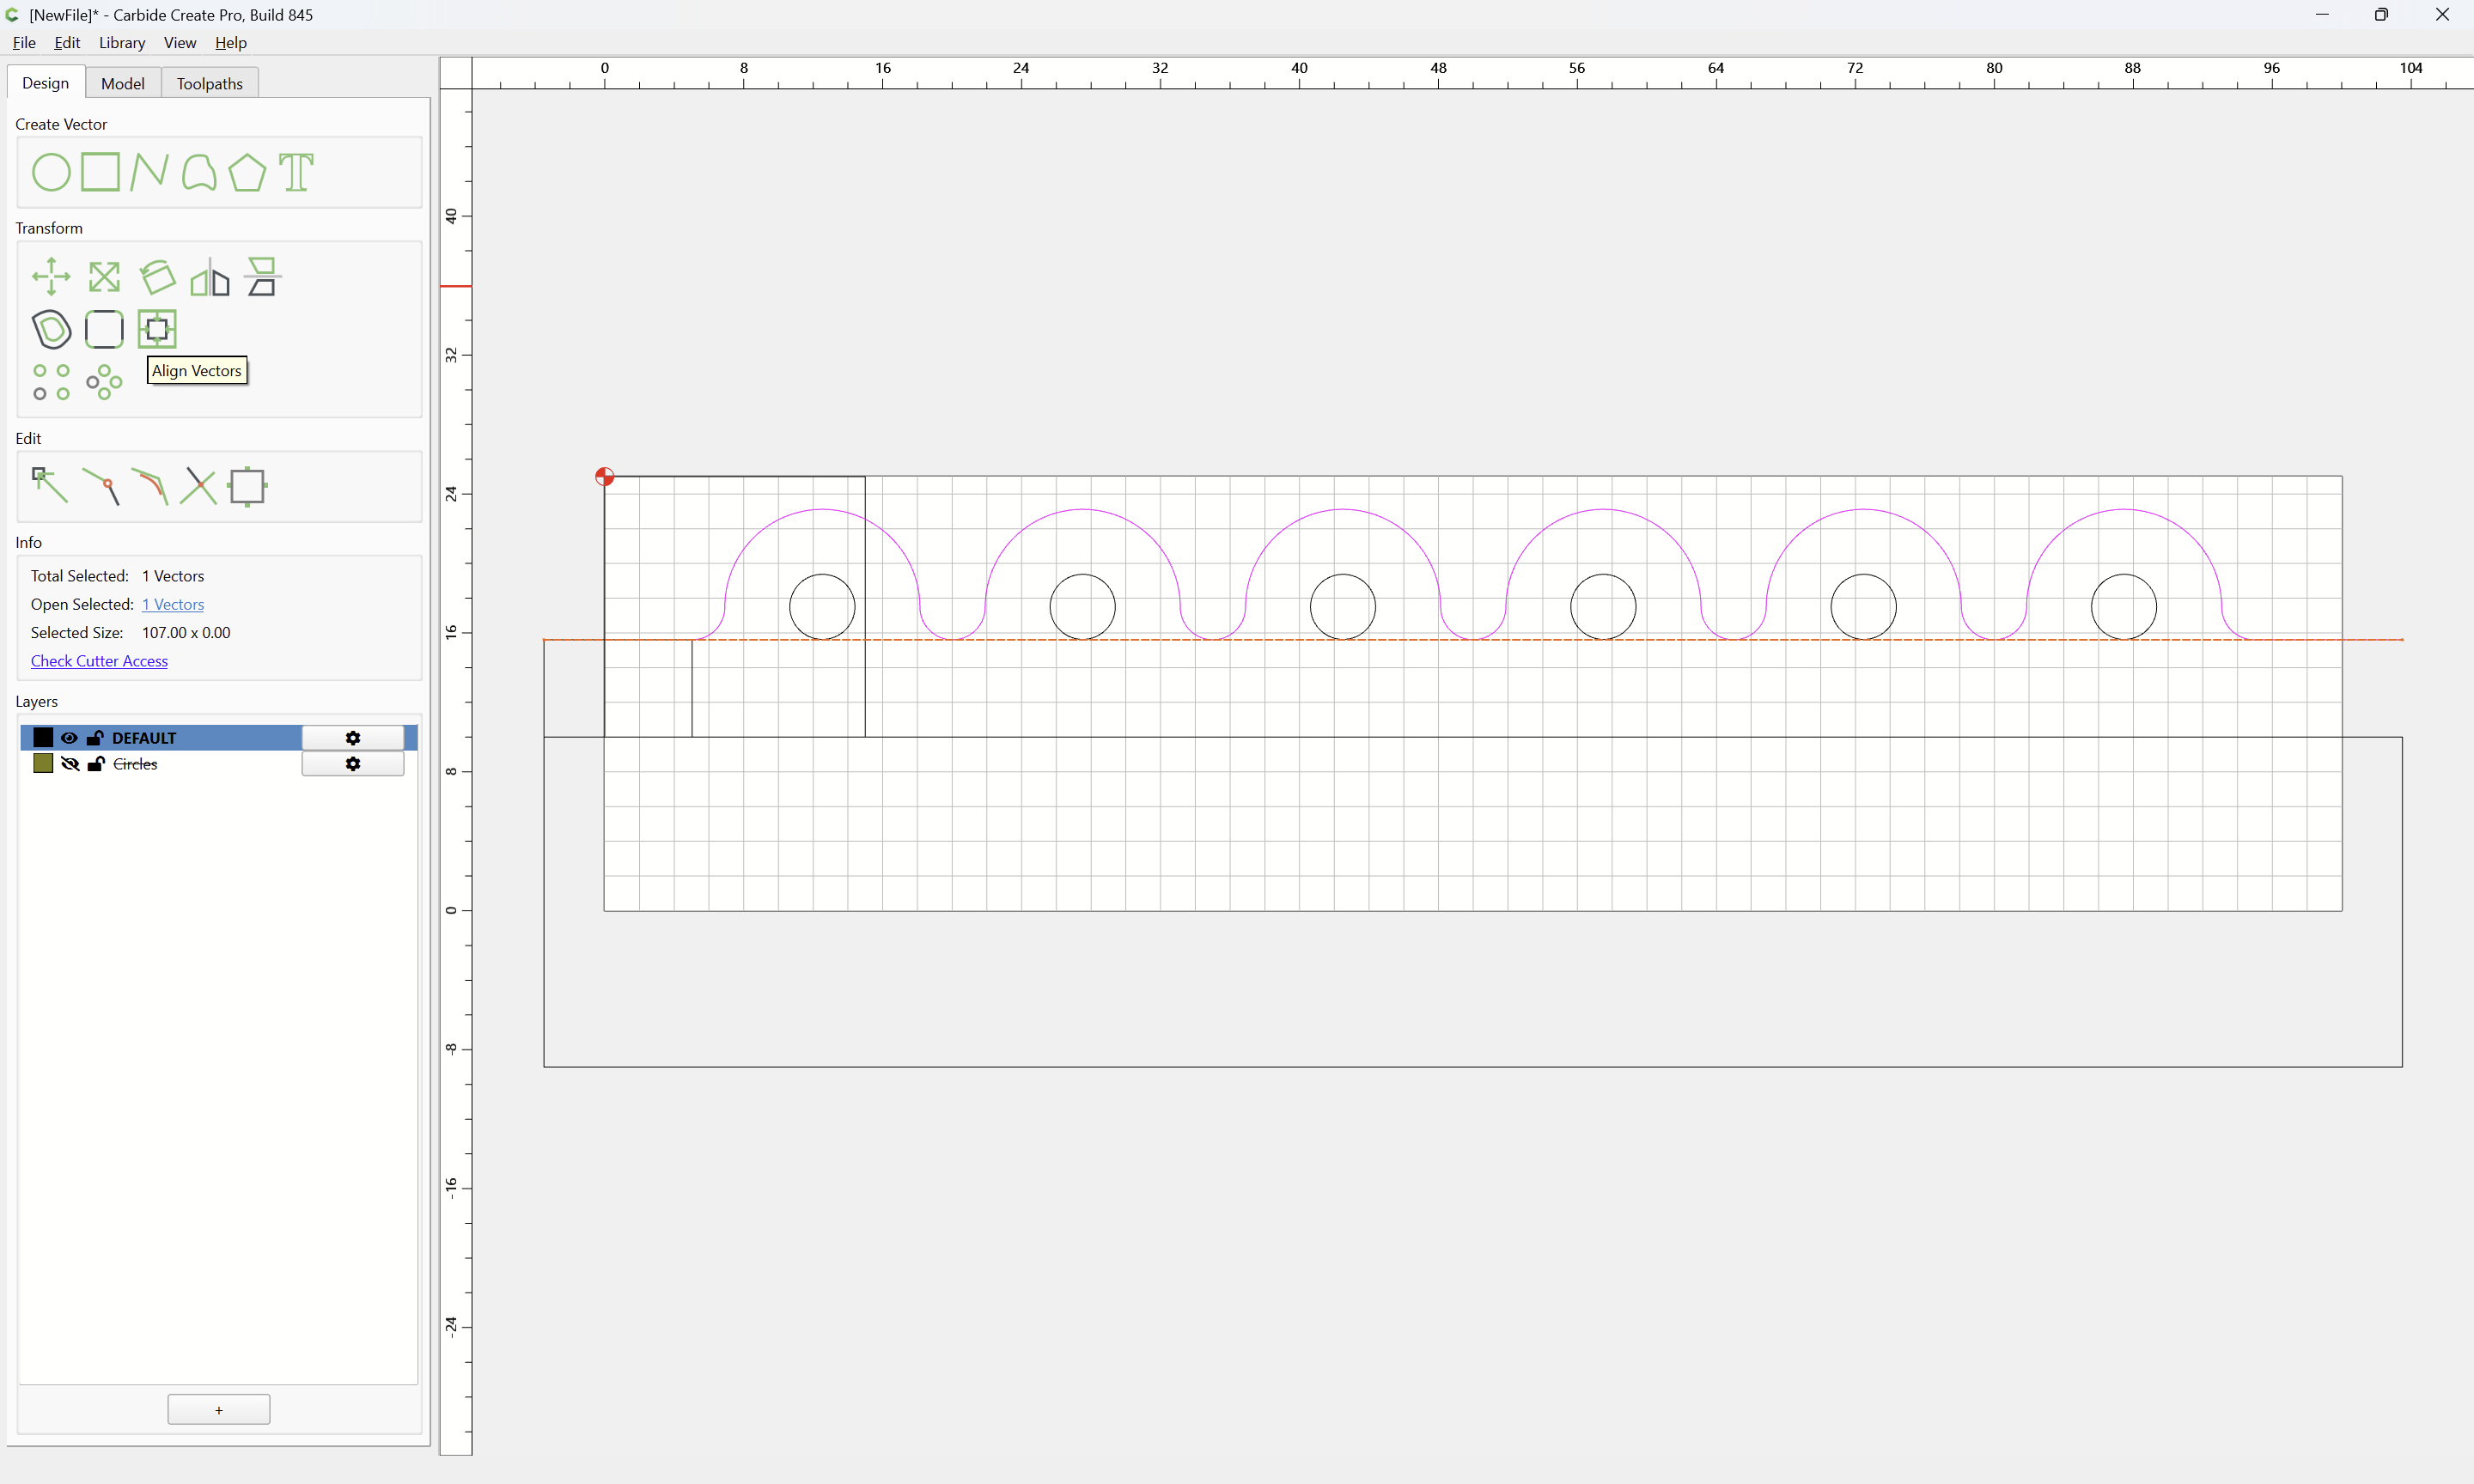
Align it with the top of the stock
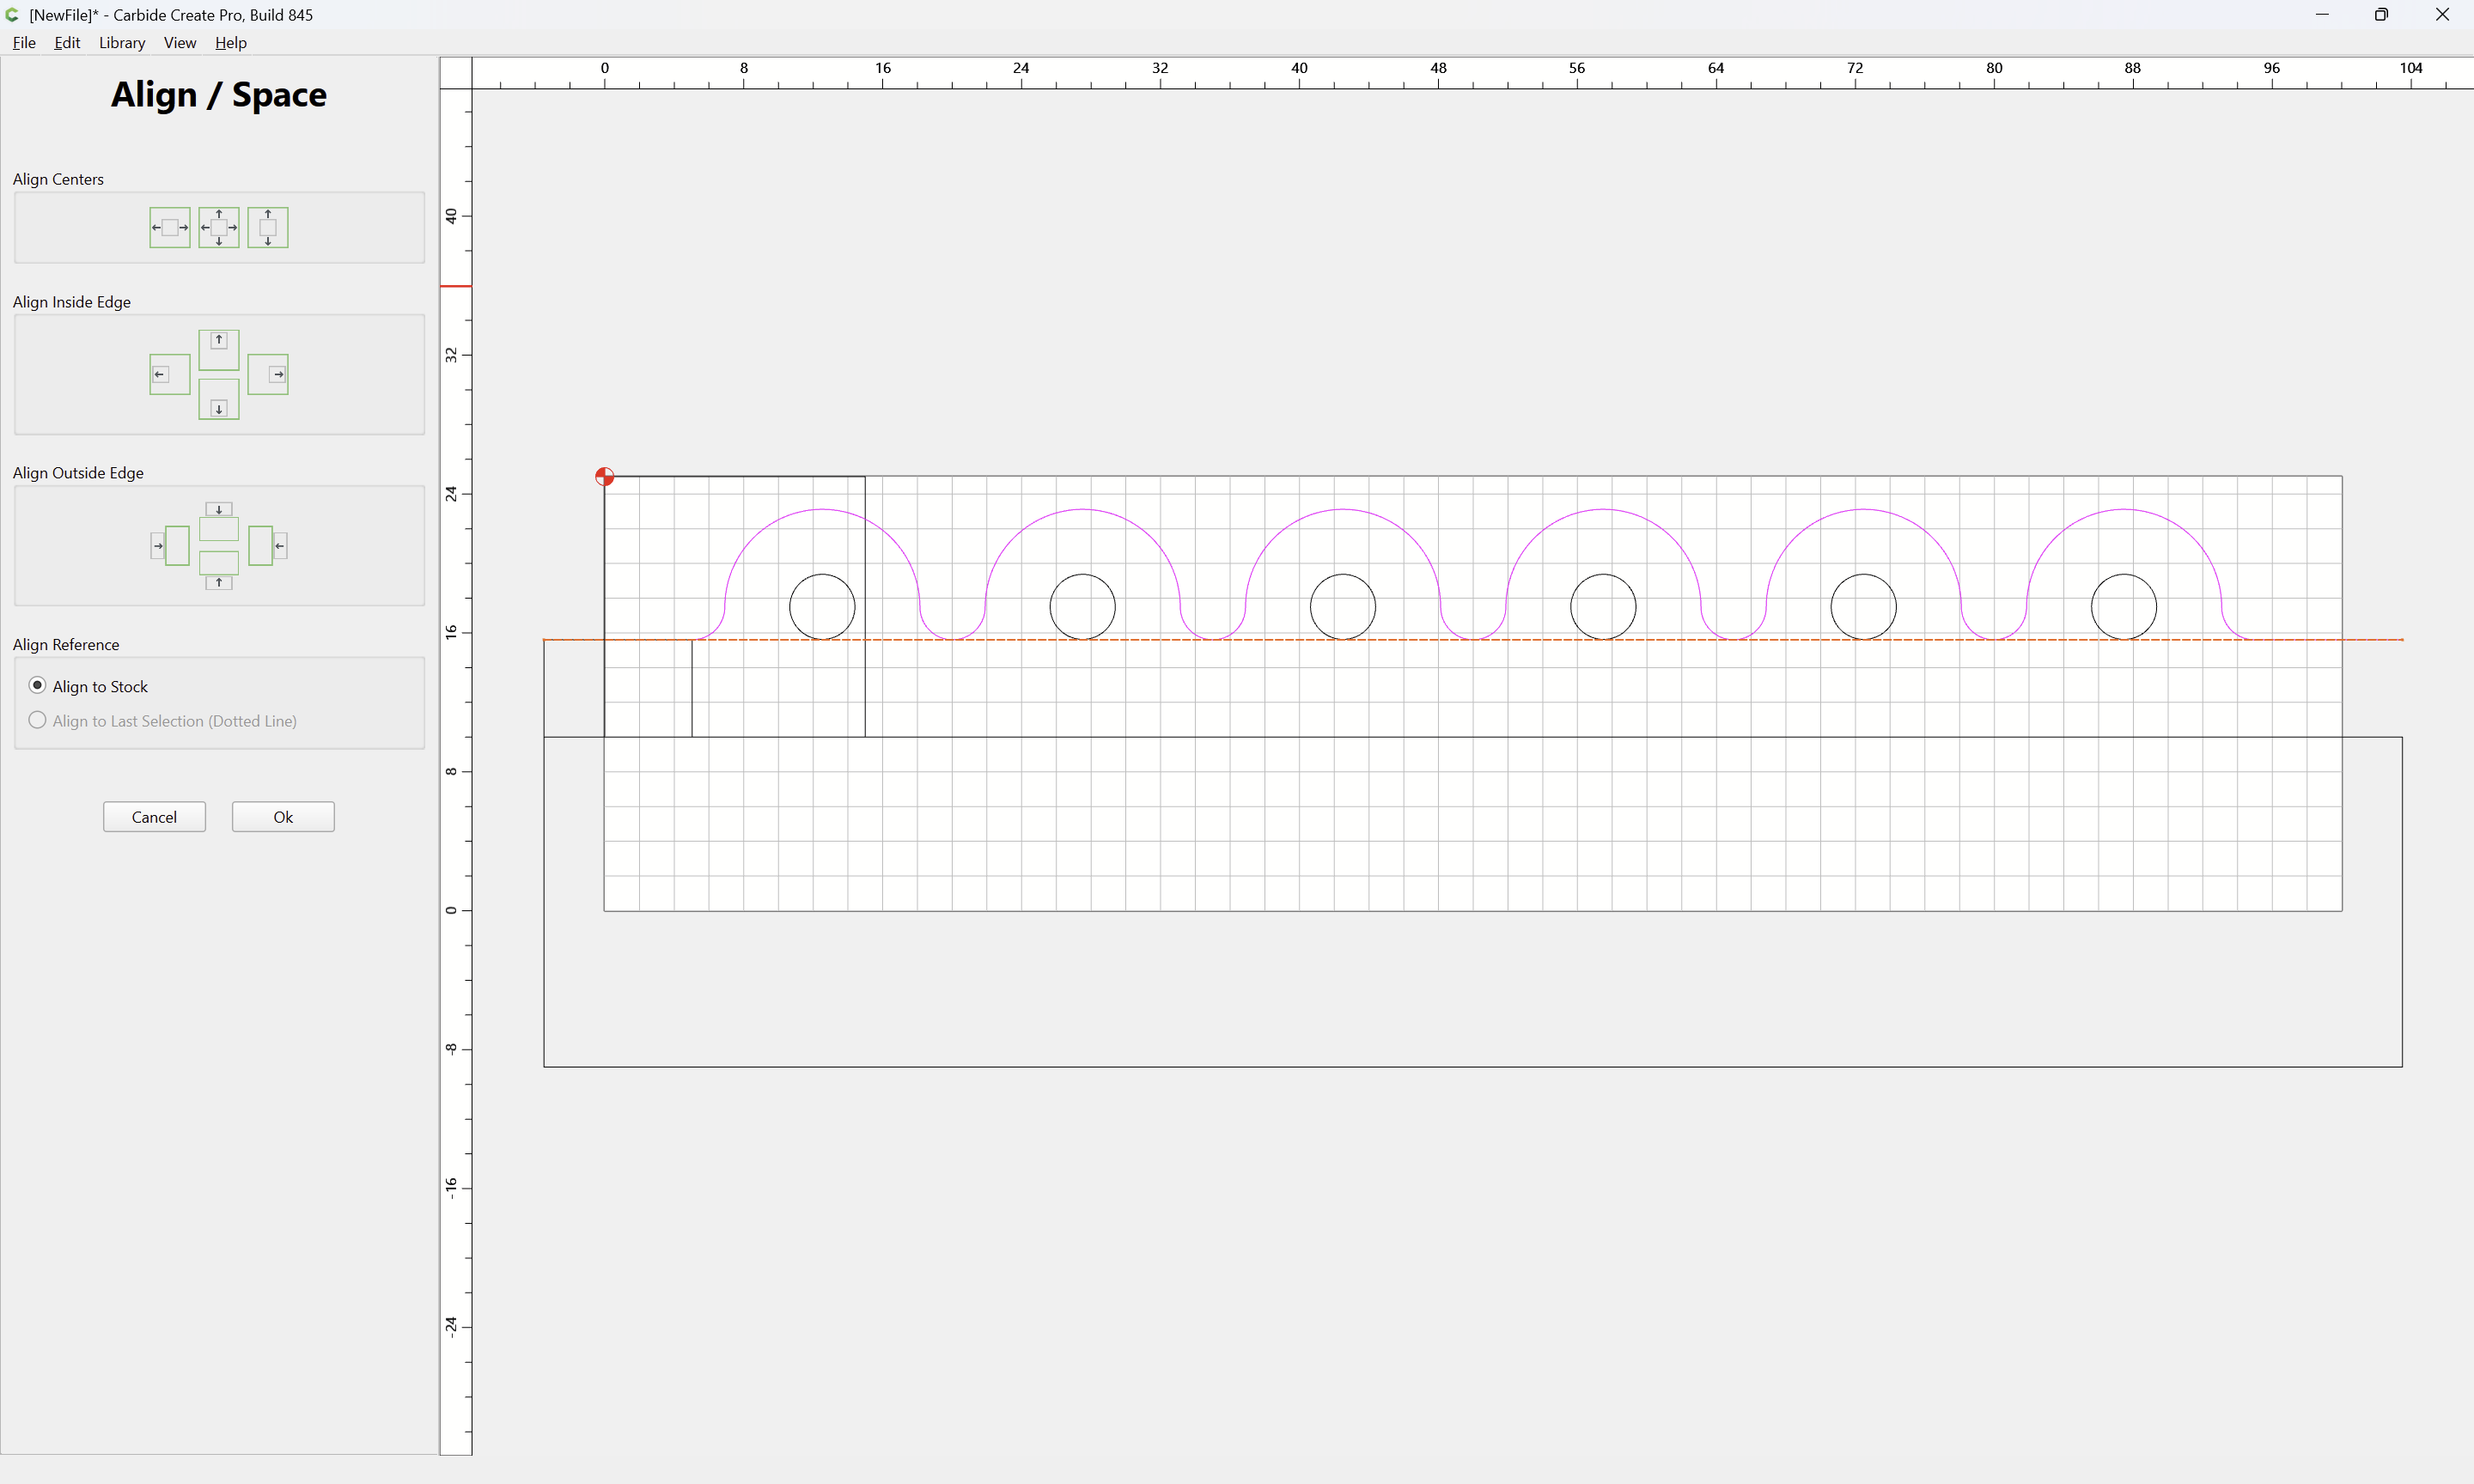
OK
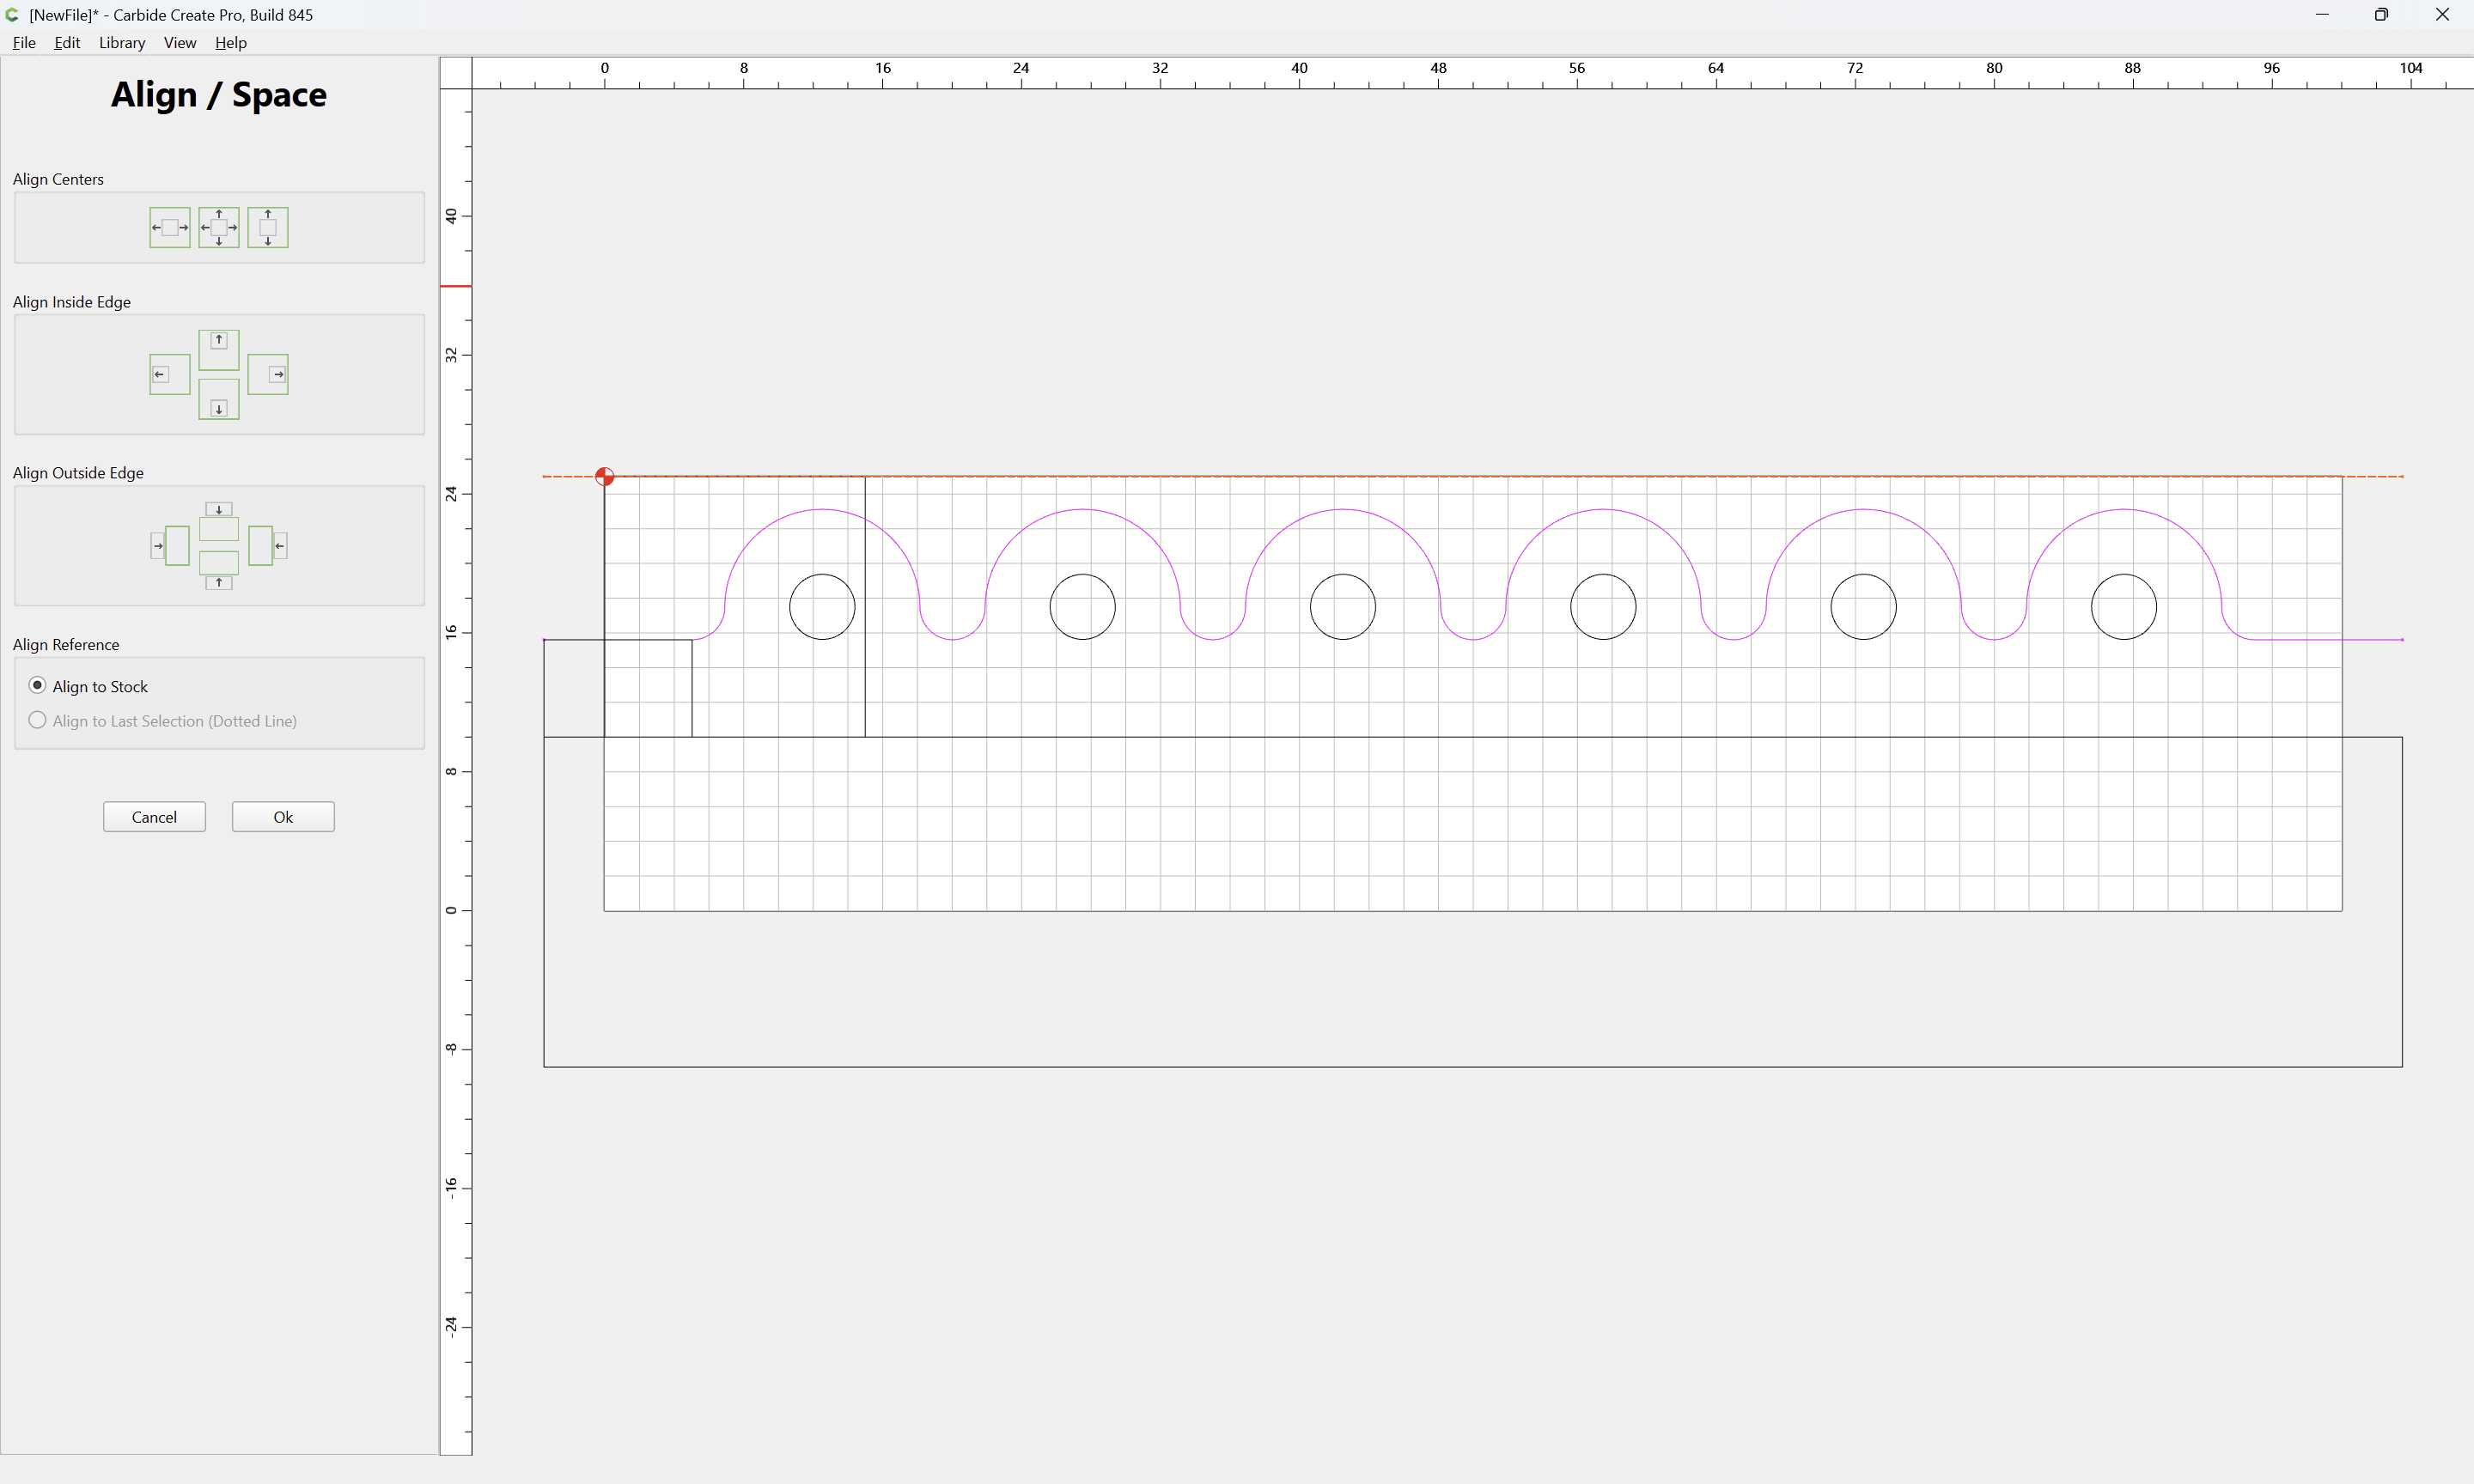
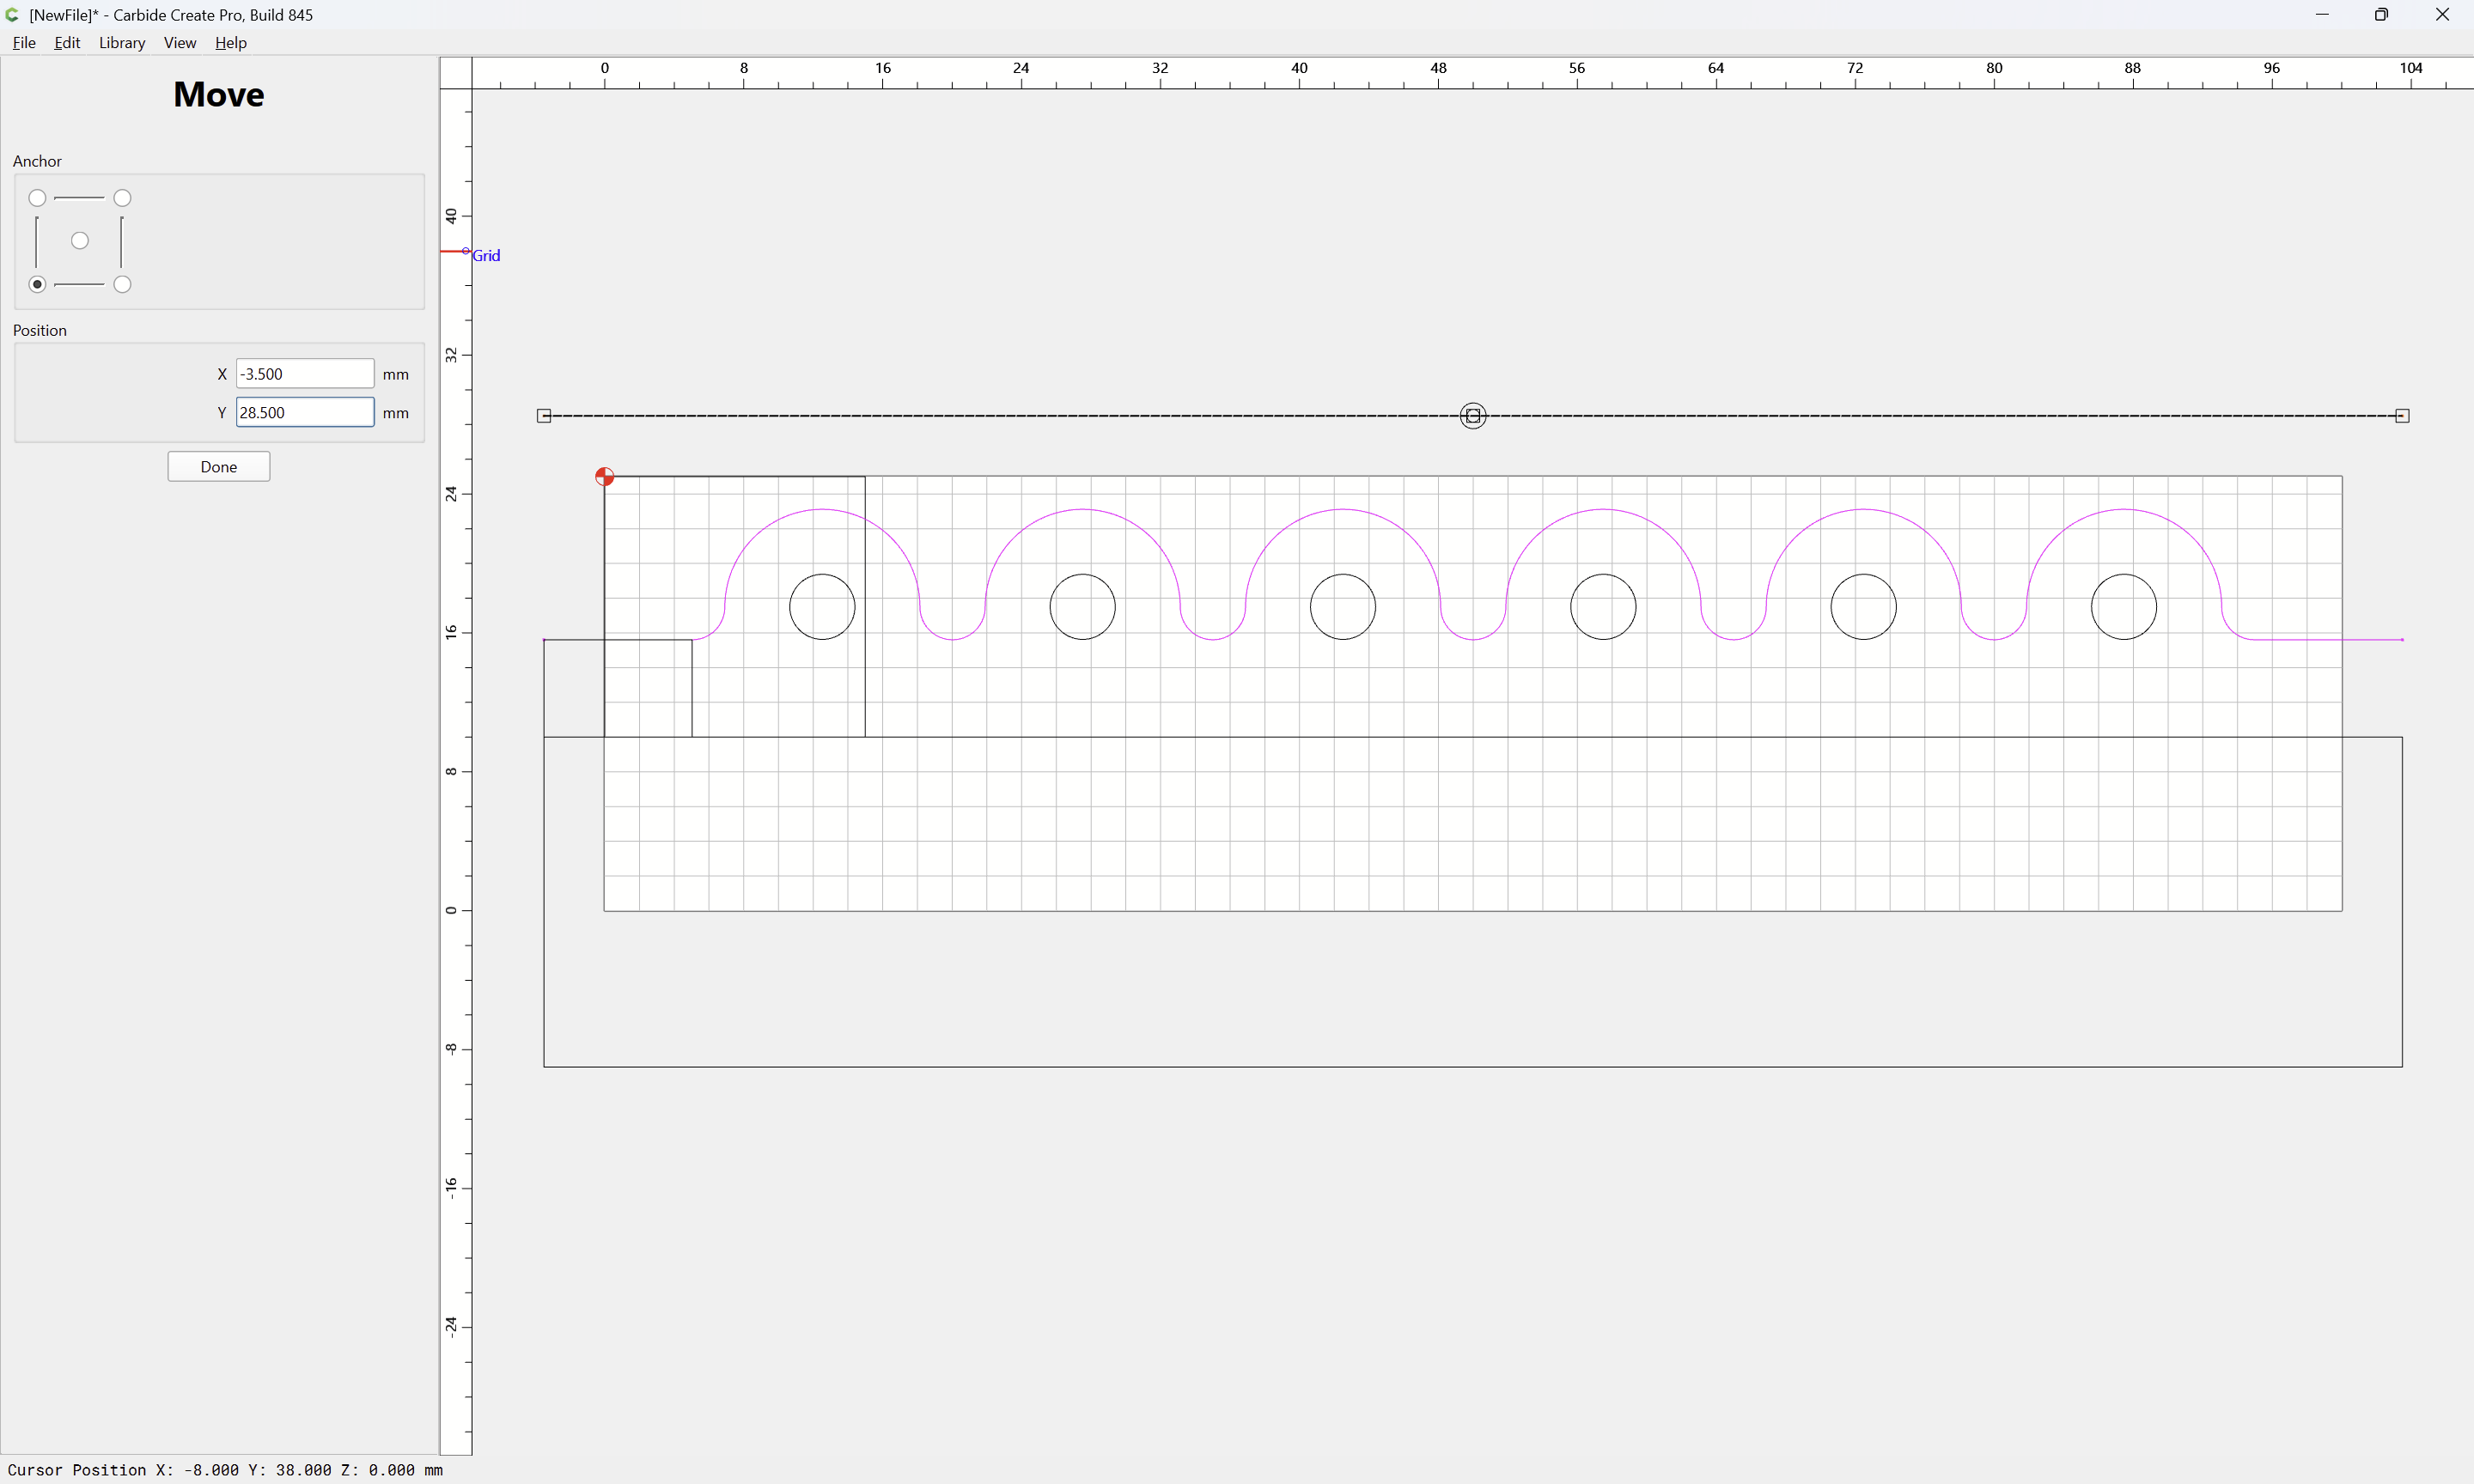
Move it up by endmill diameter plus 10% or so:
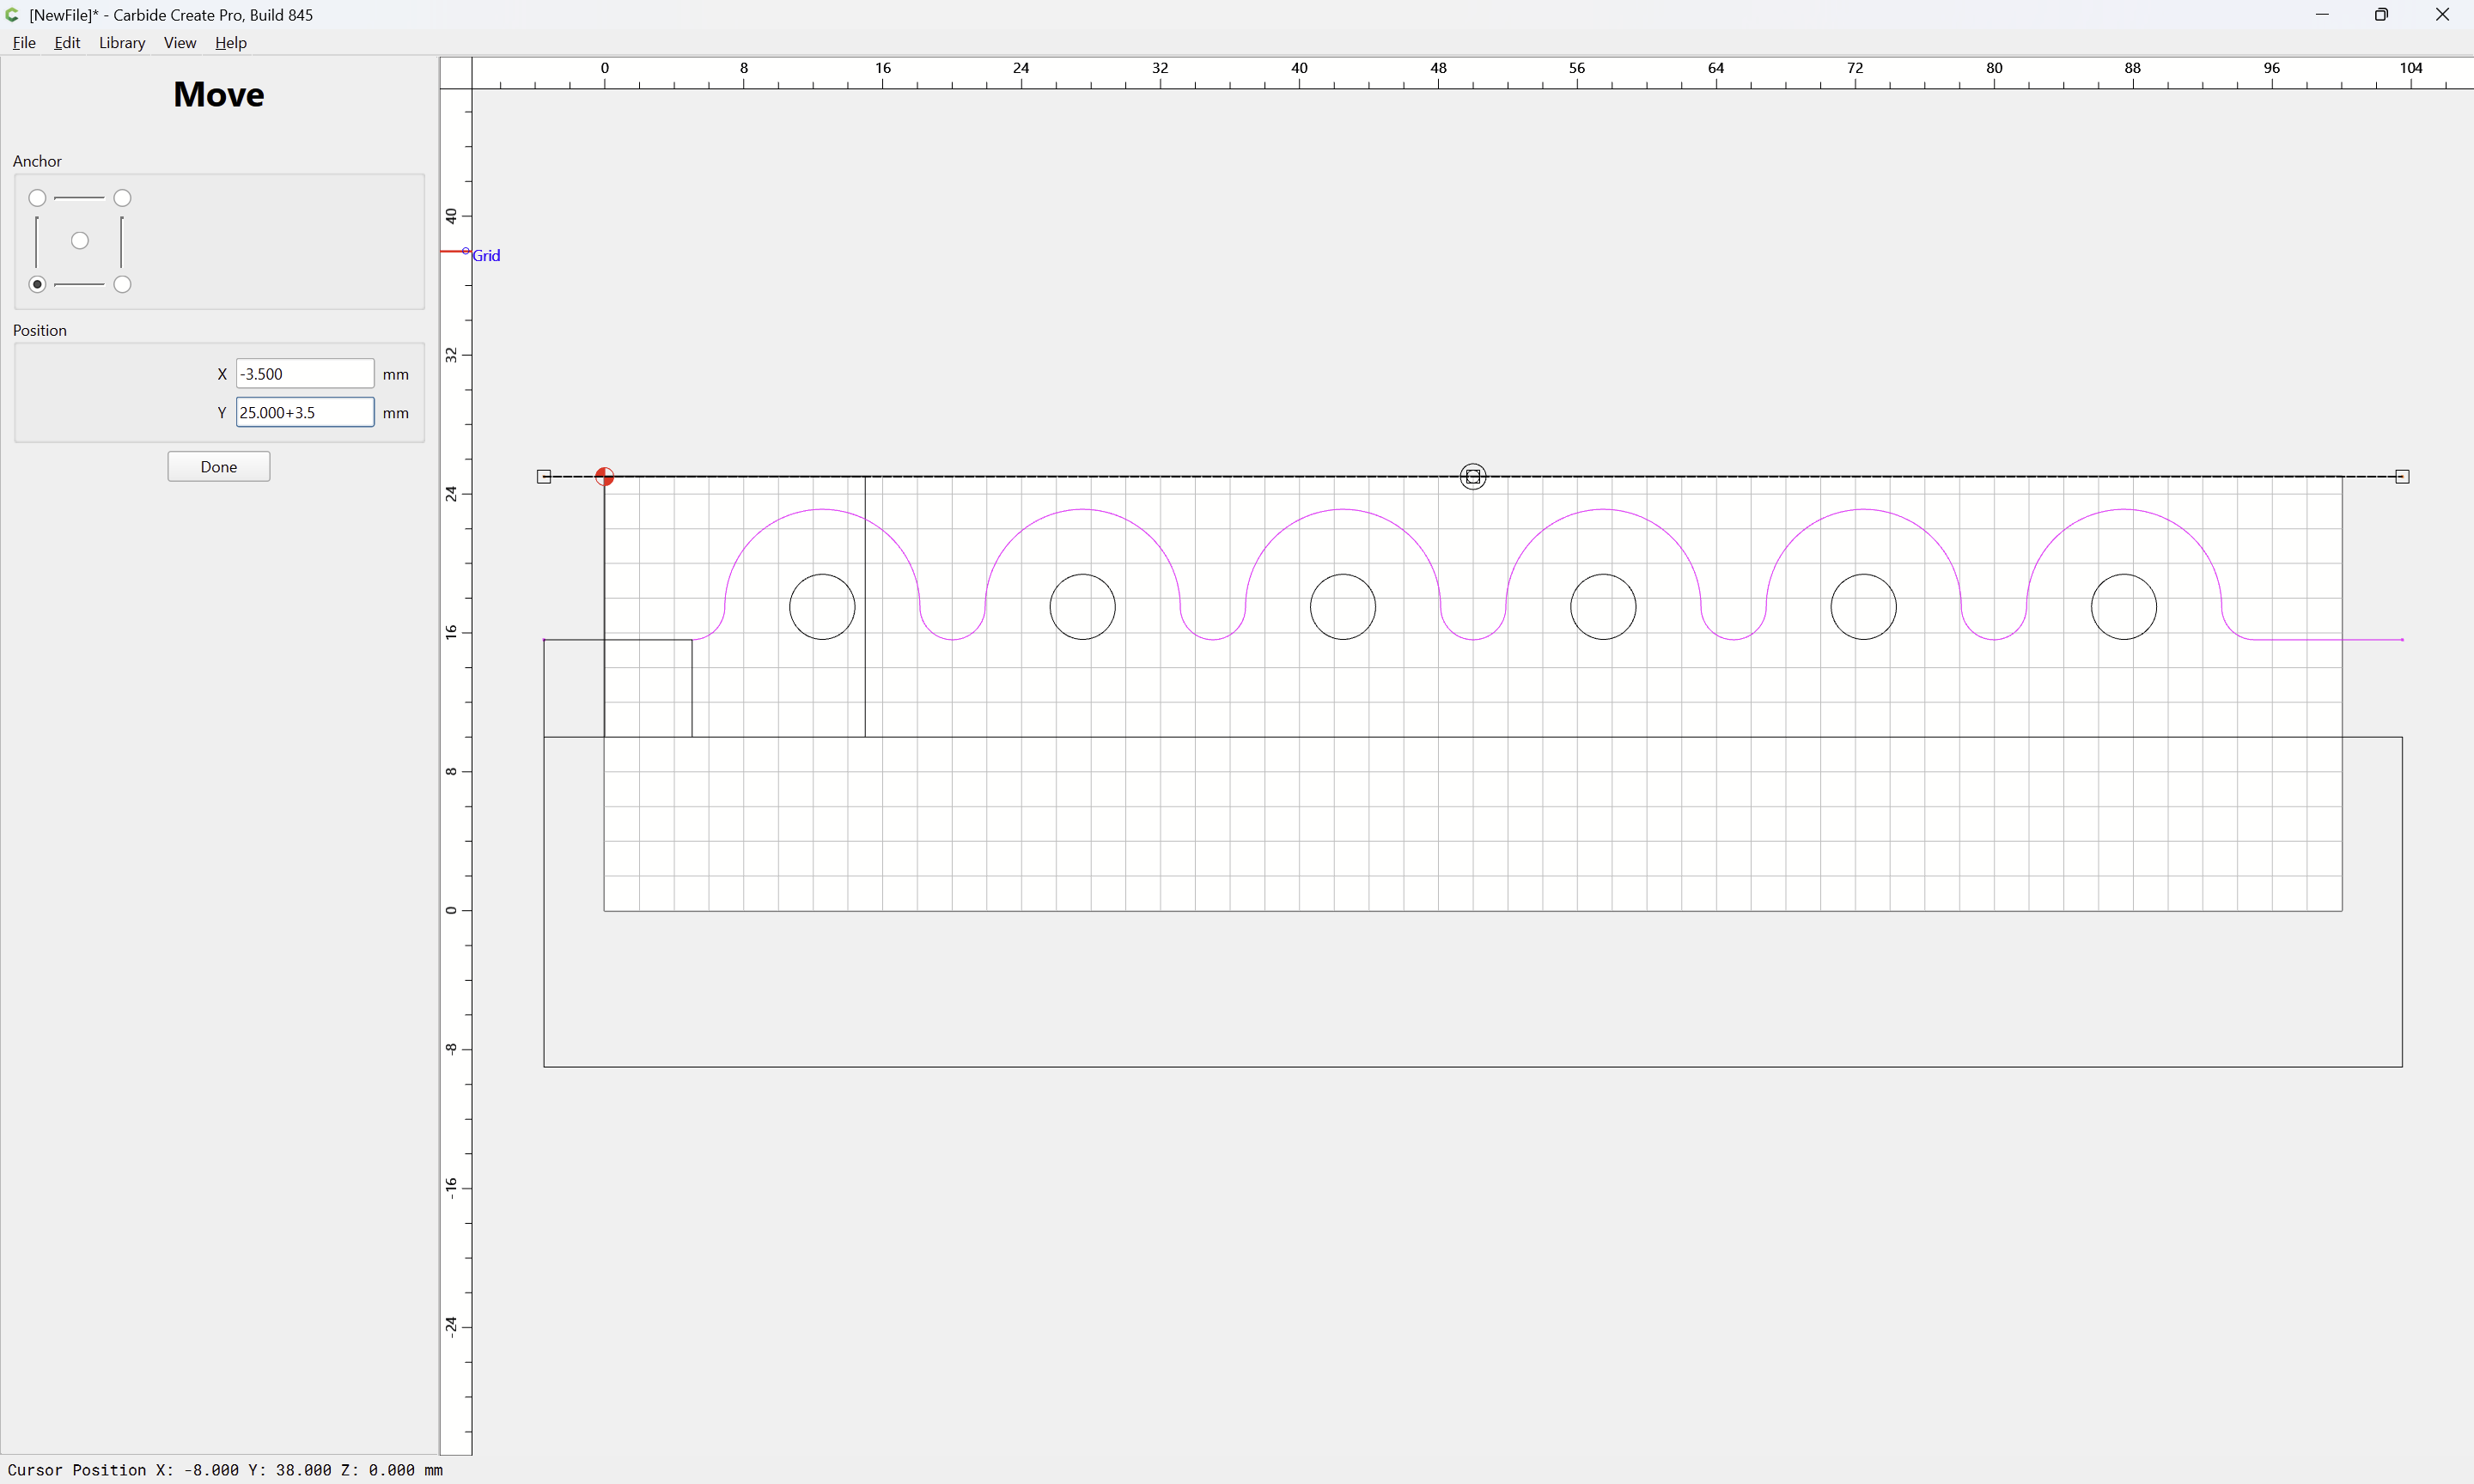
Done
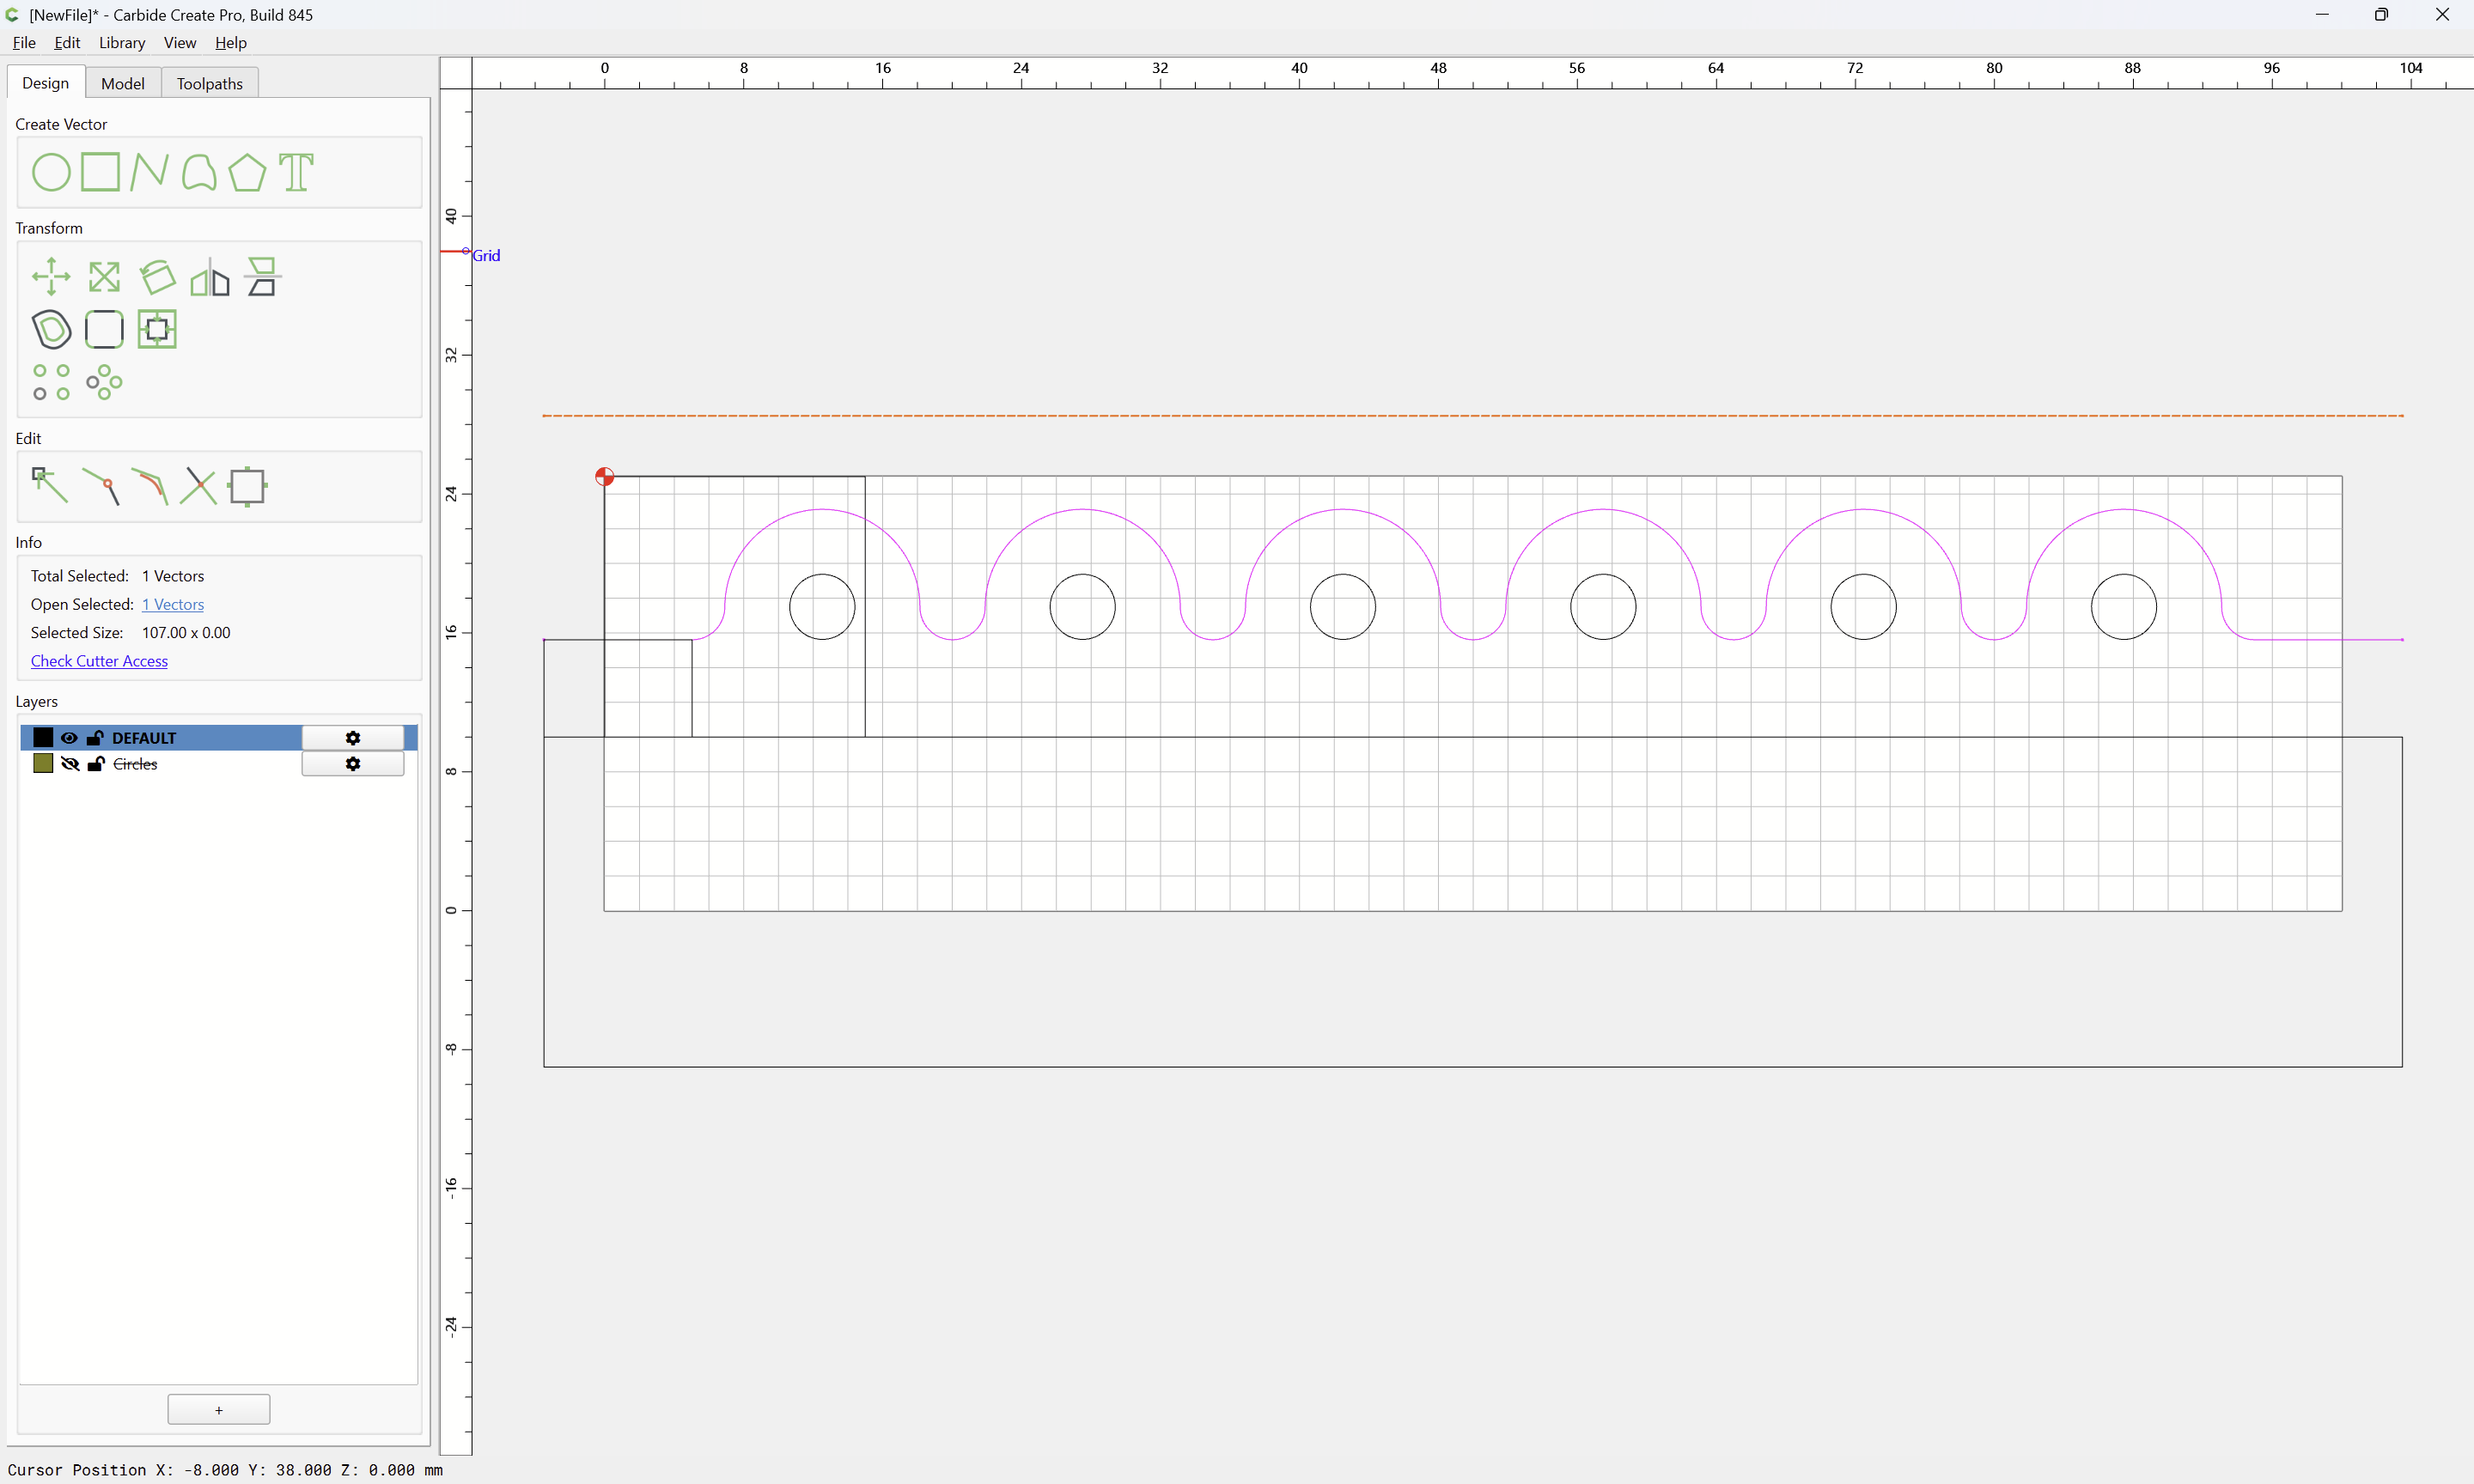
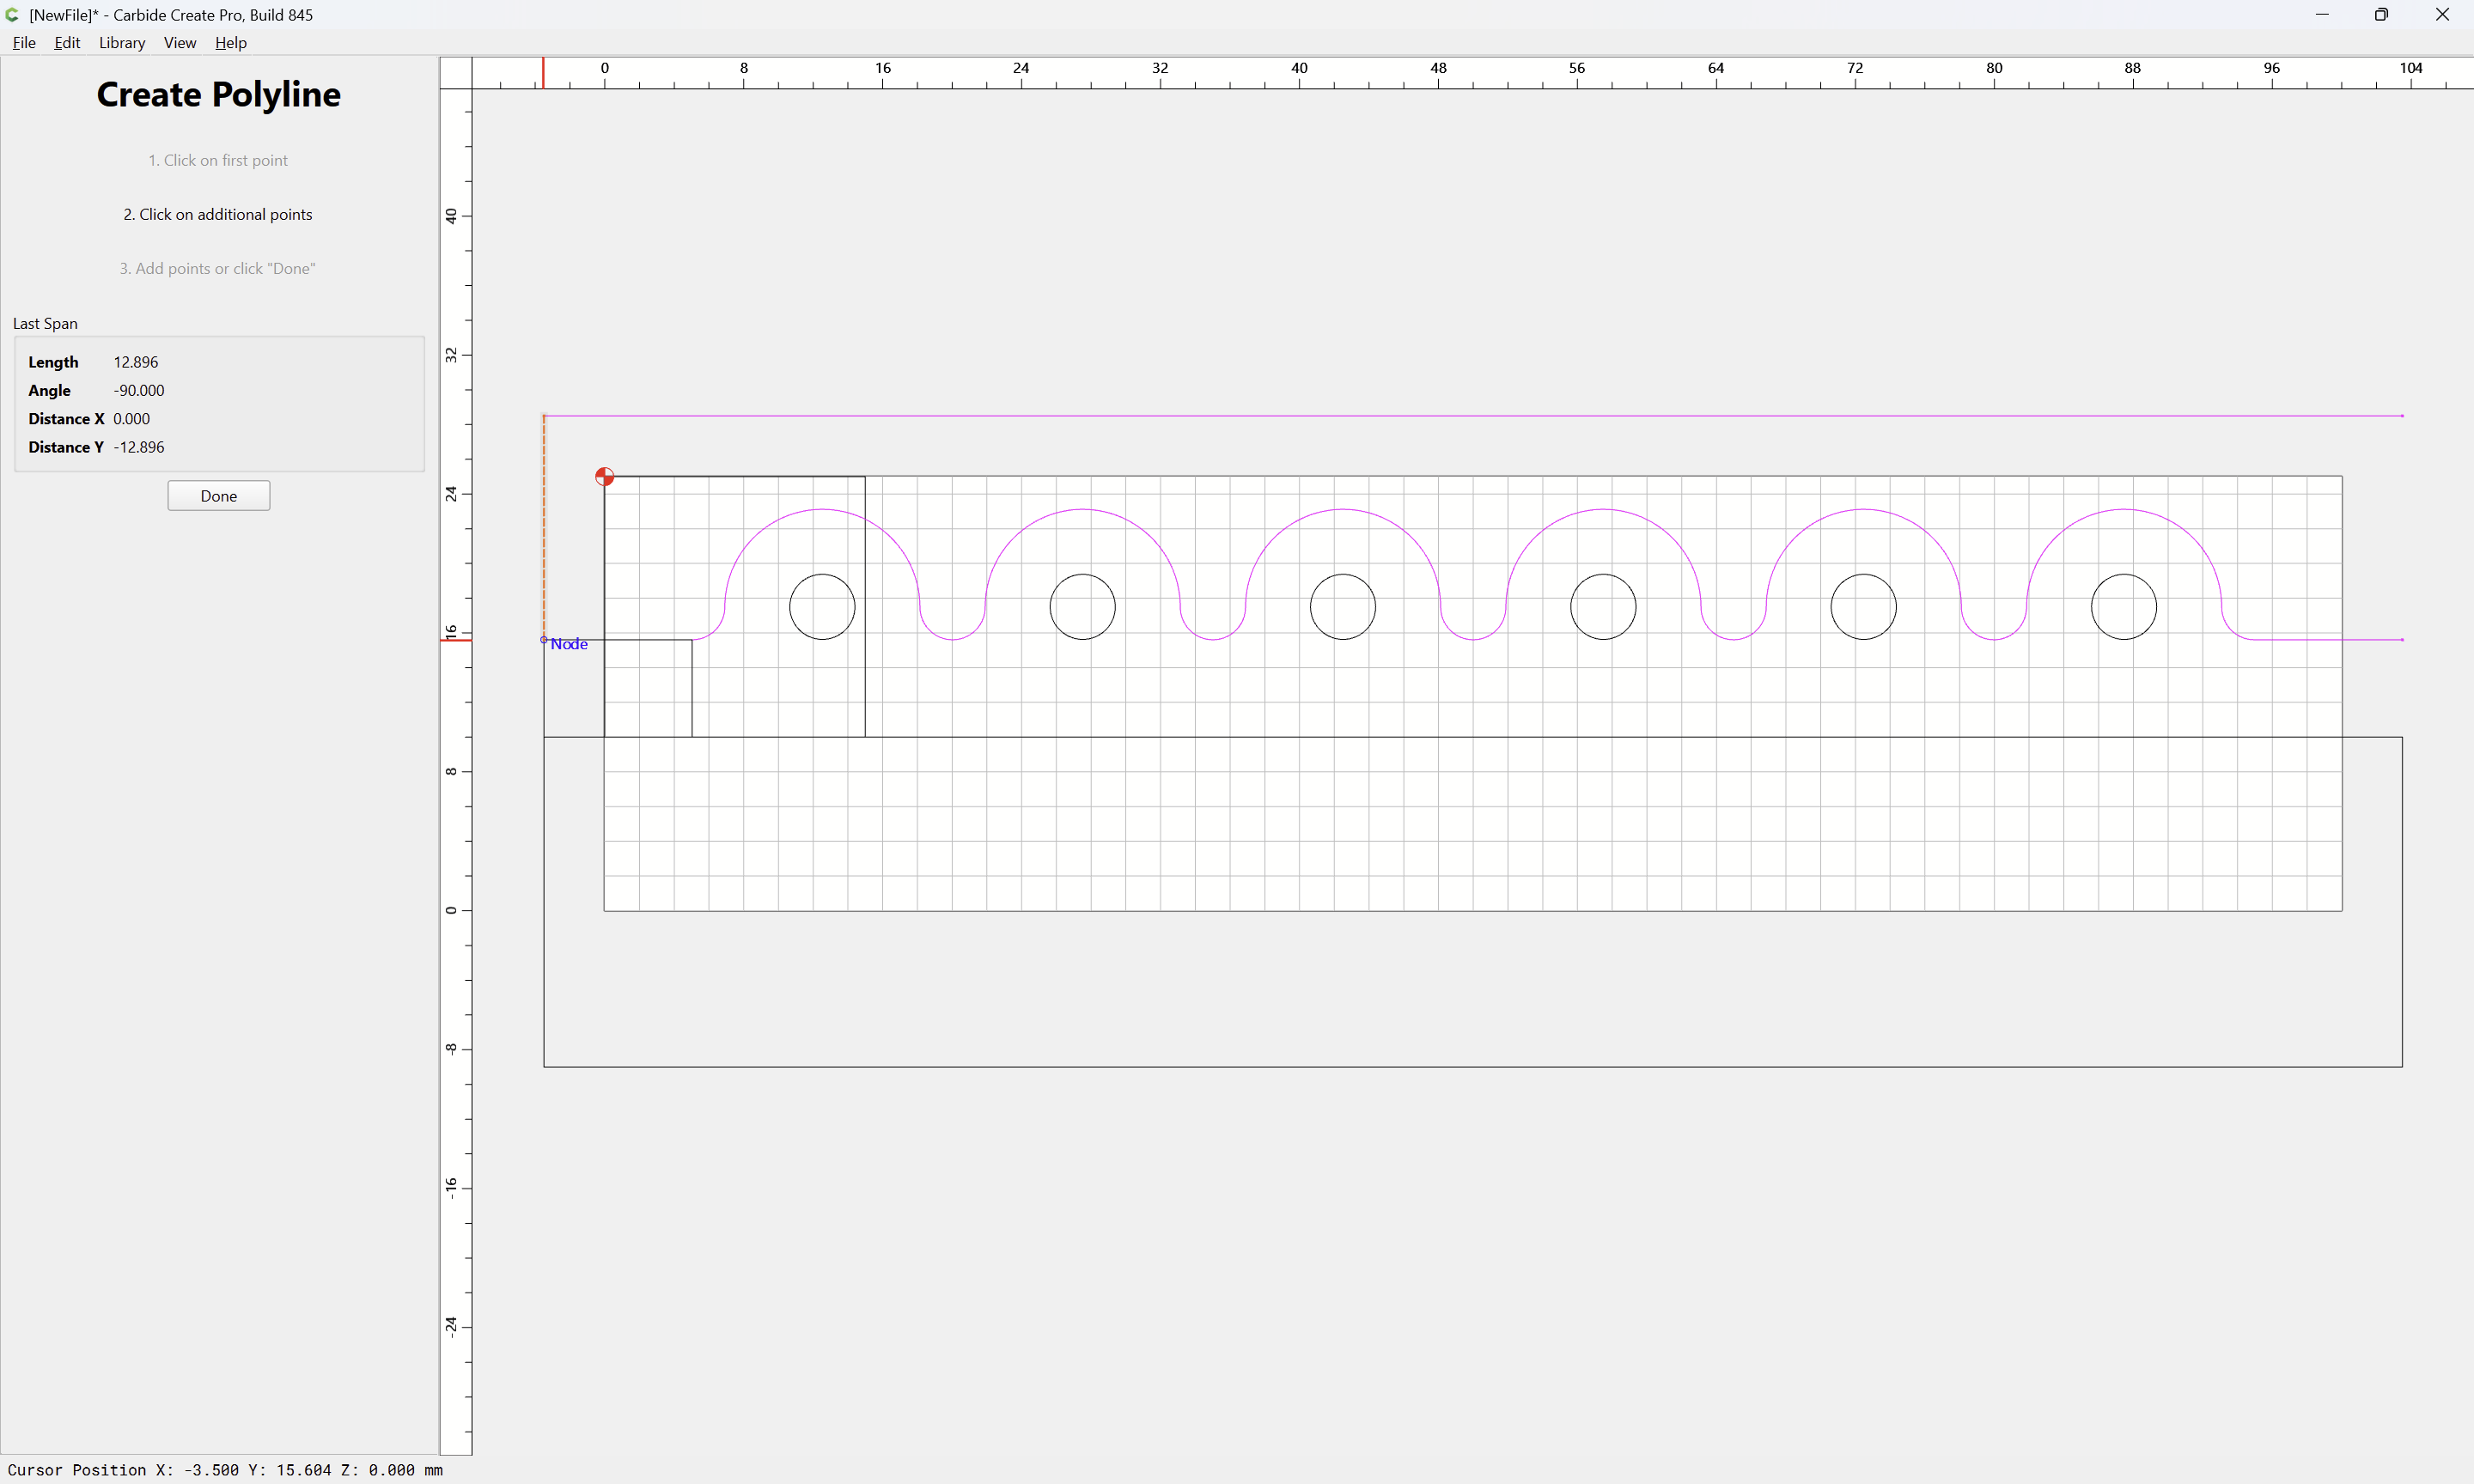
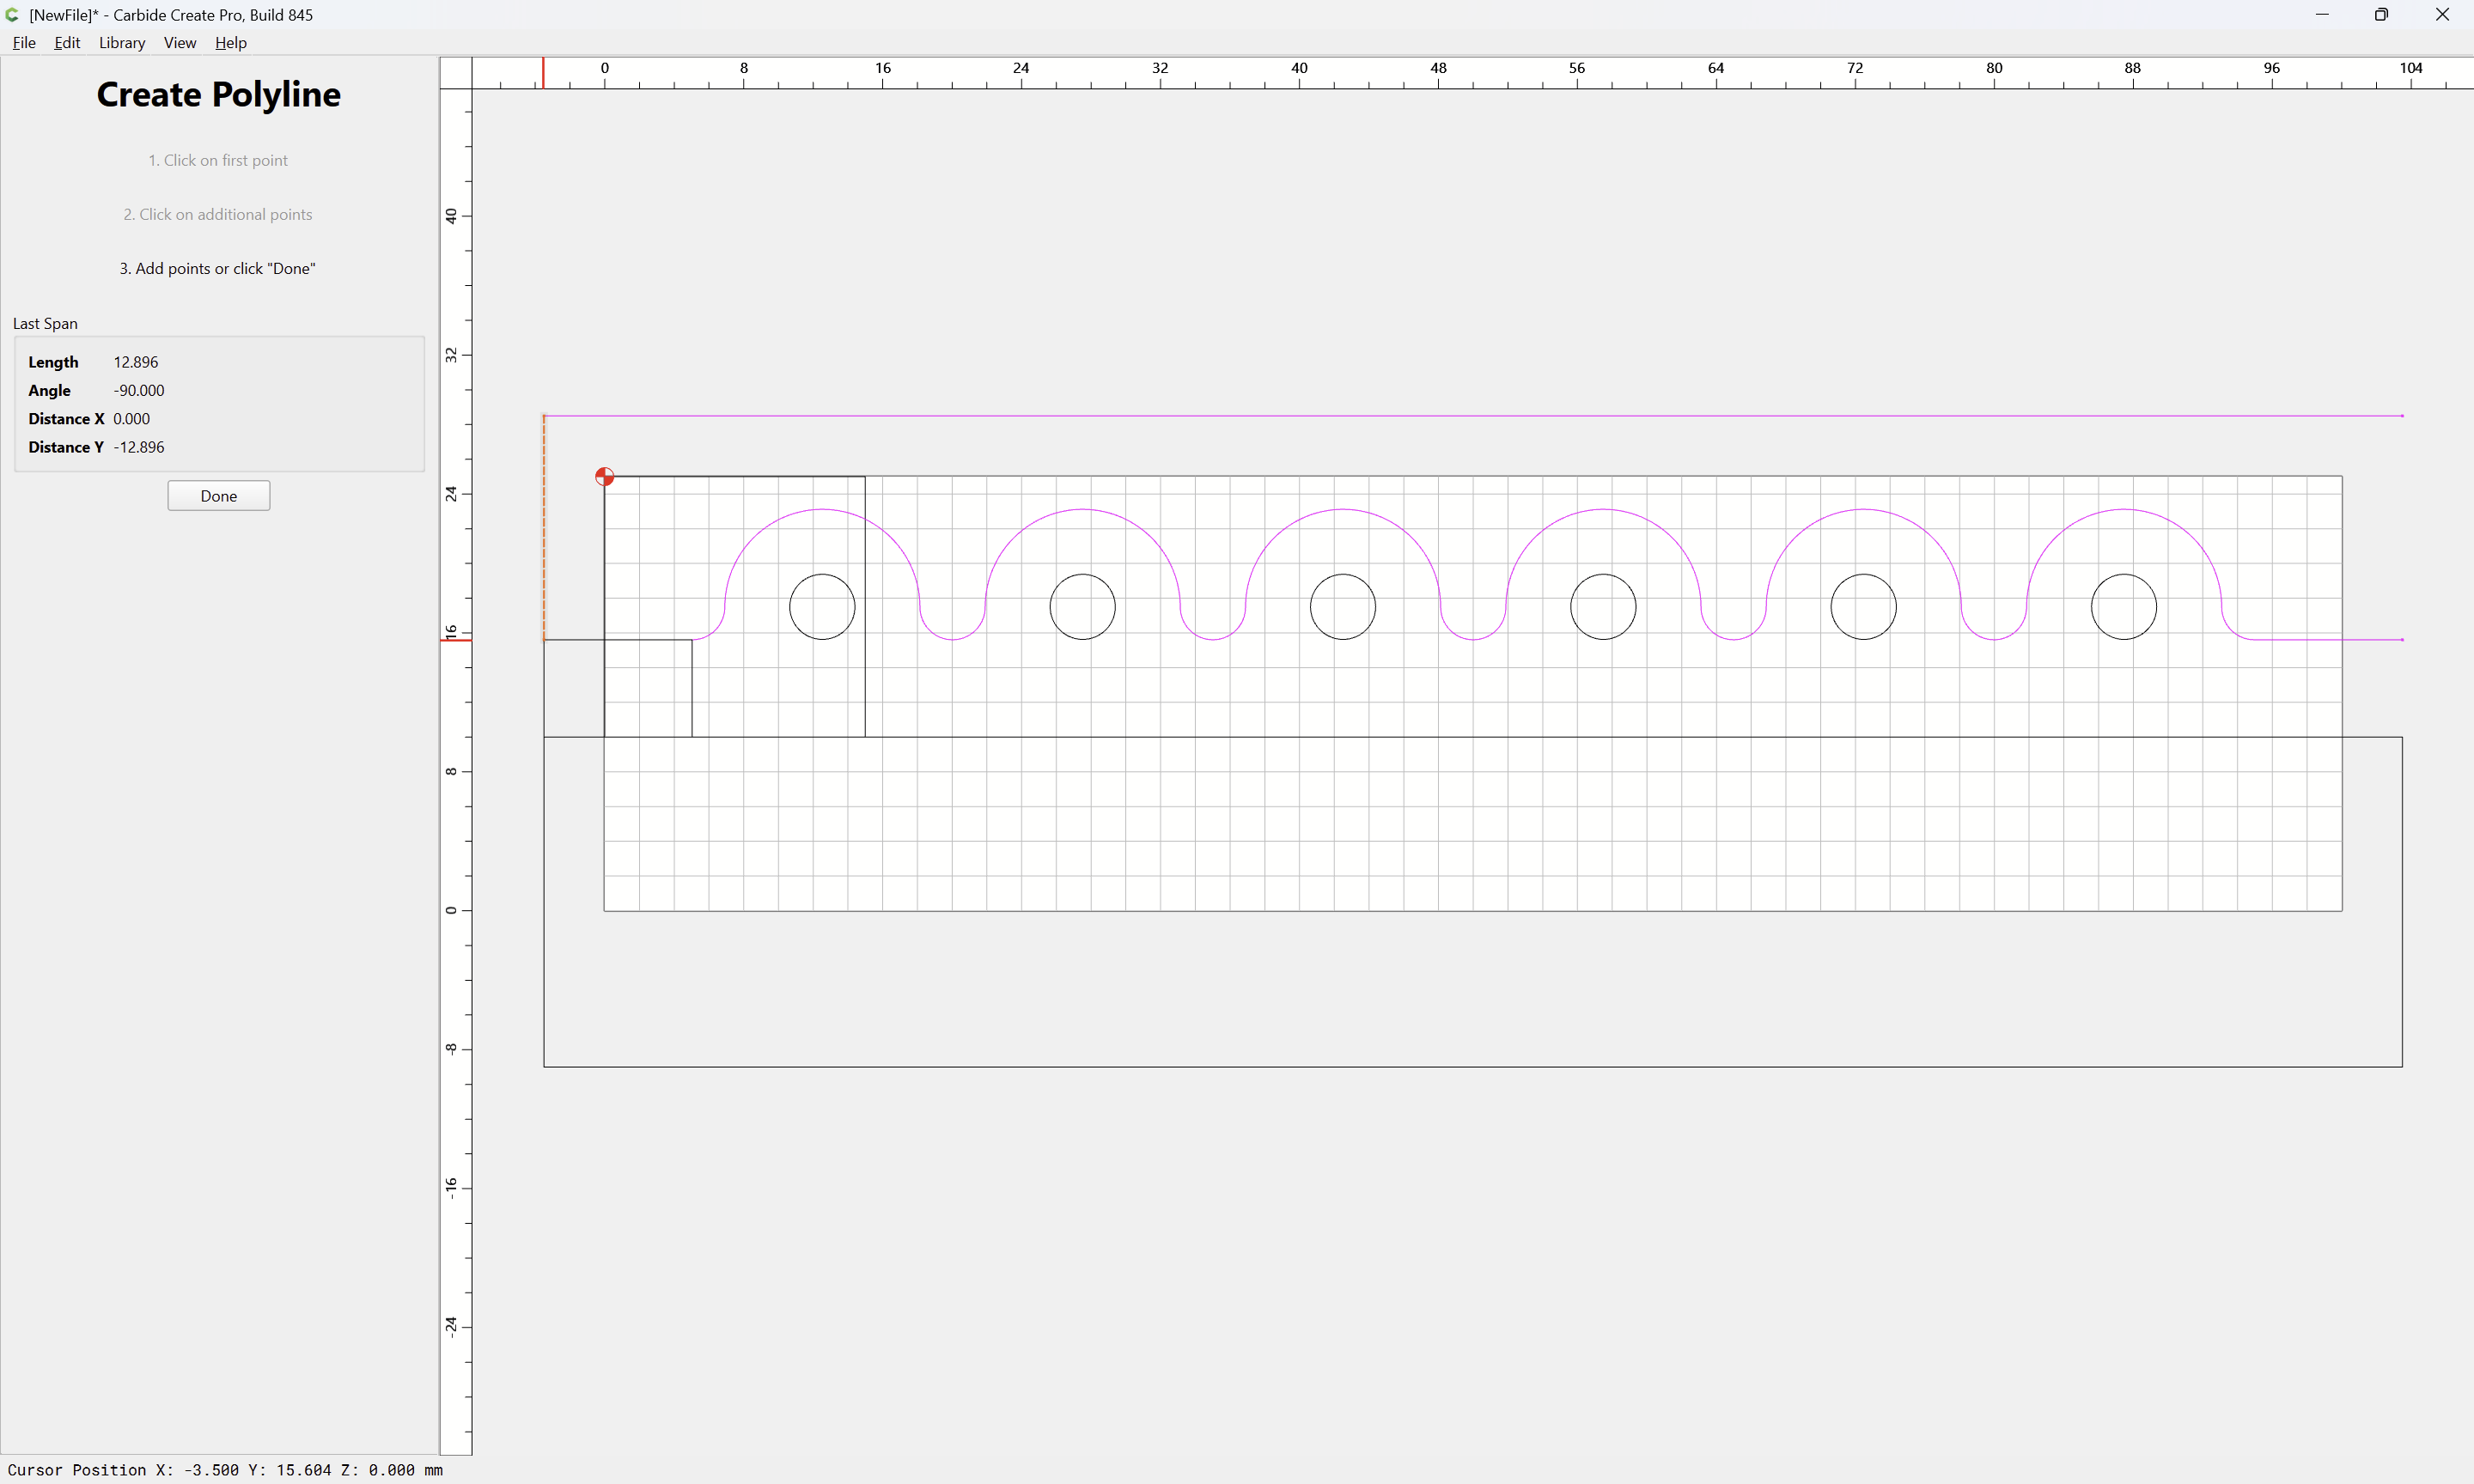
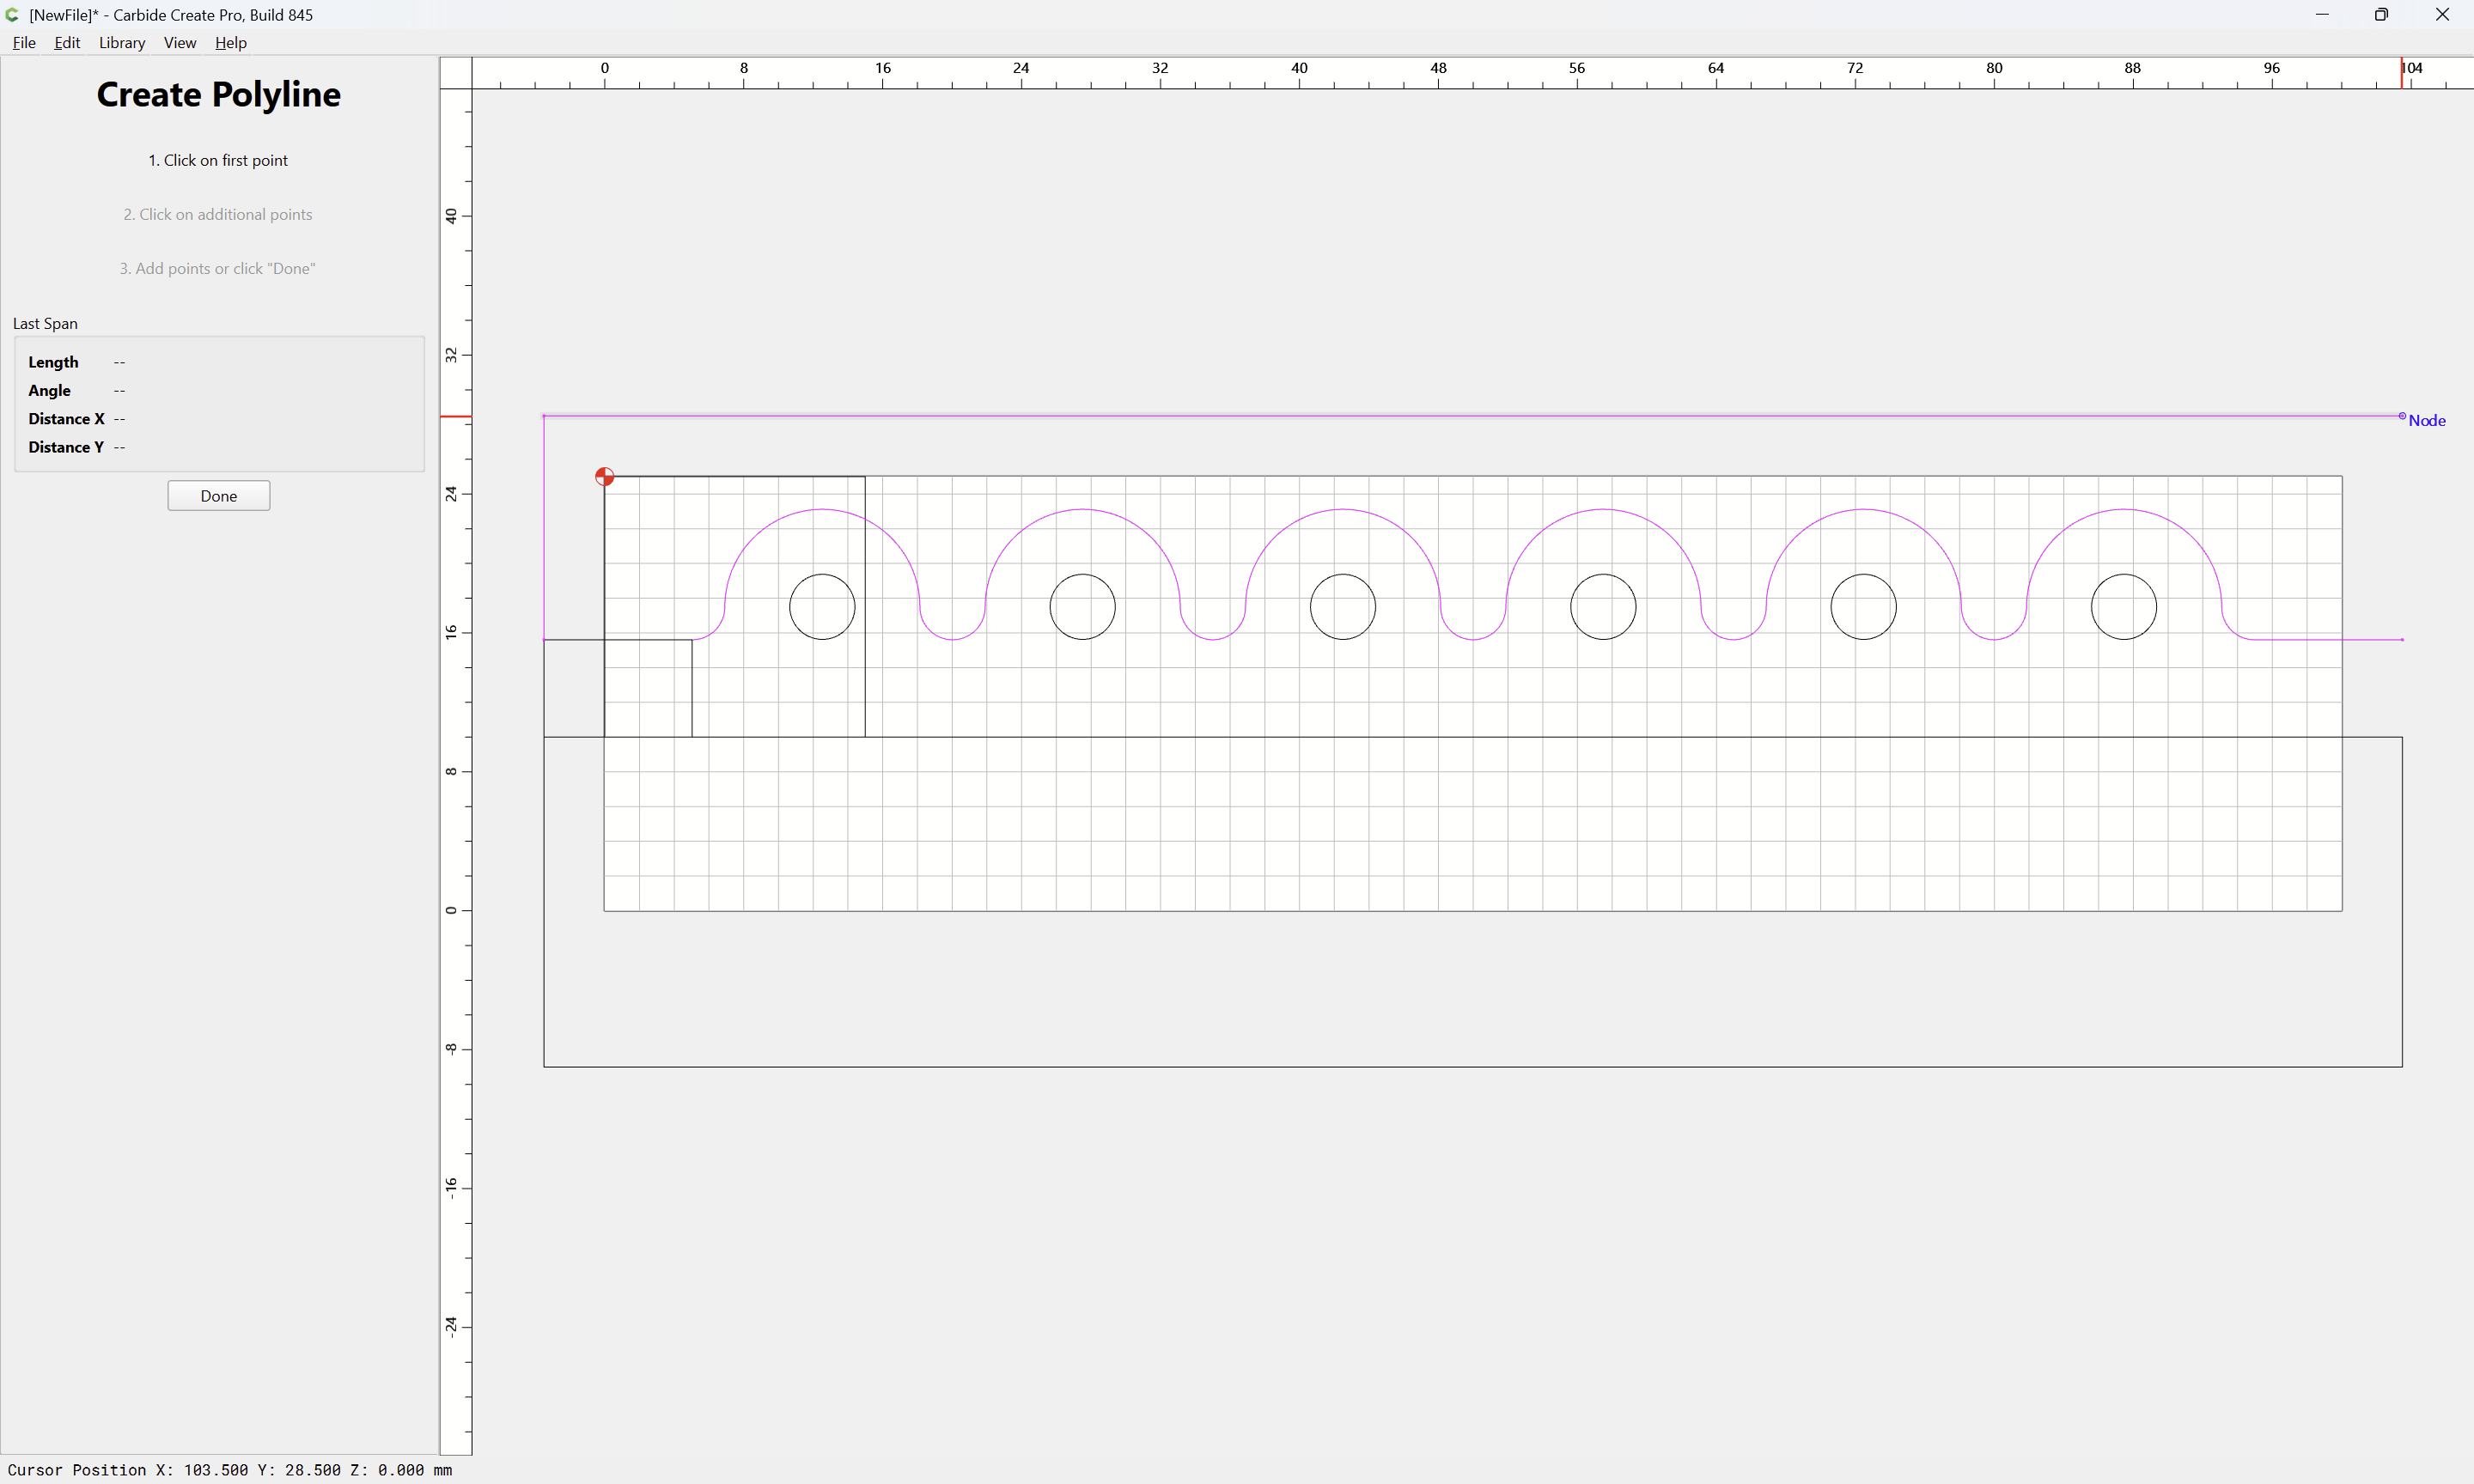
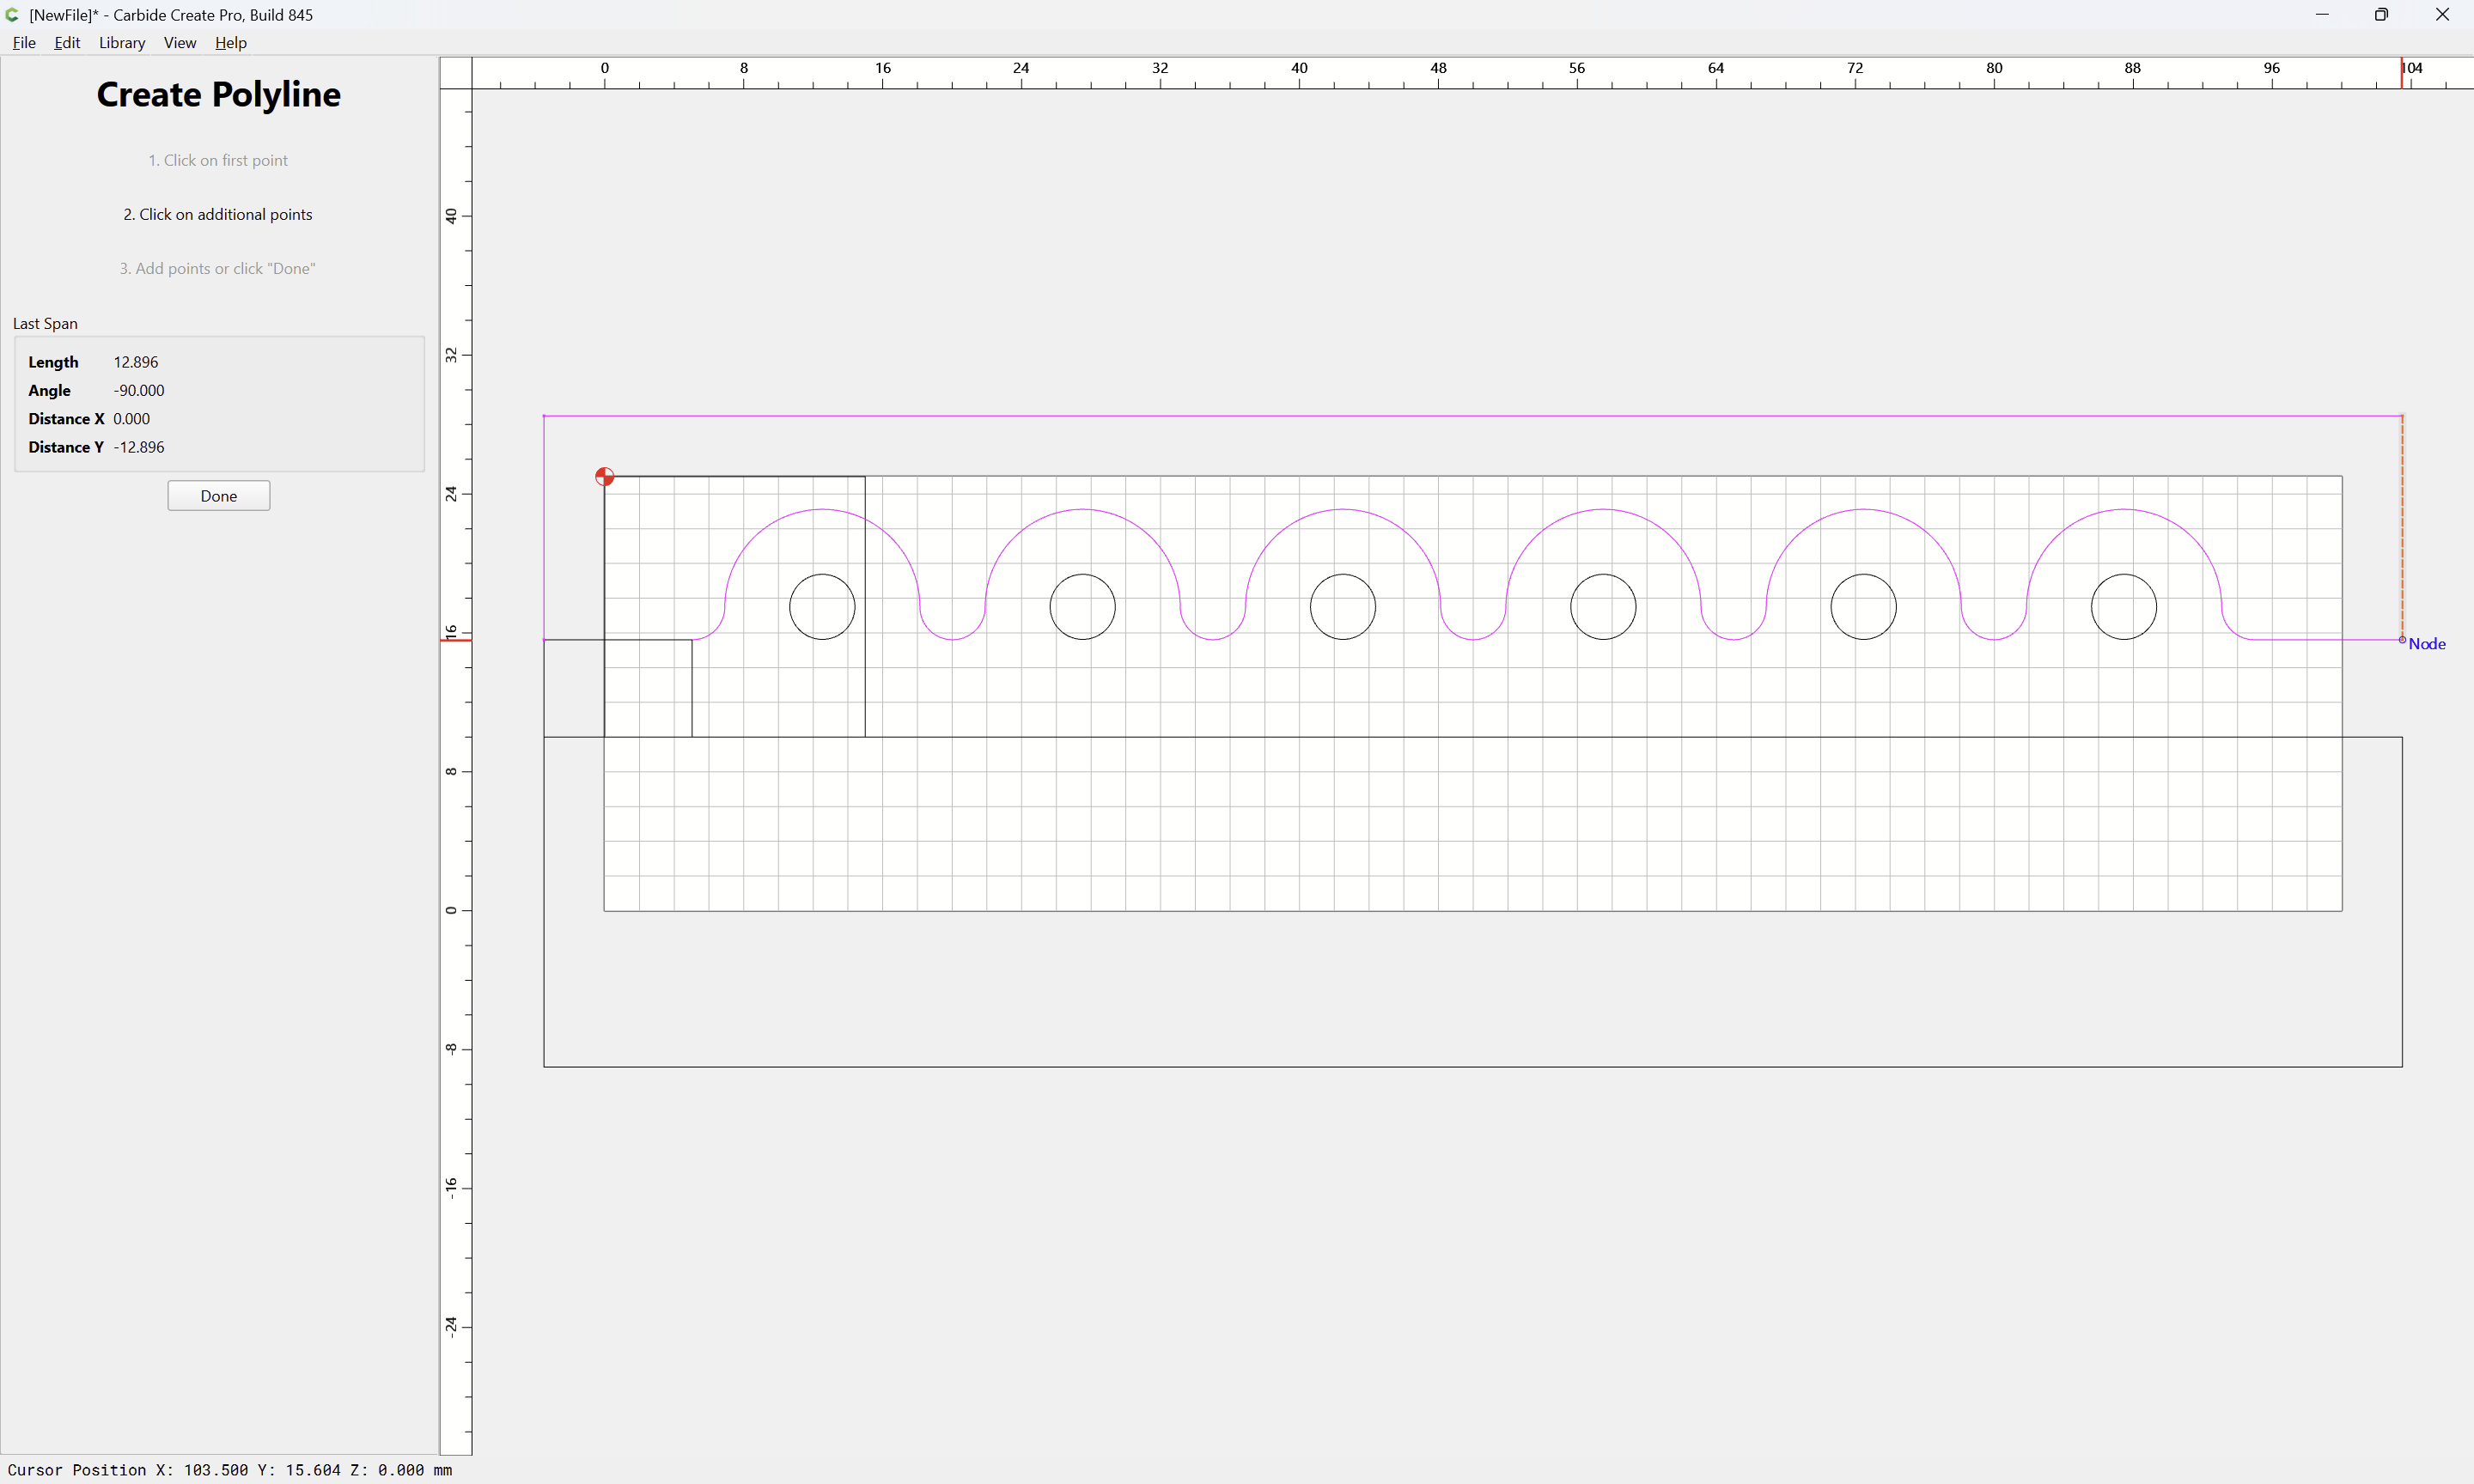
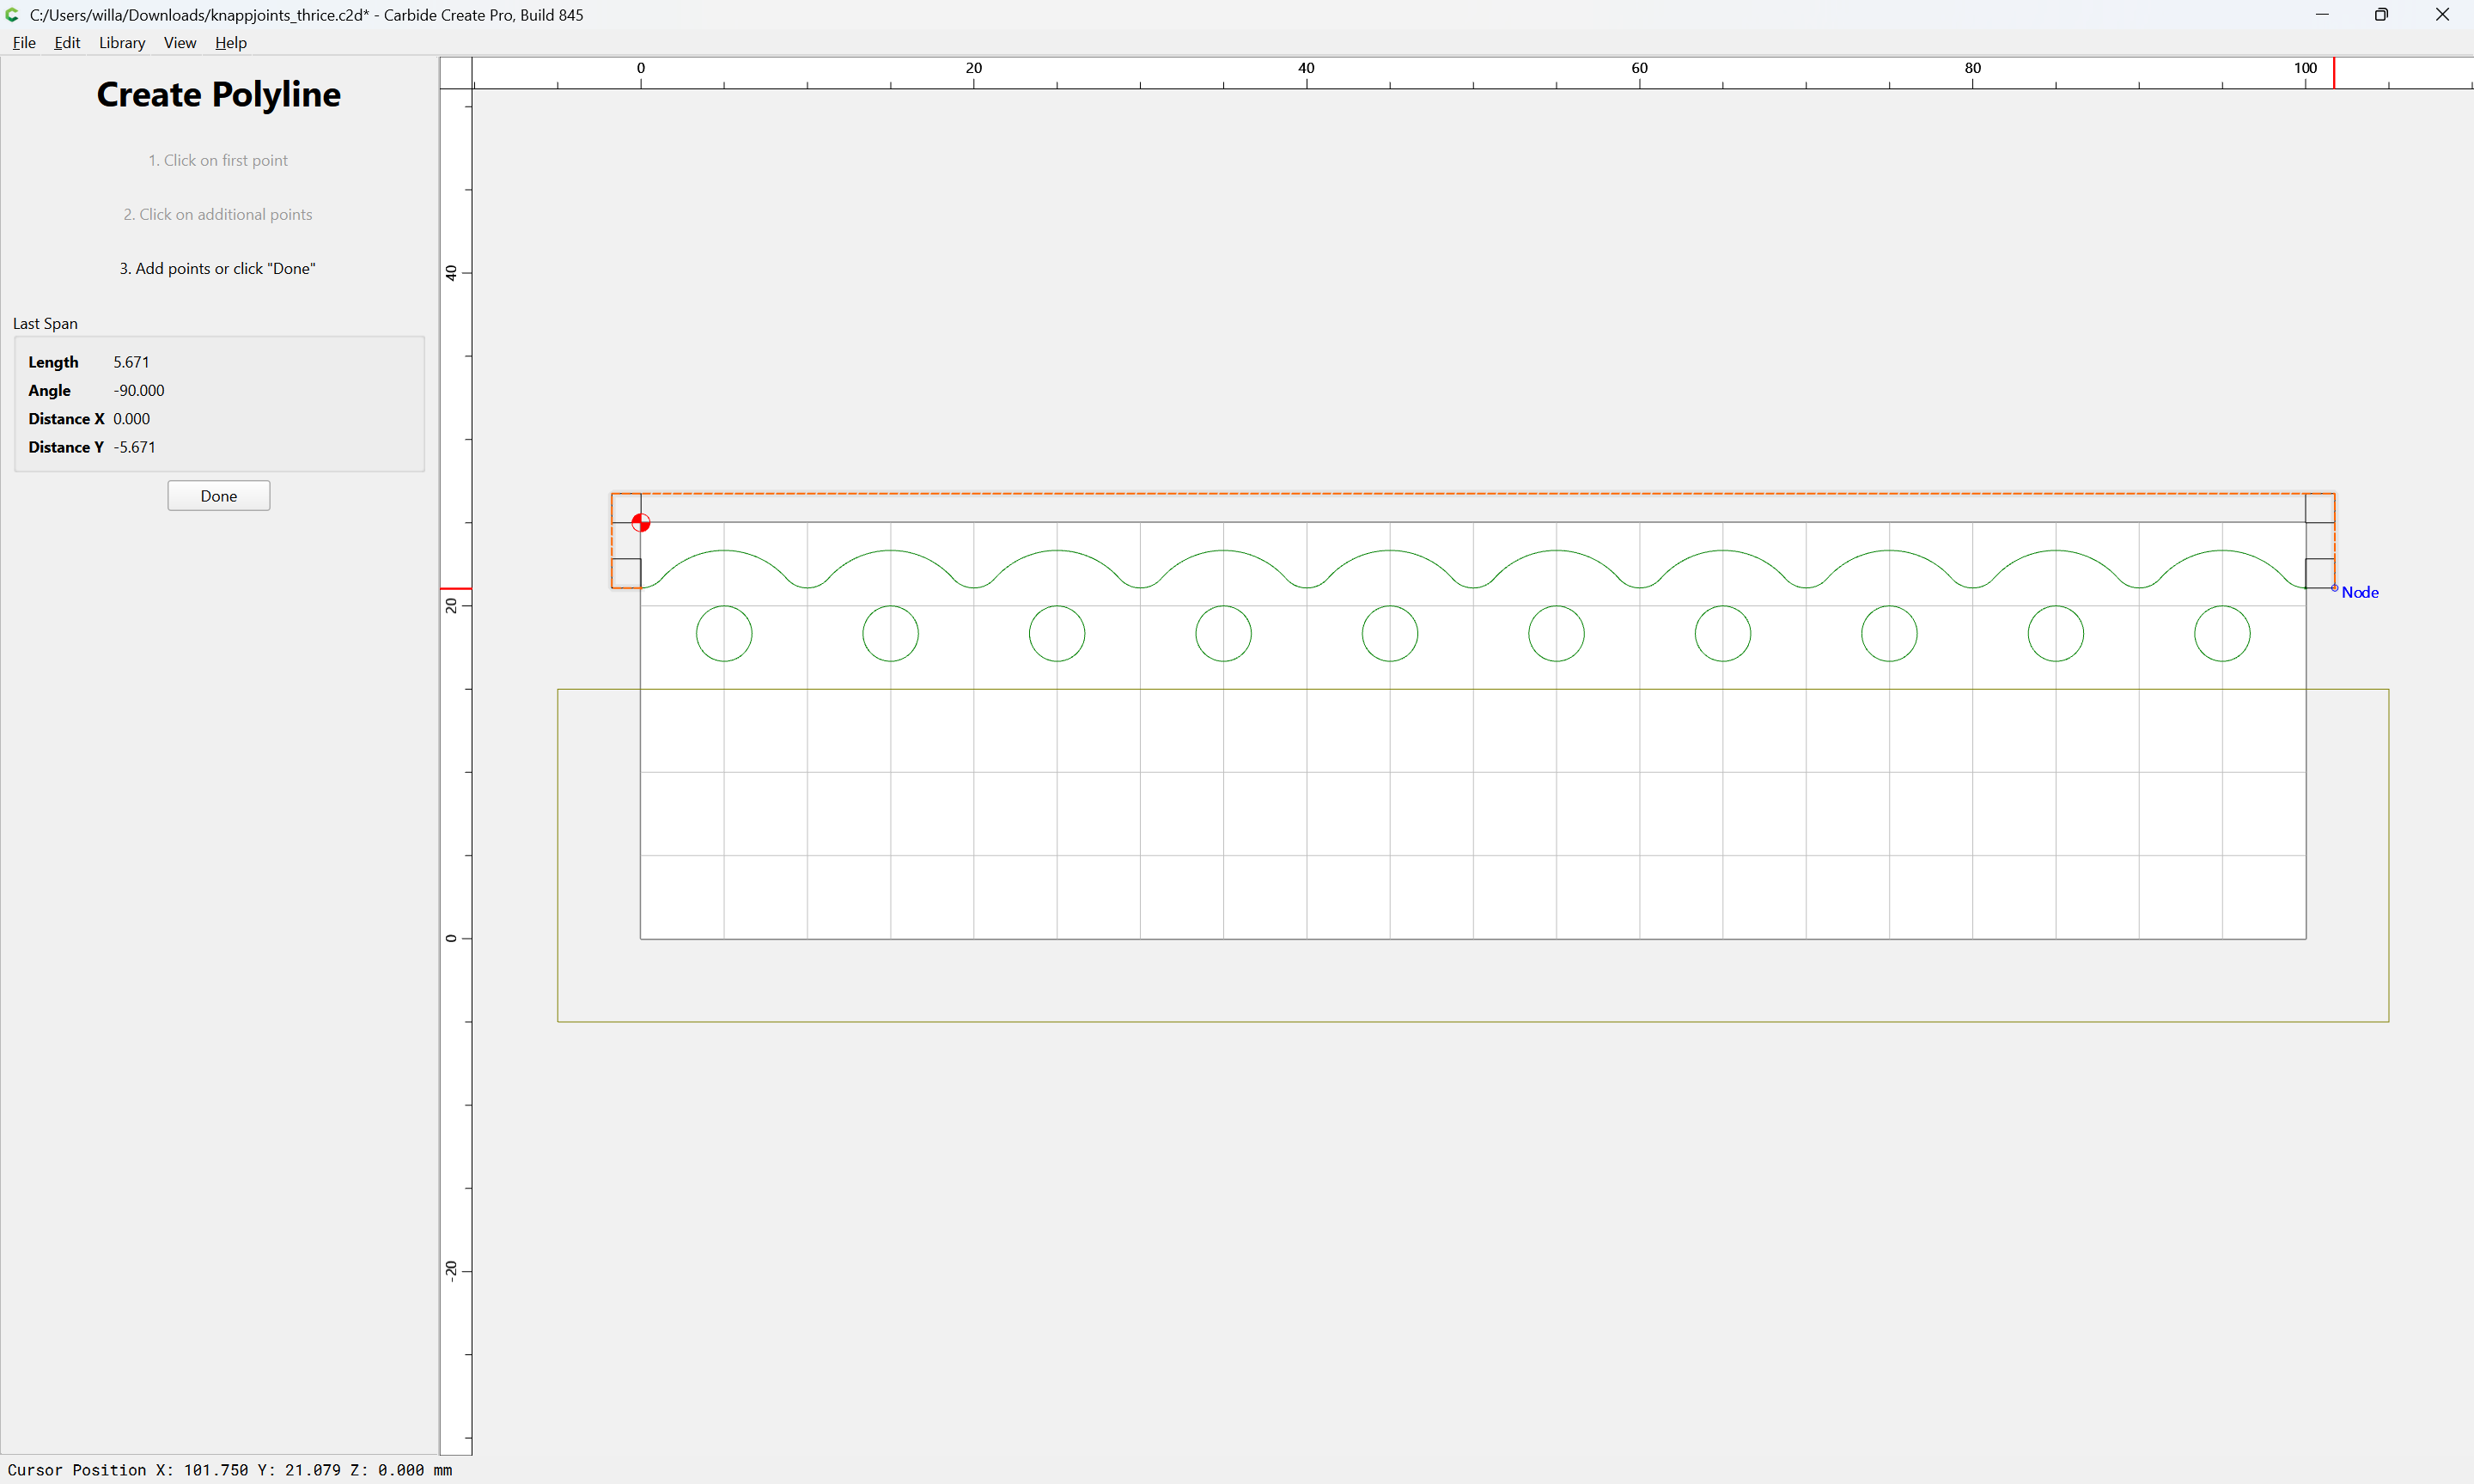
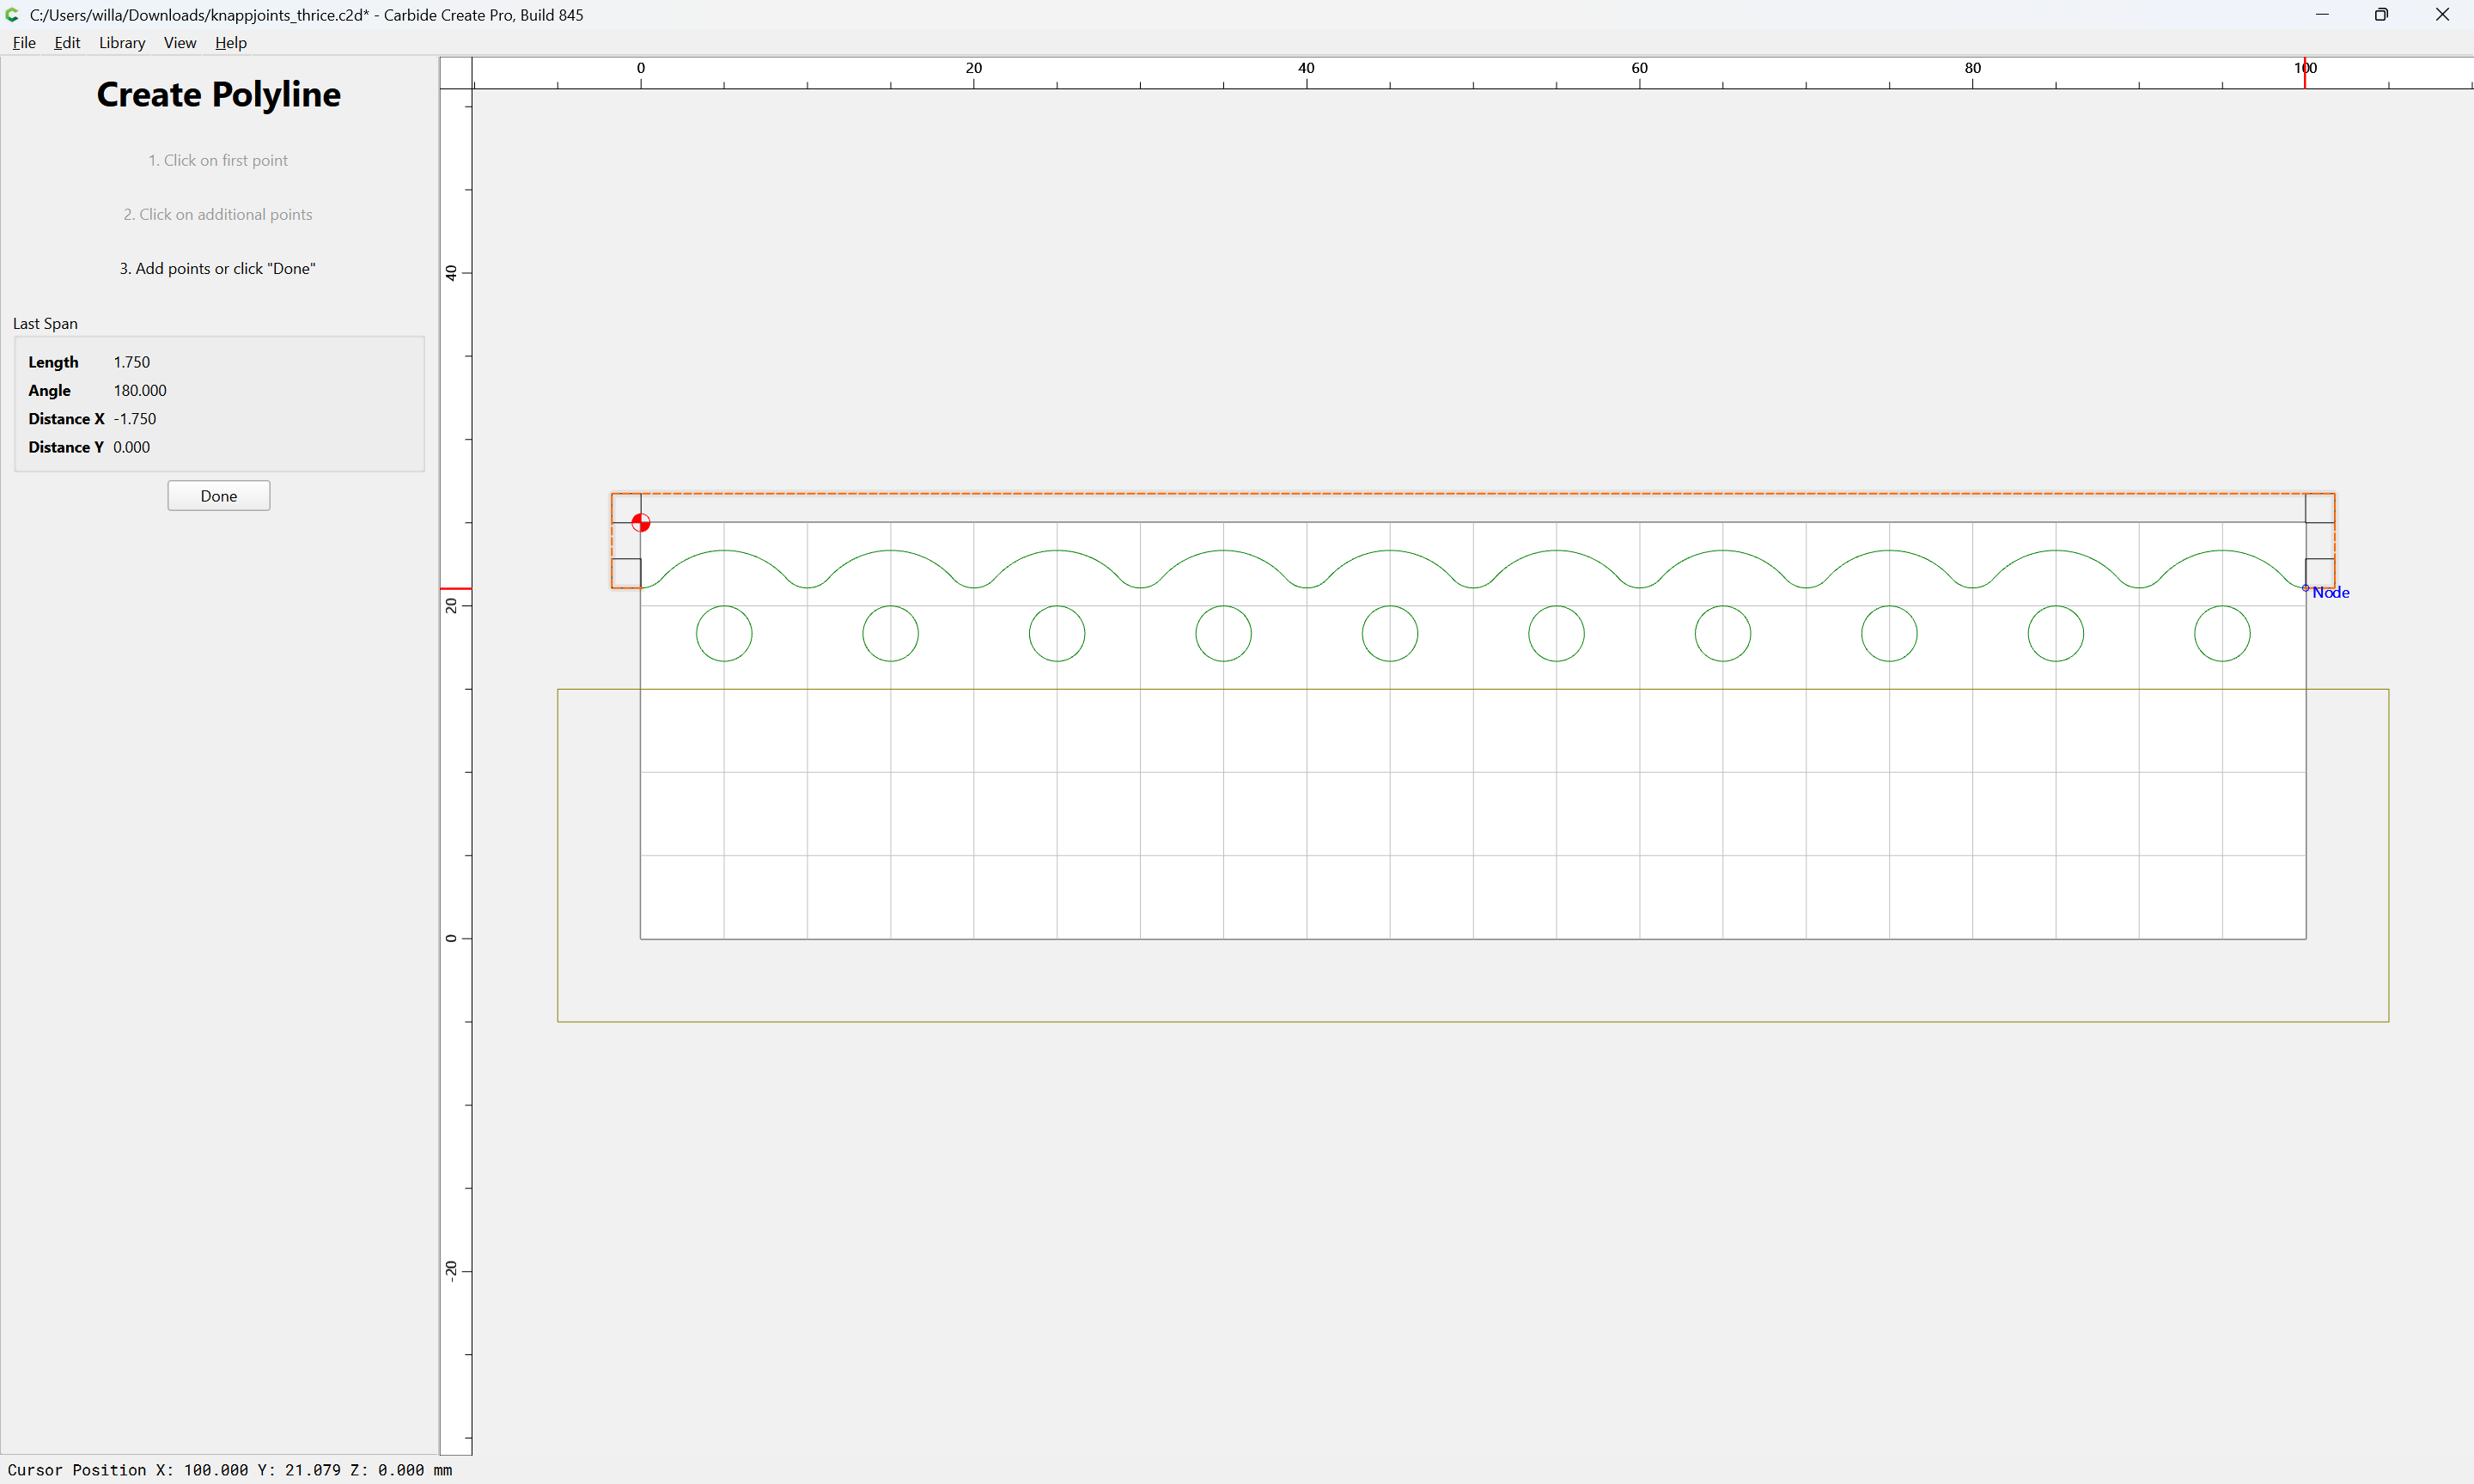
Connect the ends with lines:
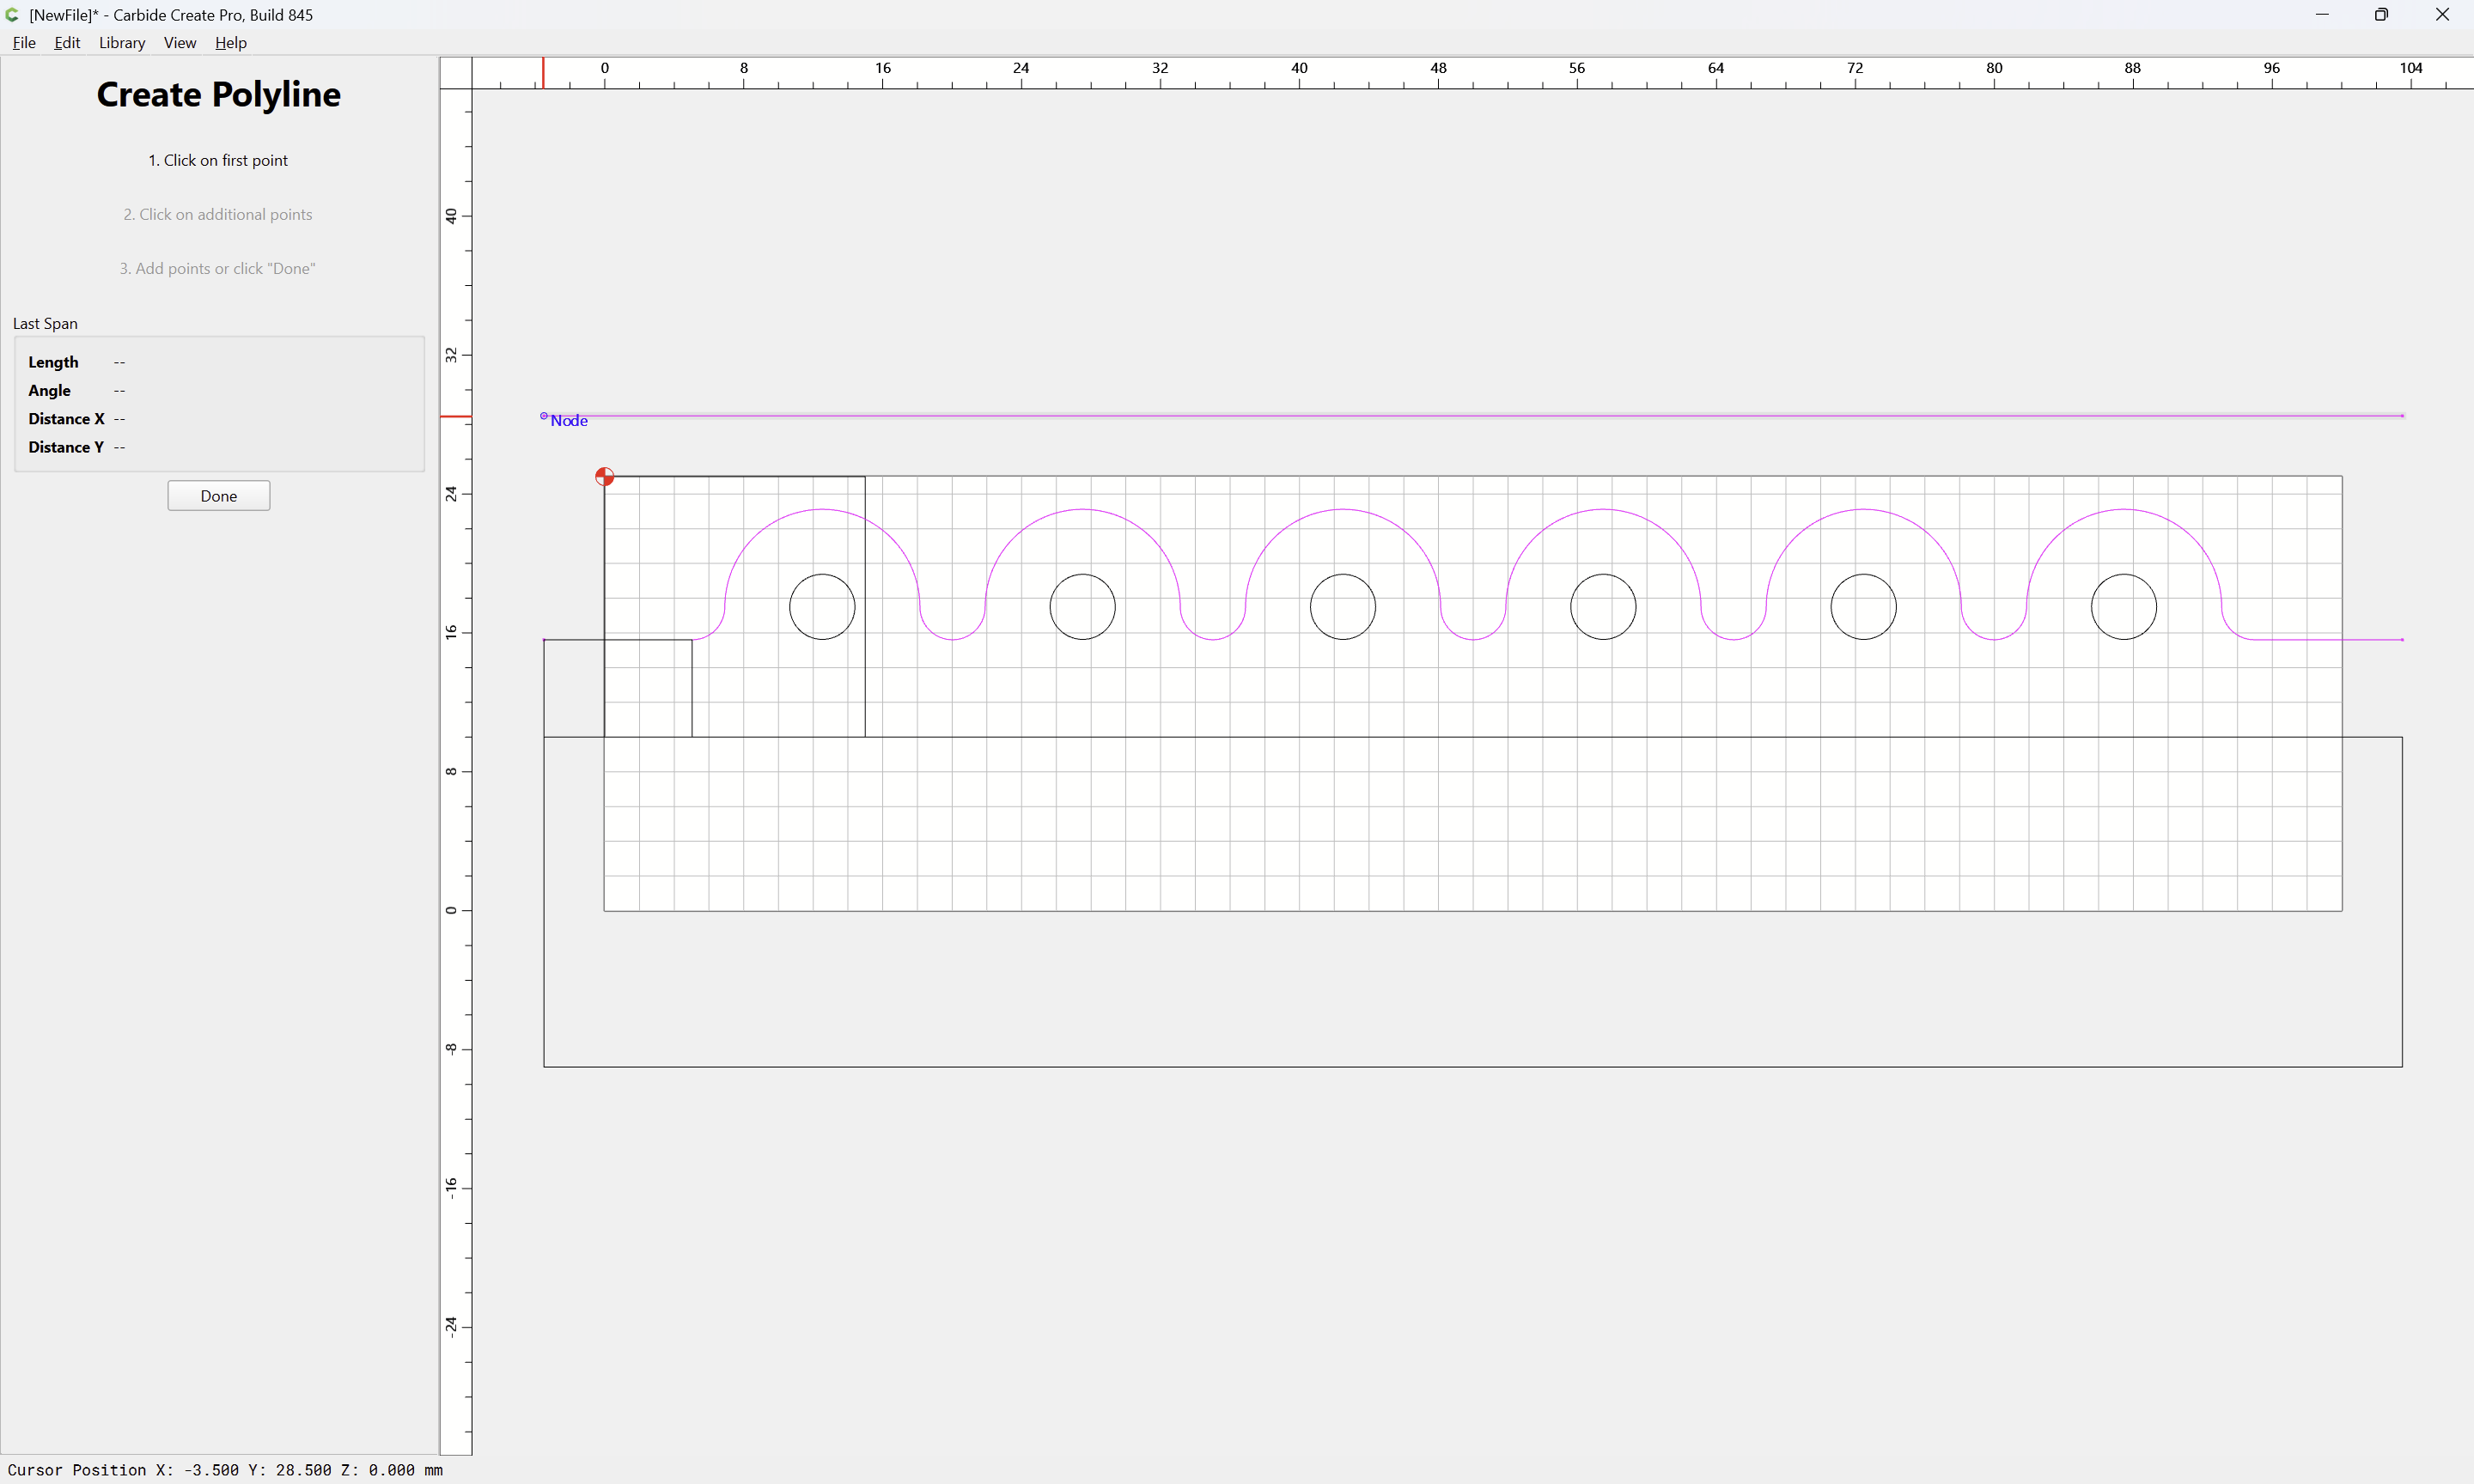
Done
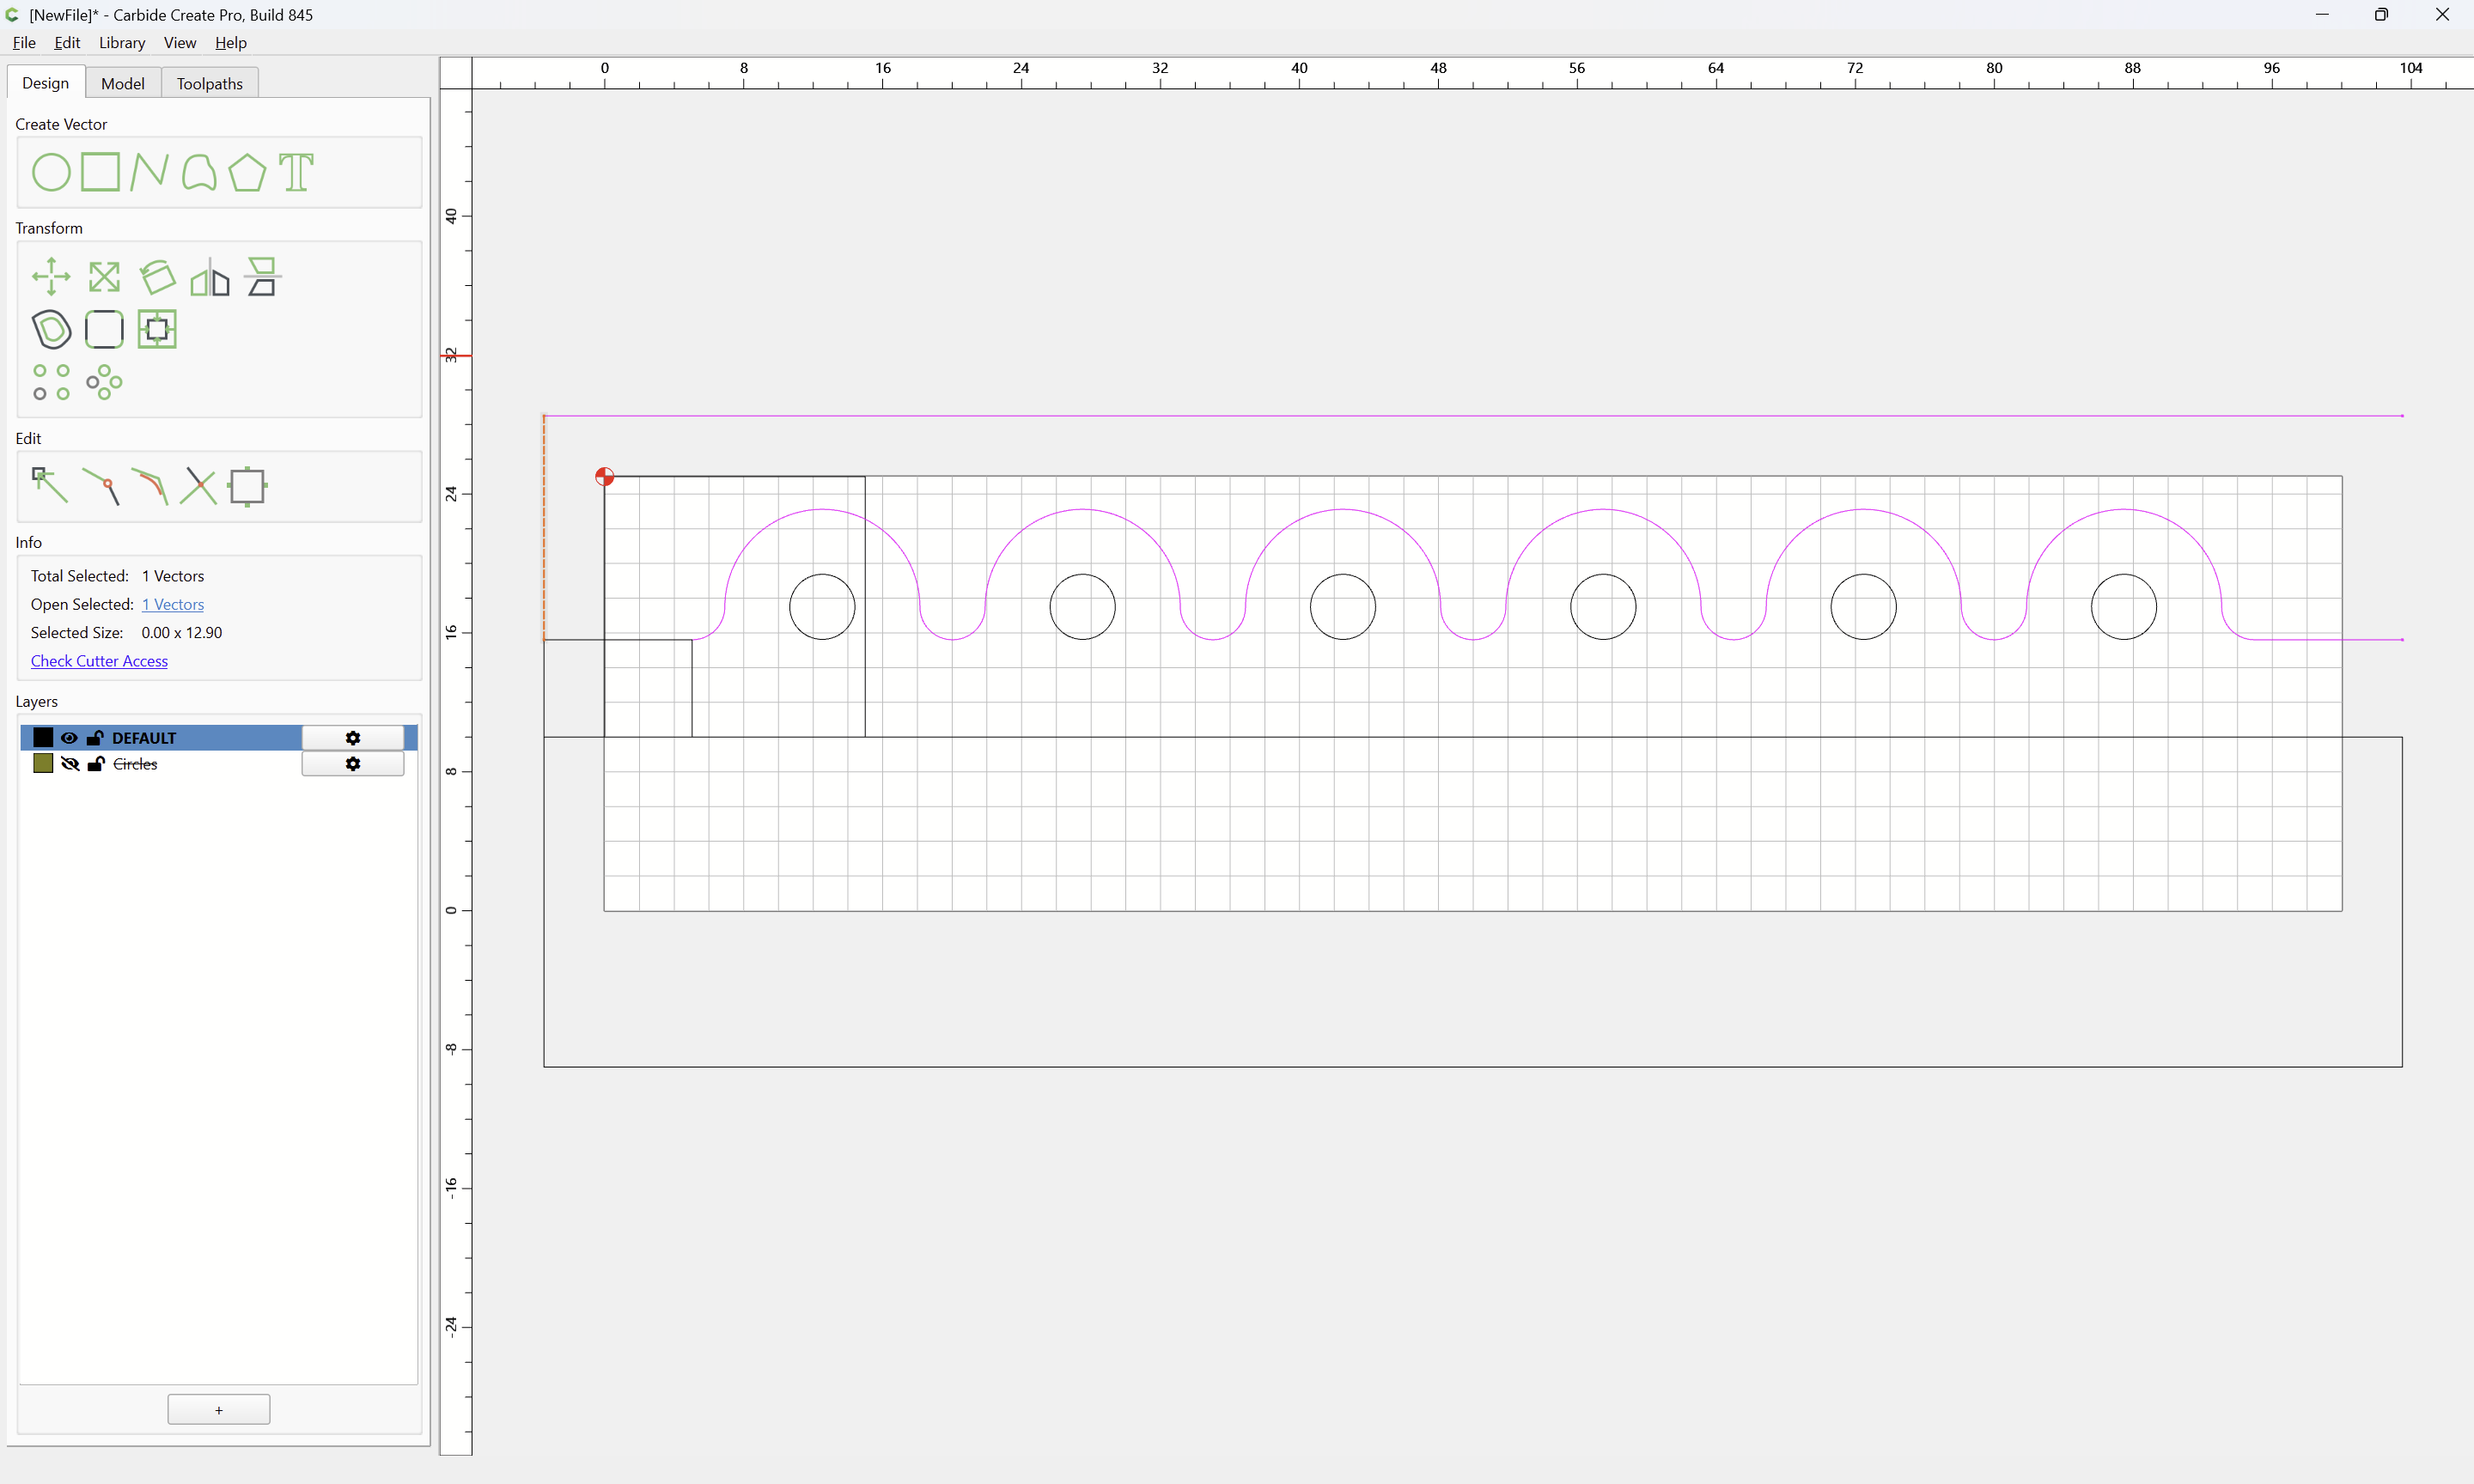
Done
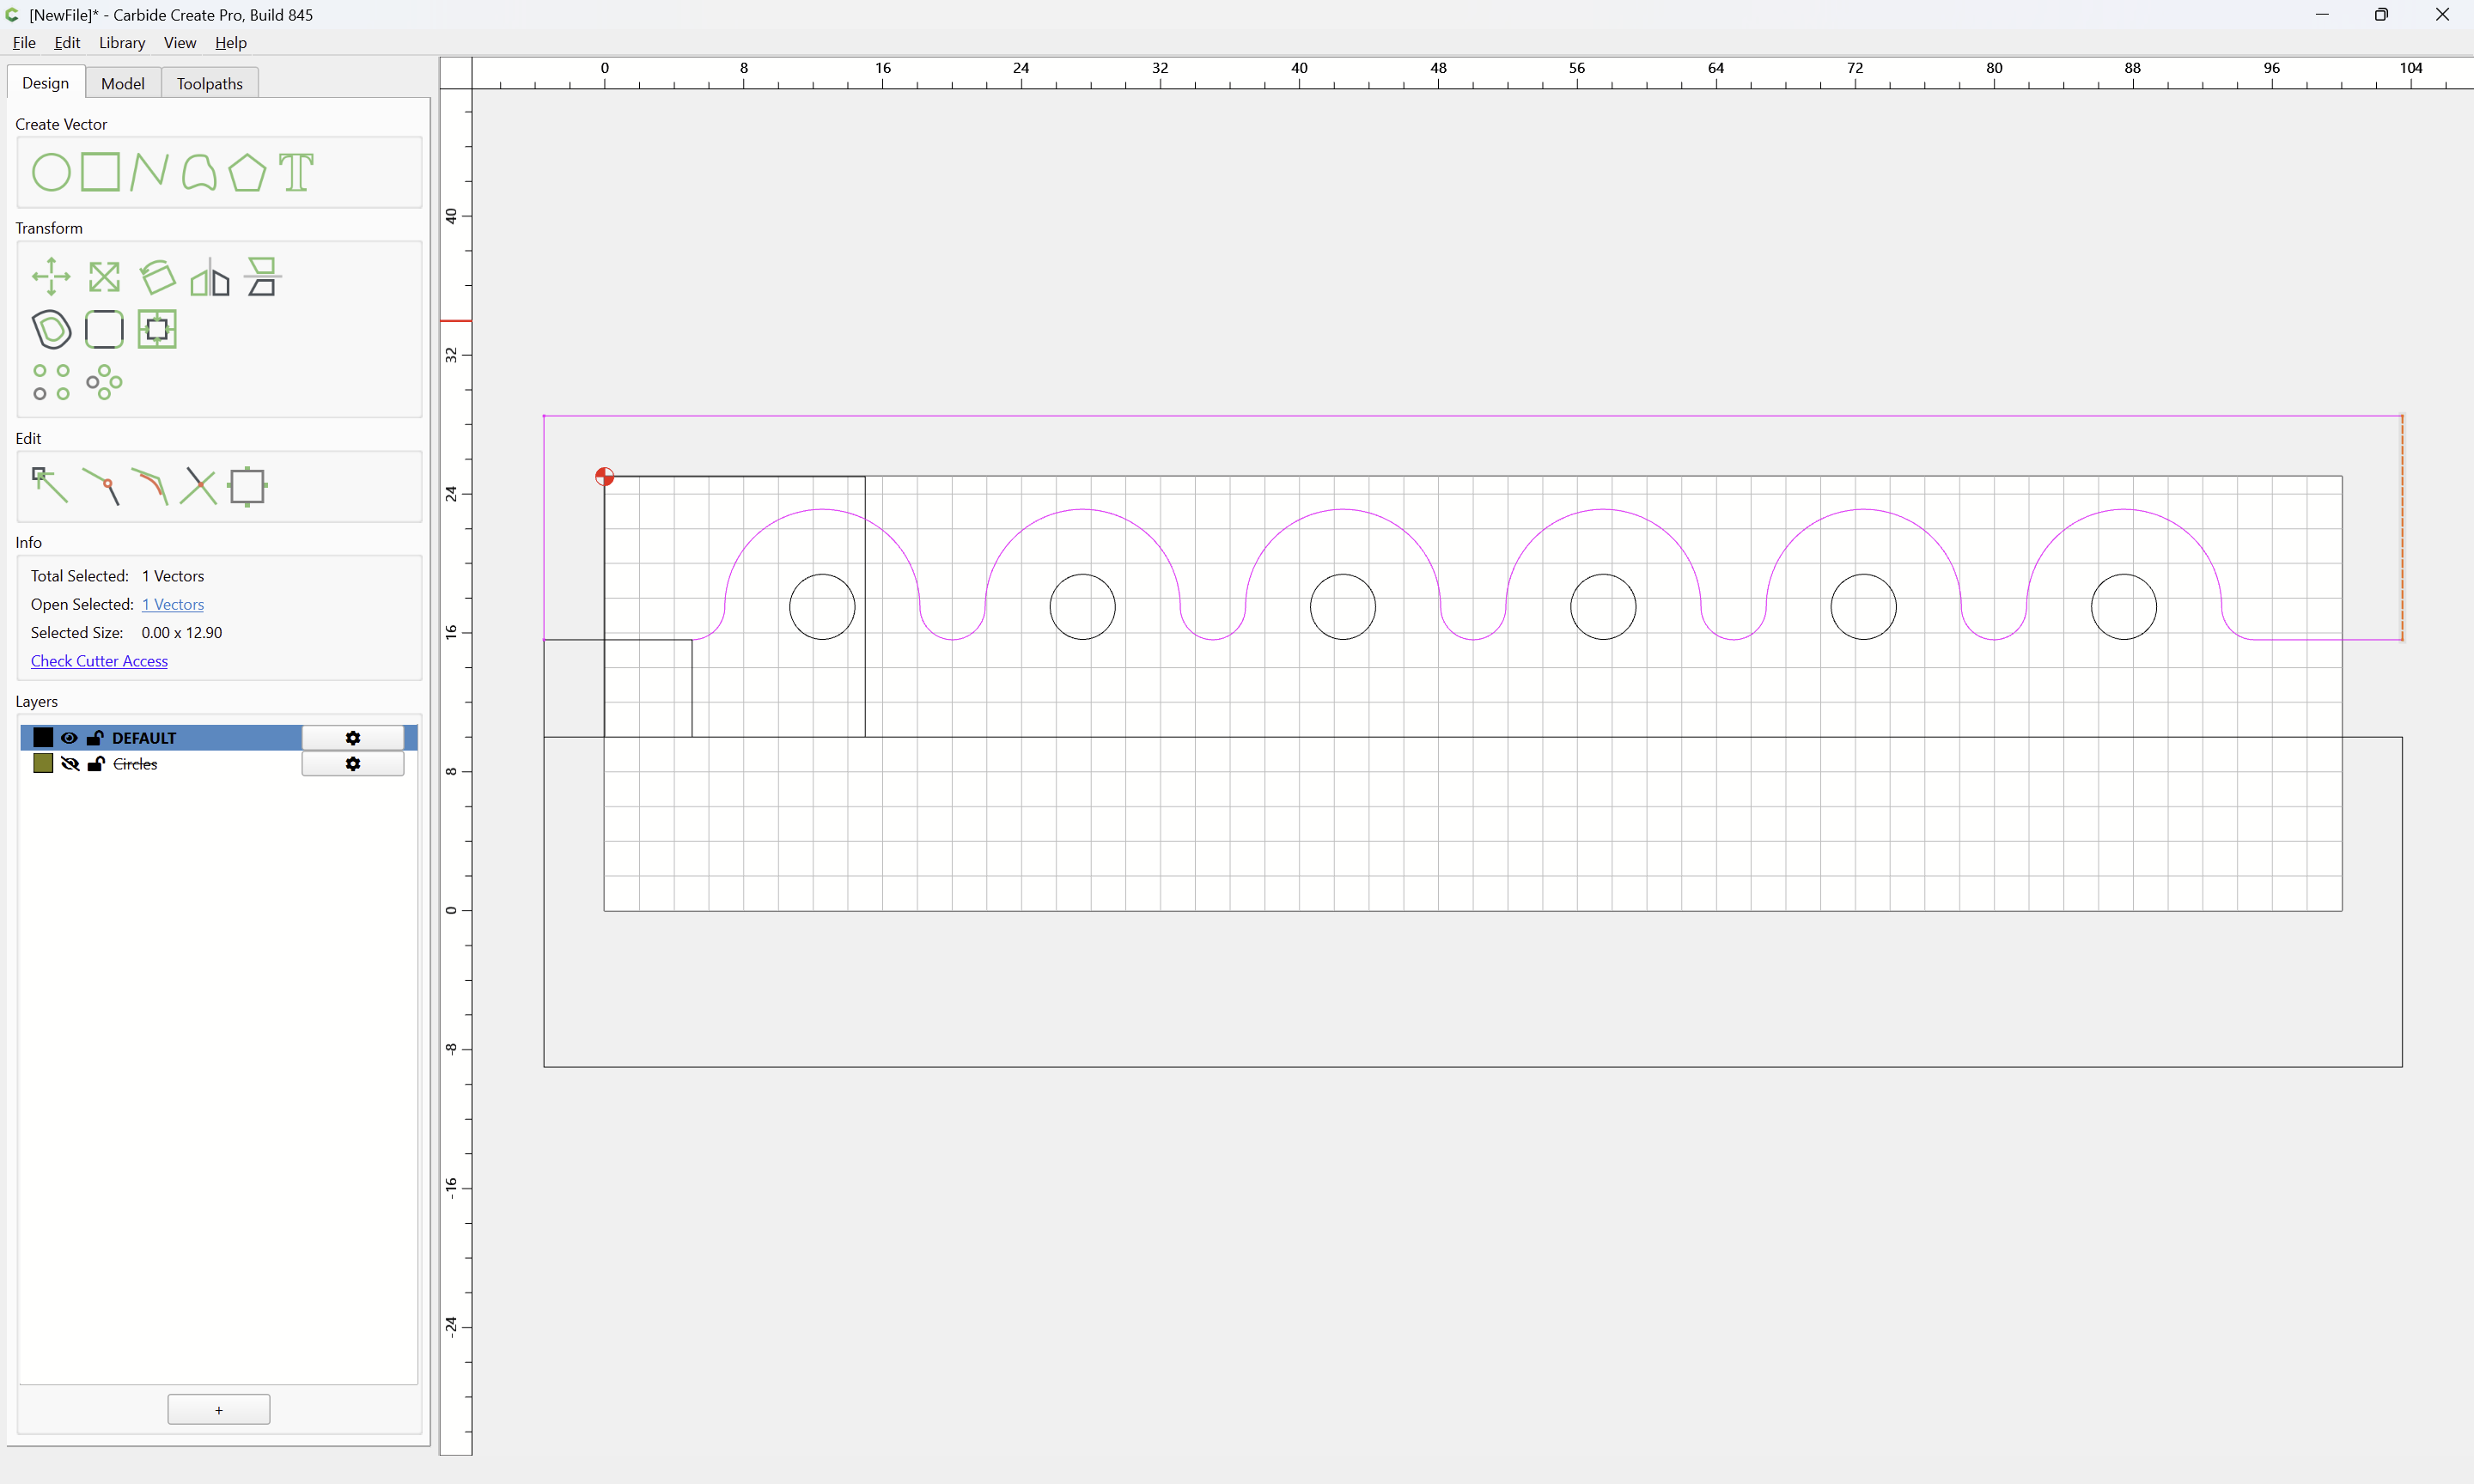
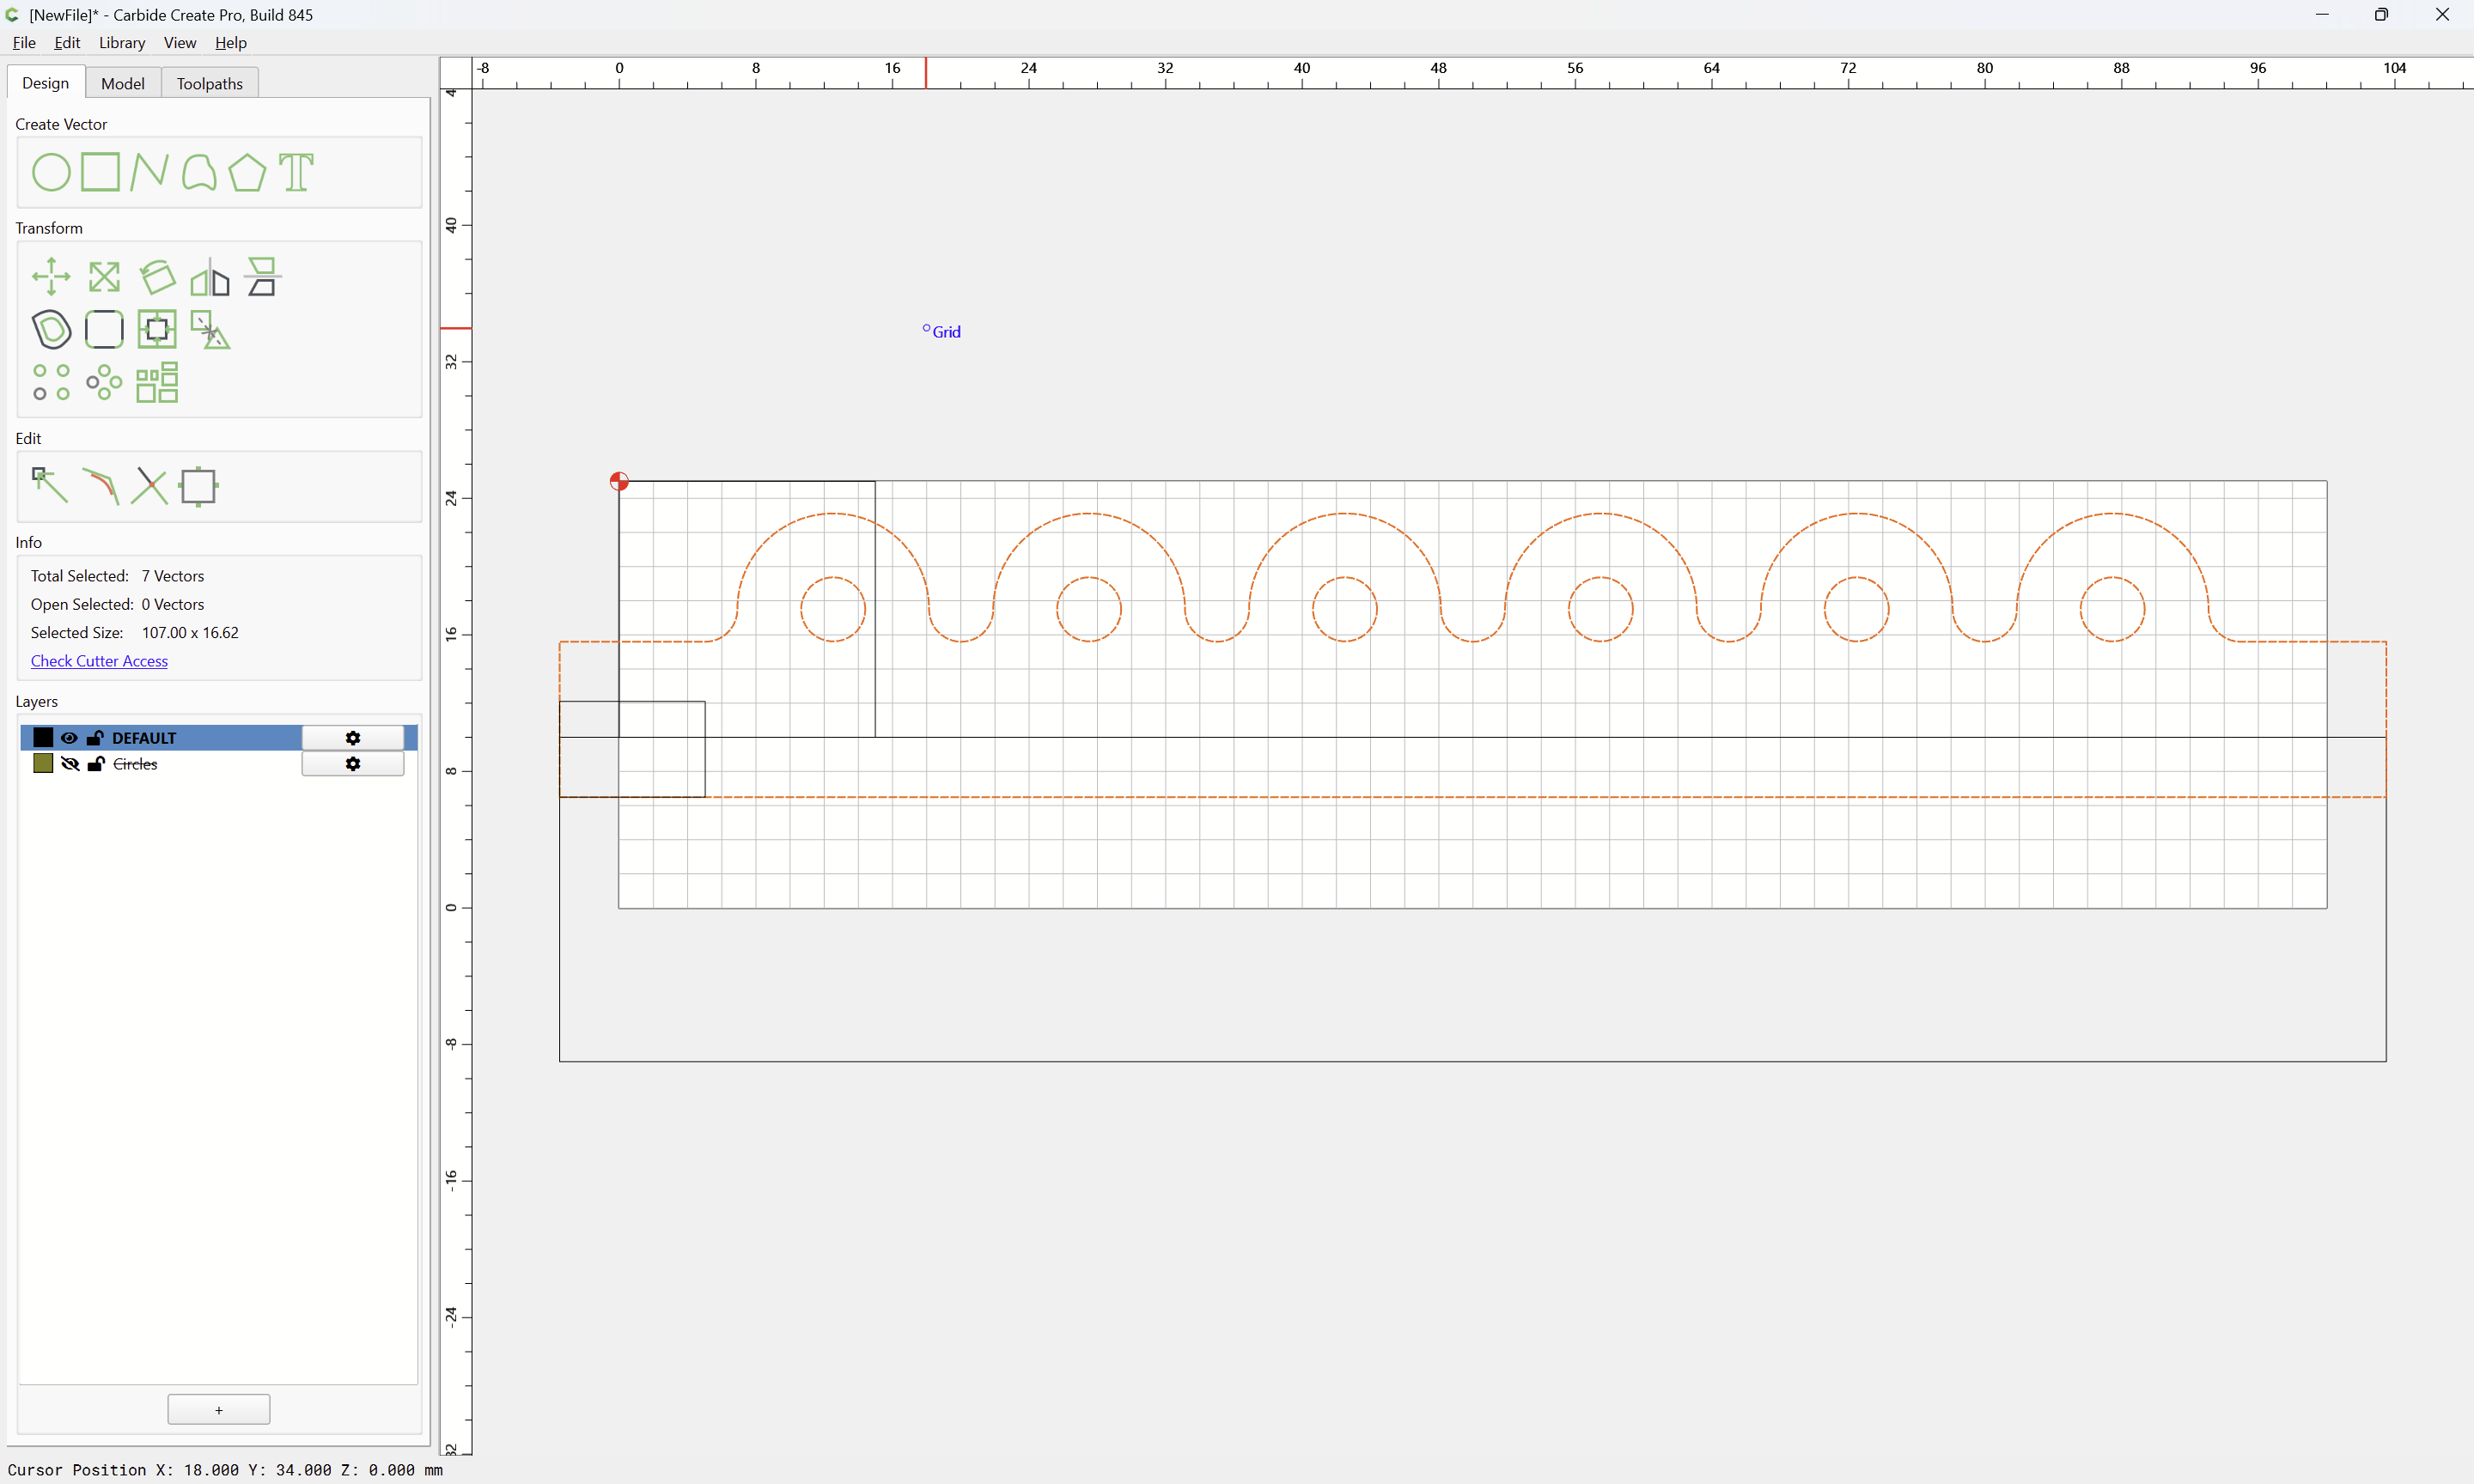
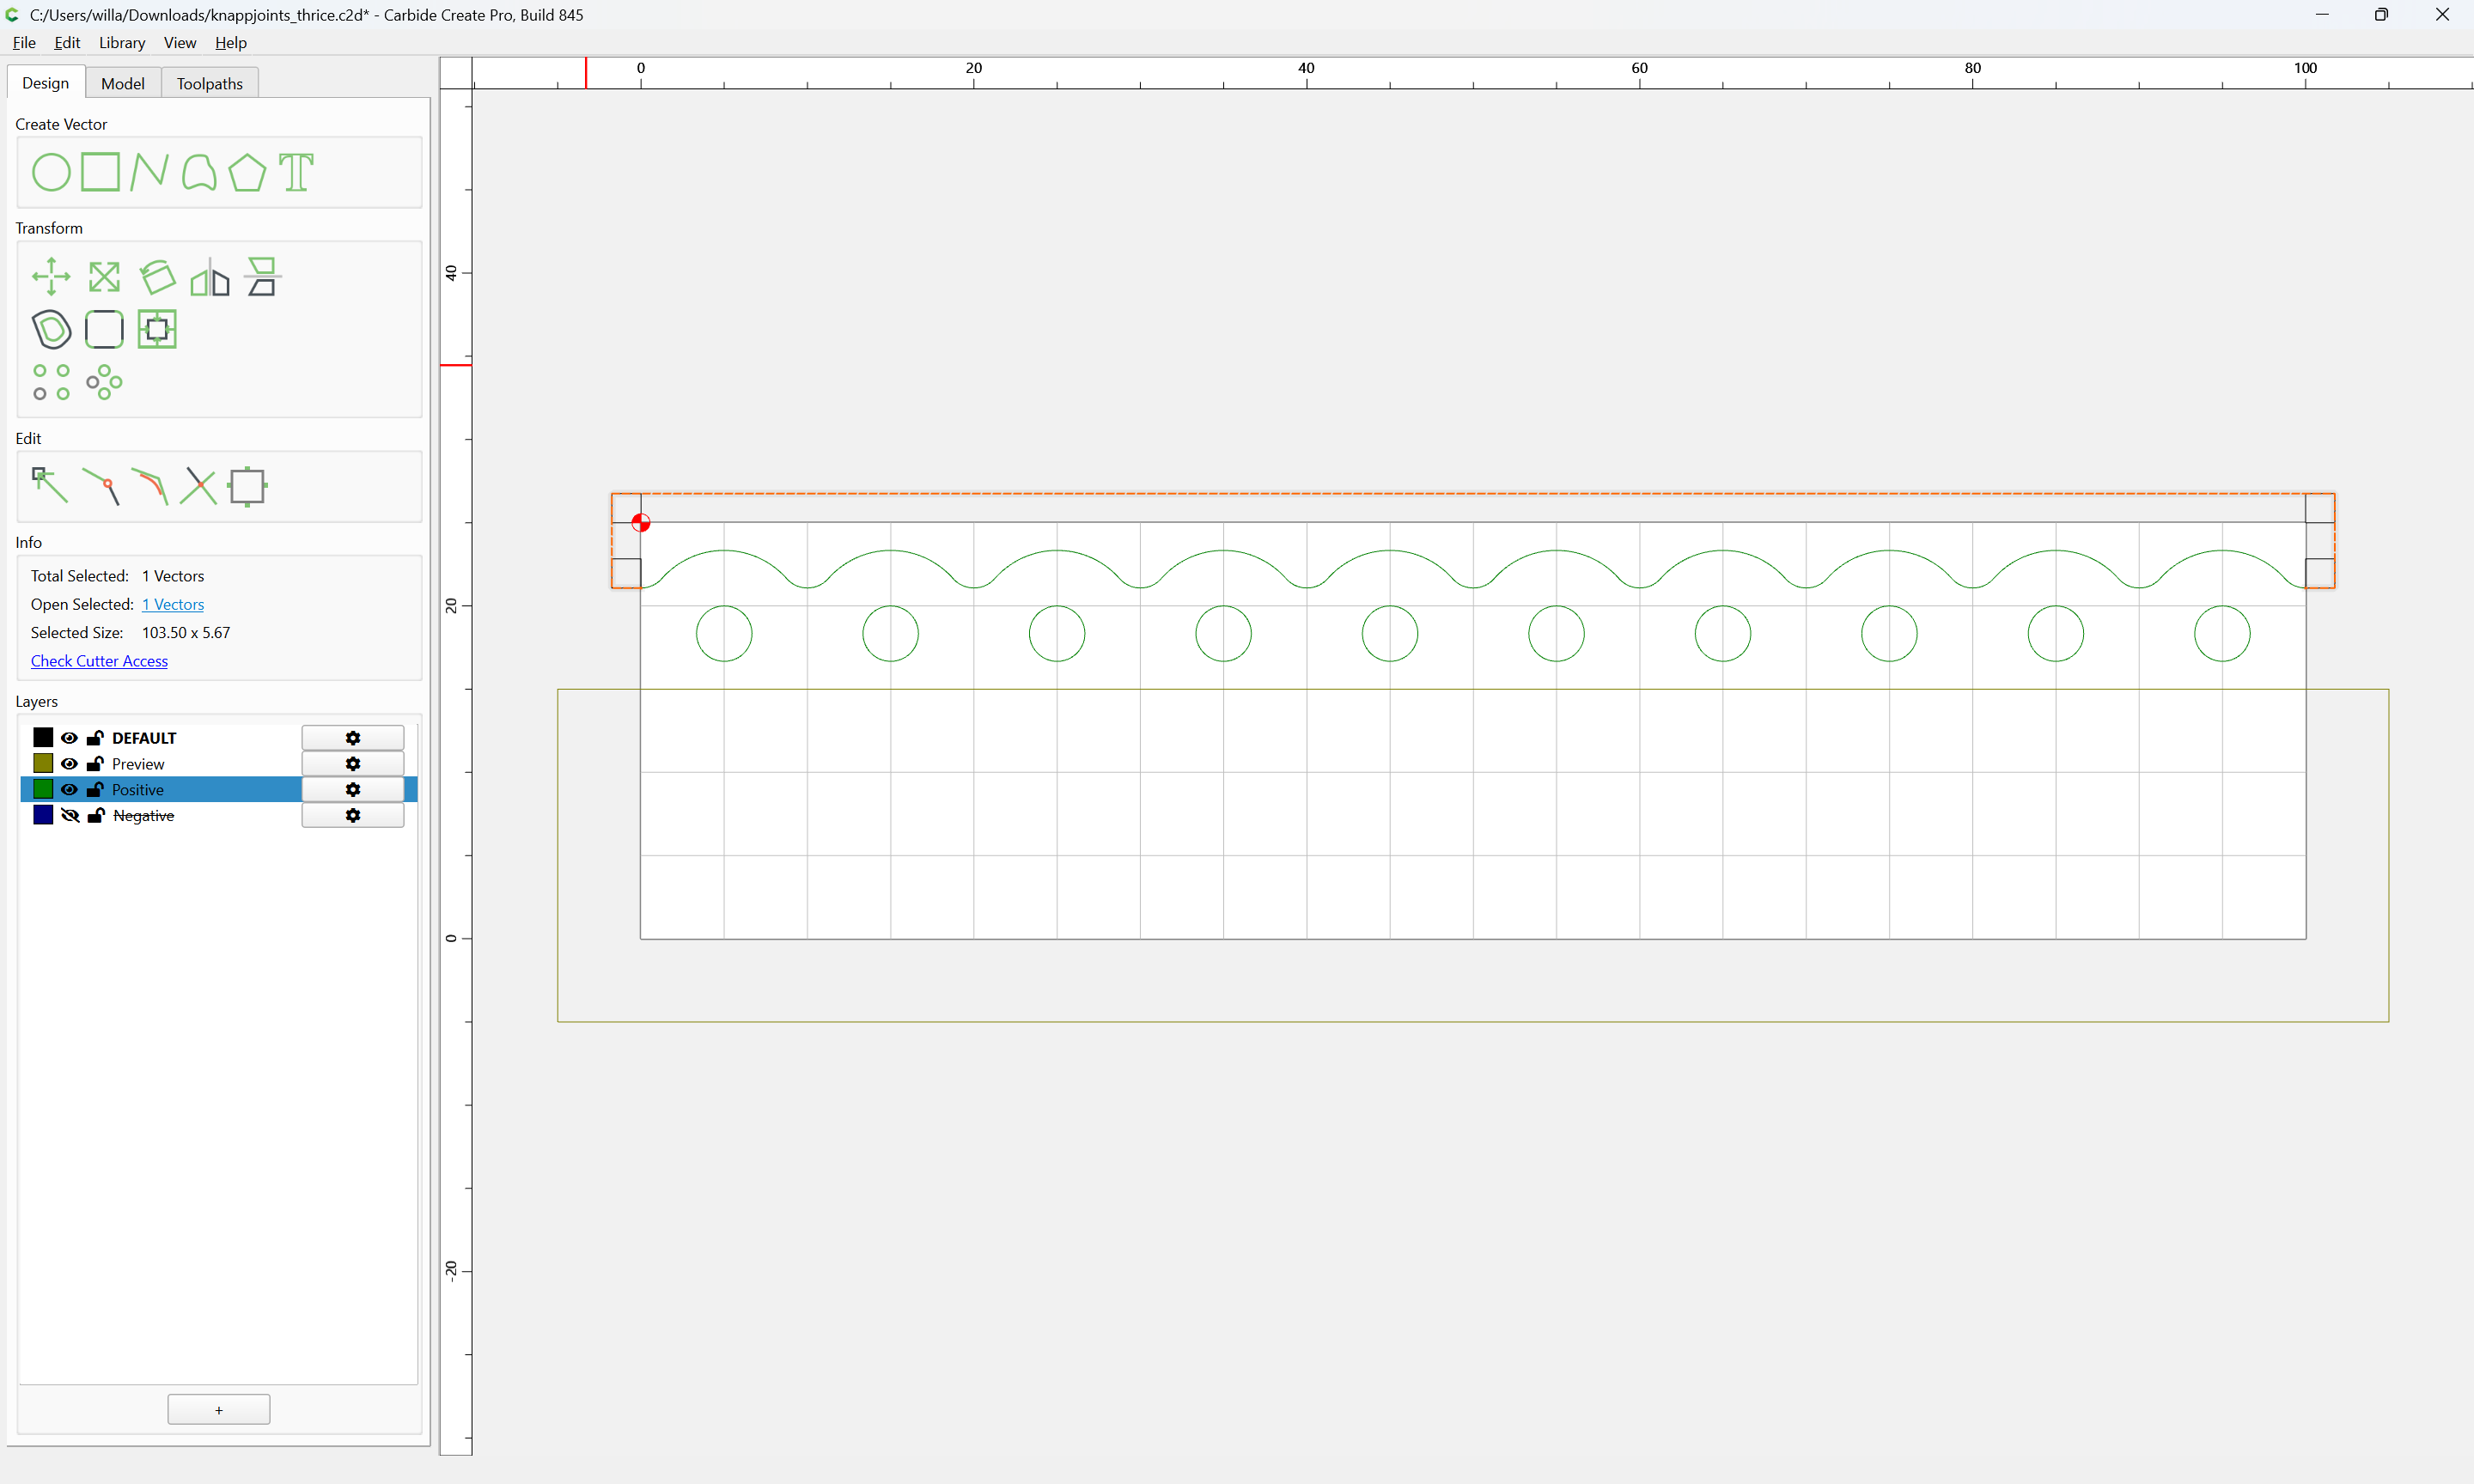
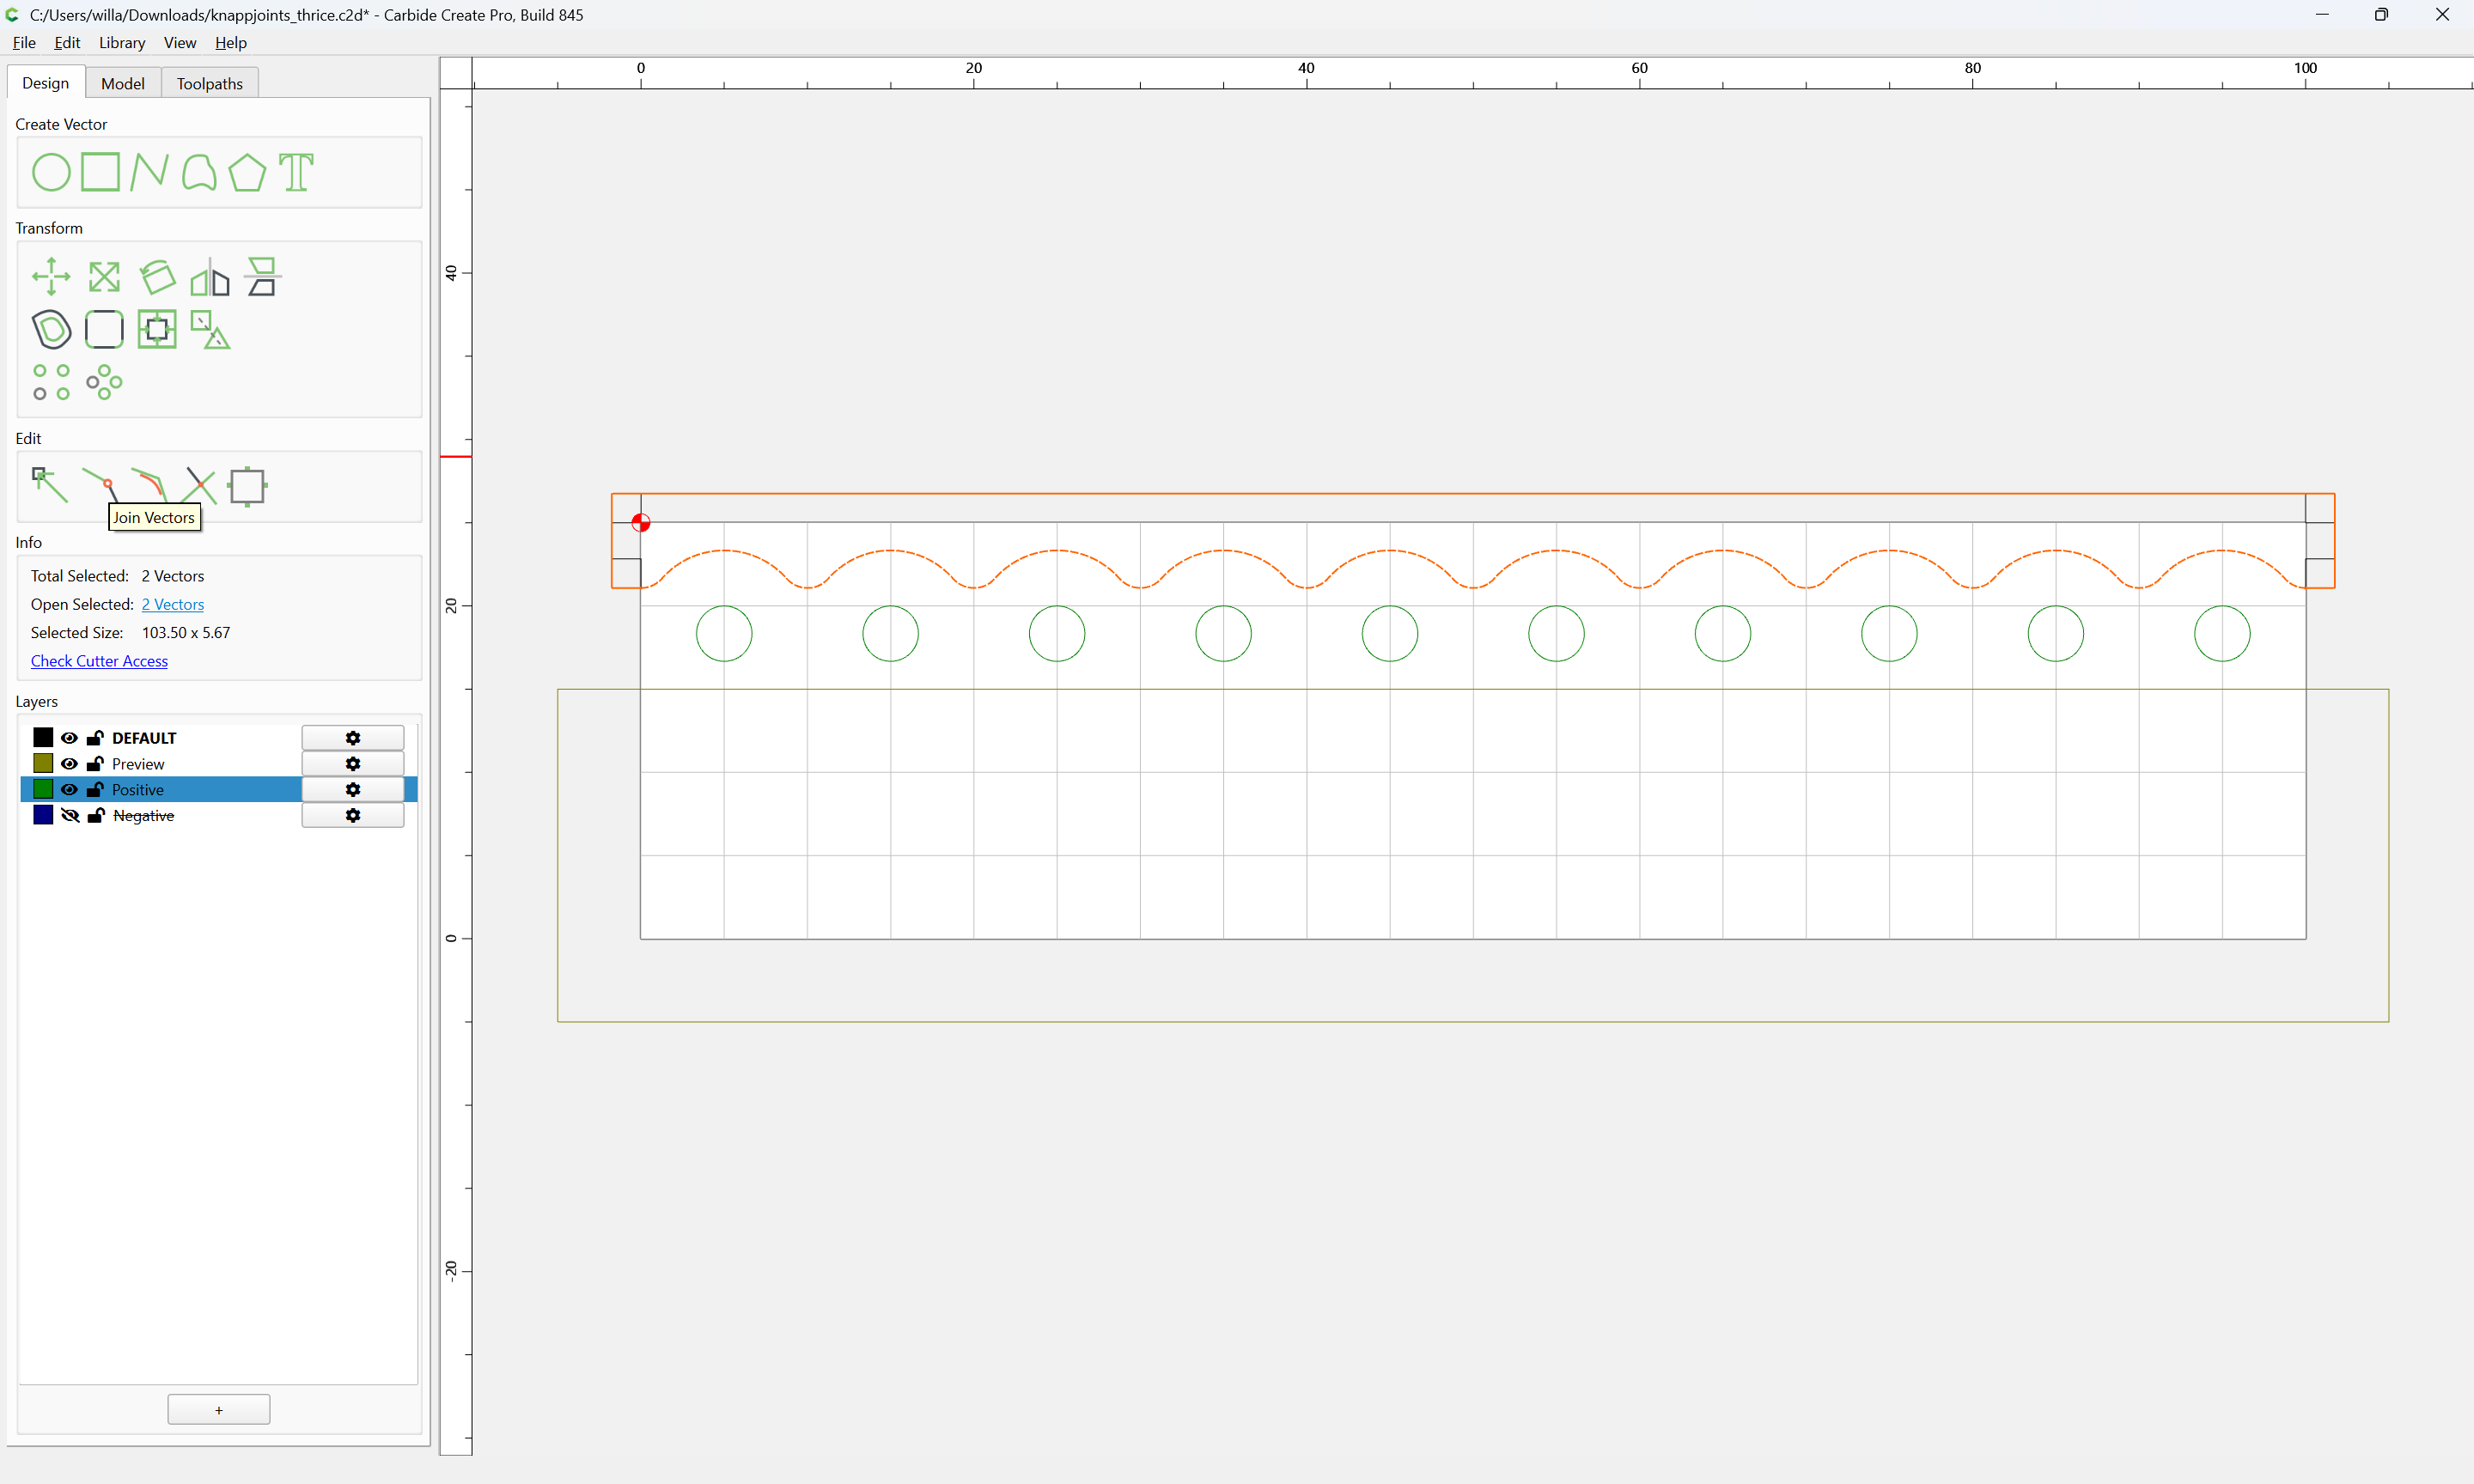
Select all the open geometry:
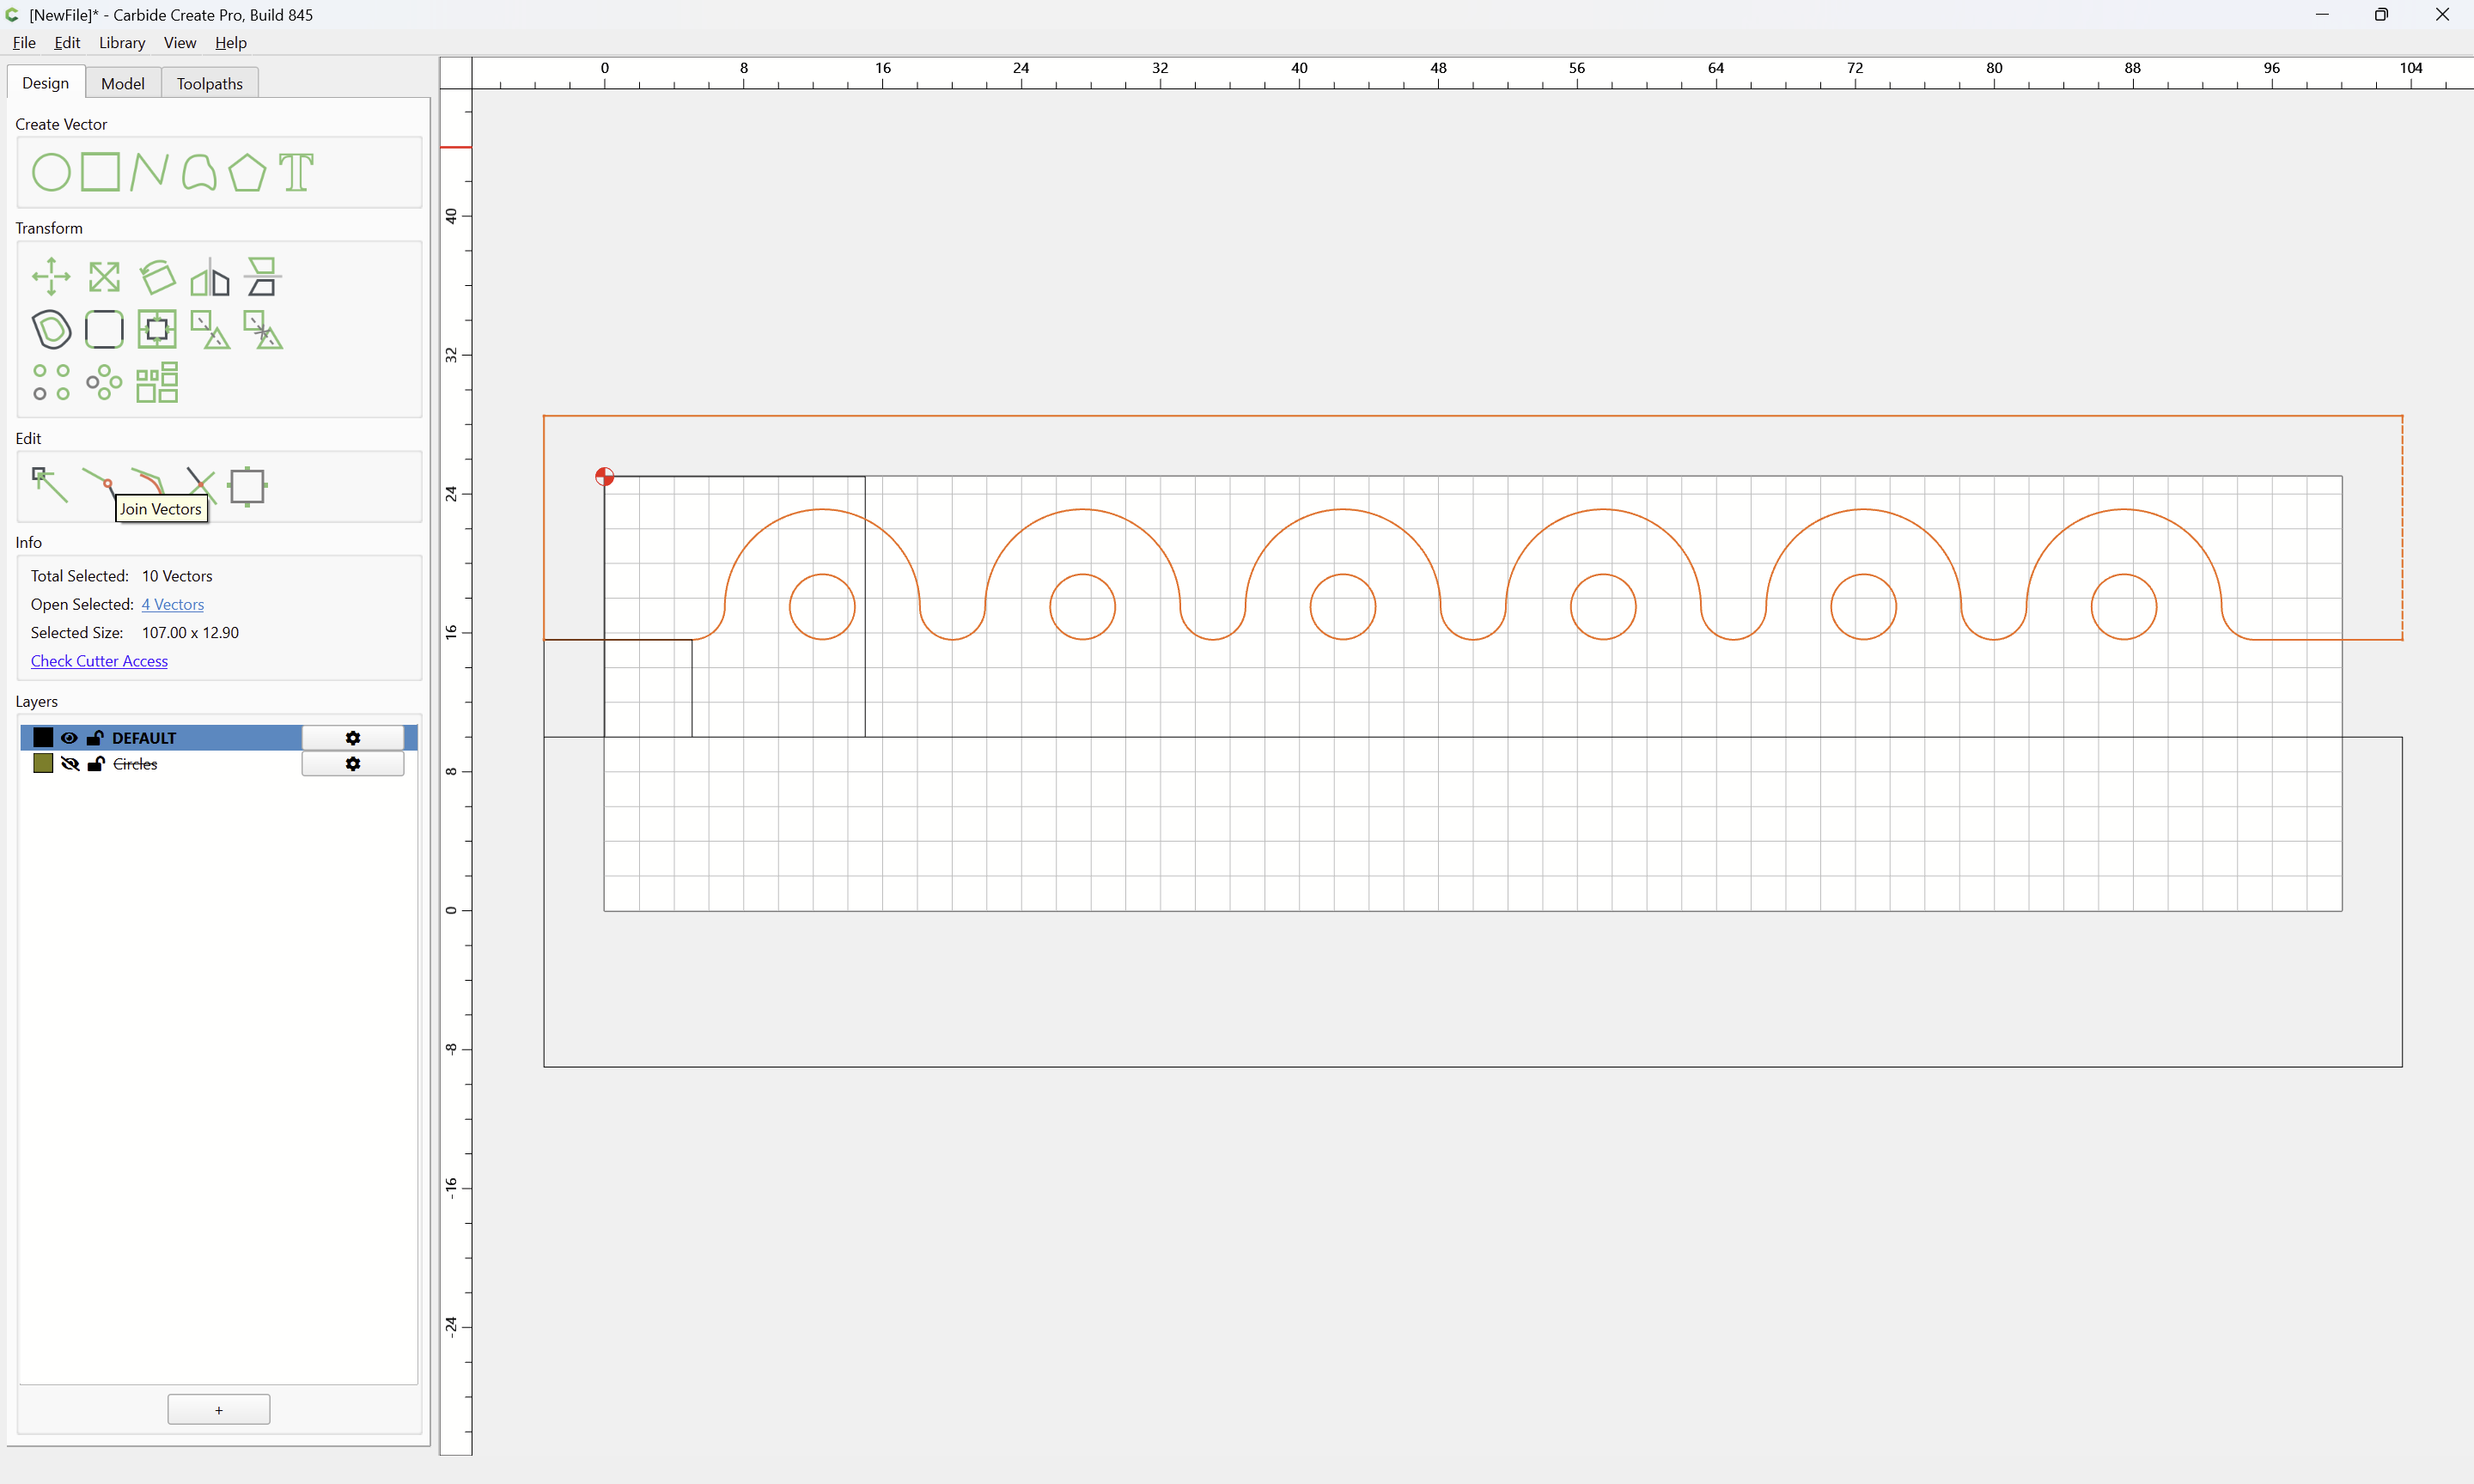
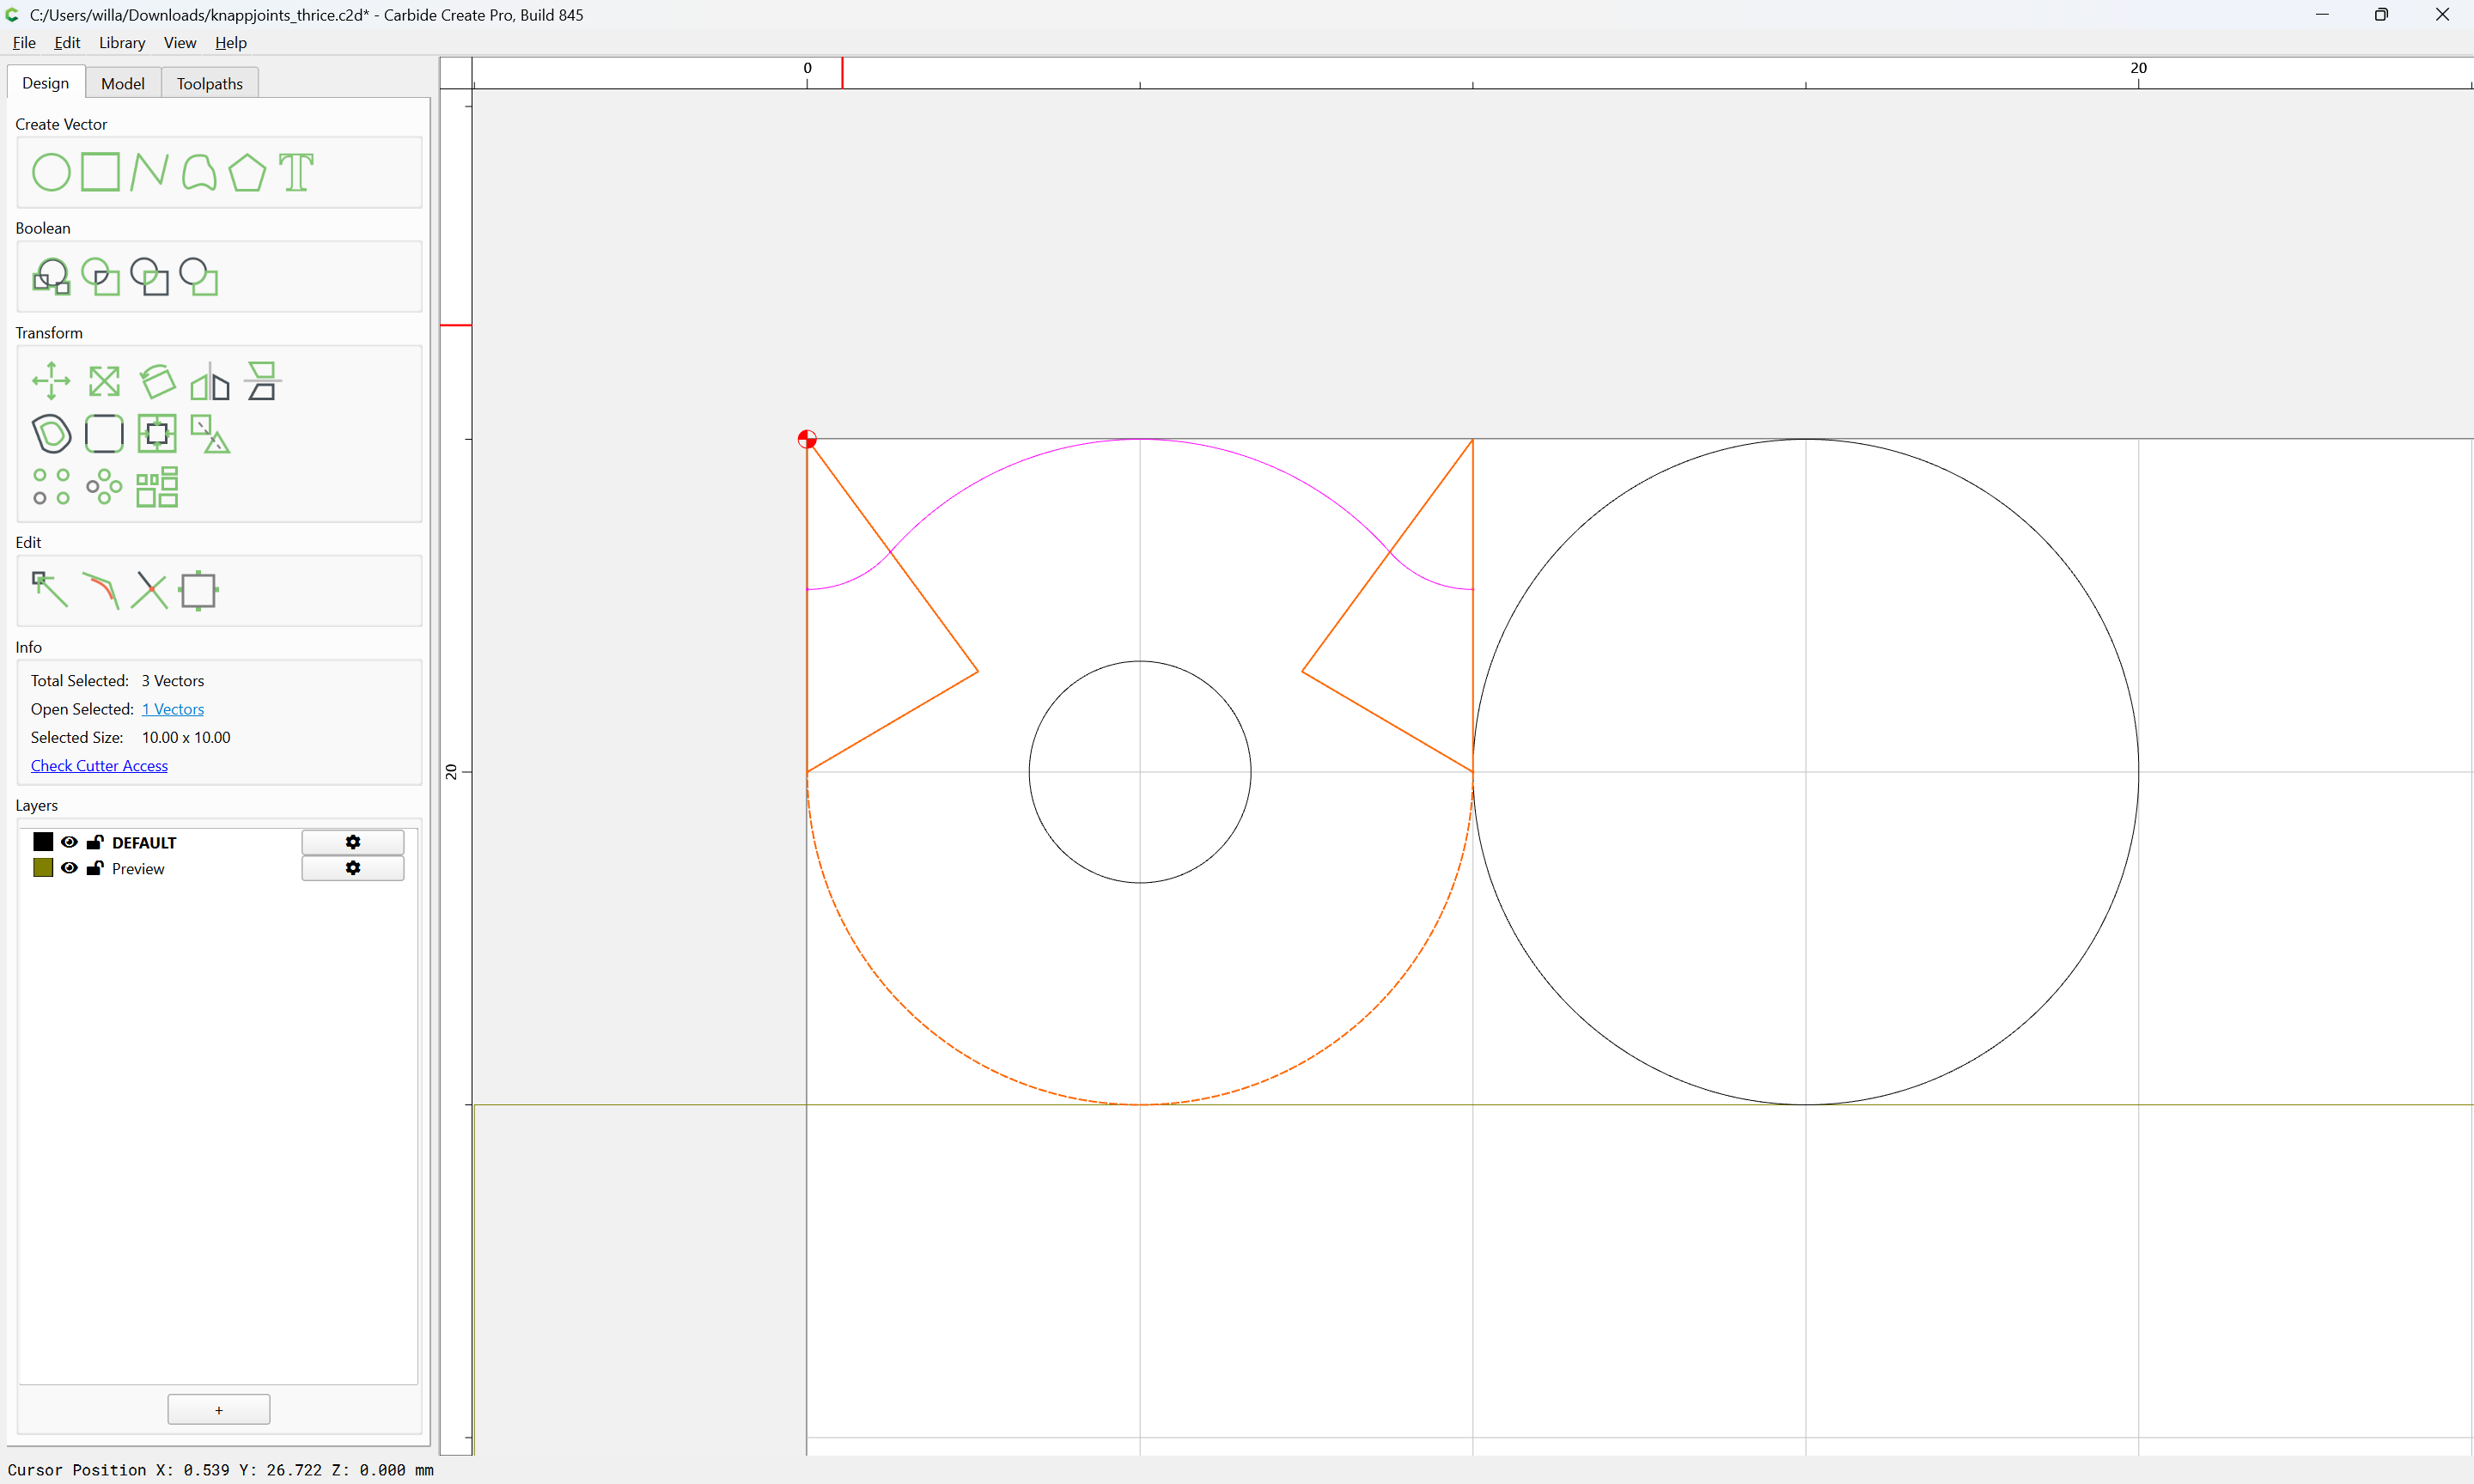
and Join Vectors to close
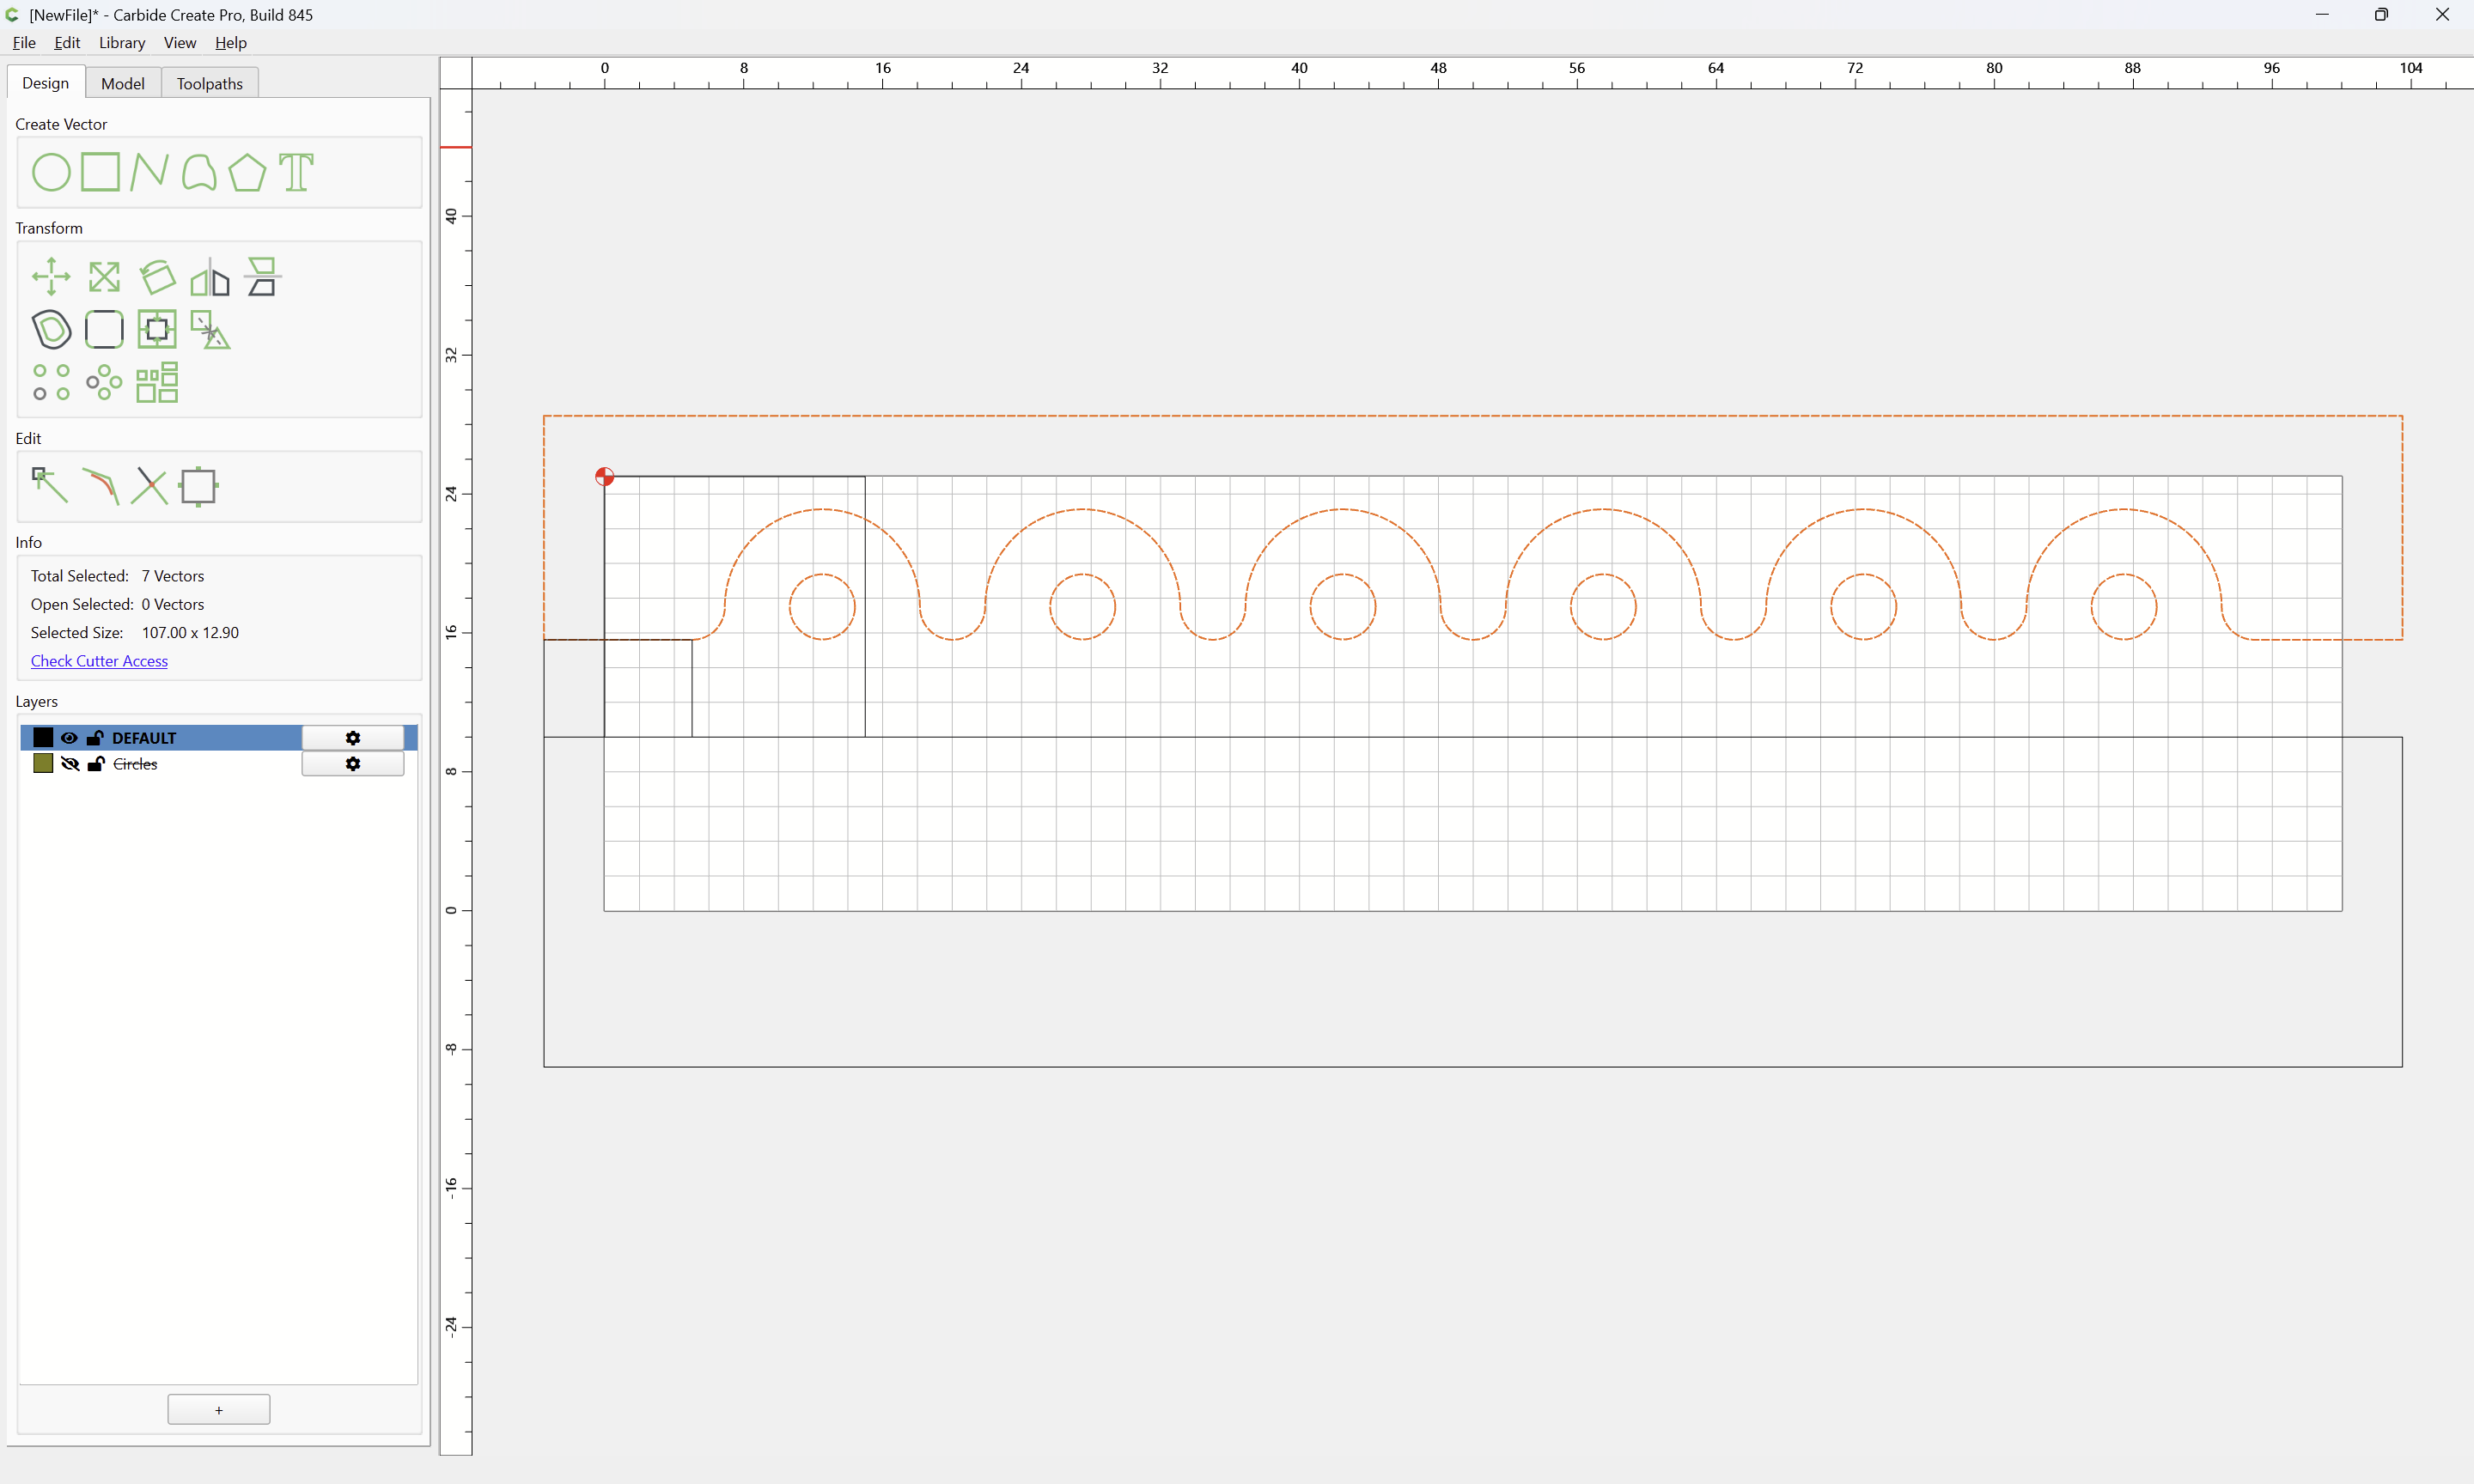
This geometry would be used to make the ends of the sides.

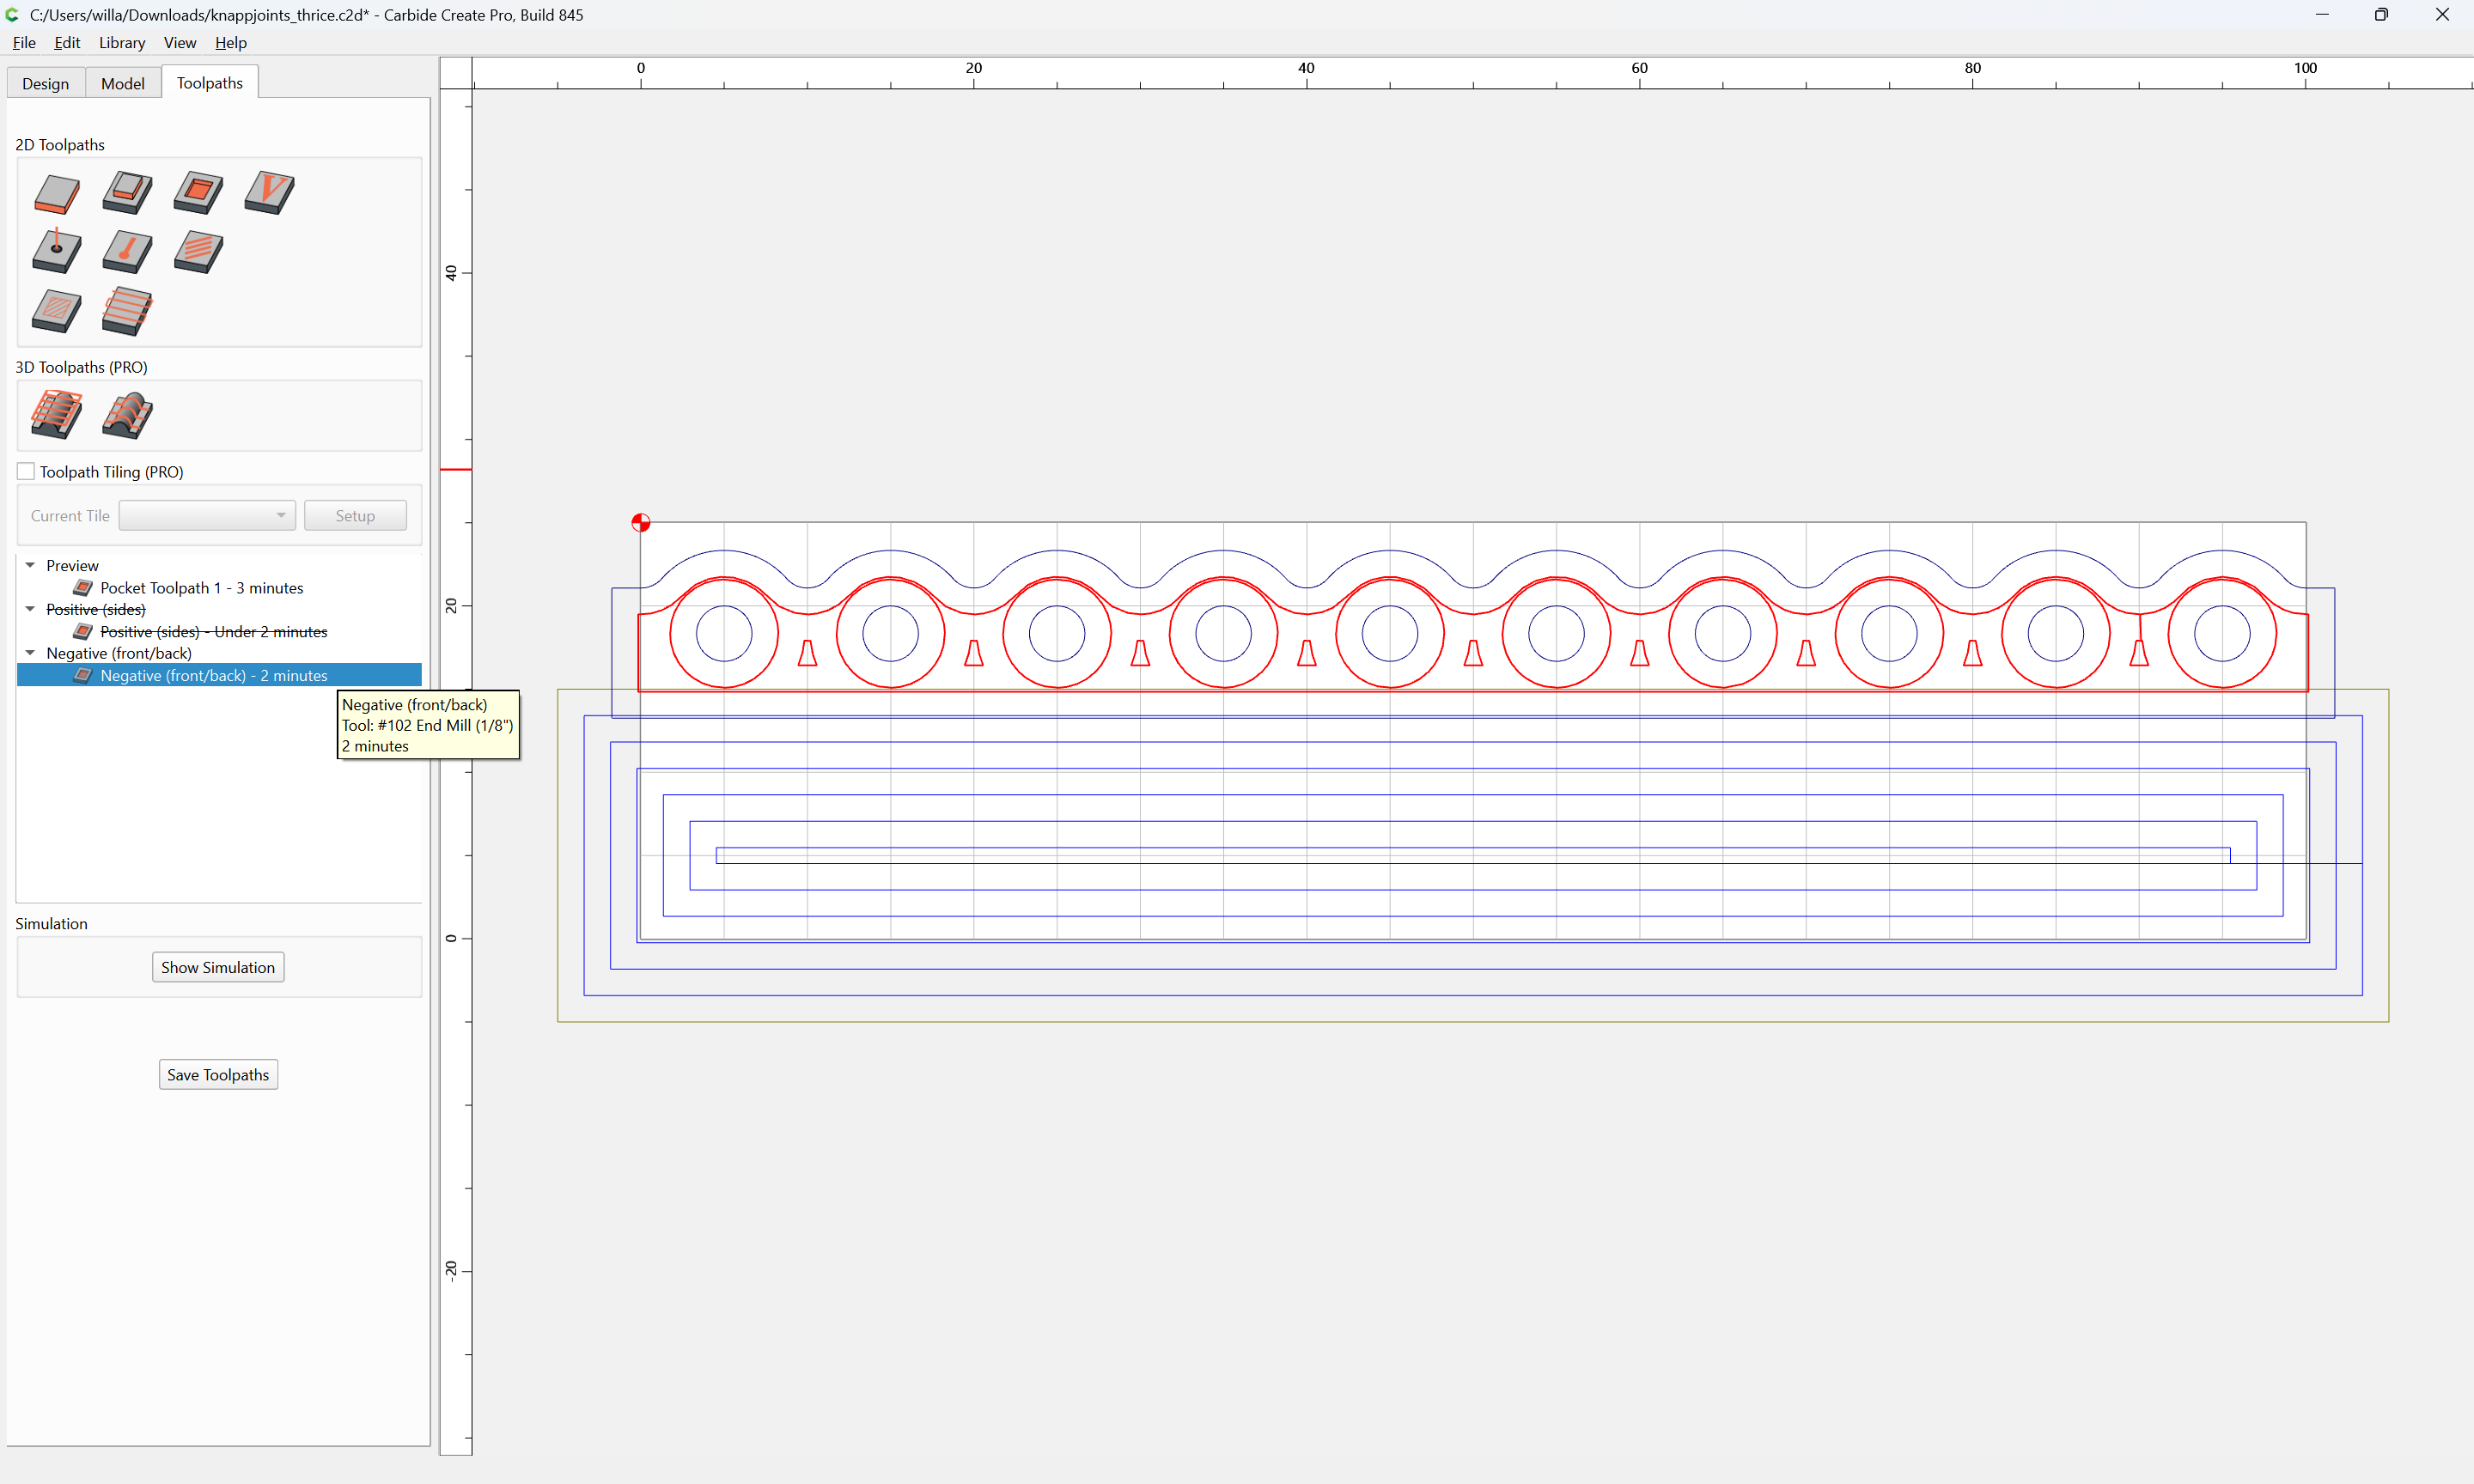
To cut the geometry for the front/back it would be necessary to create the inverse:
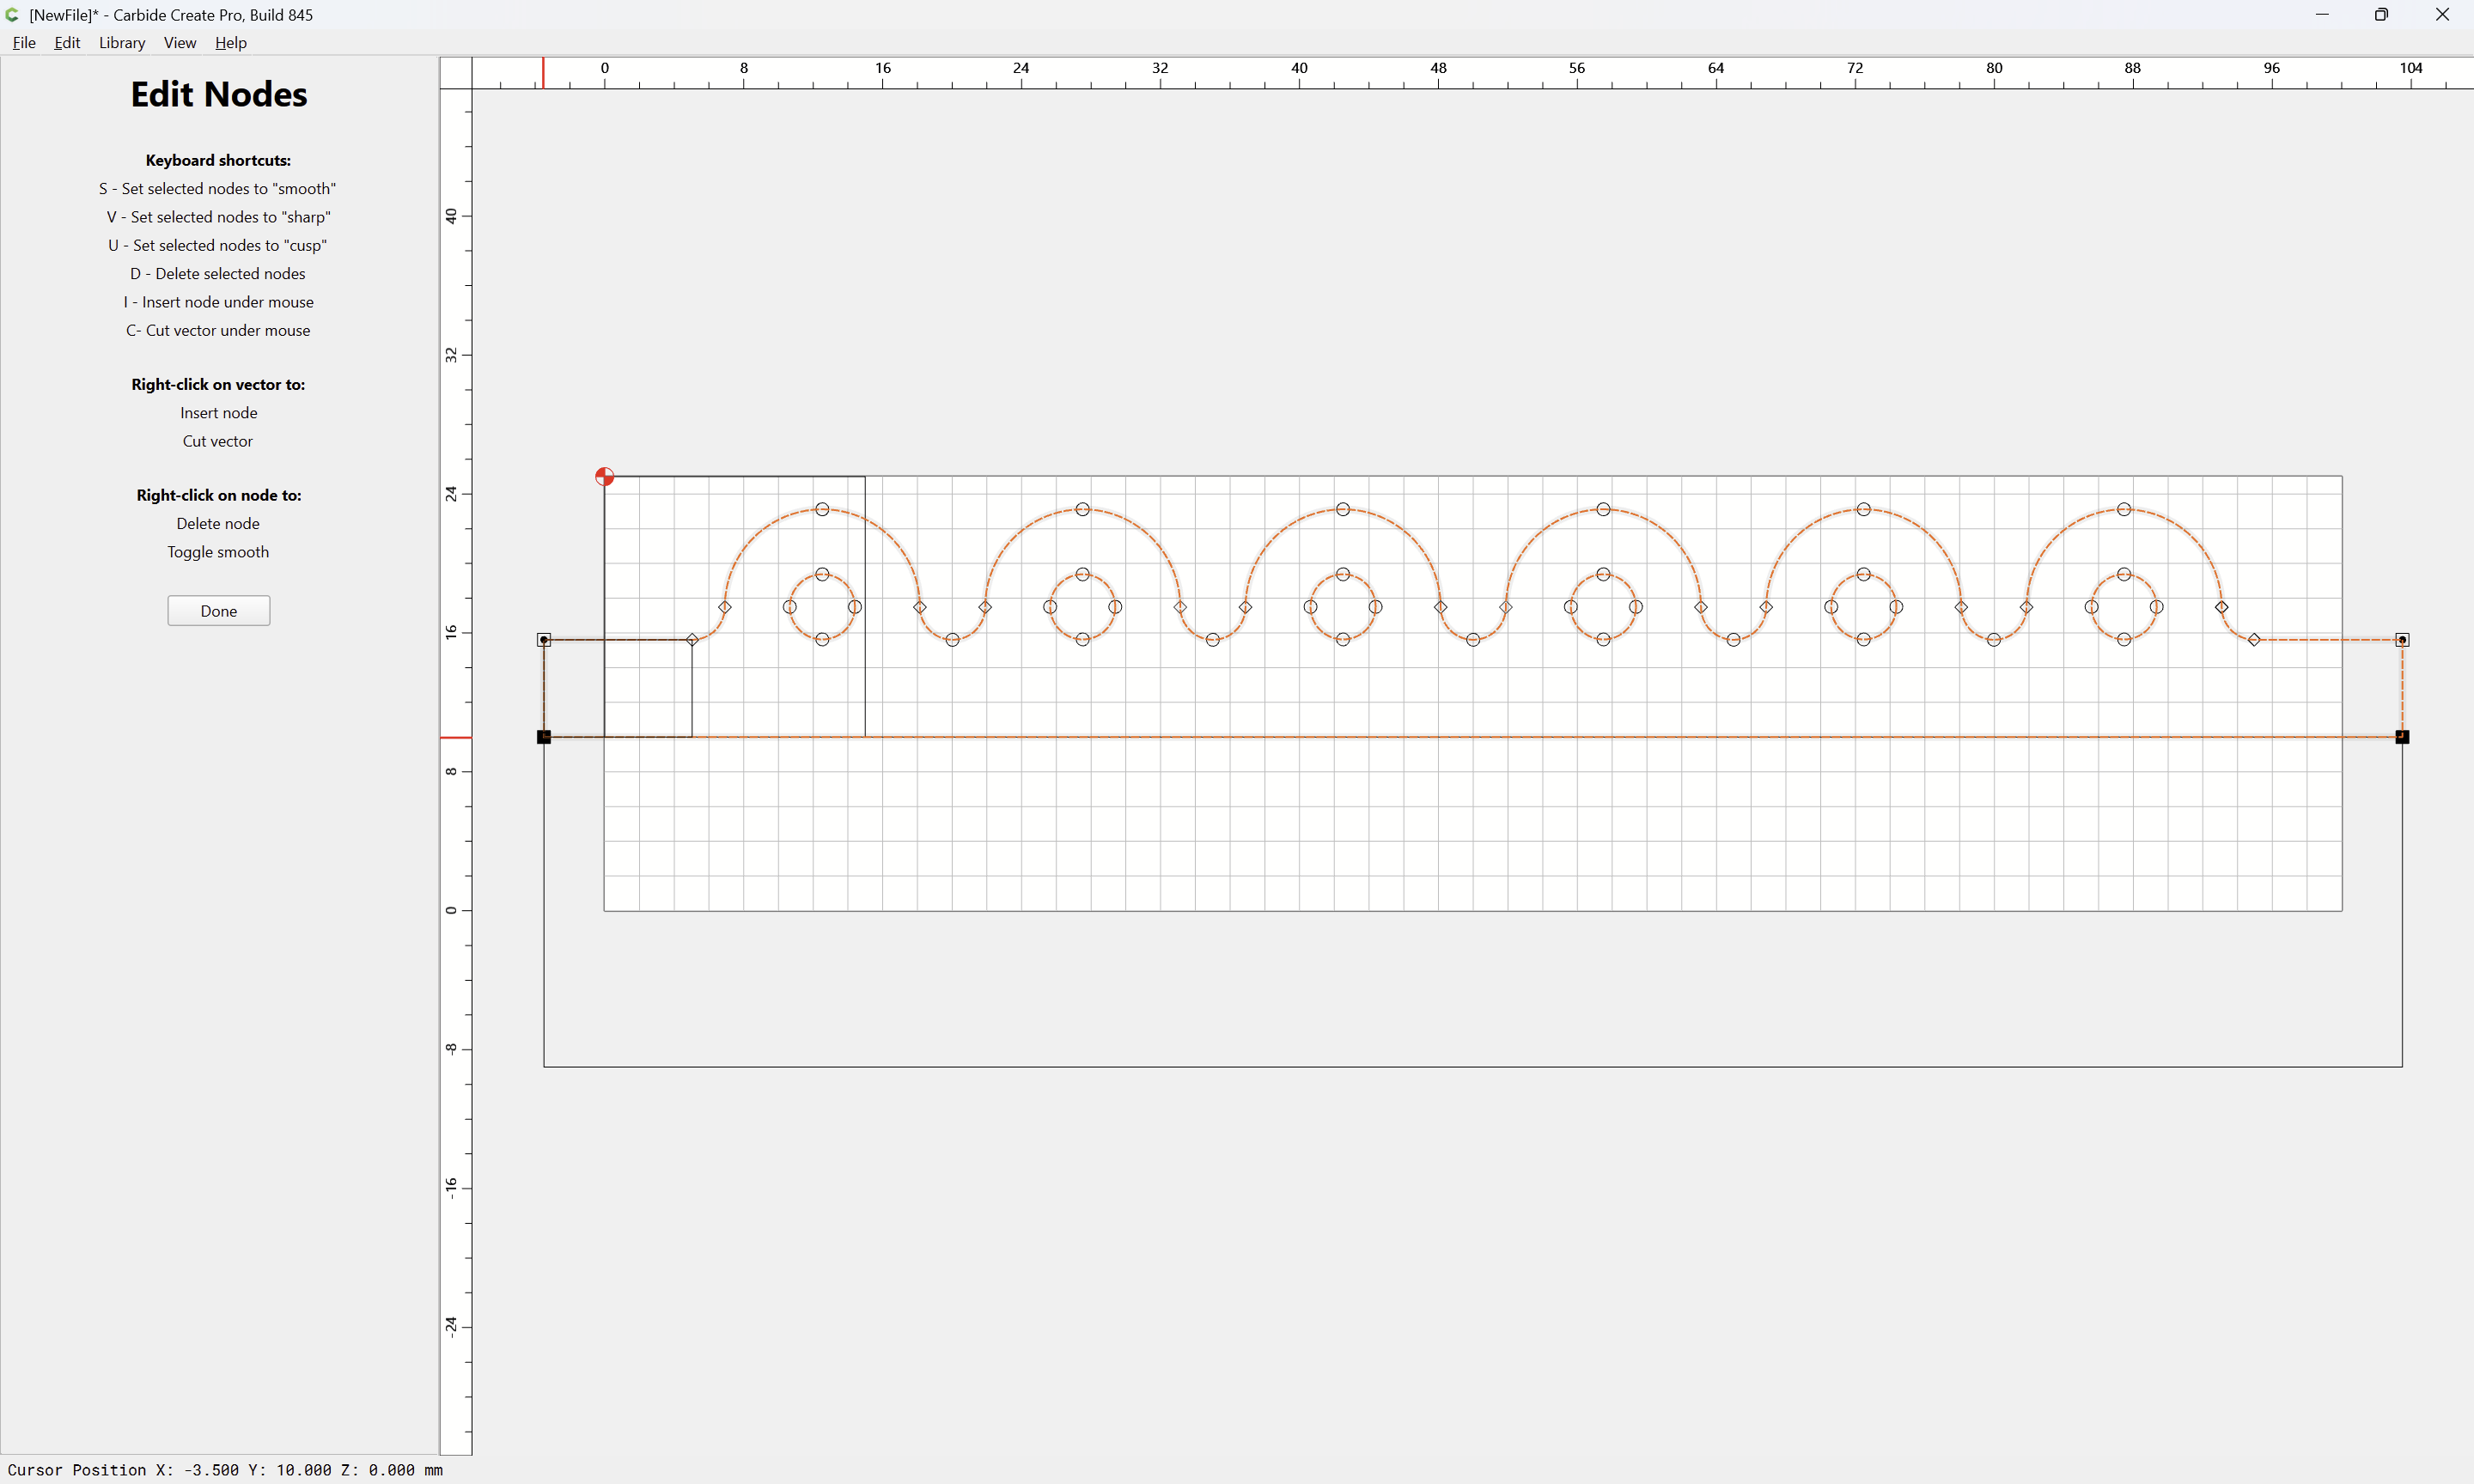
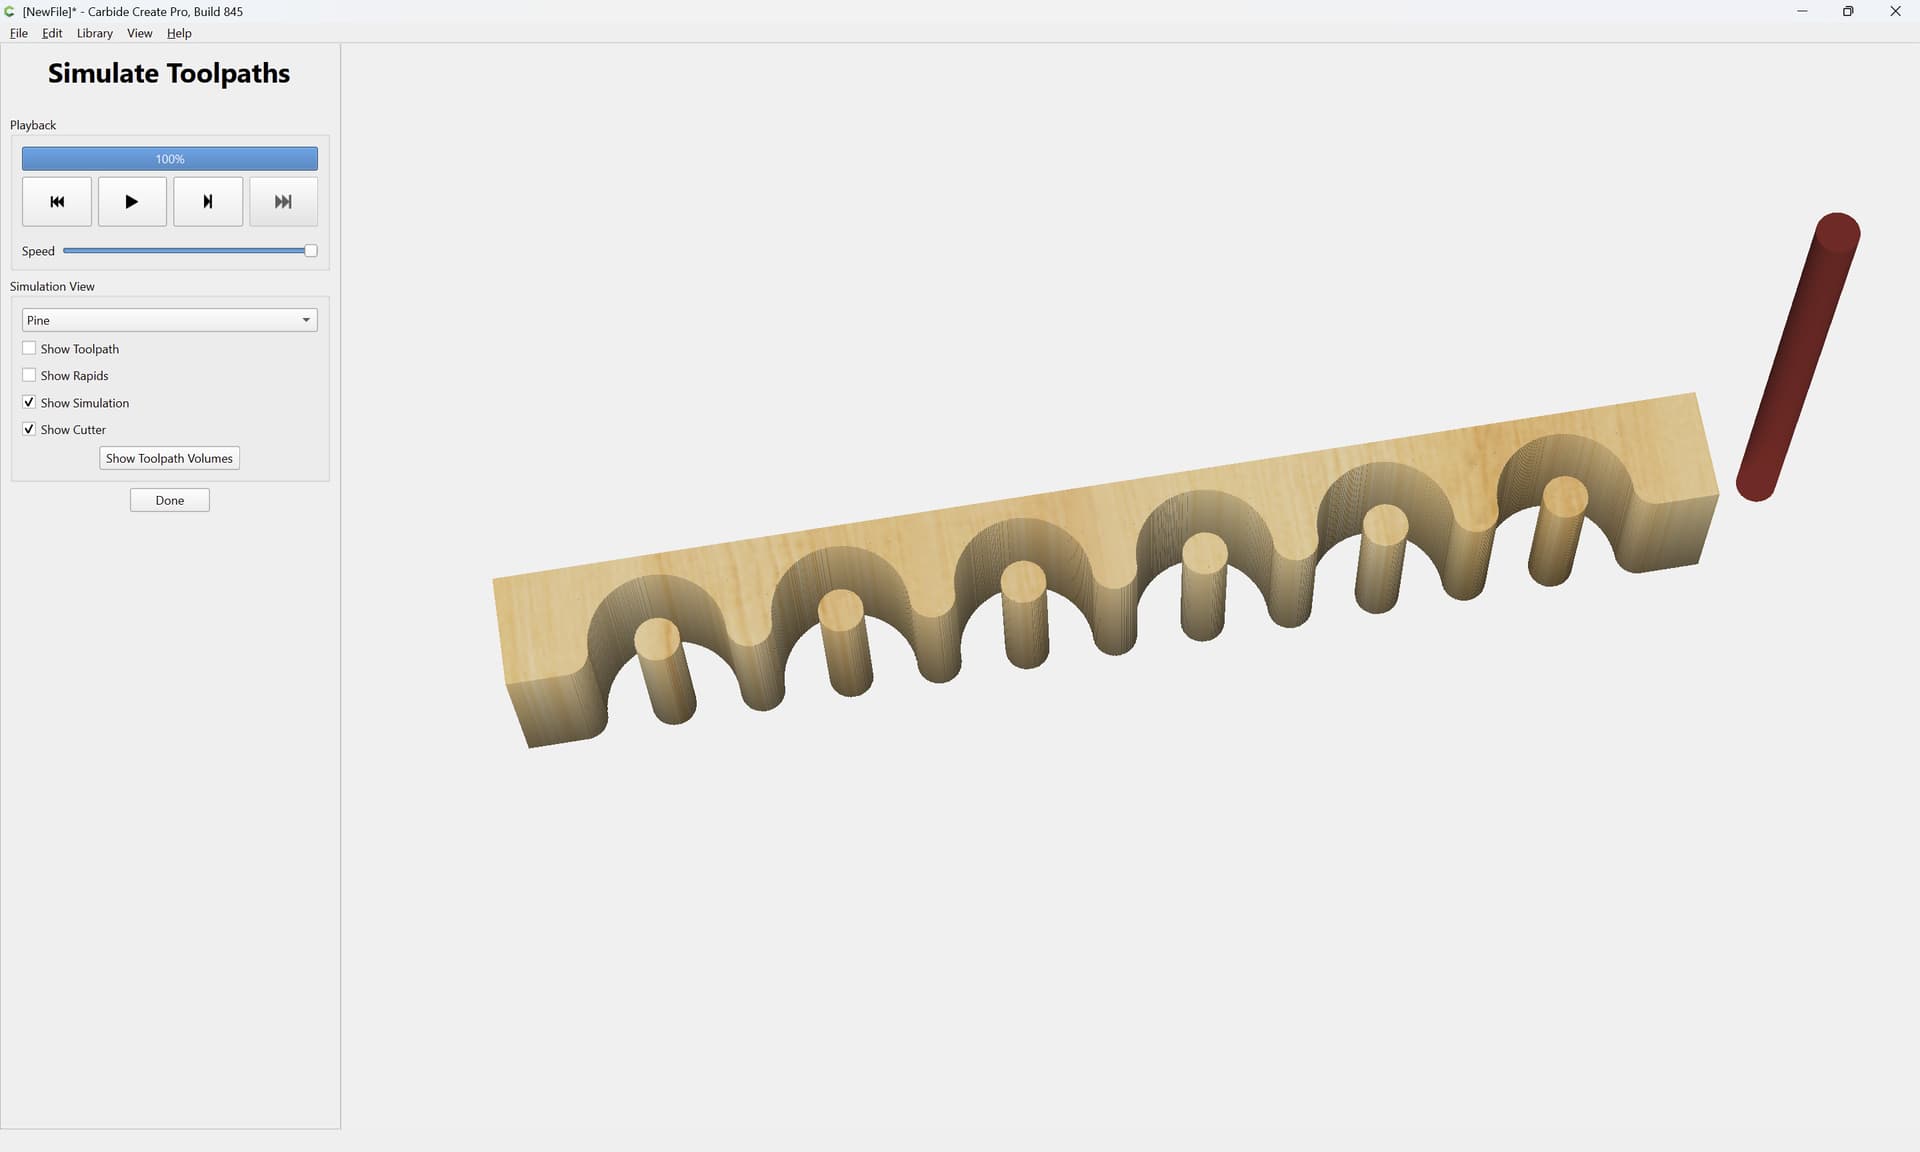
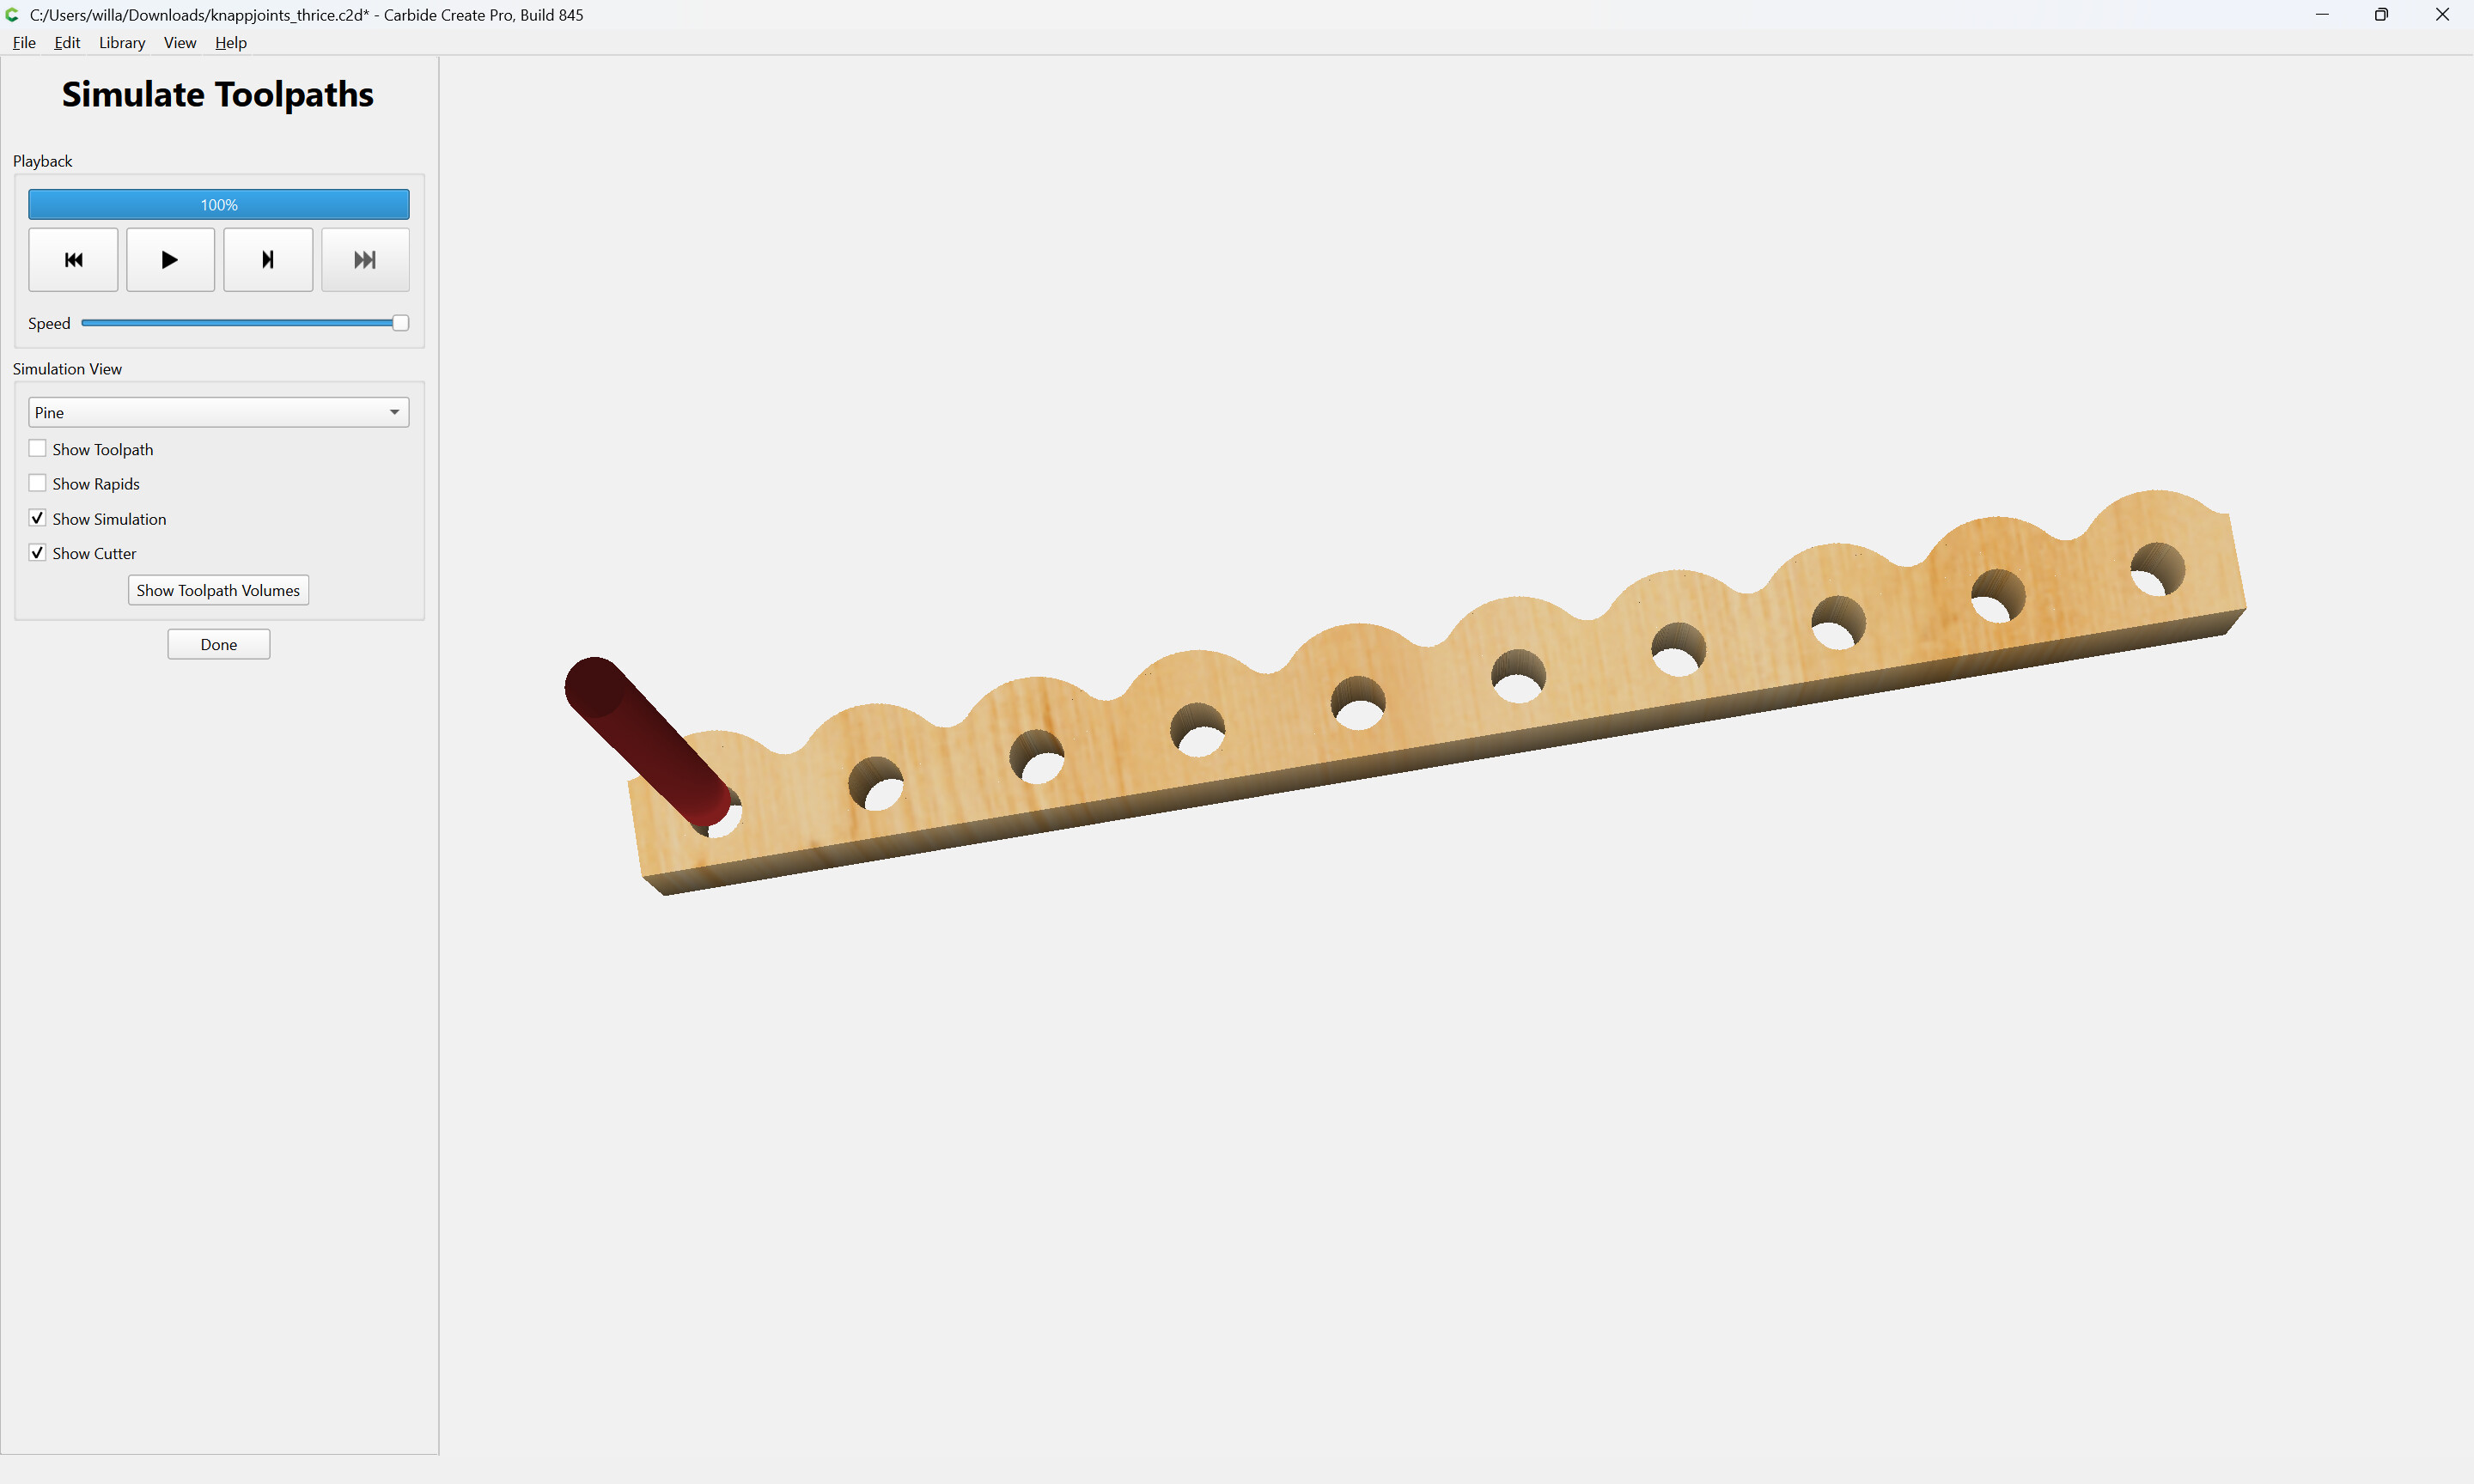
One consideration here is that the need to cut the central pin requires a quite narrow/long endmill — though one might be able to make a #102 work if one will allow a bit of rubbing.

1 Like

A slightly different design would be to use a dimension which is more than thrice the diameter of the tool which is to be used, so if one were to use a 3.175mm tool, 10mm:

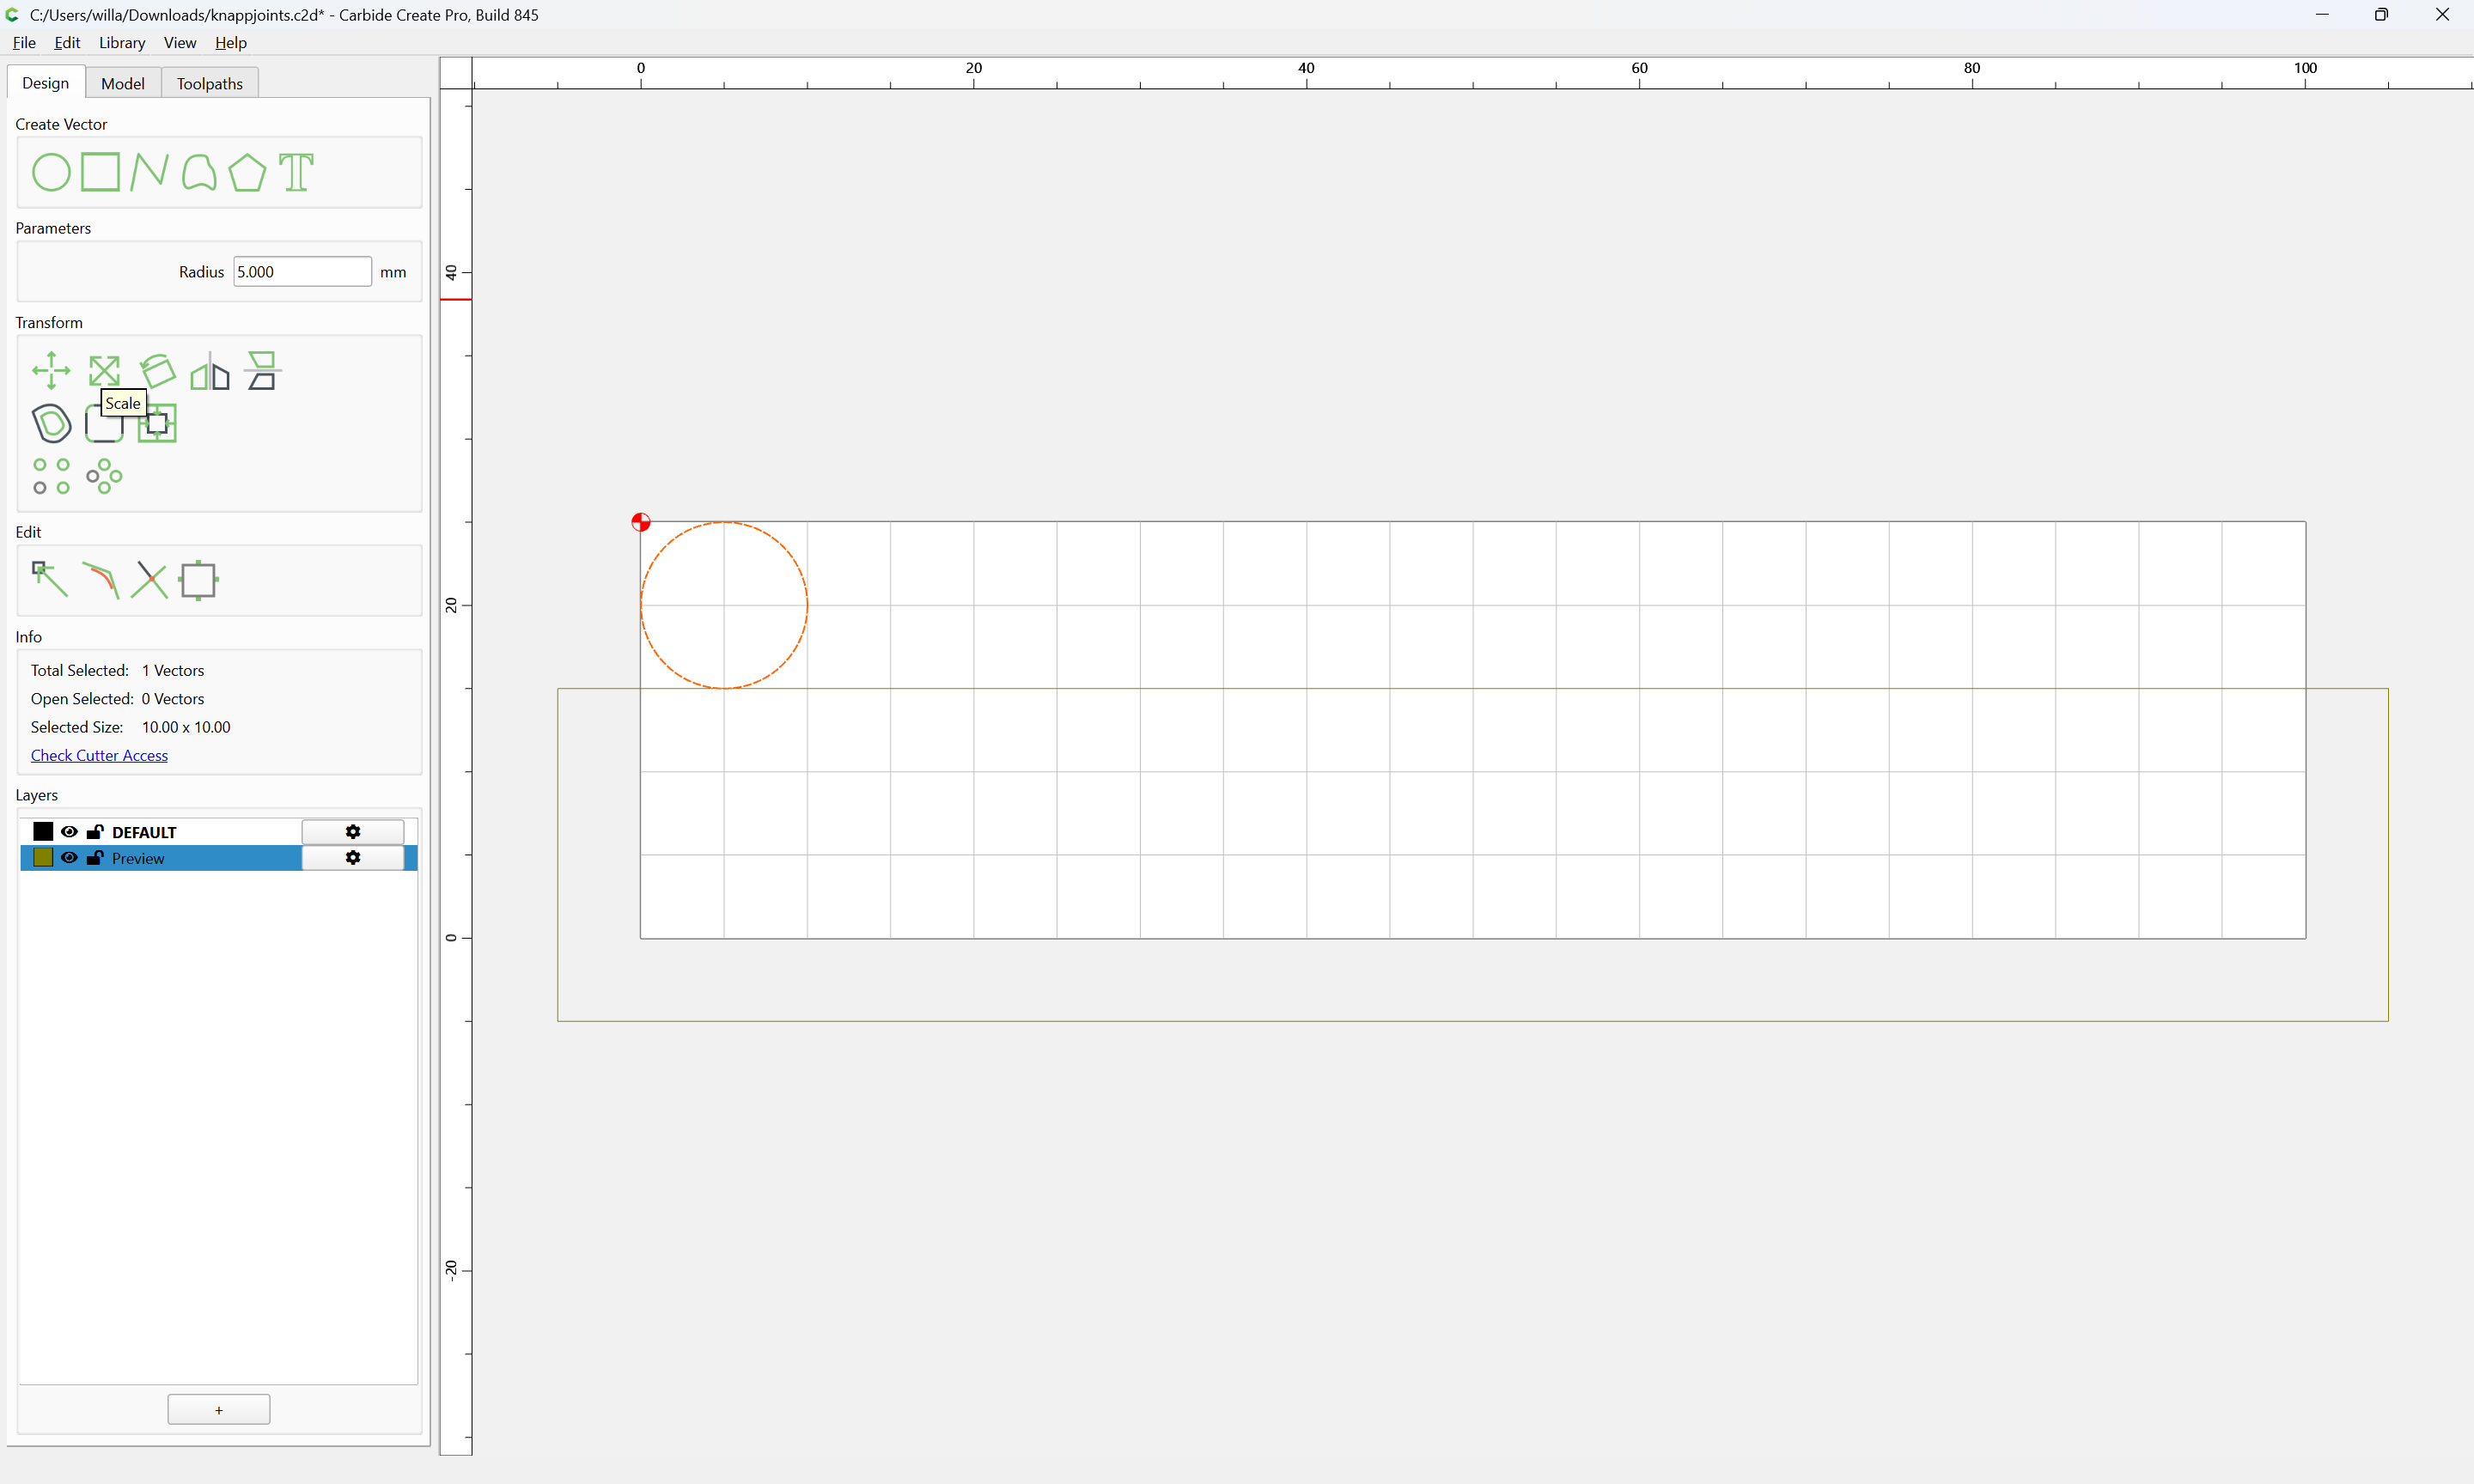
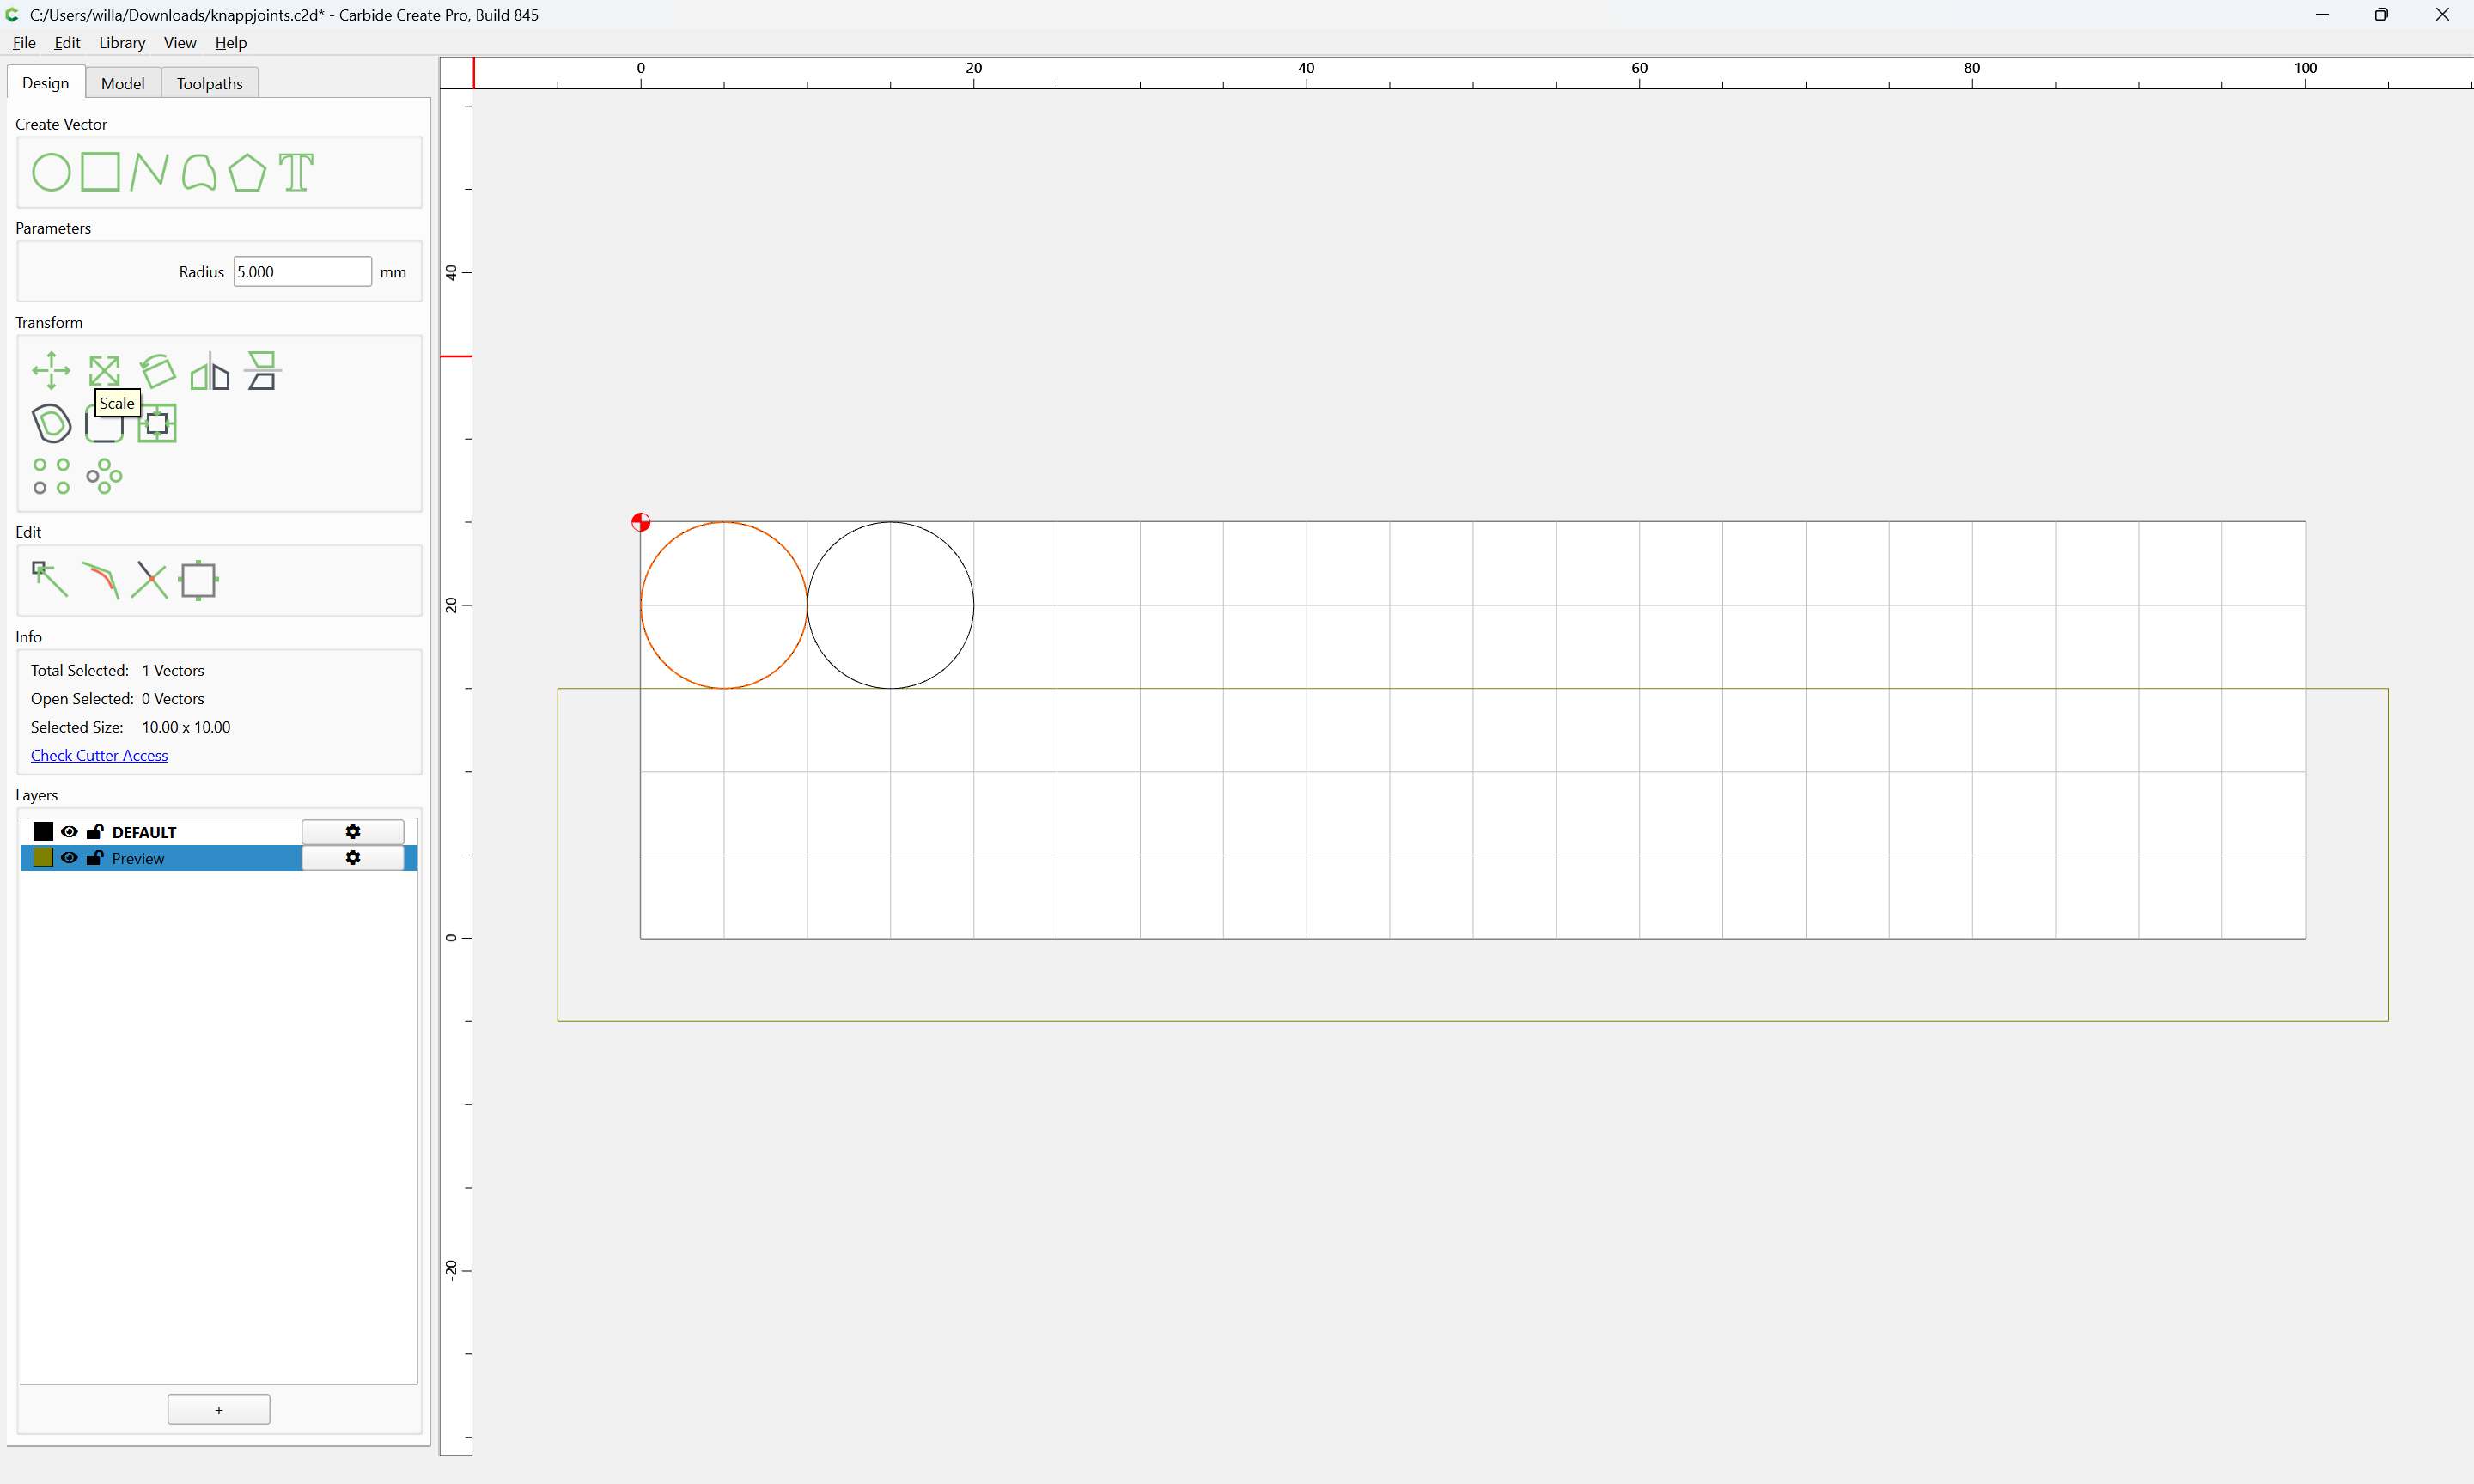
Draw a circle the unit size of the joint:

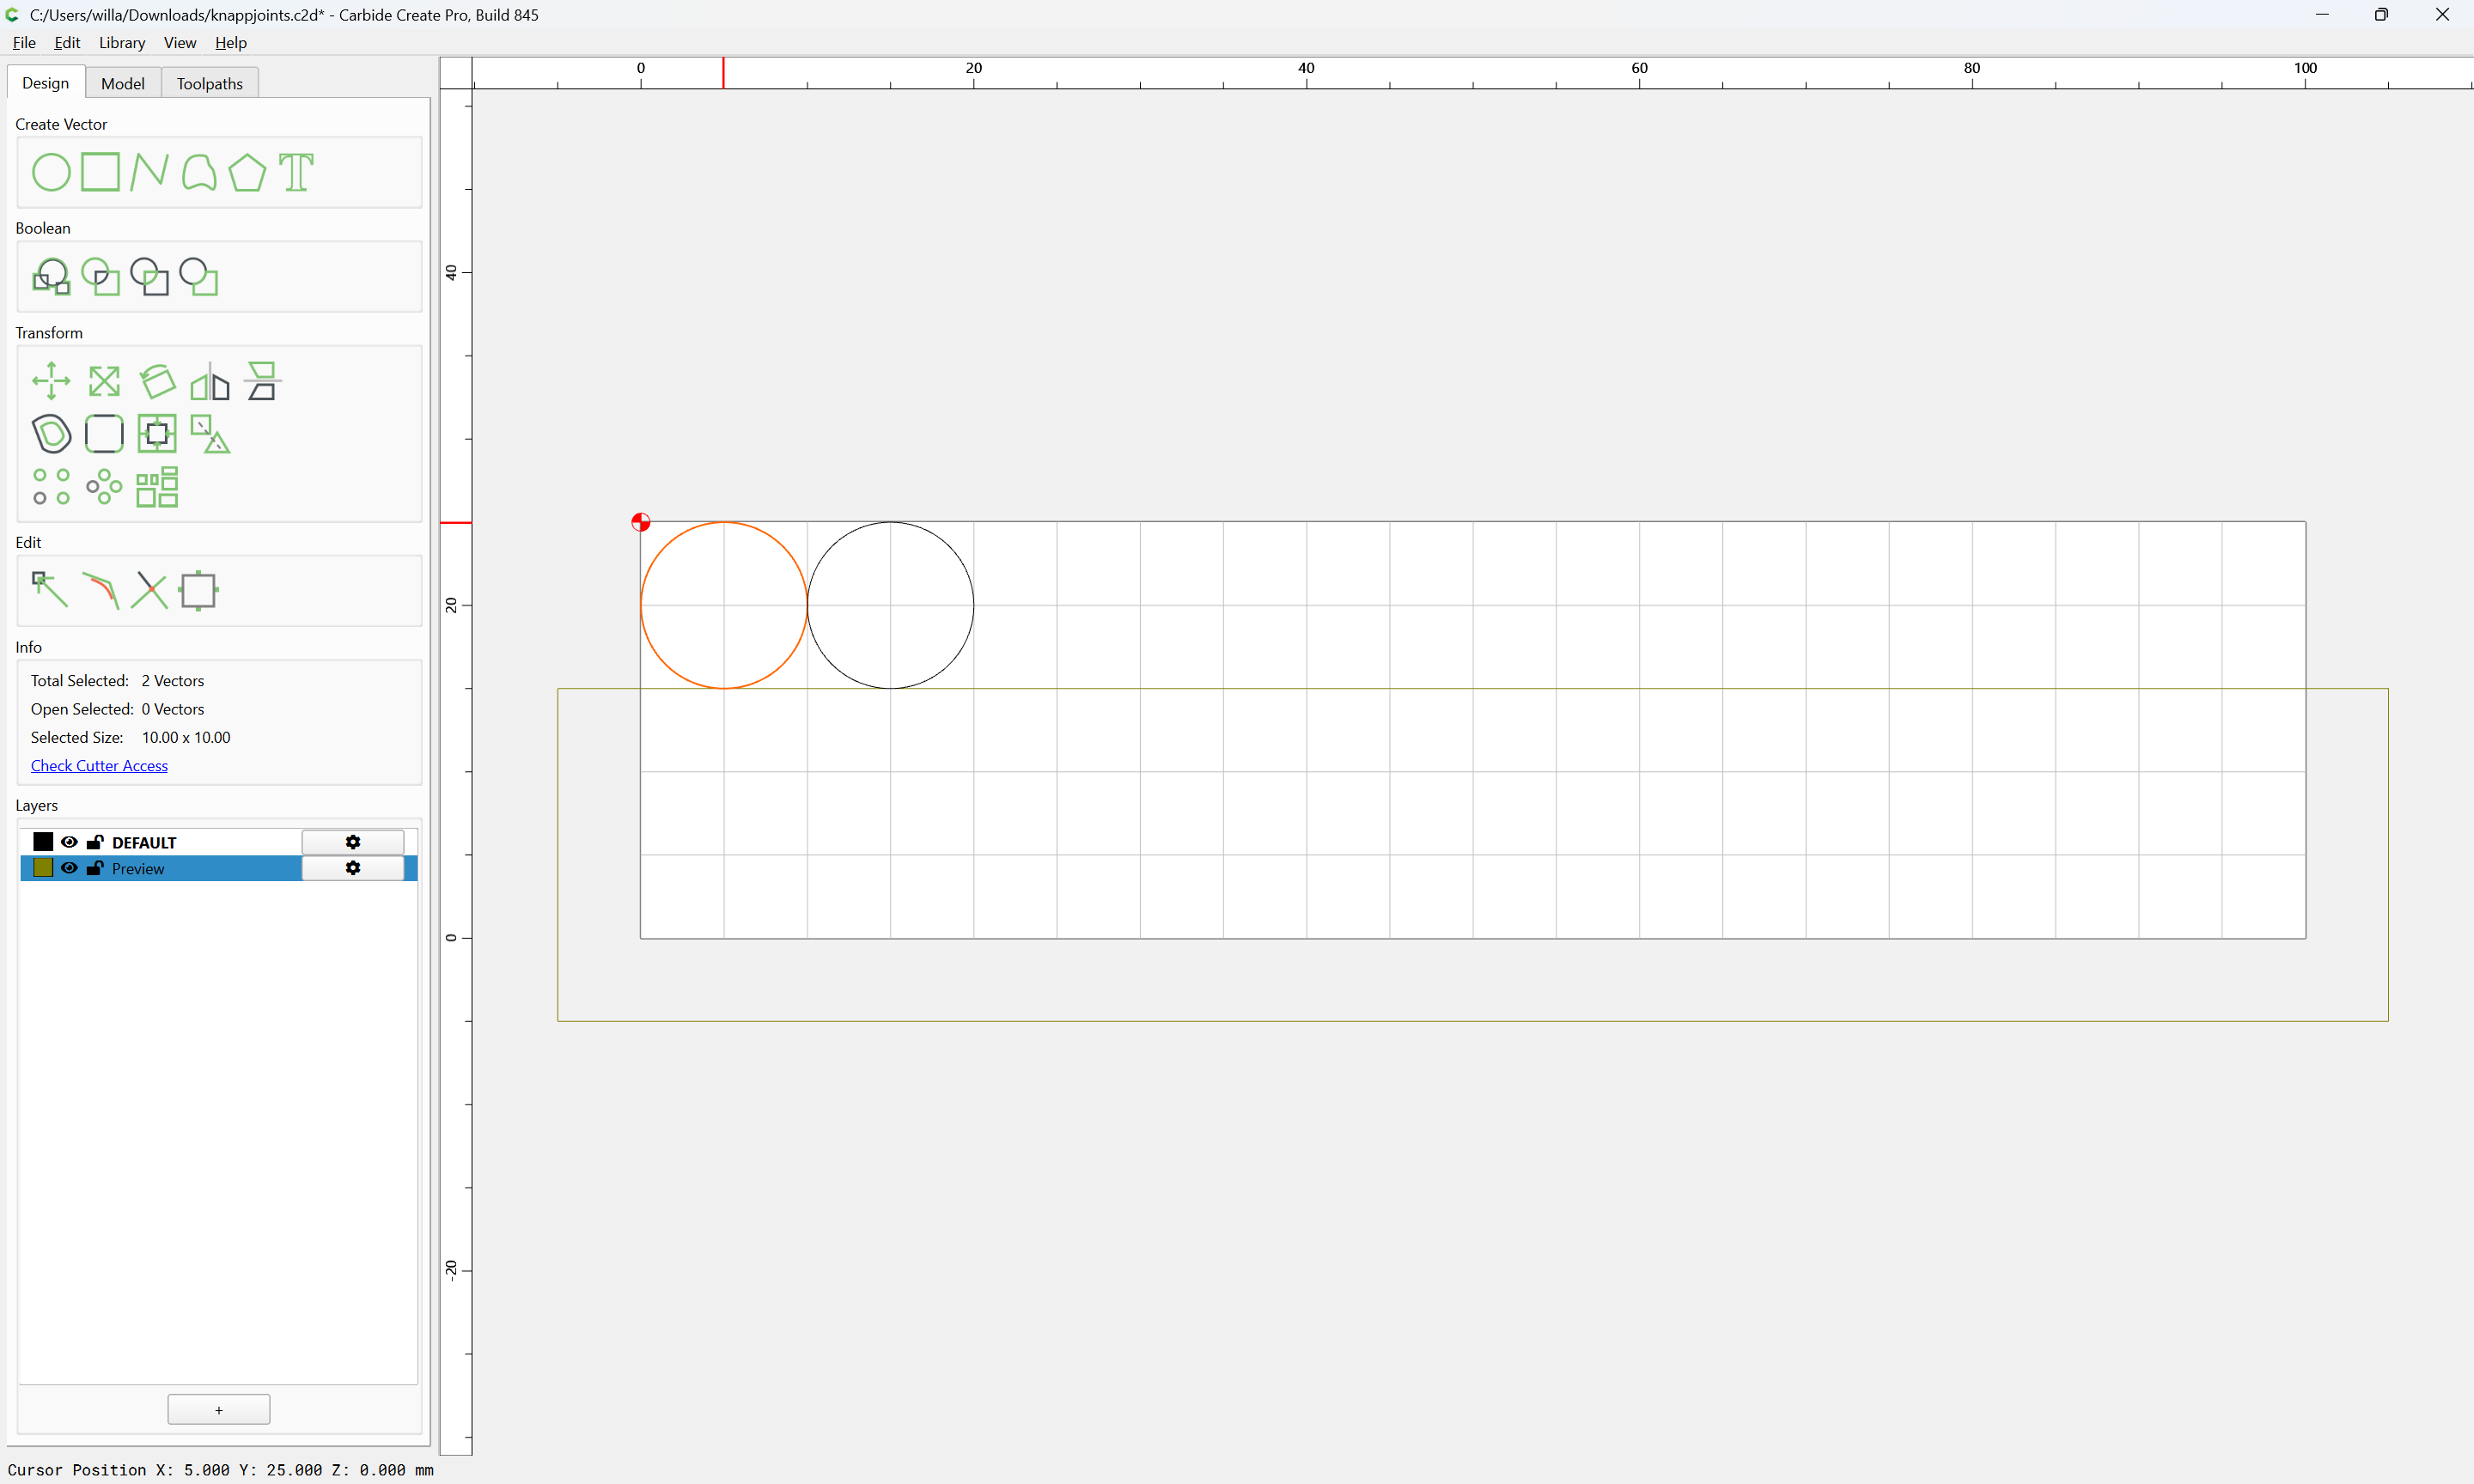
Duplicate it in place, and place a third copy adjacent to it:

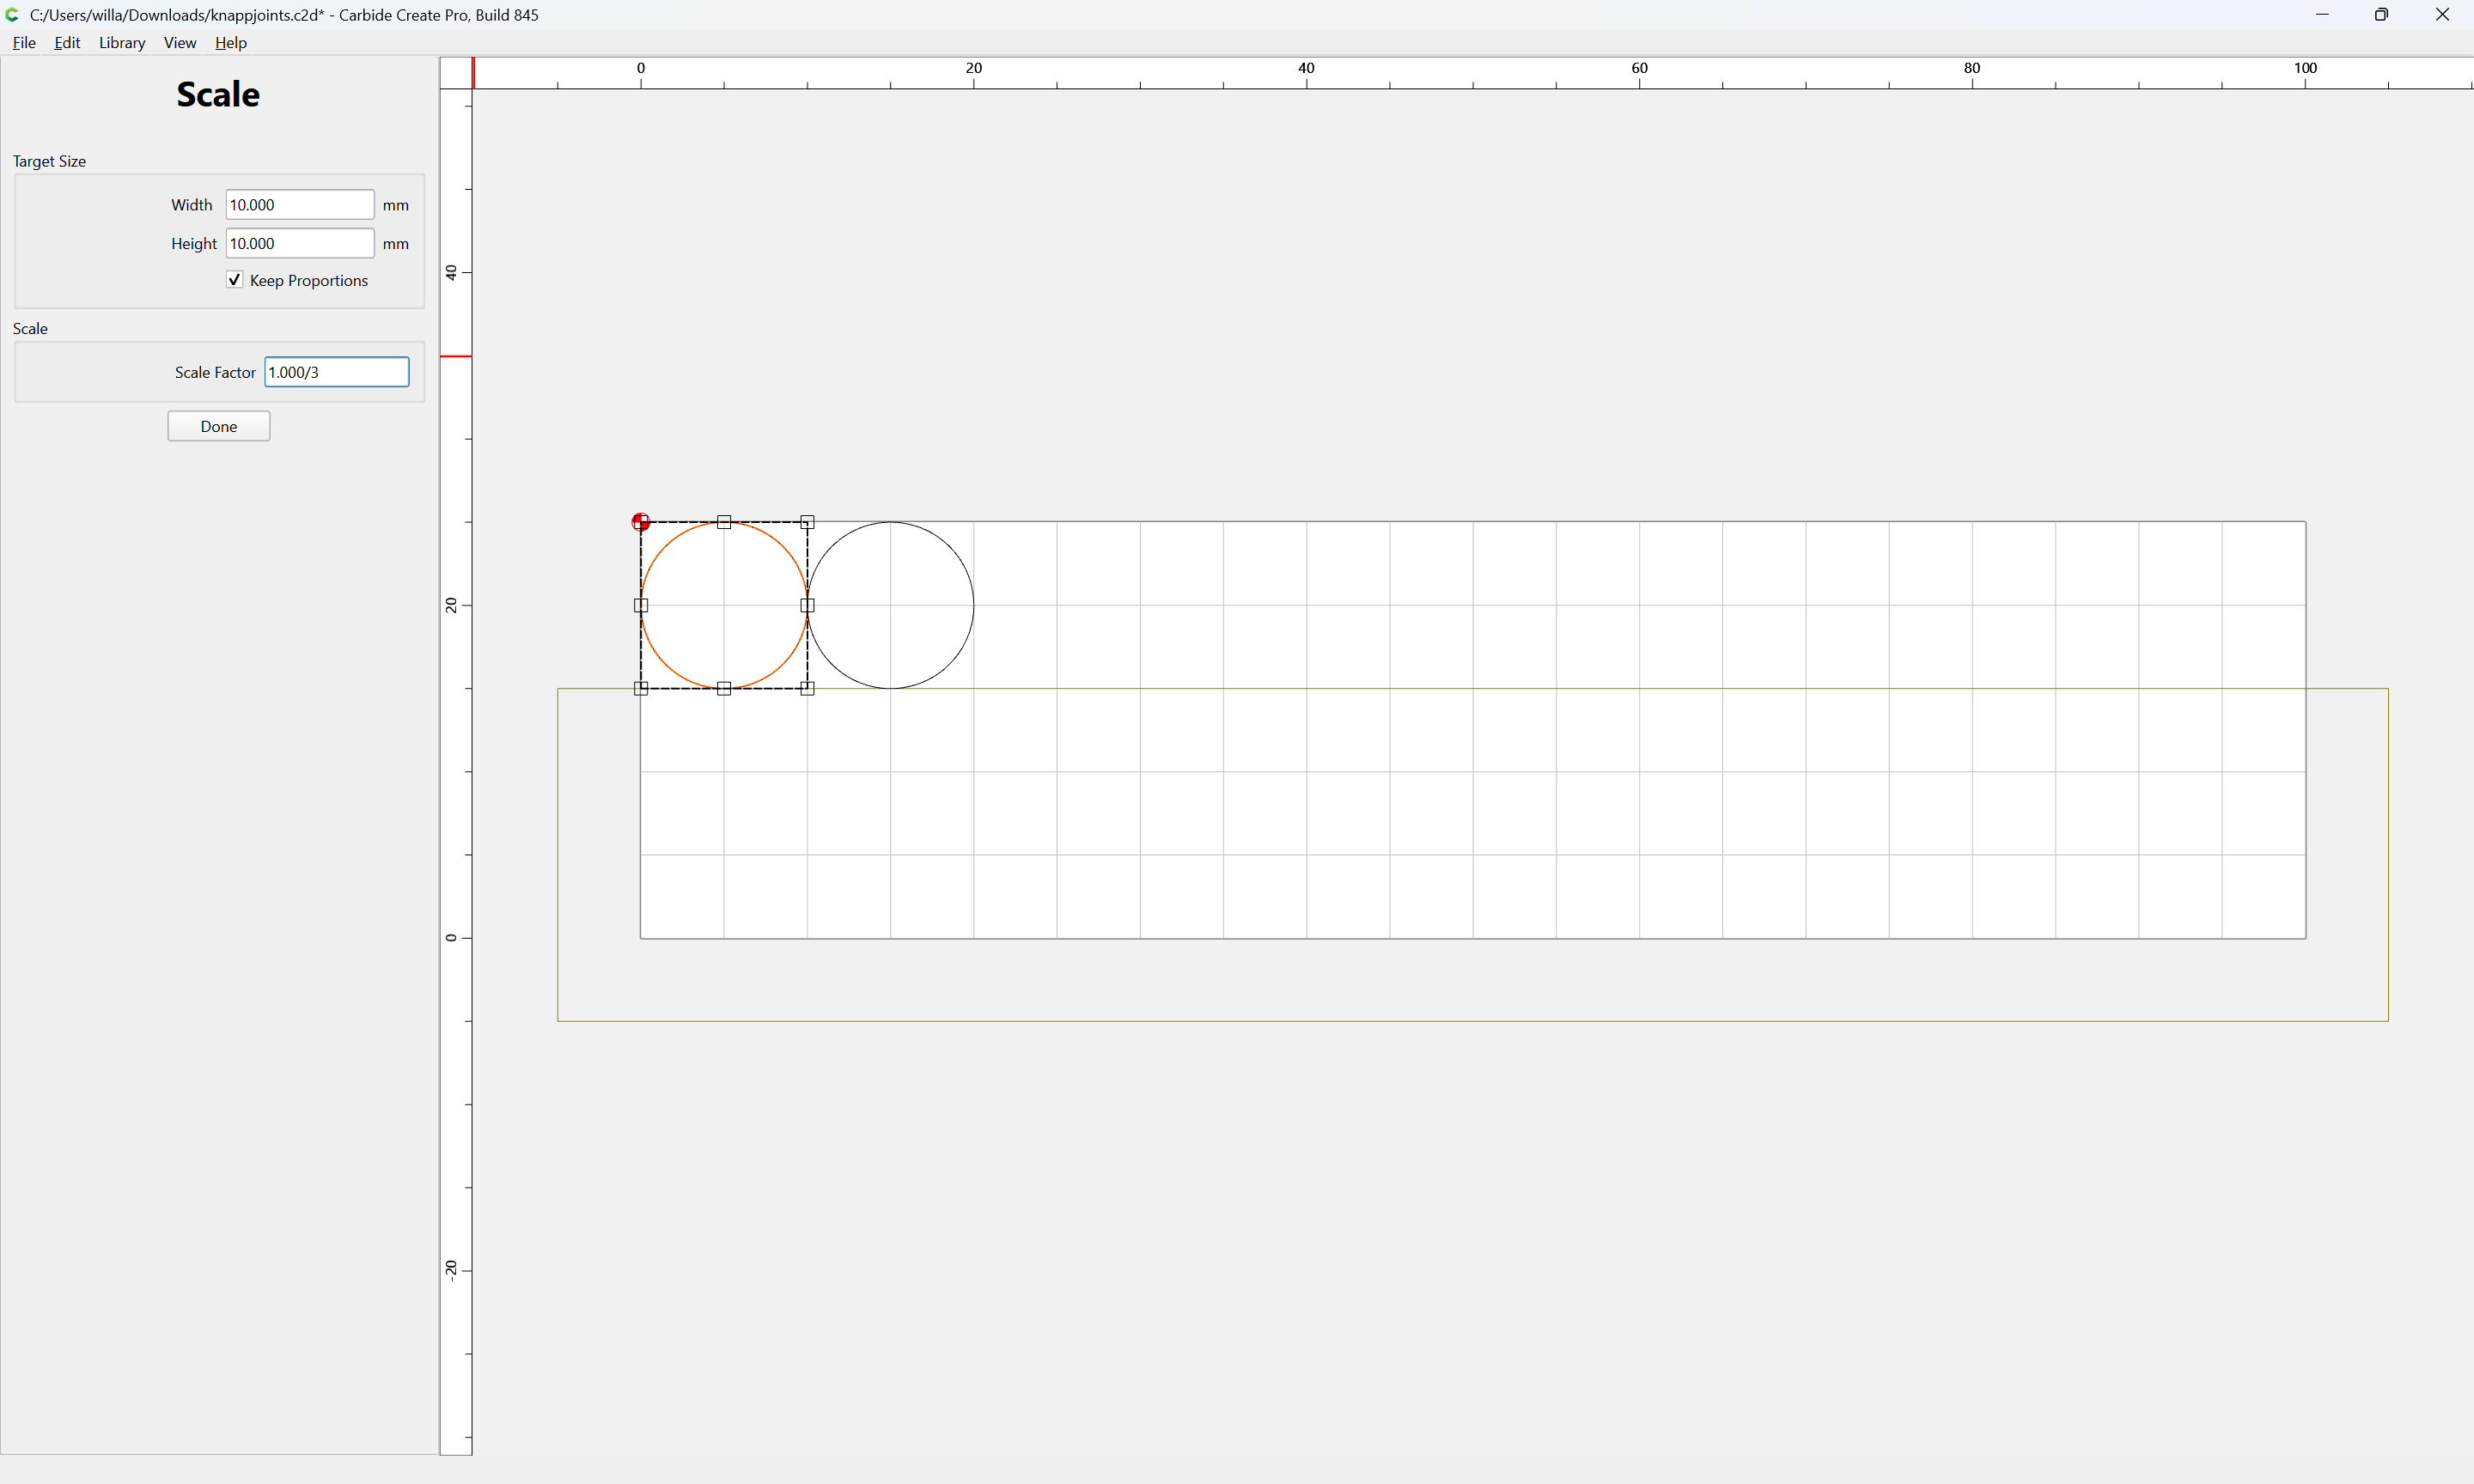
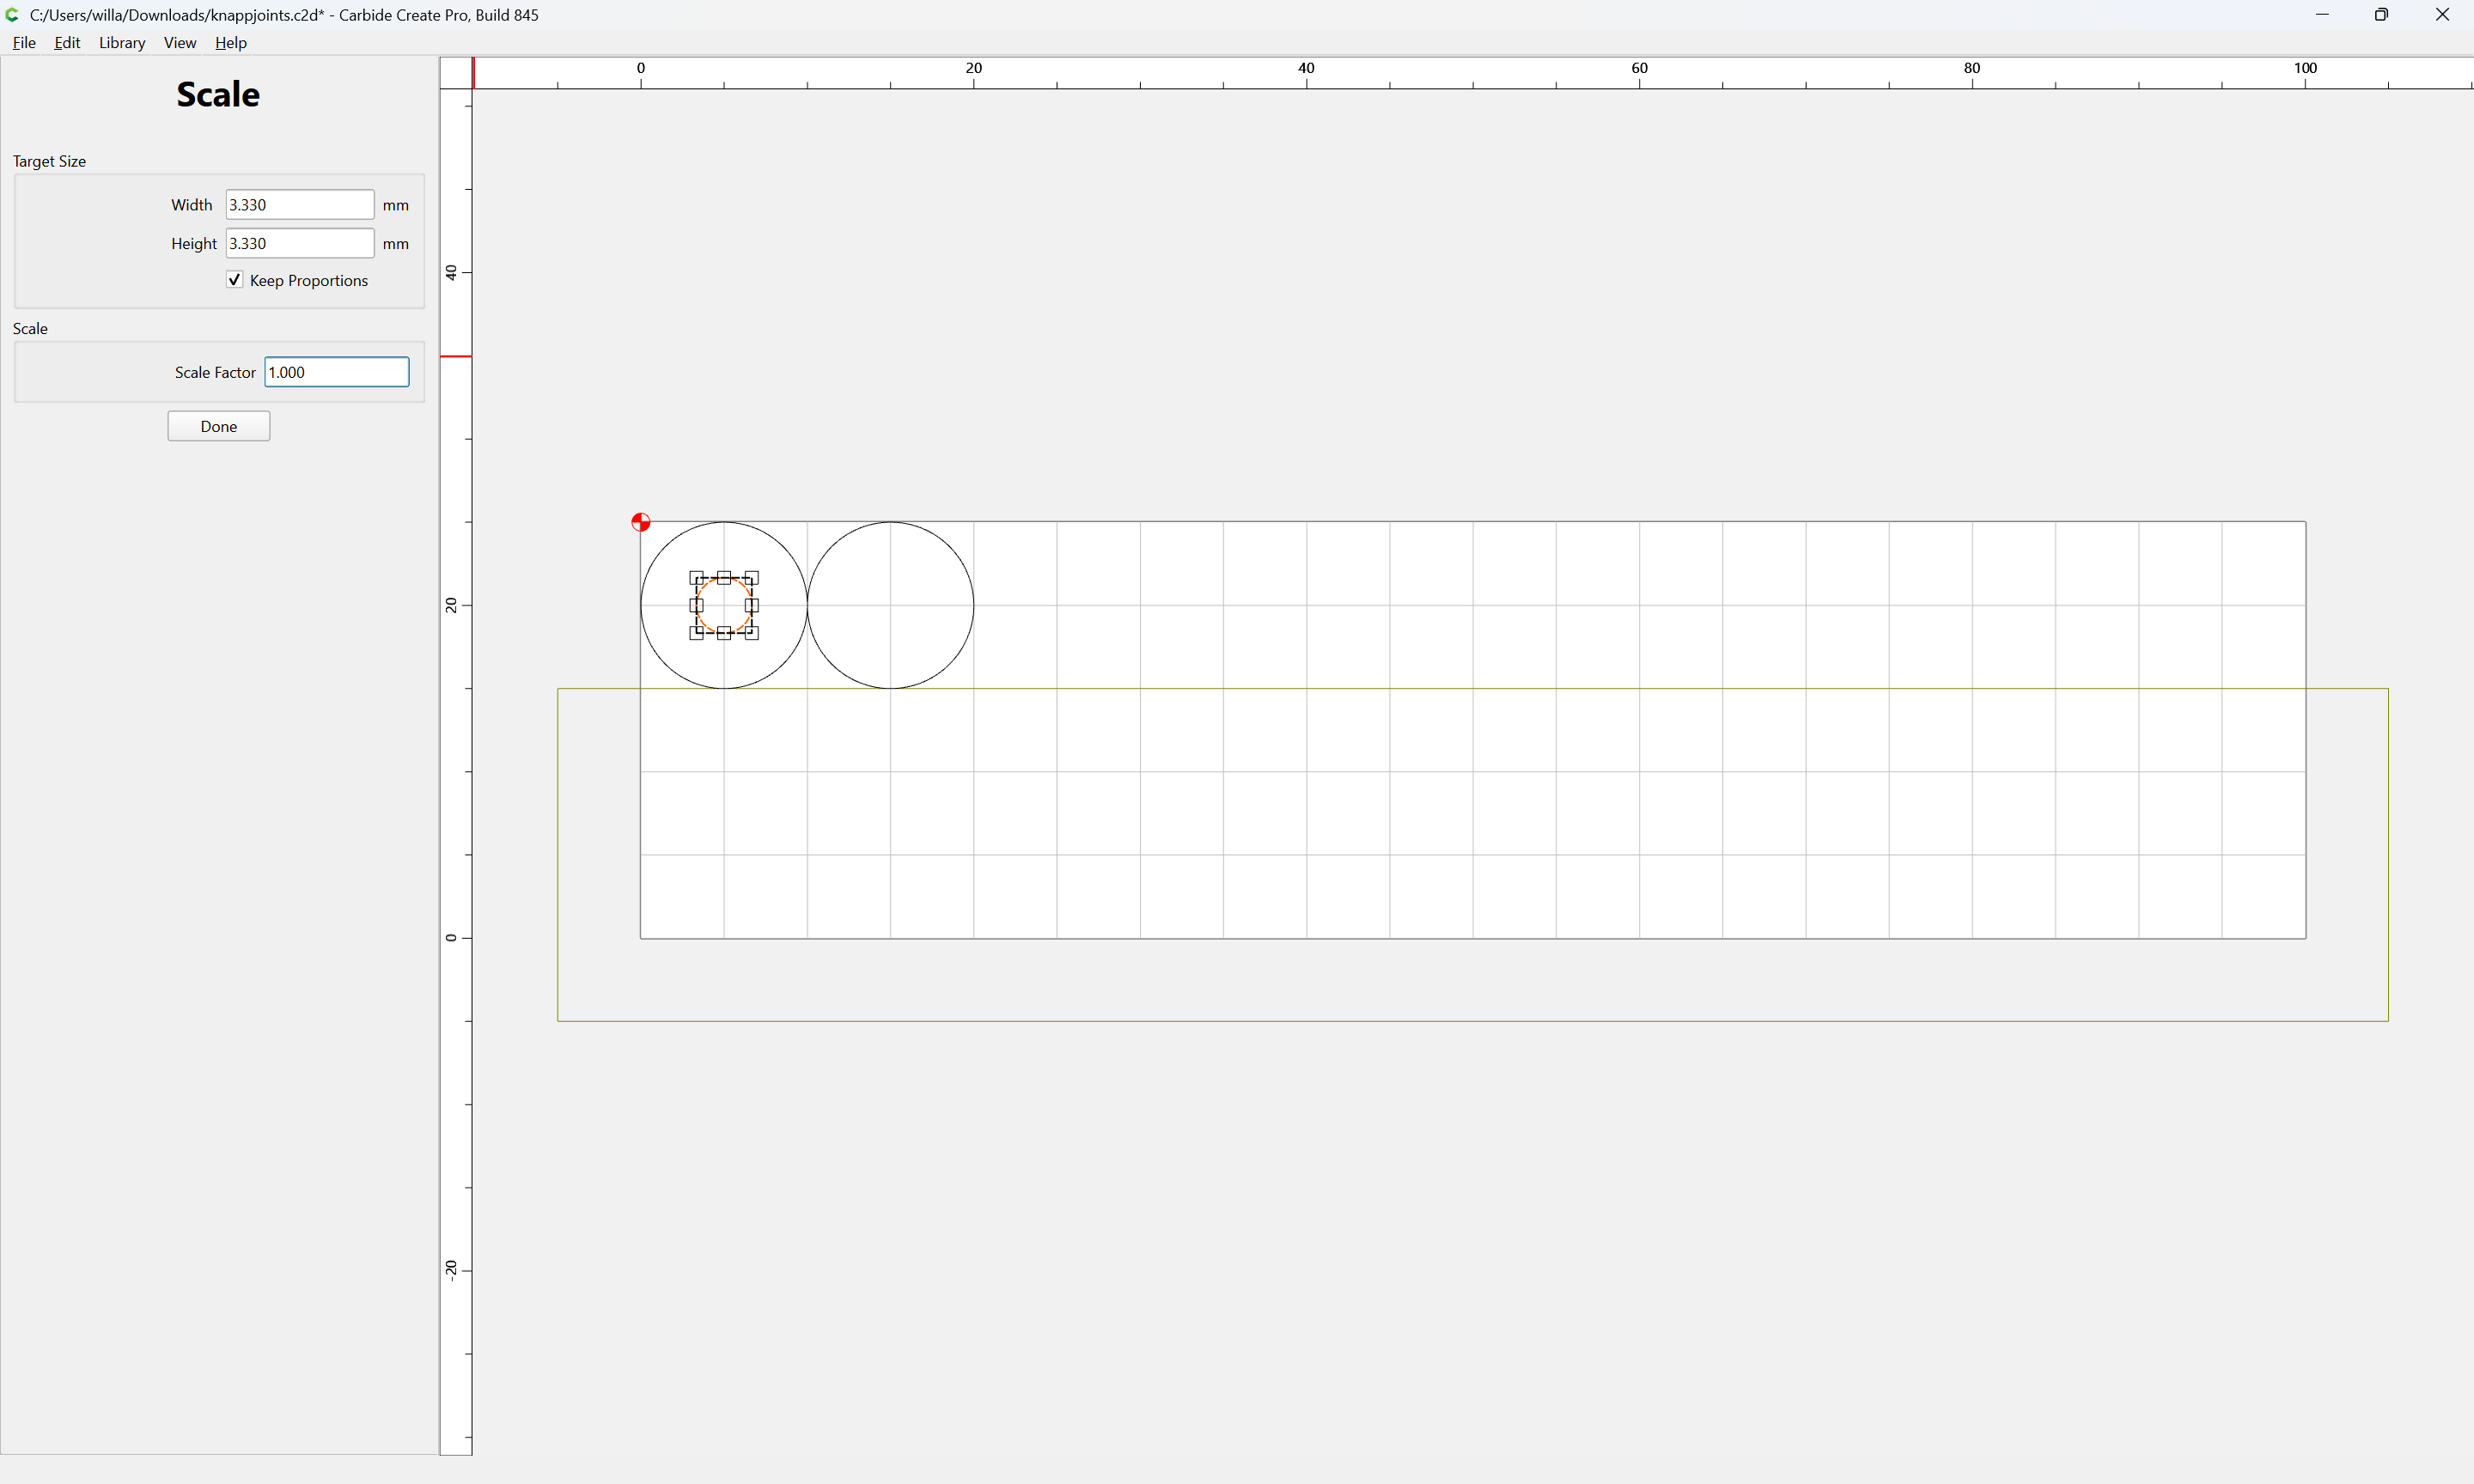
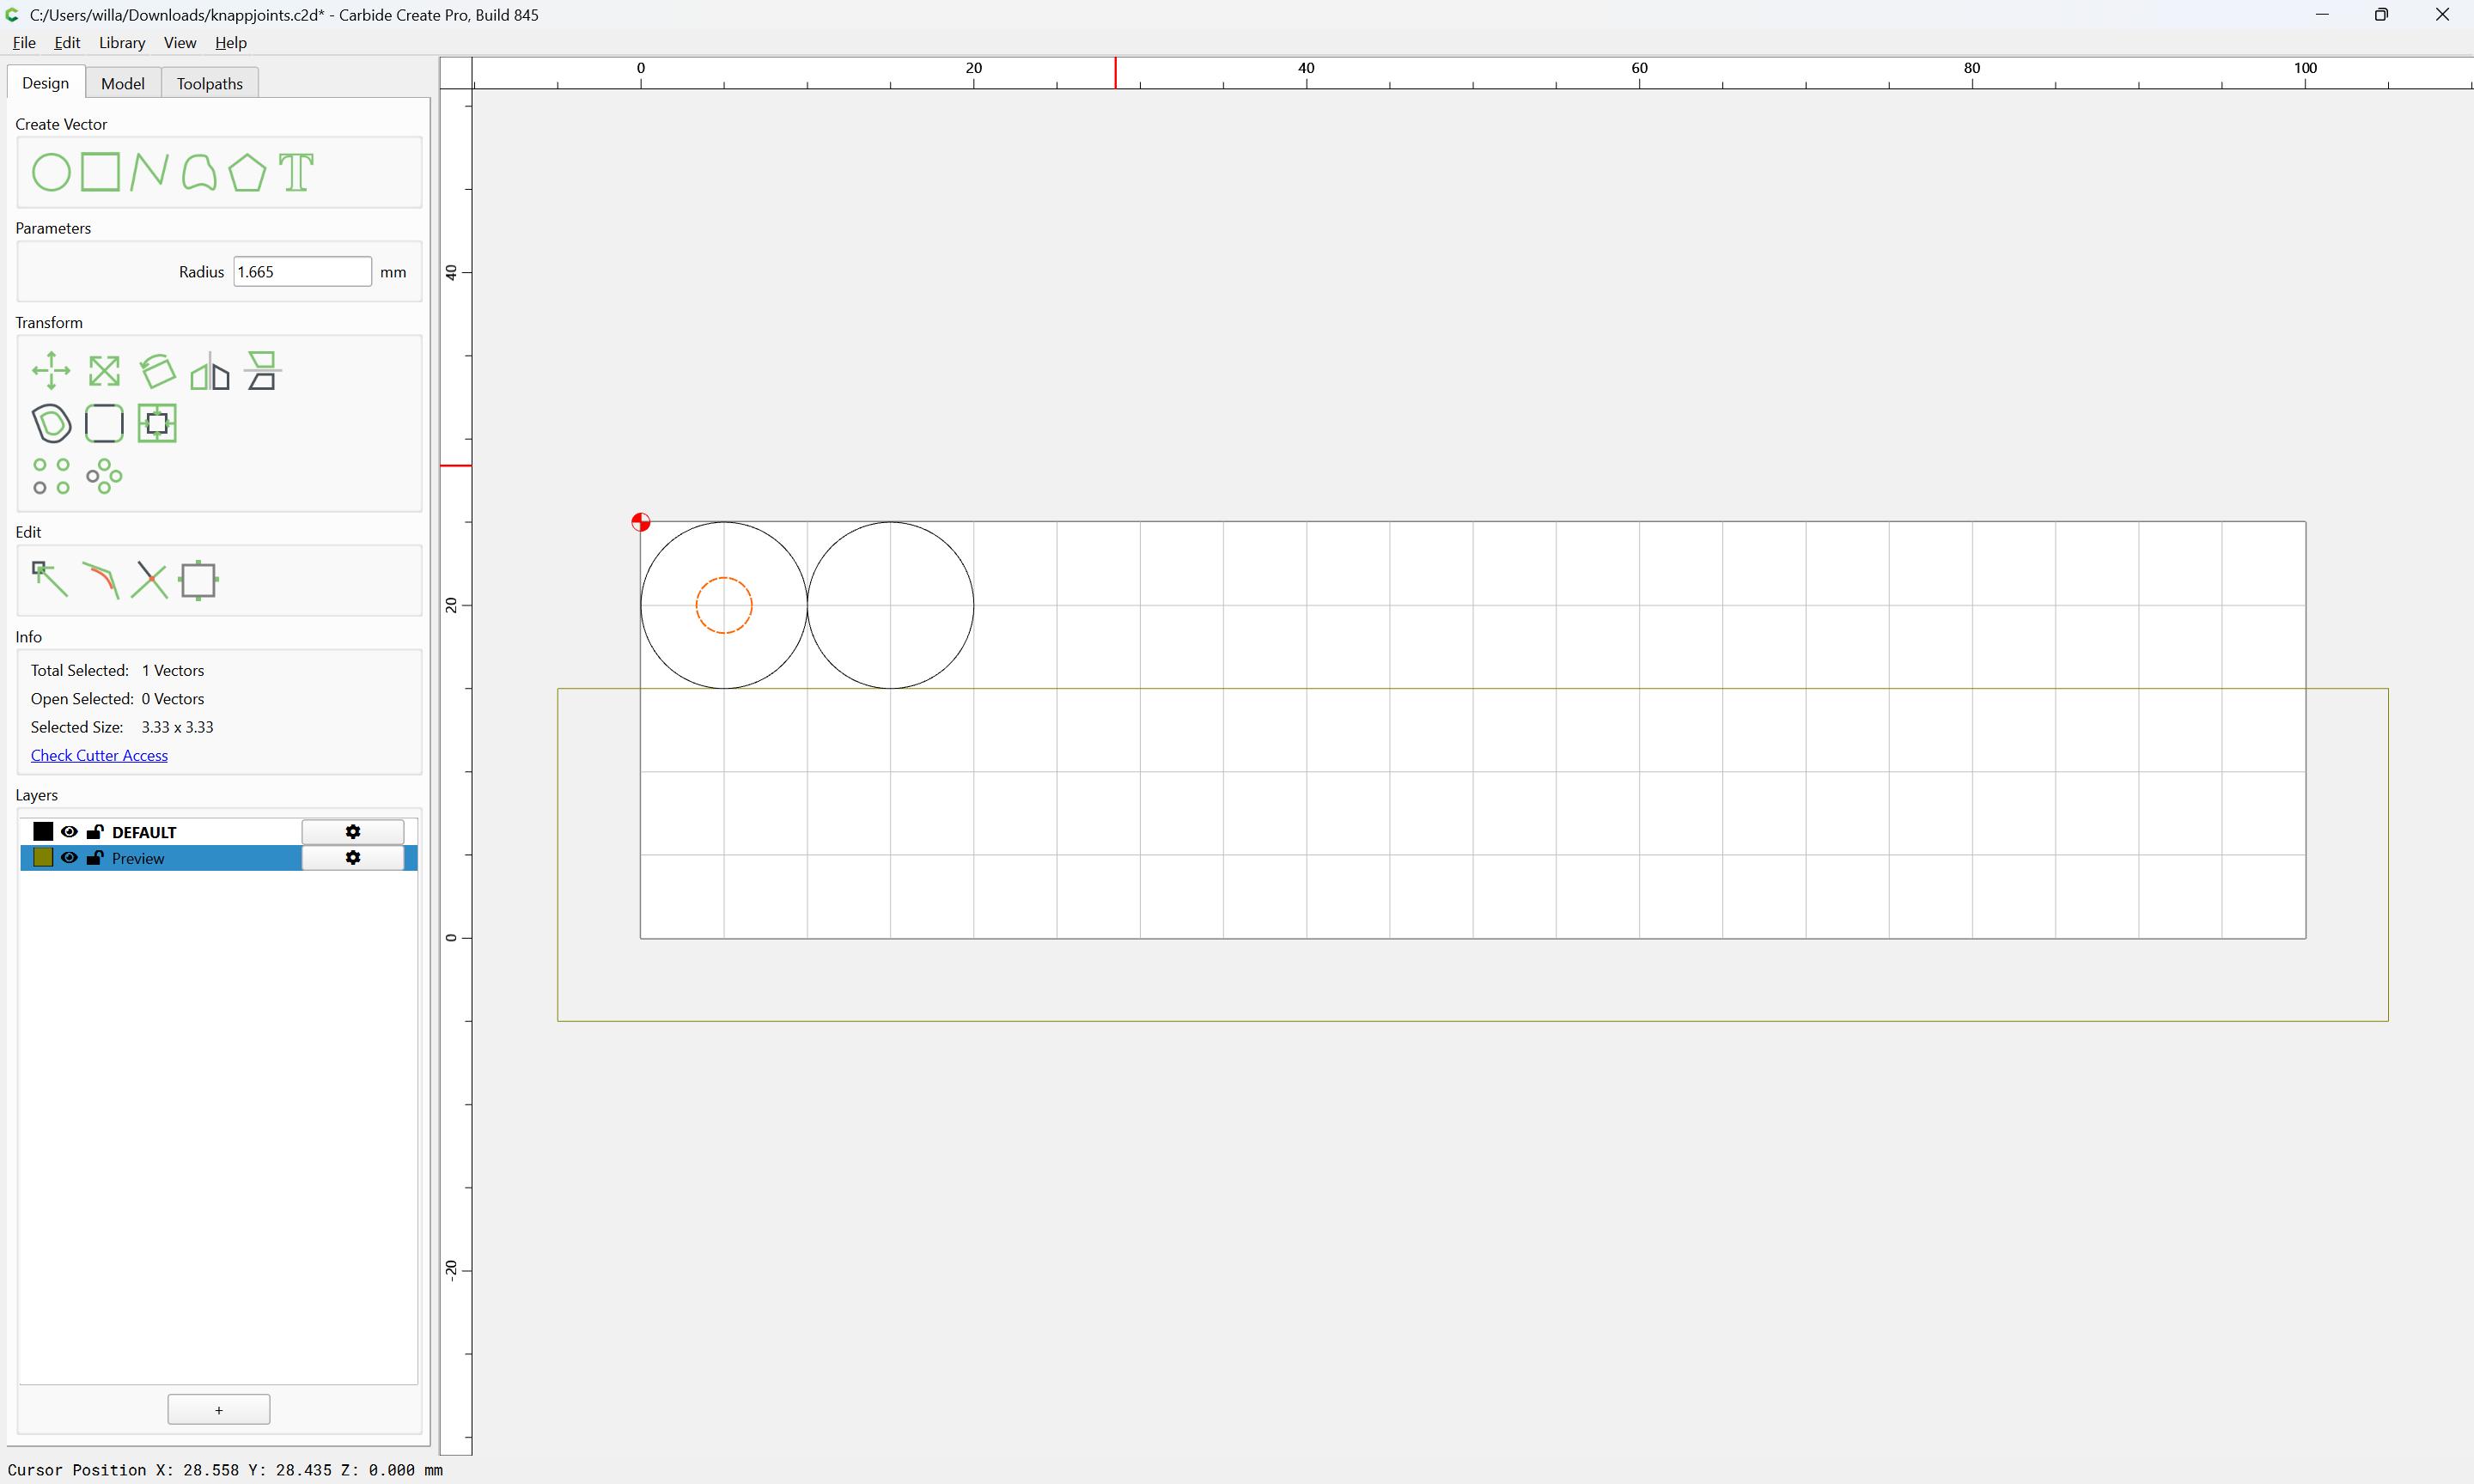
Then select one of the stacked copies and reduce it in size to one-third:

Scale

Done

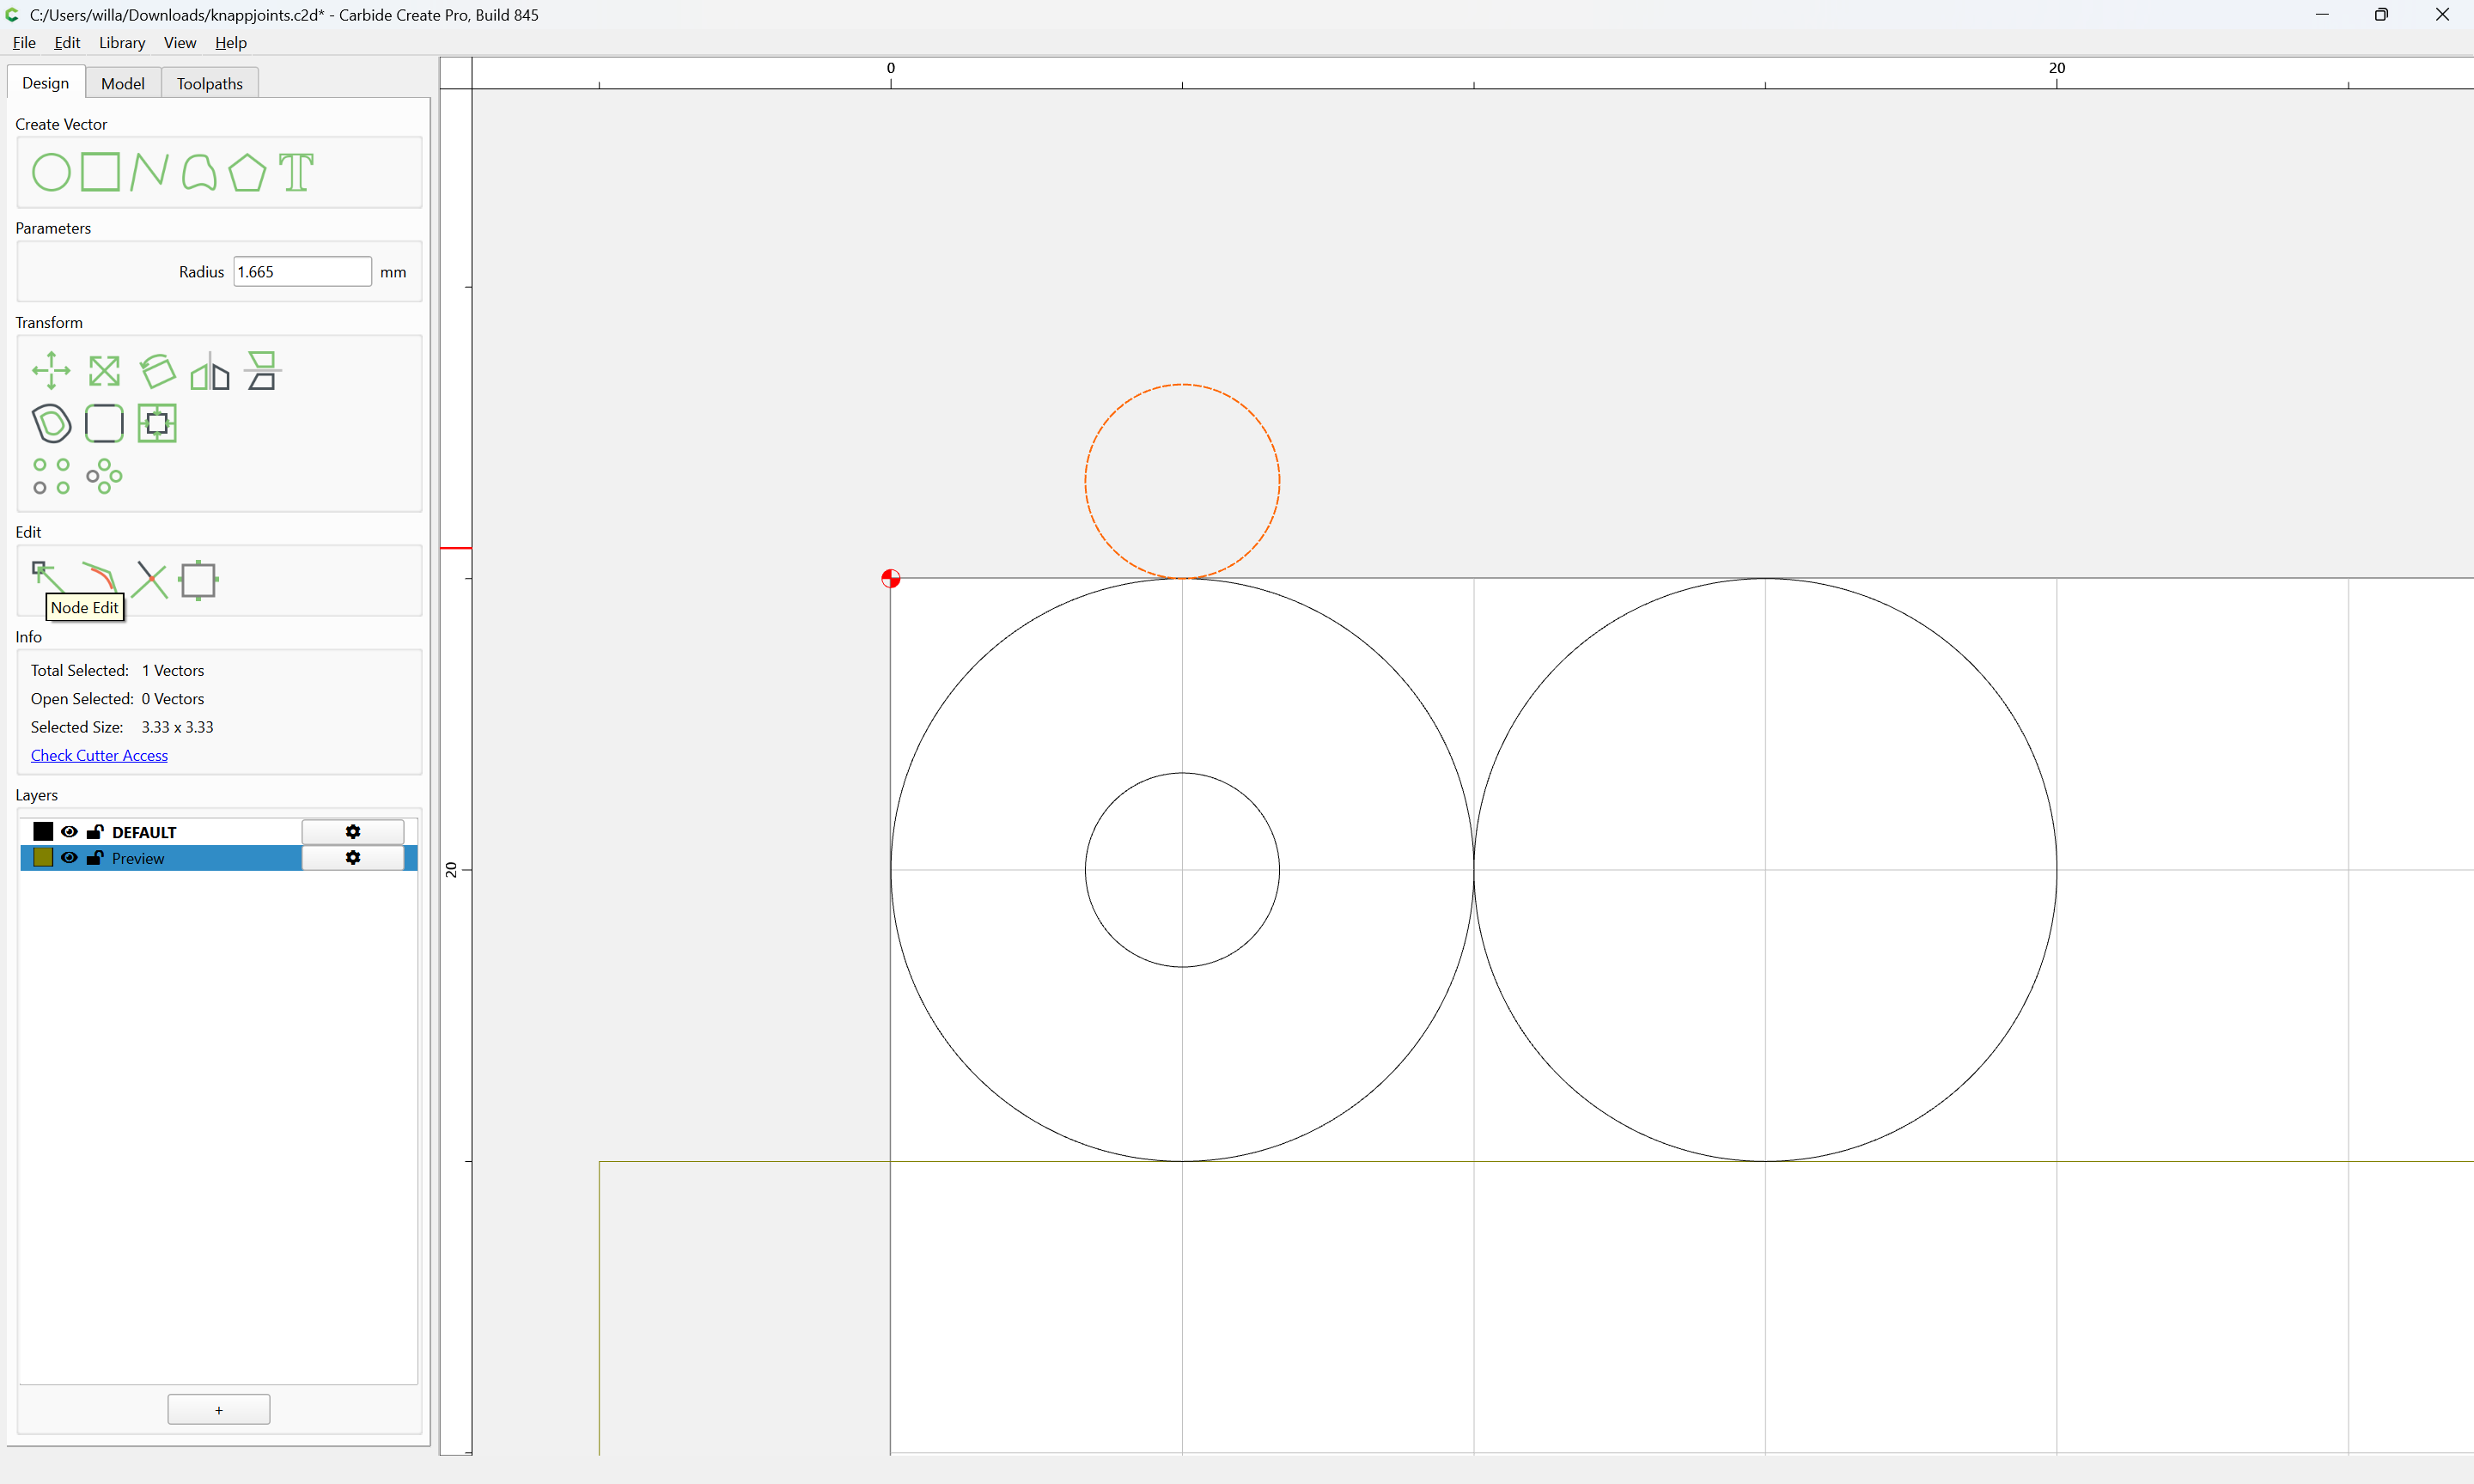
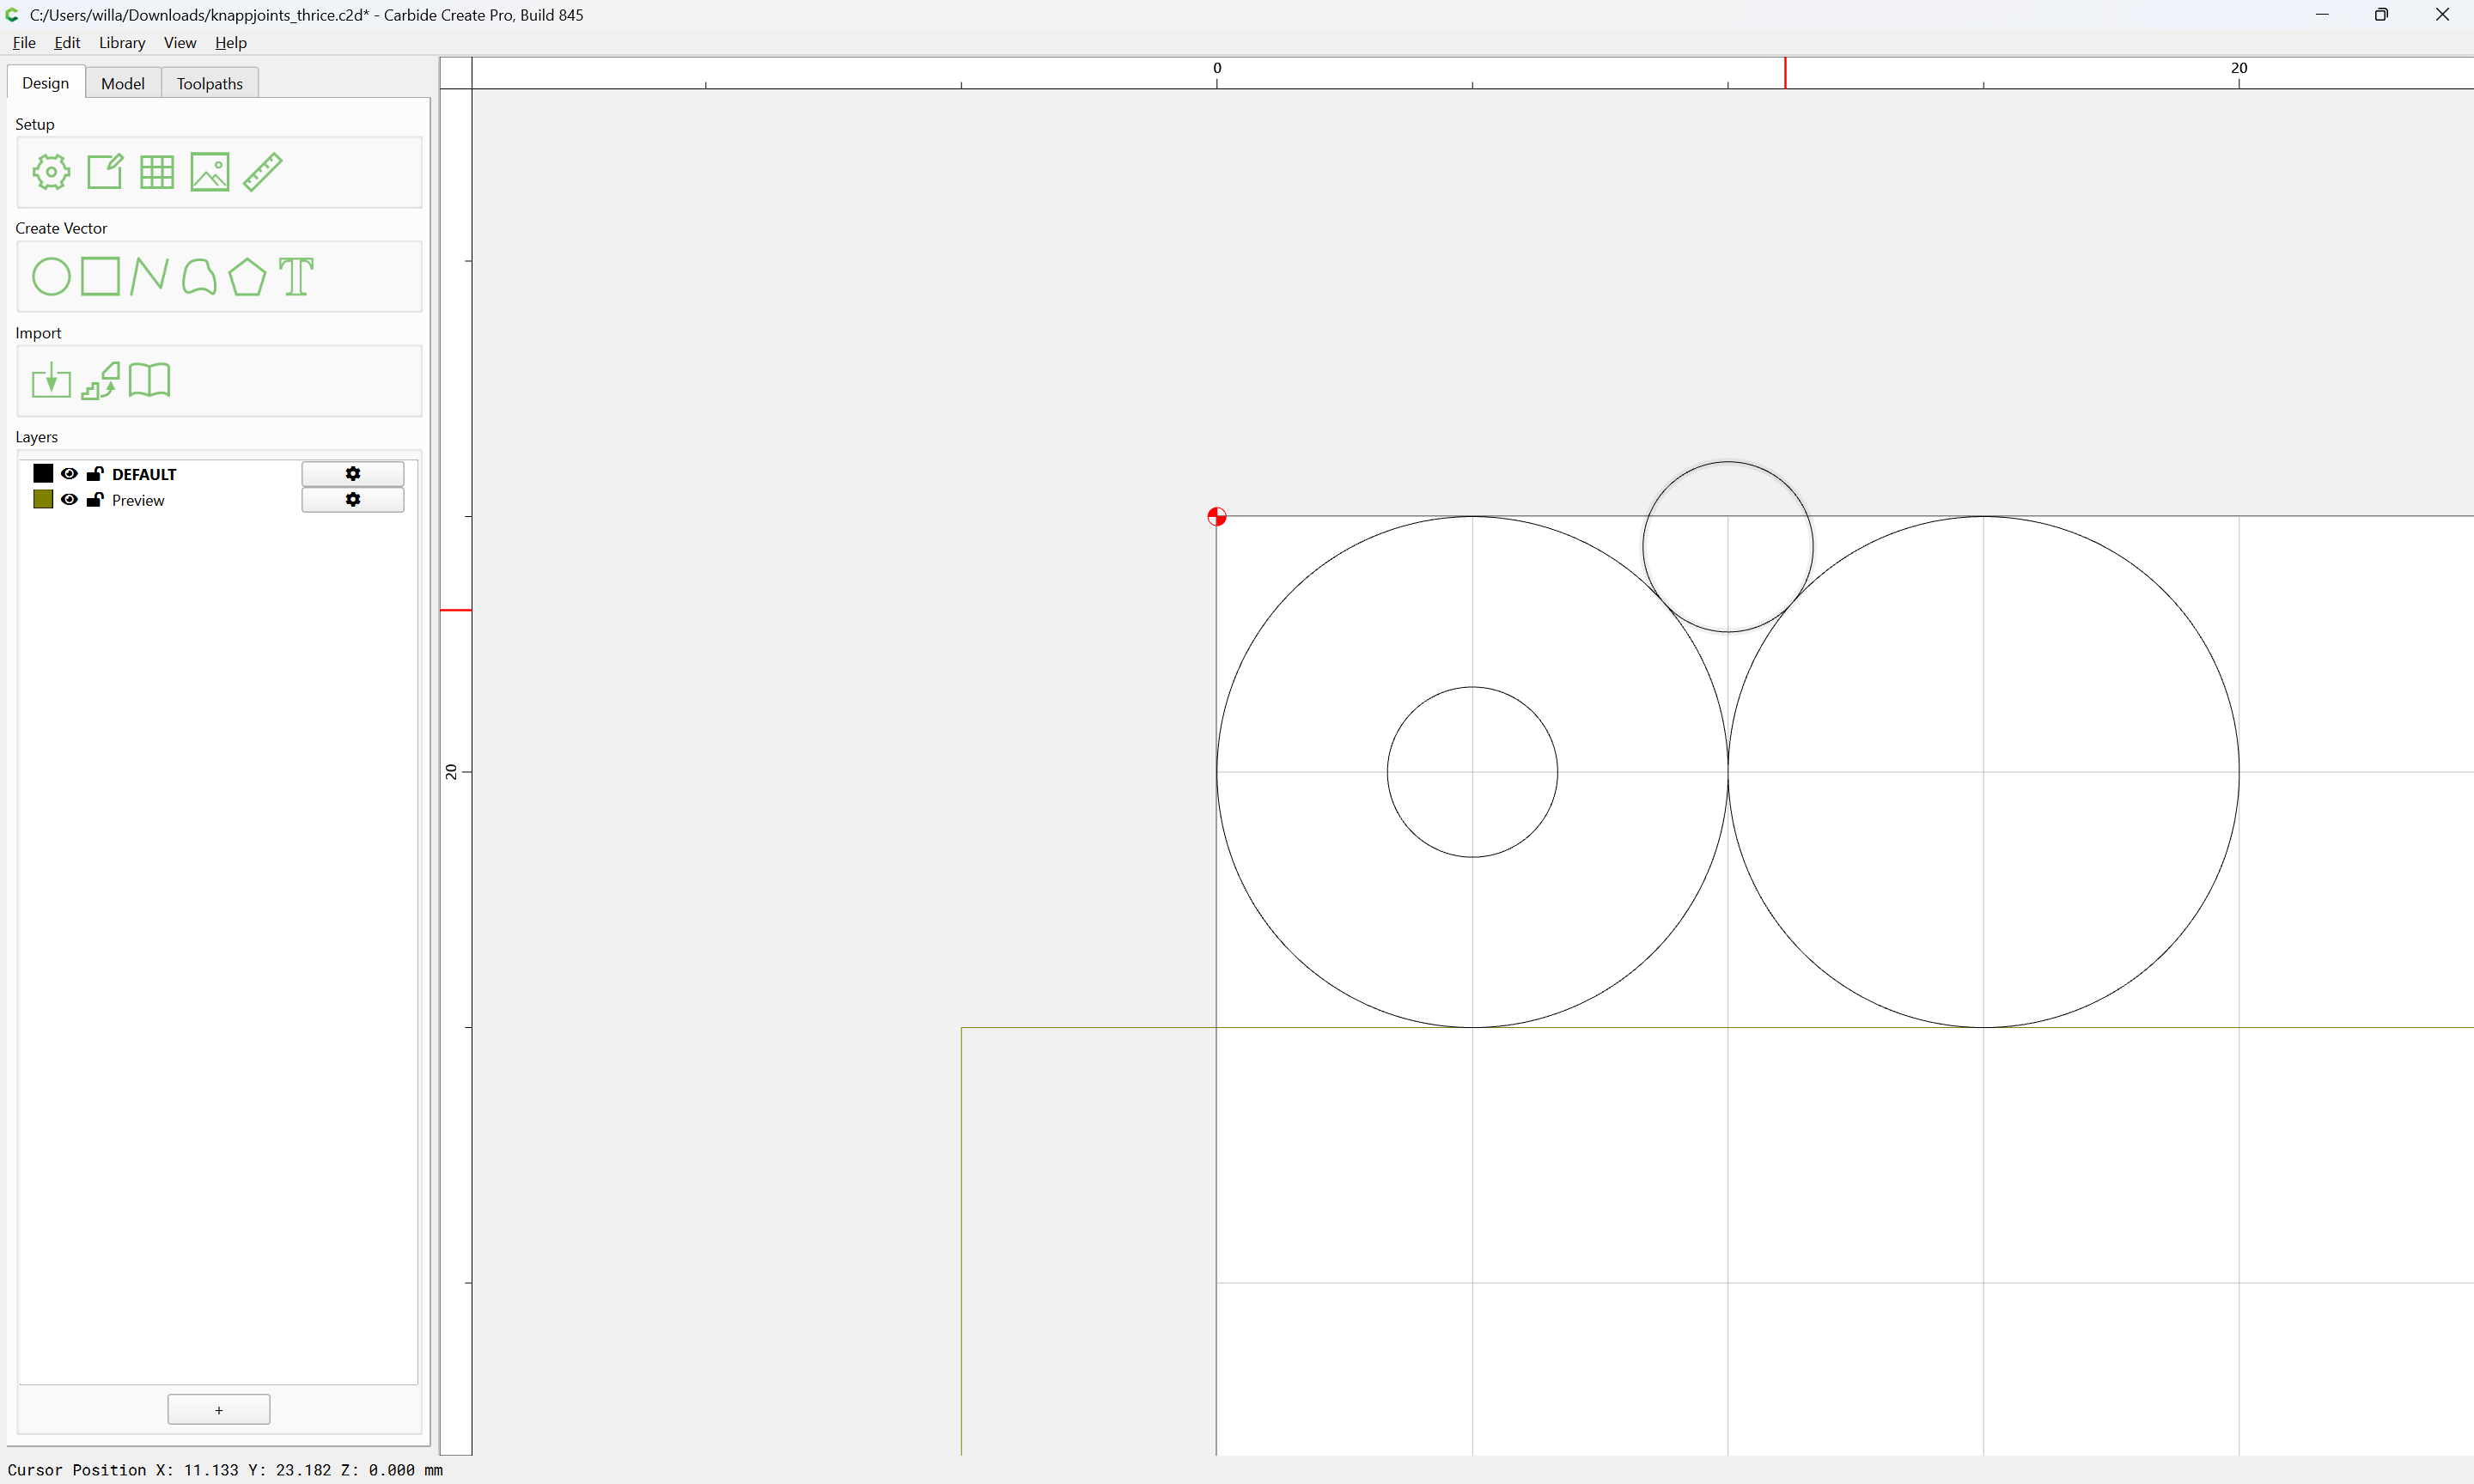
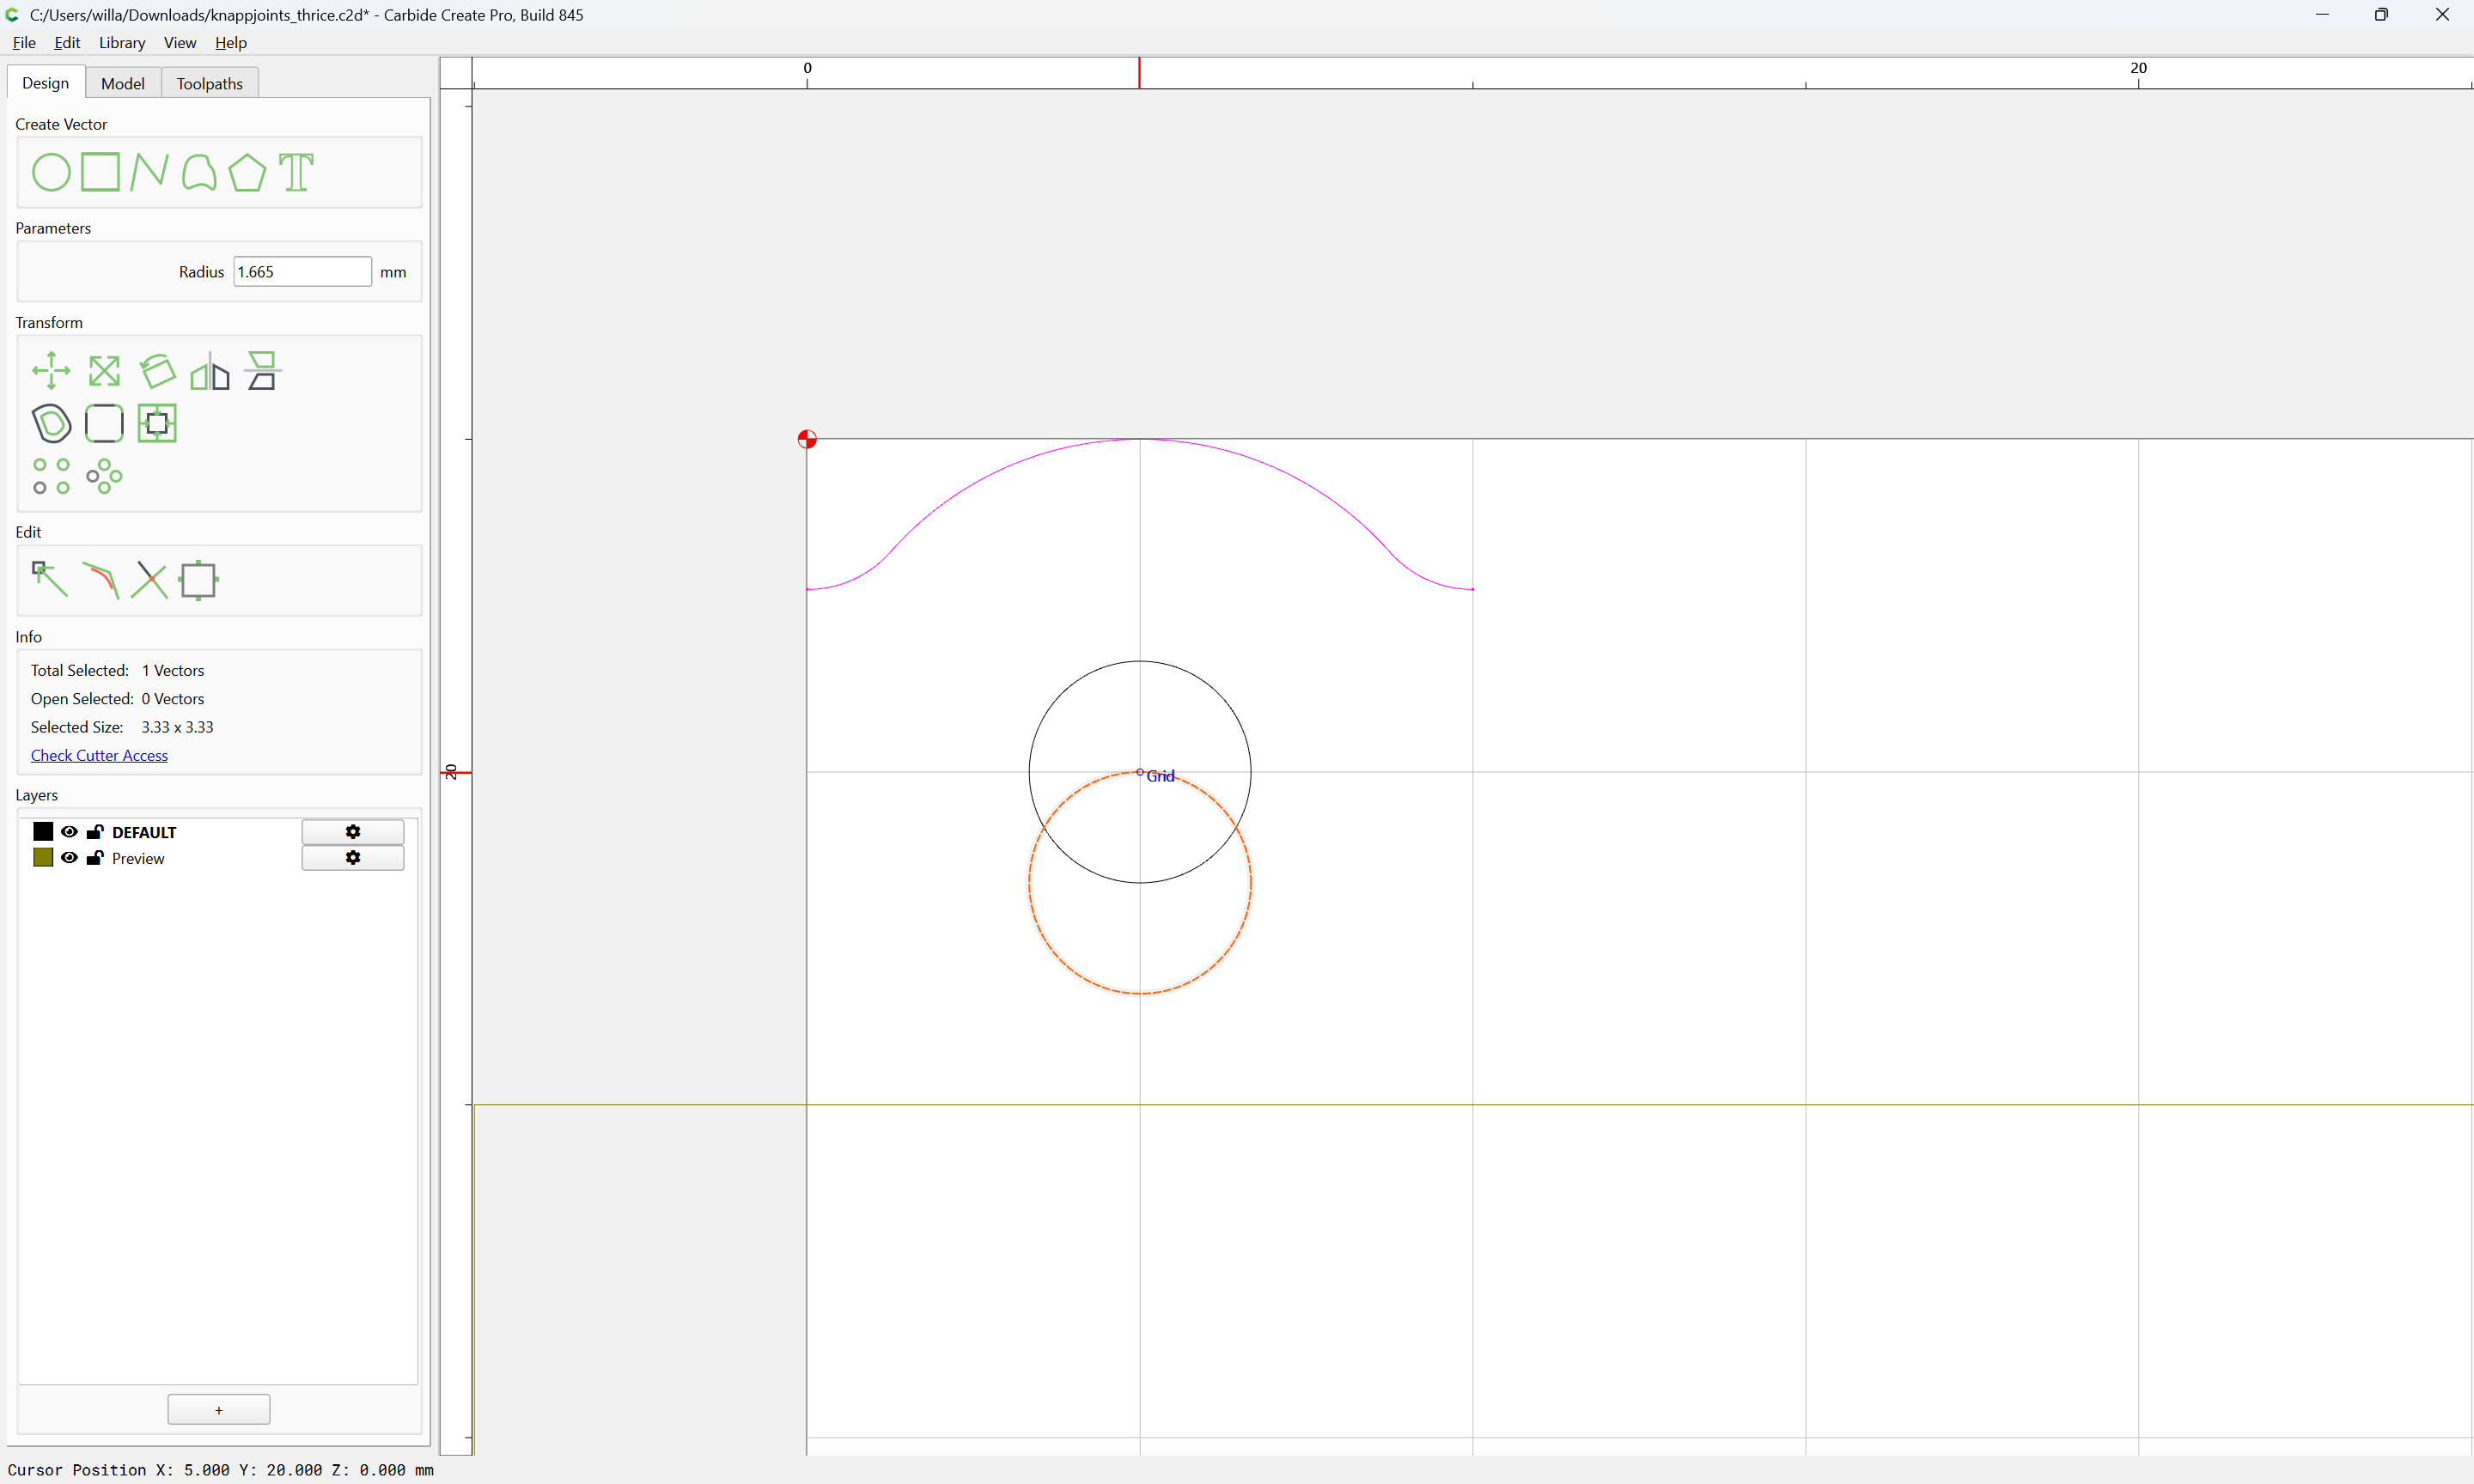
It will be necessary to partially cut the perimeter of the larger circles and to simulate the area left uncut by the larger tool — at this time, Carbide Create lacks a feature for this — there is probably a circle-packing or other algorithm which would work this out, or maybe one could use a toolpath to work out the position, but instead, placing a copy of the smaller circle at the top position:

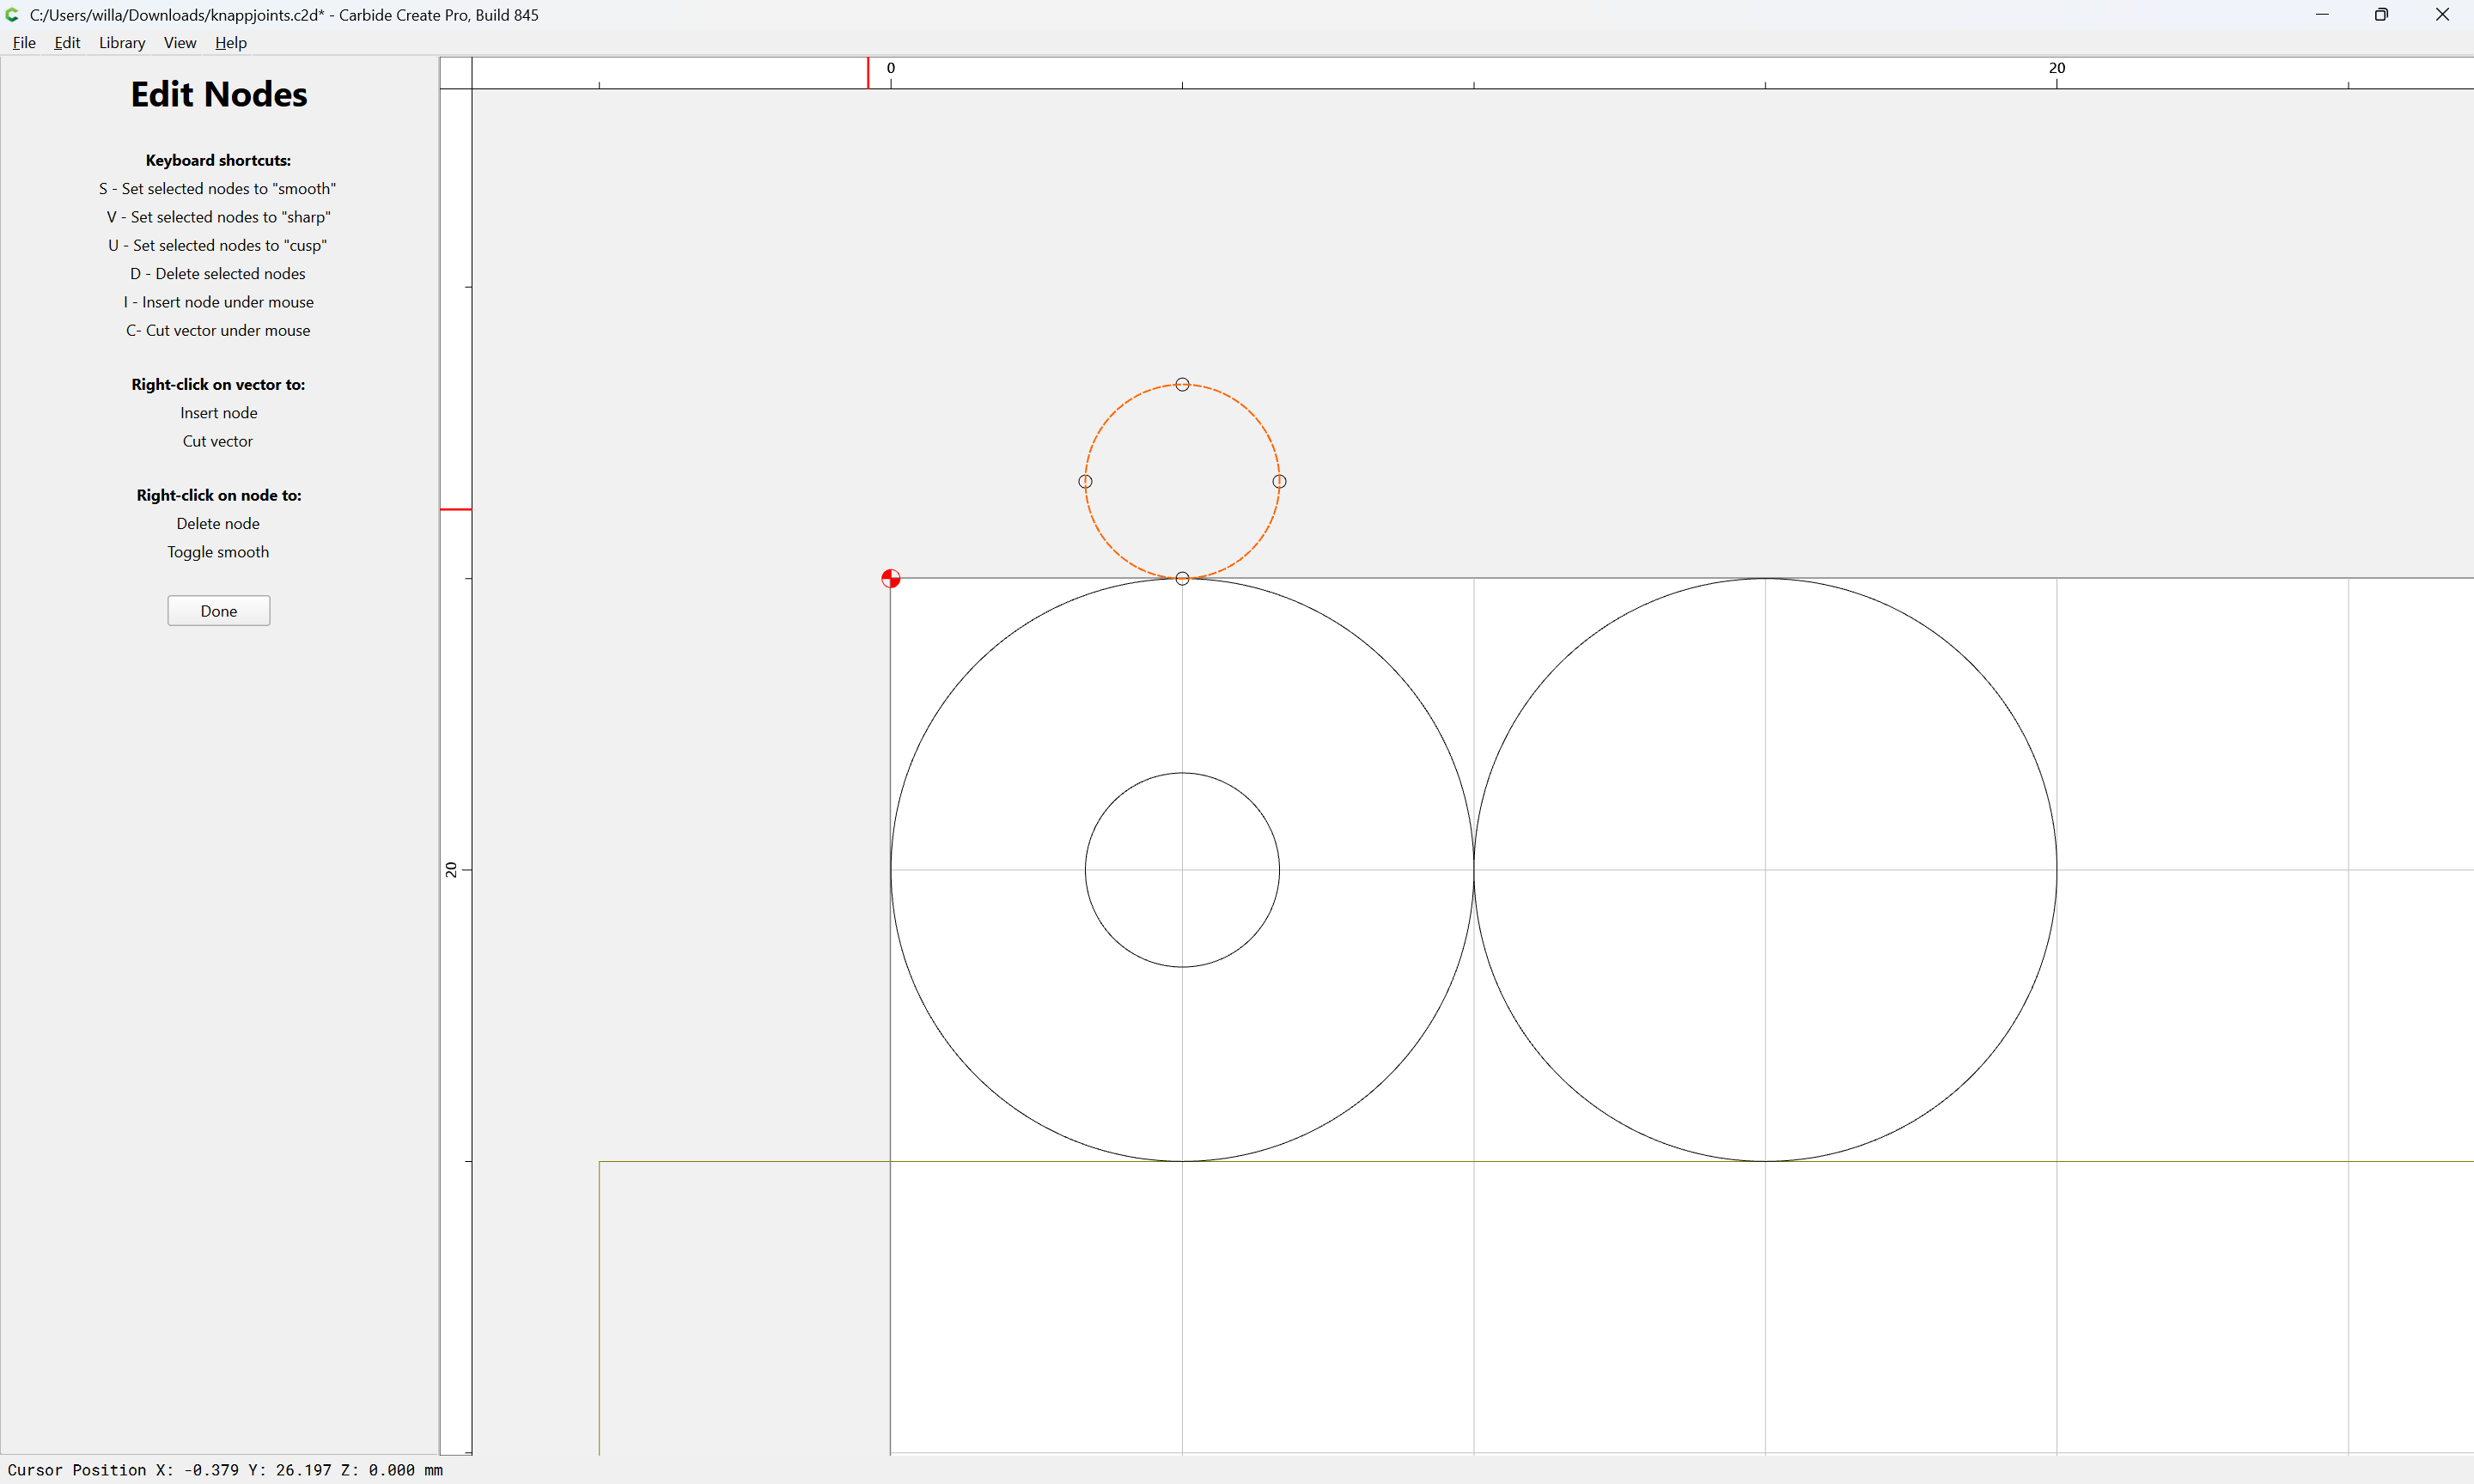
Using Node Edit to change it from a Circle object to a Curve by editing it:

Done

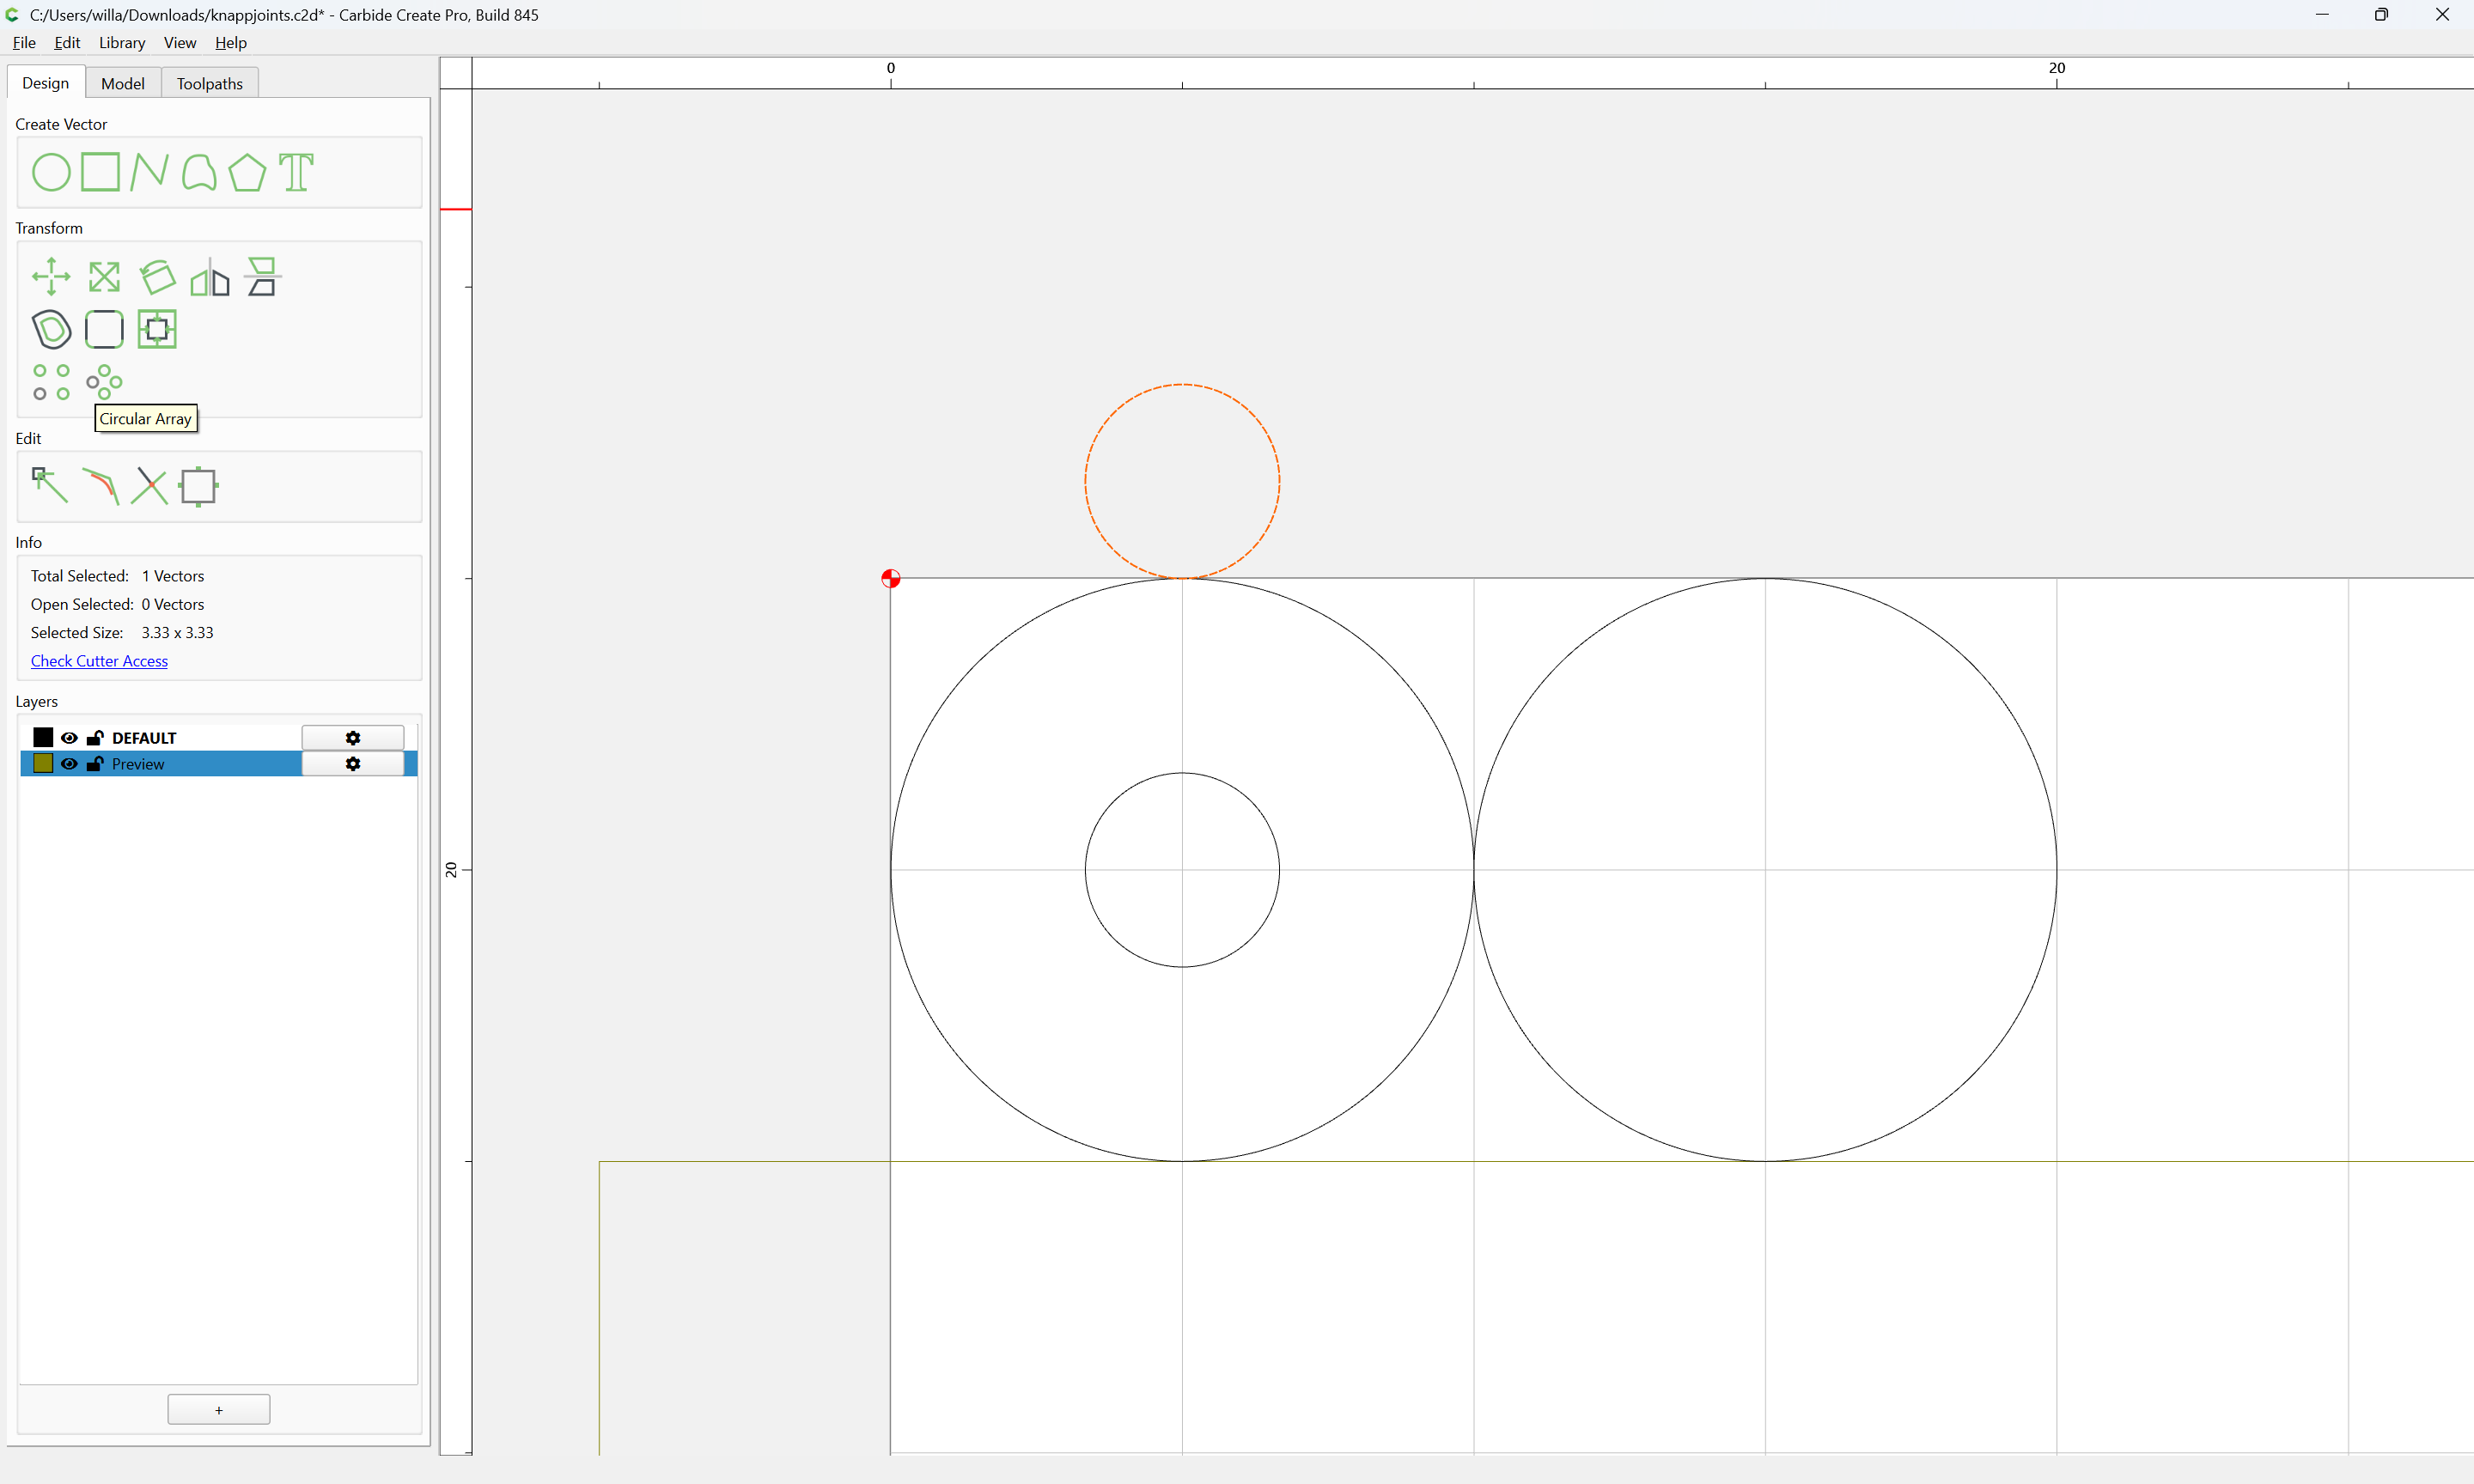
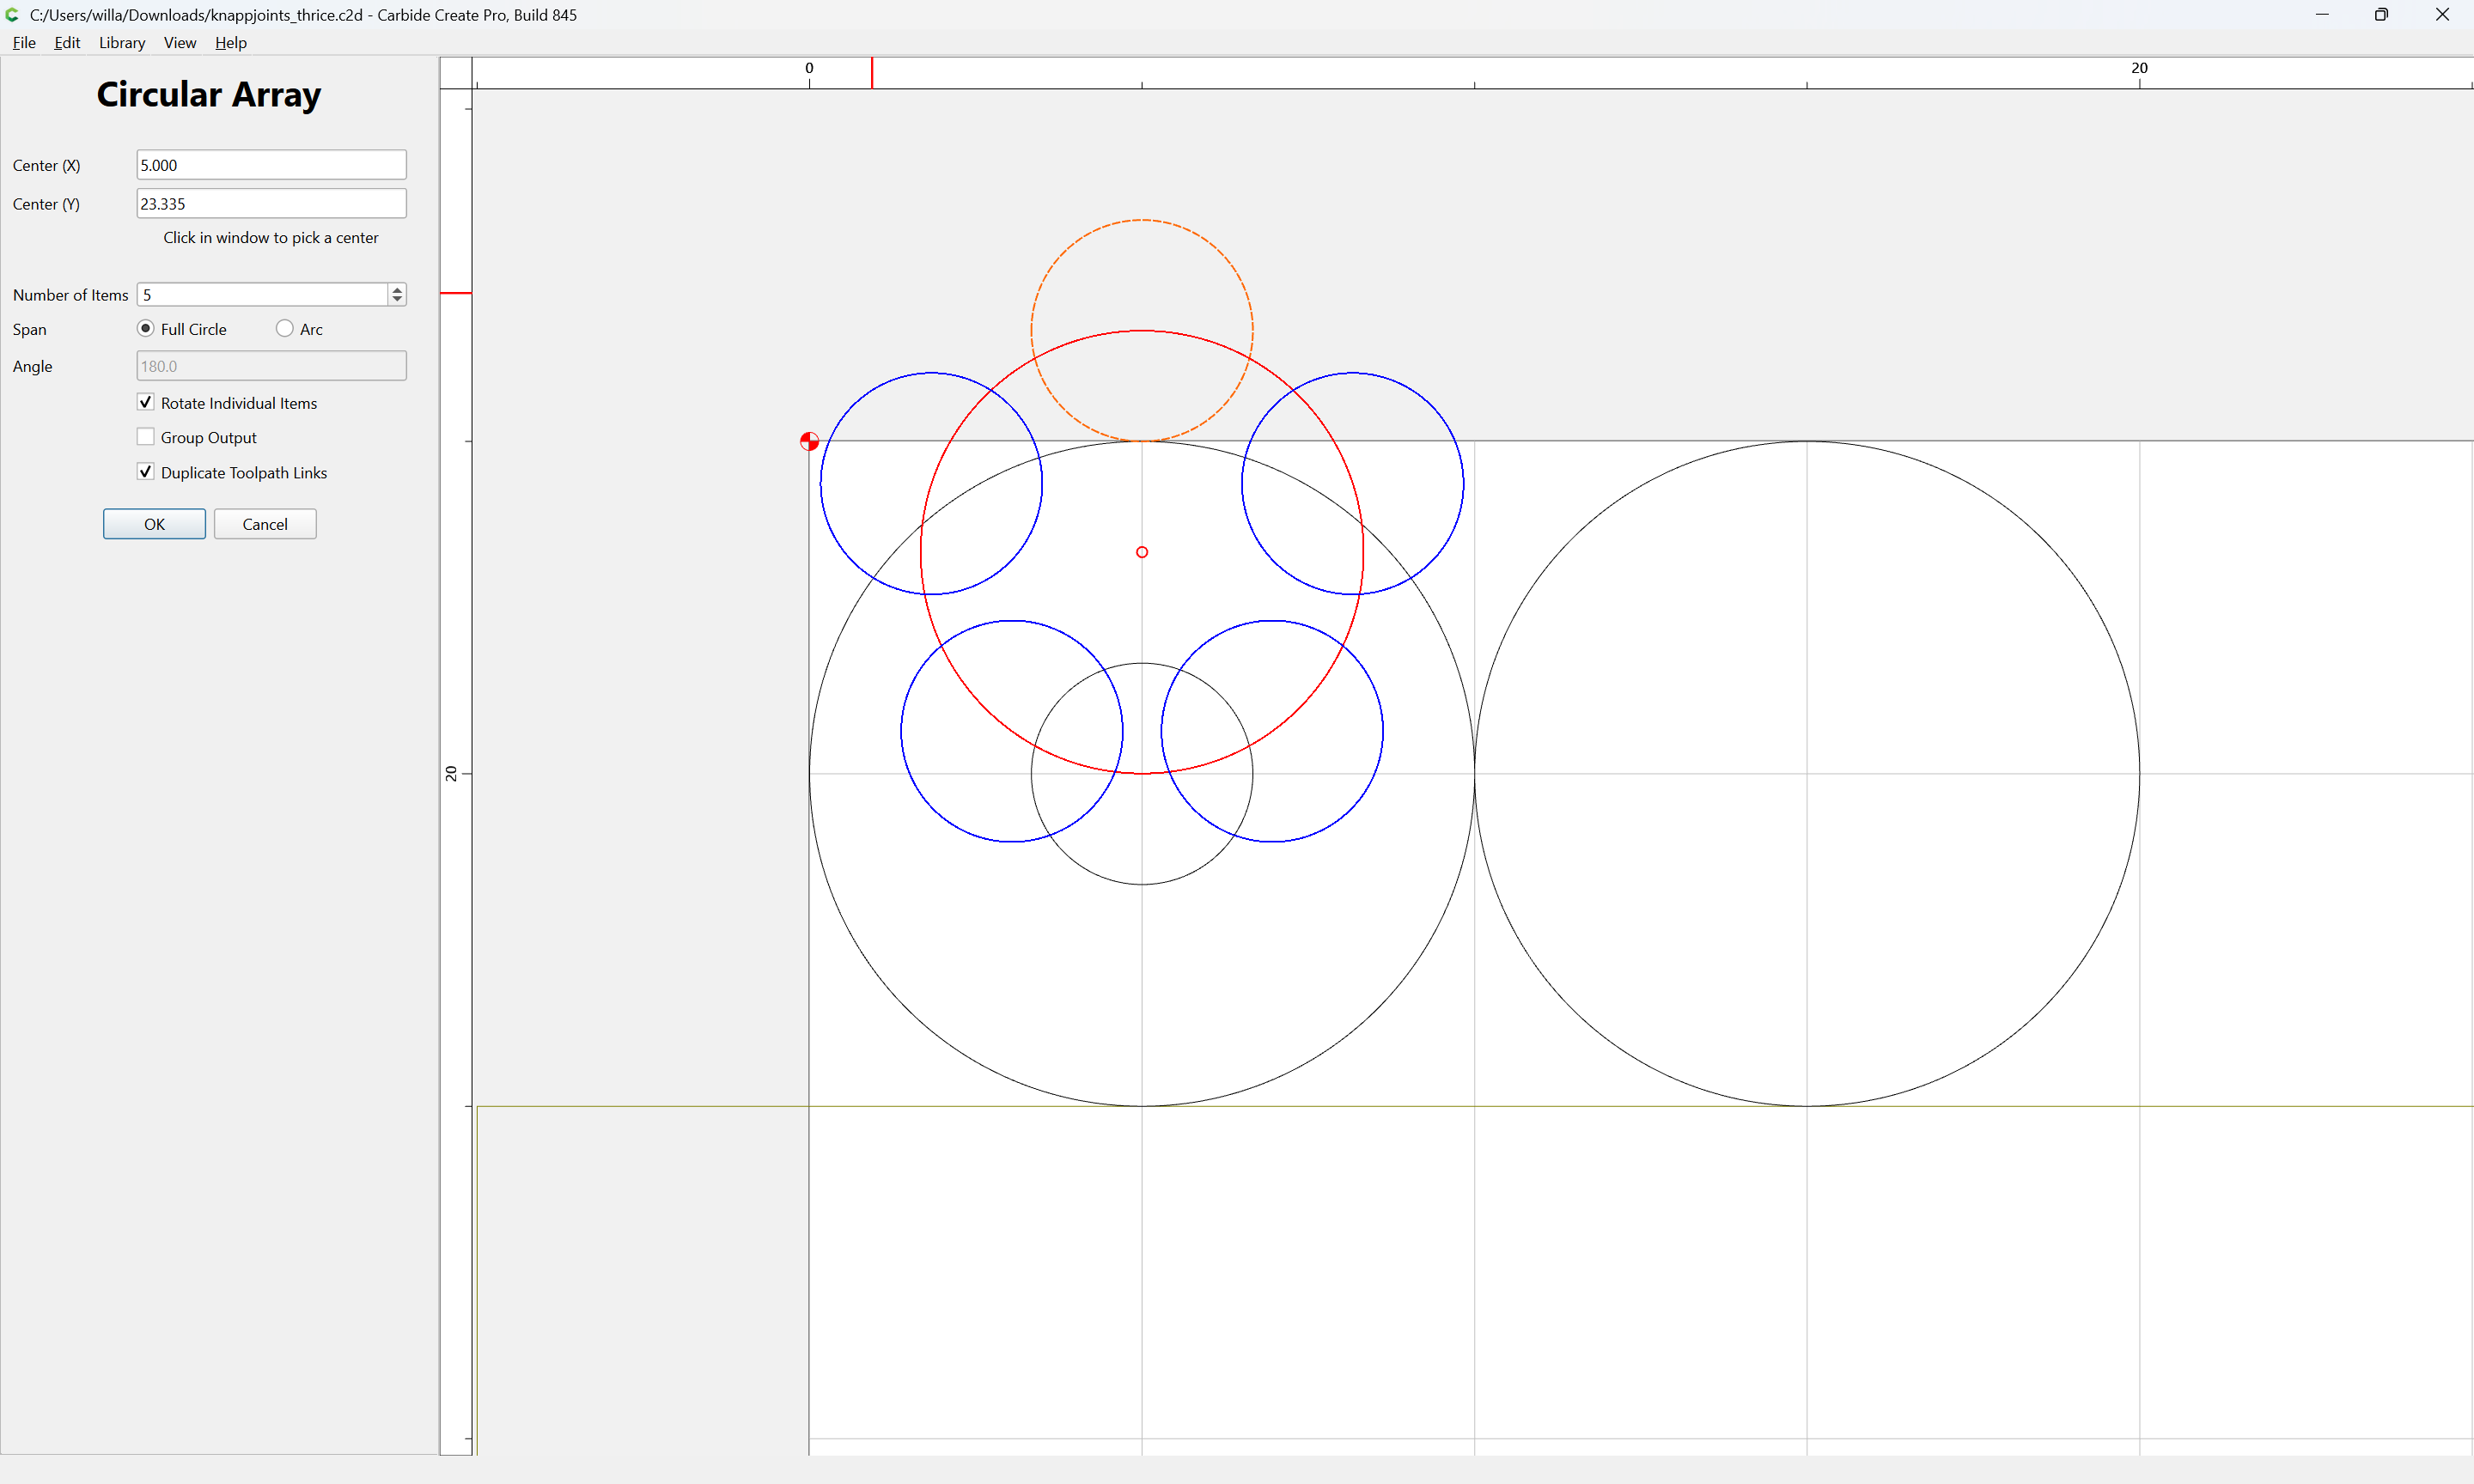
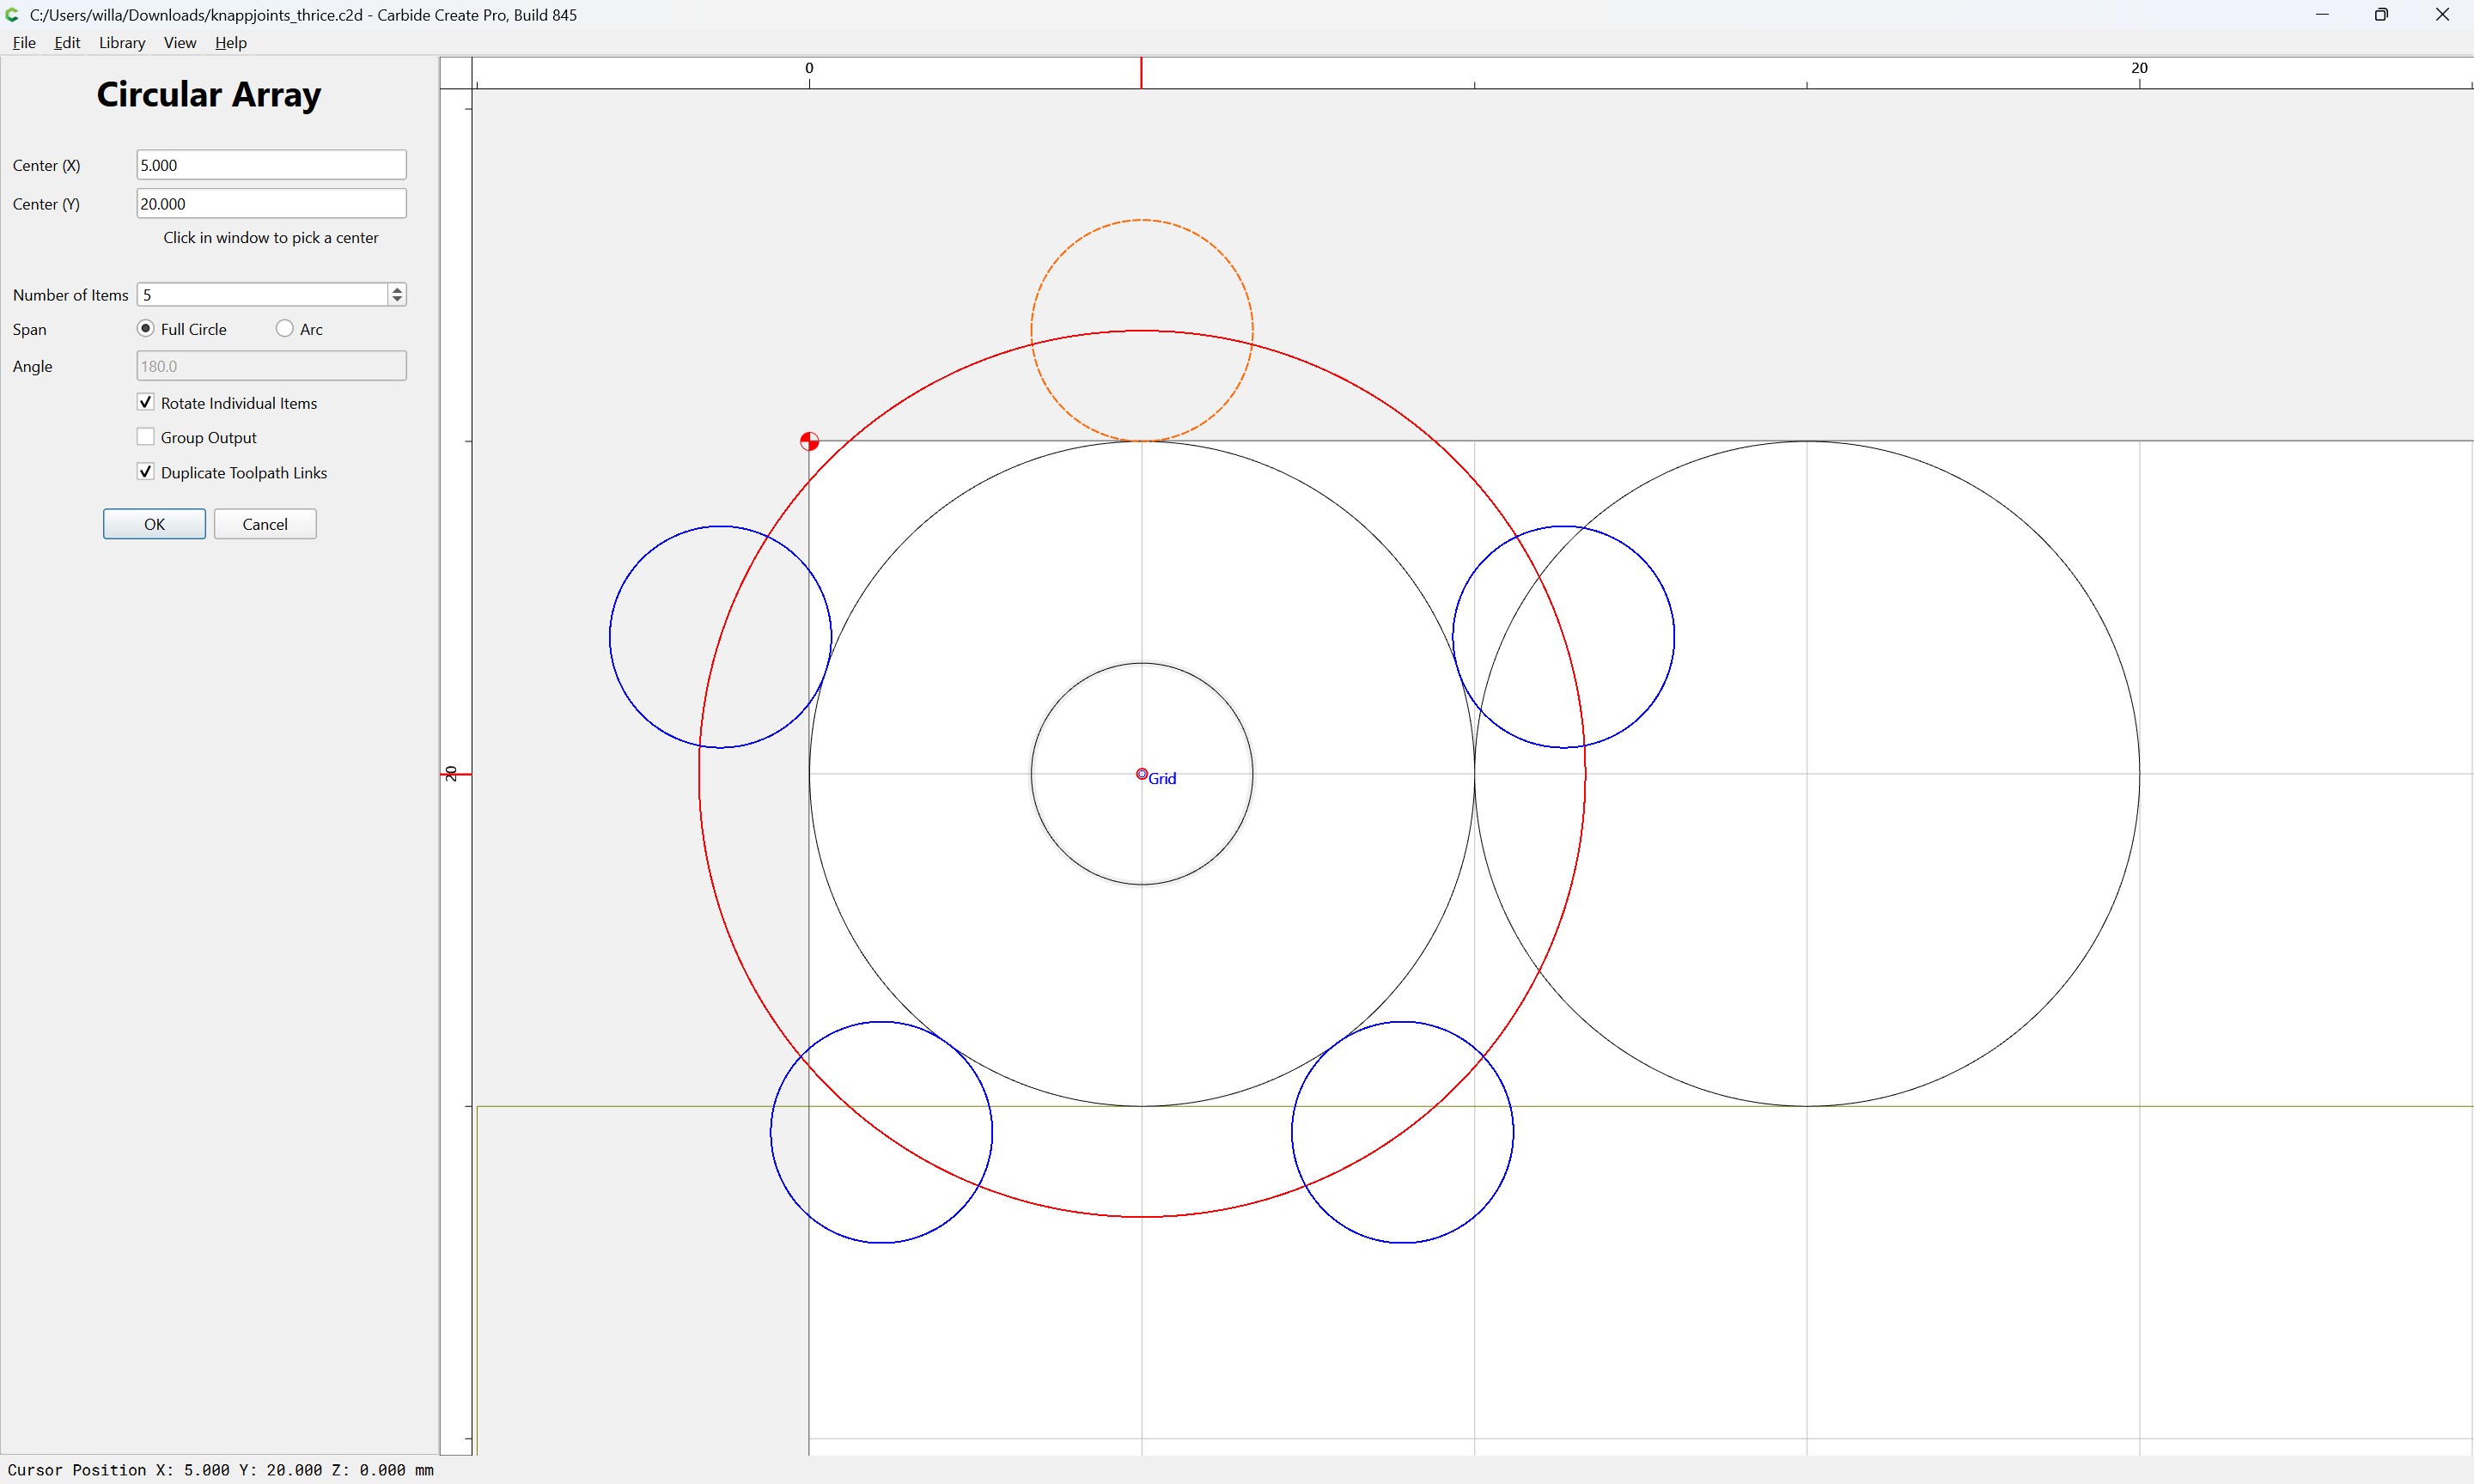
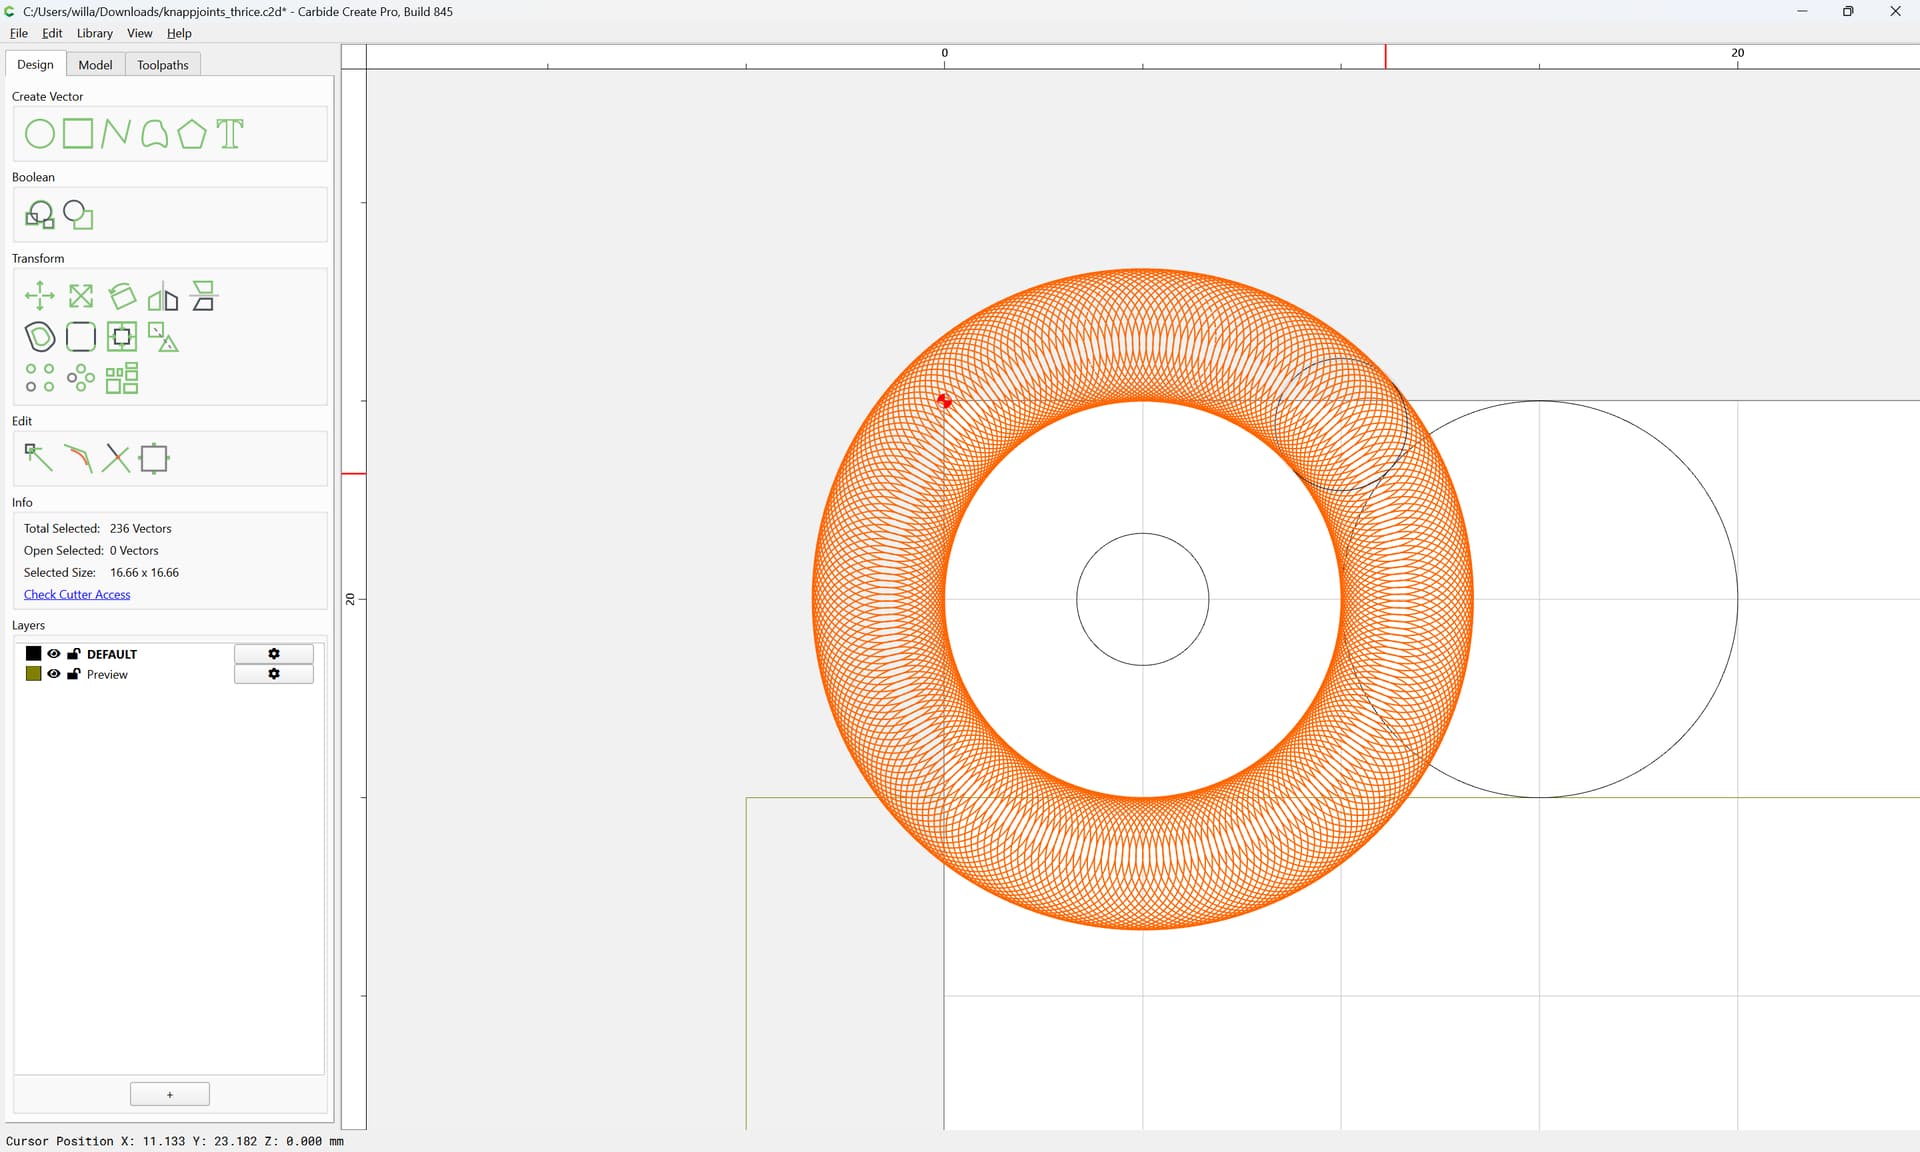
then use Circular Array to place copies around the center of the larger/original smaller circles:

Drag the origin to the center of the two circles:

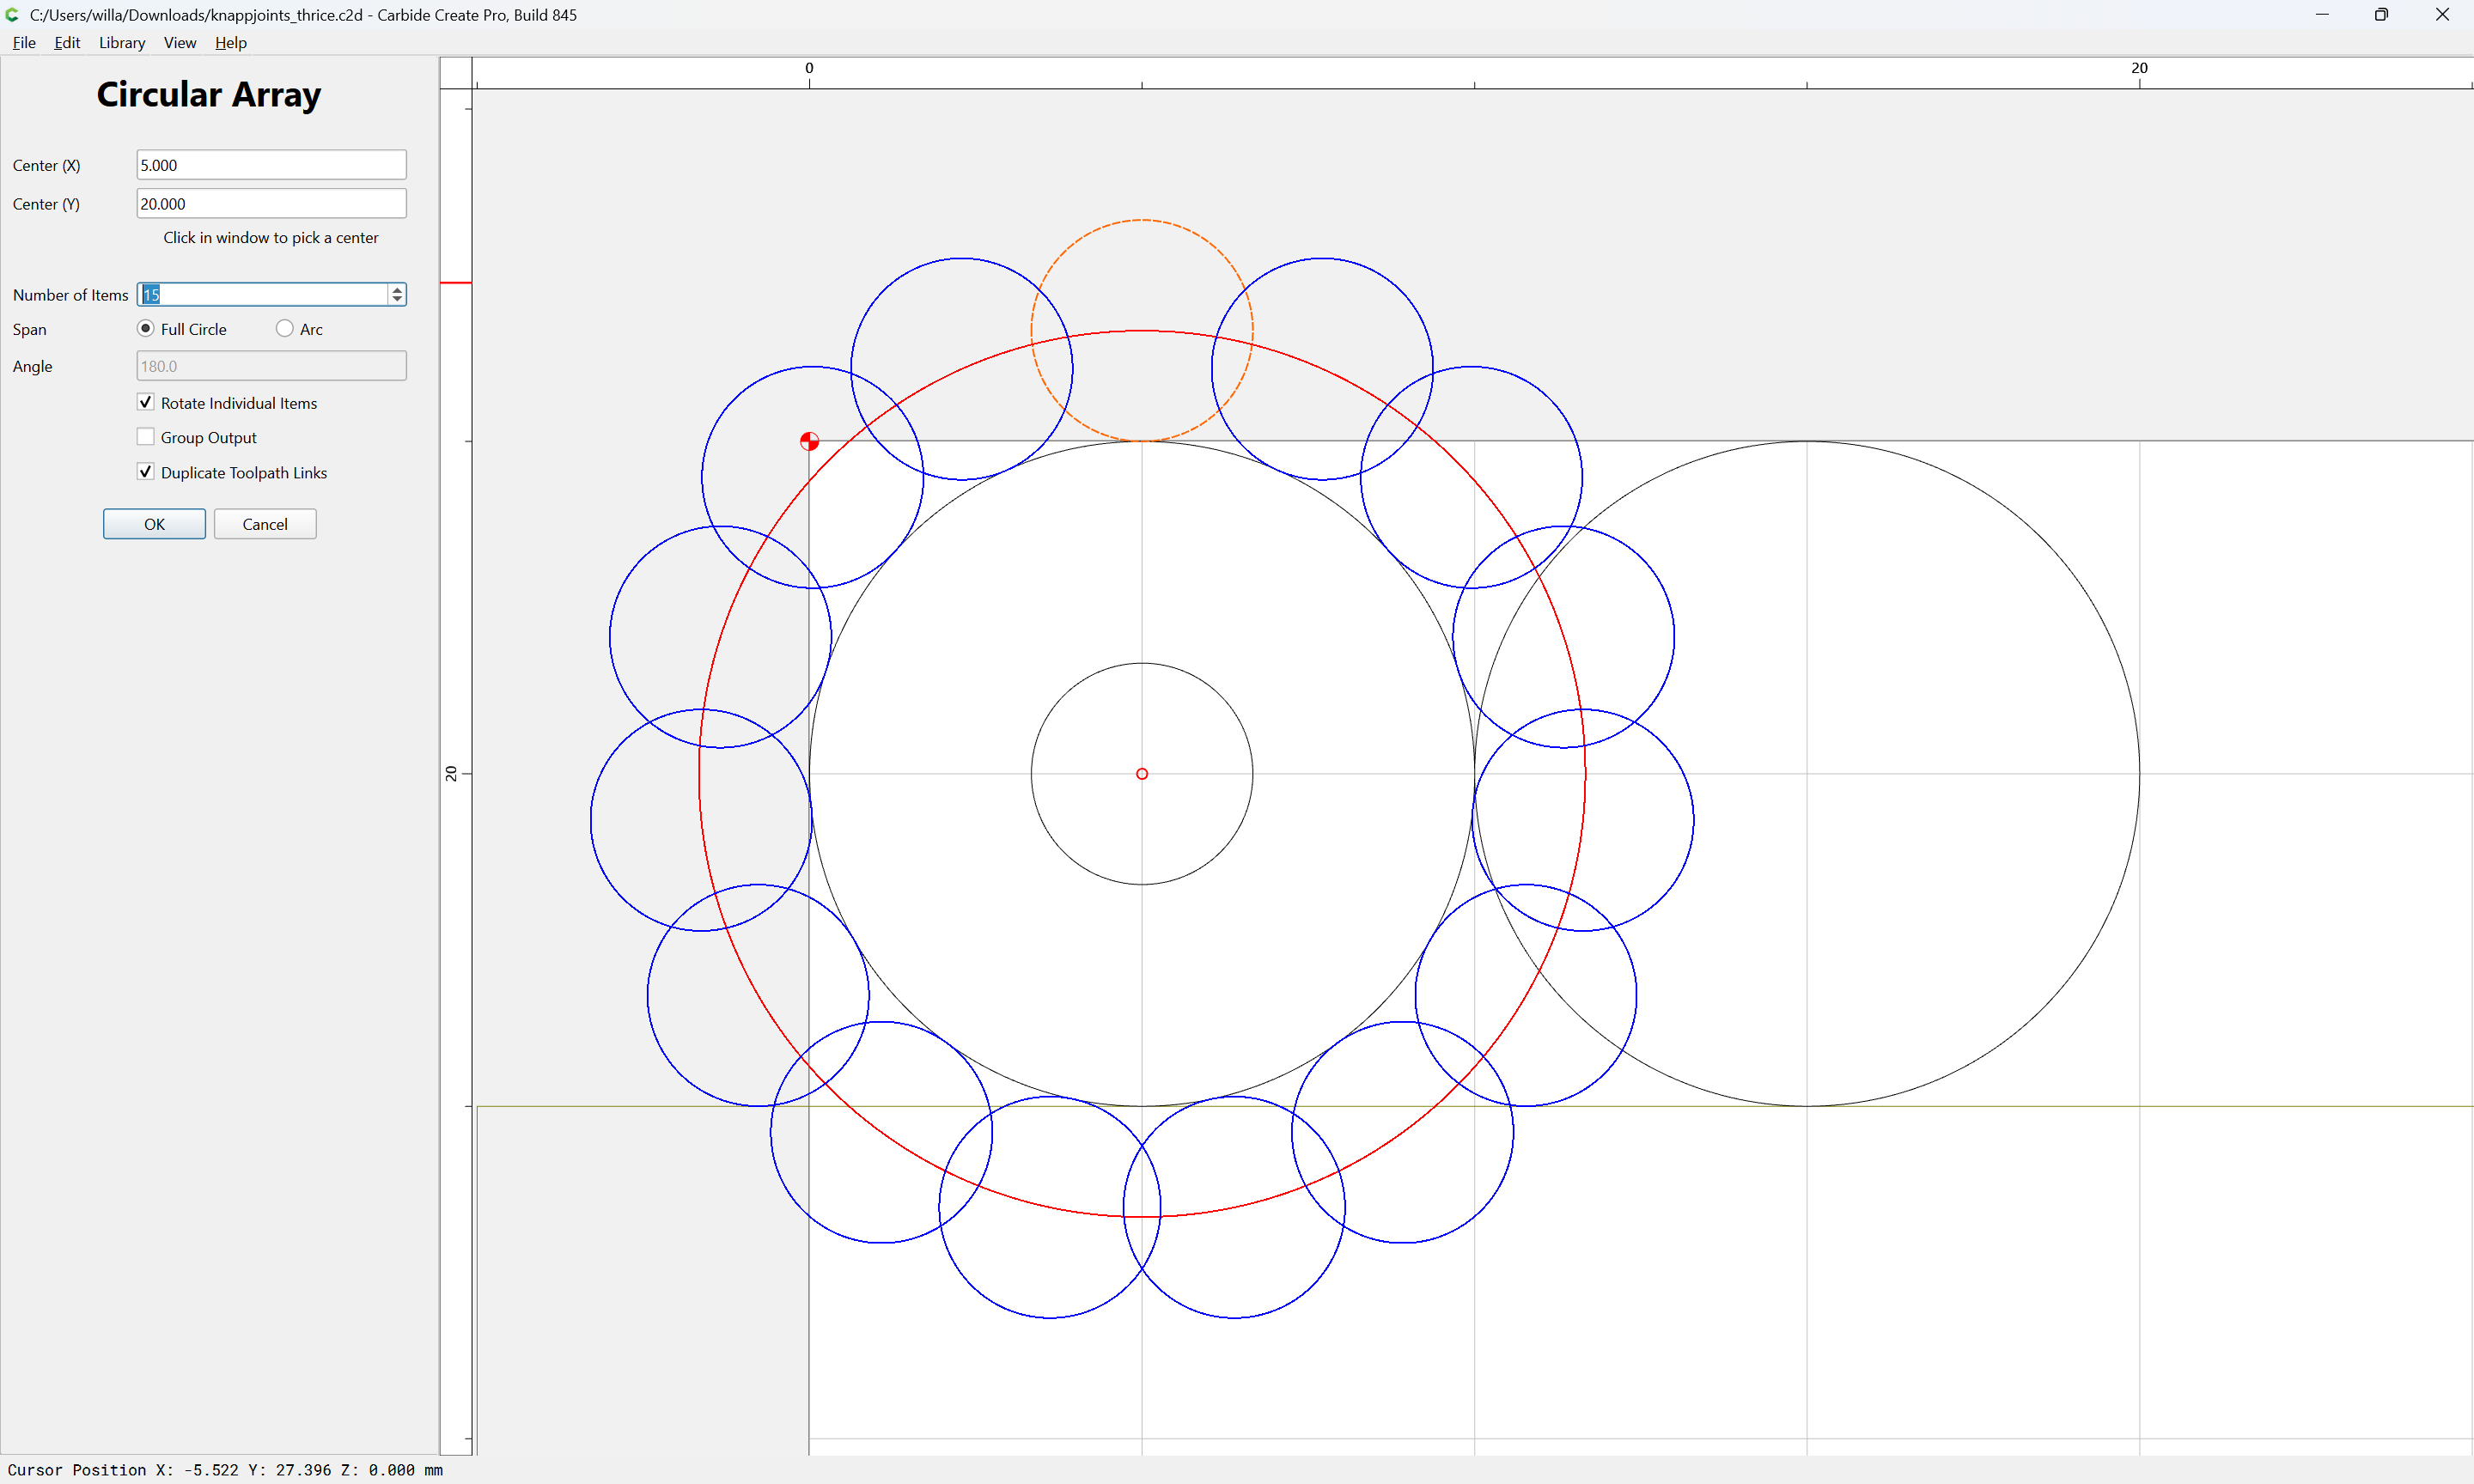
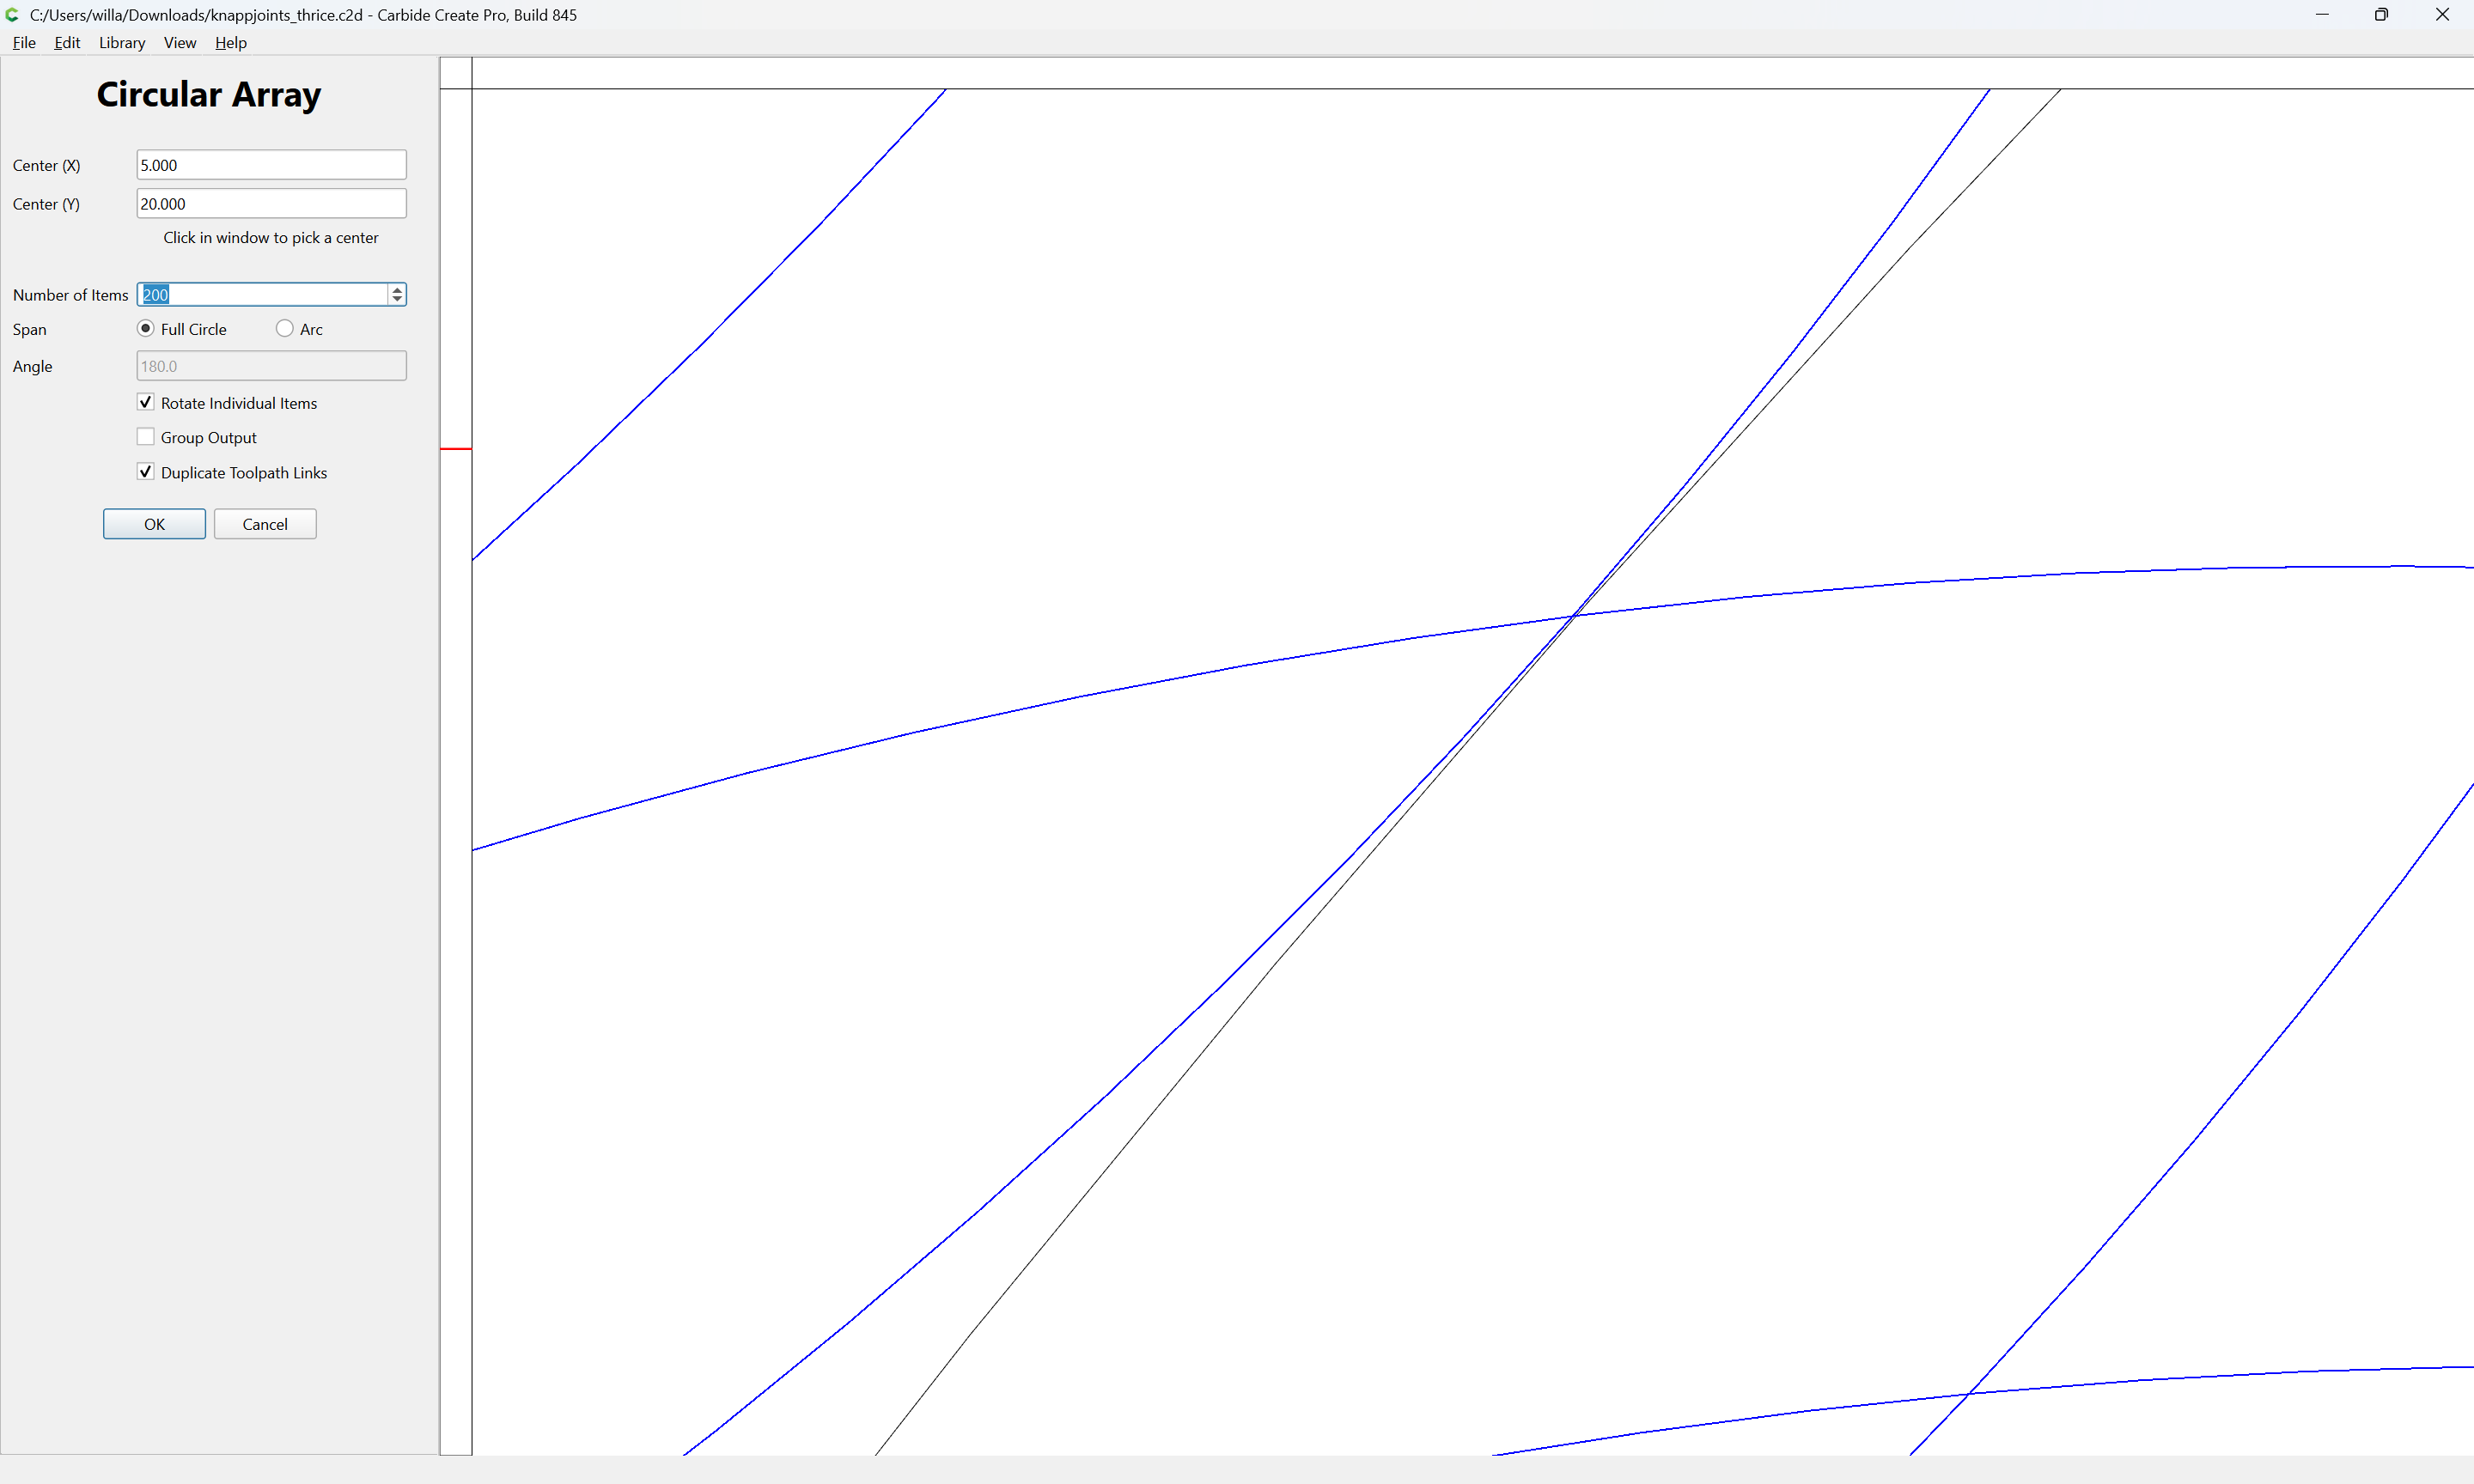
then adjust the Number of Items until one is positioned so as to be coincident with both of the larger circles:

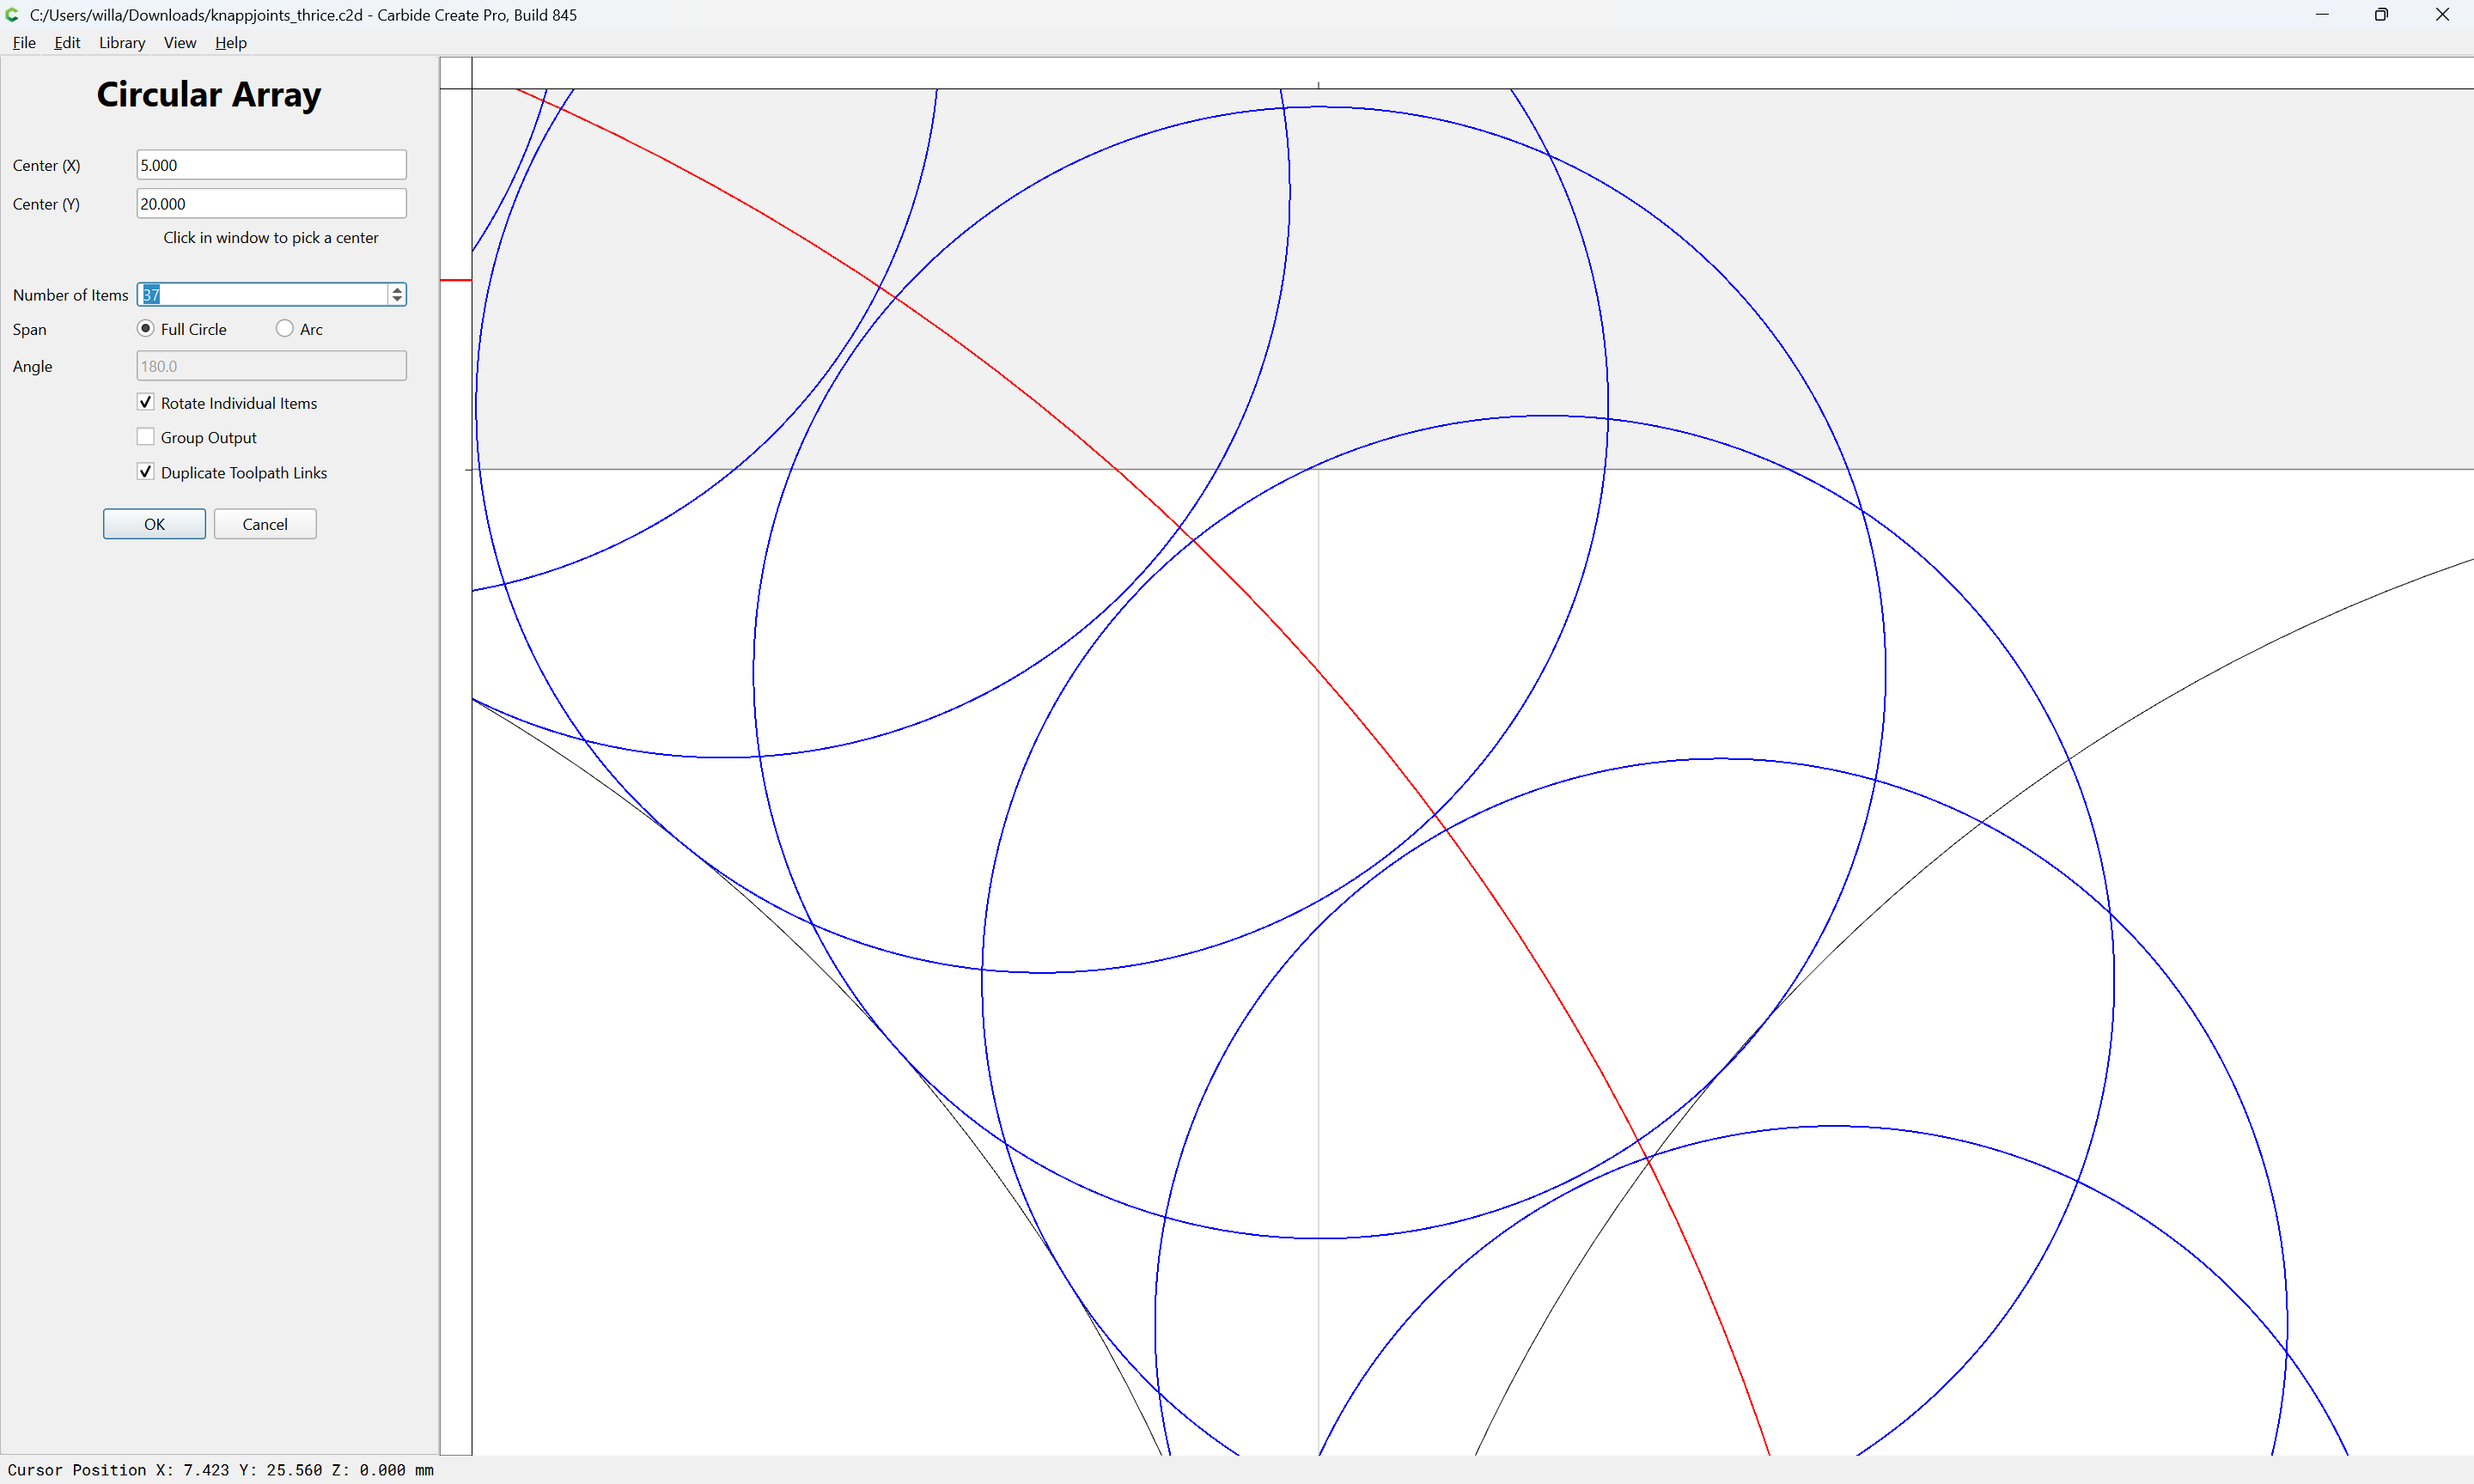
When one gets close, zoom in:

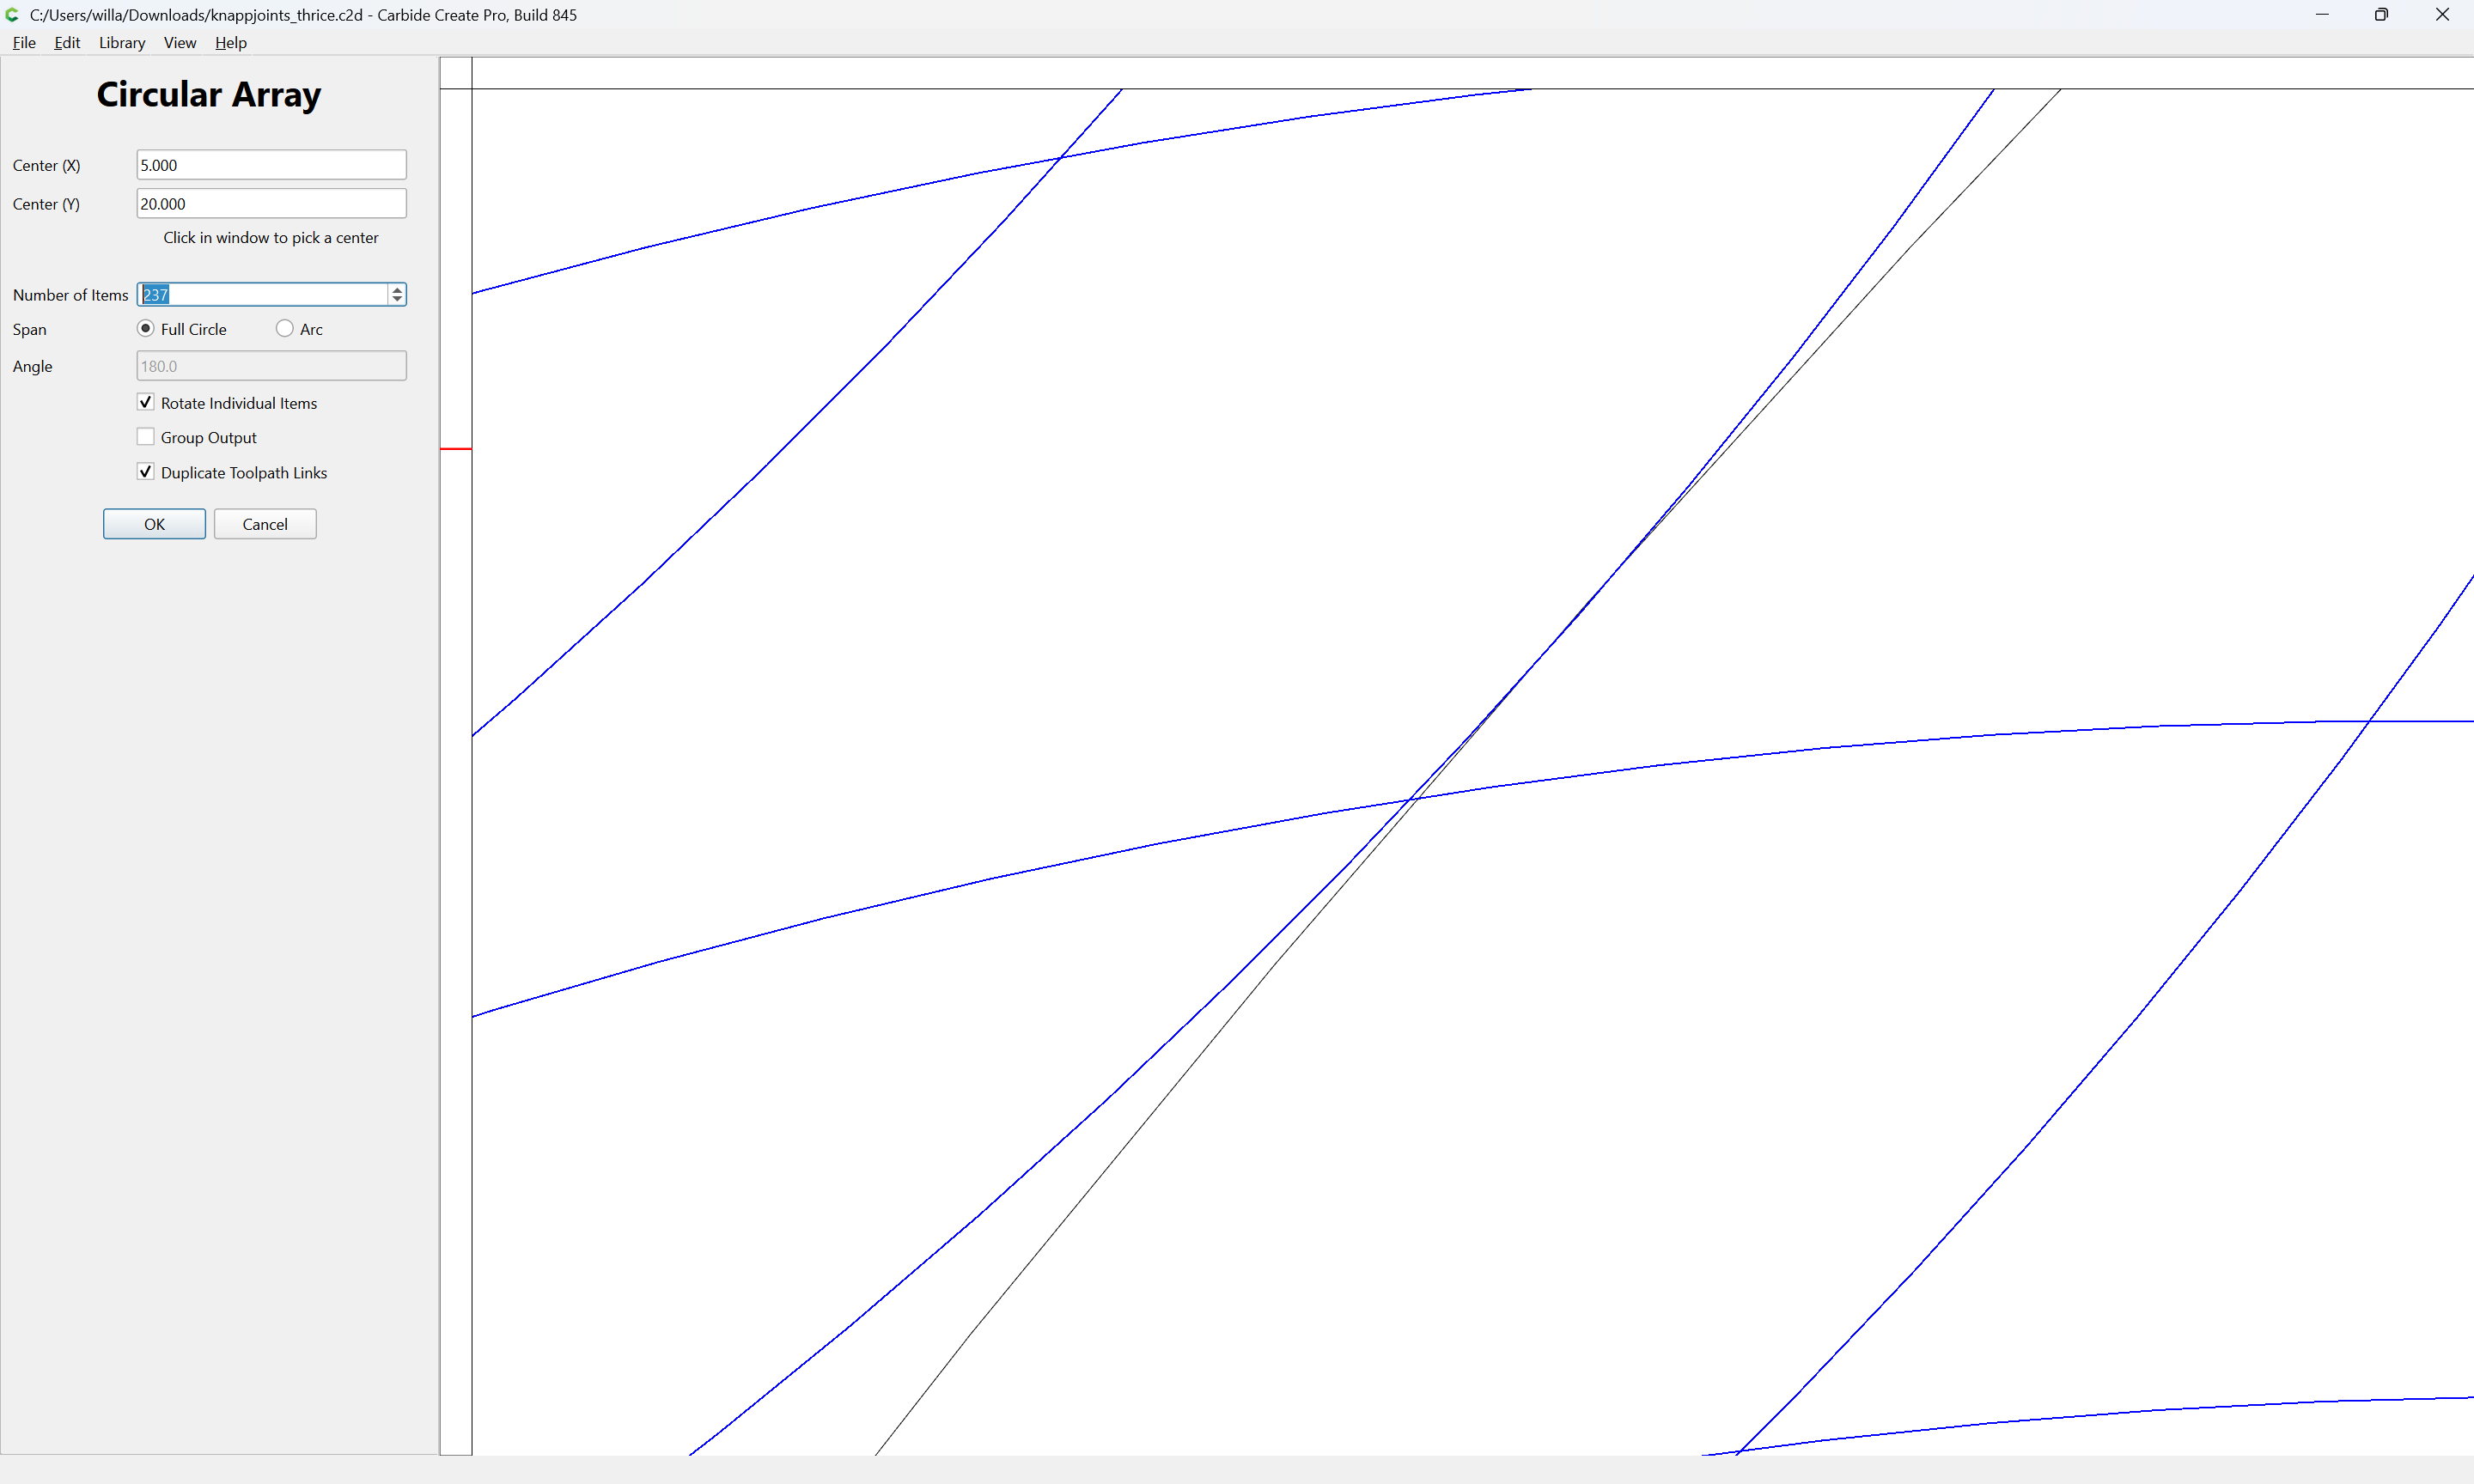
and iterate:

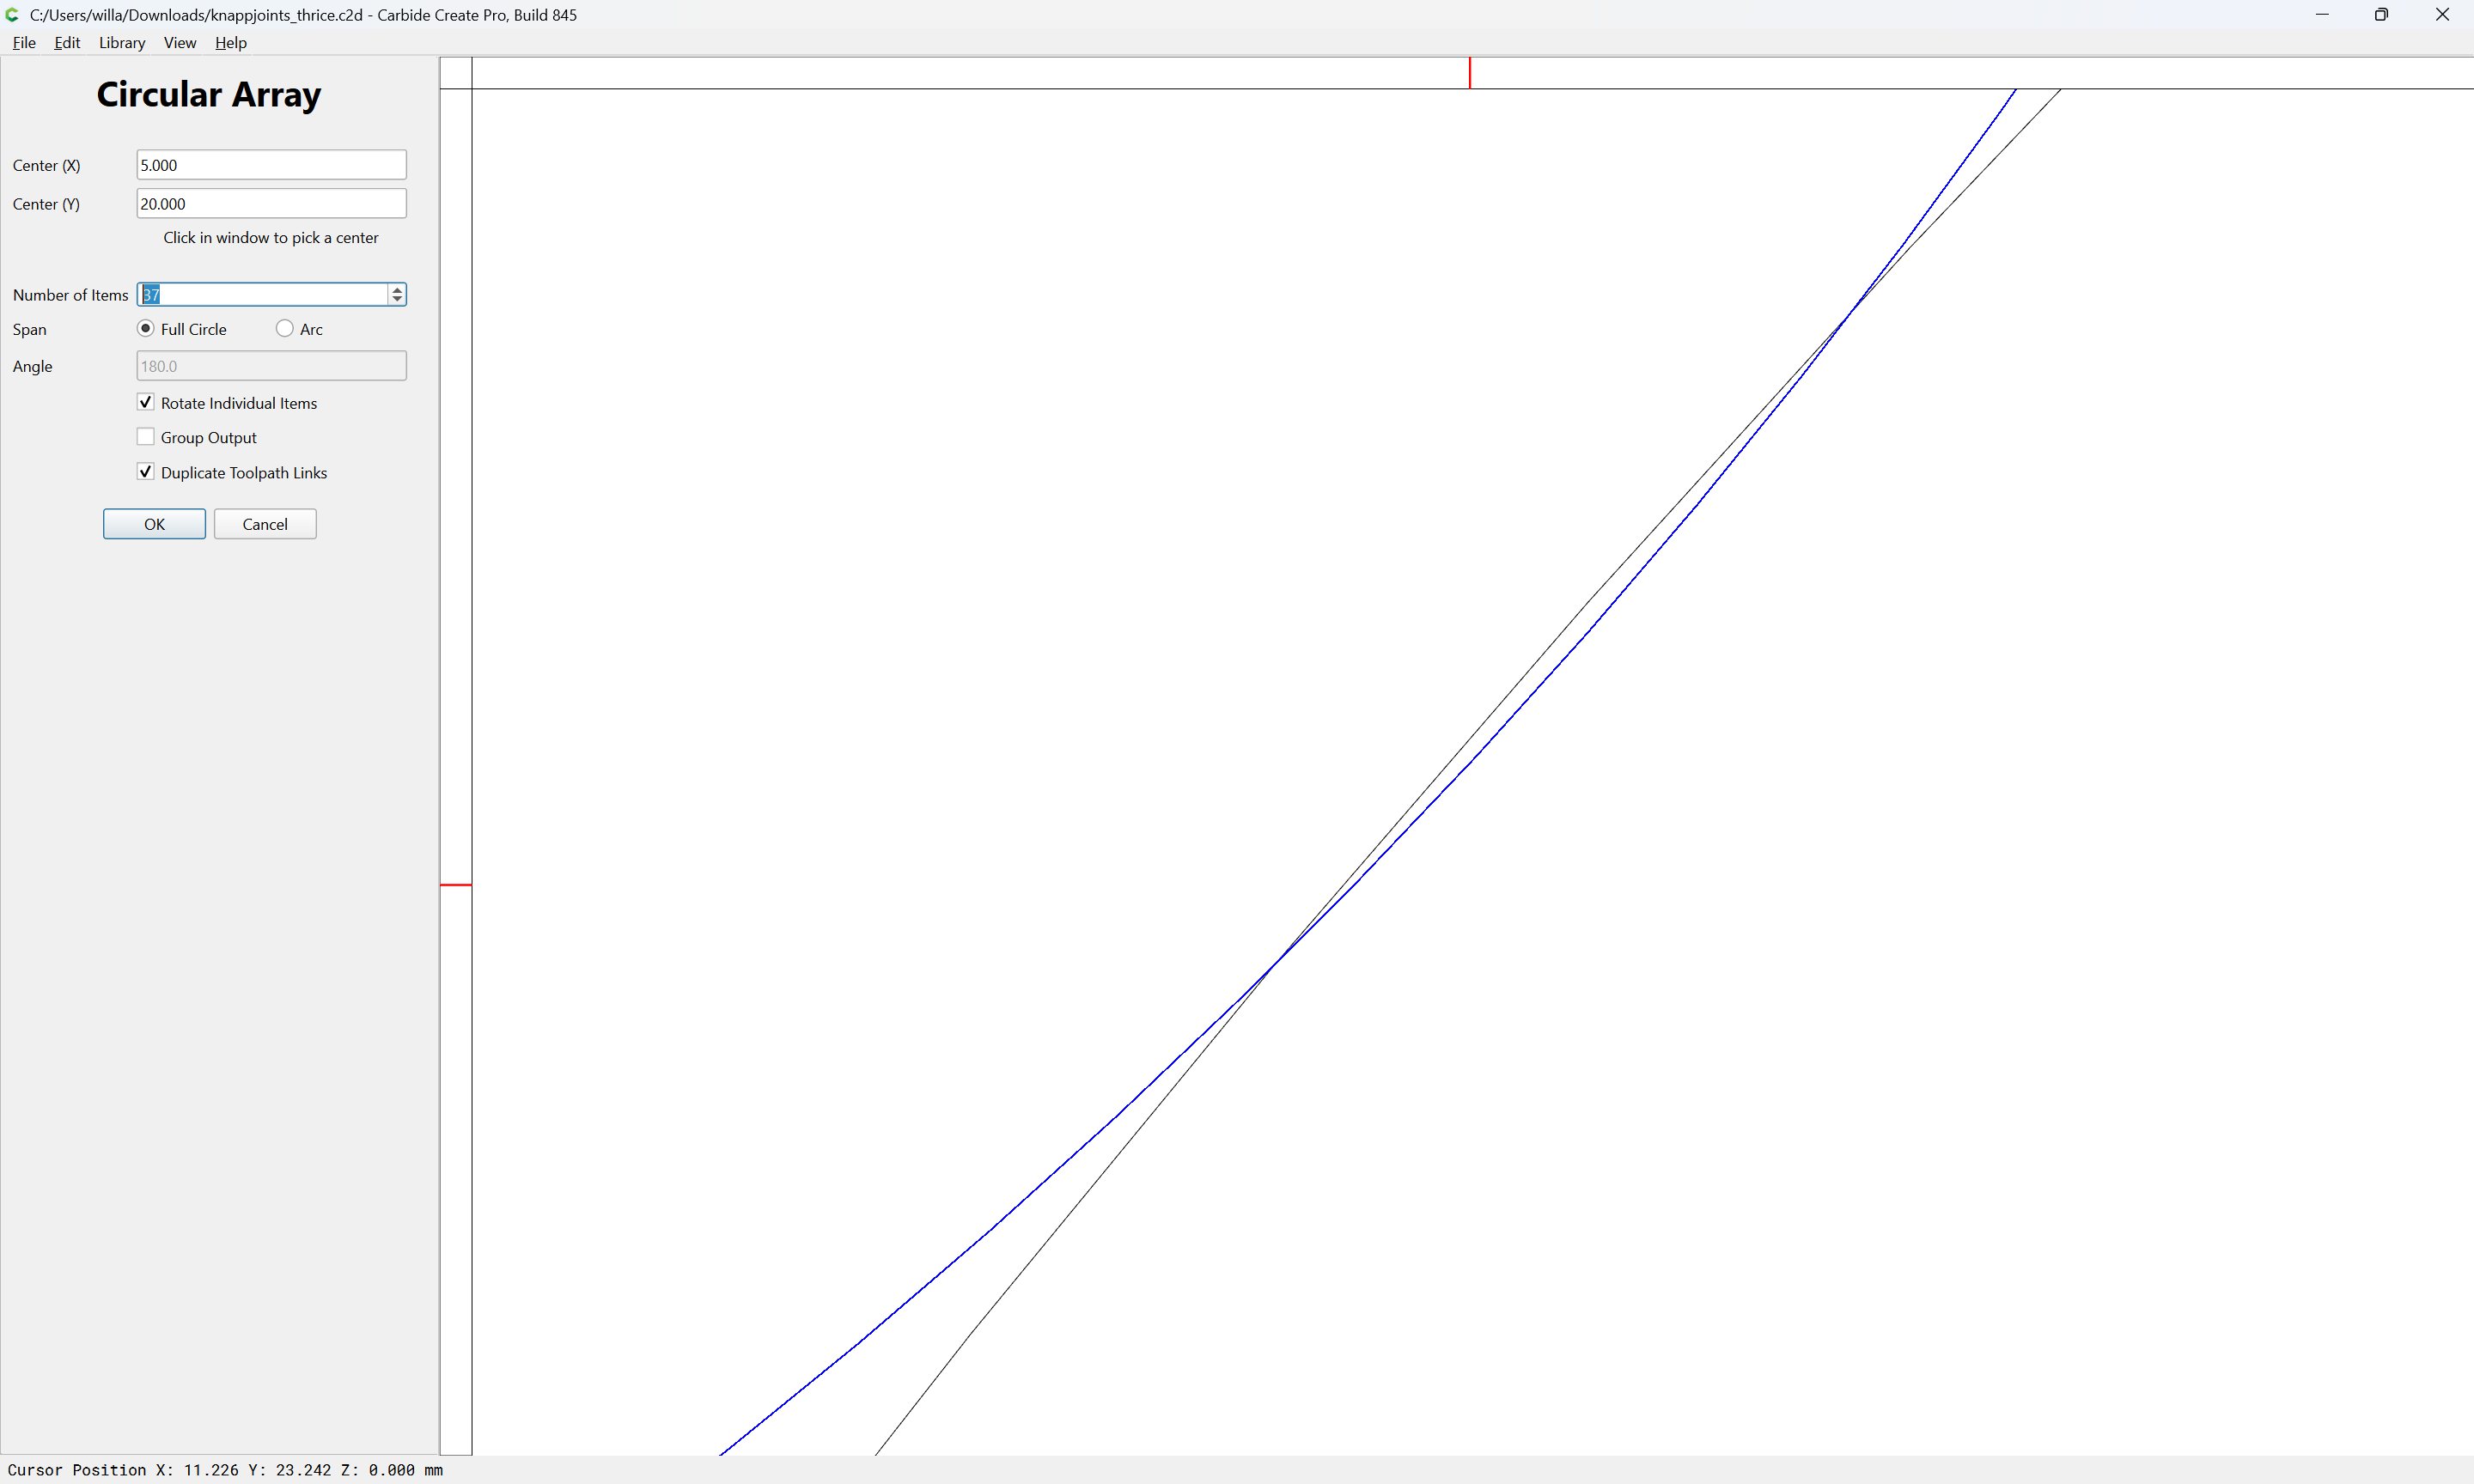
and repeat:

until one is close enough:

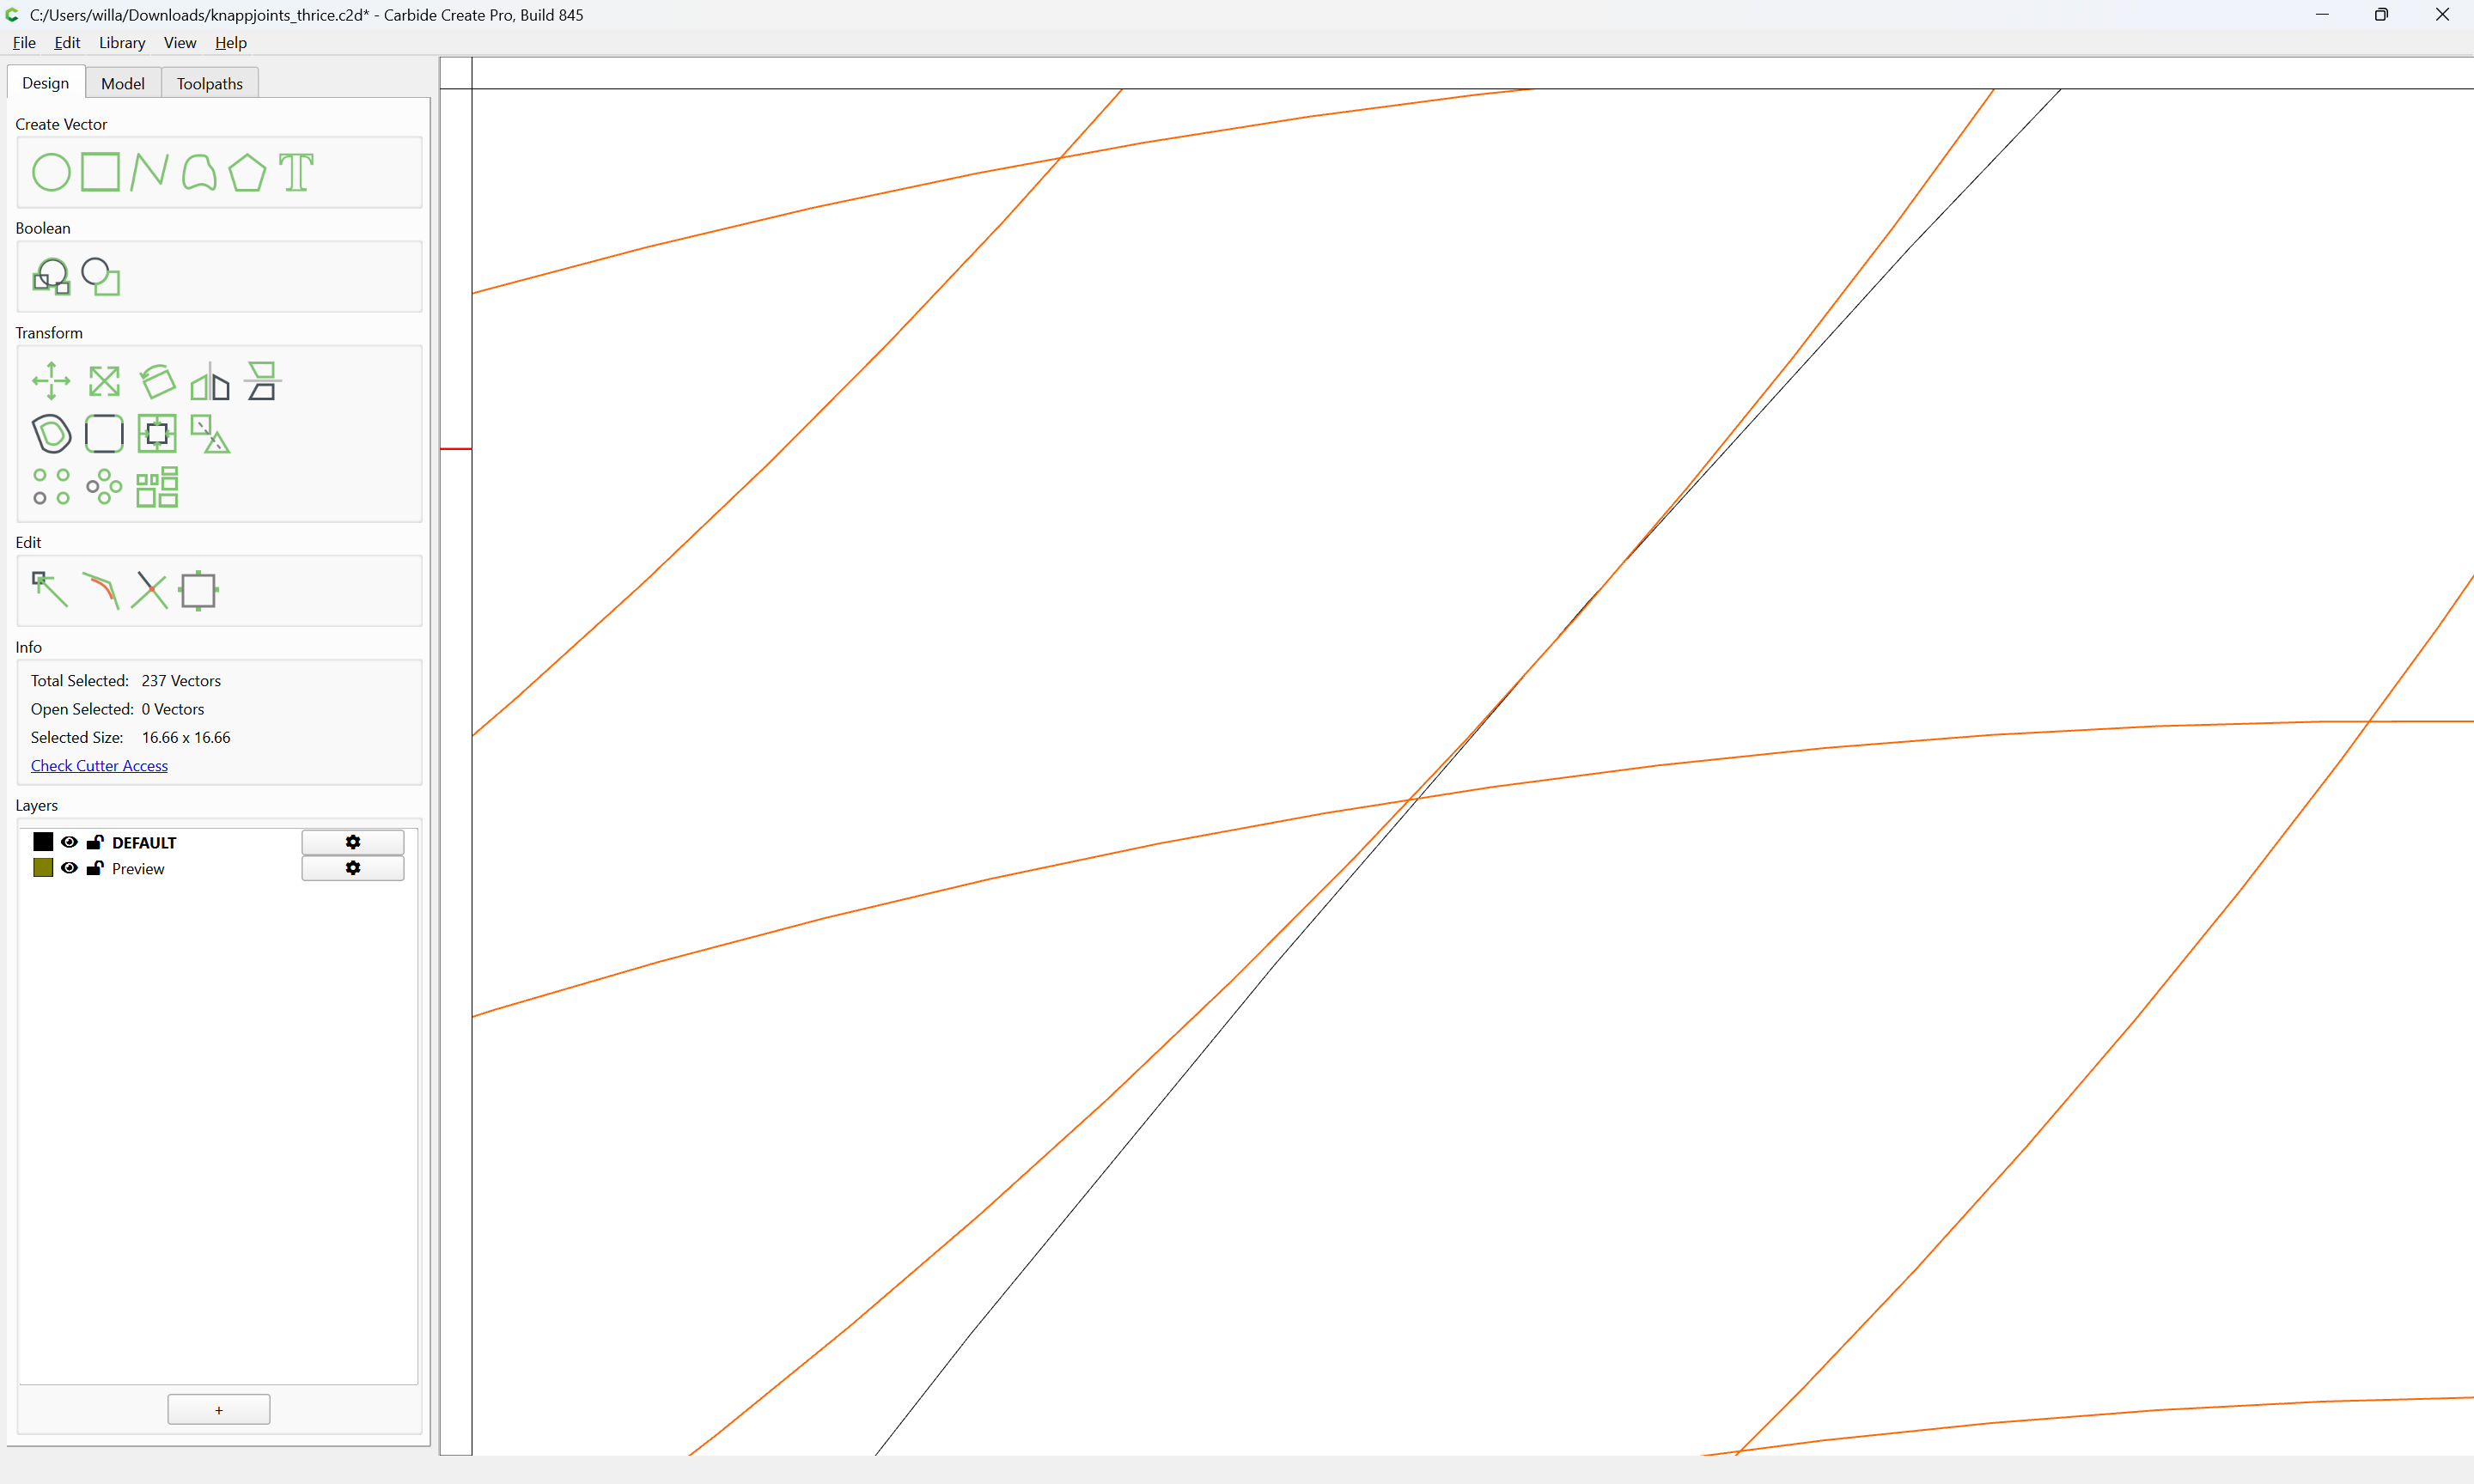
OK

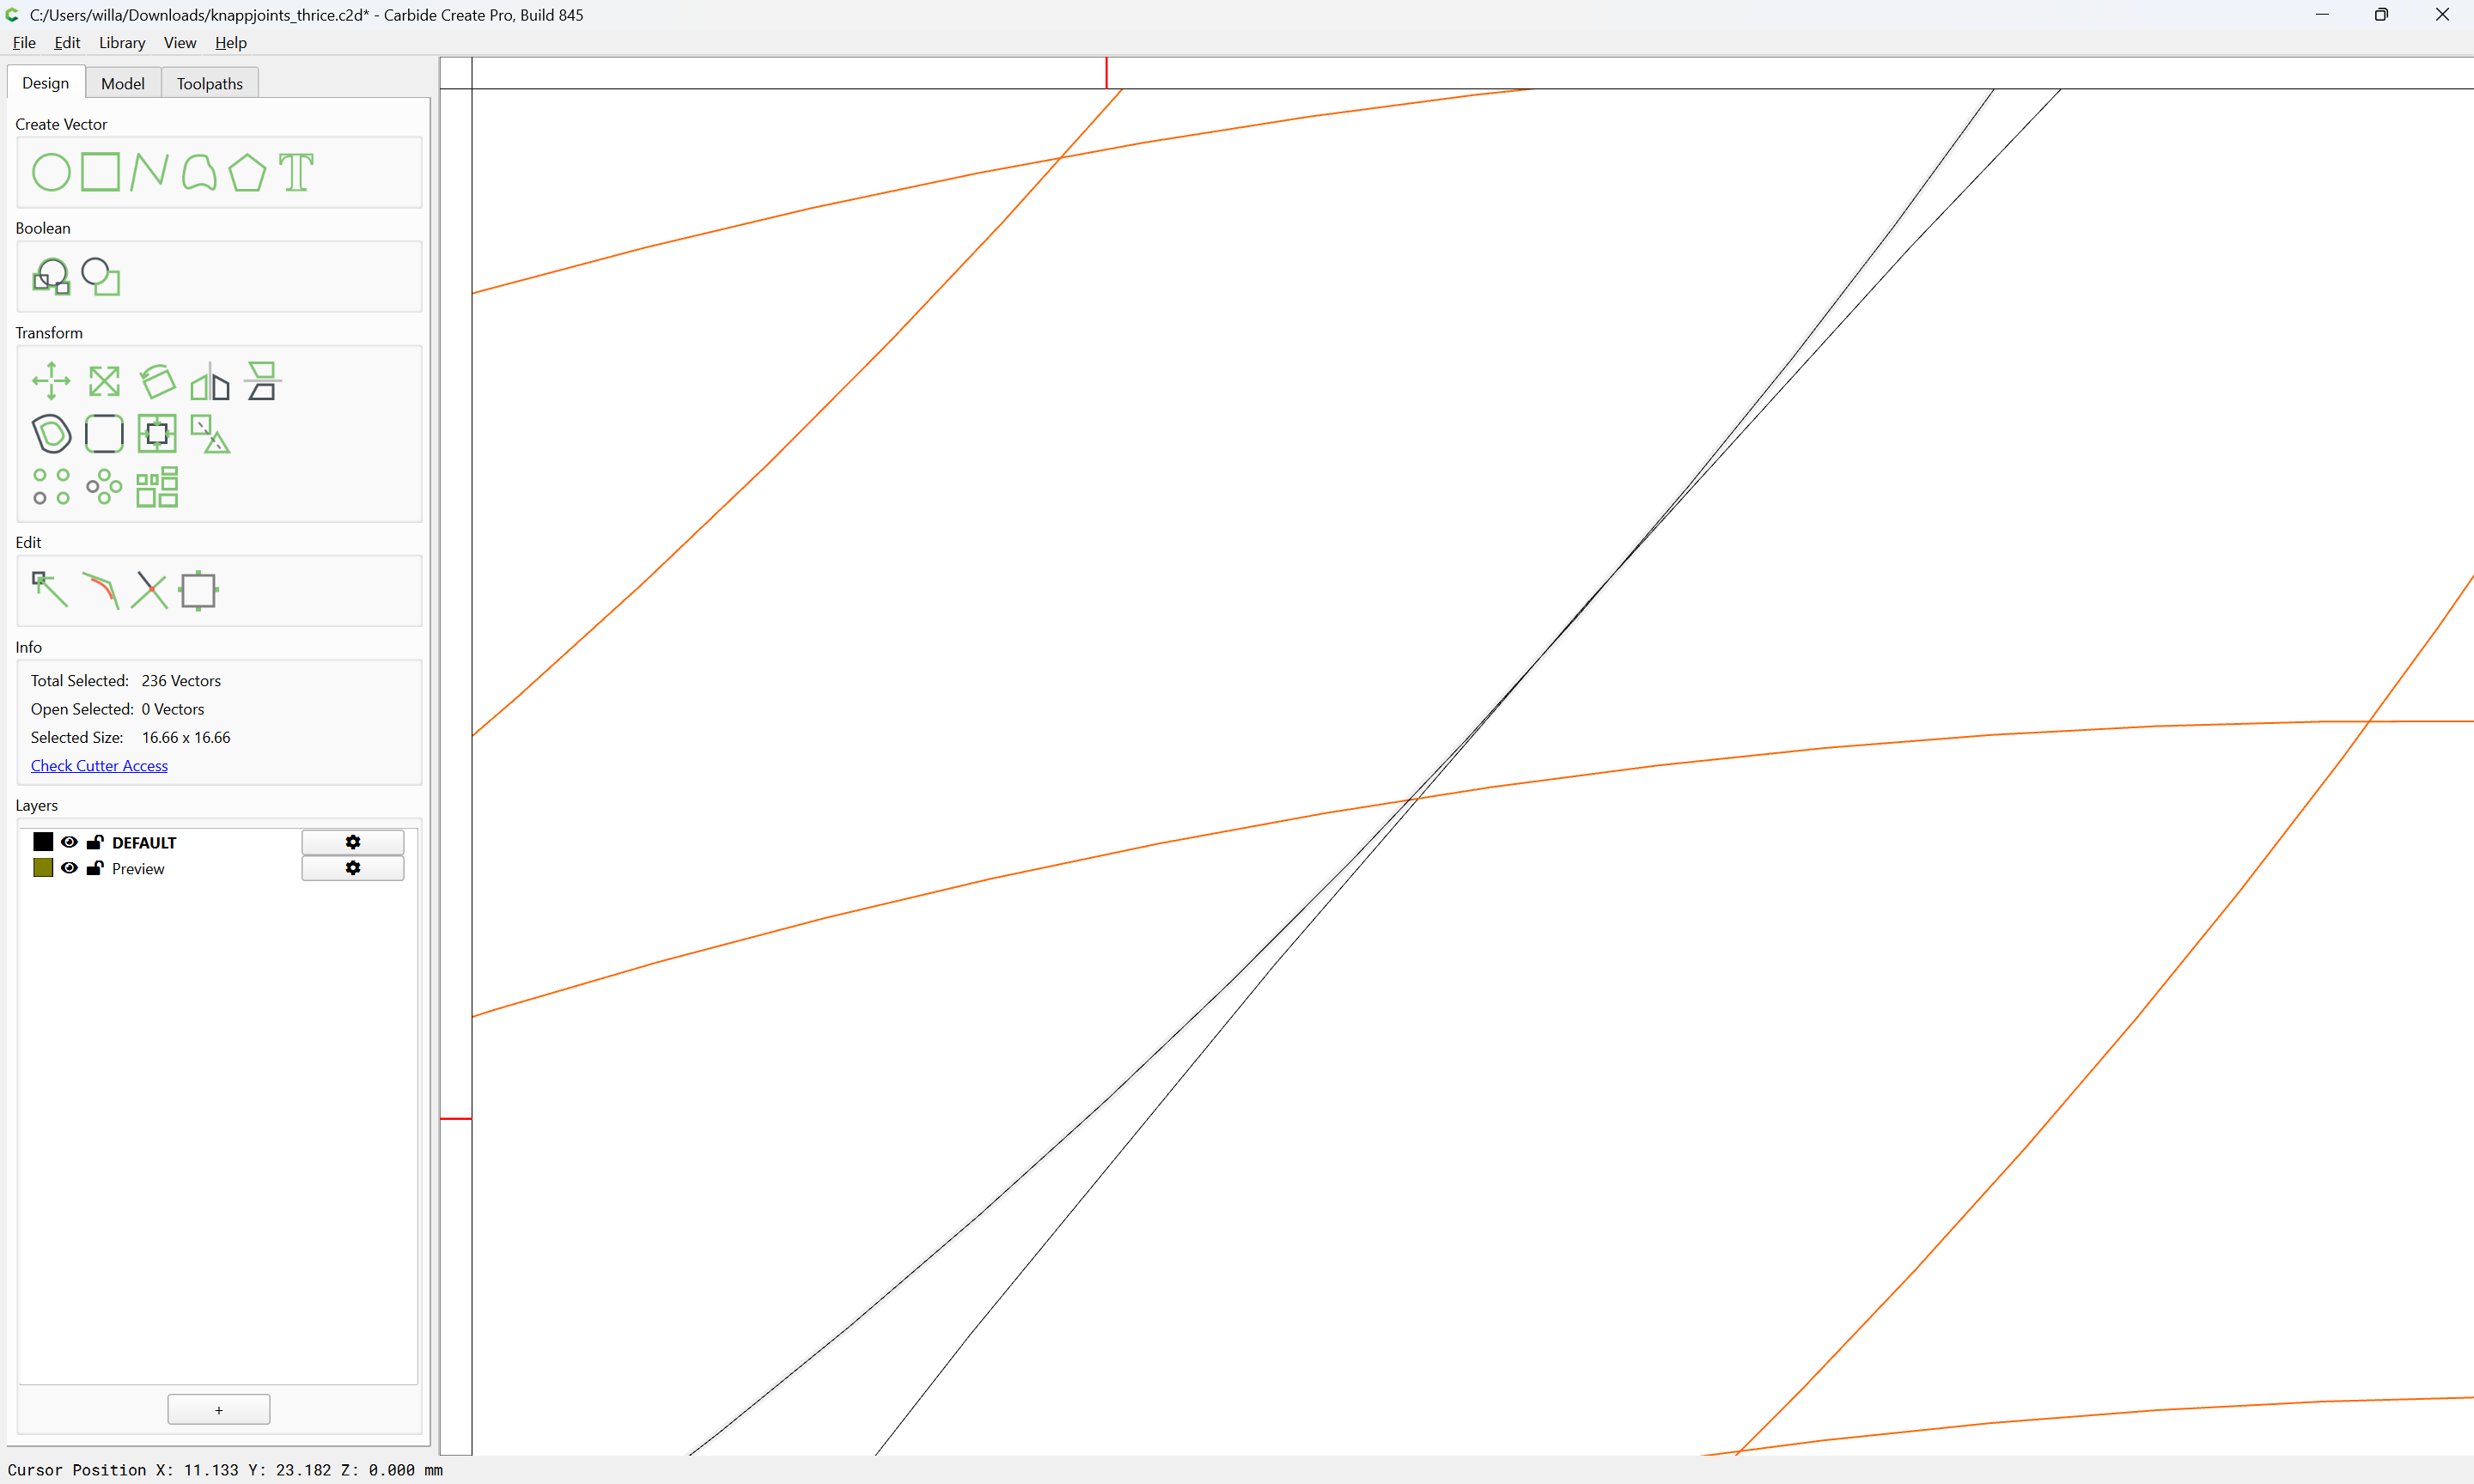
Shift-click on the circle which is in the correct position to remove it from the selection:

and delete the balance:

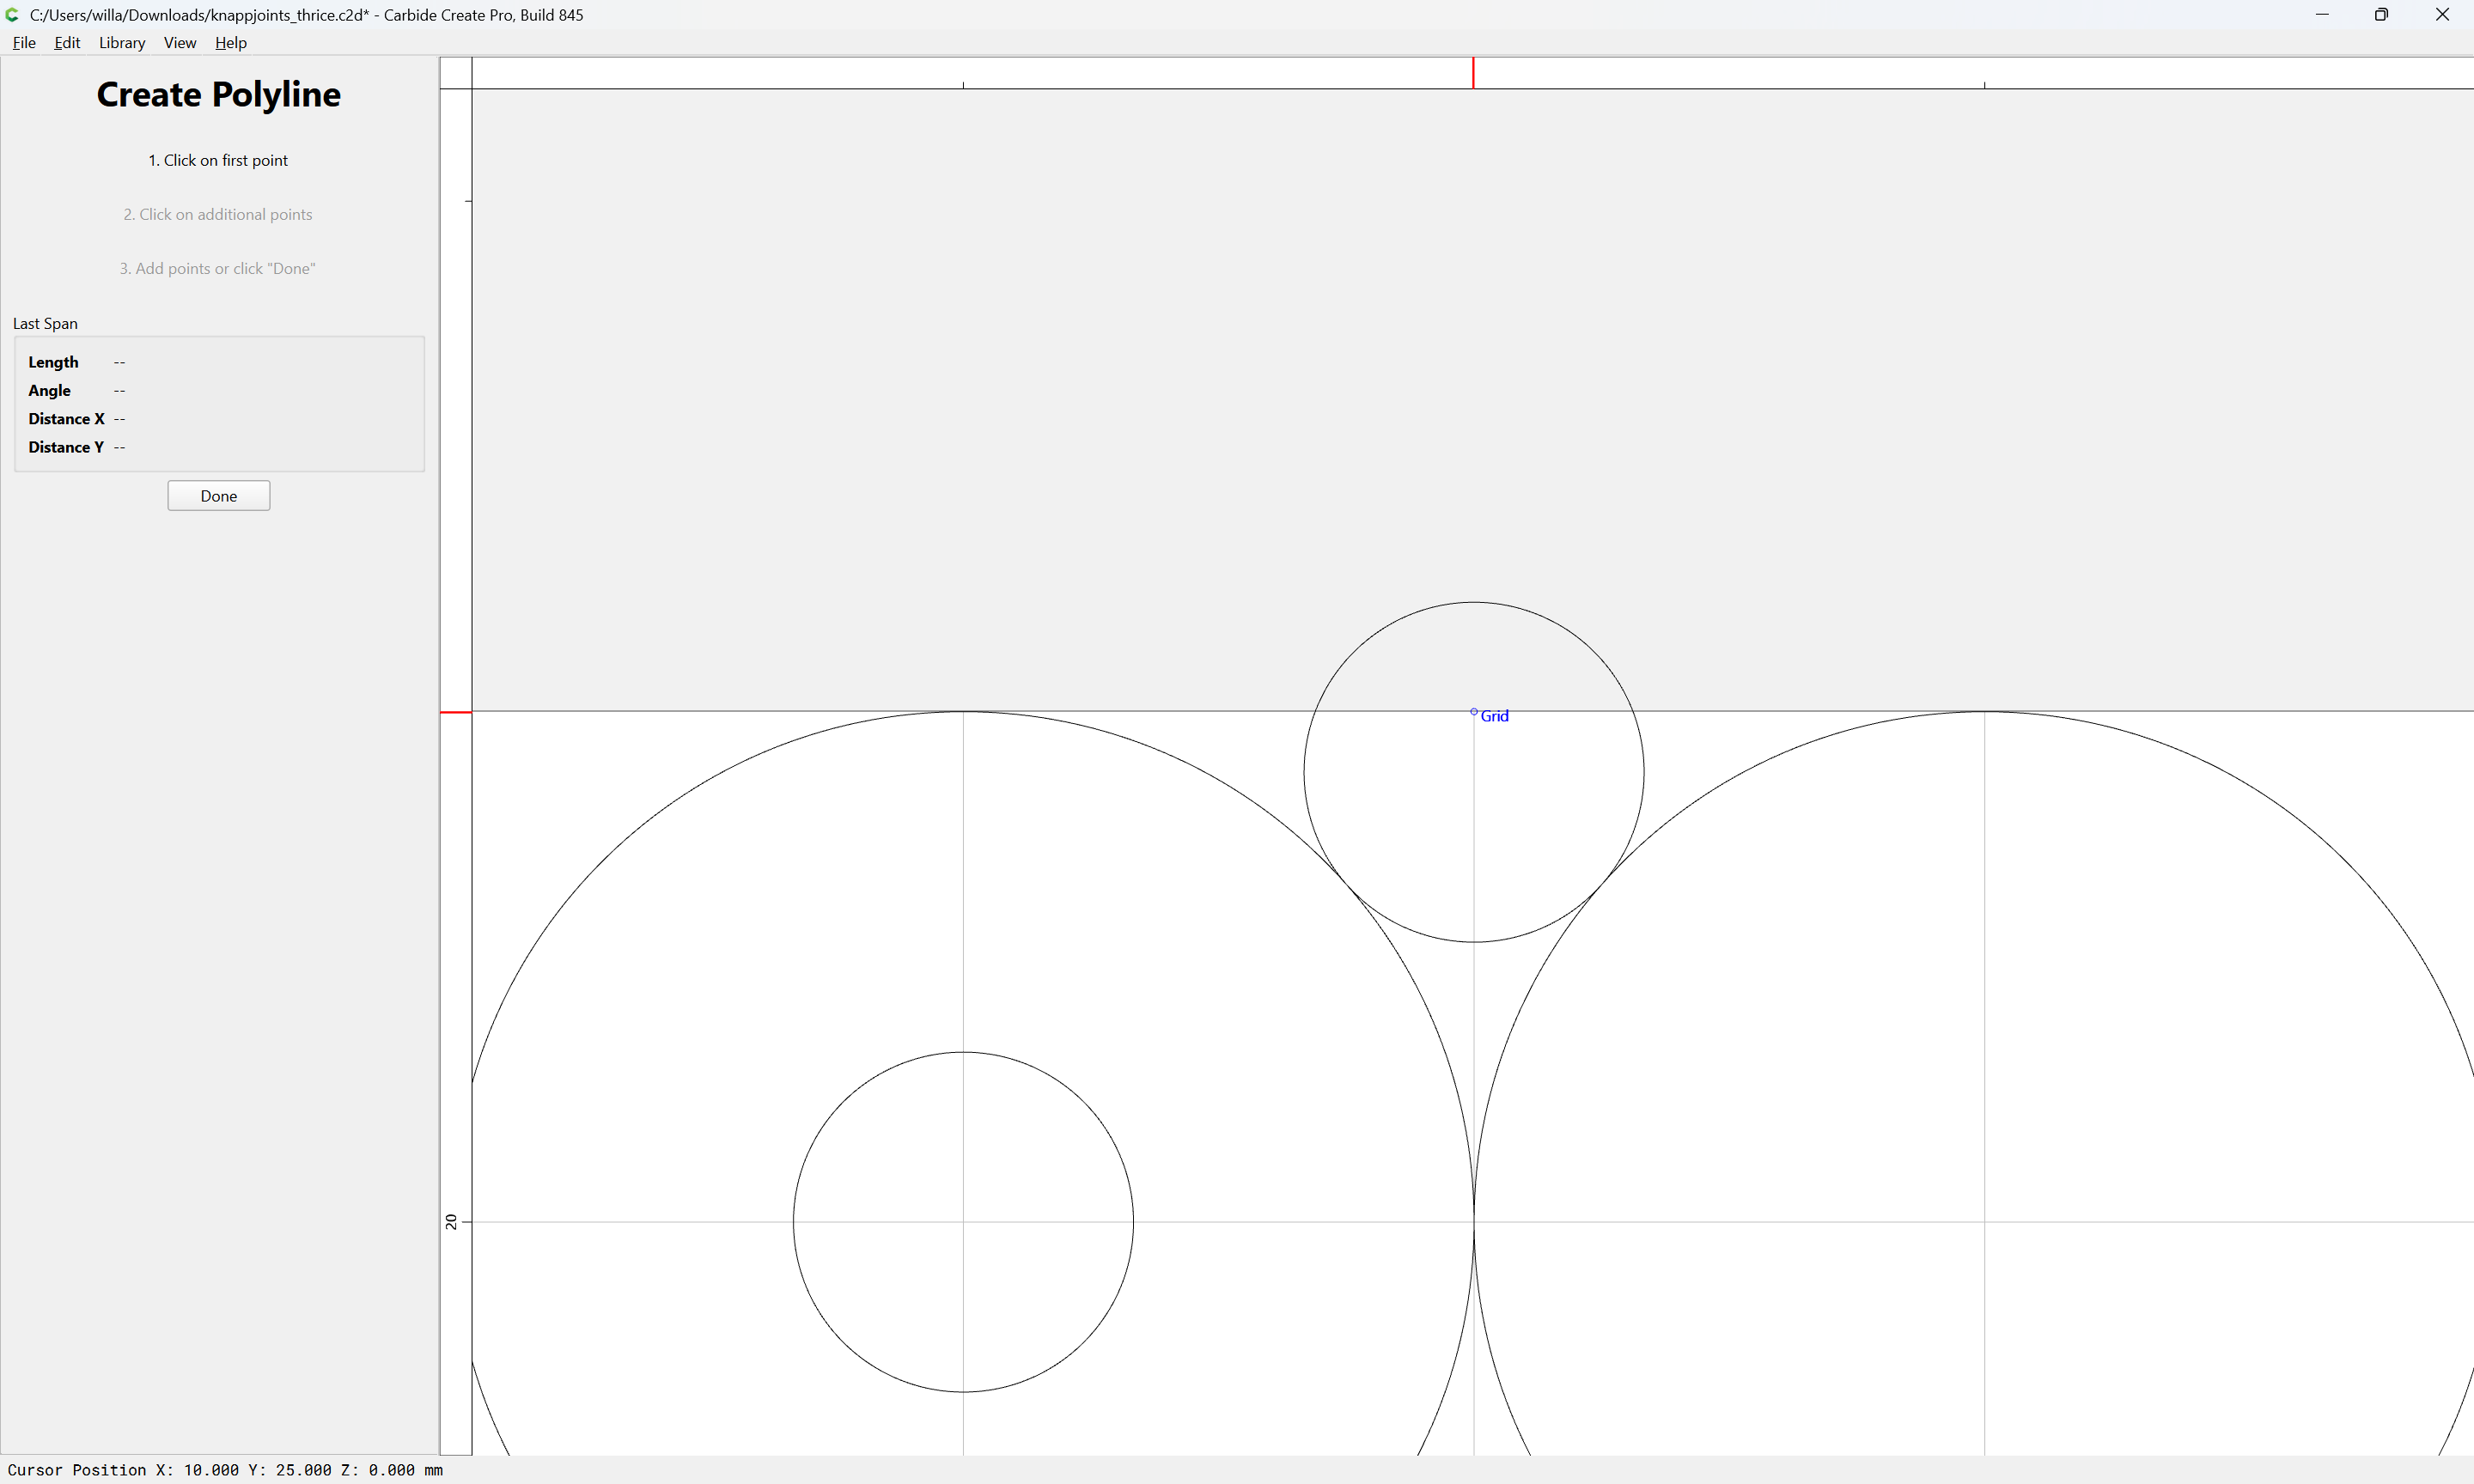
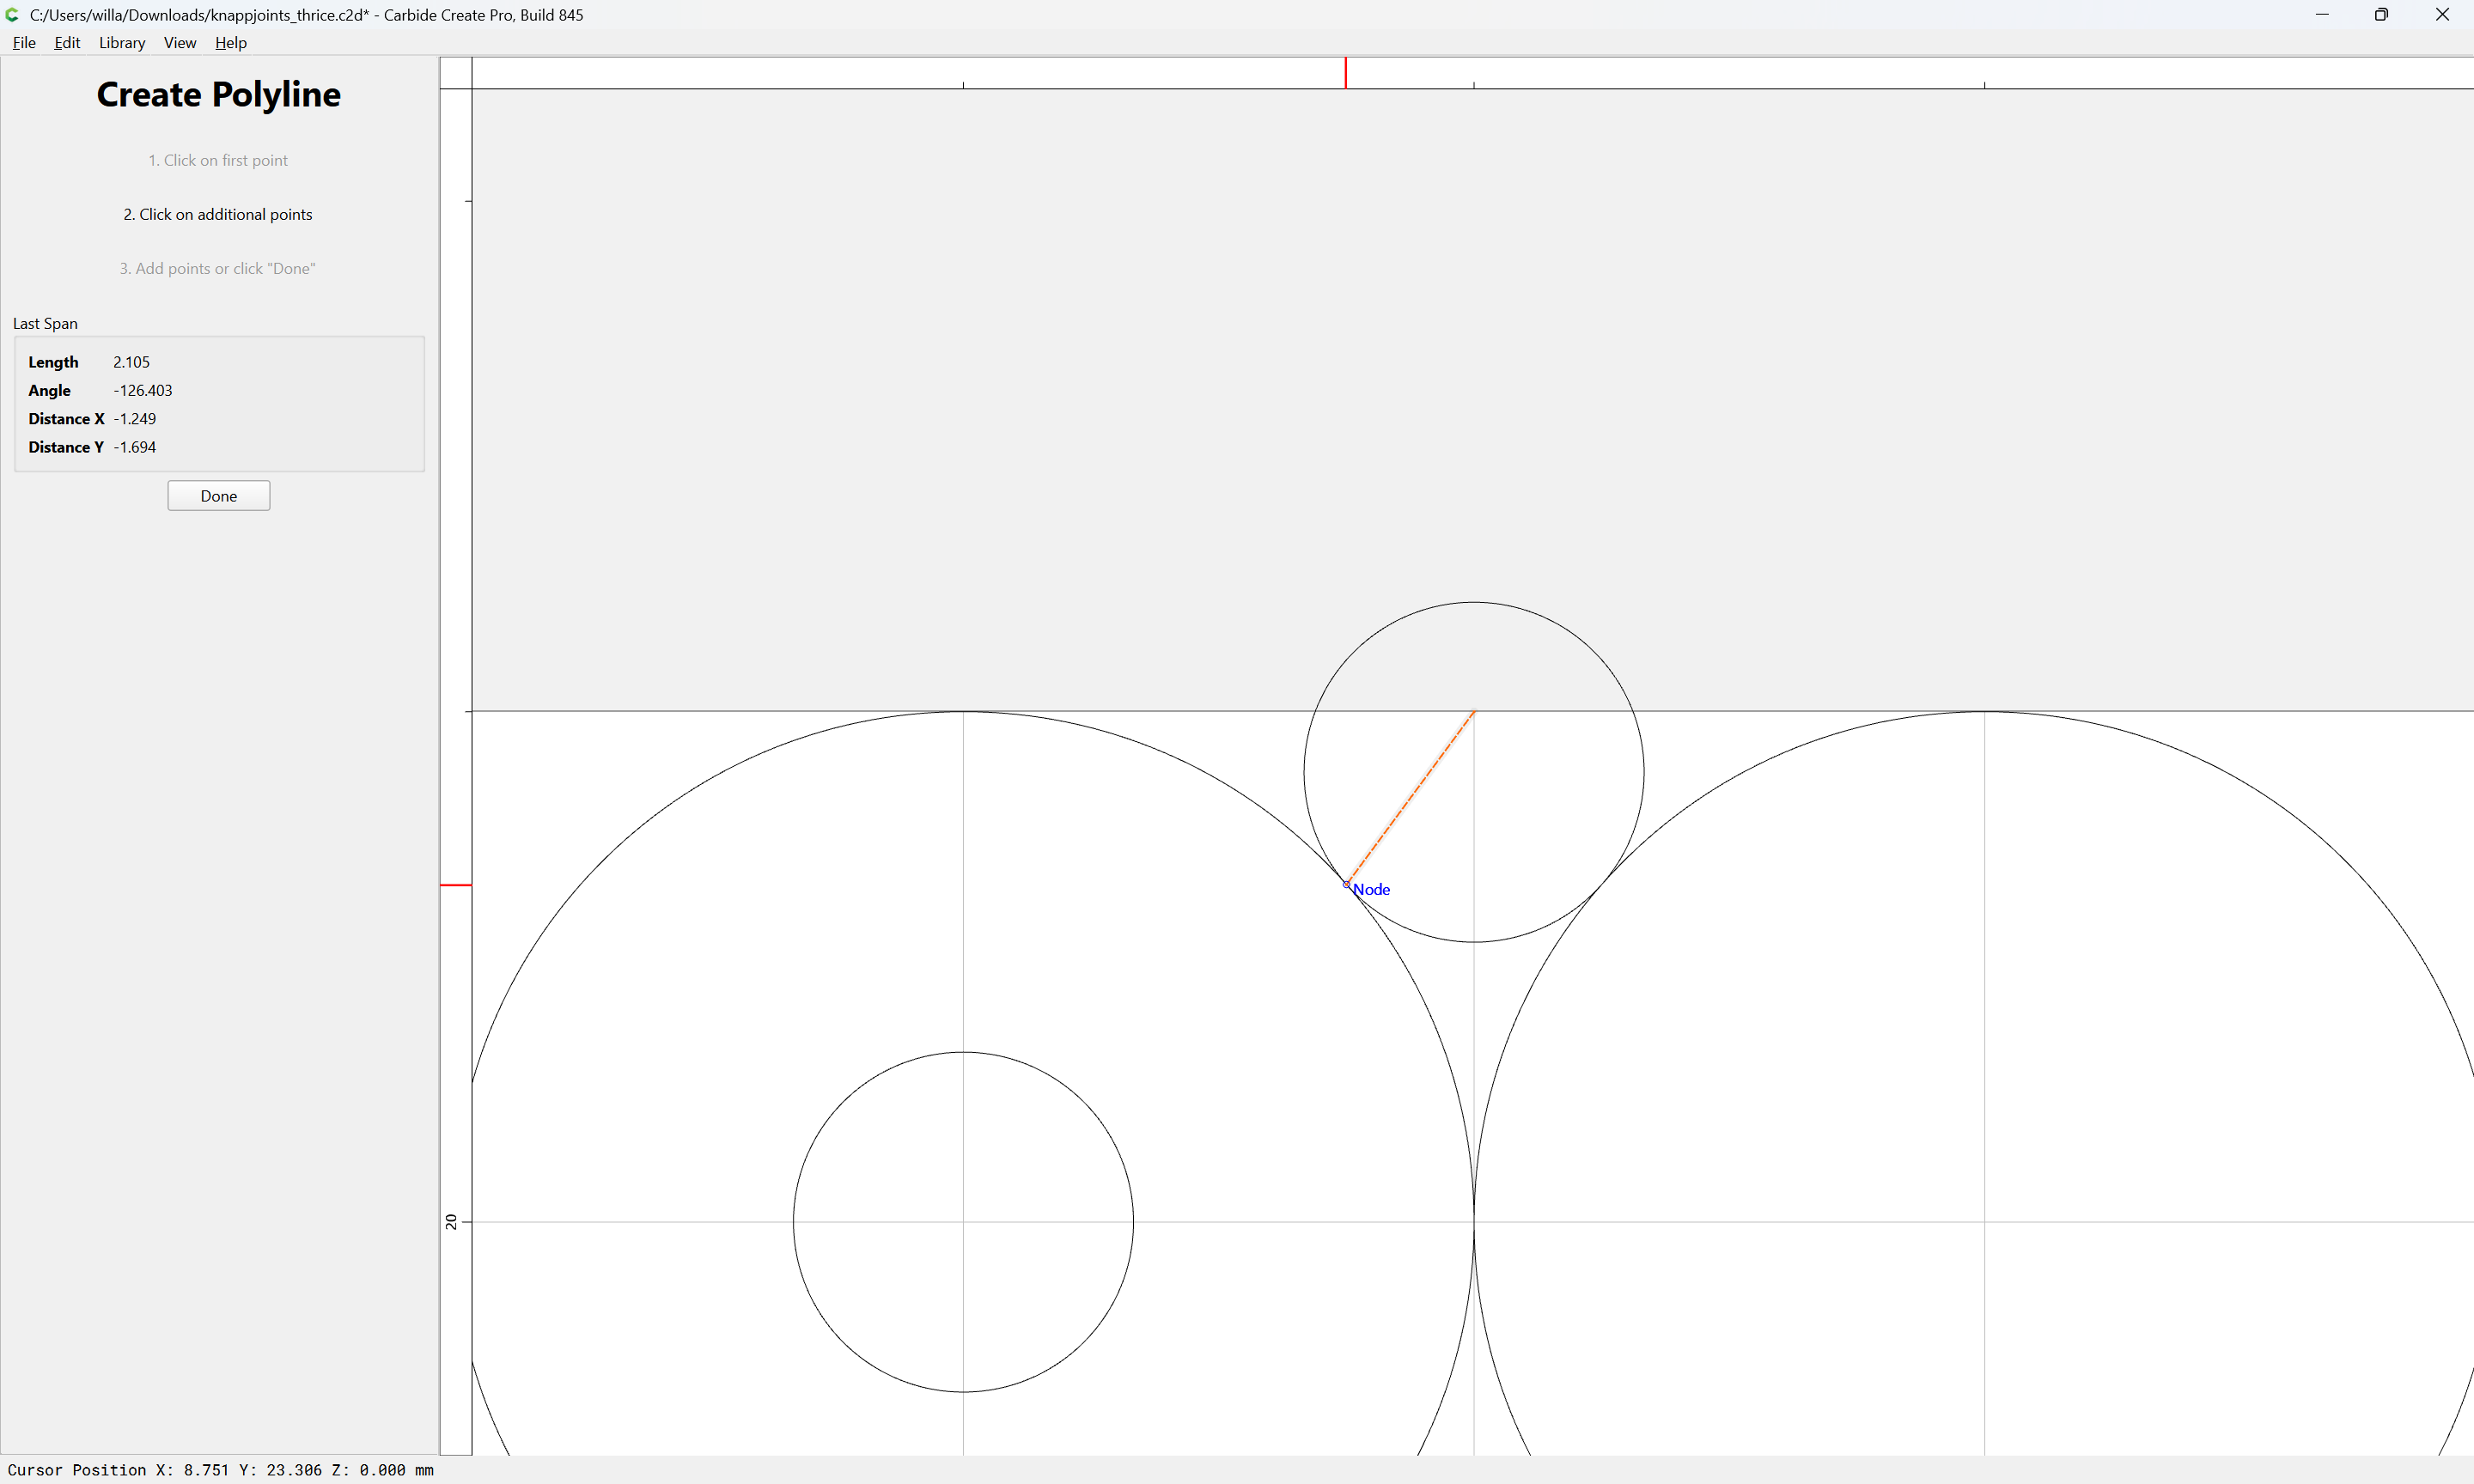
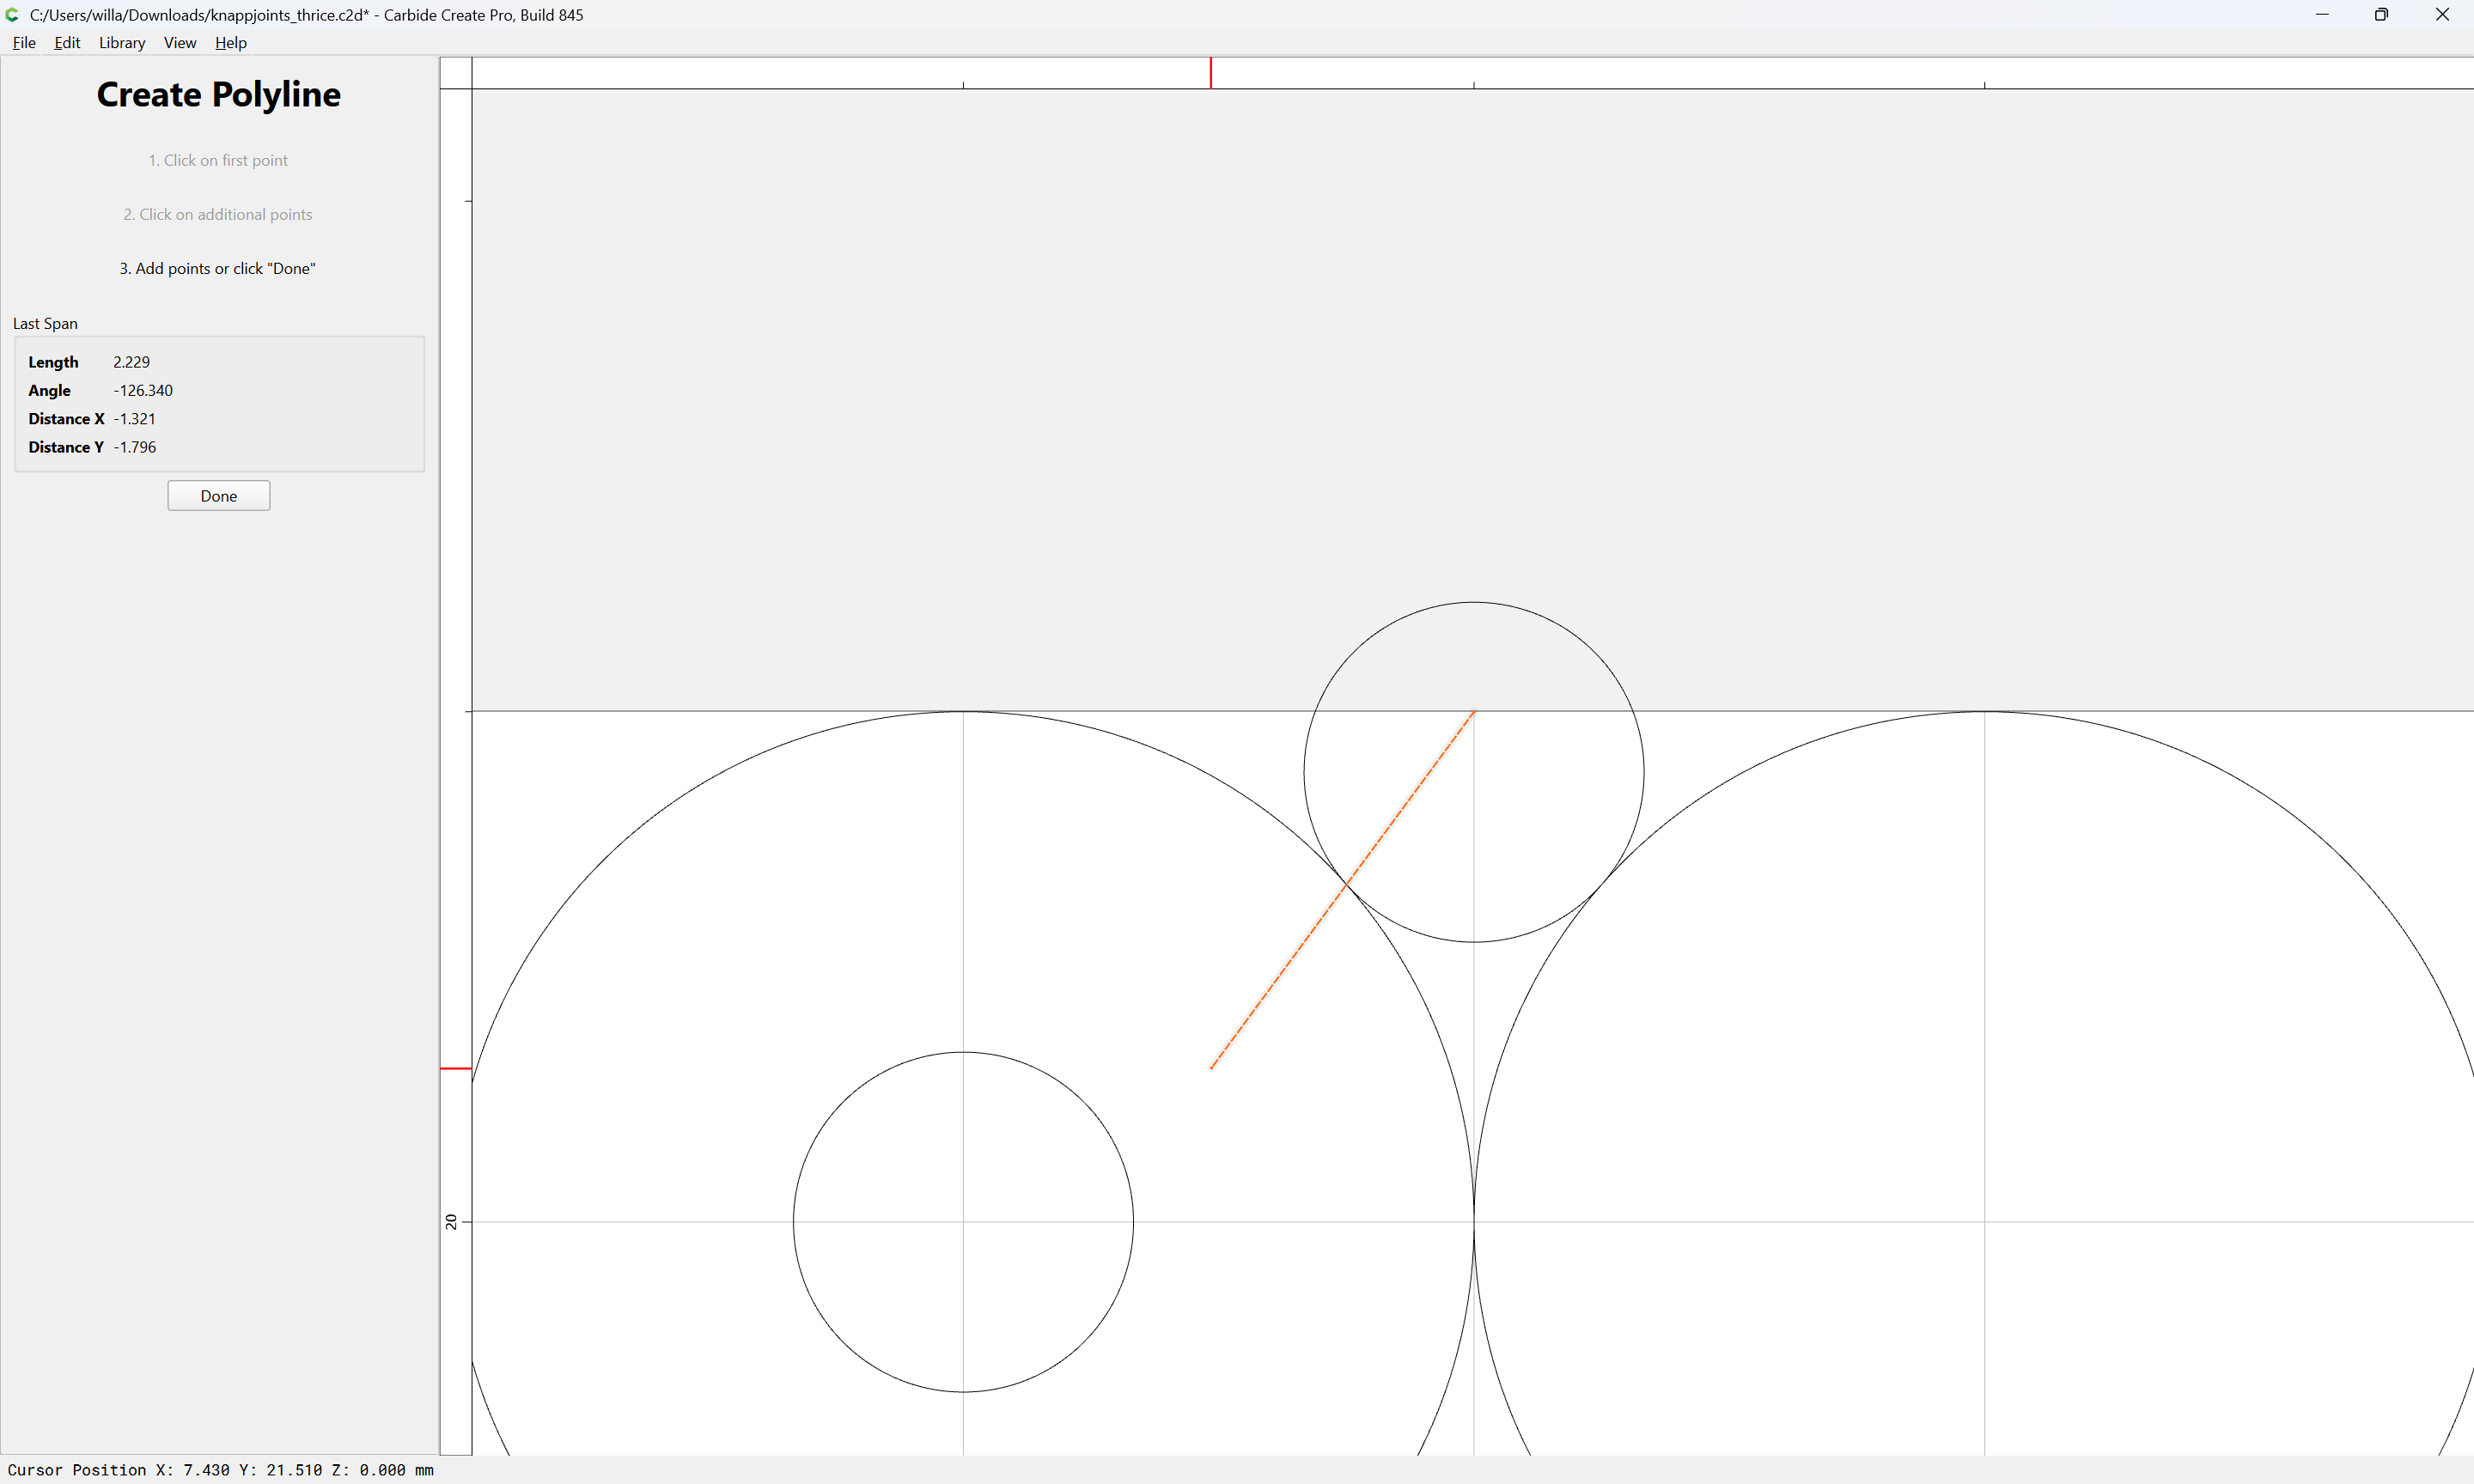
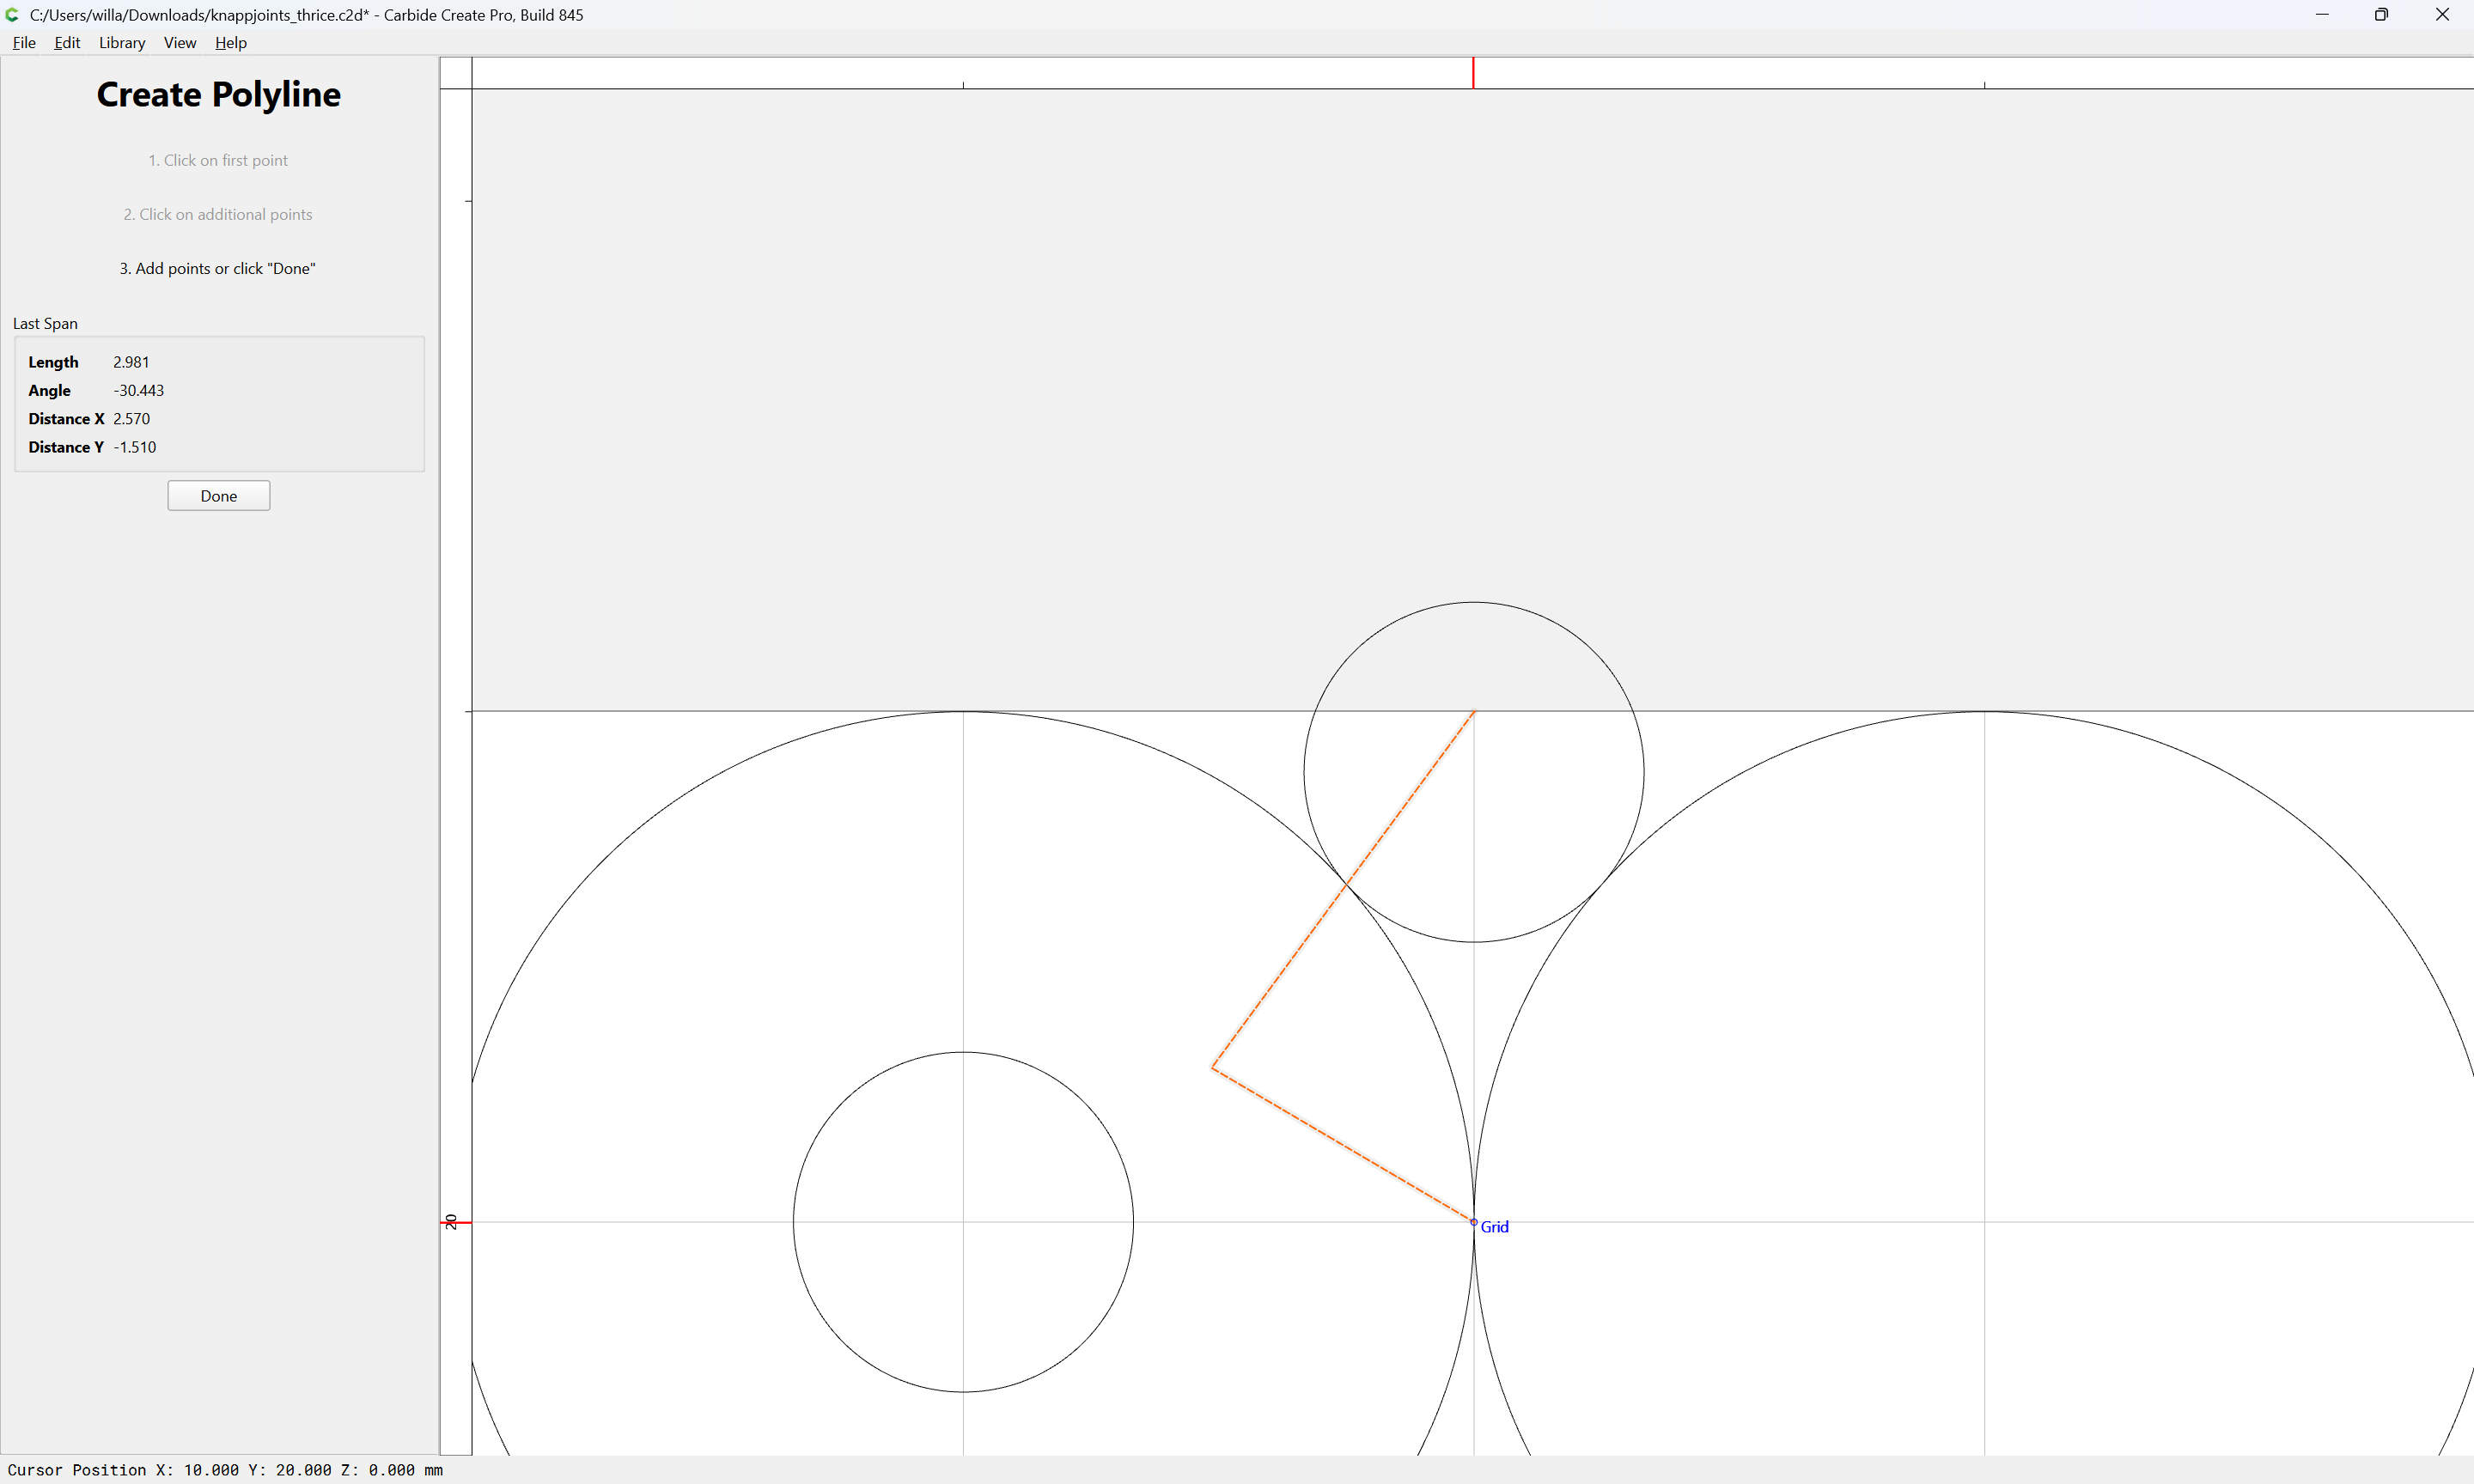
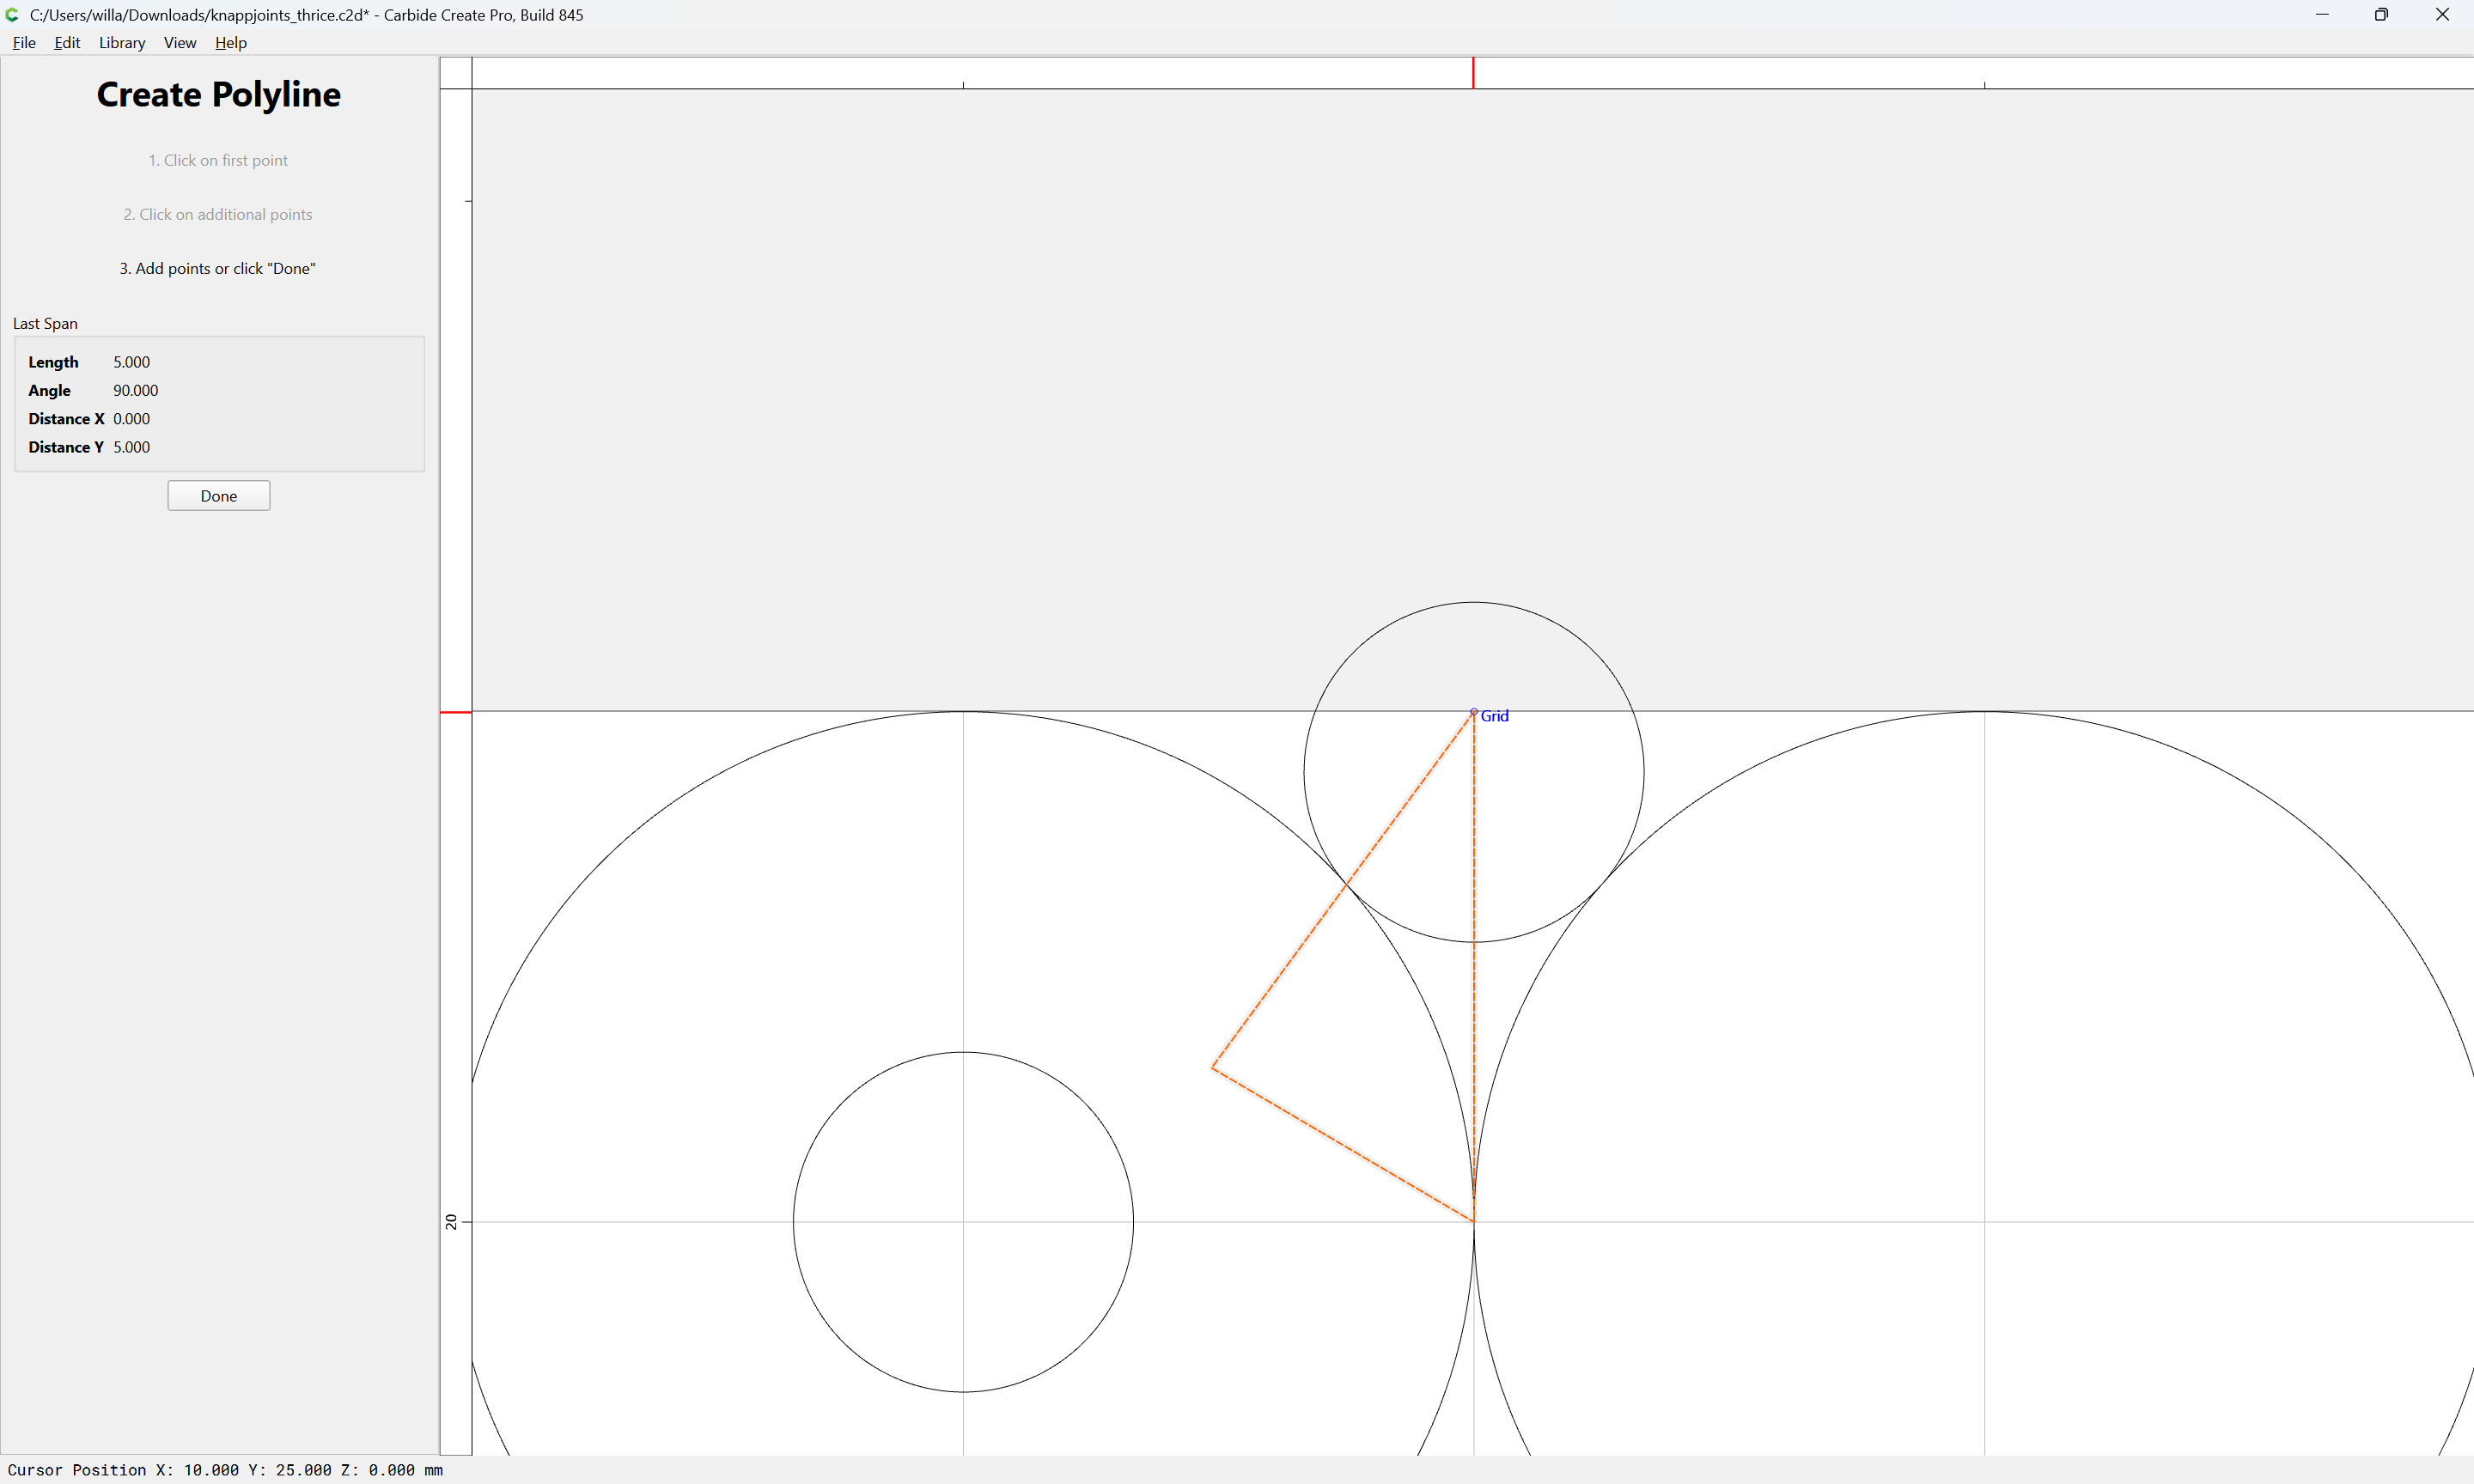
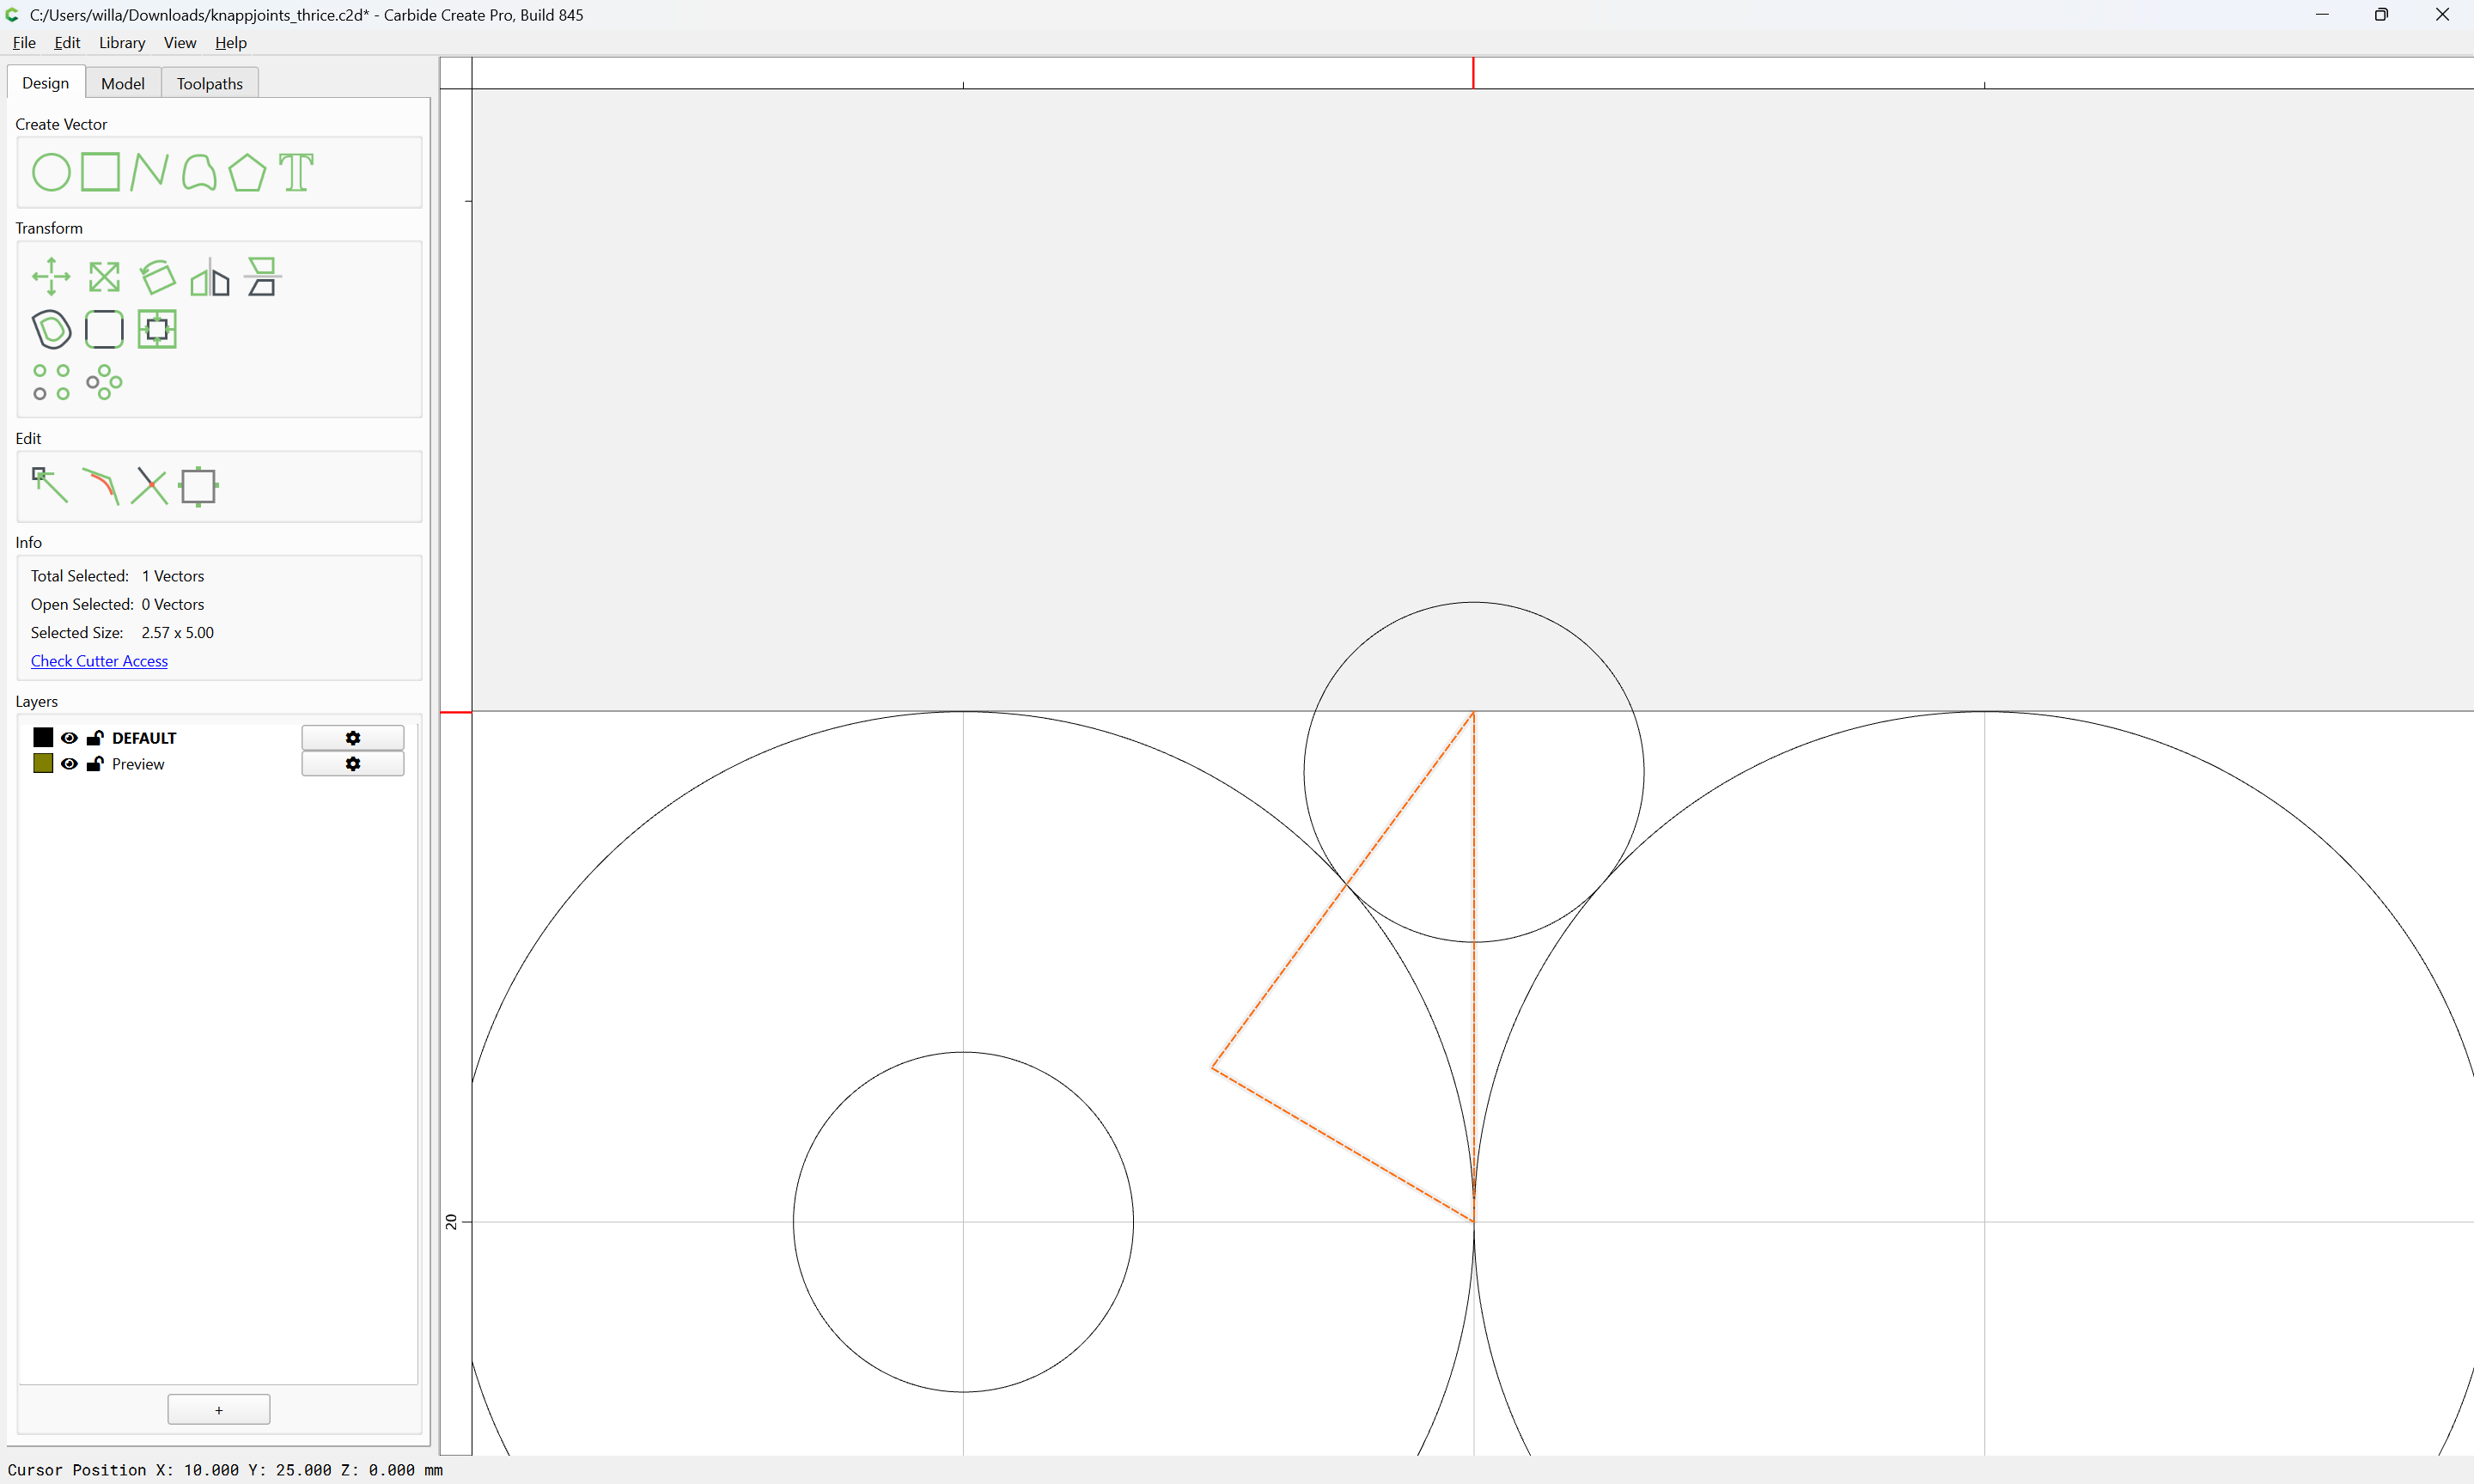
Then draw a polyline which isolates down to just what is wanted:

and shift-click on the circle to add it to the selection:

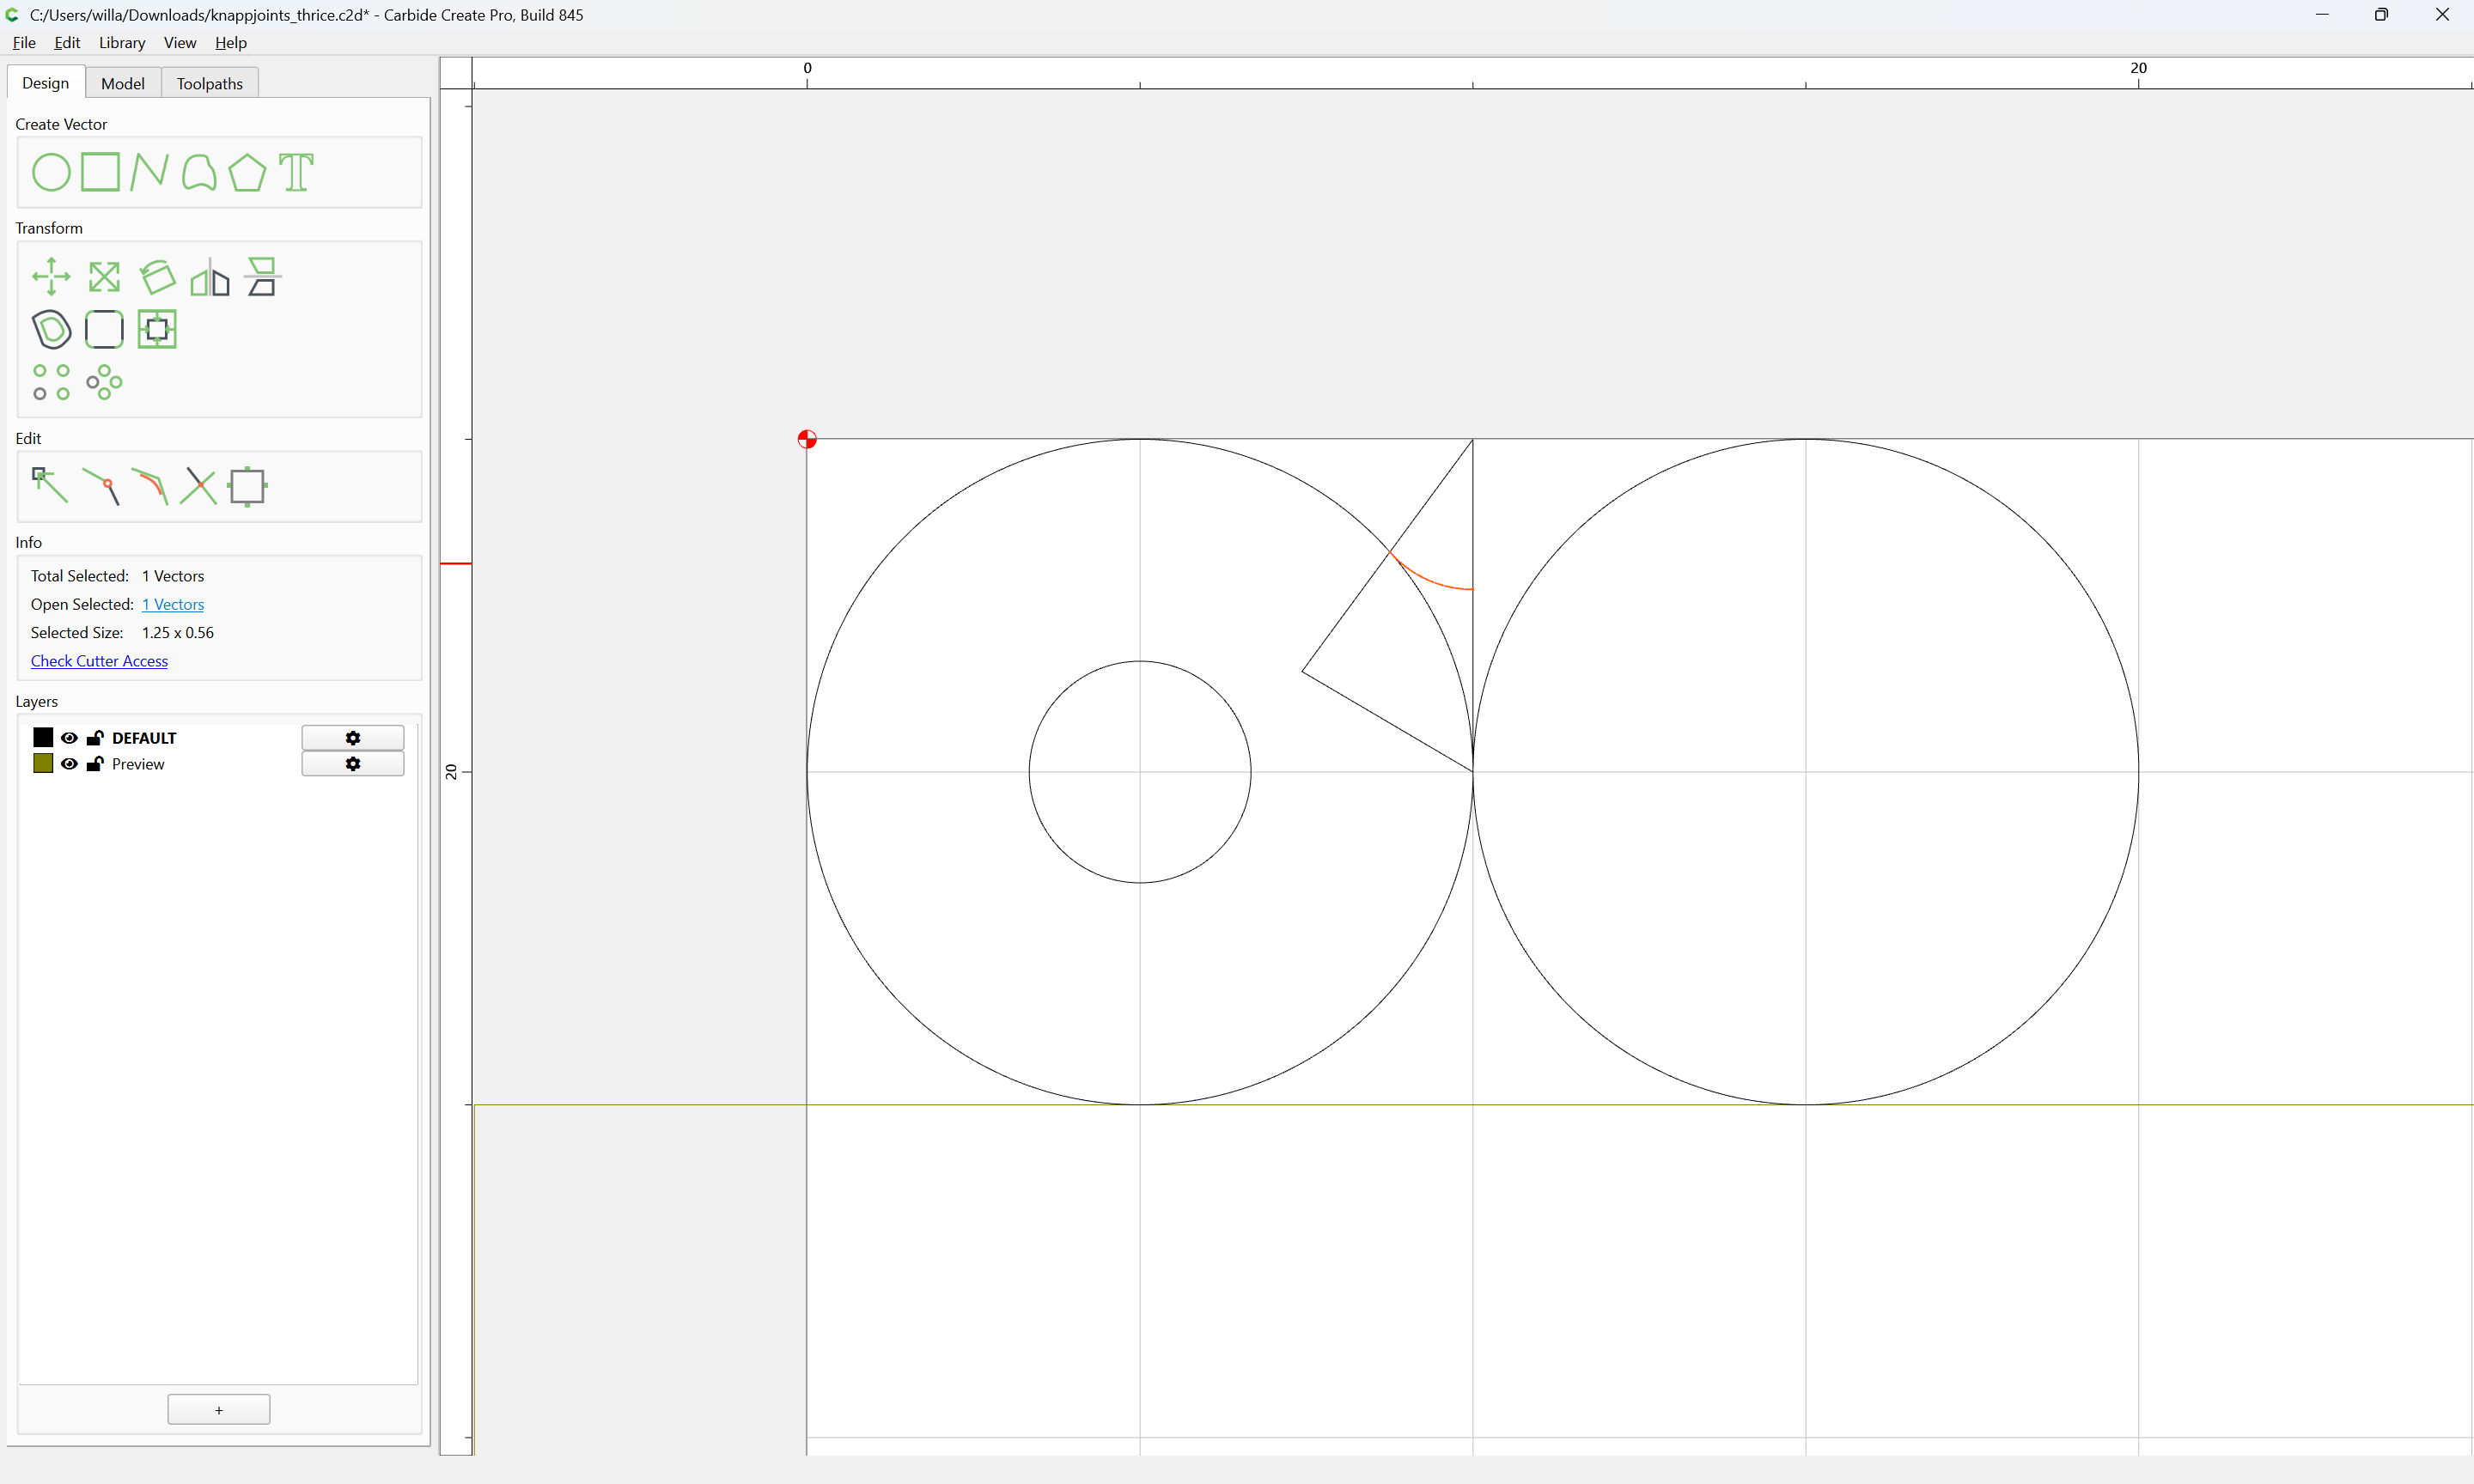
and use Trim Vectors to remove what is not wanted:

OK

Duplicate the Polyline in place:

as well as the arc:

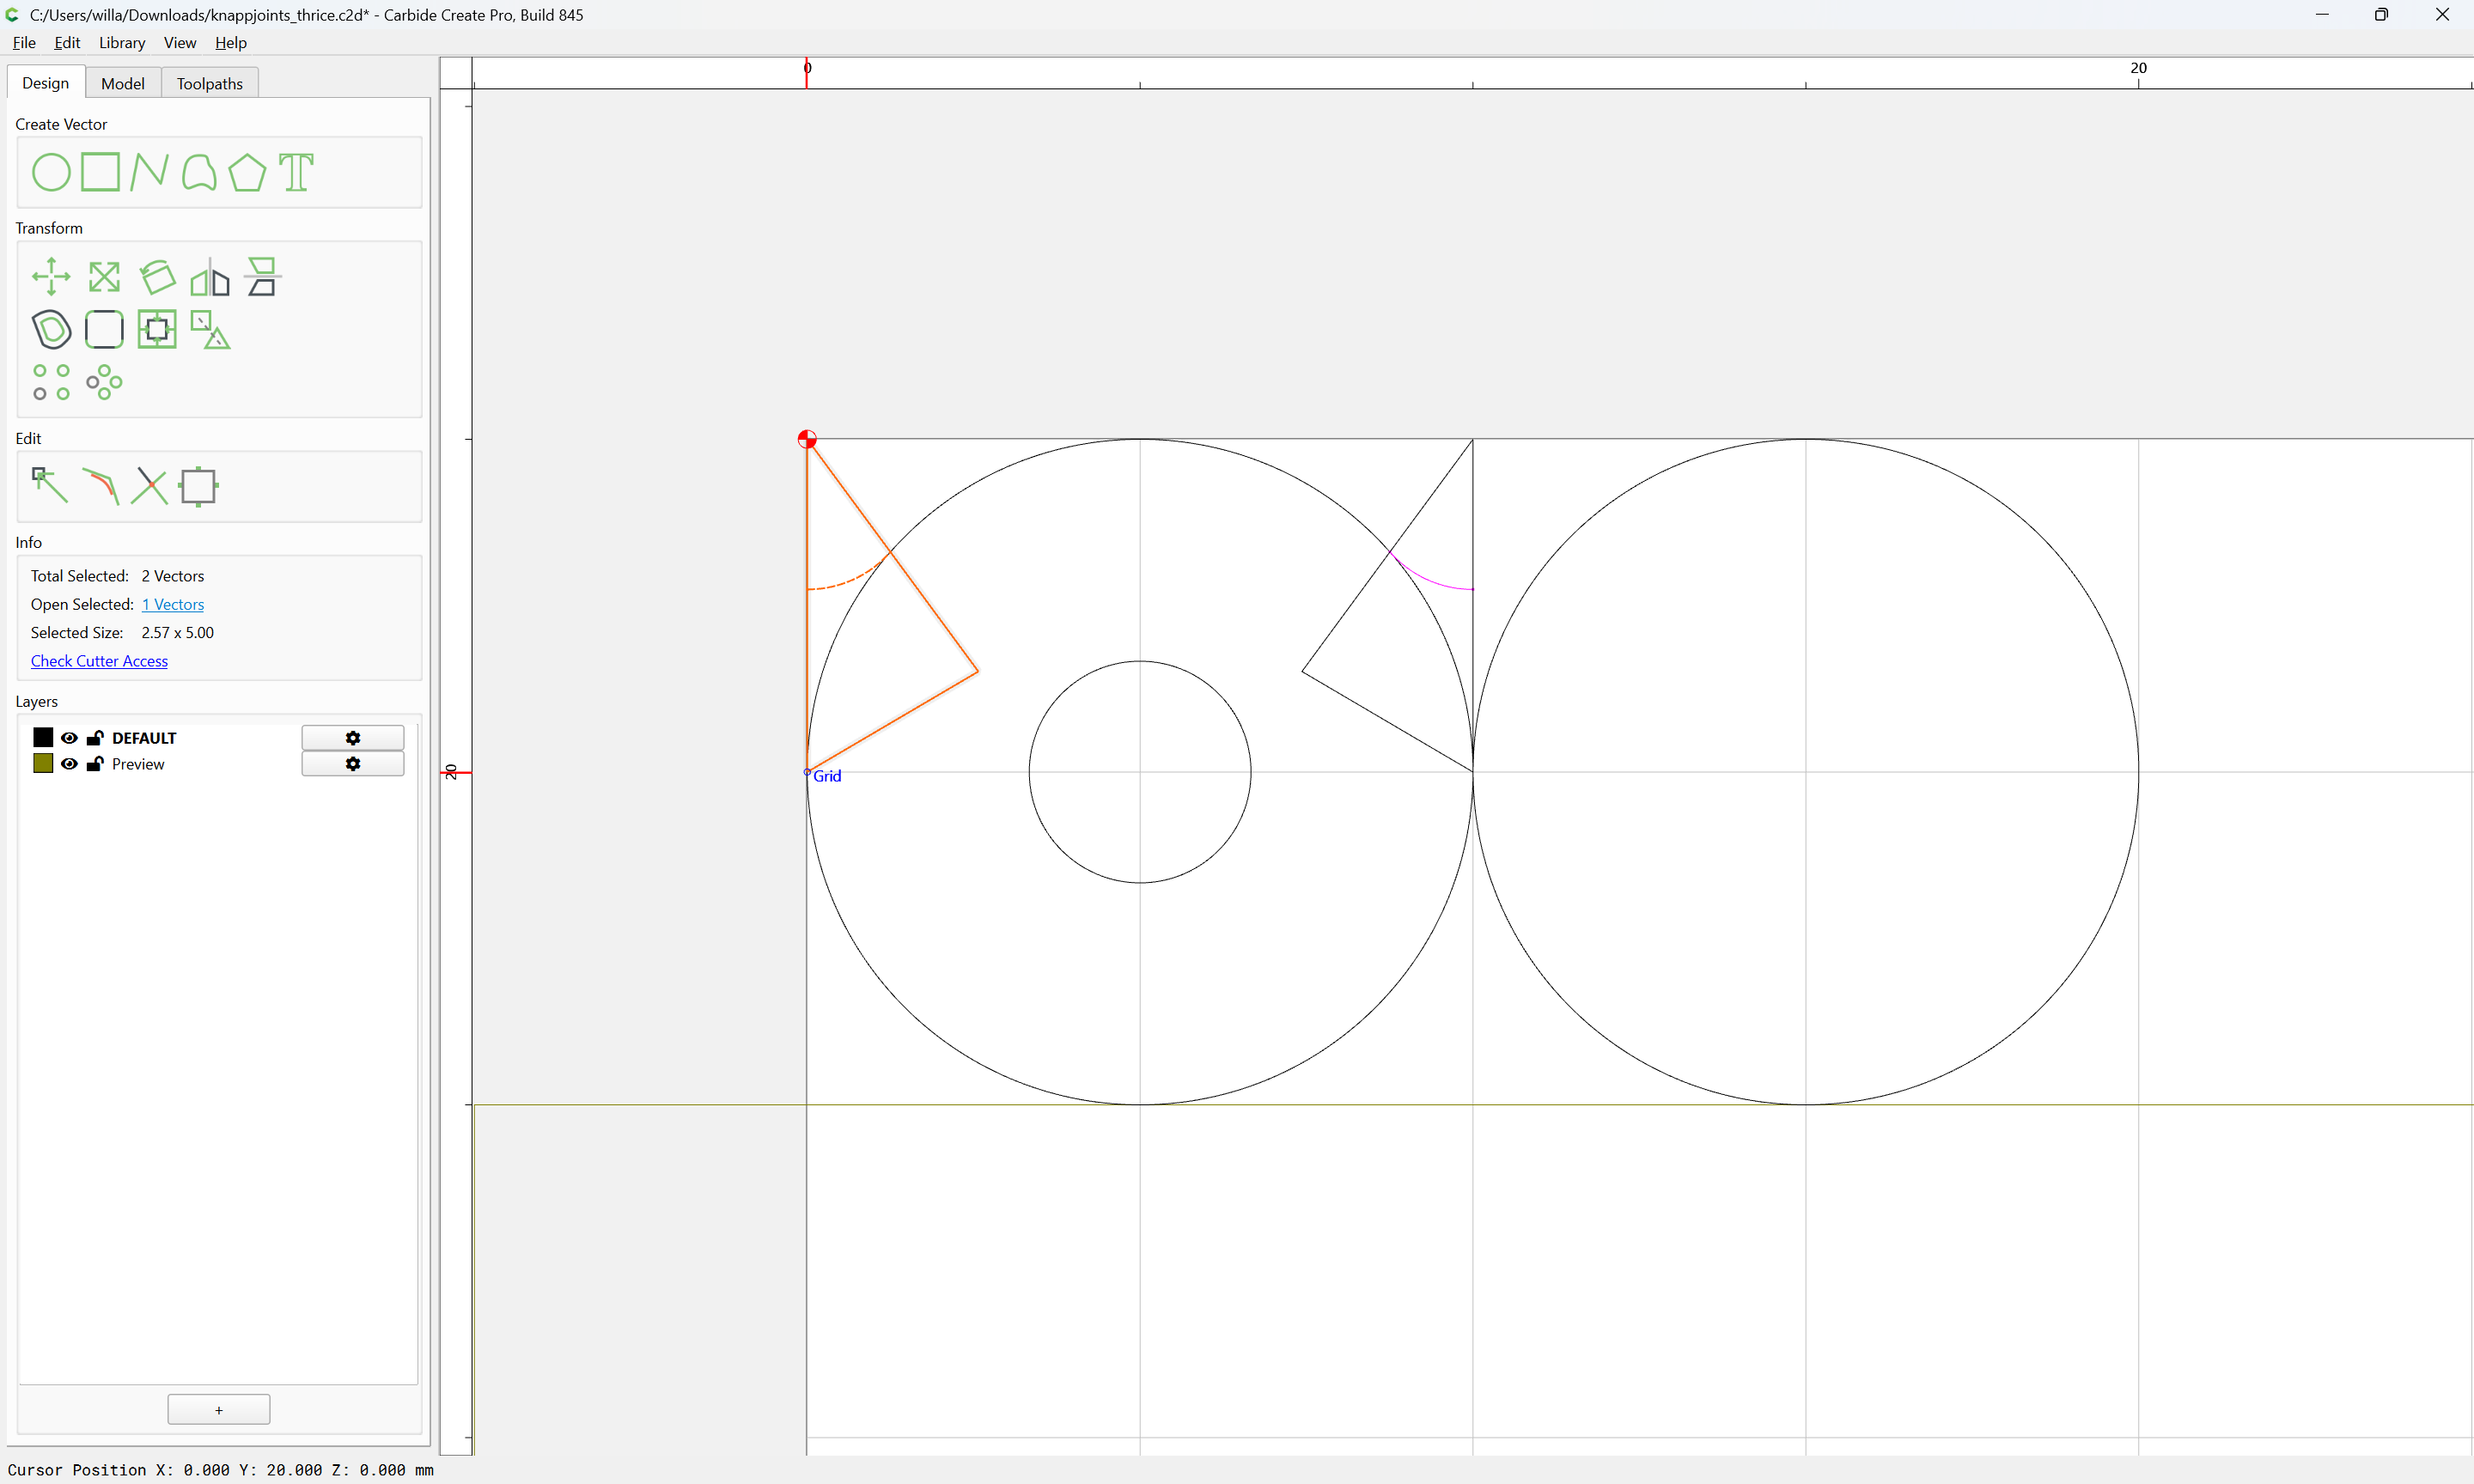
and Mirror Horizontal it and the isolated arc:

and drag into position:

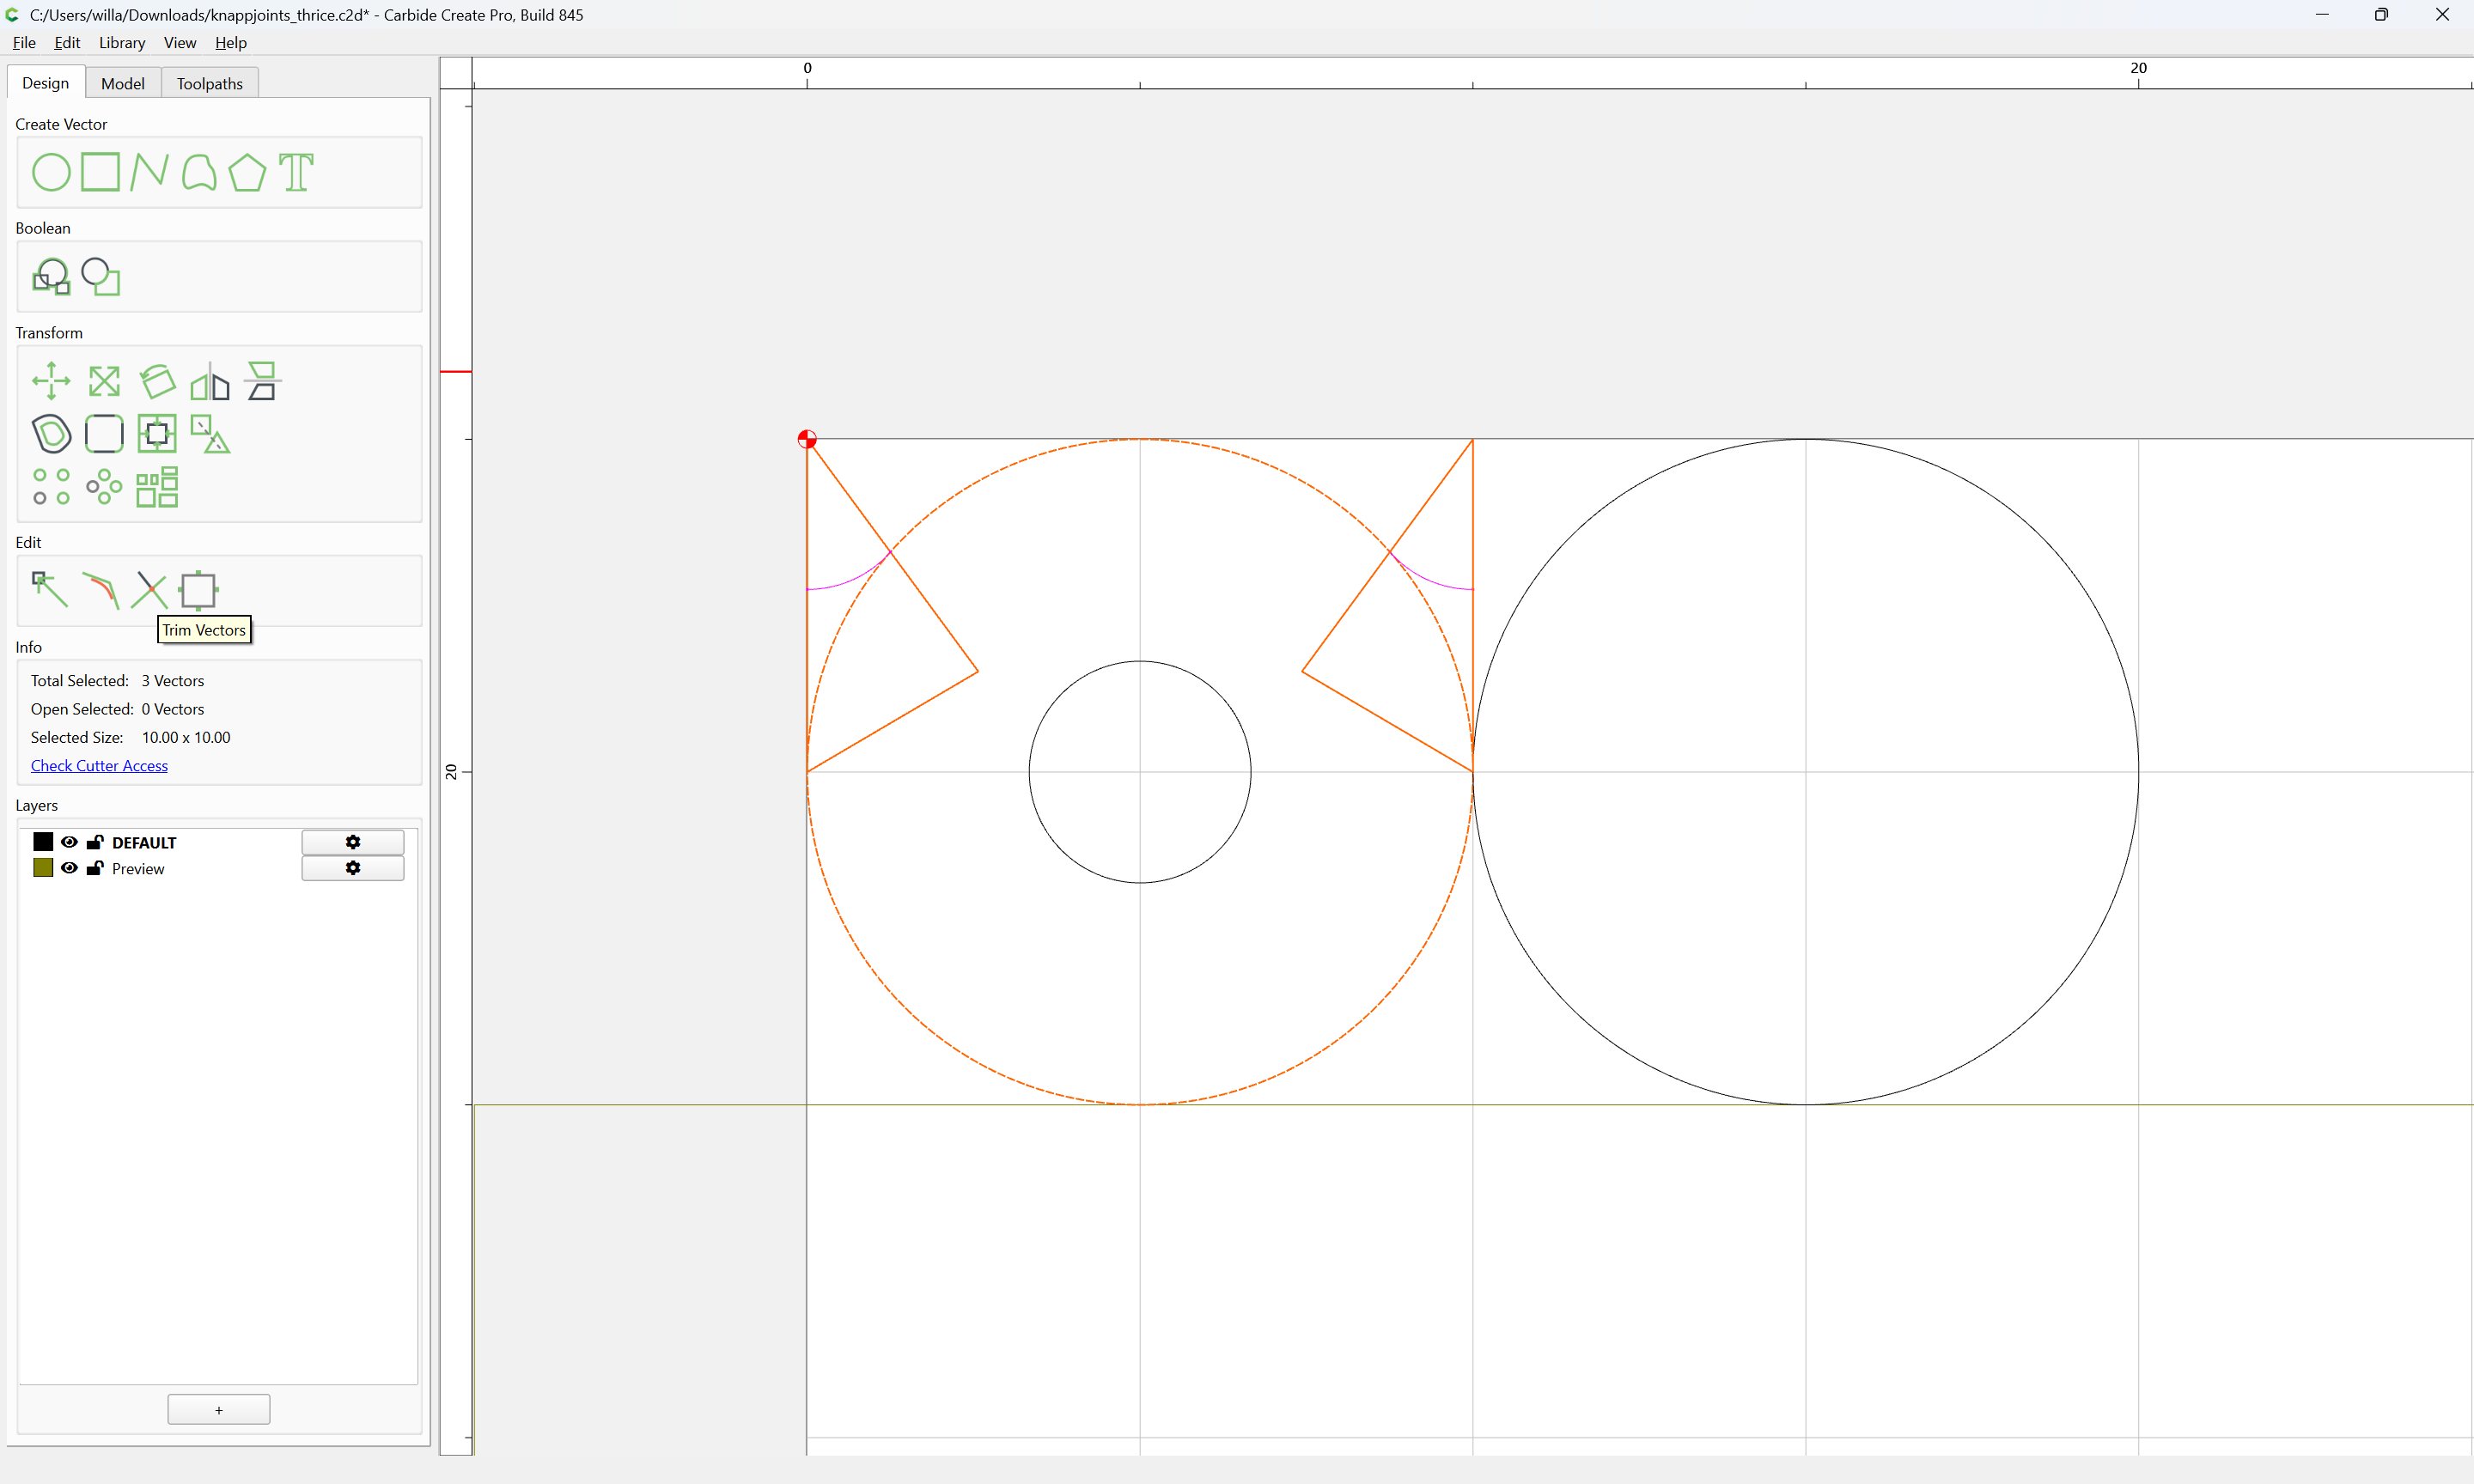
Select the two polylines and the larger circle:

and use Trim Vectors to isolate the top section:

OK

shift-click on the top section to remove it from the selection:

and delete:

Select the open vectors:

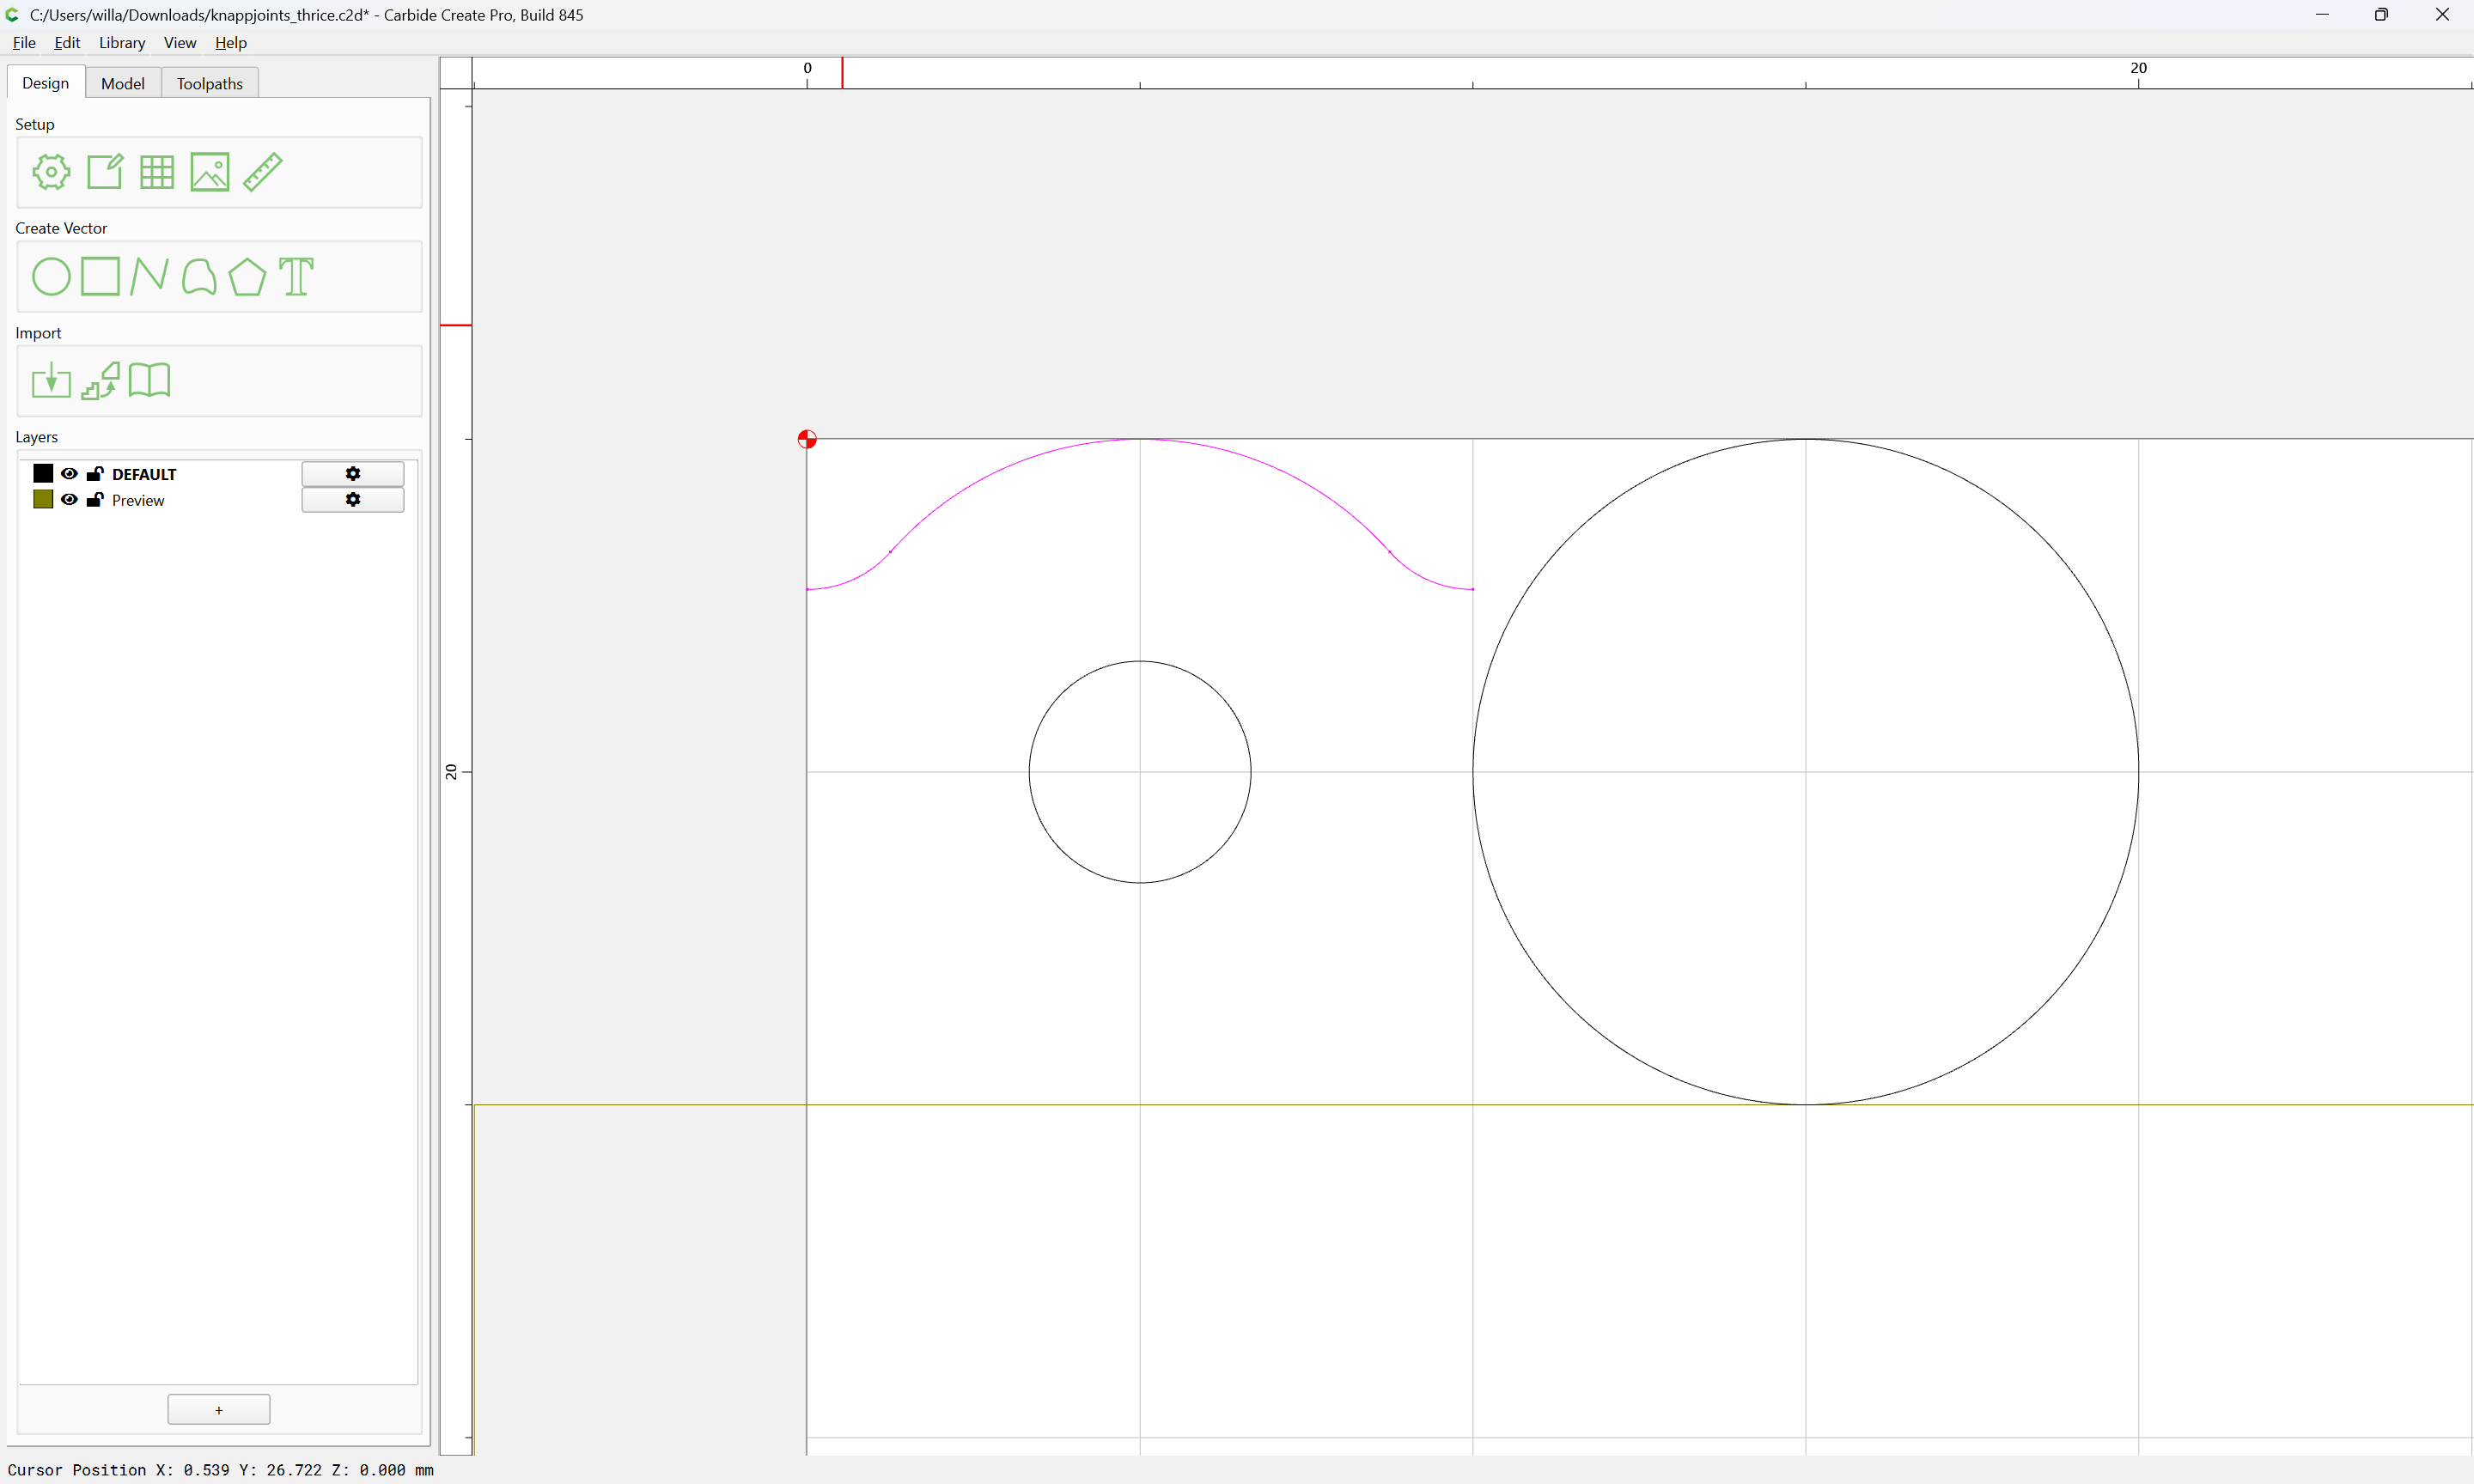
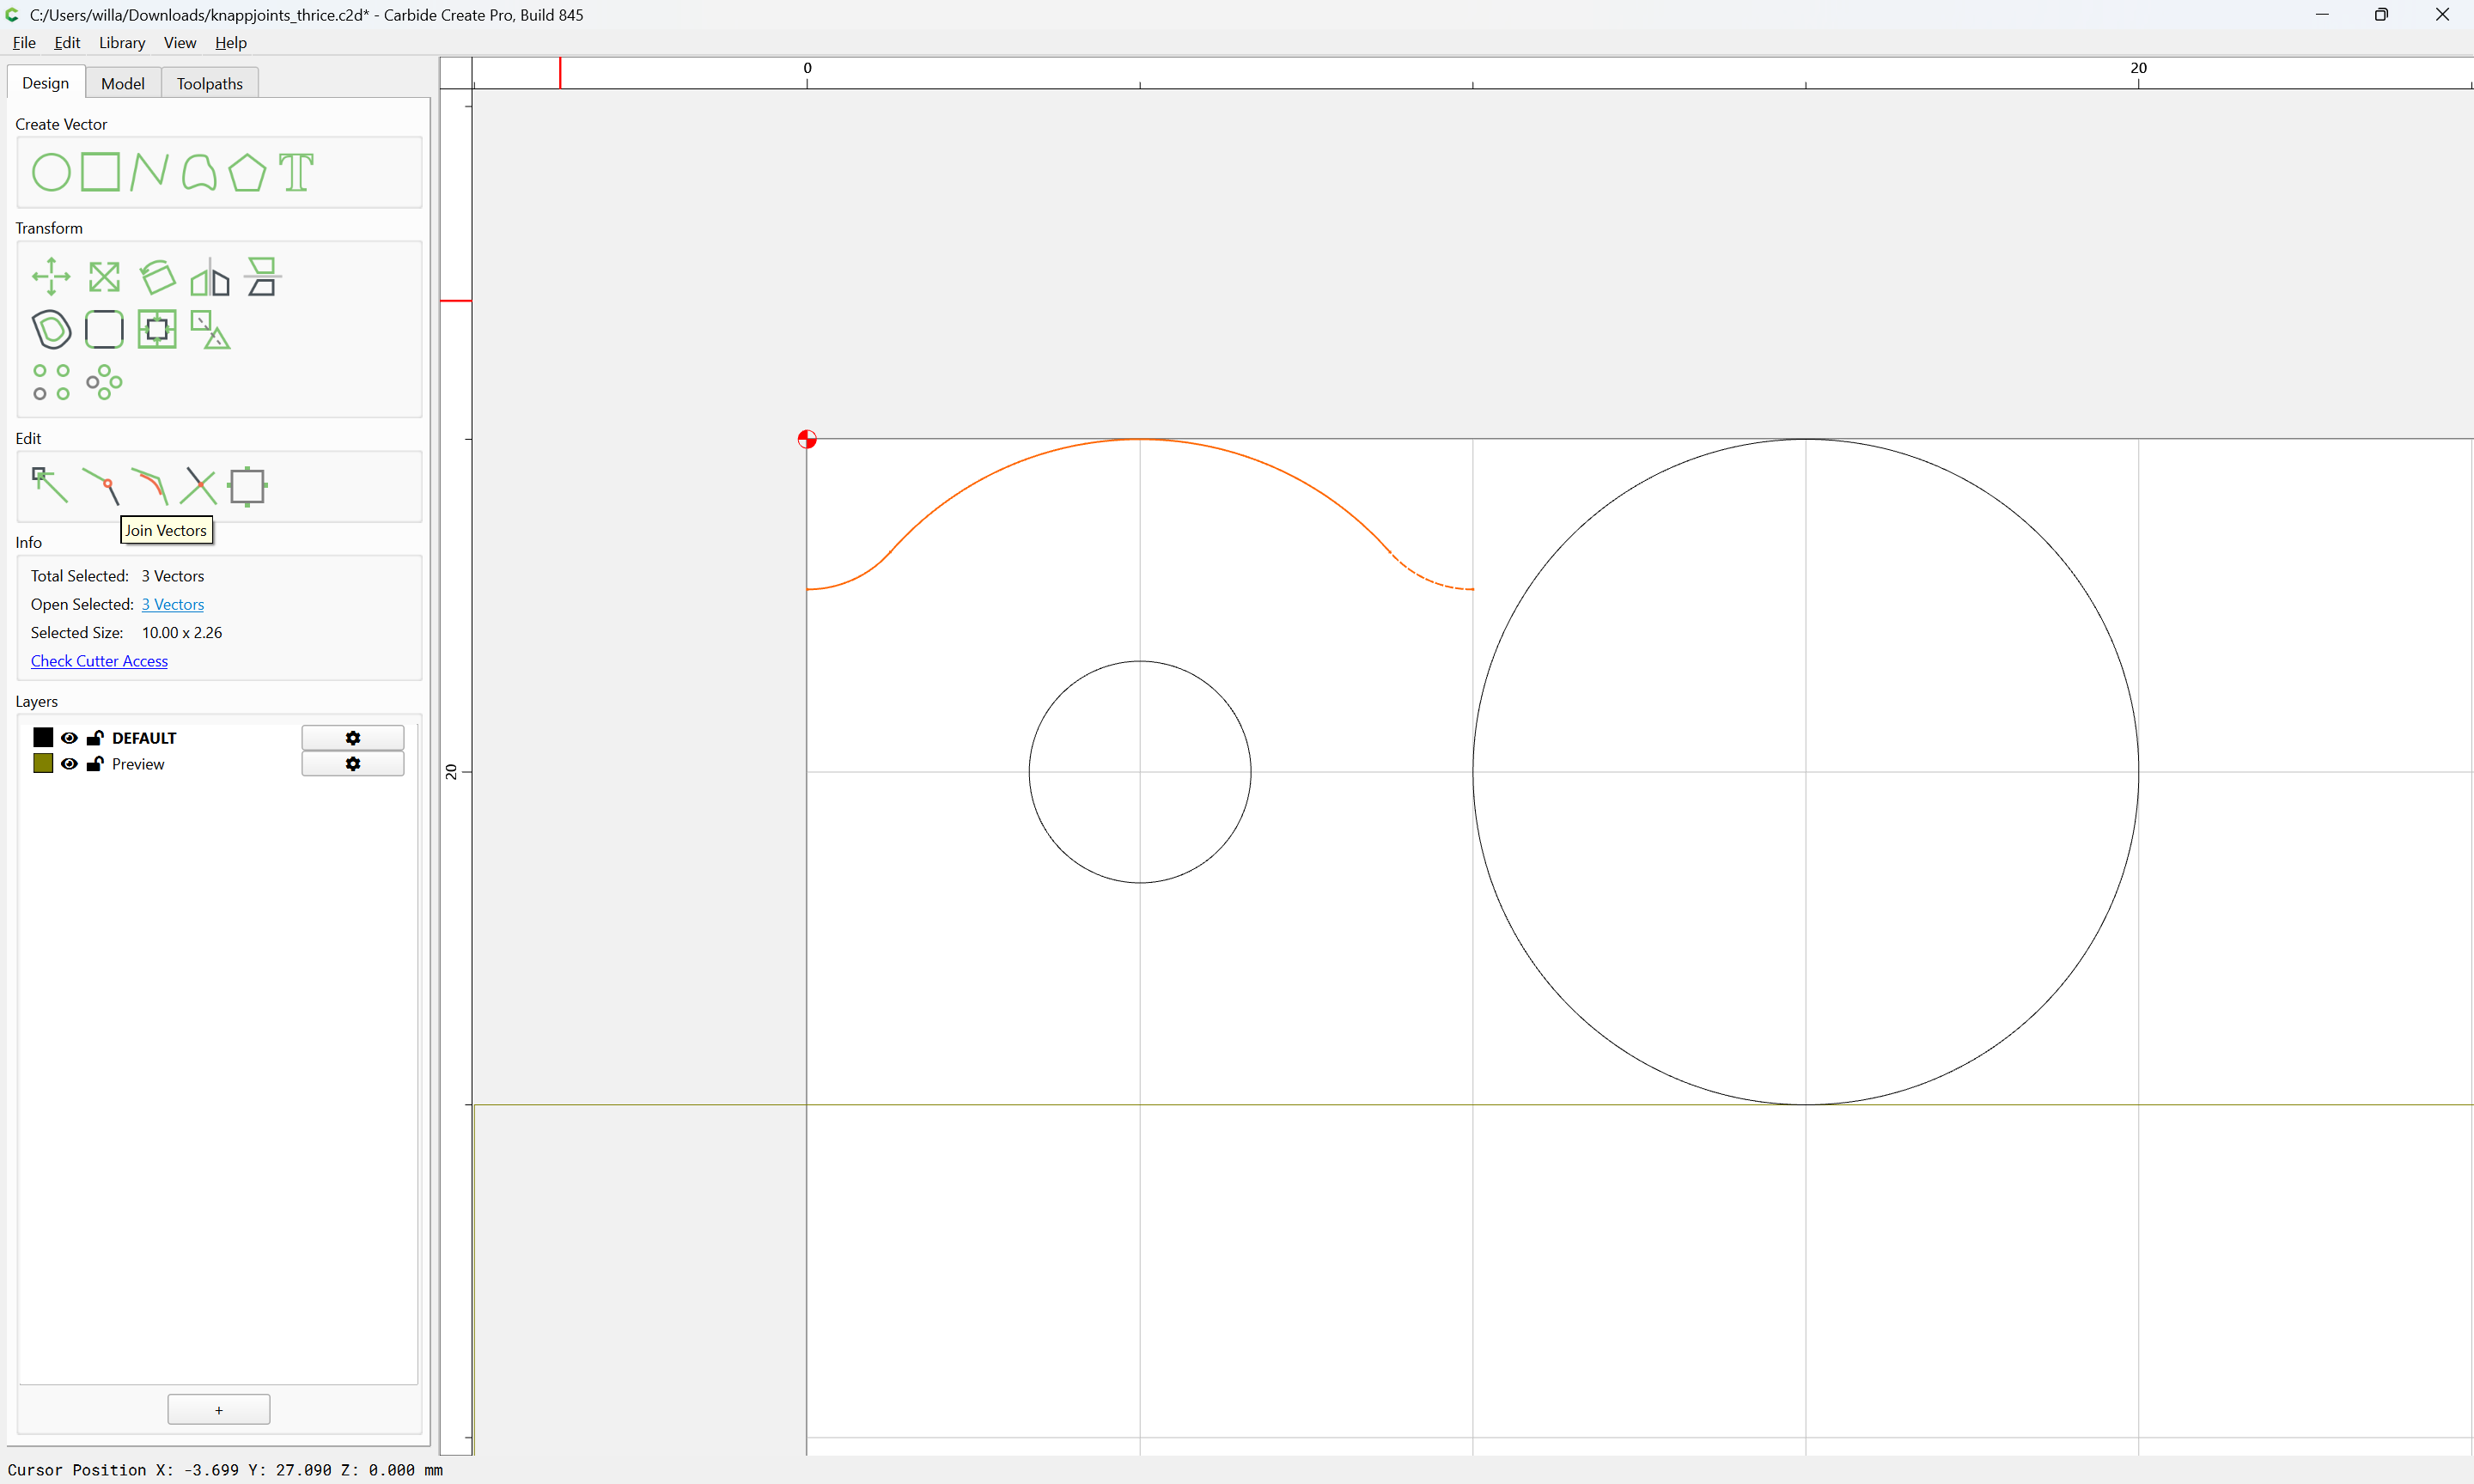
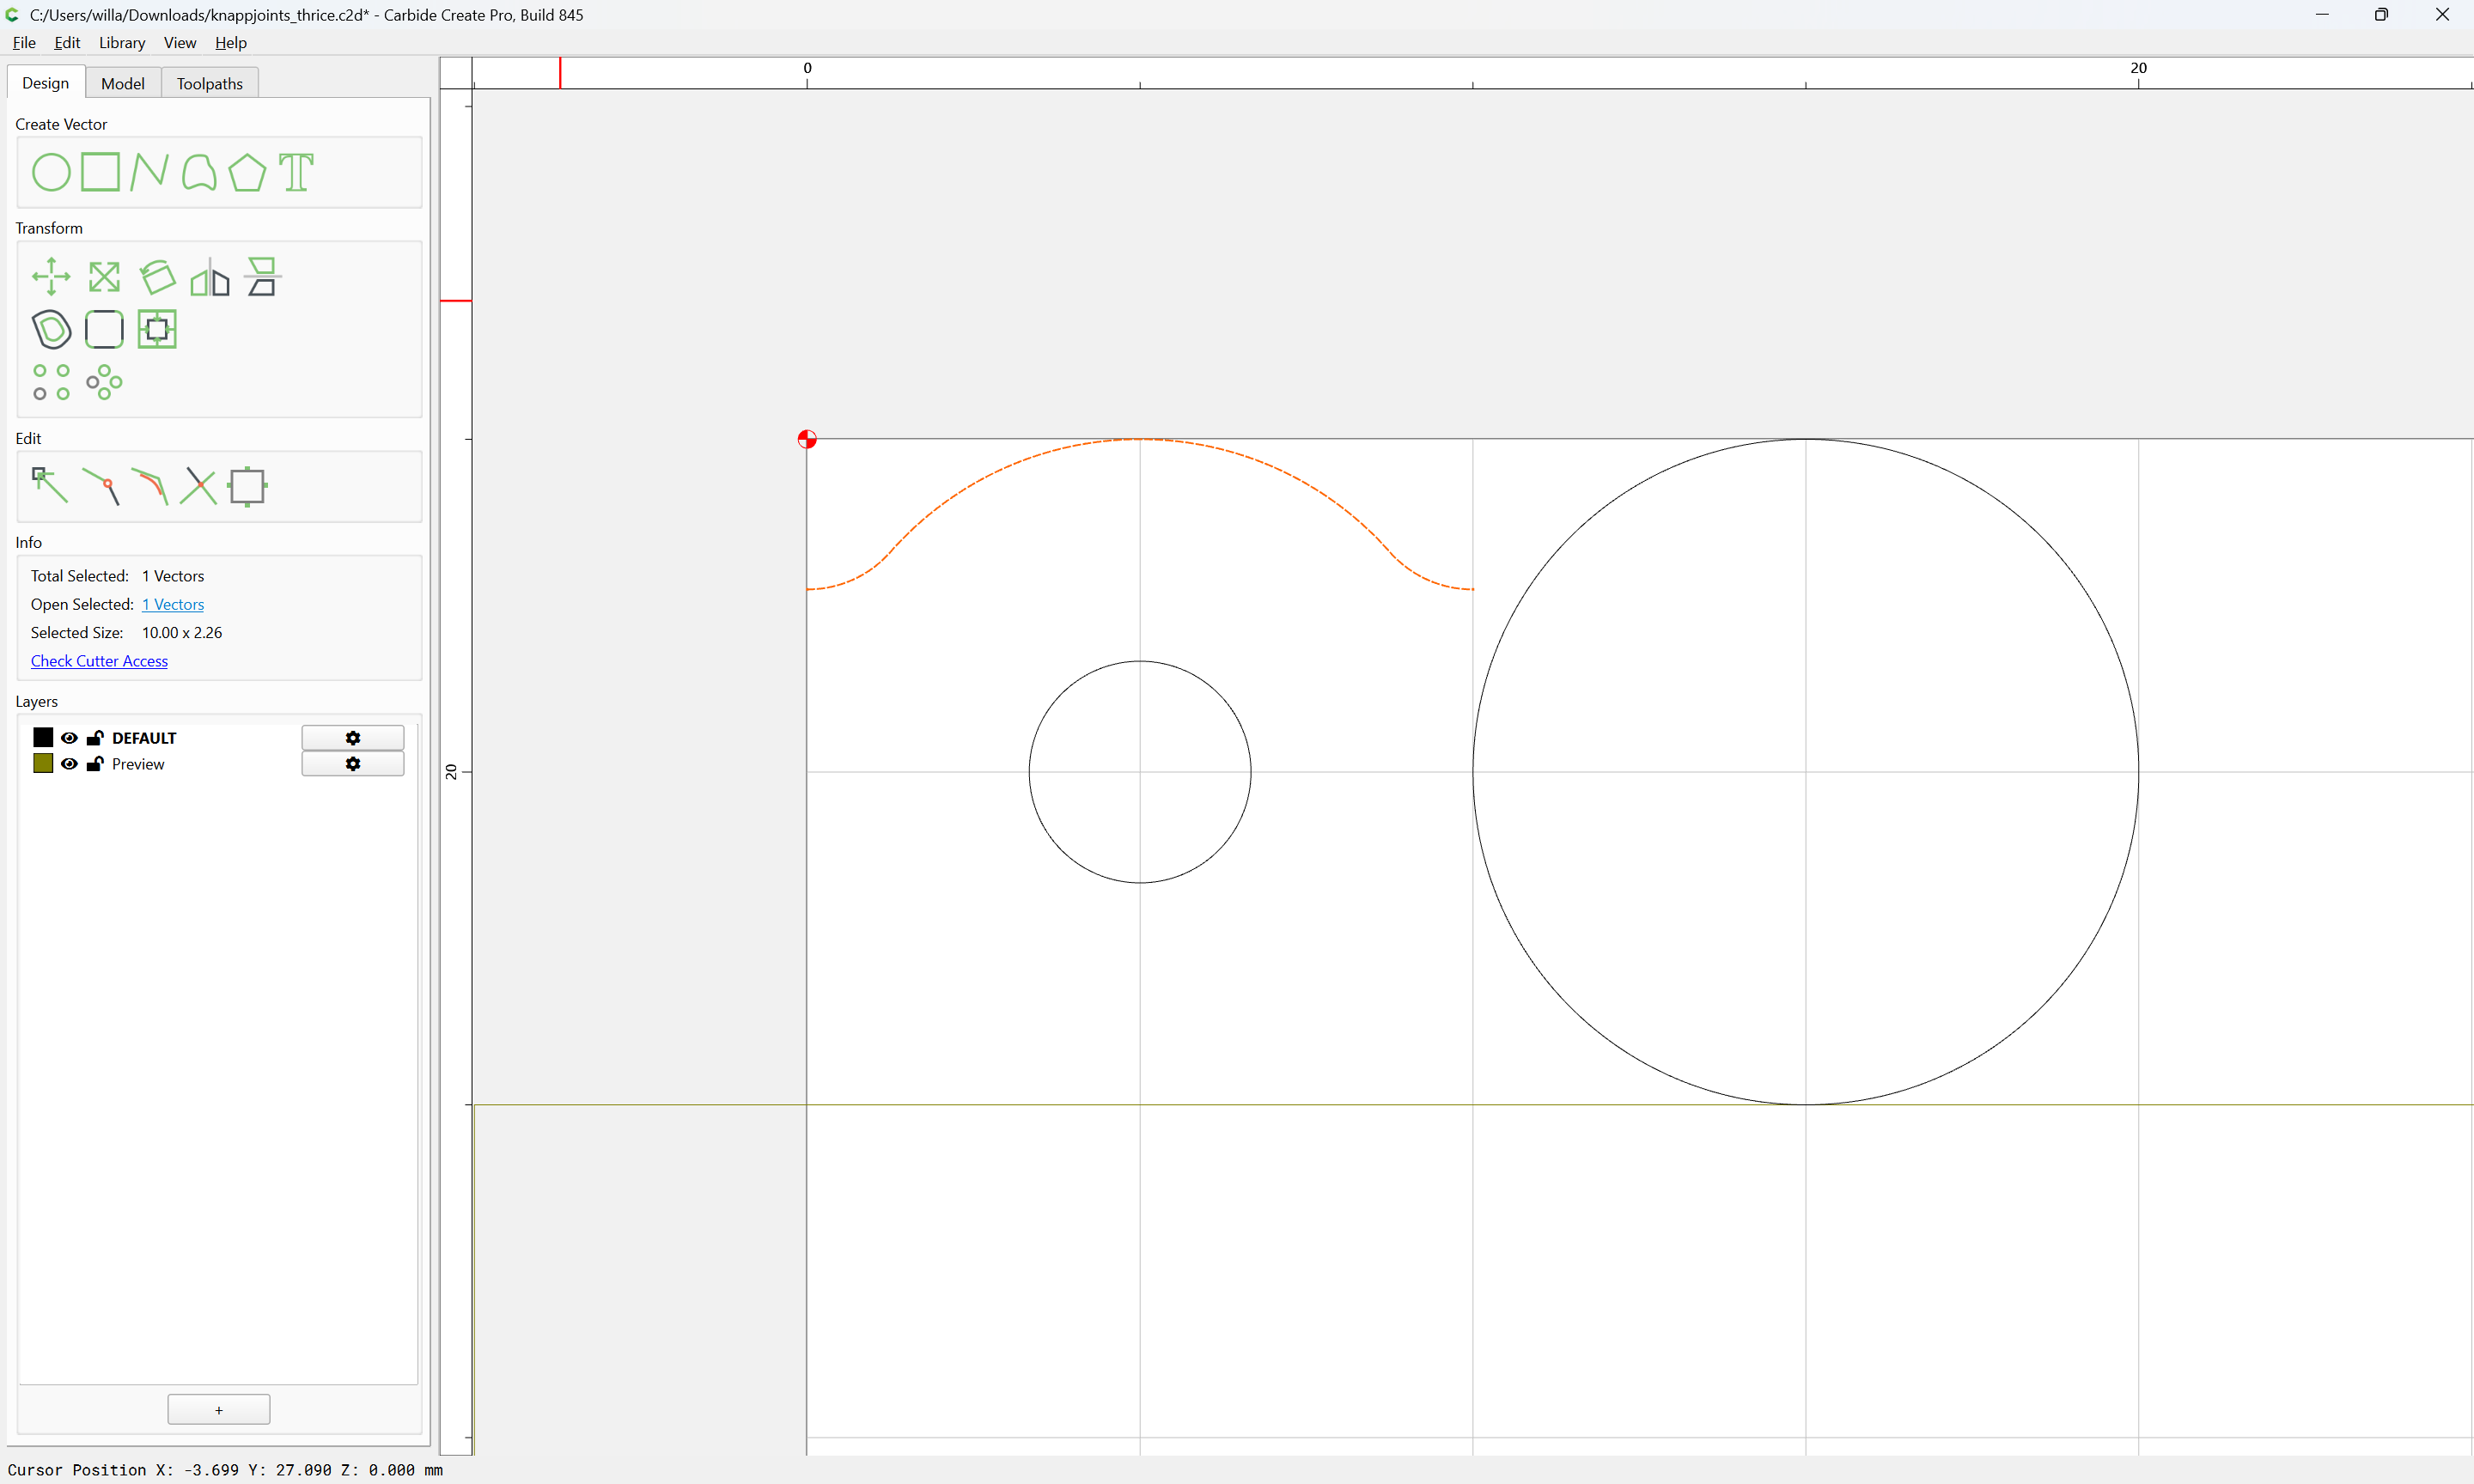
and Join Vectors

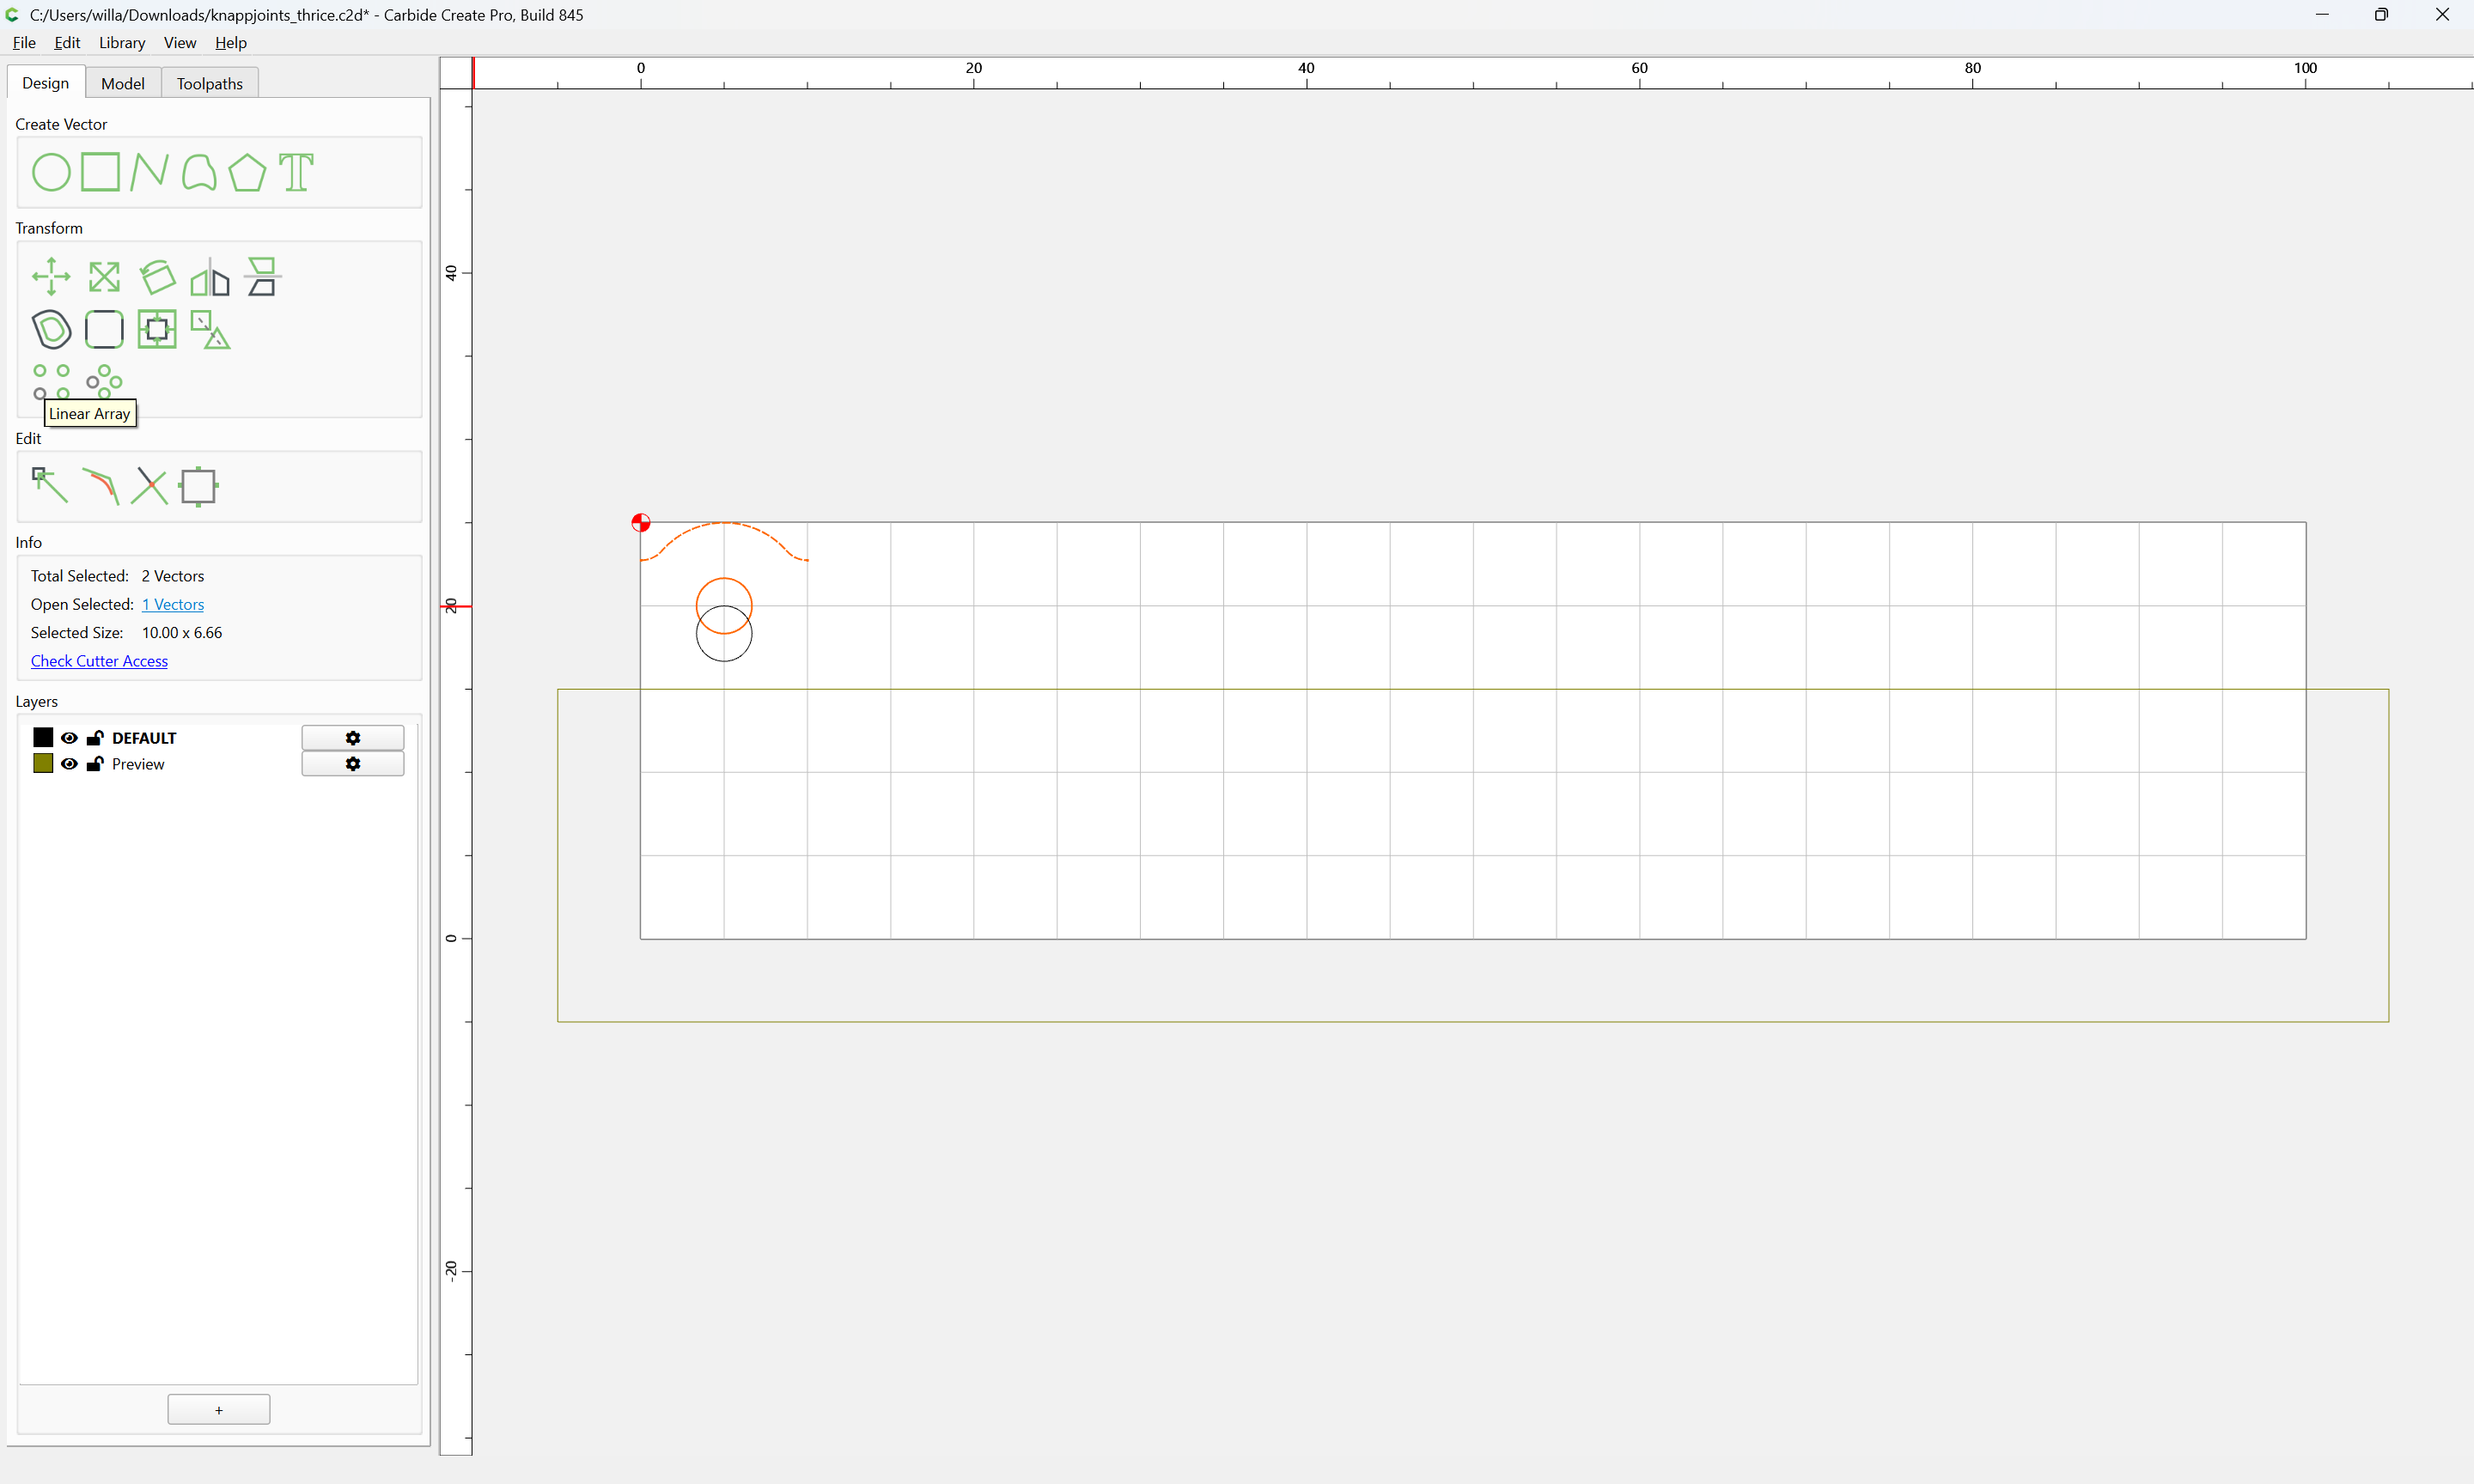
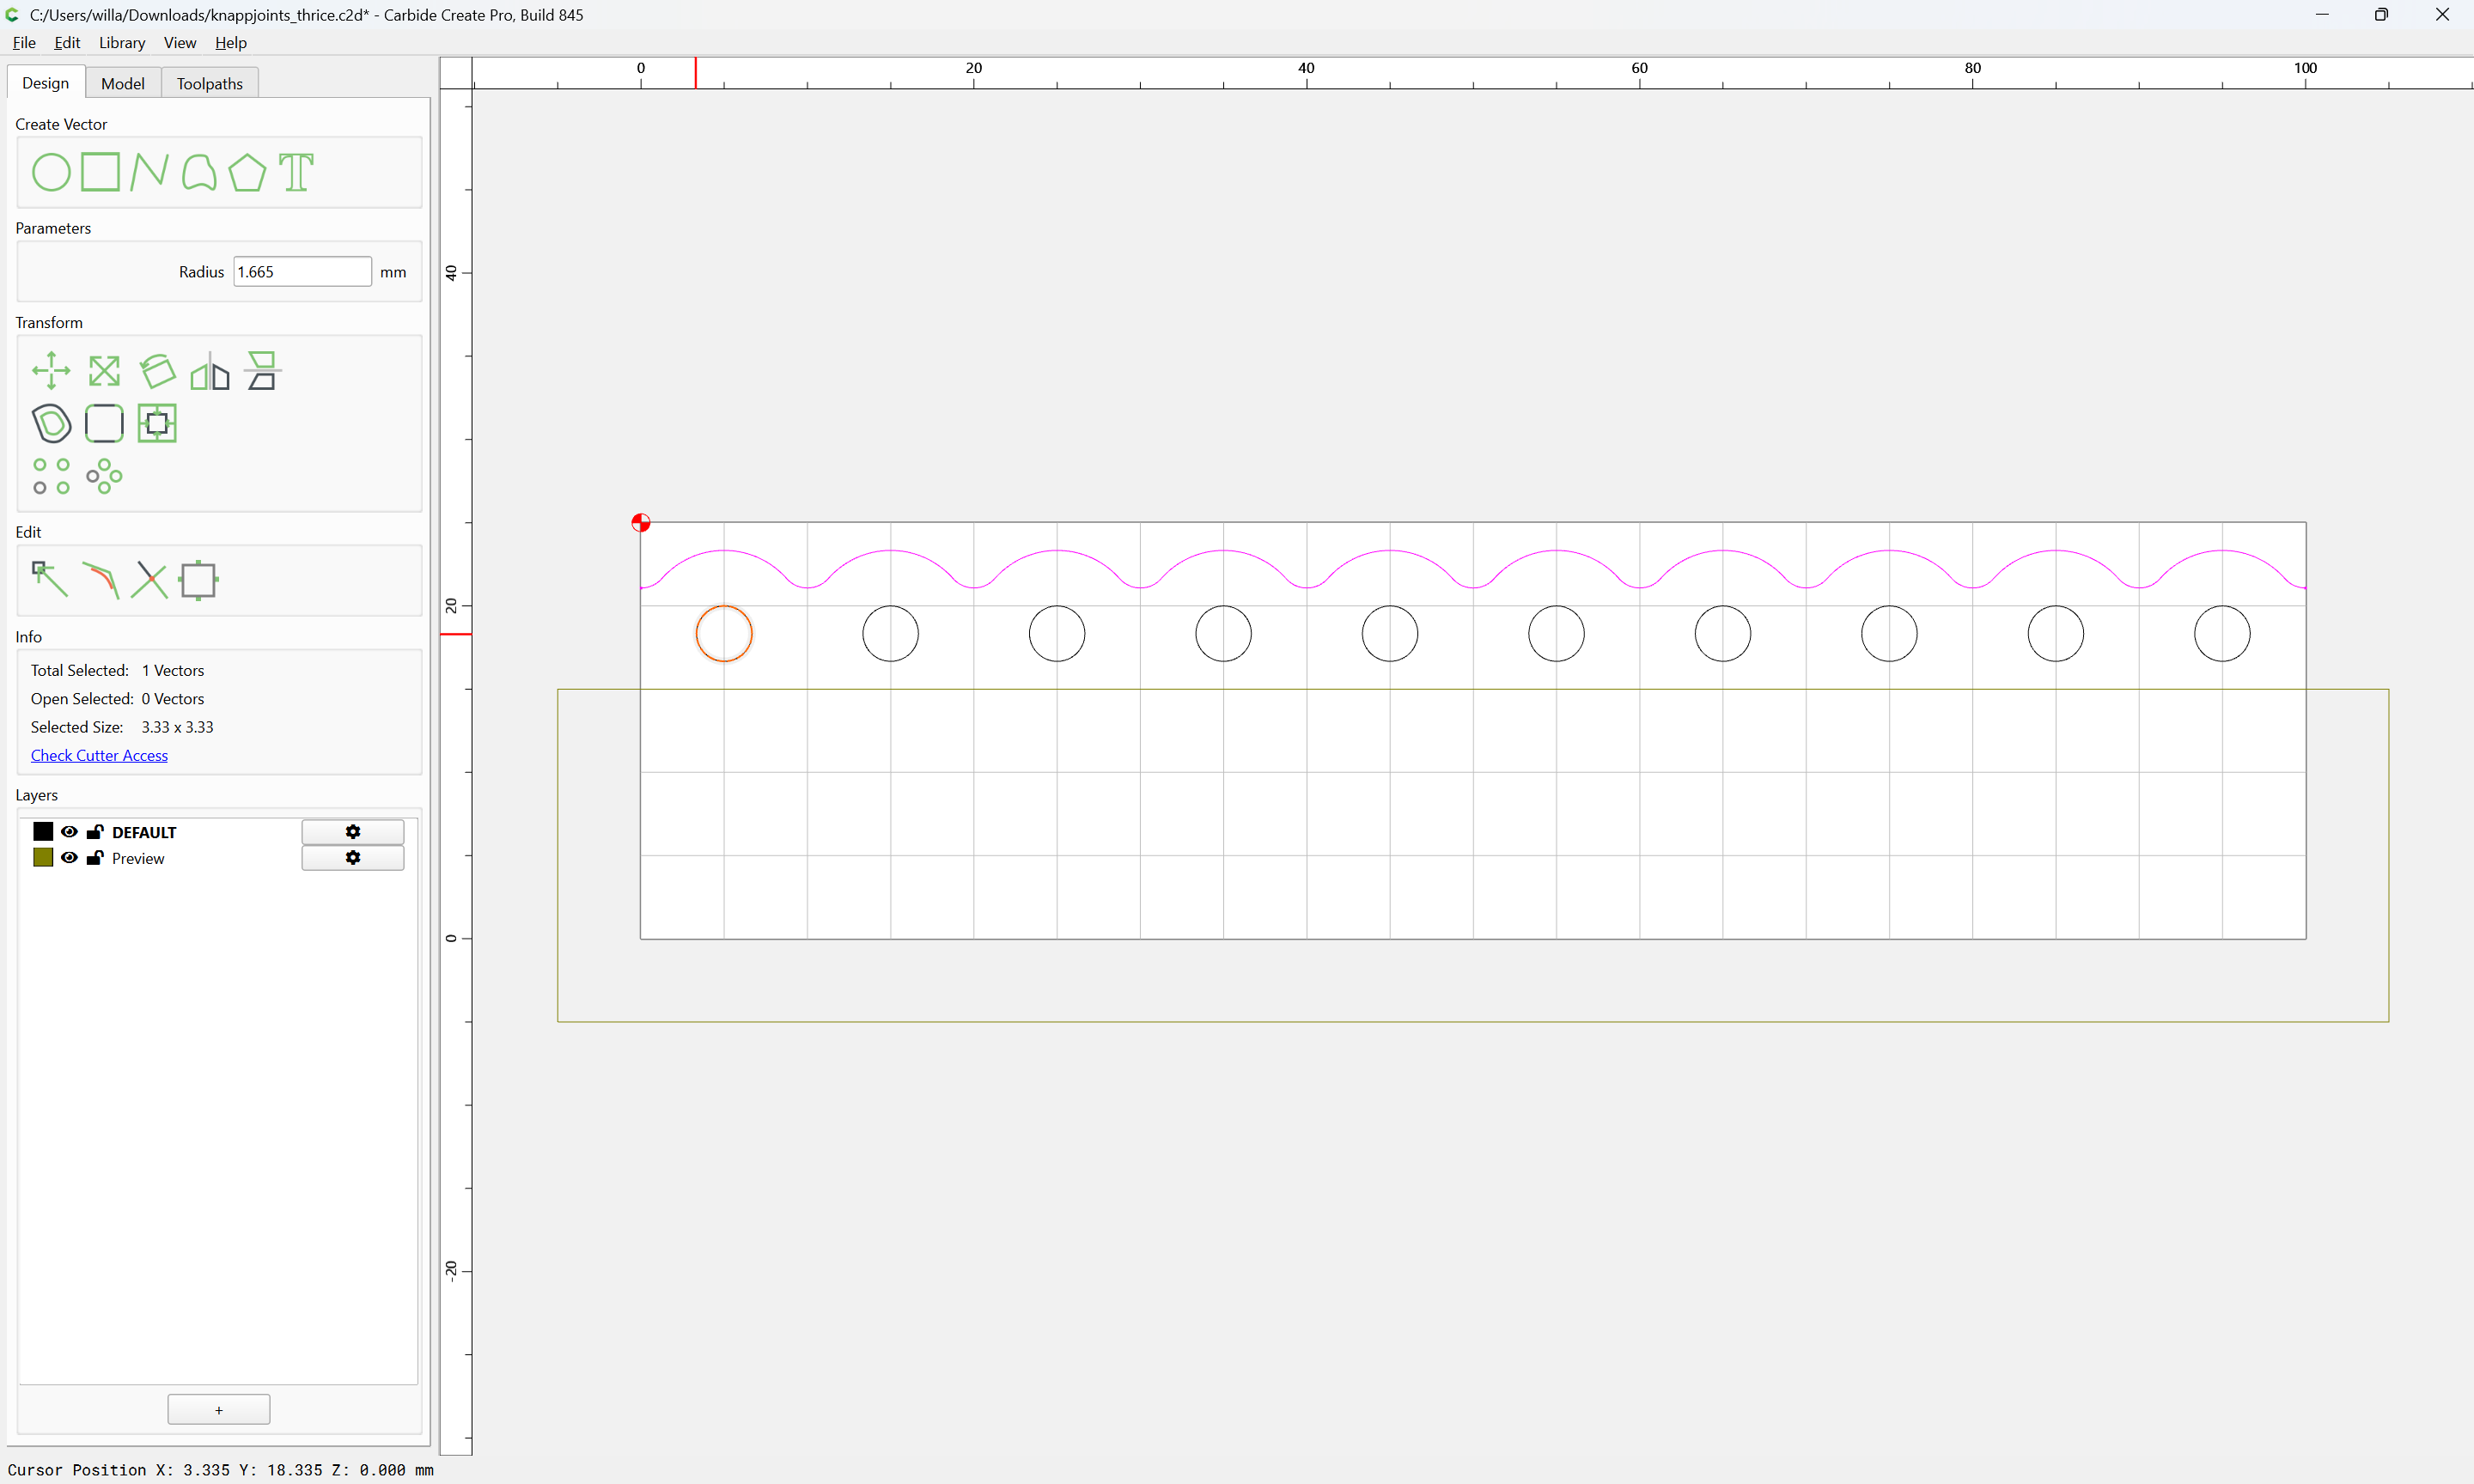
Delete the large circle and select the two joinery elements and adjust their position — probably duplicating the small circle and moving down by its radius makes for a good proportion:

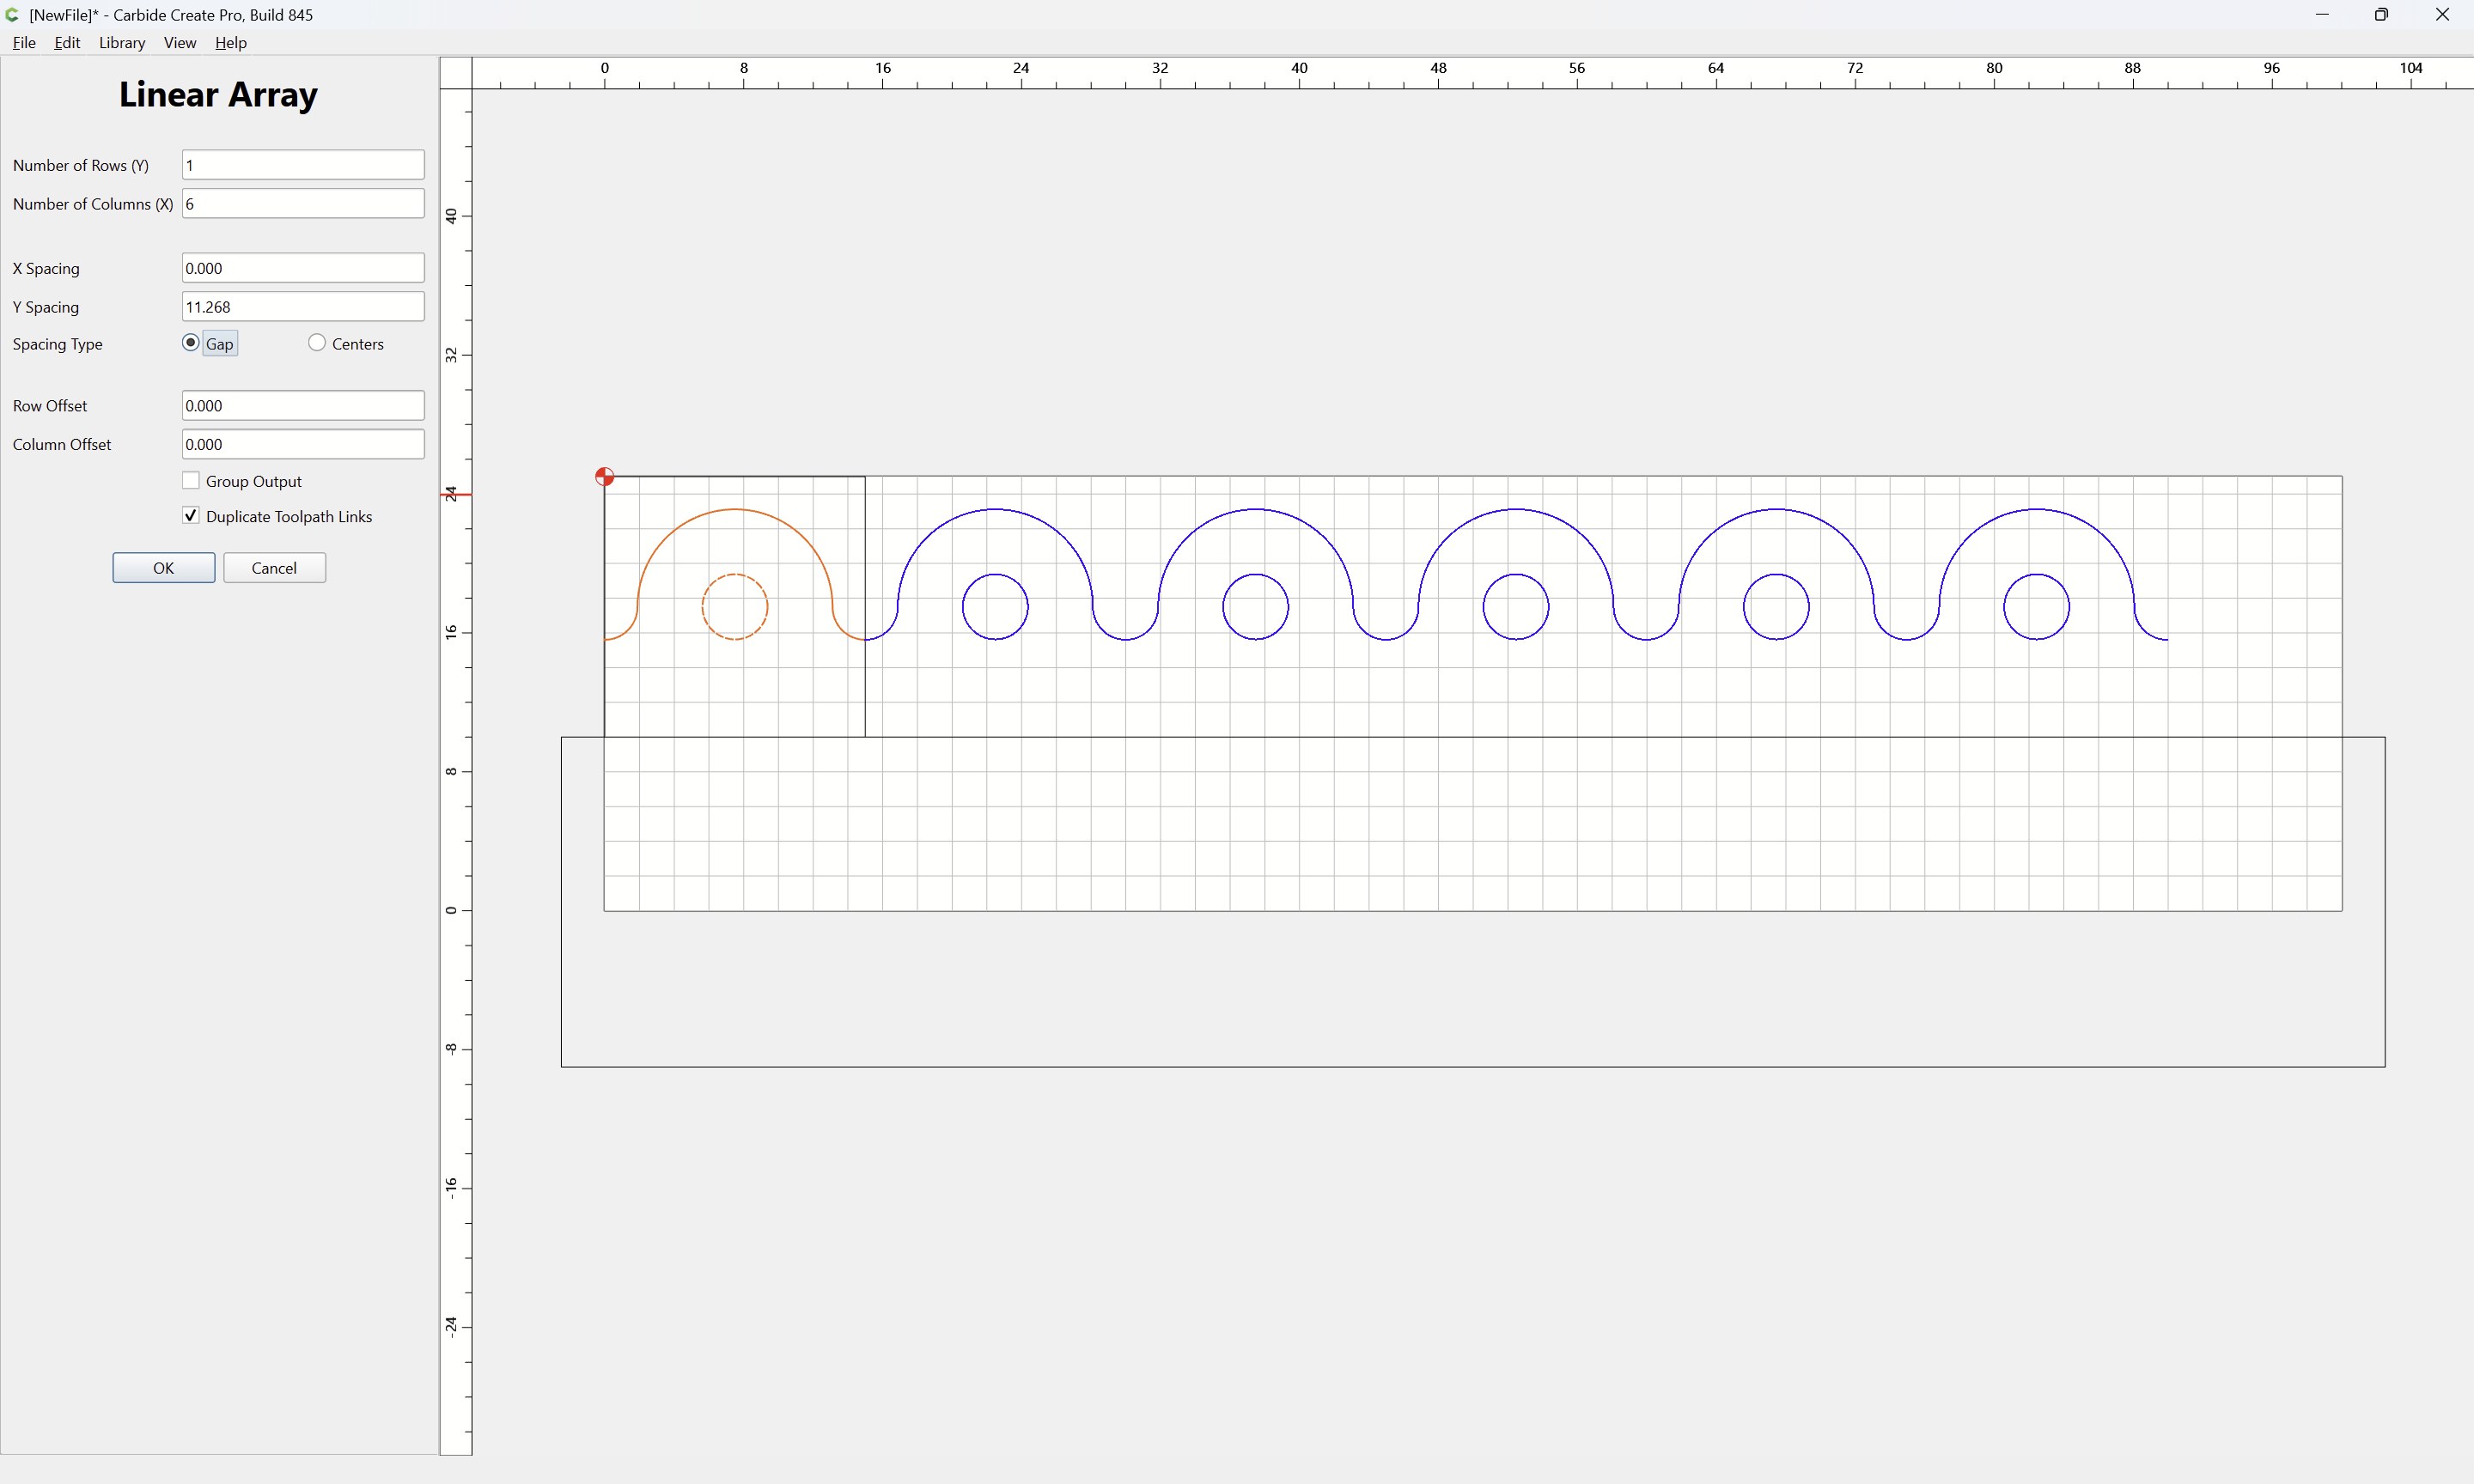
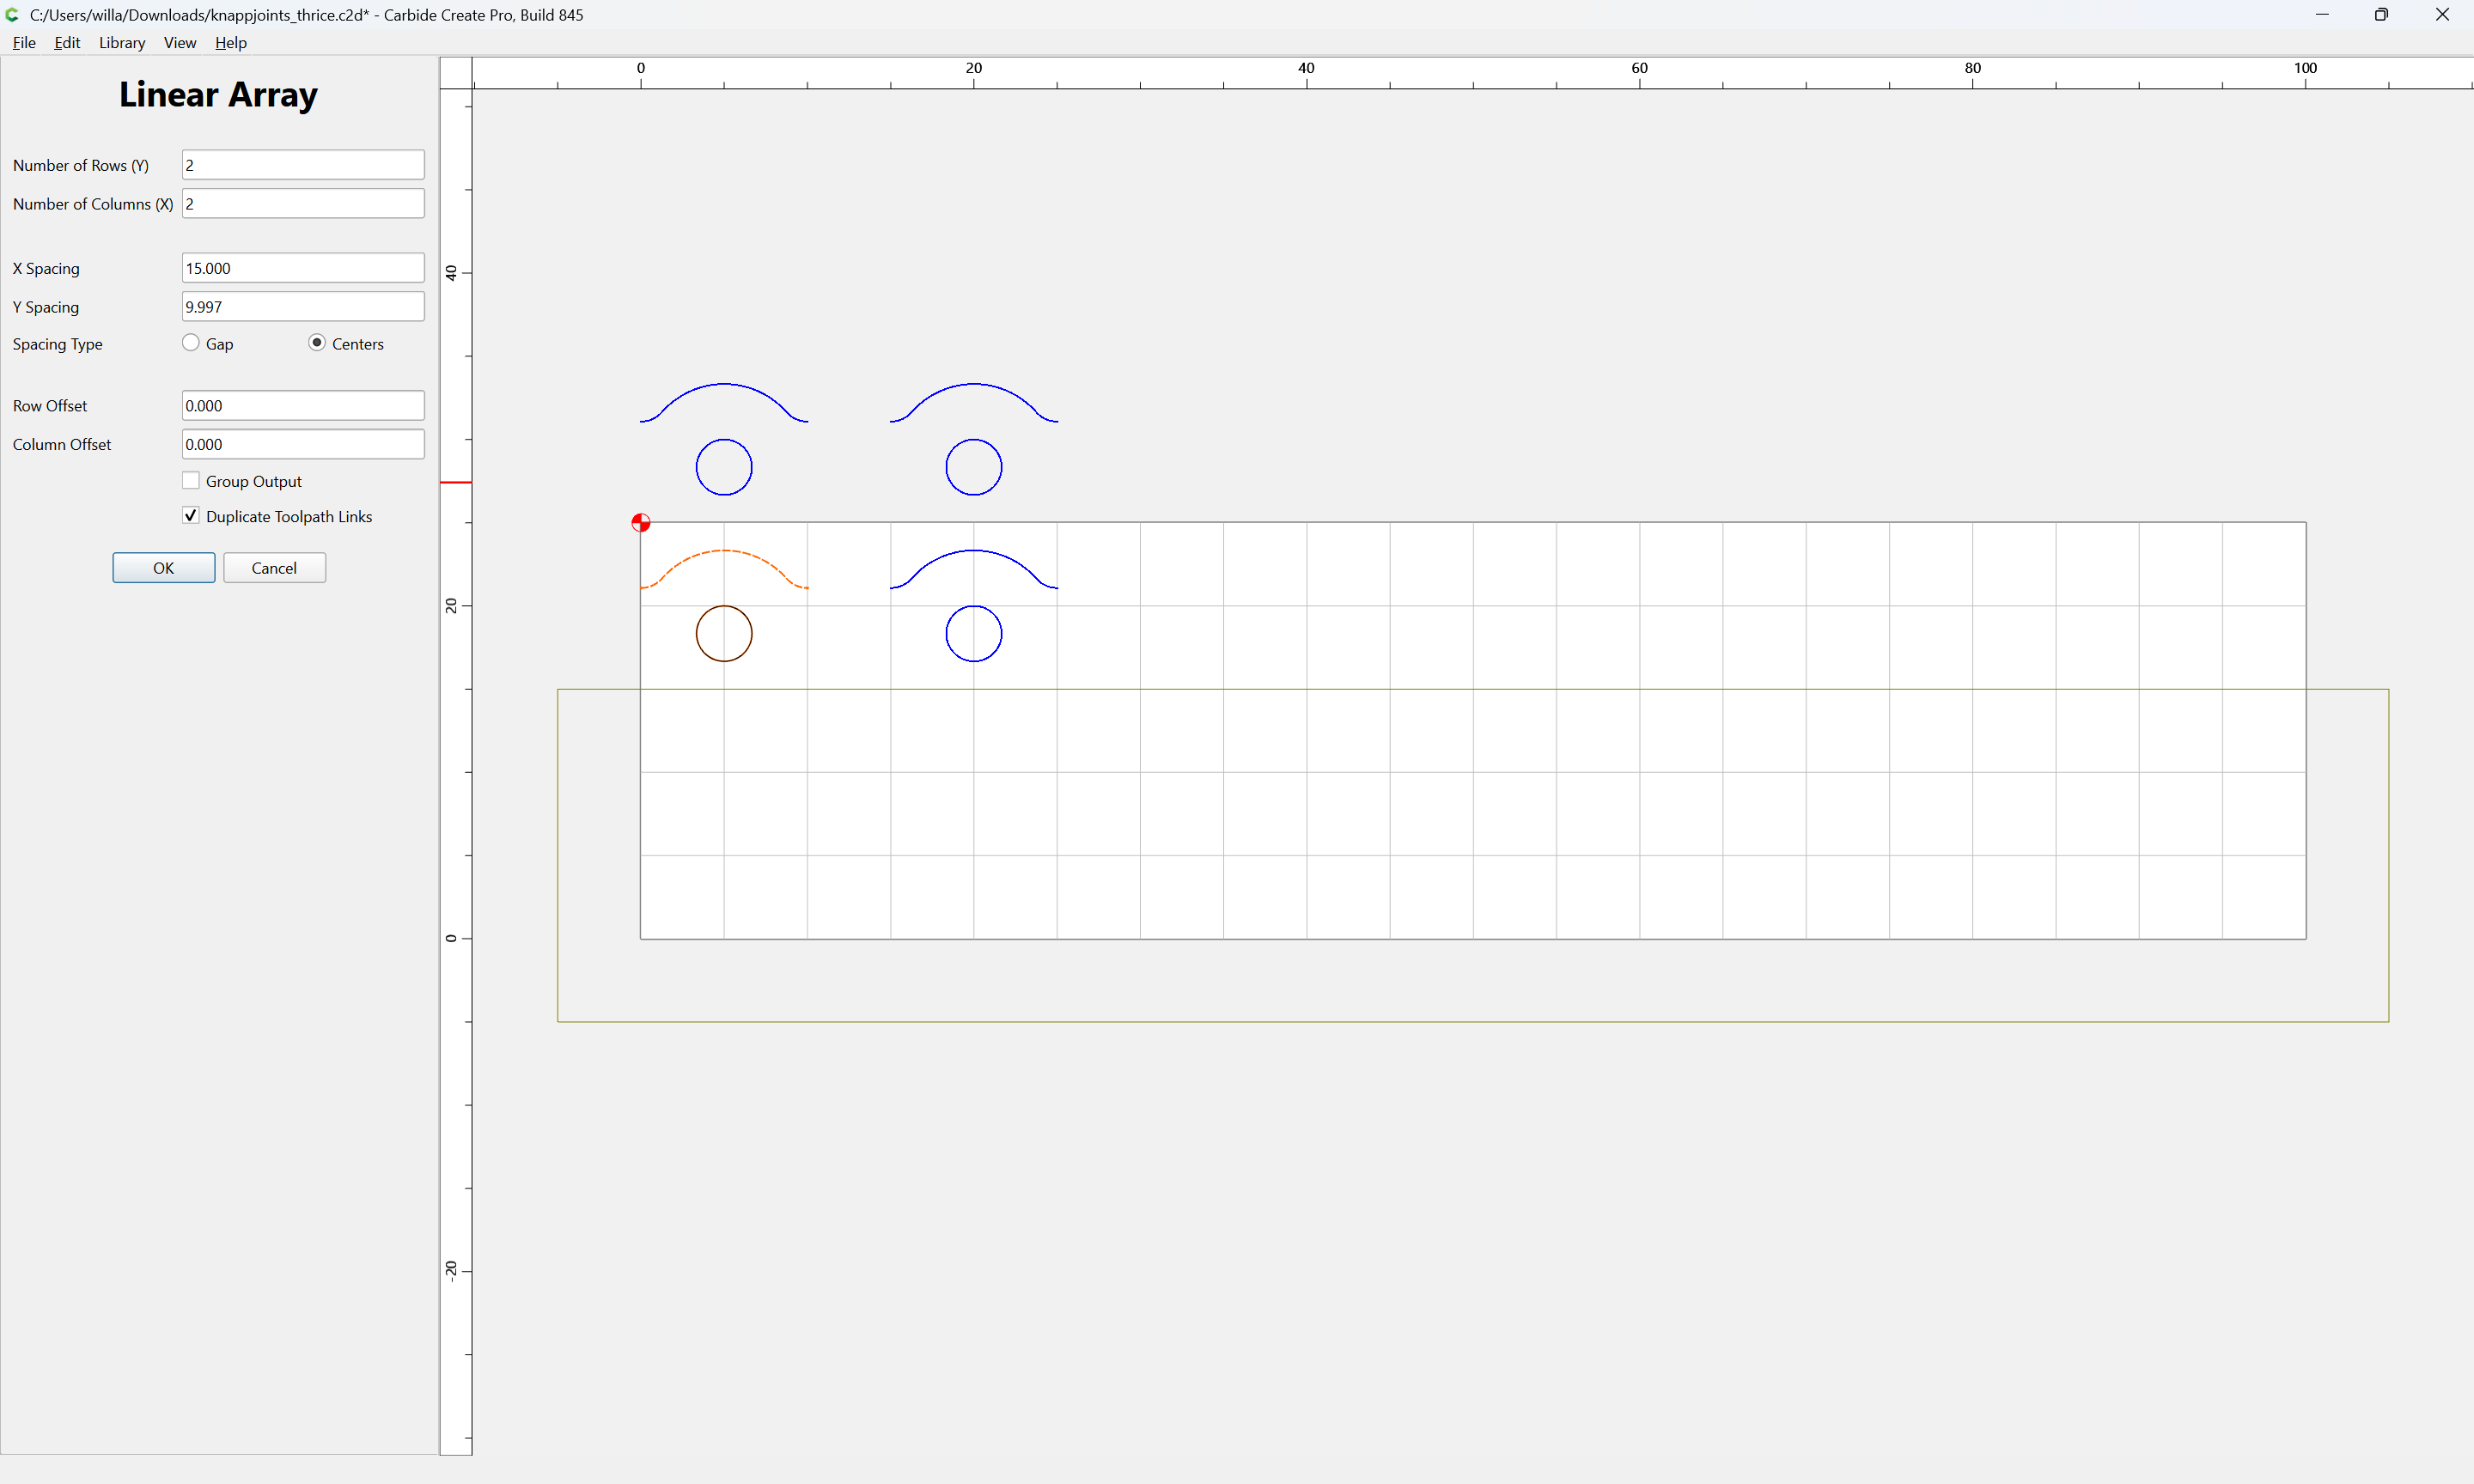
and use Linear Array to duplicate as needed:

OK

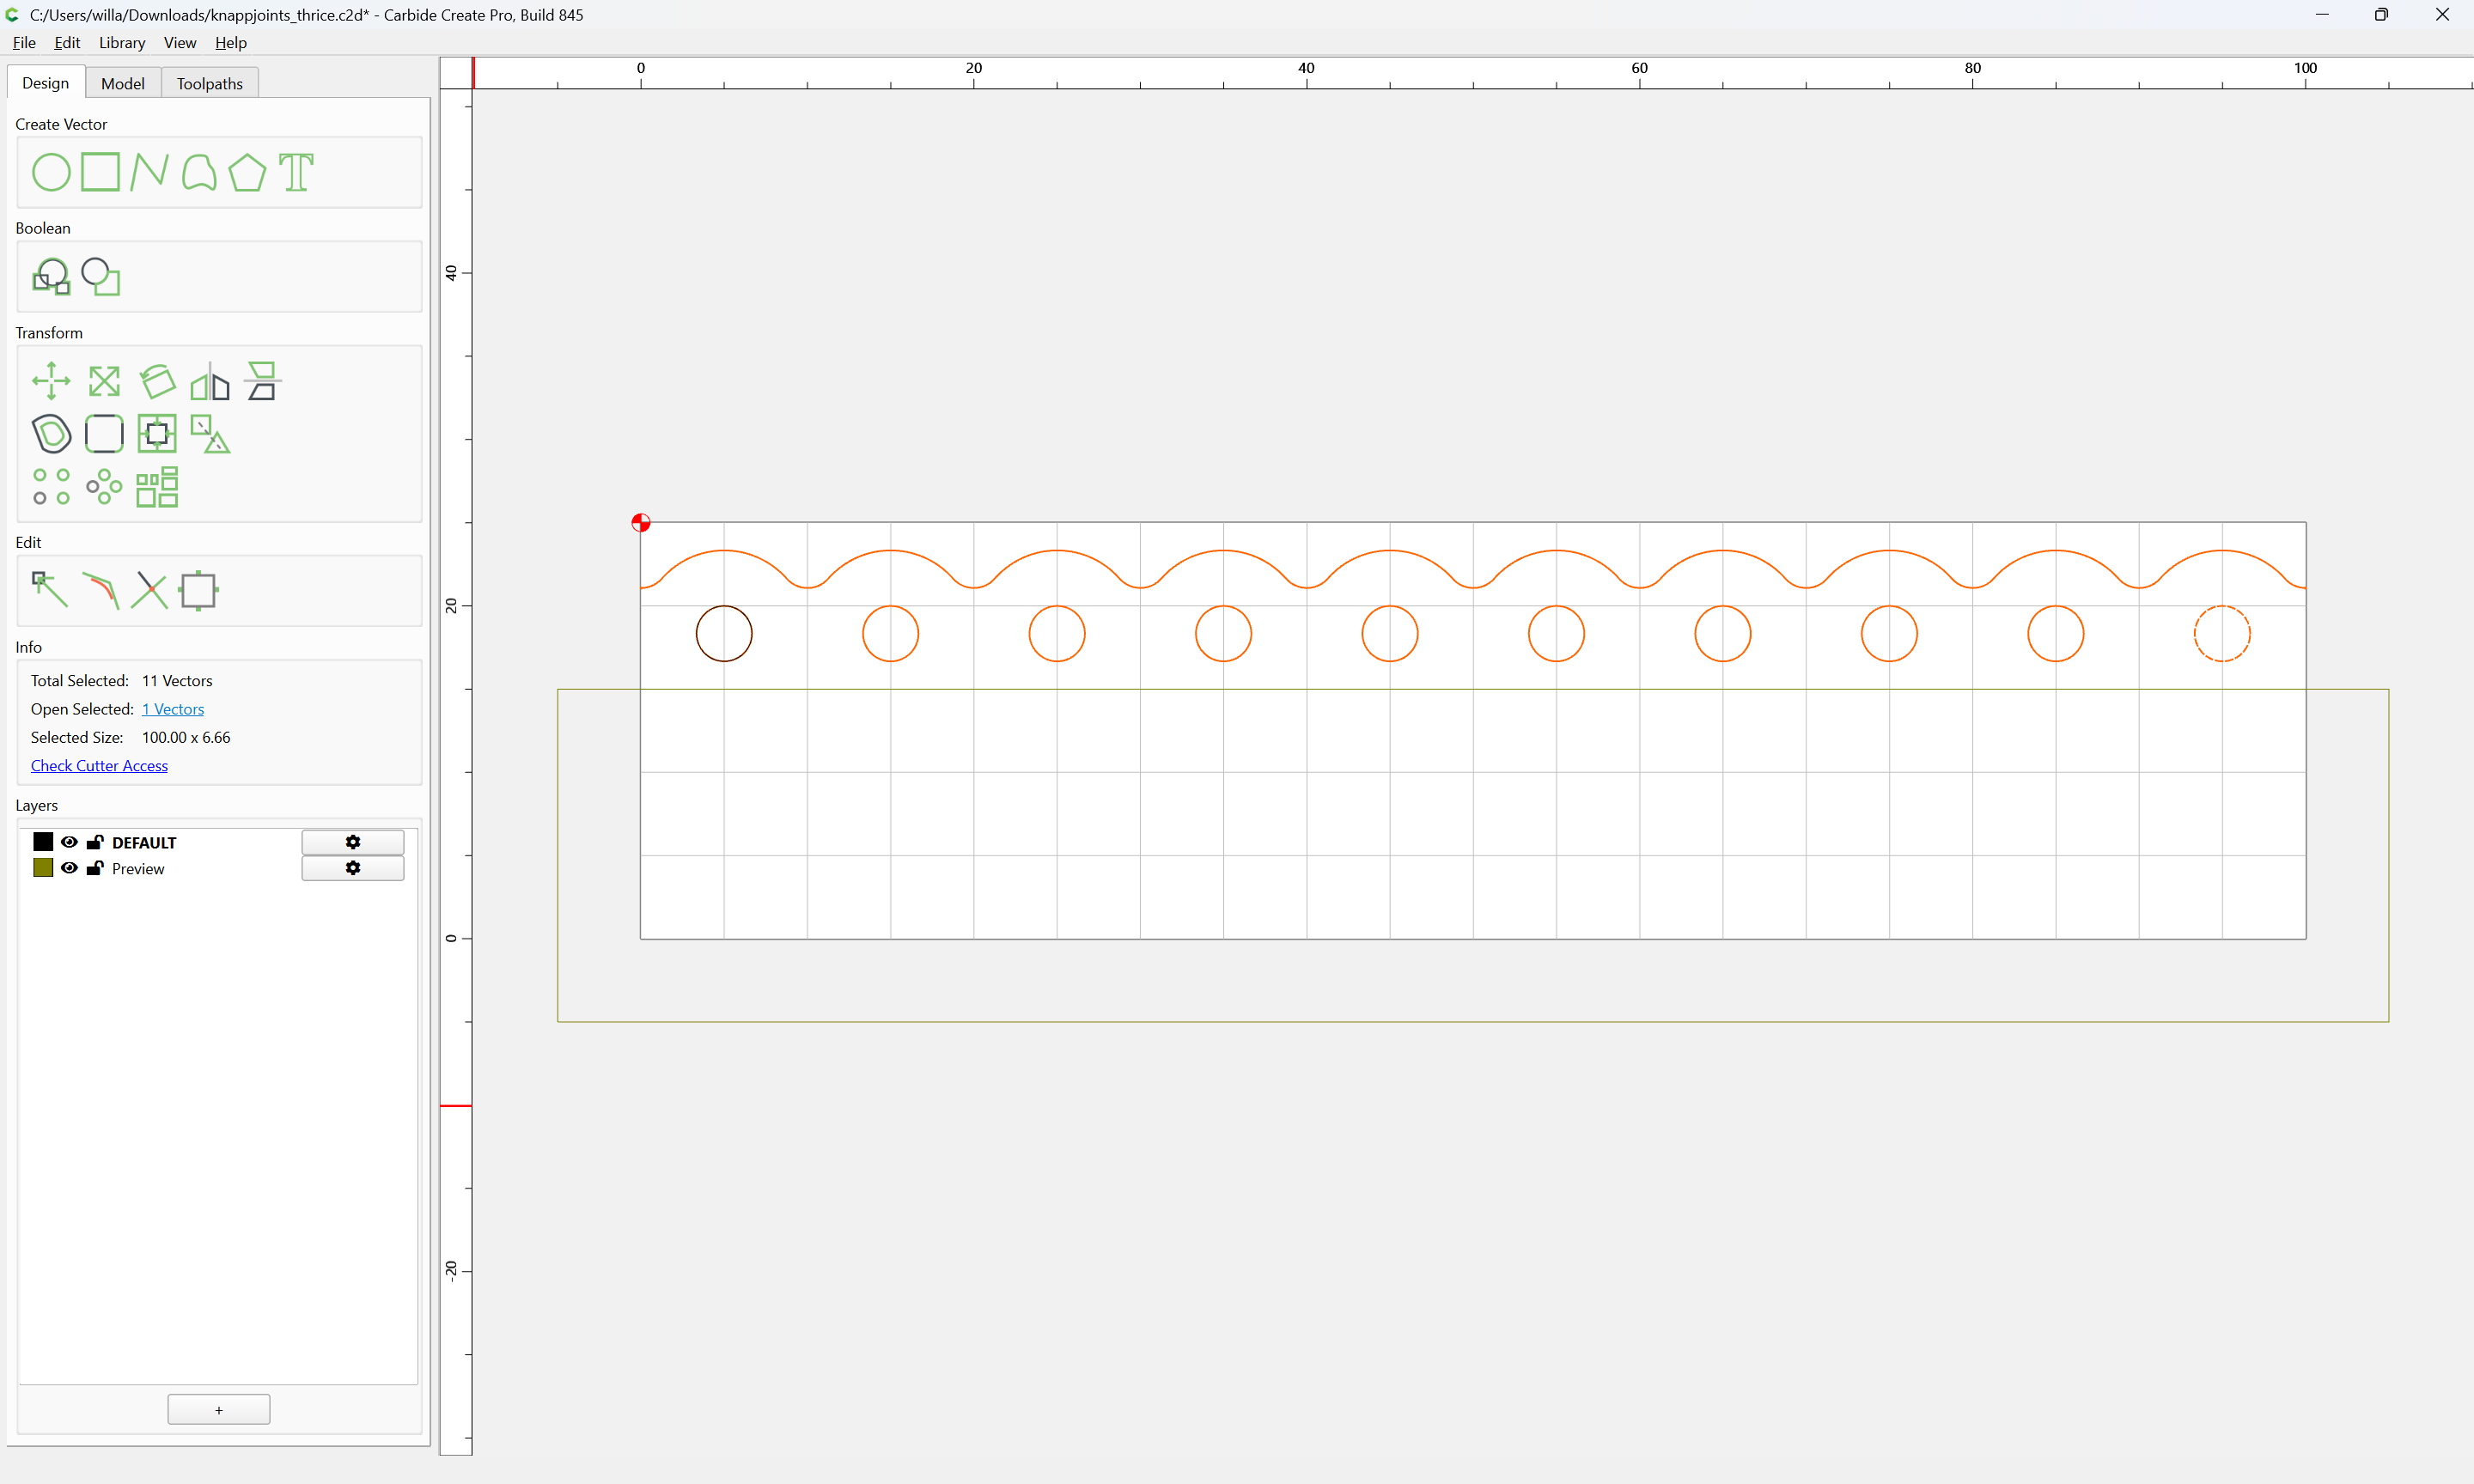
Join the open Vectors:

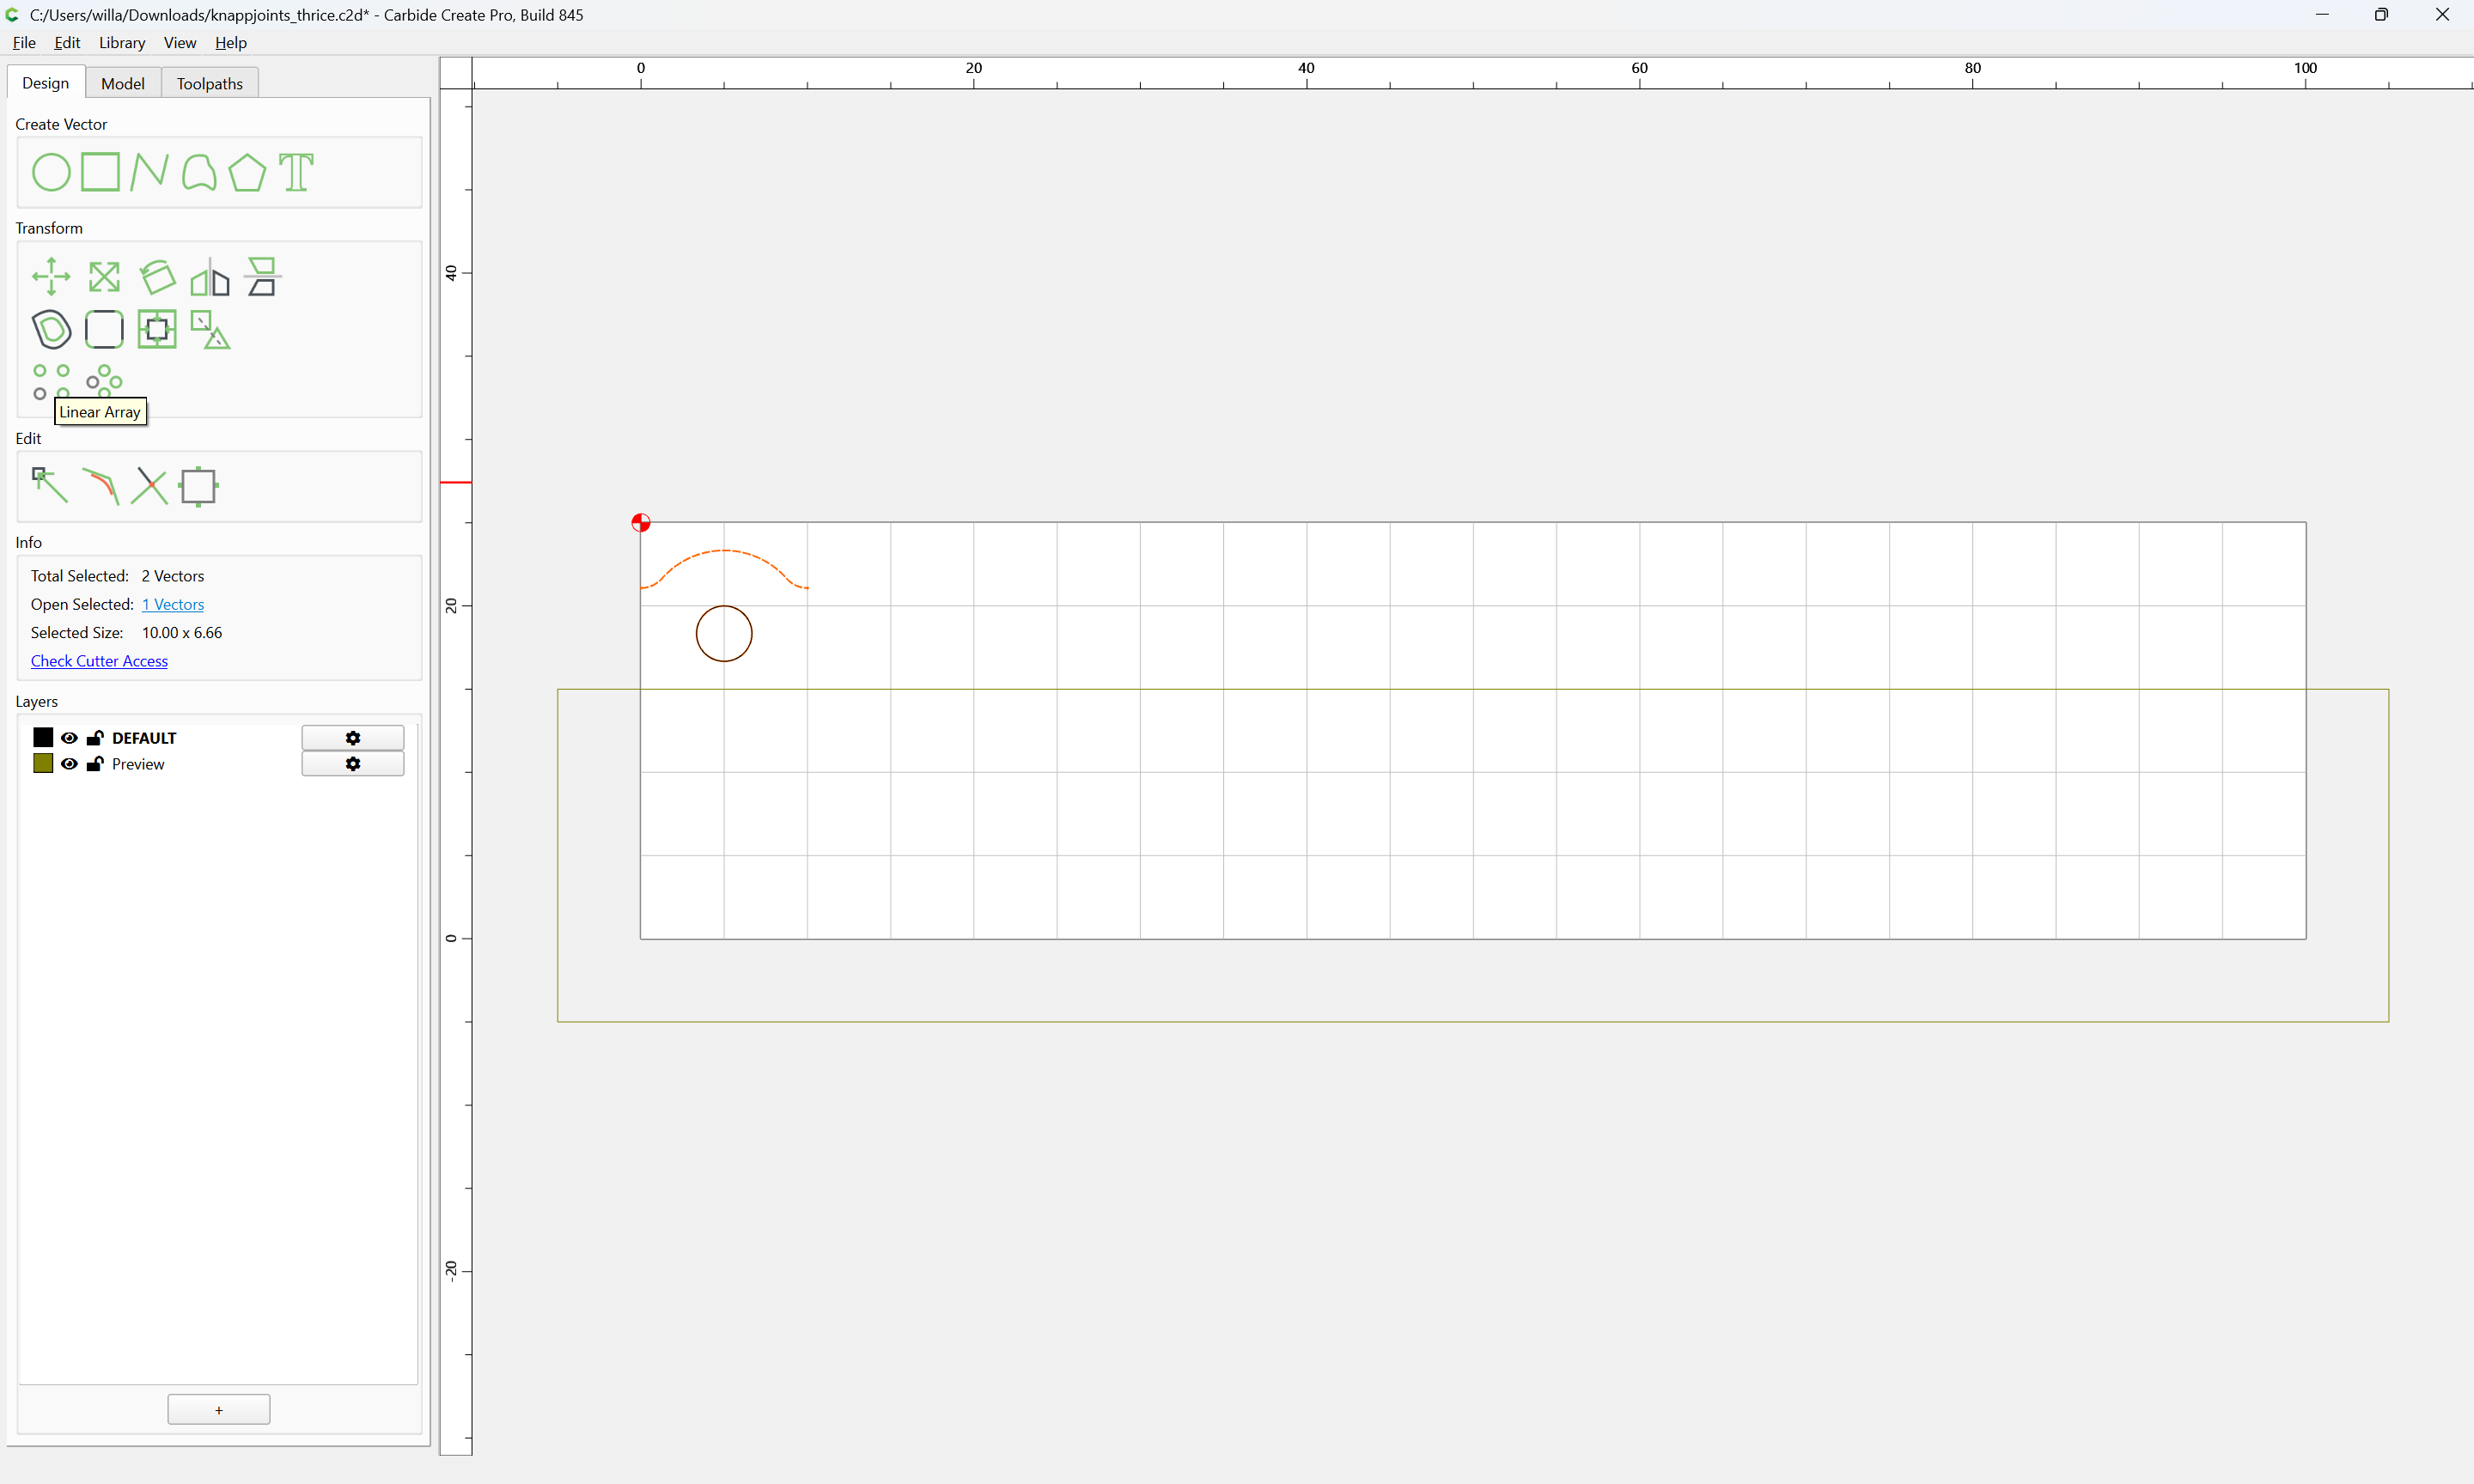
Delete one of the two stacked circles:

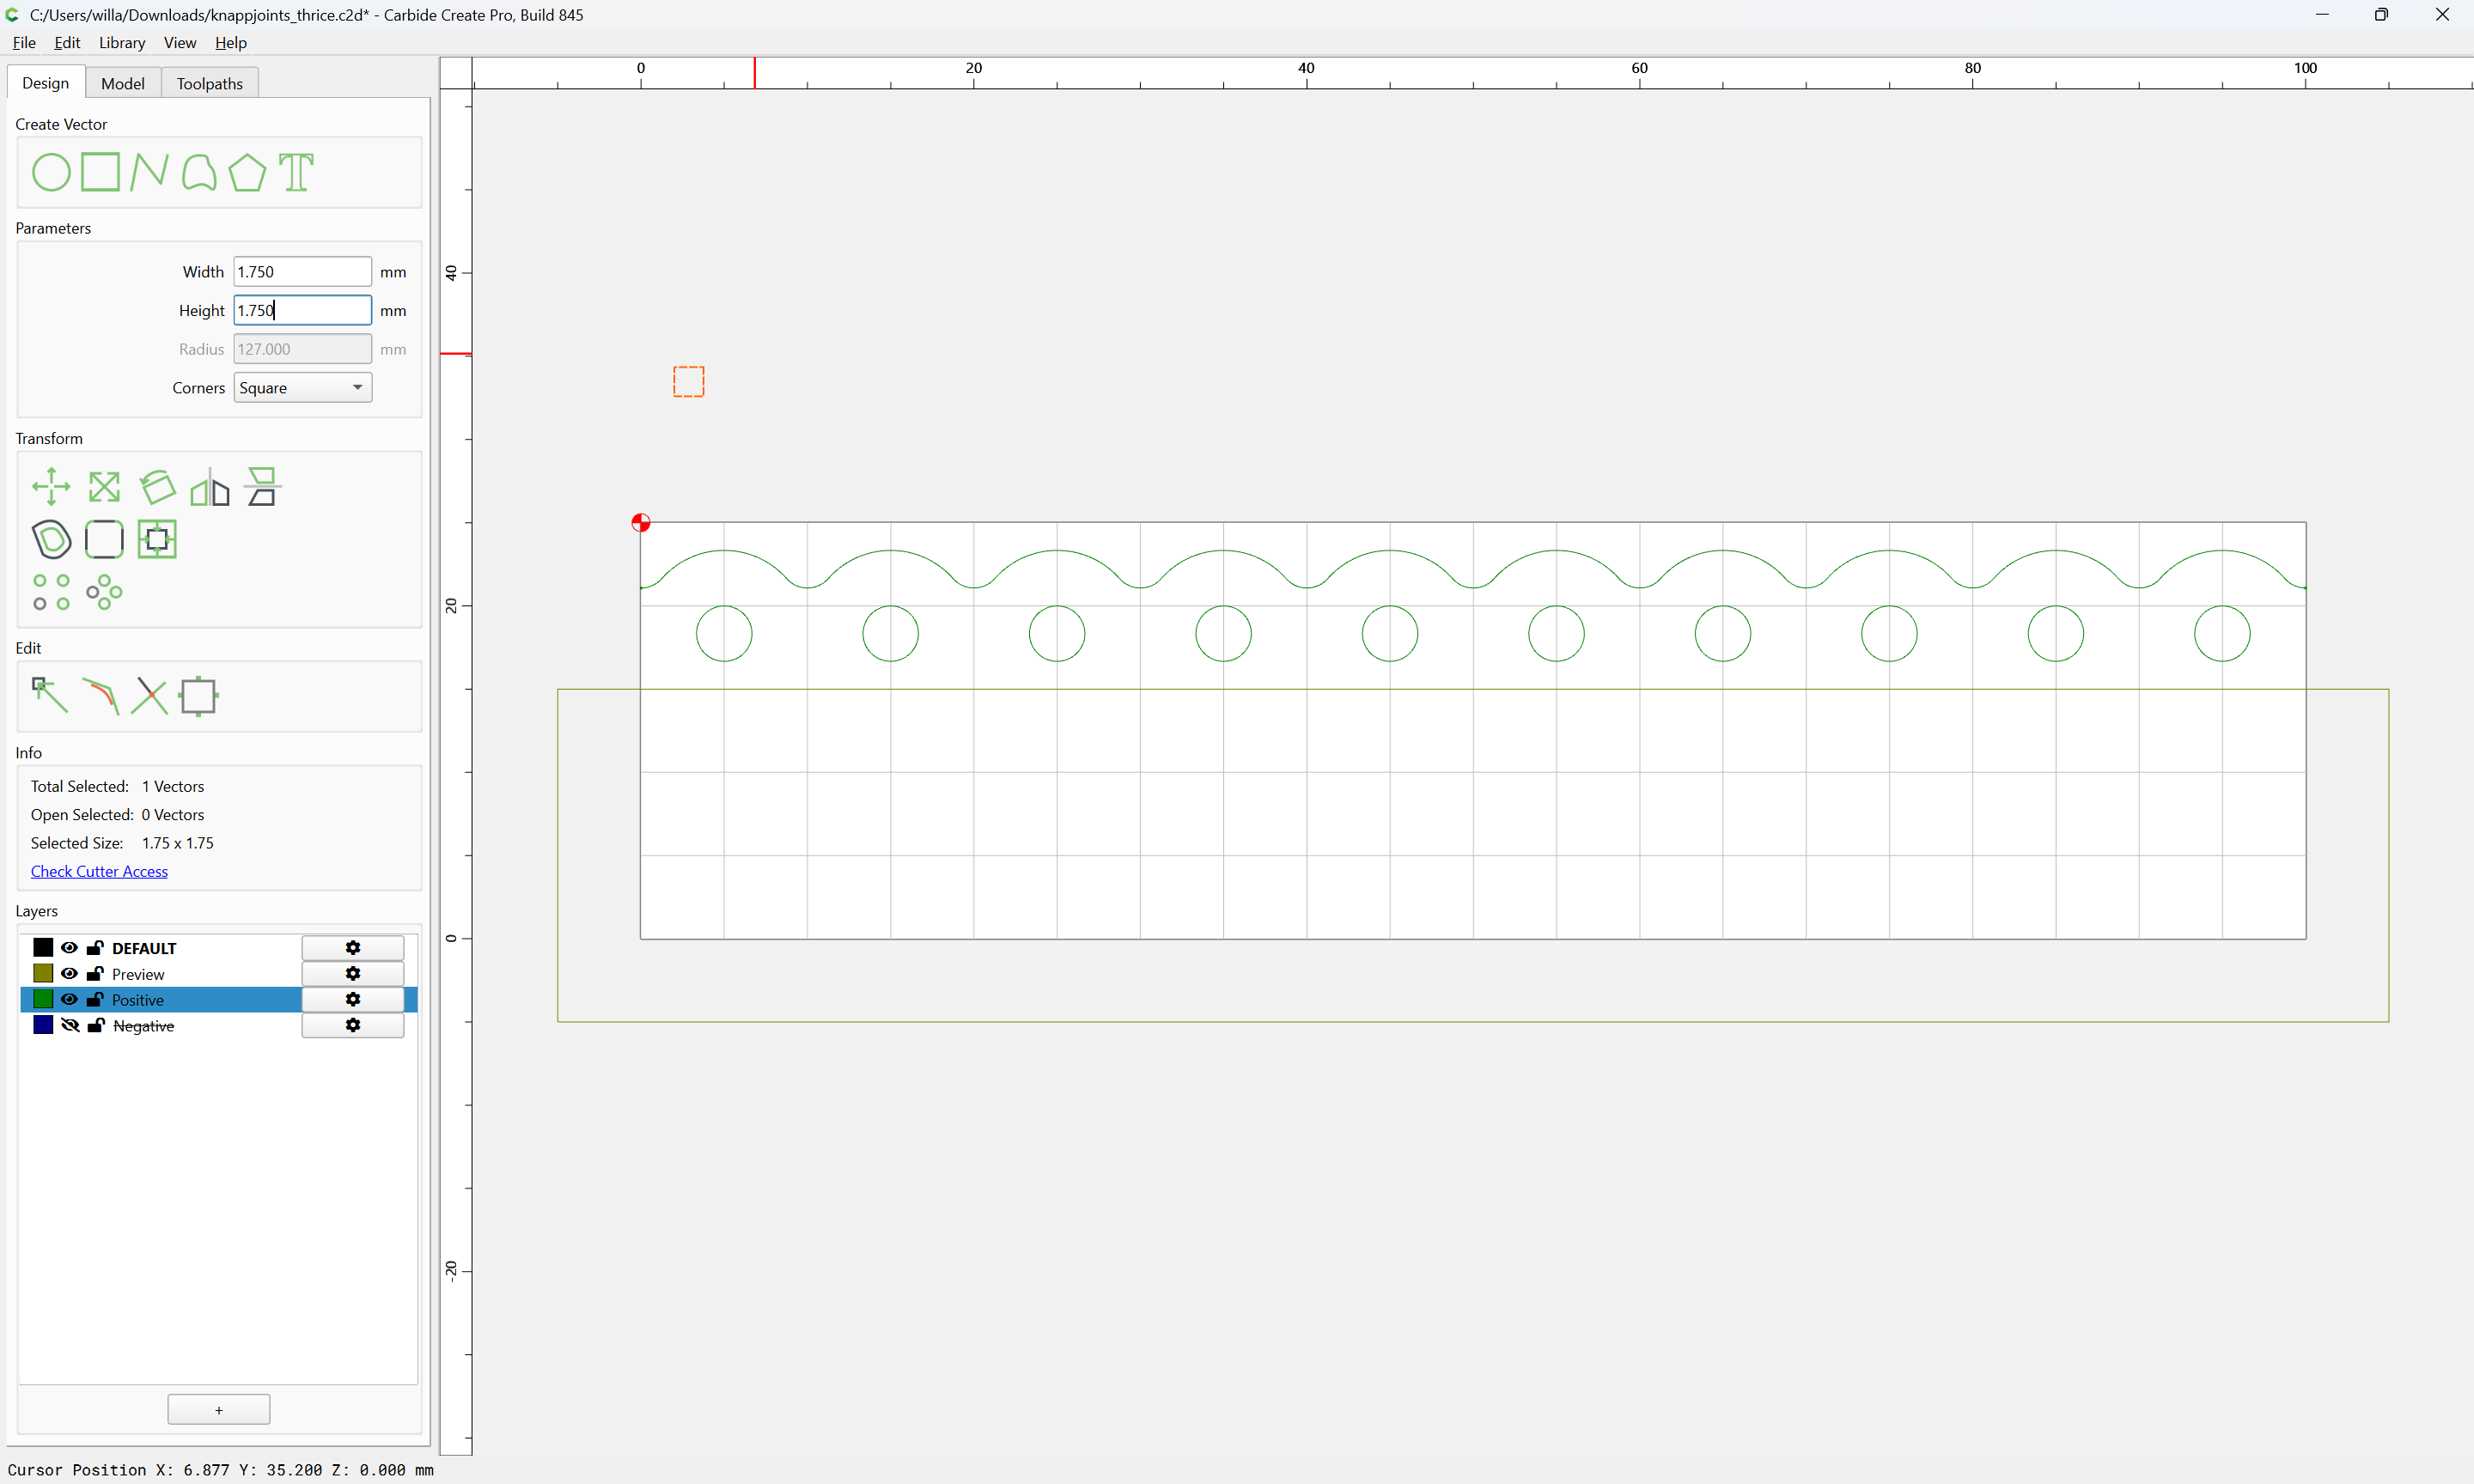
Then duplicate the geometry to separate layers:

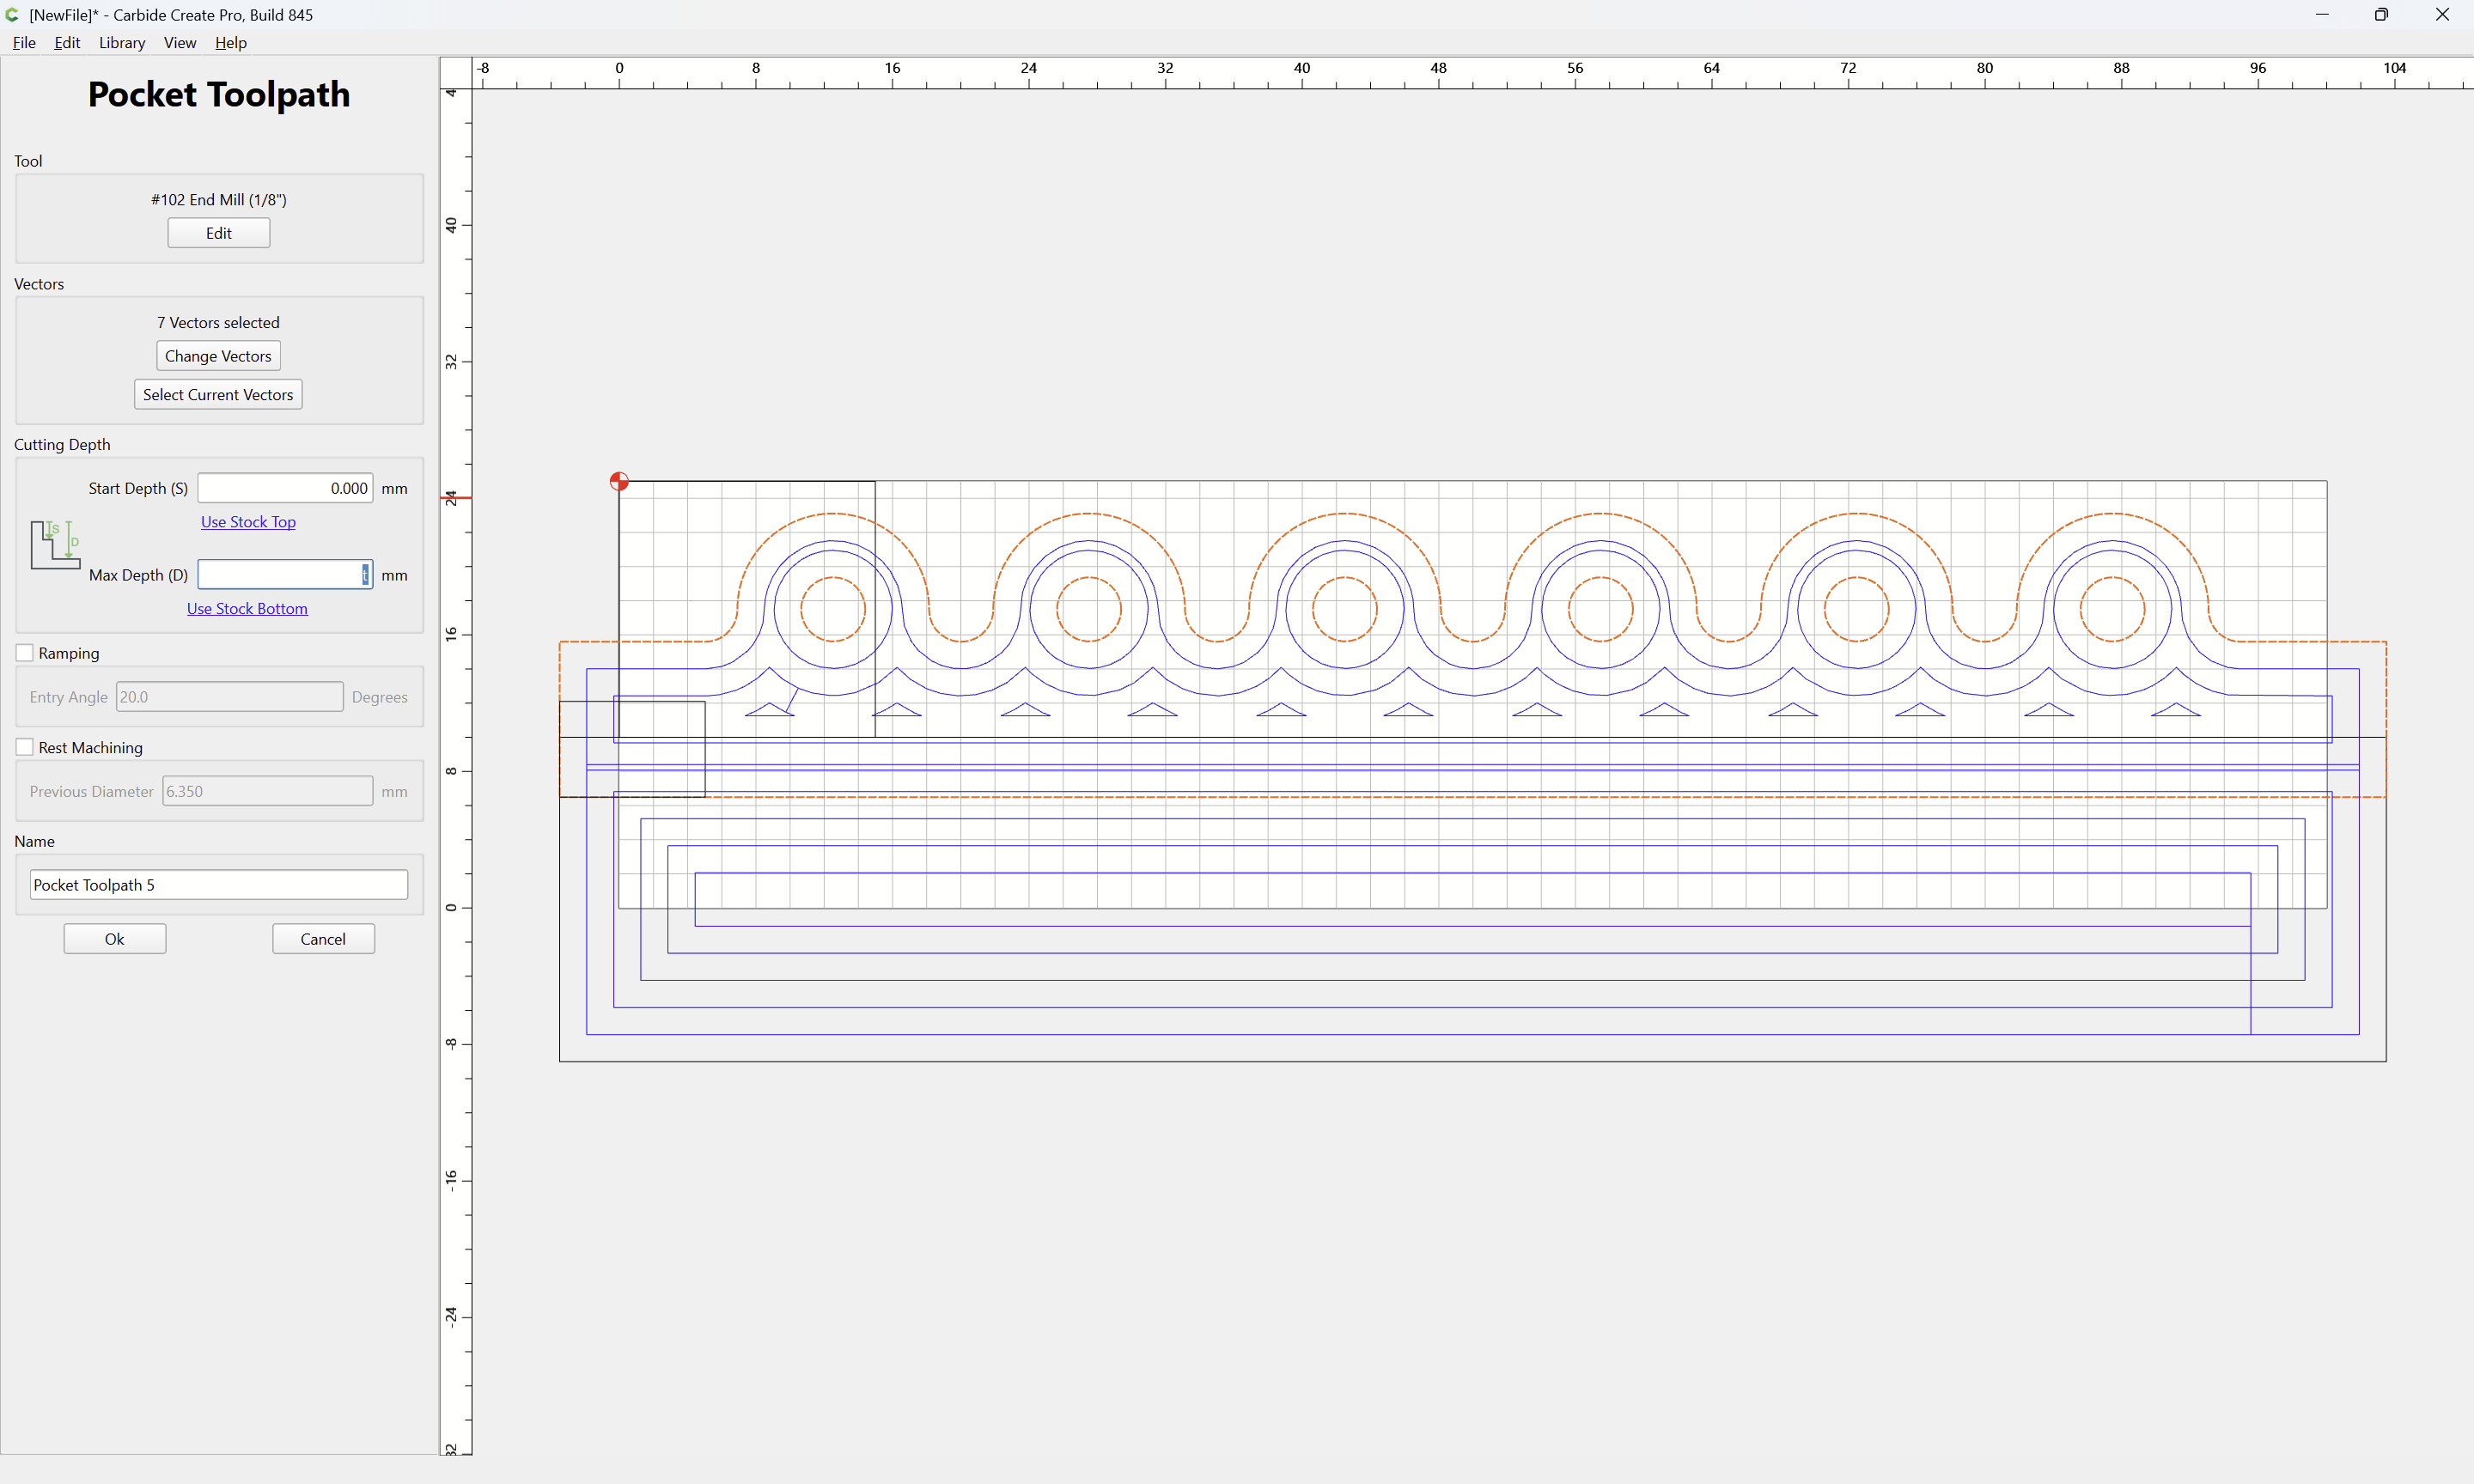
and for each layer, fill in geometry to make toolpaths to match.
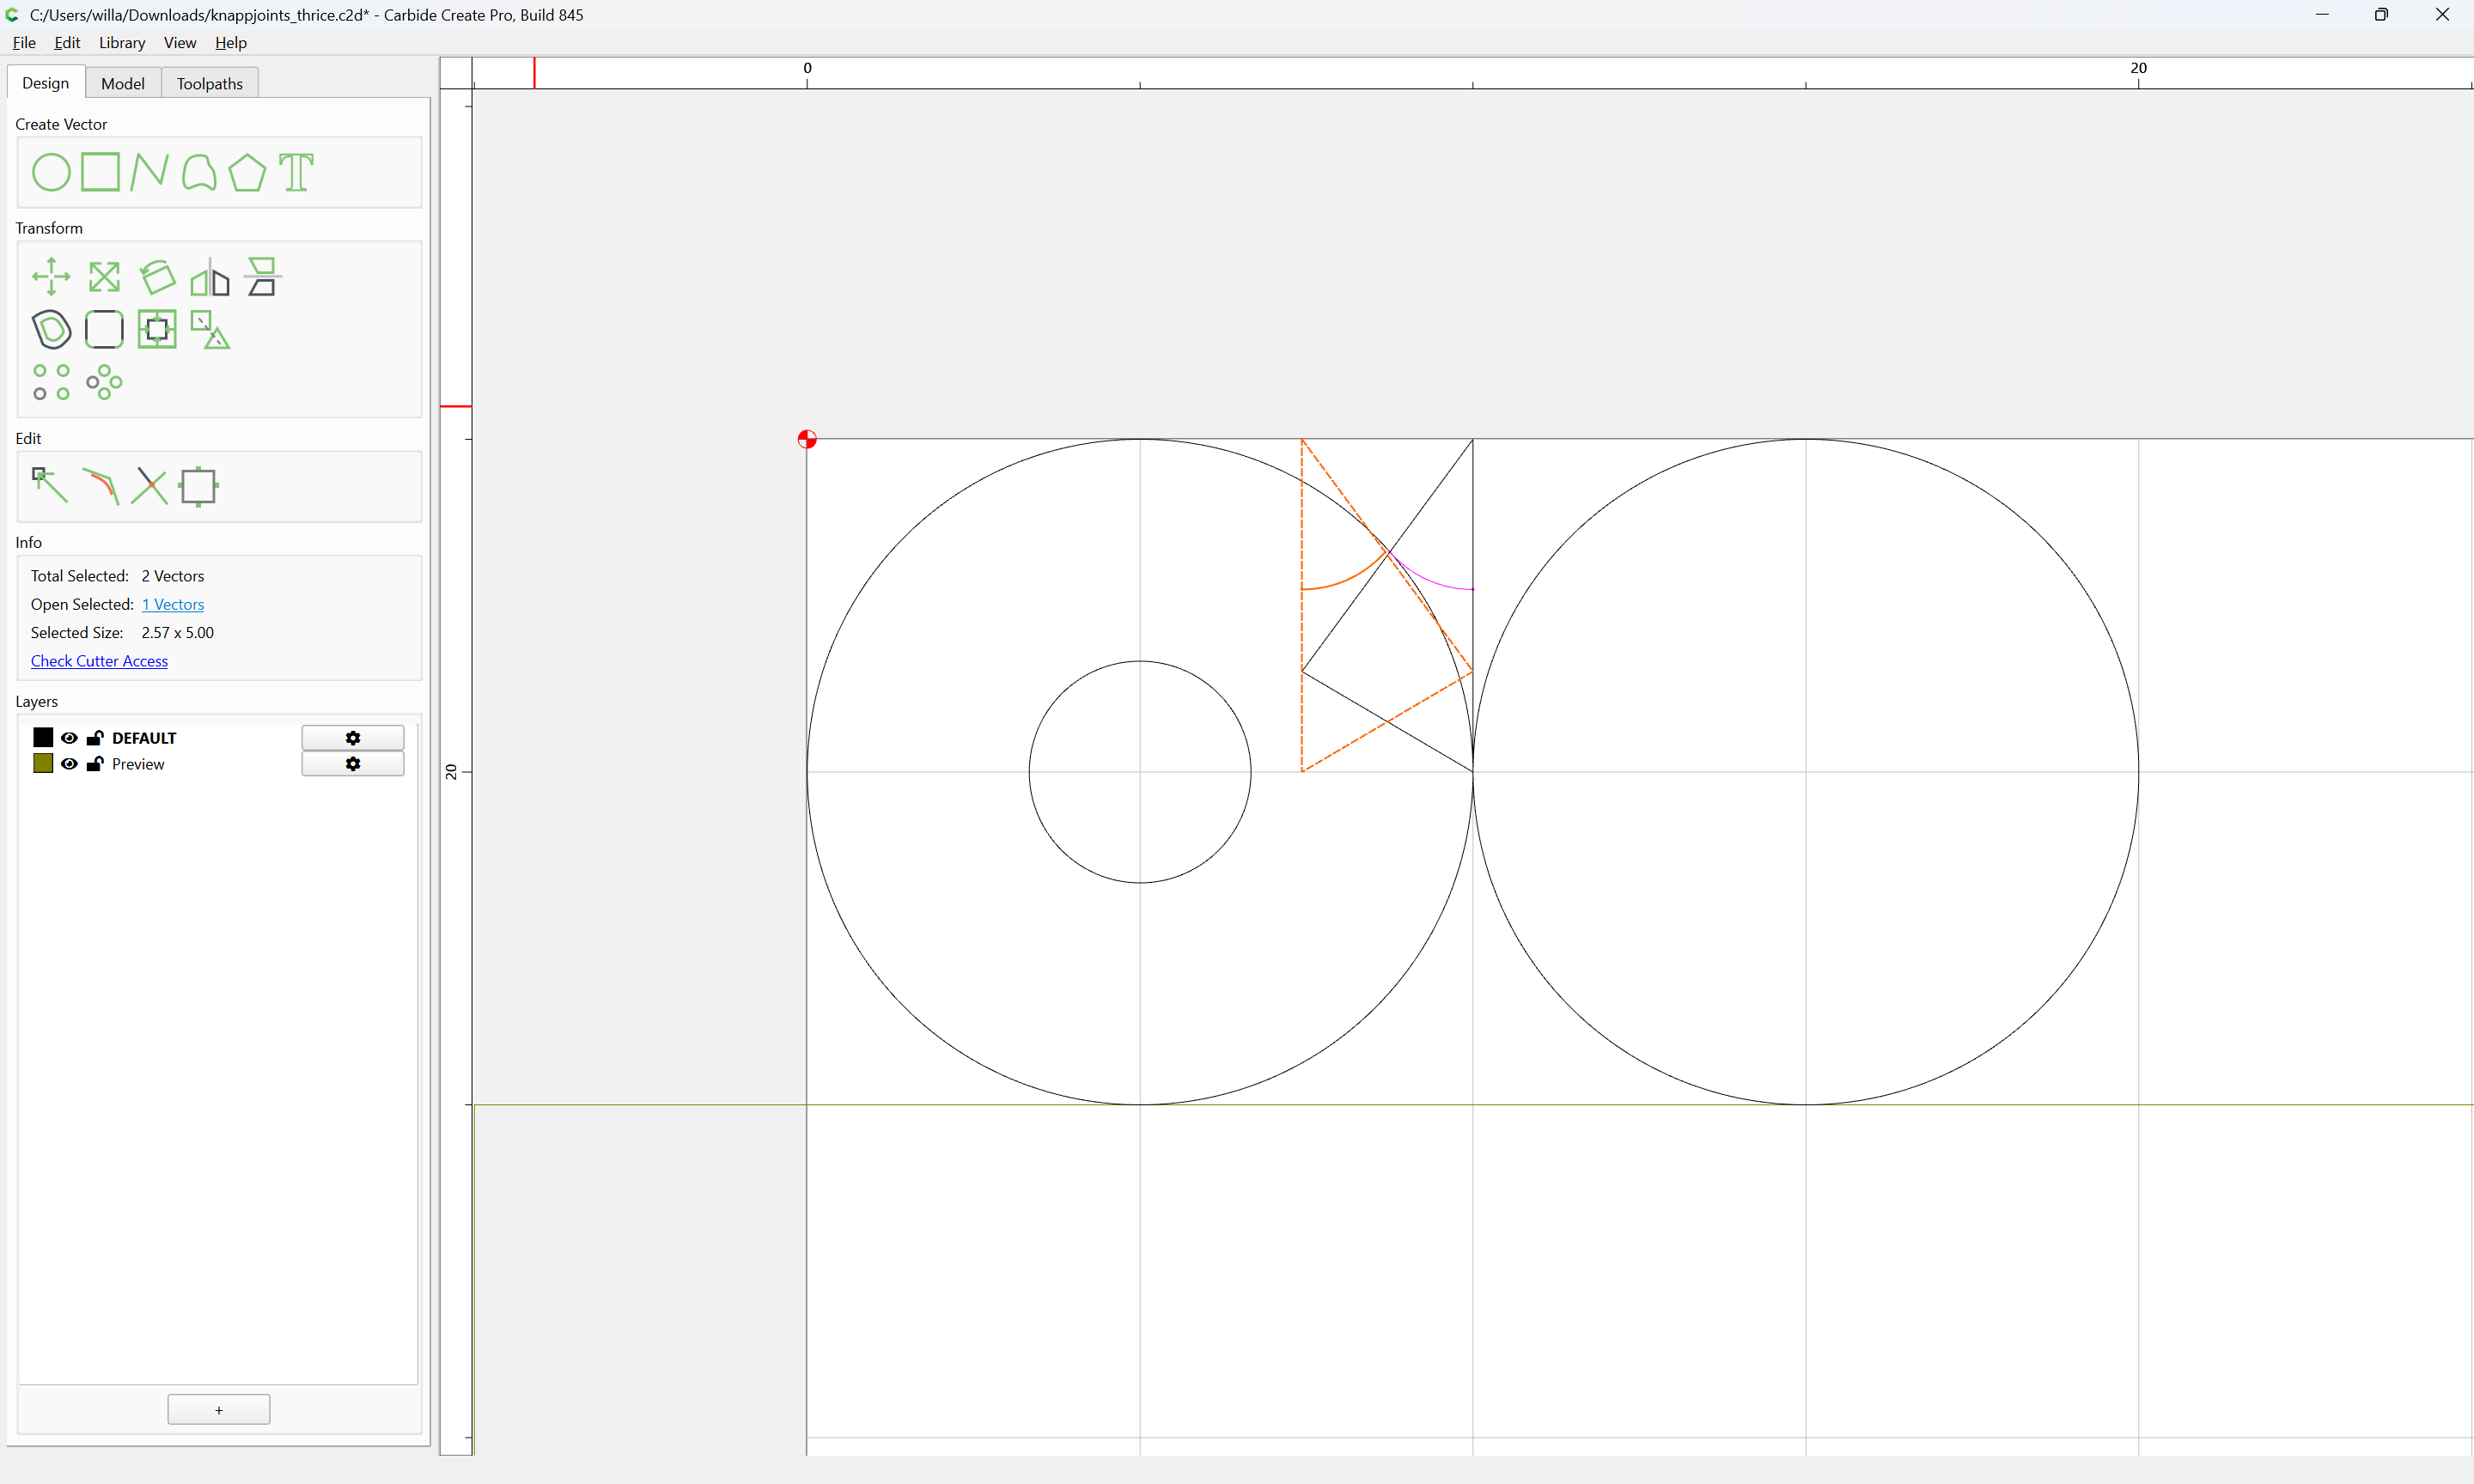
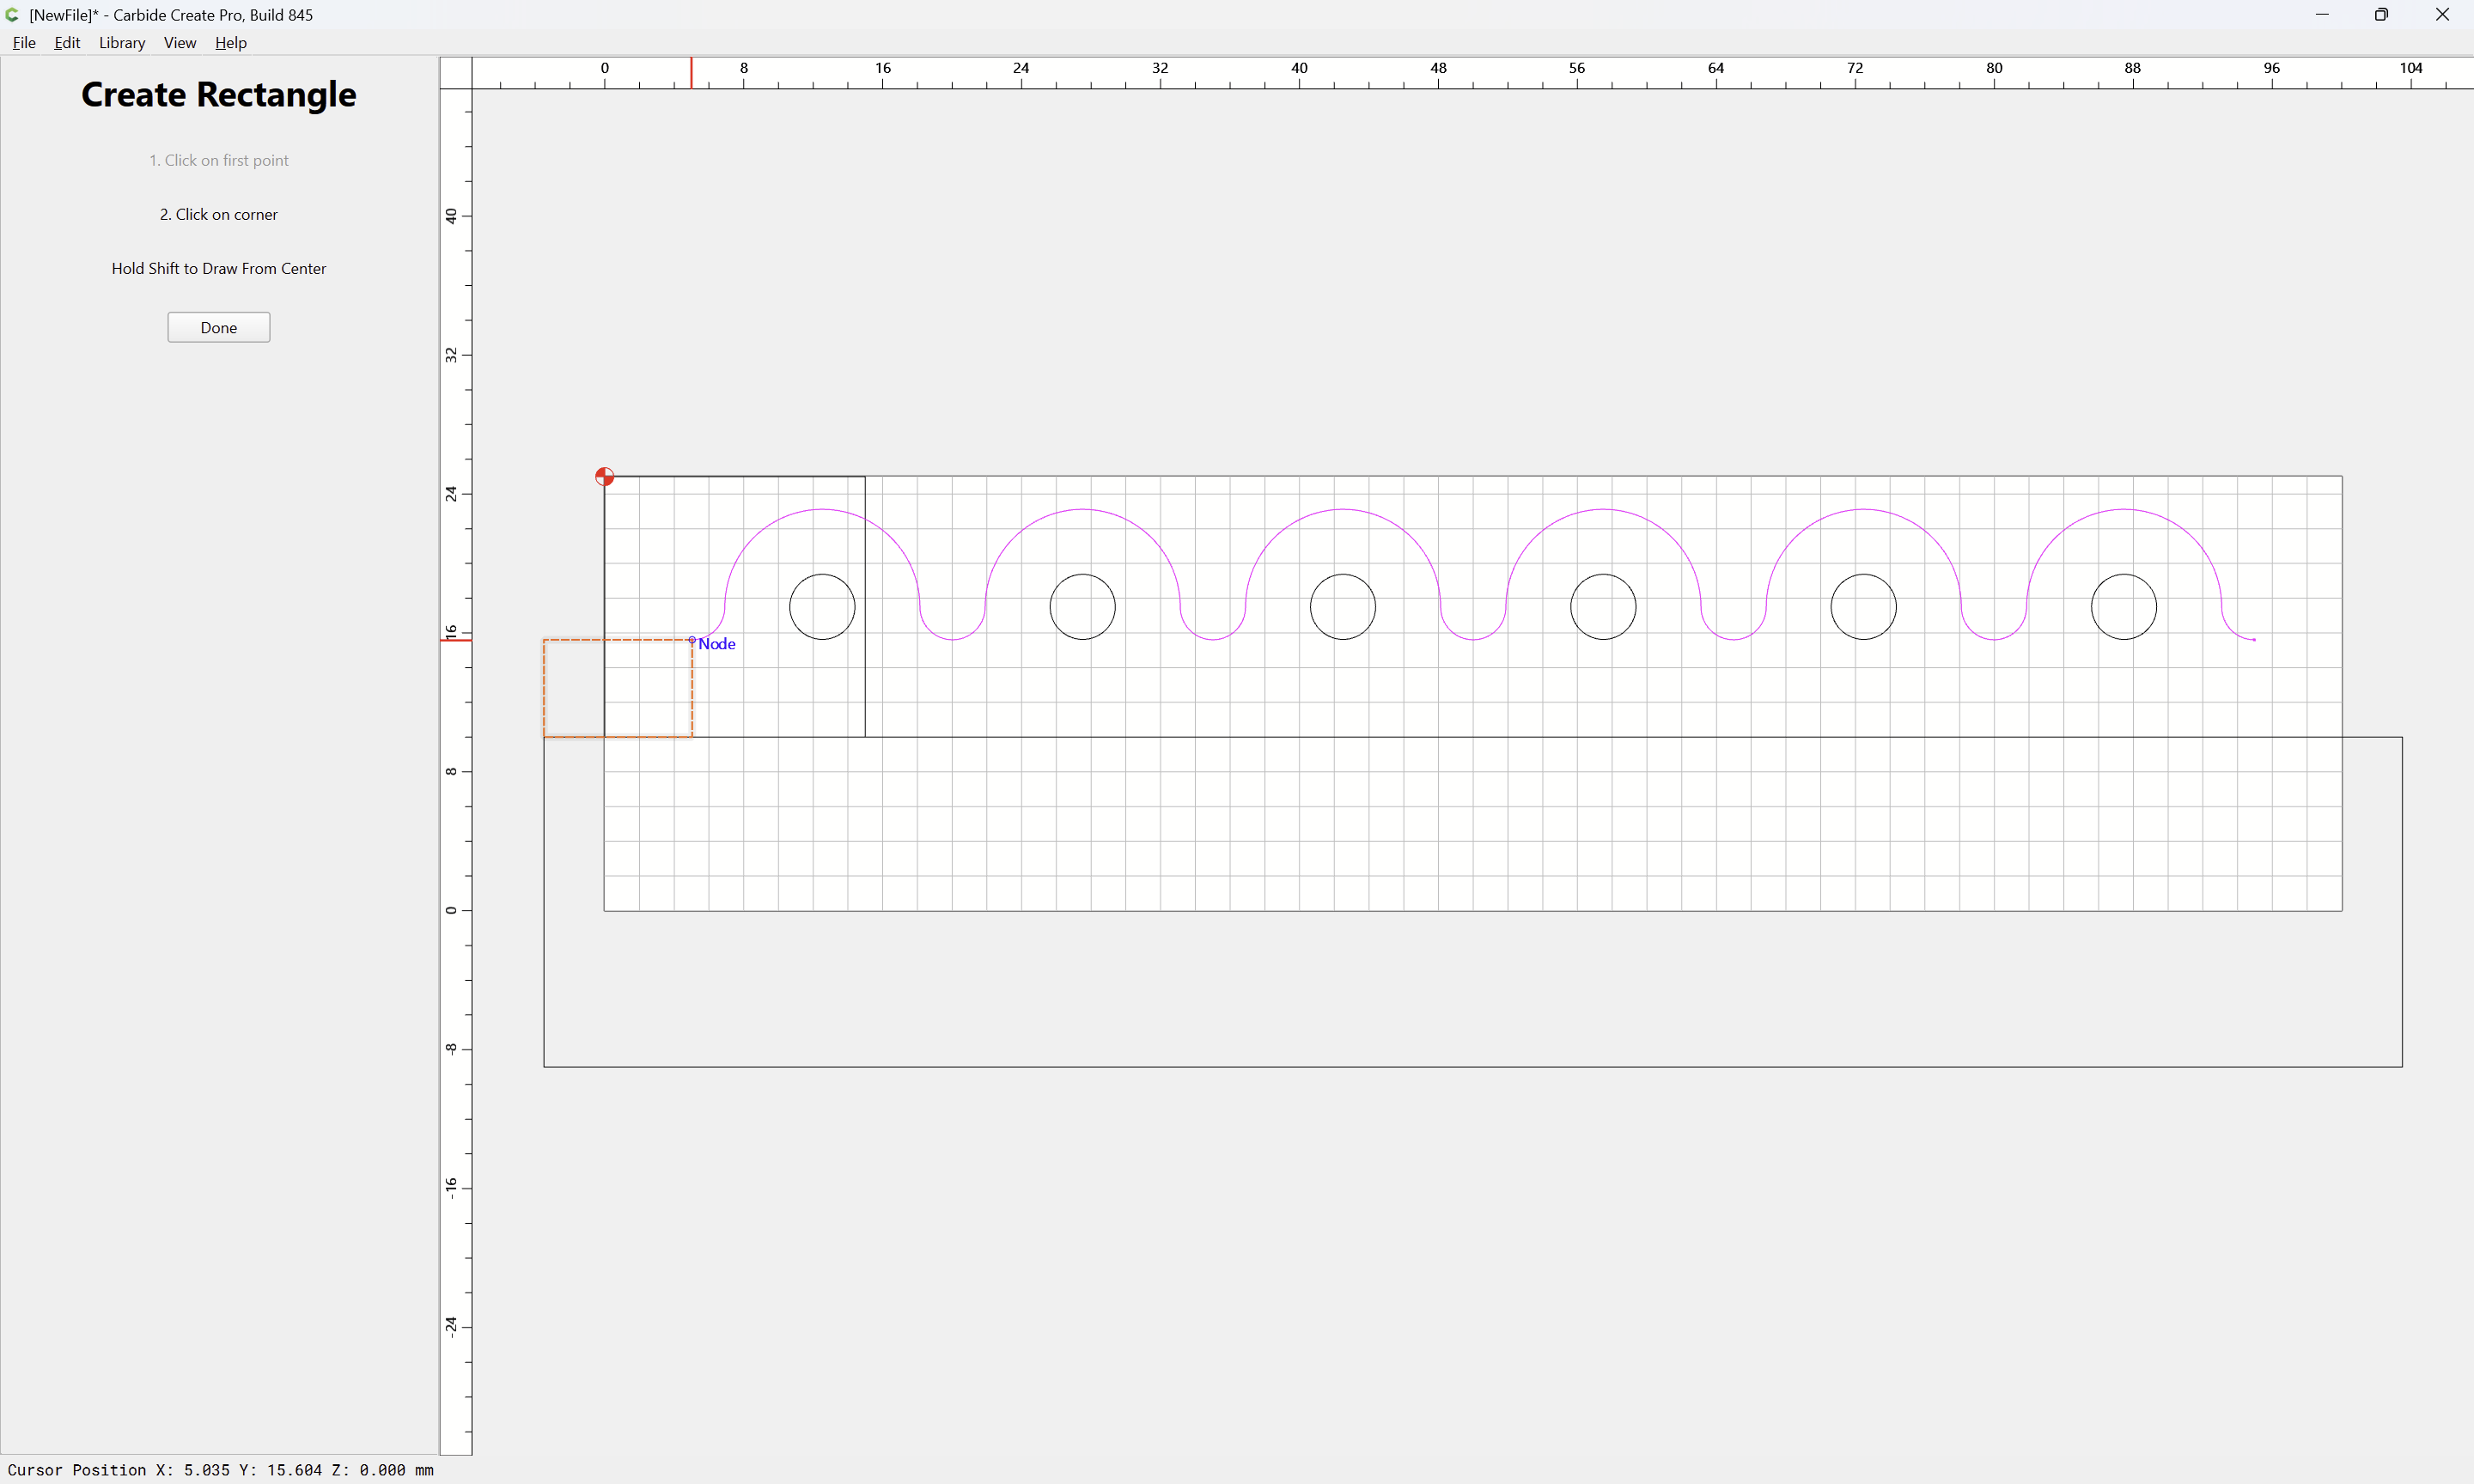
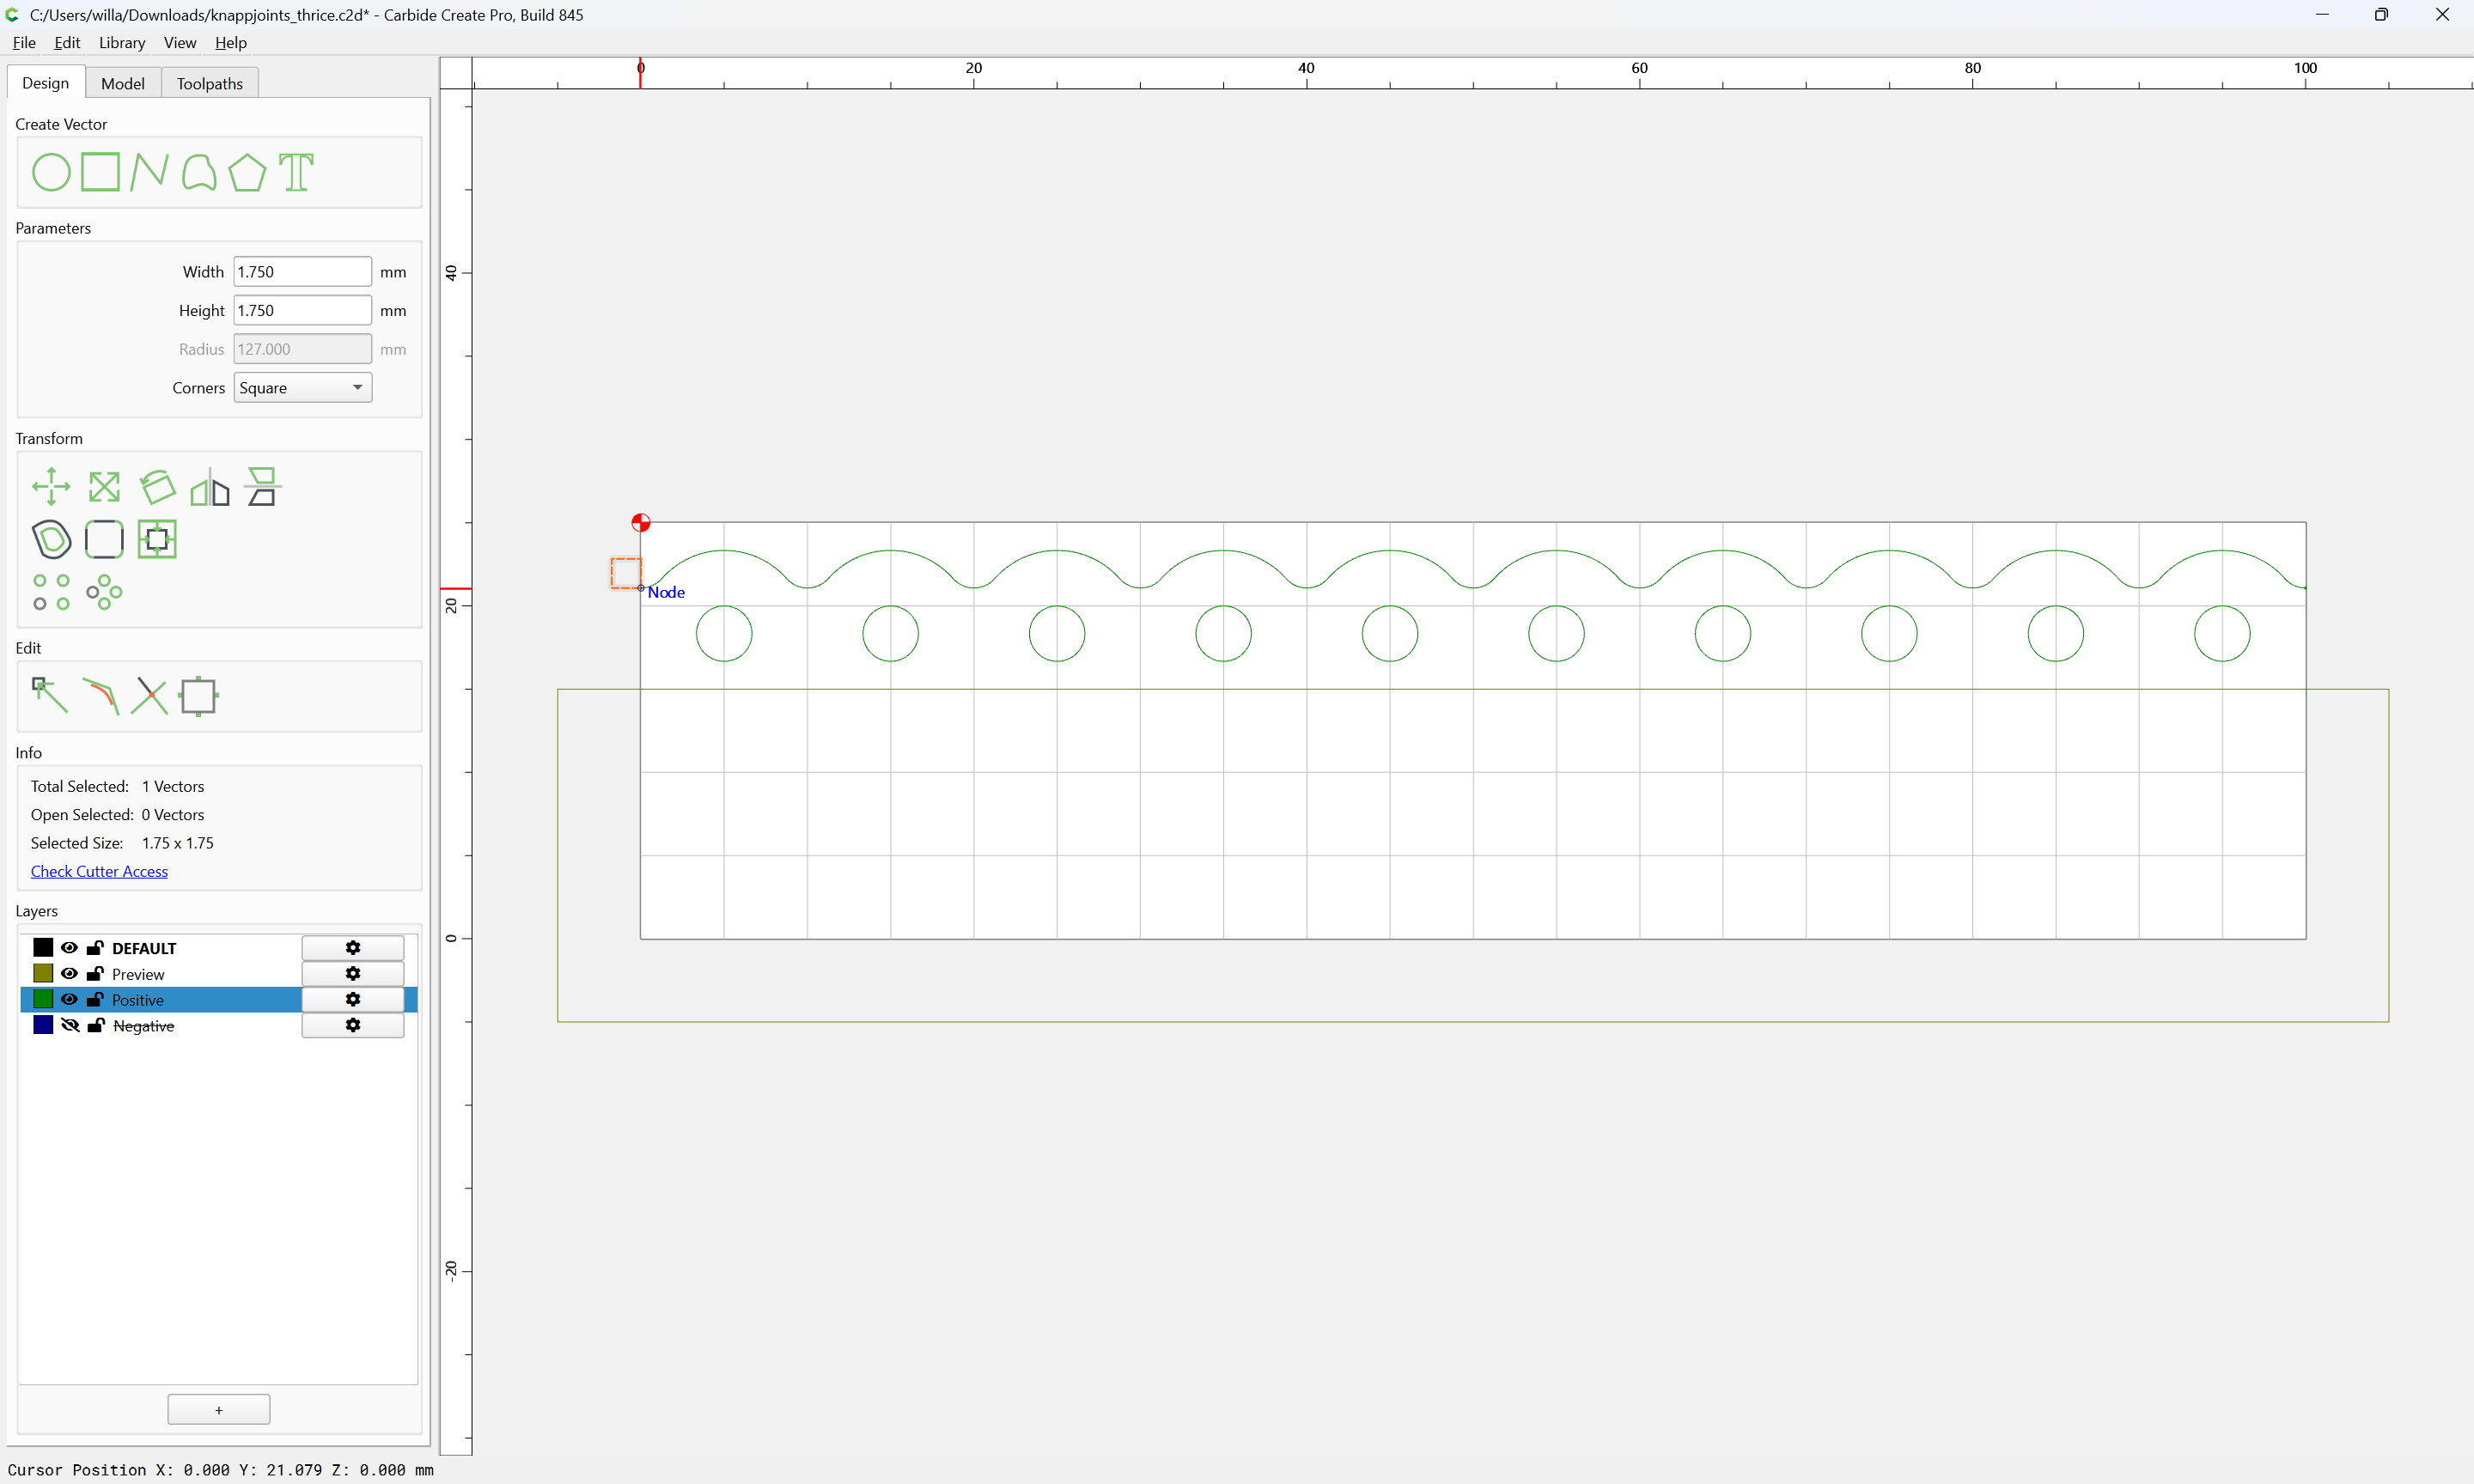
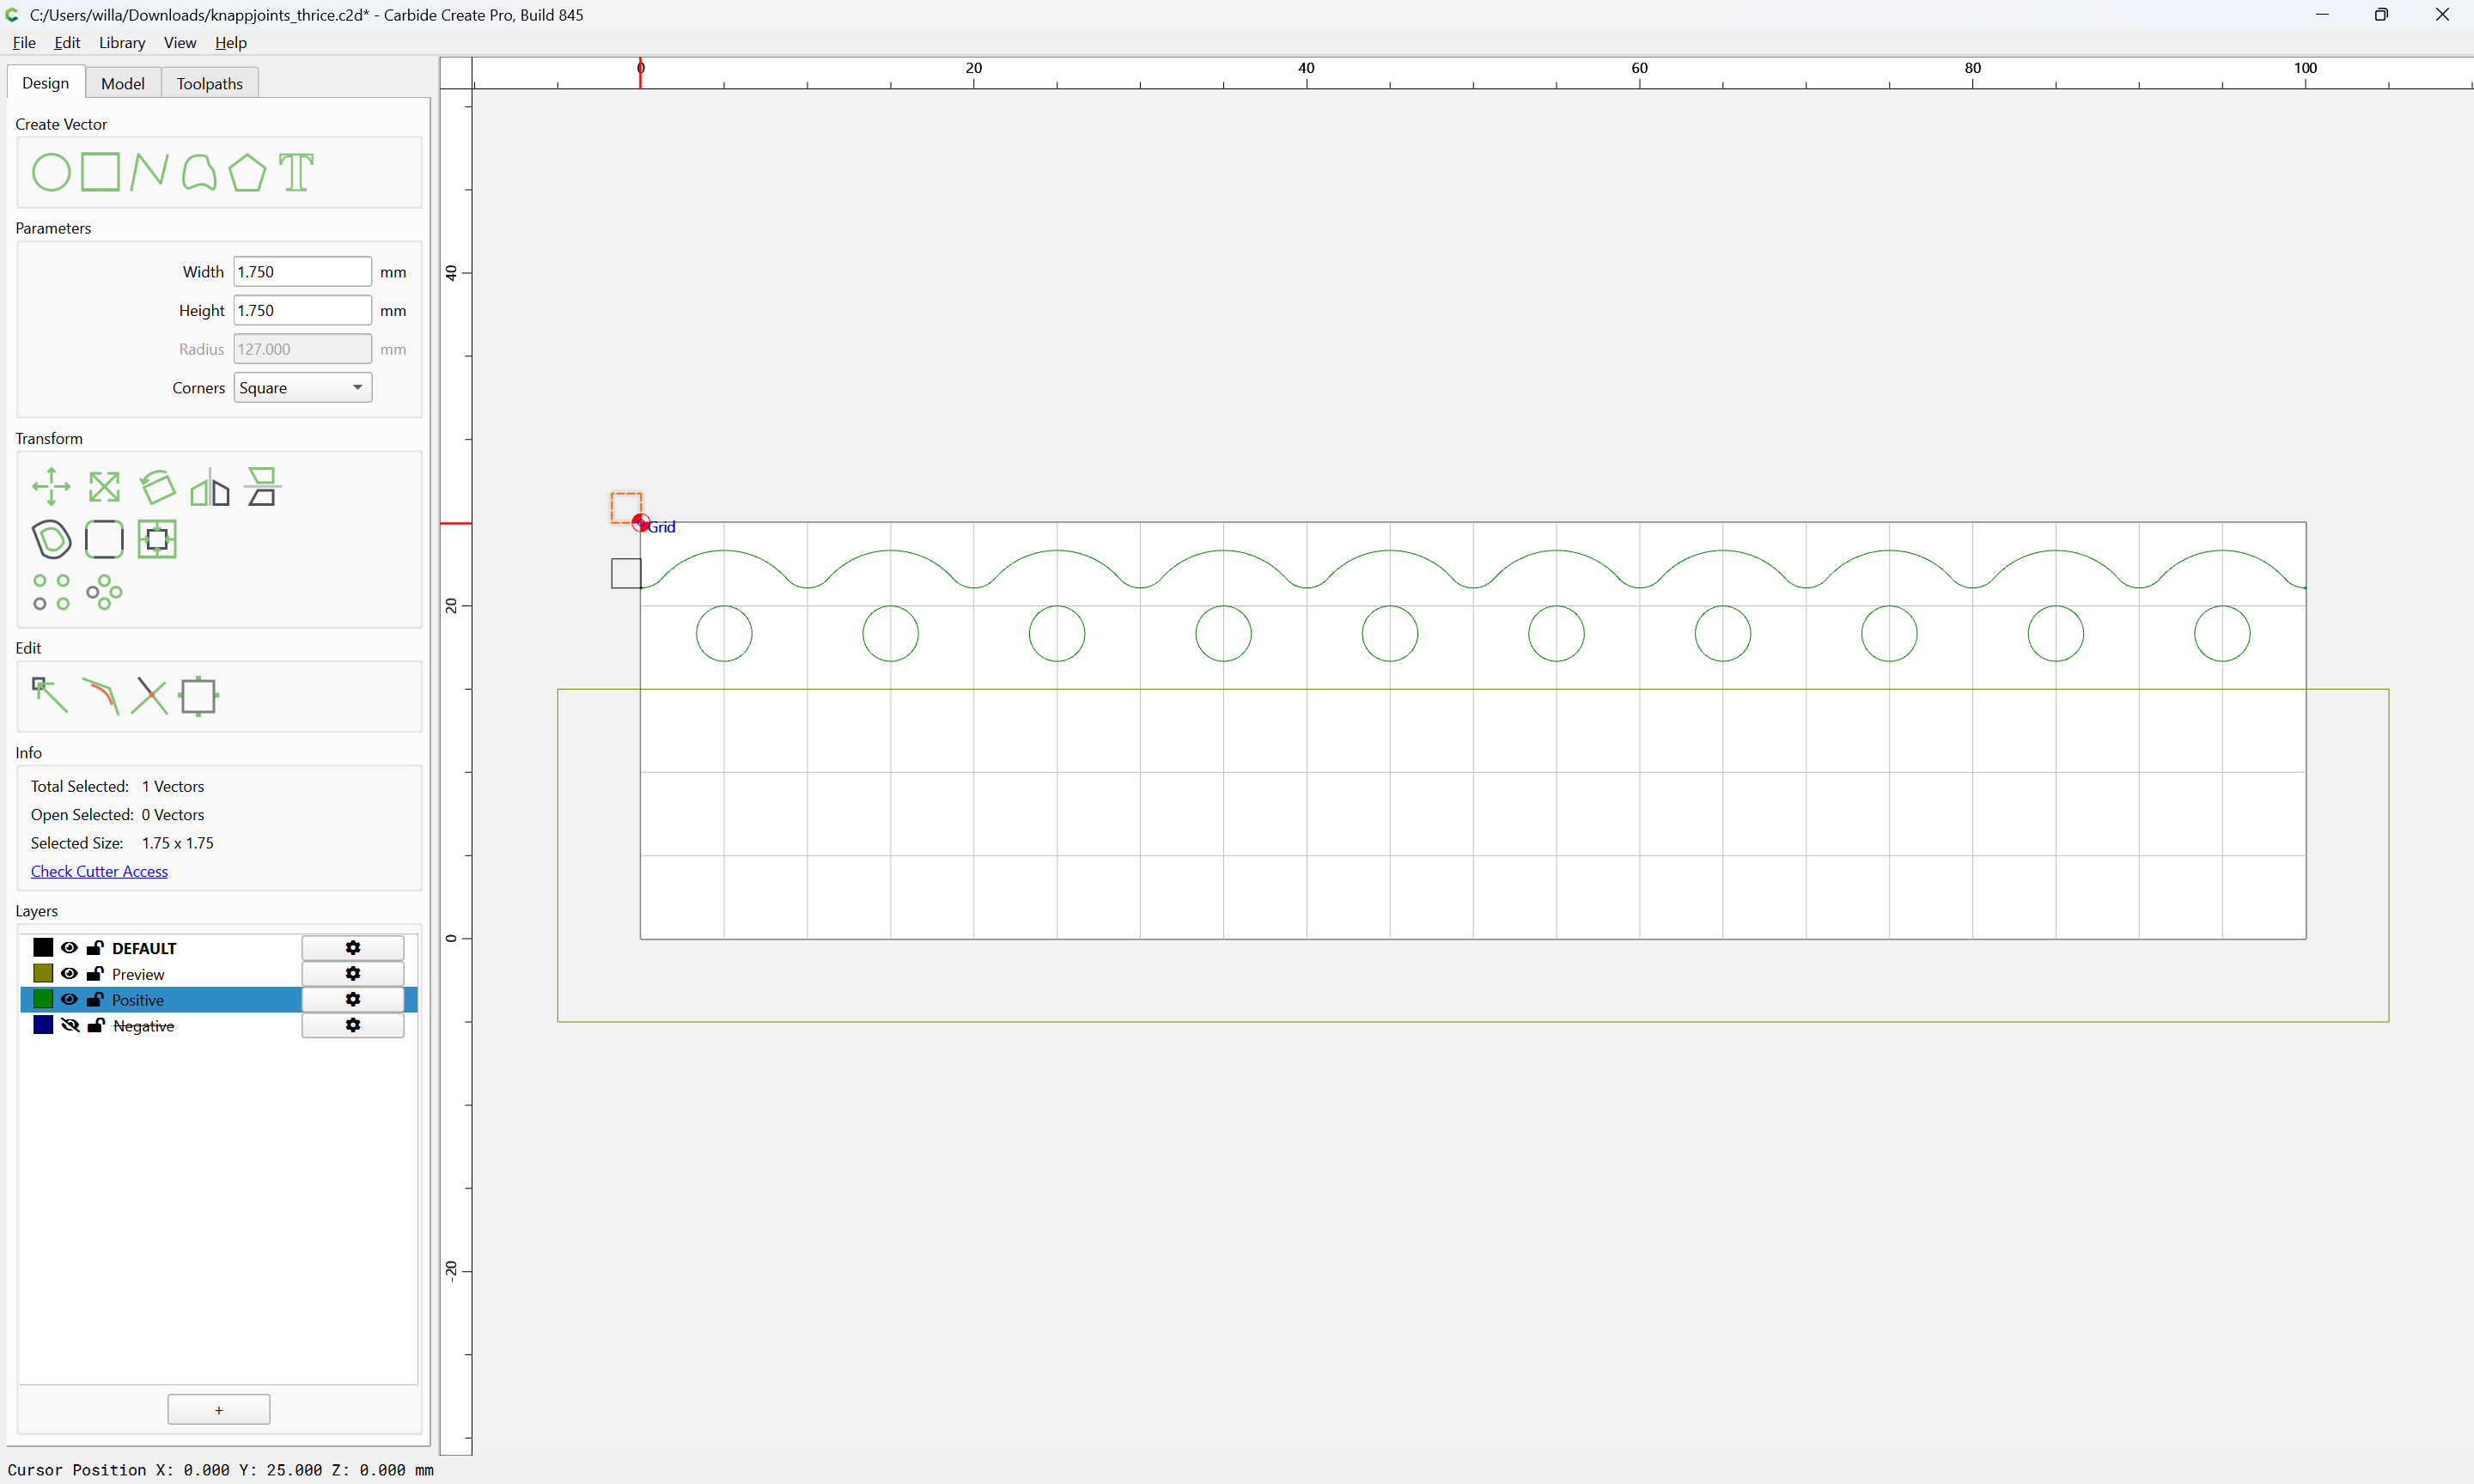
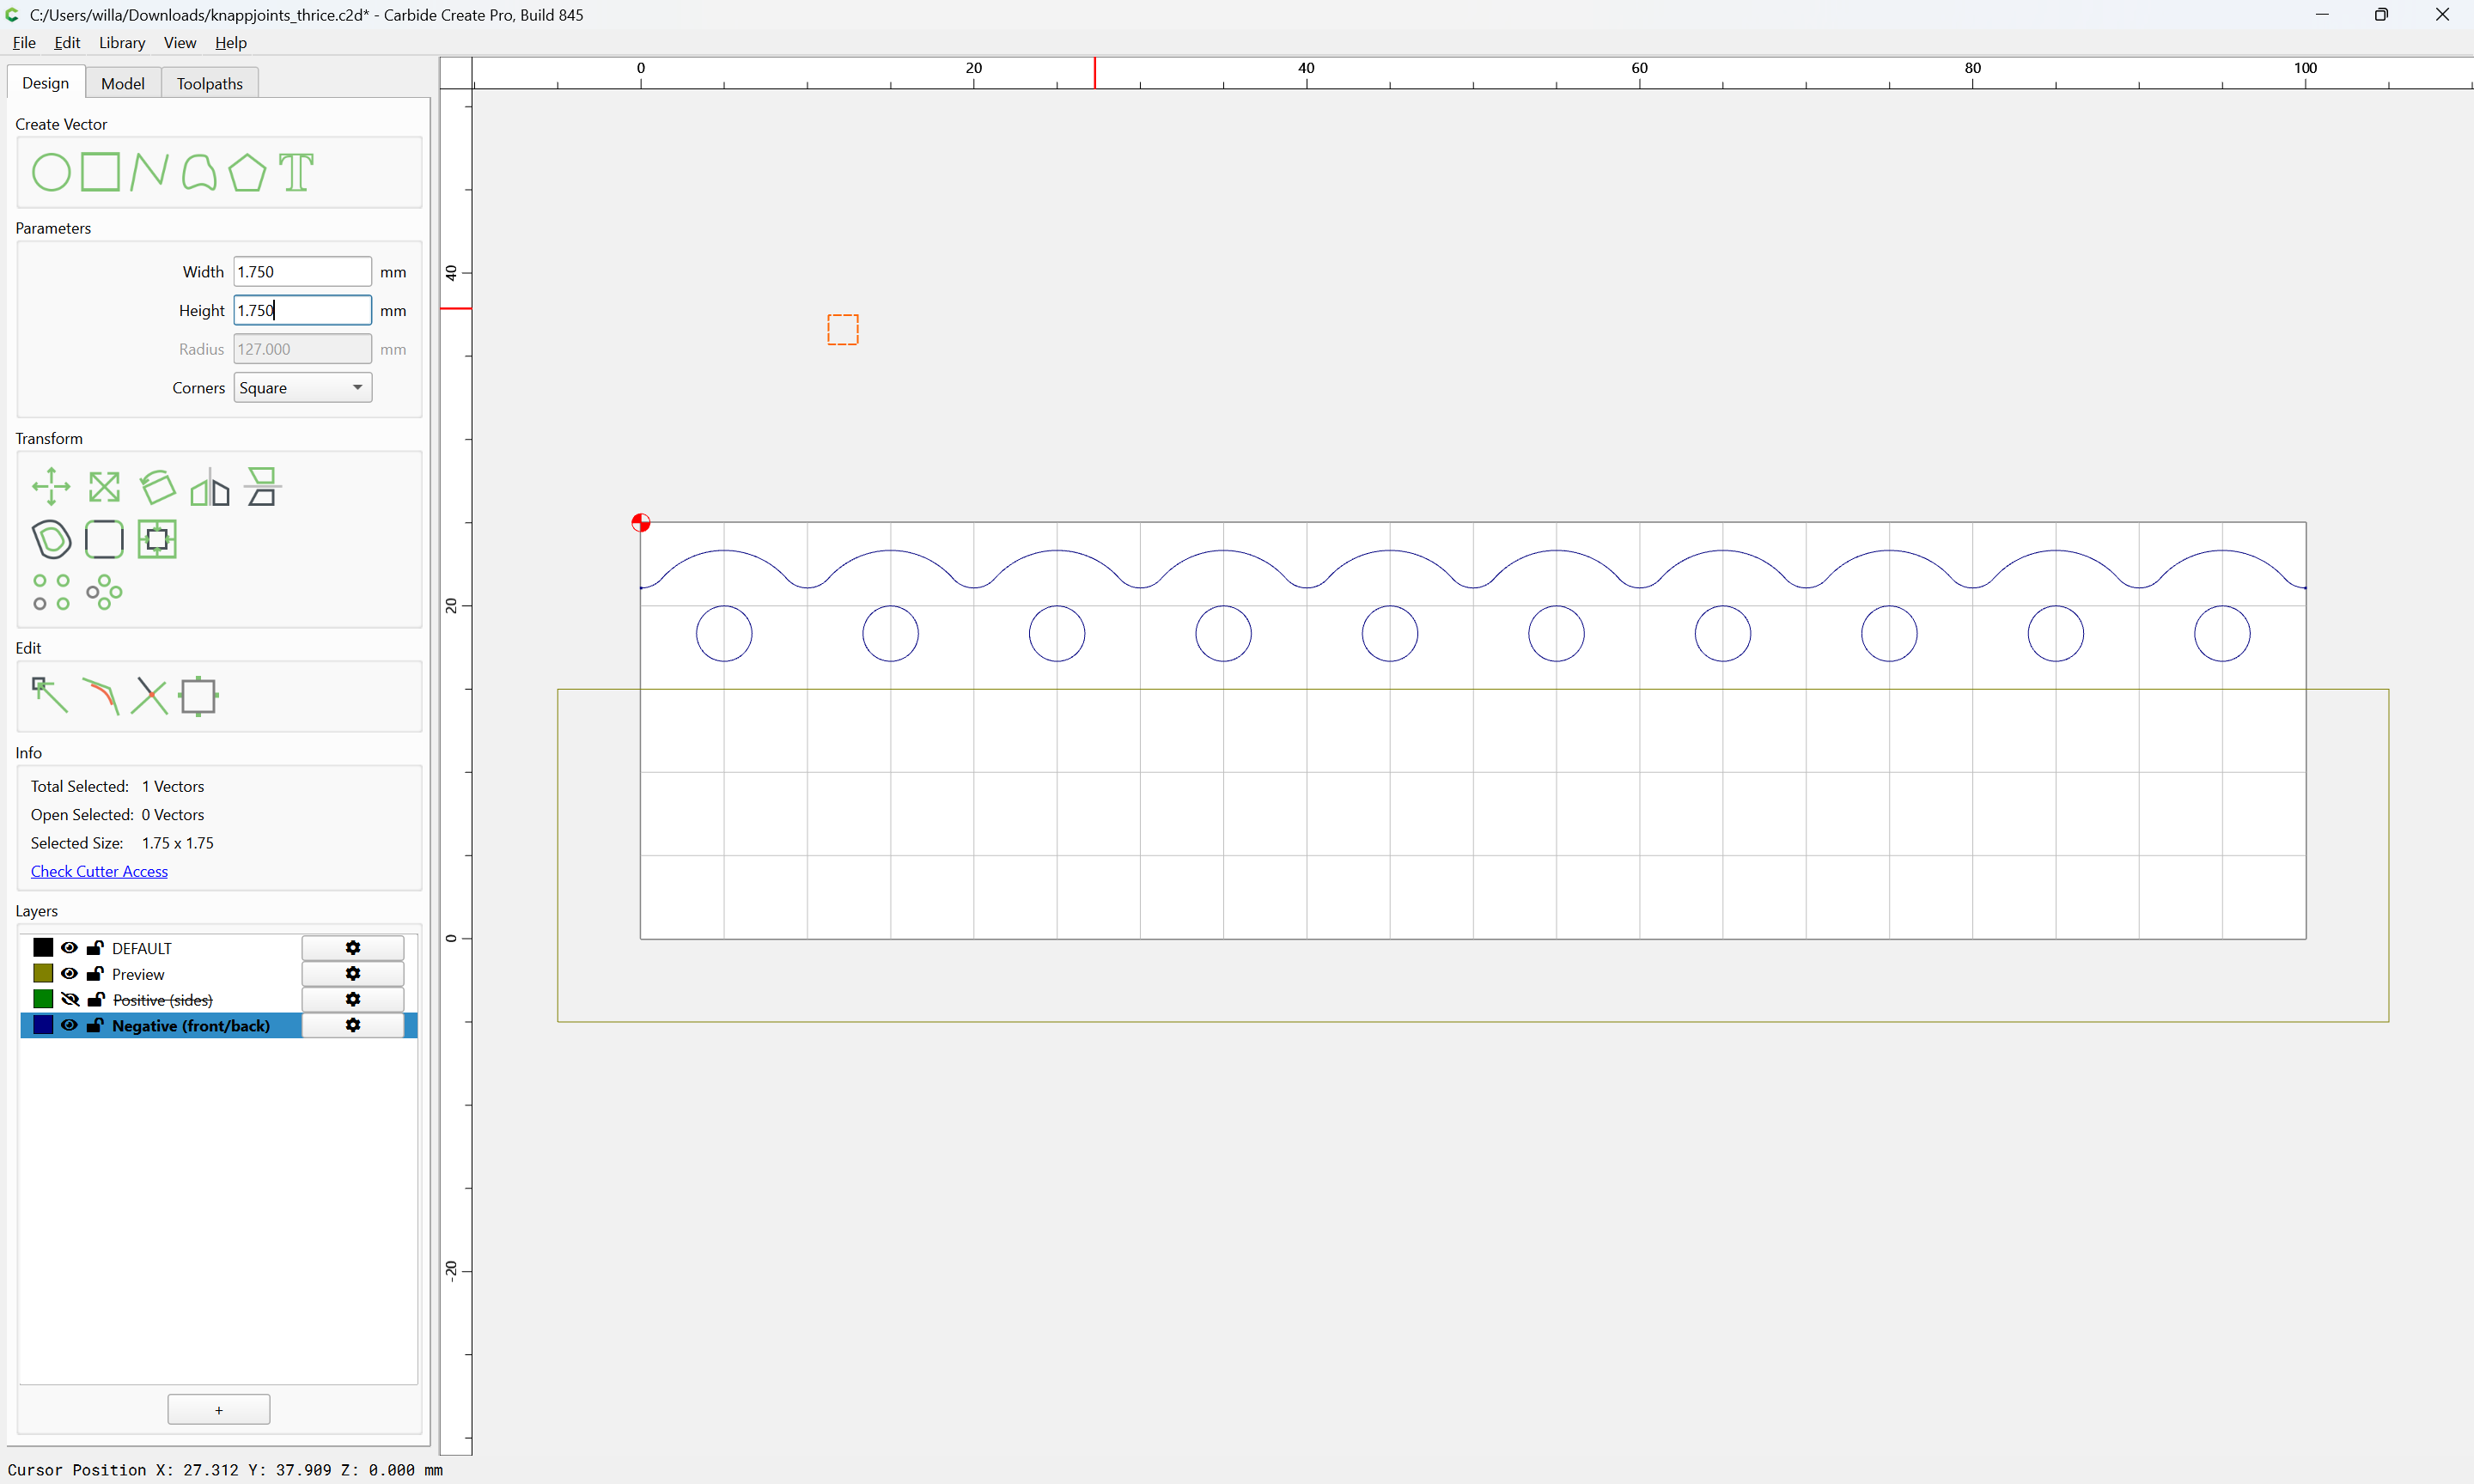
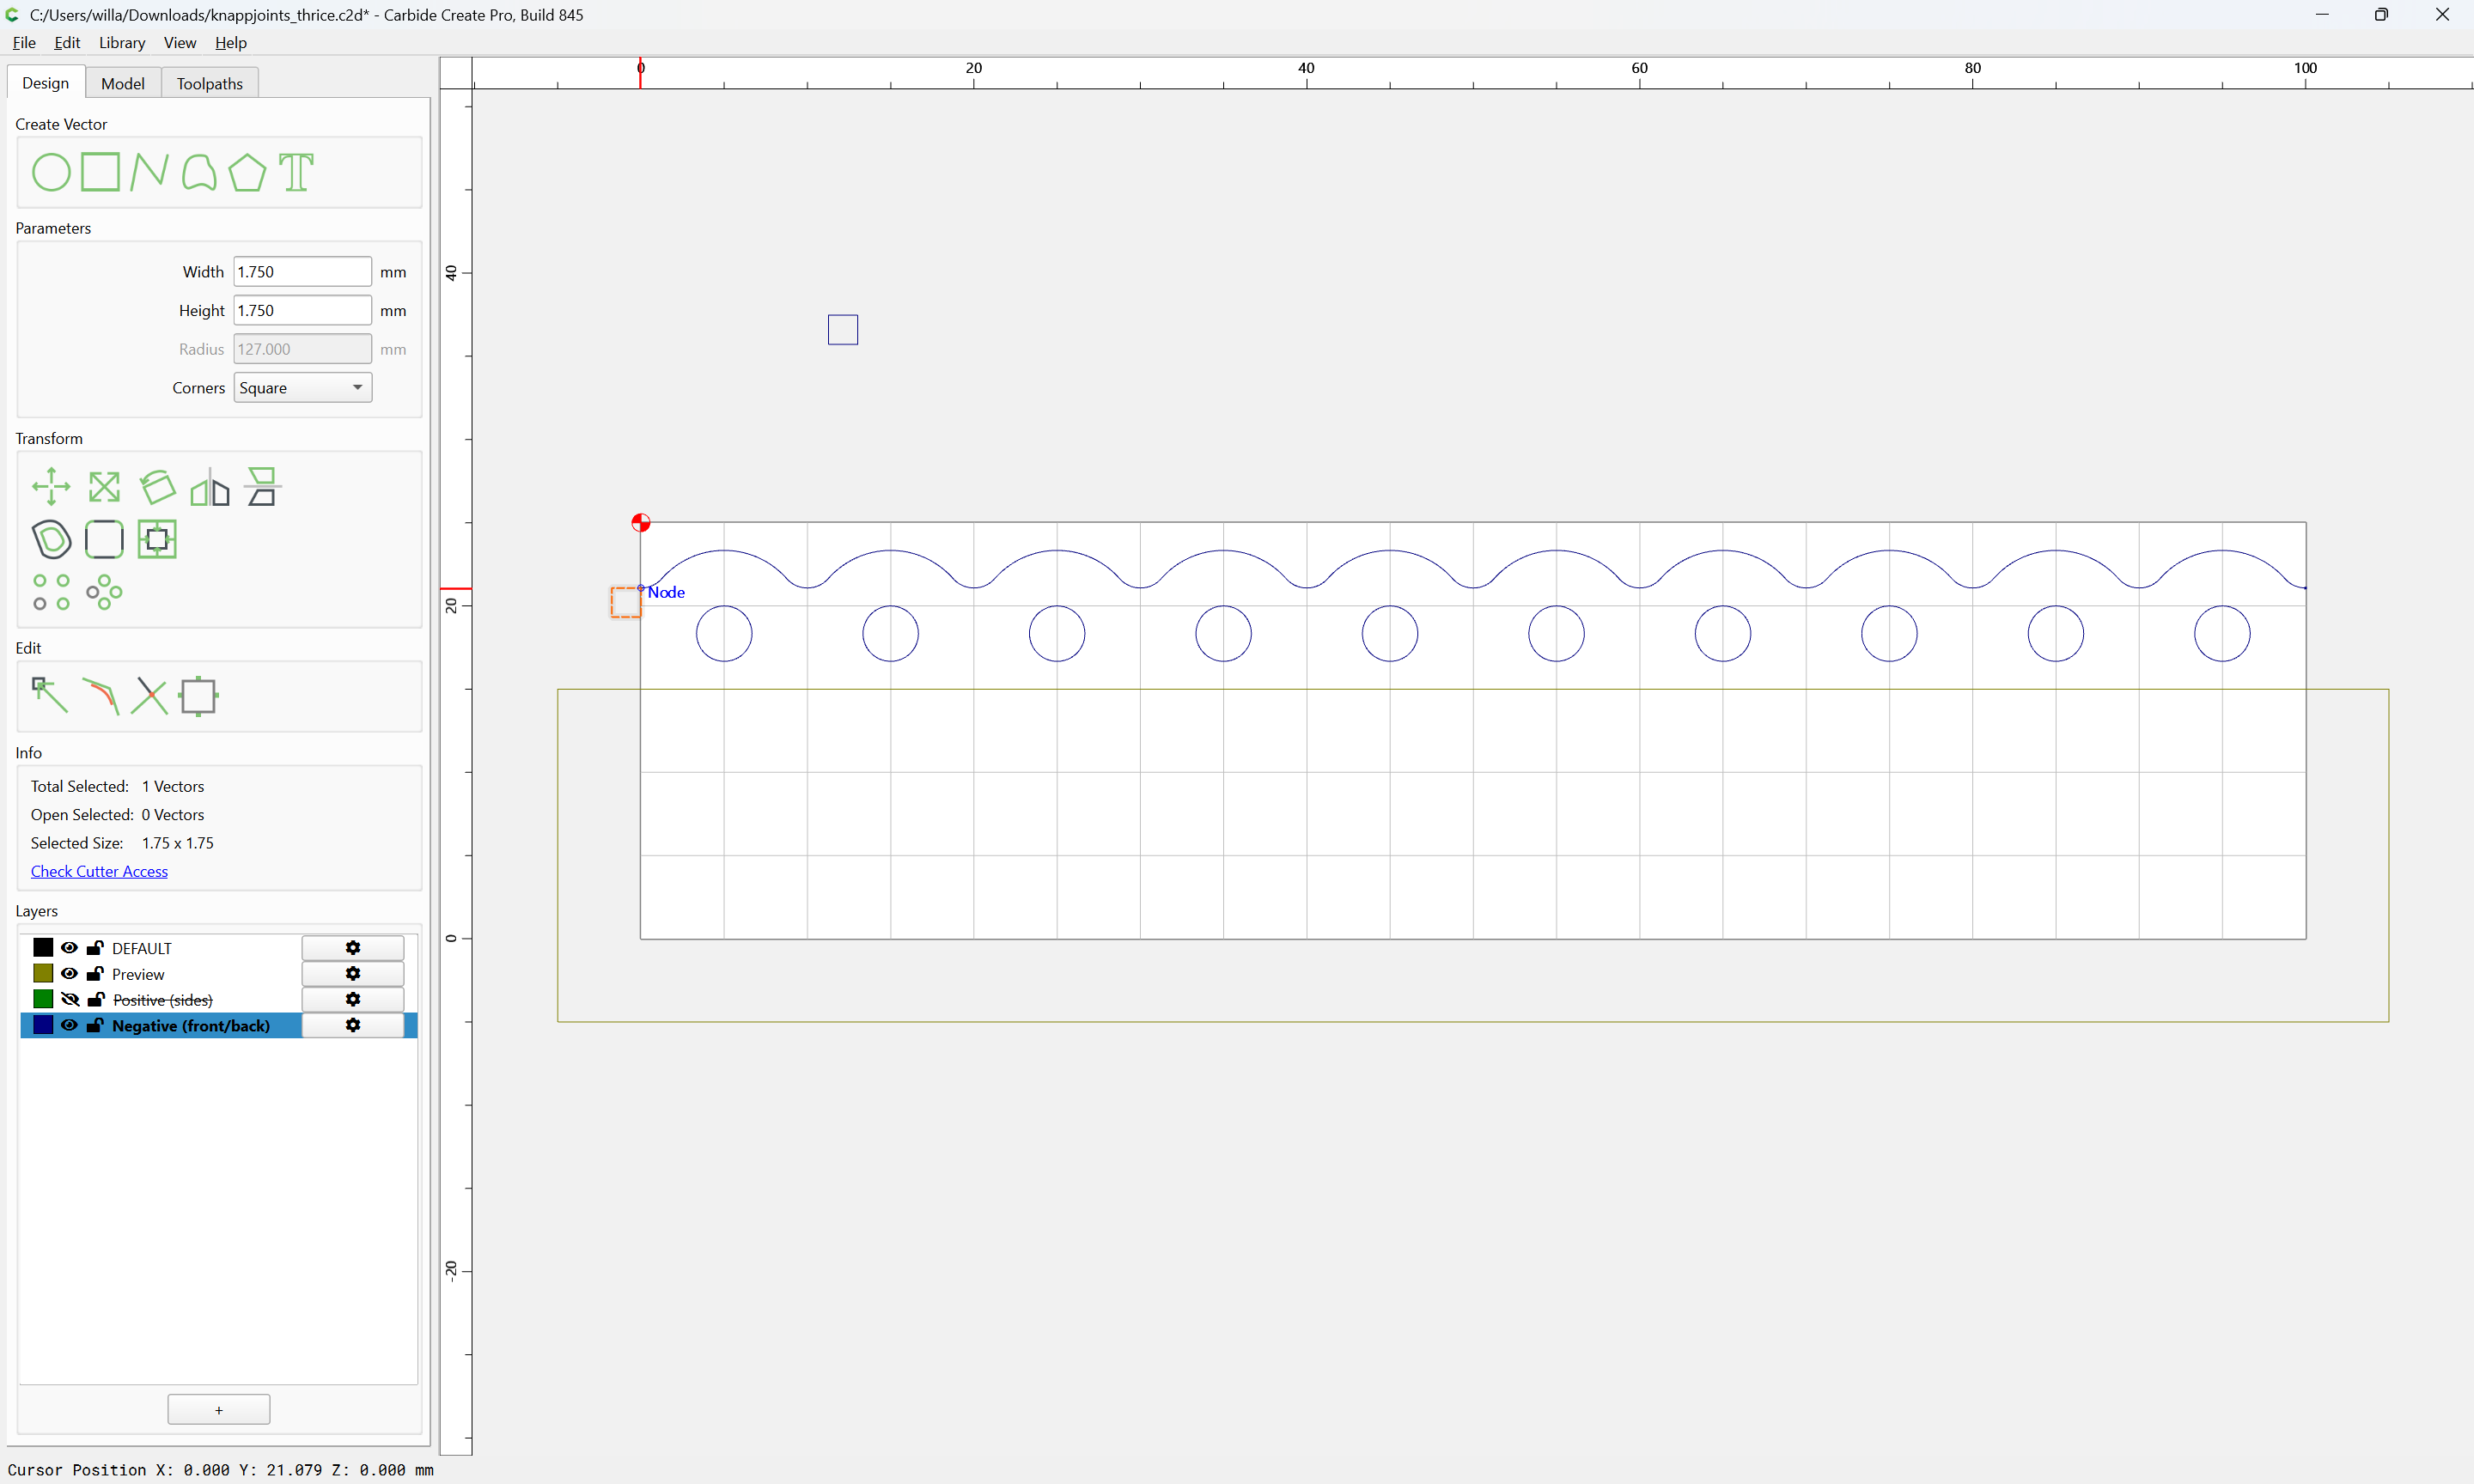
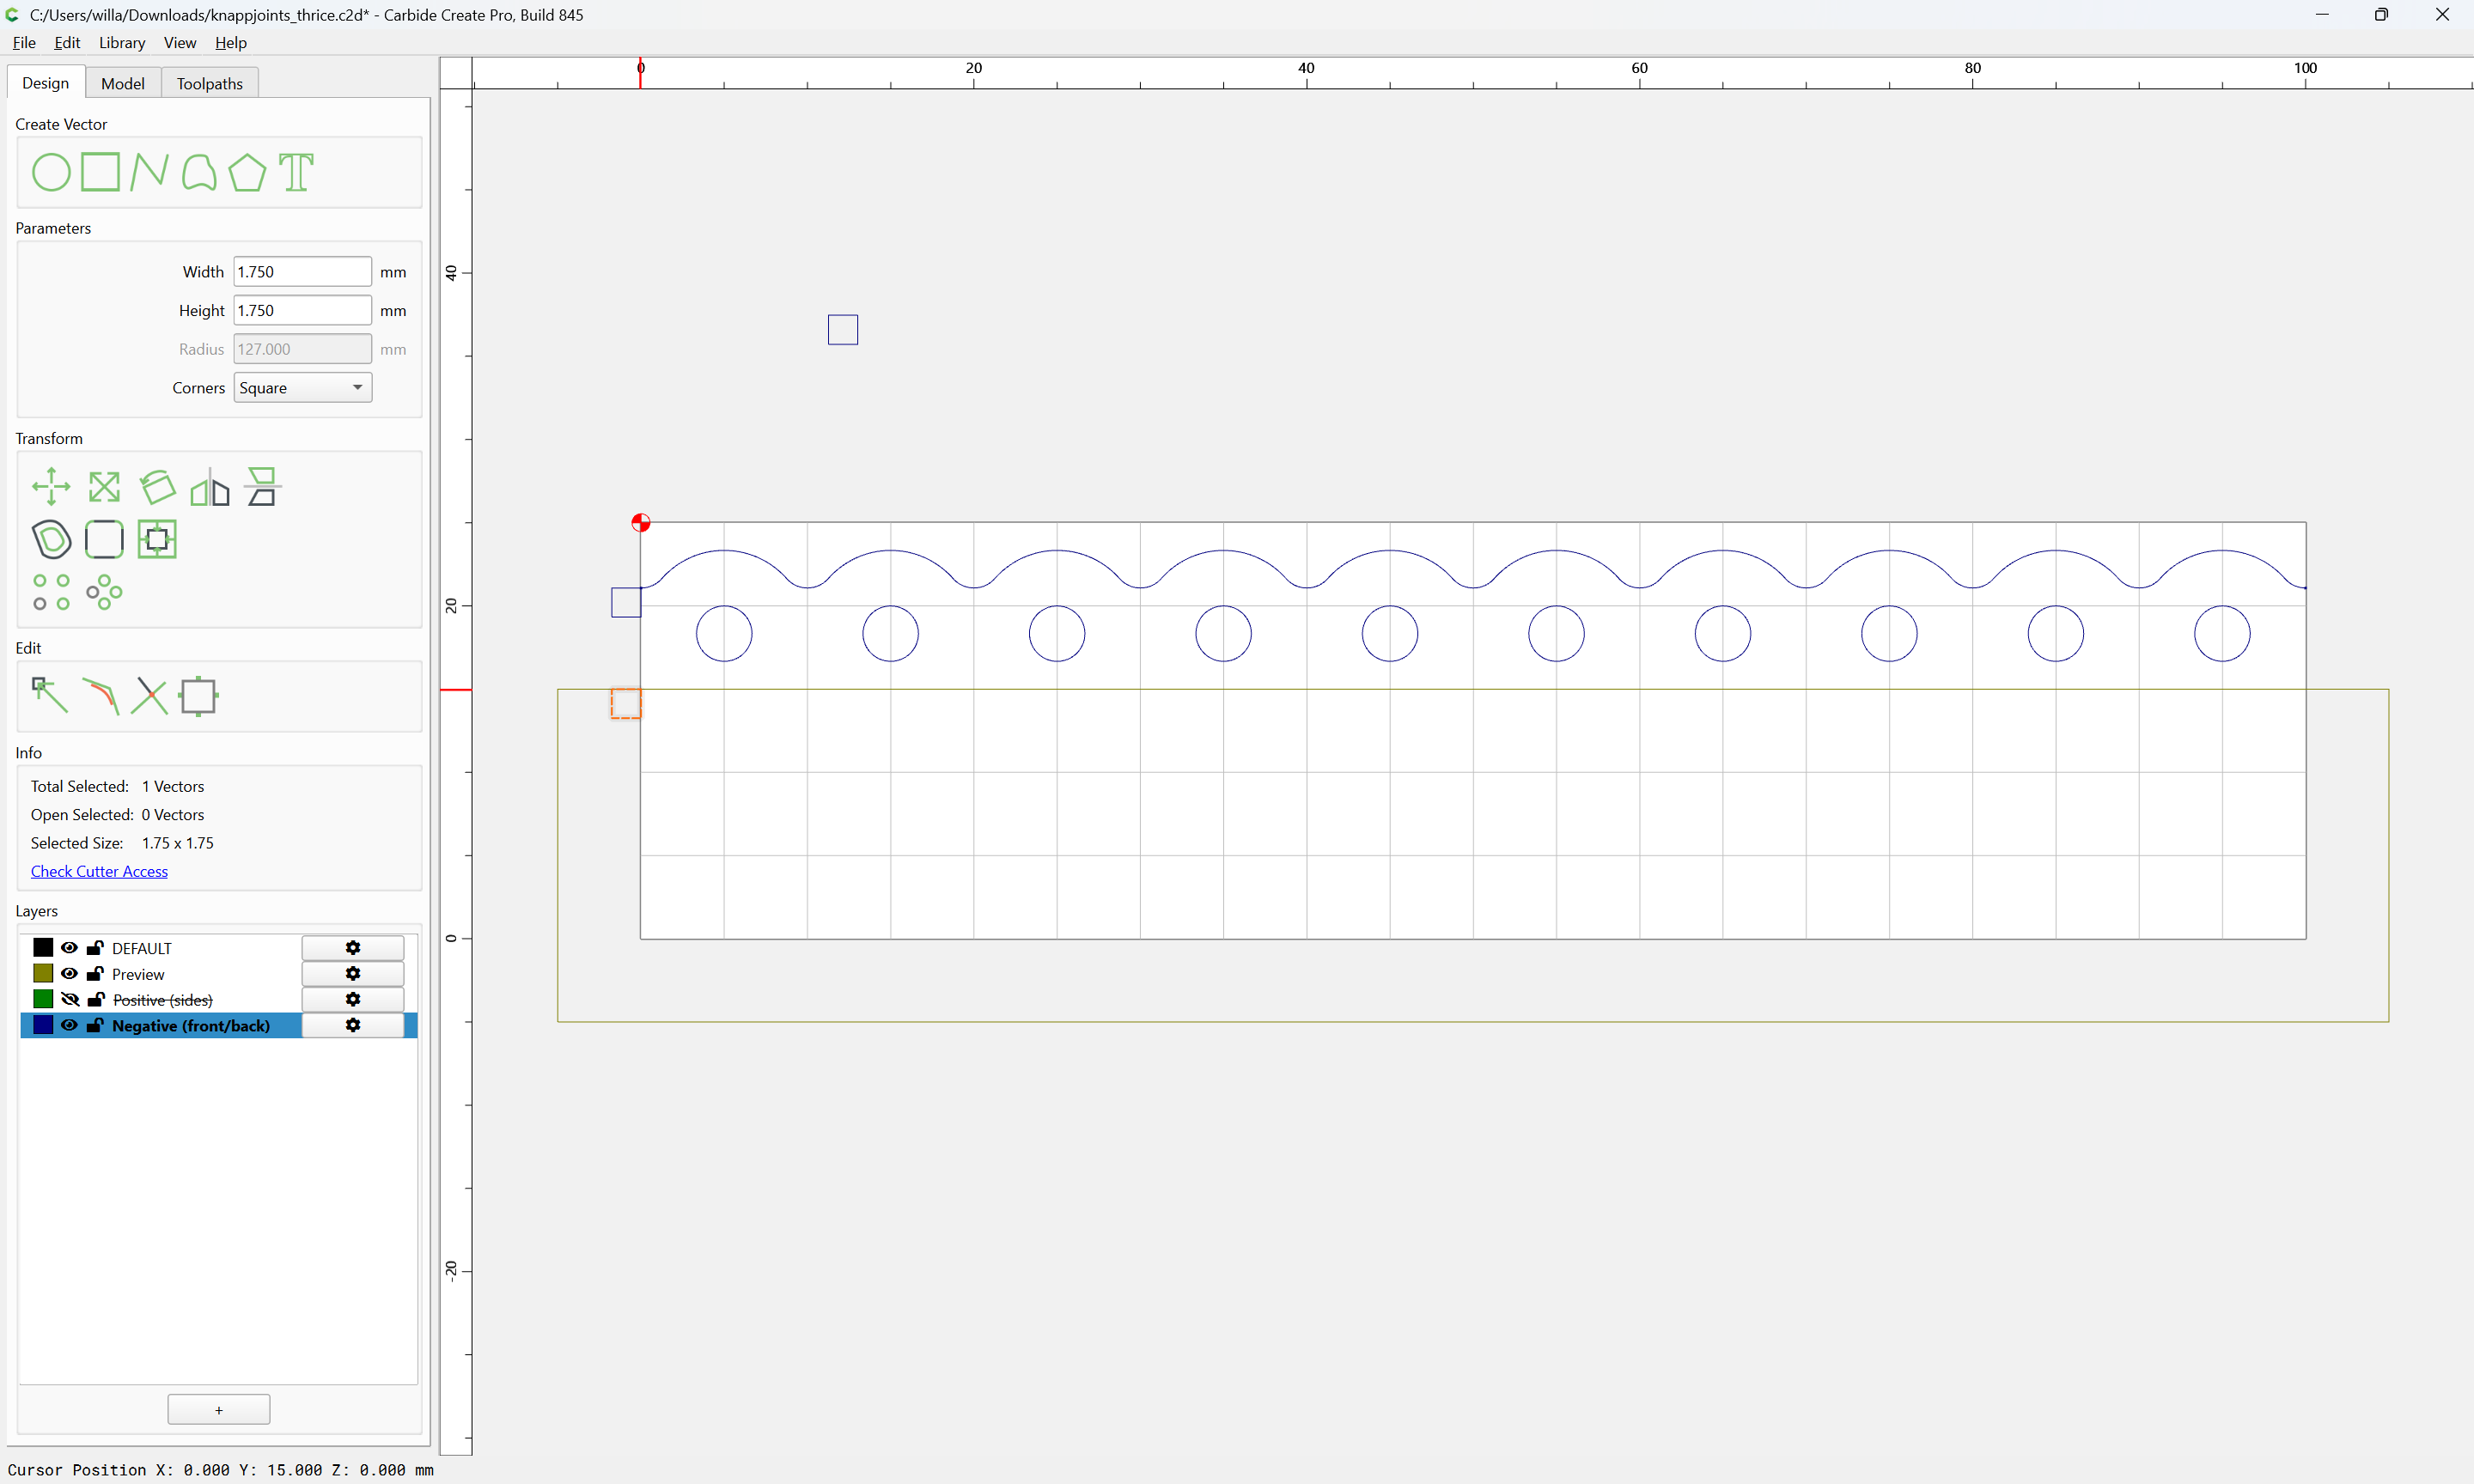
Draw up a rectangle which is a bit larger in dimension than the radius of the tool:

and position copies of it around where one wants the tool to cut:

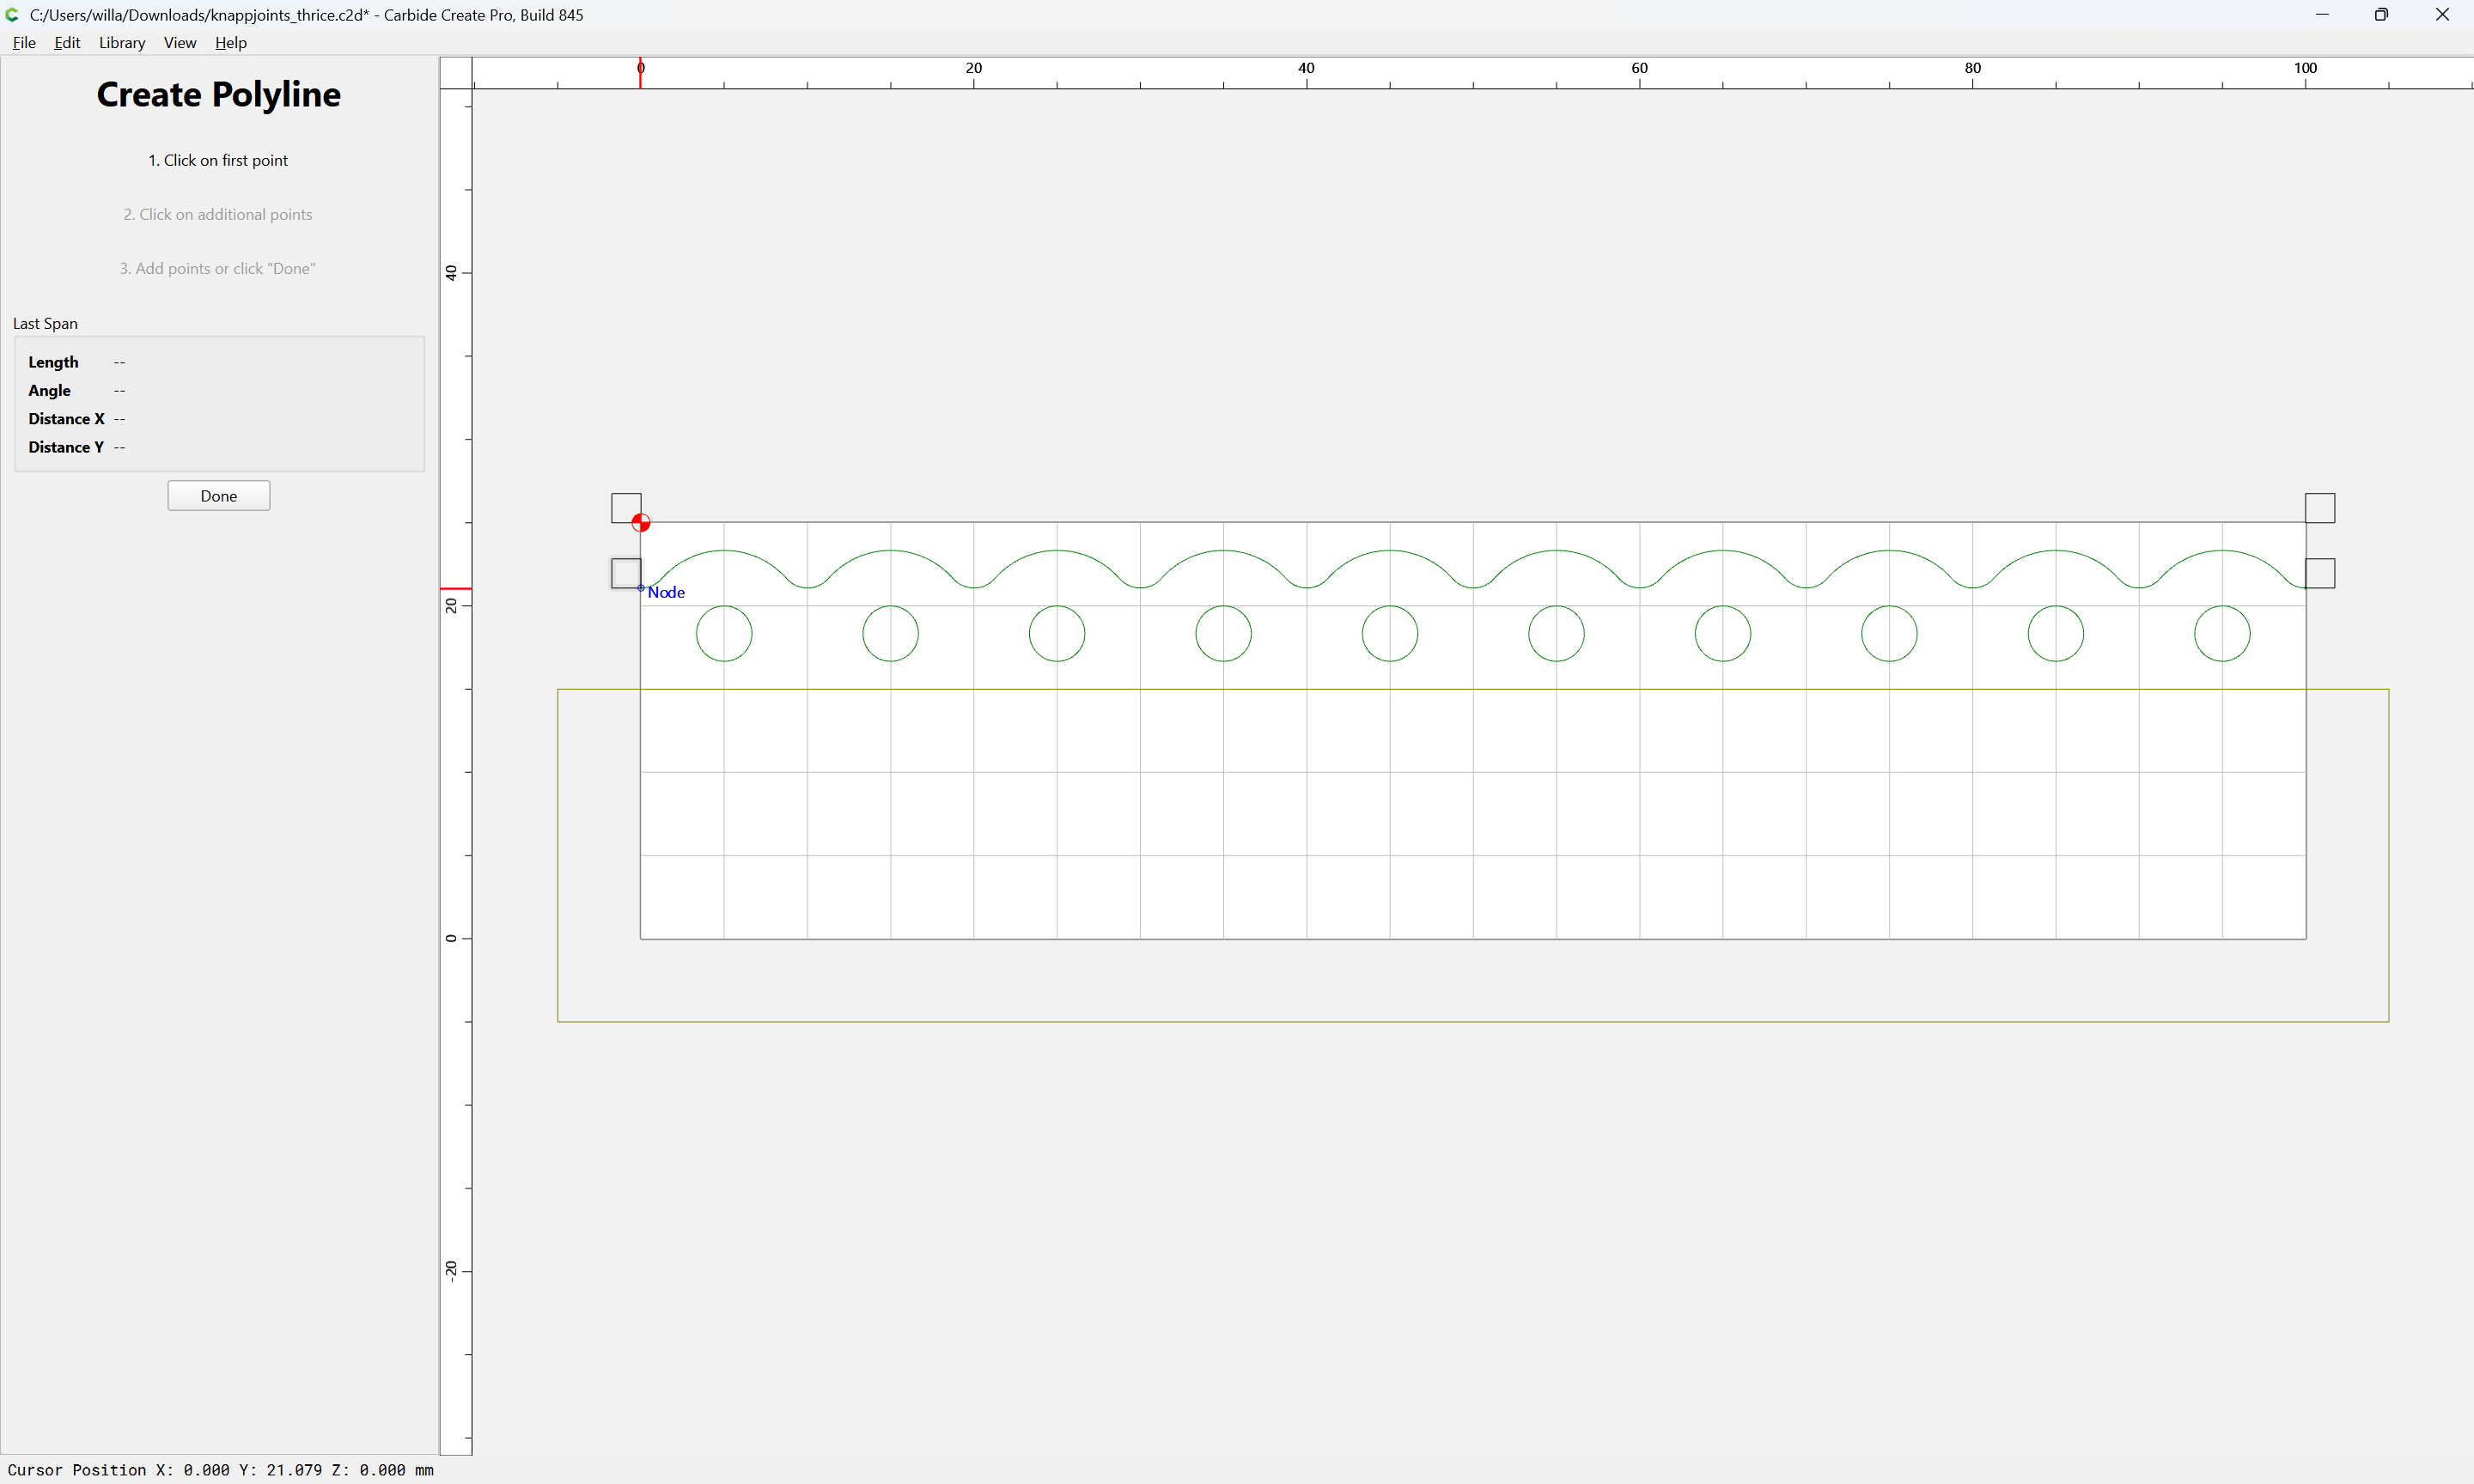
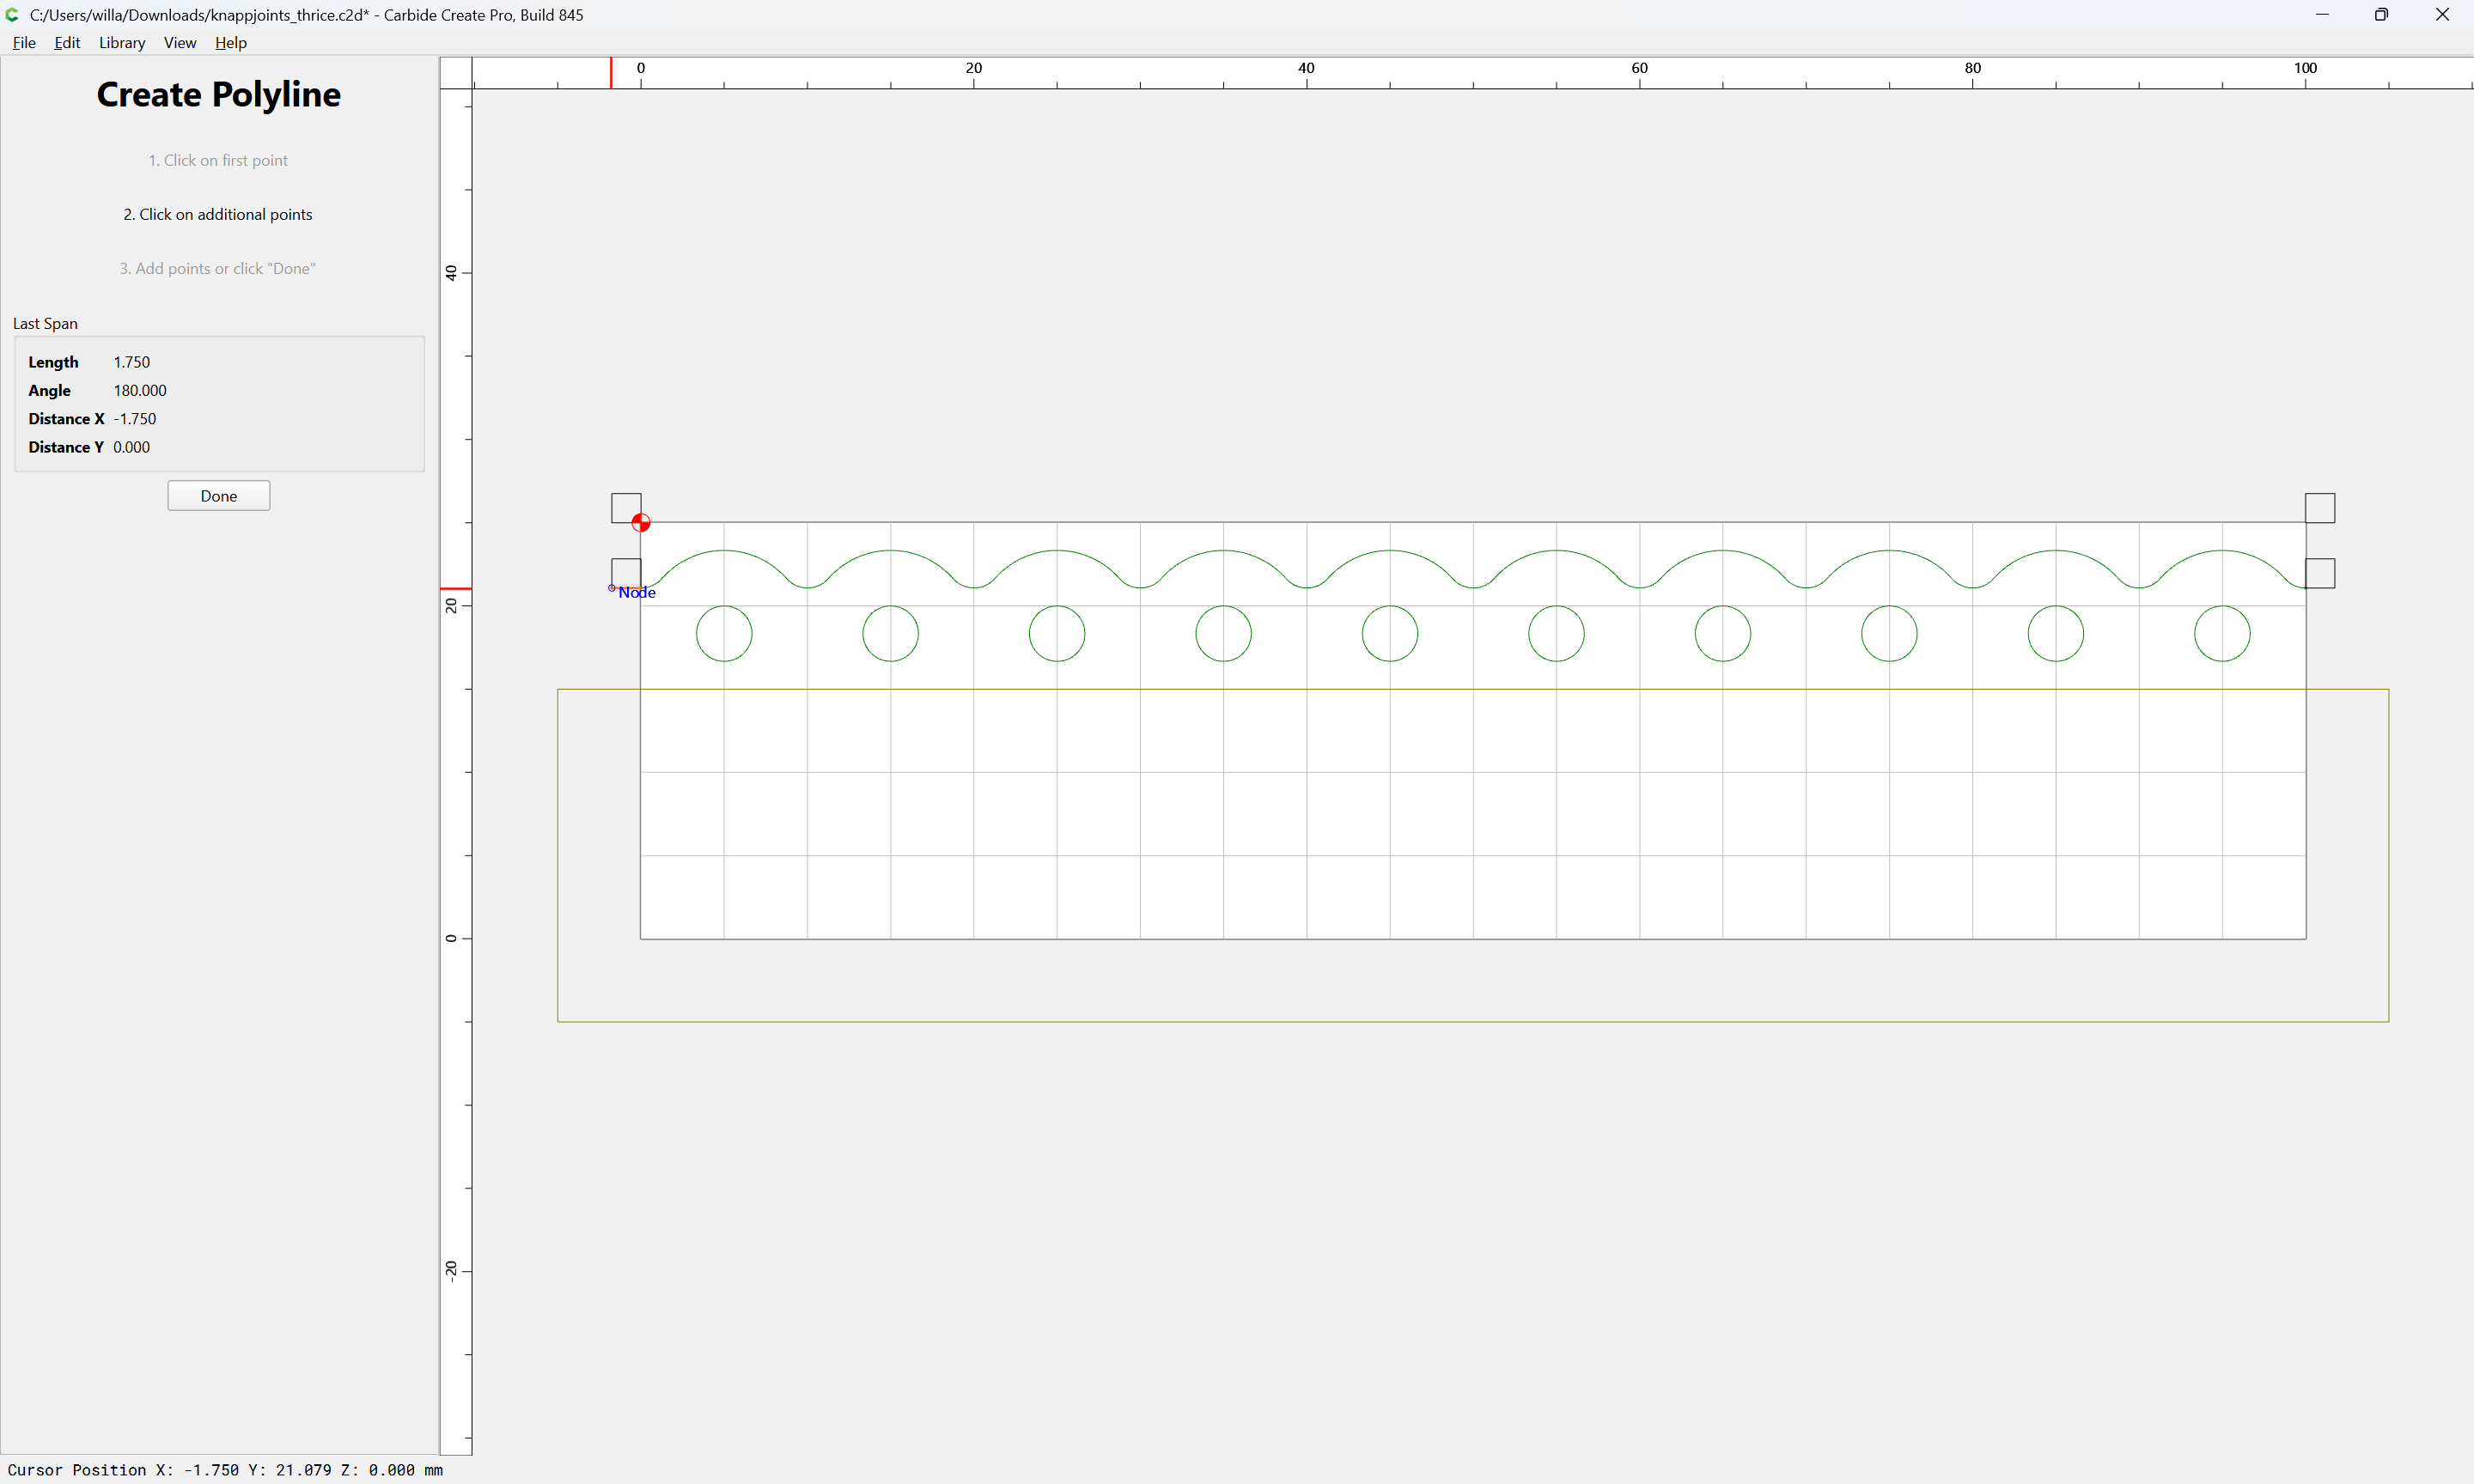
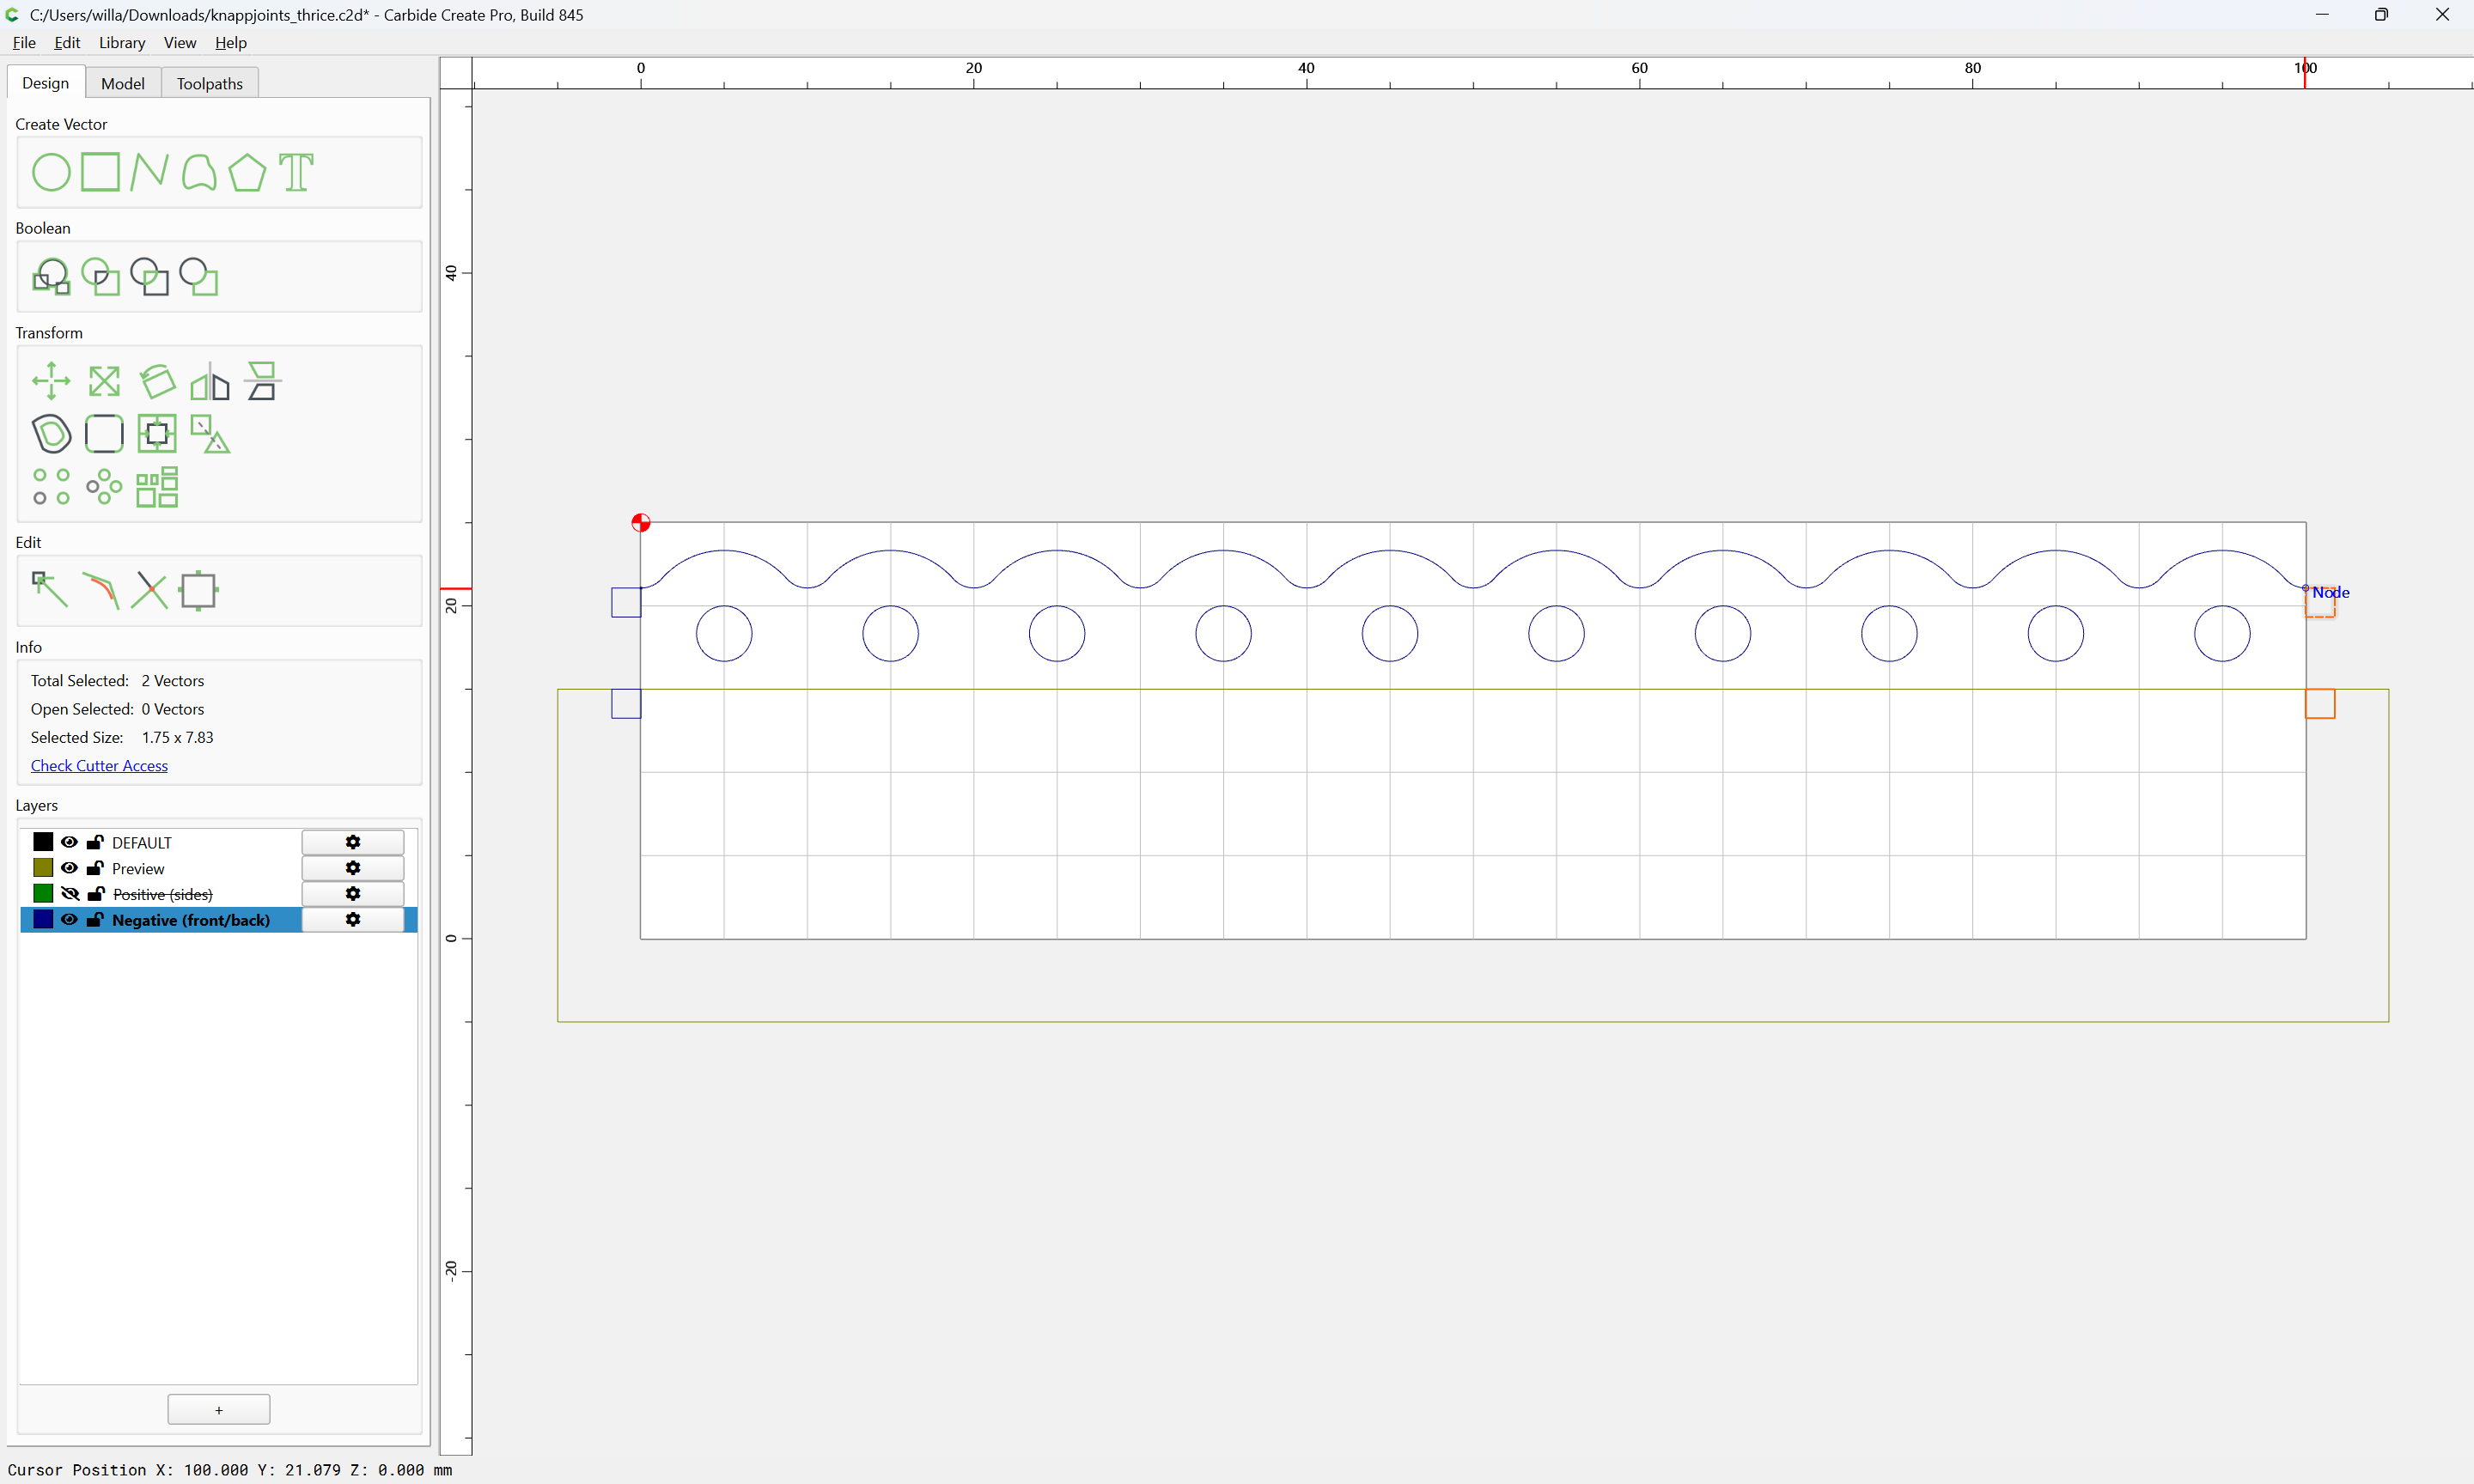
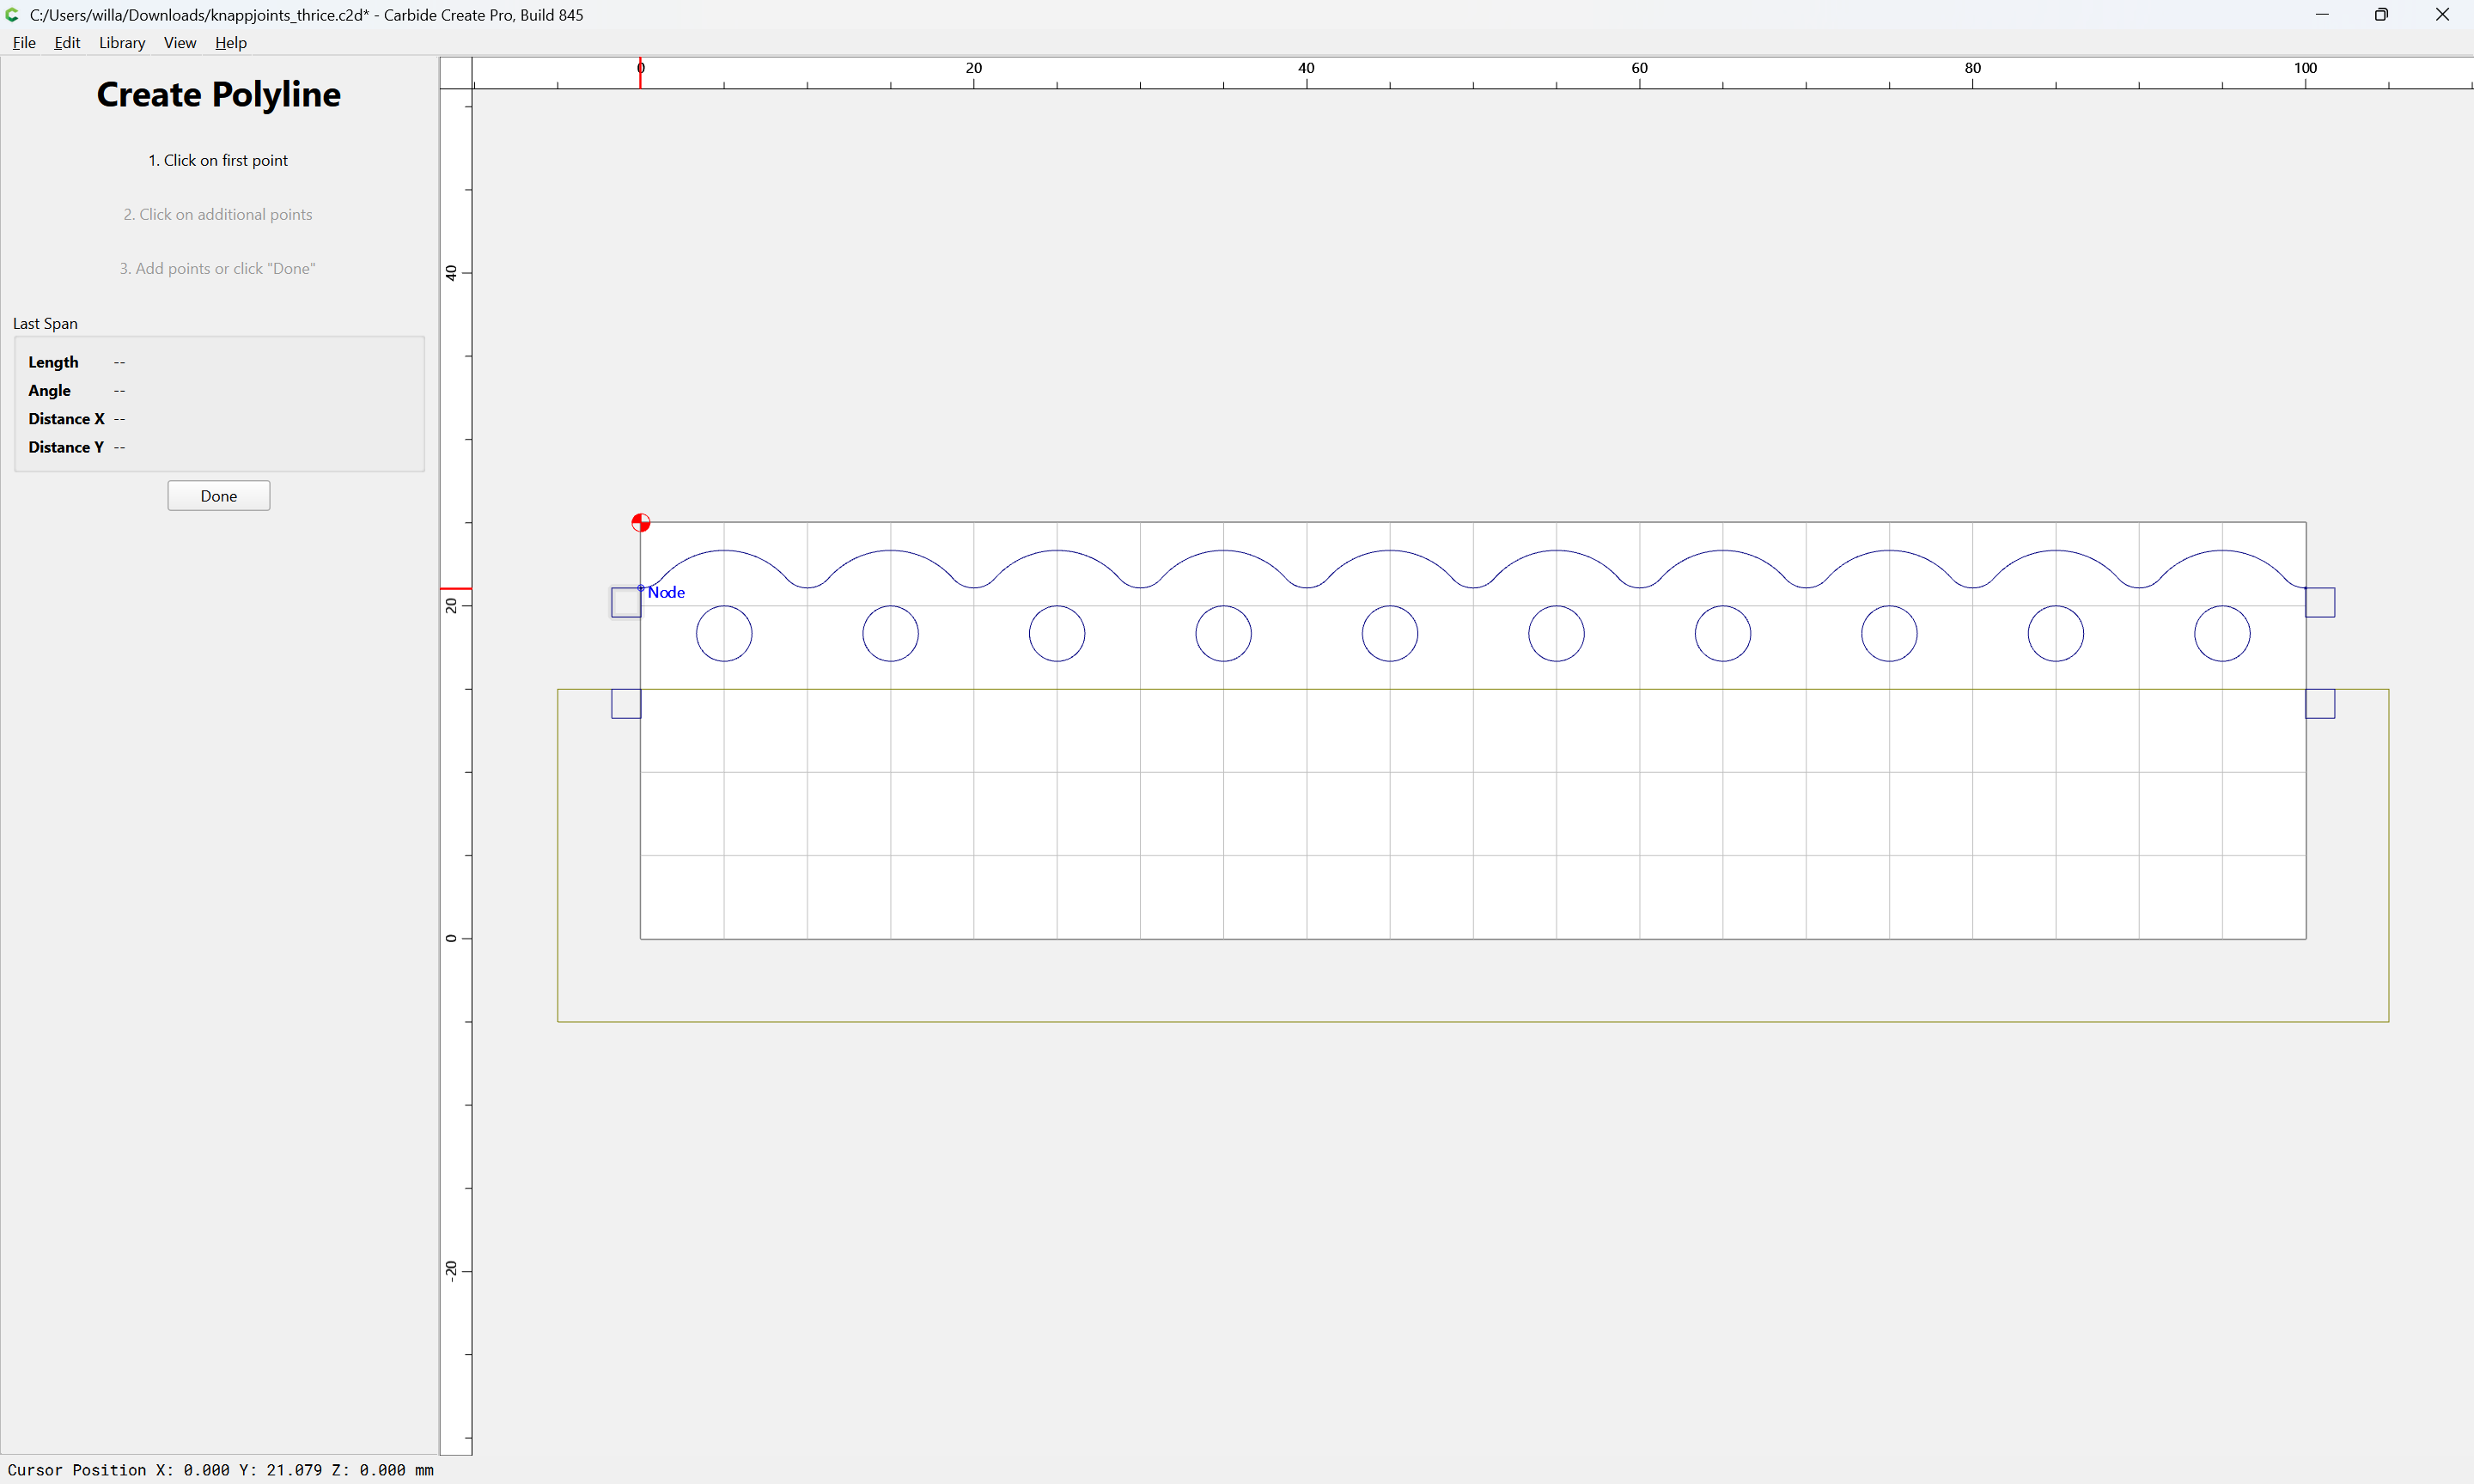
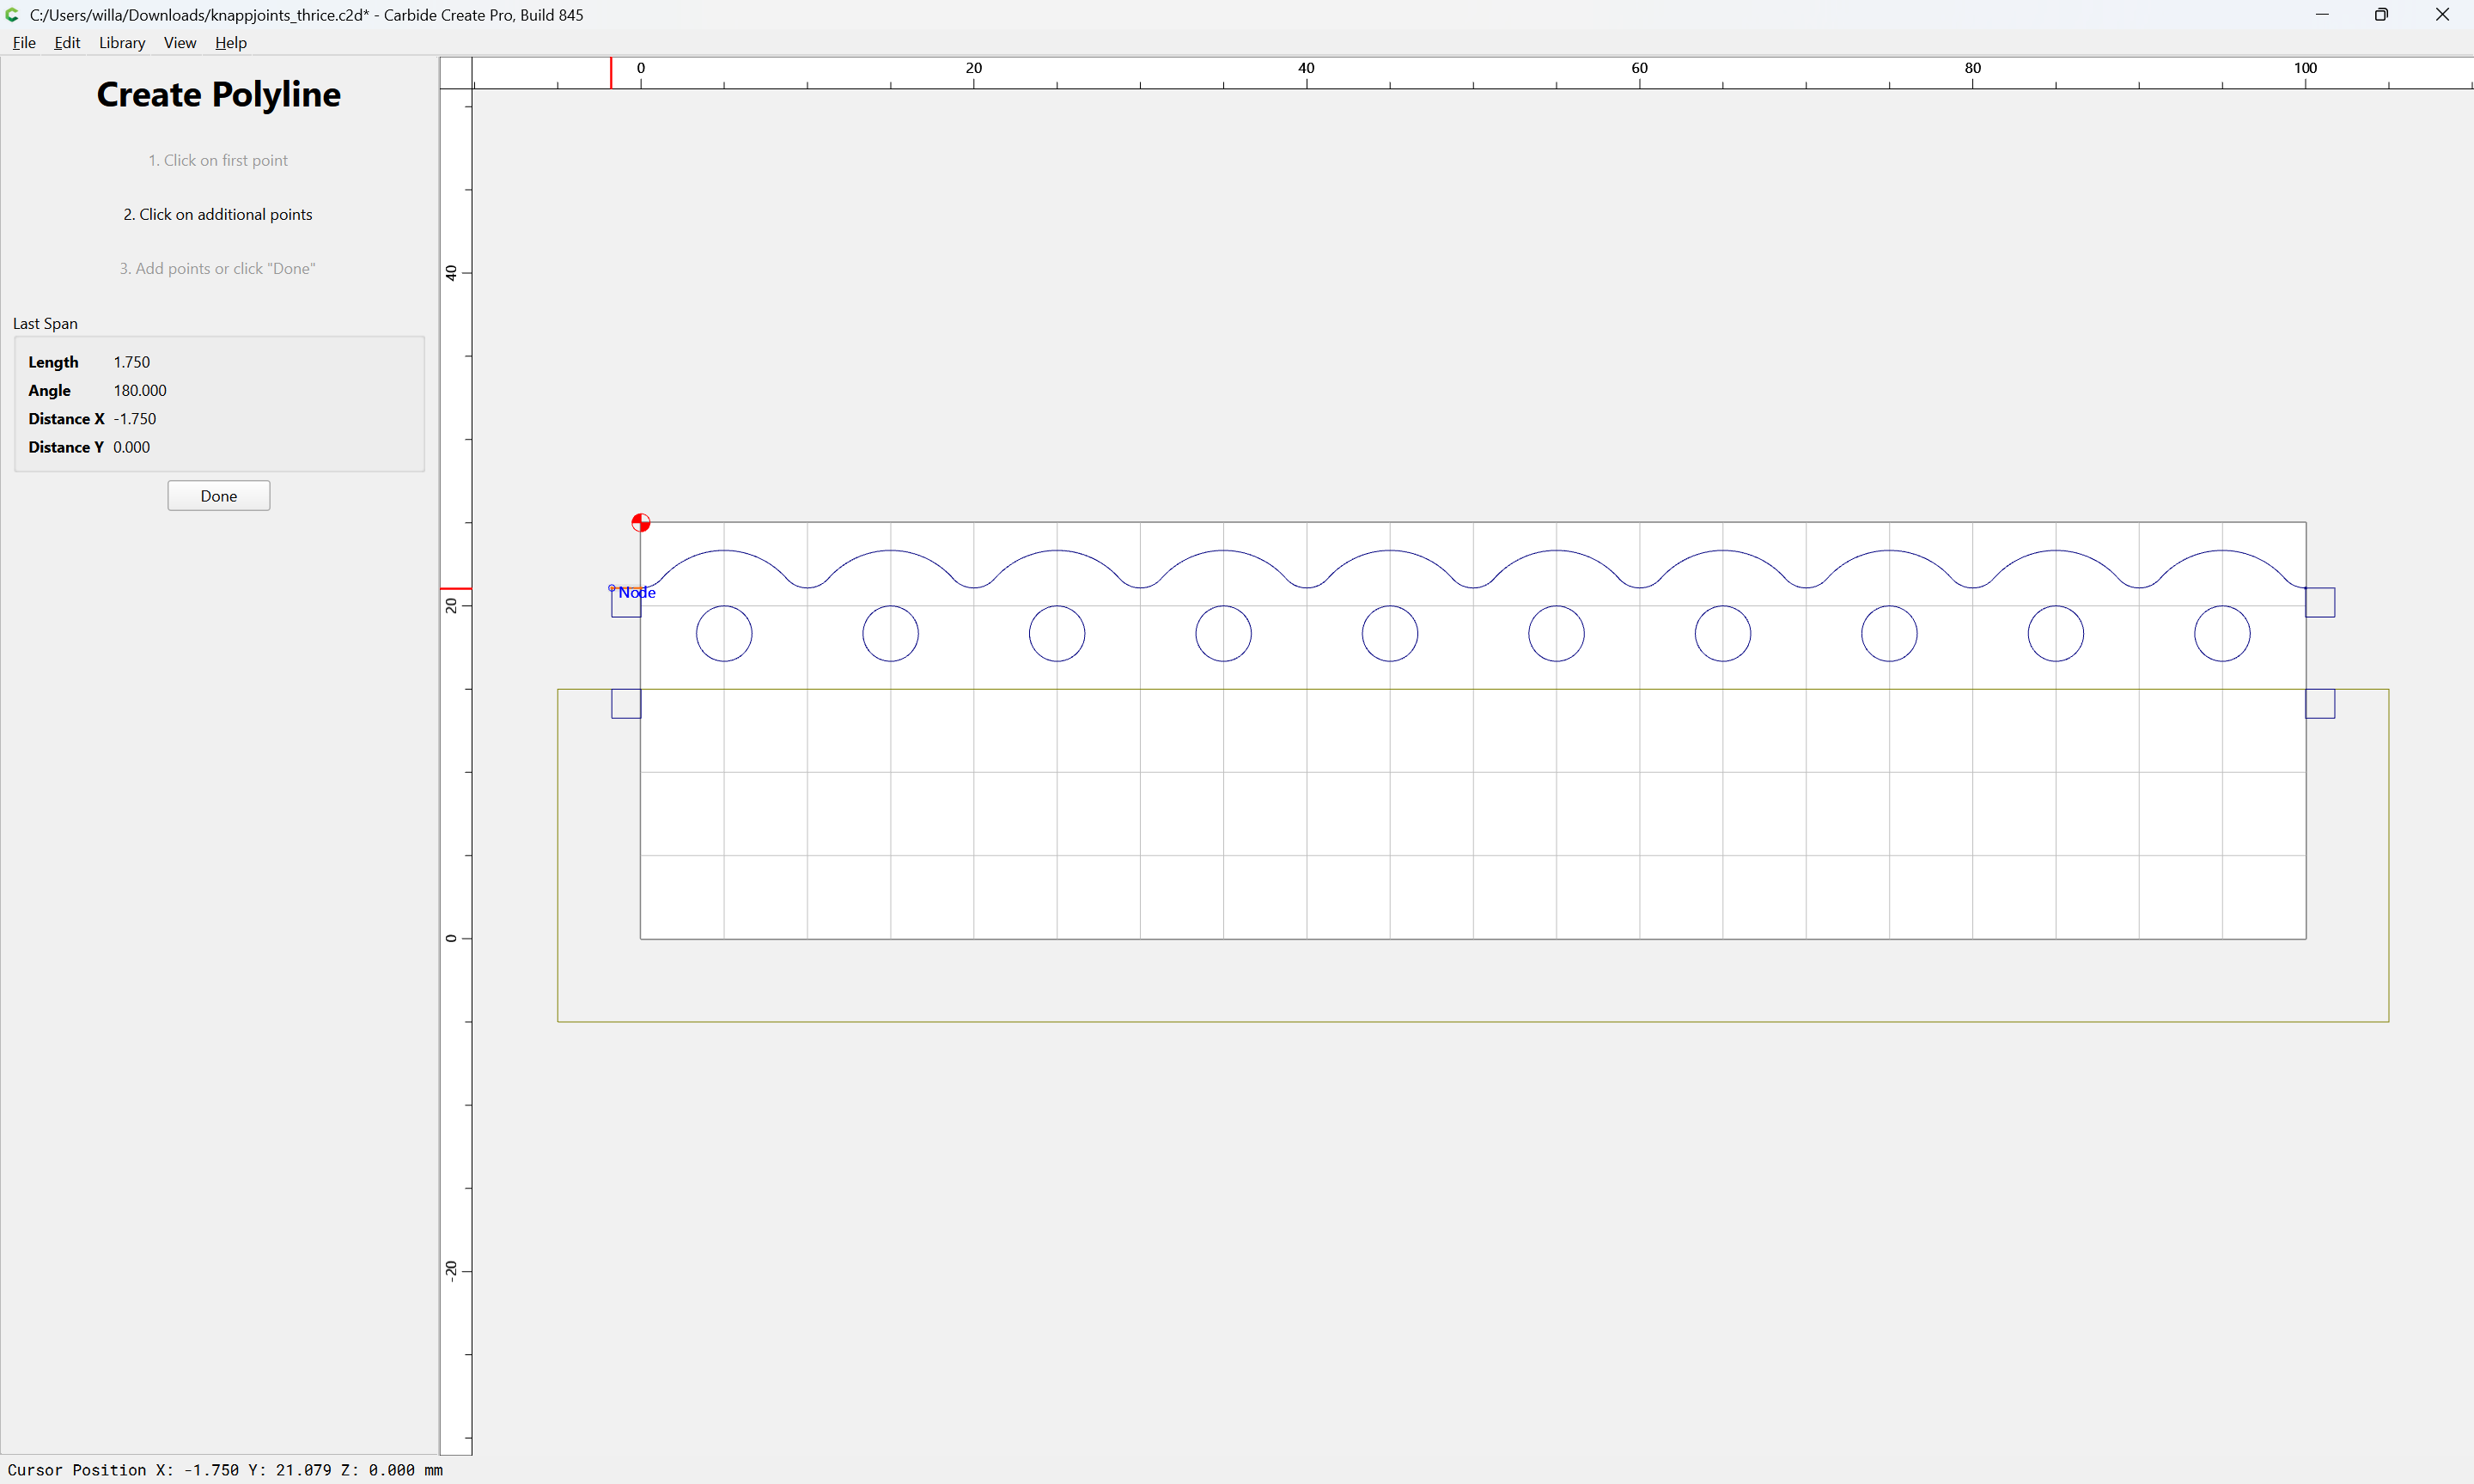
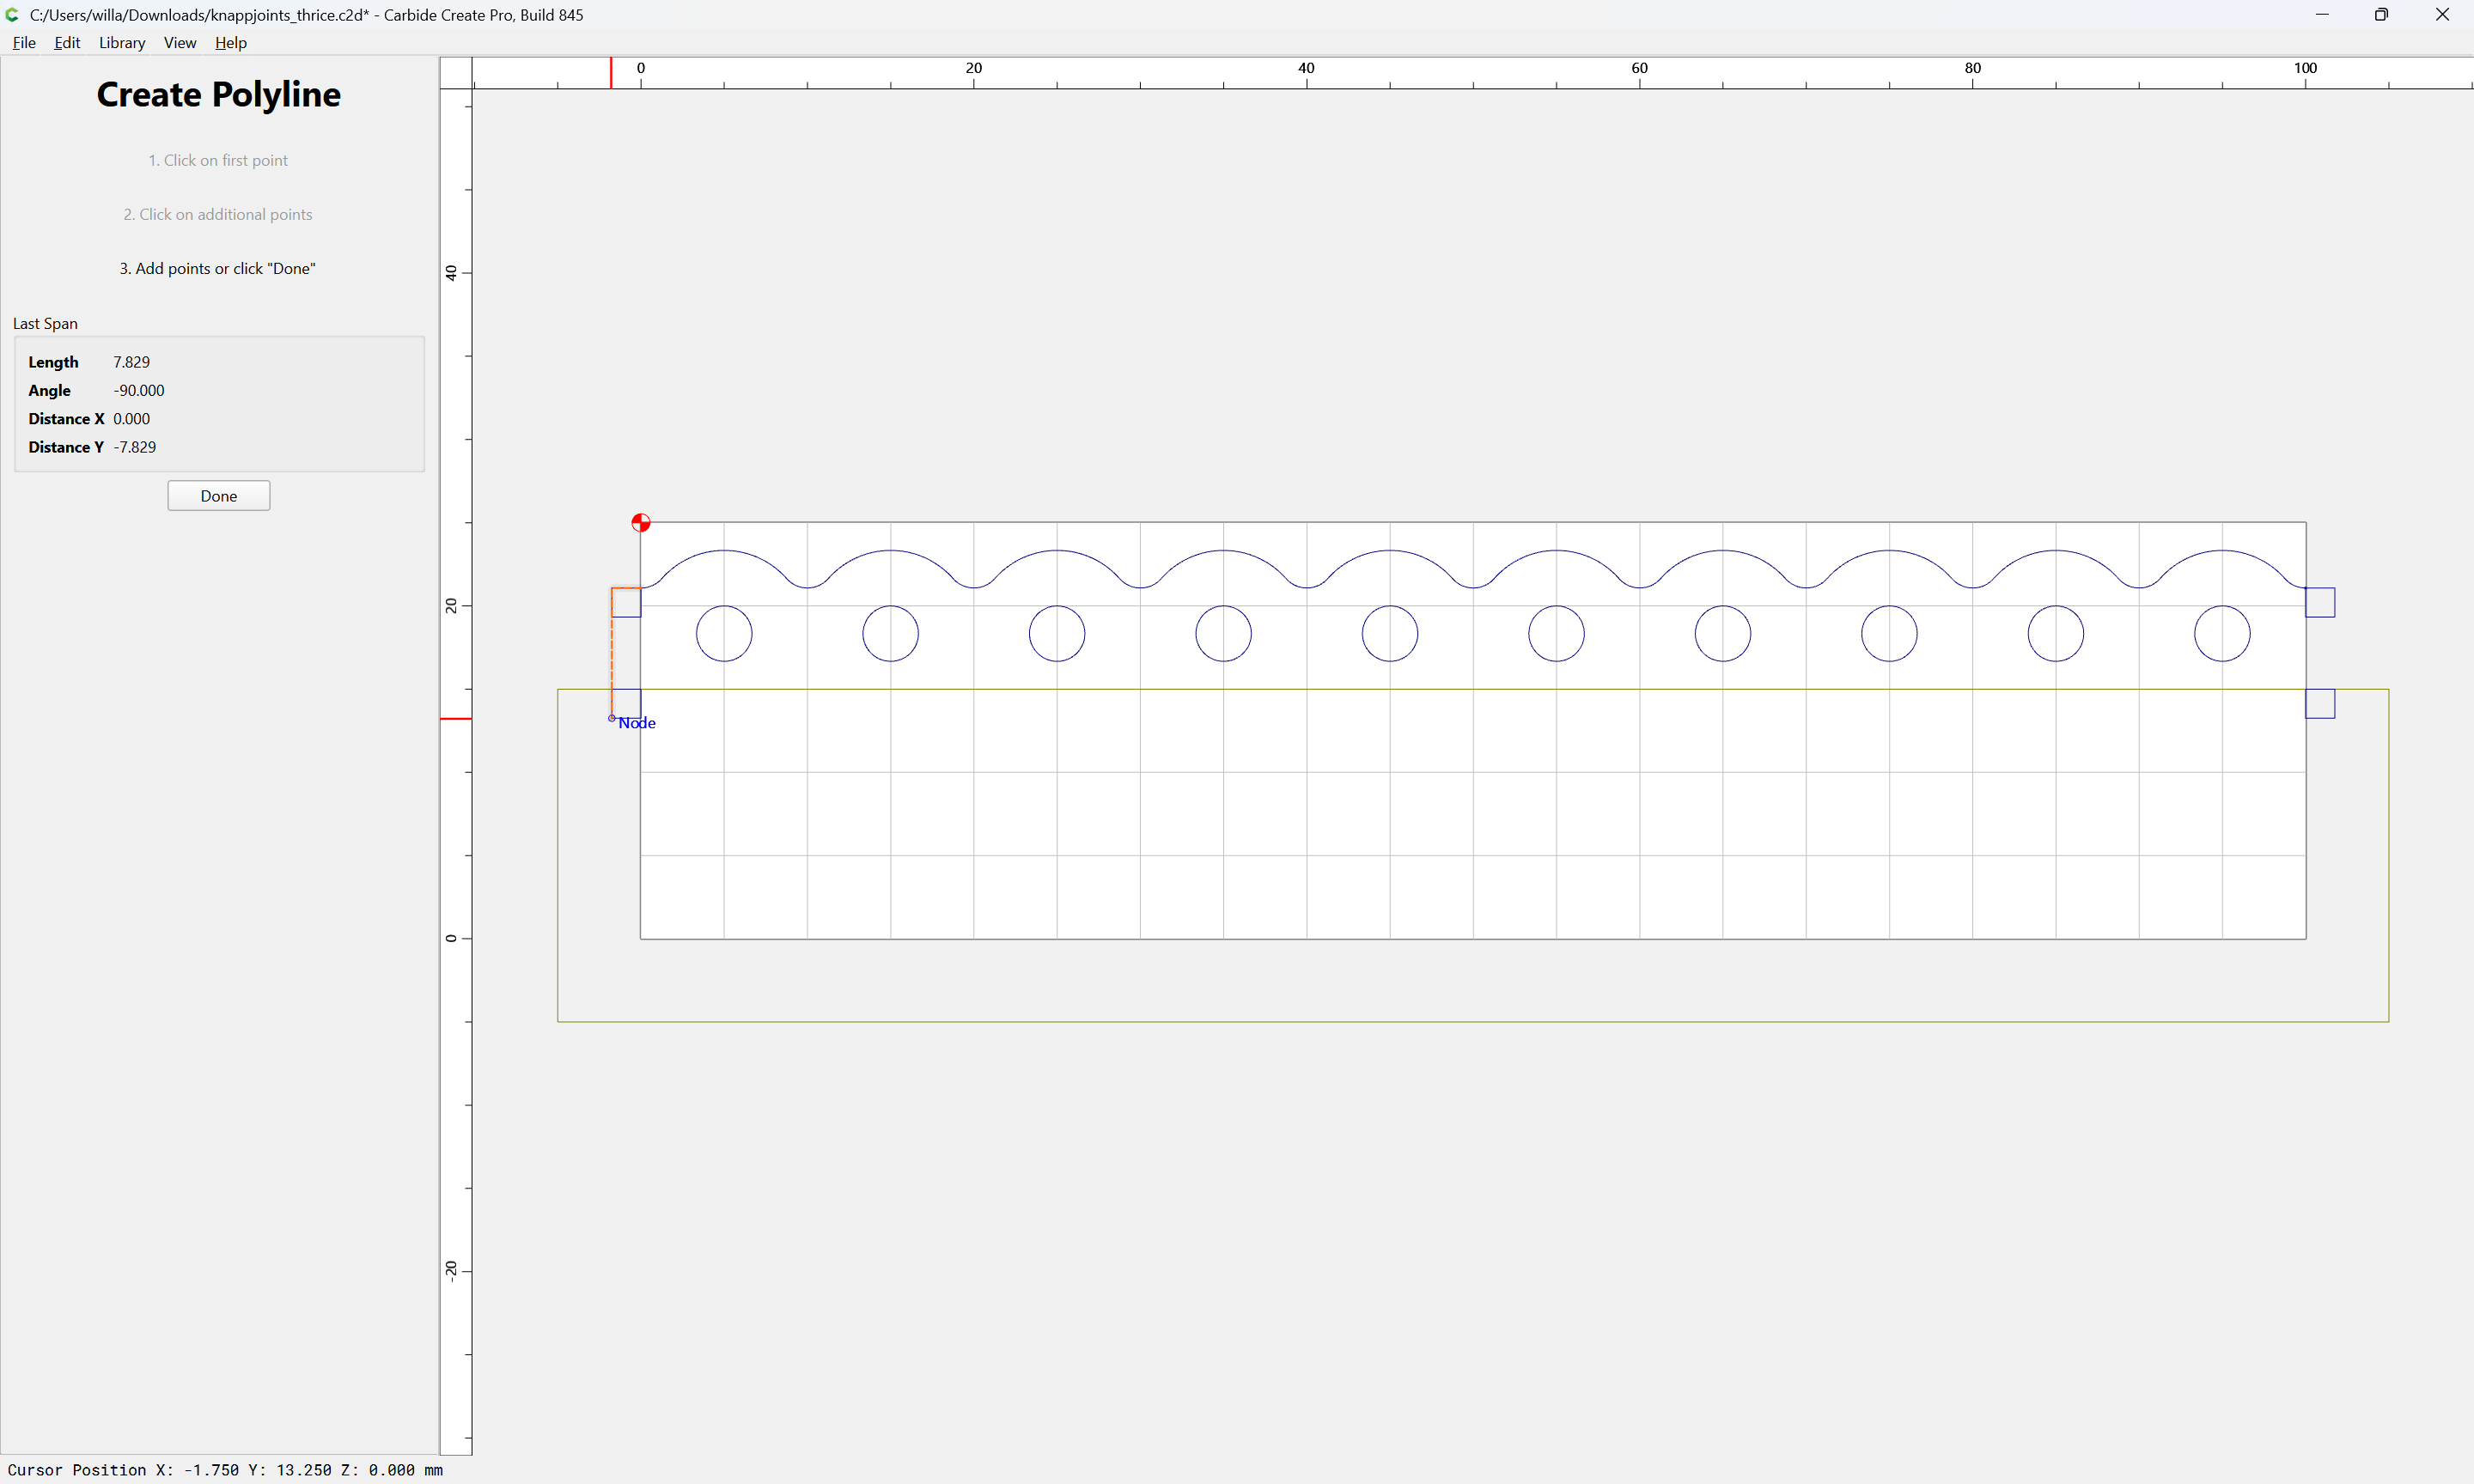
and then connect the dots using the Polyline tool:

Done

Shift-click on the scallops to add them to the selection:

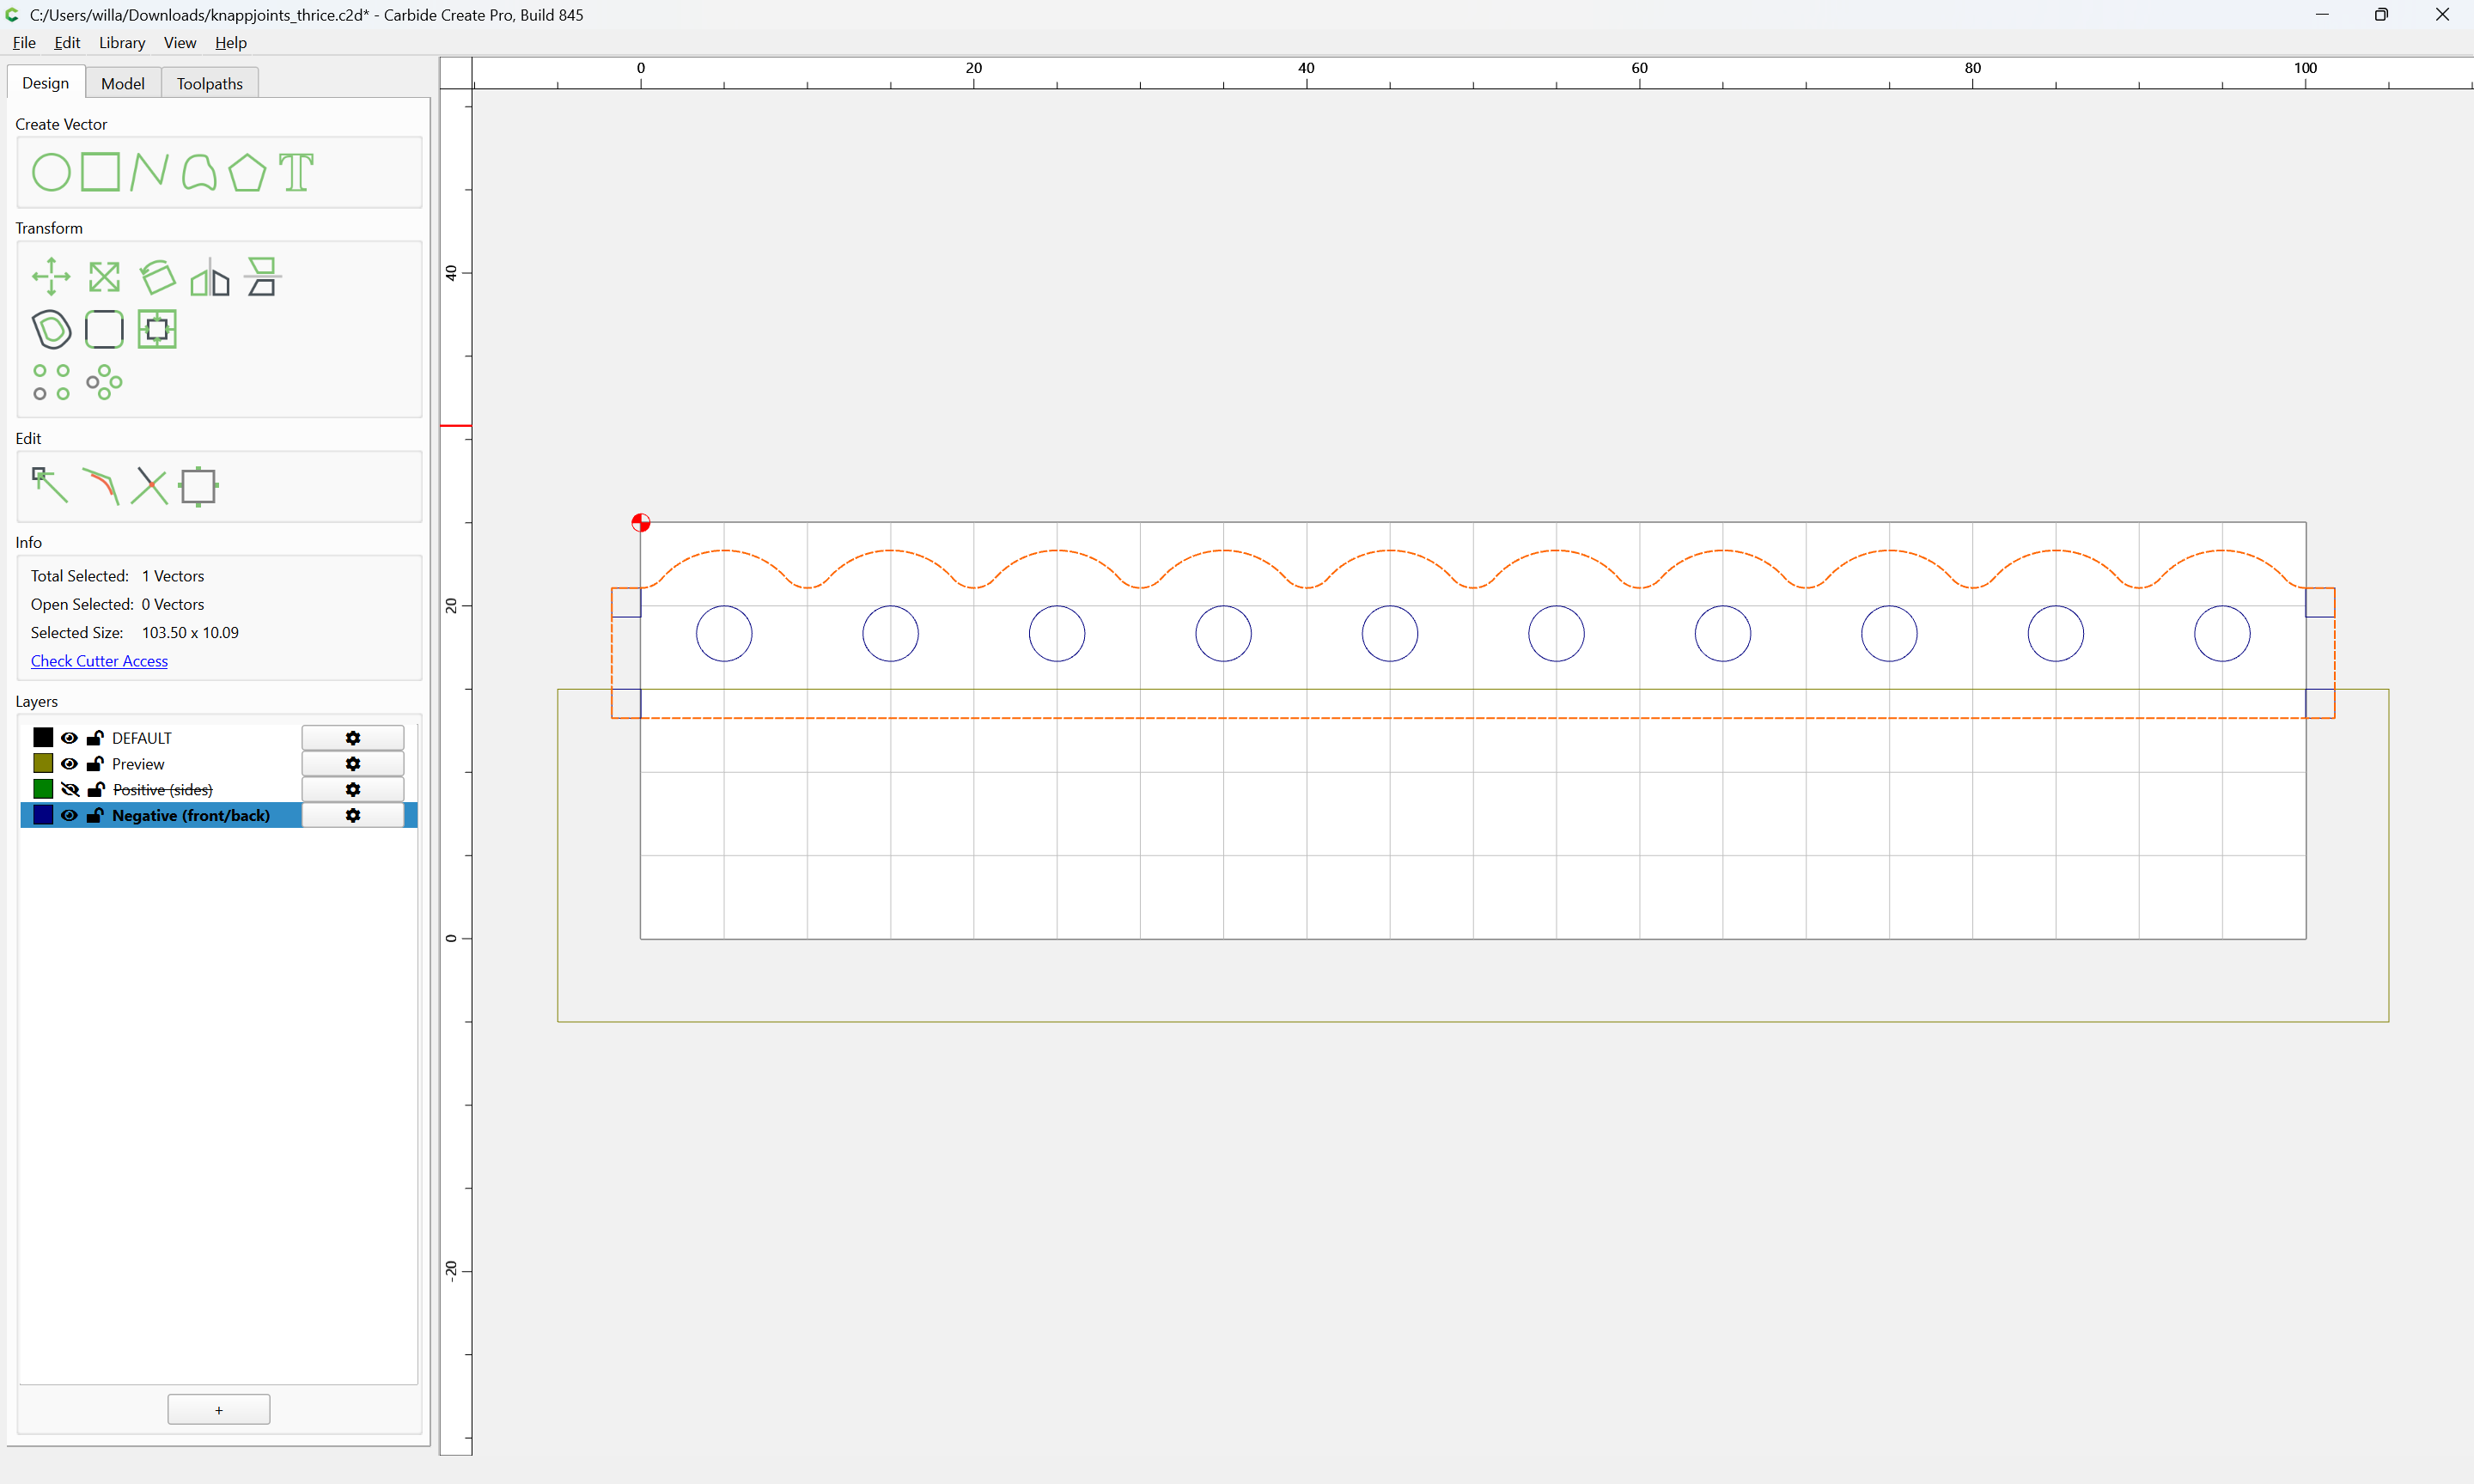
and Join Vectors:

Delete the squares to clean up:

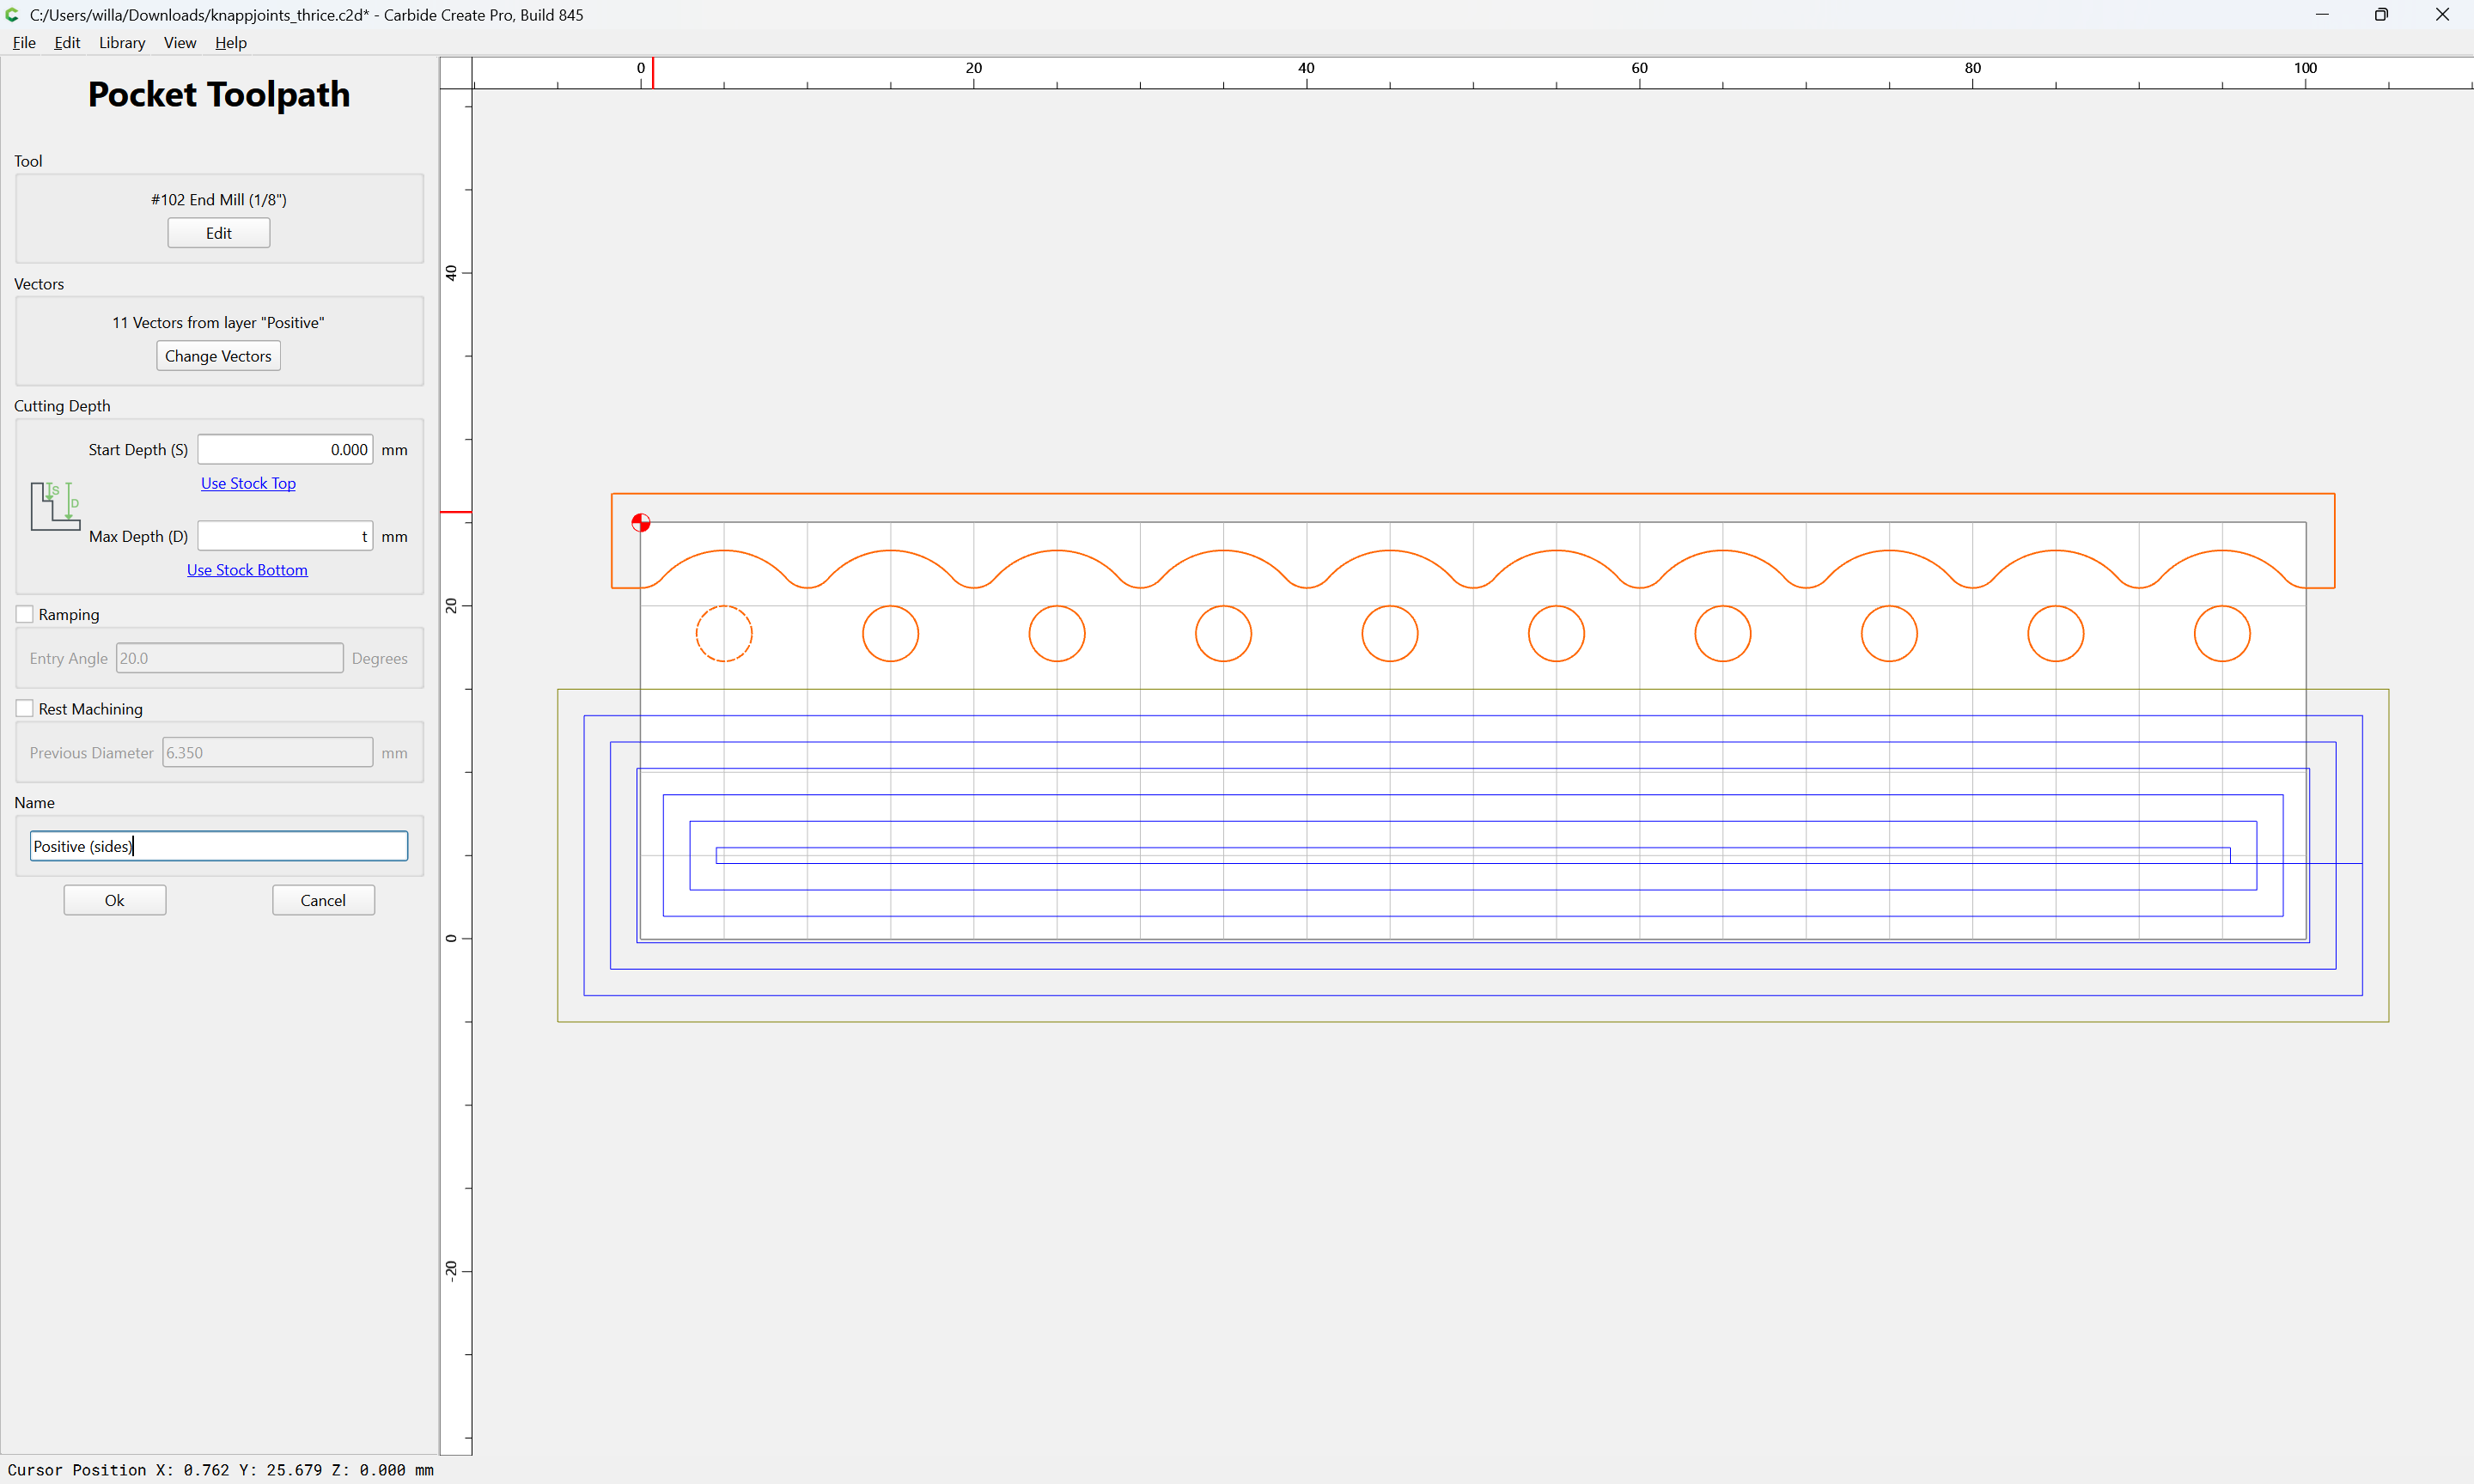
and assign a suitable toolpath:

Repeat for the Negative.
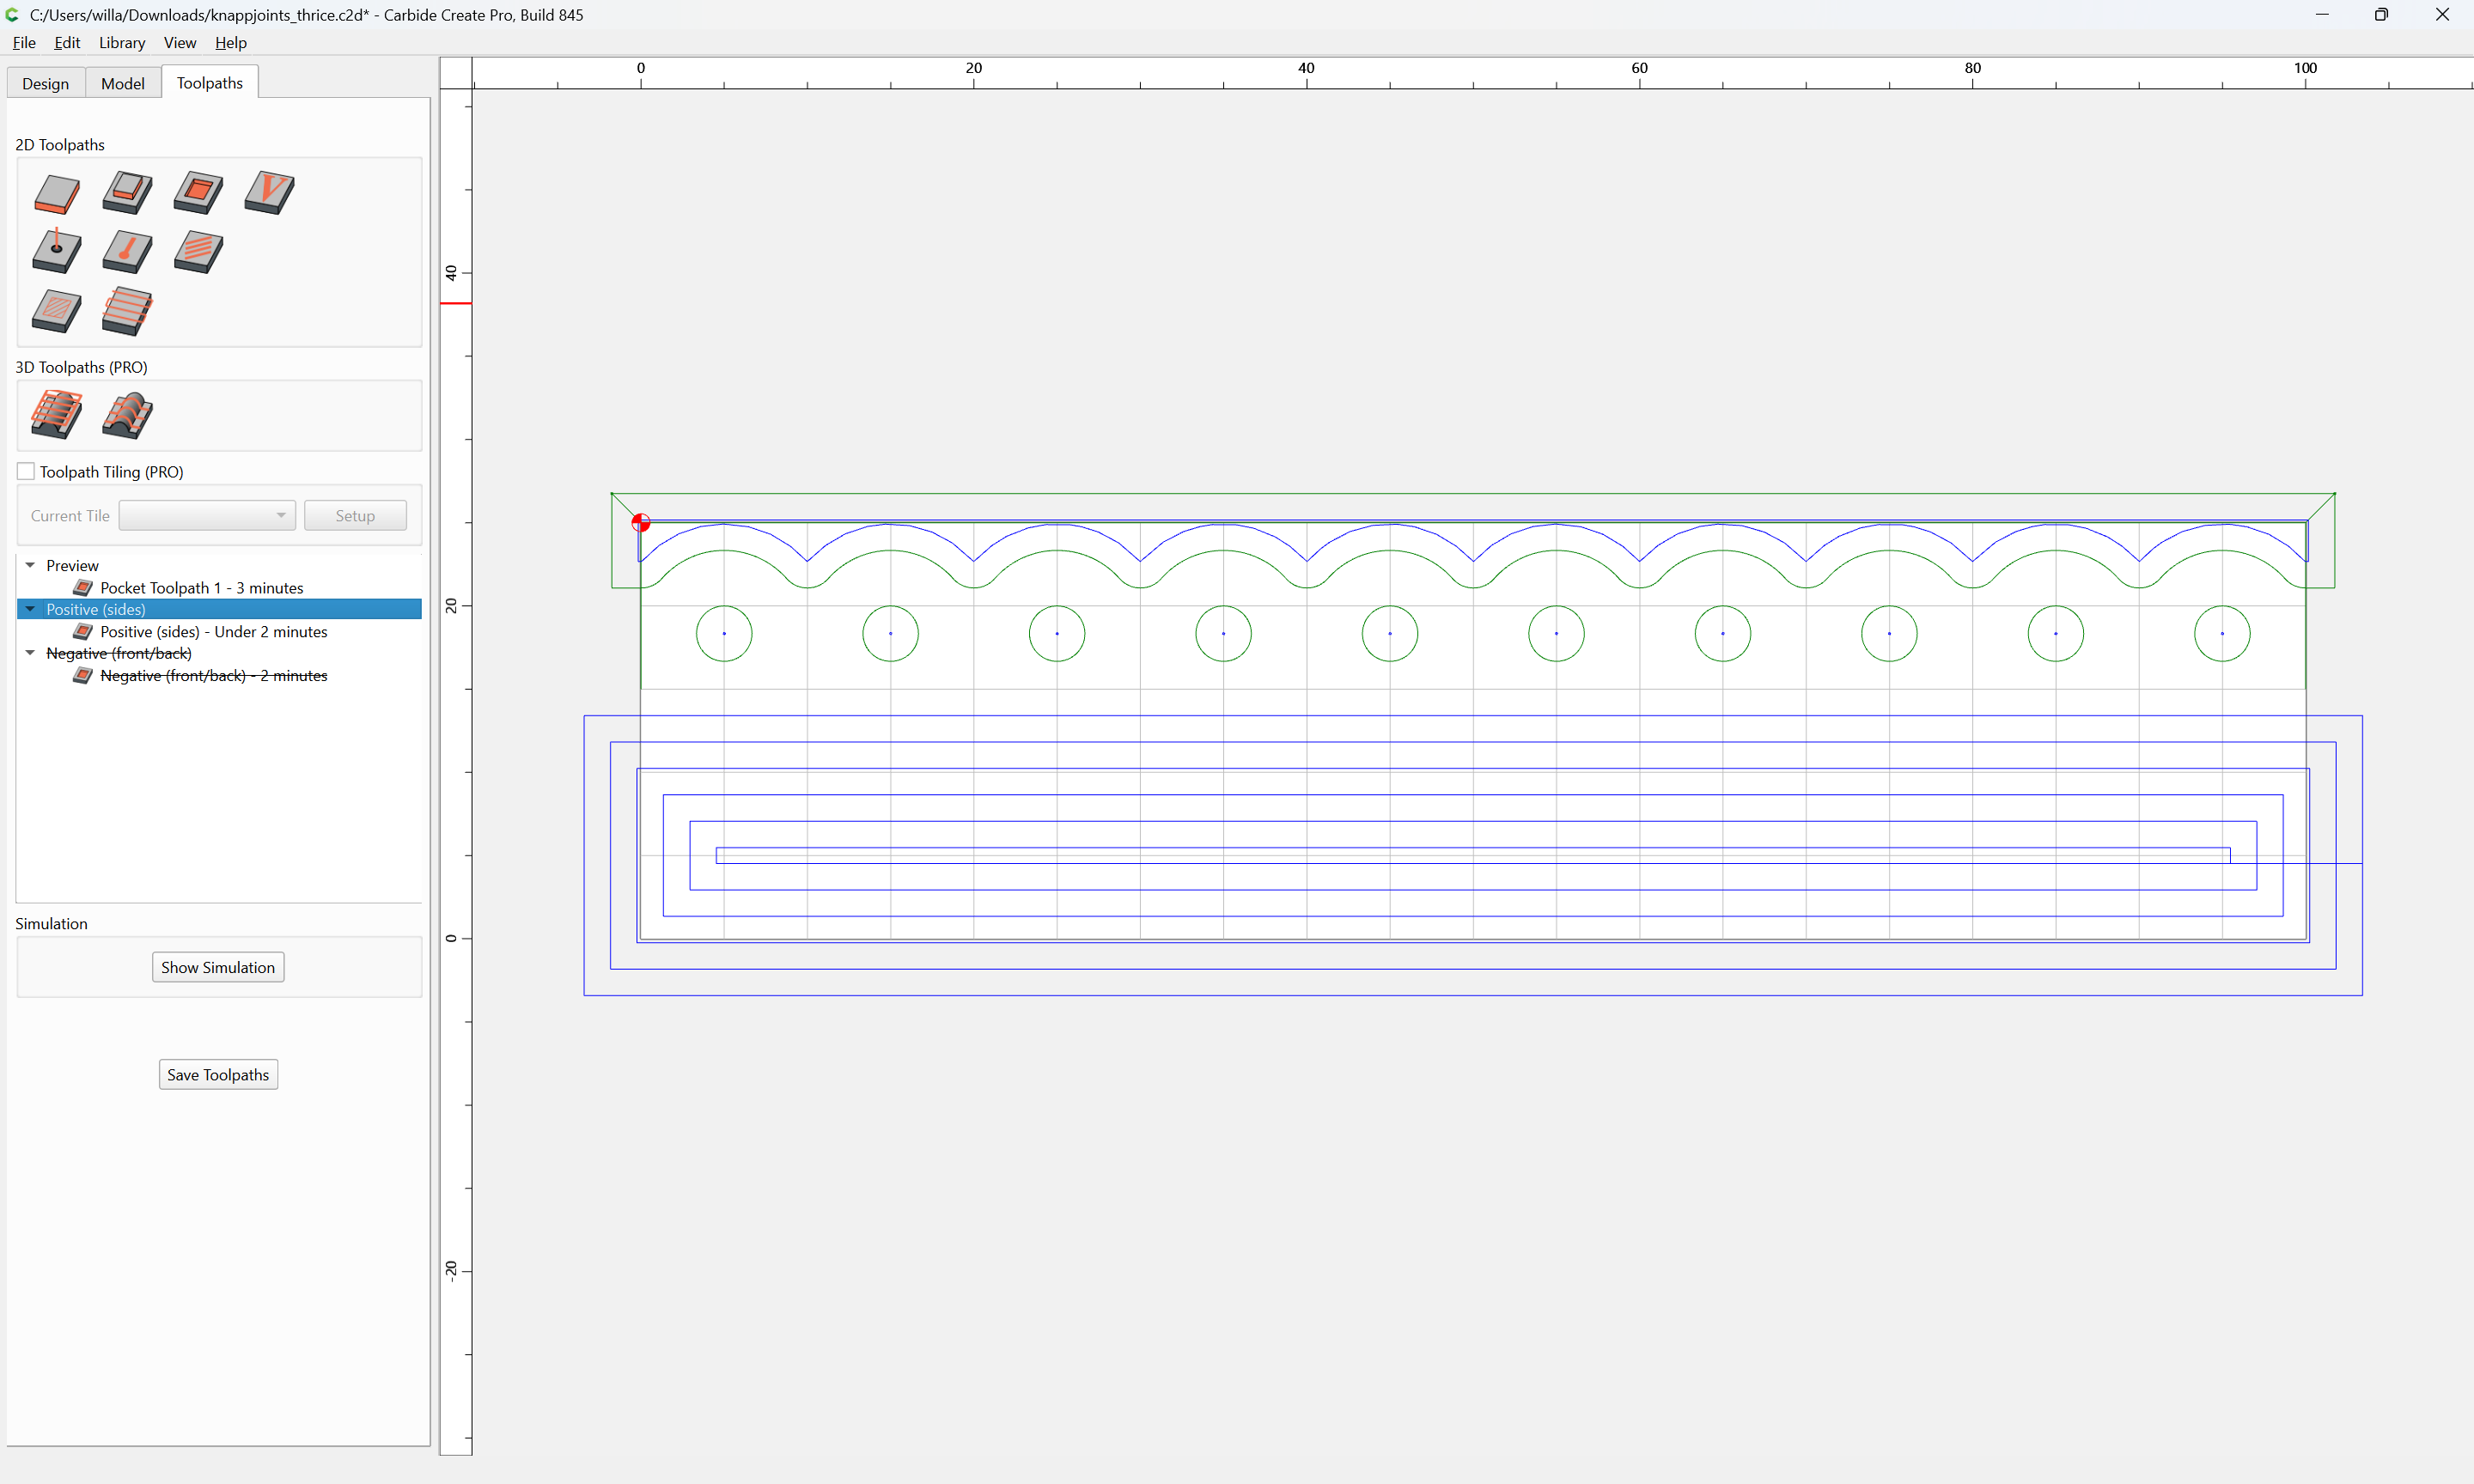
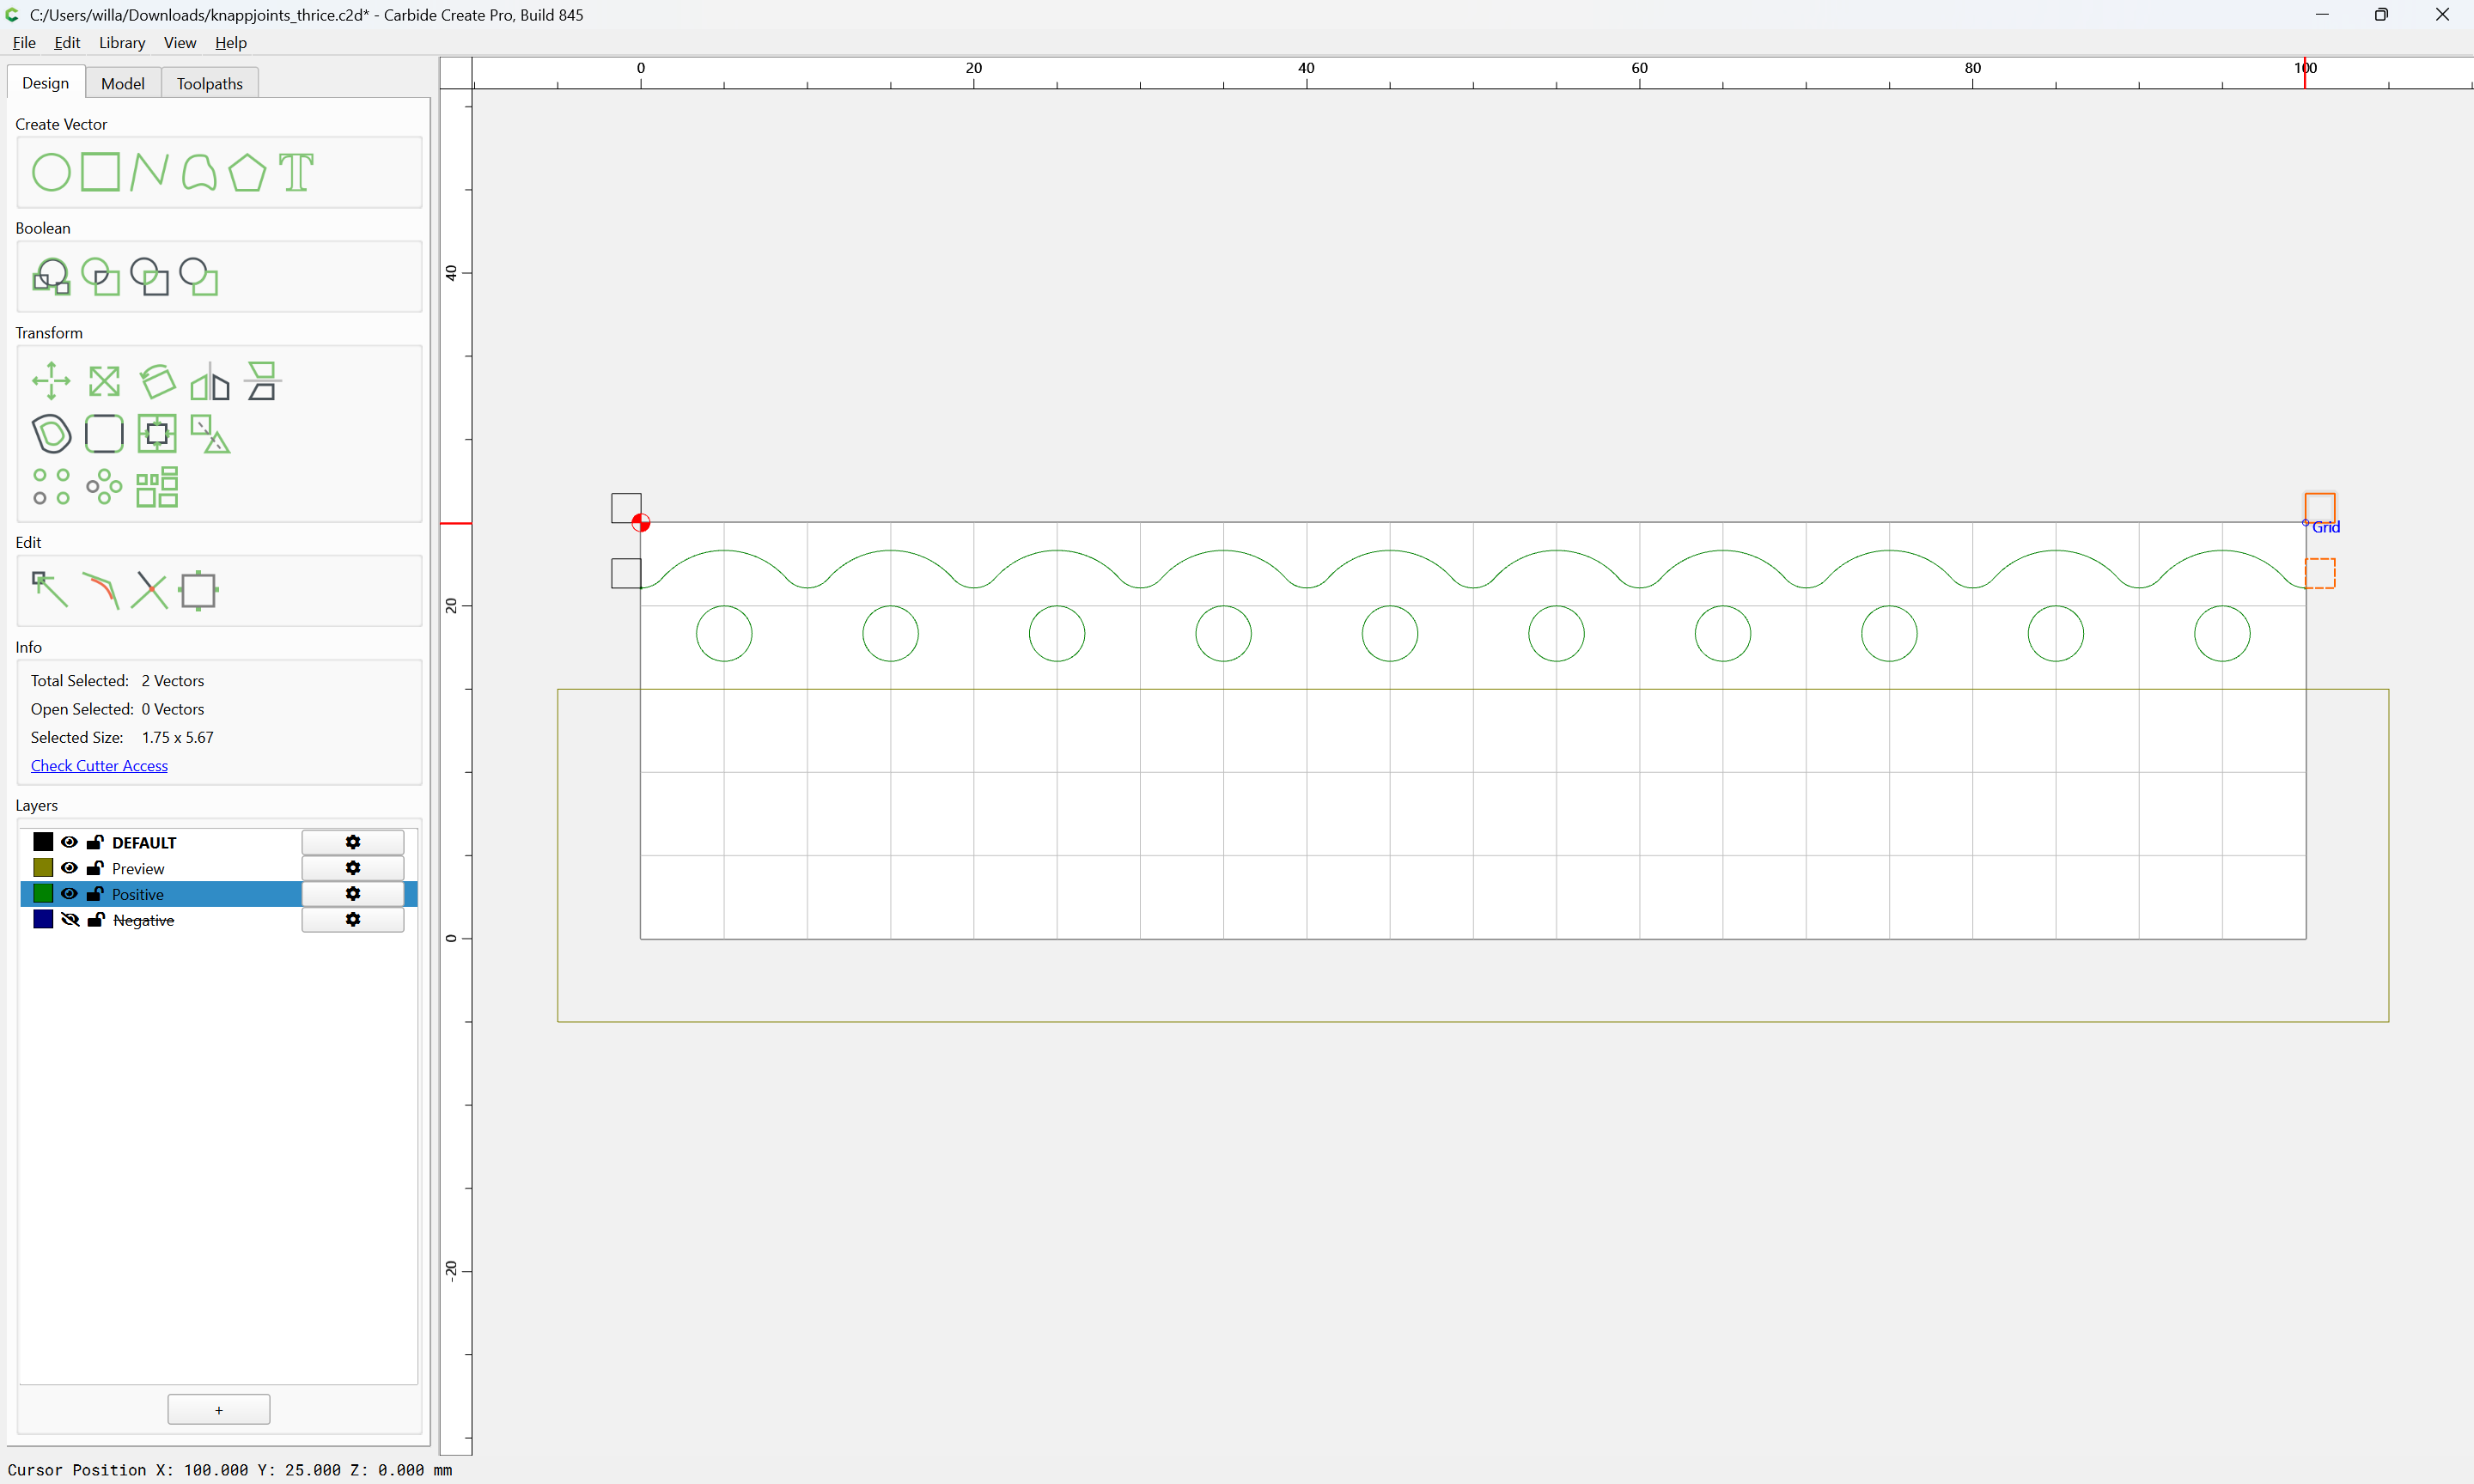
Lay out squares at the opposite edge:

then draw in the Polyline to make up the balance:

Done

As before, select the open geometry:

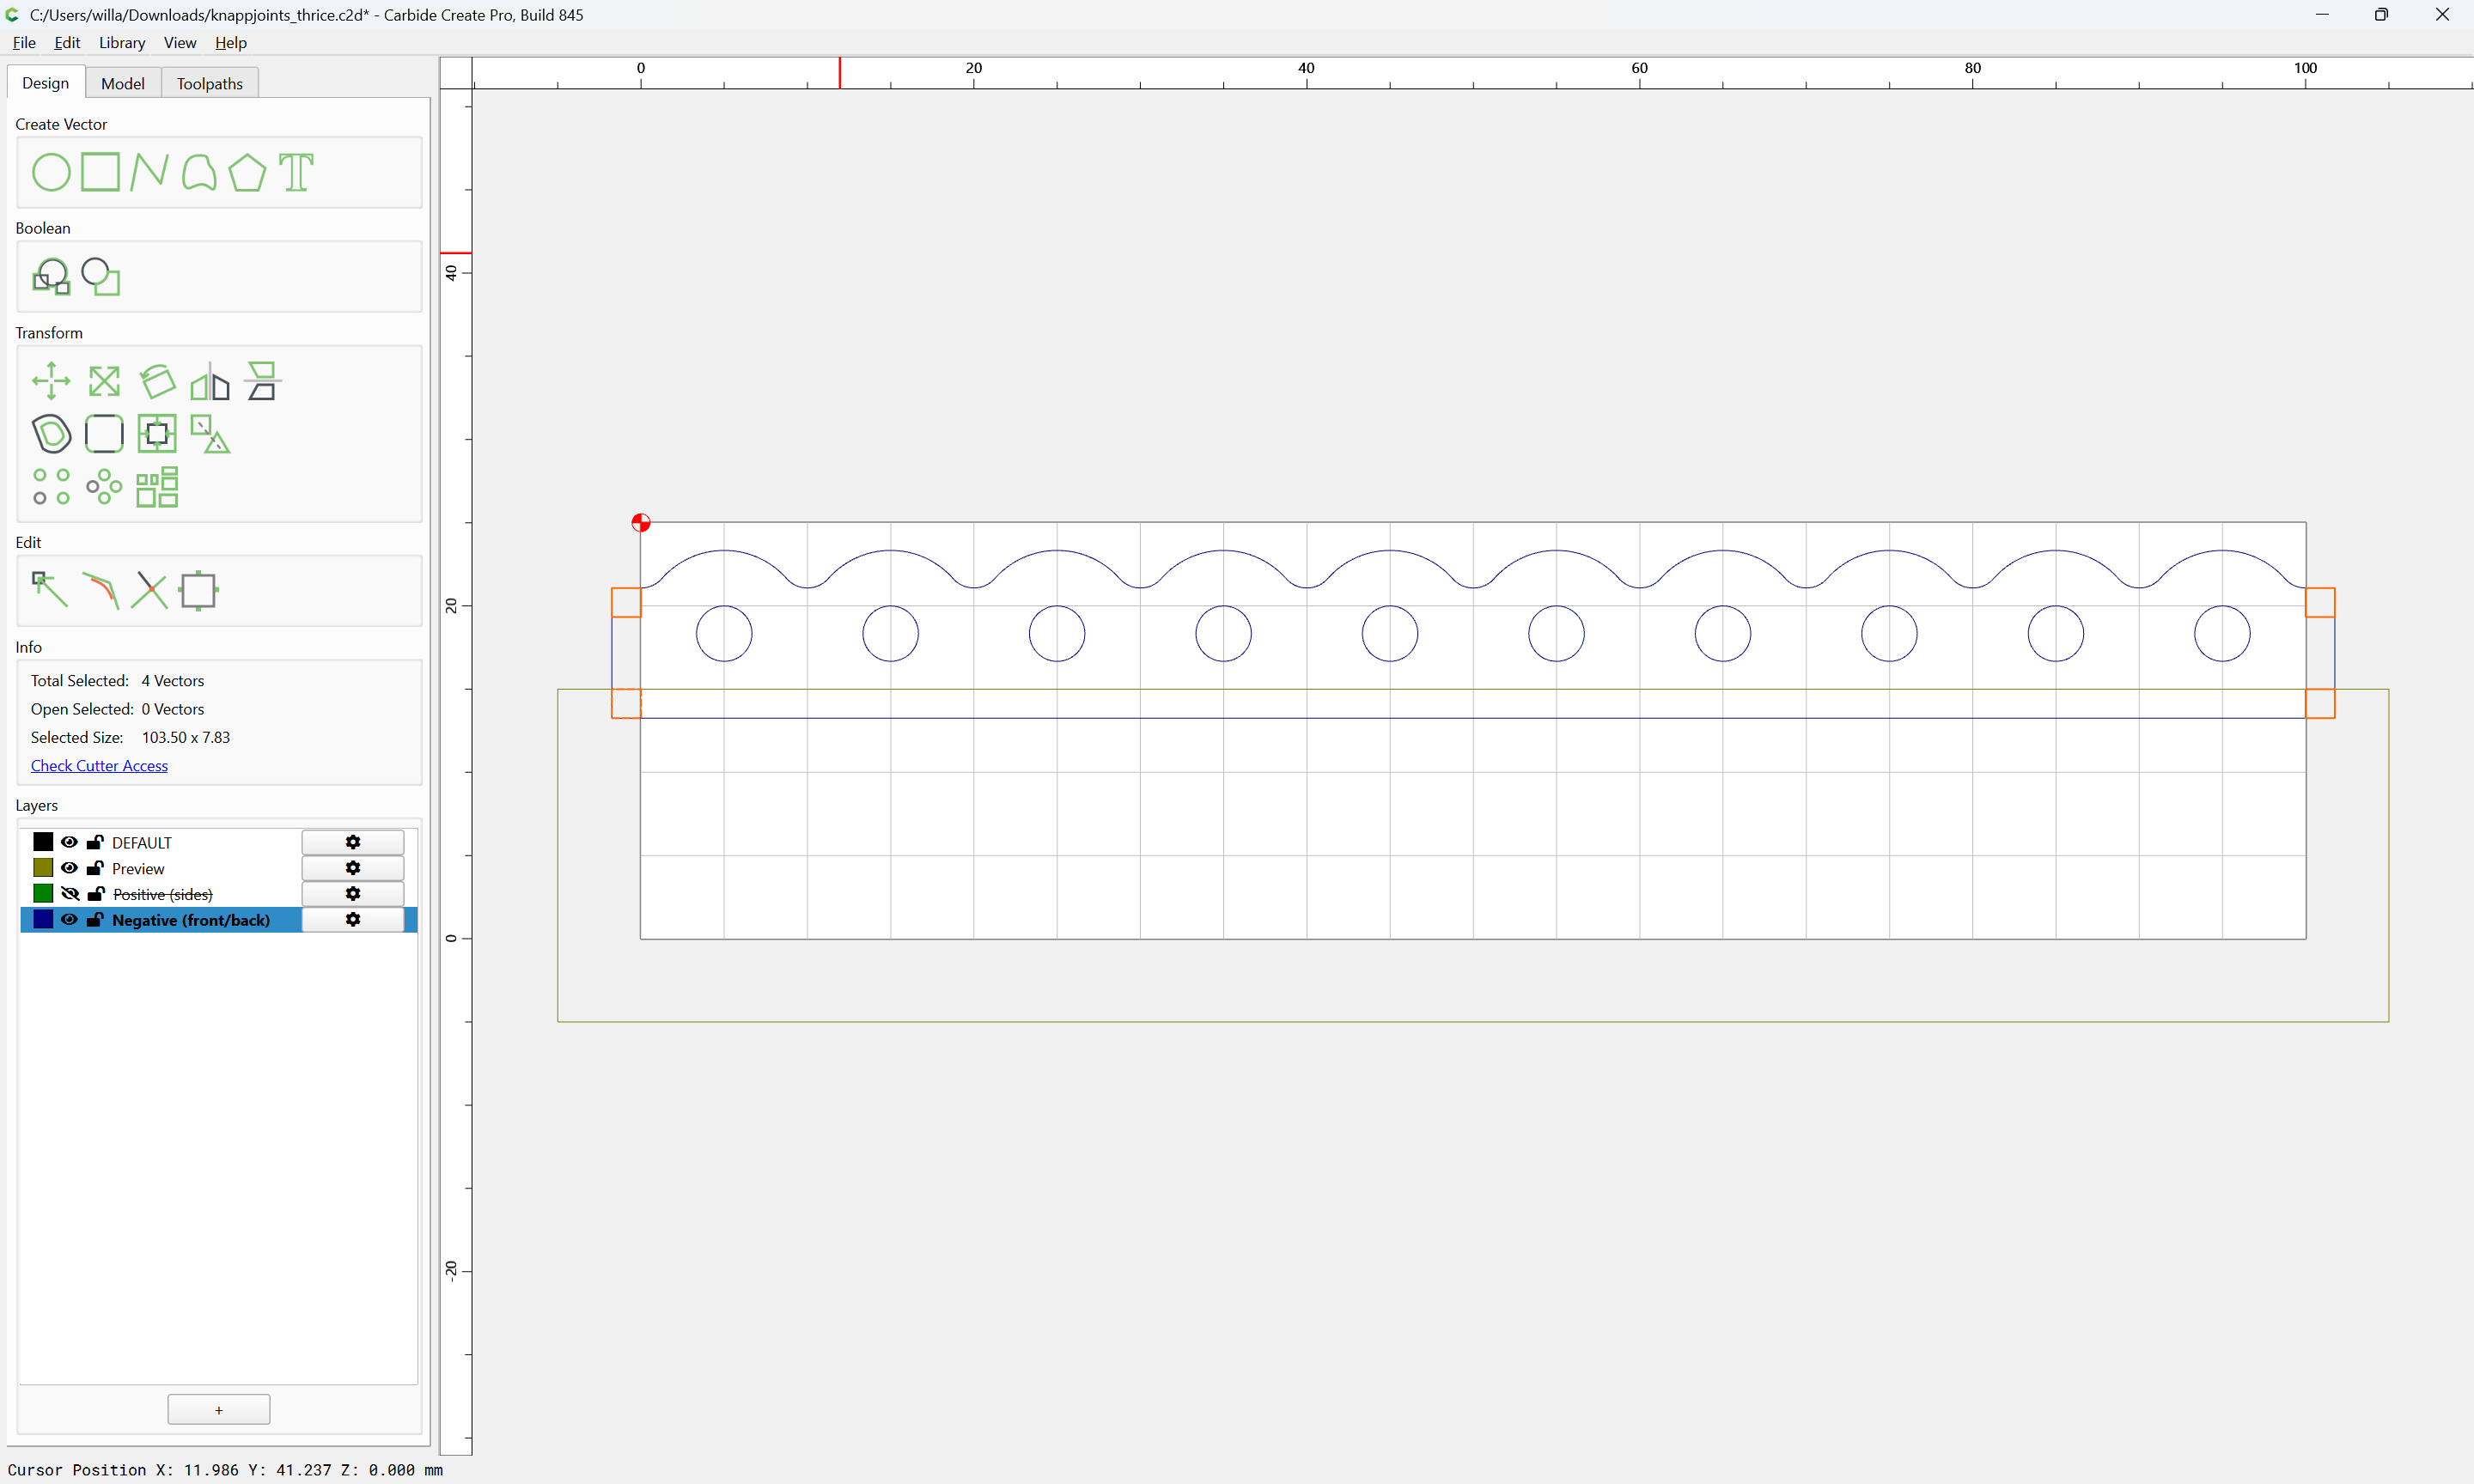
and Join Vectors:

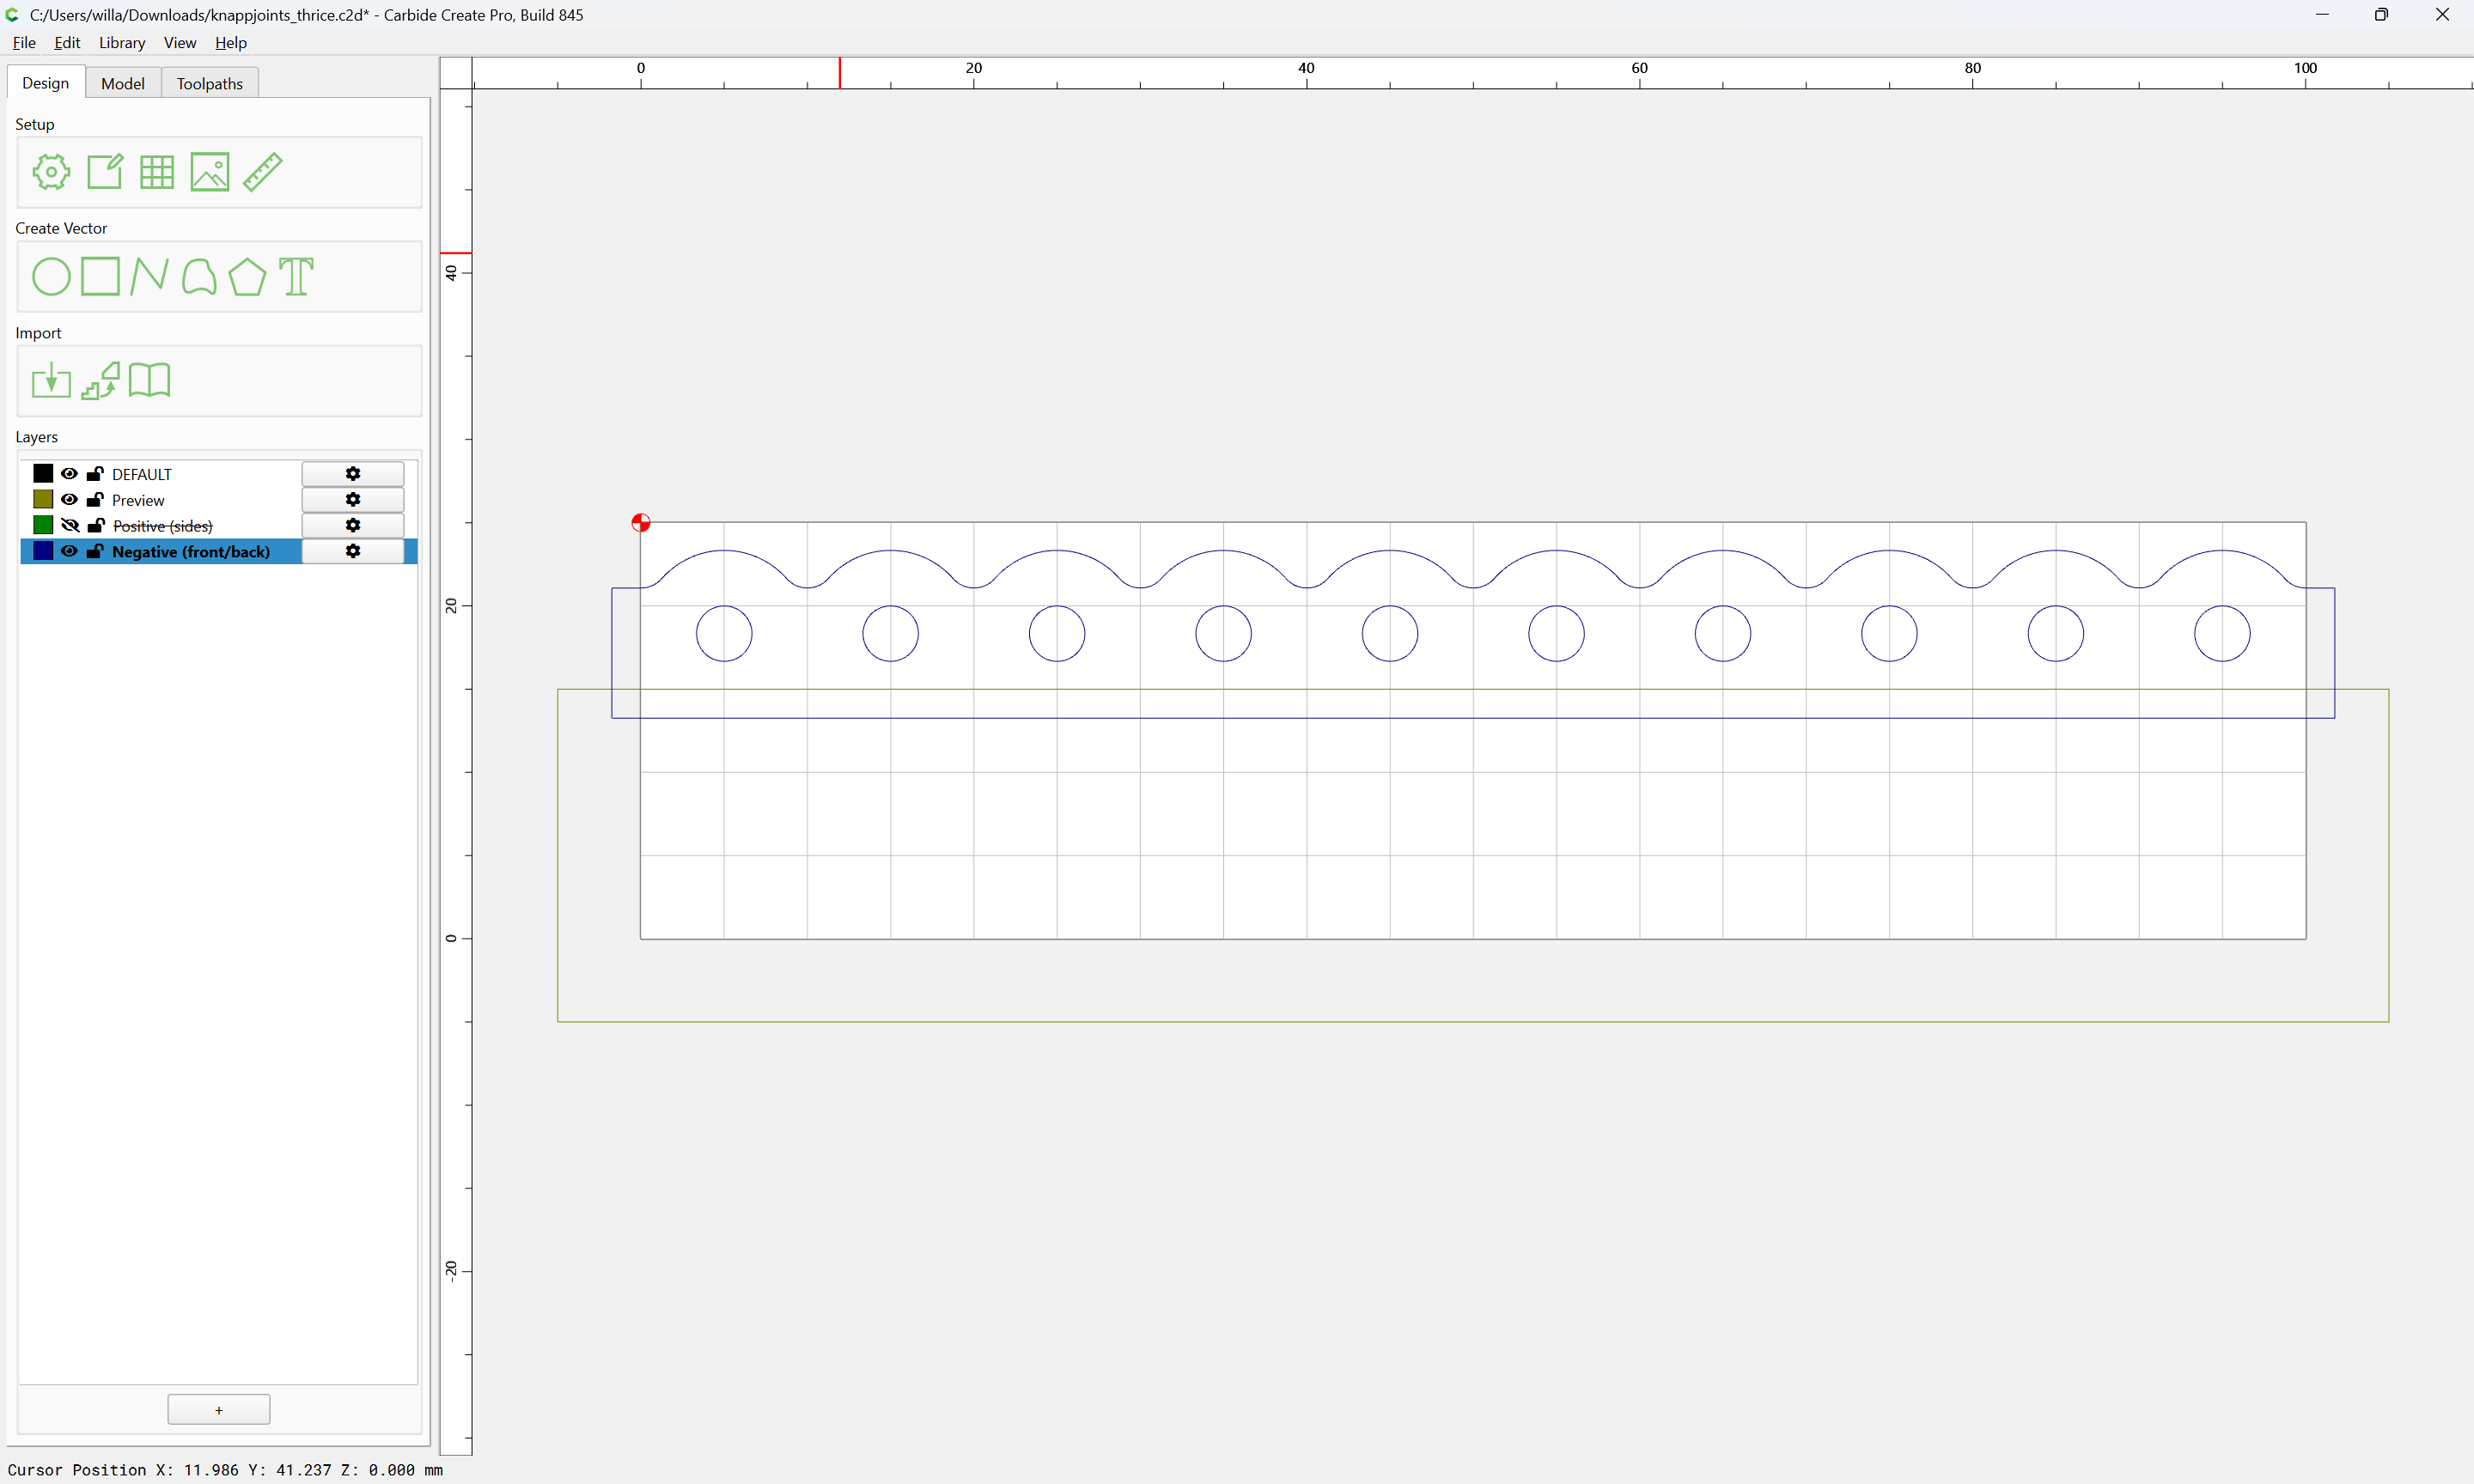
then delete the construction geometry:

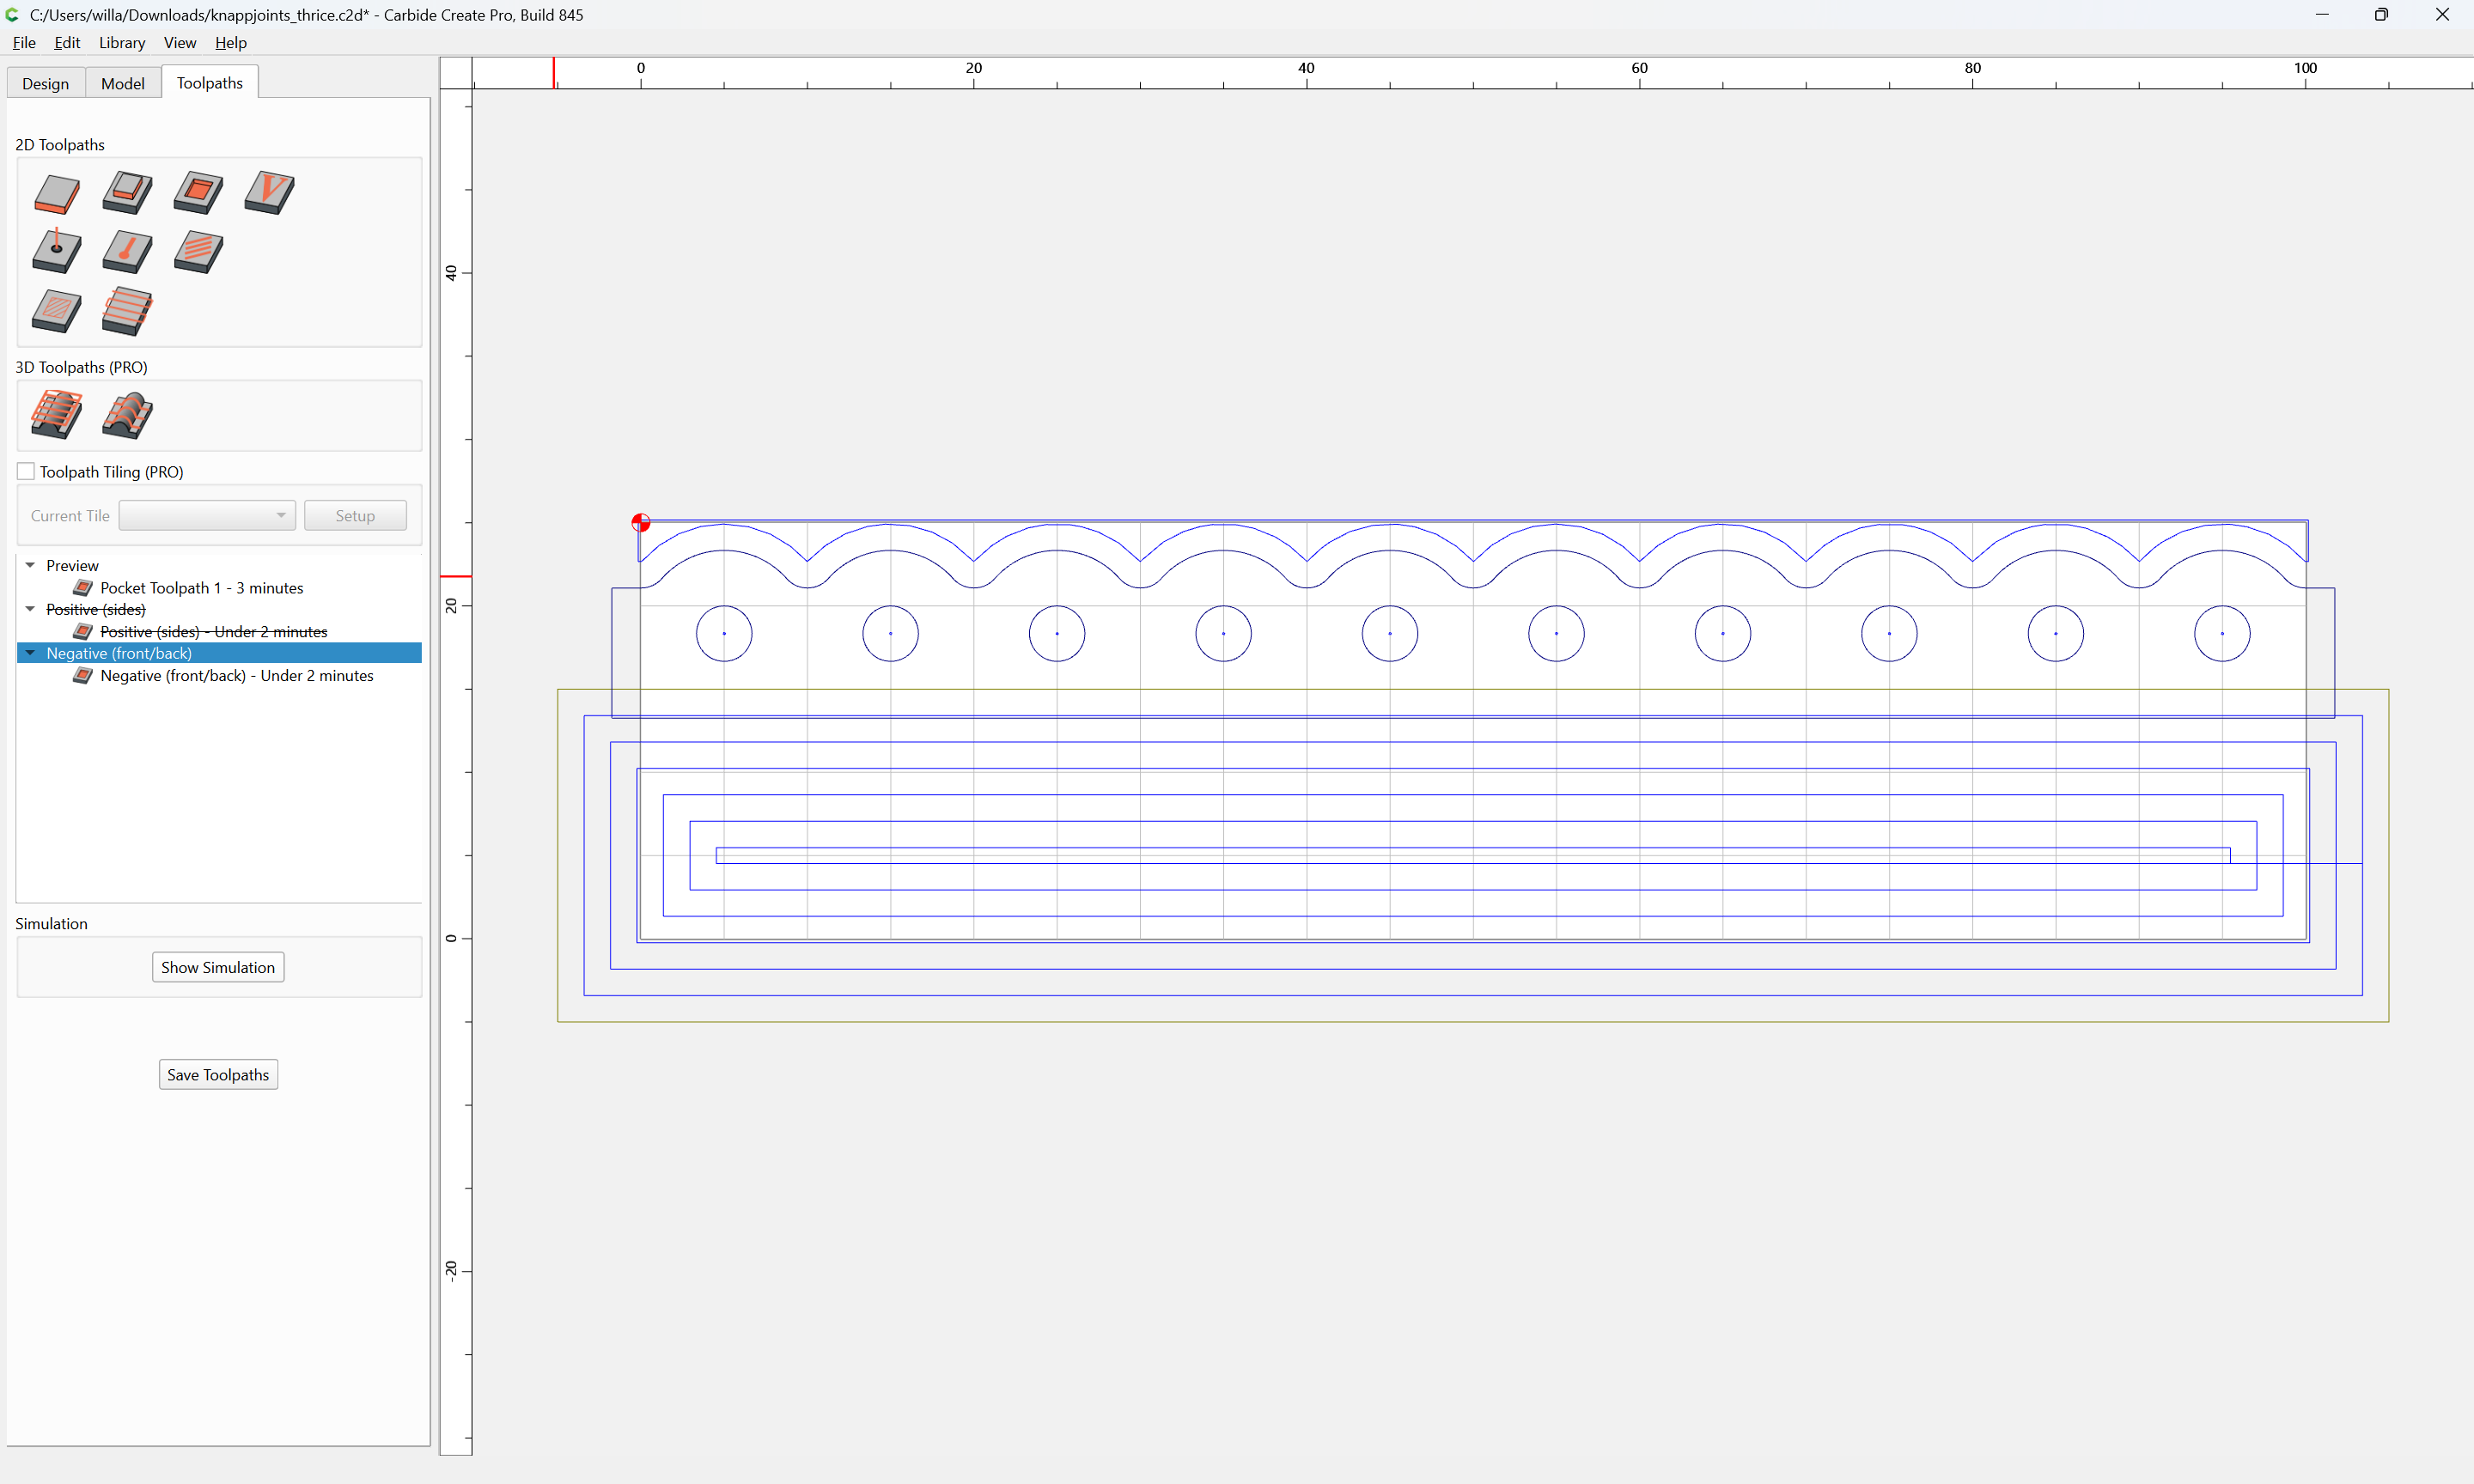
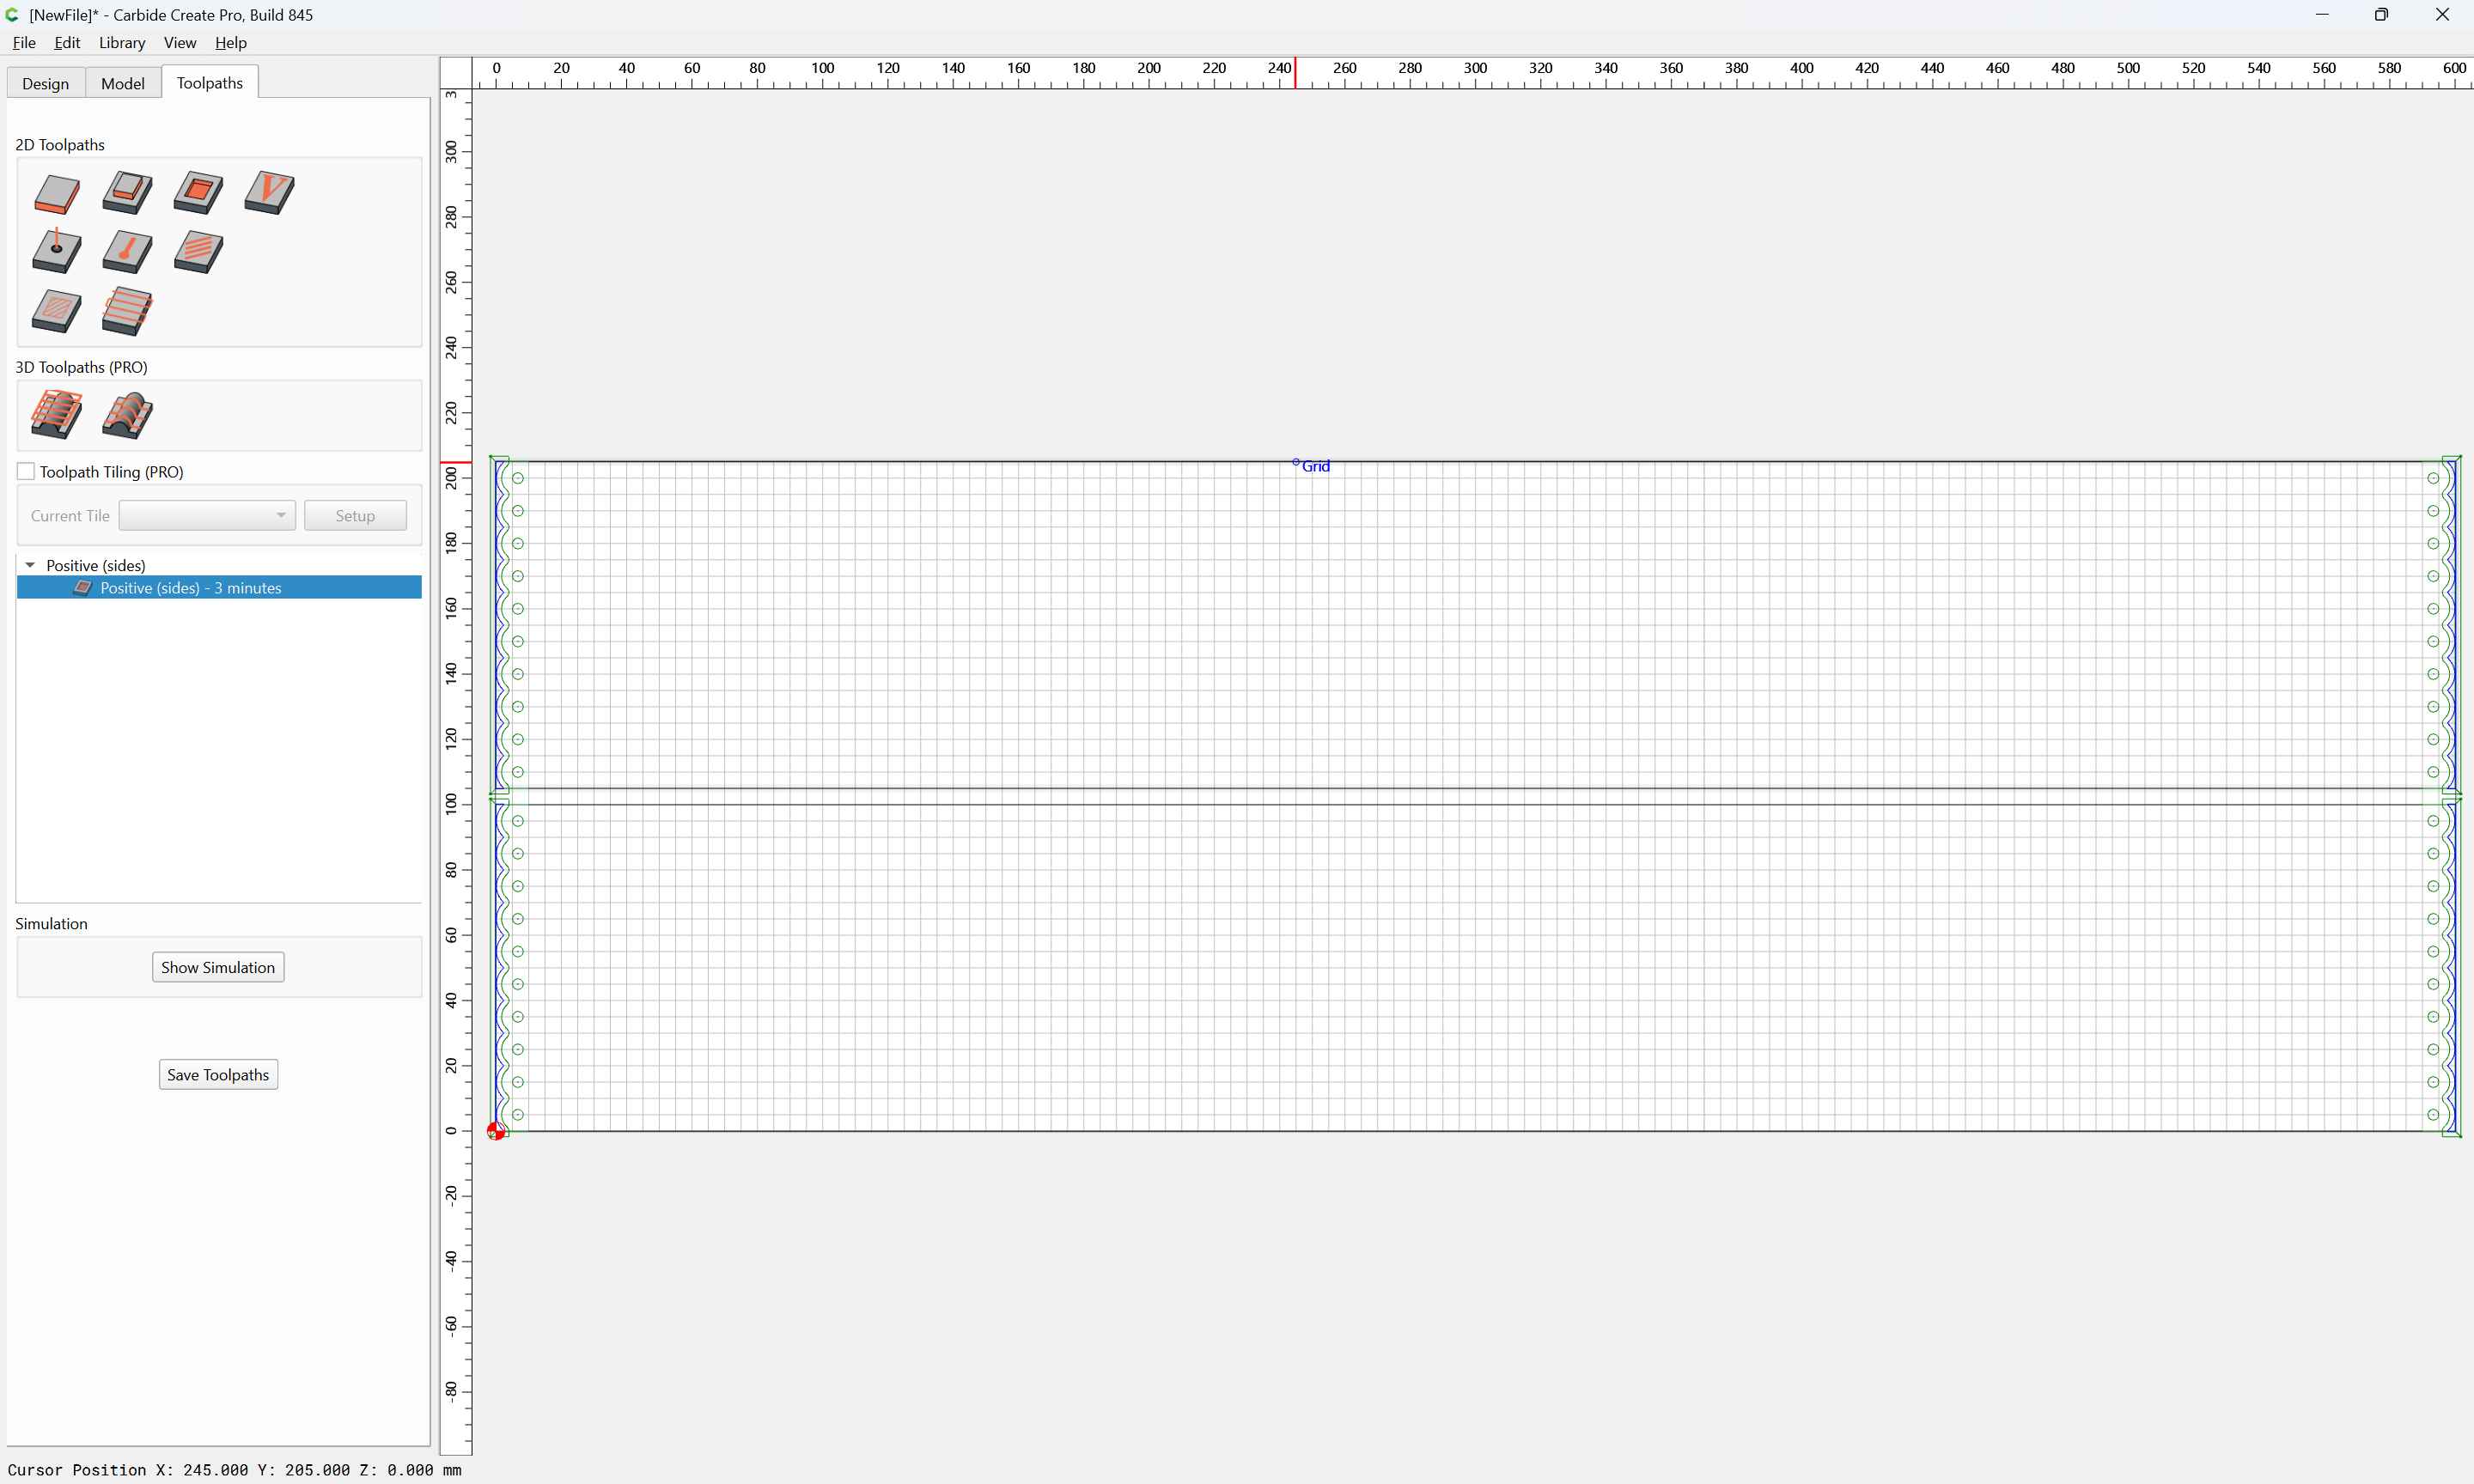
and set up the other toolpath:

associating it with the appropriate layer:

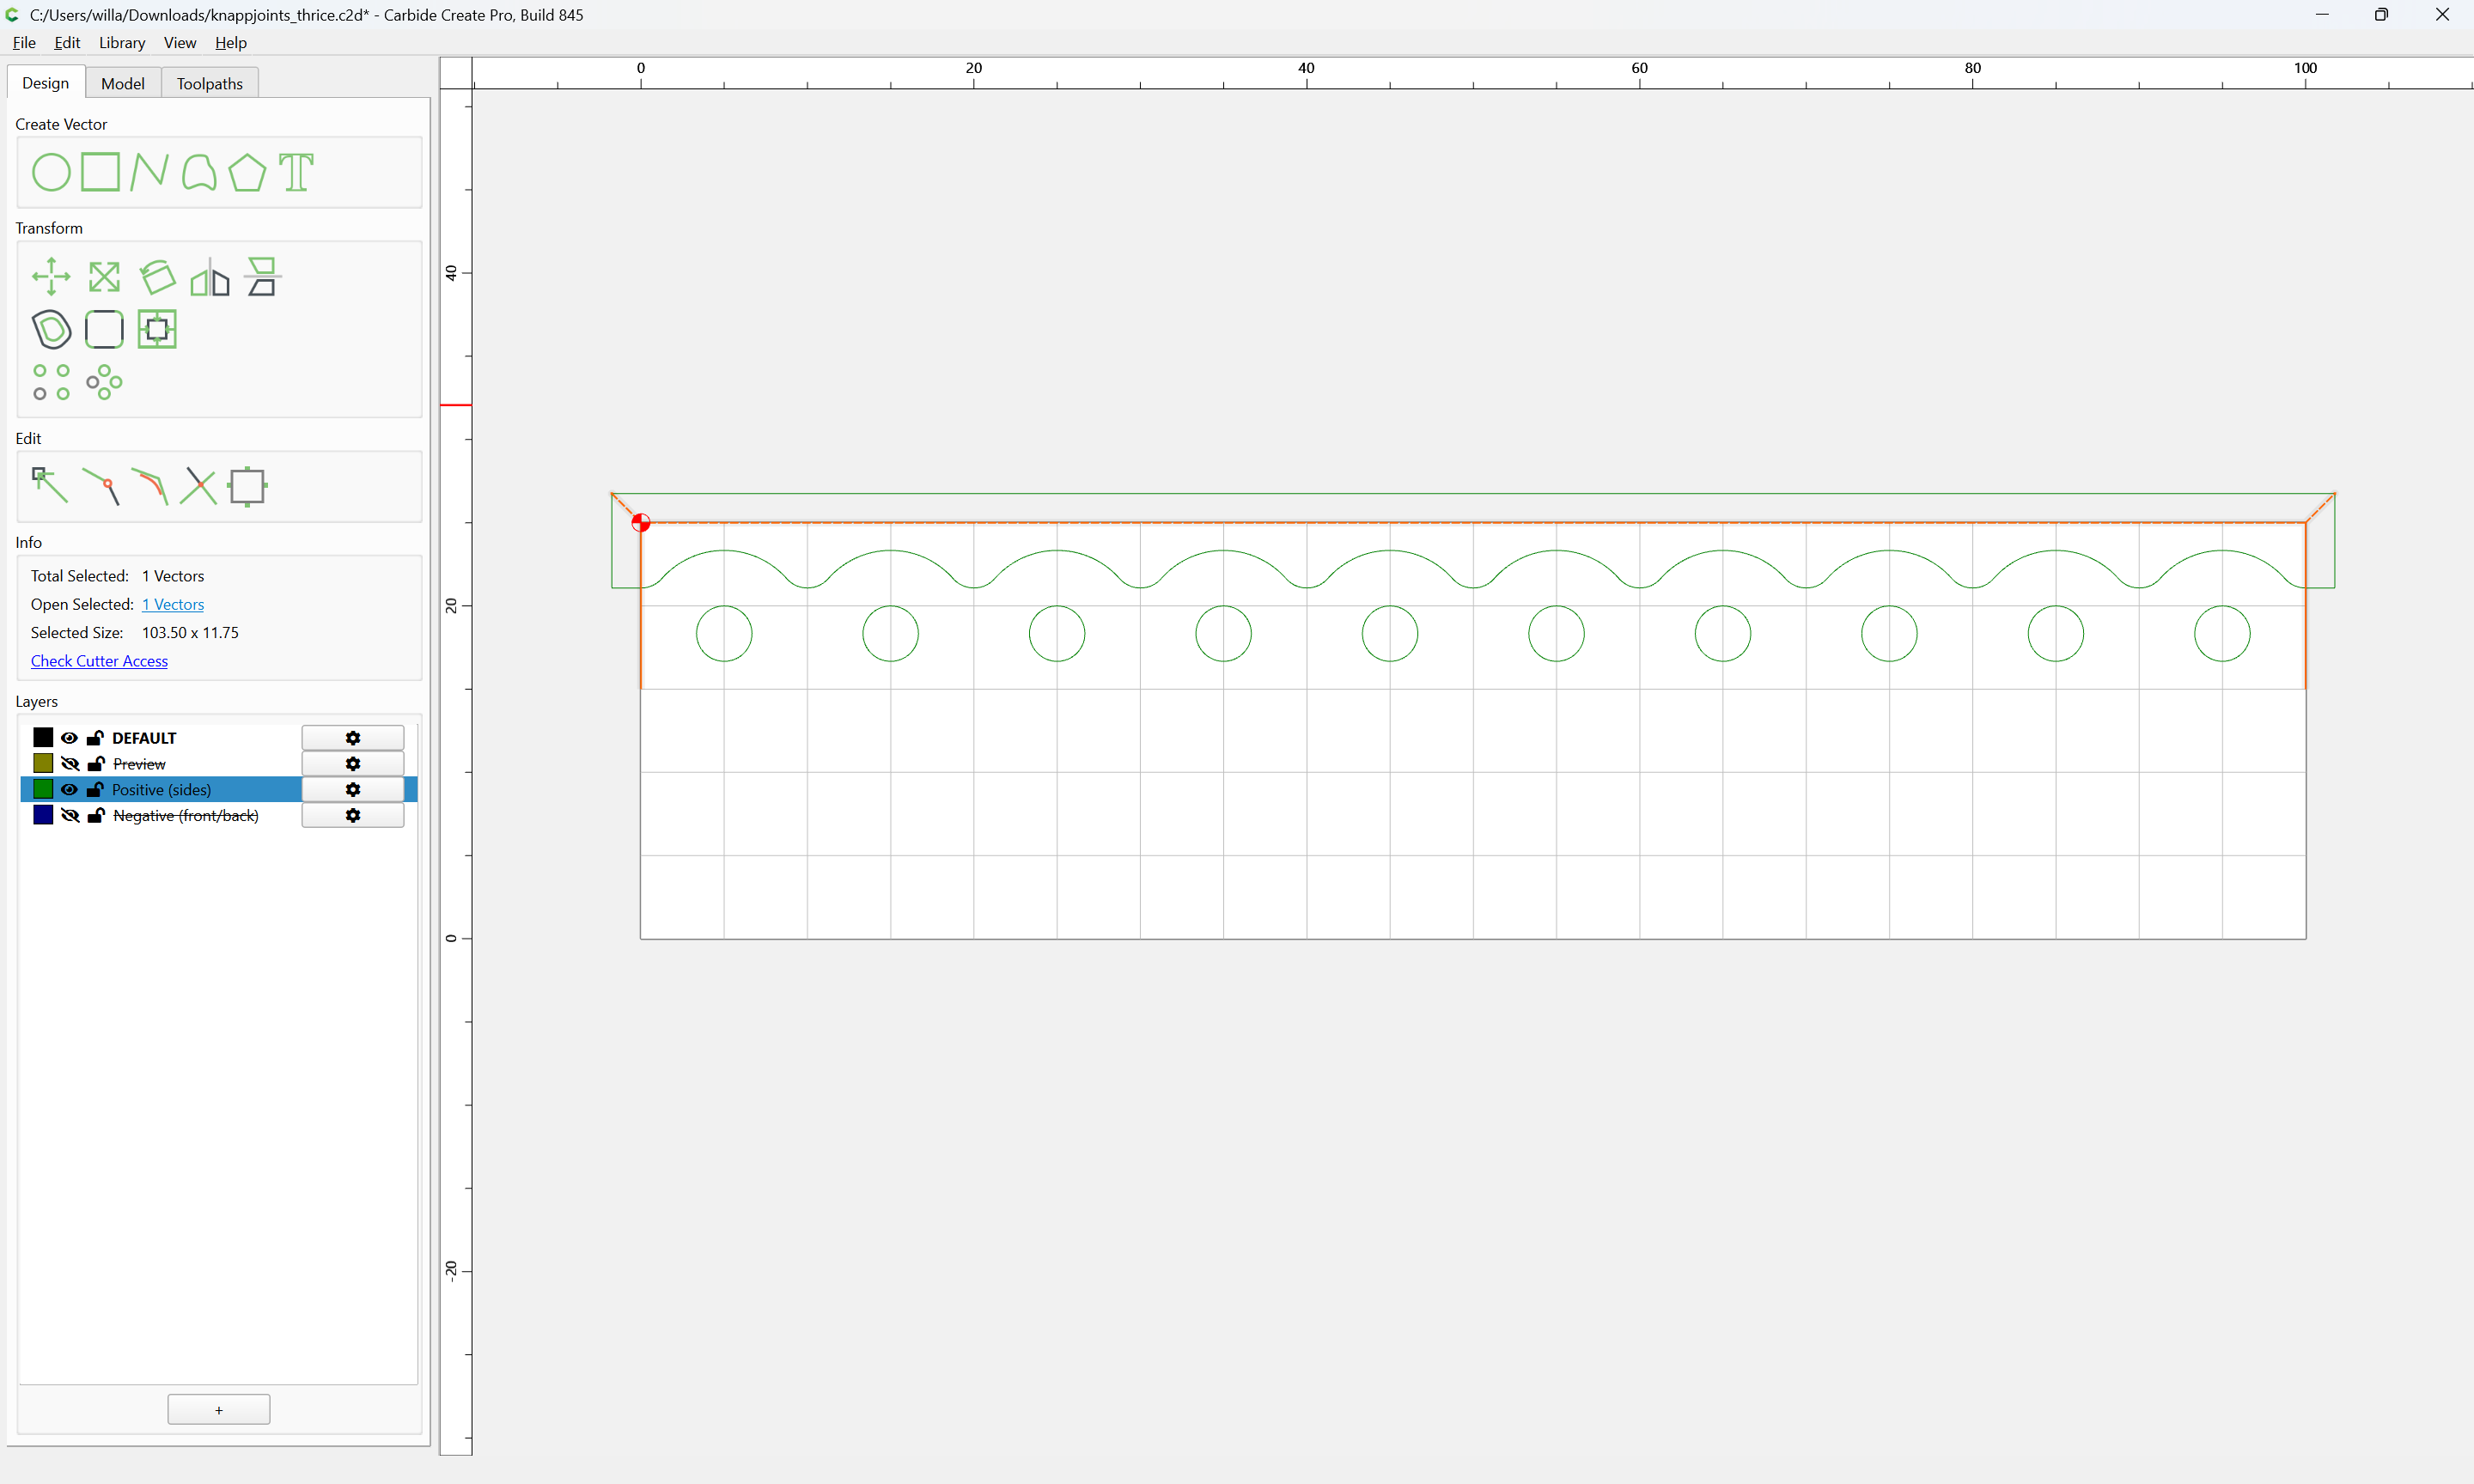
To make using the Positive geometry/toolpath easier, it will be helpful to have additional geometry which may be used for positioning it relative to the end of a board:

Done

which so long as it is open (unclosed) and the toolpath(s) associated with the layer are not Contour toolpaths, will not affect how things cut:

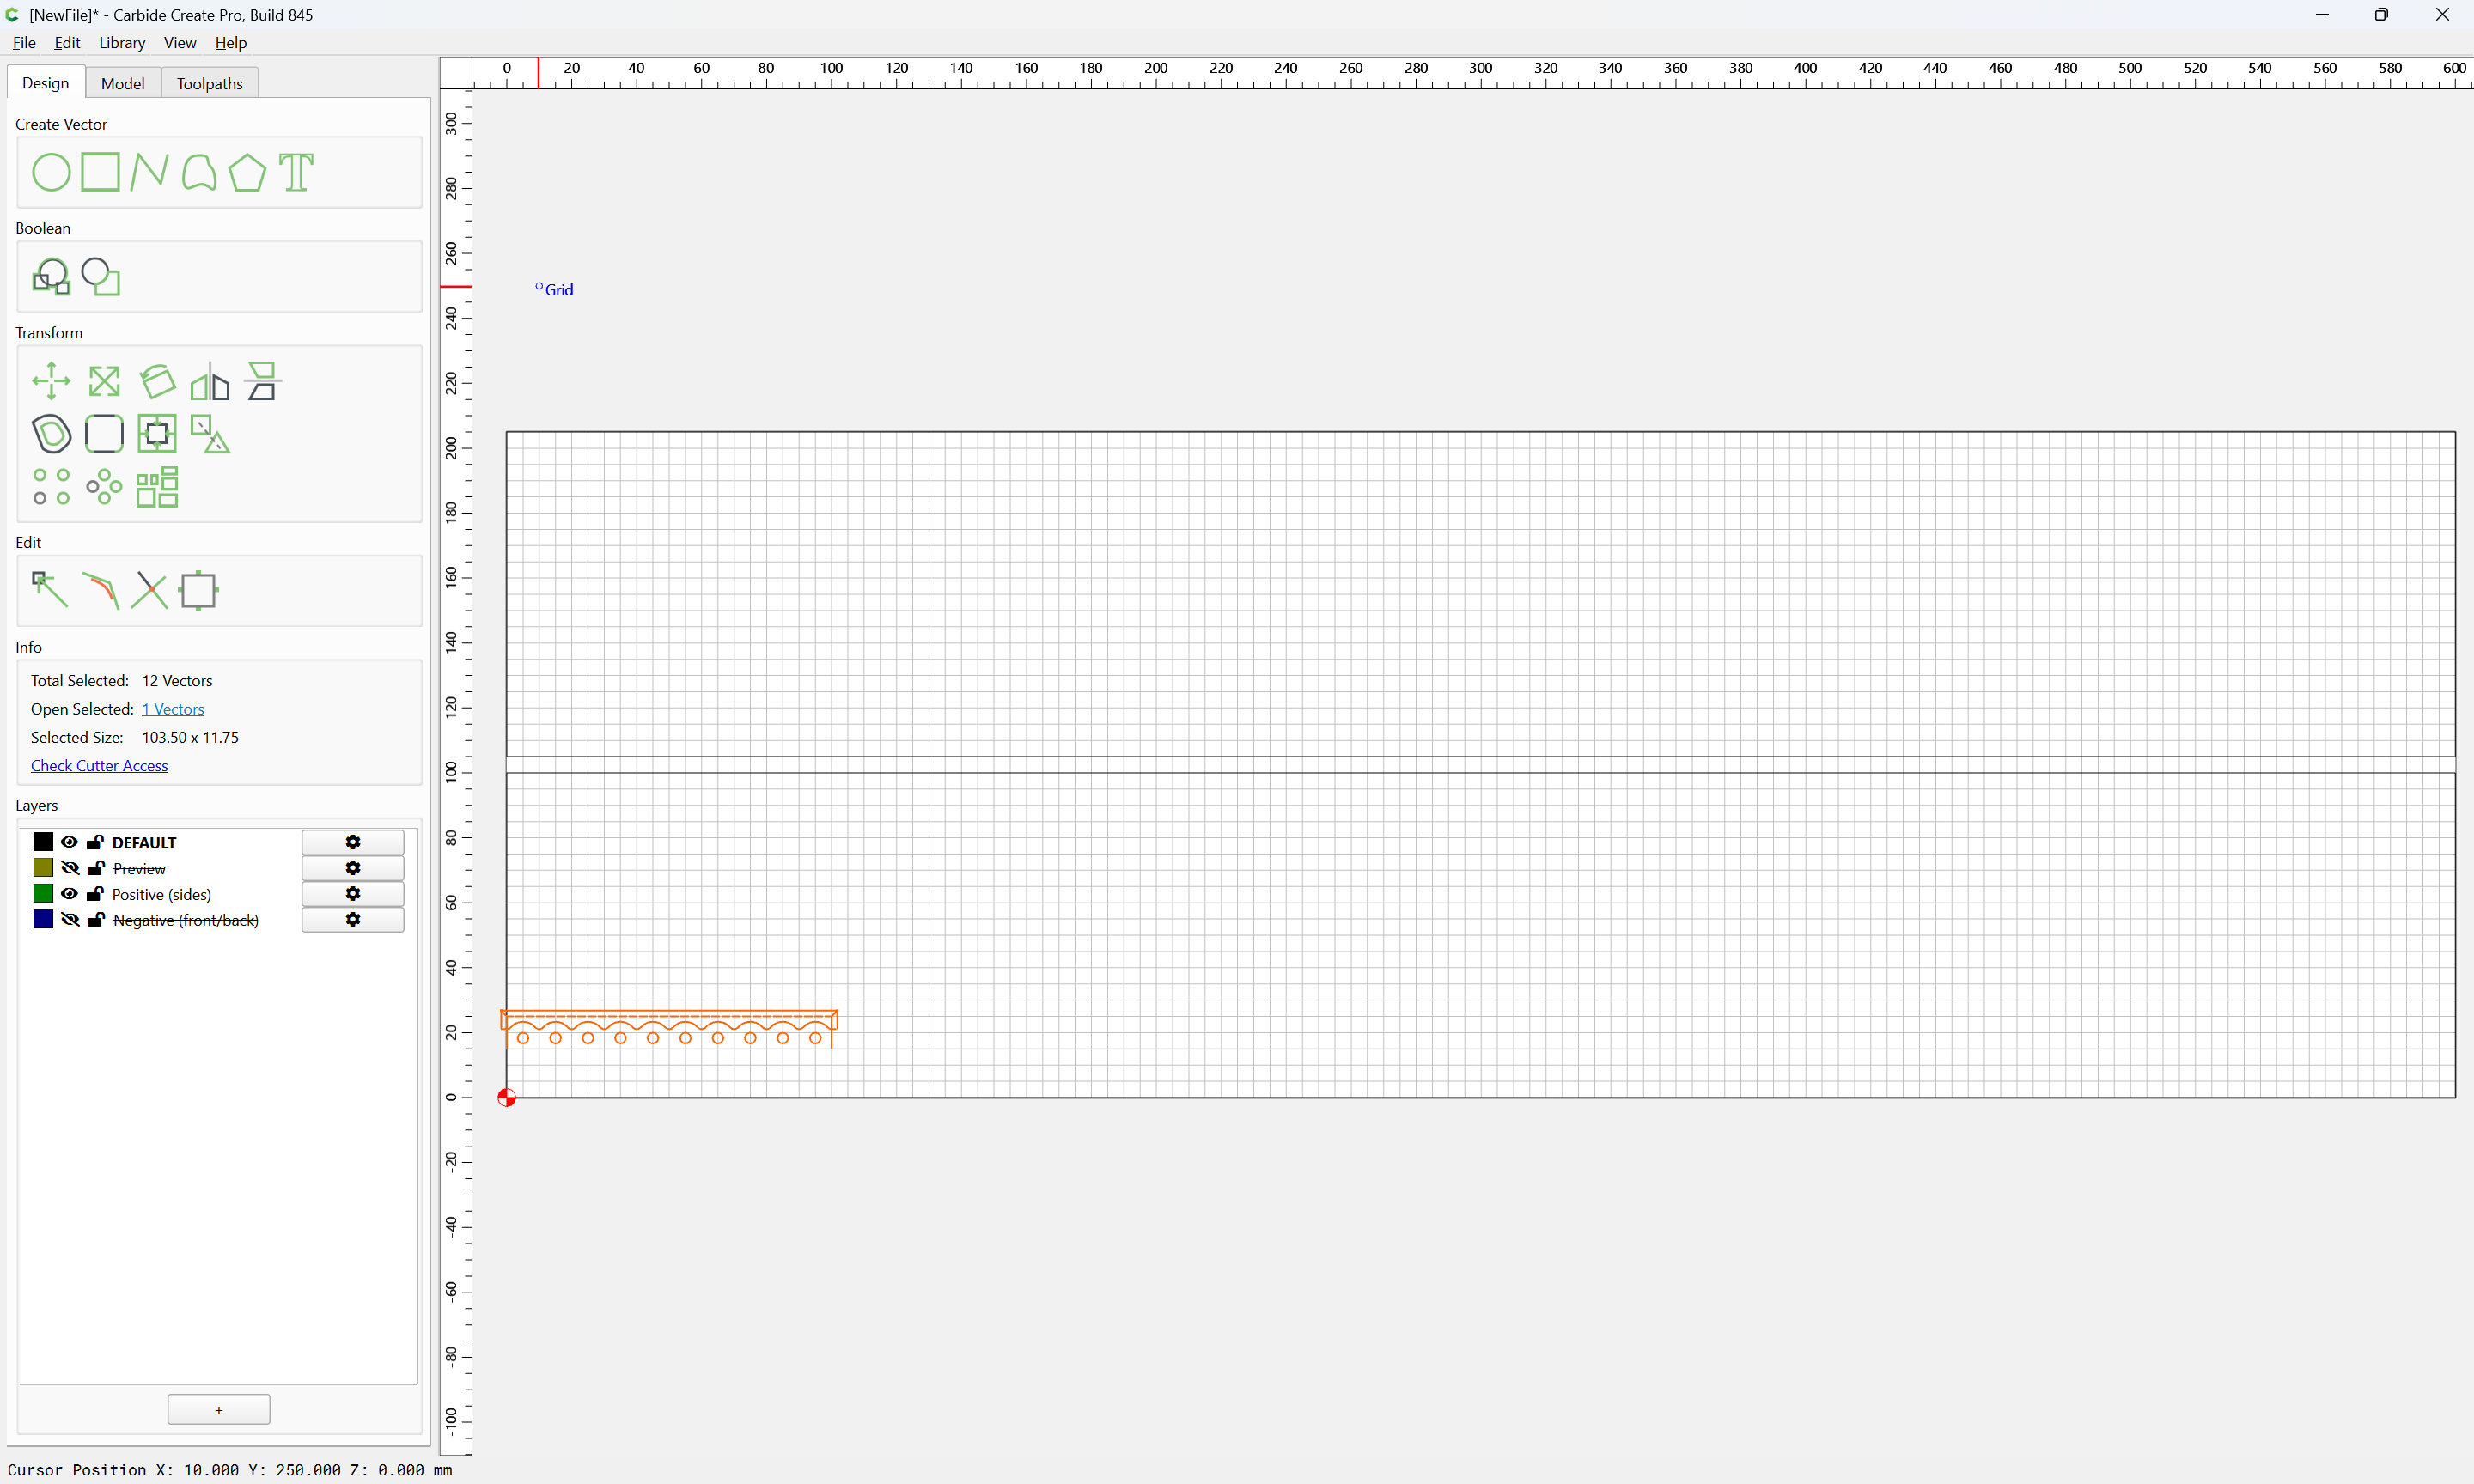
The file may then be imported into a file which has parts defined for cutting the parts for a box/drawer:

Import

(do not join the vectors)

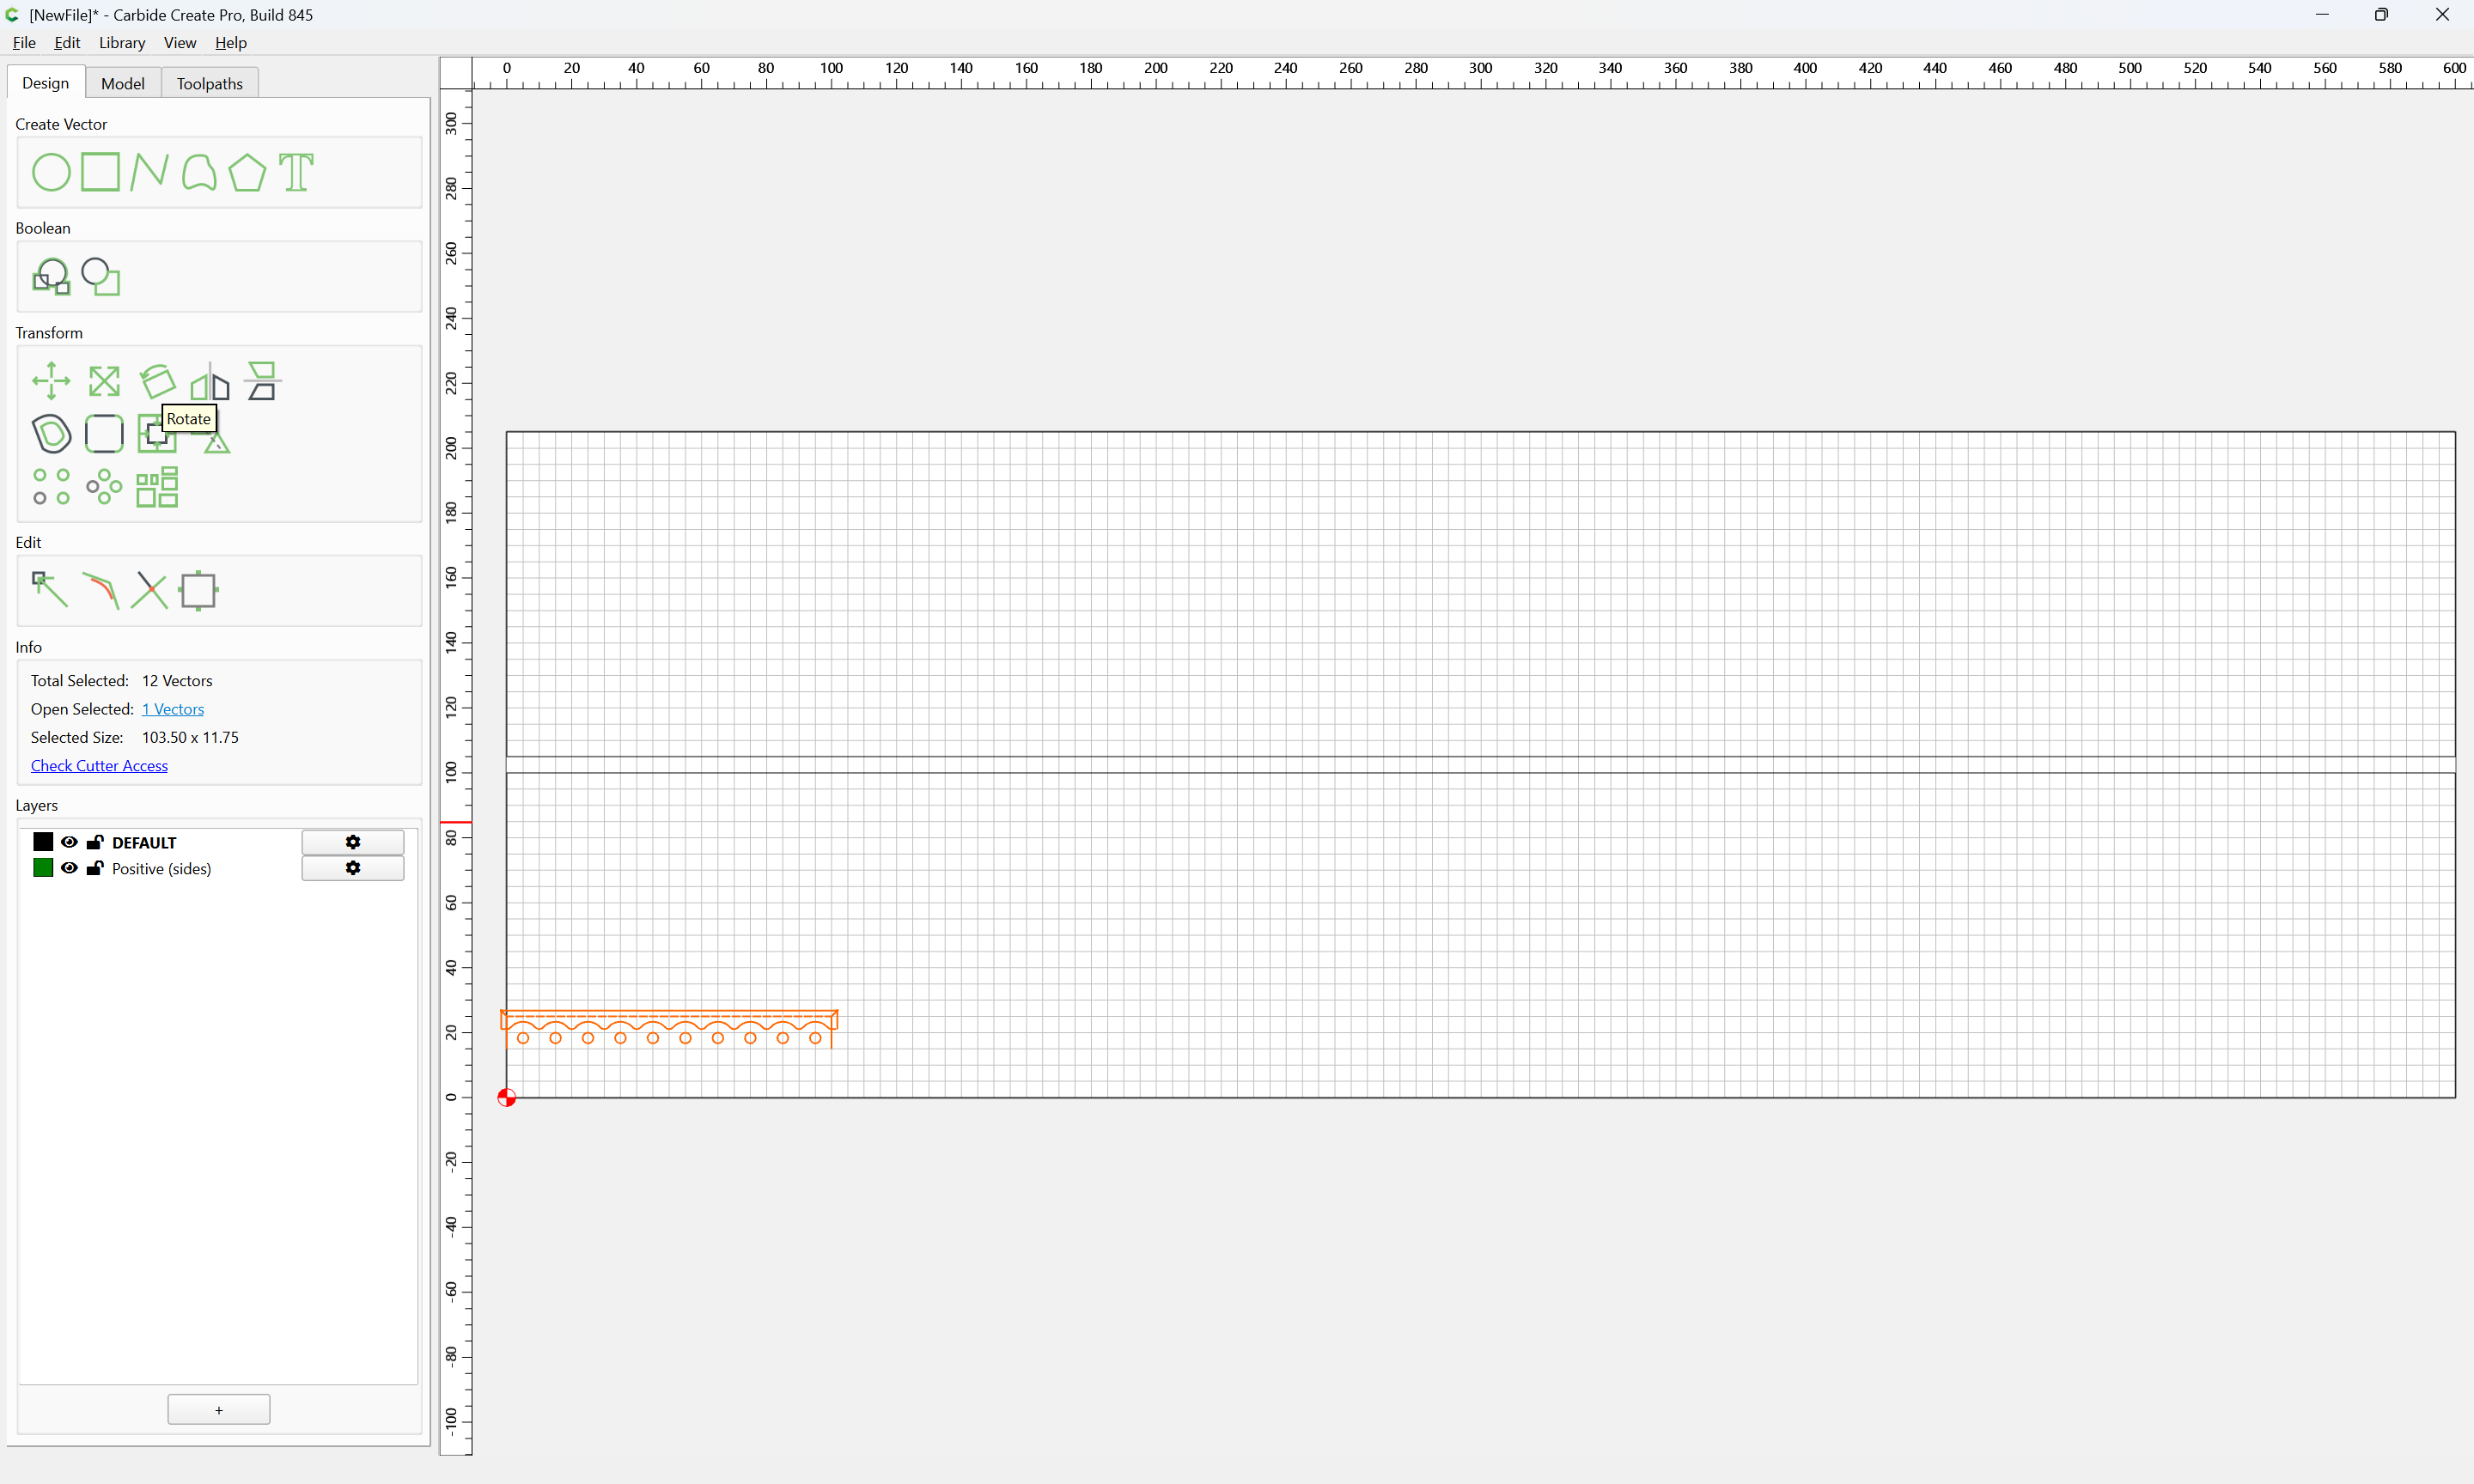
Clean up by deleting the layers which are not needed:

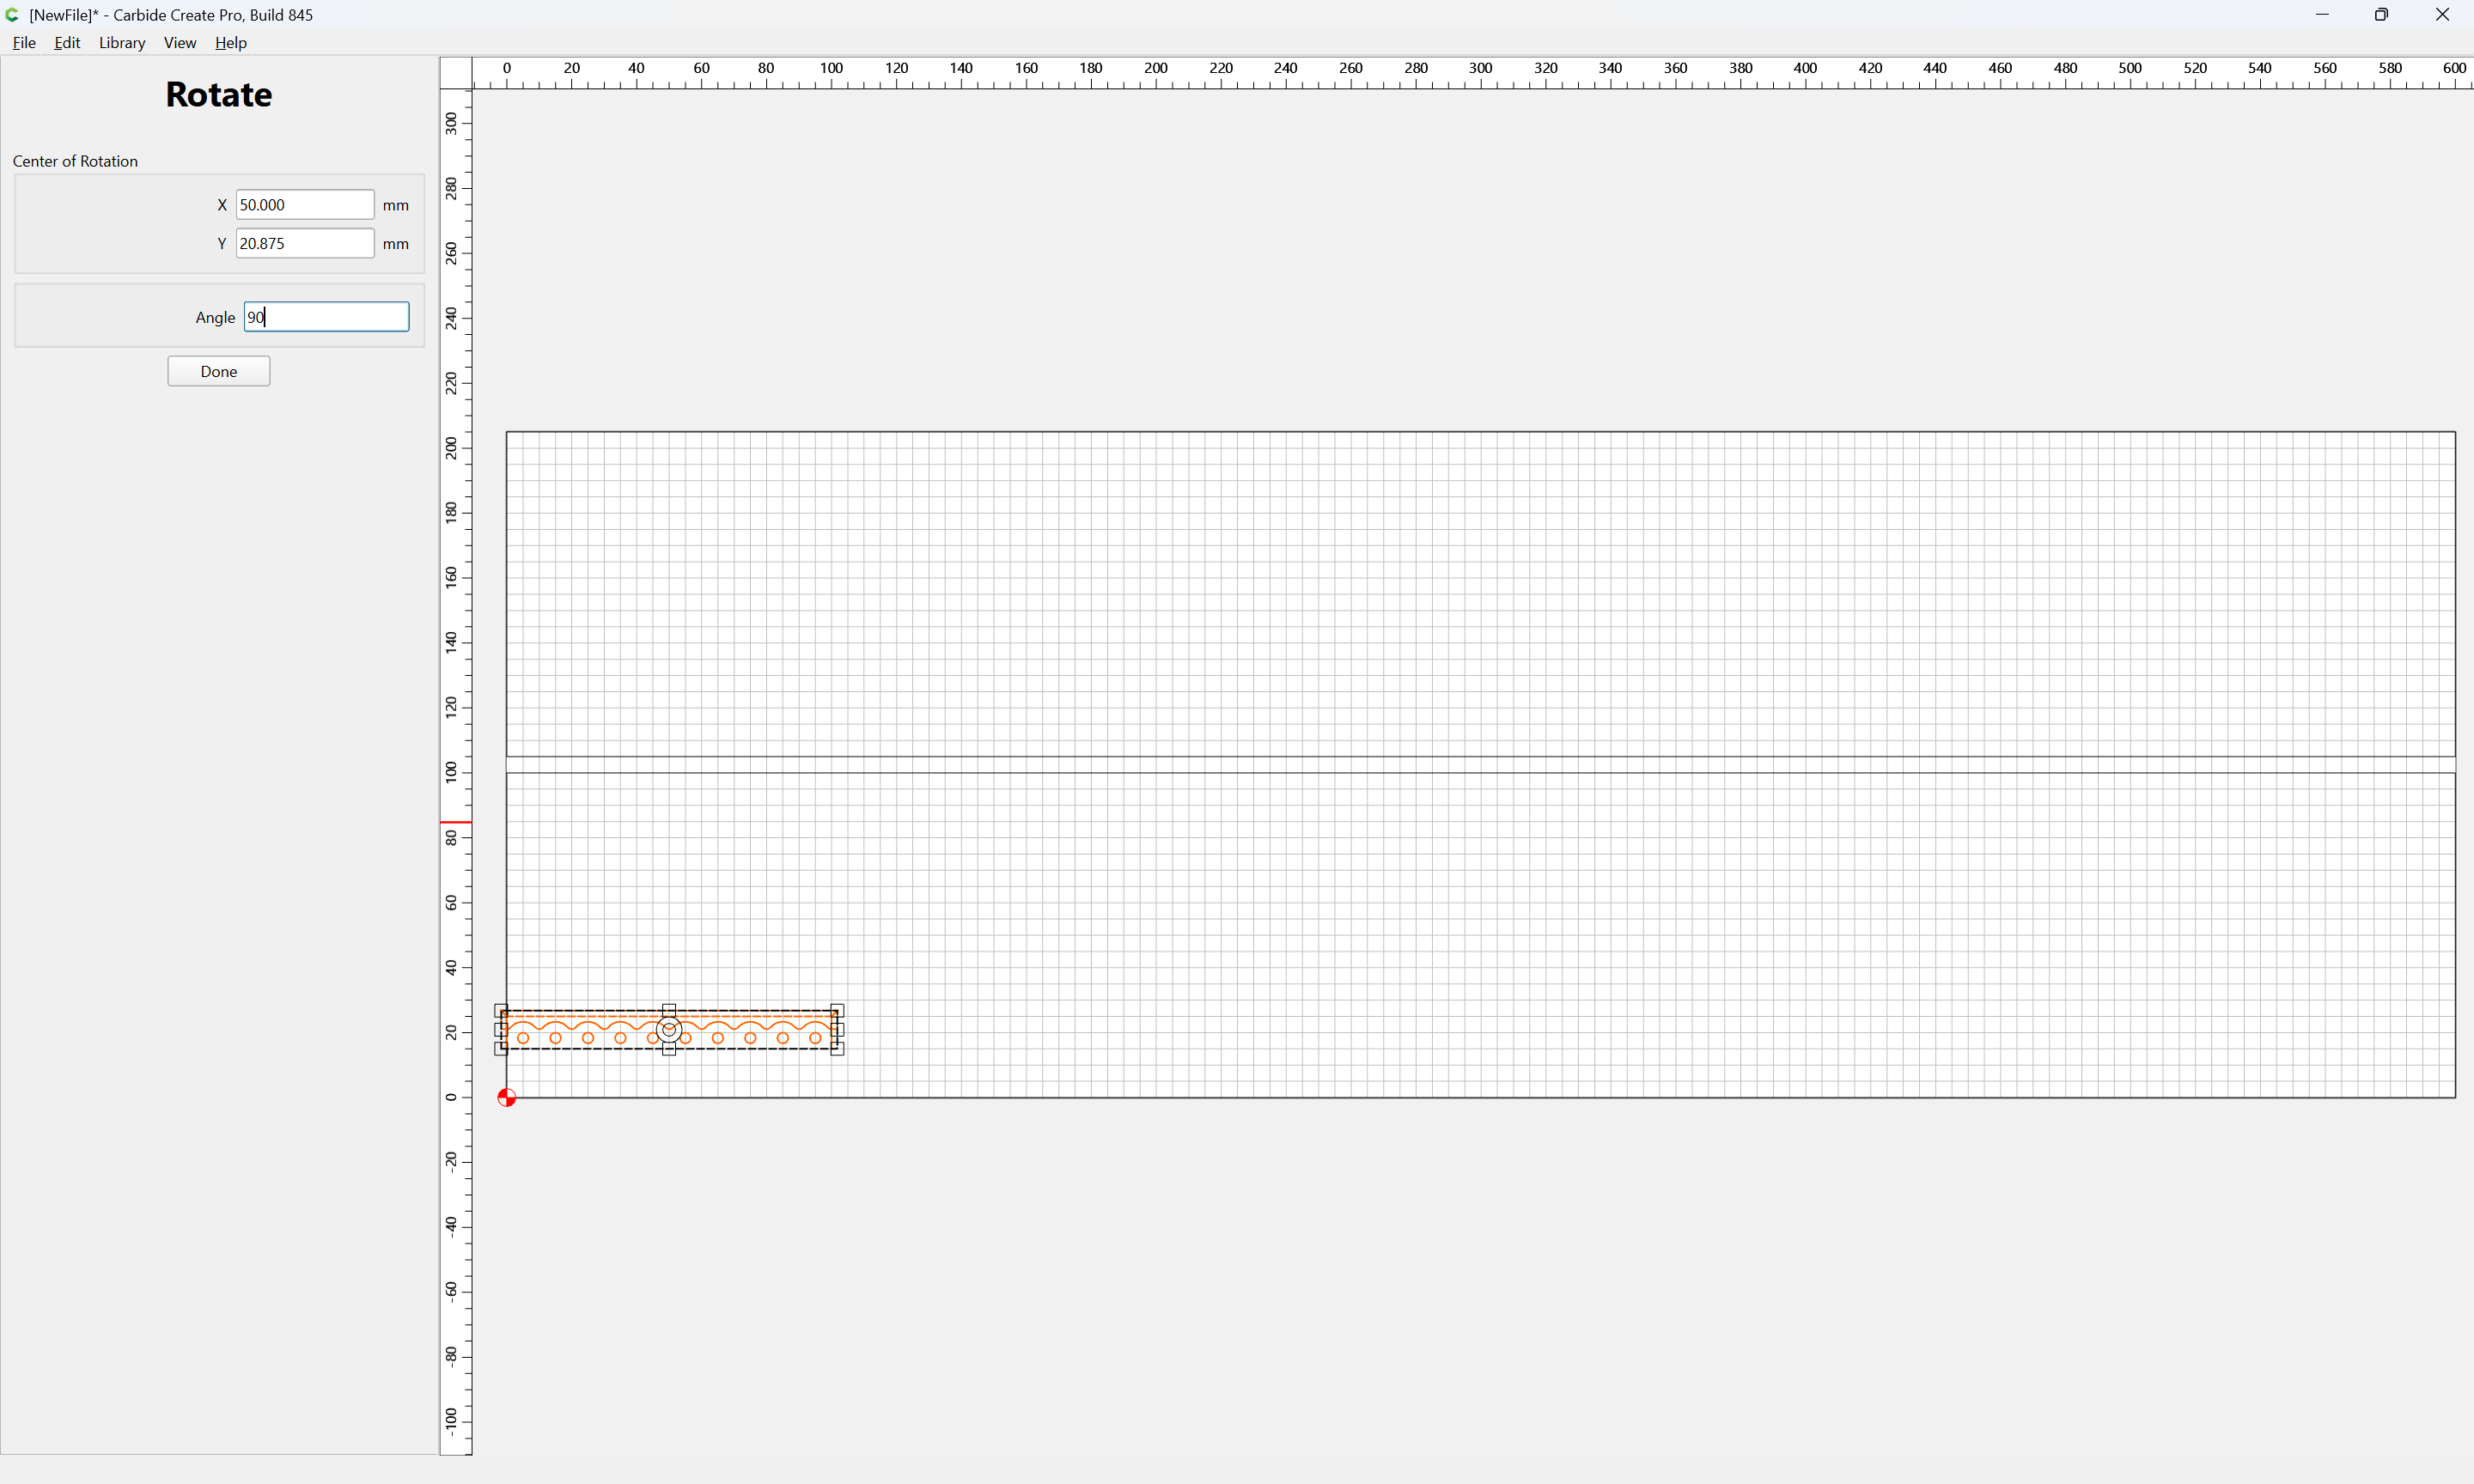
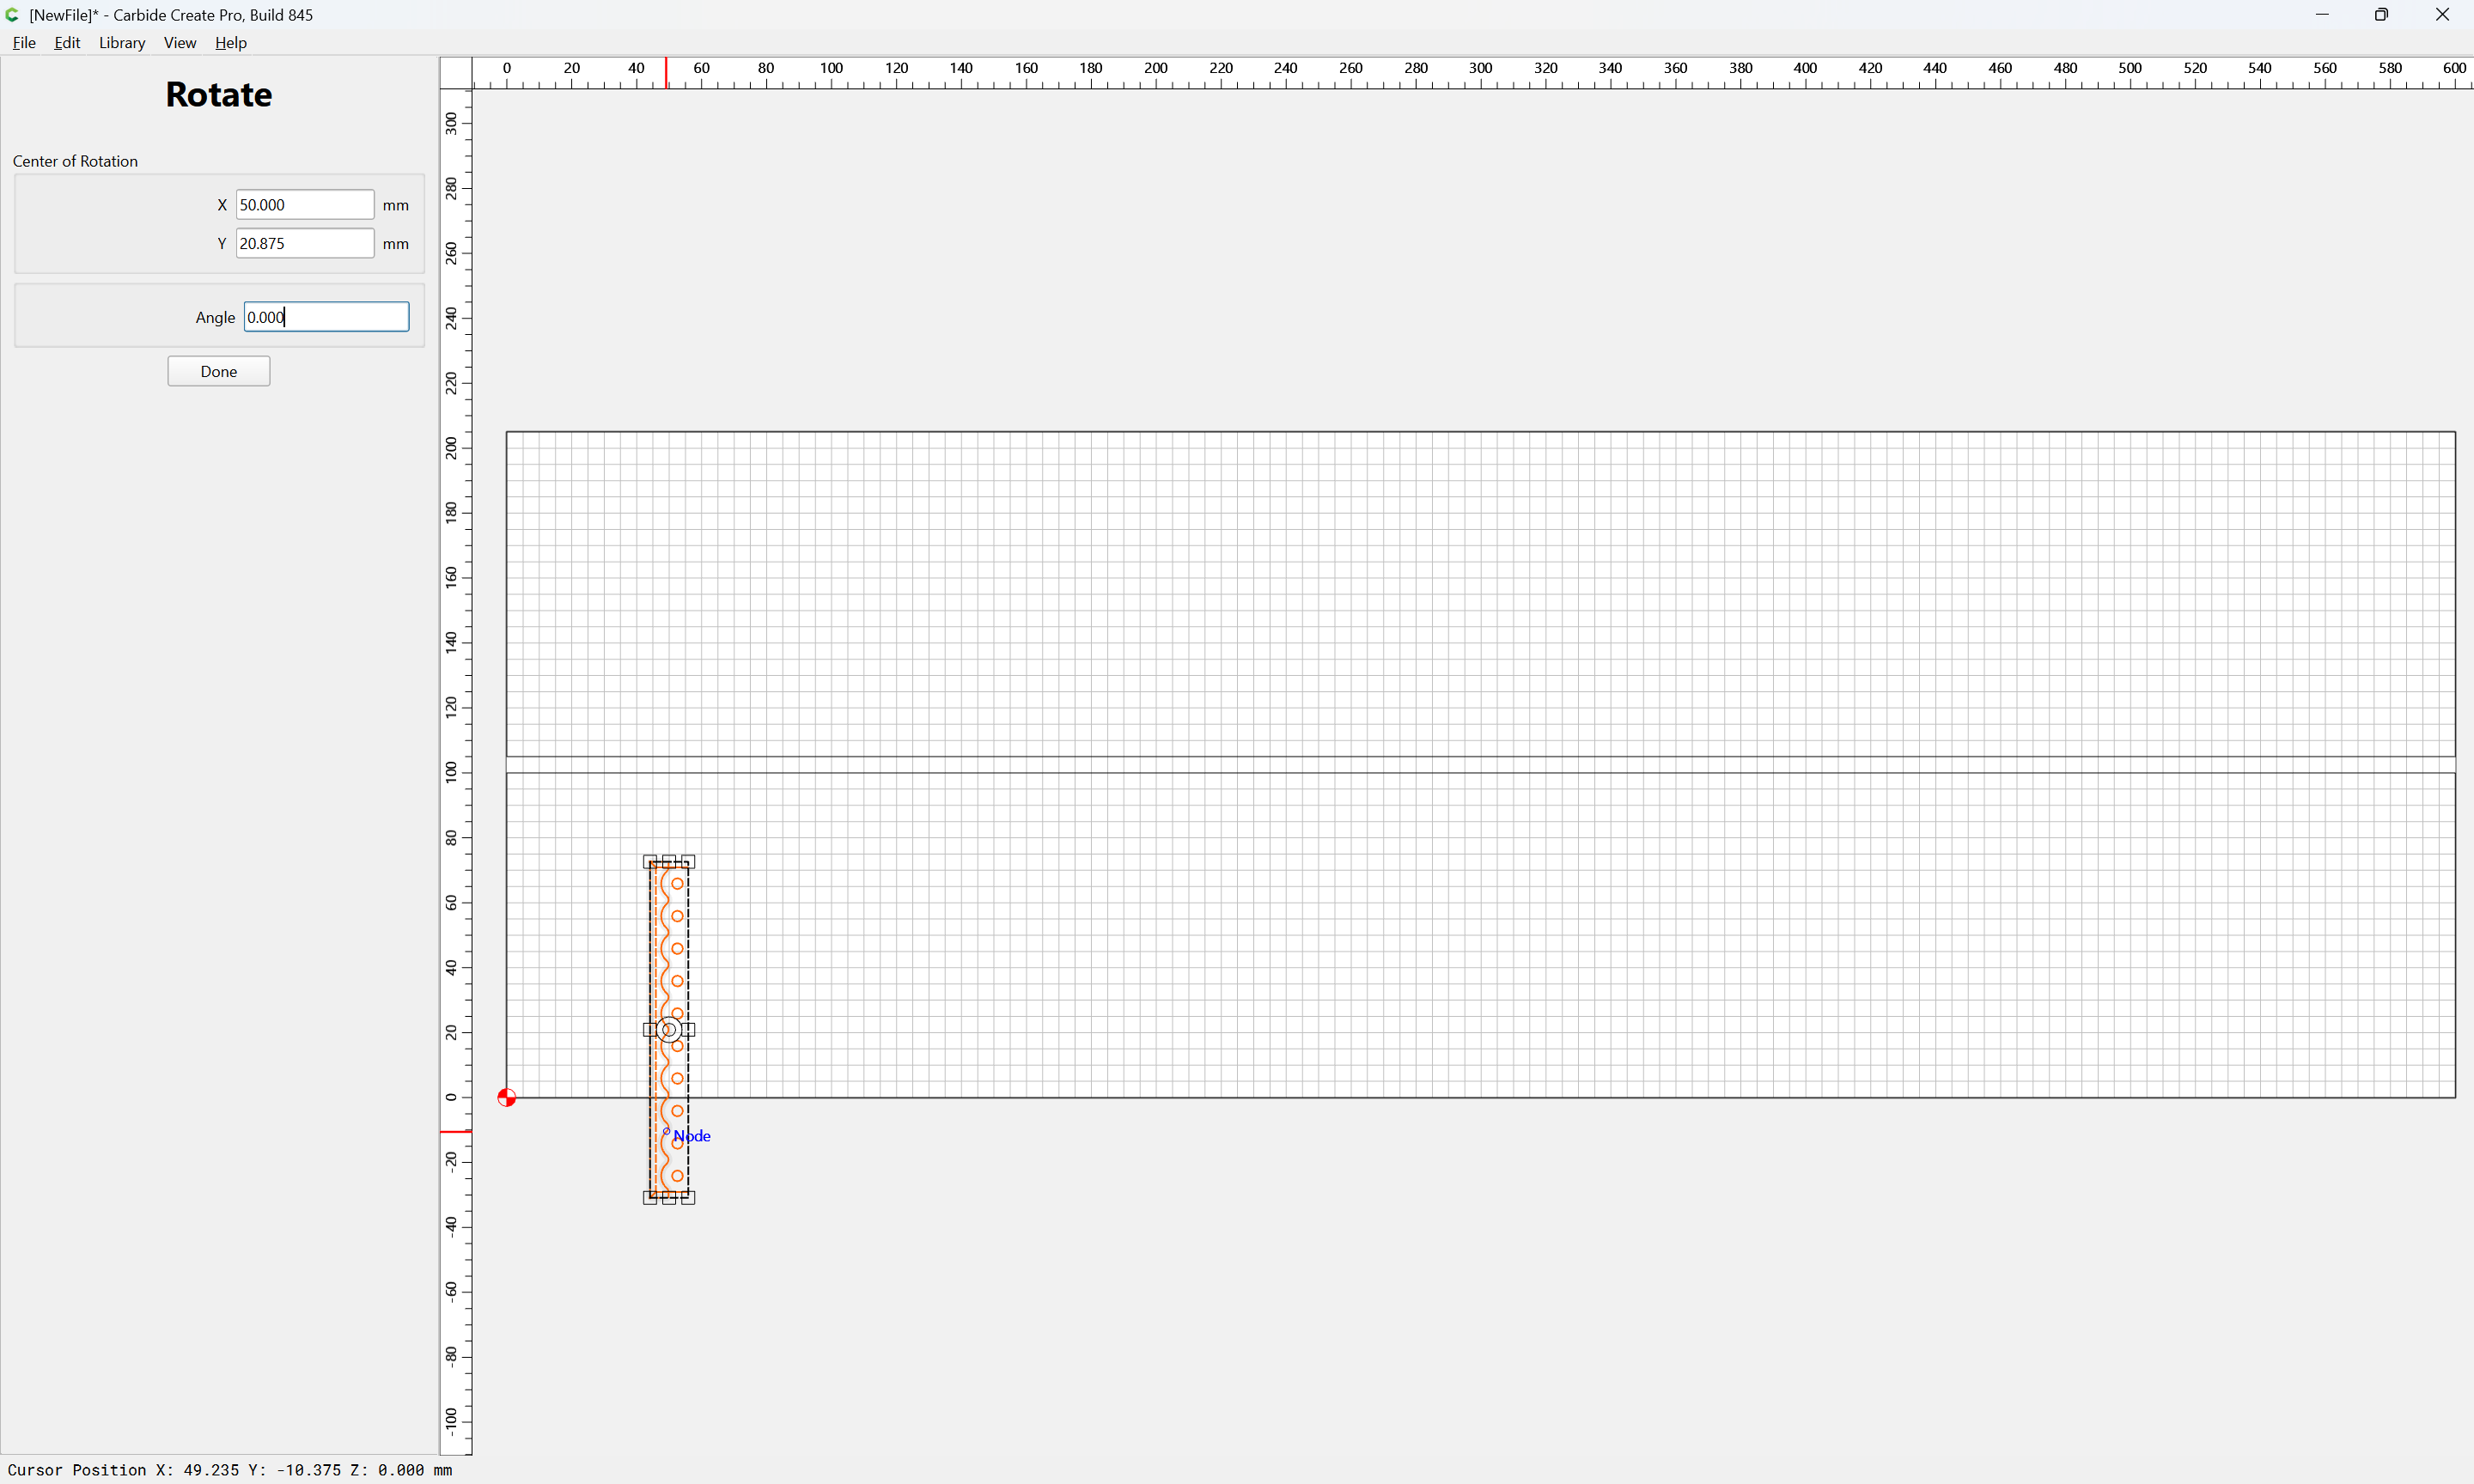
and rotate the geometry:

Done

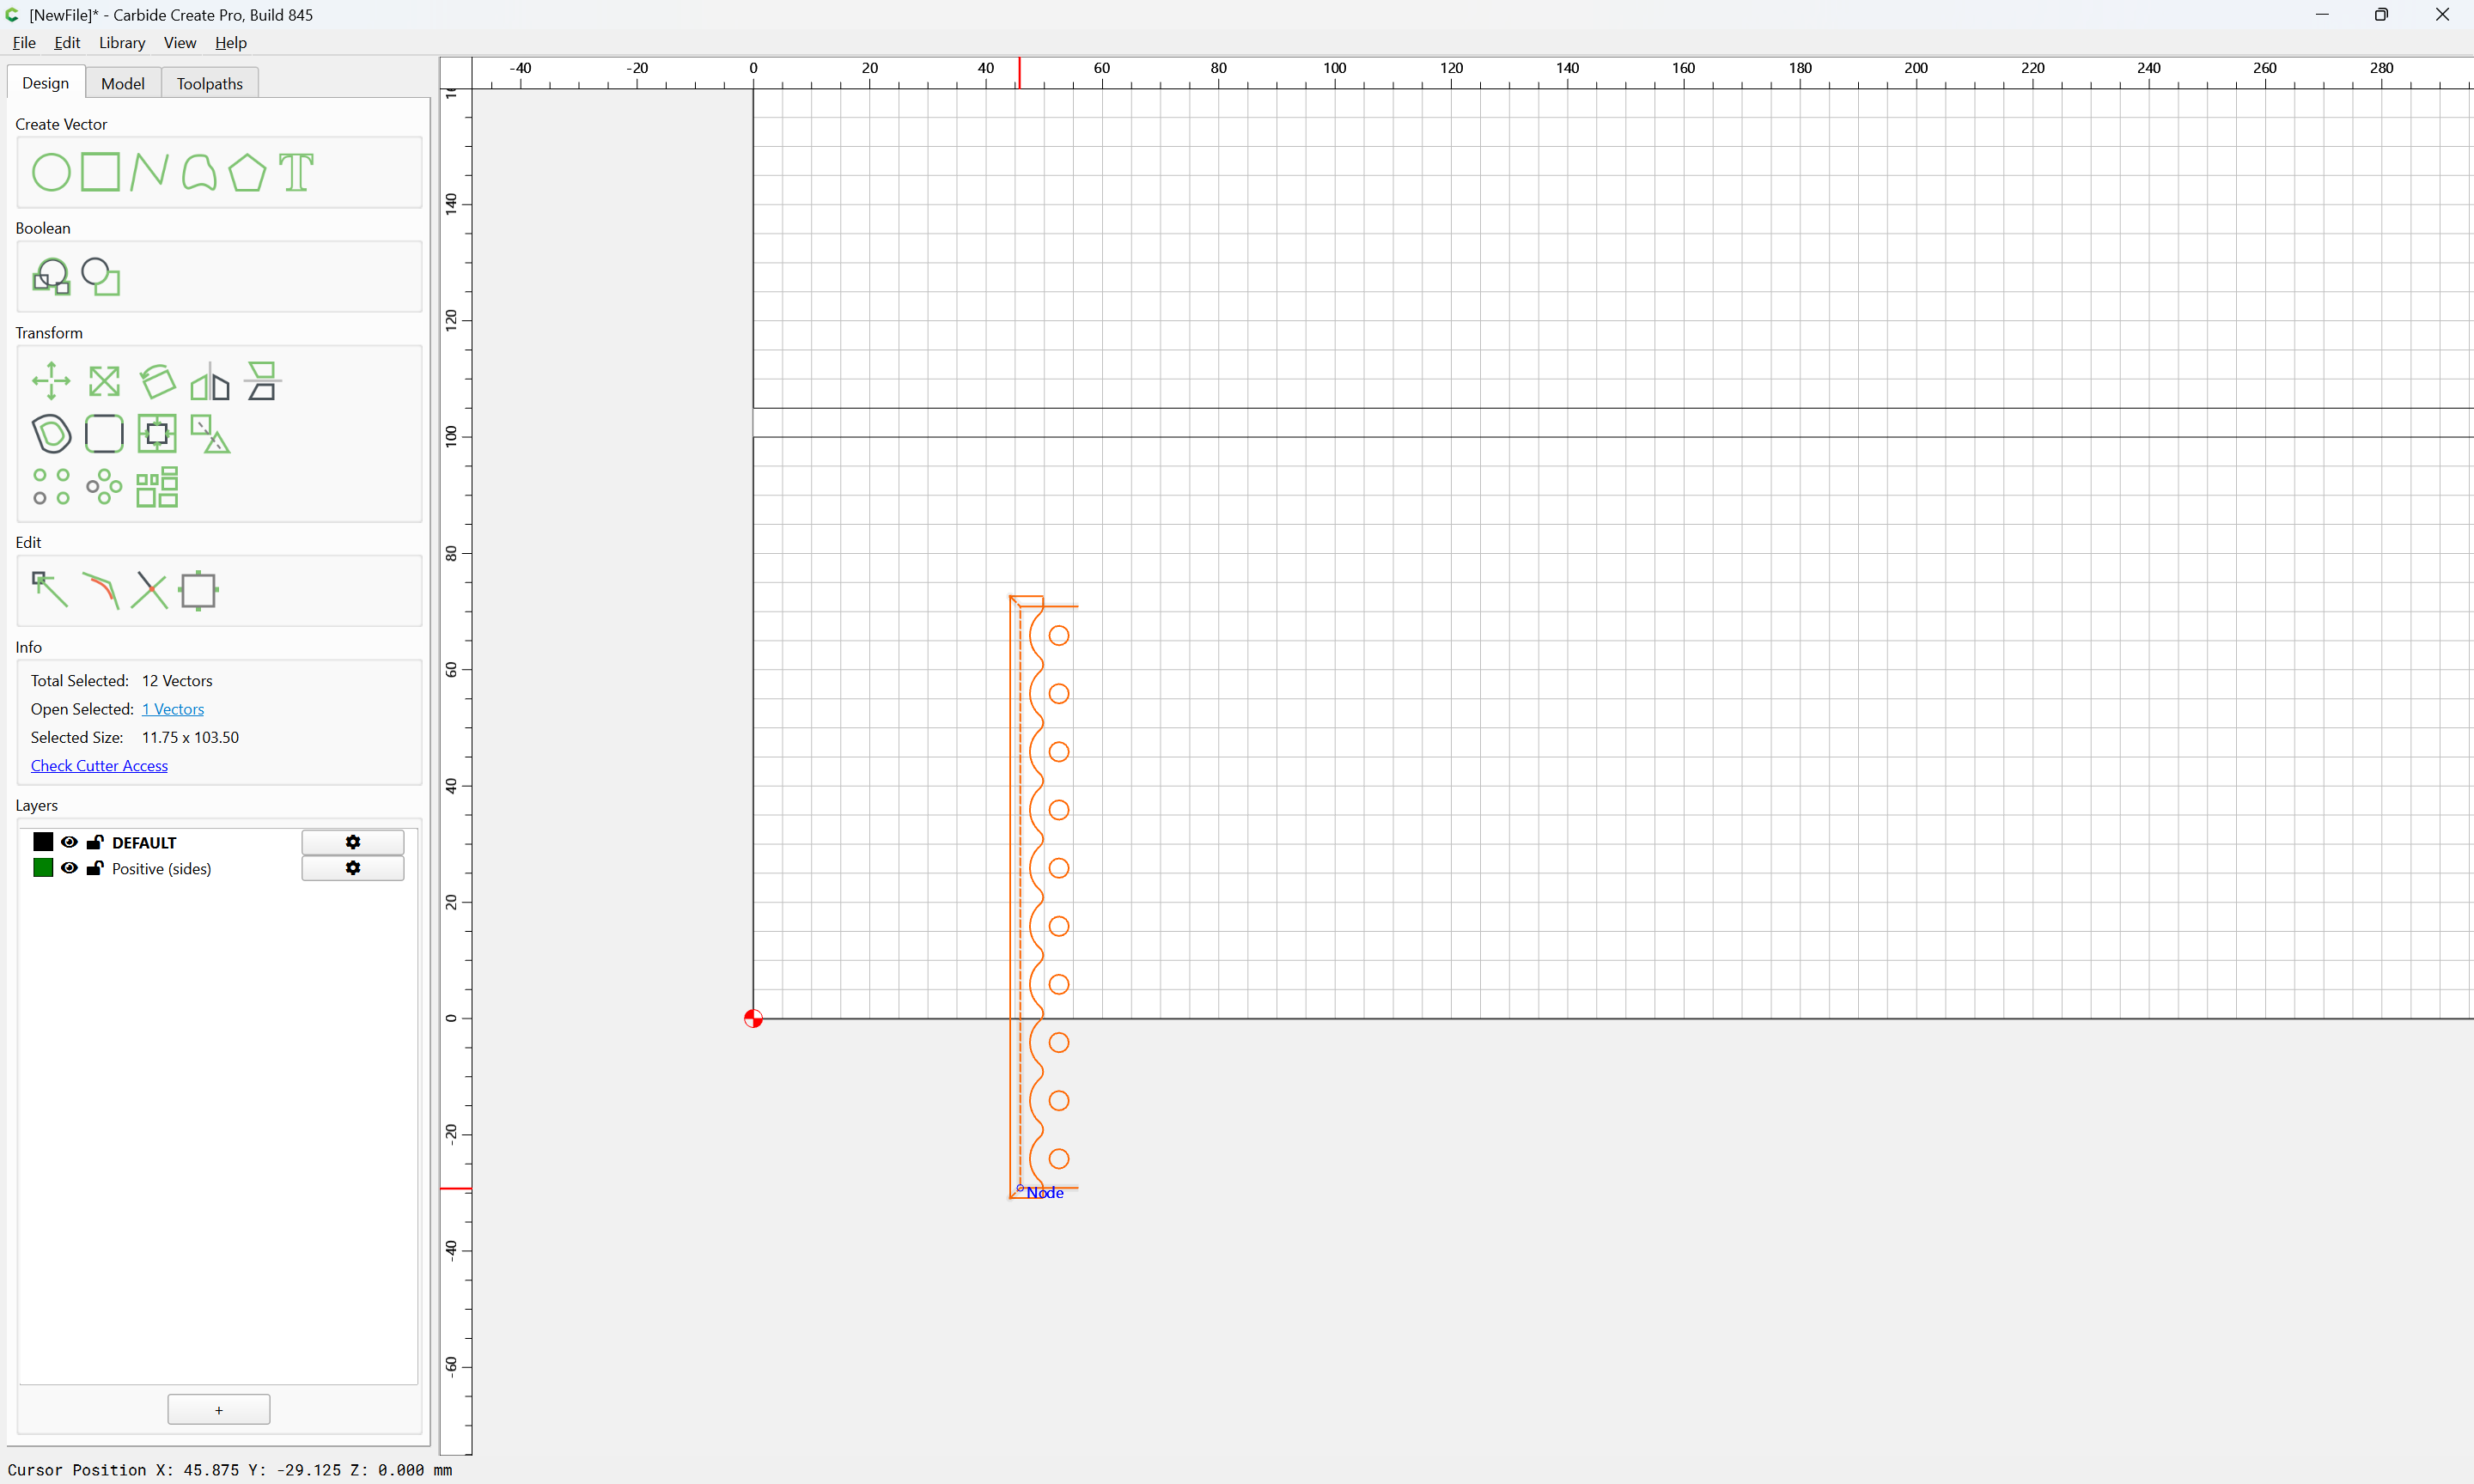
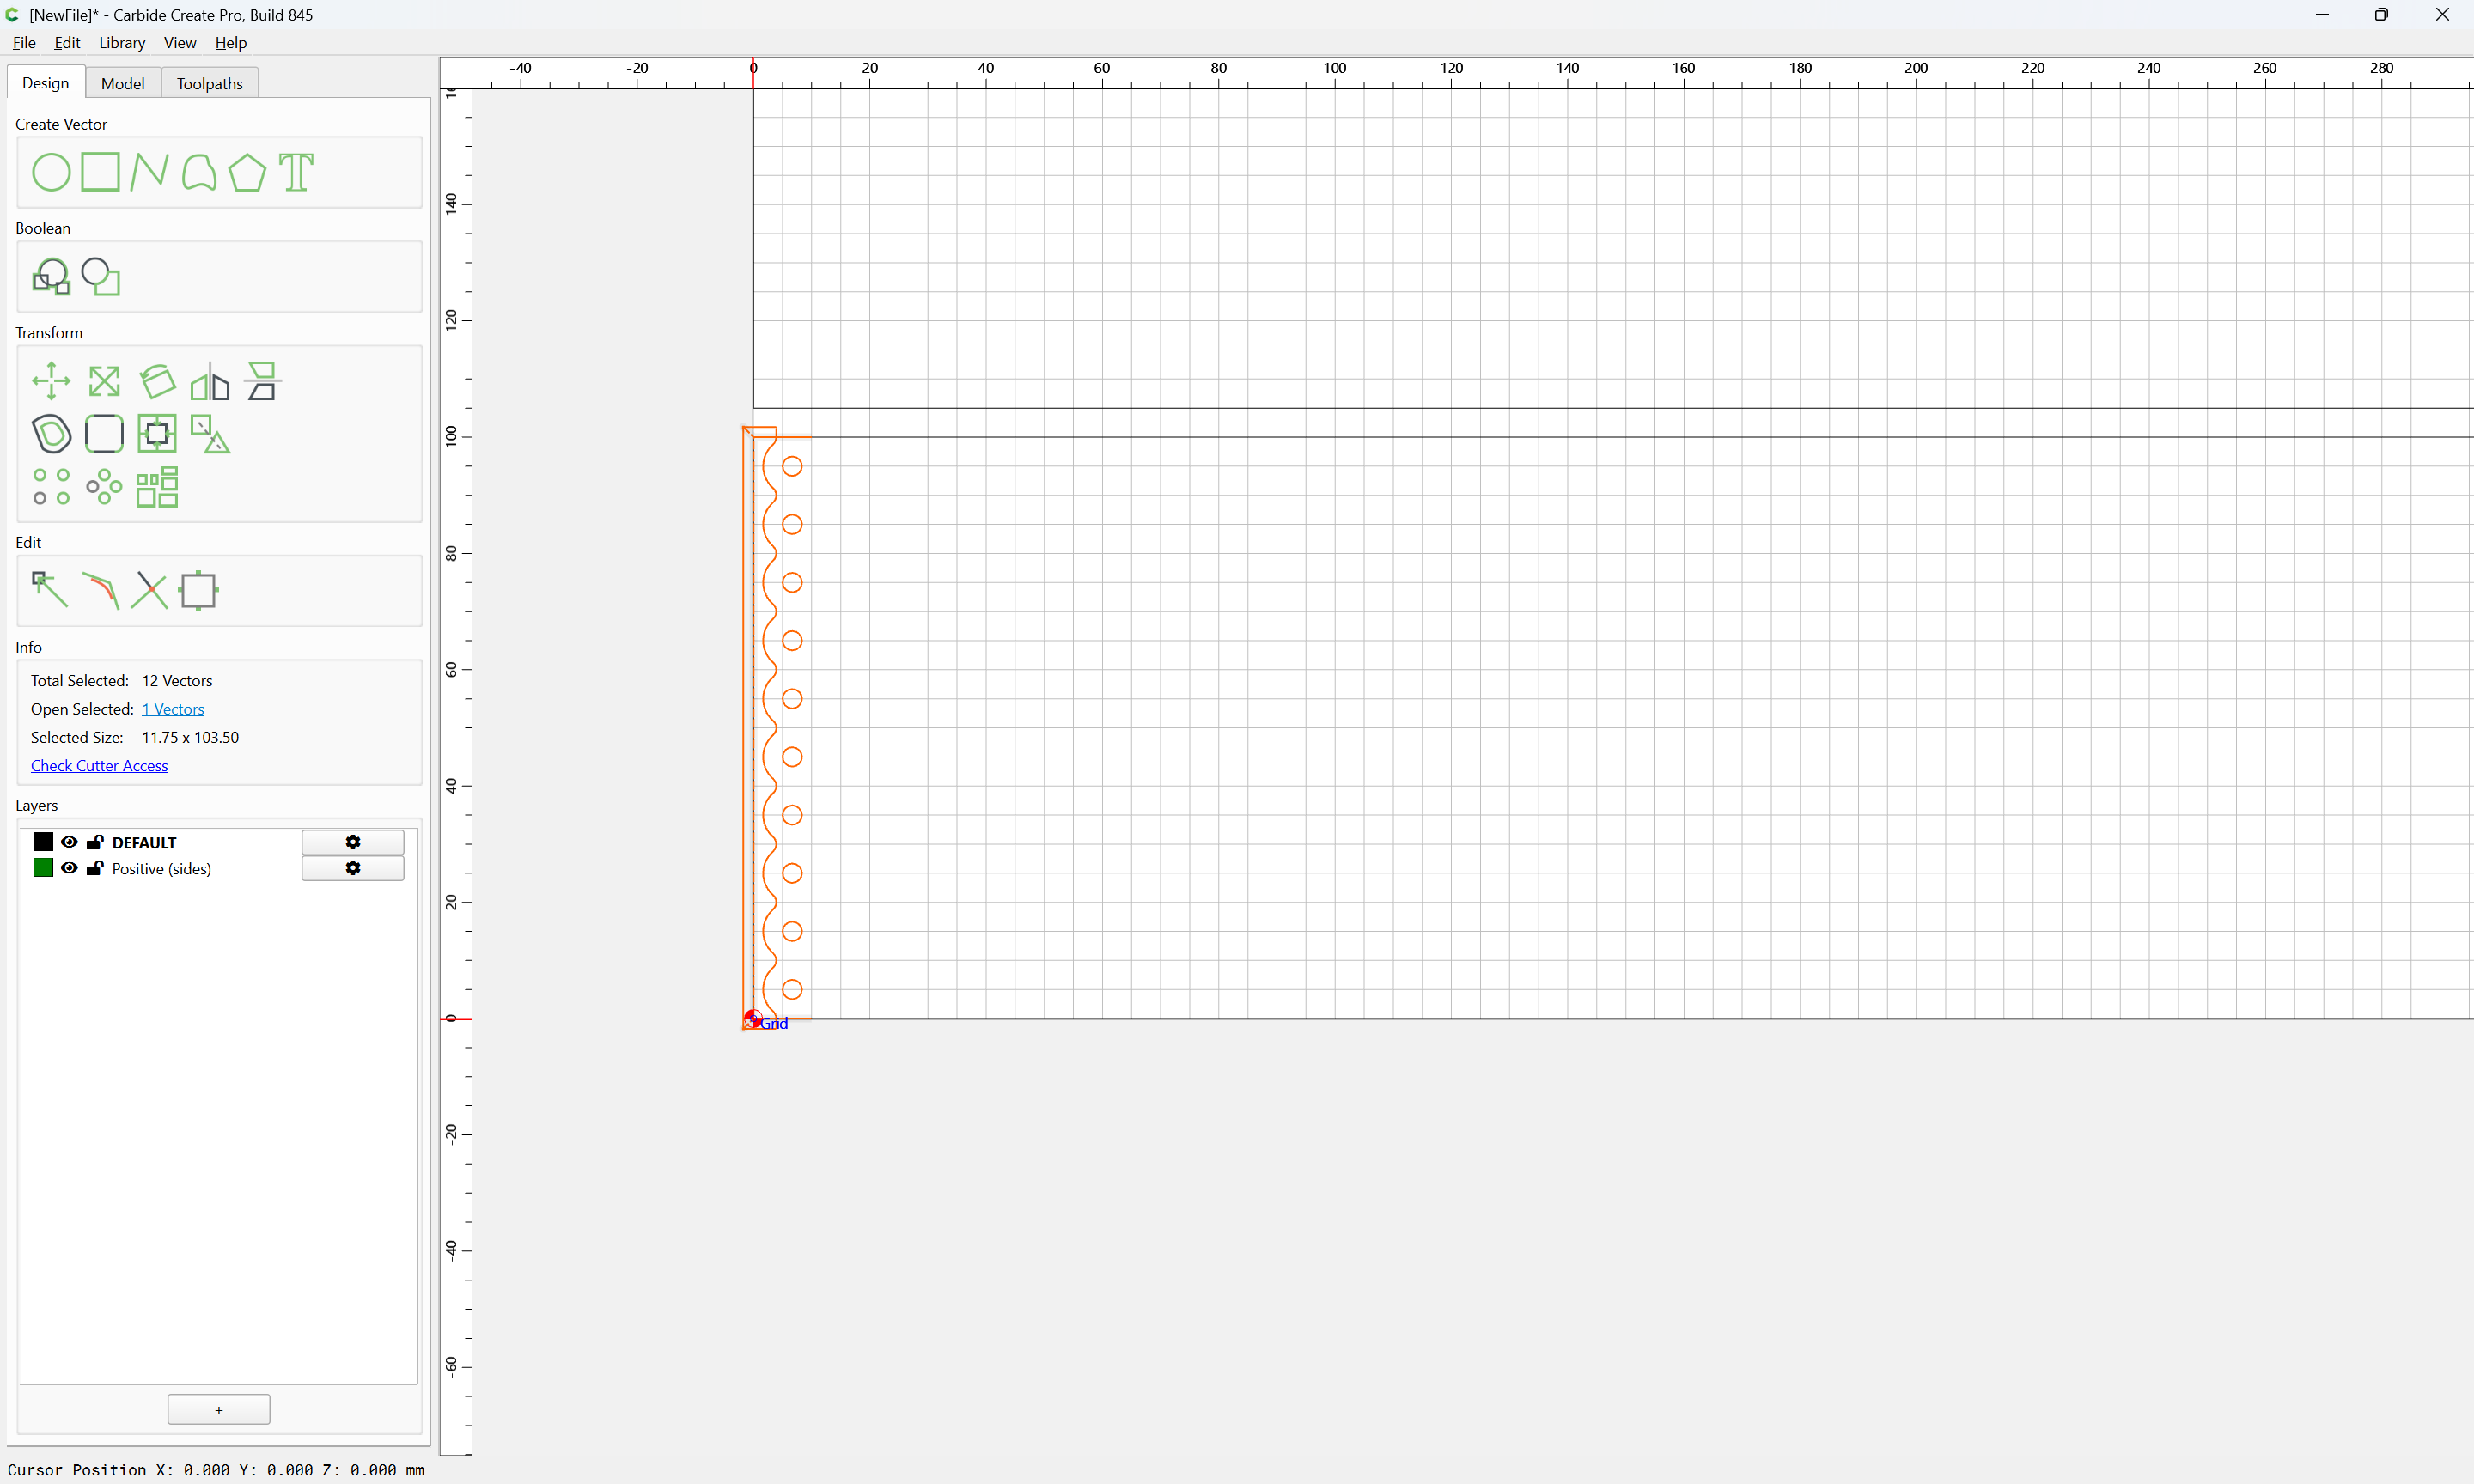
and drag it into position:

double-clicking on the layer to make it active:

then duplicate and reposition:

and duplicate and mirror and reposition:

Clean up by deleting the unneeded toolpaths:

and edit the toolpath to fix the toolpath association to the layer:

Geometry and toolpaths to cut out the parts along their edges are left as an exercise for the reader.

1 Like

Mentioned this on Hackernews, and sebastiennight was gracious enough to put forward a generalized solution:

(a+c)^2 = x^2 + y^2

(b+c)^2 = ((a+b) - x)^2 + y^2

So

y^2 = (a+c)^2 - x^2 = (b+c)^2 - ((a+b) - x)^2

(a+c)^2 - x^2 = (b+c)^2 - ((a+b) - x)^2

Develop it all

a^2 + c^2 + 2ac - x^2 = b^2 + c^2 + 2bc - ((a+b)^2 + x^2 - 2ax - 2bx)

Simplify

a^2 + 2ac = b^2 + 2bc - (a^2 + b^2 + 2ab - 2ax - 2bx)

a^2 + 2ac = 2bc - a^2 - 2ab + 2ax + 2bx

2 a^2 + 2ac - 2bc + 2ab = 2ax + 2bx

   a^2 + ac + ab - bc

x = ------------------
a+b

and from there you find y, from

y^2 = (a+c)^2 - x^2.

I did notice that in your screenshot A and B are of the same size, so if you knew this >from the start it becomes way simpler.

x = a

(of course the center of your new circle is at the vertical of the point where both circles touch, which is obvious due to the symmetry of the problem)

and

y = squareroot(c^2 + 2ac)