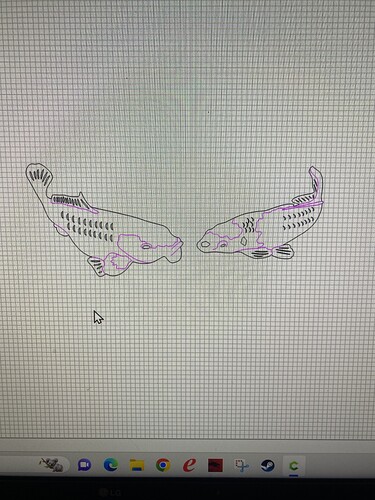
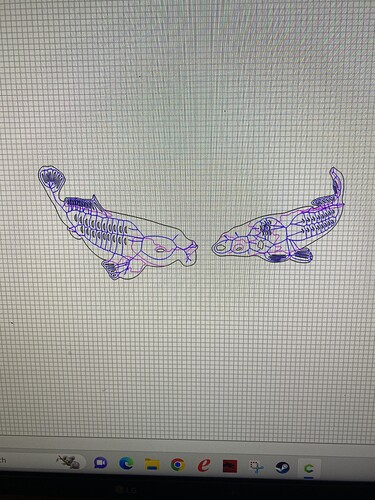
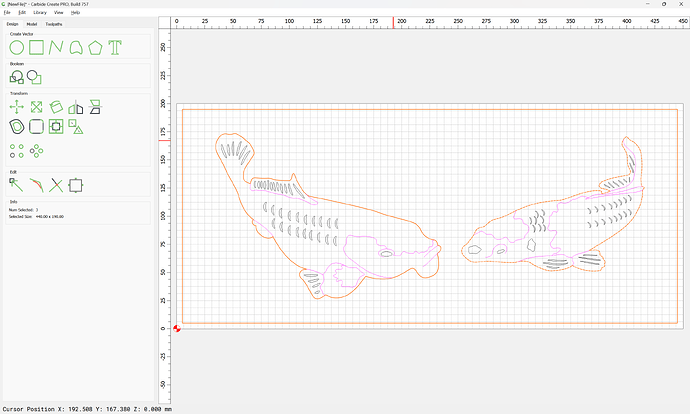
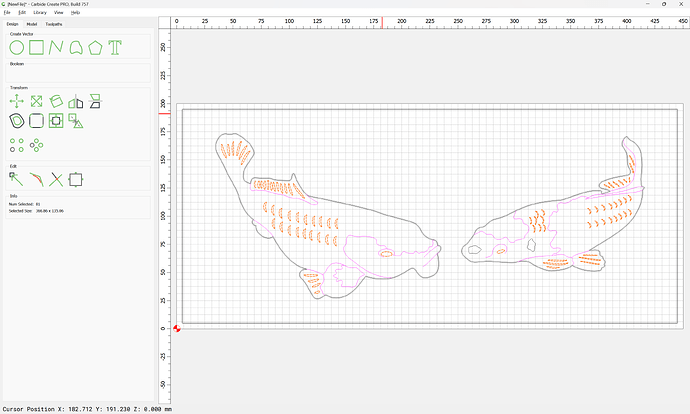
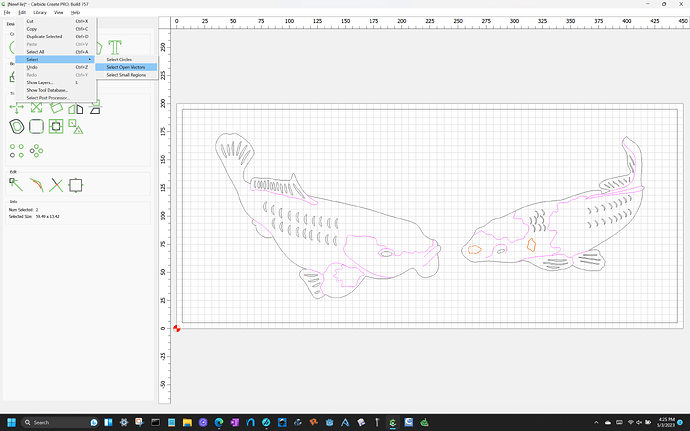
Hello, I downloaded carbide create and have been practicing with it. I was wondering if anyone knows what it means when you use one of the images that are loaded in the program already and when you place it on the drawing some parts of it are in black and some are in pink?
Lines being magenta (when on the Default layer) indicates that they are open/unclosed — such lines may only be used for Contour toolpaths.
Geometry drawn in black is closed and may be used for any sort of toolpath.
Please see:
and
in addition to the videos at:
I am trying to work with the images that are pre-loaded in carbide create. Is it possible there are bad images in that list because it seems that you could not make any of the fish that I tried to do so far. But when I make say the stars or the flag, it comes out great.
I’ll try to post a picture of what I’m talking about so someone can point me in the right direction with any luck!
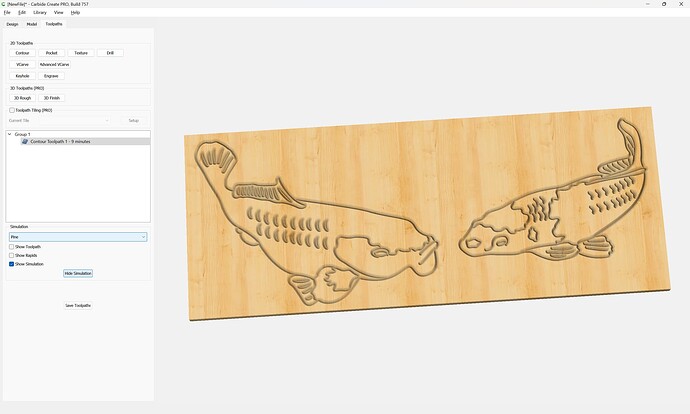
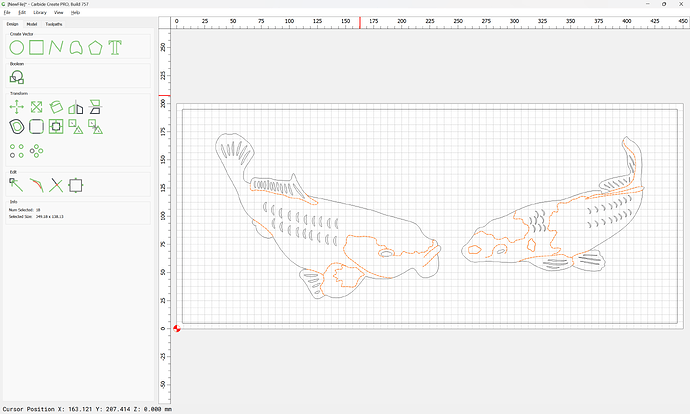
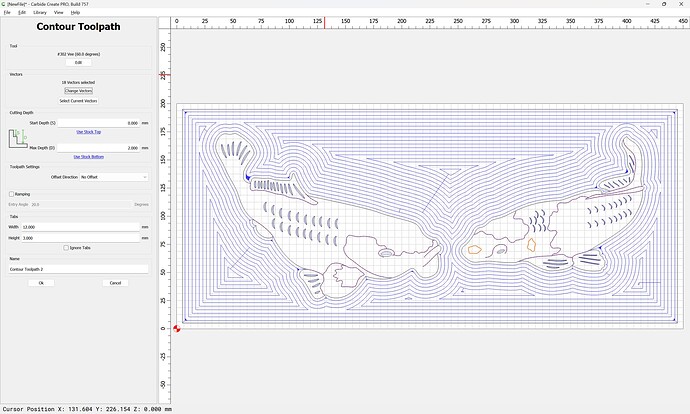
The images which have magenta lines may only have No offset contour toolpaths applied to their entirety — doing this with a V endmill will have the appearance:
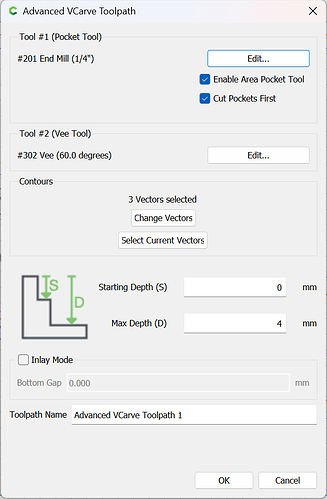
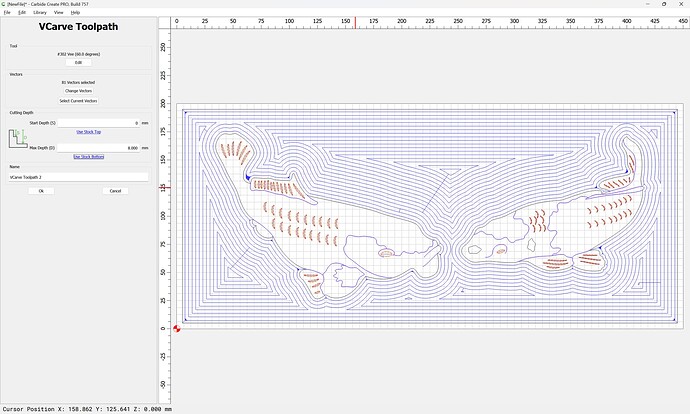
Alternately, depending on the desired appearance one could instead use an Advanced V carving to clear the area around them:
And then cut the details using a combination of V carving
and No offset contour toolpaths:
(note that two small regions which would not work well as a V carve are selected, so that the open vectors will be added to that selection)
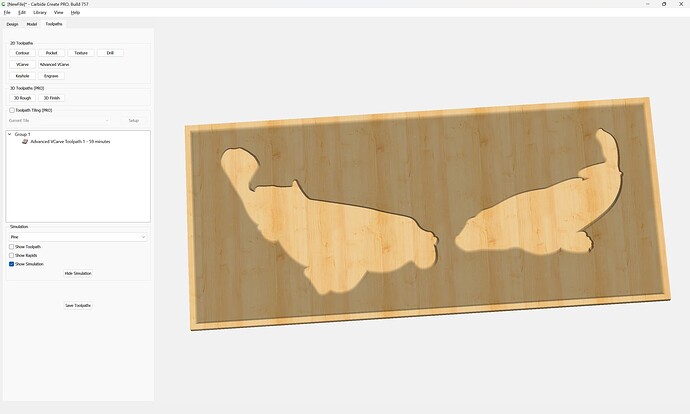
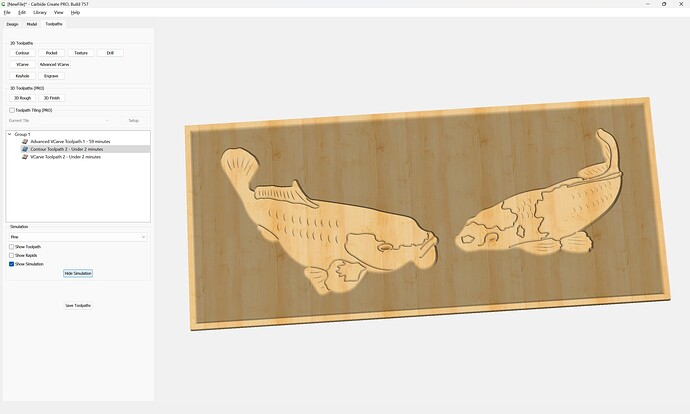
which all previews as:
Attached as a v7 file:
fish_5_v7.c2d (352 KB)
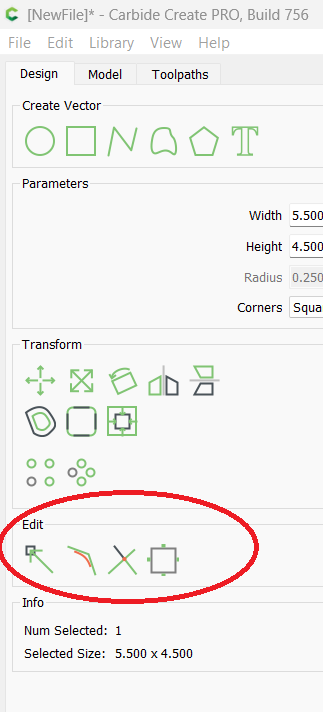
I am partially color blind and the magenta and the red (selected items) look the same color to me. You can either use poly line tool to connect points and/or the Edit nodes and/or the Trim Vector tools to get a closed object.
Here is the menu circled in red.
Looks like I’ll be looking at a whole bunch of my tutorials again ![]()
Thank you for telling me I was not sure what direction to go in to fix those issues.
Also, thank @WillAdams that was really kind of you to go and look at the fish and re-post all those pictures to help !
I will learn to shift those lines to fit the needs of the picture, but this is a lot more complicated than I realized….
Also, I have looked at some really neat inlays online and they were using like a 20° bit. Is that possible to do to get fine precision and still use carbide create?
Yes, for inlays please see:
and
Yes you can do fine inlays with carbide create with a 20 degree bit. (Will just already linked to the tutorial)
But if you haven’t done an inlay before, I would suggest starting with a bit simpler design (say, make a coaster with a single letter on it) just to go through all the process steps in a less fragile environment, so that the chance of success of the more advanced design (which will take longer to design and cut) is much much higher.
This topic was automatically closed after 30 days. New replies are no longer allowed.
