Finally got everything together and initialized my Pro! But… rather than raising, my Z axis went down, pressing the bit against the table. Hit the E-stop (glad I decided to wire that first ). Checked the wiring, Z-axis cables all plugged together and wire colors correspond throughout. What am I missing?
Usually when z goes the wrong way it is config. Z-plus runs in opposite direction from hdz and older z belt. Resend config, connect do not initalize then go to settings. Pick your machine and z. Then go to second tab and disable bitrunner. You can set BitRunner up later. Go back to first tab and send config.
Please make sure that you have configured the machine per:
and that when you start up, the machine is not on a homing switch and that none are active due to a fault — this includes the BitZero and BitSetter — the latter should not be enabled until the machine has been successfully initialized — if it is, please go to Settings before initialization and clear the checkbox for it.
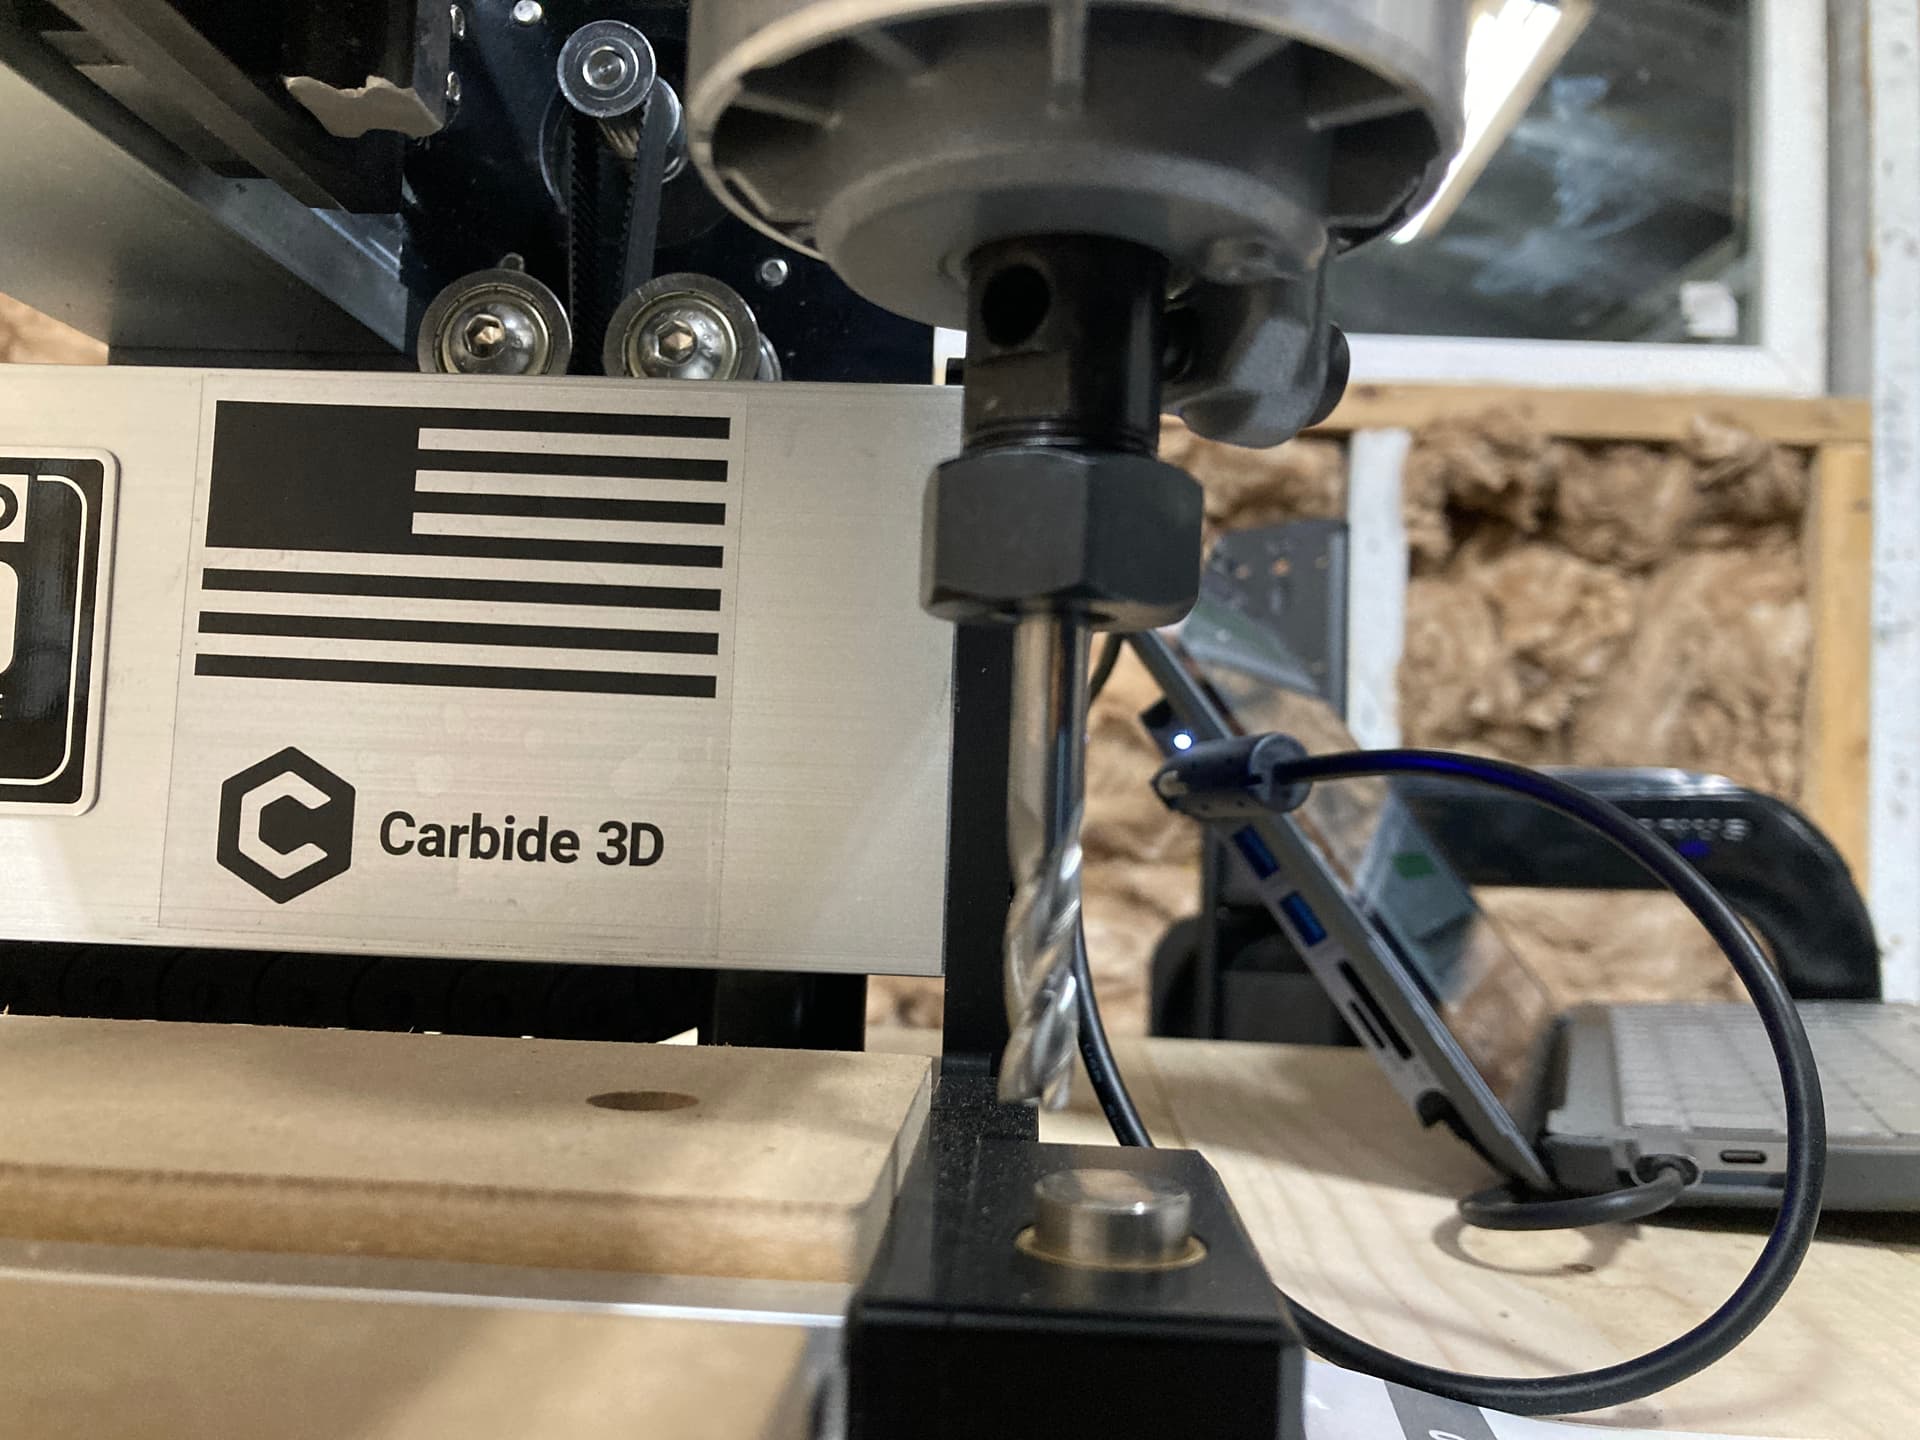
That was it. I guess if I’d followed the directions in the manual… Also had to switch Y1,Y2 motor plugs on controller board. Next question - went to set bitsetter position but machine won’t travel forward far enough to center bit on bitsetter button. Tried disconnecting and rehoming. Still limits out forward as in this picture.
@WillAdams, just saw what you said. Actually, you both mentioned disabling the bitsetter, I just didn’t understand. I don’t think I did that. Will that cause the positioning problem too?
About not being able to reach the BitSetter while jogging manually:
how your belts slightly loose maybe ? Just checking, you want them “tight like the manual says”, which is when you have to struggle just a bit to engage the belt clip with the screw (i.e. when the belt clip is initially) a couple of mm away from the front plate
if this is not it, and you see you still have some travel left when the router is all the way to the front, you can go in the Settings menu and increase the Y travel value slightly, to enable jogging a bit further (just enough that the endmill will be on the top of the bitsetter button)
Will’s comment on the disabling the BitSetter initially, is to prevent the machine initialization from attempting a BitSetter probe sequence before you have a set the correct BitSetter X/Y location in the Settings (and the machine can actually move to that position too). I suppose this is exactly where you were doing.
You need to tension the Y-axis belts — then they are properly tensioned, the tool will reach to the BitSetter (probably the X-axis are loose as well), see:
In the past cm had the wrong travel dimensions. You can increase the Y travel intil you hit the mechanical stops
Adjust belts first but if you cannot reach the BitSetter increase Y travel a little at a time till you can reach it. When you go into settings you can change settings instead of default settings.
Dealing with the same issue. Re-initialized my machine and it got closer, but still not hitting the bitsetter exactly in the middle. Will that be a problem?
I have an XXL Pro and tension did not affect reaching the bitsetter.
It required me to add 5 mm manually to the Y axis travel in the settings.
Adjust the setting manually until your bit reaches the center of the button and save that setting. Send the machine home, reinitialize and run it through the startup paces. It should reach the bit setter. 5 MM isn’t the rule, it just happened to be what mine needed.
Keep in mind that the new setting will also be in effect all the way across the machine, so you can actually run off of the front of the machine, but if you are also zeroing your work pieces, that shouldn’t occur.
If I recall, the Pro has different (wider?) belts and perhaps different material in them? I have several 3D printers and lasers that use much smaller and cheaper belts, and none of them get adjusted more than once in blue moon, if that.
Tension is indeed something that shouldn’t need adjusted very often if at all, once set. Too much and you will ruin machine parts eventually, or have trouble with alignment of everything you do (belt stretch or slack when too loose) Good luck
Has anyone simply put a tape measure on the machine to see if it is 850 mm or 855 mm? Or whatever it measures vs the default x or y measurements?
My machine homes correctly and traveled 850 mm, if I remember correctly. It needed to travel 855 mm to reach the center of the bitsetter from home Y position. According to my tape measure.
One clue is that when your machine stops a little short of the bit setter, it did not hit a physical stop. It traveled 850 mm from home position. If it homes and moves off of that position 5 mm, and doesn’t set it’s count from there, you will lose (in software) 5 mm of travel.
Meaning you started at 5 mm instead of 0 mm.
I am an old man, so if I didn’t say this clearly, my apologies. Chech the tape measure and also measure true movement vs software movement. 5 mm in software better be 5 mm of your gantry movement. Enjoy