Looking to try something new and see if anyone has experience with https://makeabox.io. Feedback, thoughts, experience appreciated. As an fyi…I do have the John Clark jig as explained in https://www.youtube.com/watch?v=VuRrW1OjxdI&t=155s....just looking to try something new! Thanks
The problem is, it’s for lasers (and the ads are obnoxious)
A rabbeted box is far easier, so much so it’s described as “The Simple Box”:
Alternately, there is:
(where the ads are at least a bit less intrusive)
which is written up a bit at:
That said, I believe a better approach is:
as written up at:
Working on simplifying that further, and I believe I finally have a tool which will allow a perfect form of joinery…
That said, if you’ll let us know what sort of box you wish to make, its dimensions, and the thickness of your stock and any features you want, we’ll walk through making a box with you here.
1 Like
Thanks Will. Honestly, I’m just “playing”…nothing specific in mind, just looking at ways to do things. I appreciate your feedback and I will take a look at the various options you provided. As always…TOP NOTCH (no puns intended) FEEDBACK!
There is also a “Tabbed Box Maker” plug-in for Inkscape. It was most likely designed for lasers as well, but since it allows you to put in whatever kerf you want, I have used it successfully for making 1/2" and 3/4" plywood boxes.
The only thing that I do (that needs to be done some way or another) is add little over-cuts for the radius of the bit.
The first tabbed boxes I made I used 1/4" crown staples to hold them together. That was fine for the ones that were going in my car trunk to hold things like jumper cables and flares and tool kit.
For the ones I made above, I 3D printed a jig that located a 1/4" drill bushing to drill a hole dead center of the plywood thickness, which was something like 0.438" thick. Then I used a Brad point bit and stop collar to drill 1" into the box and put in a 1-1/4" dowel with some wood glue.
I got a little heavy handed with the belt sander. It was my first use of one. Let me tell you - they remove material a lot faster than a 5" RO sander!
5 Likes
A noted bowyer named his belt sander “el destructo” for its proclivity to remove too much material.
2 Likes
I am still amazed at some of the boxes you have designed in Carbide Create. I am pretty sure I could make one in Fusion 360 but even then the tool paths would not be optimal. Yet you are making optimal 3D tool paths in a 2D editor.
Thanks!
The 2D thing actually affords a lot more control. That said, I’m pretty sure some folks have done similar joinery in Fusion 360.
FWIW, when I constructed a 3D model of the optimal joint I have envisioned as a 2" x 1" x 1" test (of two 1" x 1" x 1" joint sections) it took some 18 minutes to generate toolpaths and created a ~127MB file — so back to drawing stuff up by hand…
Will, a few weeks ago I made a few boxes for files drawer. I retired from my small company some years ago and lately recycled all the papers in those drawers. I wanted to re-use those nice drawers for storing different things and parts. I used this site:
Boxes site https://boxes.hackerspace-bamberg.de
to design my boxes (ABox model) which I imported the SVG into LigthBurn to add all the small holes at every inside corners. For me it was easier than using CarbideCreate. Then I exported the SVG into CarbideCreate to do the tooling. Most probably someone familiar with OpenScad could realize the complete design with parameters and all the holes automatically positioned…
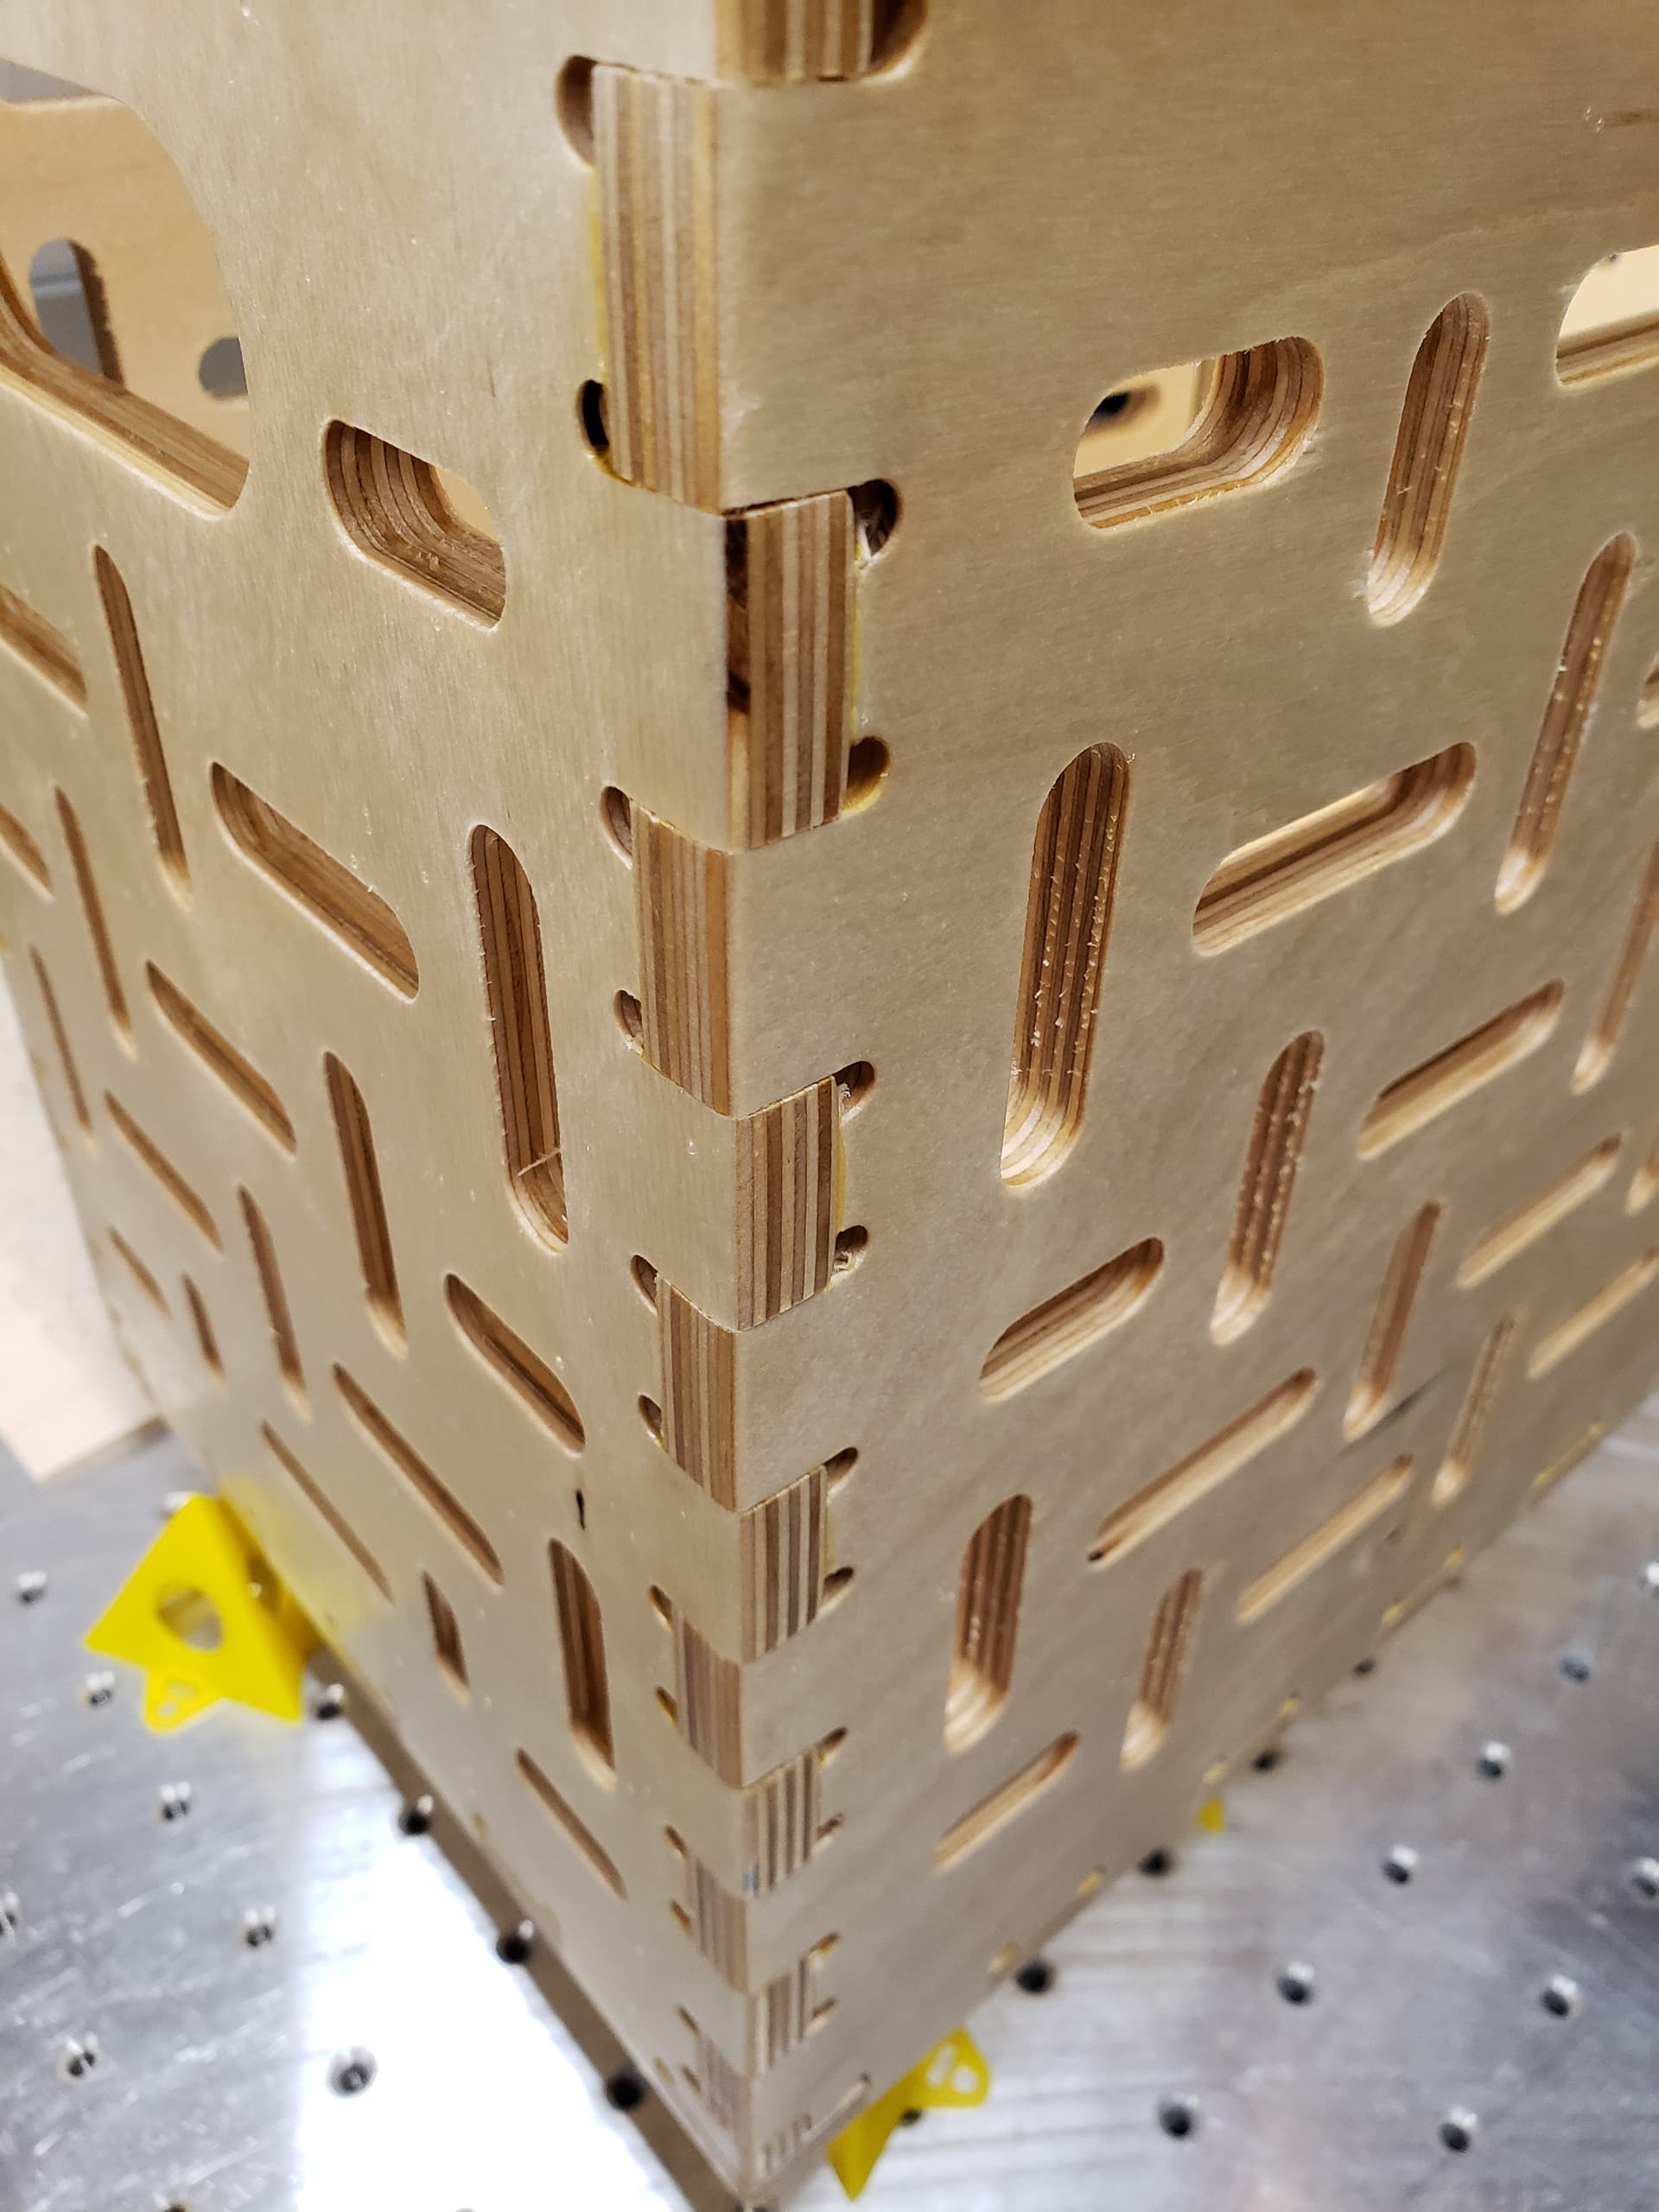
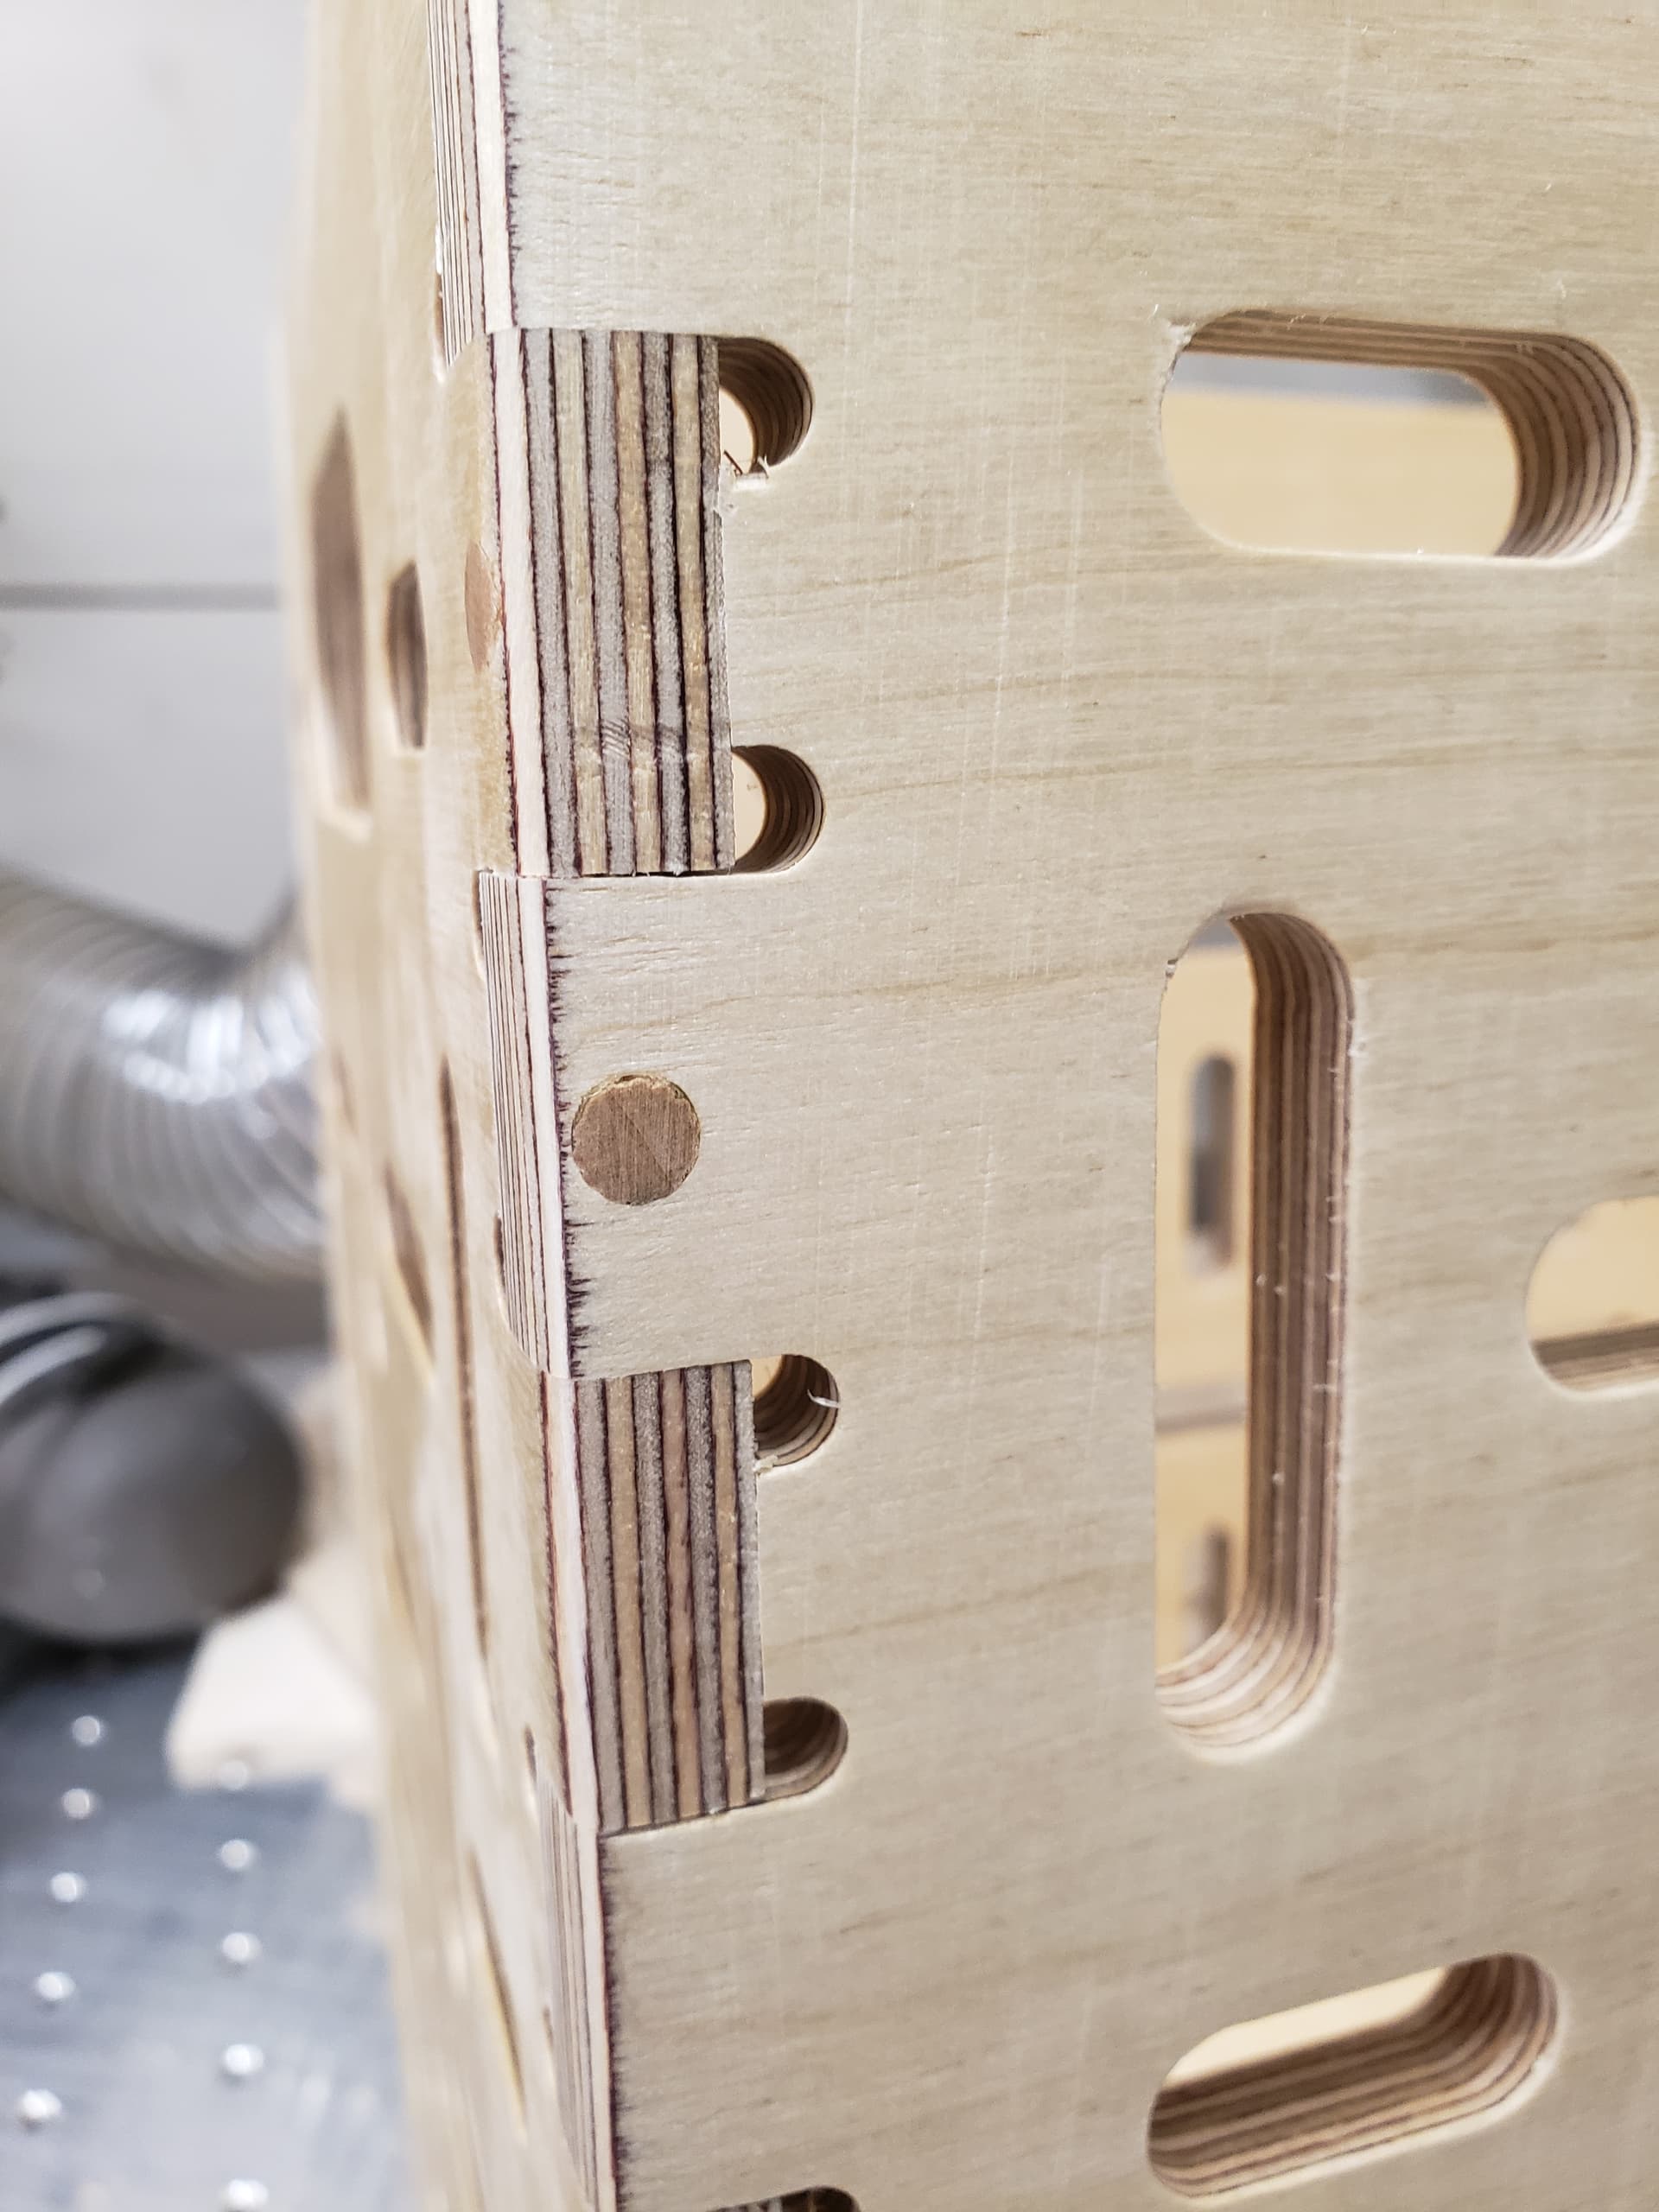
The idea is to use a 1/4” Baltic plywood, cutting it with a 1/8” end mill. Since this would leave round corner, I pre-drill all the inside corners with 1/16” end mill just enough to clear the corners. Here is a screenshot of the CarbideCreate screen.
Here are pictures of the projects. The boxes can be easily slide or removed. I applied two coats of shellac to keep them clean.
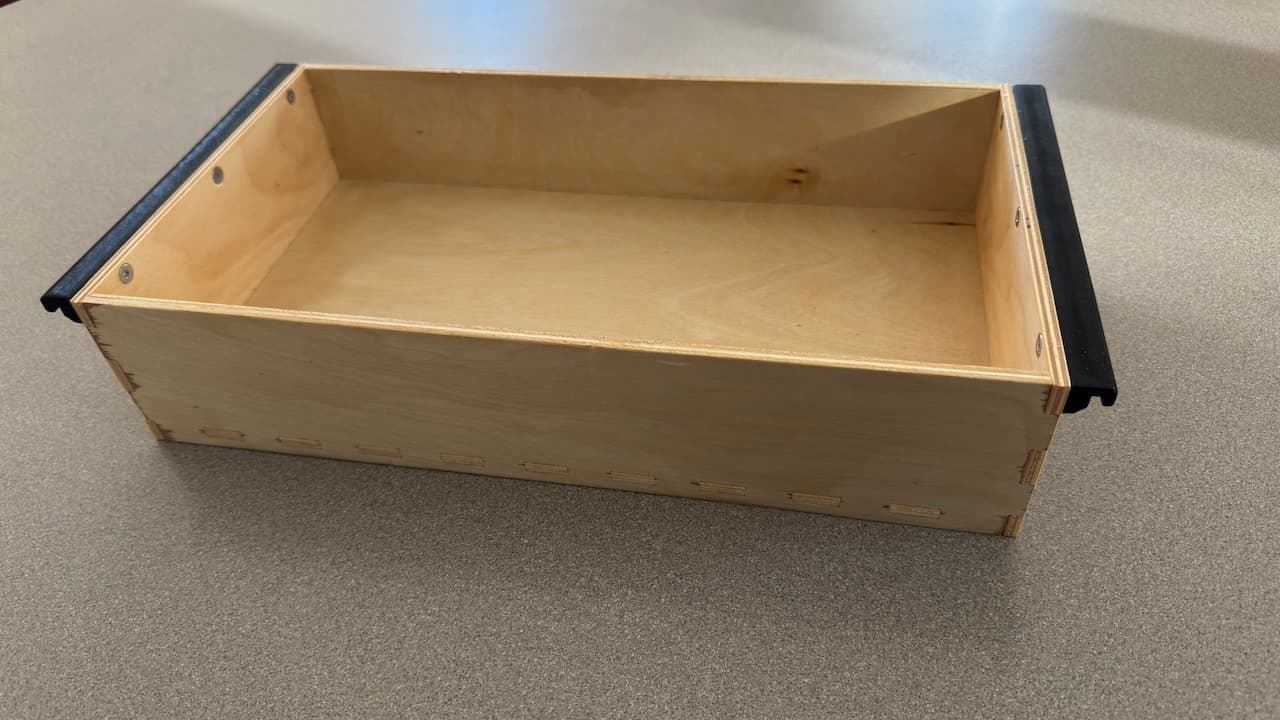

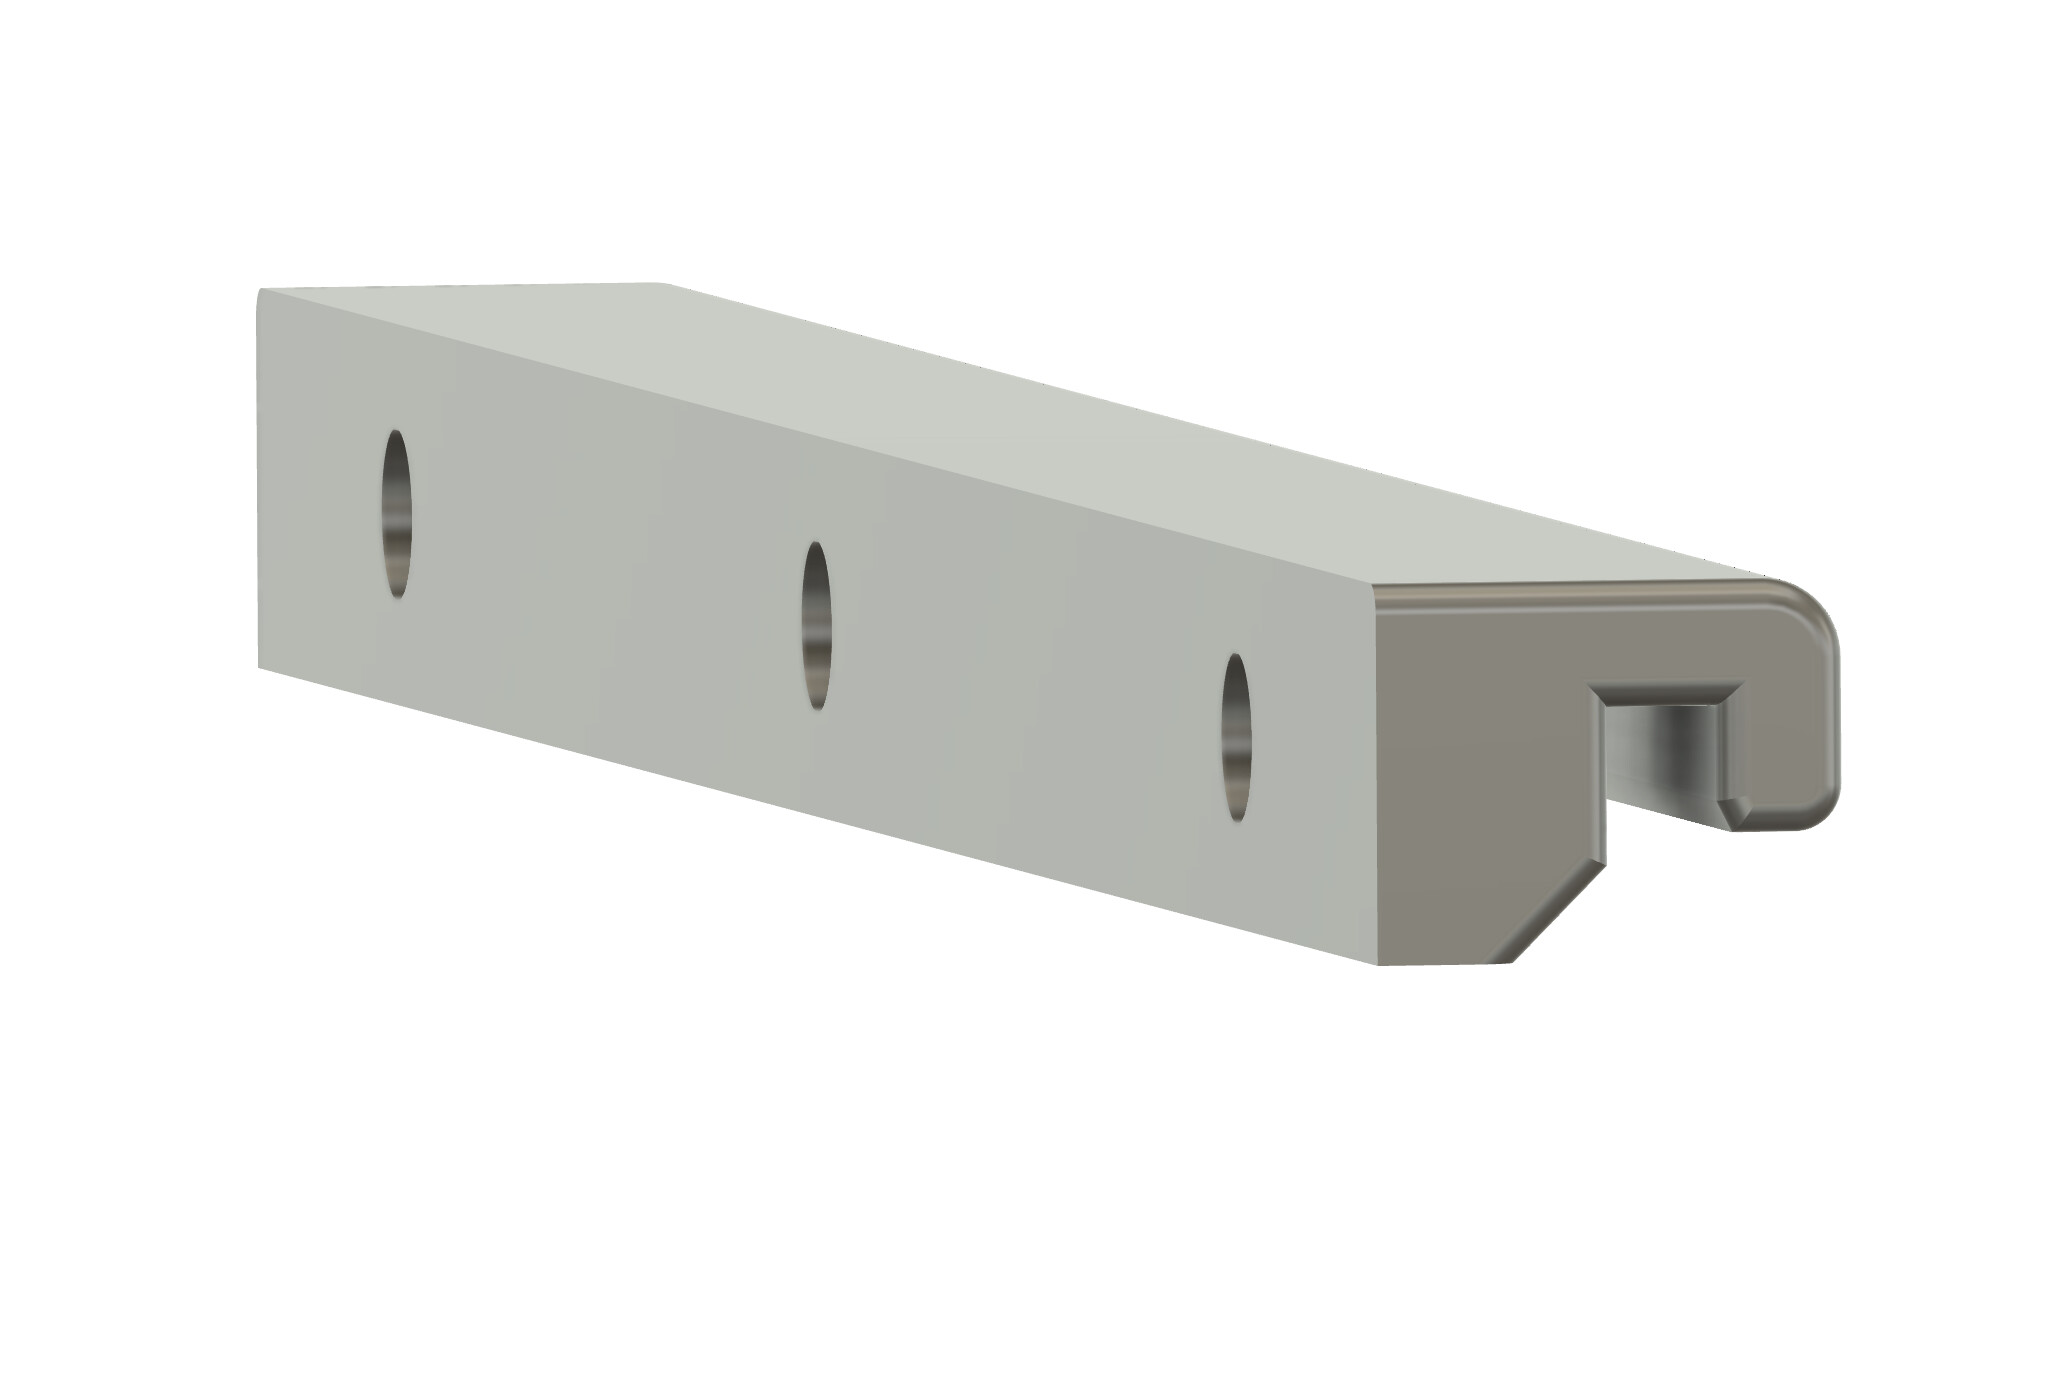
The supports were 3D print but I think they could be modified to be made on the CNC in a piece of wood.
While doing this project, I noticed that I had in my shop two different kind of 1/4” 5 layers of Baltic plywood. One which I mostly used for this project had very thin outside layers. So with an up cut end mill I had more tearing and was easily sand thru. The other brand had thicker outside layers and still 5 layers and would be preferred. I just ordered a 1/8” compression end mill since I want to make more of them with the cheap plywood to get ride of it.
I think this project might be useful for some other CNC users and is an easy project for beginners. I could have done this project with my 20 Watts blue diode laser but it make a lot of smoke cutting 1/4" ply even if I have enclosed laser with an input and output air exchanger but at the time I have done it, it was around -20C so I preferred to give a try on the CNC.
Most probably Will you will have better ways to do the design.
I forgot to included a screenshot of of the tool paths on CarbideCreate:

1 Like
Not sure about better, but see:
1 Like
This topic was automatically closed after 30 days. New replies are no longer allowed.