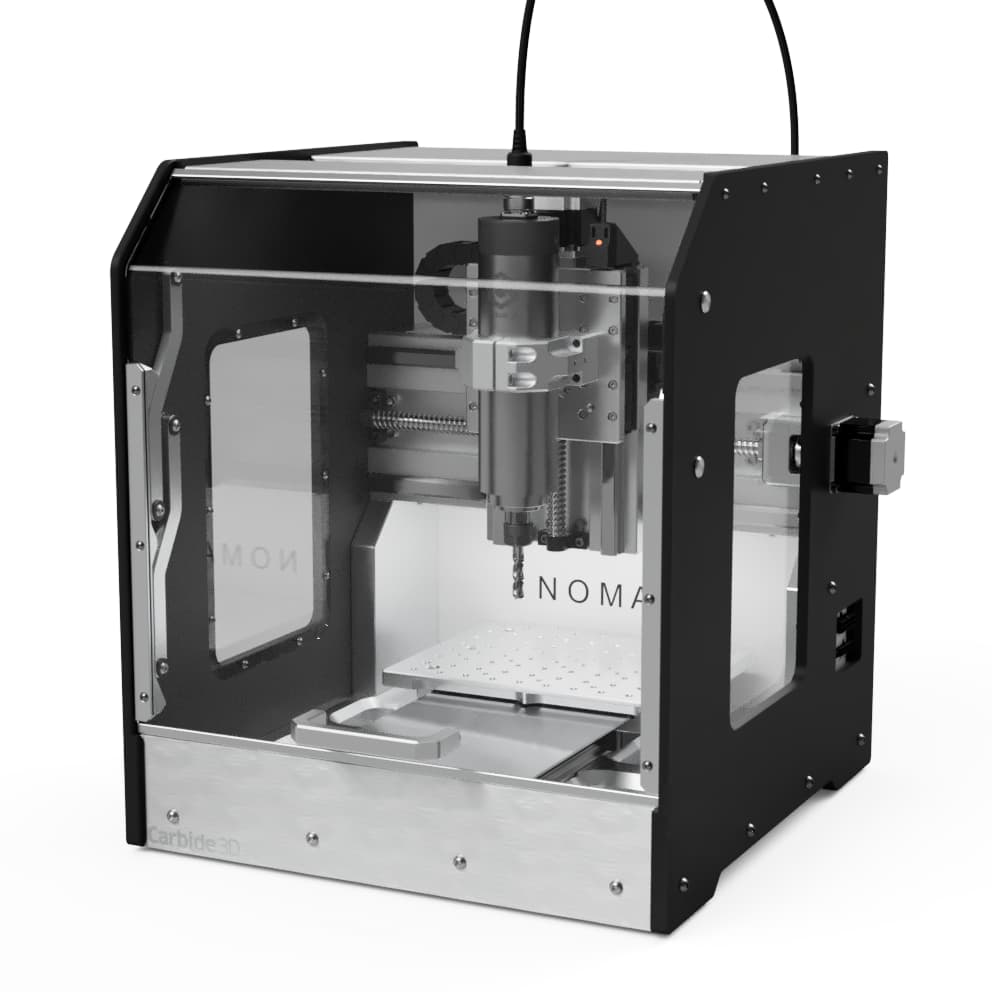
I’m pleased to announce the launch of the latest addition to the Nomad family, the Nomad 4. It’s a machine we’ve been testing in the background for awhile now, and it’s finally ready for show time.
Some key points up front, this is not a replacement for the Nomad 3. They each have their place, and the Nomad 4 is meant to be the extreme version of a compact desktop mill. It’s got a full size 1.2kW VFD spindle, linear rails and ballscrews on all axes, running on the 36V architecture of the HDM. The work volume is 45% larger than the Nomad 3’s, at 10 x 8 x 3.5".
TLDR - It’s a tiny tank of a machine. If you need productivity in a compact form factor, this is the machine for you.
And we’ll be sharing some media and experiences from testing in posts below, from myself and beta testers. If you have any questions as well, ask away. This machine has been on my mind for many, many months at this point…
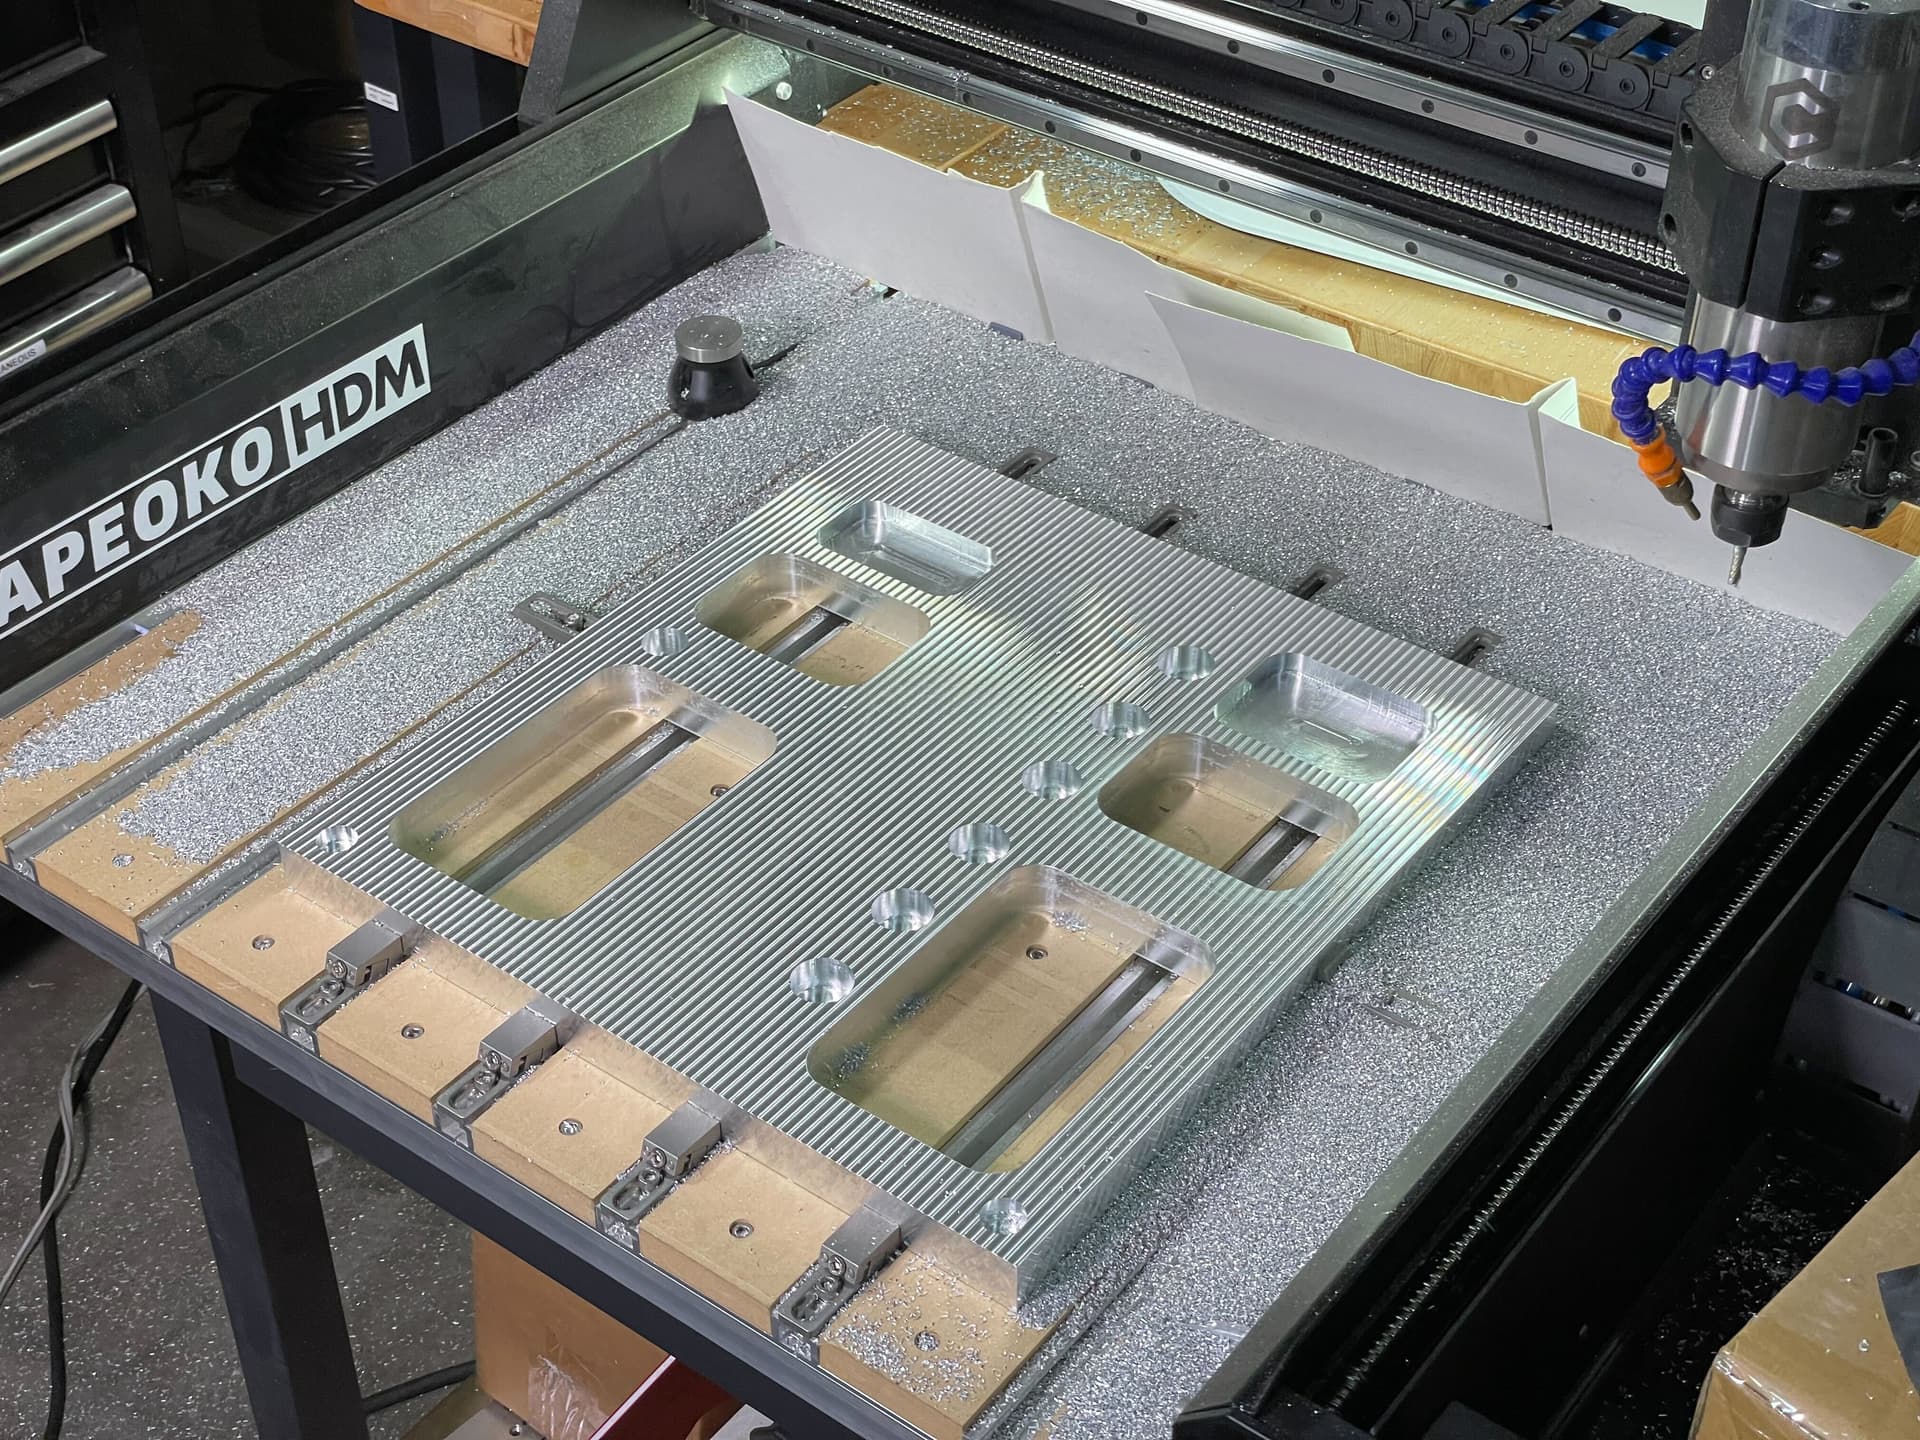
Some photos from early development. The chassis of the production Nomad 4 is a solid block of aluminum. The first iteration of this design was prototyped on an HDM.
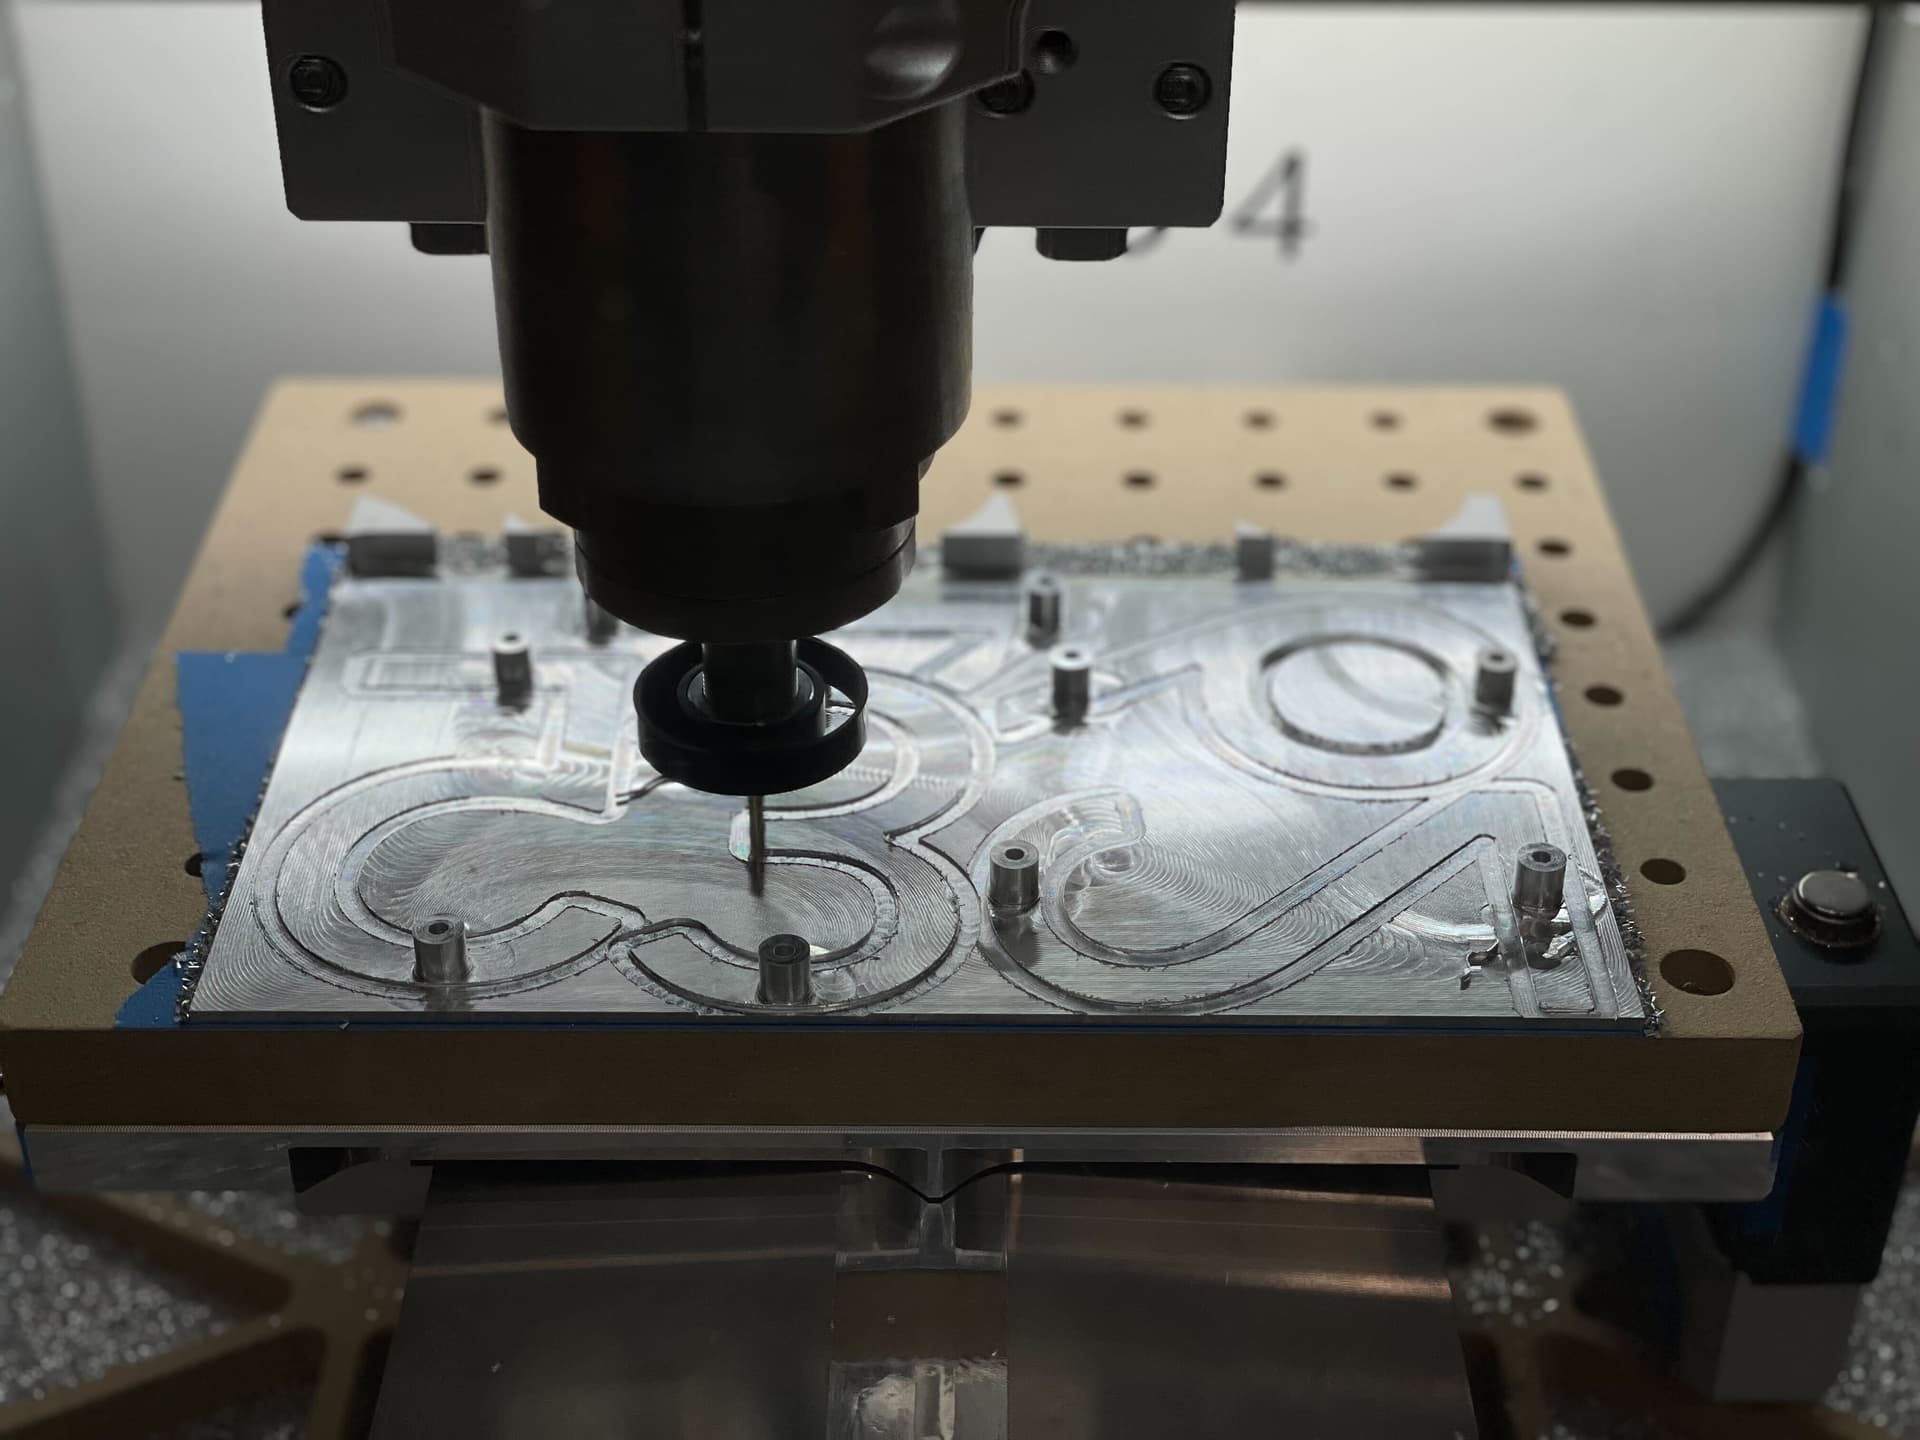
And from the beginning I was pushing a ton of aluminum through the machine. These are some numbers I made for a sign, where the standoff was integral to the numbers, rather than stud welded on. Not efficient, but a good test. You can see that at this point, I had a temporary BitSetter stuck onto the machine (with double sided tape…).
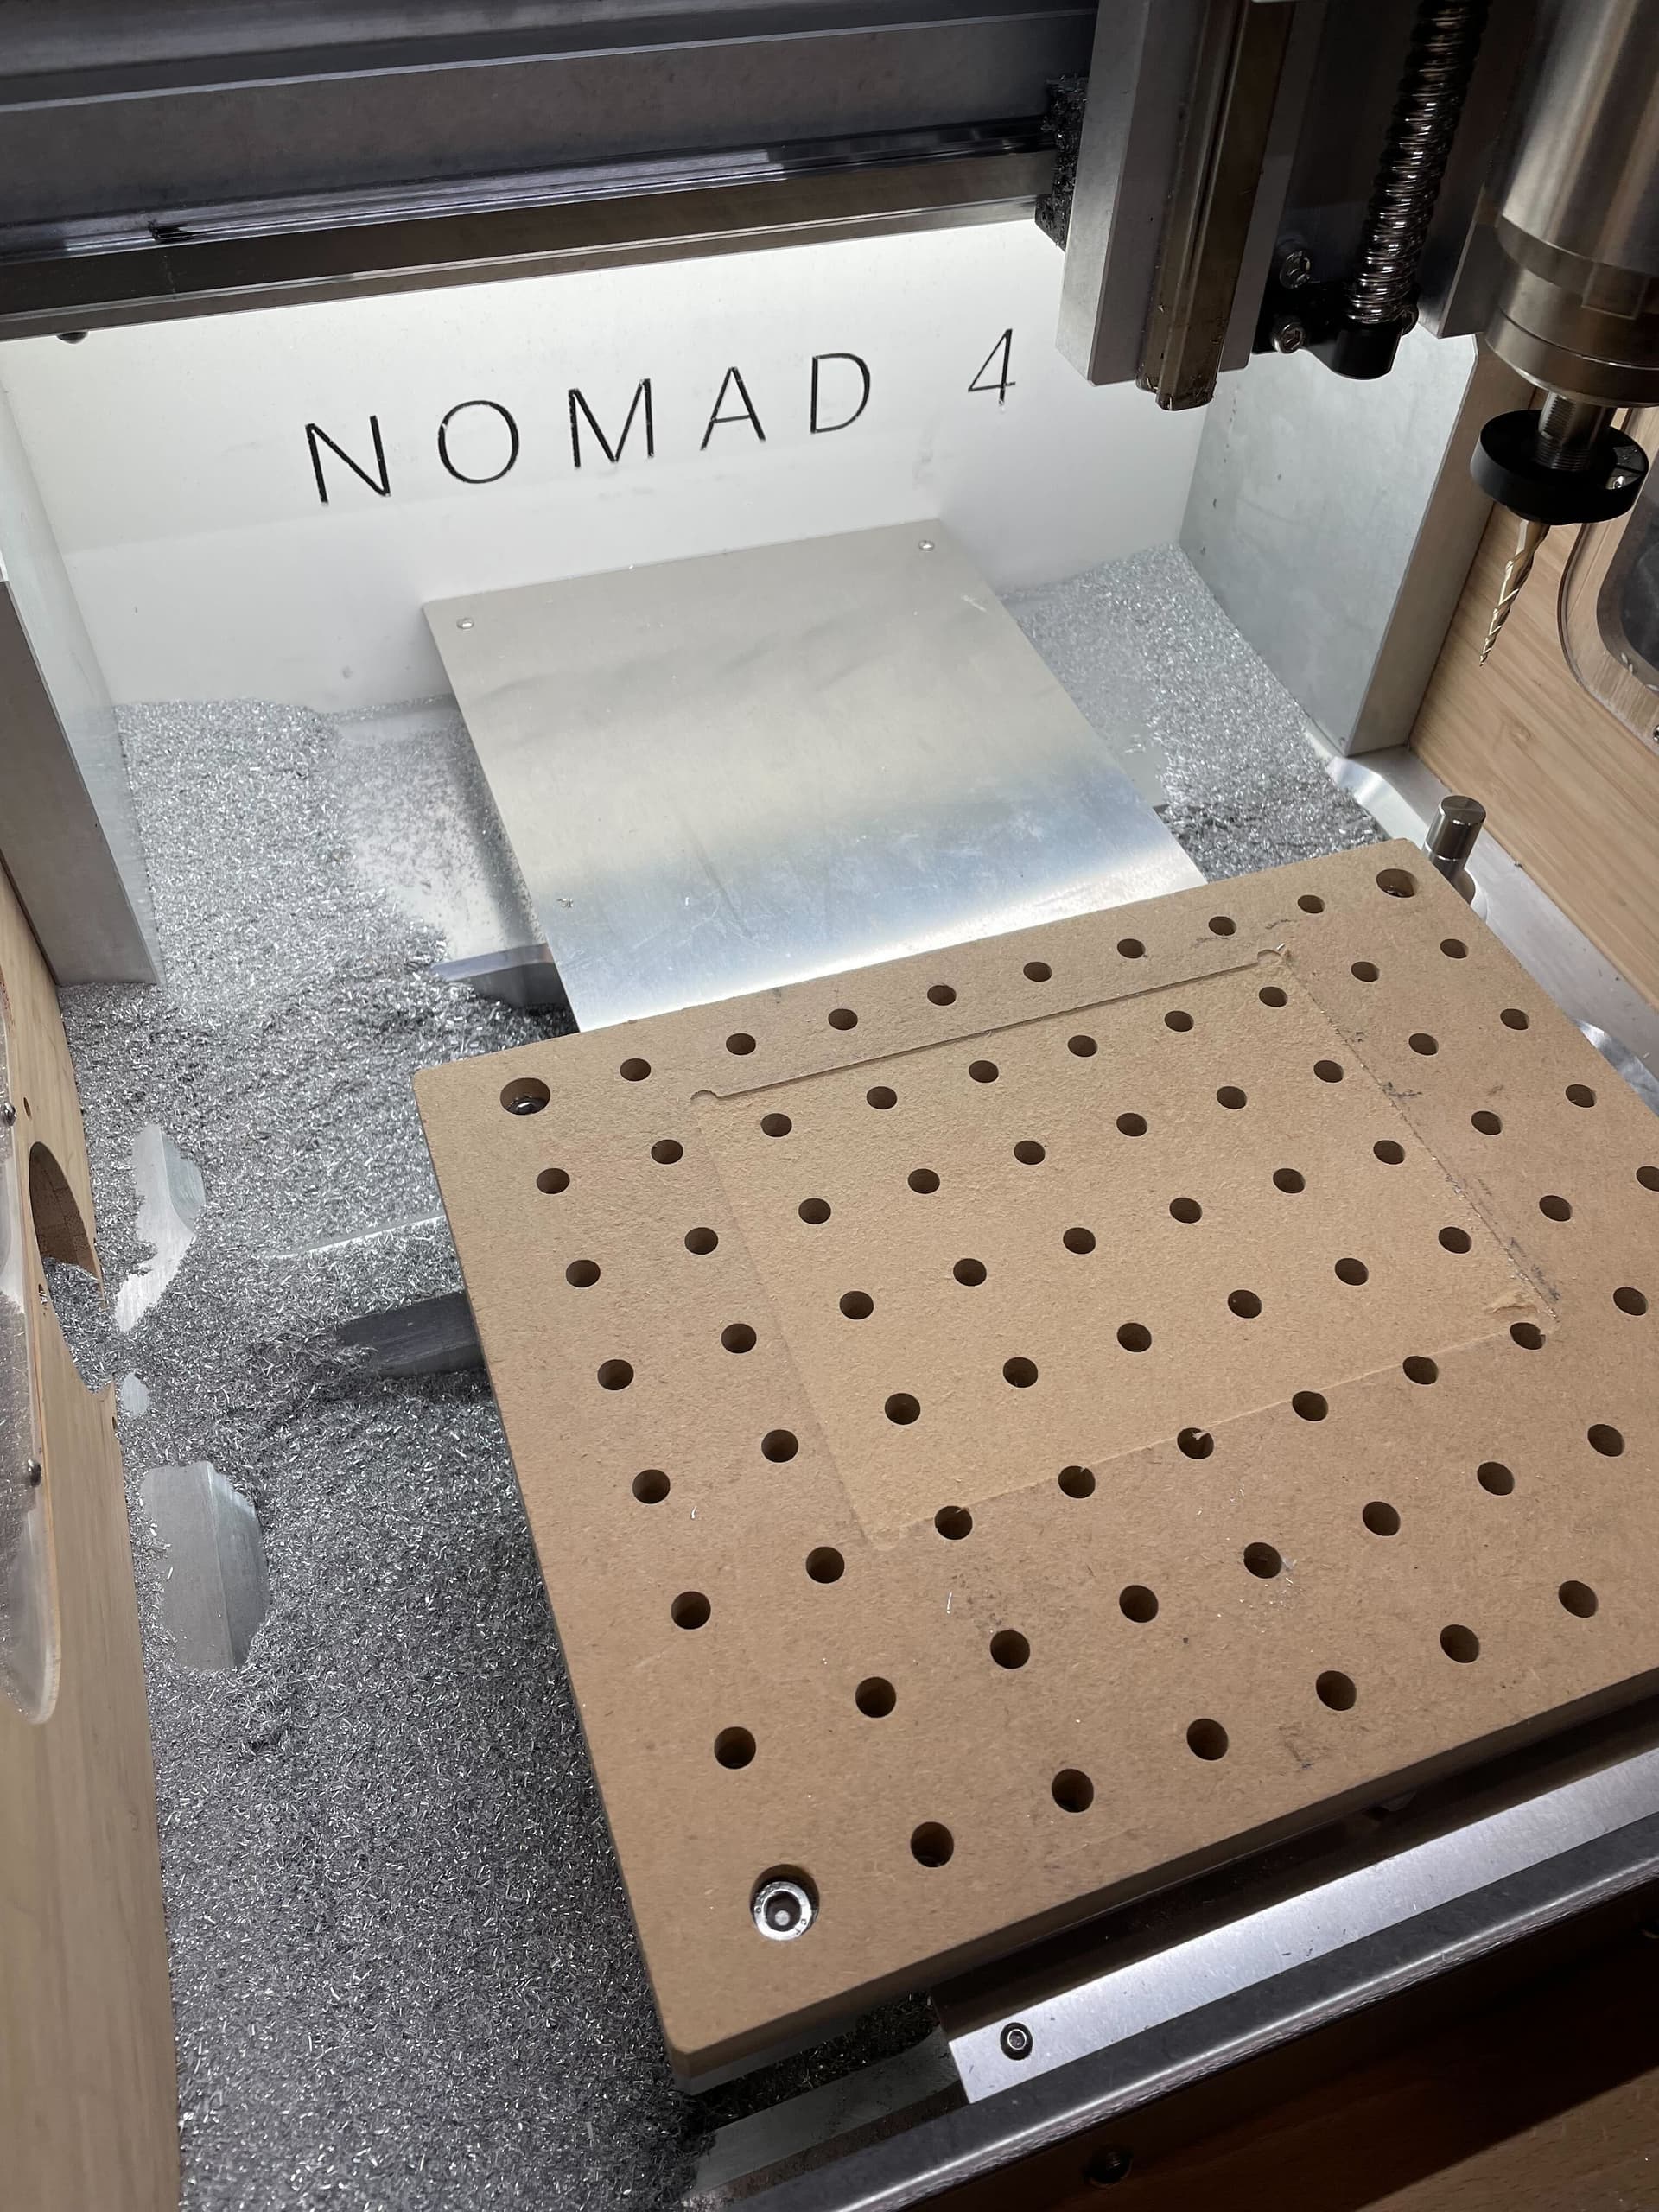
And the aftermath of machining a ton of aluminum… Note, there are panels in the bottom of the chassis that can be removed, so if you wanted to put a chip bin under the machine and just sweep debris through the cutouts, you’re welcome to. Not sure how many people will take advantage of that, but it’s there if you want. I even went so far as to mock up a stand that fits over a trash can…
Thank you, Will. Once I get the Gast compressor set up (I used to use it to generate vacuum for my photolithography exposure frame) that will almost certainly the first way I use my “mister”. Just stub off the coolant line so it’s just the air puffing out the nozzle.
And I do have the C3D low-profile vise, and just last weekend used it for the first time in modifying an existing part for work. I 3D-printed a holder
to attach my Starrett DTI to the side of the spindle clamp (it just fits on the right side, and can stay in place when I have the MQL unit on the left side) so I could indicate the vise. The holder clamps onto the rectangular shank of the DTI
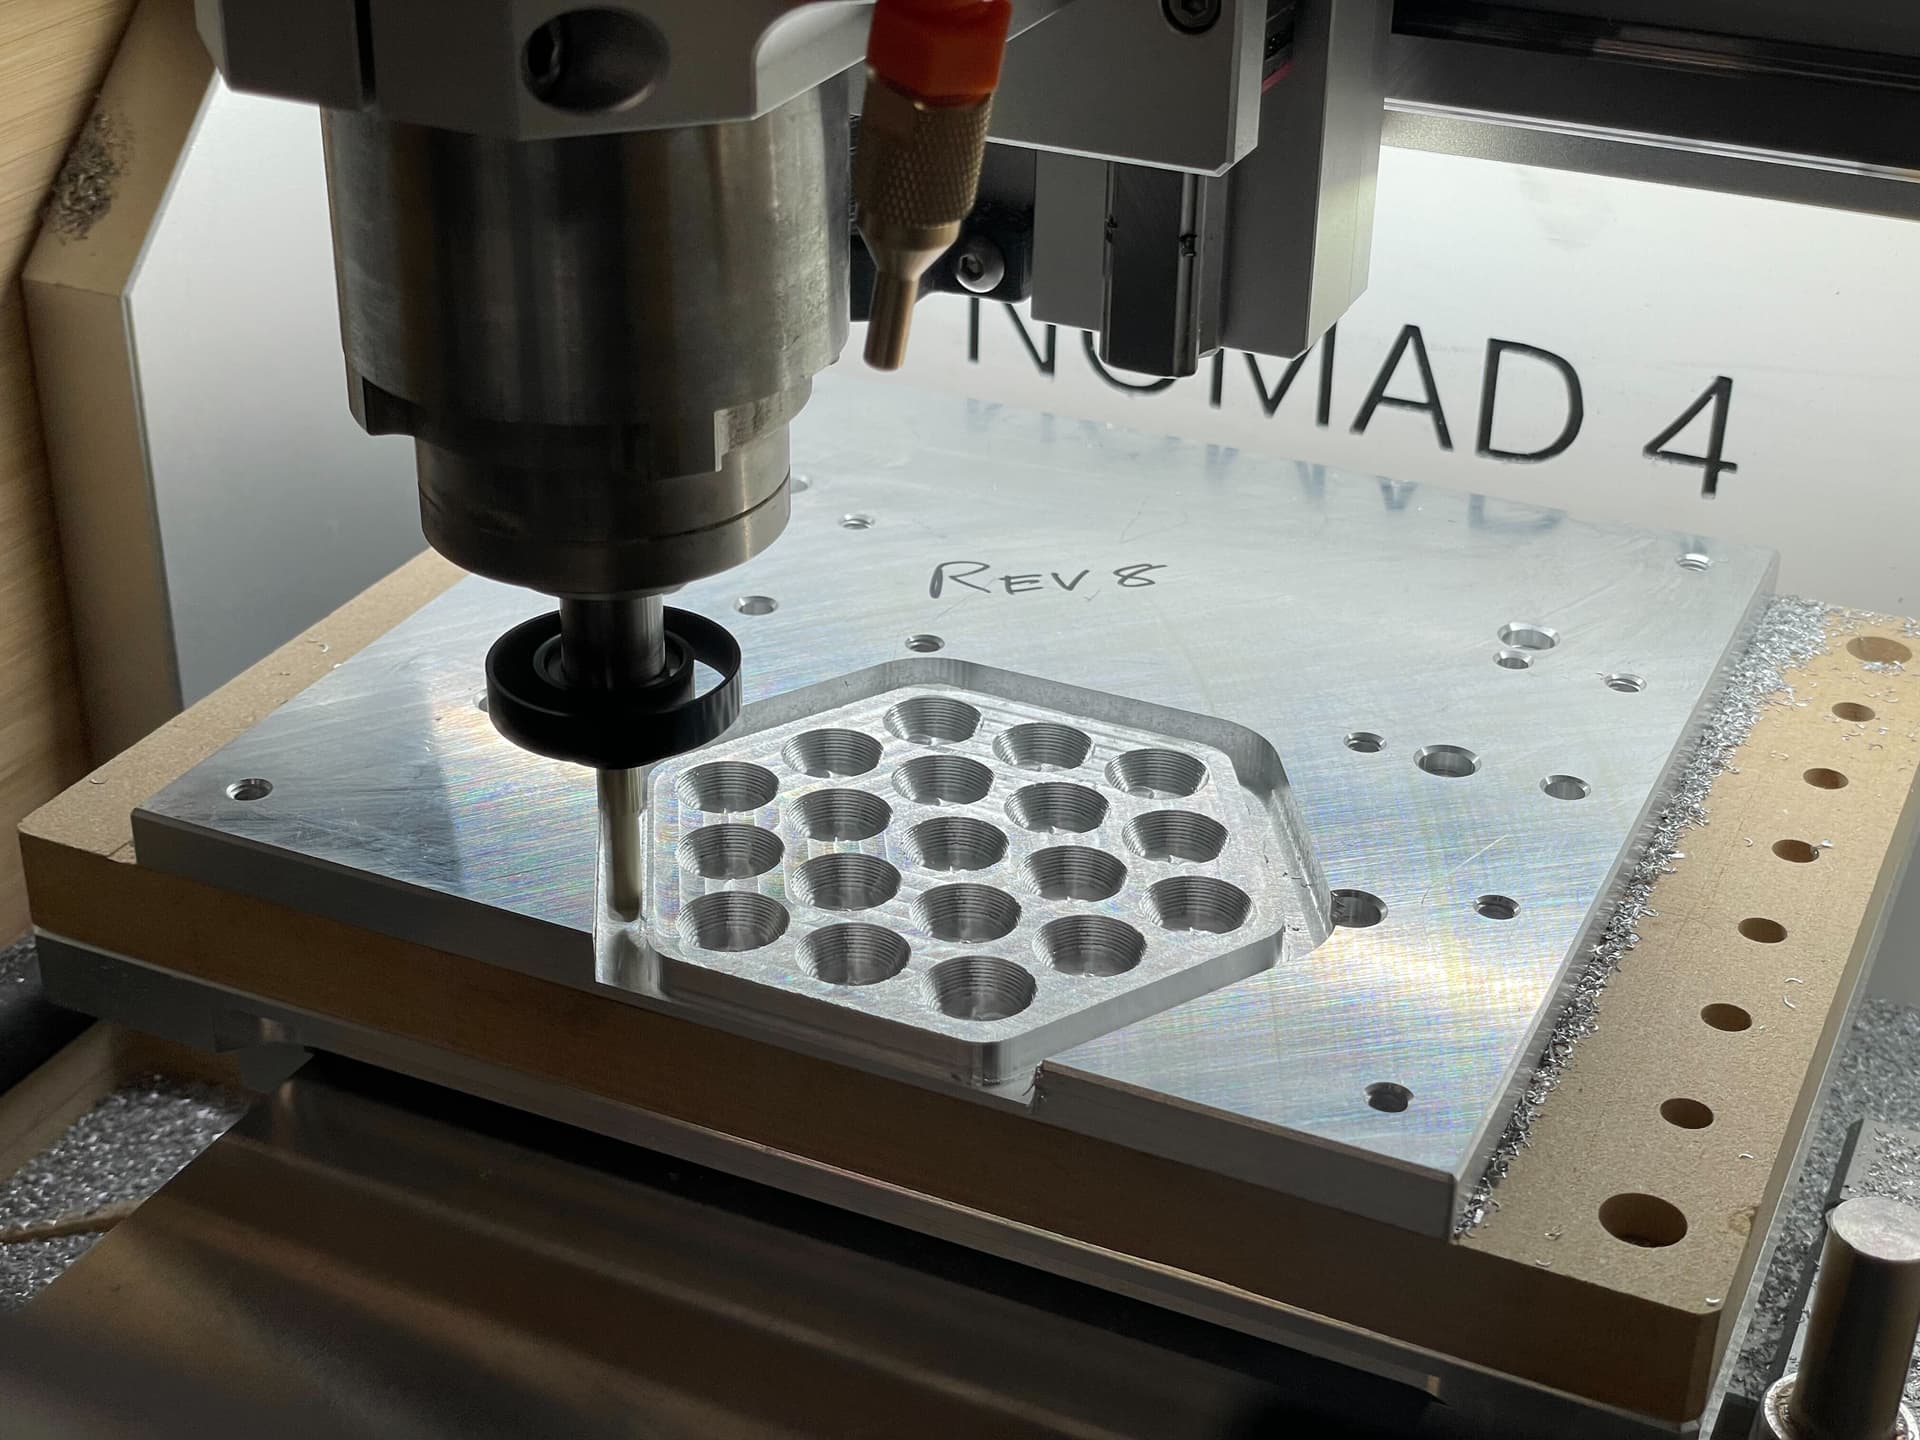
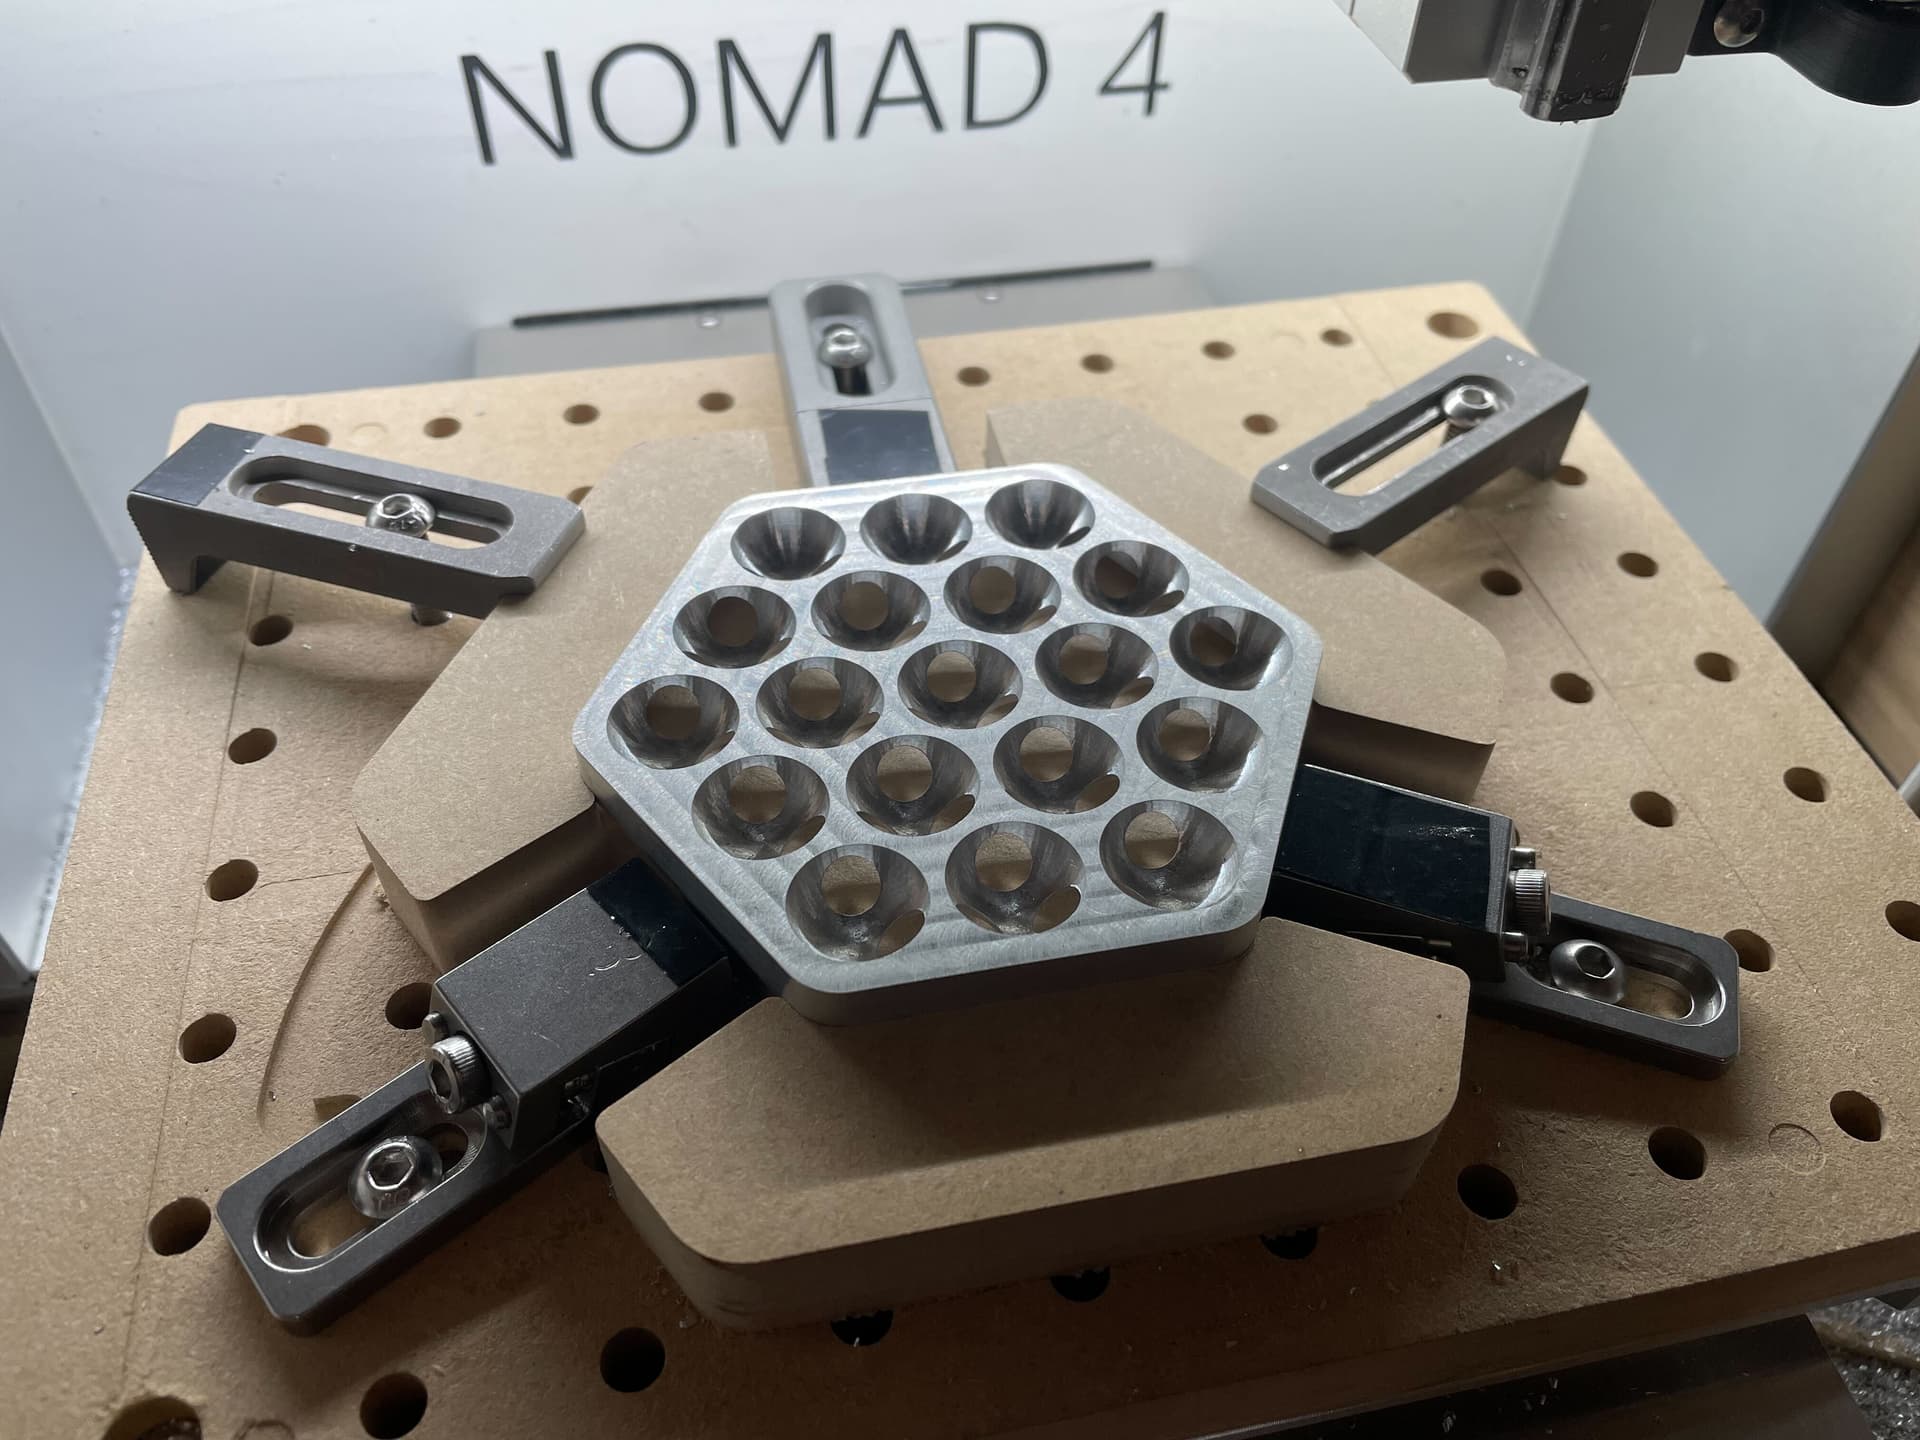
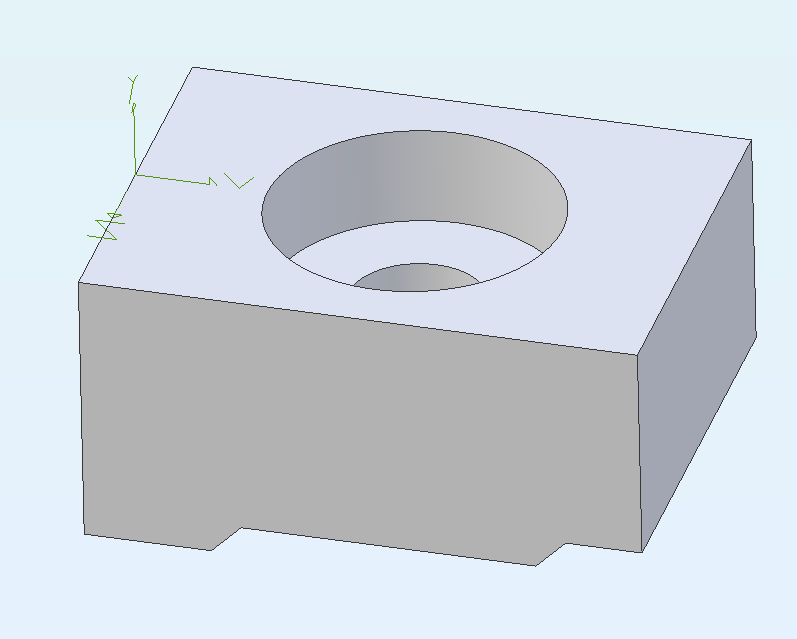
Machining thin walls/floors tends to be challenging. You get a lot of chatter. Fully opening up the pockets and slapping some sheet metal over the opening improves the reliability of manufacturing and gives the end user more options for cleaning out the machine.
Thank you, @wmoy. That’s easy to say when you already know how thin the pocket floors are…
I admit that I never tipped my machine onto its back or side to look at its underside… It’s now sitting on 2 layers of Harbor Freight mat with a 100+/- lb. sound enclosure over it, so I’m unlikely to move it at all any time soon…
If you would prefer to tram the spindle yourself, please be aware that there may be shims installed behind the spindle mount to correct spindle tilt.
When I moved my spindle clamp to the lower holes, I discovered such a brass shim. I transfered it with the mount but wondered if I did the right thing.
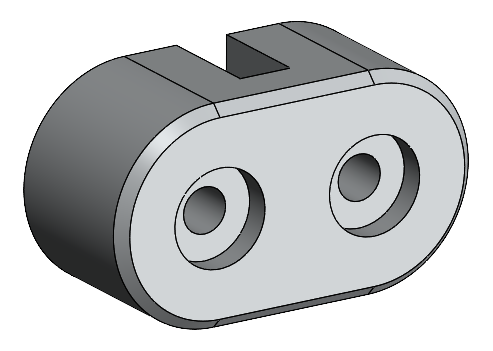
The N4 table is full of divots (i.e. the “bed of threads” holes) so it is pretty hard to swing a test indicator without falling into one. I did some research on glass and read that ordinary float glass is pretty flat and also with parallel surfaces. I got an 8" square of 1/8" float glass from a local dealer, and to the best I can measure with my micrometer, it is within a tenth or two of parallel from edge to edge. Taking inspiration from the C3D printed clamps, I designed and printed little clamps
to secure it to the table, and it gives a great surface for tramming the spindle.
The old shim was not correct for the revised spindle clamp position, and I ended up with a .004"+.001" shim stack (I had already used up the .005" shim from my assortment on other things…) behind the upper spindle mount screws. Over an almost 6" DTI tramming circle sweep, the nod is less than .002" and side-to-side is dead on.
I’m attaching the STEP file (zipped) for the clamp. I looked at Cutrocket, but that seems to be devoted to projects made with the CNC, and not printed parts to use with the CNC…
[edit] I have replaced the STEP file with one with a slightly longer nose. glassclamp1.zip (4.9 KB)
I love so much about this machine. I was budgeting for an HDM and also wondering whether that meant selling off the table saw to make space; now I just have one more decision to make. In a good way.
Something that held me back on the Nomad 3 was the lack of speeds and feeds data, which is inhibiting for the occasional/ casual user in harder materials. (I use Fusion instead of Carbide Create or Meshcam, so there was a lot of manual lookup and copypaste happening, and my pace isn’t enough to build a database quickly.) While I understand the strategy is great for Meshcam users, is there any plan to offer some “Material Mondays” type videos for the N4 focusing on metals to give starting points for those of us married to our former software? Safe to assume ~8x the Nomad 3’s MRR, or is it going to be nonlinear?
Unrelated… anyone want to buy a lightly used kidney? For around $5400?
More content, including cutting details are planned, we’re just fighting limited bandwidth. But in terms of a reasonable staring place for speeds and feeds, you can just use the same settings from the HDM preset in Carbide Create.
You can try to approximate MRR from the Nomad, but it’s going to be an inexact science because there are non-linear things like chatter that happen at unpredictable points. The Nomad 4 uses the same spindle as the Shapeoko 5, and has comparable stepper motors, so you can run it just as hard.
At those extremes though, you can actually have the hot aluminum chips flung off the endmill start scratching up the Plexiglas door, making it look hazy over time. That’s what happens on our Datron, and over time it becomes useless for seeing what’s going on inside. One of the mods I’ll be doing to our shop Nomad 4 for filming purposes will be to slap a big tempered glass screen protector on the inside.
** Using Fusion 360 and Adaptive toolpaths. I recommend going a bit lighter than this on the machine though, for long term process reliability.
I don’t know how or why, but my N4 is perfectly willing to run with the door open. It took me a while to realize this, because I always run it in the sound enclosure. I am not using a “cheater” on the safety switch, and have not changed (at least purposefully) any GRBL or interface settings…
The current behaviour is this: If you start with the door open, it doesn’t throw an error. But if you start with the door closed, then open it in the middle of a cut, the safety system will kick in.
Ah, thank you, @wmoy, lightbulb comes on. I learned early on in my pre-enclosure testing to not open the door until the toolhead was parked over the bitsetter at the end of a gcode, or the interface would freeze at BUSY and I would need to reinitialize the machine. Spindle stopped and retracted was not enough “doneness”. Your explanation explains that too.
Only $5400 for that kidney? Feels like someone could flip that for a tidy profit
I’ll say that if space is your premium, the N4 is awfully compelling for a turn key solution. Deciding if it’s the right machine for you still comes down to the projects you have in mind though. I’d say if the work you want to do is larger than a cubic inch and fits the envelope, it’s really hard to beat.
“Hogging” out aluminum/delrin/brass with a 1/8” mill is beautiful. Takes a weekend long project and makes it an after dinner event. Just
And for things like single point threading, also knocks it out of the park.
If your work is going to be consistently smaller than a cubic inch, it’s a little less obvious that this is the best machine for you. (It might be the right choice still, it’s just not quite the smash hit you might get from a DIY solution where you can really dial in what you’re looking for)
All that said, it’s your cake day on the forums…might as well treat yourself to something nice and pick one up for yourself
I’ll try and get some photos and gallery posts put up with the work I do with my N4. Gonna be a busy week though so I might not get to it
Tyler, I’m assuming that you are talking about threadmilling? That is something that I haven’t tried yet…
That one has me wondering–I’ve gone from a much-modified Sherline 5400 and a Techno-Isel gantry with a Sherline milling head, to a Tormach 1100 and the Nomad 883, and now the N4, and the N4 has all the best aspects of all the others and I would not look back. I have seen a couple of videos of micro-CNC, both mills and lathes, but I would need something like the N4 to make them…
Congratulations guys, You deserve this success. I don’t know if you made the laser head yet, but if not, I hope you do it as soon as possible, I bet many will love adding laser head to their Shapeoko, especially the Shapeoko 4X4. I will be the first to get it.
@Randy mentioned machining some steels in another post:
I have also machined some unknown steel with decent results. There didn’t seem to be much issue with rigidity of the machine but I think the general issues still apply.
Namely, the high speed spindle isn’t great for steels in general. The surface speeds with any reasonable sized tool is pretty high, even at the slowest spindle speed. Adding to the issues would be the torque curve of the spindle…you want to go as slow as possible but doing so reduces your max torque available.
For me this hasn’t been too terrible because most of what I do leverages tooling 1/8” or smaller. Where the surface speeds are somewhat more reasonable and the tool itself wouldn’t have the strength for higher torque operations anyway, so the lack at the lower end isn’t too detrimental.
All that said, tooling matters quite a bit. Getting some steel specific mills made quite a difference in the cut. Well worth keeping a few material specific tools on hand for the rare occasion I need them.
Disclaimer: I only dabble in machining. I’m curious to see what real machinists have to say about it
The 410 SST was a few existing pieces for work, on which I machined a small optical aperture using a .009" 2-flute carbide endmill (running at 24krpm, 2ipm and .001" DOC). I also did some edge contouring on the same pieces using a 2mm carbide 2-flute (9krpm, 3ipm and .010" DOC). I was happiest that I didn’t break a cutter, but the cuts turned out very smooth, considering that I don’t even have an air blast hooked up yet and was just using a chipfan on the spindle nut. Since they were existing pieces, to hold them I machined a nest pocket into a block of Delrin fixed to the wasteboard, so my zero point was automatically generated.
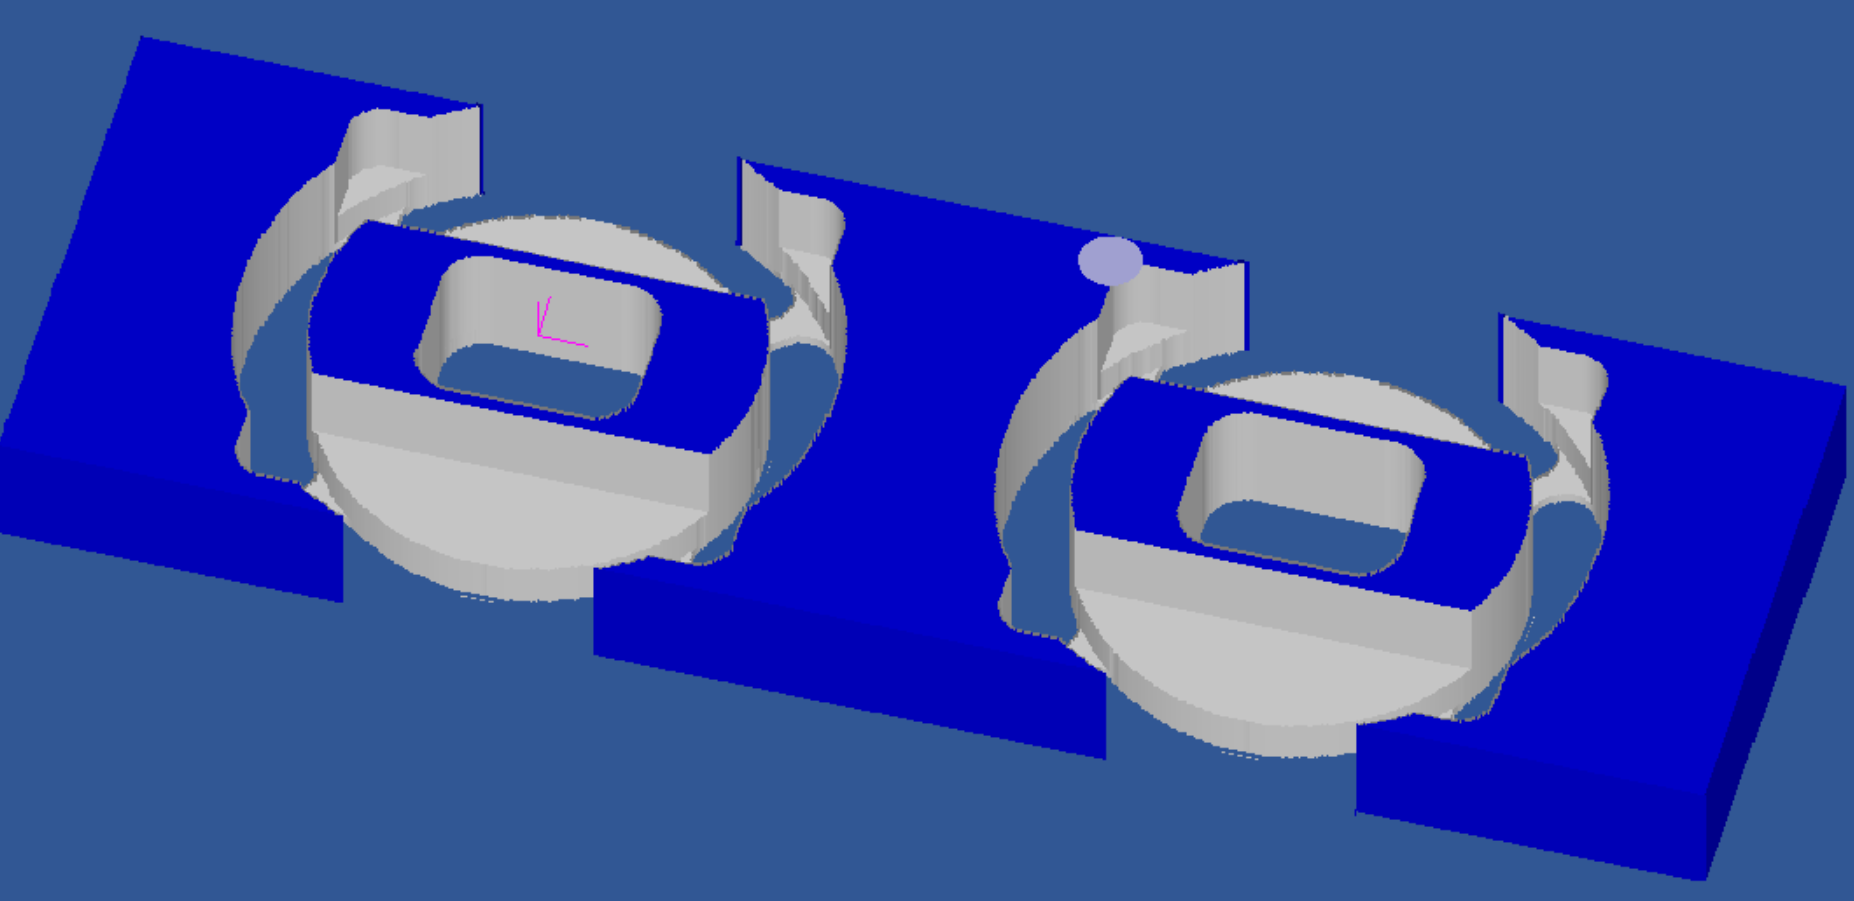
The mild steel was a couple of anti-rotation washers to adapt the double-D-flatted axle of a Sturmey-Archer internally-geared hub to the wider dropout slot of my Fuji road bike frame I’m “restomodding” into a city bike. Here’s a CutViewer Mill rendering of the cut–the CAD only exists as a set of DXF’s that I input into SheetCam for a totally 2.5D workpiece
The whole piece used a 3mm, 2-flute carbide endmill, 18krpm, 12ipm and .020" DOC. I blue-tape-and-CA-glued the parent stock onto the surfaced wasteboard.
I likewise am just an amateur hacker and mostly winging it at this point–I’ll get more serious about dialing in cuts when I have an MQL fabricated and installed. At this point I’m mostly interested in not breaking cutters and hurting workpieces…
A while back I was planning to do a writeup on single-form threadmilling workflow, but got stuck trying to use a threadmill to do backside chamfers and … lost the thread (I’m sorry).
One of these days I’ll do the writeup, especially as I might have time to do a bit more threadmilling today. I program it all in Fusion. On the N3, I do repeated passes/ “springpasses” just in case of chatter or tool deflection, and I take really light cuts since it’s just a few seconds anyways so what’s another pass to preserve a tool.
What’s wild about it, though, is I’m able to decide precisely where the thread starts and stops, which is handy on the project I’m currently doing (blind threads into the wall of a tube).
The single thing that still has me leaning HDM is Z height. Fixturing to the front of the bed on the HDM/ S5 to let me work on the top of a 6" tall piece is really attractive for certain projects, even though I can find a workaround. But footprint, enclosure, threaded table… my bread and butter is 6" x 6" x 1" (cutting on 4 of the 6 sides), and I’ve been outsourcing to a Haas guy just due to MRR limitations.
Maybe I’ll make space in the shop and the budget for one of these three machines this year, or maybe it’ll be a birthday present when I hit the 4-oh. Machine tools are a good mid life crisis choice, right?