One day build: Party Favours

:chipmunk:

Premise:

So I have the day off and the wife is throwing her birthday party in 2 days time.
I’d like to surprise her with a cool set of party favors for all in attendance as well as having a few special editions to choose from for folks who win her mini-games. (She loves little games, imagine her “parties” as very short versions of Task Master with food and drinks)

I don’t have time to get materials or anything so I can only use what I’ve got on hand. Luckily, I’ve been told I take side ways efforts to a art form…so I’ve got a variety of things on hand :grin:

Idea:

Who doesn’t love a good fidget toy? I have a whole bunch of 16mmX3mm brass tokens and a whack ton of ways to make them fidgety. I am not completely settled on how I want to make them fidgety at the moment but I’m thinking I could pop a hole in them and embed a cubic zirconia round brilliant in the middle. If the thickness of the brass plays well with the size of gem I have, the gem should just barely protrude from the bottom of the token, making for an excellent top/spinny-thing.

The winning prizes will be the same thing scaled up and with some more room for additional filigree. Nothing too crazy, I don’t want the folks who lost to really feel like they missed out.

Next Steps:

Model the spinny-things and render them to see if I like the results.

Time so far: 22 mintues (writing this post was a good chunk of it :sweat_smile: )

5 Likes

Well this makes things a tad interesting, the largest CZ I have a bunch of is ~5mm diameter. That makes it just a little too small to puncture the bottom of the token.
I’ll have to do some nice geometry on the top surface to remove material and lower the gem.

To be honest, I think this will result in a more interesting item anyway. Some nice curves on the top face should be nice to rub against and I don’t often see geometry like this in the wild.

I’ve also decided to parameterize everything in the hopes that it makes the larger favors quick to knock out as well…we’ll see if that works out for me or just wastes a bunch of time.

The protrusion in this is about .5mm but the tip will be dulled a little to try and prevent scratching surfaces, so it’ll likely need to sit just a tad lower to keep that protrusion.

2 Likes

With breakfast out of the way, it’s back to it.

For the visually inclined, these are the raw materials I am working with (gold dollar for scale)


I only have a single 1/16" ball cutter on hand which, unfortunately, means I’m guaranteed to break it. So I’ll be designing the curves on the top twice, once for 1/16" ball and once for 1/8" ball (of which I have 5…so I won’t break a single one)

2 Likes

No pressure. Wing it.
Necessity is the mother of invention

1 Like

I don’t have much design instinct when it comes to playing with light (working on it though :slightly_smiling_face:) but I know enough to know tangent curves make for a pretty surface.

Here is the idea, match the slope to the radius of the outer fillet on the outside and the ball cutter diameter on the inside.

Revolve cut the pink hash profile and I think it makes for a decent surface.

Cut:

off angle view:

Ok let’s make it pretty with a quick render or two:


If you care to learn more about continuity and curves and such, this video is by far the best I’ve ever seen. The creator only puts out a video every so often but someday I hope I have half as much design knowledge as he does:

3 Likes

I’m happy with the design aspects for now. Time to think about Toolpaths and order of operations. (I mean, this should always be at least in the back of mind…but it’s time to bring it to the front of mind)

First off, the gem is a solid body model which was combined/cut from the solid token. This leaves a bunch of facets and such that will probably get annoying when it comes to generating the Toolpaths:

A super easy way to deal with this would be to revolve the solid body of the gem, cutting away a cone that very nearly matches the outer bounds of the gem. Toolpaths like nice smooth sides/cones much more than facetted cones…unfortunately fusion has only added solid sweeps (which is awesome for dragging a tool through a solid to see how it turns out!) but they haven’t added solid body revolves as far as I can tell.

That said, they do allow a similar enough option via sketches using the “spun profile” projection:


This allows you select a body and spin it about an axis, projecting the bounds of the solid. This creates a profile we can then revolve to cut away from the token. Exactly what we’re looking to for!

Now that’s a much better looking surface and the difference of a few fractions of a mm won’t matter all that much. We’re doing an pseudo-functional aesthetic part here, not rocket science or whatever @RichCournoyer does (oh, actually that is rocket science :sweat_smile:)

There is still the slightest bit of faceting around the top of the gem seat. Let’s hop back into the sketch and add a bit of a cheat profile we can add to the revolve to clear all of the material:

Much better:

That’s plenty of words for this section, I’ve got to give a think about how I should actually process these tokens. One at a time? Probably not. Twenty at a time? Also unlikely…

Anywhose, last night I spent waaaay too long reading through the various threads by @Vince.Fab Hardcore Aluminum milling on an S3
and
Visual Chronicles of a Nomadman

So I think the rapid fire style of those threads has some influence on this one. He always seemed to have results by the end of it. Let’s see if I can do the same :slightly_smiling_face:

1 Like

Update (:melting_face:)

After lunch and a lot of internal debate, I’ve decided that it’s not a great idea to make a fidget toy out of leaded brass. Probably should have considered that from the beginning
:person_facepalming:

What’s next

That gives me the opportunity to practice a skill I’m not great at though: Pivoting!

Ok, so I’ve lost half a day but I’ve gained a design for later when I’ve got the appropriate material. Not terrible but it certainly limits my options for the rest of the day.
Namely, I’ve got to come up with something that:

  1. Uses the material I have on hand
  2. Does not require a ton of material removal
  3. Is not terribly boring

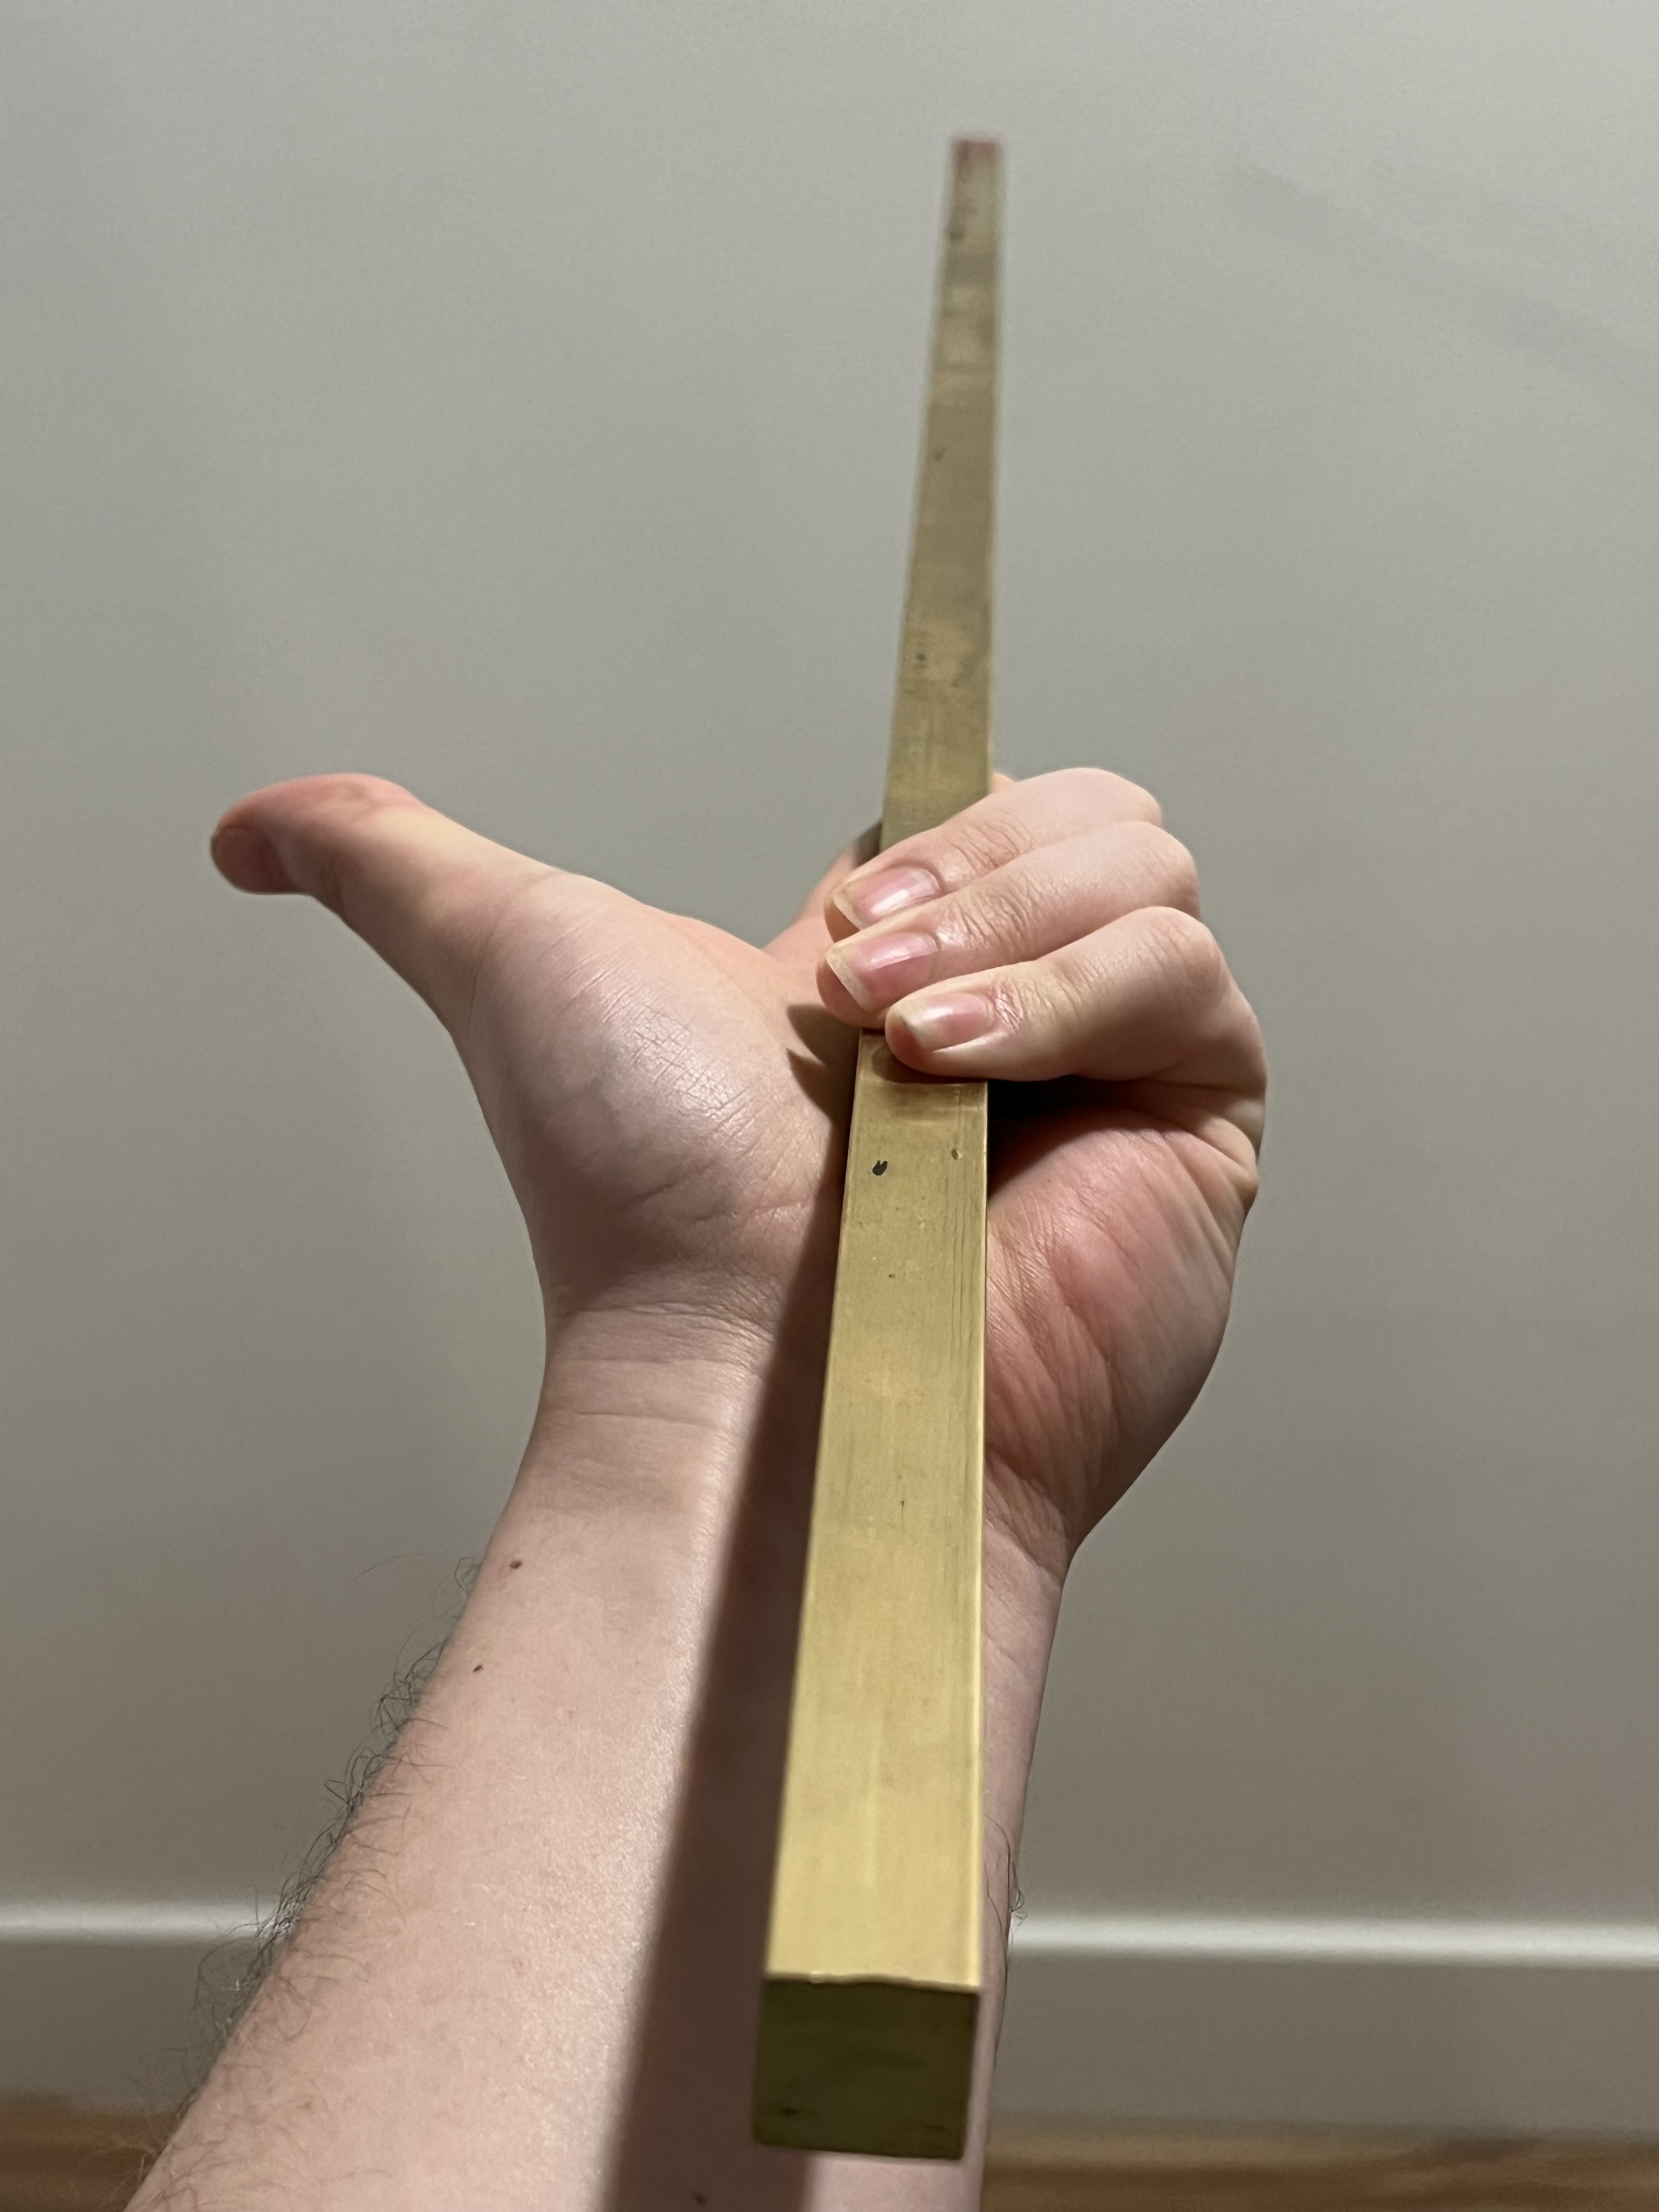
Material on hand is going to be a 3’ long section of 3/4" lead free brass (464)
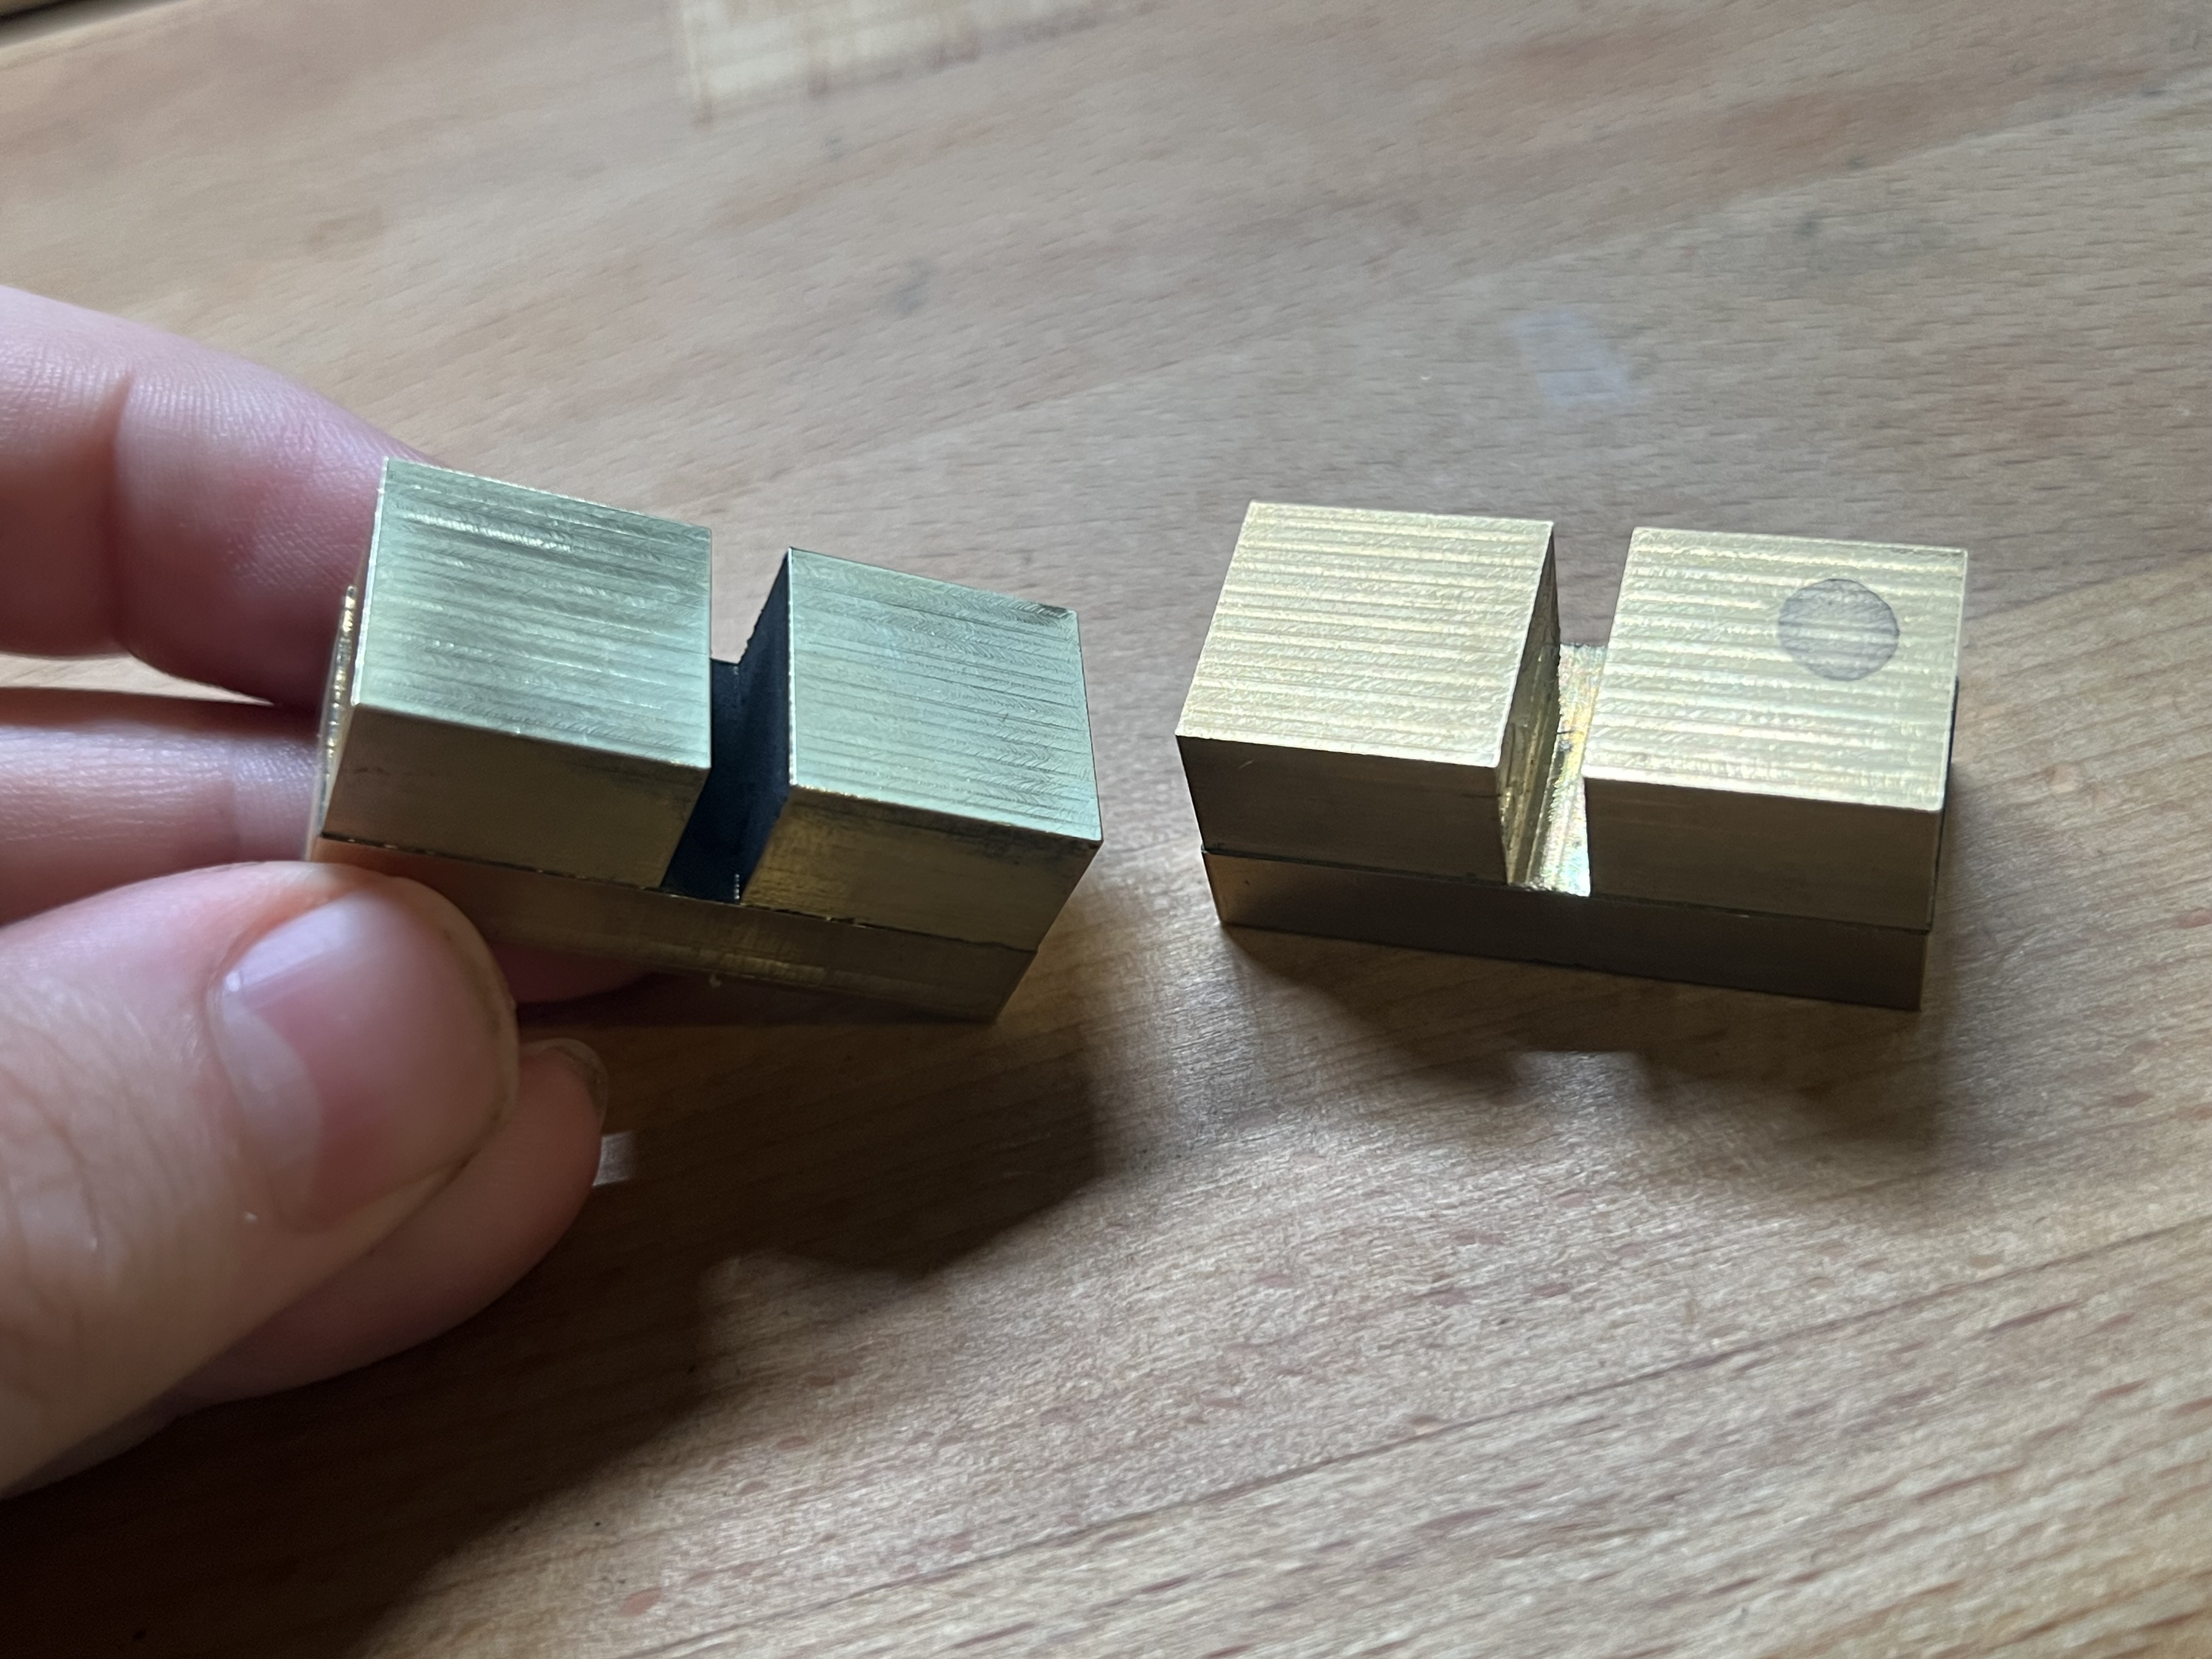
I could try and make the same design with this brass bar stock and just tombstone the disks. Basically cut the features and cut below depth by the width of a bandsaw blade…part off, clean up the bottom side and boom, tokens for days…
But I’ve never done that kind of thing so I’m not sure how well it would turn out.

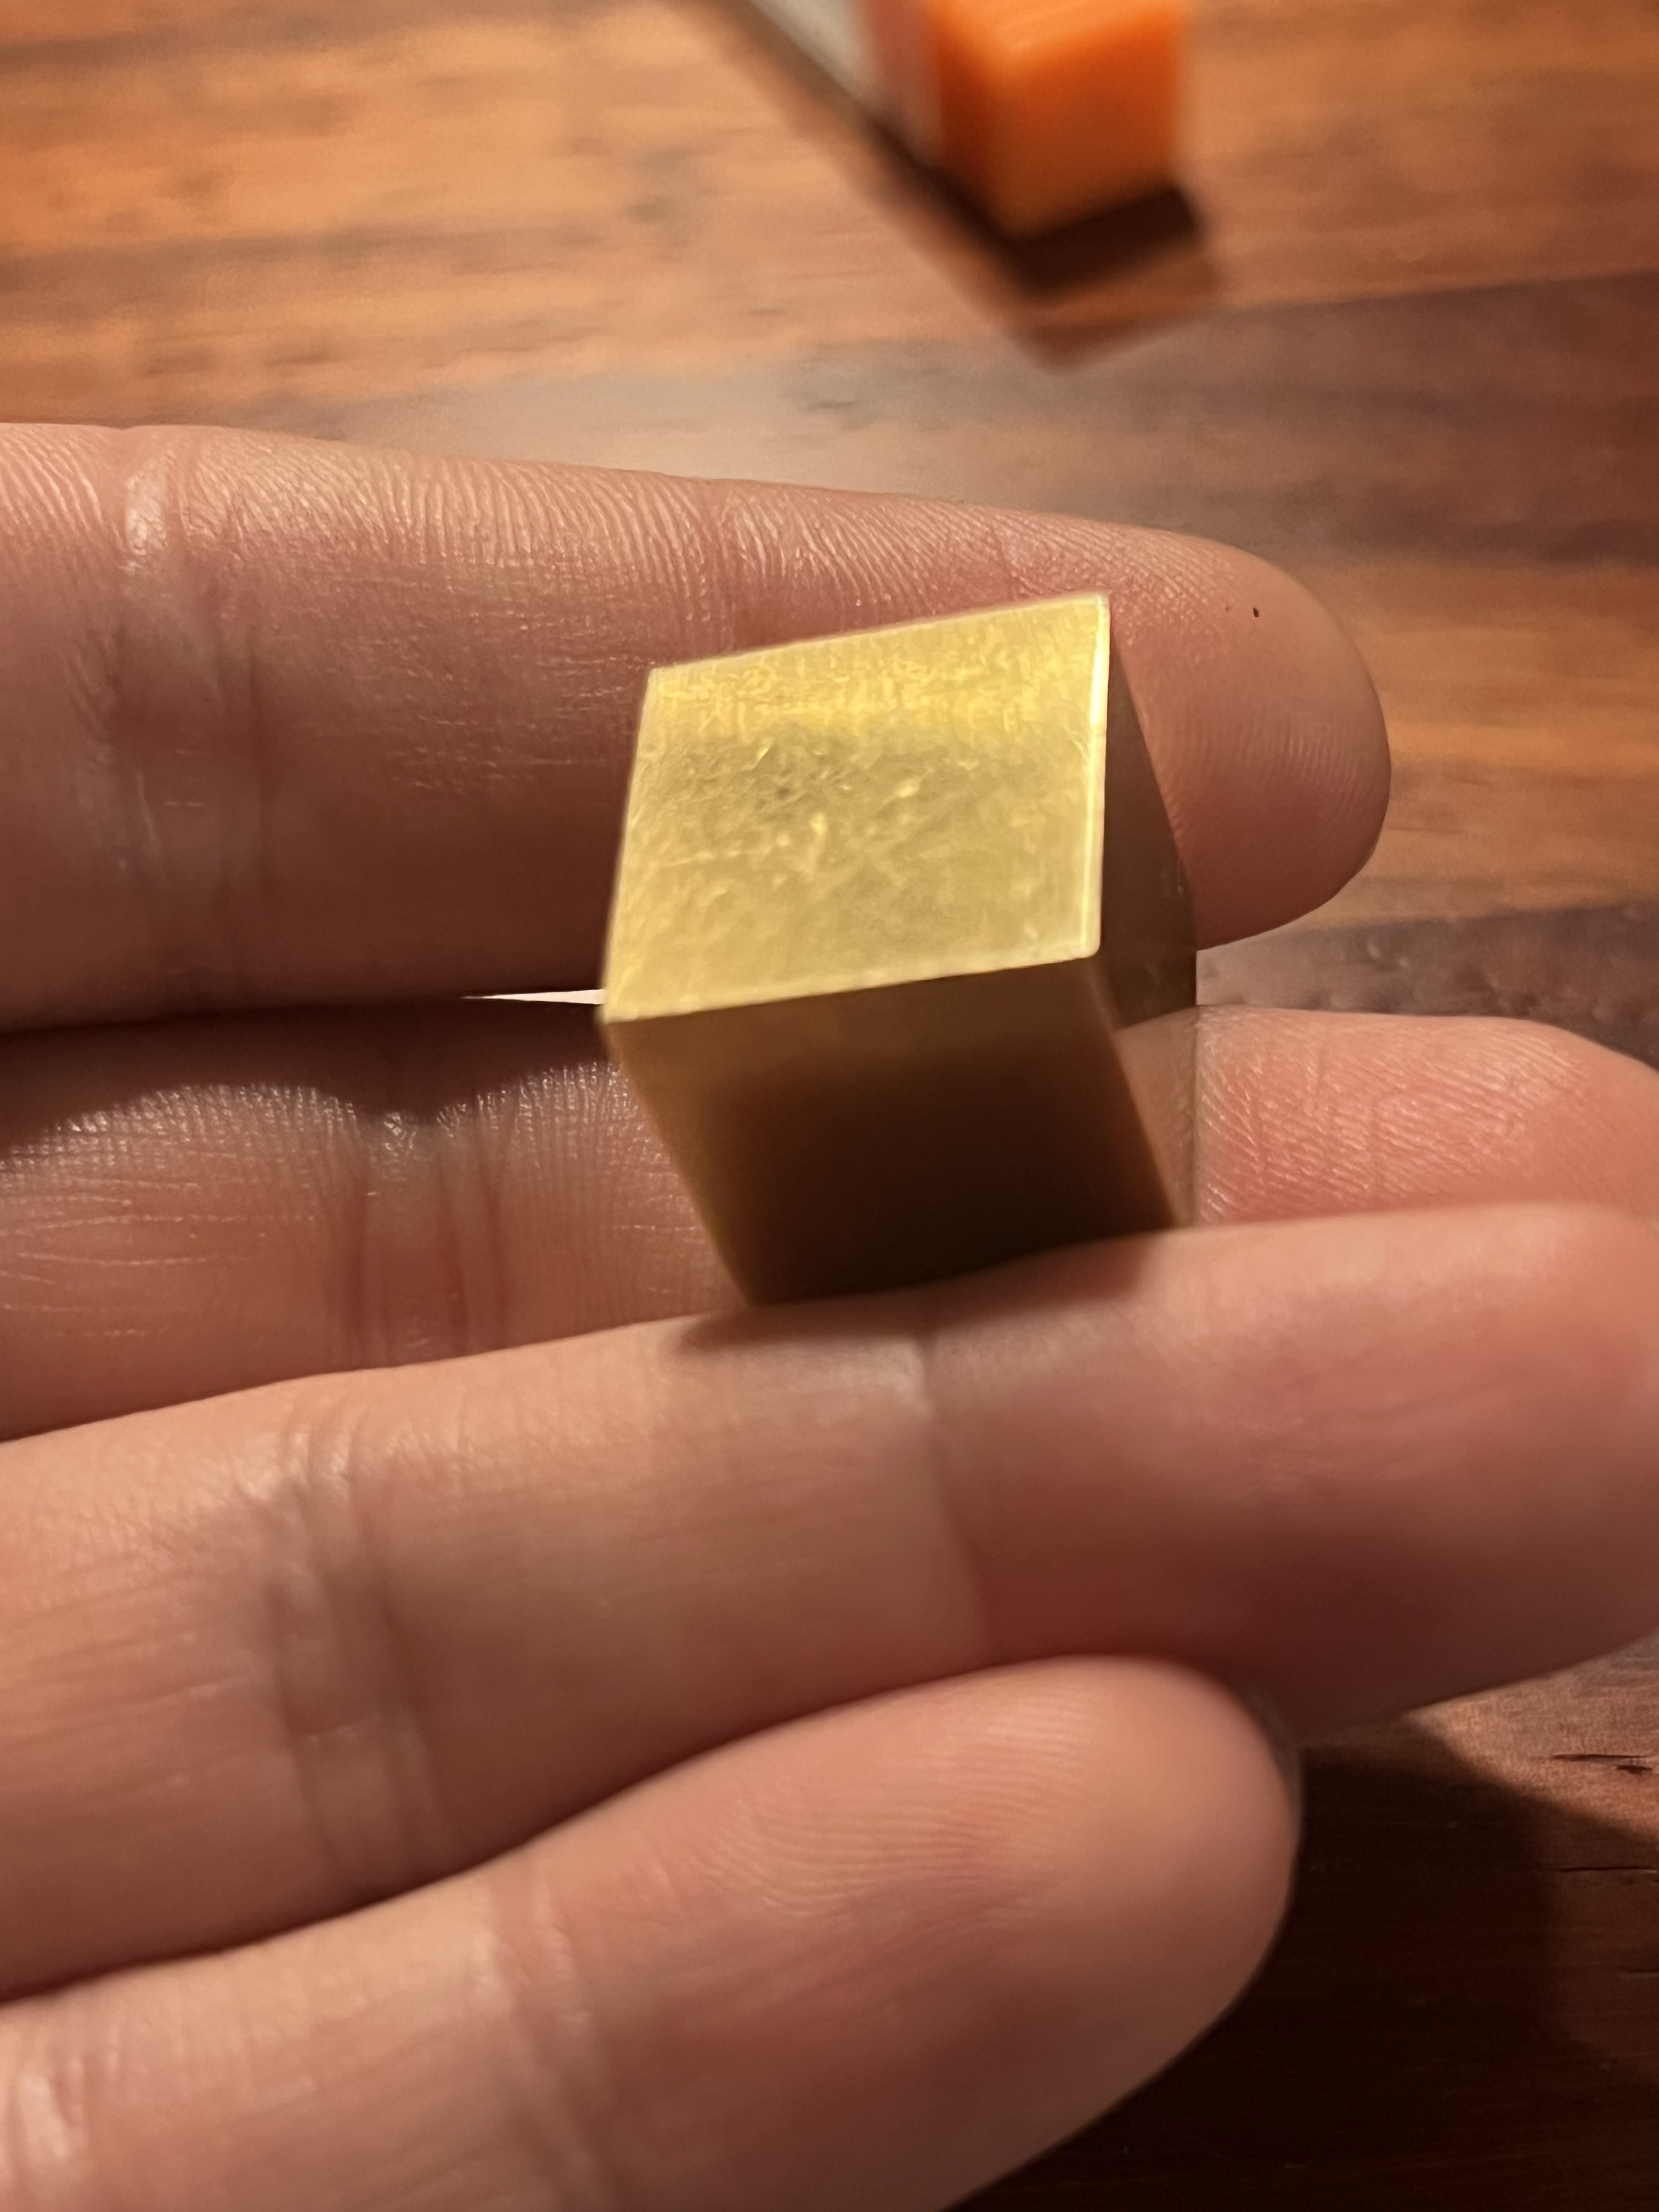
Instead I am going to go back to an old favorite that is very much on theme for the party.
A plain ol standard D6 (AKA 15mm cube)
This would require very little material removal, only about .5mm from all sides, and it’s dead simple to do work holding so there are some time savings there as well.

The cube approach also gives me a lot of optionality. Knocking out the cubes will be straightforward so it’s just a matter of adding features after that point.
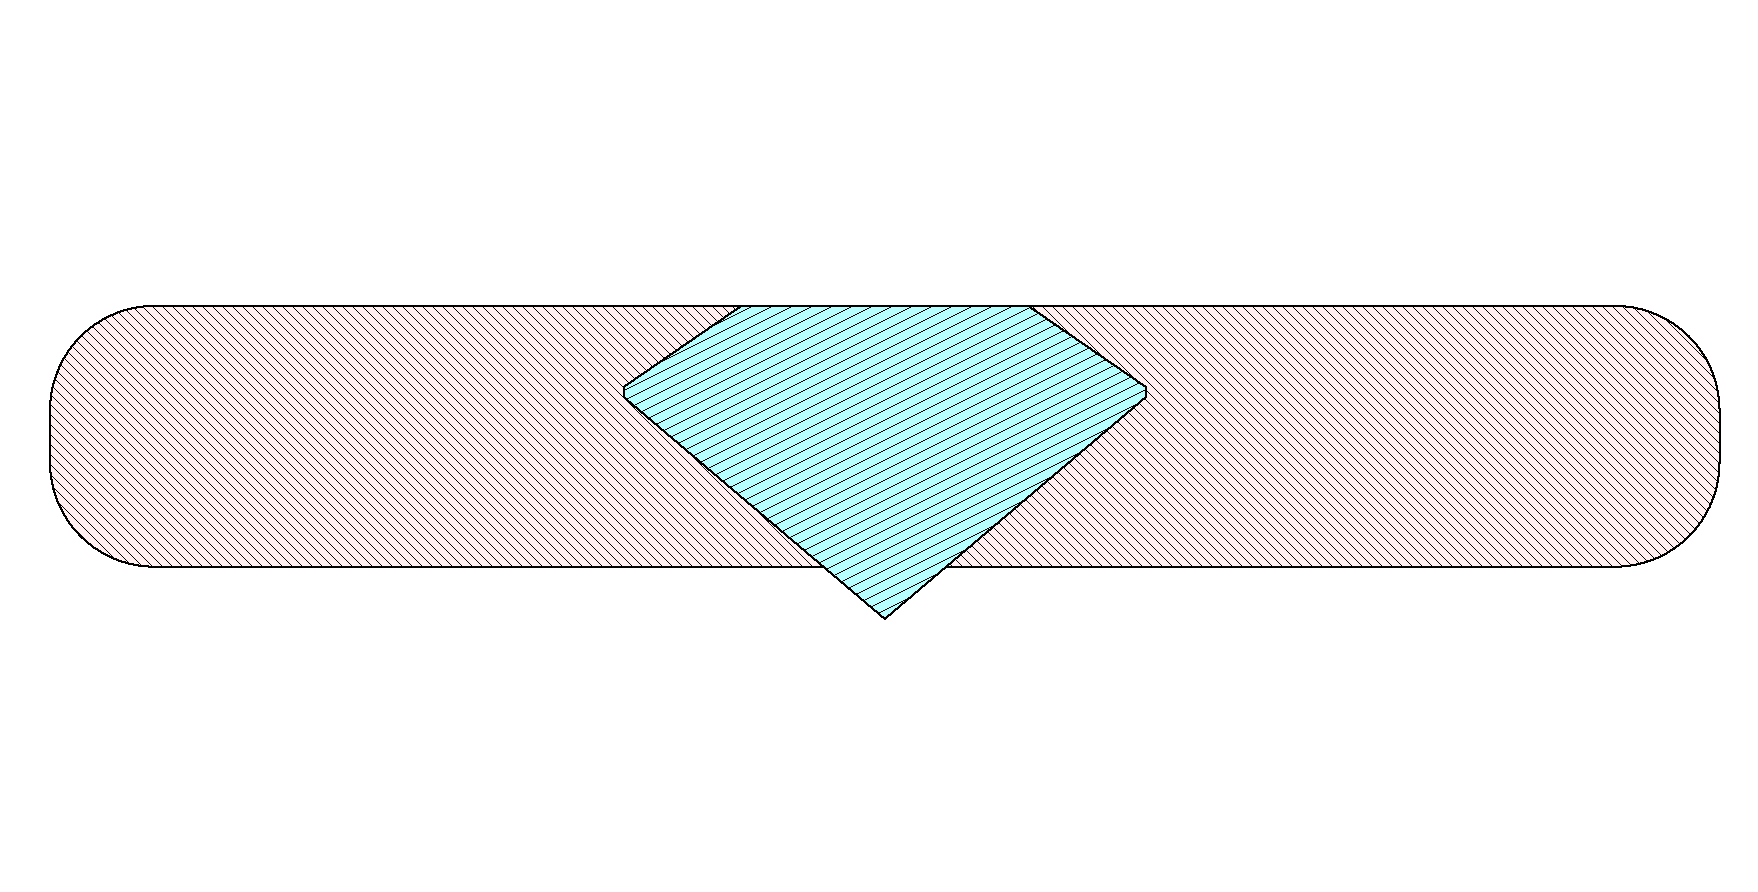
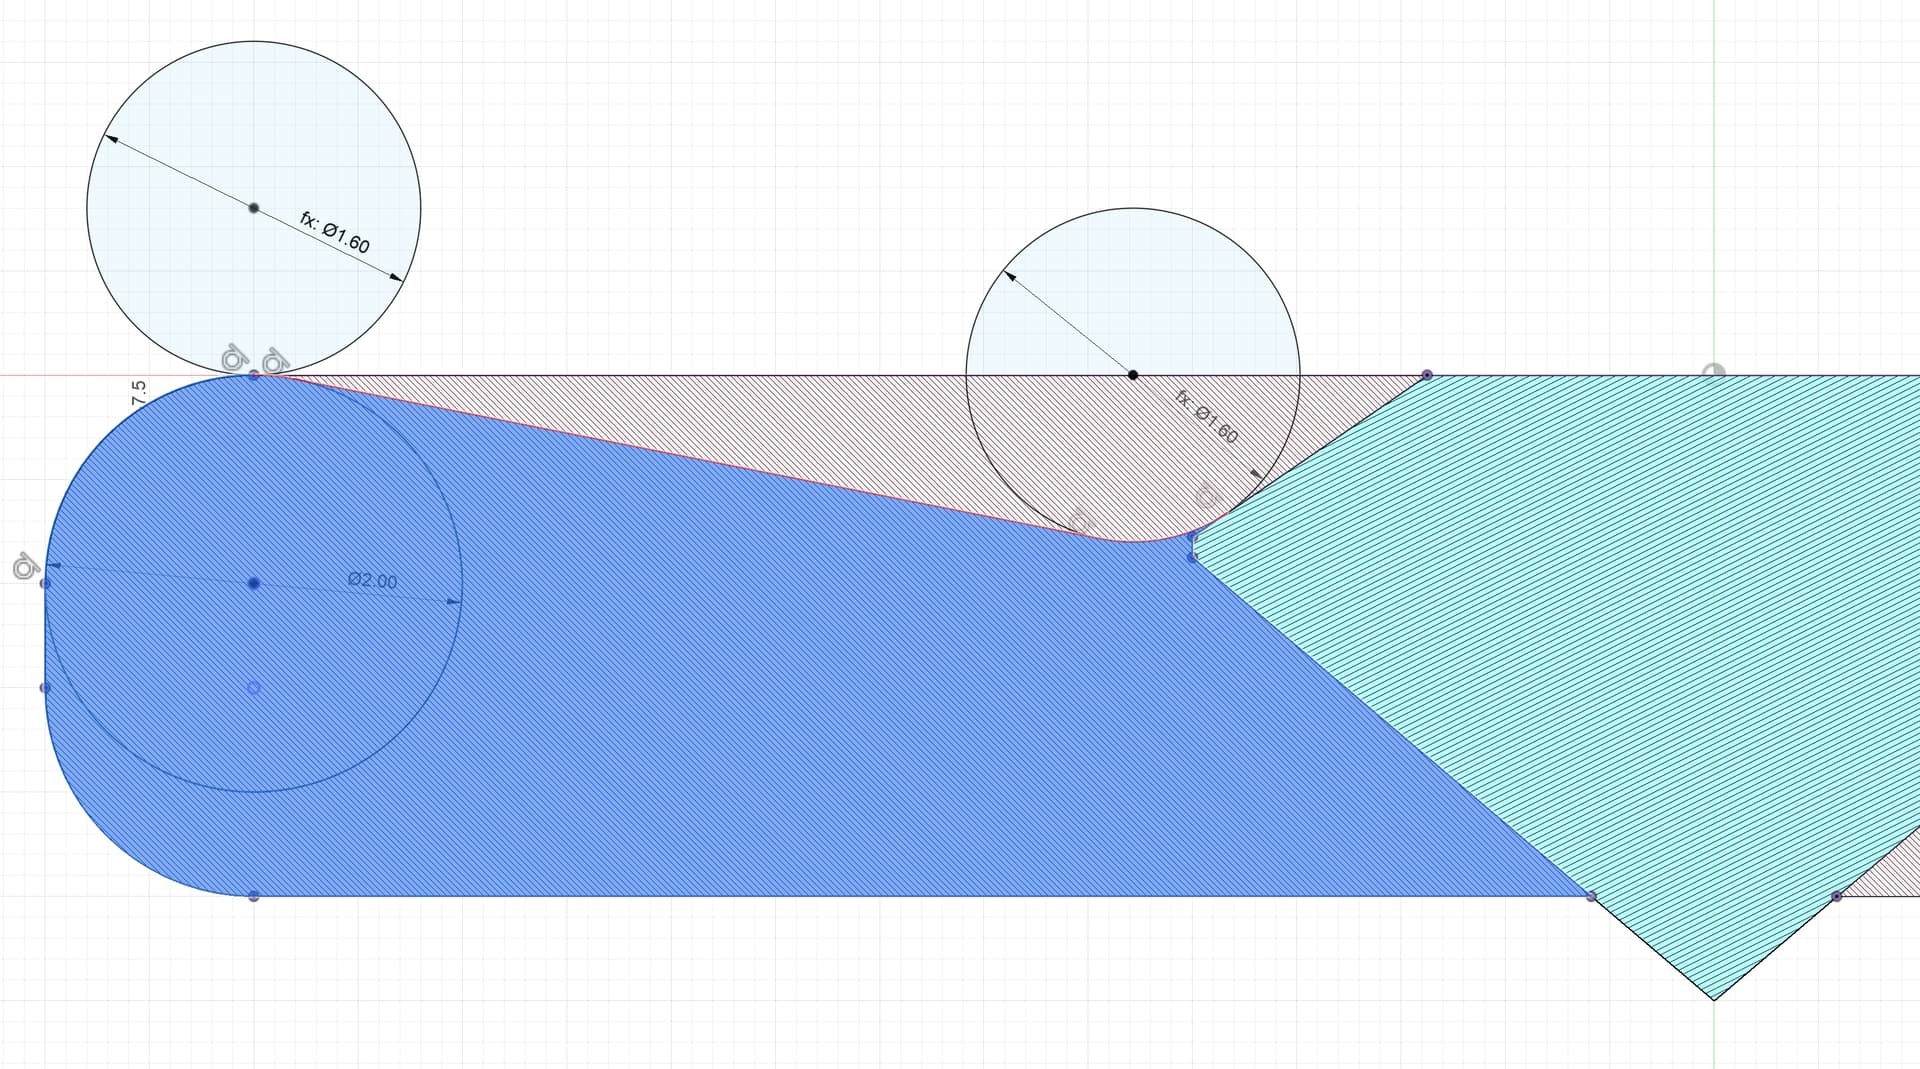
I’ve got my self centering vise which means I never have to re-zero after the first cube setup. This means if I have time, I can throw on some music and v-bit the numbers or pips into each face. I would also take the opportunity to try chamfering the edges and truncating the corners. (Folks who have been around may remember this idea from a long past due post :sweat_smile:)
It wouldn’t be terribly fun to index so many times but life isn’t always fun :slightly_smiling_face:

If I really run out of time, I can very quickly laser engrave the numbers. This always feels a bit cheap to me but in my experience, most folks think laser engraved numbers are still super cool so :person_shrugging:

Finally, I can make some variations of the dice. High polish brass, antiqued brass black, nickel plating, copper plating, all very quick and easy. Folks can choose their preference as they arrive and the late folks can barter with the other guests if they really want a specific aesthetic :stuck_out_tongue_winking_eye:

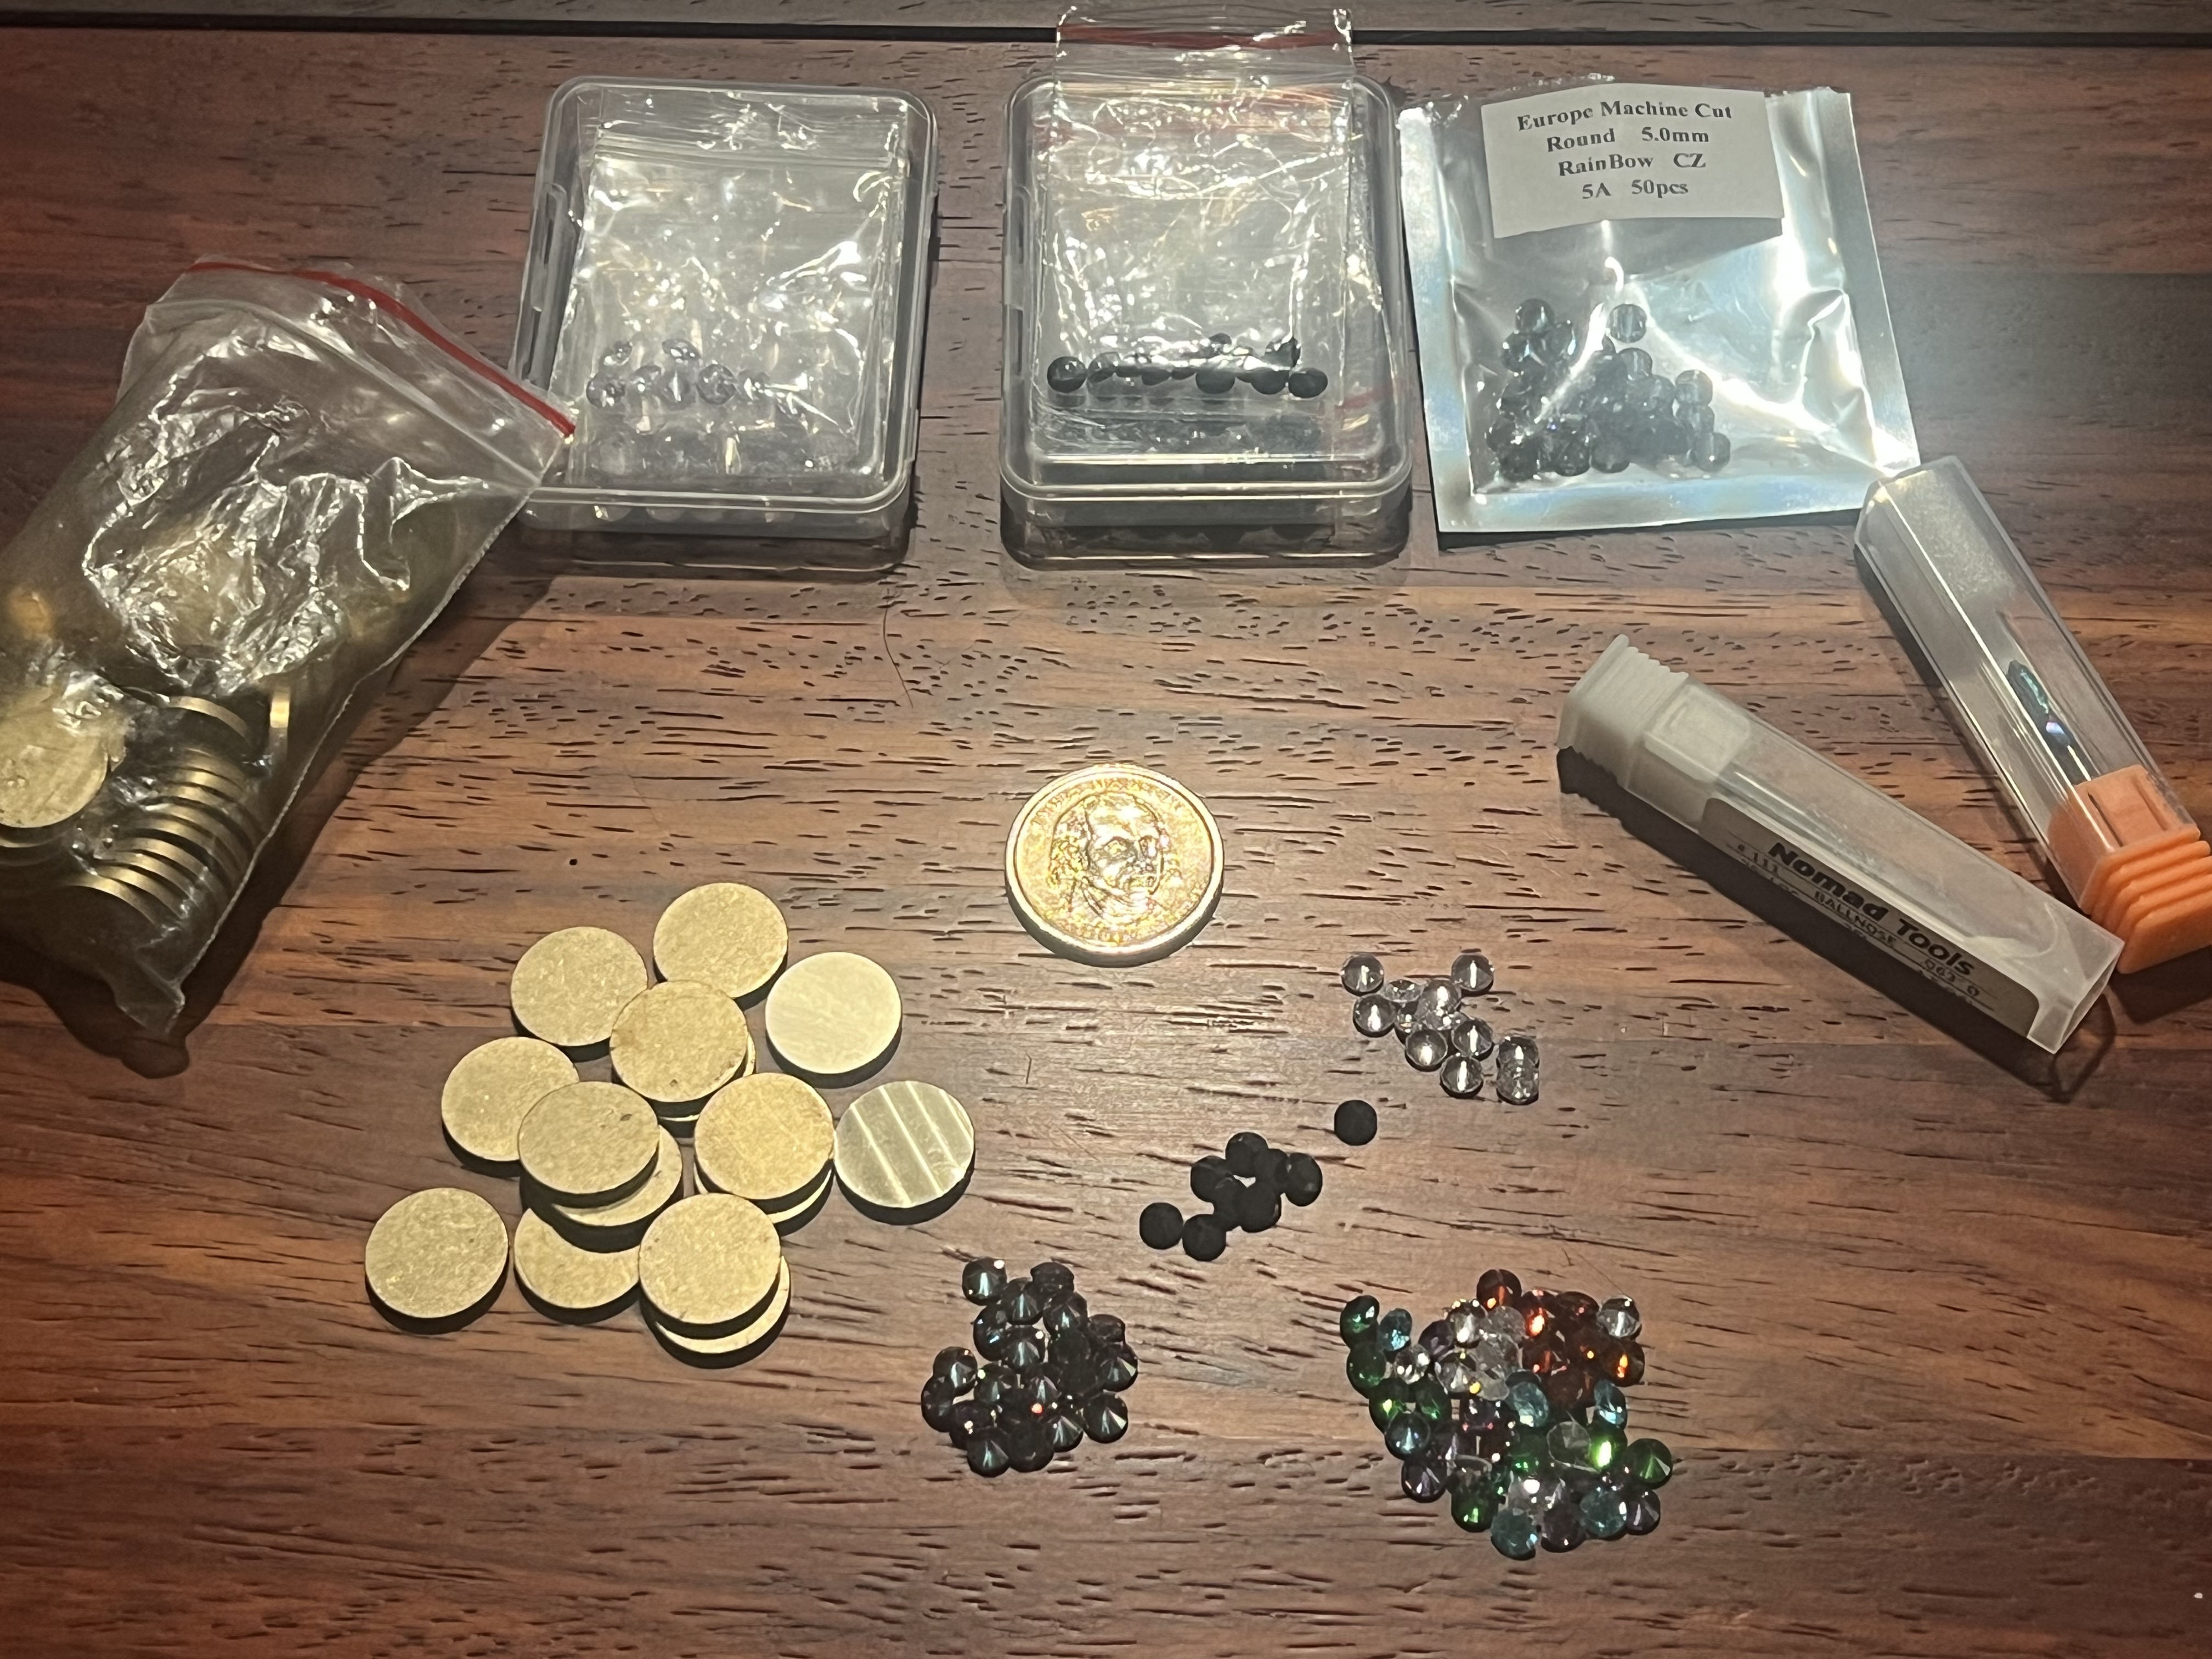
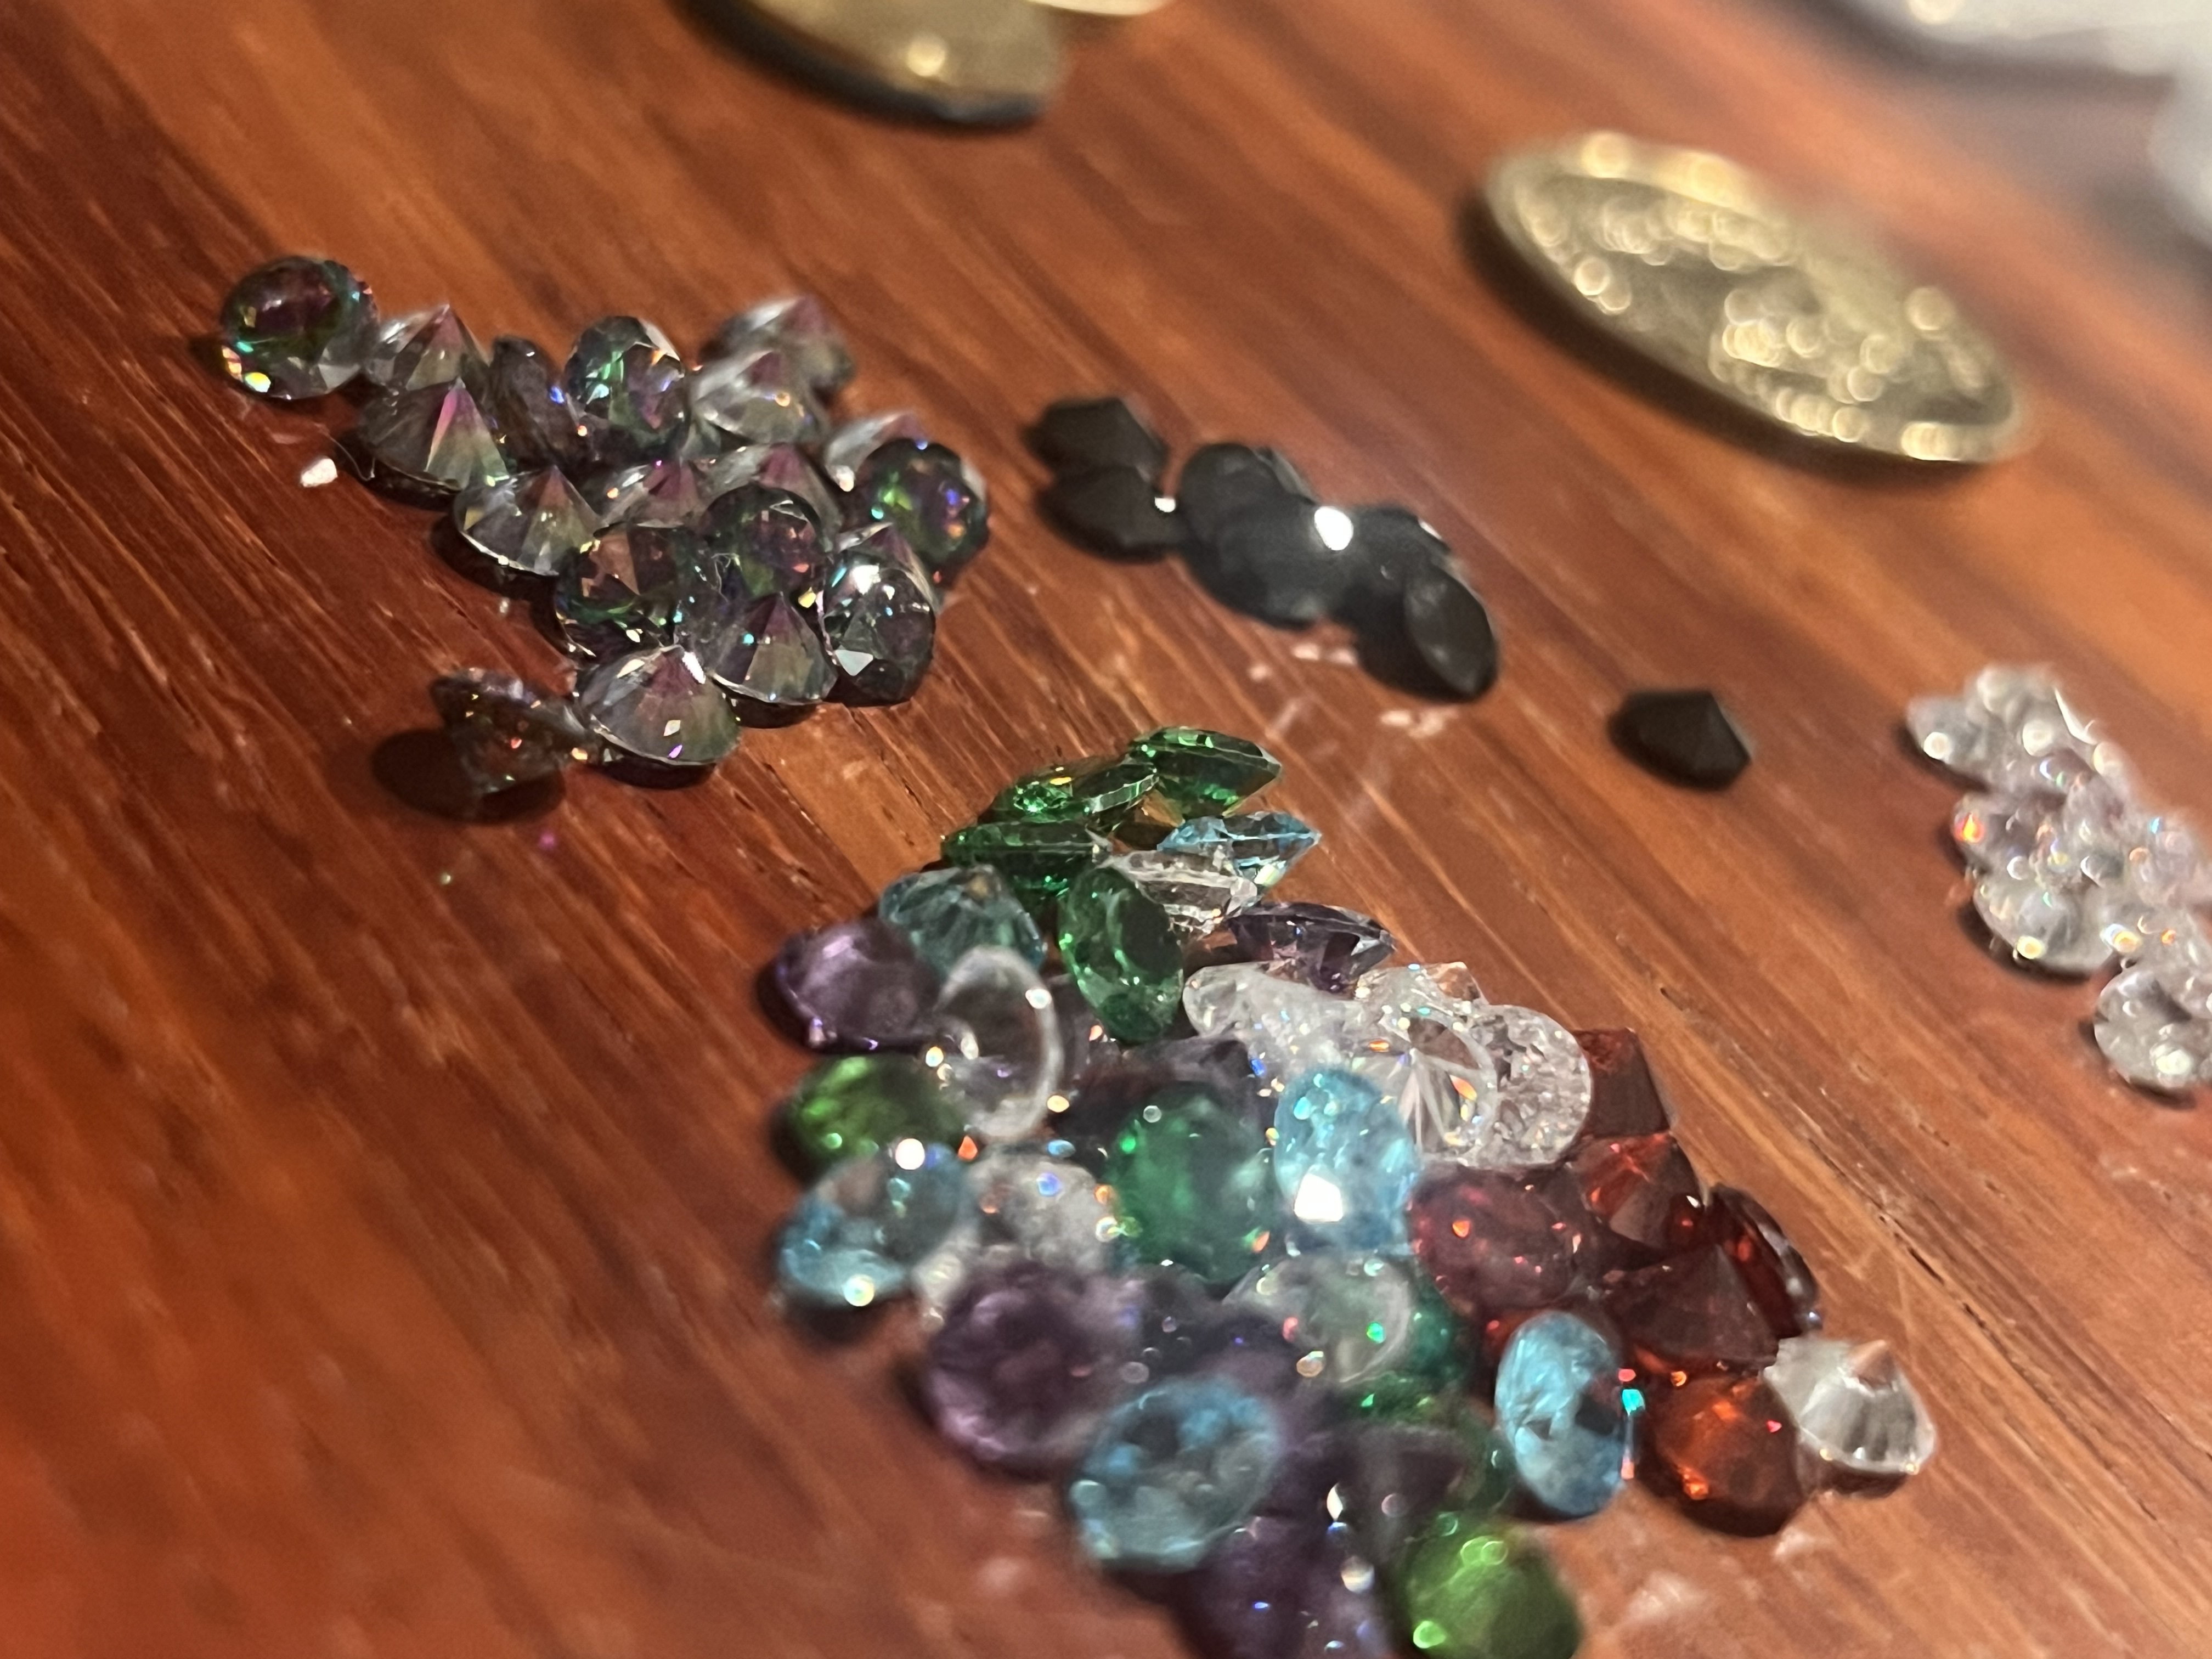
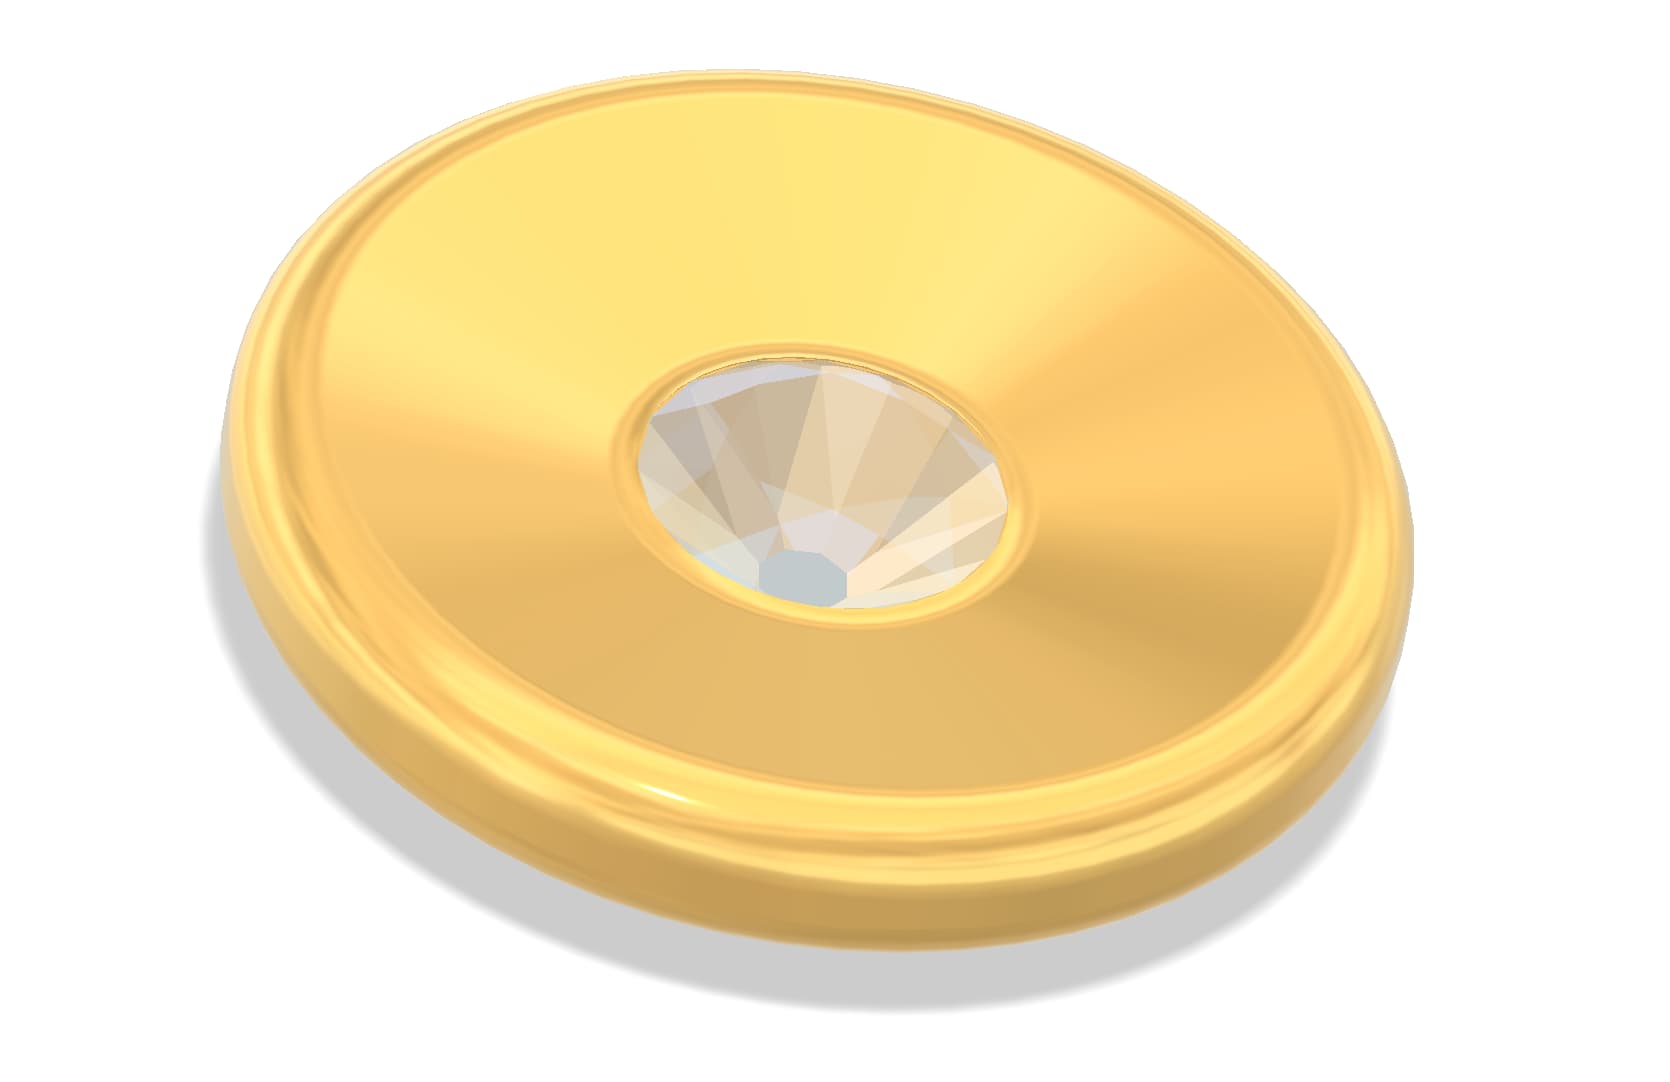
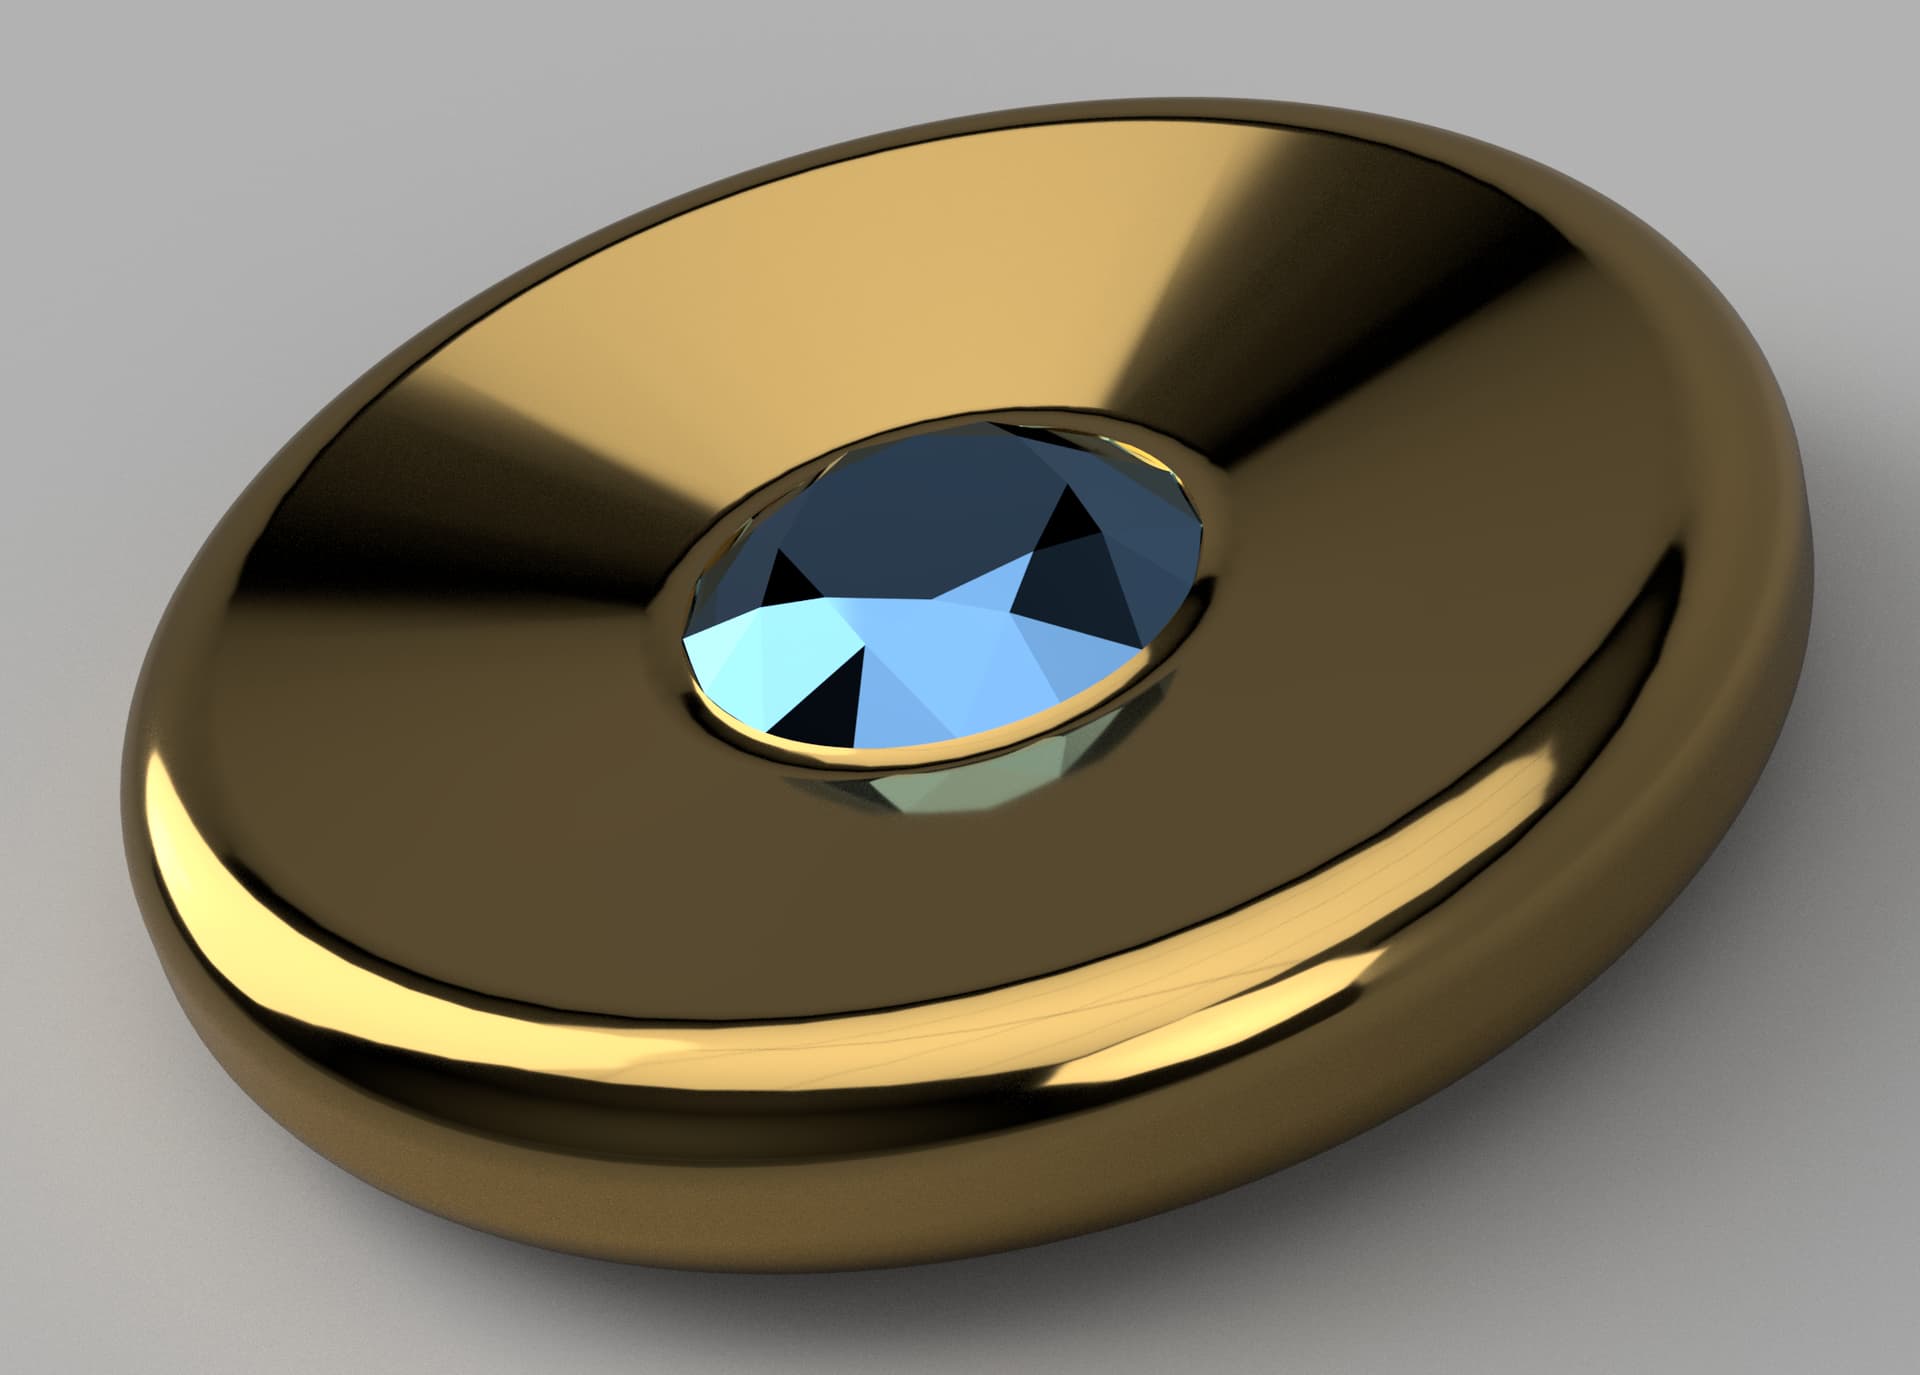
Finally finally, I can make some very fancy ones for the mini game prizes. With gems for the pips and precious metal plating (The jeweler will plate same day if I get them to him before 9am tomorrow morning. Done by 3pm, plenty of time to pick up the wife’s friend flying in from California…it’s gonna be a packed 24 hours.)

I won’t bother with all of the little in-between bits for now but I’ll post photos of the major updates along the way. Wish me luck :crossed_fingers:

1 Like

Example:

Raw stock:

2 Likes

The last time I made these dice I used 1/8” tooling. This required a flip operation since the 1/8” do not have the flute length to get through the raw stock:

I’ve learned that lesson. Any shift in material costs time in post processing to smooth out the virtually imperceptible line. Imperceptible by touch, but the light reflection does a great job highlighting my mistakes.
This is, of course, avoidable with some diligence and attention to detail but that’s not what I’m shooting for here.

Instead, I’m going to use my 1/4” tooling with 3/4” LOC. It’s a moderate waste of material but that’s the cost of doing business in this case.

The plan

OP 1: Slotting with the single flute coated #287-Z with a bit of stock to leave on the walls of the dice. A nice large gullet to evacuate chips but I’m going for the best finish I can off of the machine…which leads to
OP 2: finishing with the three flute uncoated #201
This will be conventional milling and the brand new 201 has a razor sharp edge. I have coated 201s but the coating very slightly increases edge radius, theoretically skipping the coating should provide the best finish in combination with the conventional. We’ll see.
OP 3: flip and lop the ~ 0.5mm hat off.

Hopefully super glue directly to aluminum is enough to keep OP 3 happy, I’ll soak in acetone while the next batch cuts to get it off.
I’ll report back if things go catastrophically wrong :slightly_smiling_face:

1 Like

In doing the Toolpaths I’ve hit a bit of an interesting issue. Surface speed for brass is in the 300-500SFM range.
With a 1/4" tool that ends up being fairly low spindle speed. Only 7639rpm for 500SFM.
Without having access to the power band info, I’m not sure if there are any speeds I should necessarily avoid. Is 8000 too low to be useful :person_shrugging:
We’ll find out!

Anecdotally, based on very little experience so far:
Brass 464 likes lower speeds better. Kind of a bummer but that’s the way it seems to be :man_shrugging:

Given the same chipload, 9000 rpm produced clean edges with no notable burr. Even a small bump to 12,000 rpm started leaving a large burr off the edges of the cut. Not much of an issue, just means a slightly lower MRR than what would otherwise be possible.

Also of note, larger tools means larger transverse forces…super glue has failed me. Twice :smiling_face_with_tear:
Looks like I’ll have to do some real work holding after all. On the bright side, it cuts beautifully until the bar flies away :grin:
Oh and the lower rpm makes for a much quieter cut. Another small win :hear_no_evil:

2 Likes

This topic was automatically closed 30 days after the last reply. New replies are no longer allowed.