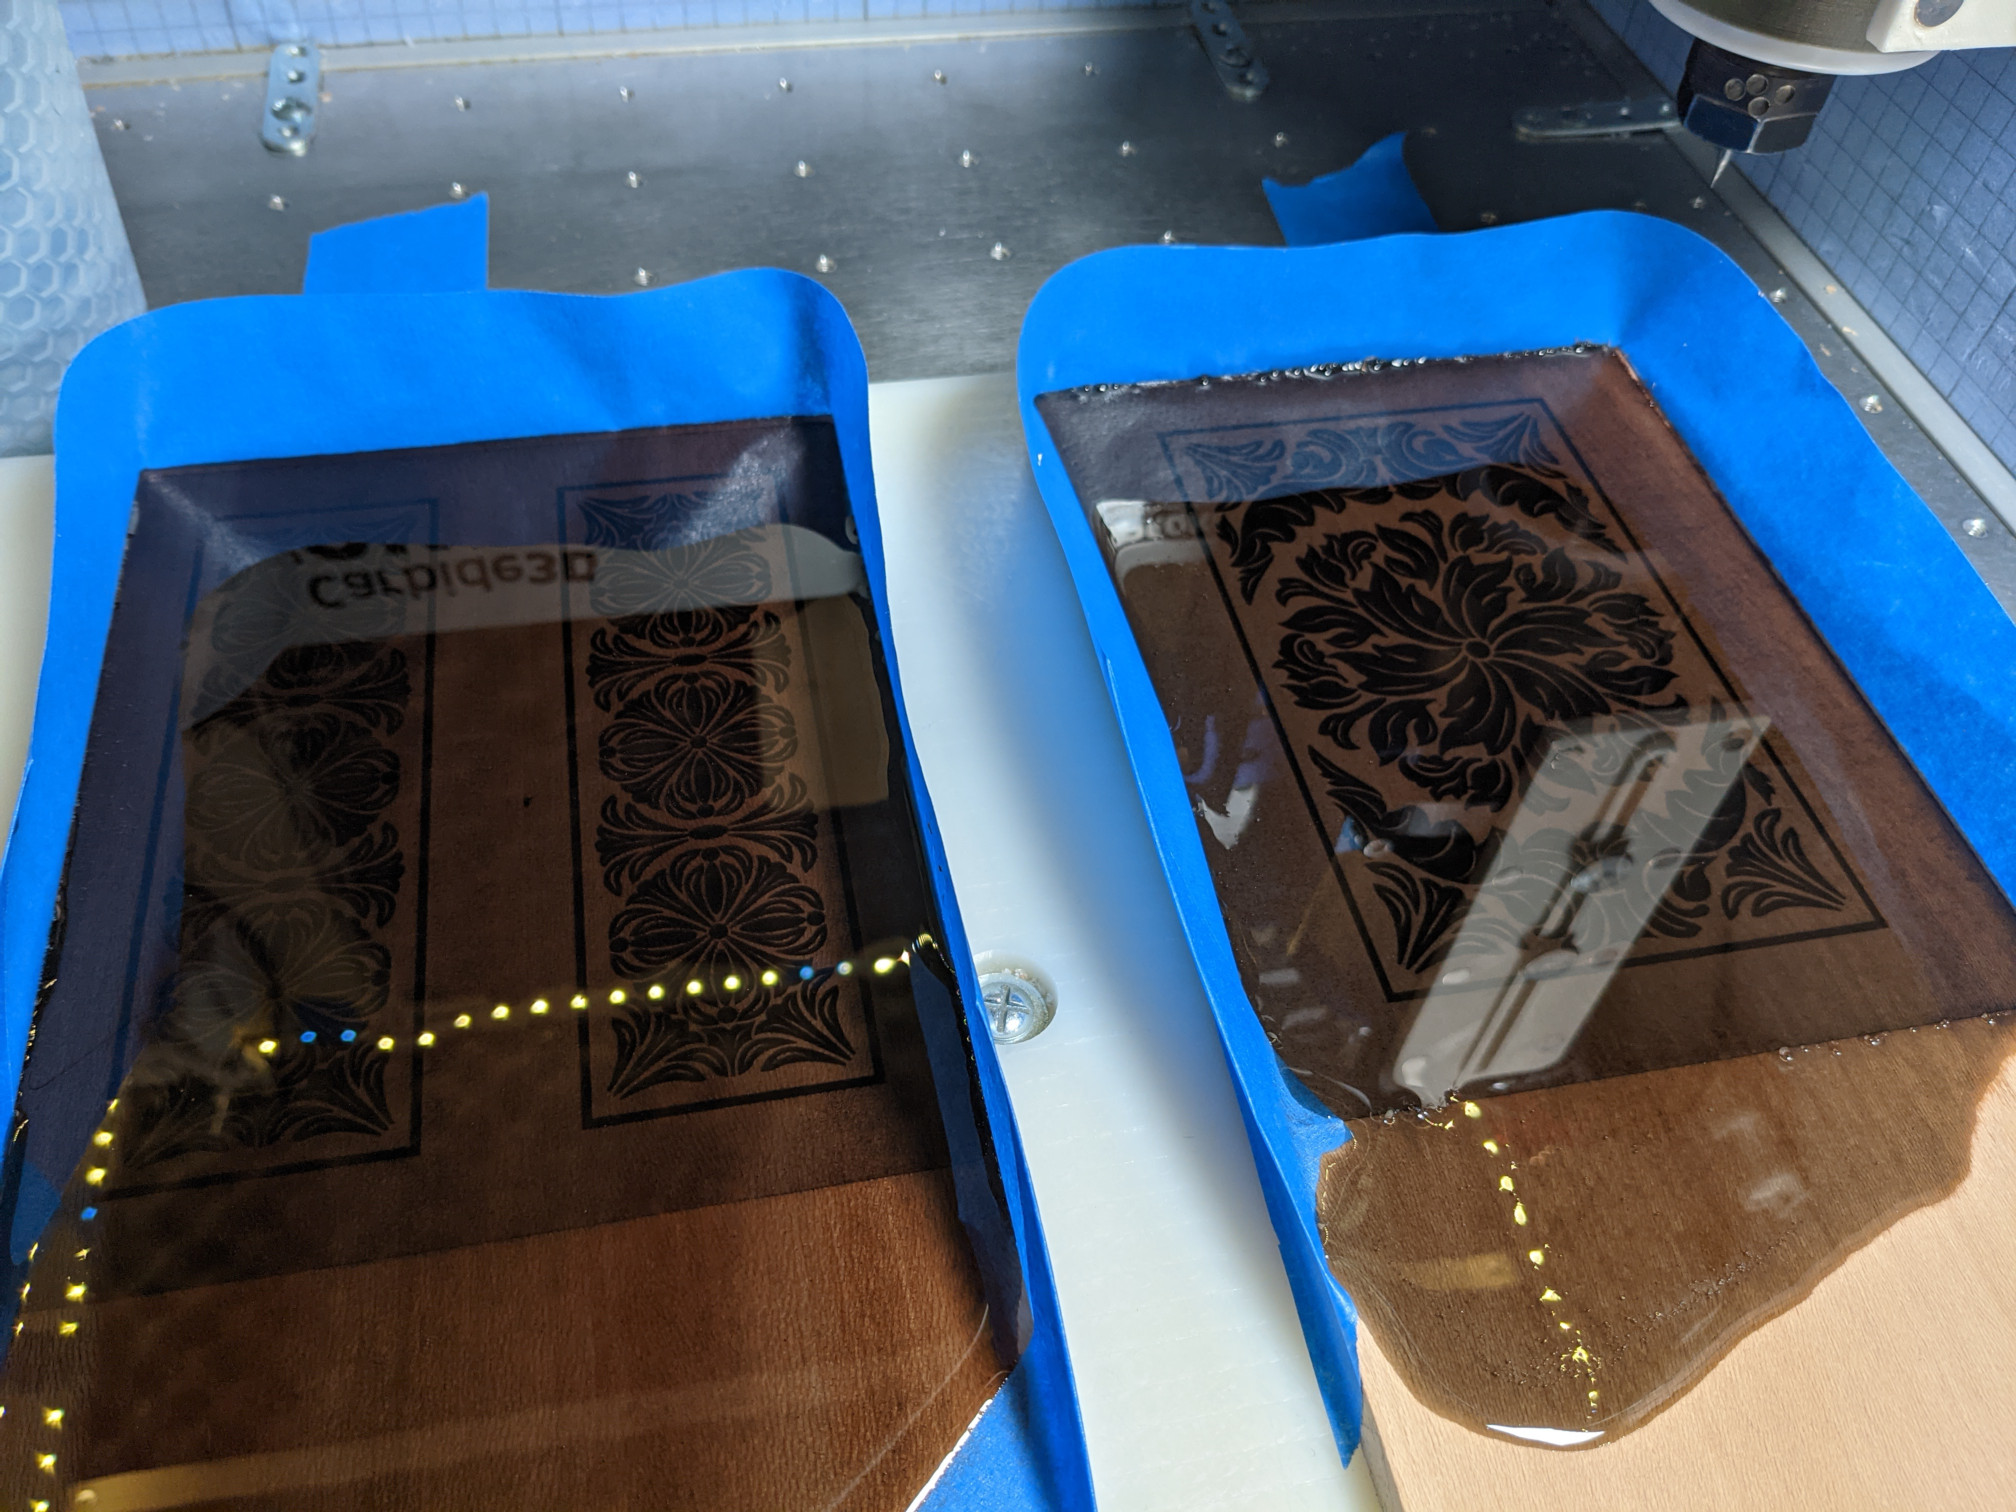
I finally got around to making a jewelry box for the Mrs, and thought this would be the opportunity to make a “Paradise Box” (Vectric sample project), with a little twist (inverting the carved parts and filling them with black epoxy). I also made it much smaller.
Anyway, I thought I would post a few pics from this short project.
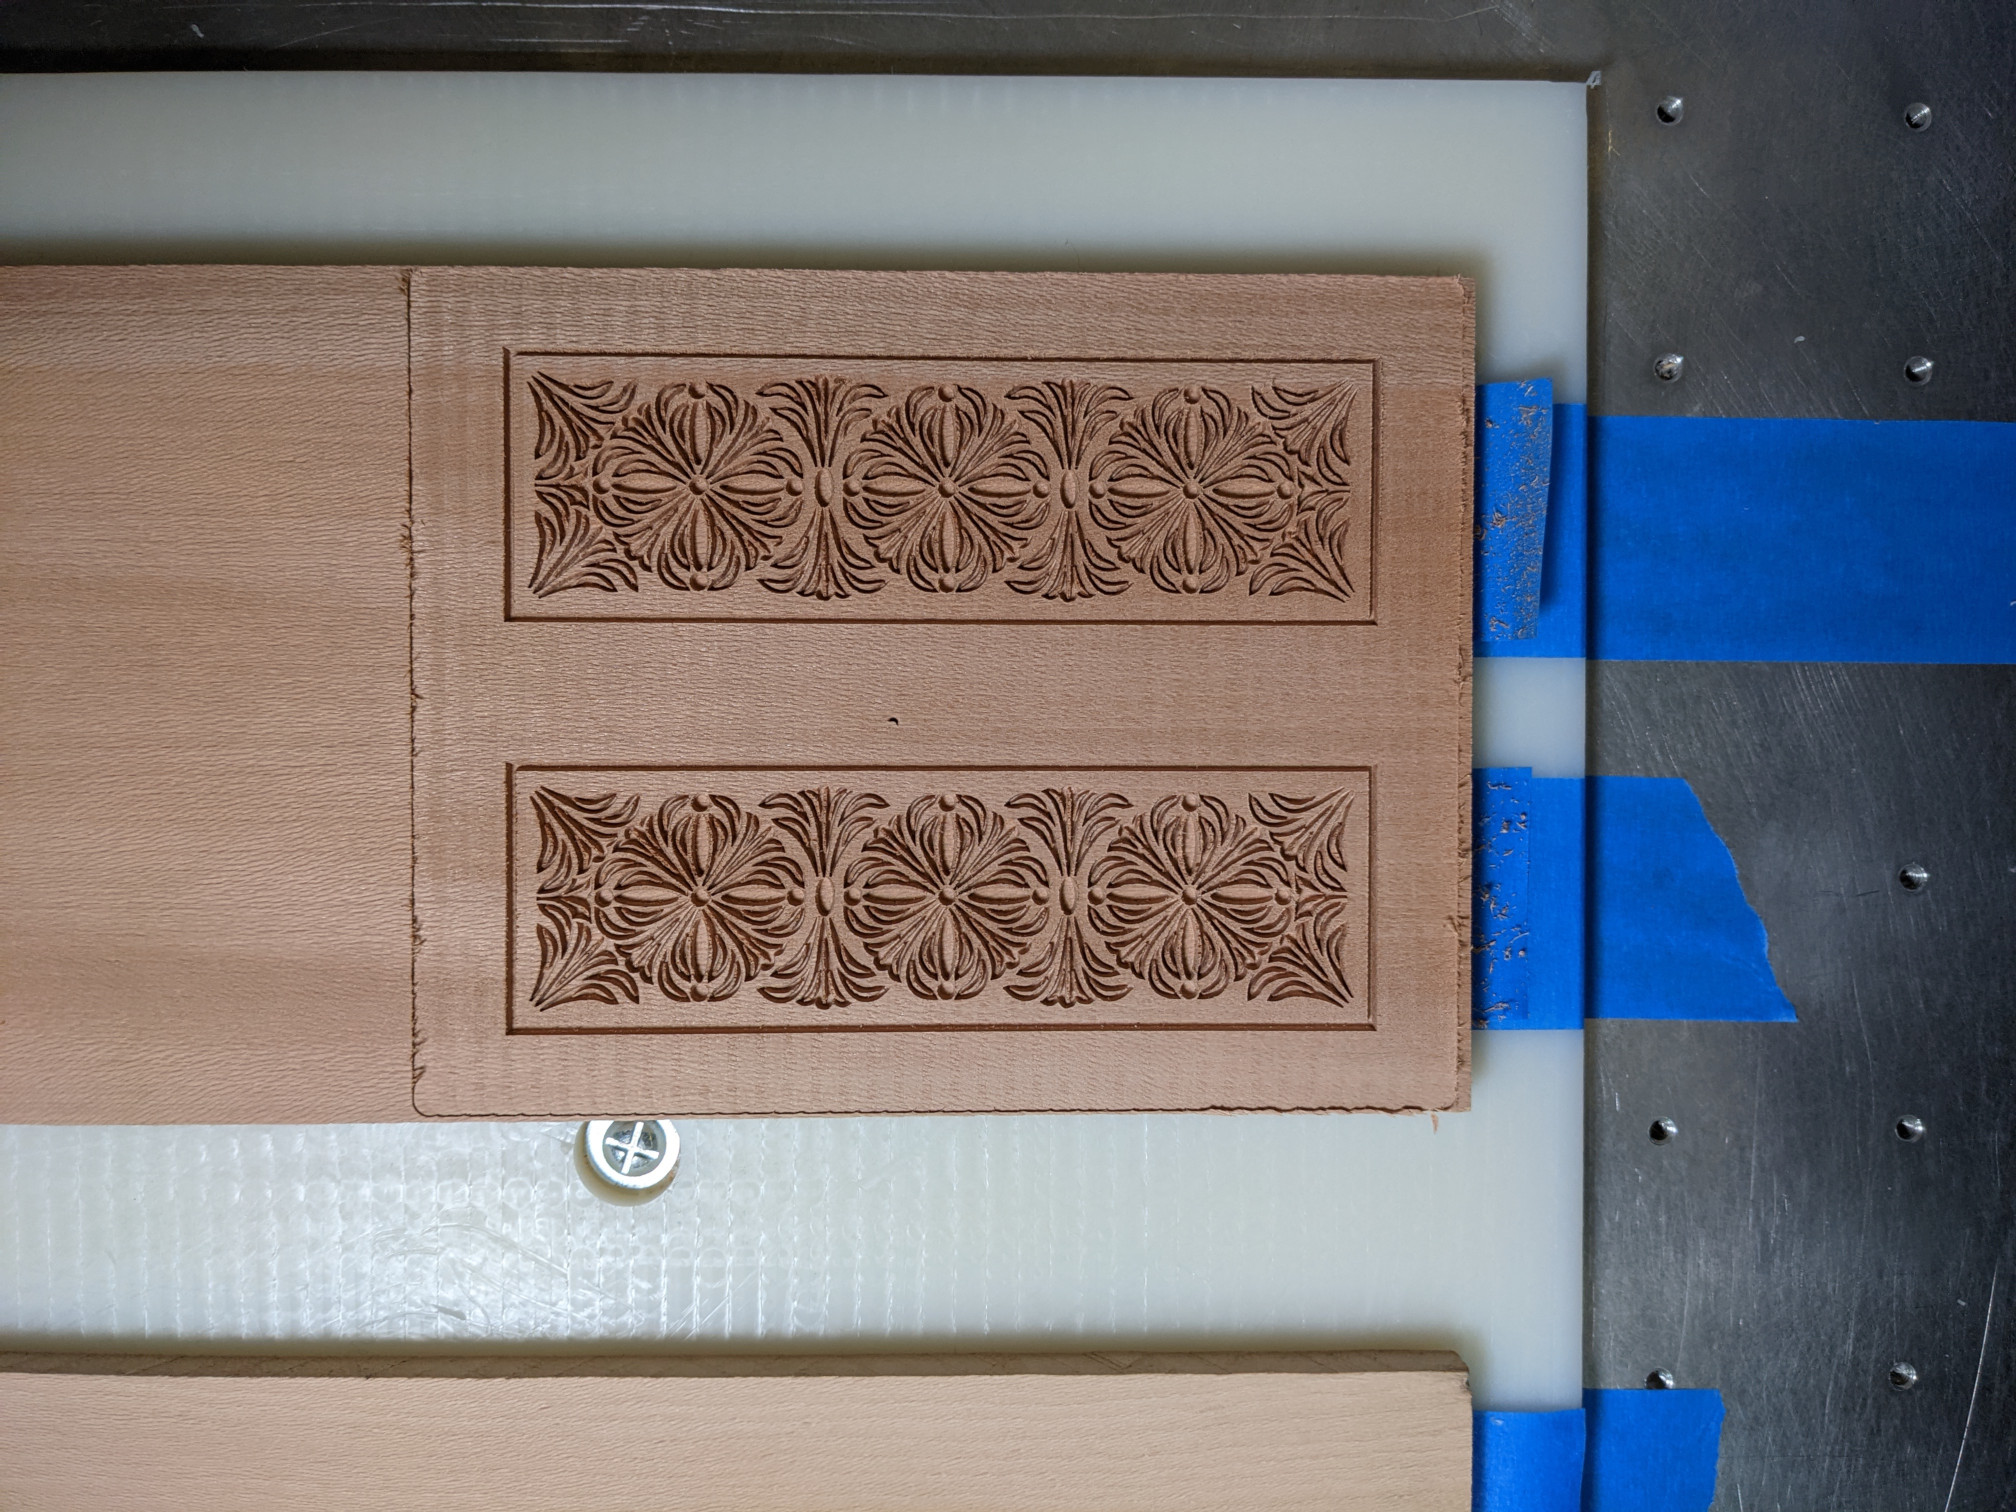
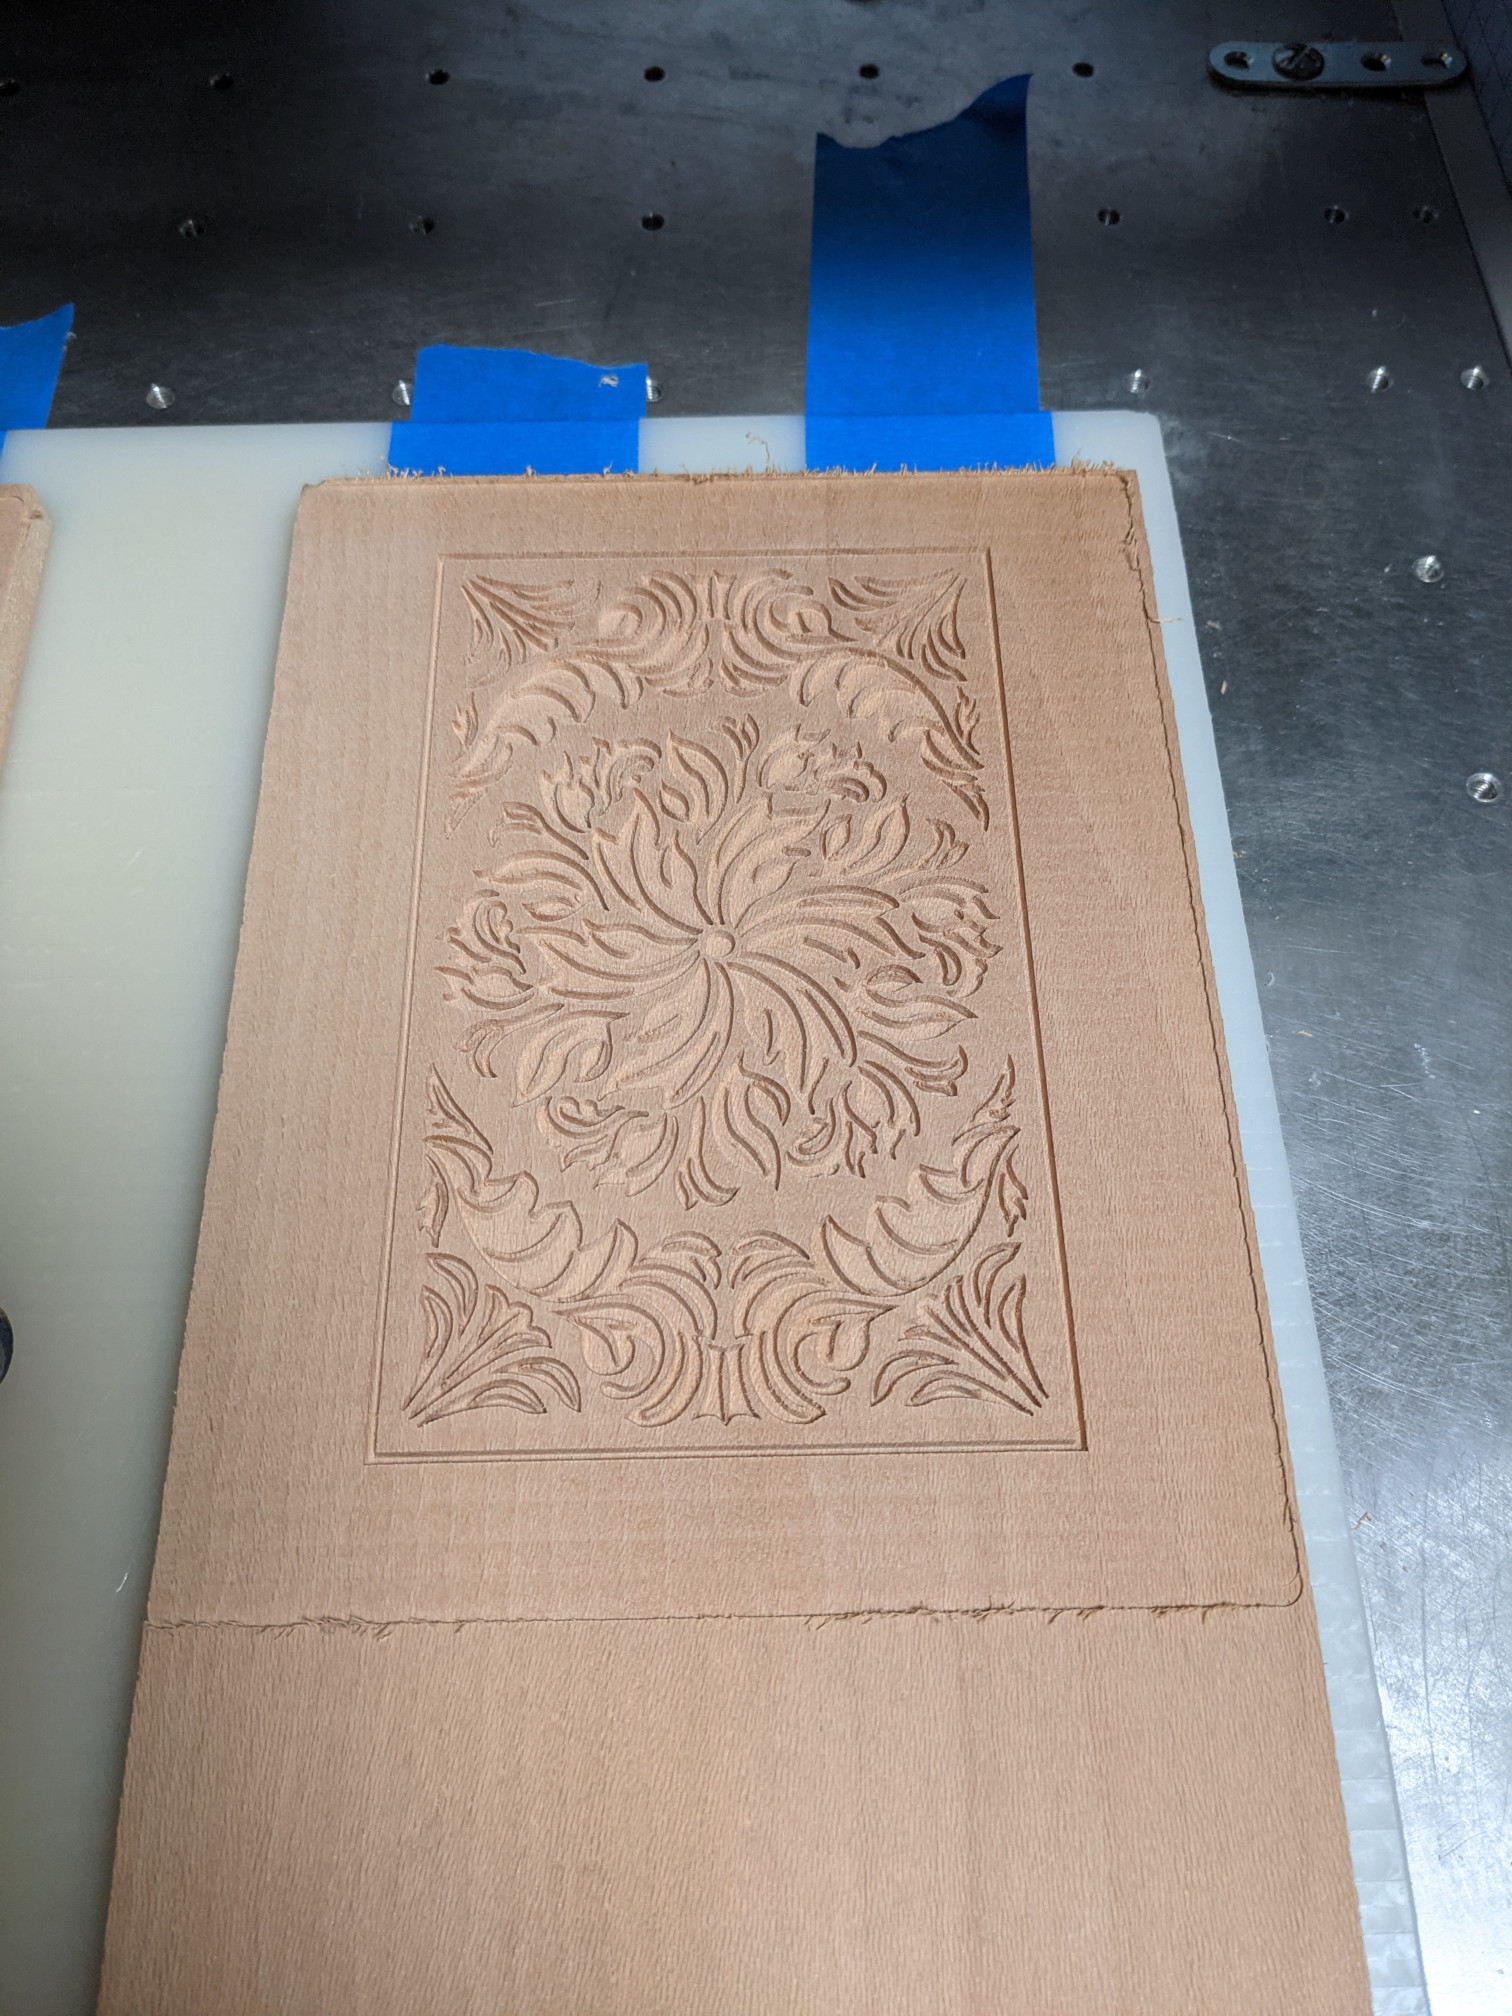
First, surfacing two pieces of plane wood tree, then carving them with a 25° vbit,
I’m not the following the trends on any social networks so I’m possibly the least likely to know
Personally I would like to try making objects that include both milled parts and other things:
wood and (actual) stained glass would be great (to learn how to cut glass, at least)
wire inlays: there was a thread recently about this and I bought some EL wire, I think there is great potential in that idea.
I have always wanted to combine CNC and 3D printing, I’m still looking for the right project for this. It’s easy for objects that serve a purpose, but much more difficult for objects that are supposed to look great.
Believe it or not I do not own a fly cutter. Buying a decent one is on my todo list, but I hardly ever feel like I absolutely need one. Probably because I have a SO3, not an XXL, so the pieces I’m cutting are never large enough that surfacing with a small diameter endmill is a real problem.
I bought liquid dye, and mica powders, and usually use one or the other or both. Honestly, I don’t know what I am doing when it comes to coloring epoxy…I’m sure other folks here would have tips.
I also get my epoxy off Amazon, but there again I go for whatever I can find that is cheap, because for now I only use it for inlays, so I don’t think the quality of the epoxy matters much. If I were doing large river tables or countertops, I would put more effort in finding/buying the good stuff. I’m also frustrated that you guys in the US have lots of options for quality epoxy products, and I can’t seem to find similar options locally (but then again I have not tried very hard).
In French it’s “platane”, I had to look up the translation and it seems to be “plane (tree) wood”. Its face grain sides are not very interesting (see underside of the box cover), but the endgrain sides show that leopard-like pattern indeed.
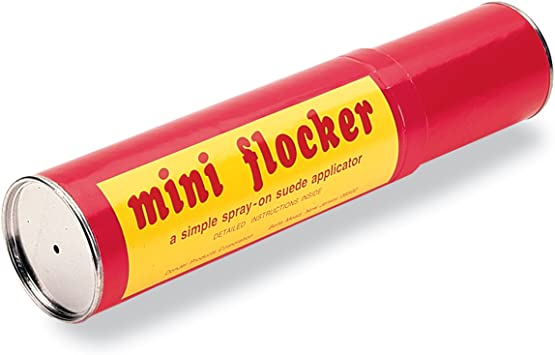
I saw the excellent results you got with that Flock-It product, unfortunately it seems like it will remain one of those things that are not accessible for us Old World folks:
@Julien I’m actually not a big fan of flocking. It works and it’s necessary for certain pieces, but I love the grains of beautiful woods and I hate to see it covered by anything. But…it has its applications.
The Flock-It kit is easy and durable. It’s what has been used for years. The synthetic leather flocking is probably more durable than felt or actual leather combinations.
If you’d really like to get a hold of a Flock-It kit, and don’t mind paying the postage to get it to you, I’d be happy to buy it for you and ship it. Contact me directly. Not looking to become a distributor, mind you!
As Gary said I am not a fan of flocking but it does work. You apply a glue to the project and blow on the powder/flocking wait for it to dry and blow or vacuum off the excess. Sometimes you can recycle your waste but sometimes it has chunks of glue you dont want to contaminate your good stock/powder with.
On your box you took the covering up the back and sides. I used to make captured bottoms on boxes but now I make my box with no bottom and rabbet out a 1/2 inch wide rabbet 1/4 inch deep. The rounded corners left by the rabbeting bit are fixed with a corner rounding jig I have from Rockler. With the 1/2 inch wide rabbet I can make a plywood bottom to fit the opening and then use adhesive (3M 77) to adhere fabric, leather or any thing you want. Then I trim the excess off with a rotary knife (Fiskars) and then countersink and drill holes for #6 screws, I drill and counter sink before applying the material. You get a very nice smooth bottom fabric covering that can be replaced in the future.
I also like to put ring bars and trays in my jewelry boxes. This paradise box is shallow so a tray might not fit but you could put a lattice in the bottom to make compartments. With small boxes I usually do not try to divide the box because larger items cannot fit. If the box is large enough even a center divider works well but make it so it can be removed if the person using the box wants a larger compartment.
The way I applied mine was to tape standoffs at the corners after spraying the adhesive, then I put the part in a Zip loc back w/ the flocking, shook the whole thing, then turn it upside down on the standoffs and waiting until the glue had cured, then set aside the Zip loc bag for future reuse.
Hi Julien: I should have asked these questions long ago about your epoxy inlay. I’ve only done some minor epoxy inlay and had questions about your efforts with such a detailed pattern to fill.
Did you do an over pour with the epoxy to fill in
the entire pattern?
Did the epoxy not saturate the surface as a stain?
Did the epoxy “sag” from being absorbed into the
wood?
When surface milling did your bit gum up?
How did you get the “shine” back on the epoxy
after the milling?
Yes. I’m not able to do the precise pour I see folks doing in videos, so I just pour like a savage.
The trick is to apply a thin coat of clear epoxy on the surface, let it dry, and then proceed with the actual pour. It prevents any bleeding and also prevents air bubbles from appearing while the epoxy is curing.
If you do #2, it doesn’t.
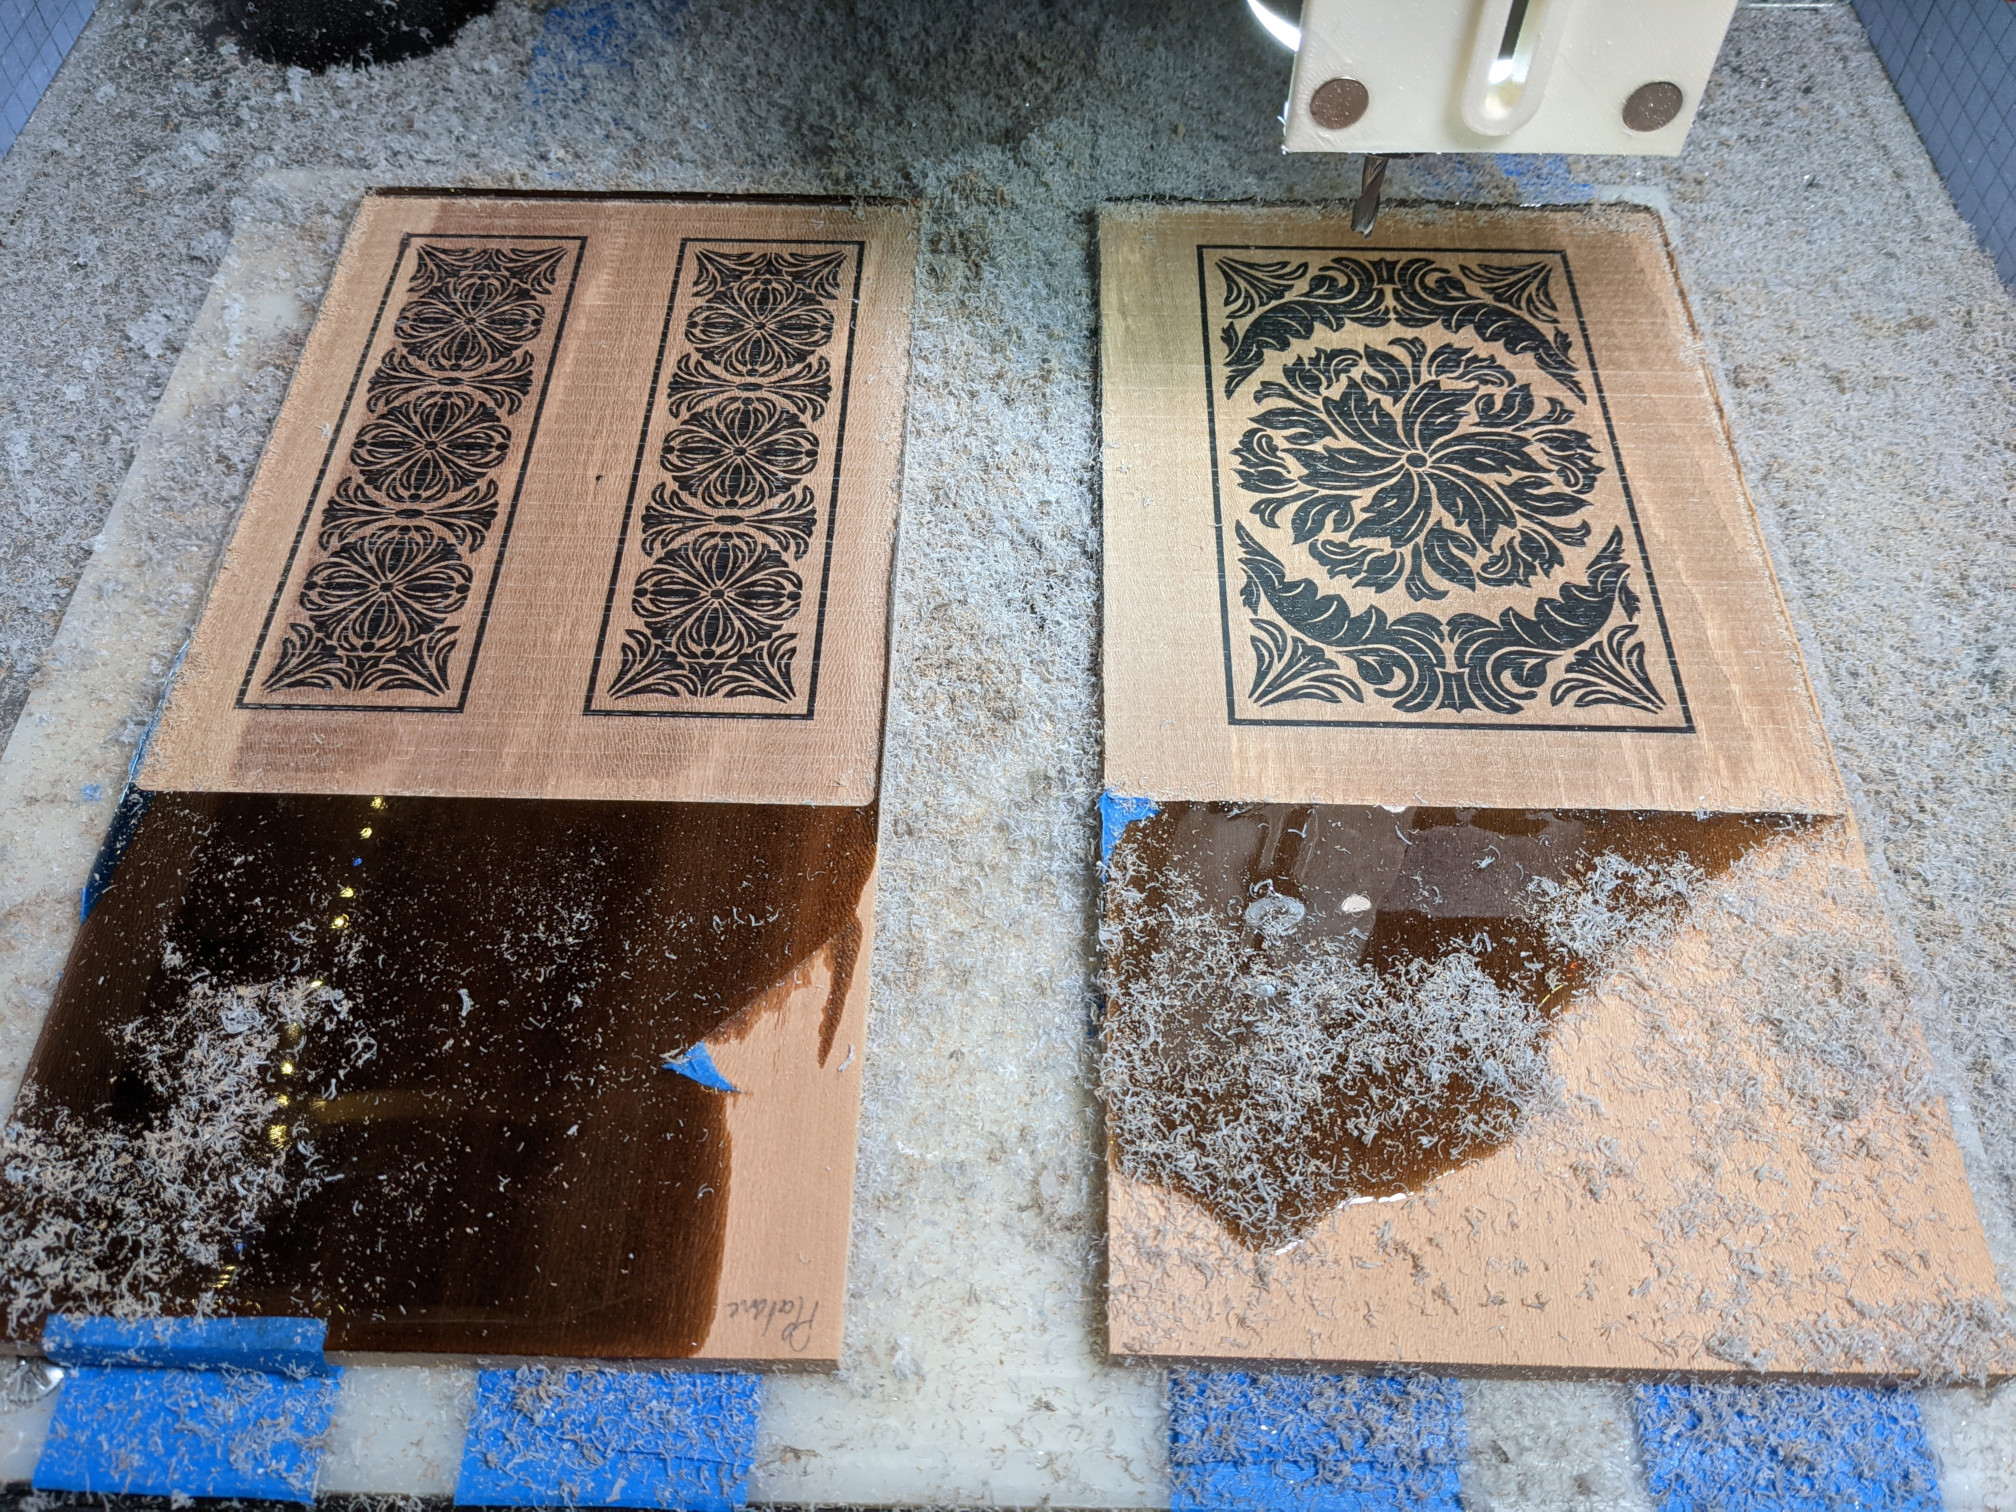
Nope, the trick is a) to be patient and let the epoxy harden completely, and b) to feed fast. Like, 200ipm.
Manual sanding down to about 2000 grit (wet sanding from 500)
It’s a matter of minutes to prepare a small amount of clear epoxy and apply the coating, then a couple of hours to let it cure. Not a big deal…unless you are in a rush and then it becomes “optional” really quickly