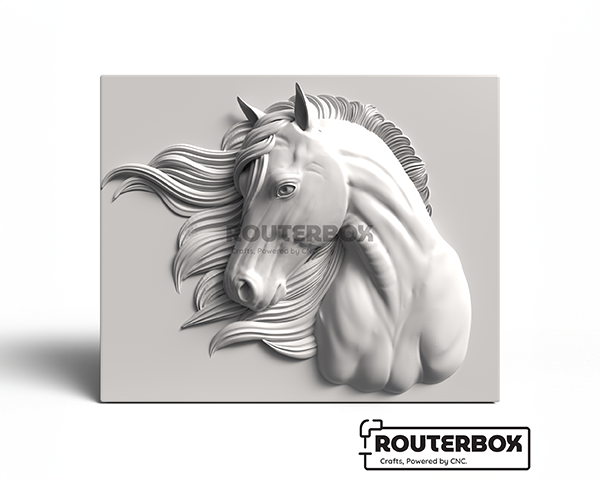
TOT806
August 31, 2024, 11:04am
1
i just got my machine and making something from a purchased file instead of trying to design my own. I was under the impression that all I had to do was click 3d rough and 3d finish but that is not the case can someone help me with this file
WillAdams
August 31, 2024, 12:05pm
2
You have to draw and select geometry which defines where the 3D toolpaths will be cutting.
See:
https://carbide3d.com/hub/courses/create-pro/3d-tool-import-stl/
and also see
First, configure the stock:
[image]
Draw in the geometry for the bowl and place as desired:
[image]
Inset by the desired width of the rim of the bowl:
[image]
[image]
Offset to the outside of the bowl by endmill diameter plus 10%:
[image]
[image]
Draw in geometry to define the stock (since we’ll be working subtractively):
[image]
Go to the 3D model tab and model the stock:
[image]
Select the geometry for the inner curve of the bowl and model it:
[image]
[image]
Then im…
and
as requested on support…
Given an STL file:
[image]
which one wants to cut out as:
[image]
one first loads it into Carbide Create Pro:
[image]
which previews in 3D as expected:
[image]
When an STL is imported, the perimeter will be traced:
[image]
Assuming one wants to cut around the 3D object, one offsets from this by endmill diameter plus 10% or so:
[image]
[image]
It is then possible to assign a 3D roughing toolpath using this offset geometry:
[image]
[image]
Then a 3…
— note that only binary format STL files may be imported:
If presented with a set of STL files in ASCII format such as:
[image]
which will not import into Carbide Create Pro, they must be opened in a 3rd party tool such as Microsoft’s 3D Builder:
[image]
and re-saved as a binary STL which will then import as expected:
body_binary.stl (1.8 MB)
[image]
If you’re still stuck, mail the file in to support@carbide3d.com and a description of the dimensions which you want to cut it at and we’ll work up a custom tutorial at:
This category is for Tutorials relating to creating projects on your CNC machine.
system
September 30, 2024, 12:05pm
3
This topic was automatically closed 30 days after the last reply. New replies are no longer allowed.
