Hey guys,
One technique I’ve been wanting to try for a while is playing around with inlays and while i understand the basic principle, I’m having a bit of a hard time wrapping my head around the specifics of making it work. It got me thinking, is there a reason why using the same vectors, cutting one piece of stock as the pocket and the other with a outside contour wouldn’t work? Basic example: create a circle vector and apply a pocket toolpath and use the same circle vector with an outside contour for 2 pieces that in theory should fit together?
What you describe will work so long as there are no acute points which would prevent it from happening.
Consider a circle — it would “just work” — but a square, triangle, star, &c. won’t work because the geometry doesn’t match.
That said, if you inset a shape by the radius and then offset it by that radius again, so long as there aren’t any sharp interior corners it will work.
If you’ll post a design which you wish to make thus we can walk through this w/ you.
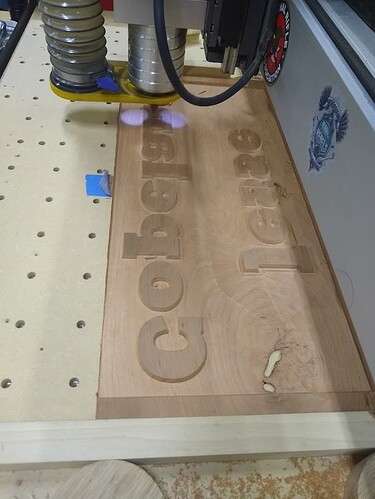
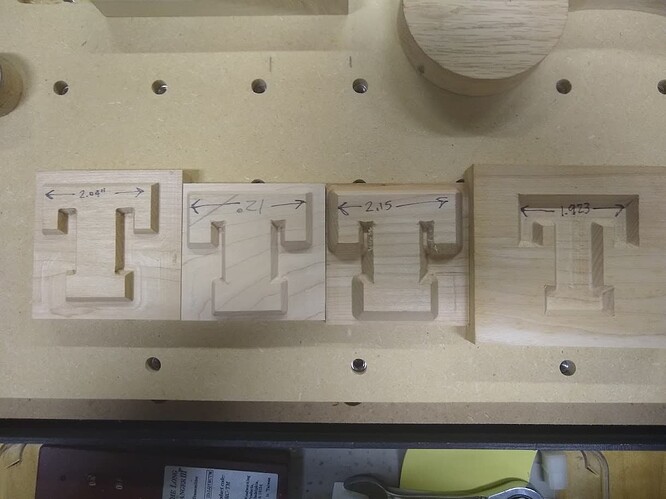
To make an inlay I use a 60 degree vee bit with advanced vcarve. The female pocket is limited to .2" for me and the male plug is limited to .21". The make plug you reverse the image and draw a rectangle and/or a circle around the male plug. You use advanced vcarve but you start the depth of cut at .1". The reason is because that makes the male plug slightly smaller than the female pocket. If you start both at the top of the material the male plug will barely go into the female pocket. So by making the initial cut at .1" below the top the male plug is slight smaller and will be seated deeper into the female pocket giving you a better side grip for glue to stick the two pieces together.
By drawing the rectangle/circle around the plug you cut that part off before gluing the two parts together.
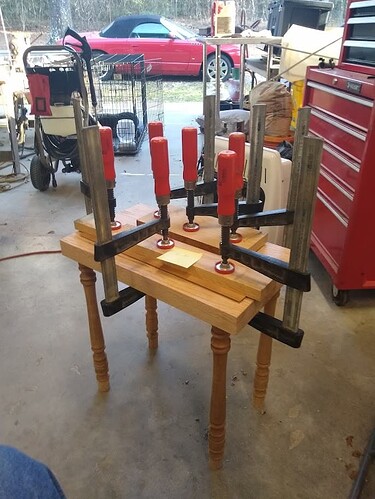
In the picture above I just cut off the edges close to the text and then glued up the plug.
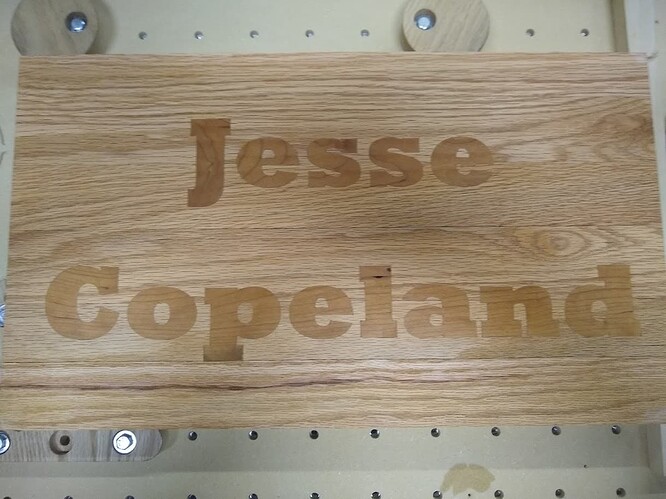
Here is an example of making the female pocket and male pocket start at different starting depth.
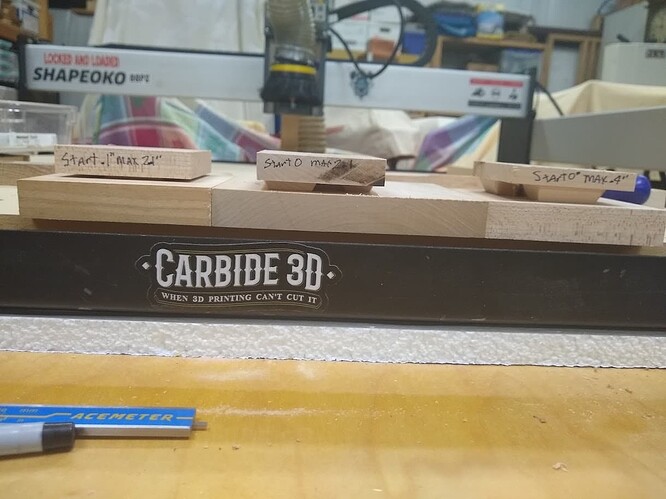
This shows using the start depth at various depths and the resulting width of the male plug.
That looks great, I’ll definitely be trying something like that.
Thanks so much for the photos, that has definitely helped me visualize how to tackle advanced vcarved inlays. The one thing that has always confused me a little is the starting the depth of cut .1 below stock. I understand the reason for this is to end up with the male plug a little smaller then the female pocket. So if the start depth is .1 below stock and my DOC is .1, the first pass will be .2’ deep?
I struggled with inlays for a while conceptually, same place that you are now. You might find this helpful, I did a detailed write up on how I made it all work.
There are a few other good articles out there too to get started. @WillAdams just posted this one with CC instruction:
and this post has a much better illustration that what I did ![]()
You’ll see there are a few different ways to accomplish this depending on your software and workflow, but they all end up with basically the same outputs. Go with what works for you. Hope those help you get started, once I figured it out I went on a tear making inlays out of all kinds of things for the holidays.
This topic was automatically closed after 30 days. New replies are no longer allowed.
