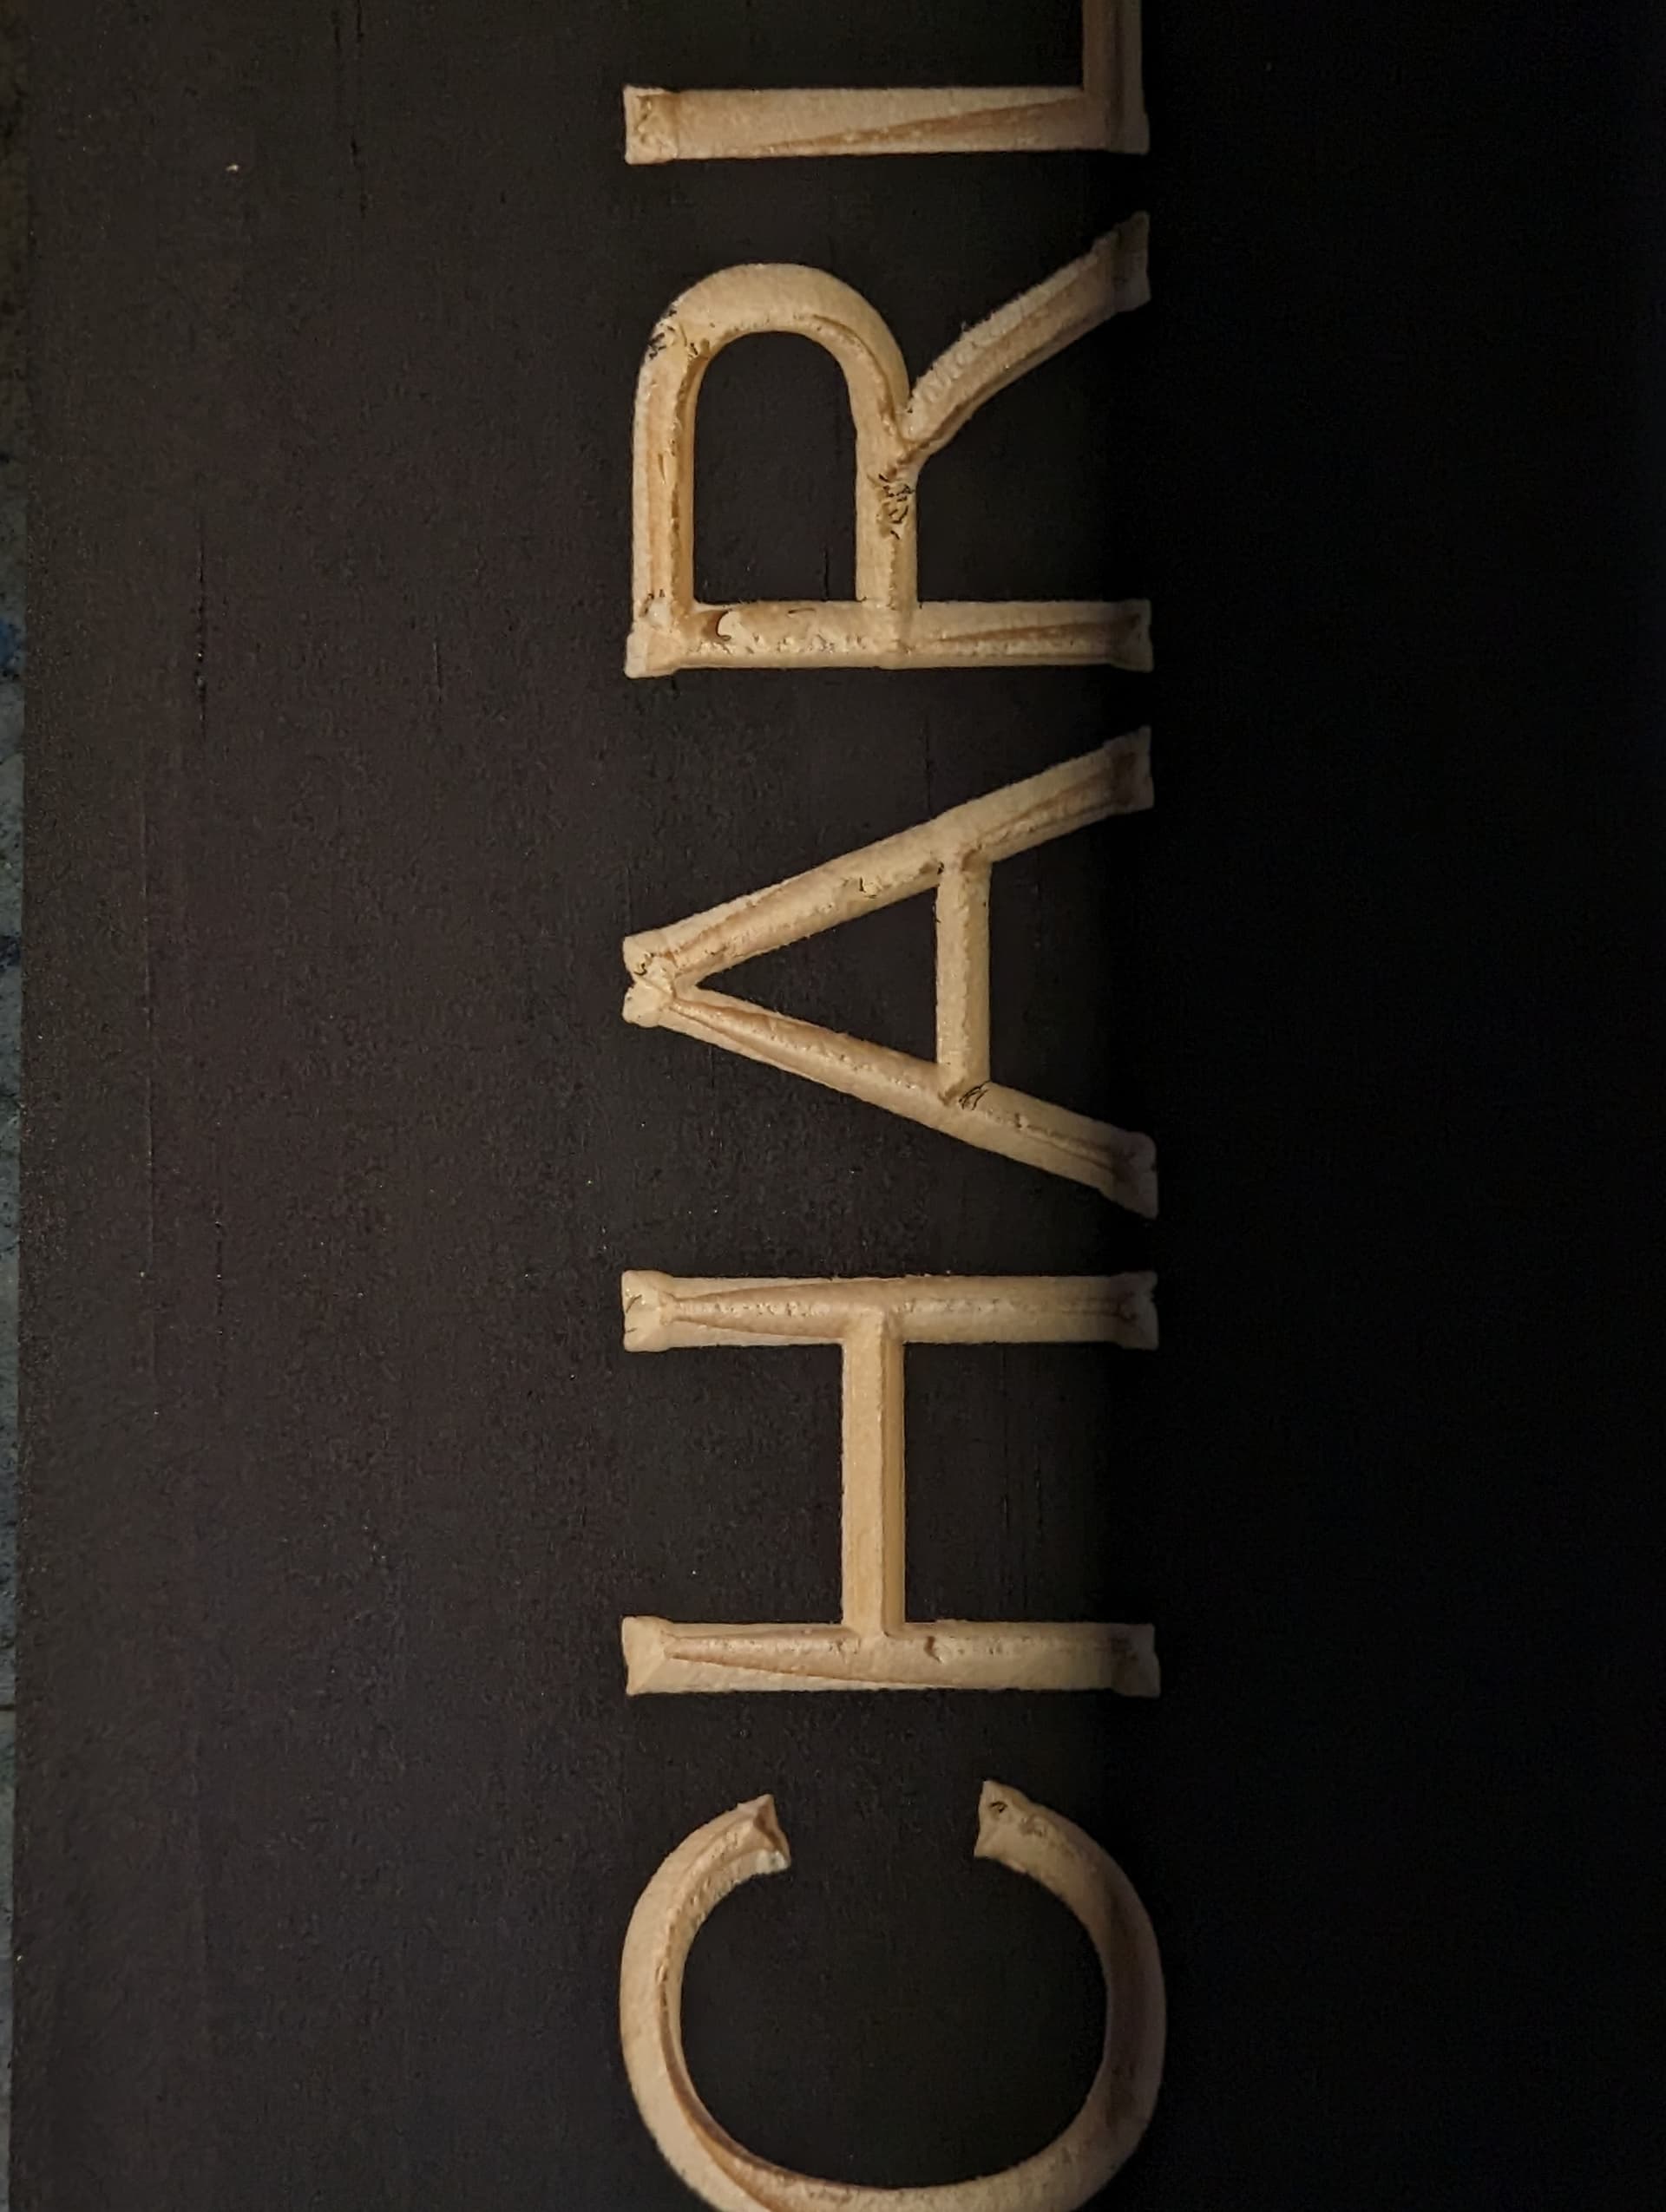
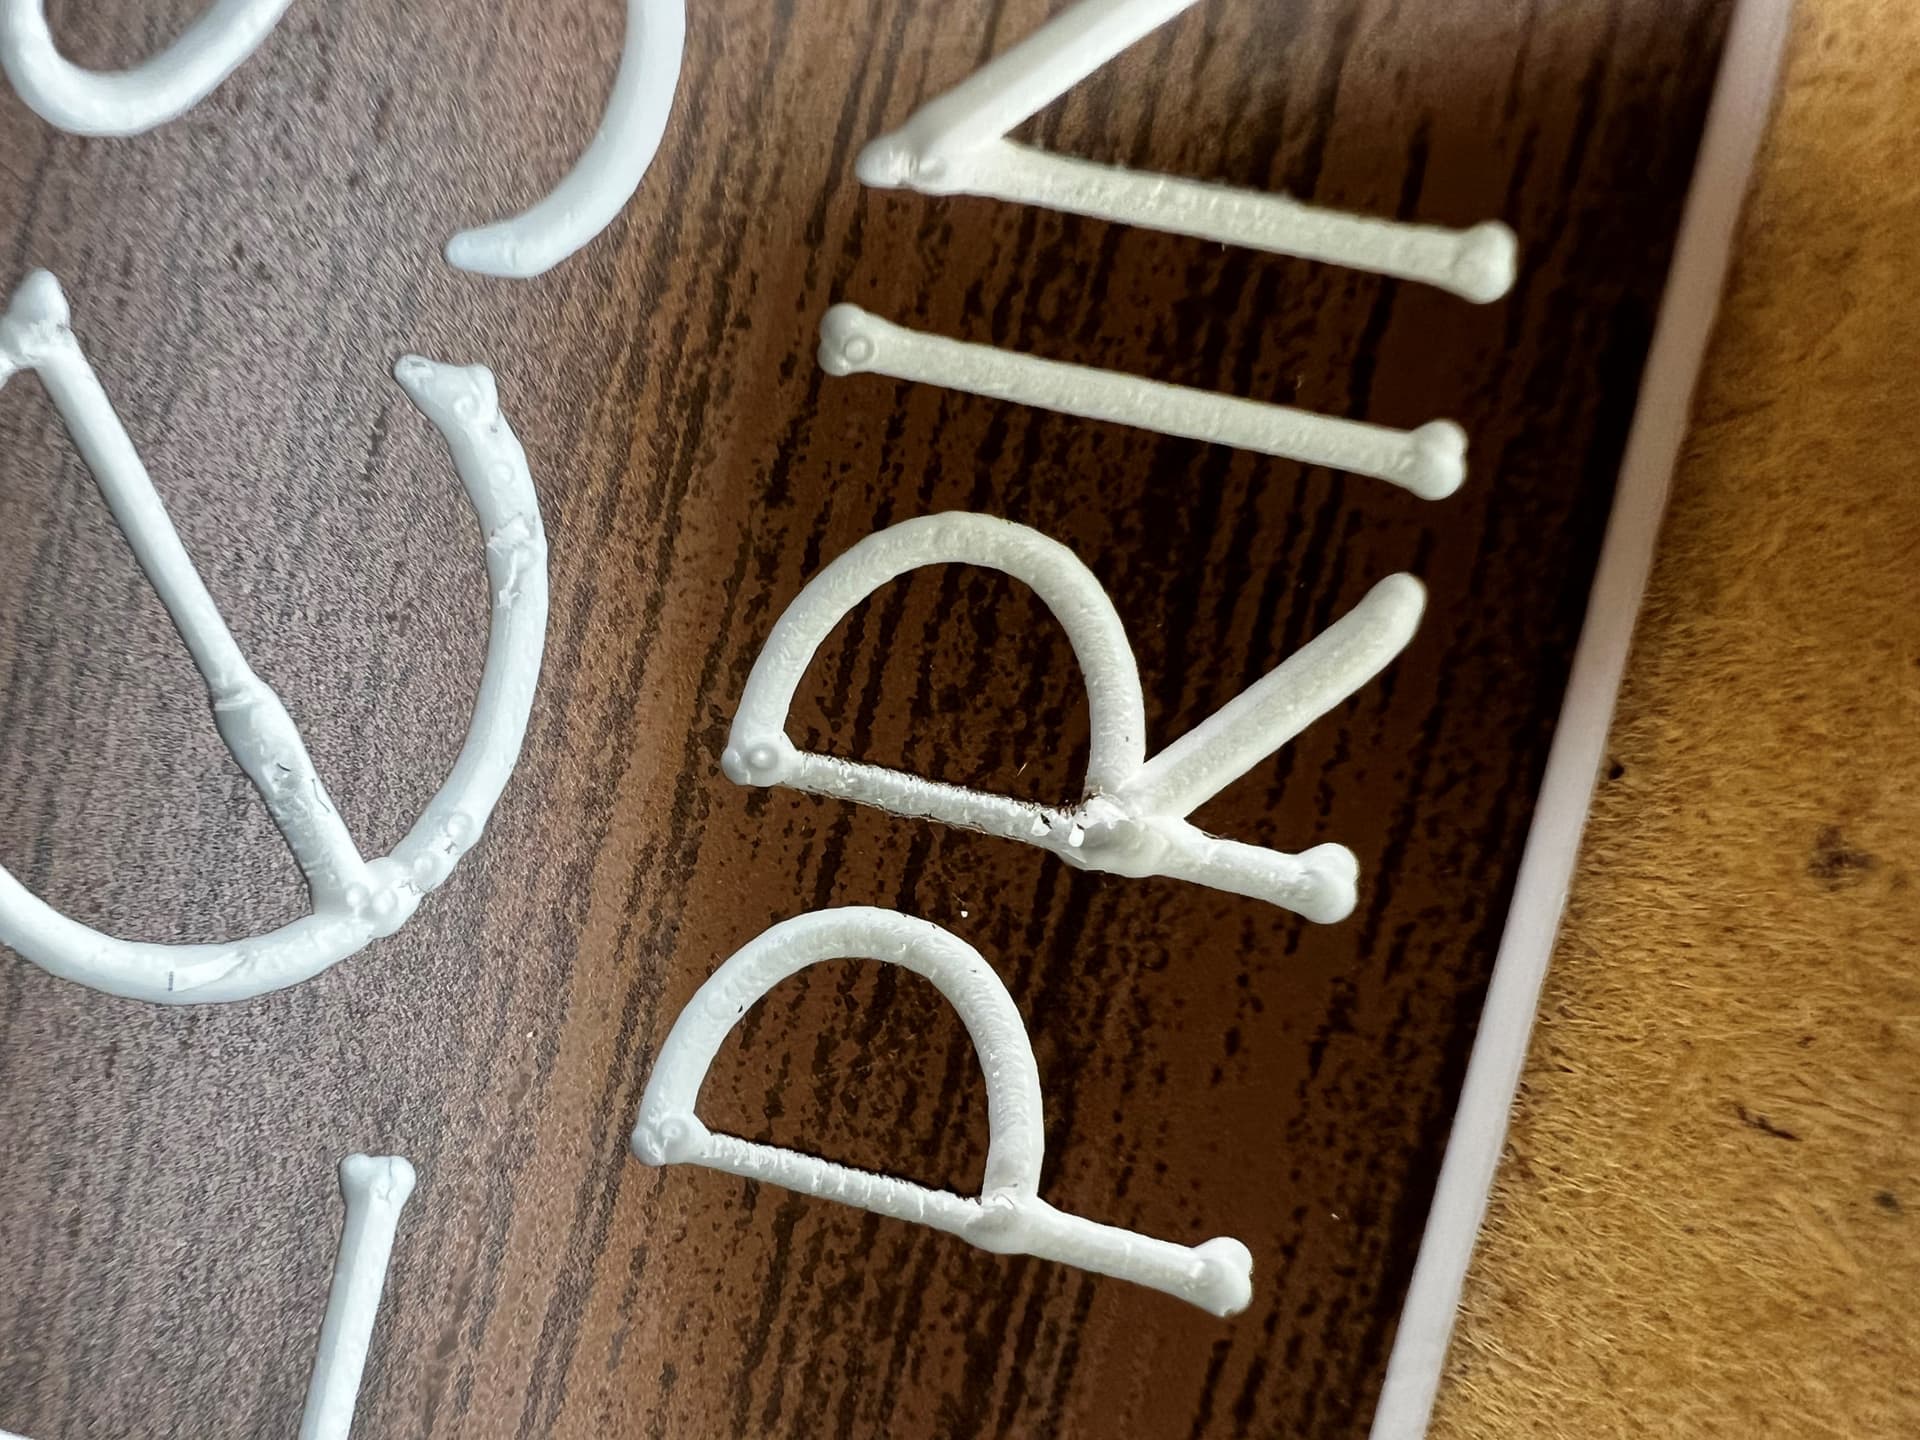
So i have had this Shapeoko 3XXL for a few years now and am a few thousand signs/projects in on it and I’ve started to notice these on my corners. Im having a hard time trying to figure this out. Ive tightened up all my belts , ive slowed and sped up my cuts and depths, ive tried 4 different brands of 60 degree V bit all with the same issue. Ive also manually set my depth and used the bit zero.
Any idea where i should be looking into why this happens?
Preview in carveco shows perfect corners. This is a file ive been using for at least 500 cuts with no changes. I almost exclusively use a Whiteside 60degree bit but ive tried 3 other cheap bits just incase the bit was the issue.
And no i dont believe any of my v bits are flat on the bottom.
Check things mechanically. Per the machine operating checklist: Machine operating checklist , the basic points of adjustment for a machine are:
(for belt drive machines) Pulley set screws — verify that these are in-place and secure — be sure to check all axes/pulleys (including Z on machines w/ belt-drive Z-axis, for an HDZ, check both coupler screws).
(for the SO3/4, X- and Y-axes, and the belt-drive Z-axis on Launch and summer 2016 SO3s) V wheels / eccentric nuts (per assembly instructions)
(for HDZs, and HDMs, and SO5 Pros) check that couplers between the motor and ball screw are secure, for the SO5 check that the DAC which transfers the rotary motion of the ball screw to linear machine motion is secure on the carriage/gantry
(for belt drive machines) Belt tension (see the relevant step in your instruction manual, Note that the X-axis motor is held in place on standoffs and if those bolts are loose this can cause belt tension issues. Also, belt tension for the Y-axis stepper motors needs to be even/equivalent on each side — a significant difference can cause skipping on one side eventually resulting in lost steps on both. Measuring belt tension, squaring and calibration
Naturally, this assumes that all the wiring is in good condition and all connectors secure per the Machine Operating Checklist. Verify that all wiring is in good condition and all connectors are secure, and that all wiring leading into connectors are properly in place and are secured so that the wiring leading into and away from connectors will not shift.
A good video overview on setup:
Ensure that all screws are in place and secure, esp. on the linear rails on a Pro.
Ive got them tightened to what i believe is the appropriate ammount but i never thought that they might be wearing down. Is the only way to check for that to replace them?
Yes, they do need to be replaced from time to time when you can no longer get them tight to the rails - they are in the maintenance kit for the SO3 line.
If you’ve never replaced them & have gotten a few thousand signs worth of use out of them, that’s really impressive!
I guess also, make sure all the V-wheel bolts are properly tight. You could see if you can wiggle the gantry by hand at all with the machine at idle - you might be able to localize what’s giving a little bit. I would be looking specifically at the X-axis V-wheels as there are only half as many as the Y-axis
Since this is an SO3 and @WillAdams recommended several things. Be sure to check your v-wheels. If they are loose and/or damaged the Axis will wonder around. Some people have seen similar things but theirs turned out to be installing the wrong tool so the geometry was wrong for the cut. You said you used multiple tools of the same type so that is not likely. Plus those users were new and inexperienced.
Really check those v-wheels. To check them power off the Shapeoko. Then push on the bottom on one side of the Z axis and you should be able to slightly move the Z axis side to side. If the wheel slips then tighten the eccentric. Do that on both v-wheels on the Z. Then do the same on both ends of the gantry and clean and/or adjust as necessary. The older machines have a smaller eccentric. Later SO3 have a larger eccentric. Either eccentric adjust the same way. Slightly loosen the bolt and use a wrench to move the eccentric. When you get it adjusted hold the eccentric with the wrench and tighten up the bolt. If you do not hold the eccentric the eccentric will move and either be too tight or too loose so just hold it in place while tightening the bolts. There are 6 eccentric (2 Z, 4 on gantry). The 6 rollers at the top are just idling along so they will be tight if the lower ones are tight. However slowly push the gantry and look at the top wheels as well as the bottom v-wheels for damage or big buggers. Clean and/or replace as necessary. Each v-wheel has a small washer between the v-wheel and the steel wall the bolt comes through. Without those washers the wheels will bind up against the frame.
Thanks im going to shut it down this weekend an put some time into it. I didnt expect to go into full production with this guy so its so hard to have any down time on it!
Check your belts for wear, might try swapping them end for or better yet replace and keep old one’s as spare.
I would think if you doing a lot of the same basic thing your always using the same part of the belt and machine area so wear will be uneven
Just a guess on my part
I’ve had this EXACT same issue, no one seems to have an answer. It’s not the bit. I have all brand new bits and the issue is the same. My opinion, its the tool path. Why it tries to clean up the corners when it’s not needed is beyond me. It actually looks great before it goes in and tries to clean up. It’s like it can do letters down to a certain size or something. I’ve checked everything. I appreciate the help from everyone but it seems everyone is just guessing what the problem is…no real answers. Even from tech support. Firm wear or something else?? I checked all that…
Has anyone else ever had/seen this issue?
You haven’t provided enough information for anyone to narrow it down to a single cause.
There are many reasons why your results could look this way. The most likely being mechanical failure / inconsistency on the machine. But could also be wrong cutter, damaged cutter, too aggressive depth of cut / stepover, improper workholding…
The software only does what you ask it to do. If you used a V-Carve tool path on a design with sharp corners, that’s what it does. If you don’t want it to pick out the corners, make sure there are no corners sharper than the radius of your tool.
It’s not the toolpath!! (<— I’m 99% certain that is a true statement )
If you want to post the toolpath, I can run it through my simulator in NX at a much higher resolution than the CC simulation.