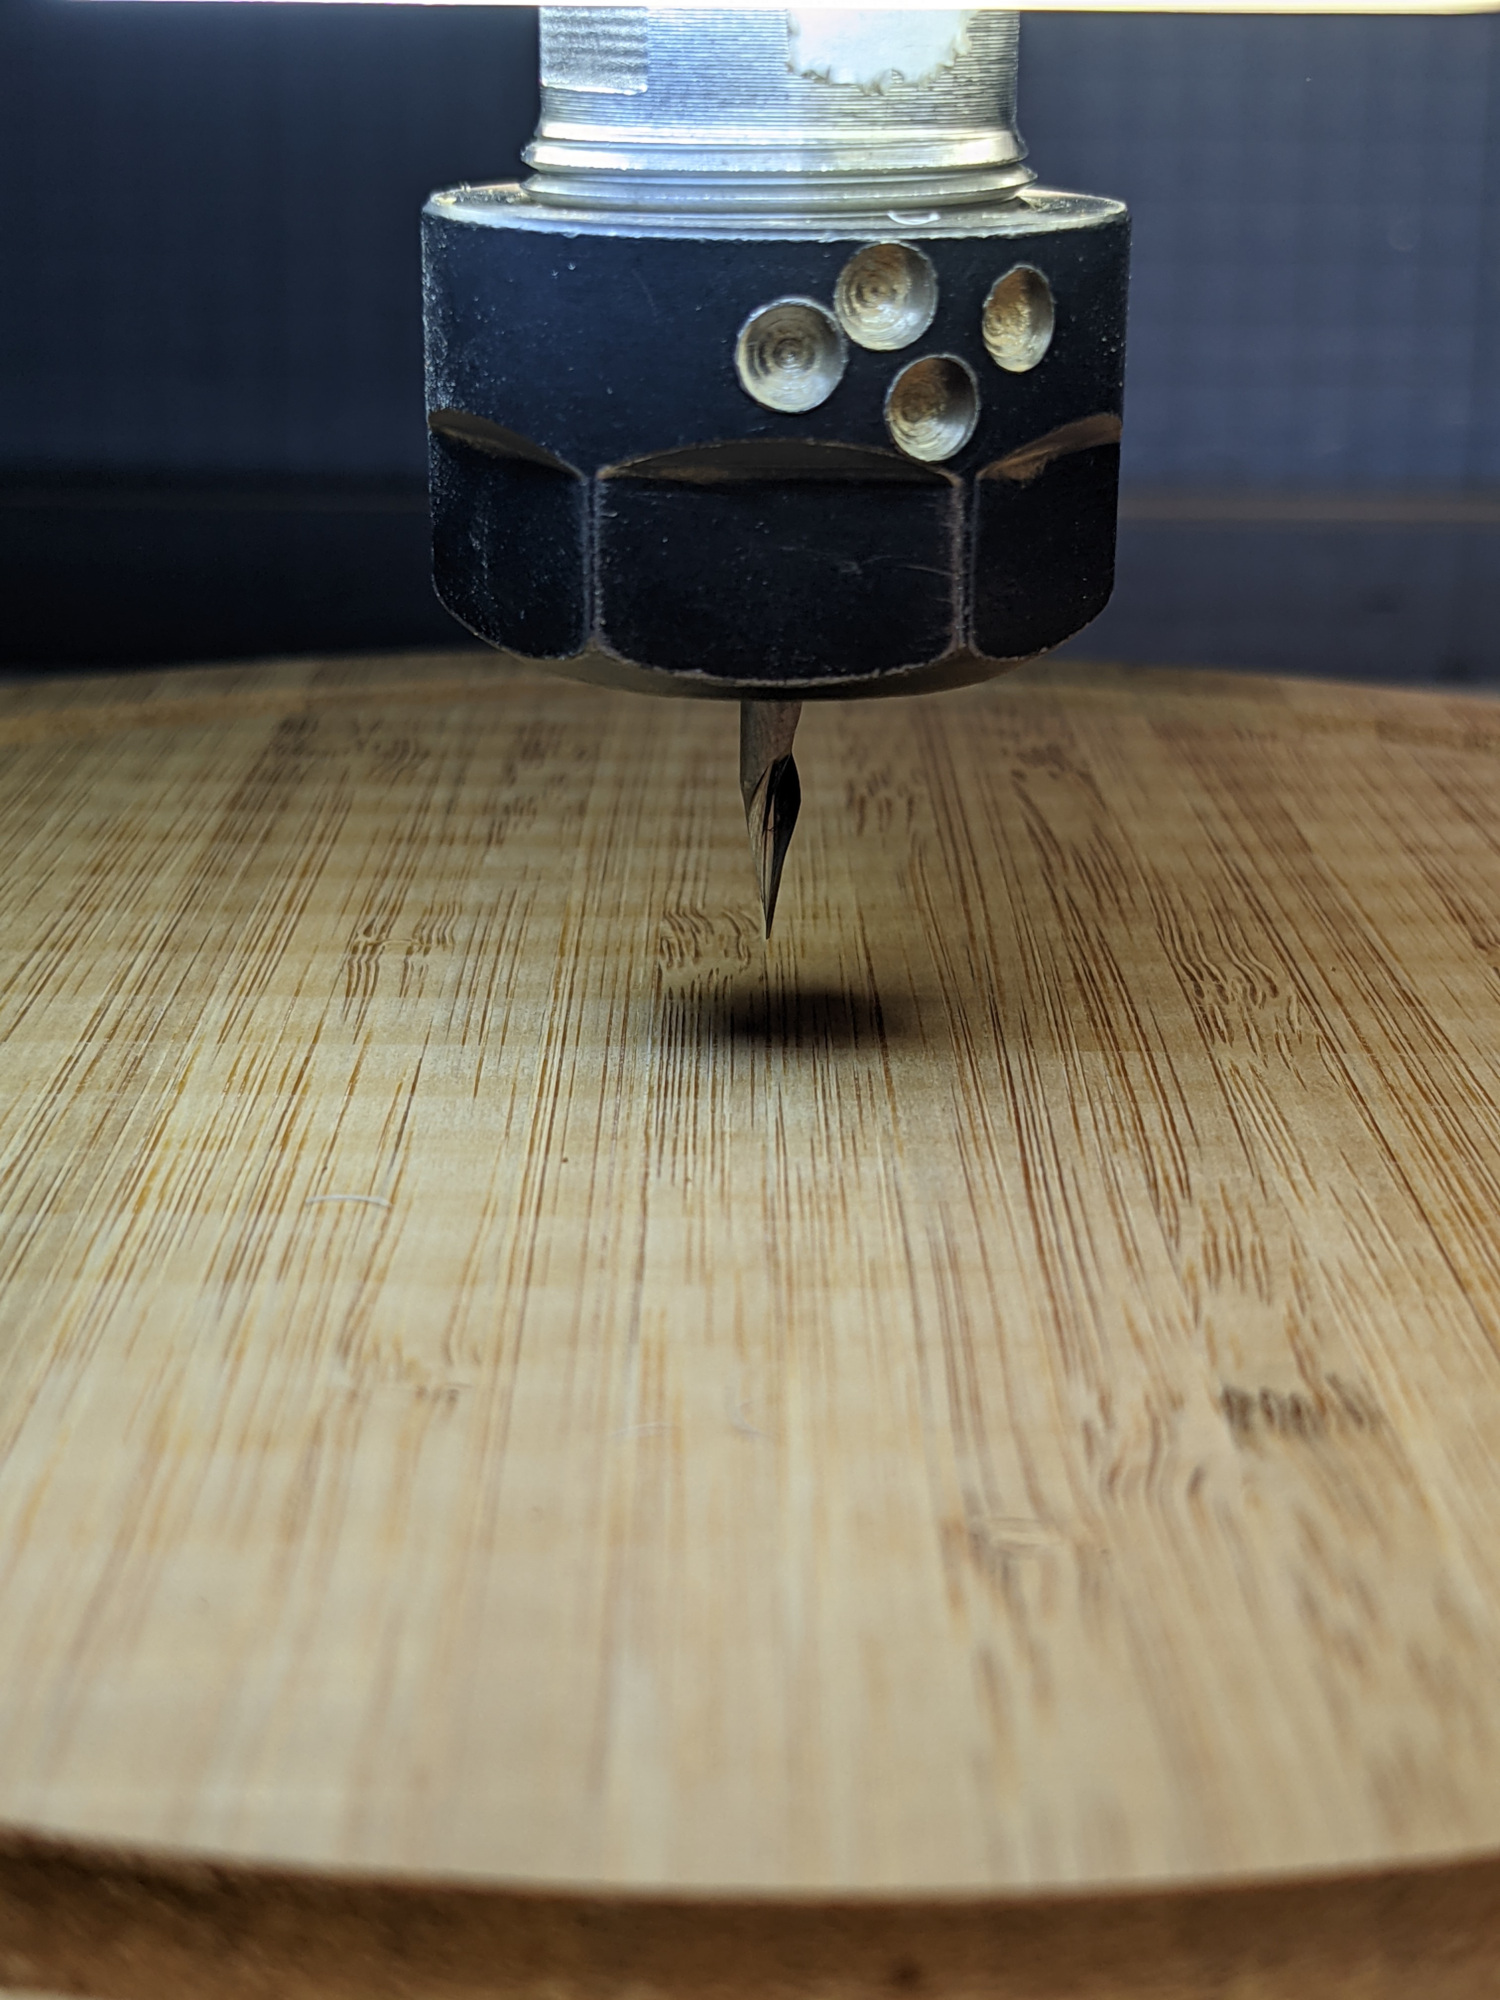
(no comments on my machine-gun-balanced collet nut please )
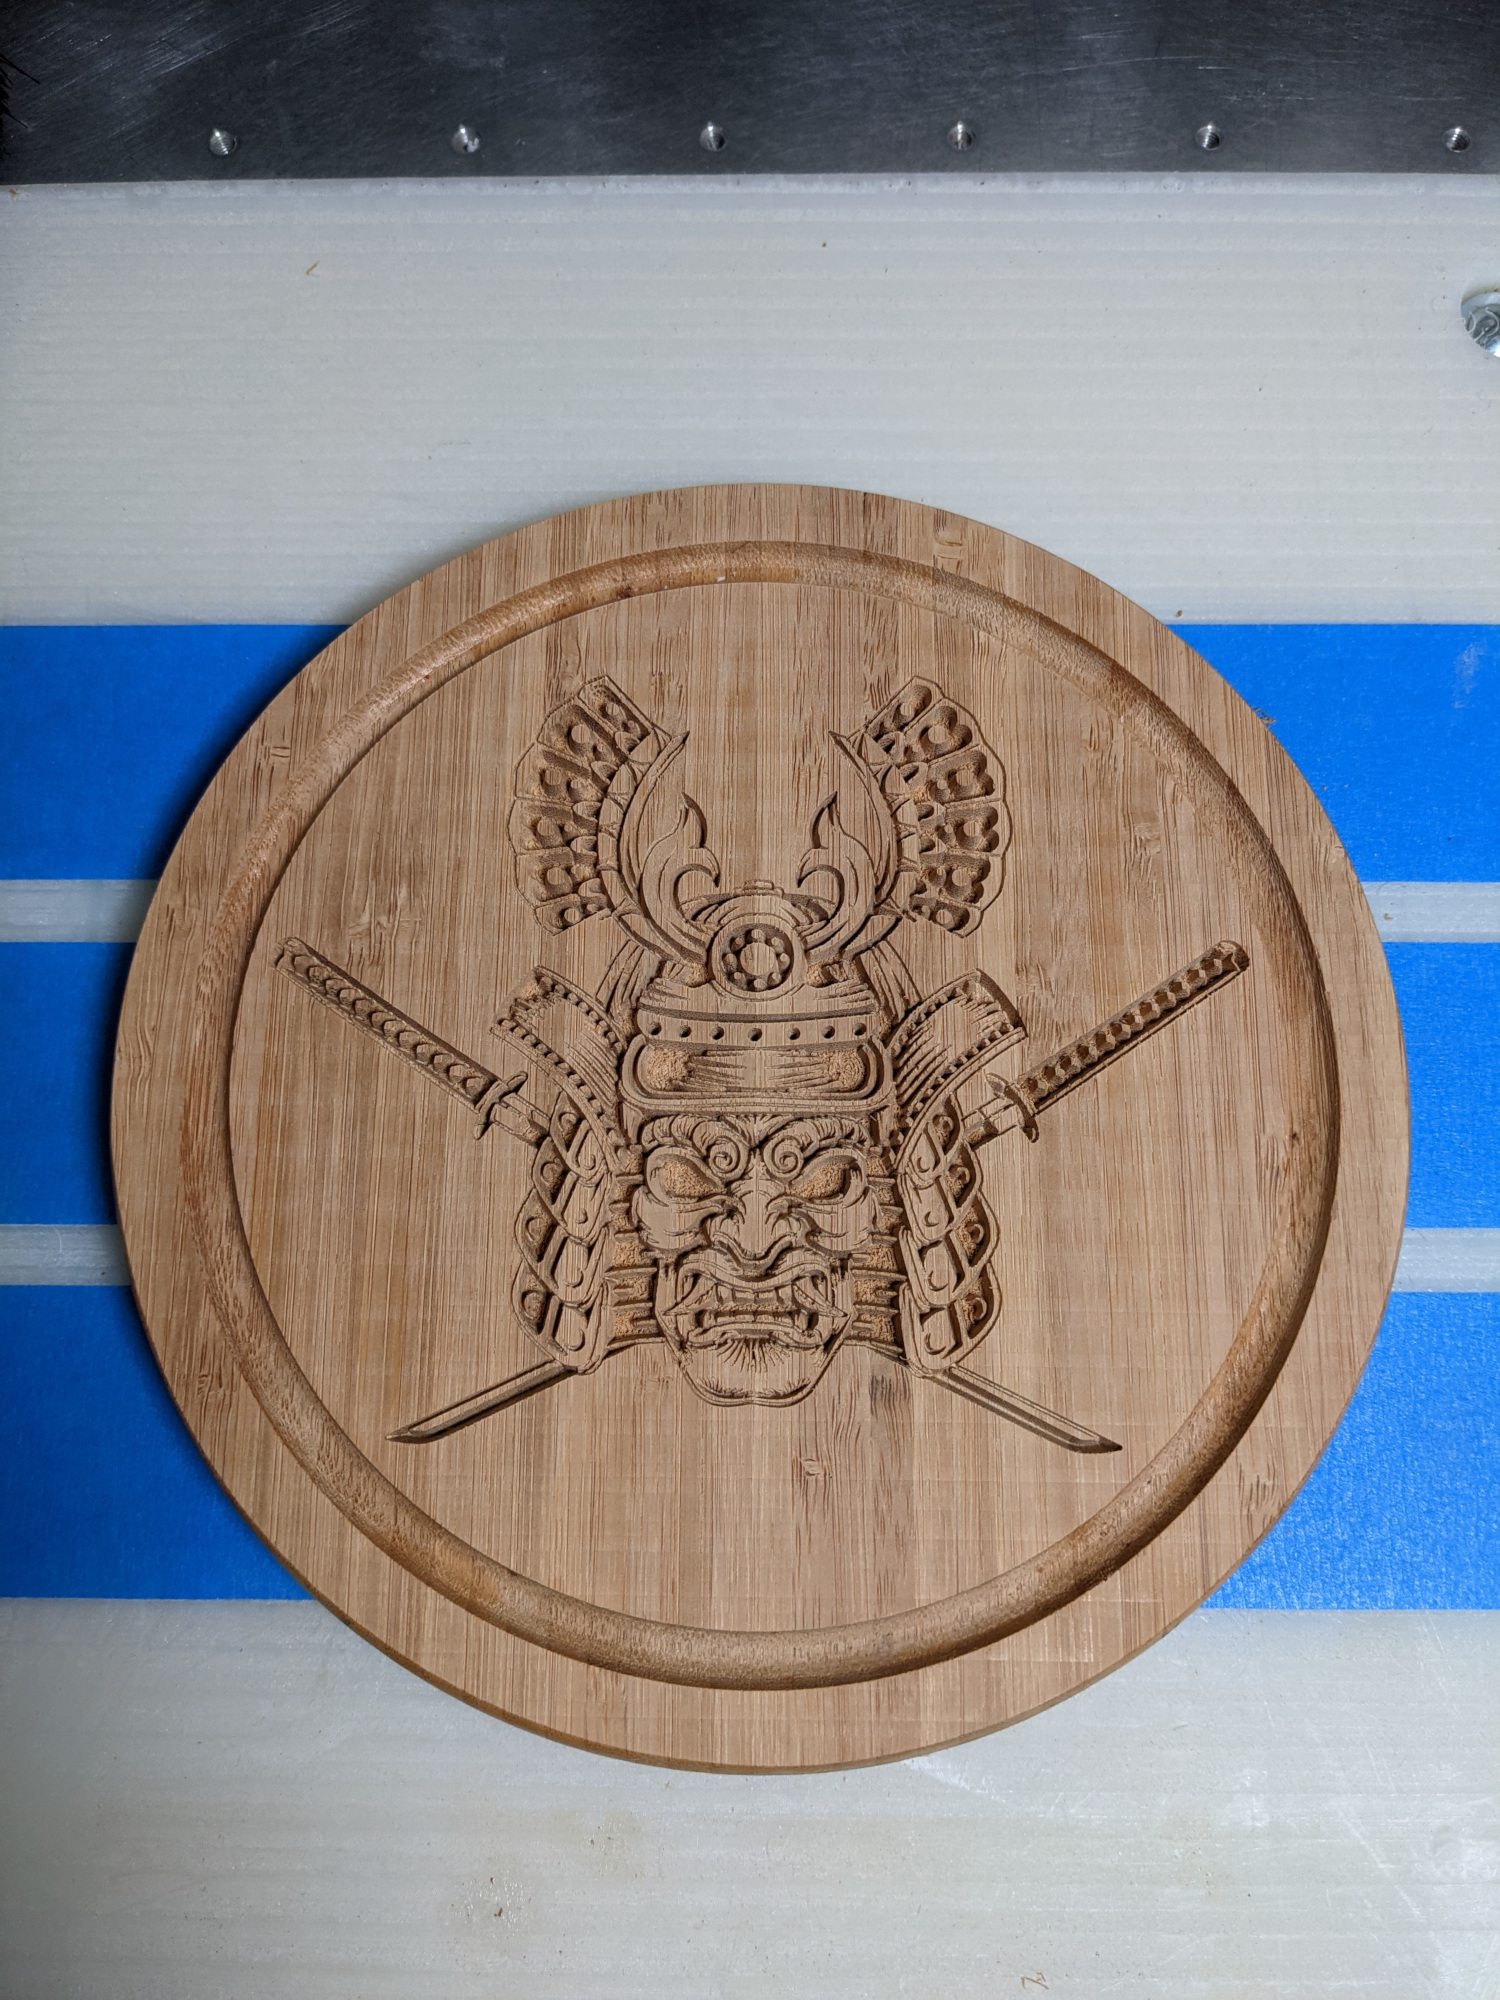
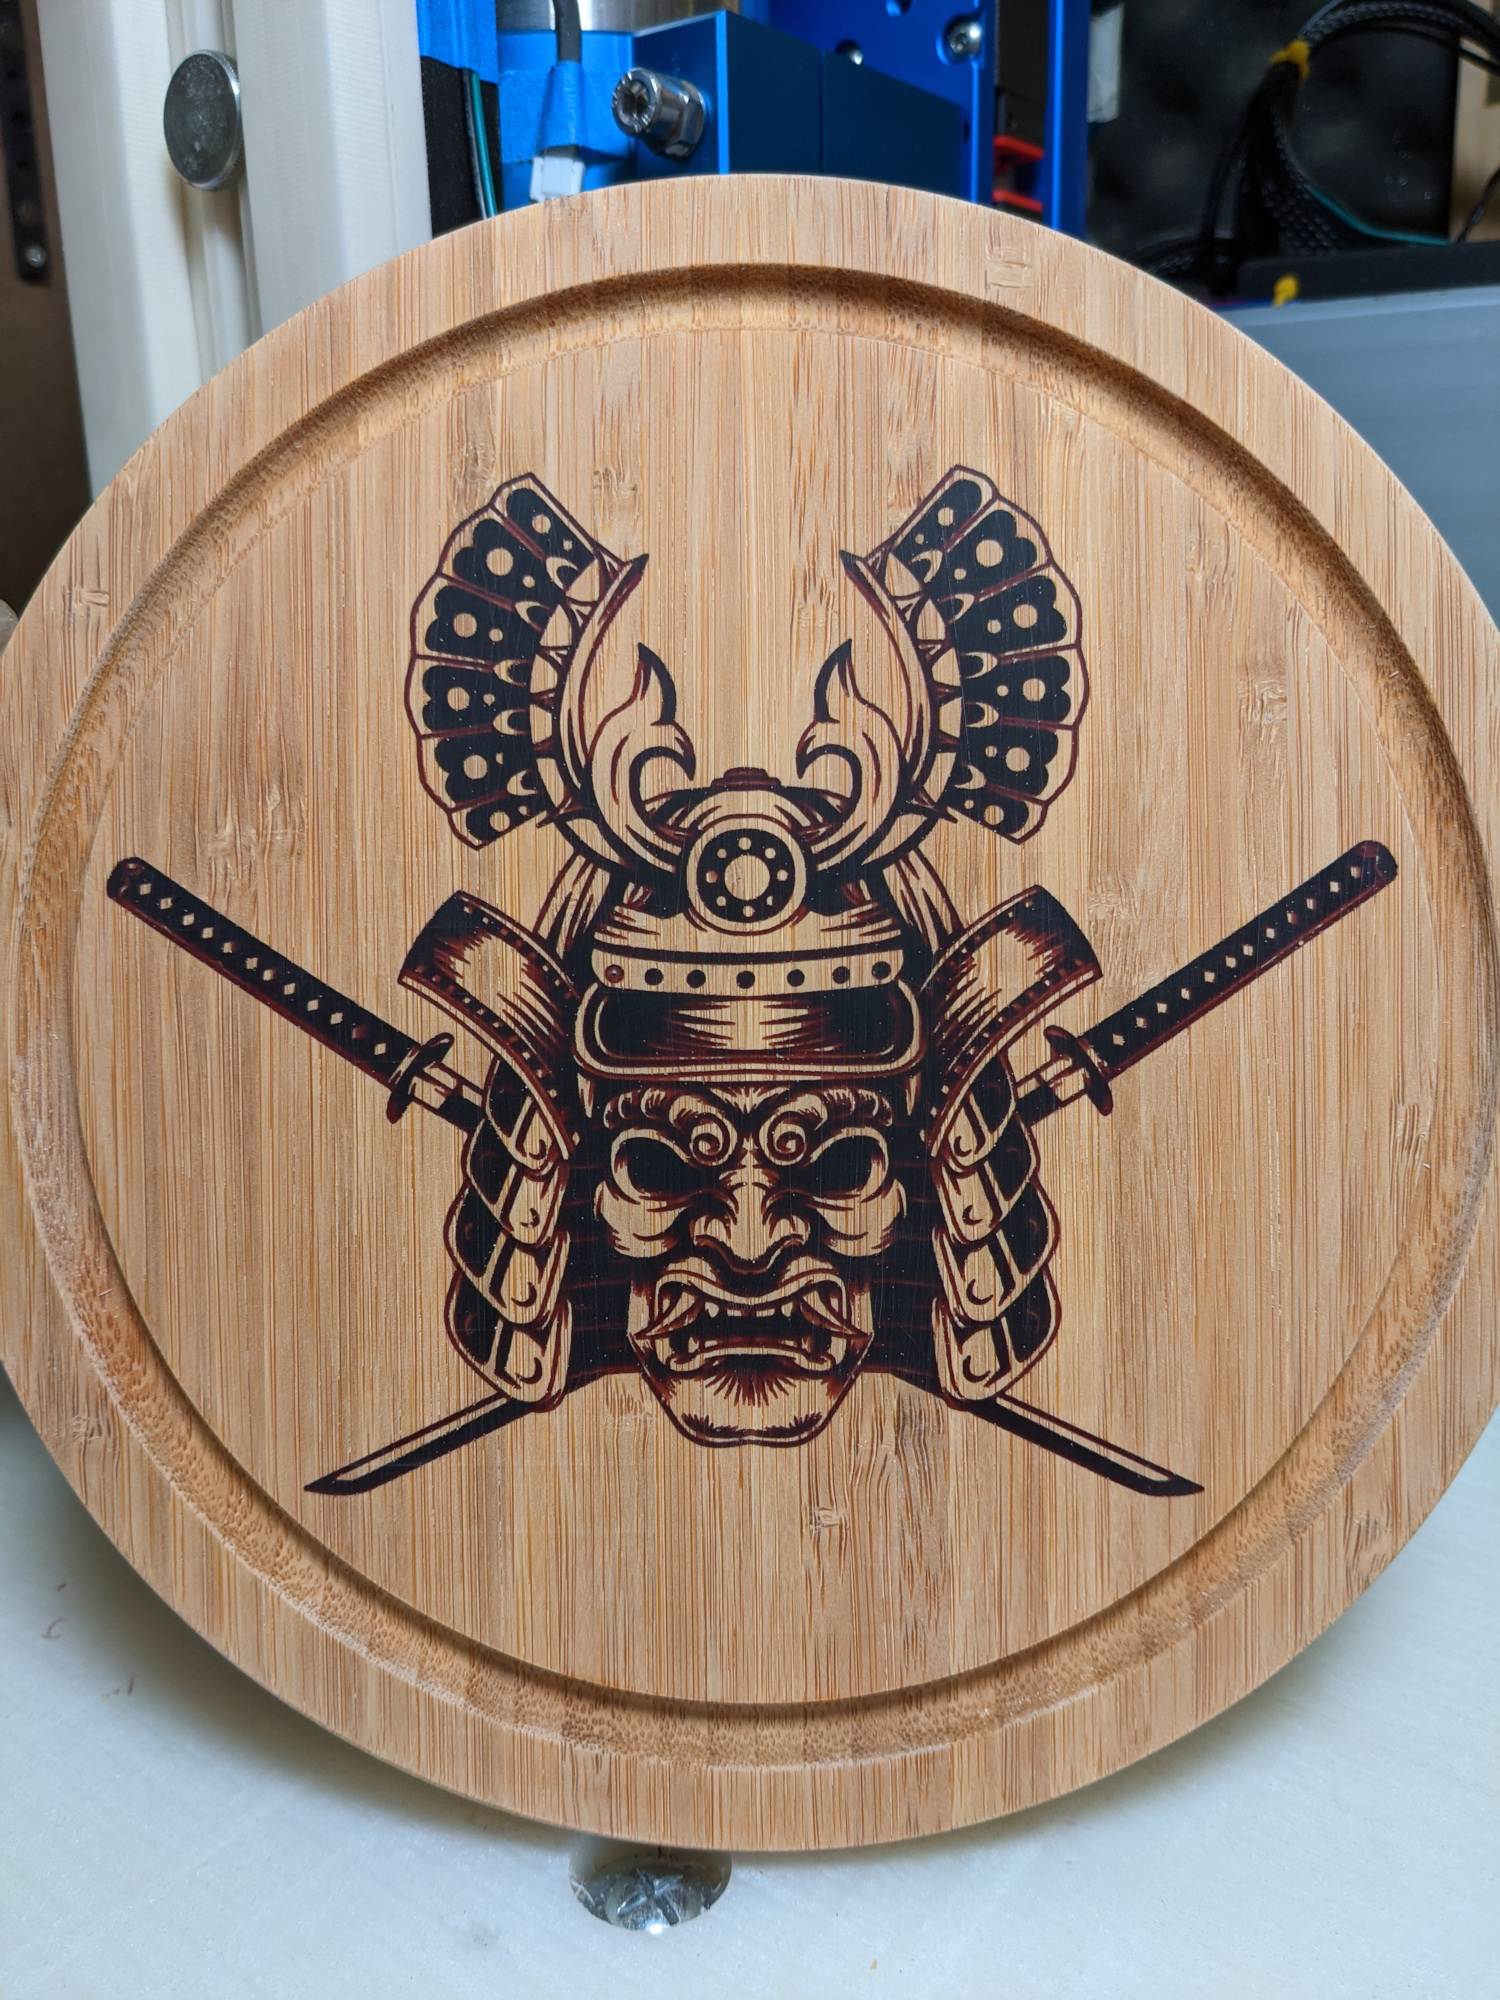
I had NO idea what kind of cutting parameters I should use for such a small and pointy vbit, in bamboo, so I took a deep breath and picked gut feel values: 18000RPM, 75ipm, 0.5mm per pass, 0.5mm stepover. Two hours later I was ecstatic about the result (did I mention I LOVE bamboo ?):
Nice! This is a V-carve? Also, is machine-gun-balancing a process? (Note that was a question, not a comment!) I’m not finding it online, curious how one does that.
Yes, vcarved using V-carve. This machine-gun balancing process is apparently popular in some China spindle manufacturies. Not complaining, it’s well balanced and gives my collet nut a strong personality
That is interesting, (and nice).
Pardon my curiosity if you would, a couple questions?
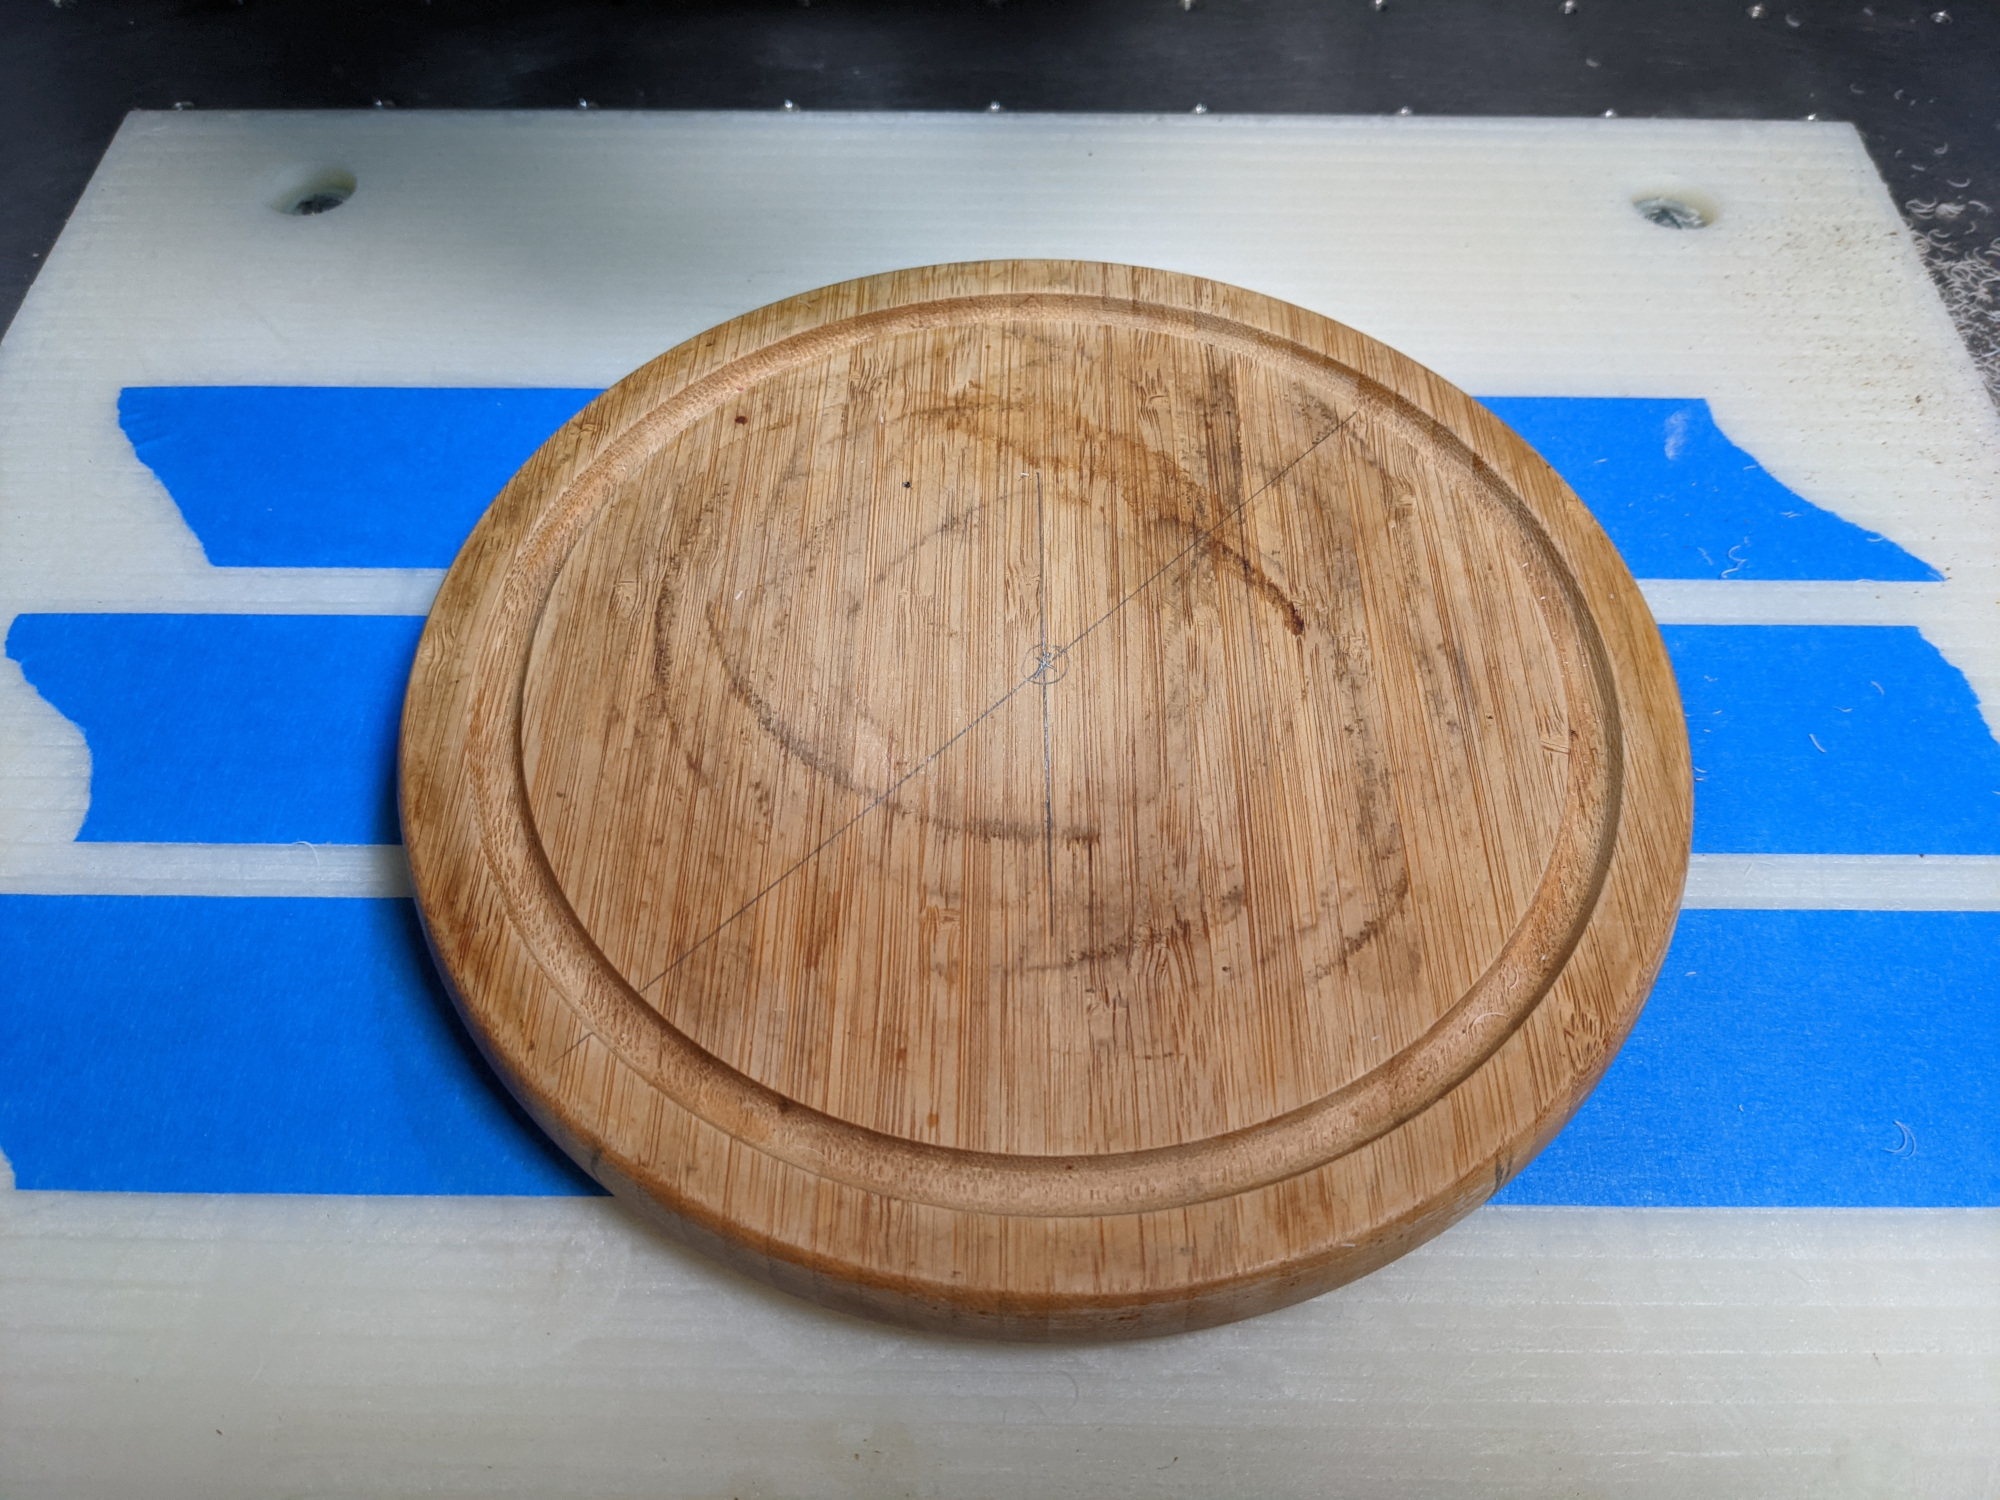
What is the piece overall size?
What would you estimate (or did you set it) the max depth was during the carve.
Did you seal the wood before carving the image?
How much wood did you need to mill off to clean up the pour?
Is there a way avoid losing that much detail?
Also, I am interested in the “Fade” effect caused by the angel of the bit. That could be a useful effect.
I considered it, since it is usually a mandatory step to avoid bubbles, but this time I was concerned that while applying the thin layer of clear epoxy for sealing it would fill-up the tiniest/shallowest grooves, and then the black epoxy could not go as deep and it would end up before sanded away. Also, bamboo is not prone to bleeding from my experience. So I didn’t.
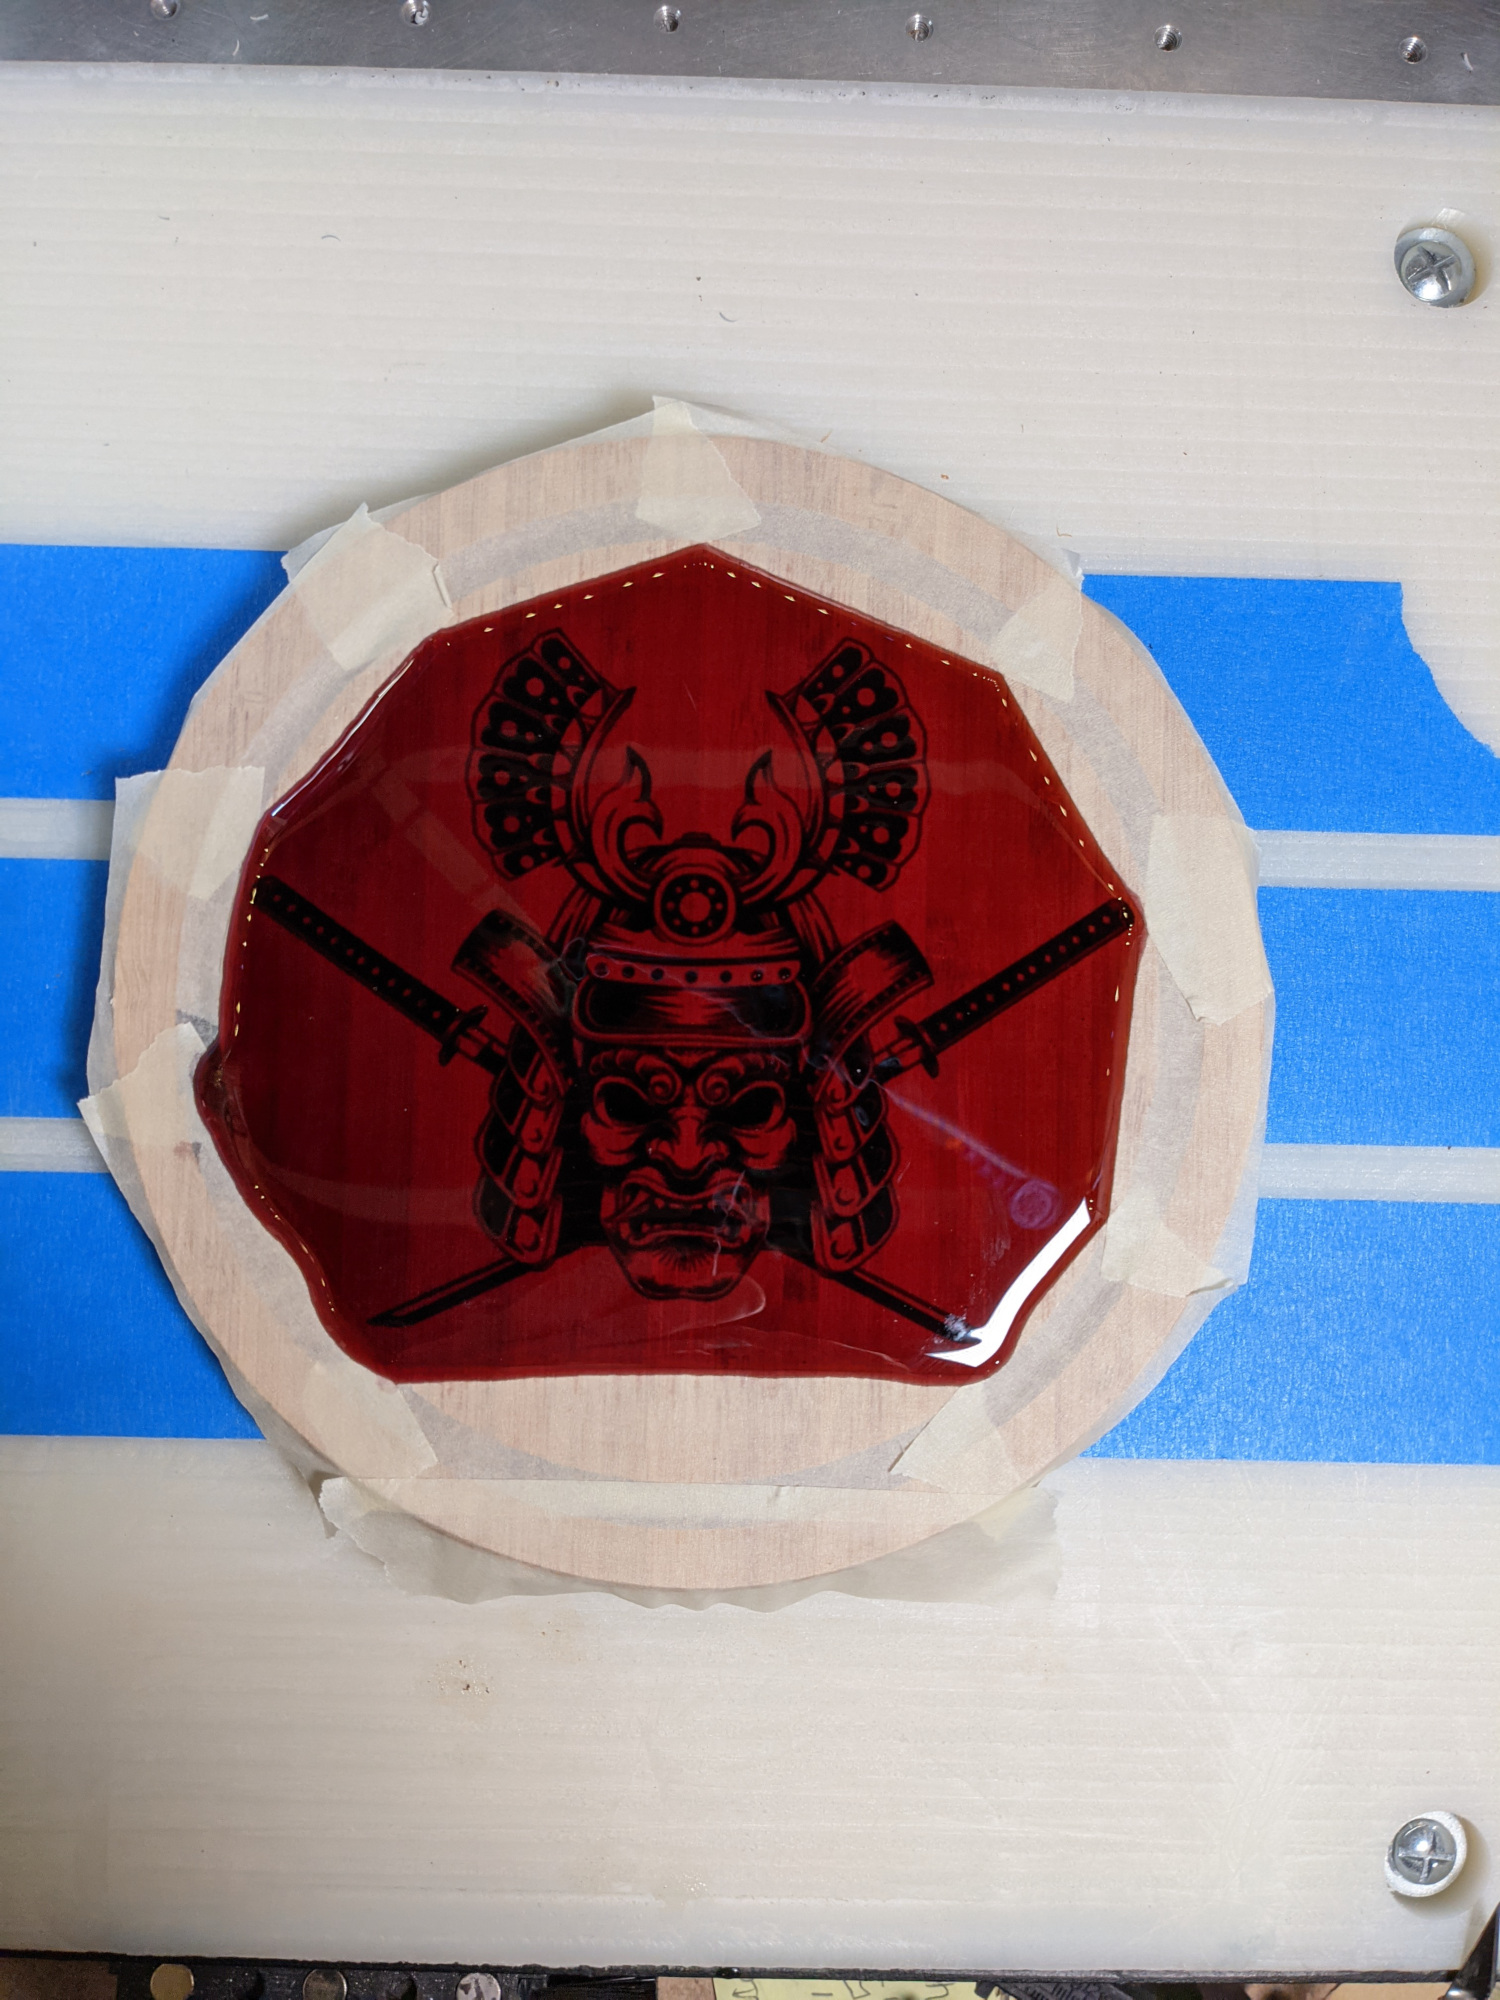
I should have grabbed a few pics of that, so this was indeed the part that required a little care. My epoxy pour was about 1.5mm thick initially, I first surfaced 1mm off, and then reran the same surfacing pass but lowering Z zero by 0.1mm each time (a bit tedious, but I wanted to be super cautious, I already did that mistake in the past of shaving off too much in the last pass and losing detail). 0.1mm (0.004") sounds like a very thin layer, but it’s almost too much and I got lucky: my final 0.1mm pass removed all the remaining epoxy while cutting only very slightly into the wood. Next time I do detailed epoxy work like this, I will probably run the last passes using 0.05mm Z increments. V-carve is so incredibly sensitive to Z zero…even with acute vbit like that.
I also learned another lesson: to always, absolutely surface the material before v-carving. Even though I know I should, I have a tendency to be lazy sometimes and skip the surfacing pass when I think the material was “flat enough” or the carving is coarse enough that it will not show. Well if only for the pleasure of seeing that very lass 0.1mm pass shave off the epoxy while not leaving any high spots, I think I will now surface my stock for any vcarving project, it only takes a few extra minutes.
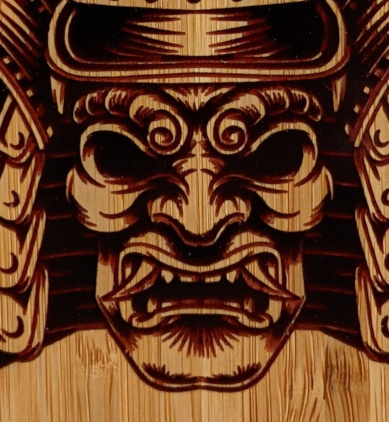
I’m happy I did not have enough black die left, I would otherwise have gone for a very opaque black epoxy, but that was the opportunity to experience that a slightly translucent mix brings up the color (red in this case) in shallow spots, while still looking pitch black in deeper areas.
I’m pondering now a similar idea
and am considering doing the initial V carve a bit lower than level with the surface, with the assumption that I then have room to shave off some at the top later…
I also tend to favor trying to find images via google (googles images + advanced search & check “SVG” format), but the results are very often underwhelming. So this time I was weak and just bought this vector on Etsy for a few bucks. While I (obviously) really like it, the file was quite bad originally, VCarve vector validator reported 300+ violations, and I had to tediously clean-up each of them using the node edit mode (yes, I am resilient like that when I’m motivated). The other day I was about to buy another vector on Etsy for another project, only to find out that it was available for free elsewhere from the original author (makes you think bad thoughts about people trying to make a profit based on other people’s free work)
There is a subtle balance point for me between spending 30 minutes on googles images to find something, and spending money on Etsy, but when the price is around $2, my spare/hobby time is definitely more valuable and I just go and buy it. And then lose 1 hour to fix the vector. Sigh.
That is absolutely beautiful with amazing detail. I think, after all the work you put in cleaning it up you should start your own etsy store to recover some costs😉. I have used epoxy a few times in wood turning and would love to try it using the Shapeoko.
I for one would buy a copy until my skill level gets to match yours (if ever)
 )
)


 , some day hopefully I will be this skilled.