and I figured to try to do something like it. But when I was searching for images to use… I got a little frustrated since what I found was either not so good, or was in two colors.
And then the head-slap moment sunk in: I can do multiple colors with wood, using inlays. So duh of course I can do multiple colors with epoxy using the same ideas.
The only downside is that epoxy takes forever to cure (in the pacific north west it’s no longer at a temperature where epoxy cures quickly) so each stage takes much longer between action.
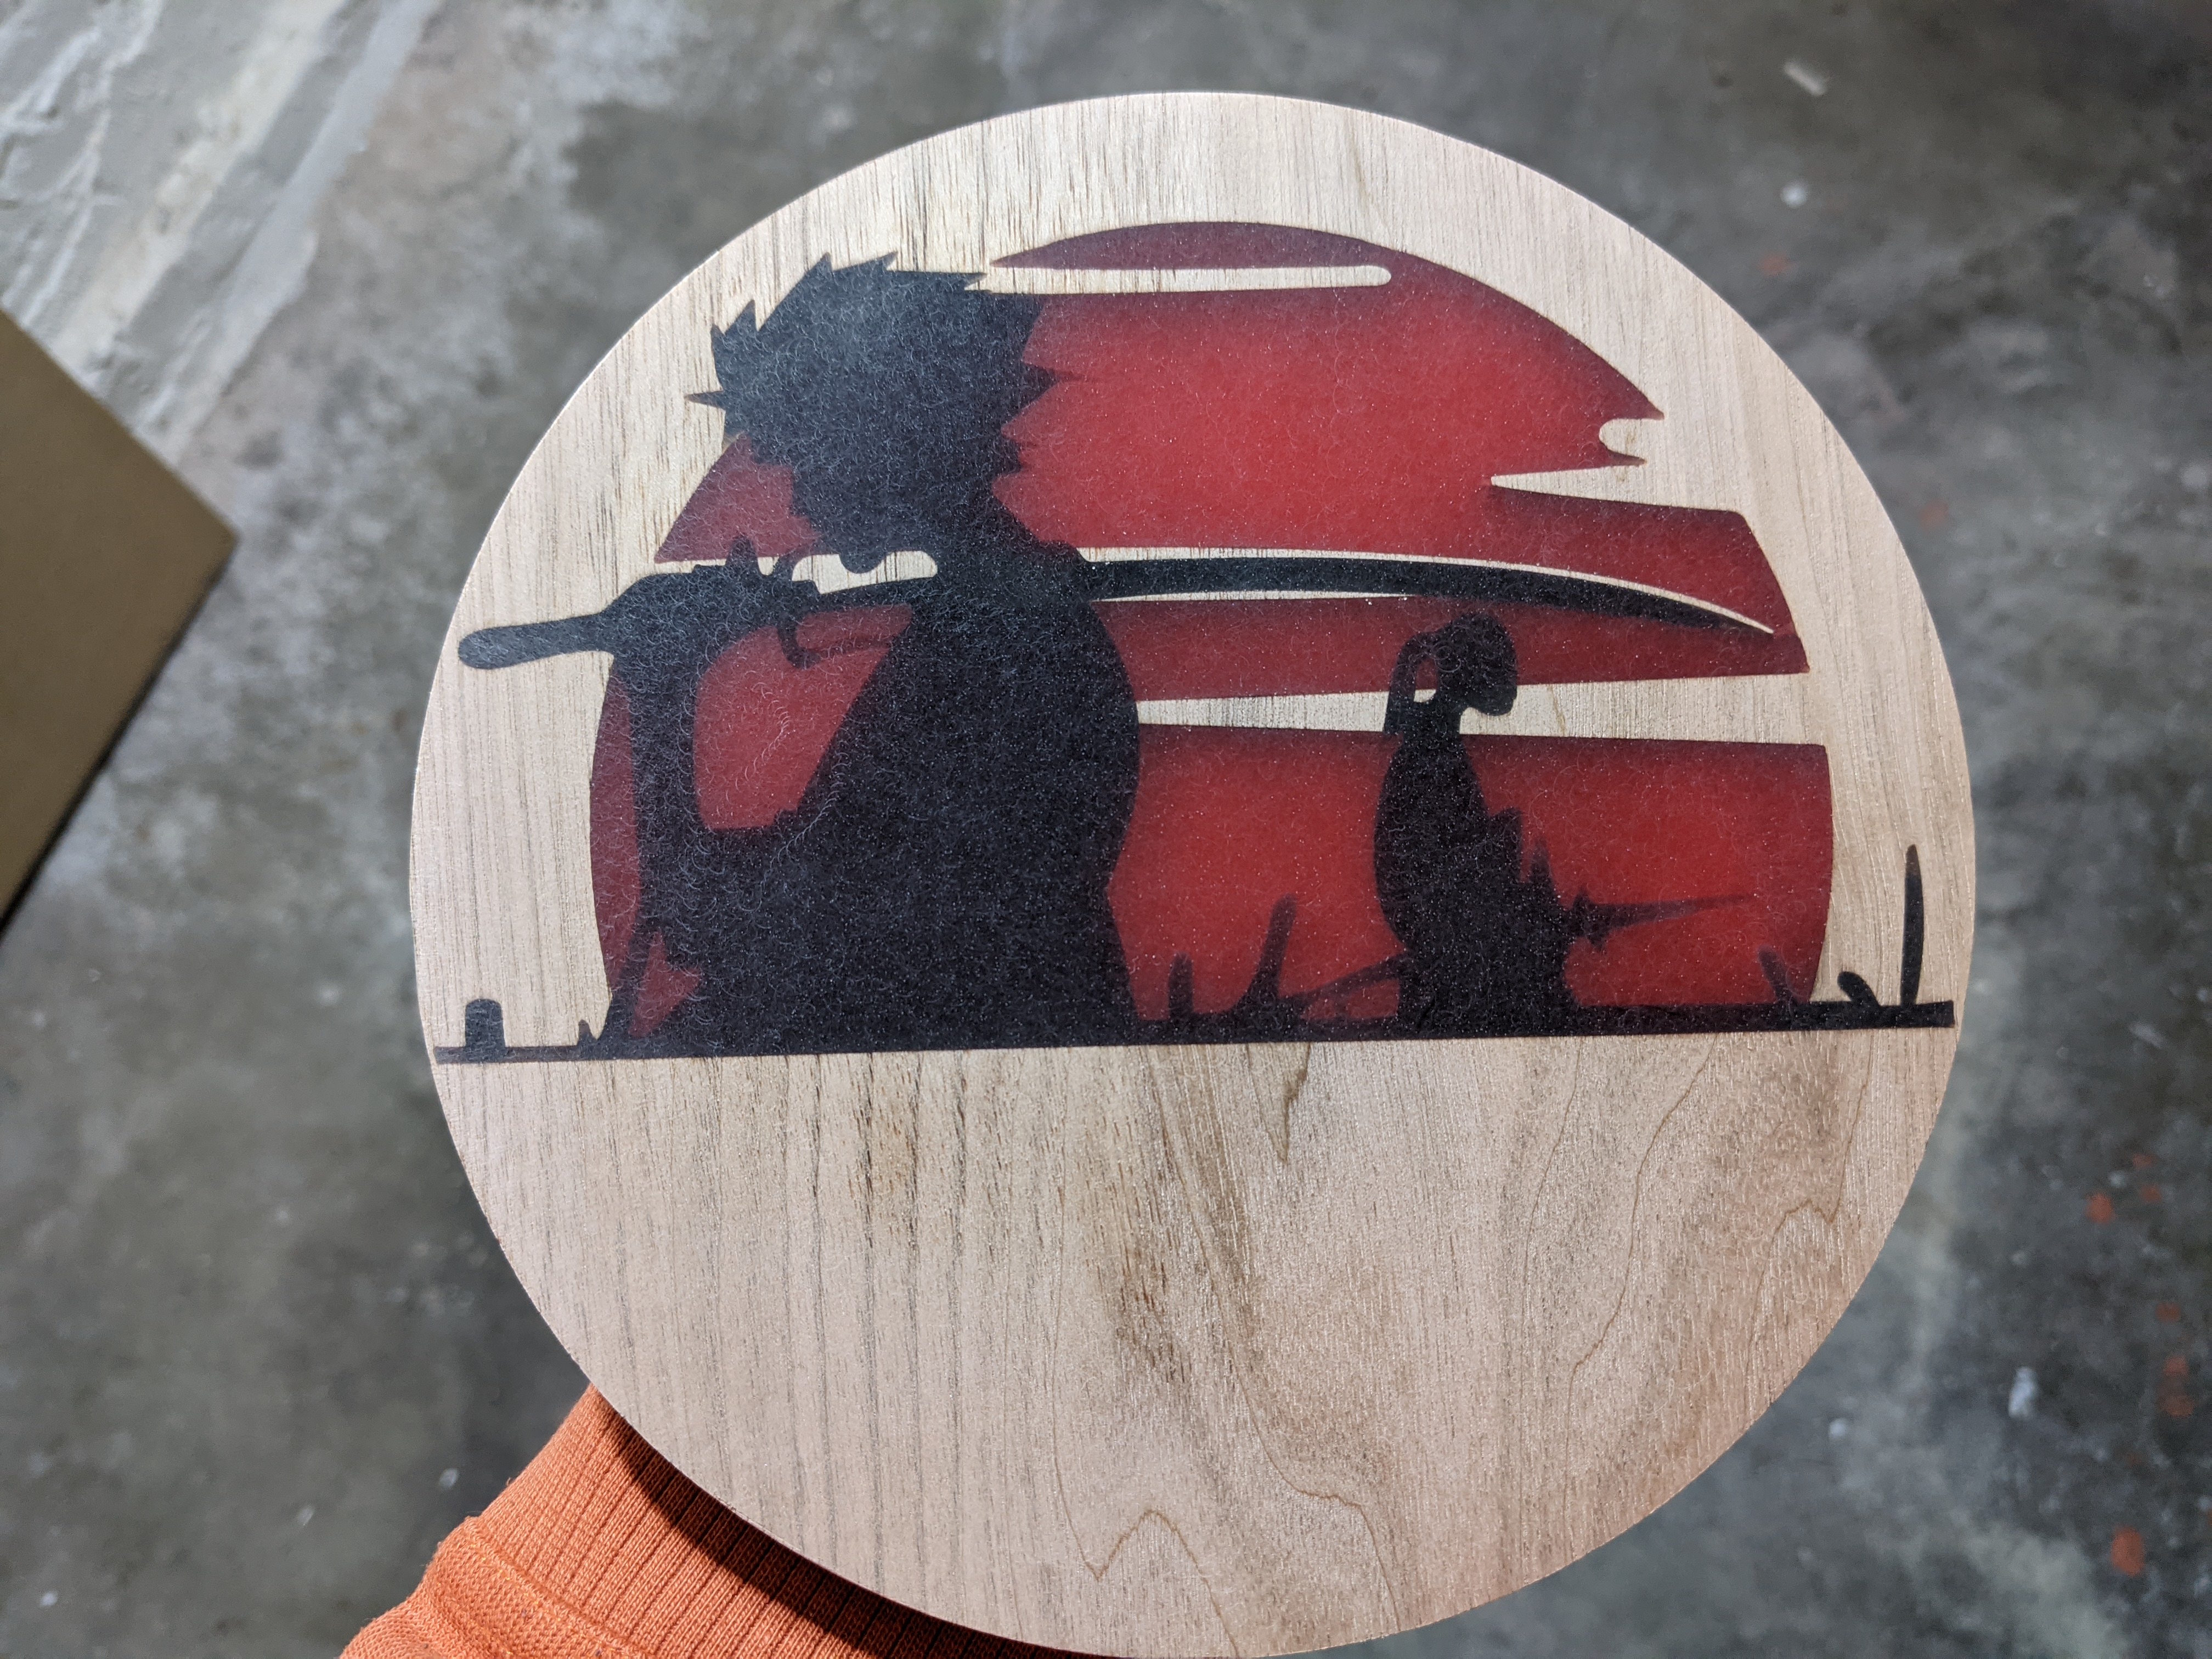
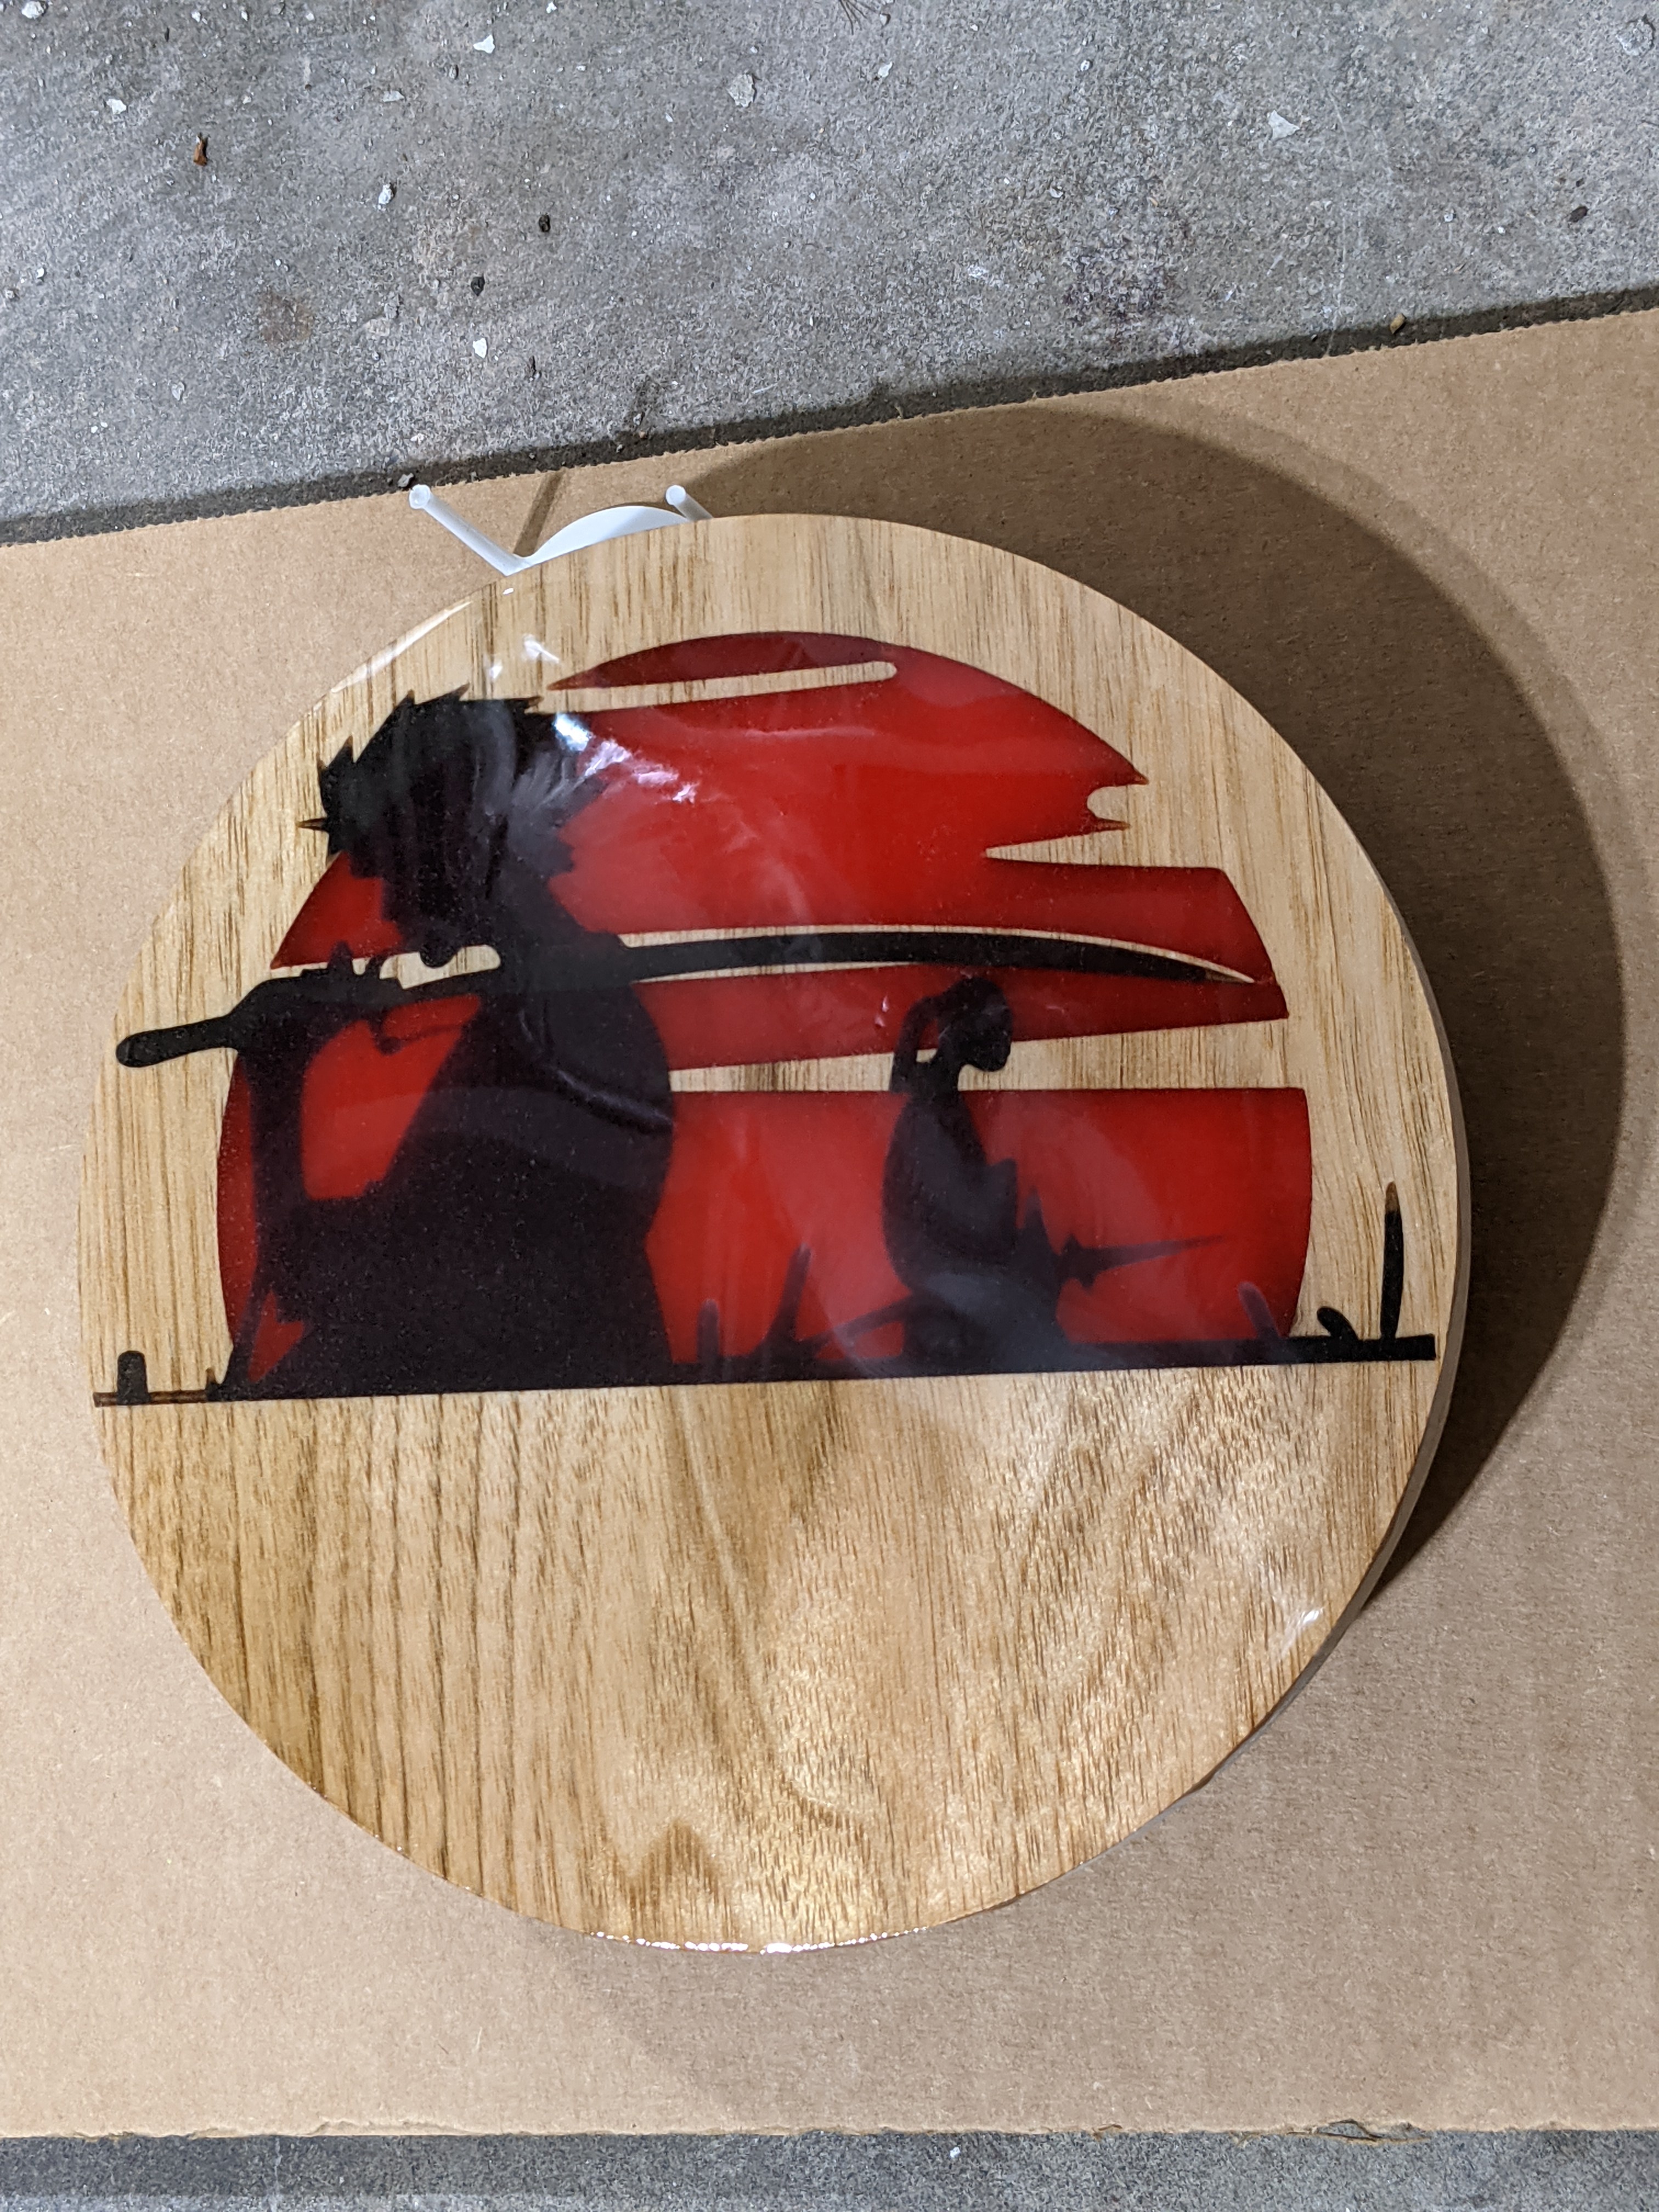
The result came out quite well, the first picture is the “raw” version before I put on a finishing coat, the second picture is with the finishing coat (which is still soo shiny there are some reflections in the image)
pretty much yes.
The first surface pass I deliberately left a bit behind and I can recommend that… helps the details for the second pass be a bit more “mass” behind it so less fragile.
In hindsight I should have done a sealing of the main wood. This was the first time I used pigment ink (instead of powder) and ink bleeds much more than powder ever did for me.
Other things that worked well:
I did a surfacing pass into the (square) wood in the shape of the final circle. I did this 2mm deep, and this 2mm deep was great, it acts as a natural ridge to keep the epoxy from flowing everywhere.
But I also made small 1/2" circle (in that same pass) around the zero point (so bottom left well outside the final circle) with that same surfacing… so I created a perfect point to zero from that would never have epoxy on it.
I also did a twist on advanced vcarve. I did an actual pocket operation all the way to the final edge, before the advanced vcarve, so that the bulk of the area had steep walls (this means that in the semi-fine details, there is more volume cut out so more epoxy can go in, so less chance of tear-out in the final surfacing pass)
When doing epoxy in cold times: I used my heat gun to blow heat into my stirring cup while mixing a few times, and just before pooring. Made the epoxy much more viscous and much easier to stir and poor
What I’ll do different next time:
Seal the wood first
More black ink, or maybe a mix of ink and powder. The black is slightly more translucent than I would like it to be
Do this in the summer when temperatures are much higher