I should reiterate, signs would be in wood(which I thought the 90° V bit could be handy), while etching would be in acrylic/polycarbonate.
The V tooling which we sell cuts wood quite well.
1 Like
Aside from the V, what other endmill might be helpful in that area? I dont have endless funds to throw on them at the moment but, figured id try to get a few to broaden my #201 limitation.
The #251 is one of my favourite tools to use in wood, the other from our shop being a 1/8" downcut such as the one in:
1 Like
That pack, plus the drag, and I’d be set then? Just to clarify, as I could remove the other two items in my cart.
I think so.
The thing is, endmills are consumable and an on-going expense — you have to budget for them (says the guy who gets them free from his employer as a perquisite (for the most part)).
Two excellent resources to learn about endmills are the Material Monday videos (linked above) and:
I used most of my favourites in:
and explained why each was needed.
1 Like
Awesome, thank you! I’ve got a bit to catch up on, and excited to try out some new things. That box, is pretty freaking cool! I know I’ll be back with some questions soon, as I try to better understand toolpath settings.
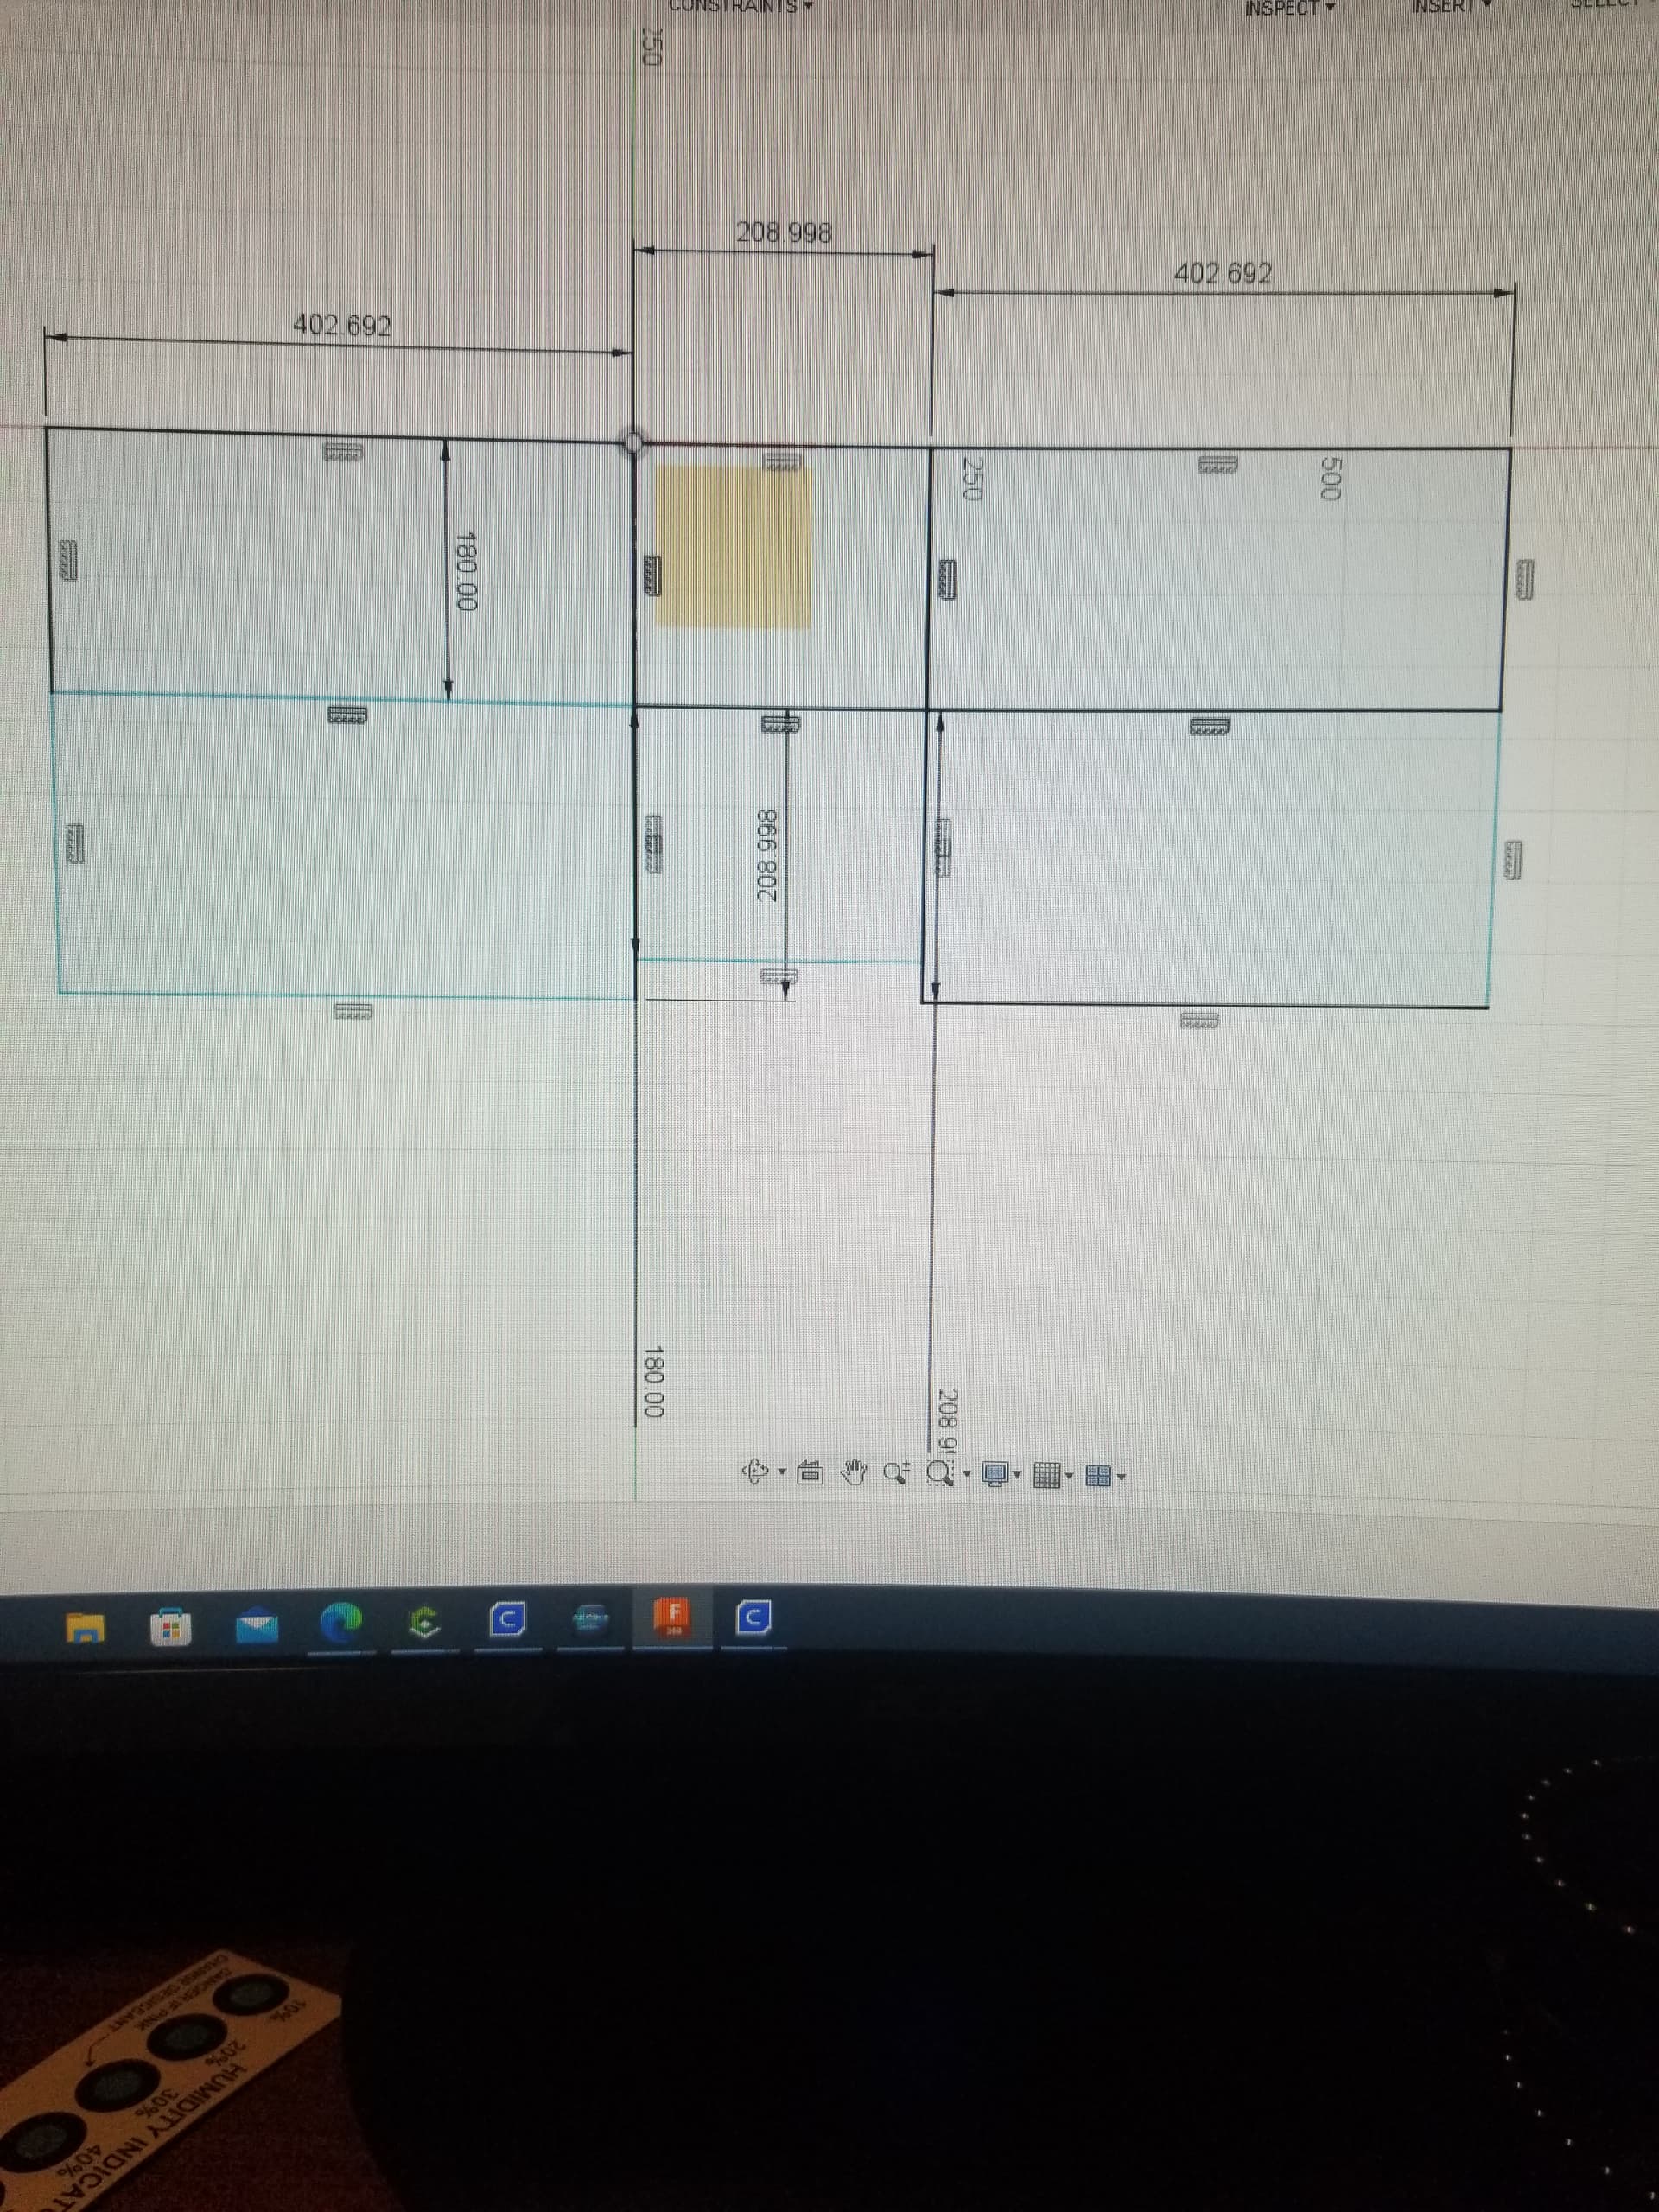
I did start to get the hang of Carbide Create a little more, still unsure on a few things though, as I sketched something out in Fusion 360, and unsure how to recreate it in CC.
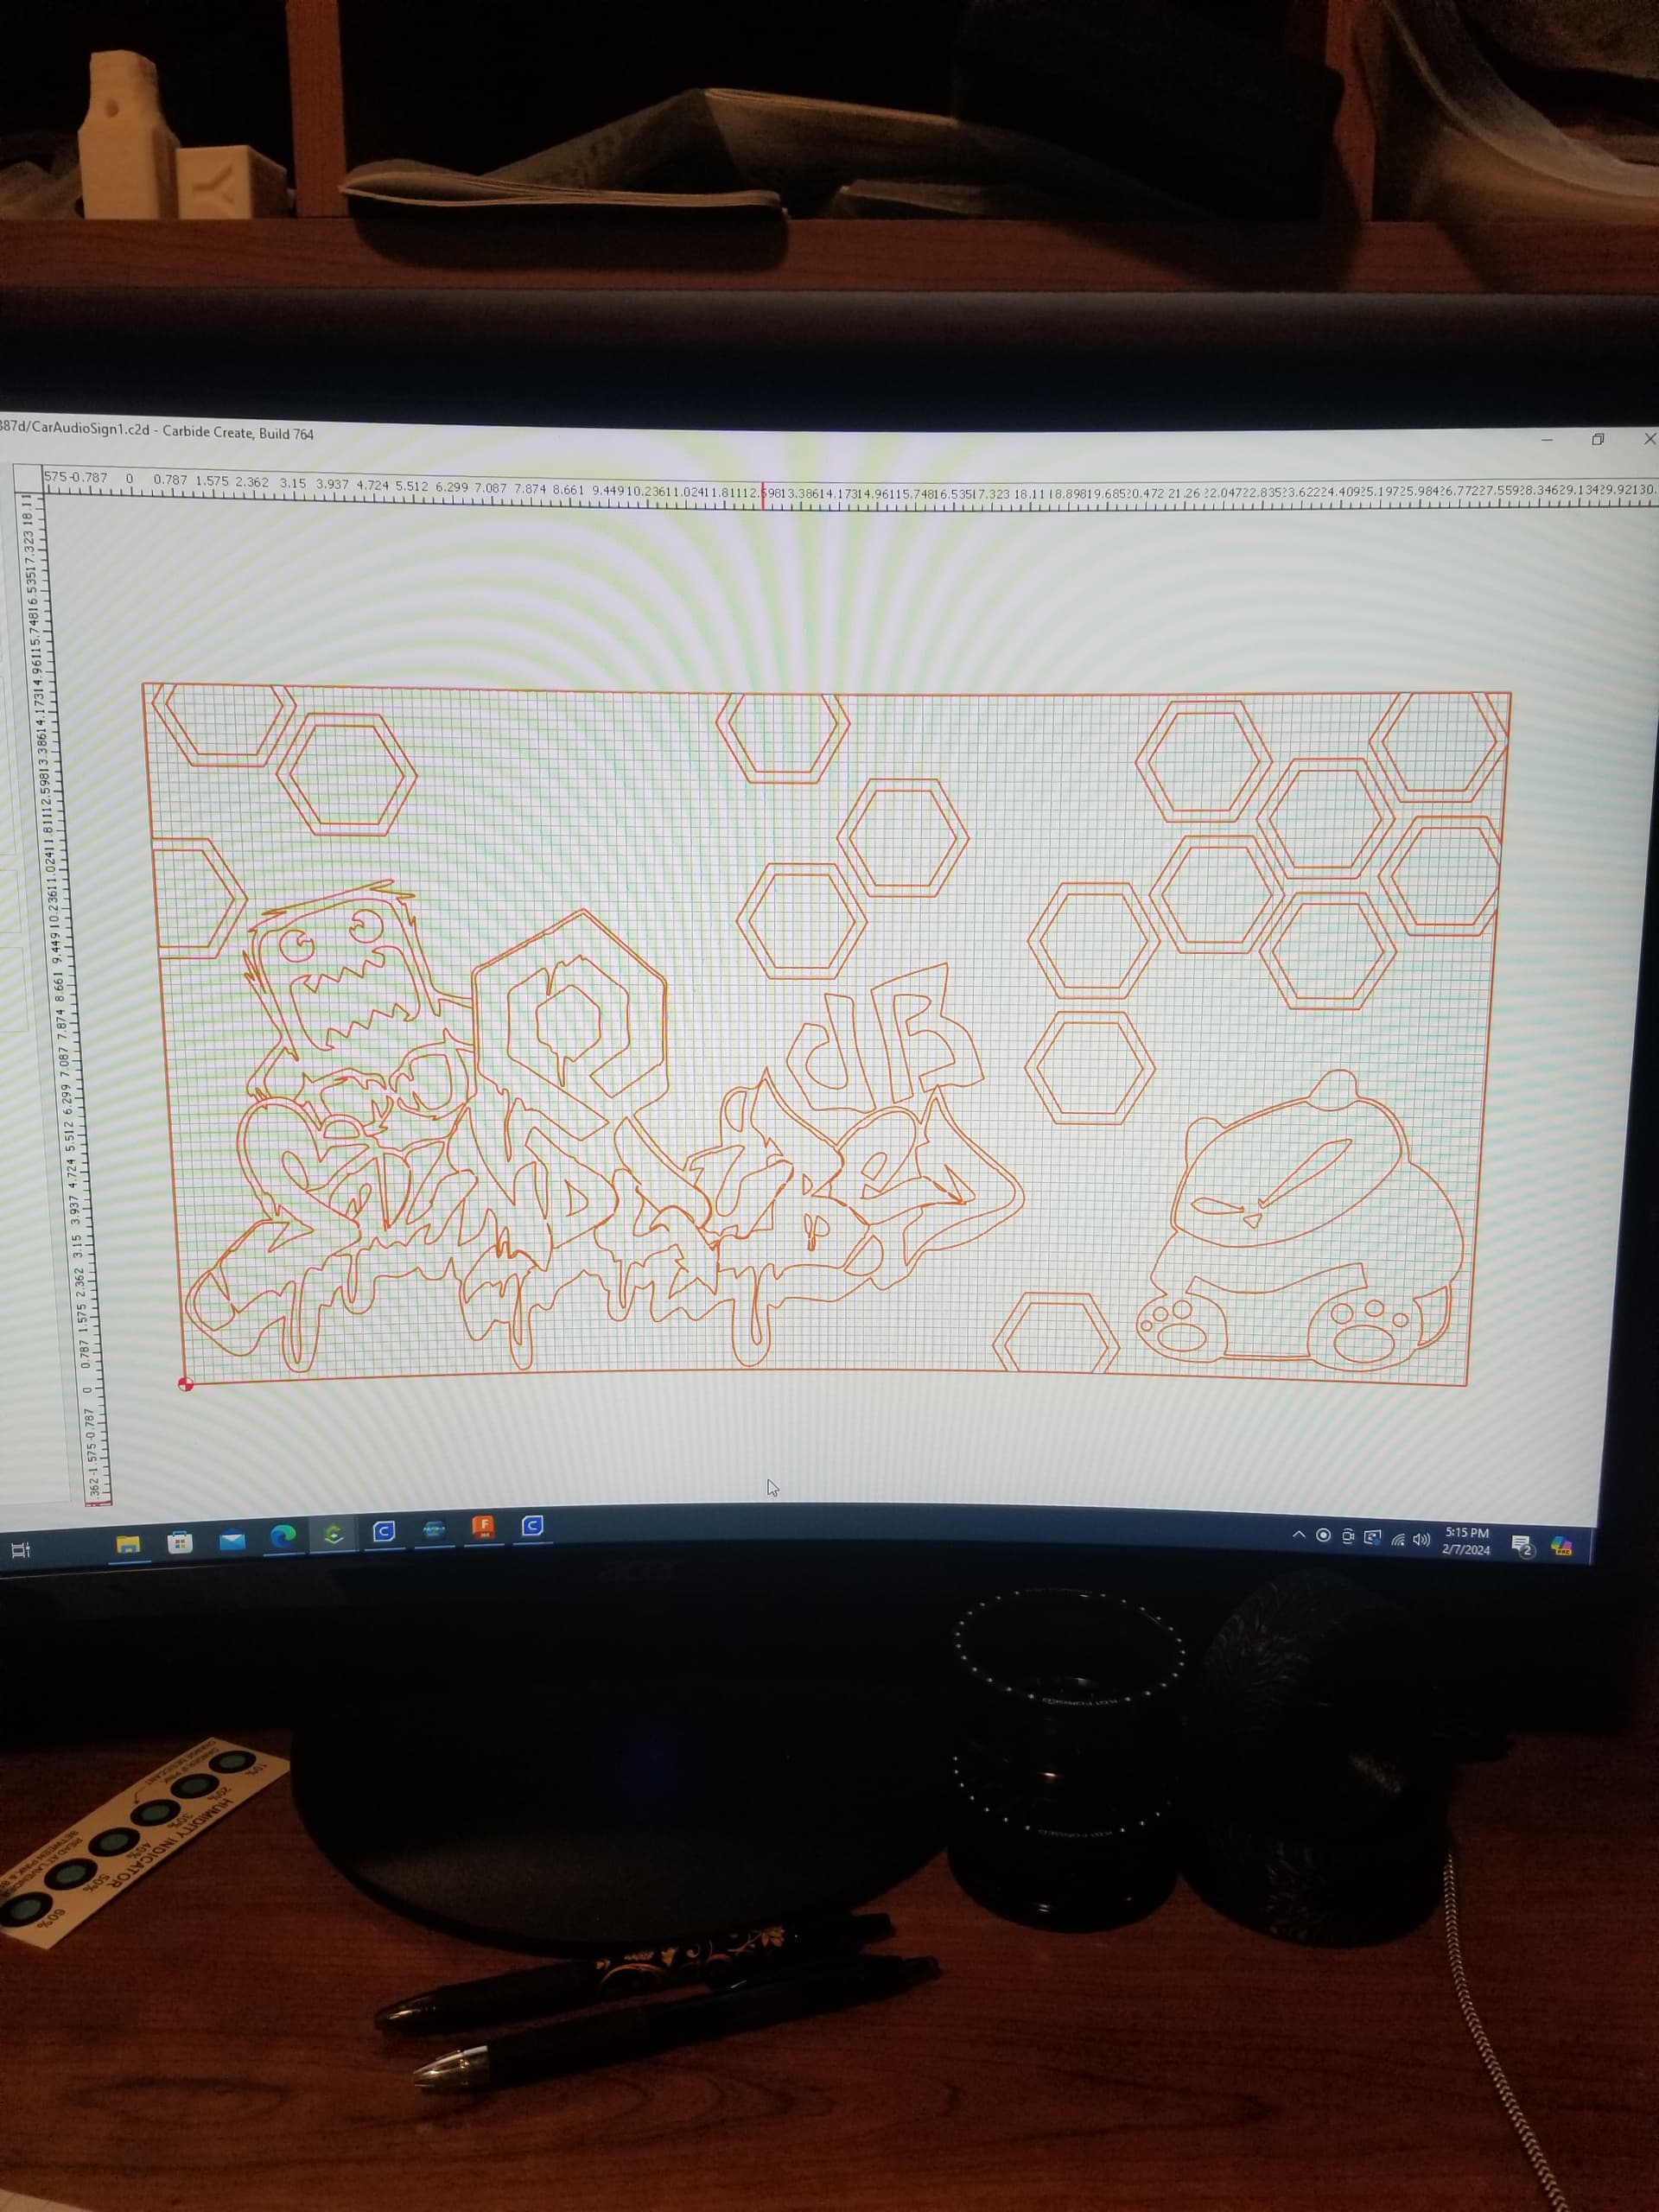
First pic, is a sign I’m wanting to engrave for a personal project.
Second one, however, has me stumped, on how to make it in CC(it’ll be a finger joint box, as I’ve not yet finished it).
Note that finger (well, box) joints require a vertical fixture at the front of the machine — I worked one up ages ago:
but am disenchanted, either w/ my clunky fixture, or the entire concept — cutting traditional joinery on the machine requires at a minimum 3 setups:
- cut parts to size and machine internal features
- mount all 4 boards in pairs in the correct orientation on the machine/fixture and machine joints at two corners
- reposition all 4 boards and cut the opposite corners
We’ve tried a bunch of other techniques:
and I’ve been working on various designs:
and see the pages on joinery at:
I’ve pretty much dialed things in w/
The bamboo pencil cup had joinery so tight that when I clamped it up for a test fit, I couldn’t get it apart:
which I need to finish writing up/documenting — the issue is one of balancing the size of a V endmill against number of passes w/ a V endmill — the former can be a budget and spindle capacity issue, the latter gets tedious to draw up and arrange toolpaths for (in the current Carbide Create).
1 Like
Would I be able to utilze the tape and glue method for the joinery, as my stock would be .25" polycarbonate?
I believe so — it comes covered in plastic right? Put the tape on that?
It does, yes. I’ve gotta figure a few things out in the design first but, have a small sheet I’ll practice on beforehand. Is there a specific glue folks are using for this method?
We sell:
(which is painter’s tape, cyanoacrylate glue, and accelerator — I just buy glue in the smallest possible container whenever Michael’s sends me a $5 reward if I don’t have too many)
1 Like
I was thinkin it was CA glue. I’ll have to snag some, as I’ve got plenty of painters tape.
This topic was automatically closed 30 days after the last reply. New replies are no longer allowed.