Just want to say congratulations to Carbide 3D for doing such a good job on the Shapeoko Pro. It is a very well built machine, and much easier to put together then it’s older brother.
They did a lot on this machine that they did not have to, I really like the 4 chain system, adding two drag chains just for the router cord was a really nice touch. Also love the aluminum frame caps and the new router mount!
I was a little butt hurt after buying several S3’s that there was no upgrade option, but I would like to aplogize, as I was wrong to be upset, almost everything is new and the design is definitely a big step up in quality and function.
I would like to add on a aluminum spoil board and remove the T-Tracks. I am confident the slat holes are 25mm spaced apart 6mm and 4mm, but not sure about it being 320 mm from slat to slat center of holes? I have a 6" Caliper but I am trying to use a old yardstick to measure between slats. Guess I need a bigger Caliper… Keep coming up with 320.34 mm lol think my yardstick is off…
Thanks for the help and I can’t wait for the HDZ upgrade!
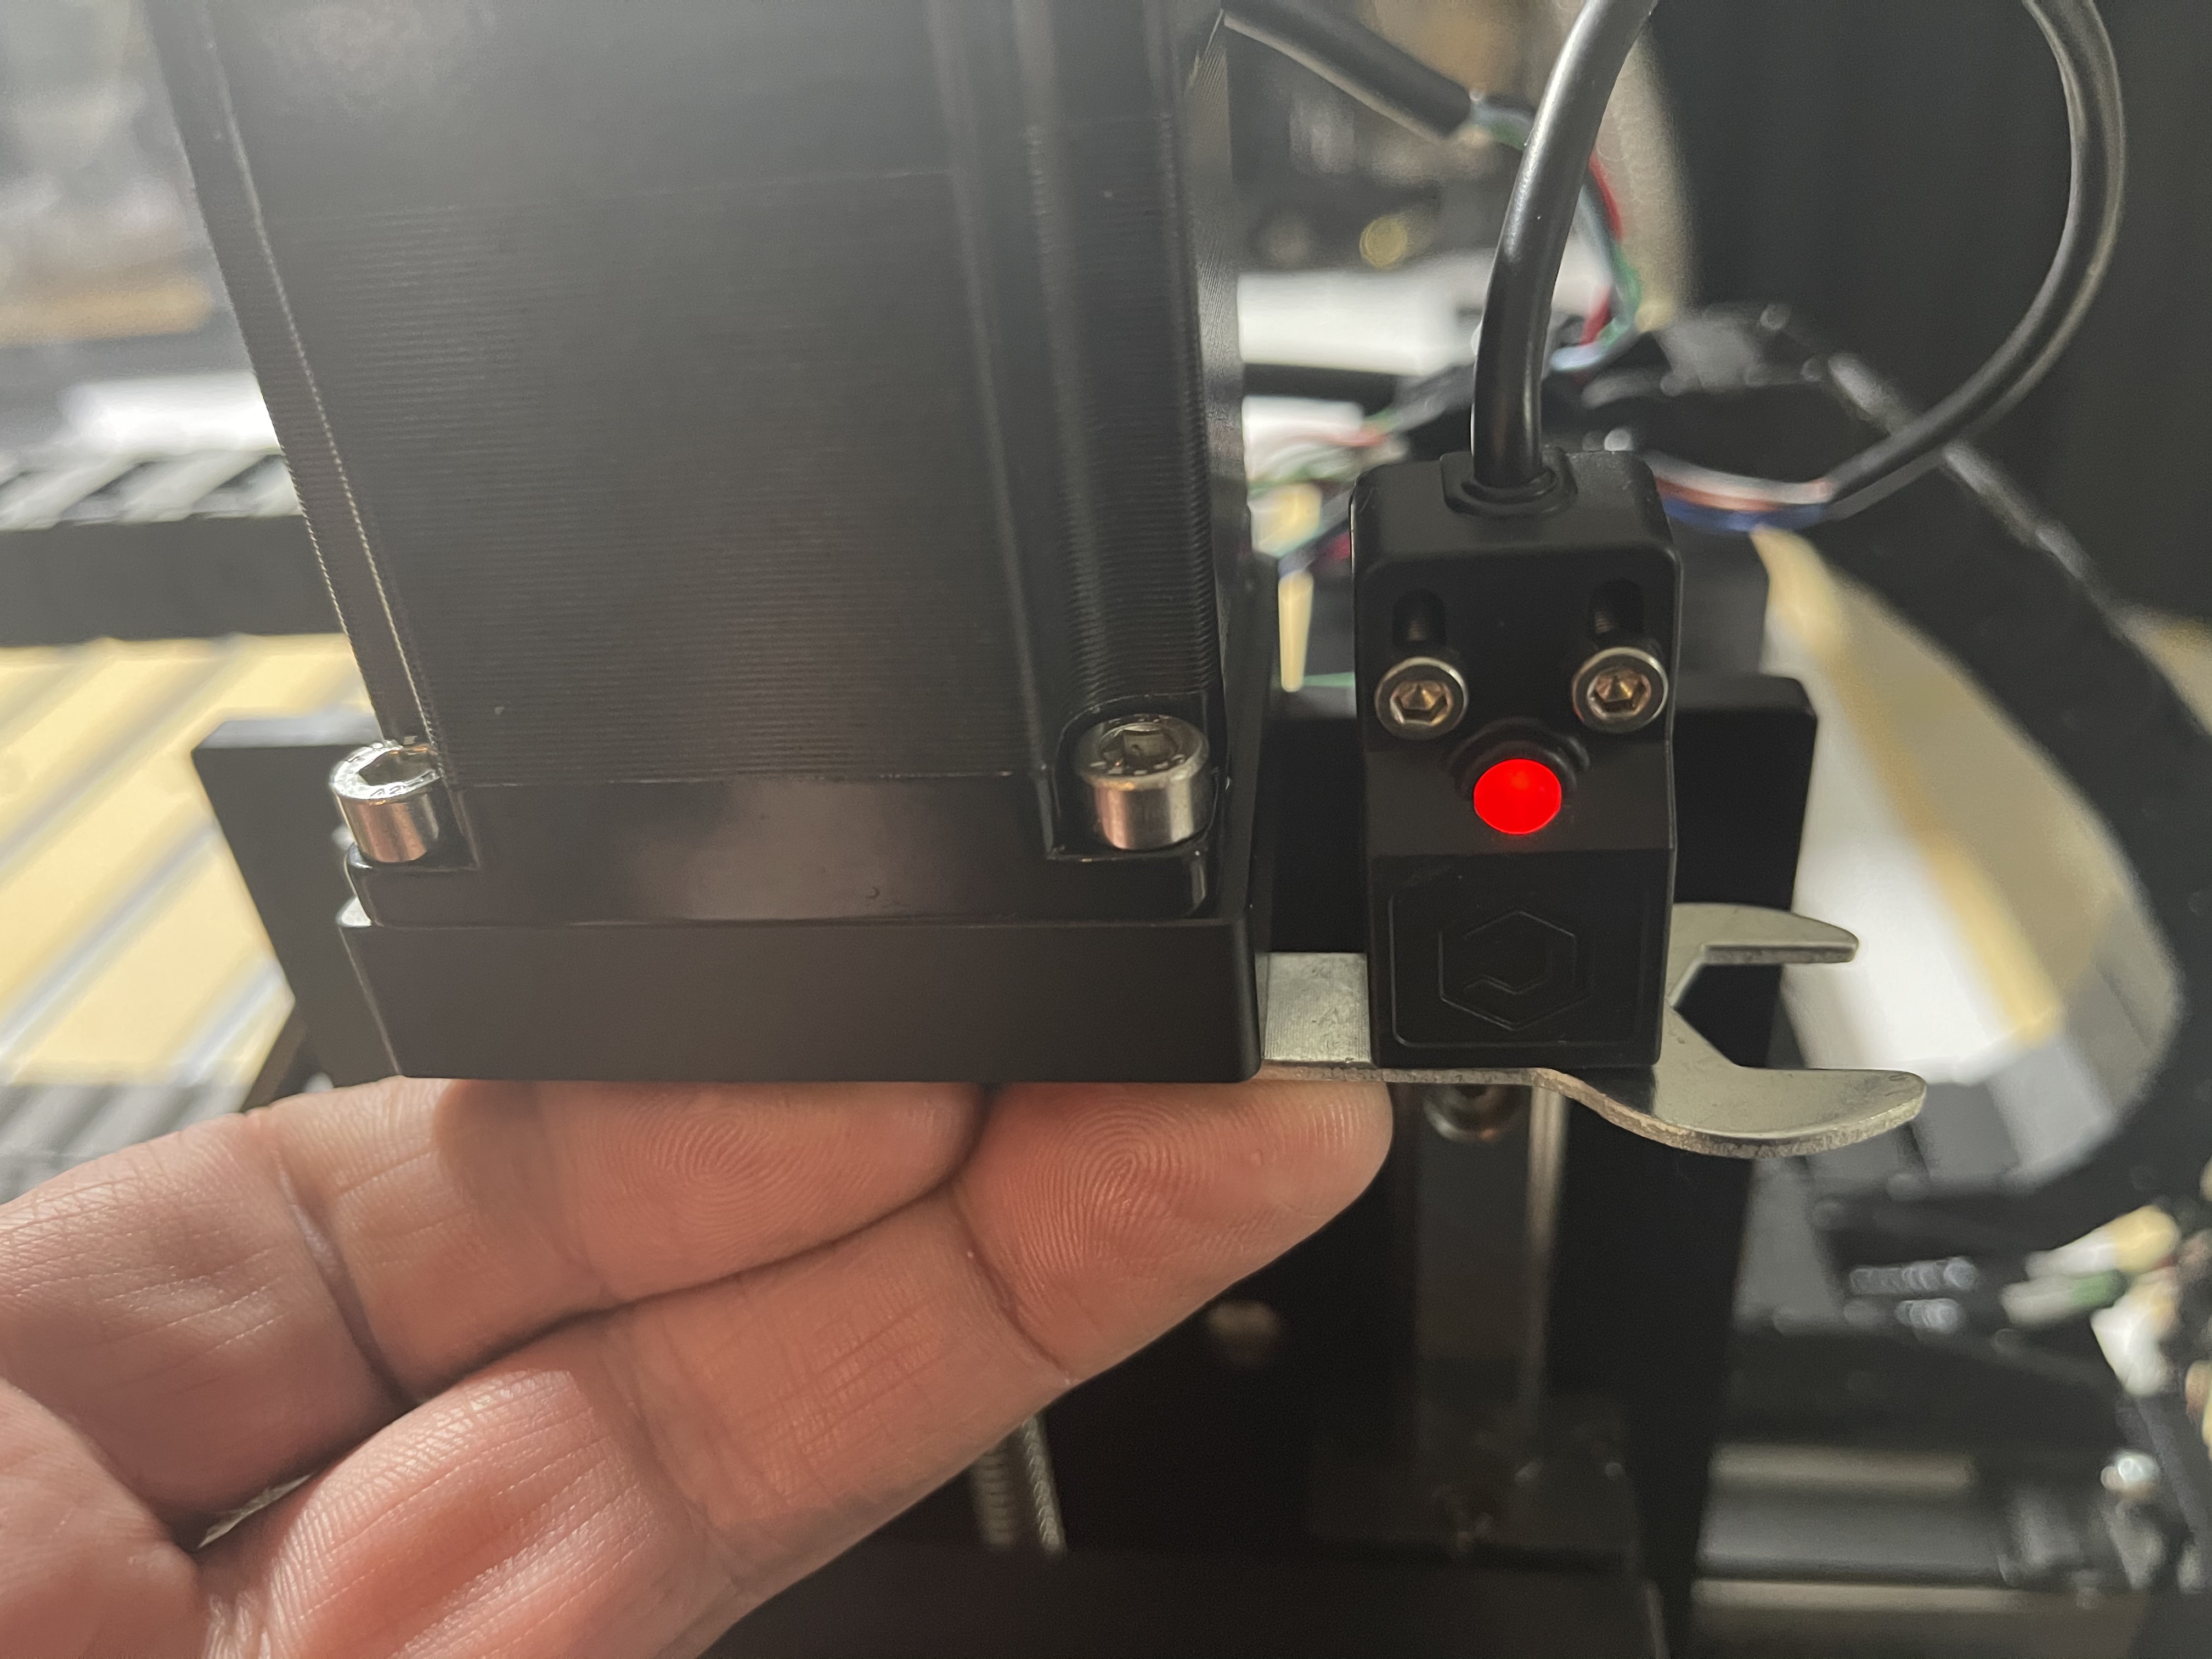
If you are reading this and are waiting for your Pro to arrive, make sure to turn the machine on and test all your proximity switch positions before starting initialization. All of my switches were not positioned correctly, my X switch was spaced too far from the Z plate to properly connect, I fixed it by replacing the stock (18mm?) bolts with 25mm x 3mm socket cap screws with five 4mm washers per bolt to space it properly from the rail. I wish this was mentioned in the instructions, as first thing I did was crash my machine like a noob, lol.
Only took a second to shut it off, and a few minutes to address, but it feels like I just scrubbed a curb with my new Ferrari haha…
I have (and will continue to) been chronicling my Pro journey on my YouTube channel. This includes me going through the following how-to or fixes with my Pro:
Assembly & Unboxing
BitSetter Fix
Y Axis Homing Fix
X Axis Homing Fix
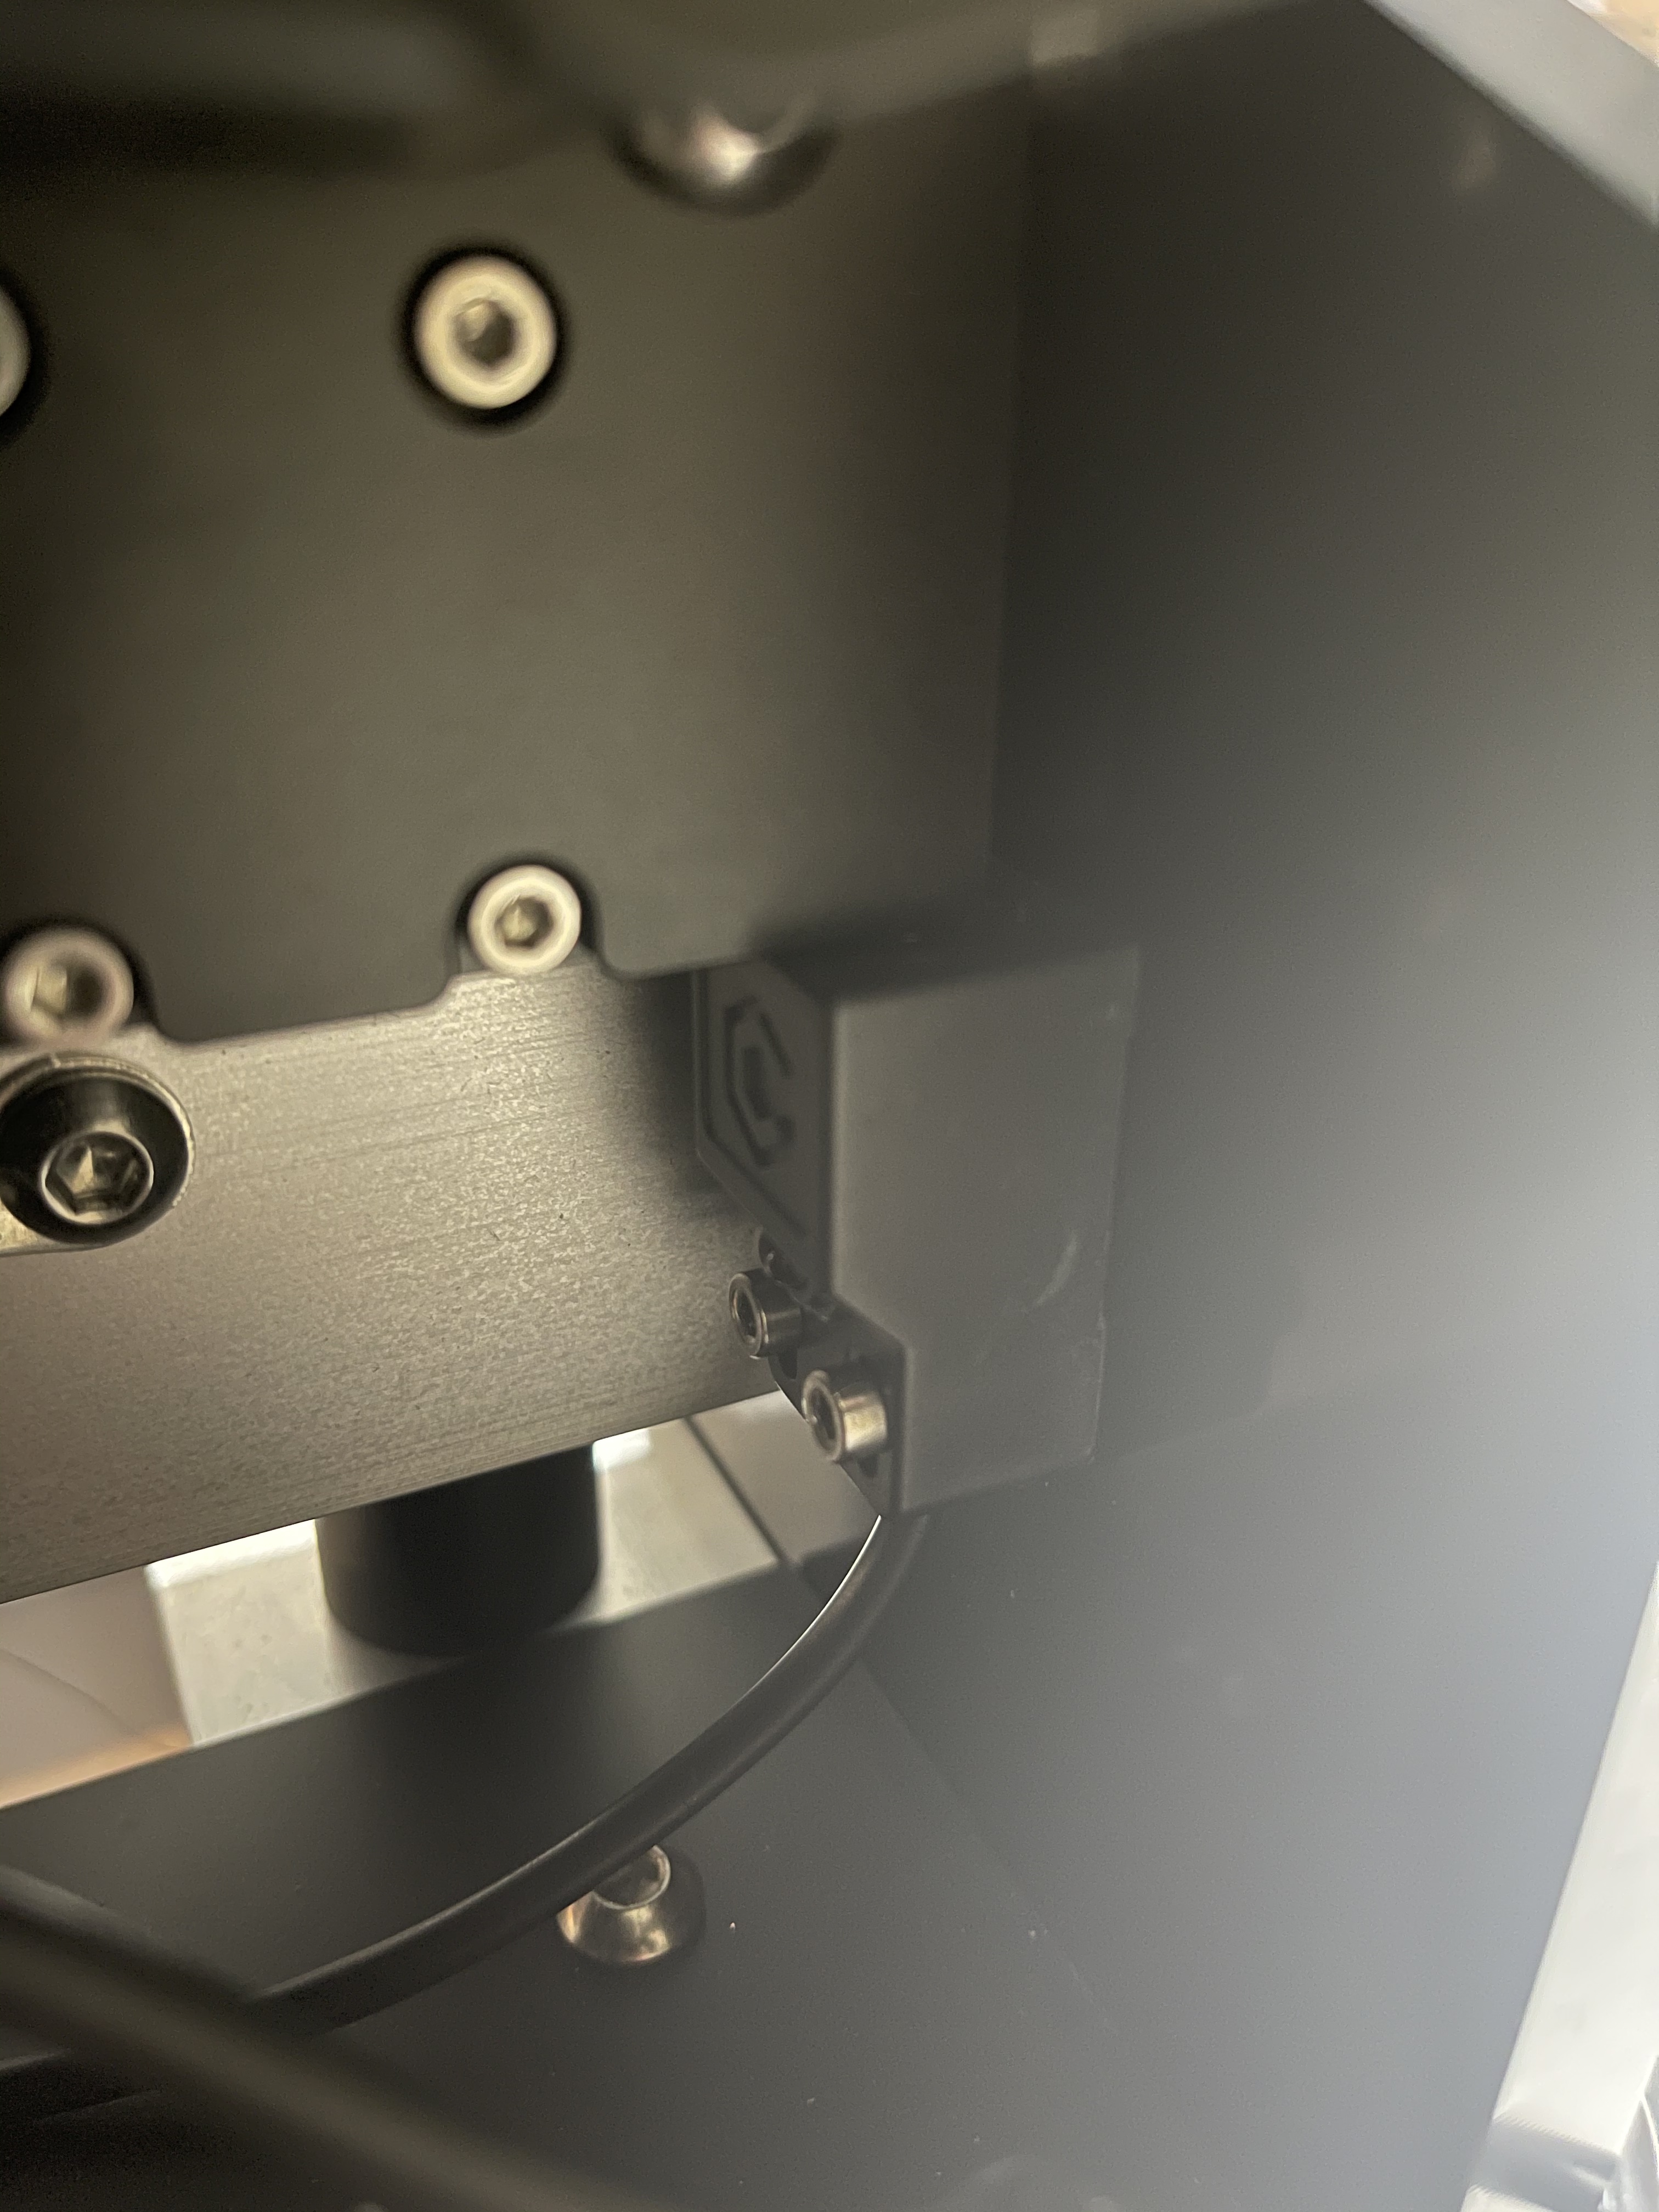
When you turn the machine on you can test the switches with a piece of metal but it locks up the stepper motors so it needs to be turned off to adjust the switches.
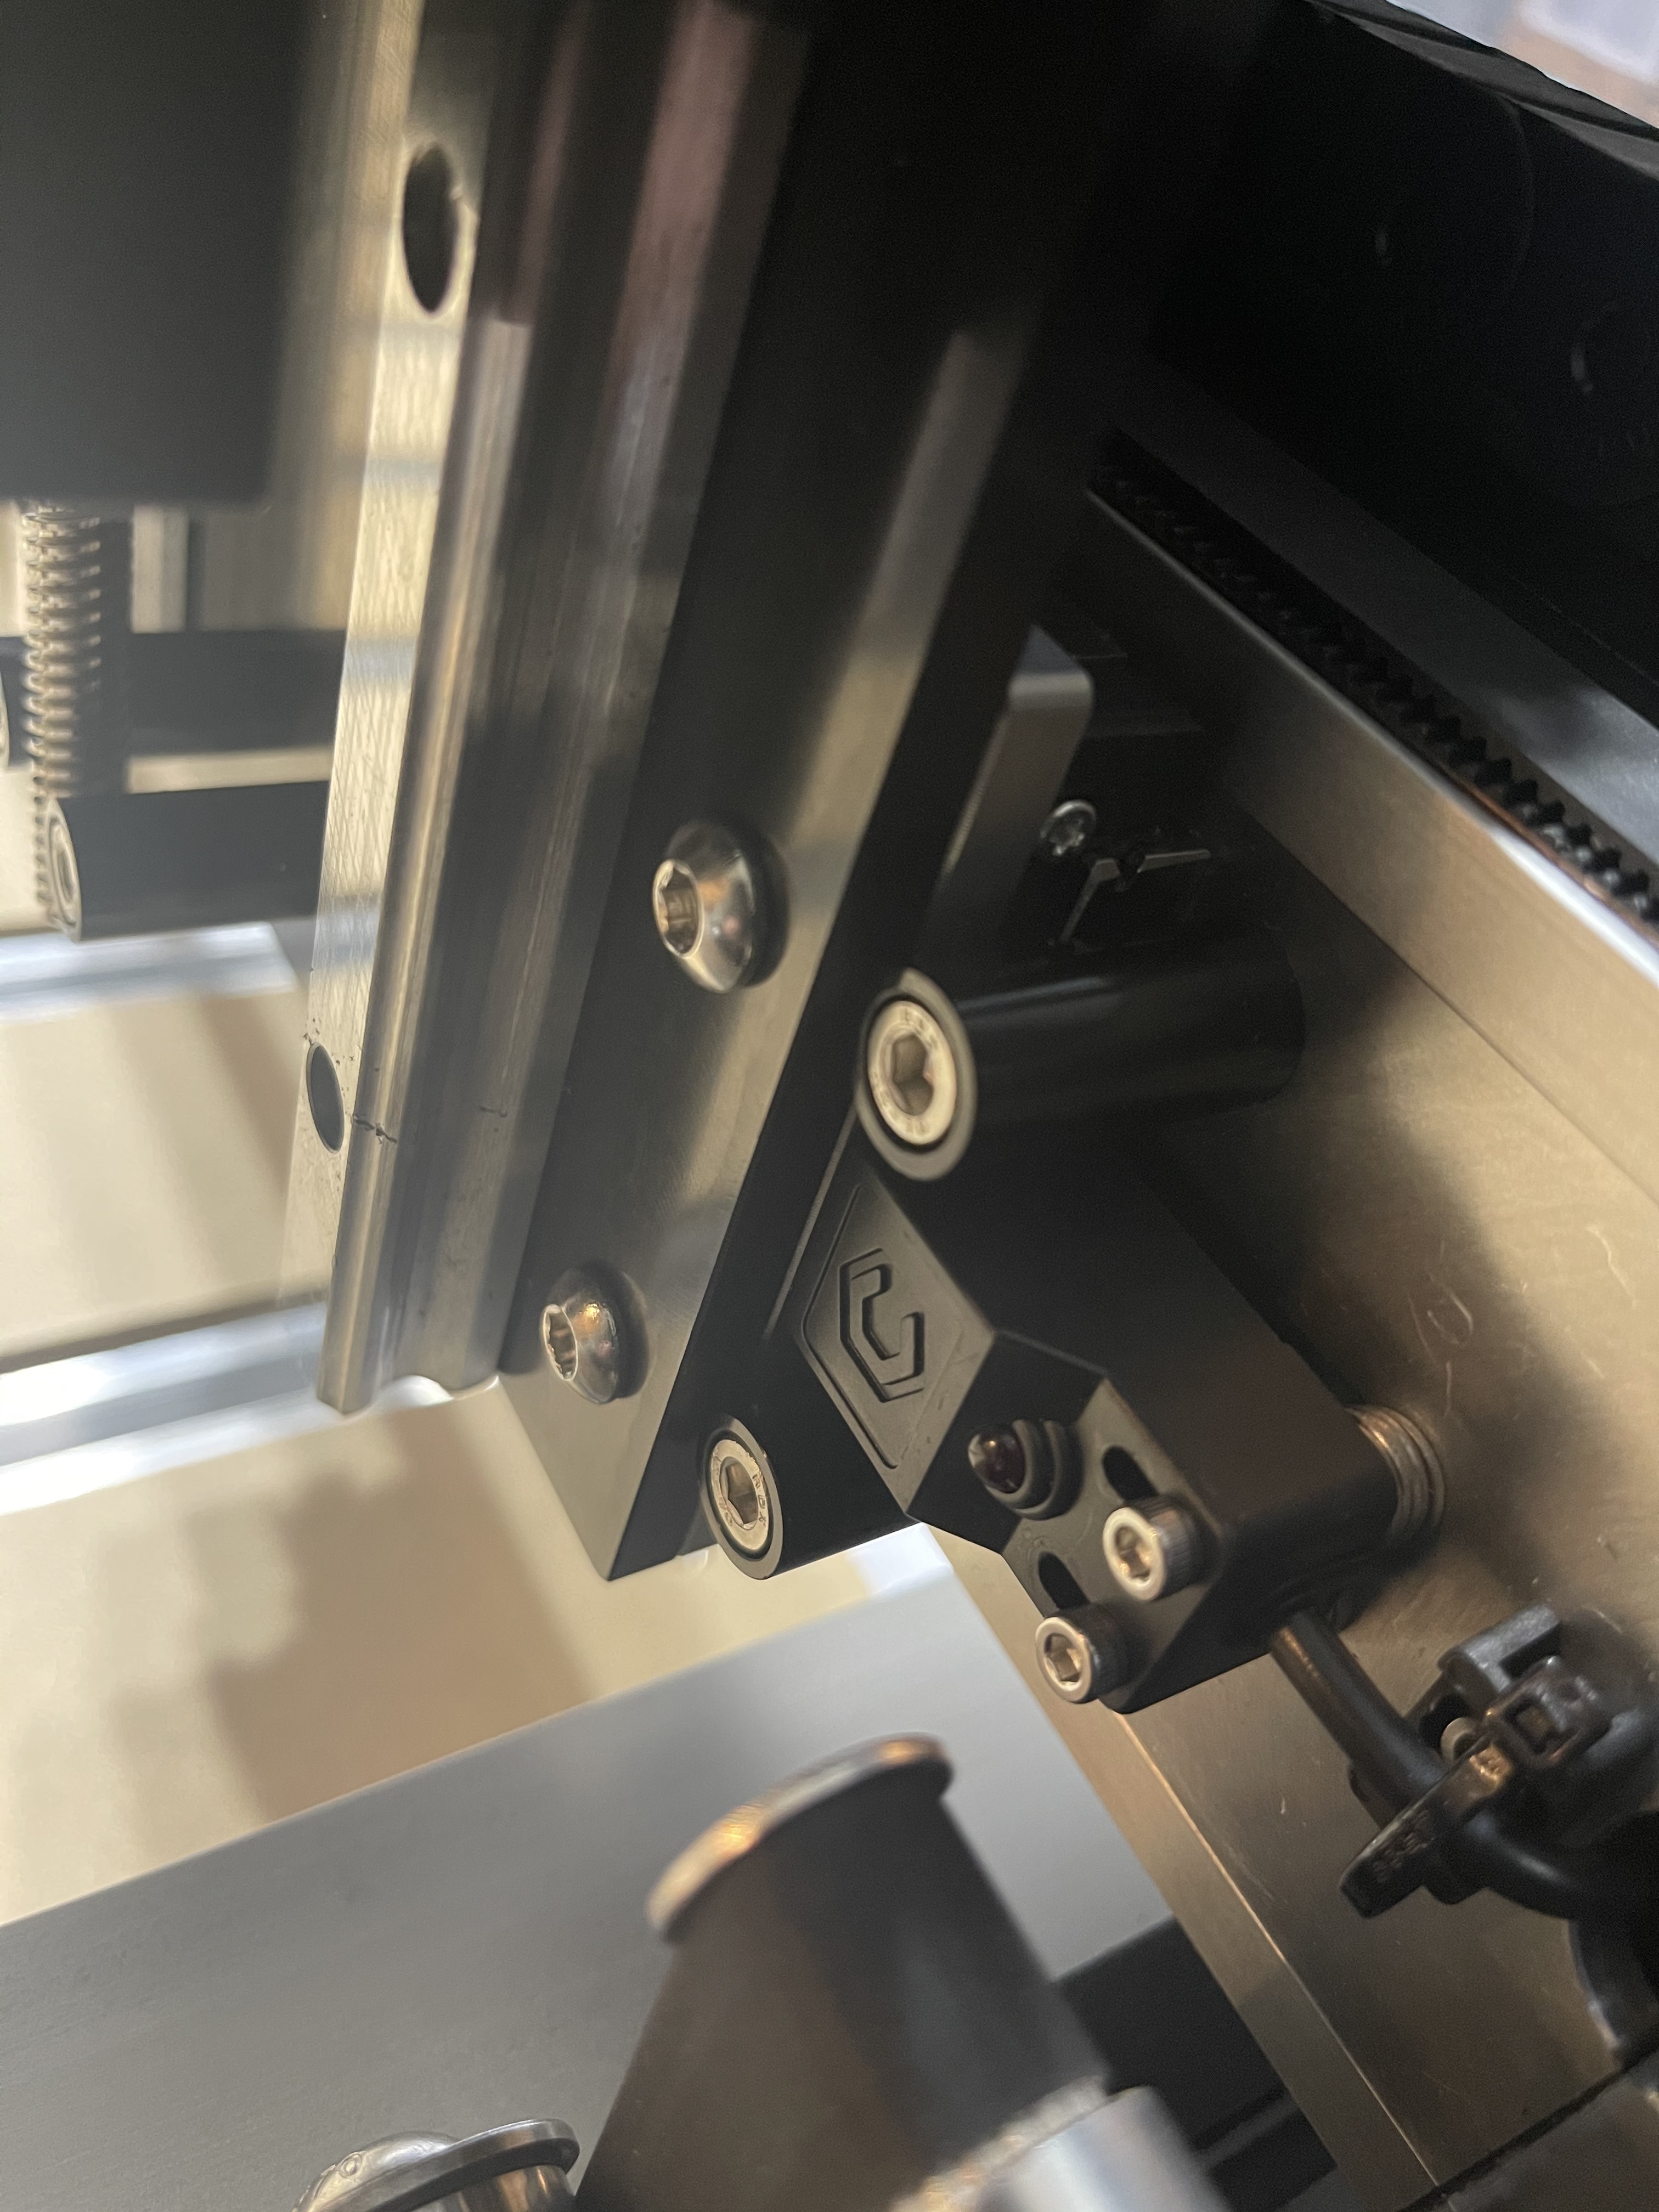
I would start by taking the supplied router wrench and placing it across the Z sensor, make sure it is level straight across. Mine was close but crooked and needed adjusted.
For the X sensor, I do not think it works at all the way it was delivered to me, they might have caught this and addressed the issue already as I was one of the first to order my machine. I used five 4mm washers on each socket cap screw to make the sensor level with the shiny aluminum bracket on the Z mounting plate, and when I pulled the router all the way over to the bumpers and adjusted the switch to be level with the bumper it worked perfectly.
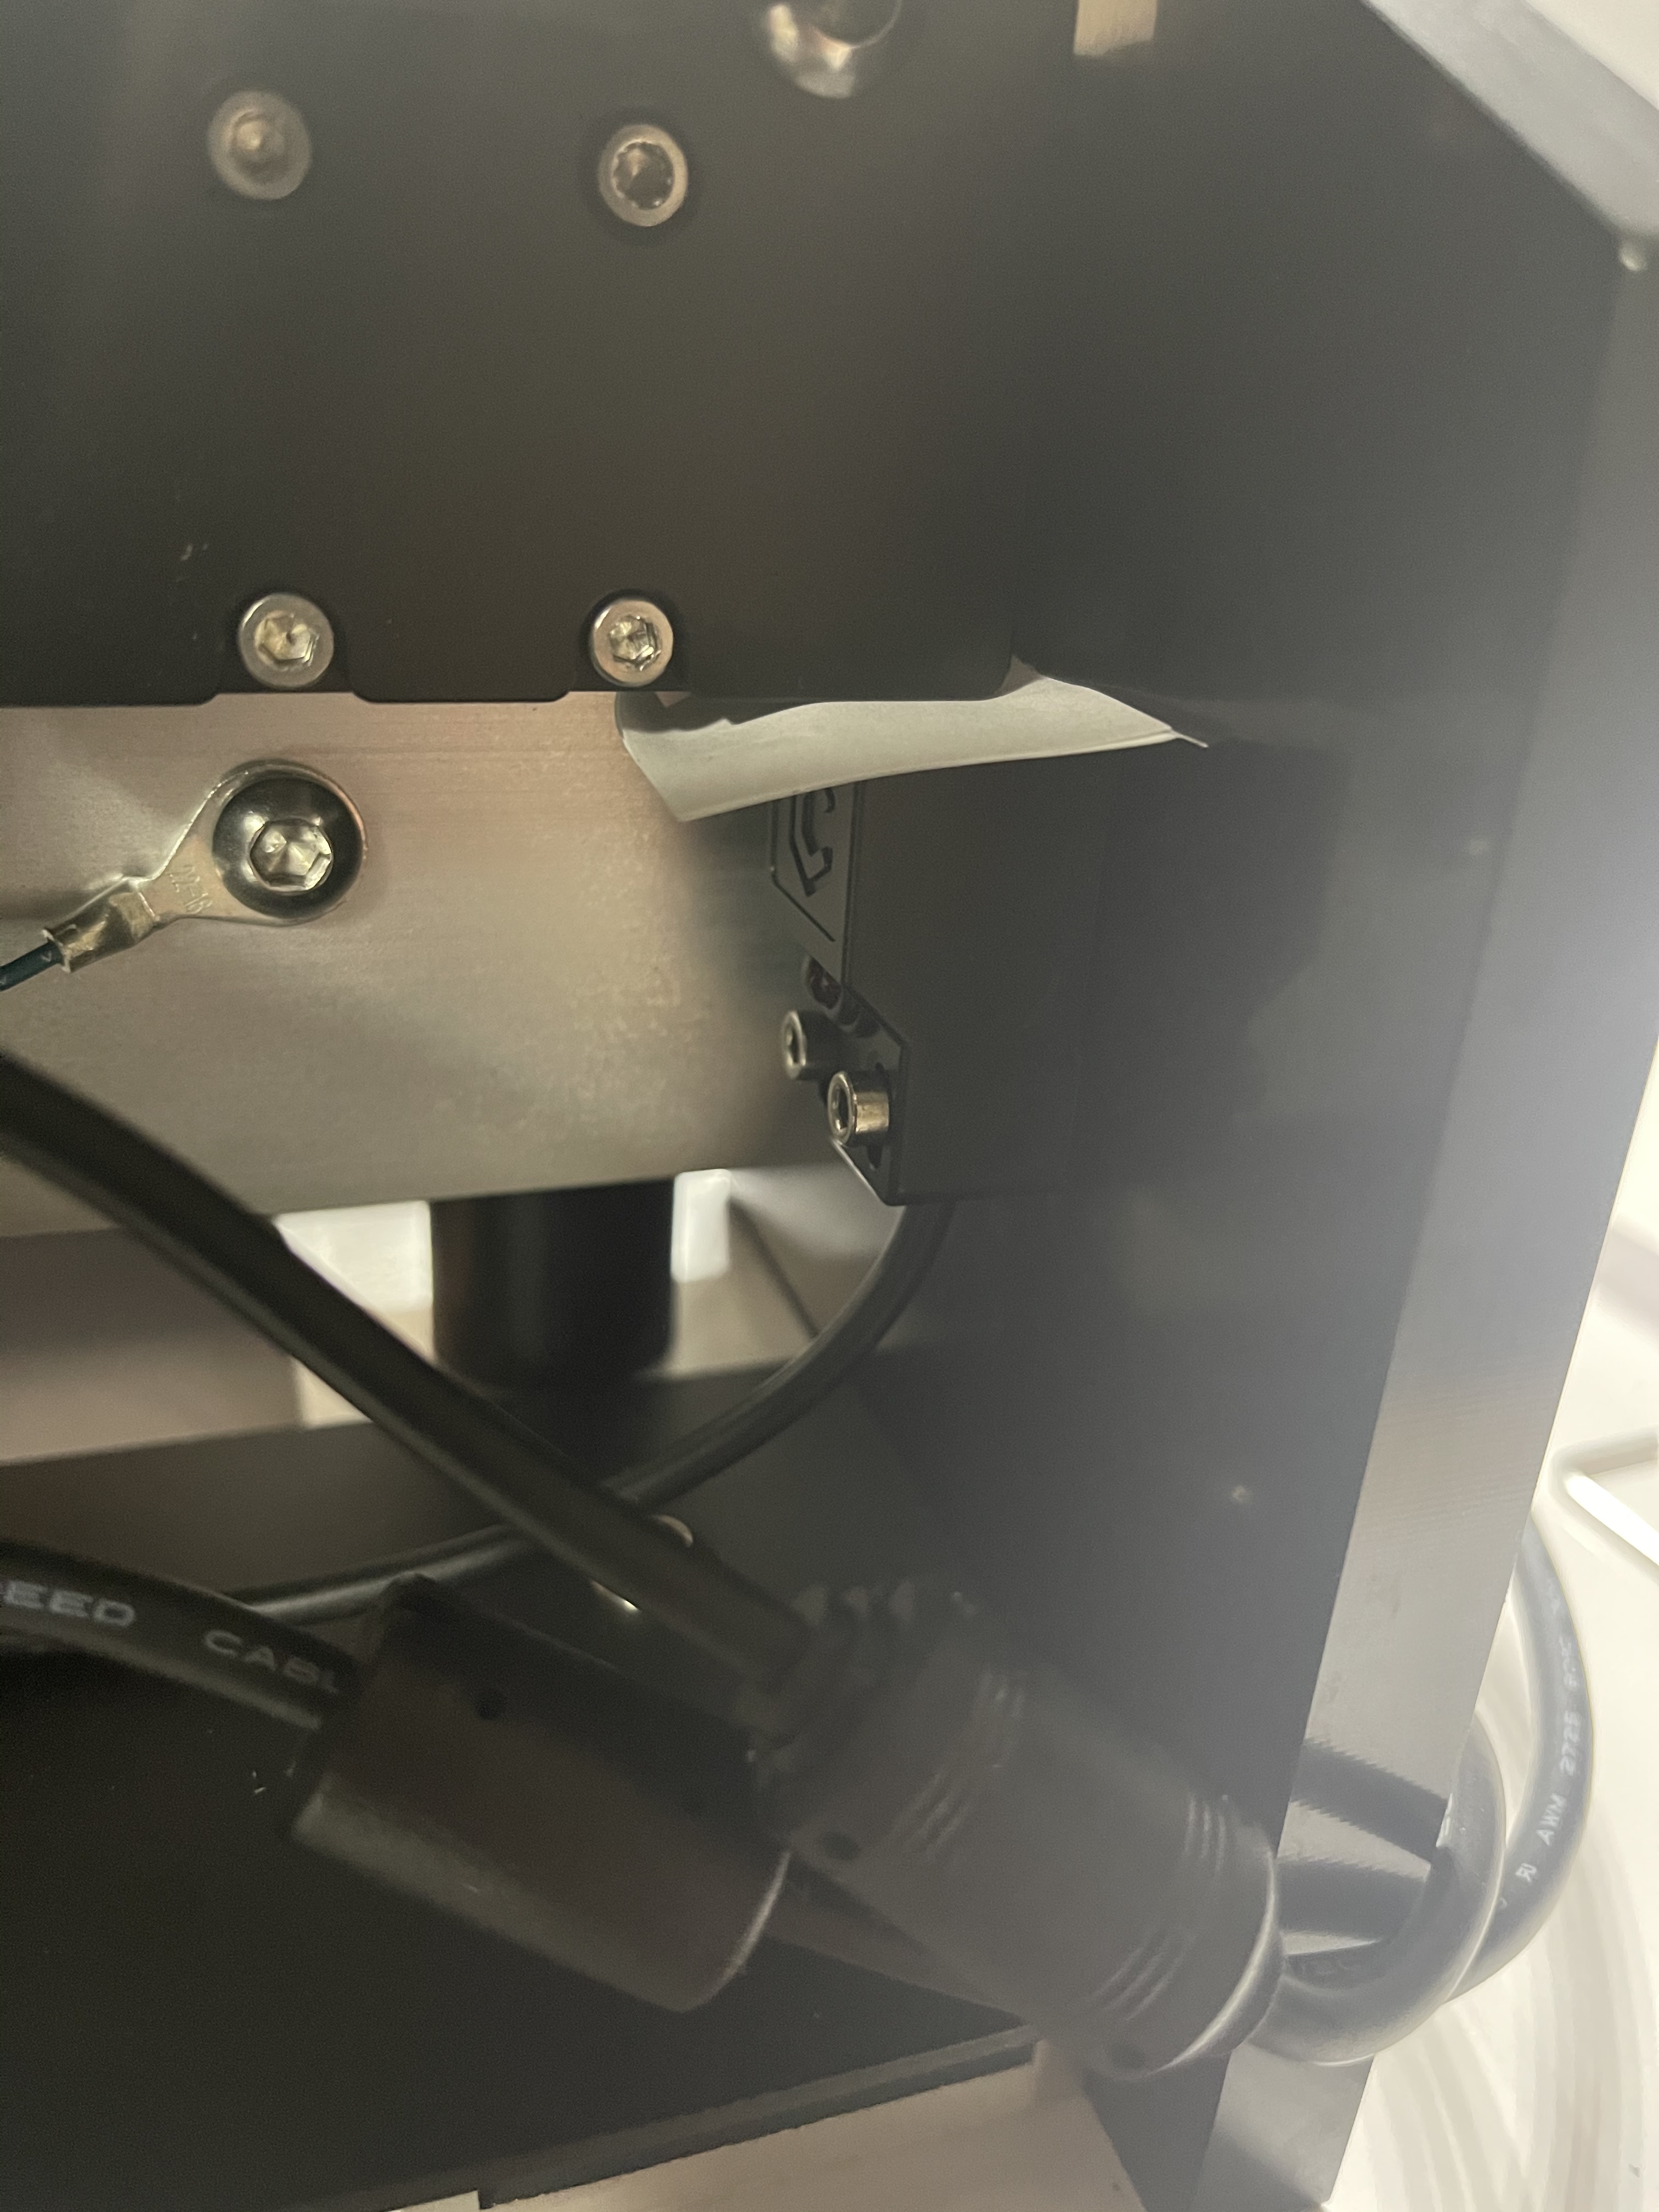
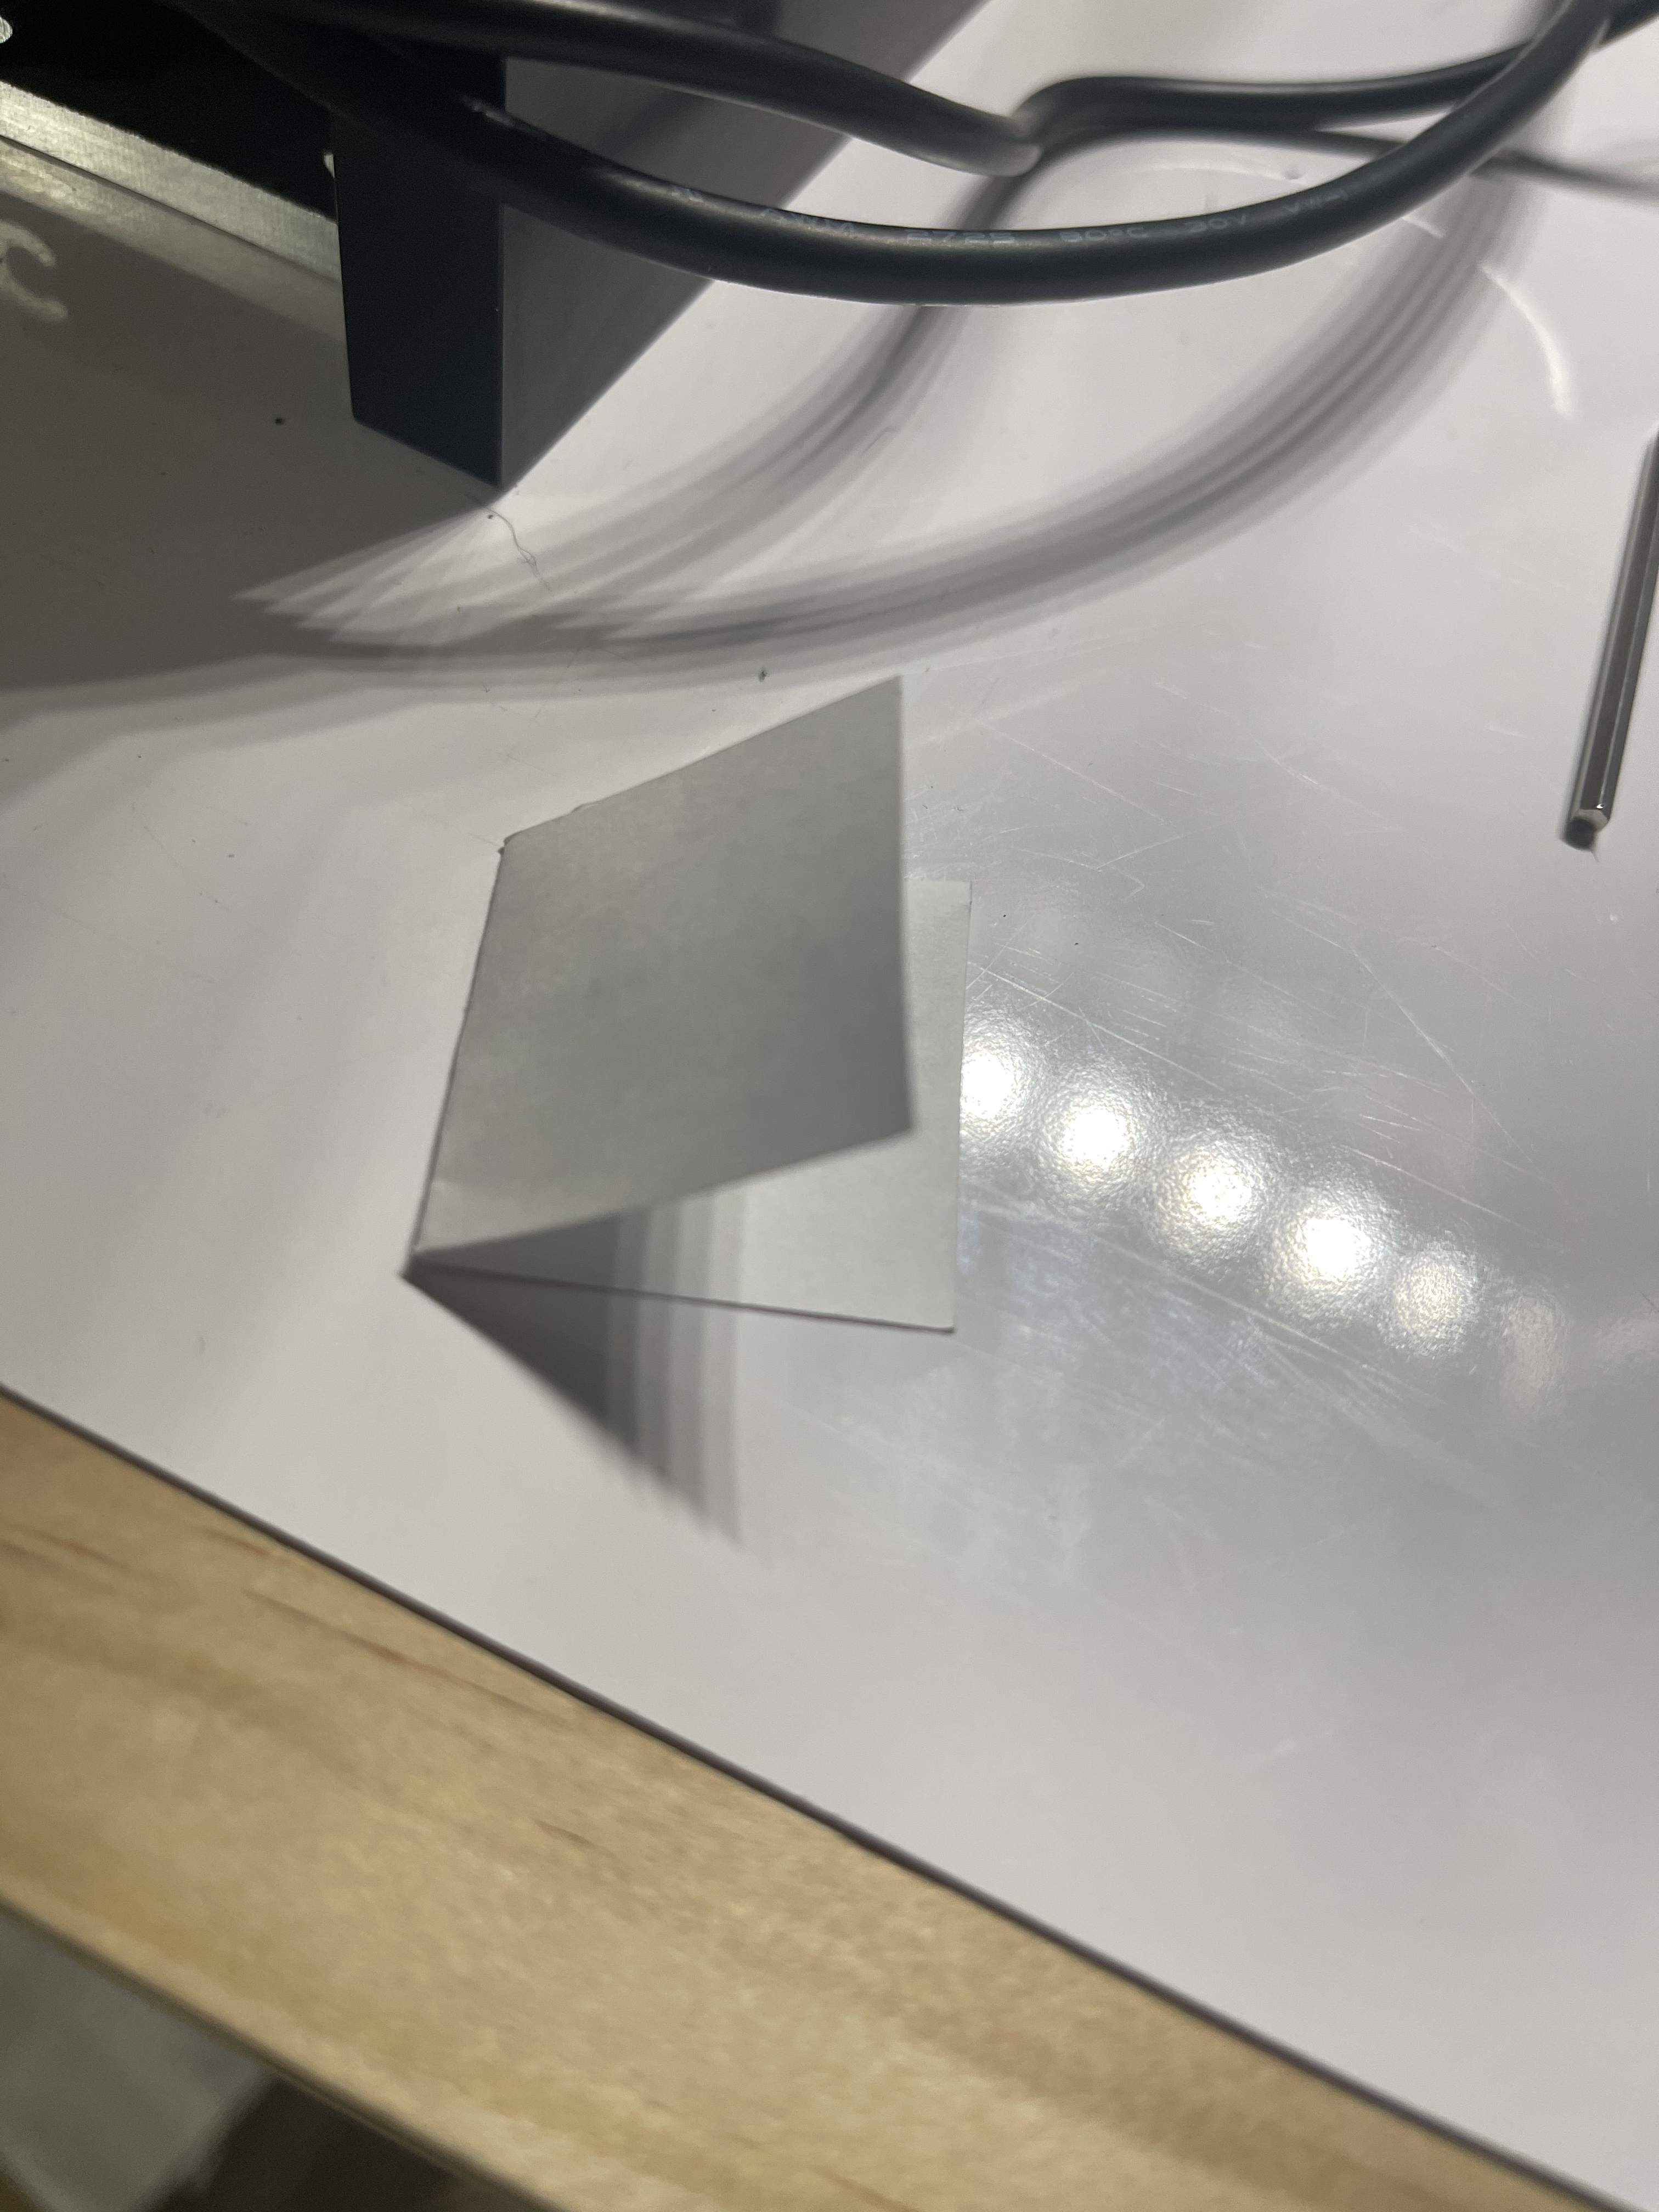
For the Y proximity switch, mine was placed too low and was not making contact. I used a piece of paper folded over for a distance gauge and adjusted the sensor up until it touched the paper. When I slid it off the paper it had a nice small even gap.
My understanding is that they will be supplying custom 3mm shims/spacers to move the X switch up as you did with the washers. If you haven’t, send that email to support@carbide3d.com and I imagine they’ll get you in the que for one. Of course William is always here and may already have that covered.
Mine has been sitting at an IL FedEx hub since Tuesday, so at least i know to check for this before hitting initialize.
I can’t tell you how nice it is to have this beautiful machine all assembled, watching it glide around on these linear rails is amazing. Very sturdy, well designed so many extra touches just really make you think quality and precision fit and finish. The prox switches are a very minute issue, so far this machine is 100/100 in my book.
Would be very easy to make some stand offs with a 3d printer, I just happened to have a bag of washers in reach of the machine. A small square plate with 2 holes would work very well also.
I will design them to print as well and could print a FDM or resin one. But I figured I’d use a Carbide 3D machine to make parts for a Carbide 3D machine
The bolts I used are 25mm long 3mm wide, so a spacer with a 4mm hole with .15" (3.81mm) height would put it about .5mm below dead even with the machined aluminum mounting plate.
I am designing an enclosure for the Pro using 80/20 15 series rails with 3 inches clearance all the way around so I can fit a vac on the sides. My last enclosure was a little too tight for that. I plan to expand my existing enclosure in the future to hold a second Pro after I sell my standard XXL, the nice thing about 80/20 you can keep building on to it.
I for one want thank all the new Pro owners that have taken time from setting up and enjoying their new machines to document some of the kinks with this first batch and share what you’ve learned with those of us who are still waiting to receive their orders.
I realize you’re not on payroll and are doing this so future Shapeoko Pro owners might have an easier time with setup! The community here really is top notch.
I made a few minutes of time tonight to design prox switch spacers for 3D printing as well as the svg drawing. This is based off of the prox switch on my original Shapeoko with the prox switch retrofit kit. Hopefully this will help a few people solve any issues until the C3D spacers make their way out. There are stl’s for 2mm, 3mm, 4mm, and 5mm thicknesses. On the svg I altered the slot widths to 0.125" instead of 3mm so that they can be easier milled by more common tools for the majority of users.