I was creating a plywood-only table for my Shapeoko in Fusion 360 and playing with the parametric dimensions (I’ll be creating several tables and benches for a new space). It’s a work in progress, but I figured I would share it here in case anyone wanted to try it out, make a derivative, or throw some suggestions my way: https://a360.co/2E2R8Ef
I’m also investigating a a good way to automatically generate a BOM or cut list, if anyone has suggestions.
My suggestion is to build the top of your CNC table into a “torsion box”. Then add the elements that make it fit your overall design. Function before looks …
I’ve been working through that a bit using opensource software — you can see what I’ve worked up thus far at: https://wiki.shapeoko.com/index.php/Design_into_3D — BOM/cut list is something I want to investigate soon.
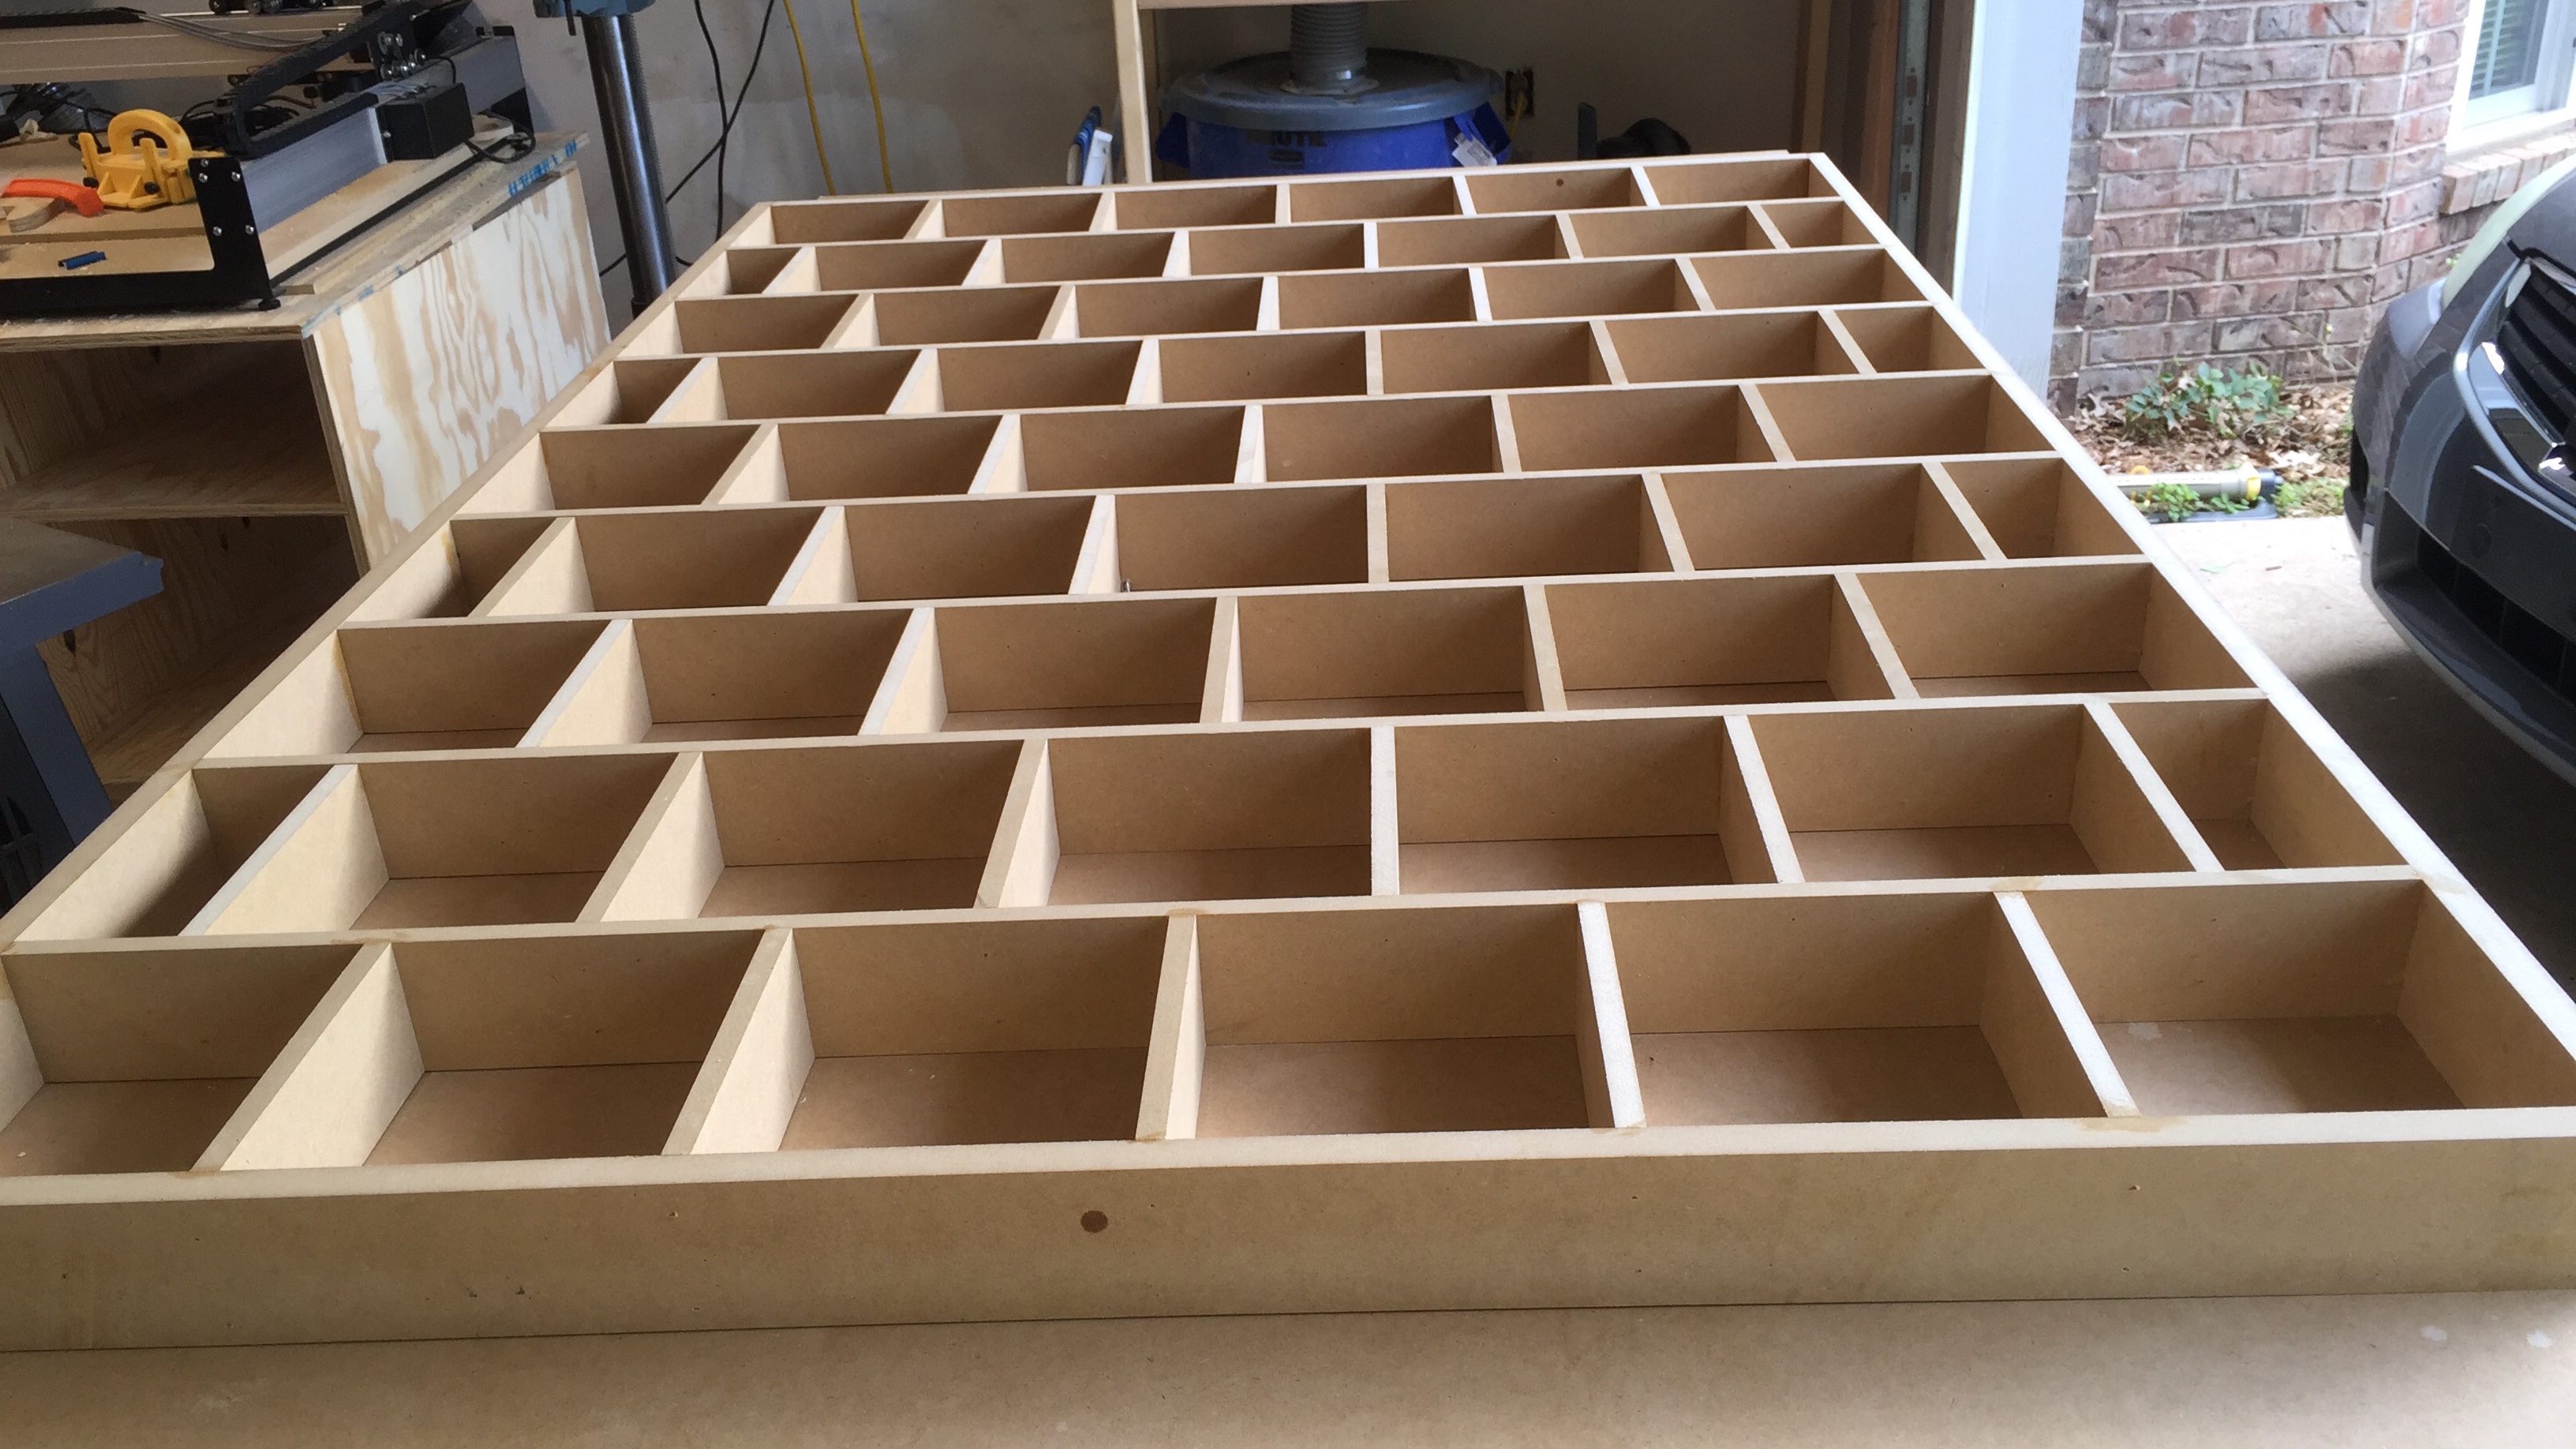
I actually started with a parametric torsion box tabletop, as a separate project, but haven’t integrated it. There were some things I wanted to change with the grid layout before I shared it, but since you mentioned the topic: https://a360.co/2RJKHhh
That’s very similar to where I was going with my torsion box design (that wood whisperer video is one that I used as source material). The main, outstanding element I had left in my Fusion project was offsetting the alternating rows of small pieces. My construction plan was to use hot glue to assemble the initial grid, rather than pin nails or pocket screws, so butting the ends wouldn’t make assembly difficult. I like the idea of leaving the other options available.
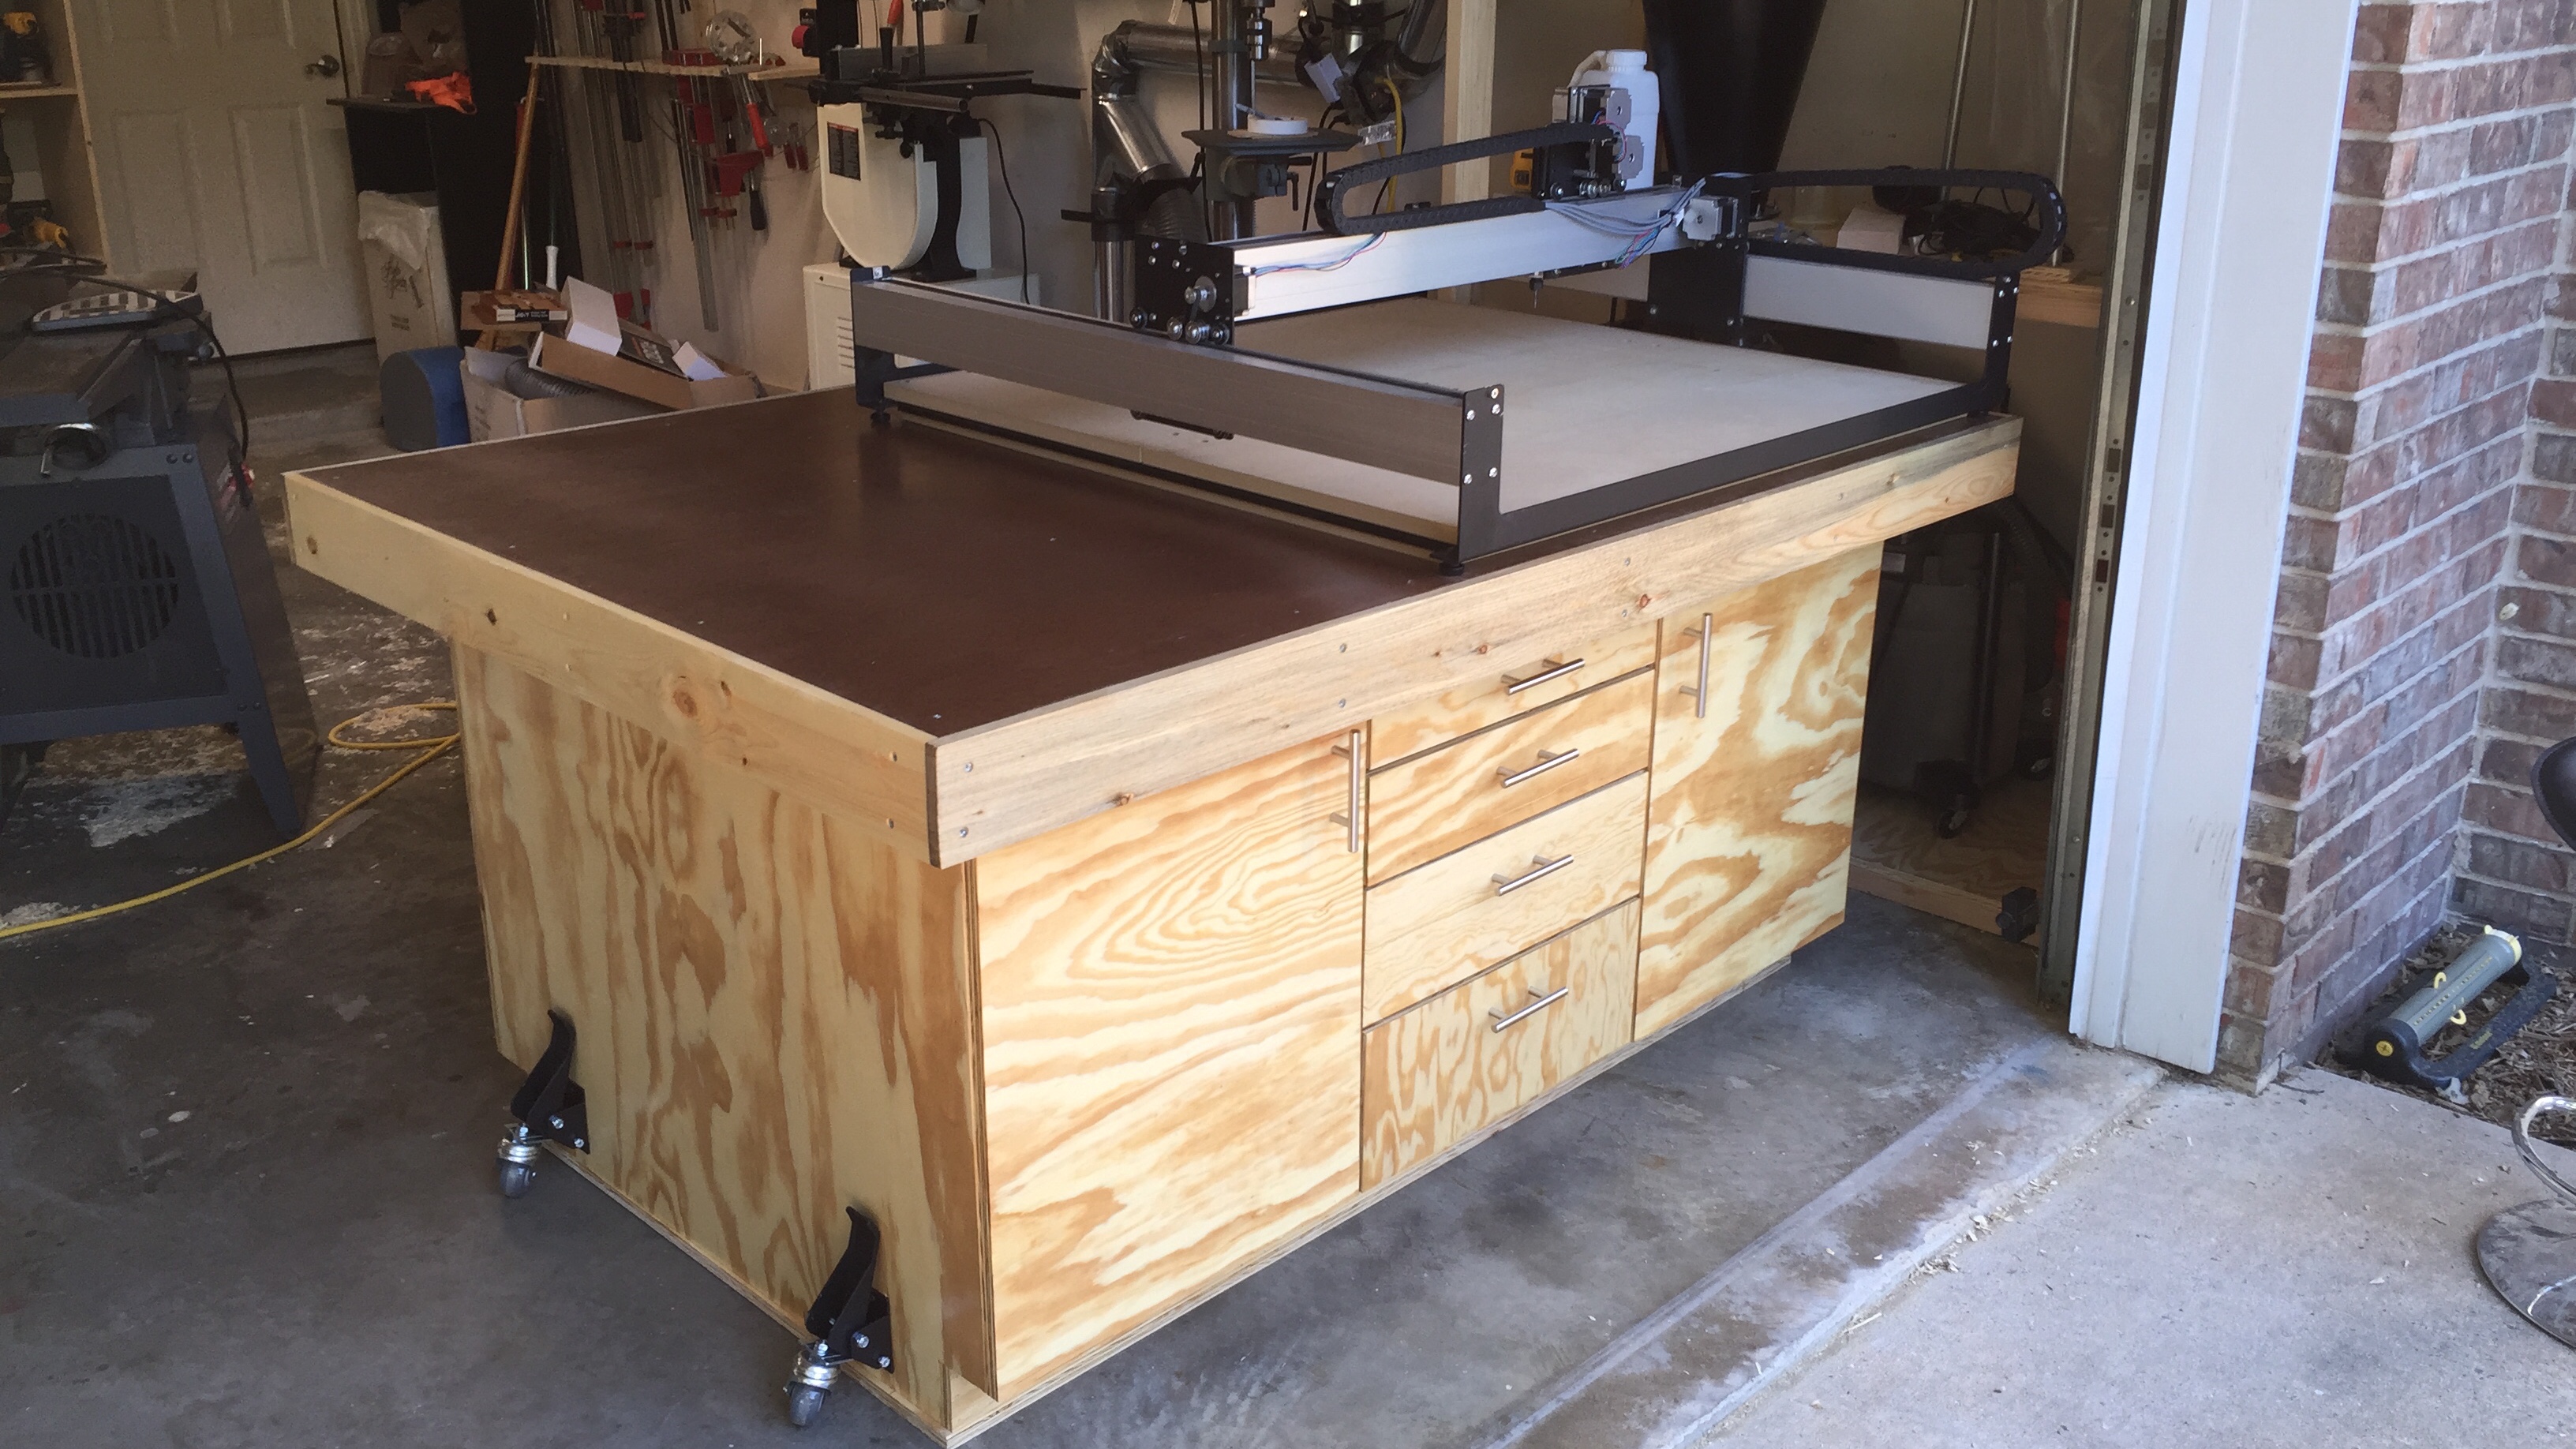
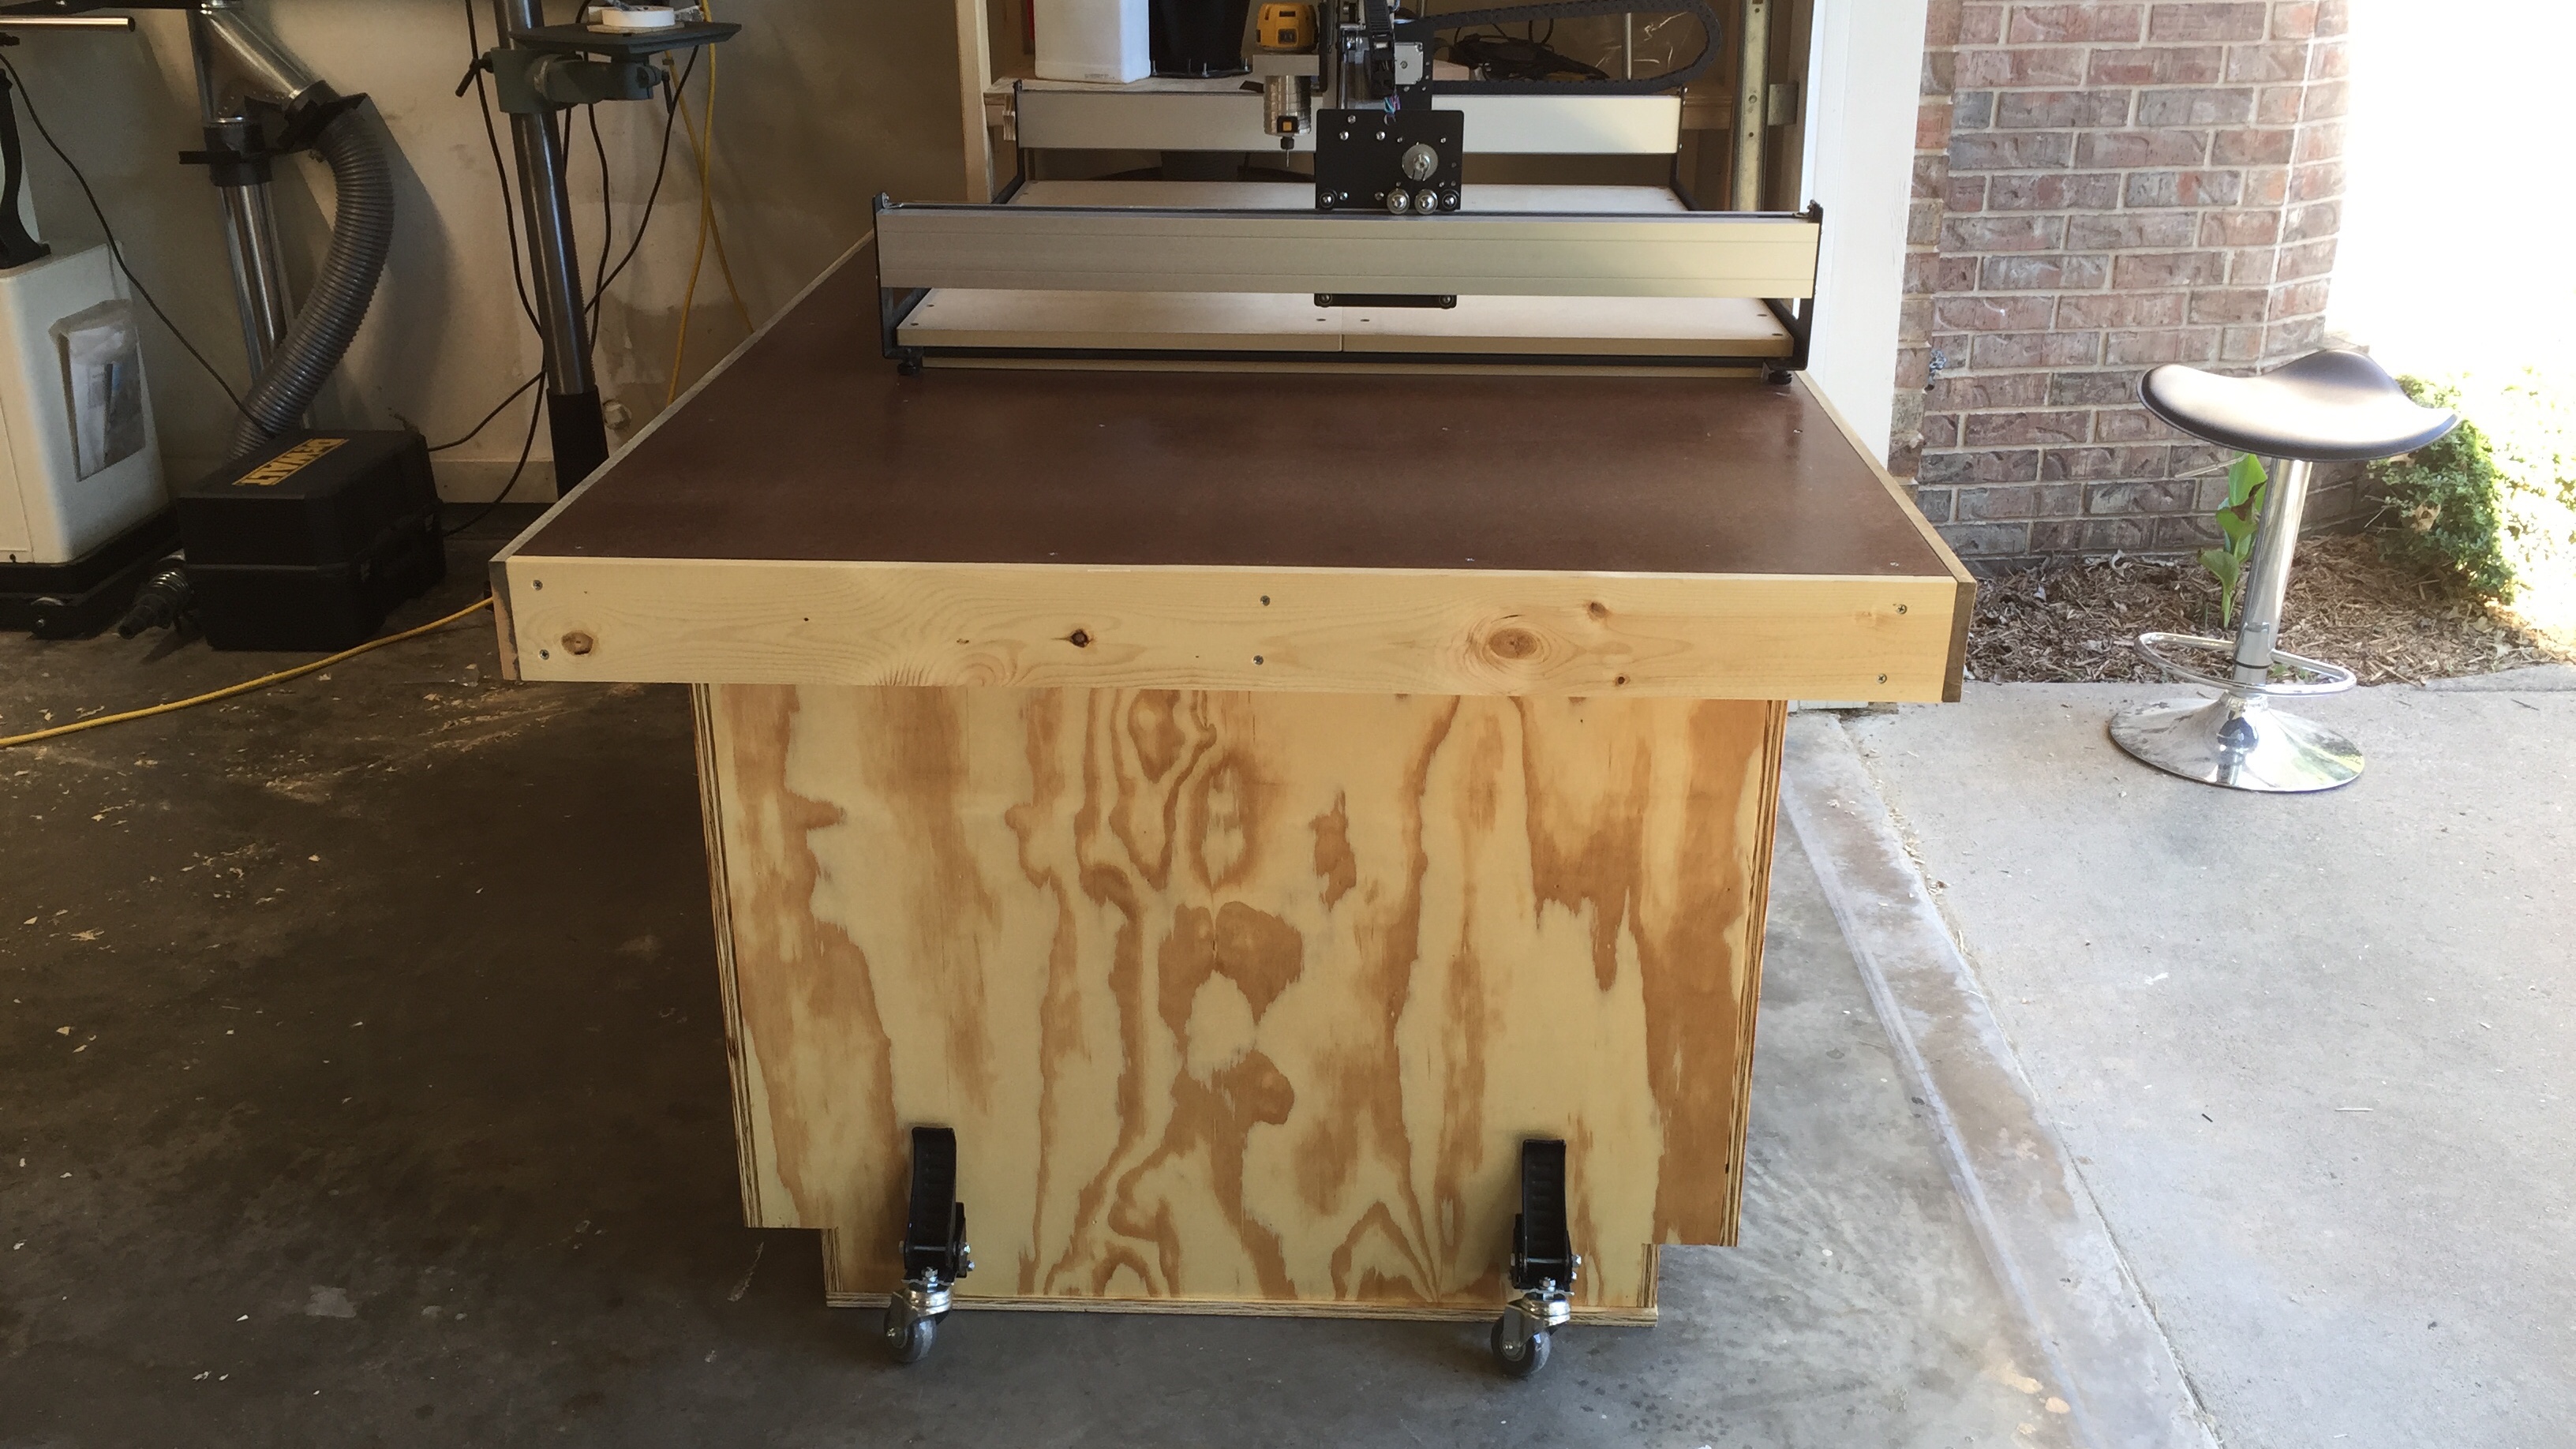
I drew mine up in SketchUp based on the S3 needing 4’ x 5’ of space (with accessories.) I might build a cover for it someday. Mine doesn’t need to move and has enough mass to keep it steady while carving.
Now that I have a nice drawer under that table with a bit holder, I’m using those holes for storing double-sided tape, sandpaper and other accessories. I may build some tiny drawers to fit those holes.
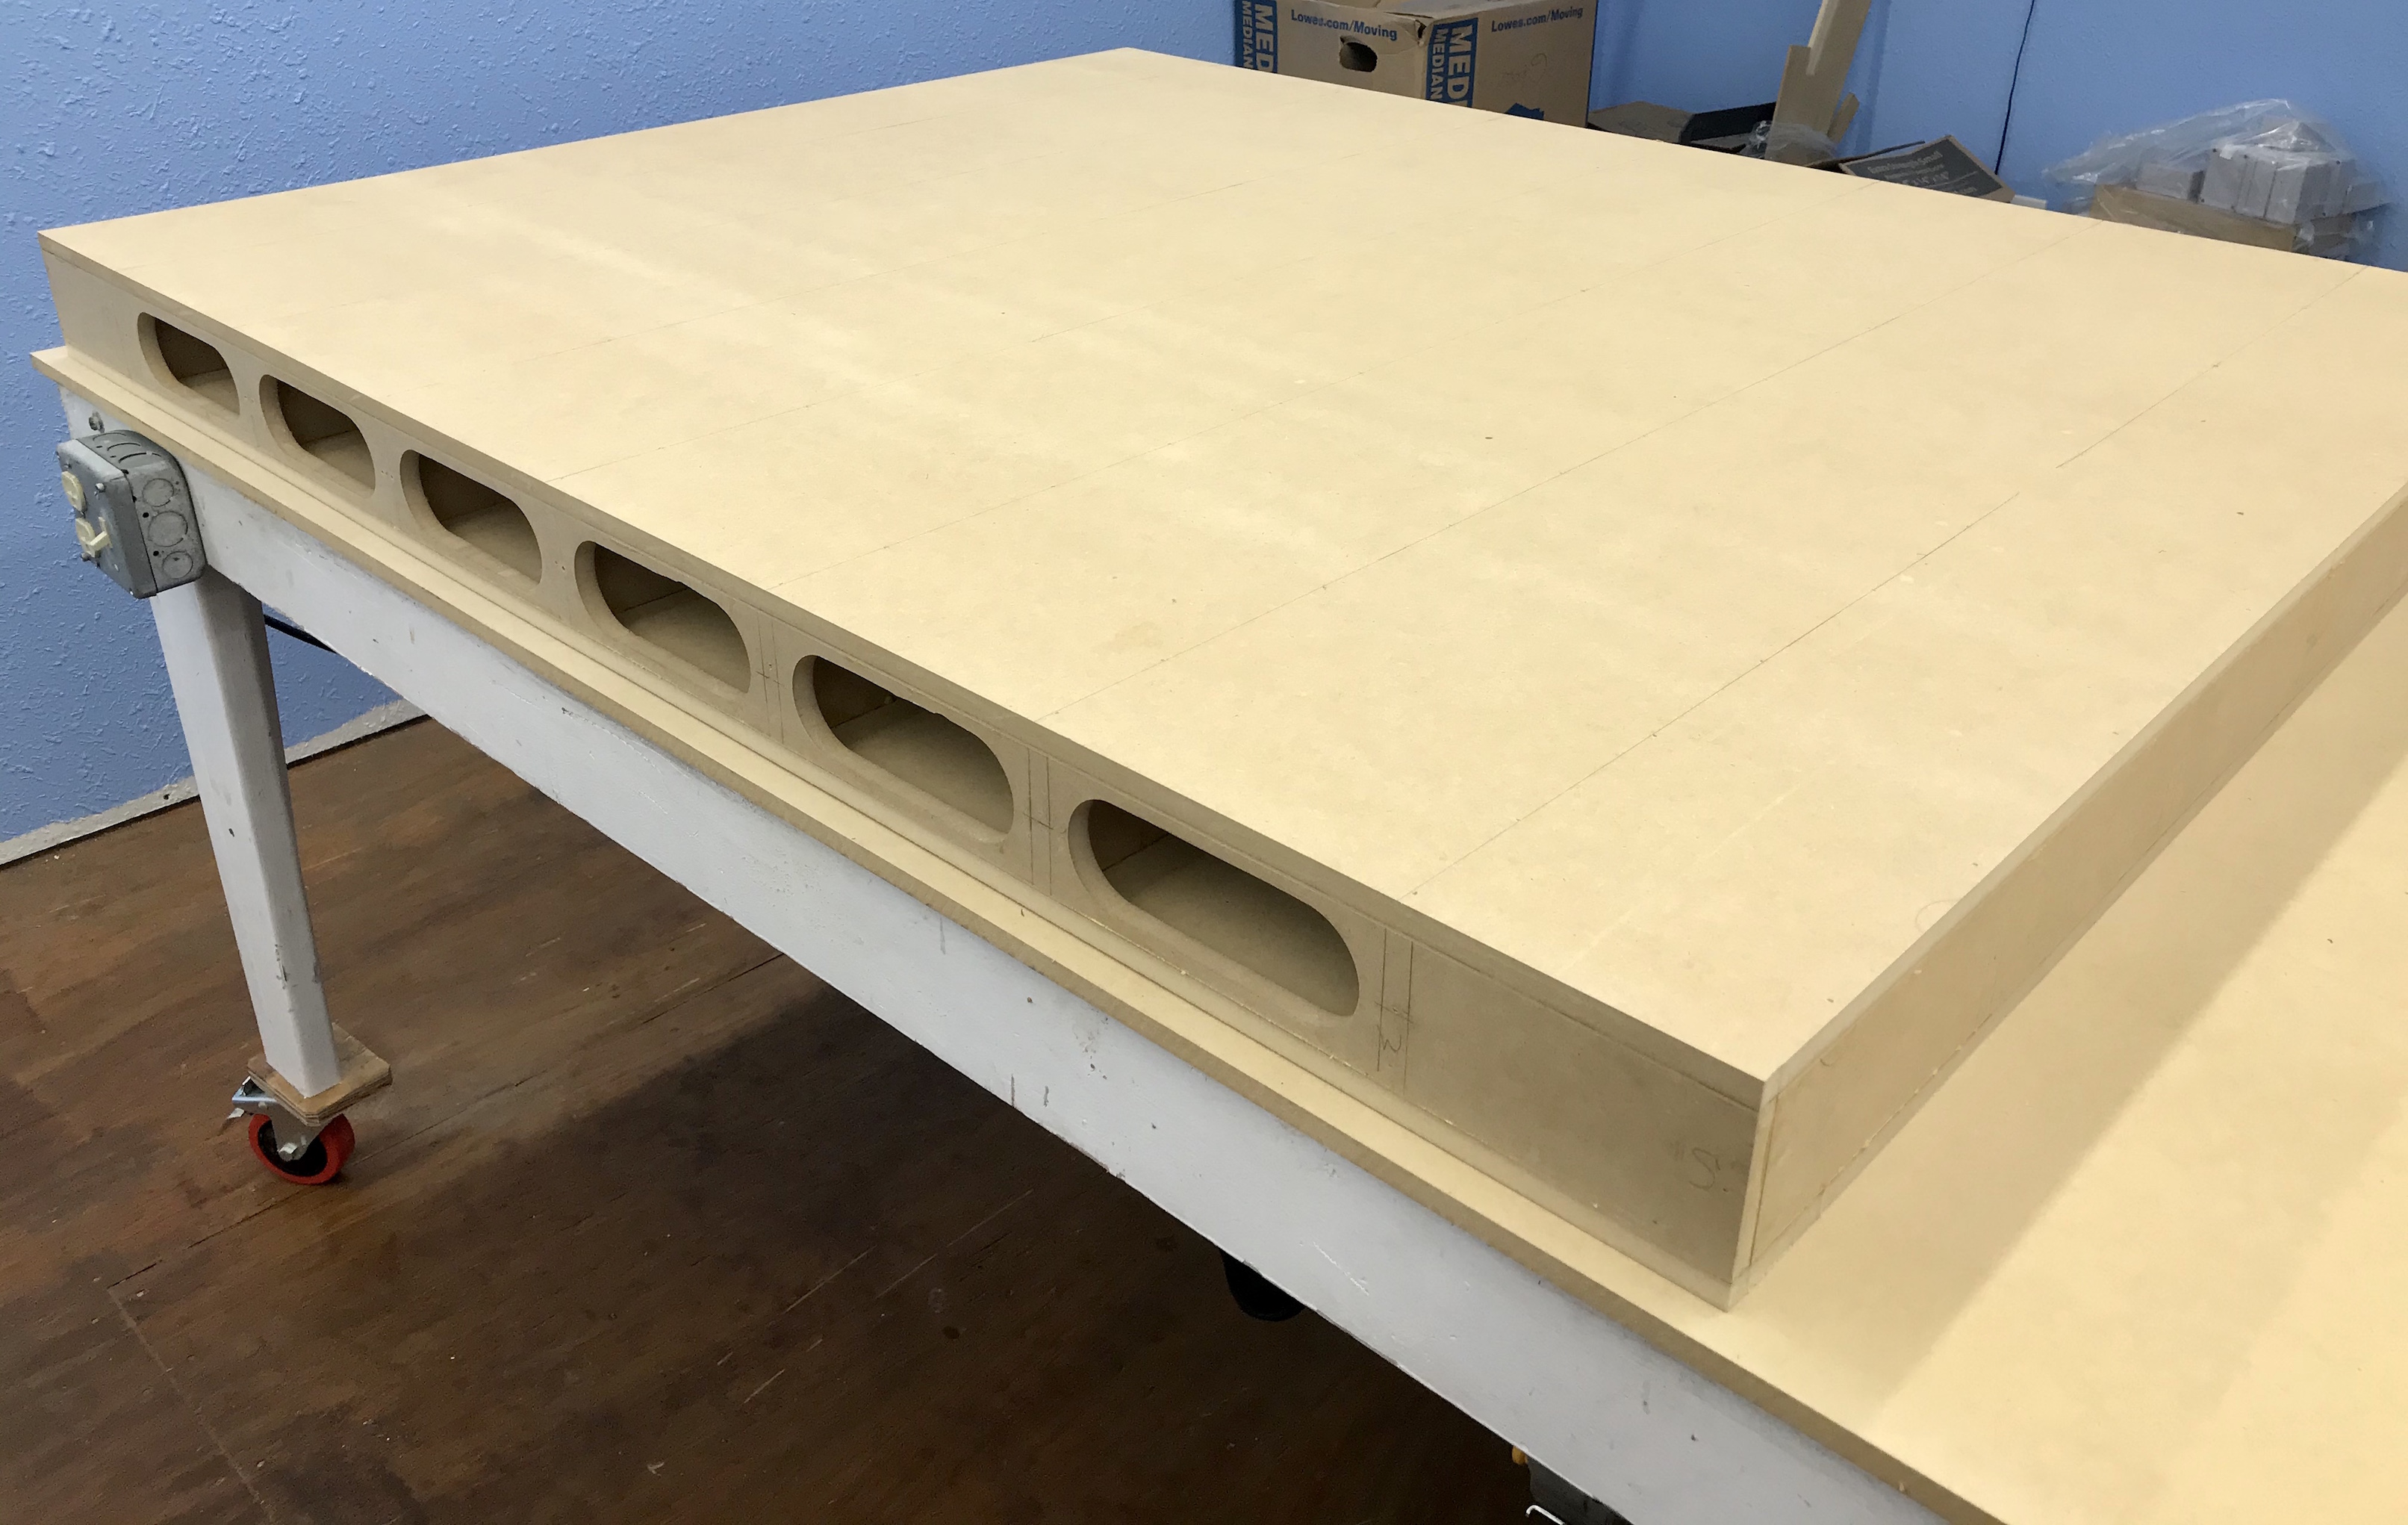
Actually, when I was building it, I didn’t have a good reason, but decided that I didn’t have a choice on whether to cut them out flat or try to cut them out after the table is built.
Dang, Will. You just solved a problem that I’ve had with a slightly warped board. Since I have the corner fence/wasteboard installed on my table, I can’t get regular clamps into the right angle corner. I’m sure I can build a special ‘C’ clamp to reach the indexed corner of the board through the table. Thanks!
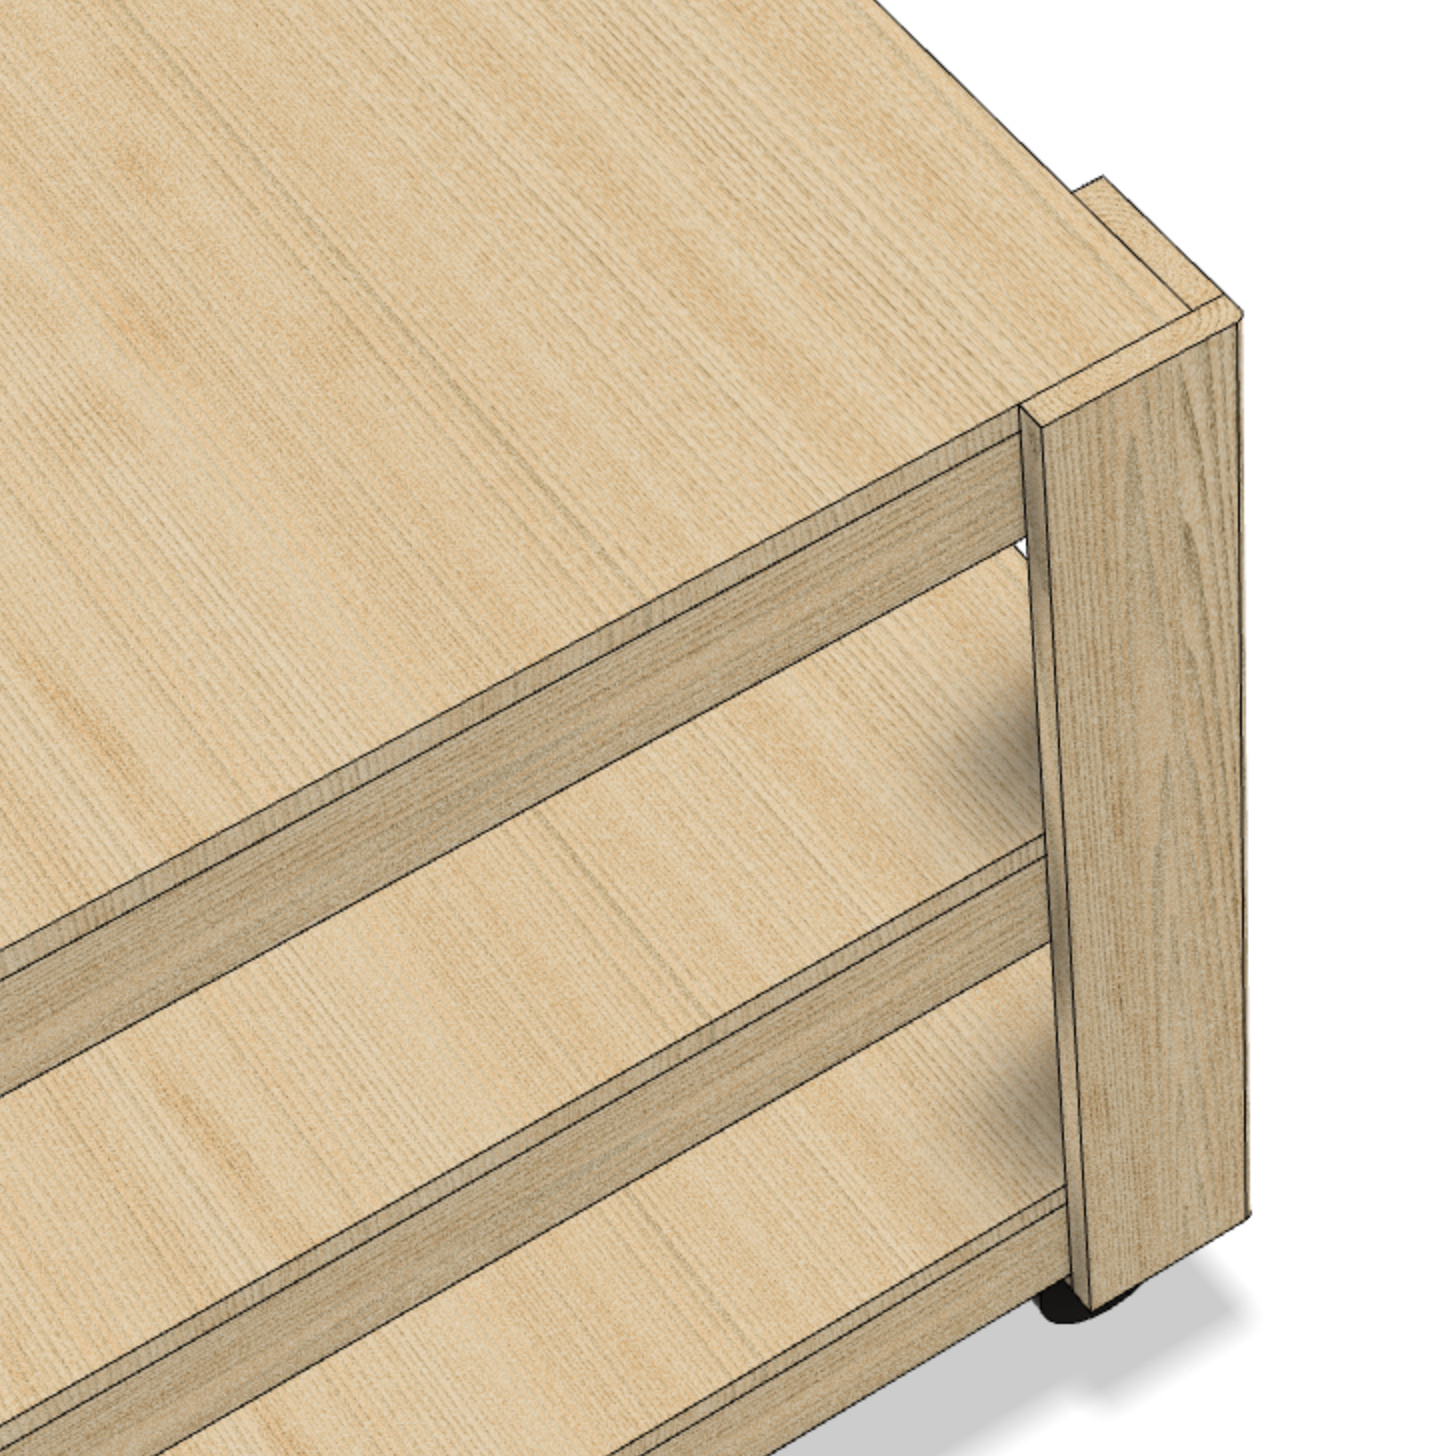
Updated the number of shelf joists to be parameteric and added generic casters with (rough) configurable dimensions and supporting material. Same link: https://a360.co/2E2R8Ef
Suggestion: Build the torsion box with dimensions the same as this drawing’s top inside the legs. Then let the top of the legs and four additional trim pieces extend a bit over the top (of the torsion box). Use a trim router to level the trim to the top of the torsion box.
This will protect the MDF edges of the torsion box and look nicer.
I believe we’re thinking along the same lines. The MDF top layer is intended to be sacrificial. The existing design has a top plywood “shelf” that sits flush with the legs. The light grain and shadows make it hard to see in the rendered image. That top shelf would be replaced entirely by a torsion box with the same overall dimensions and covered by the same sacrificial board.