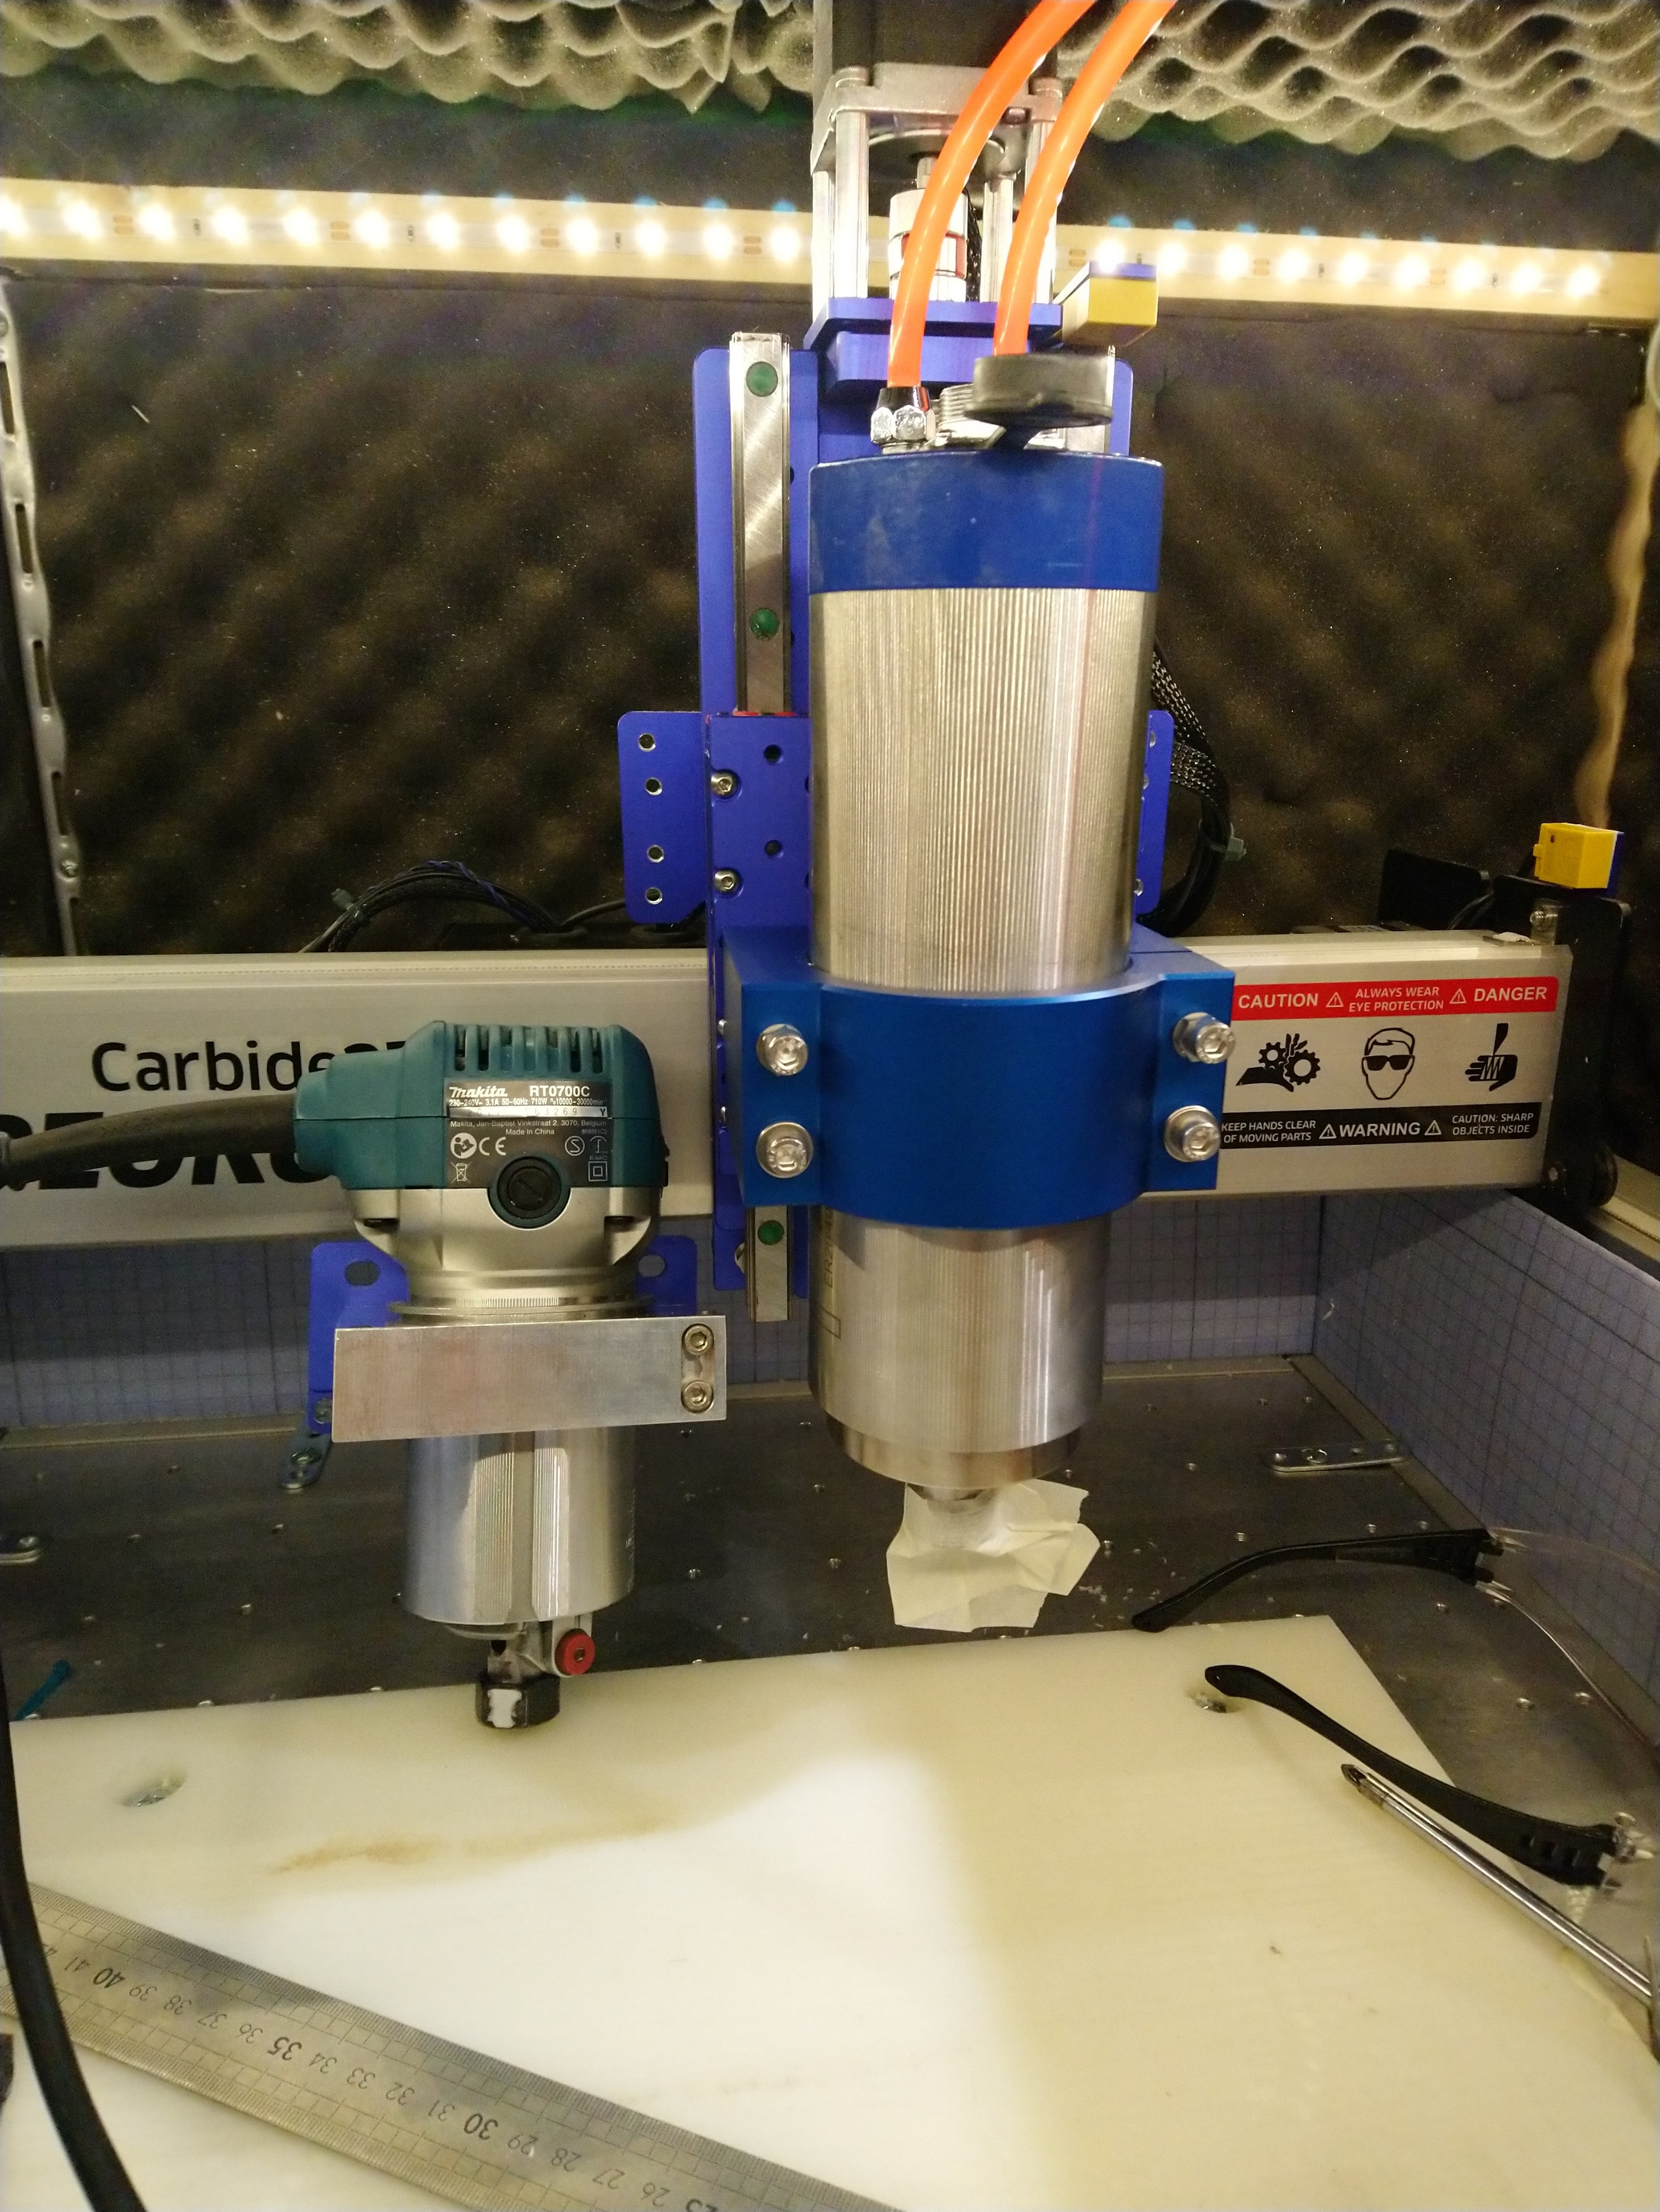
Look, a miniature Makita, so cute !
4 Likes
Wow… That would even dwarf my 1.5kw spindle!
Turns out I had to go to the hardware store to buy this giant wrench, I did not have any that fit the collet nut size…

It’s going to feel weird tightening a 1/32" endmill into its ER collet using this beast…
3 Likes
[EDIT: spoiler alert, I was very wrong on the following]
Bad surprise: the ER collets won’t go all the way into the collet nut,
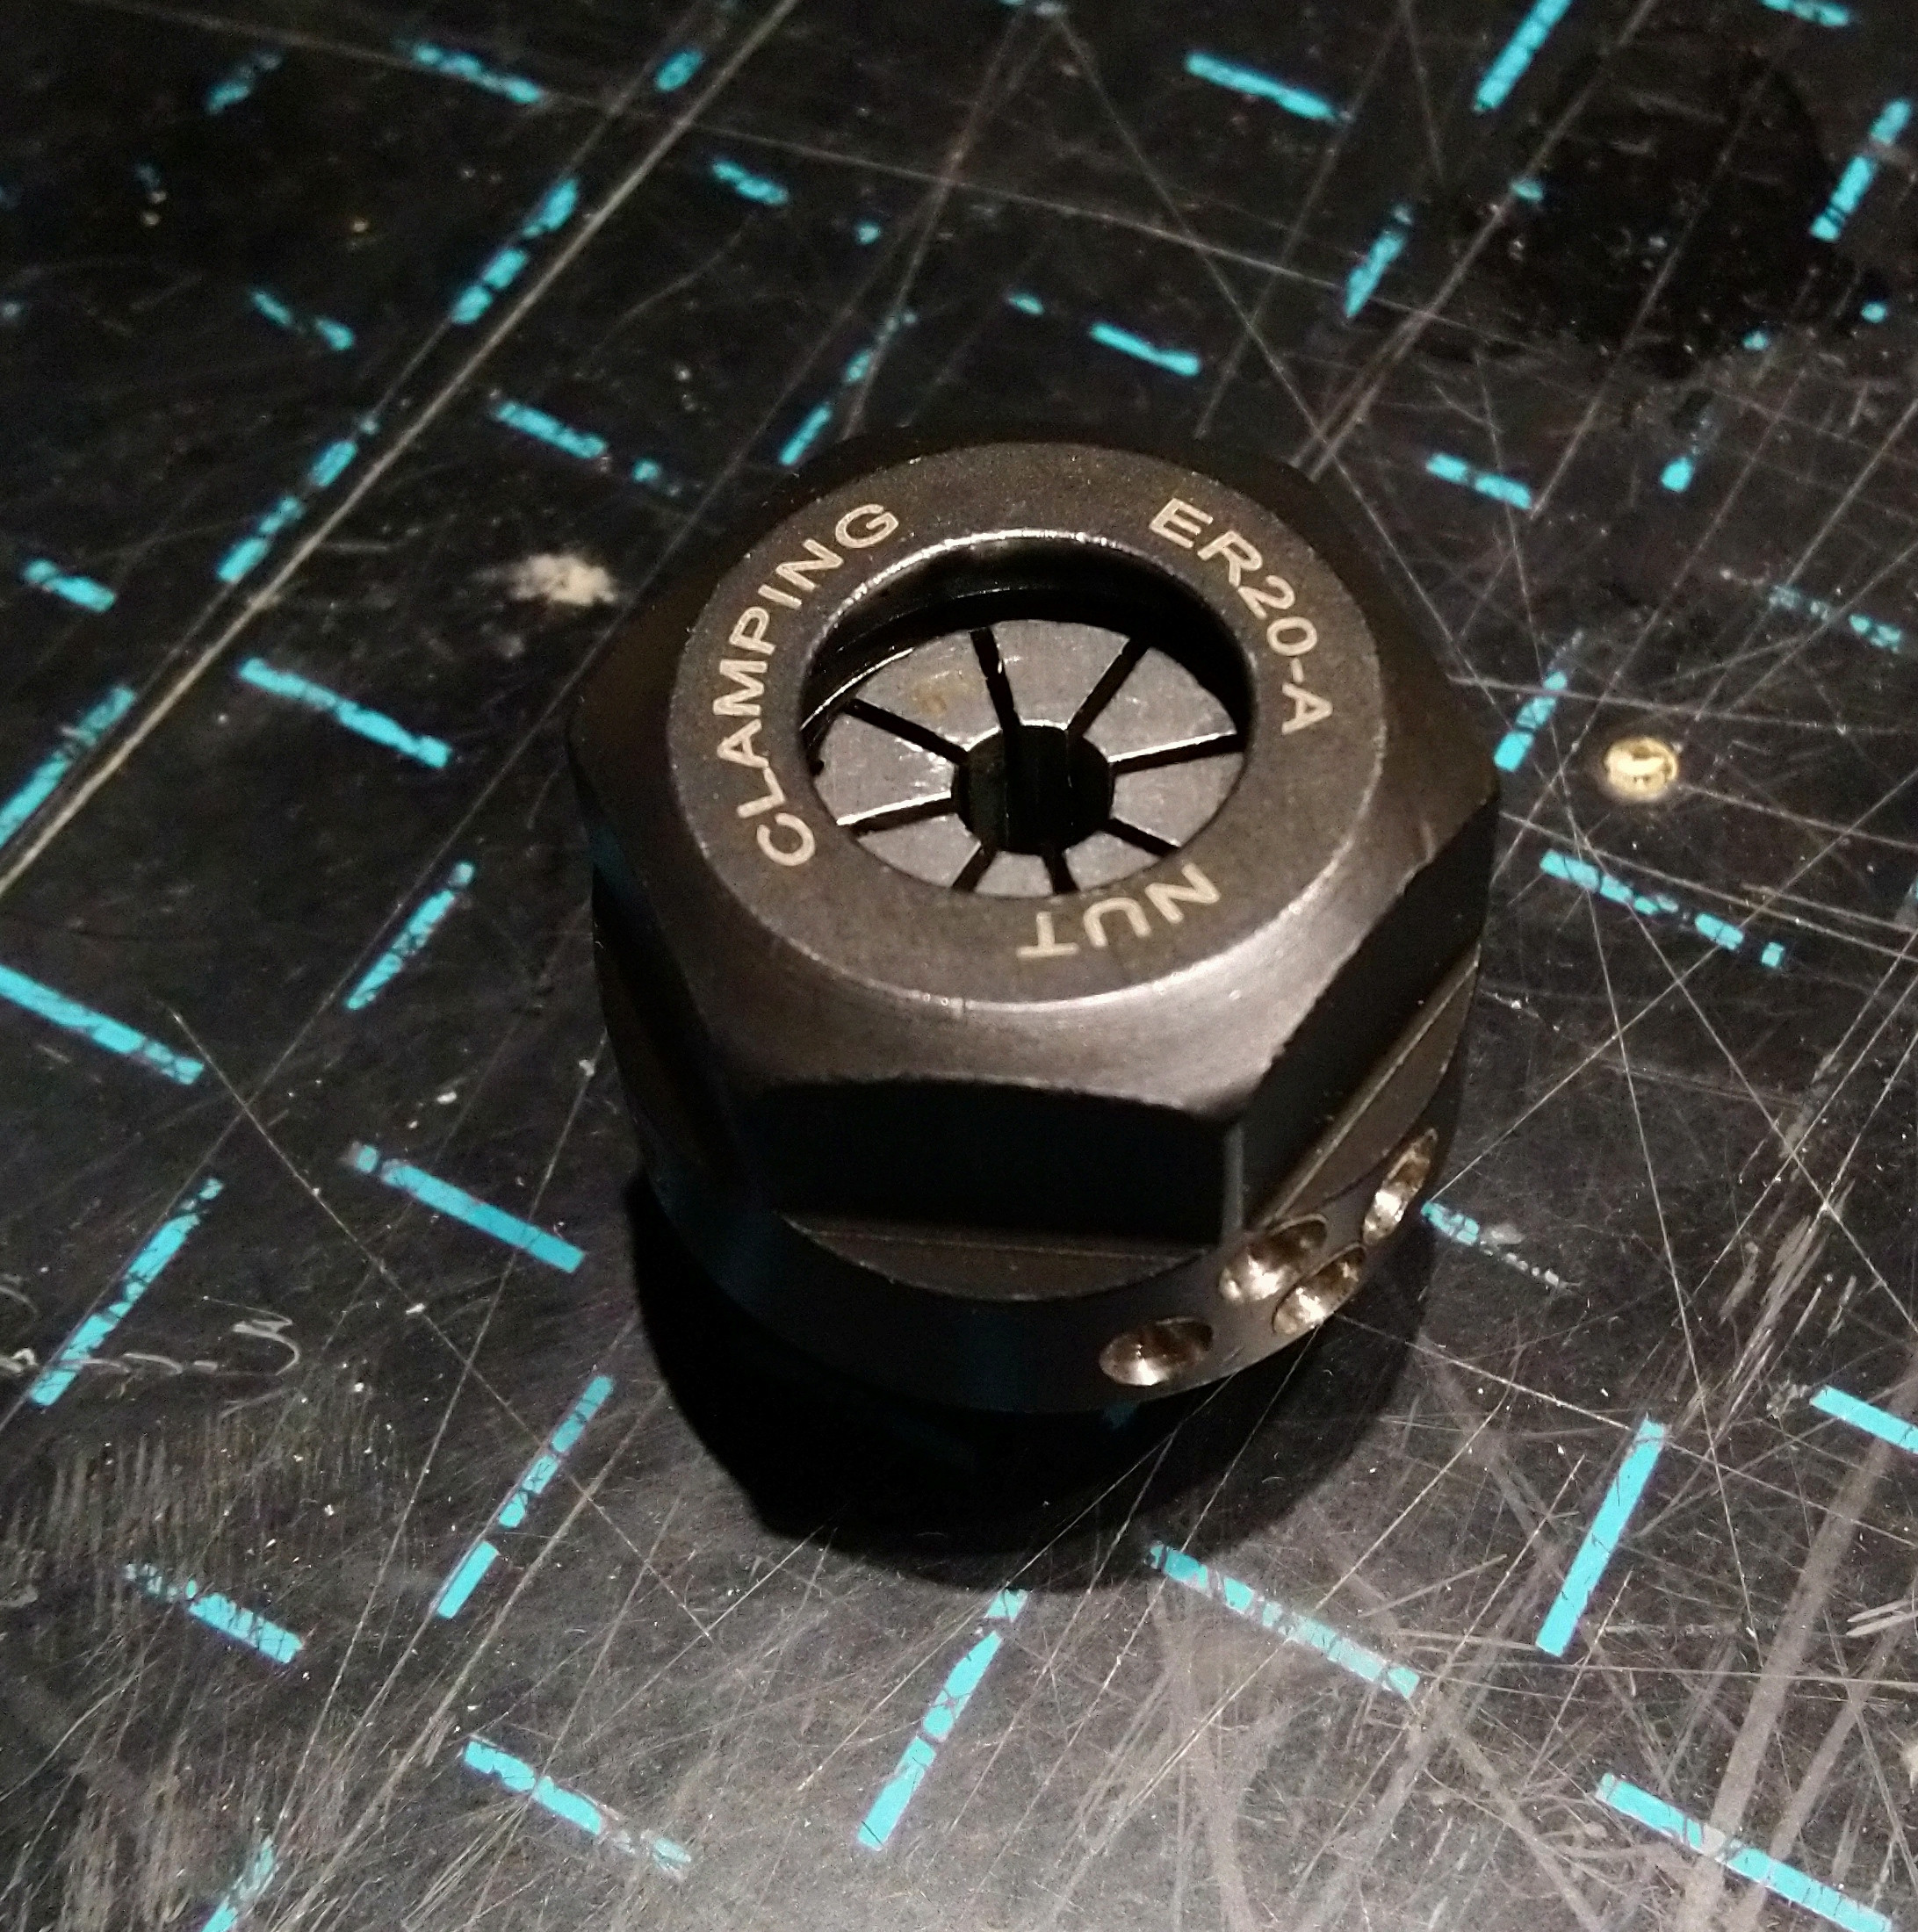
unless I push the (empty) collet such that it shrinks a bit and makes it way through the neck (?) inside the collet nut:
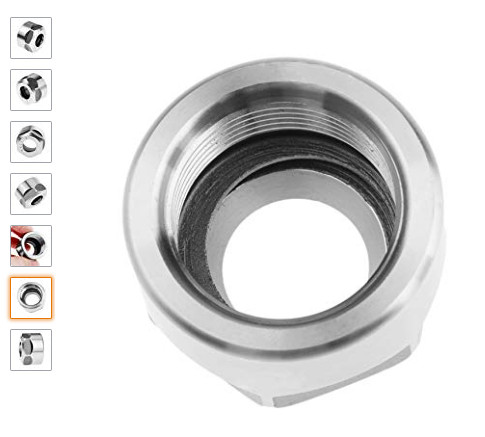
When I looked closer inside the collet nut, I stumbled upon the first evidence of chinese quality control:
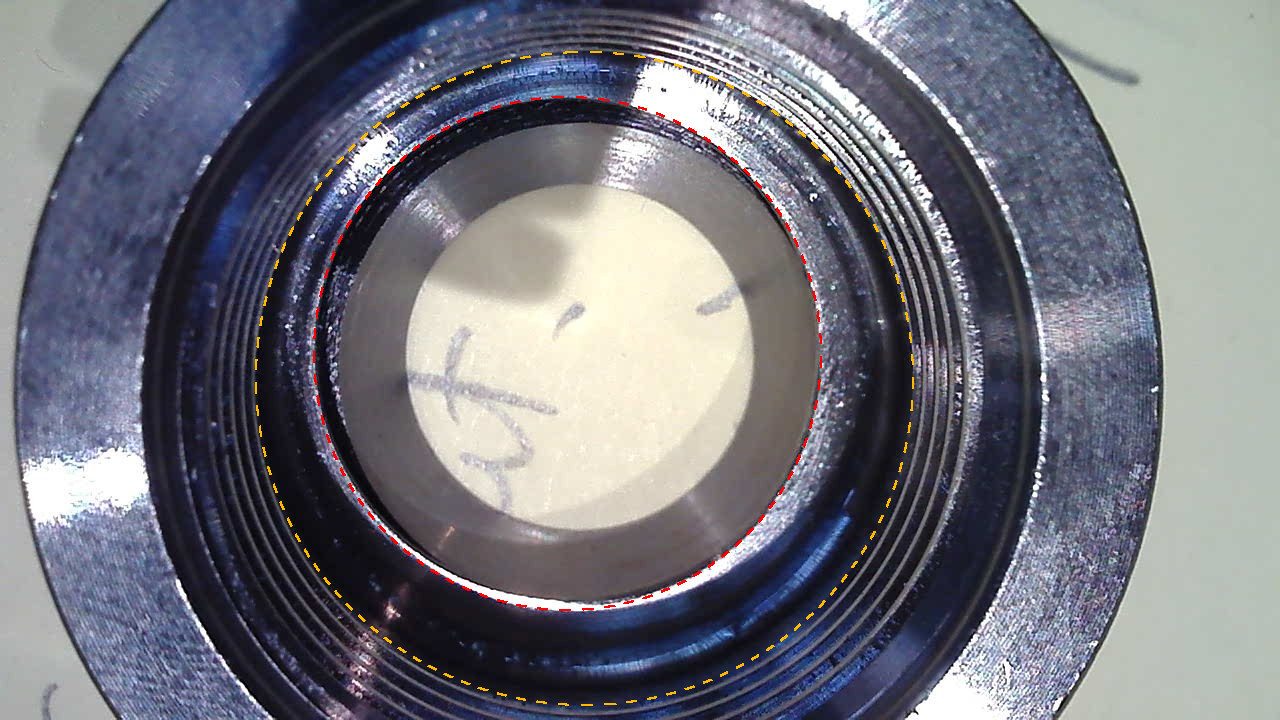
The red circle is the thing that goes into the groove (?) of the ER collet:

It’s severely off centered, which explains why the collet does not fit without a little help. Once it is in there though, everything is good (the groove must be deep enough that the off-centered part does not matter anymore), and I verified that I get ~0.01mm (0.0004’’) runout on the endmill shaft.
But then it takes a bit of wiggling the collet to remove it from the collet nut, which I guess it absolutely not normal? I think I will have to file the perimeter of this off-centered section inside the collet, while being careful to not touch anything else (the conical part actually in contact with the collet) 
You could probably get a new/better nut to replace it. Doing this by hand instead of a lathe may create other issues and collets may not sit properly.
Yes this is the first thing I considered, however this collet nut was balanced specifically for this spindle (hence the multiple ugly drill marks on the side), and they must have done a decent job because I don’t feel any weird vibration/sound across the RPM range, it’s humming along nicely at 24.000RPM. If I were to buy a brand new collet nut, I would also have to learn how to balance it, and I have zero clue as to how is done or if this is even doable without specific tooling?
EDIT: well an ER20 collet nut is 4$ on Aliexpress, maybe this would be the opportunity to learn a new trick…
Fair but removing nut material could also affect balance since you will be removing more from one side vs another.
1 Like
Indeed…I was hoping I could get away with filing just a teeny tiny part of it, since it must be a matter of a few tenths of mm. I guess for now I’ll just use it as is (not convenient, but usable), order a new collet nut, and learn about balancing in the meantime.
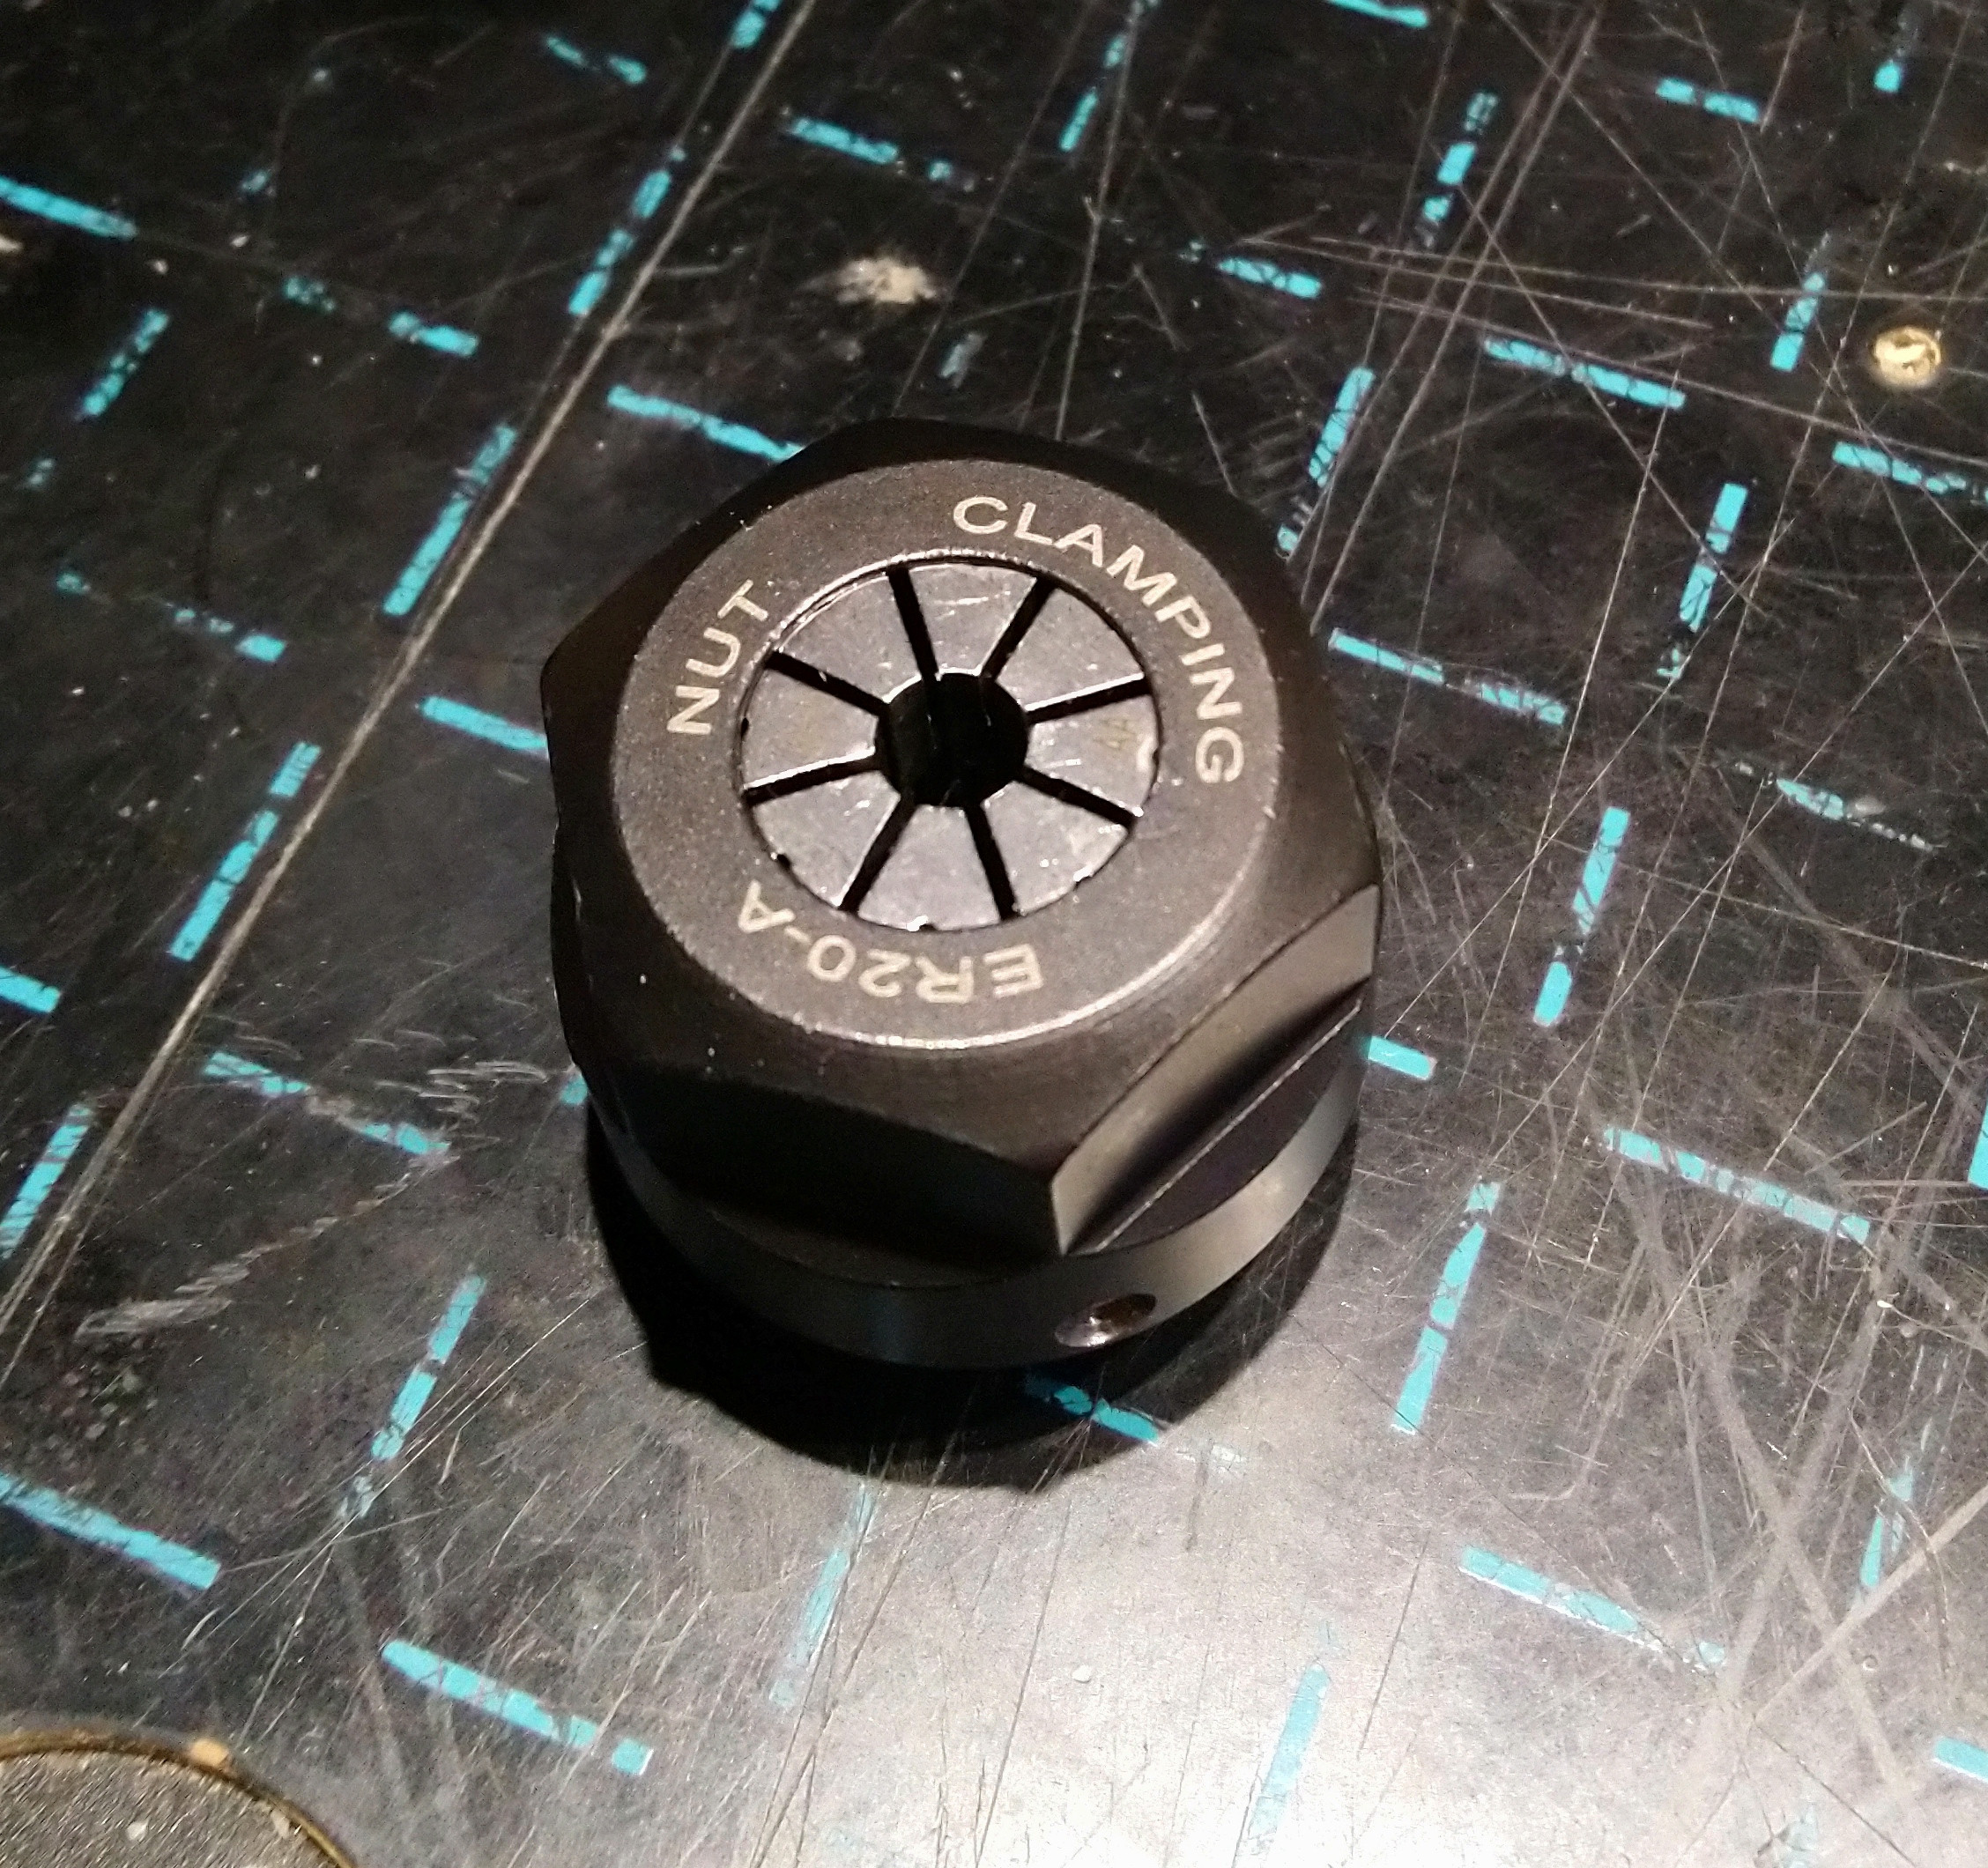
Now wait a second, this ER20 collet nut on Amazon seems to also have the weird off-center section:
And I found these statements:
“The collet nut snaps into the groove so the collet nut can serve as a collet extractor .”
“The groove is to catch on the offset washer in the nut to assist in releasing the collet. Dont forget to put the ER collet in the nut first, it should snap in and be retained by the nut before putting the assembly into the collet holder.”
Now I feel dumb, is this off-center section (“snap ring?”) done on purpose? It seems to be the case.
ER gurus, please educate me !
4 Likes
No guru but I found this while researching for spindle and accessories.
https://www.precisebits.com/tutorials/er_collet_system.asp
Wealth of information at the Precise Bits site.
3 Likes
great link, now I’m educated, feel bad for initially blaming G penny, and happy that my collet nut is fine after all !
The other thing I was thinking is that the nut must be drilled to make it perfectly balanced but not on your spindle because you would not have it sit always at the same location on the spindle so if it is not aligned to an exact location it would in fact increase runout instead of minimizing it.
In addition to @Griff’s link, I’ll leave this here for the next guy who forgets to do his homework on the ER collet system, and “discovers” the offset ring.
Apparently I’m not alone, this is typical ER newbie behaviour 
3 Likes
Also, I confirm that the spindle at 24000 RPM is quieter than the fan on the VFD!
That and the automatic on/off/RPM control alone is well worth the price (for me)
1 Like
Beat me to it! I had the same ‘learning experience’ you did when I bought my spindle. The offset ring actually makes it easier to insert & remove collets, though I often still push the collet out of the nut with a little steel rod or the blunt end of an endmill
Spindle looks good, looking forward to seeing your results with it
Here’s an alternative to the balanced Chinese collet nuts. They’re balanced up to 70000 RPM and available at Amazon.
2 Likes
Finally pulled the trigger today.
@Julien, please tell me the size of the water line fittings and tubing. Also, any other hints, tips not mentioned so far?
4 Likes
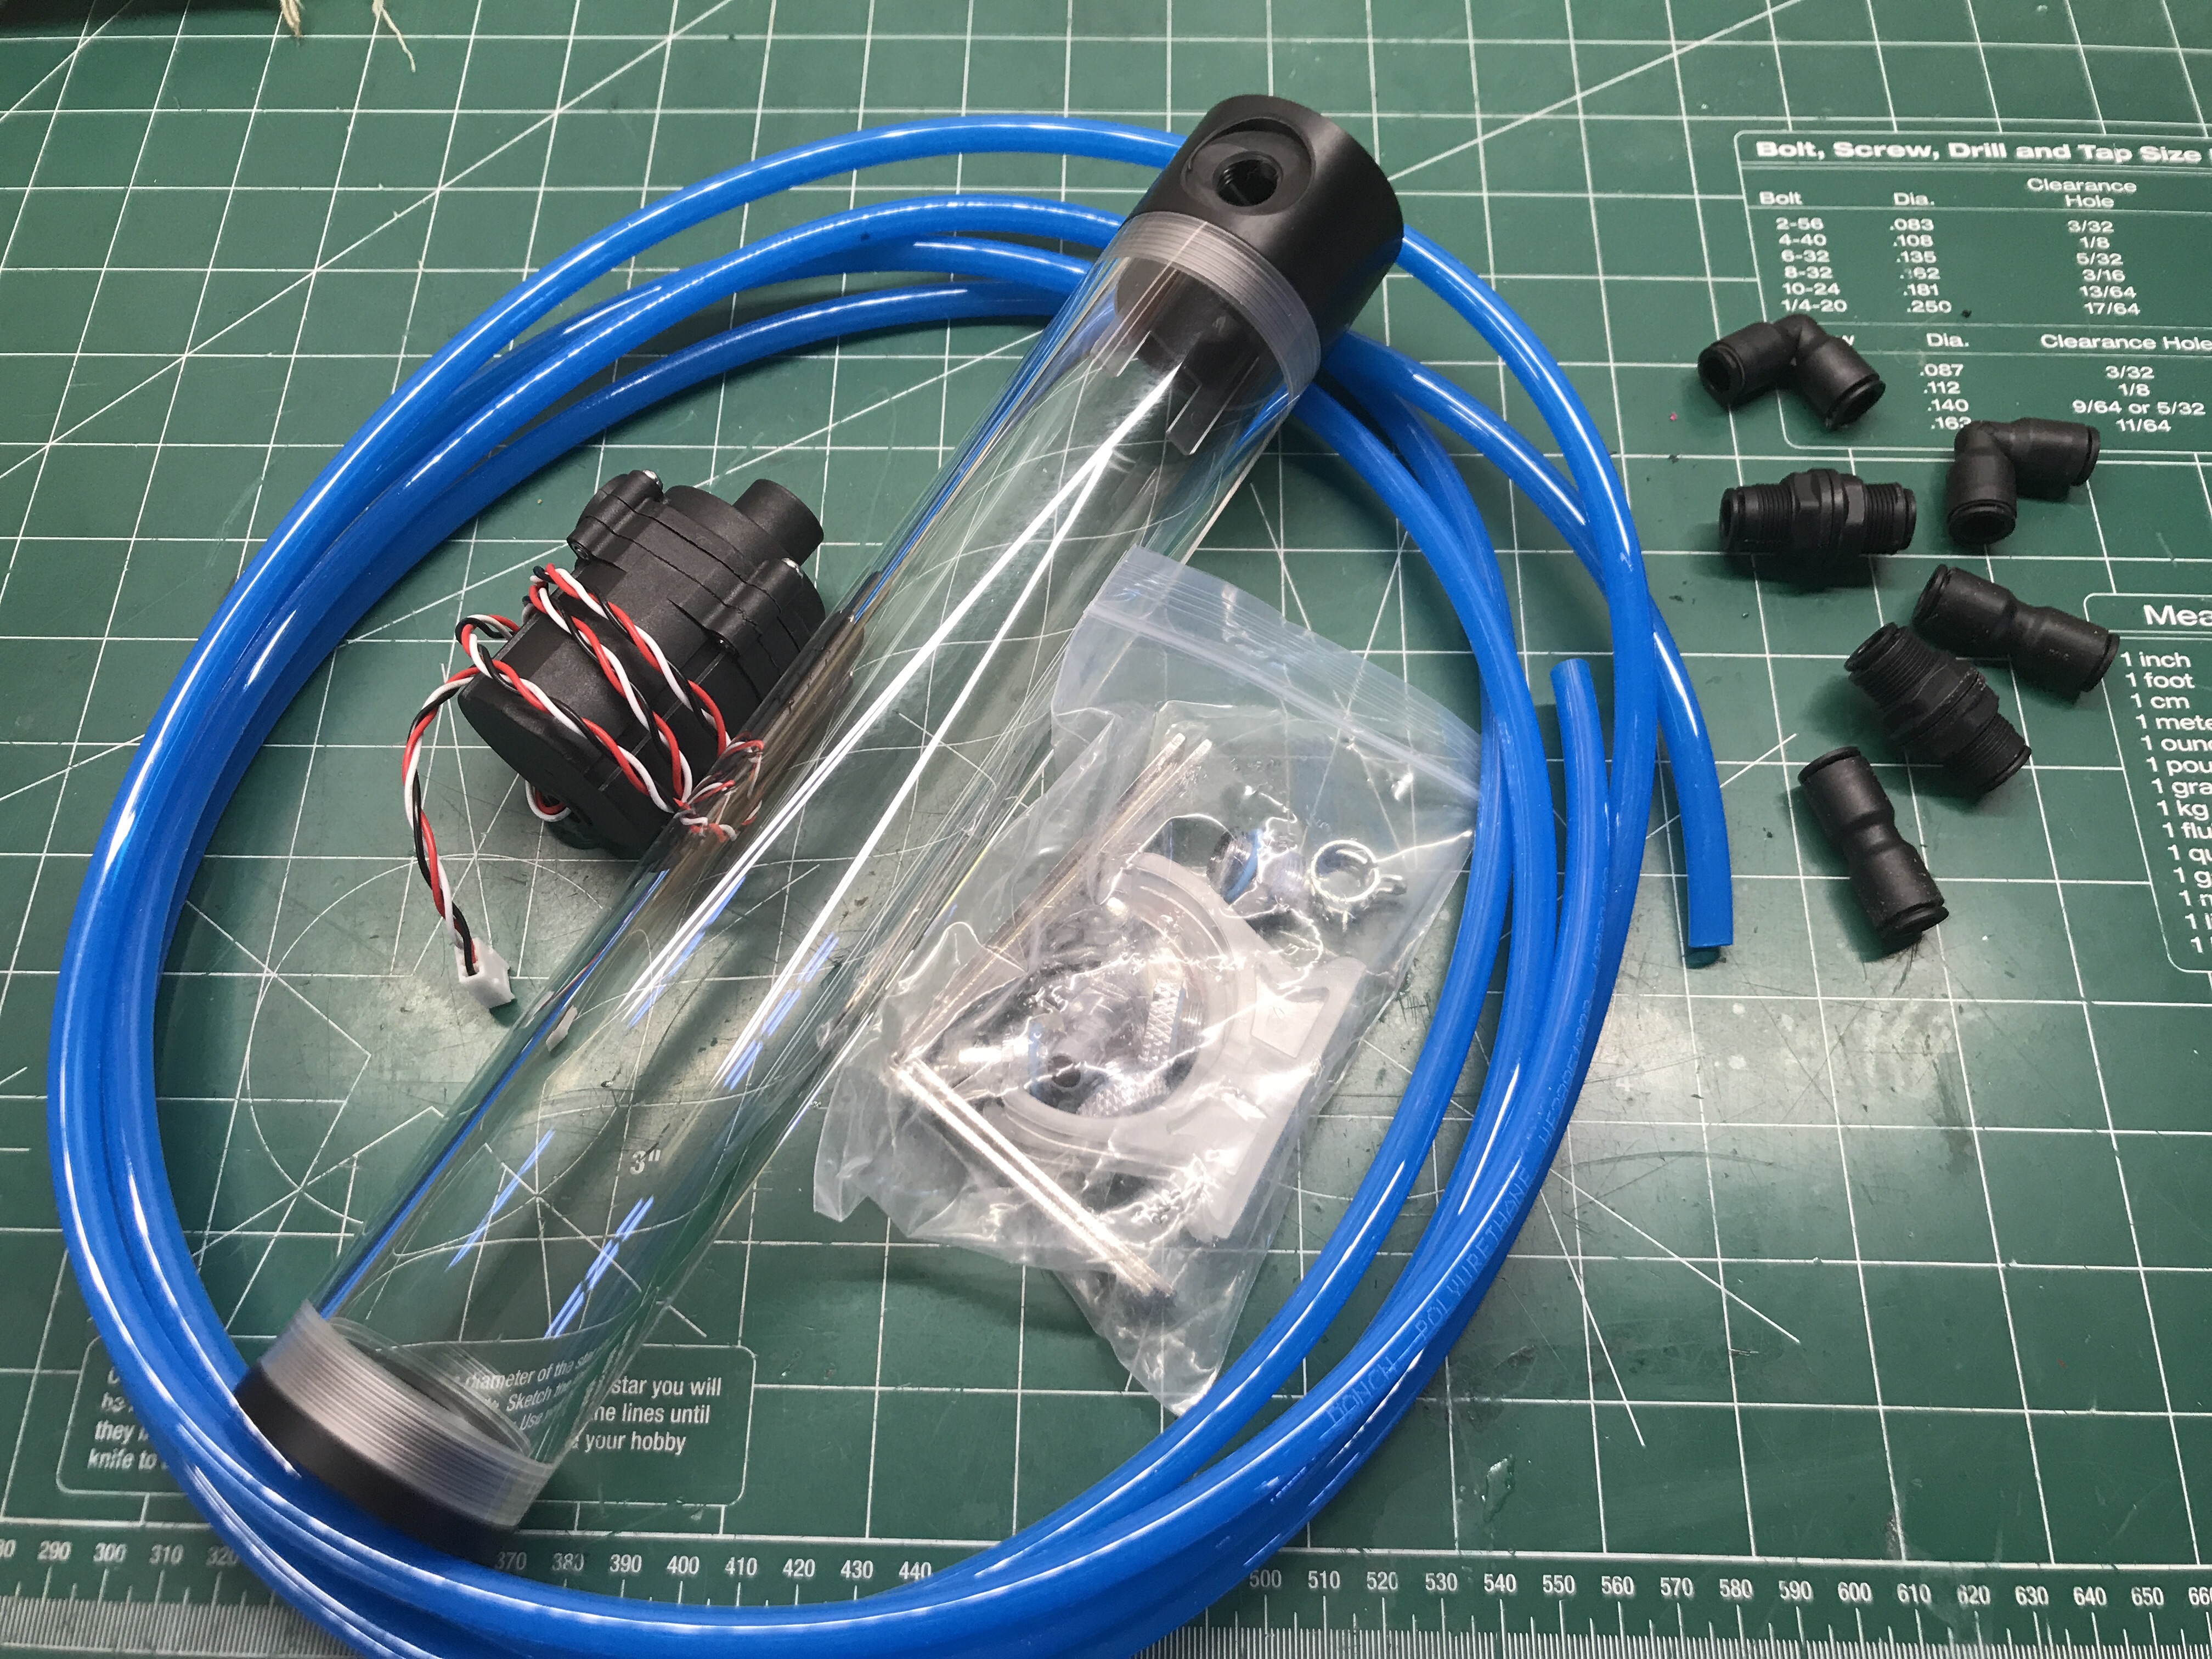
@Griff, the pipes are 8mm outer diameter and I think 6mm inner diameter (I’ll double check later since I’m not near the machine right now, but the specs page for the pump says “outlet size 4 and 6mm”)
The pipes are not very good, they are ok for me as they won’t go into drag chains, but they are too rigid and I will probably replace them later (also, they are bright orange, which does not agree with Luke’s Beaver Blue )
Other than this :
- packaging was excellent, everything protected really nicely.
- I had to puzzle out the pinout on the aviation connector (and spindle), since the “1/2/3/4” markings on the connector were almost invisible, and there were none on the spindle connector itself. Pin 4 is easy : check for continuity with the spindle body with a multimeter. Pin 1 is the diagonal opposite of that.
- if you don’t mix pin 2 and 3 like I initially did, Luke’s wiring scheme and the VFD parameters I discussed in the other dedicated thread should get you up and running in no time.
- Now that I made a fool of myself with this ER collet offset ring thing, you won’t have too
- runout is as I hoped (sub-0.01mm), that includes collets that are advertised as “below 0.008mm runout”, which seems to be true.
- the collet nut is huge and tightening it requires a 21mm wrench for the shaft and 30mm (!) wrench for the nut. I may replace this nut with a high-quality one that is tightened with a (hopefully smaller) torque wrench, c.f. the link that @gmack mentionned, but for now I’ll use my monster 30mm wrench.
- required Z clearance above the Z stepper is not as bad as I thought, but I still had to redo my enclosure to make it higher. This won’t be a problem for you if I remember pics from the condo you built for your Shapeoko
- you should probably go straight to the Beaver-style water-cooling setup, without going through the “bucket under the Shapeoko” phase. I was lazy and wanted to be up and running quickly, but I will very likely redo this sometime.
- Luke’s 80mm spindle mount is great, but it is larger than the old tramming plate+stock mount, so my hacked Suckit arms setup will not fit anymore, I have to redo this.
- I have not yet decided exactly how high I want the spindle in the mount, tough call between rigidity and Z clearance. I have not trammed the spindle yet either, so we’ll see if the eccentrics nuts in the 80mm mount work as great as they did on the previous tramming plate.
3 Likes
Great info, thanks.
I am planning closed loop, following Luke’s lead per usual.
Glad the fittings are 8mm, got some in advance.
ToDo list:
- Extend 220 line
- Rework control cabinet.
- Expand condo to penthouse.
- Study VFD materials.
3 Likes