A notable blog post on tool storage which I refer back to the concepts of each time I’m considering where a tool goes and how it gets stored is:
I would recommend pairing that analysis with:
and if one can stomach typos there is:
the dichotomy of which (that a tool cabinet held up as an example of a woodworker striving for perfection is written up in a book which has so many typos that one is mis-spelling the woodworker’s name on the inside front cover) drives me nuts. Note that the .pdf excerpt actually embodies another notable error, one so severe that any publisher concerned about their perception and reputation in the industry would have done a cancel and reprinted the page, then paying a professional book repairer to excise the page with the error and replacing it with the reprinted one — that photo at the top of pg. 70? It’s a duplicate from another page where the flat pliers are actually described, but apparently, there is no photo of the iconic pair of jeweler’s pliers which should appear on that page.
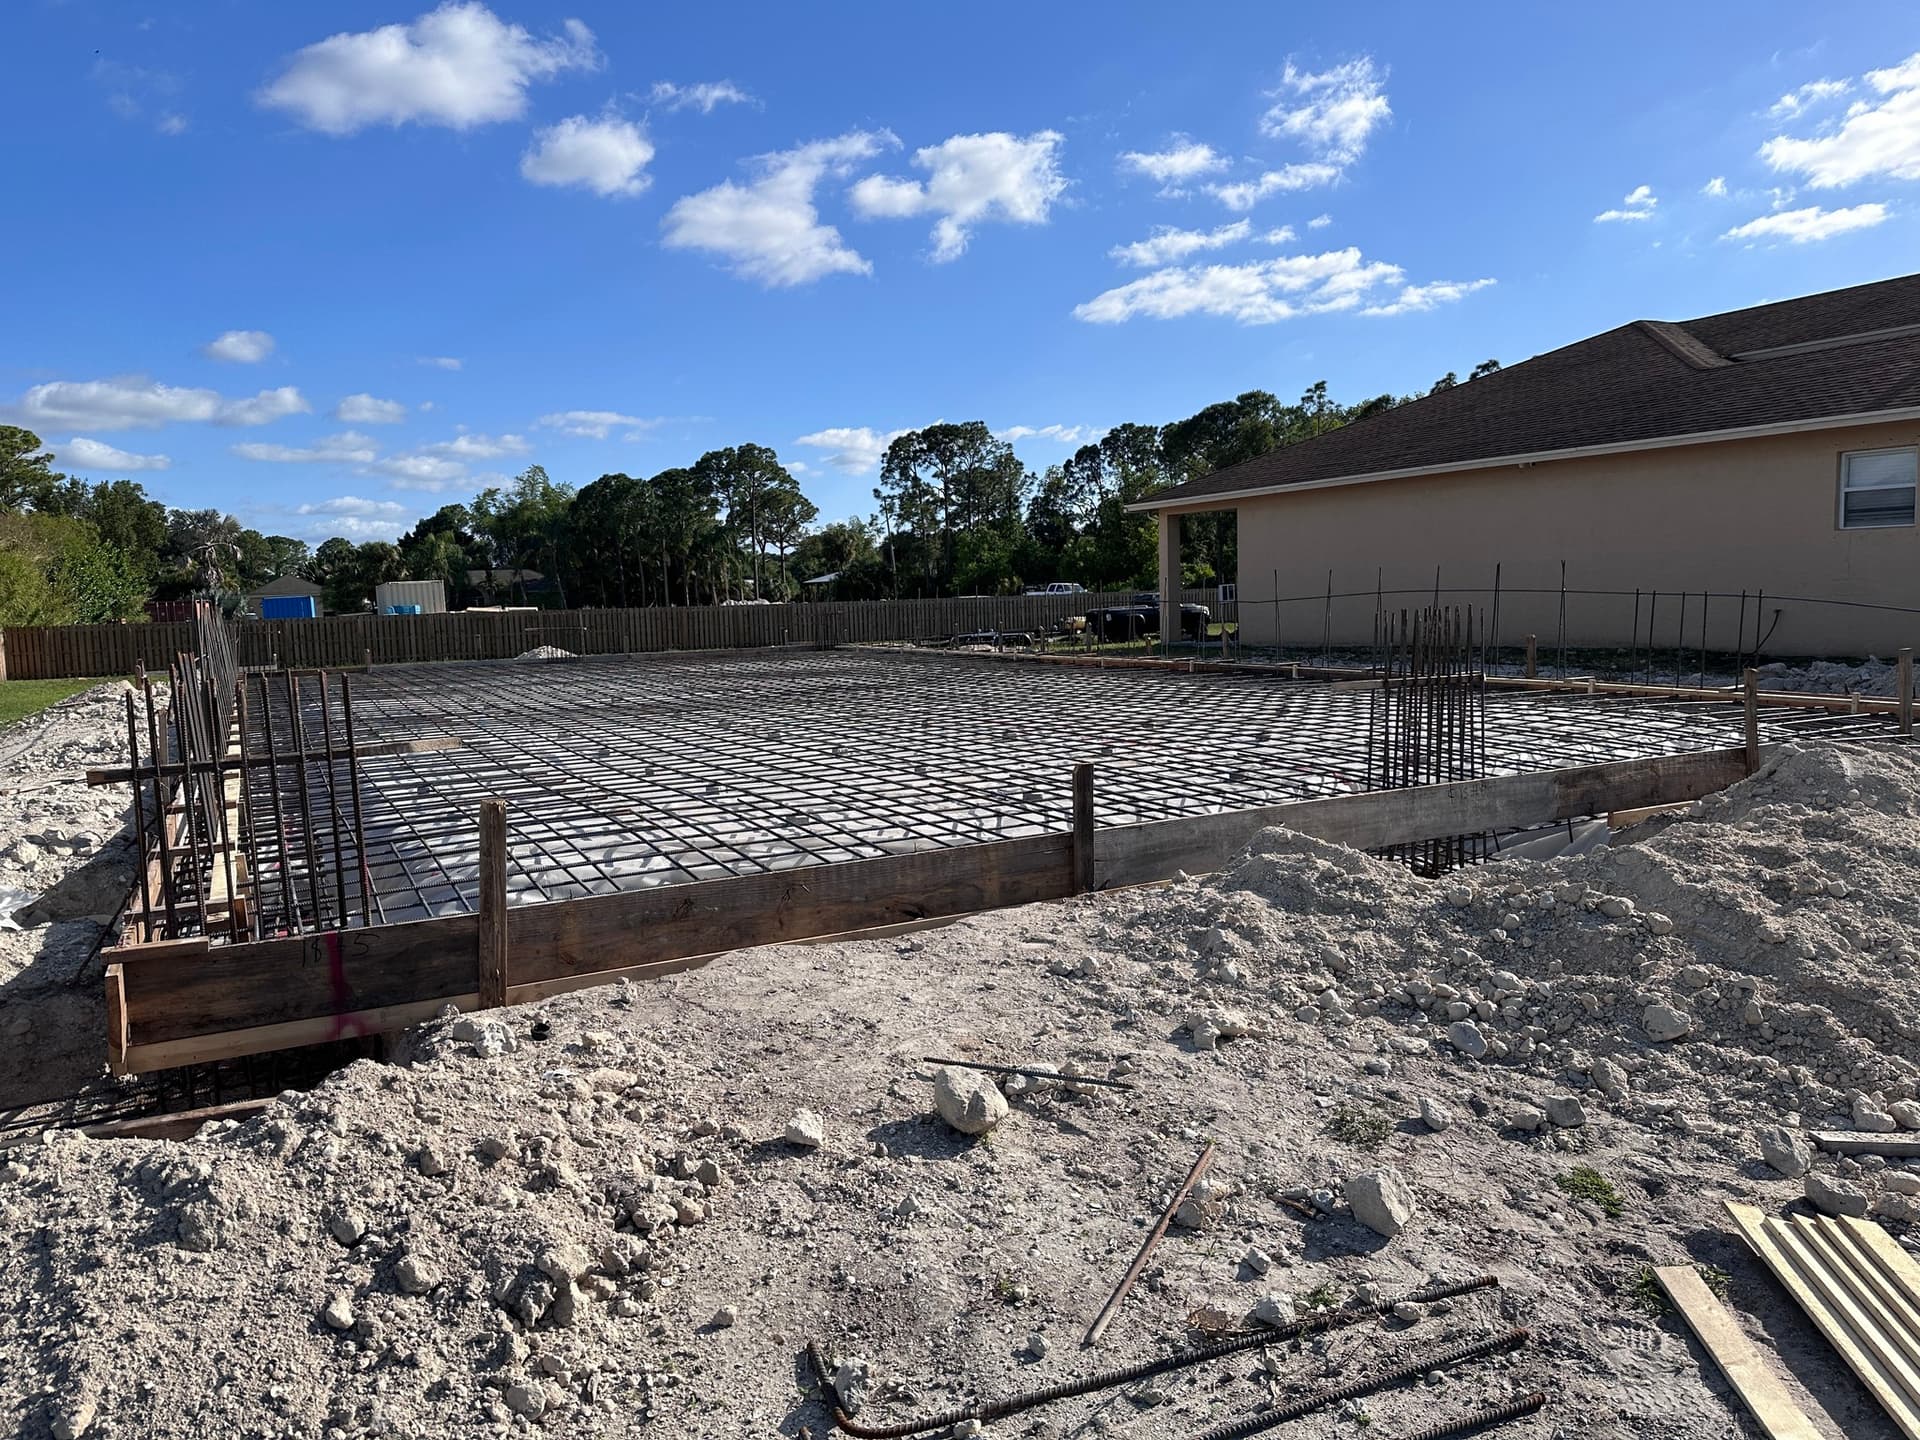
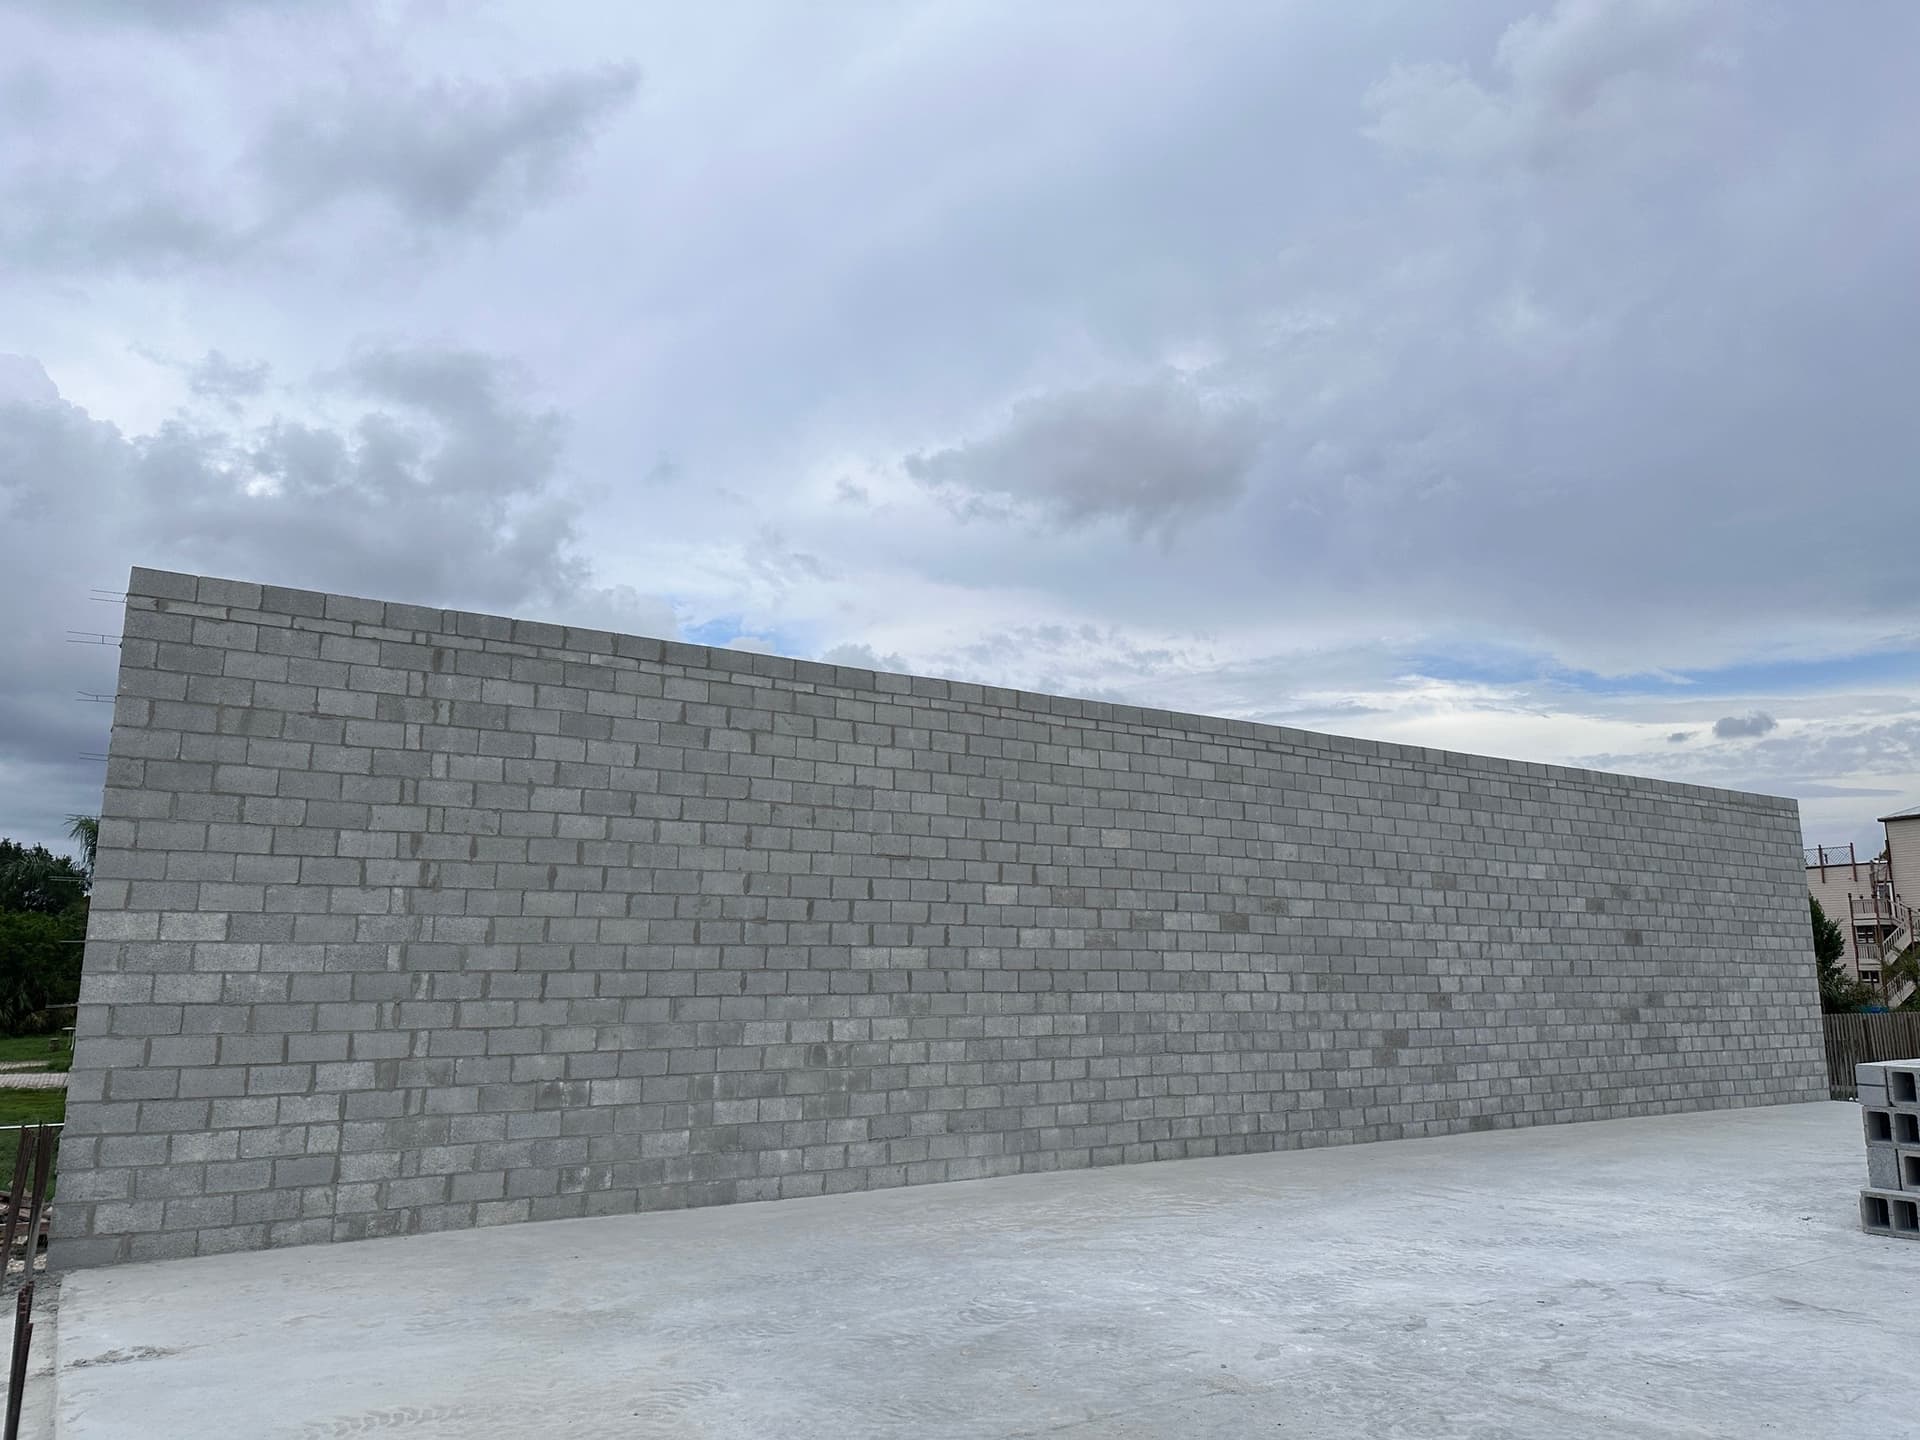
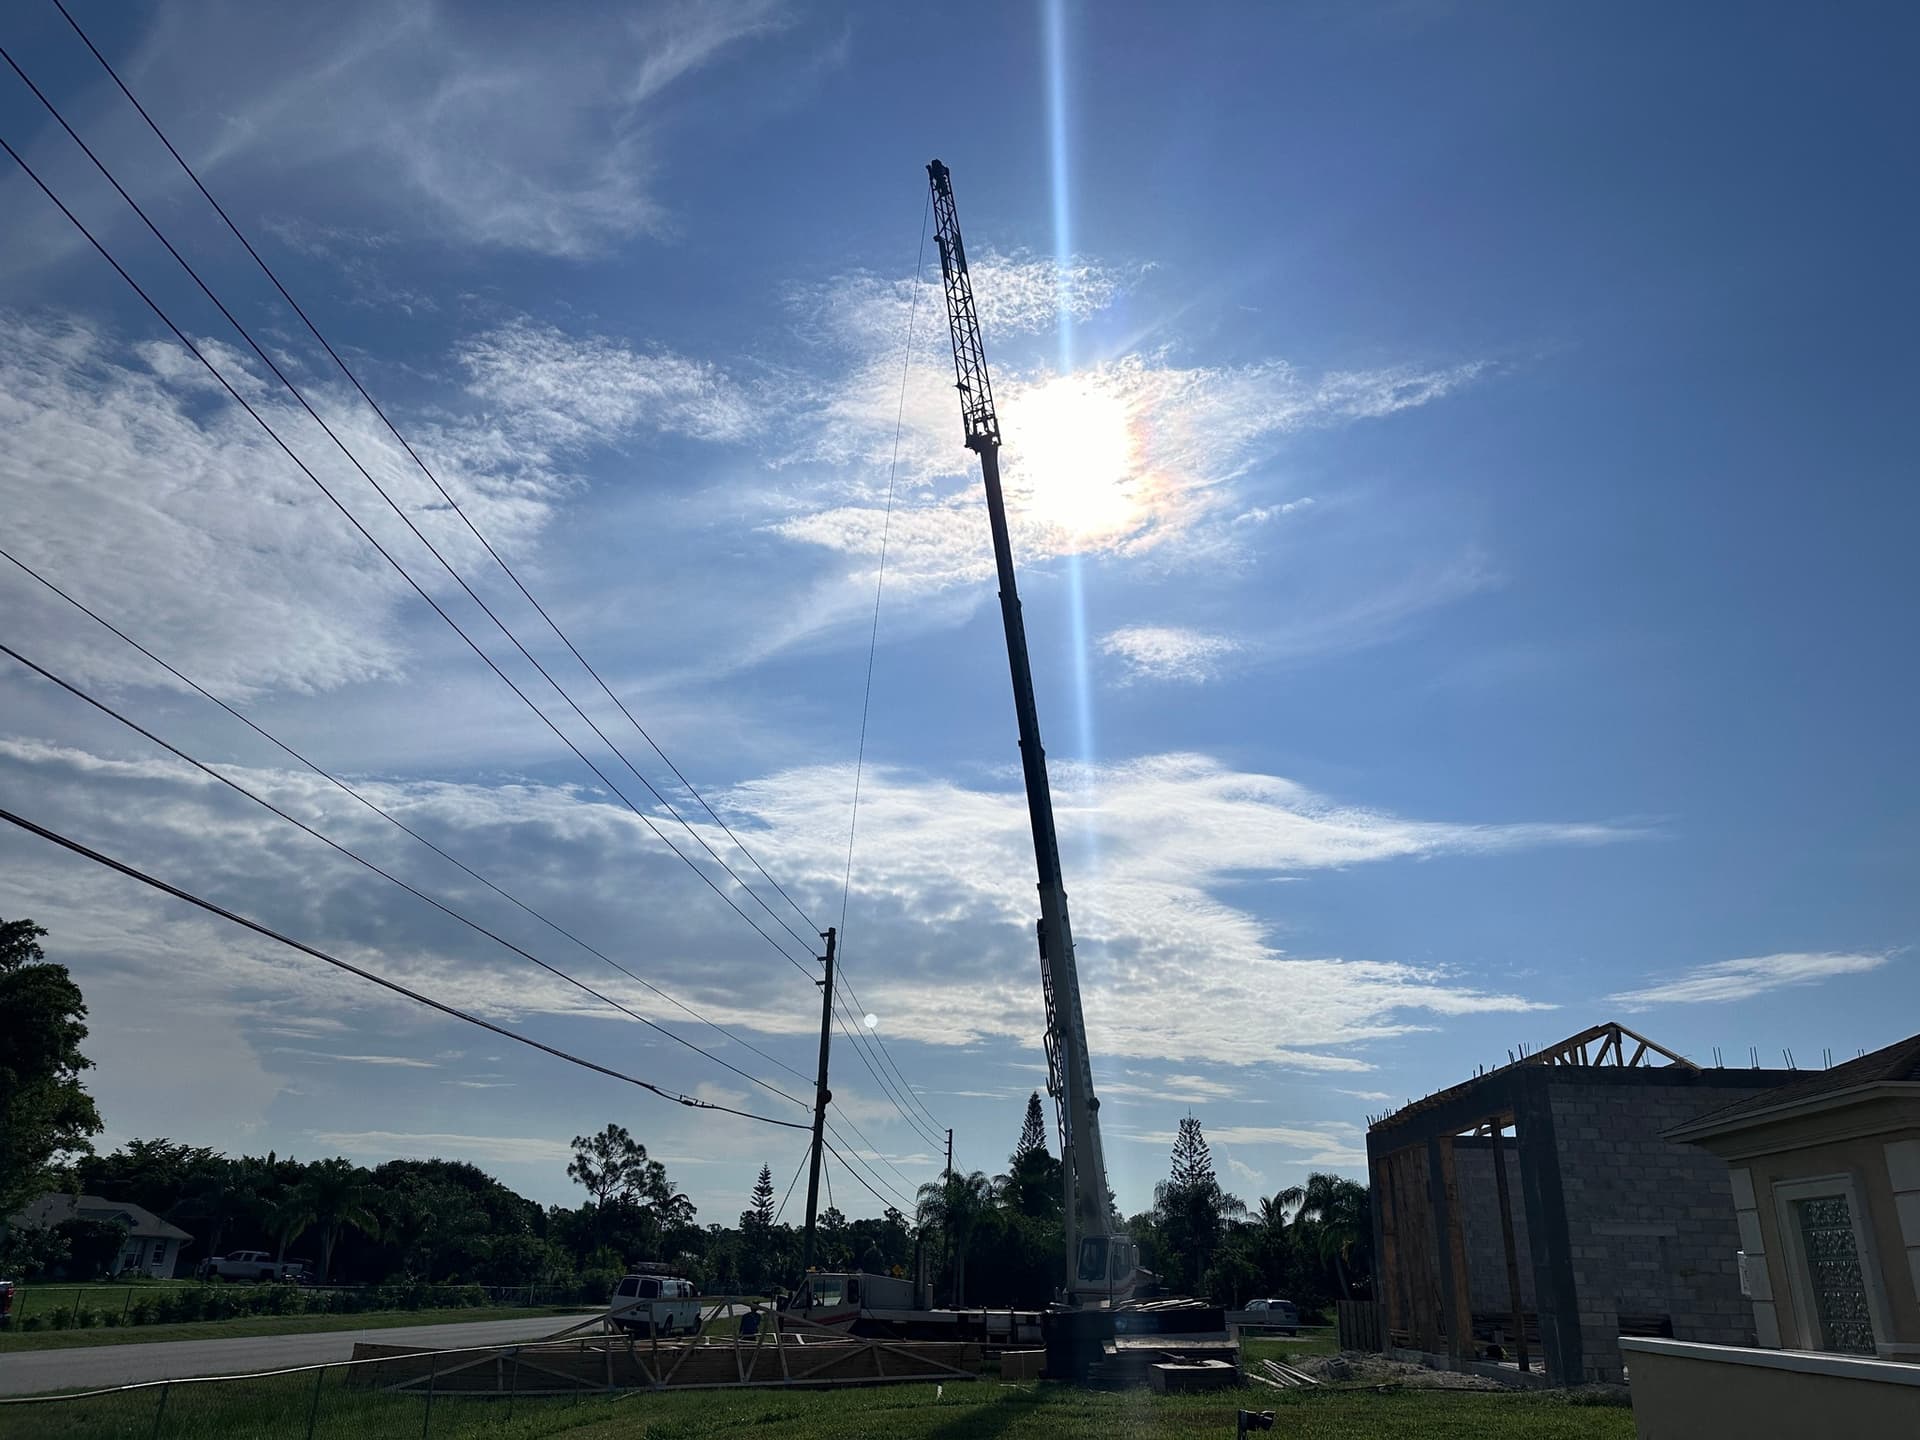
Bought my property in unincorporated Palm Beach County 2017 with the express purpose of building a shop. Was very slow to make progress, needed to excavate and bring in 120 dump trucks of #1 construction grade dirt, had to dig down to the waterline and layer up from there. Endless list of things to do before even starting construction and post pandemic prices are so high…
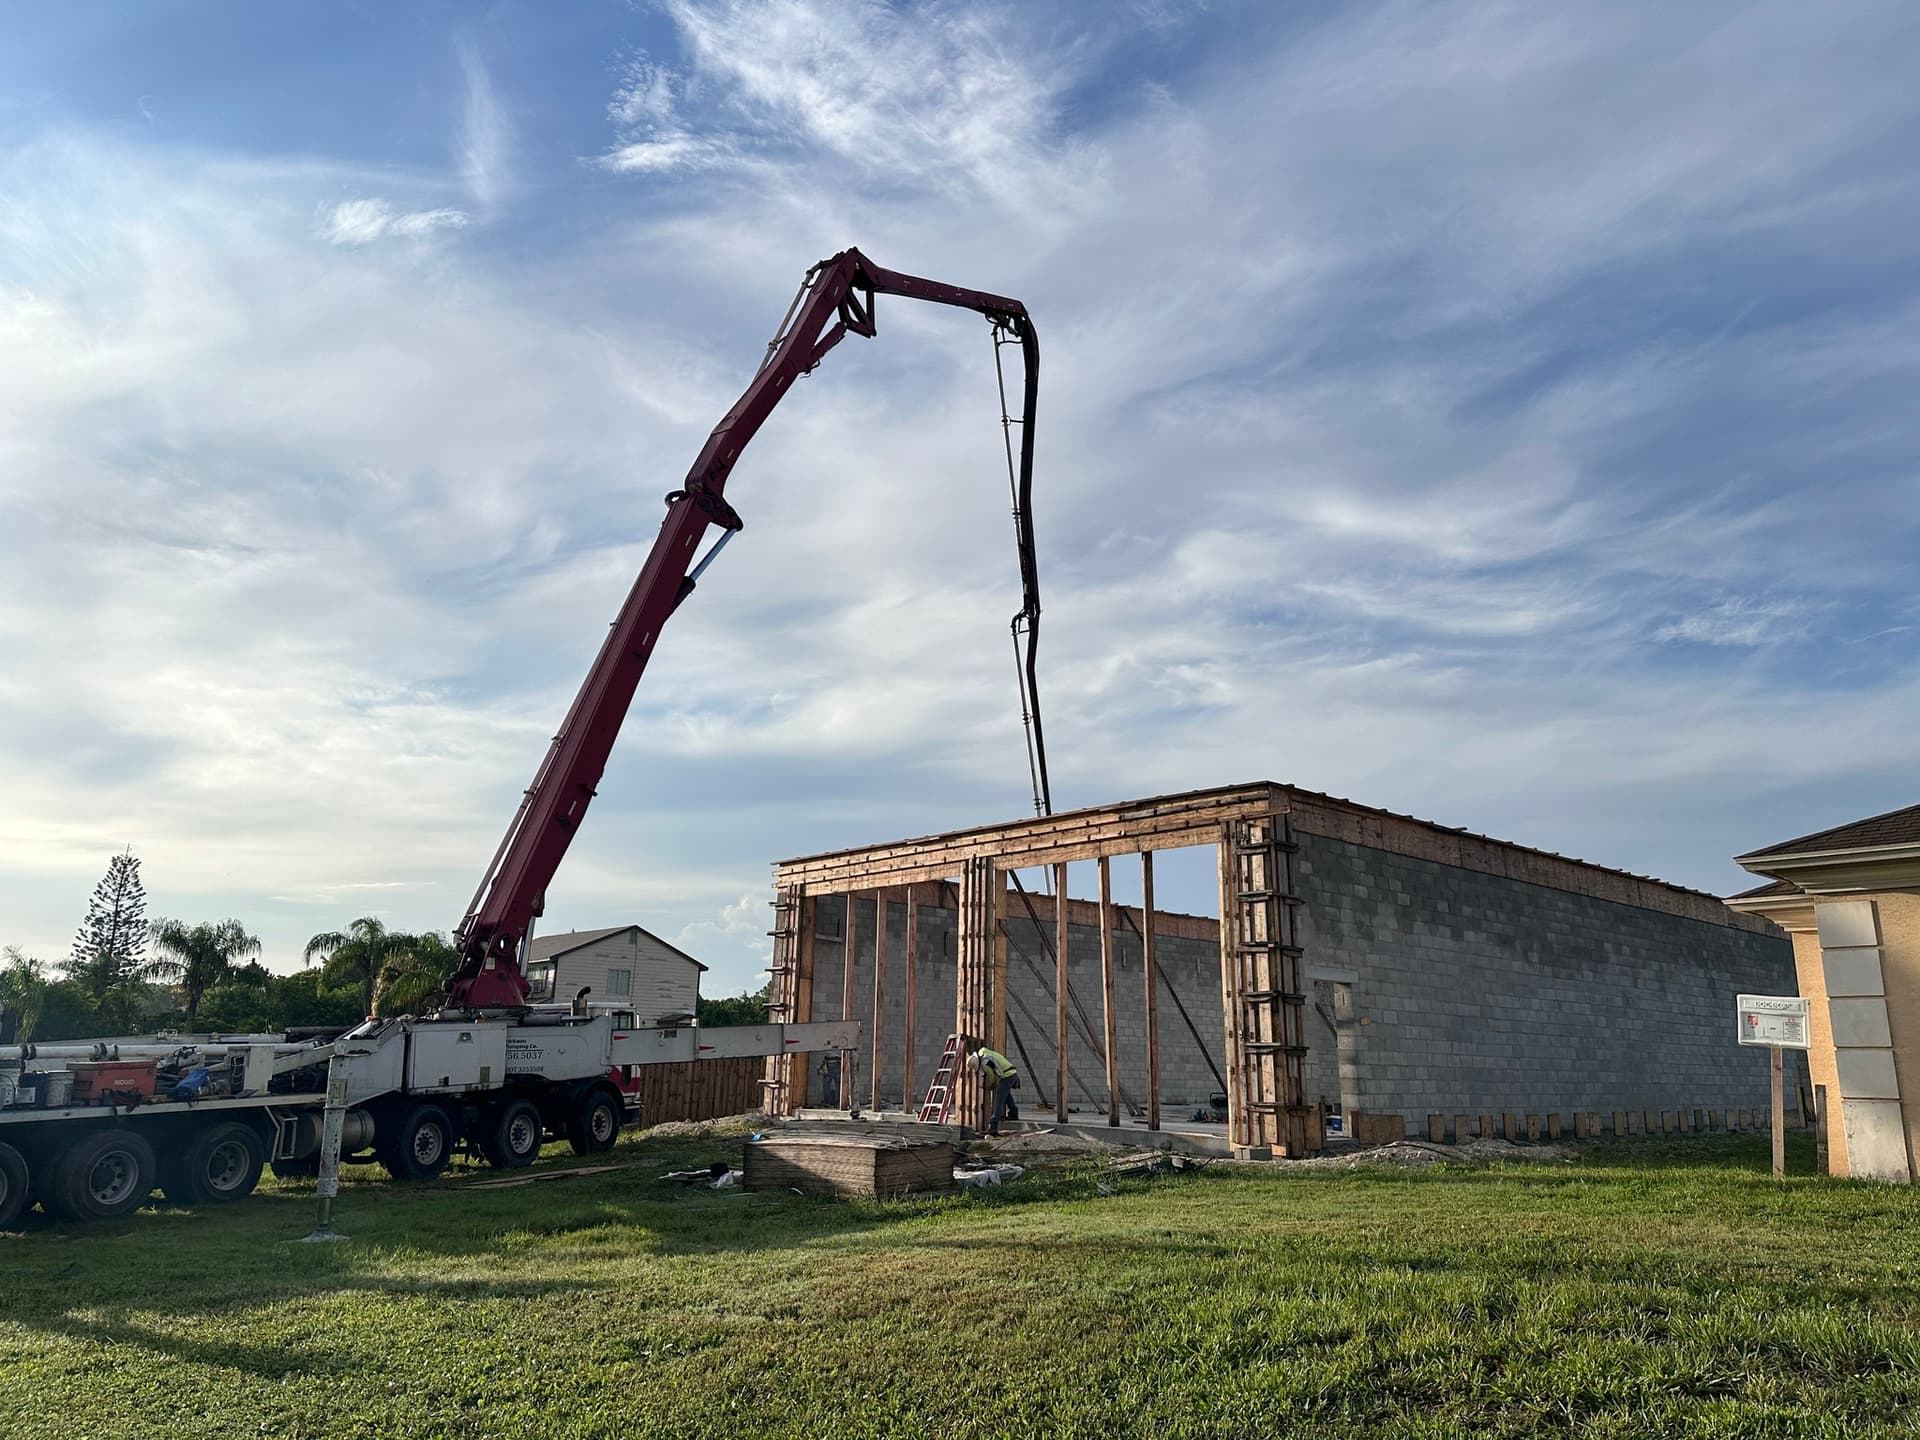
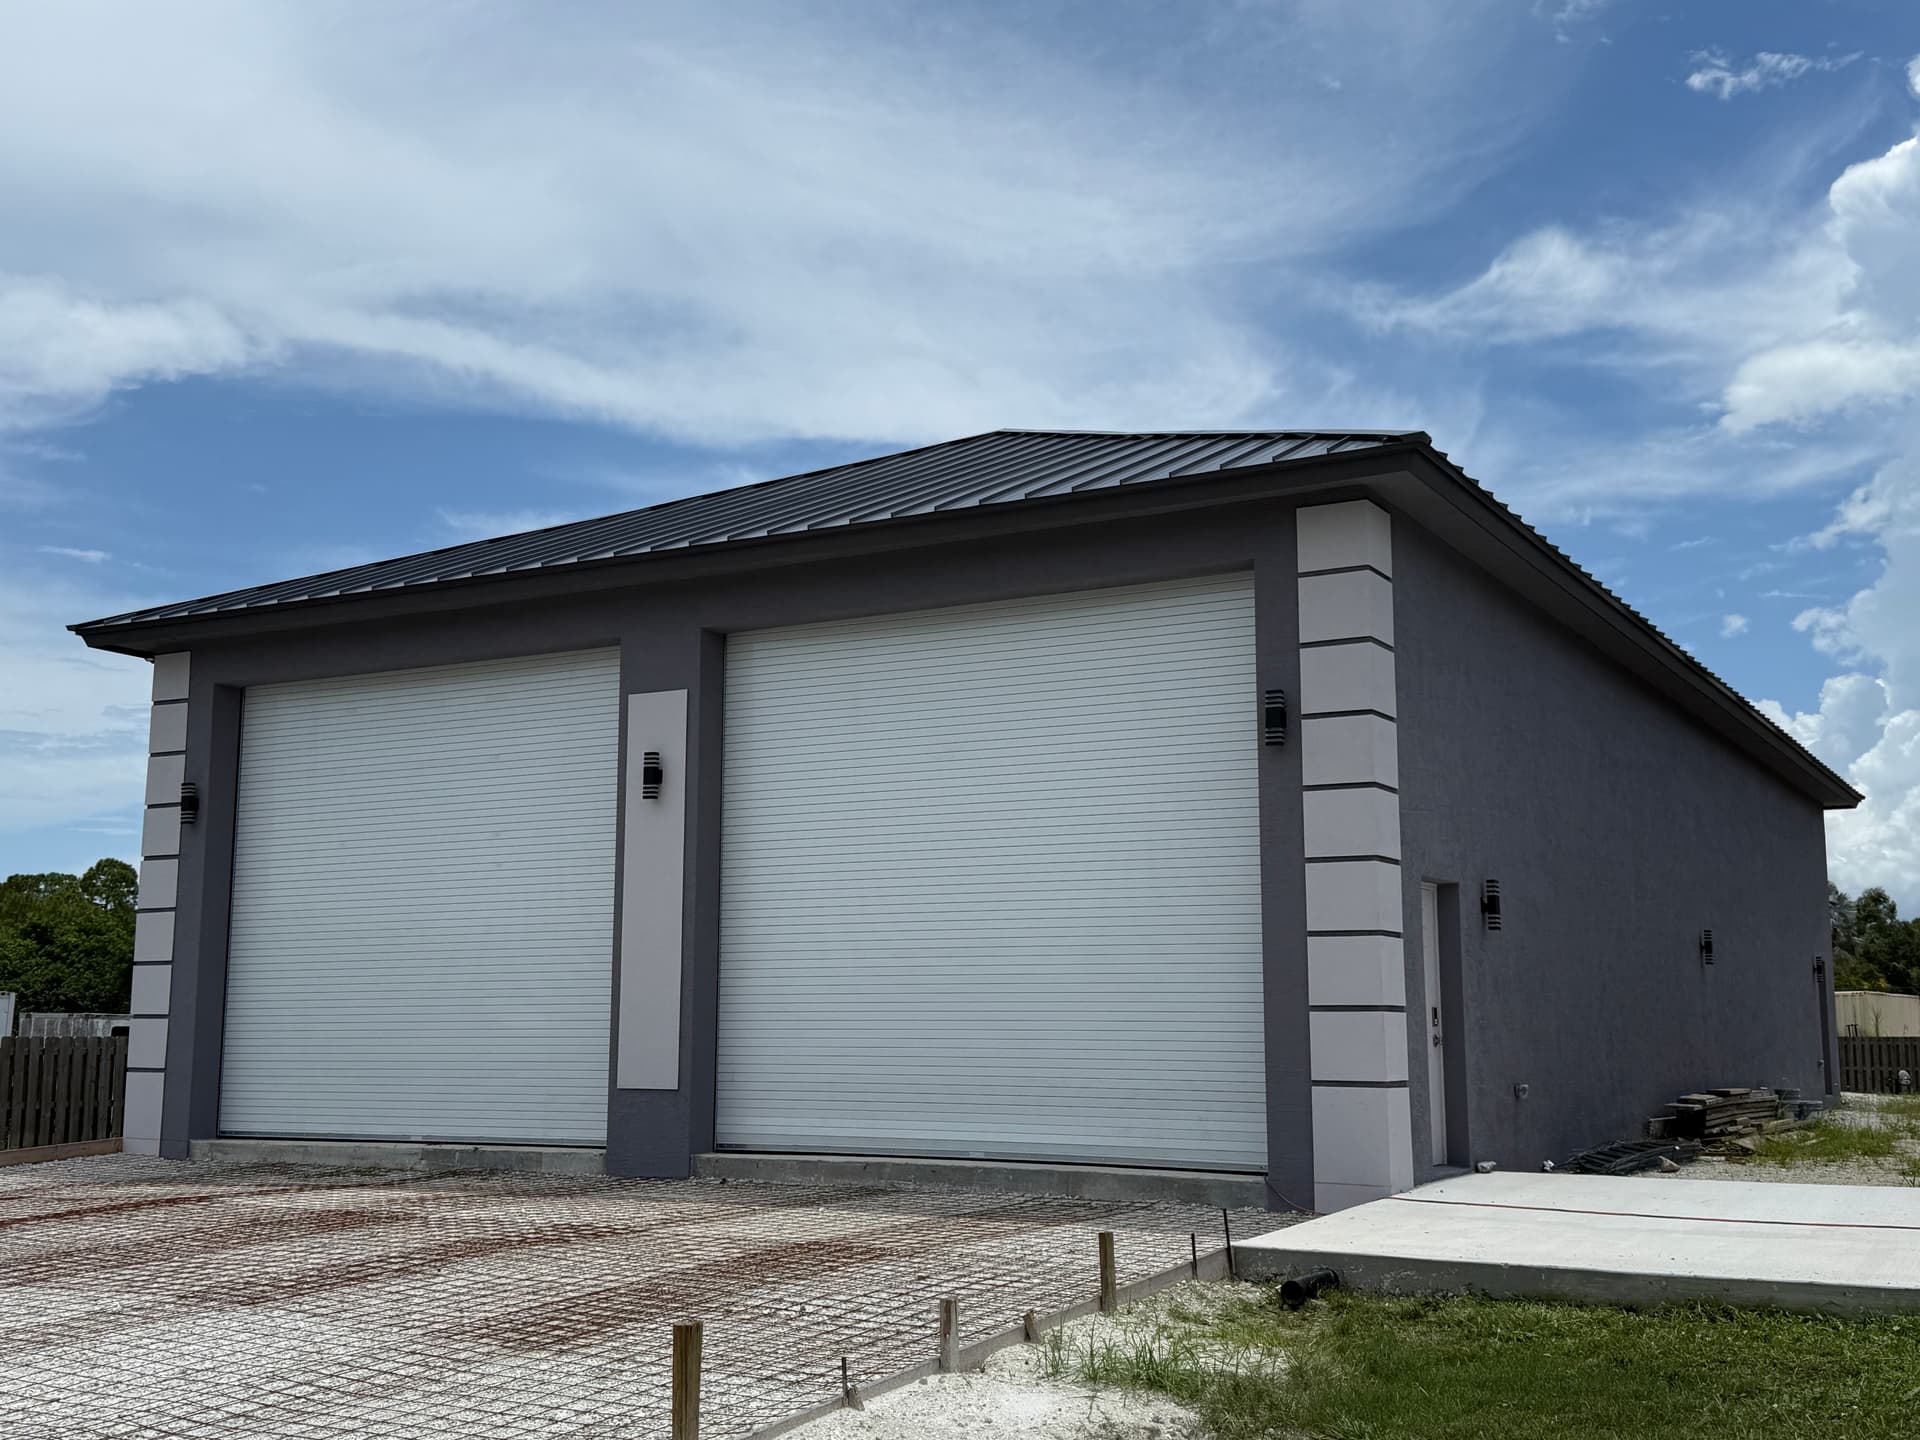
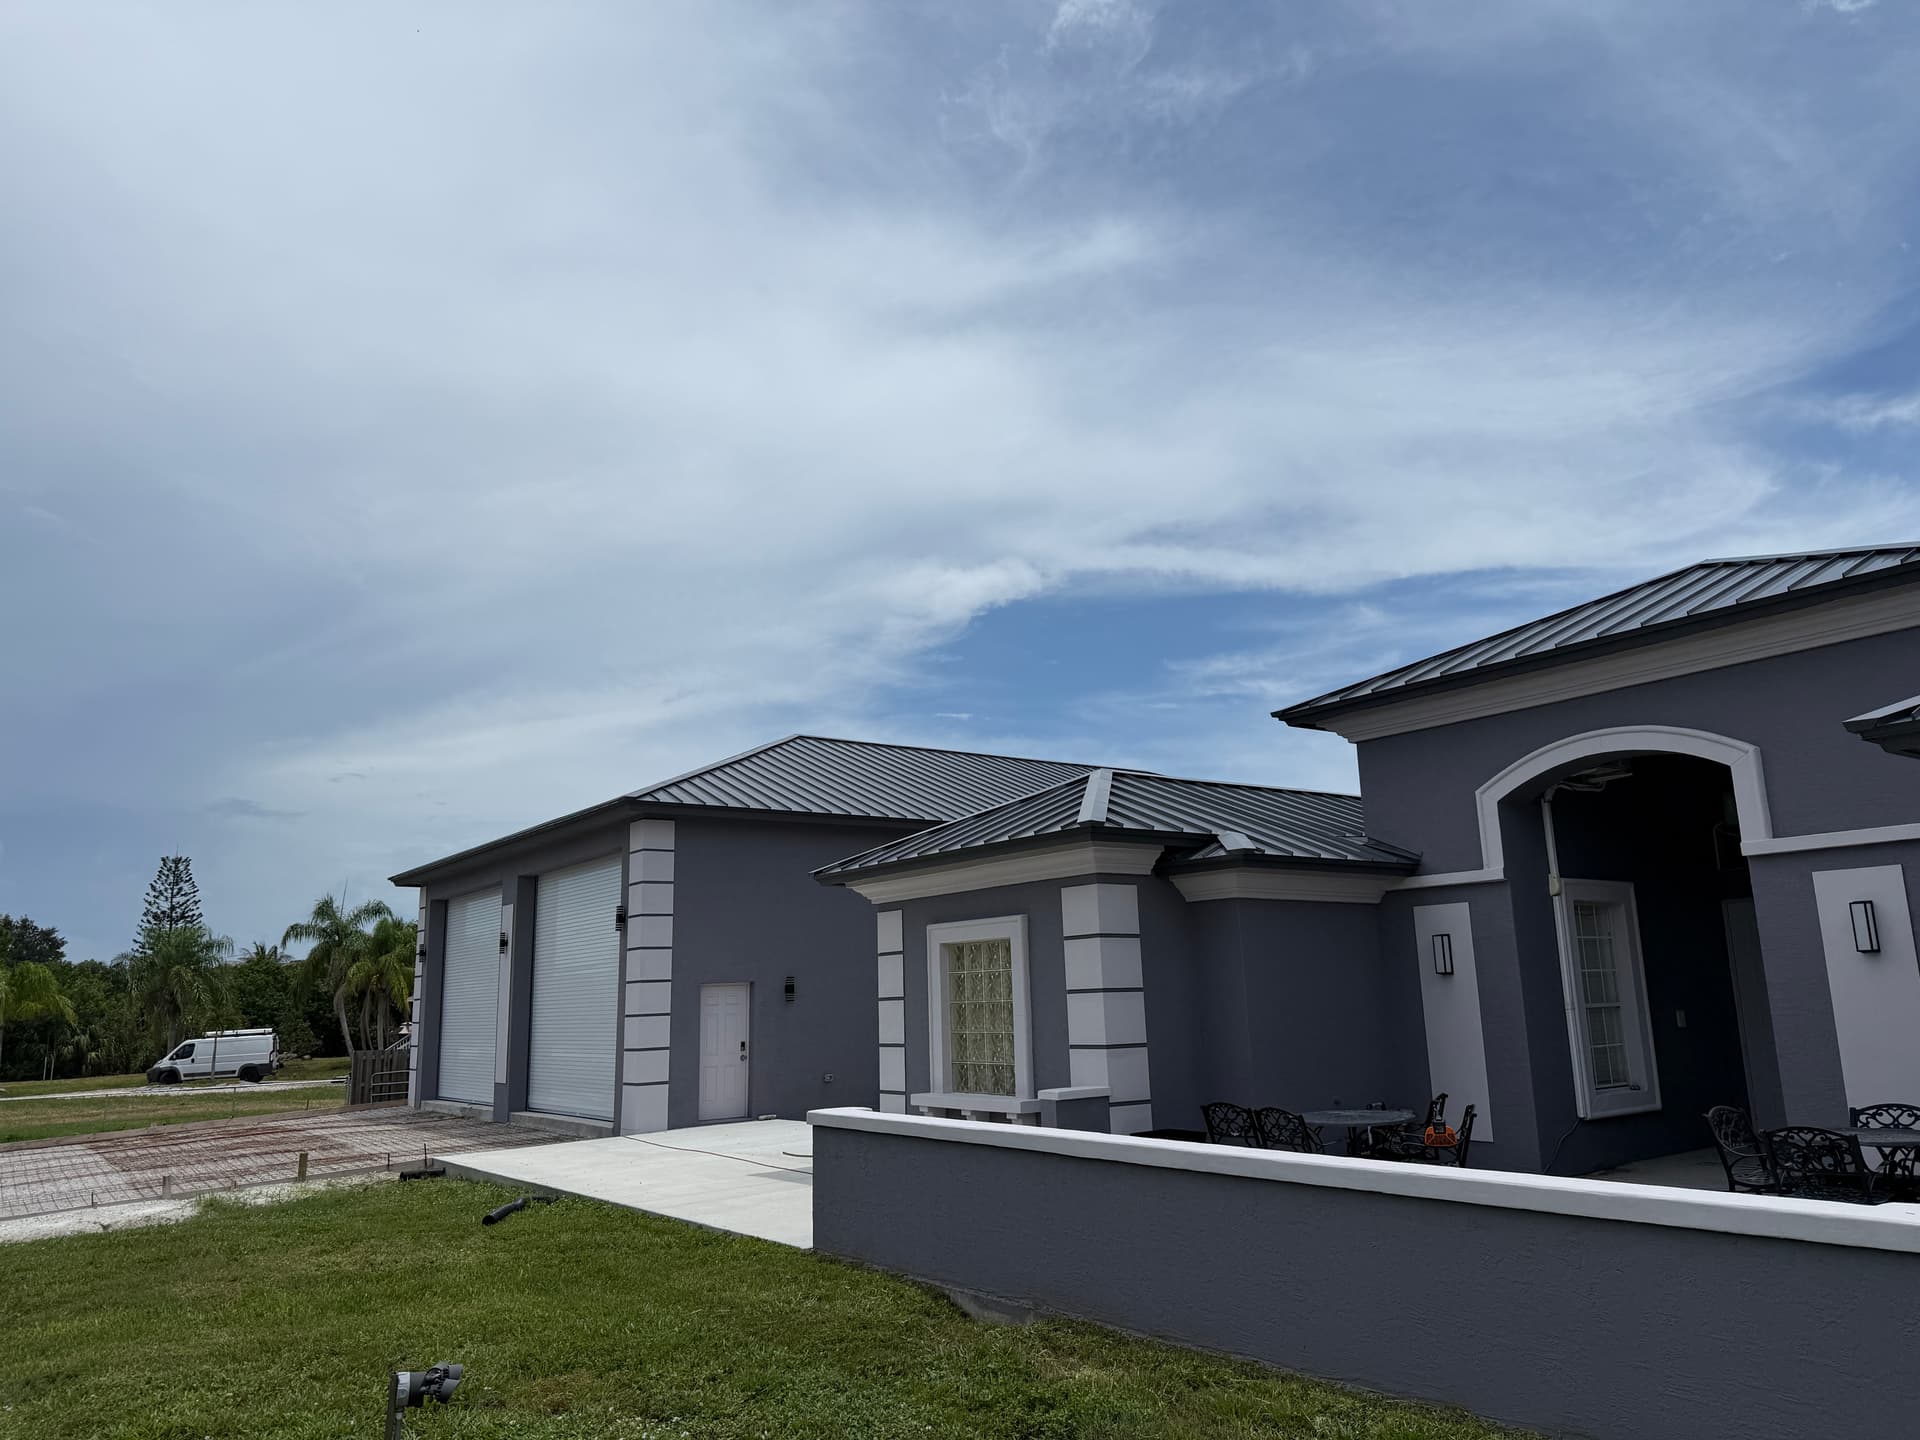
My shop is 3040 sqf 180 mph wind rated, 16 foot high, 40x76 CBS with pull throughs, four 14 foot tall doors 16 feet wide. Metal roof, finished interior with stucco inside and out, 400 amp service.
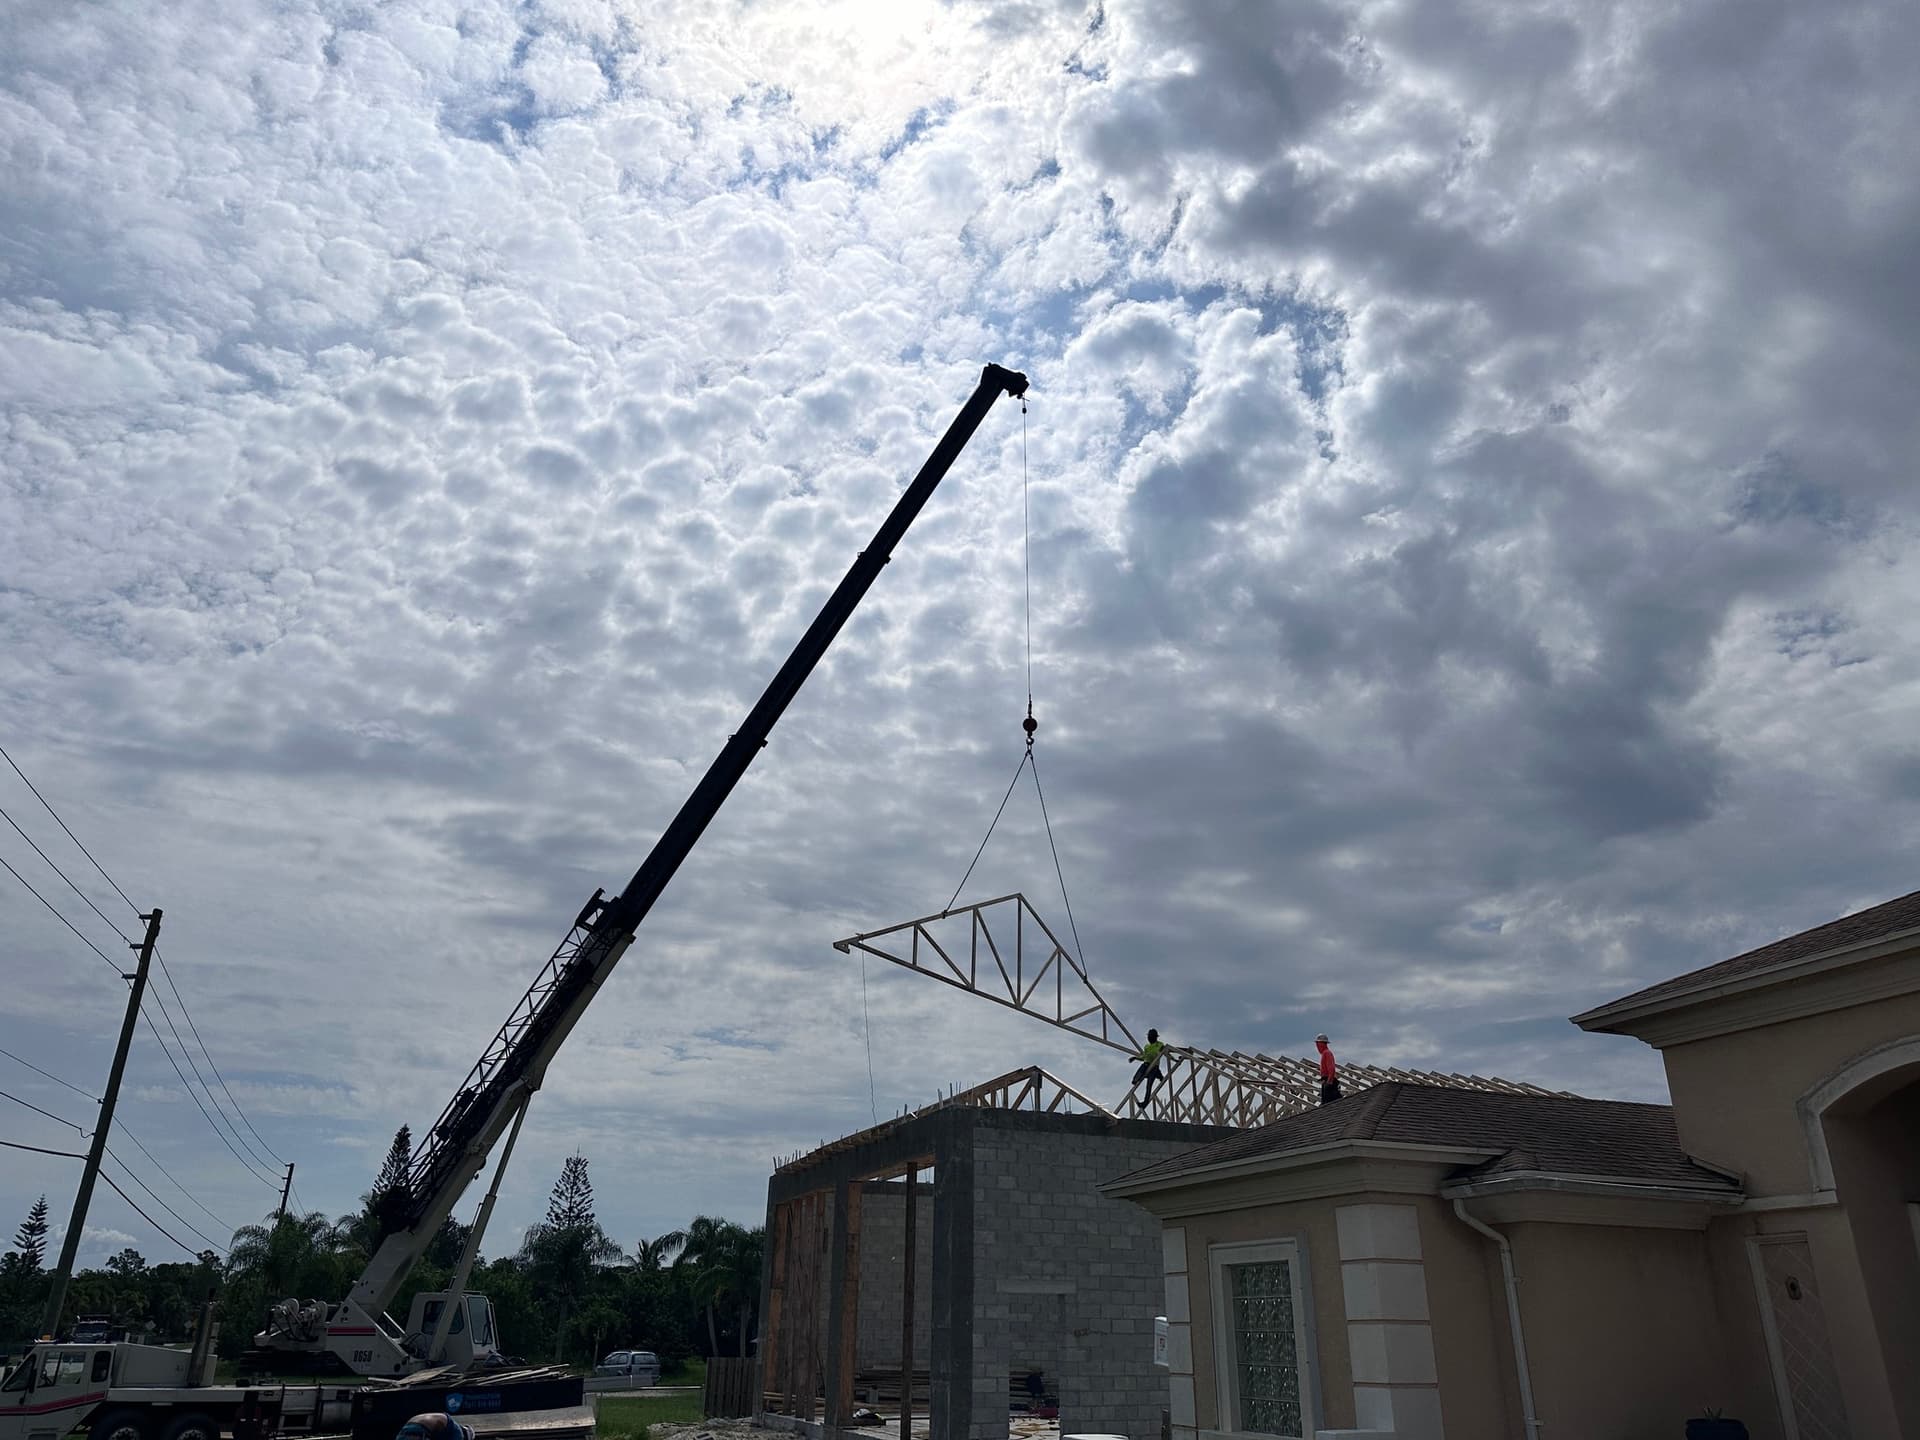
Just got my power turned on this past Monday, making major progress! Wont be long before I can start setting it up…
If it is for a business it is very impressive, if it is for a hobby shop it is a paradise, in either case I am interested to see what will be installed, I am sure it will be very nice, remembering some of your CNC installation.
I built a 1200sqft metal building years ago and did the spray insulation inside. Before spraying I installed long double female nuts (not sure the real name) on some of the bolts sticking inside. After spraying those gave me points to mount boards to. I installed OSB over the insulation up to about 7 feet and then painted it bright white. That helped reflect the light in there which really brightened it up.
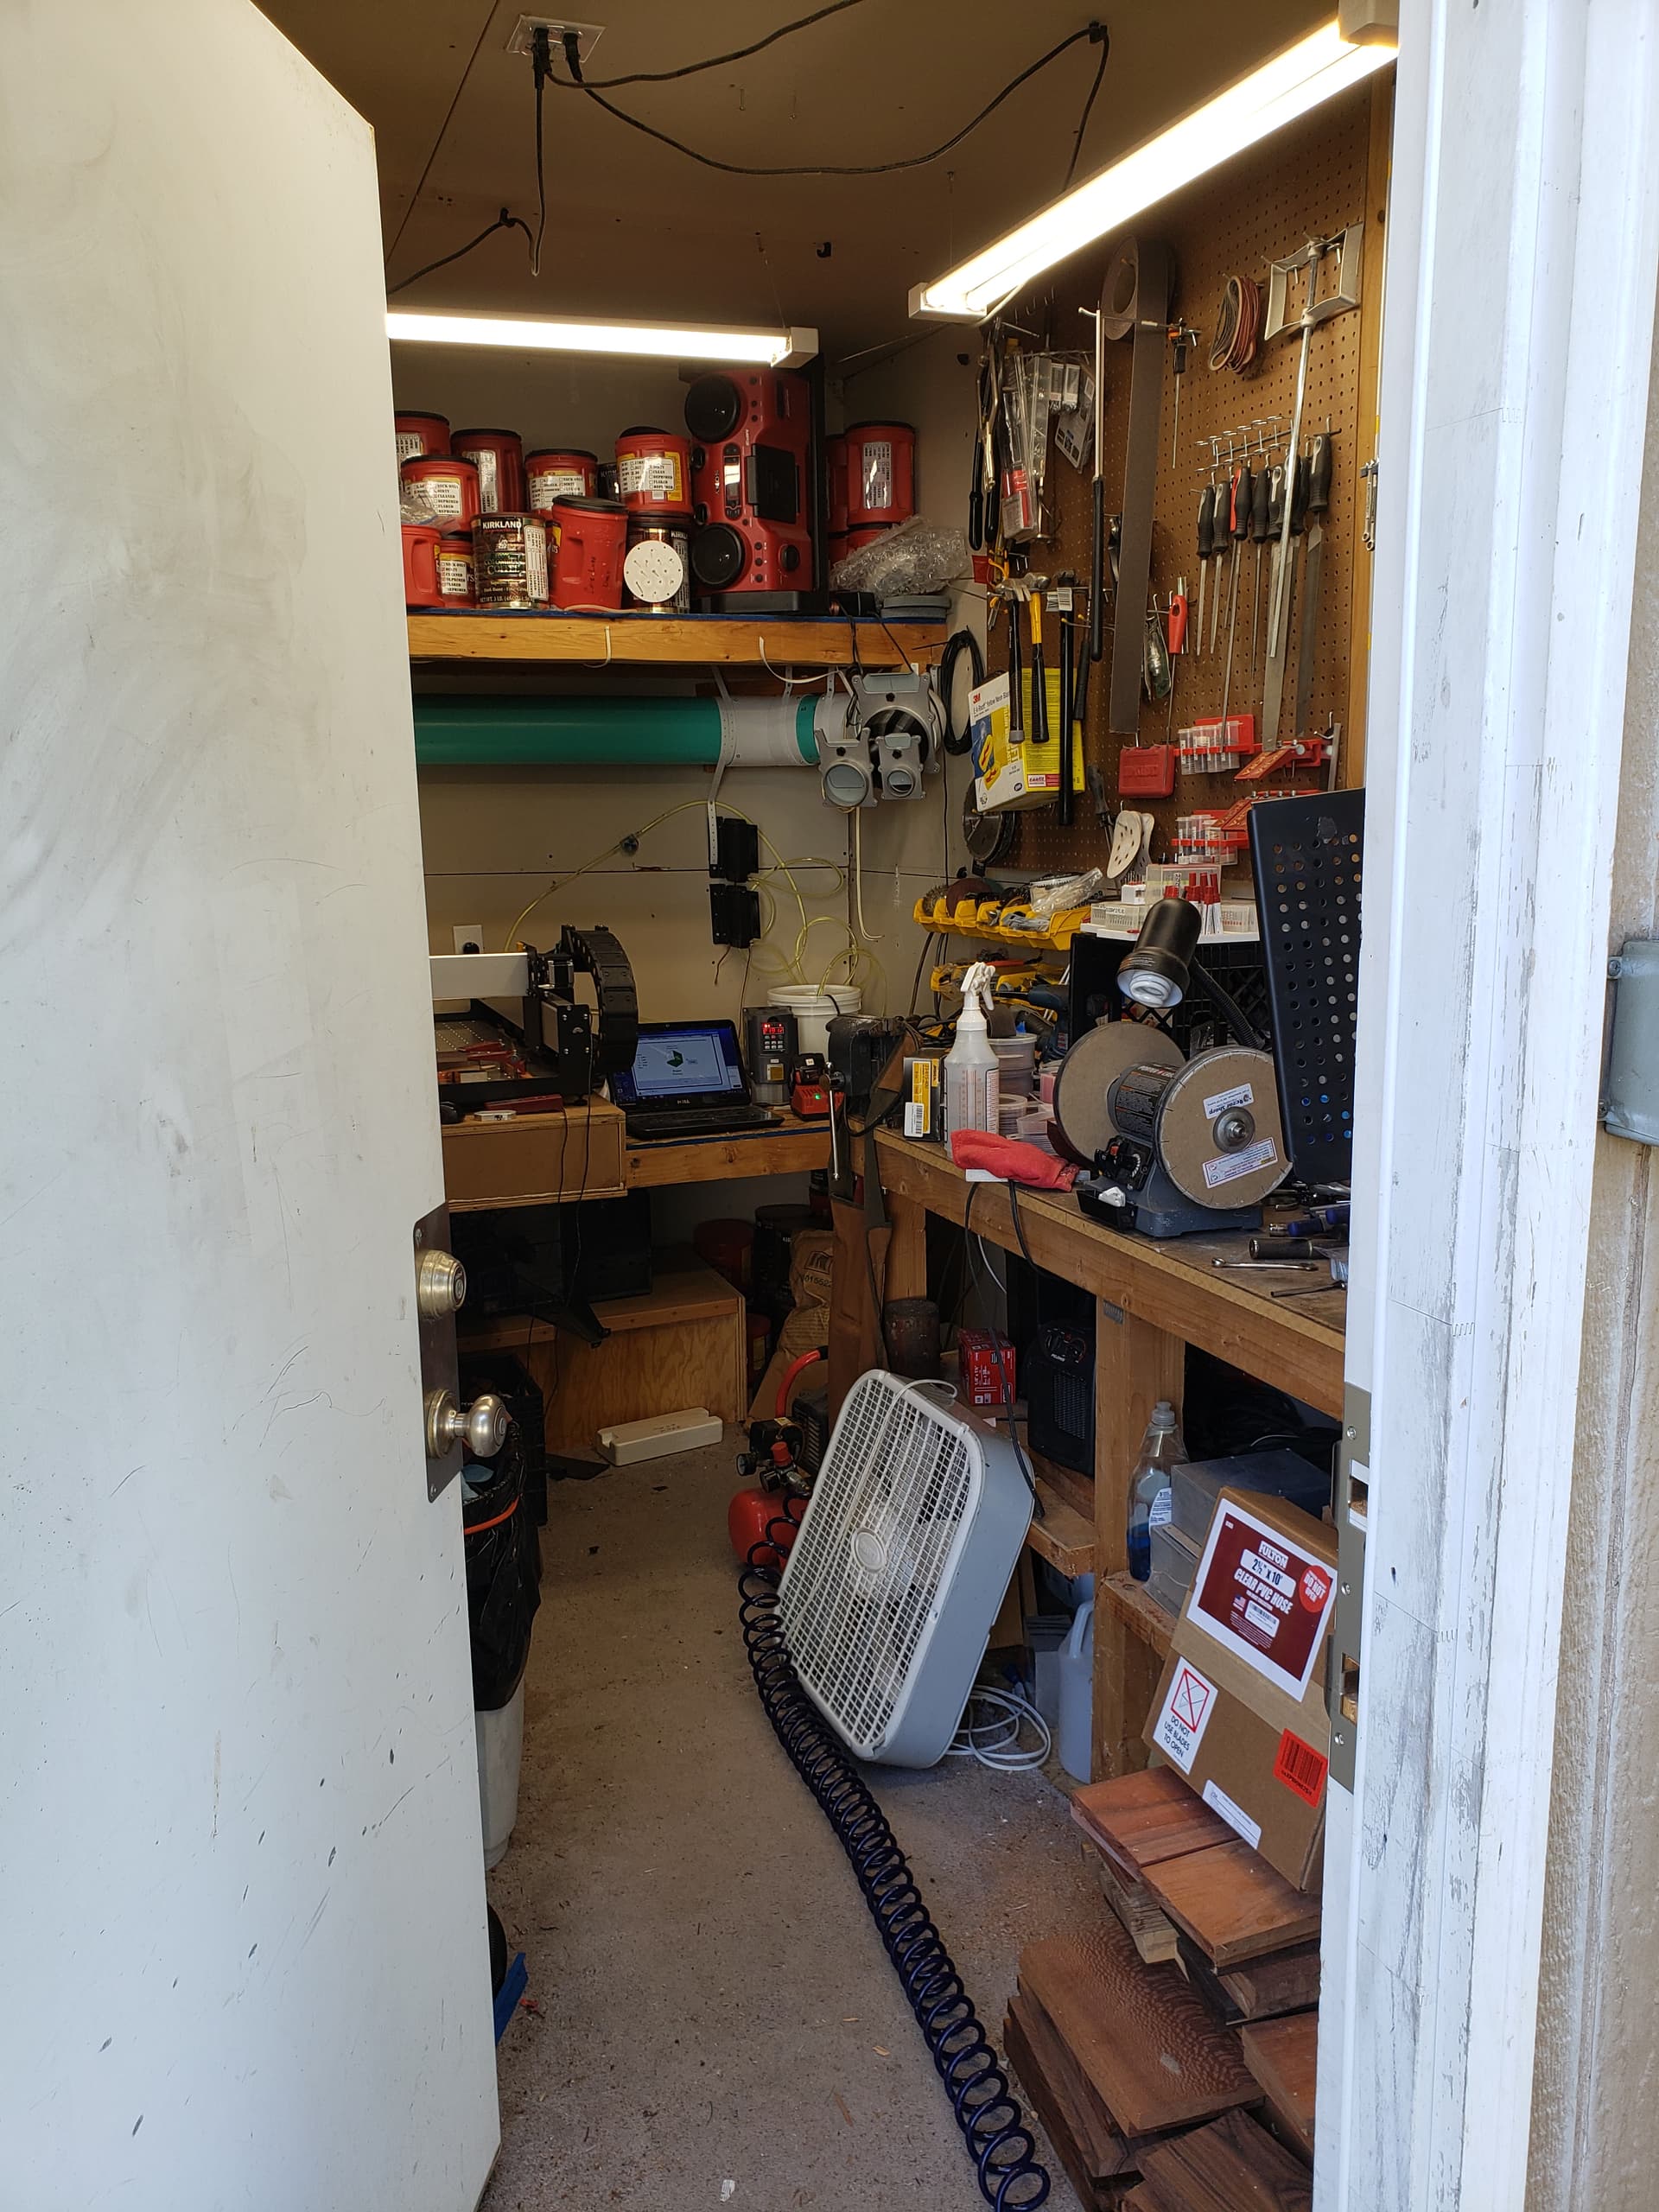
Sadly I left that shop 17 years ago and have been working out of a slightly over sized extremely over crowded 2 car garage.
Our house is on the market now though as we are looking for a place I can have a real shop again.
Well, current shed is an 8 x 12 foot shed. Bench on one side, shelving on the other. About 5 foot x 8 foot strip up the middle where I can walk. I can stand at the front right corner of my SO3 XXL, and that is about it.
My new shed - so far a concrete pad - will NOT be a 3040 sqf 180 mph wind rated, 16 foot high, 40x76 CBS with pull throughs, four 14 foot tall doors 16 feet wide (not laughing at your shop, just a bit jealous) but a 24 x 24 foot shop with 2 x 6 insulated walls 10ft high. One 36 in wide pedestrian door, and (most likely) an 8 x 8 foot roll up door. Not sure of the dimensions yet. 8 x 8 foot seems big enough for anything I can imagine as of now.
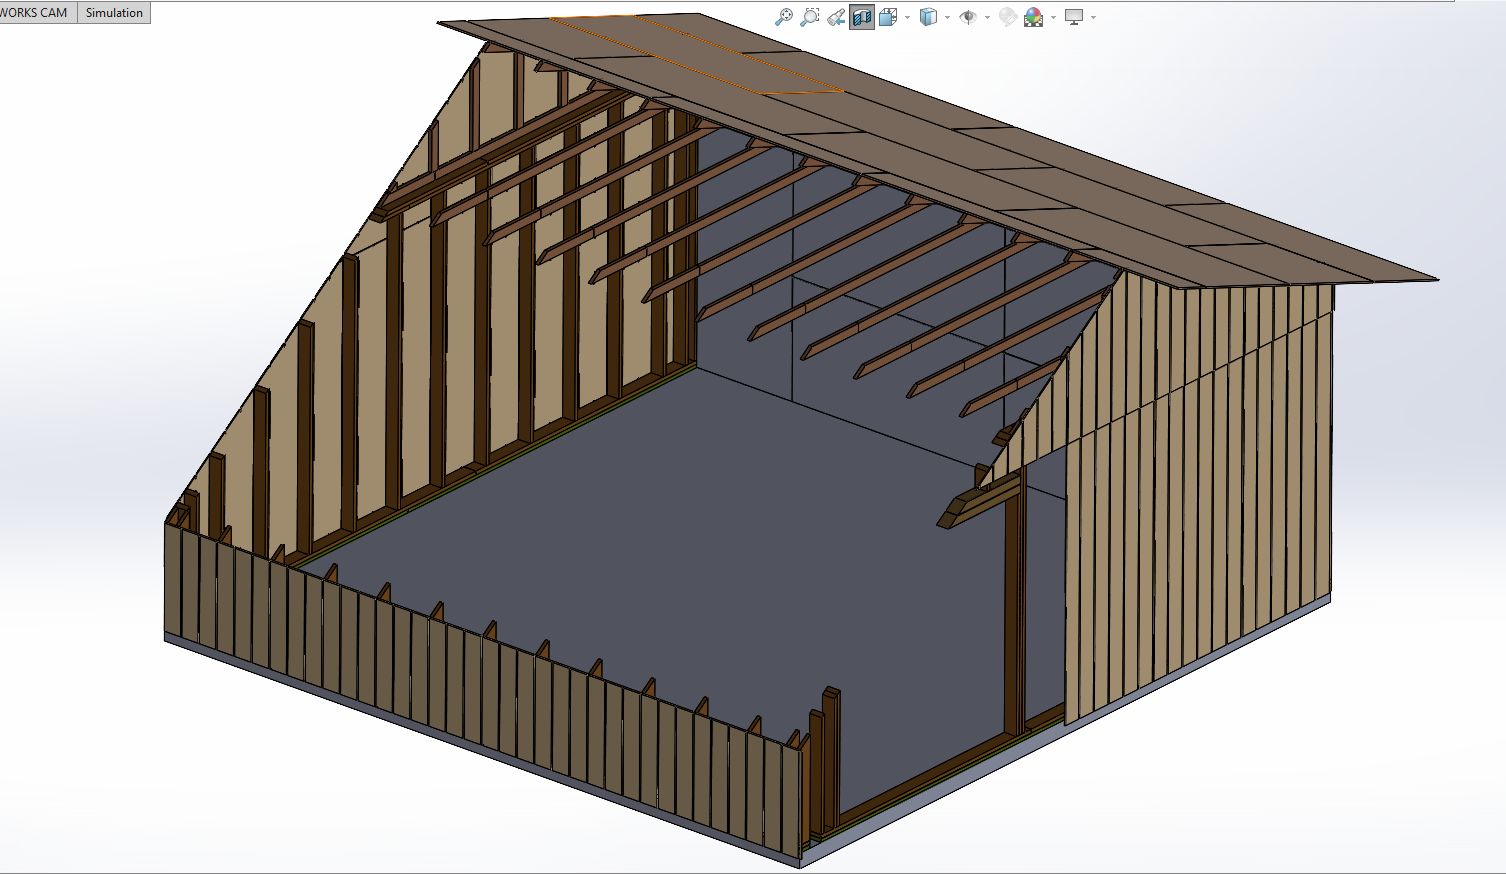
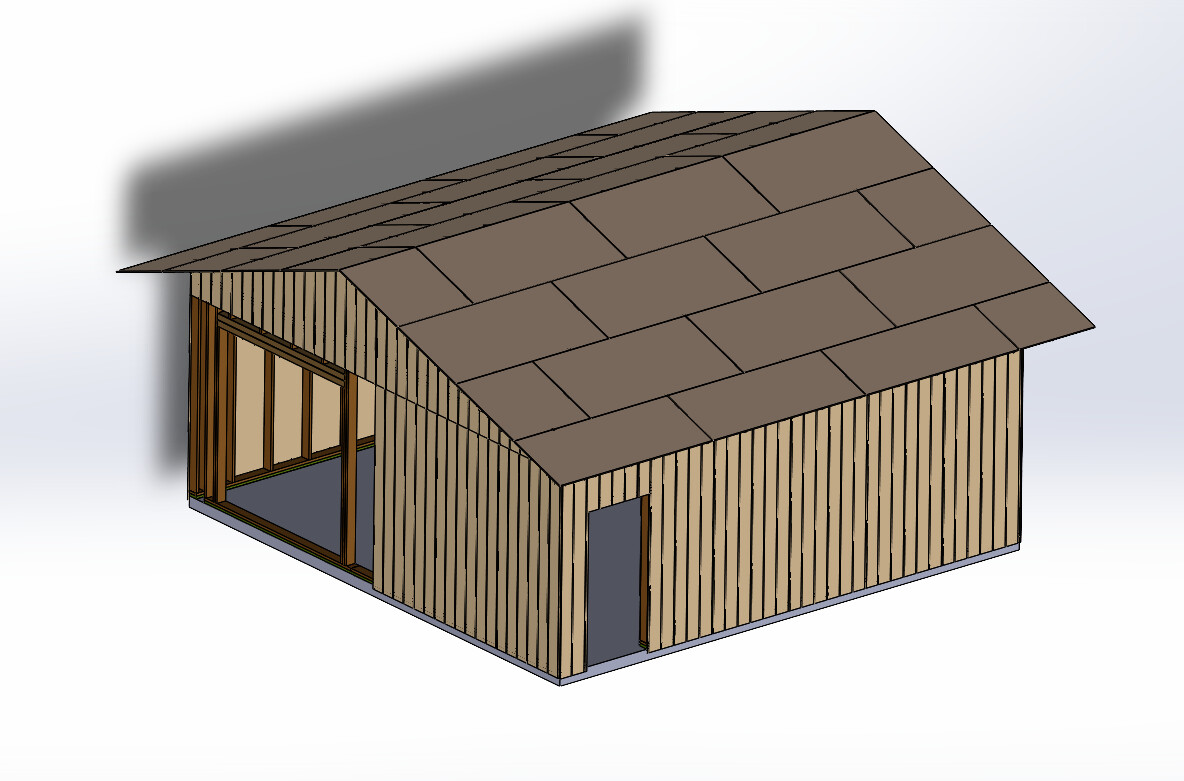
Still working on the design, but here is a couple of views of what I have so far. I originally was going to just kind of rough it up to get an idea of materials and cost, but I just keep on working on it here and there while I procrastinate drilling holes in my slab for the mud sill anchor bolts. The trusses are just there, but not designed since I just needed the angle and lengths right for now to get the shape for the roofing material. A truss company is going to design and make them using the codes appropriate for my area.
Shortly - once the last two walls are designed, I am going to start dropping in my work bench and dust collector and other tools I have or plan on getting for the shop. Just about everything will be on the heavy duty wheeled bases so I can move things around as needed, since even though I will have ~6x the work area of my current shop, it’ll get crowded fast if things are mounted to the floor. Then I can play “interior designer” and see where things can go - outlets, dust collector and run of DC pipe around the shop, bench, shelving, shaper. . .
Go with a 10x10 roll up door, the 8x8 sounds big enough until it’s not! It allows you to back in a pickup easily load or unload “stuff”. One of the best decisions I made with the shop.
Exactly. They worked great. I probably had 50 or more scattered around to provide the attachment points. My shop was a Quonset hut type structure but with straight sides instead of the arch.
I also divided the space inside inside in half with a wall and a large sliding barn door with window so people didn’t sneak up on me. One side was the shop. The other side was storage for wood and other things as well as home for the noisy stuff like the air compressor and the dust extractor. I didn’t AC that side.
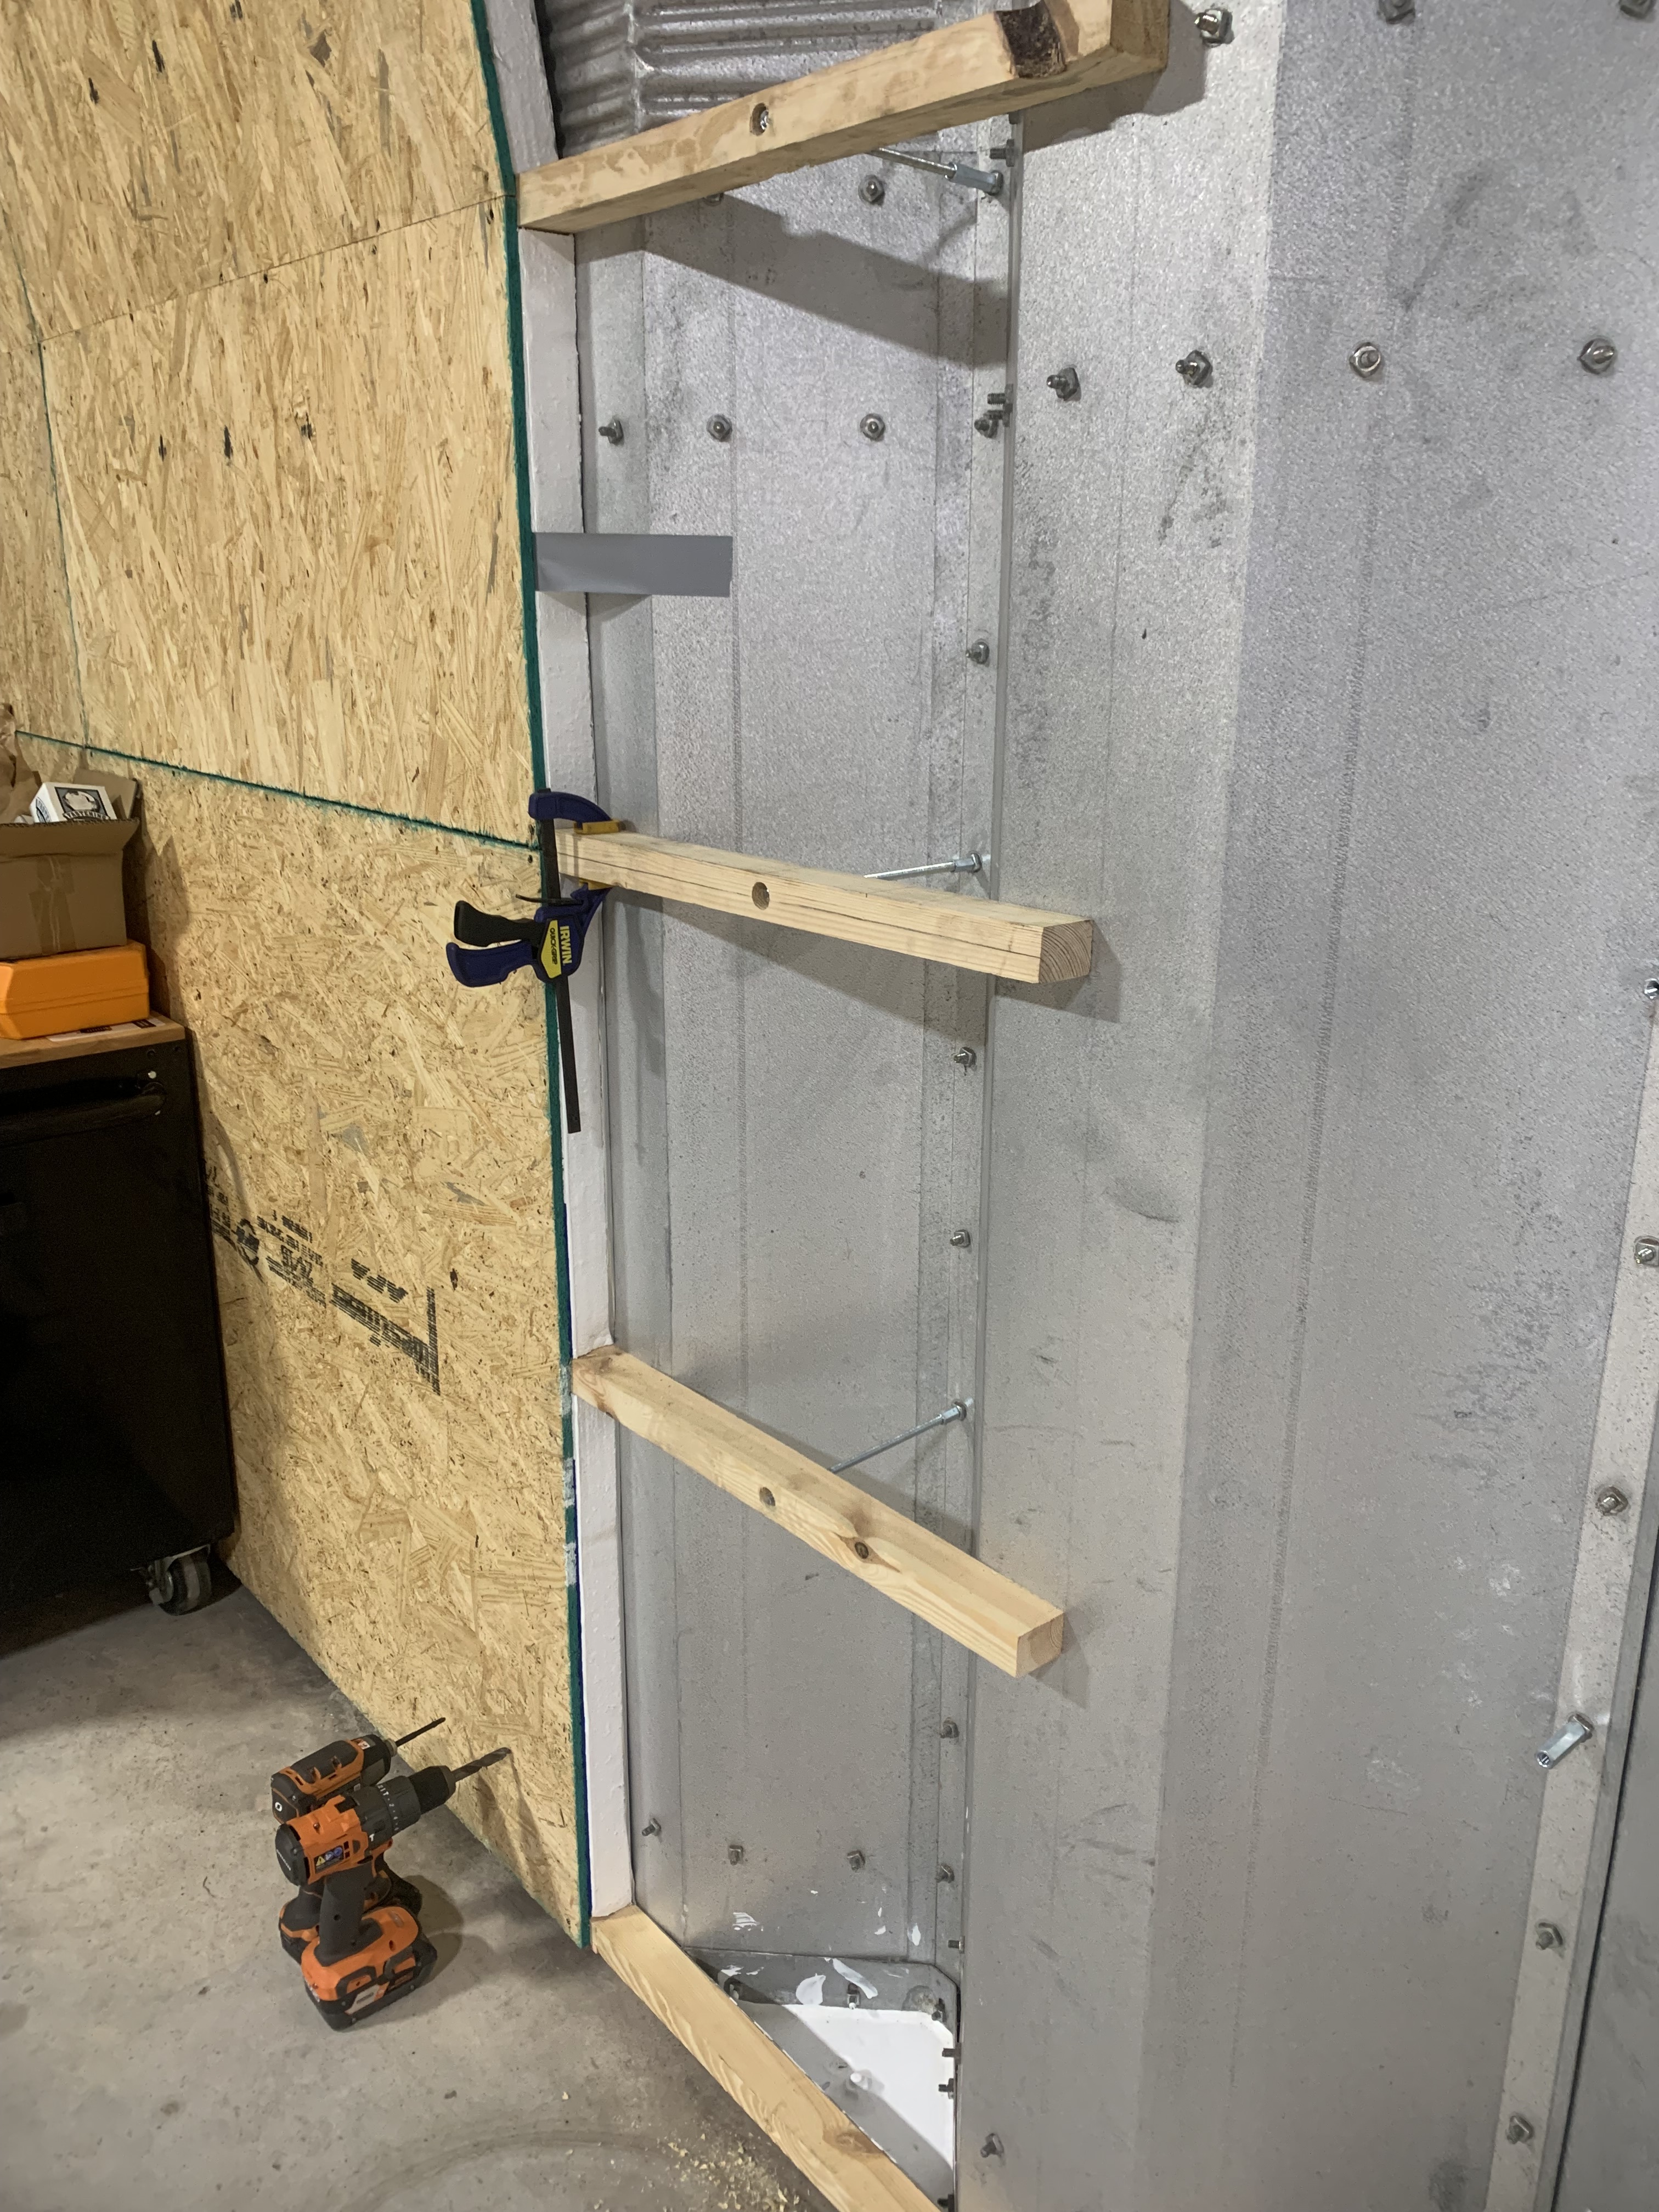
Here is my version, I skipped the spray in foam due to being cost prohibitive in my area. Ridiculous what the quote was from several different companies, thats another story…. Especially for the final R value it provided.
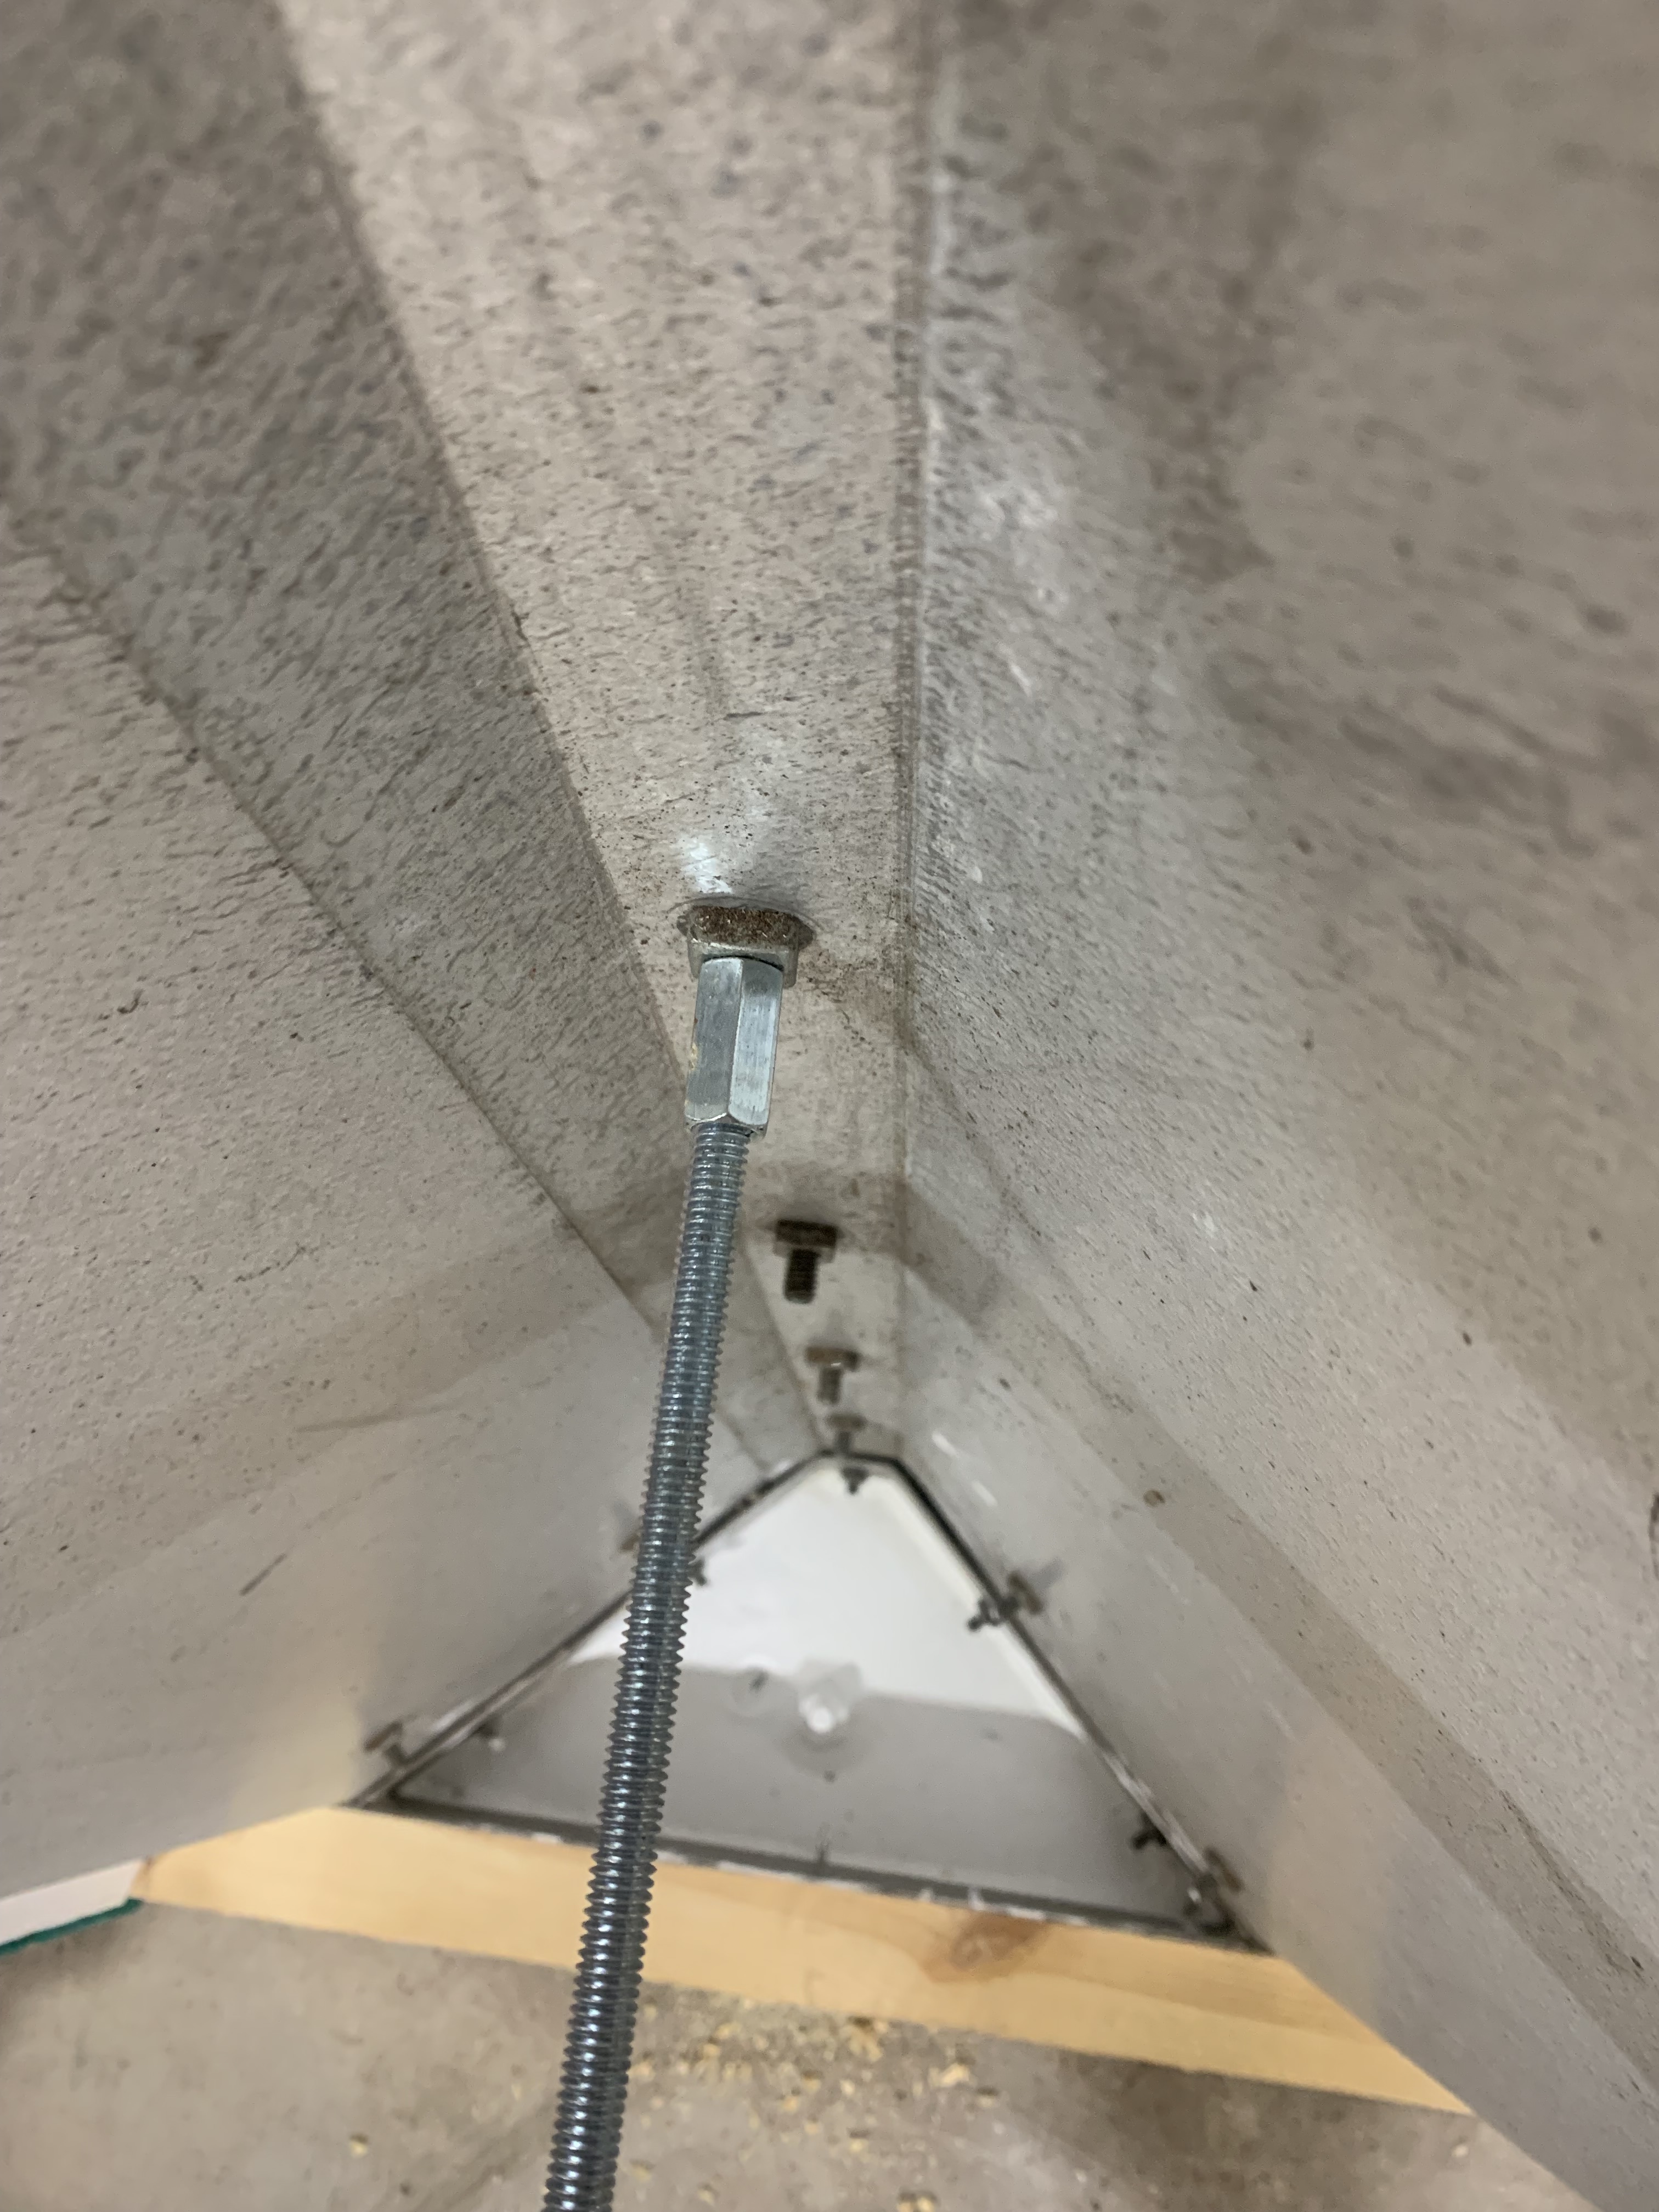
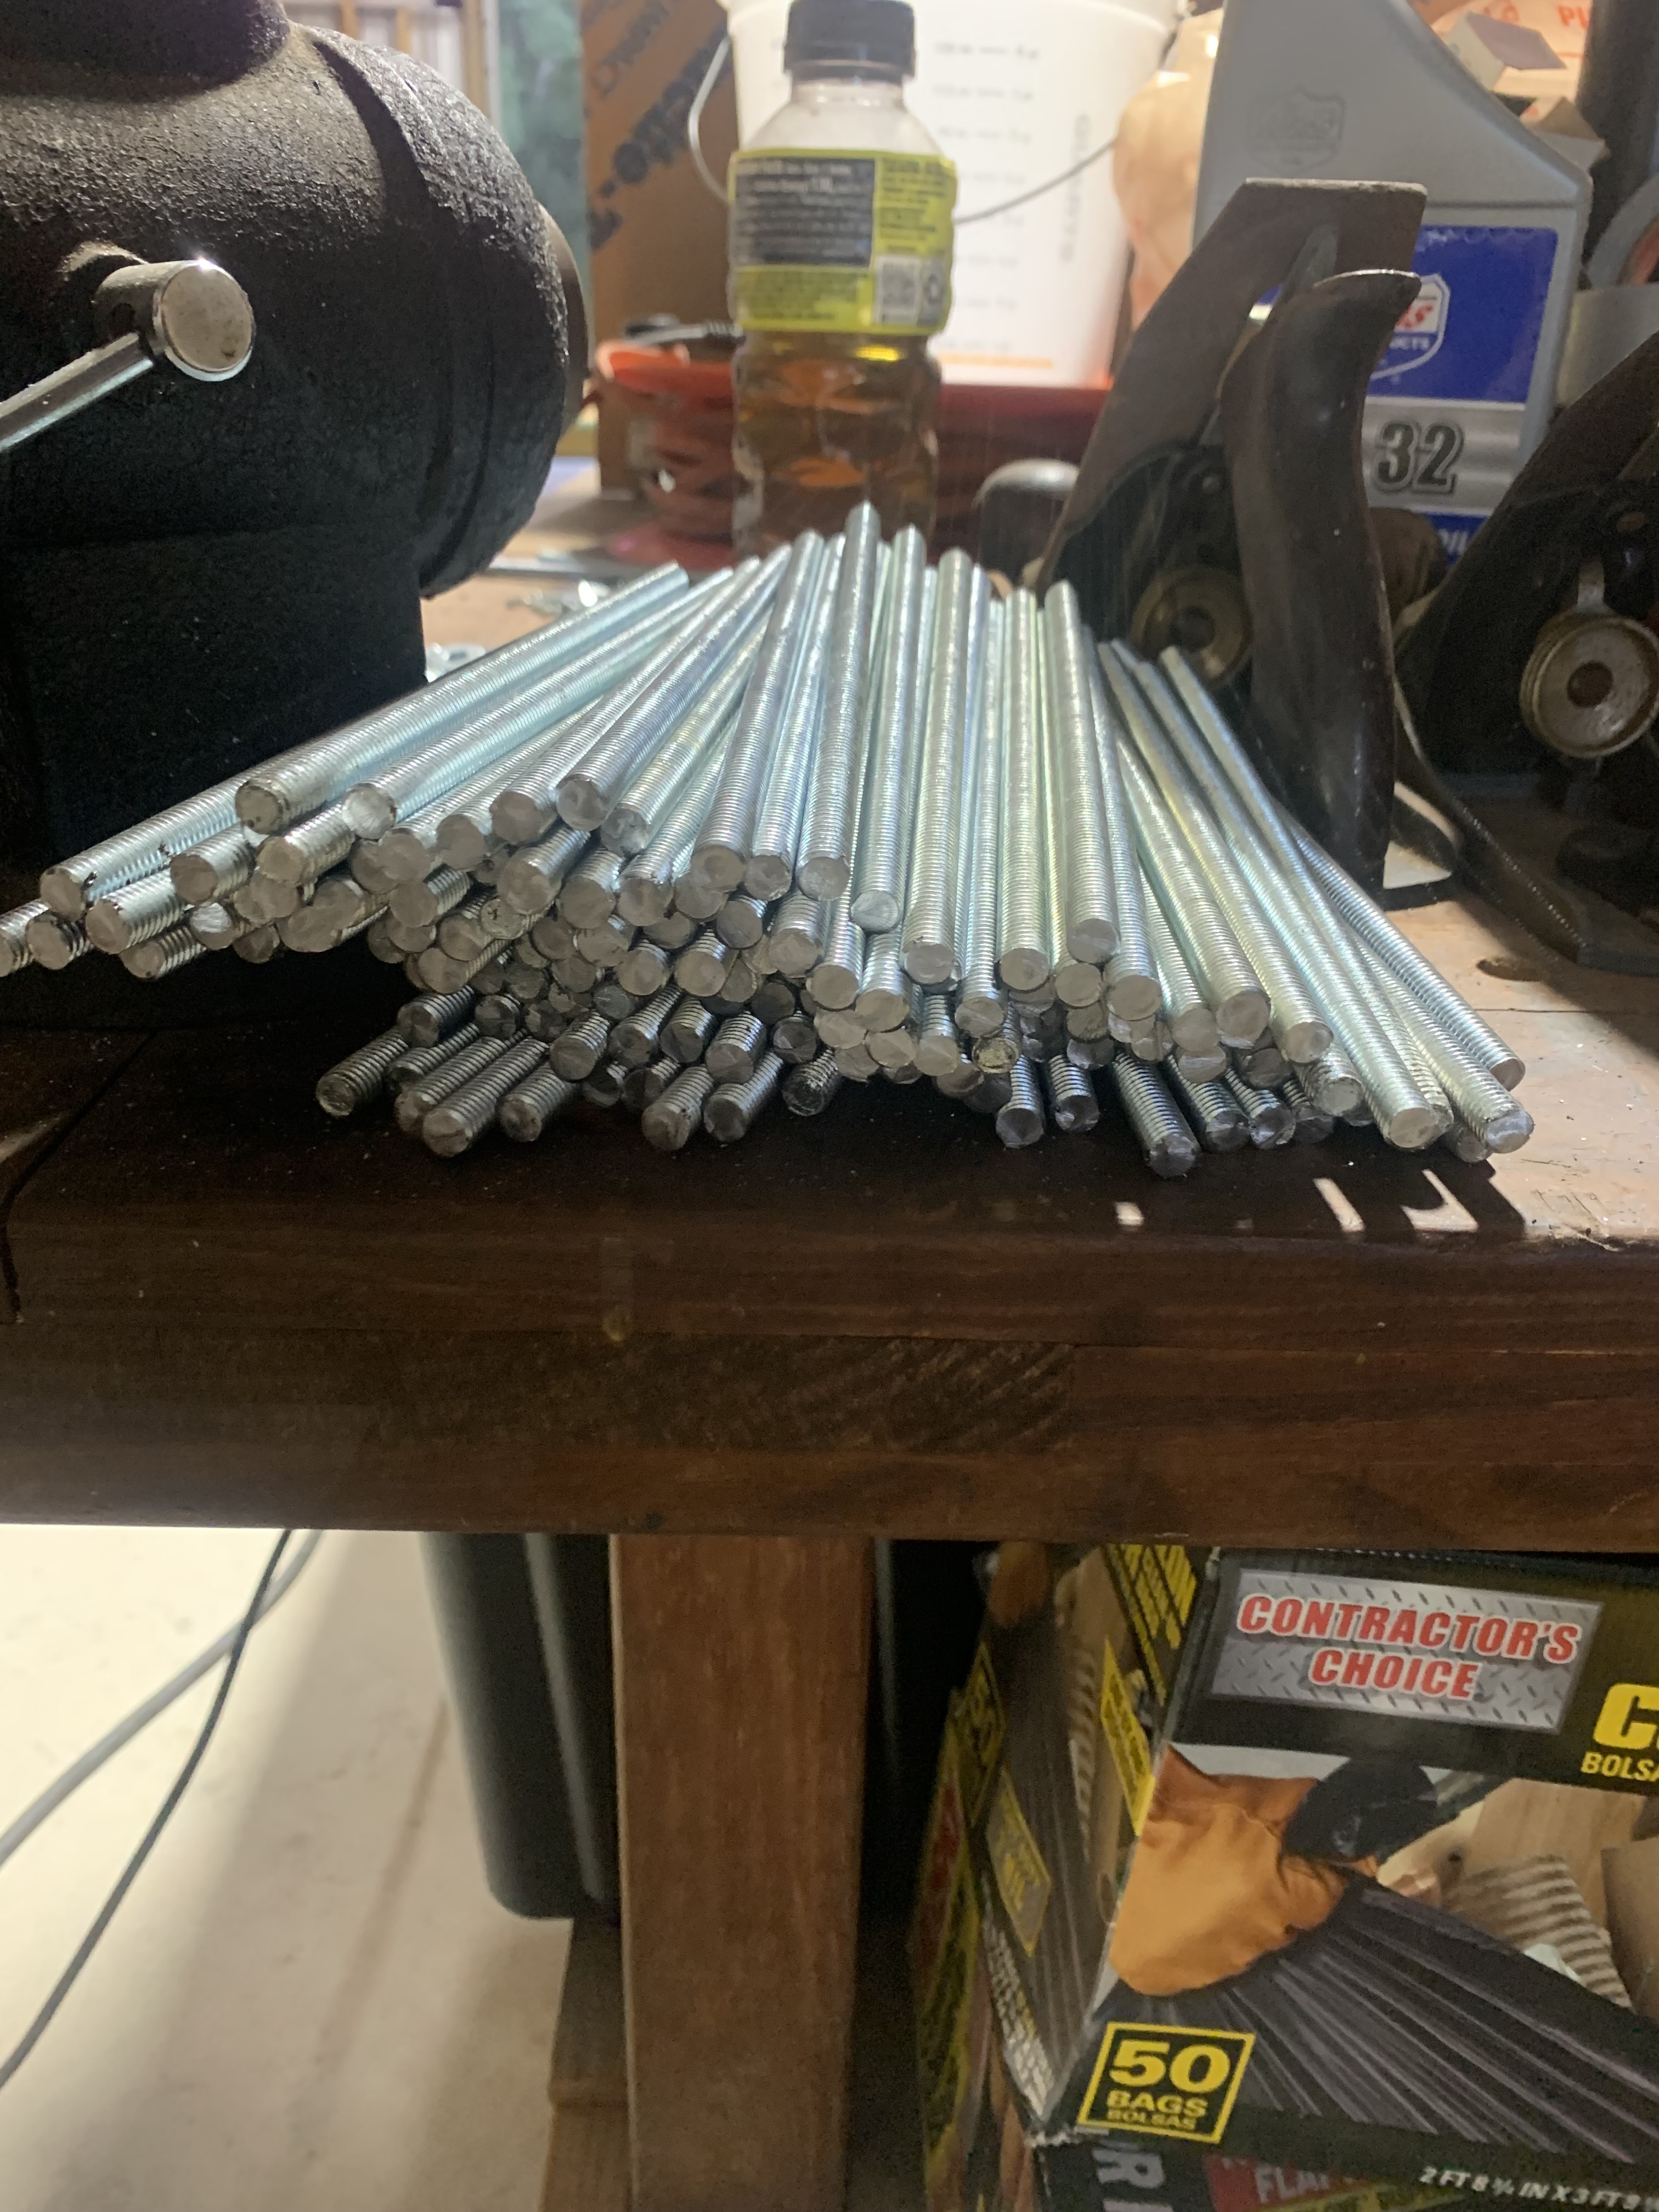
I went another route, took longer but once I worked out the work flow it was manageable with just 2 people. 5/16th coupling nuts and 6’ lengths of 5/16th all thread cut to size worked very well.
That looks exactly like the same metal building I used. One advantage of the spray foam was that it helped seal up any leaks that were due to poorly tightening some of the 3 trillion bolts. That was 25 years ago. I probably couldn’t afford it now
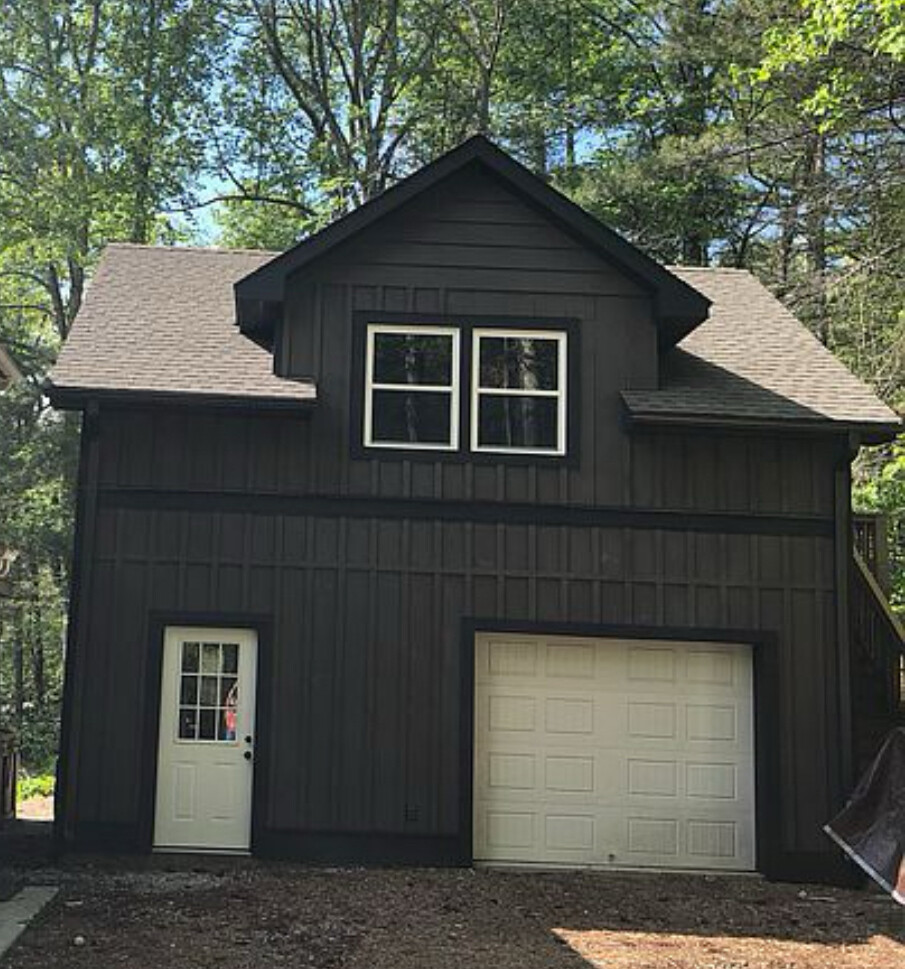
I used wood framing and HardiBoard on the front and back of the shop to make it look a little prettier. I think I had a 20’ wide 14’ tall rollup door which was on the side of the building that didn’t have AC.
I ran electrical conduit before the slab was poured so no cords in the way. Next time I will run the dust collection that way as well.
EDIT:
I like the way you braced the strips across the metal. I put my coupling nuts on the portion of the metal closer to the inside and attached 2x4s to them to support the OSB. In your way there is probably more structural support.
So…I started that way too. Same size and everything. But I said to myself why not just go up and get some more space. Eventually, I went crazy and added a dormer in the front and a shed roof out back. There’s days that I wish I had left it as a shop like you are planning. Time money and effort involved in that upstairs part is more than what I really want to take on to finish out.
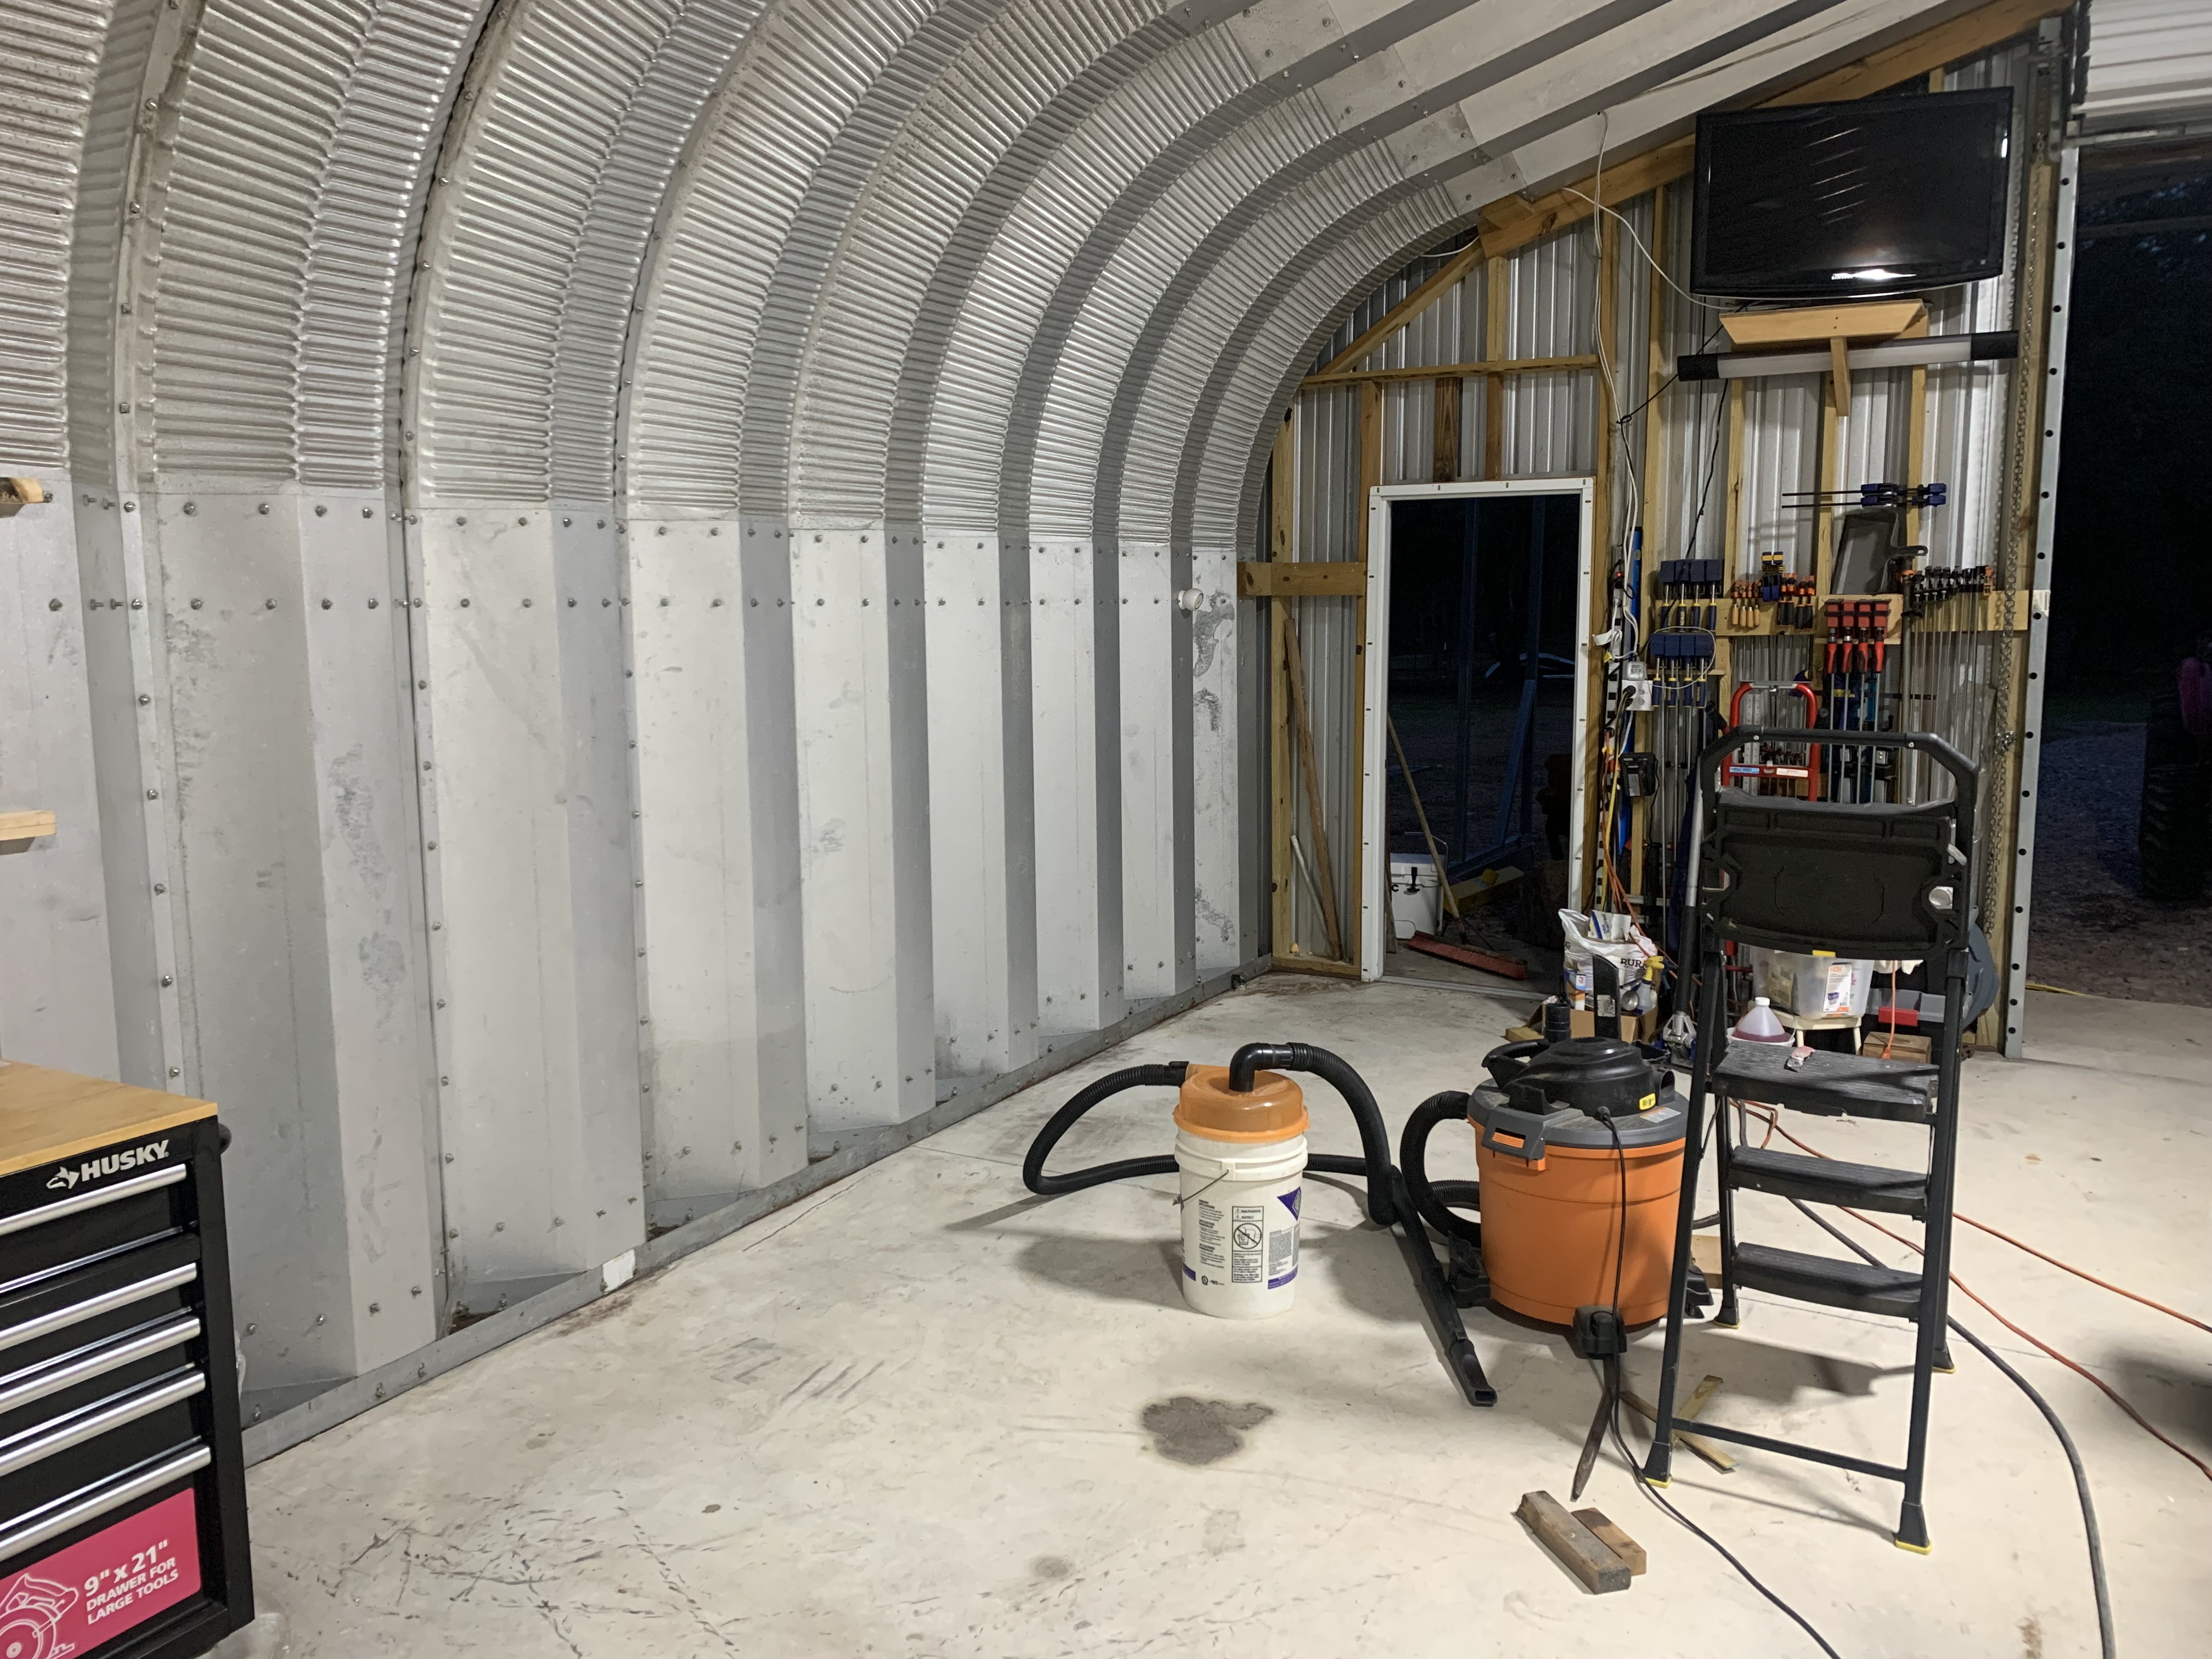
I will tell you the is was the final method chosen to install insulation. This allowed me to use the walls for hanging cabinets, shelves or racks of sorts for storage and organization. This very sturdy, I cut down 2x6’s at 2” width. This left me the 1.5” in height to attach the OSB with 3/4” between sheets os OSB to fasten with and the 2” width was for the 2” insulation. Worked very well. Now I just need to finish the other half of the building, had to stop for several projects. And now its a tad toasty for working the the day on this.
I picked up this 30x36x14’ off of Craigslist, it was new on a pallet and could not be used as intended when purchased. It did not have the end panels. I had to make them my self, Used 6”x6” PT posts to build out the doorway framing for a 10x10 rollup and 2x6’s for the rest of the wall frame. TrexDeck 1x6” was used to set the wall frame on and then anchors thru them into the slab. This kept any wood off the slab even though it was all PT lumber. Just used standard 36” wide roofing tin for the sheathing,
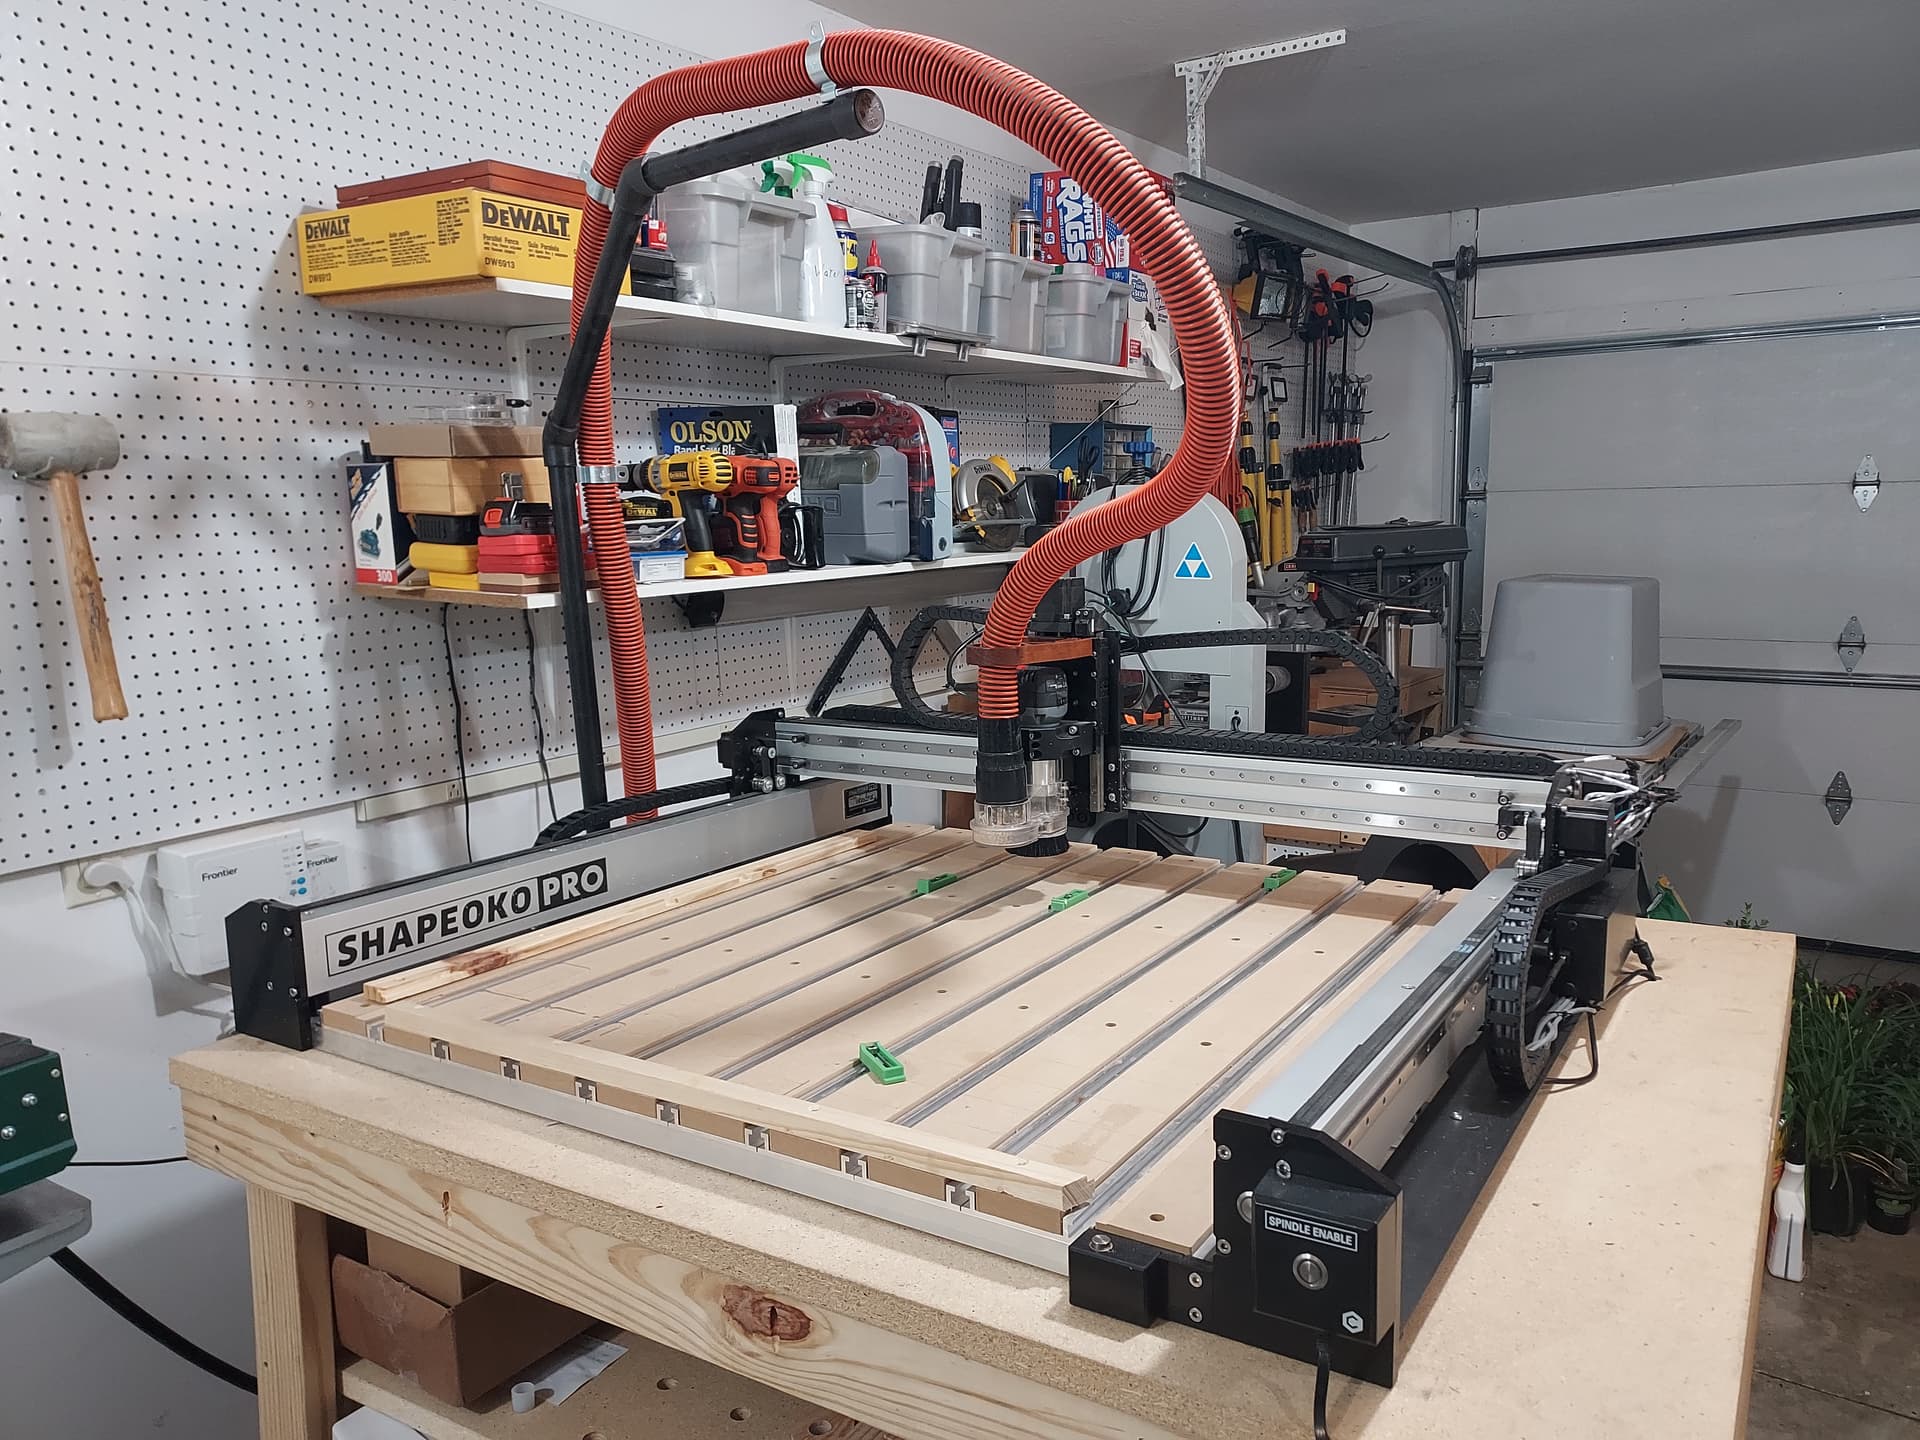
Along that one wall is a sander, planner, band saw, table saw, drill press, laser, cnc, jointer, tenon press plus a few other power tool items on flip carts I don’t remember at this time.