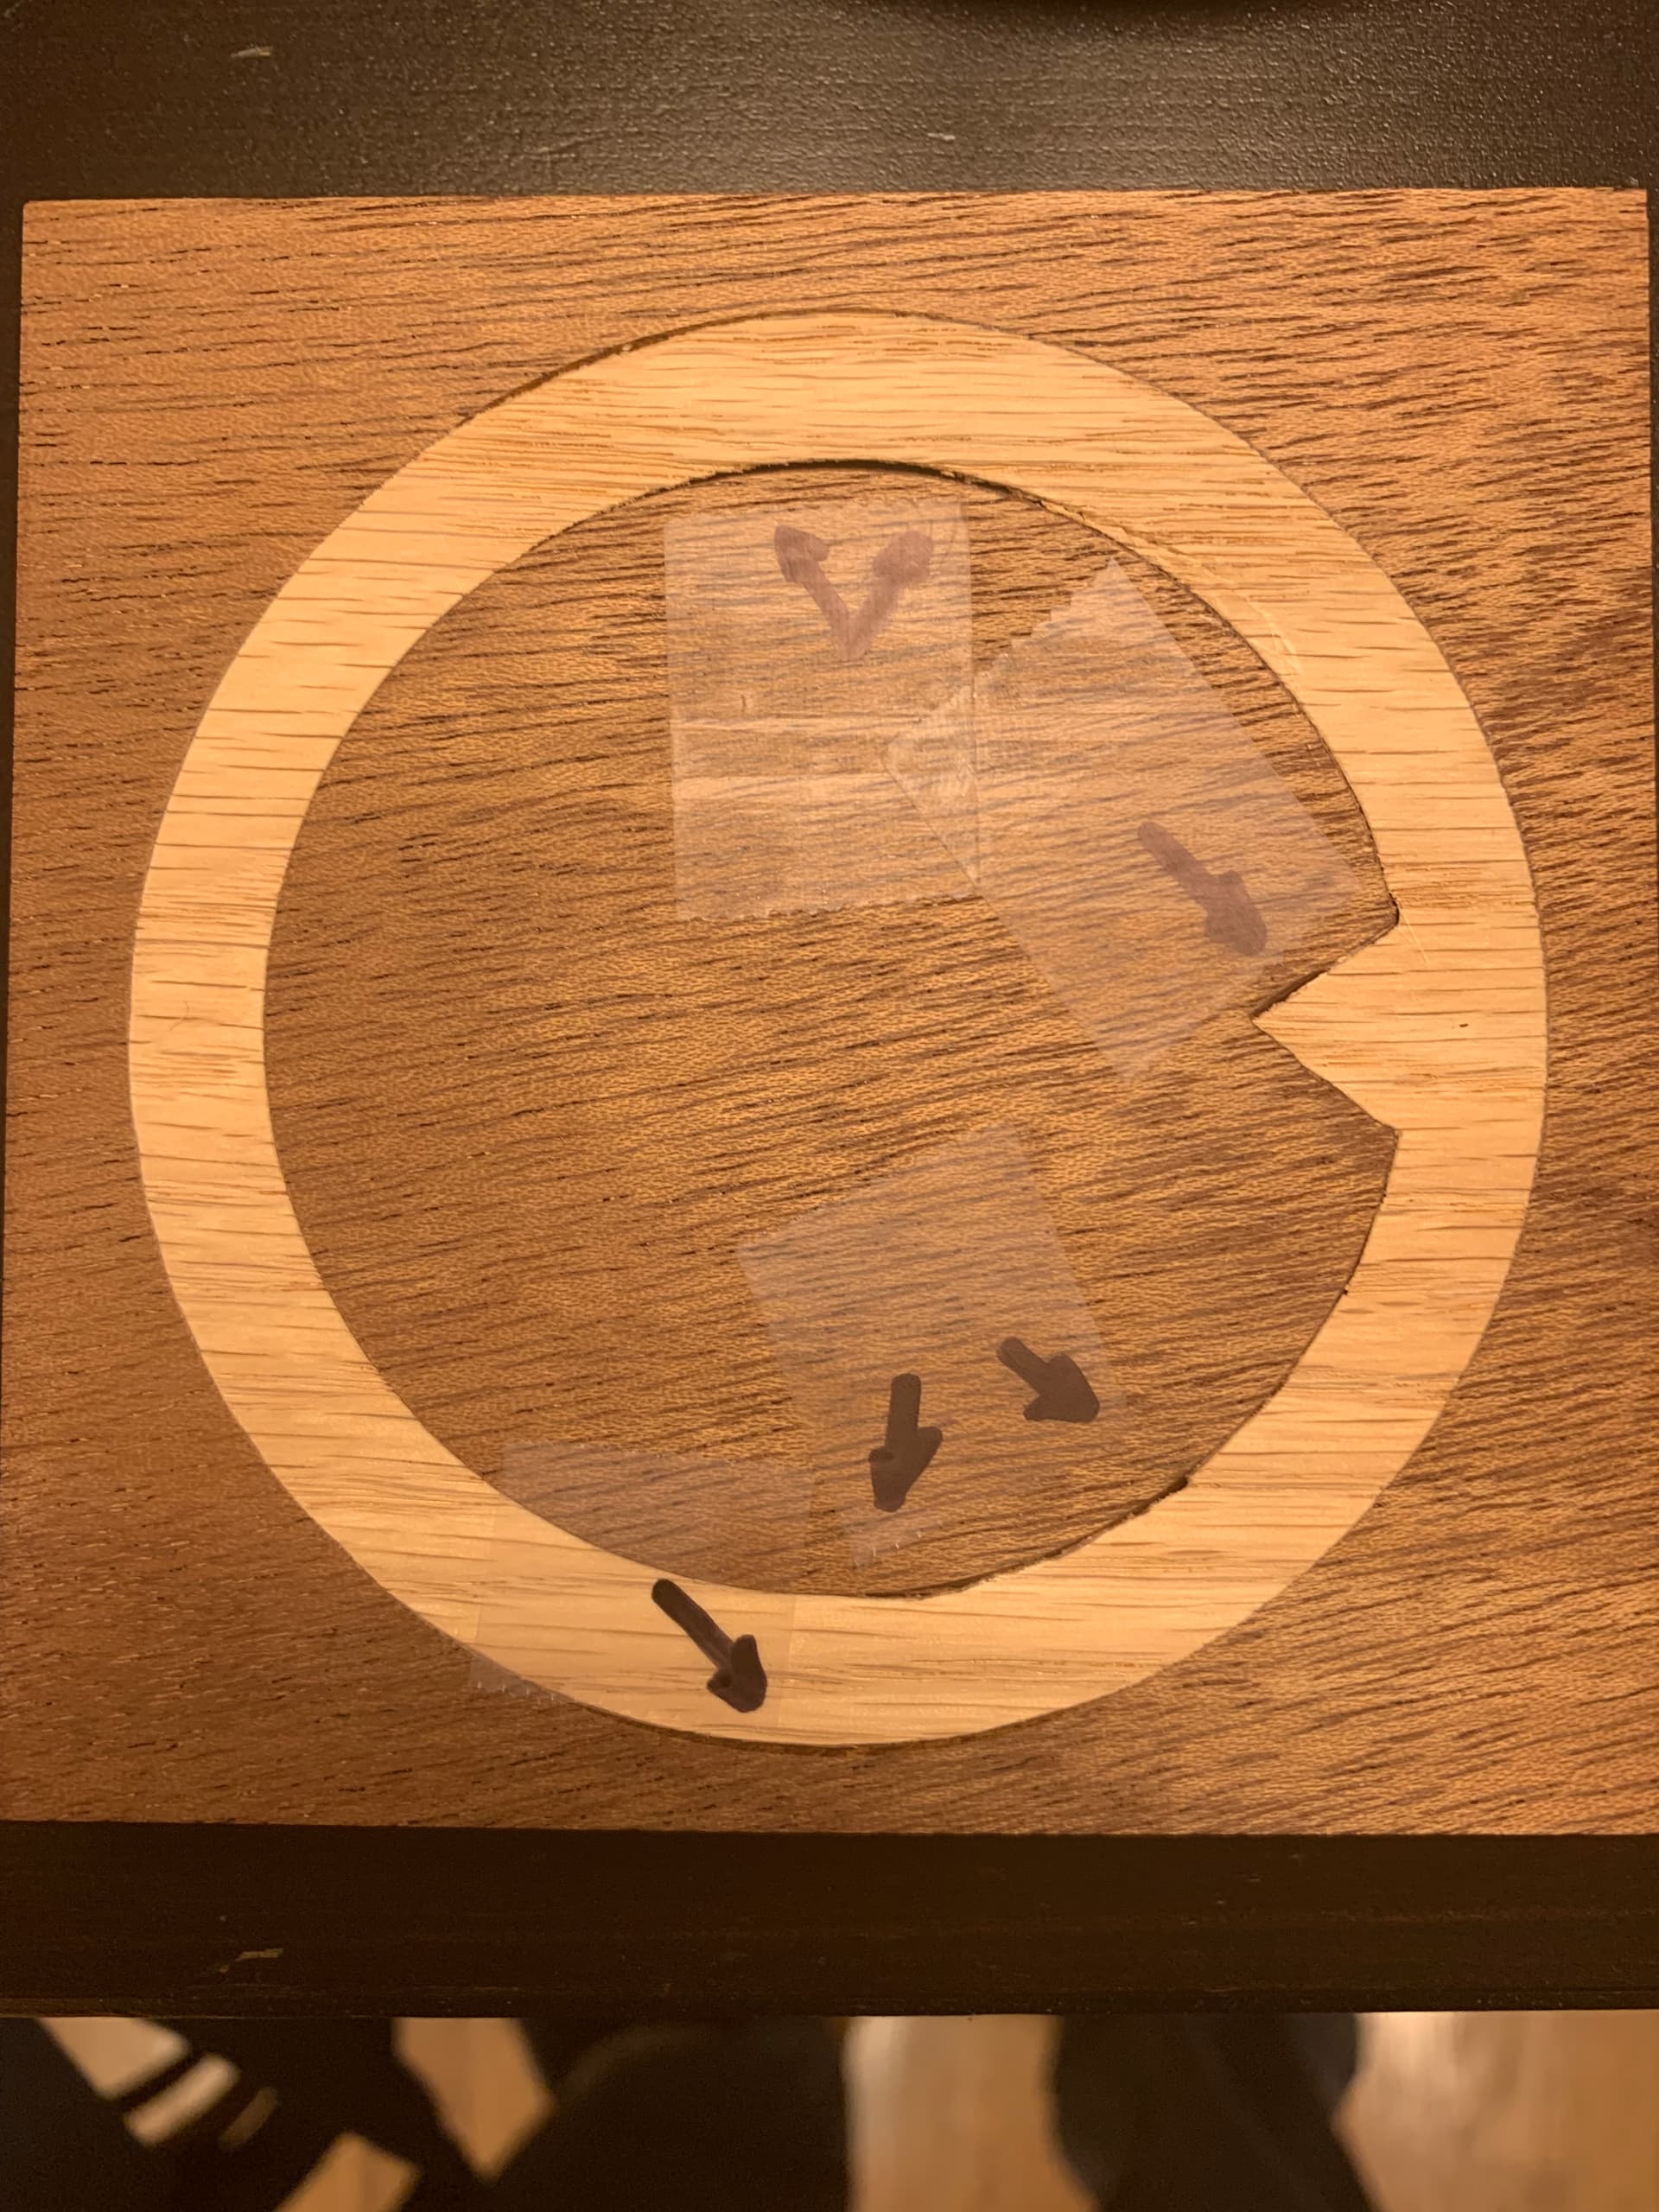
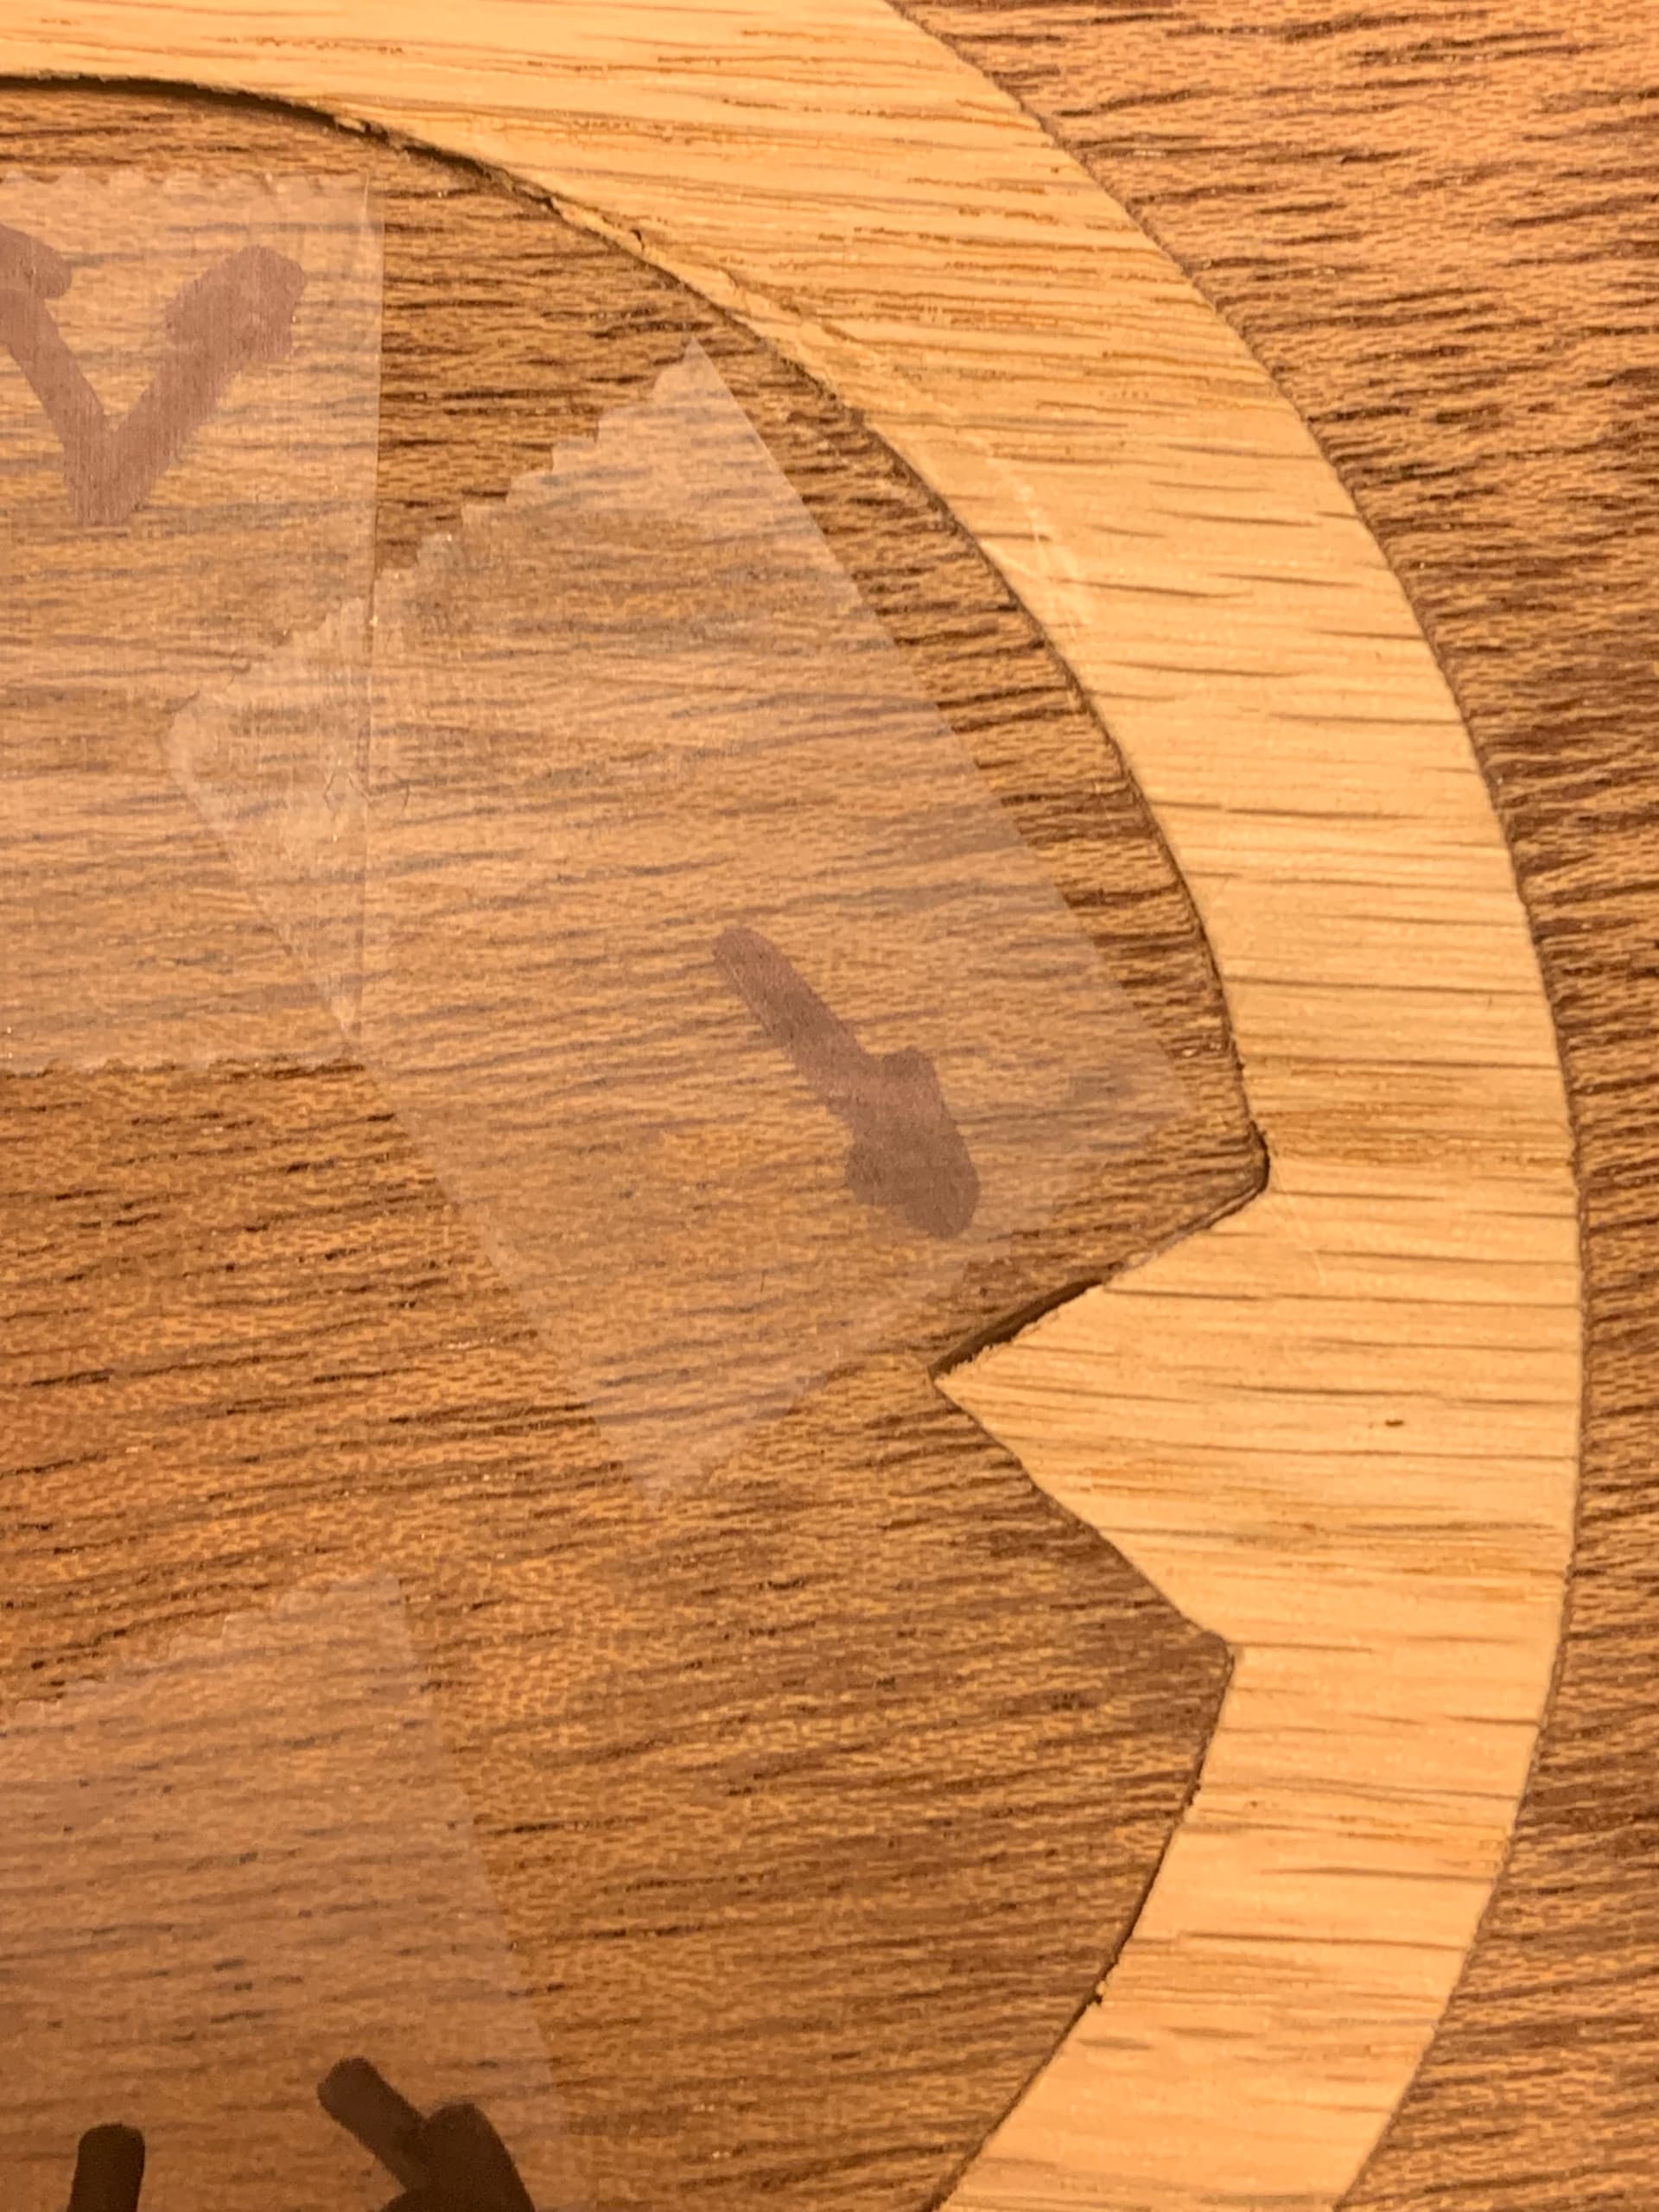
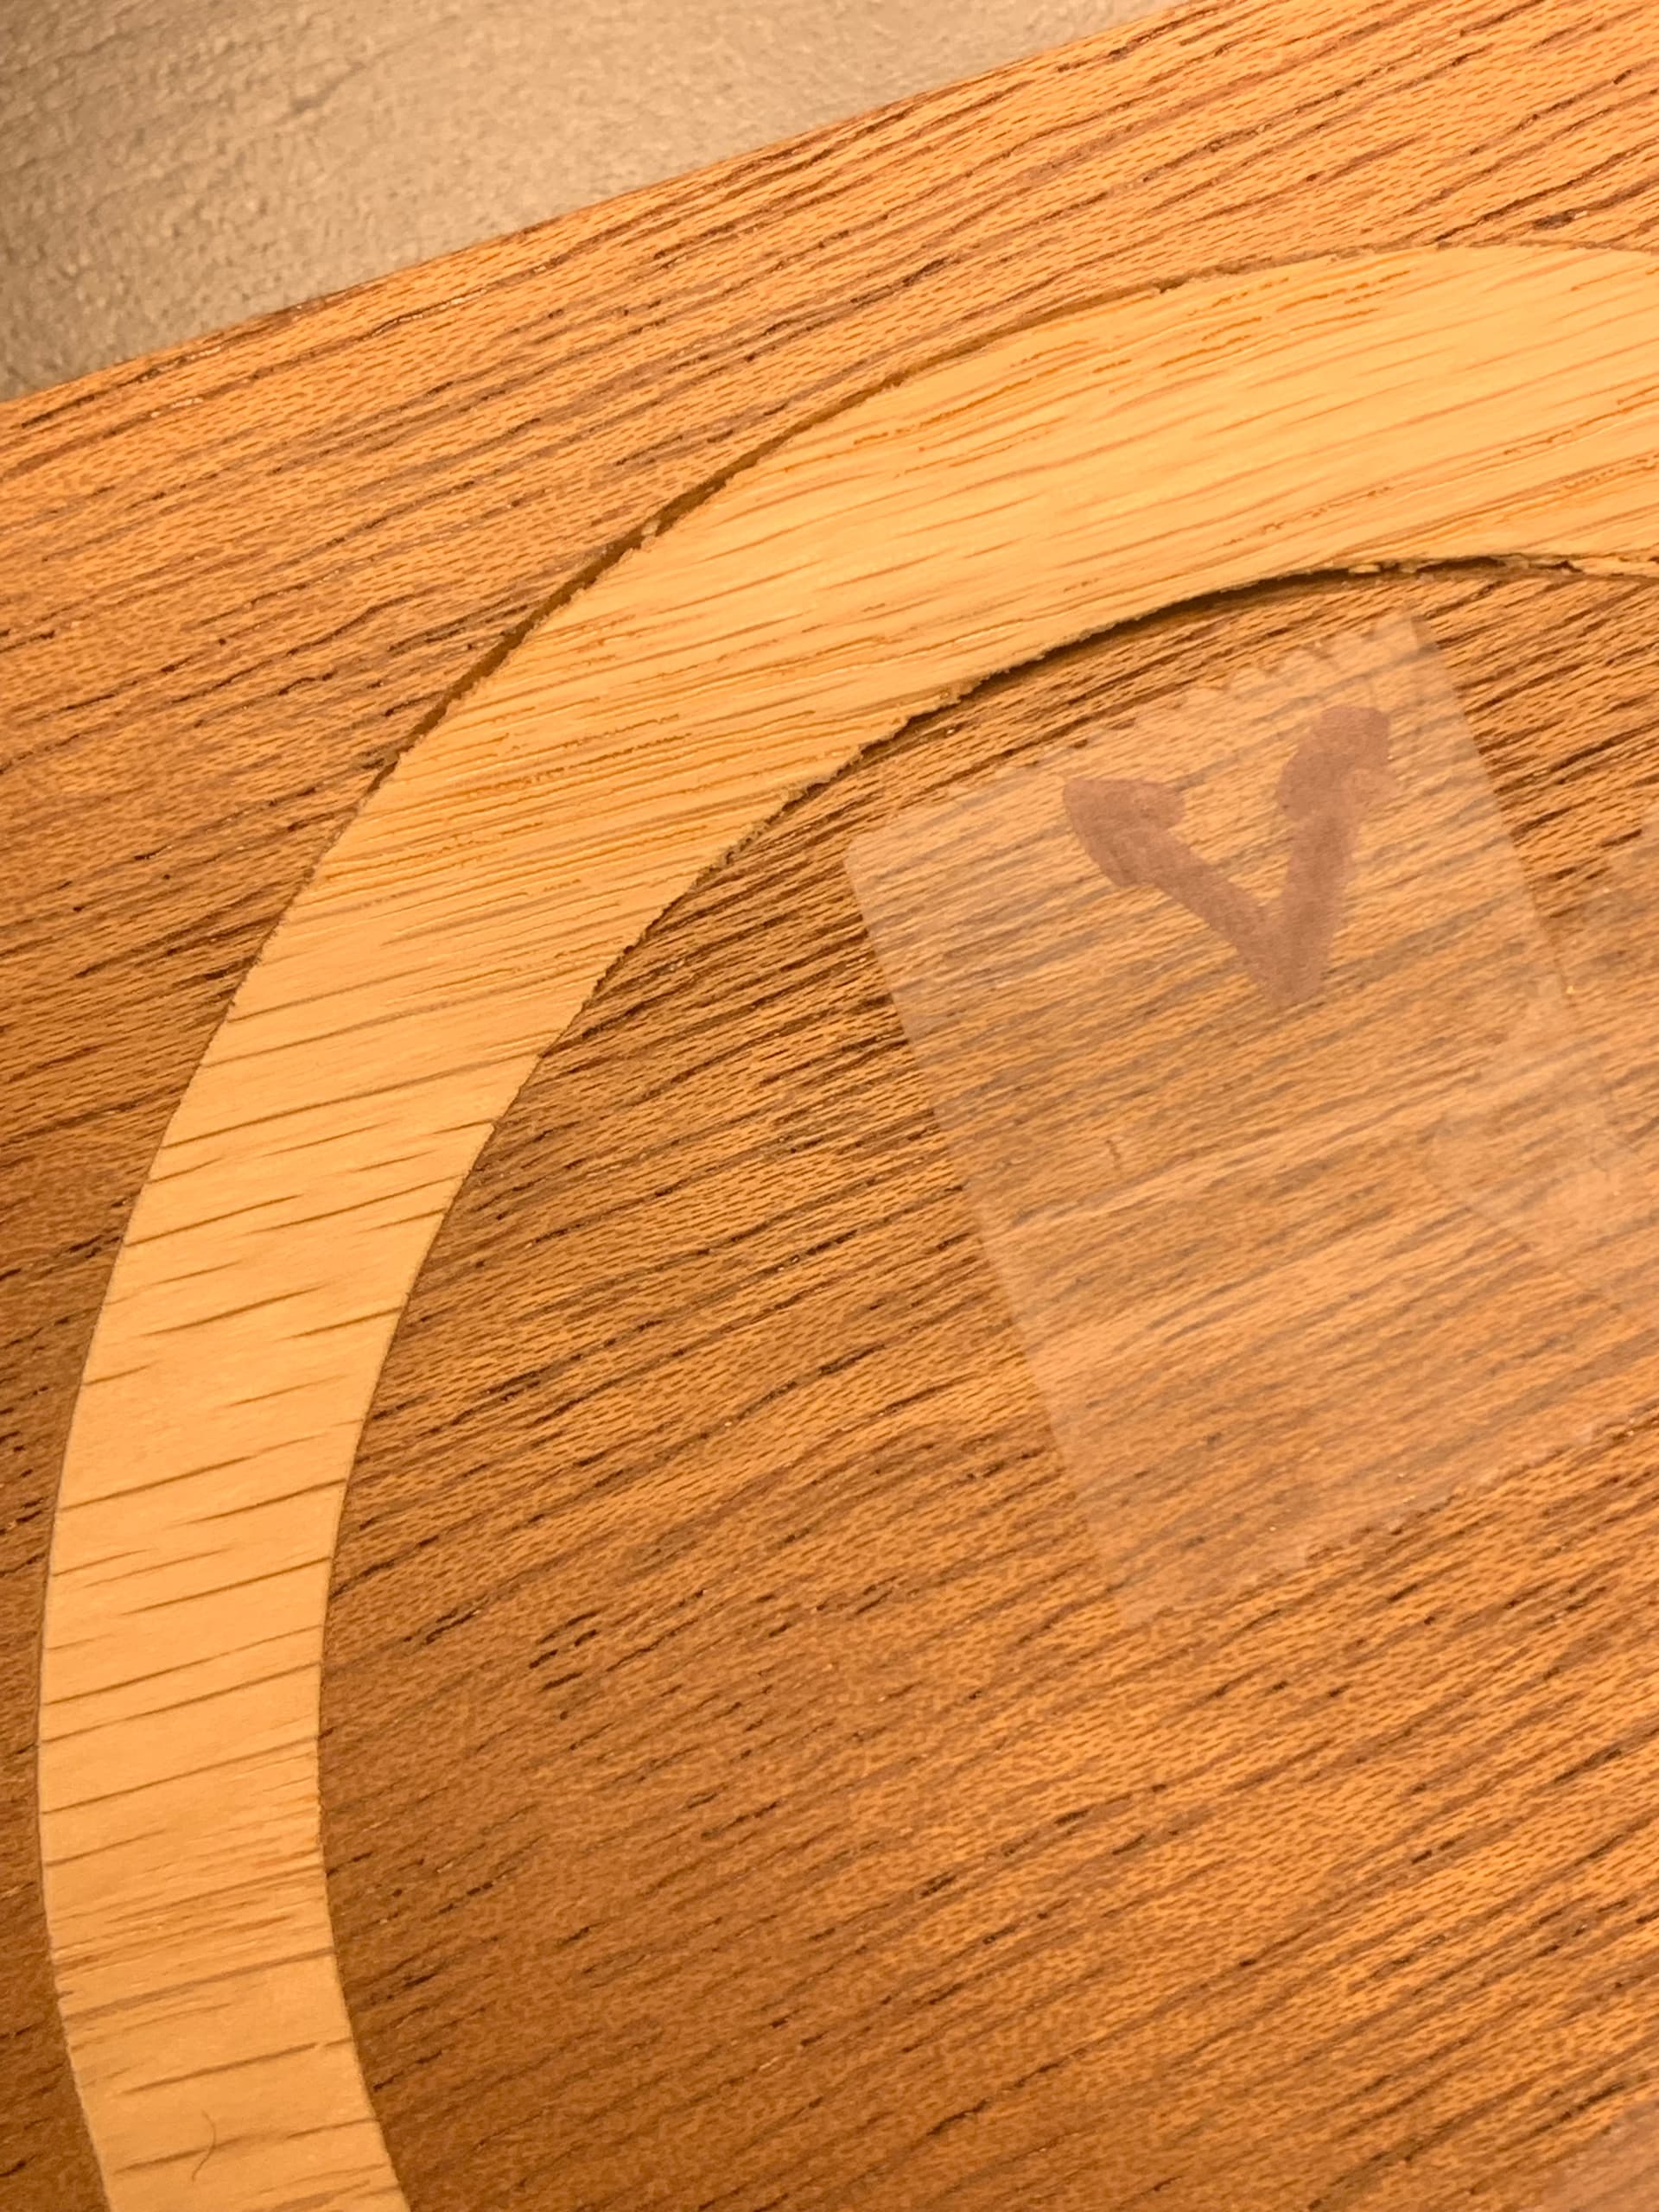
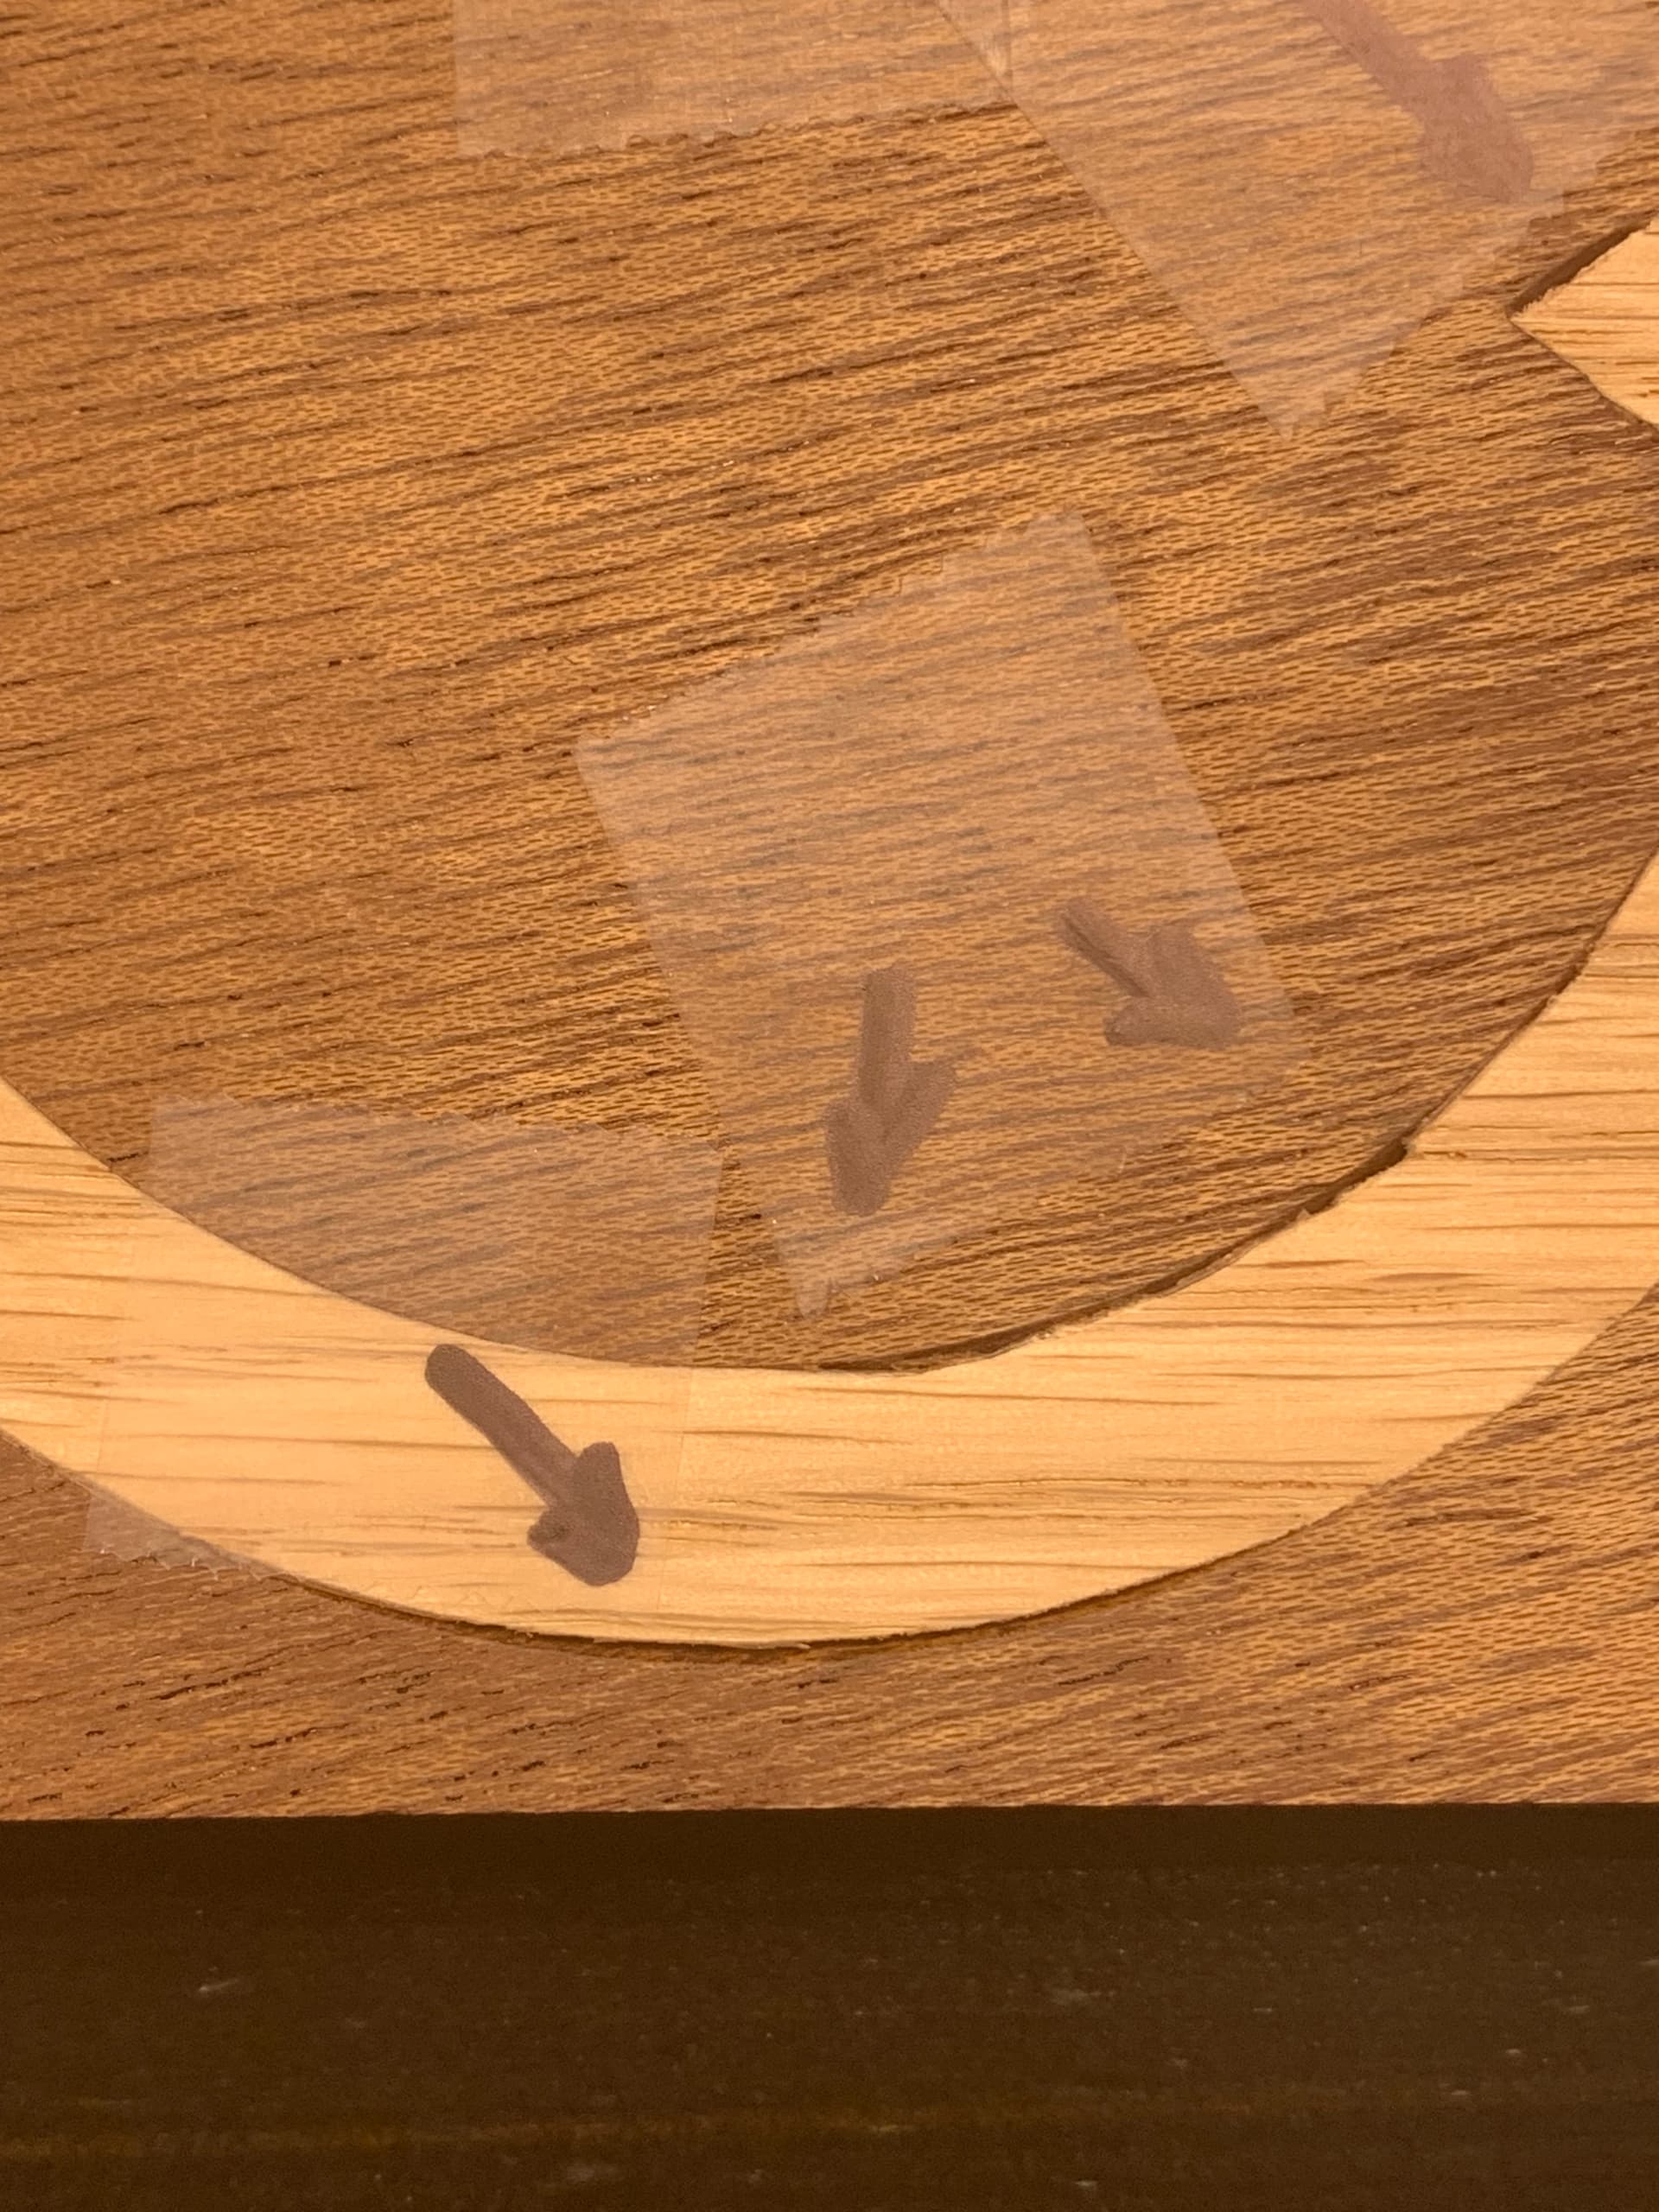
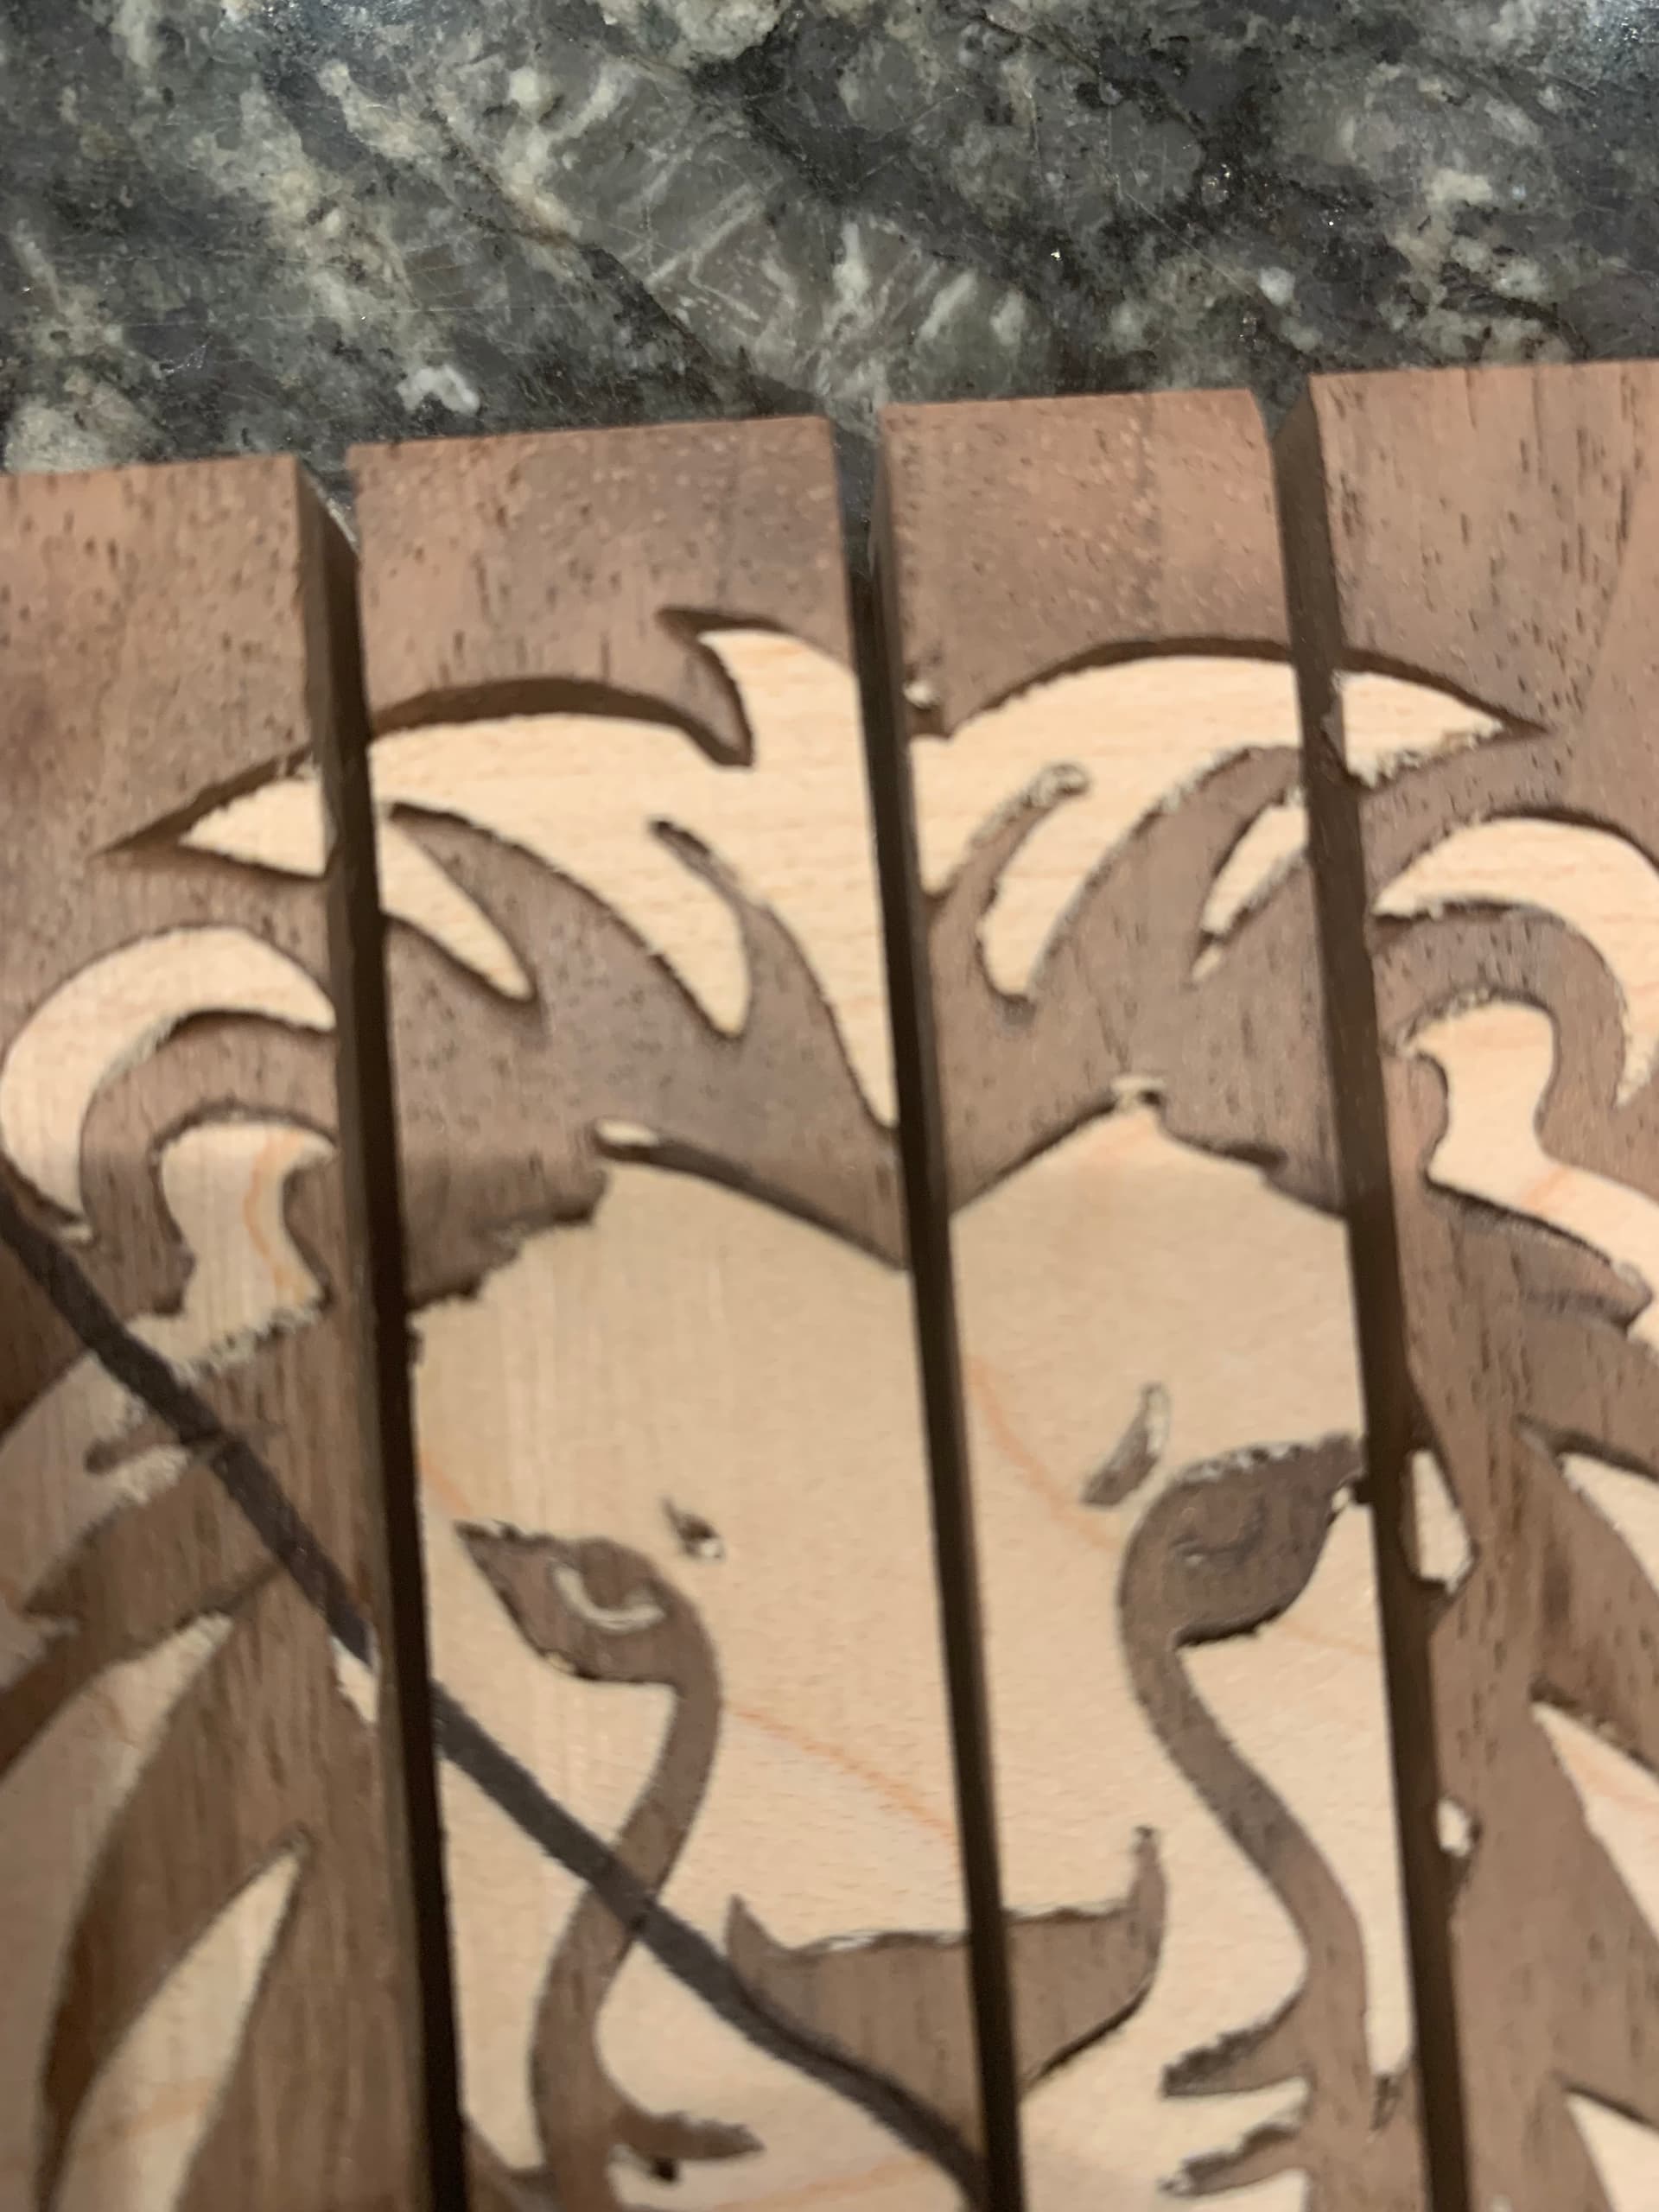
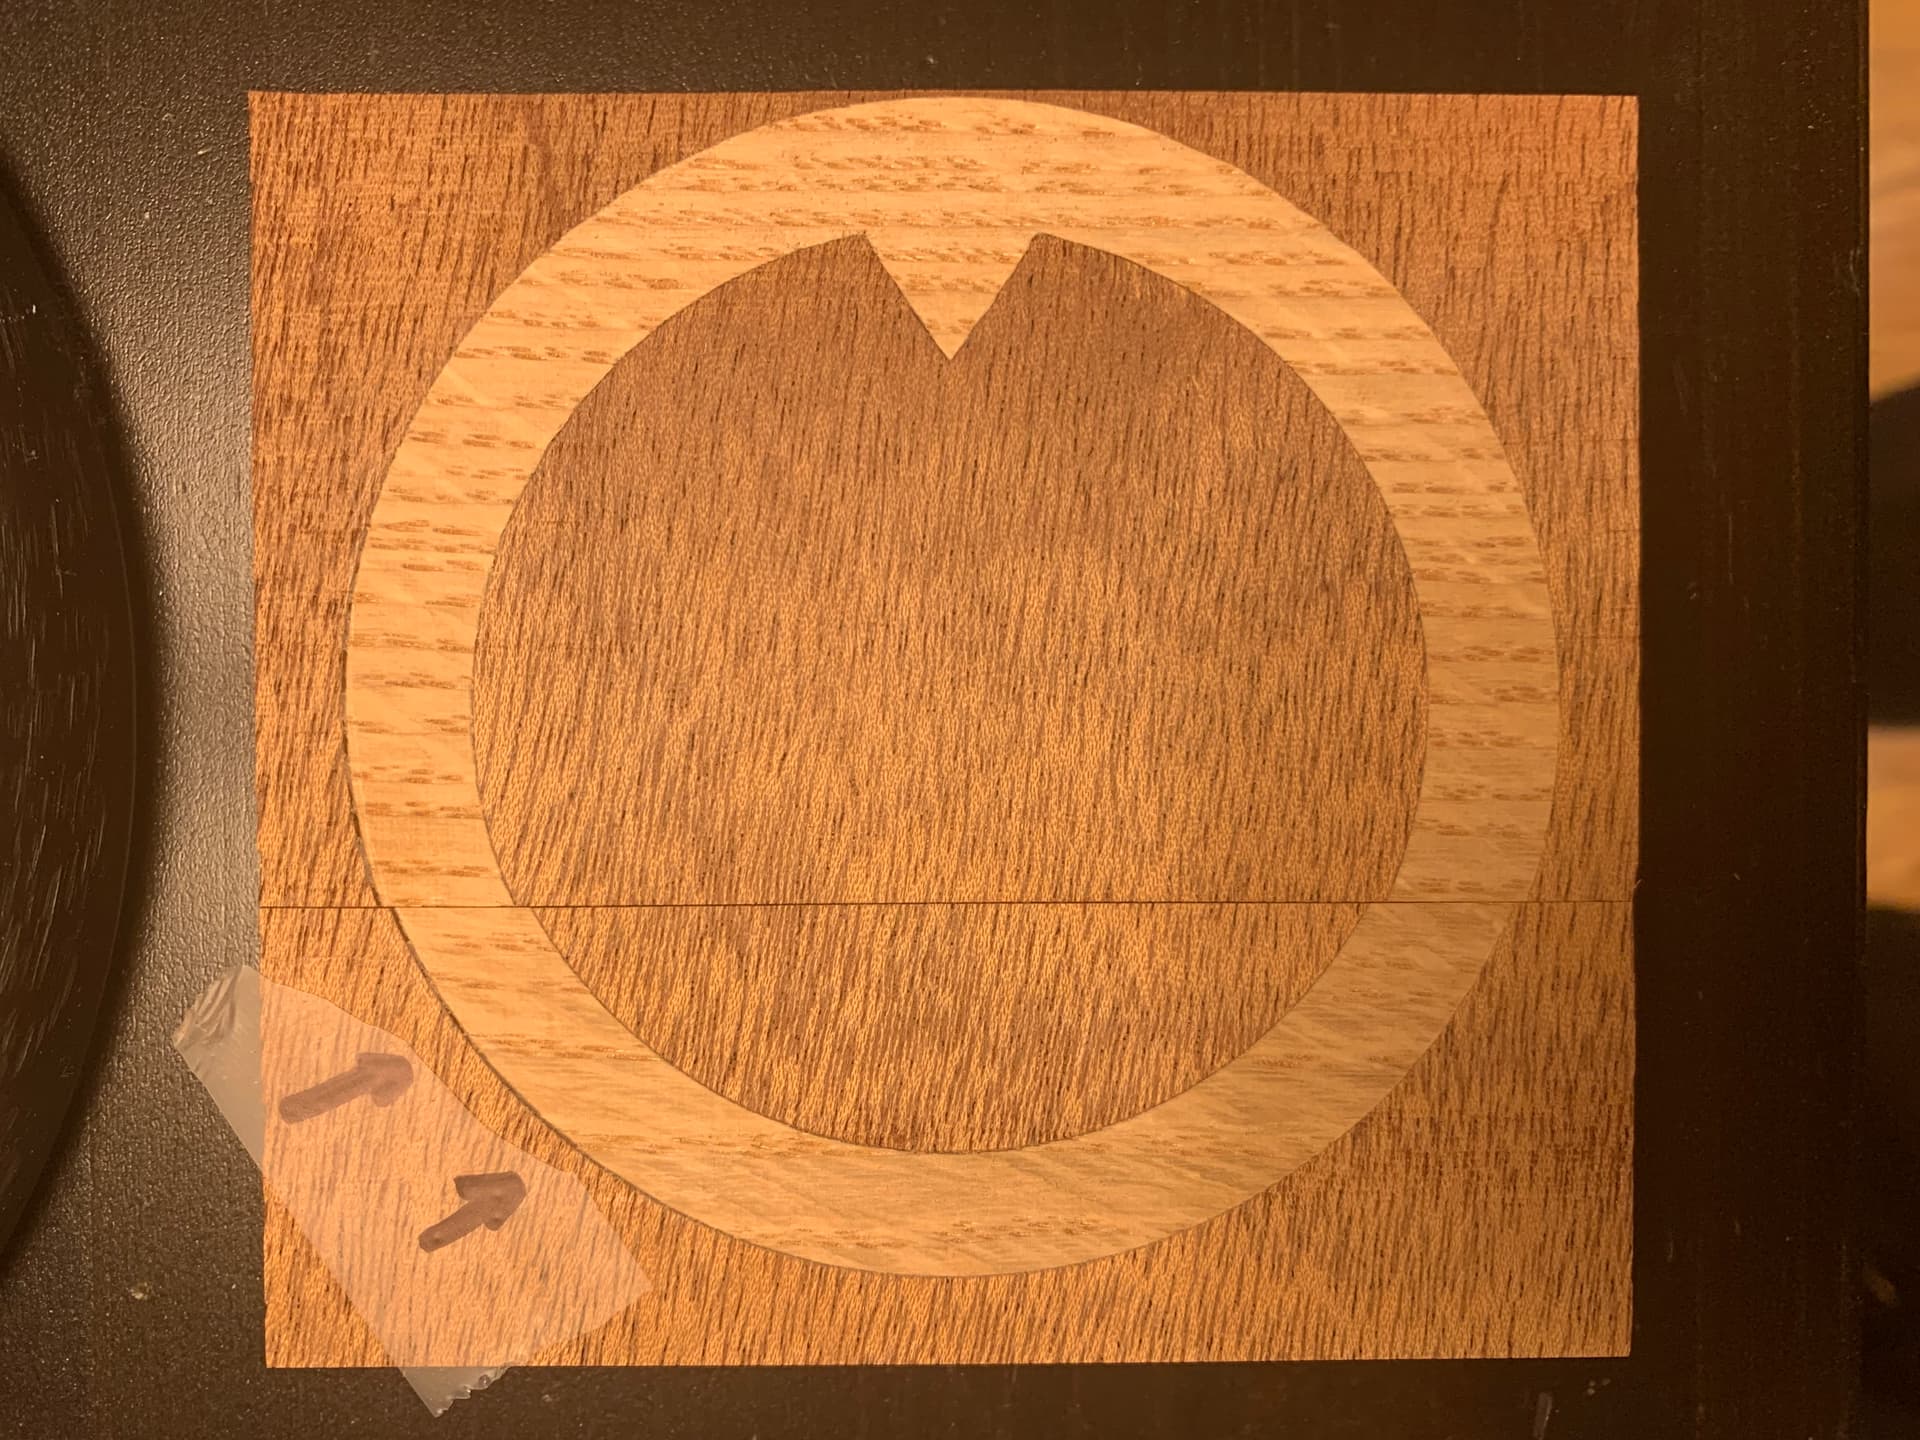
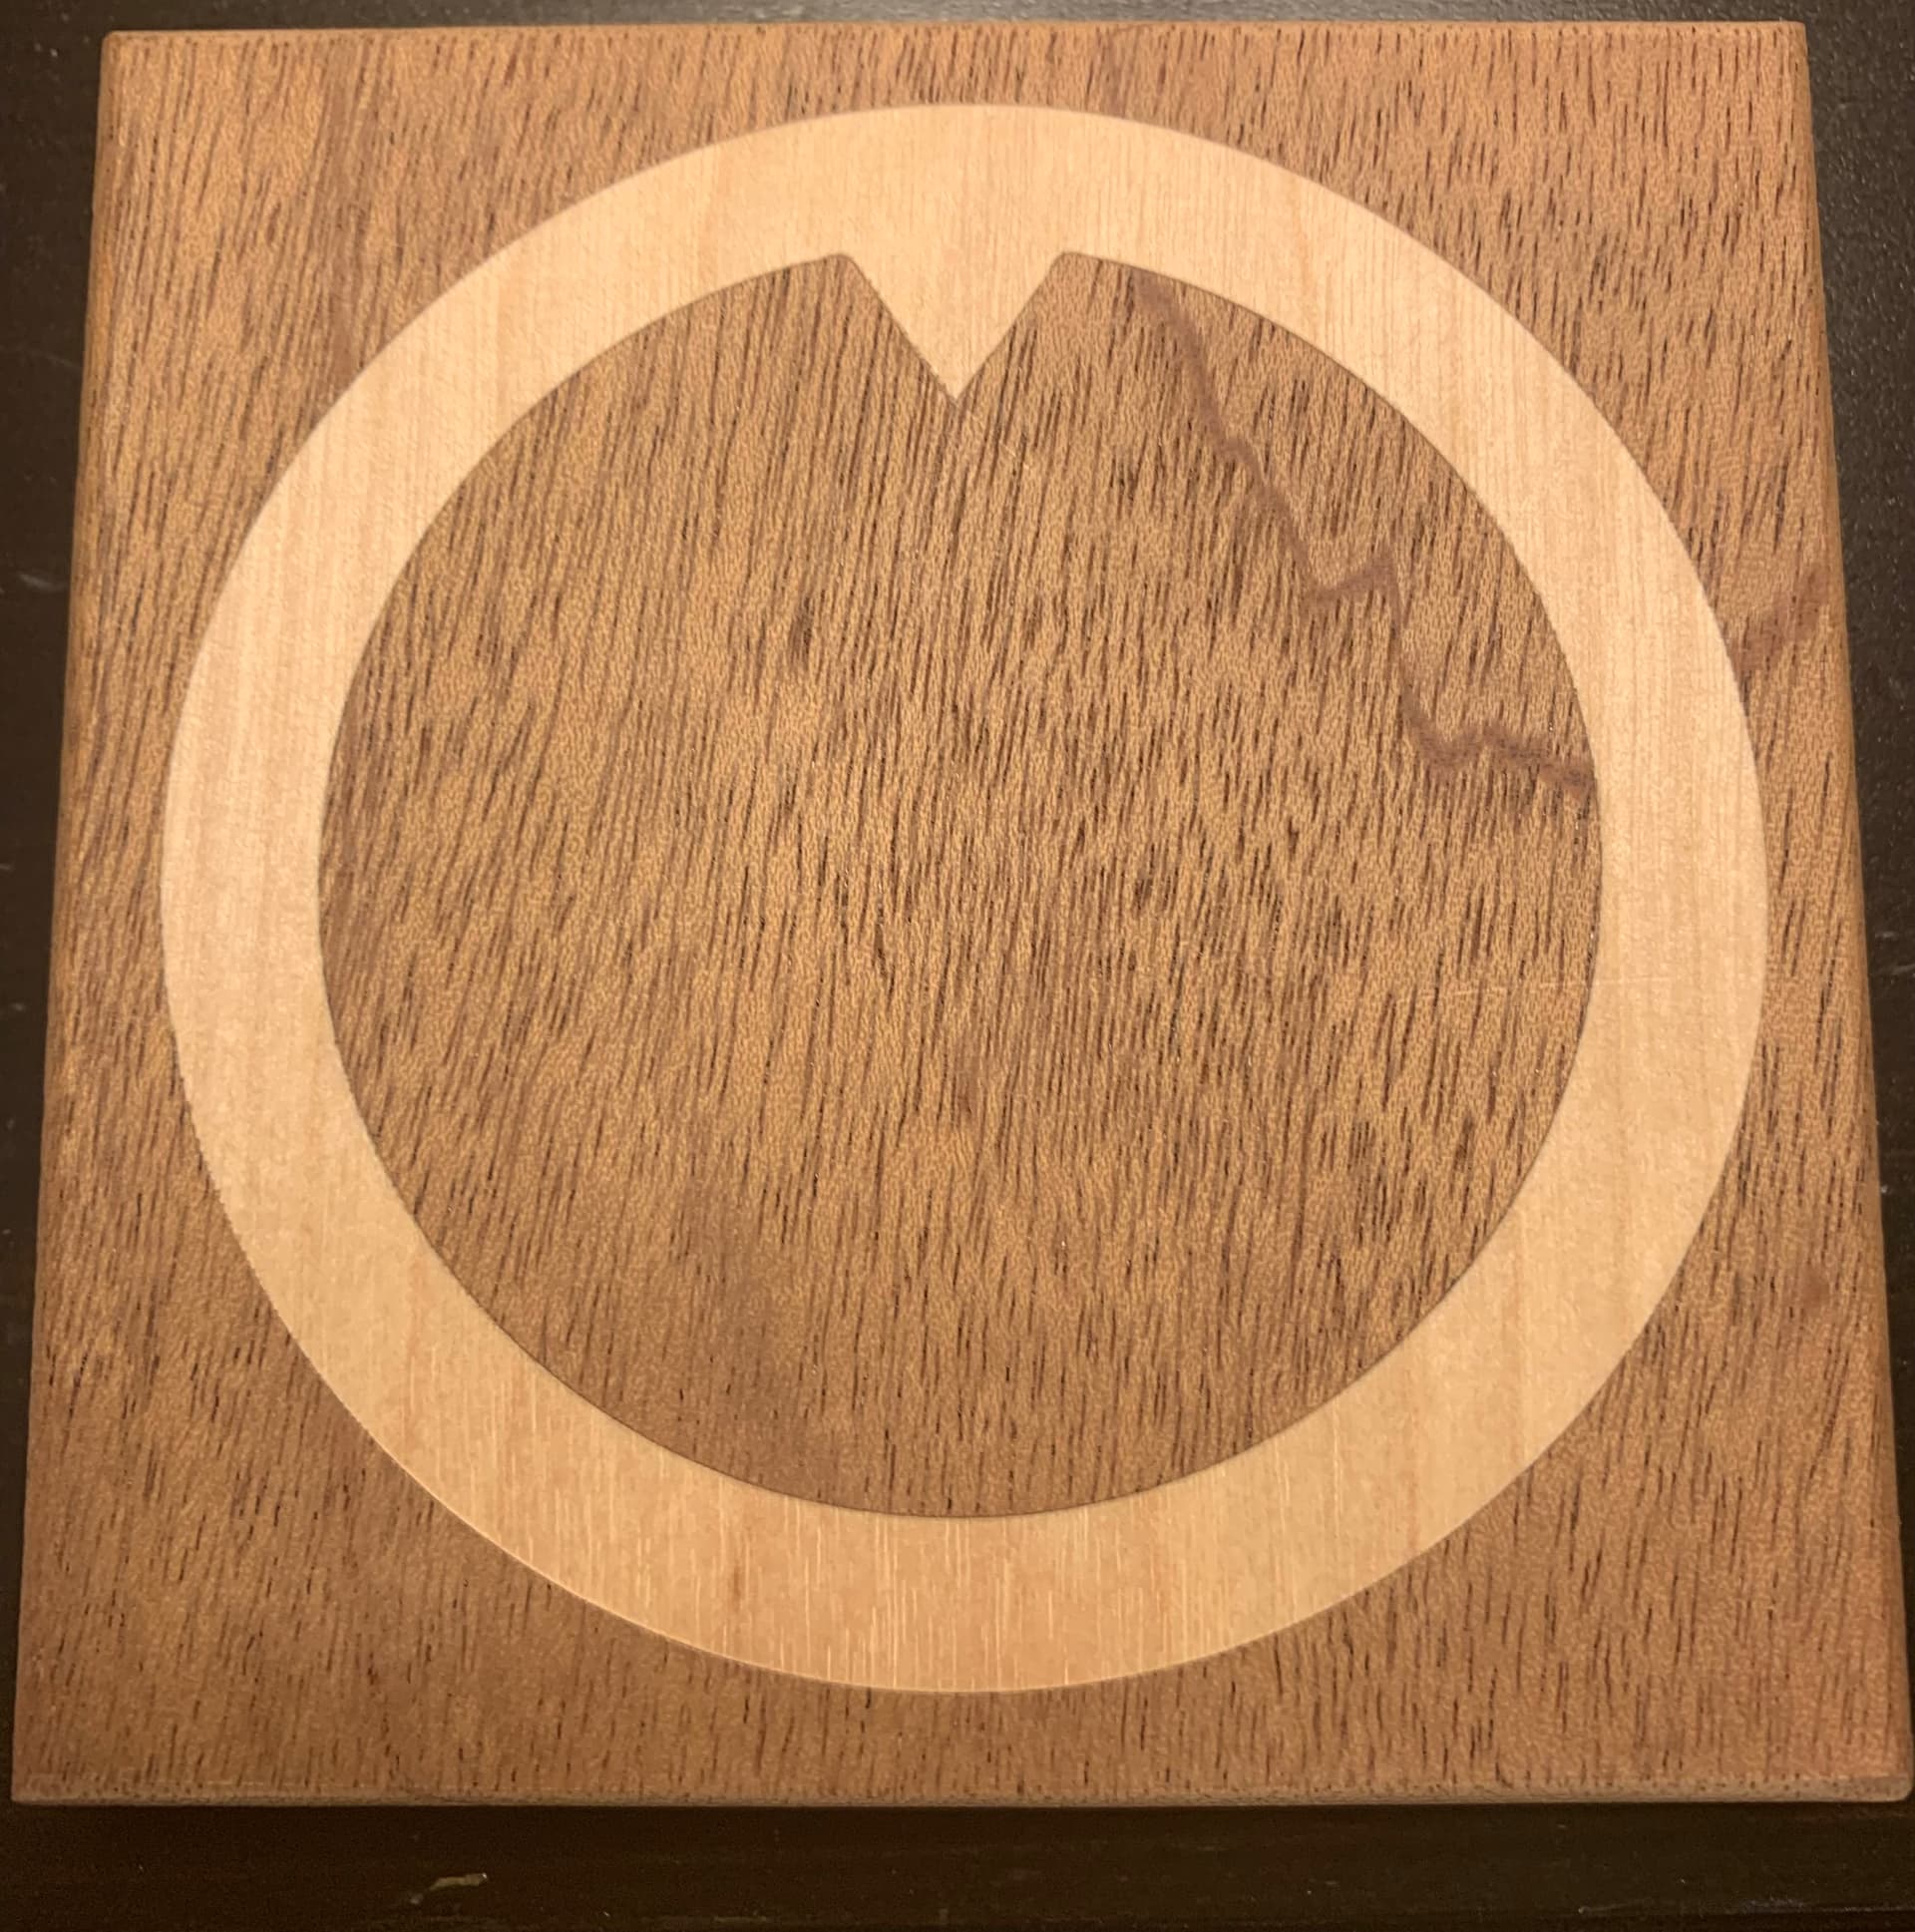
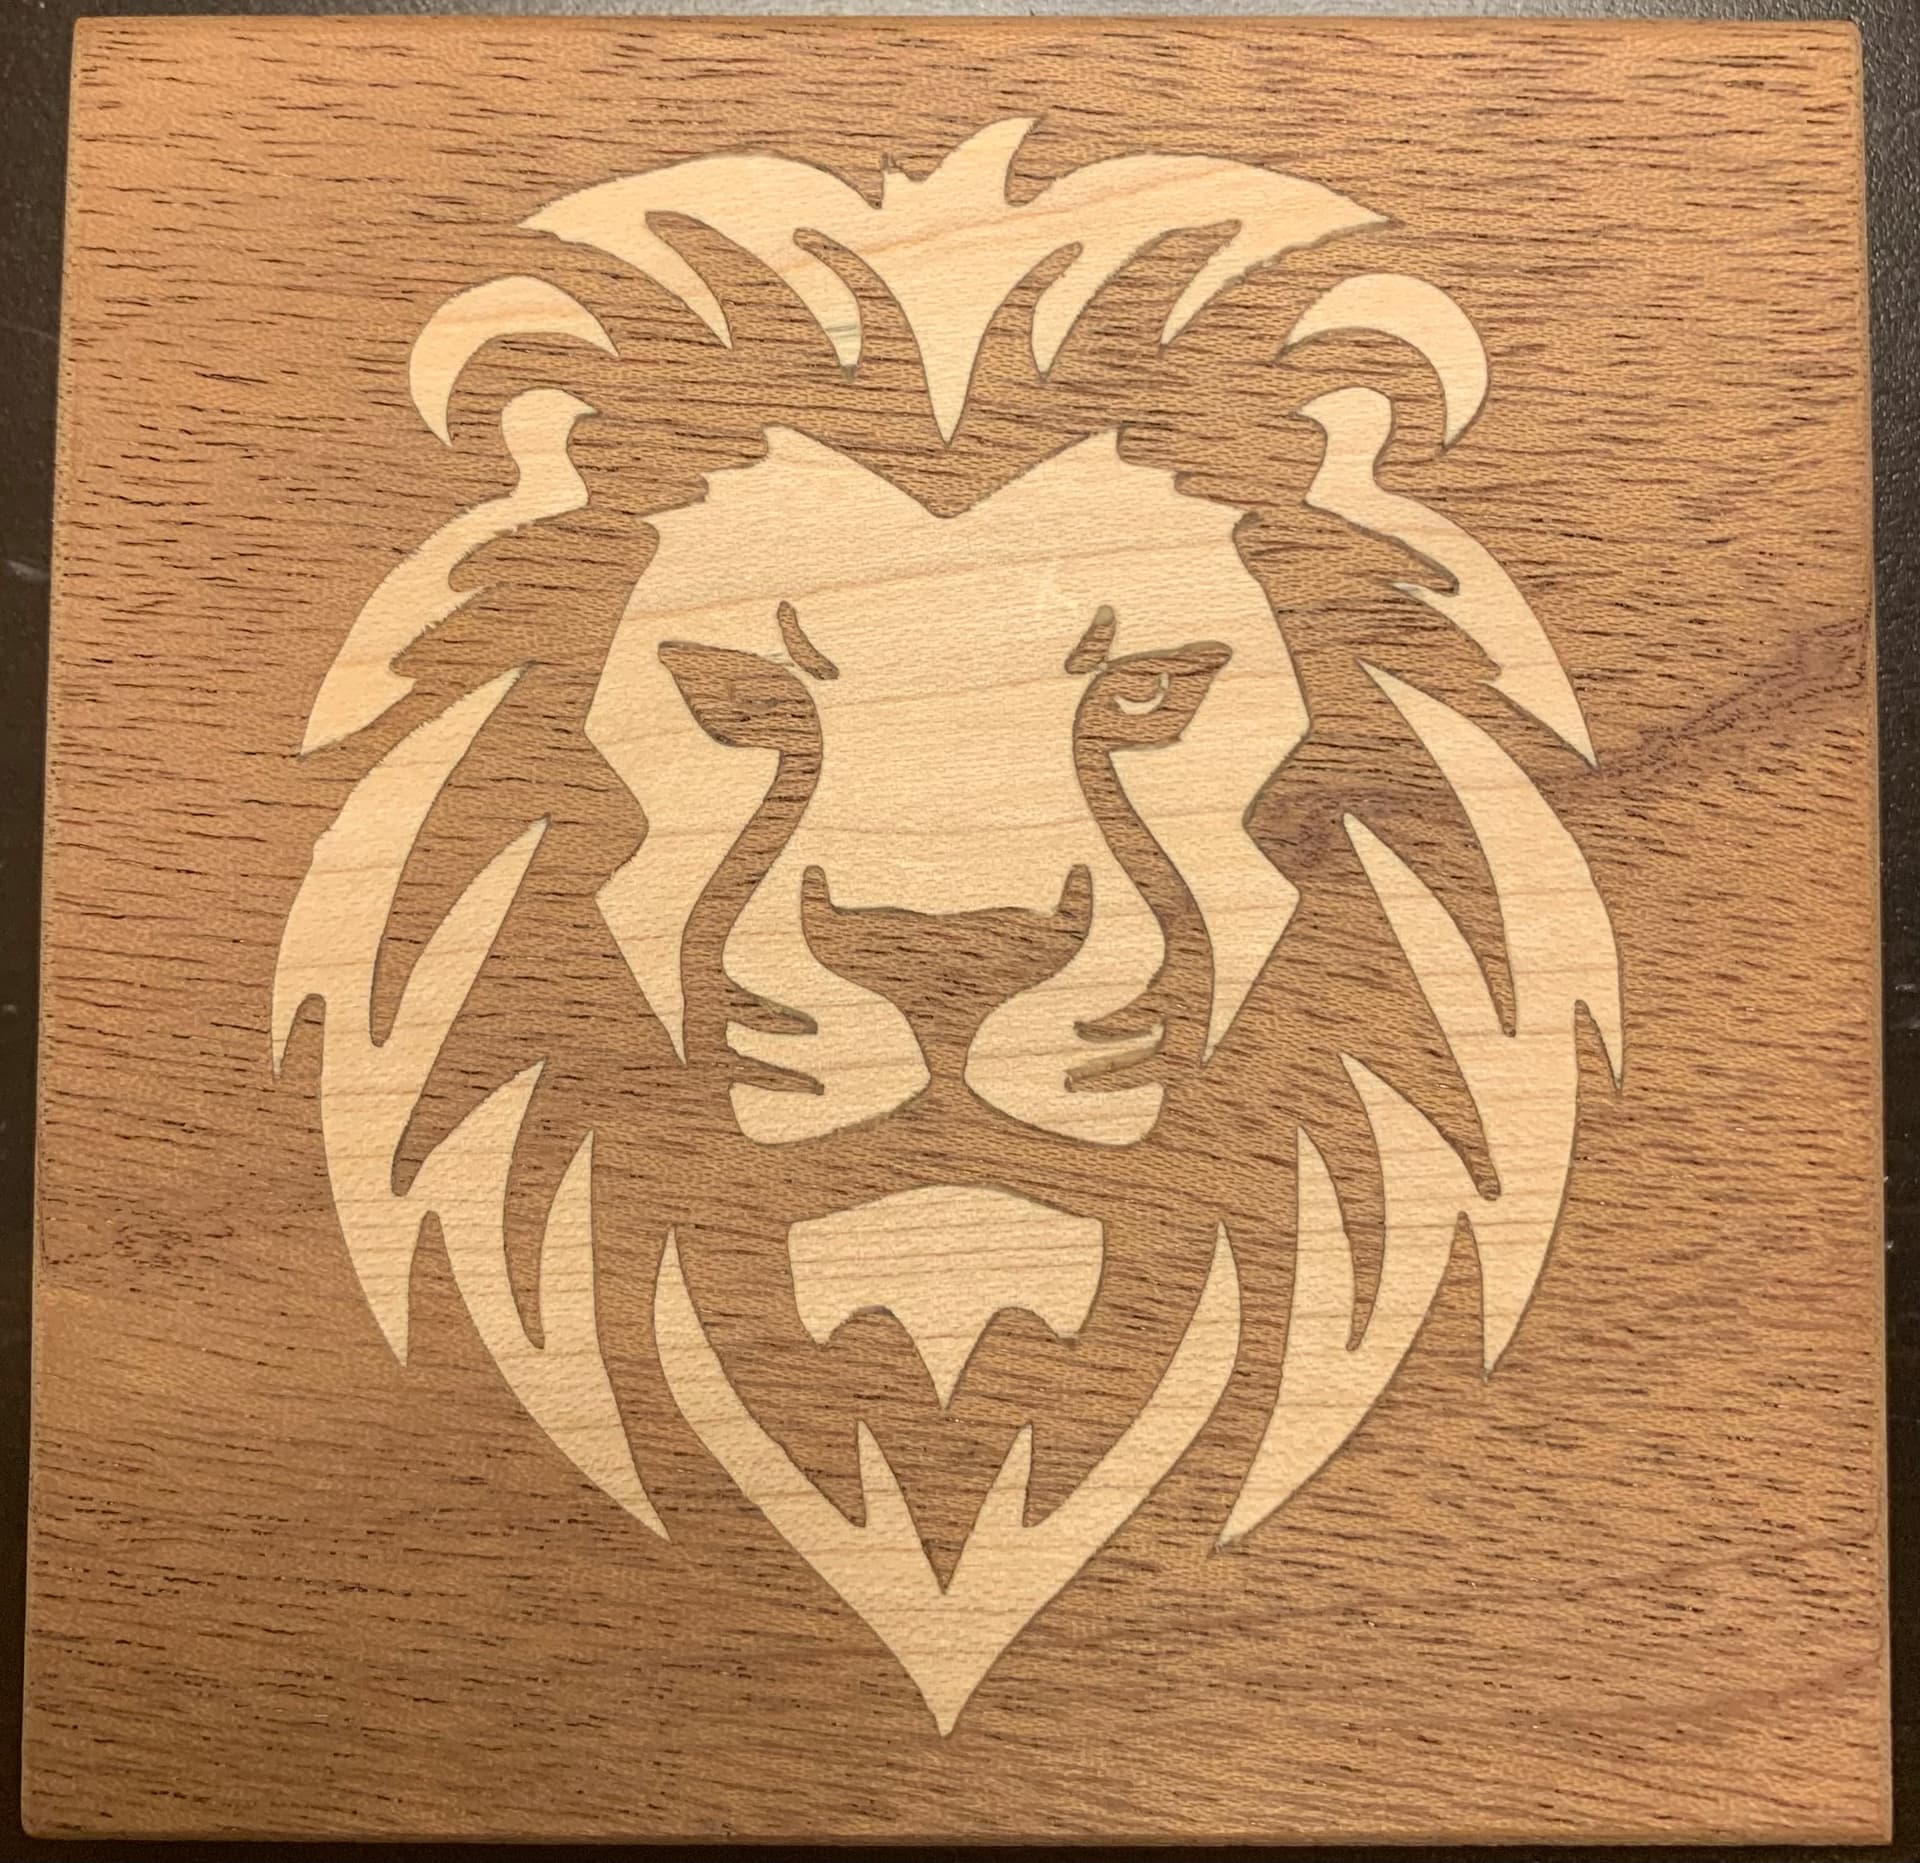
I’m having trouble getting a solid fit in my inlays. I’ve watched dozens of videos and I think I have a pretty good grasp on the process, but the inlay fit is sloppy, meaning there are 1-2mm gaps on some of the edges. Others are perfect. I was working with a lion face, but after a dozen attempts I decided to try something simple like a circle, and I had the same issue. I uploaded some pics of the issue, and my carbide create file. I’d love some advice. The only idea I have left is to try a different bit, I’m using the #302 .50" 60 Degree V-Bit Endmill that came with my Shapeoko 4. Wondering if I would get a tighter fit with a 30 degree? I’ve tried both mahogany and walnut with maple and oak inlays. Problem seems to be wood agnostic. I’m using Carbide Create V838.
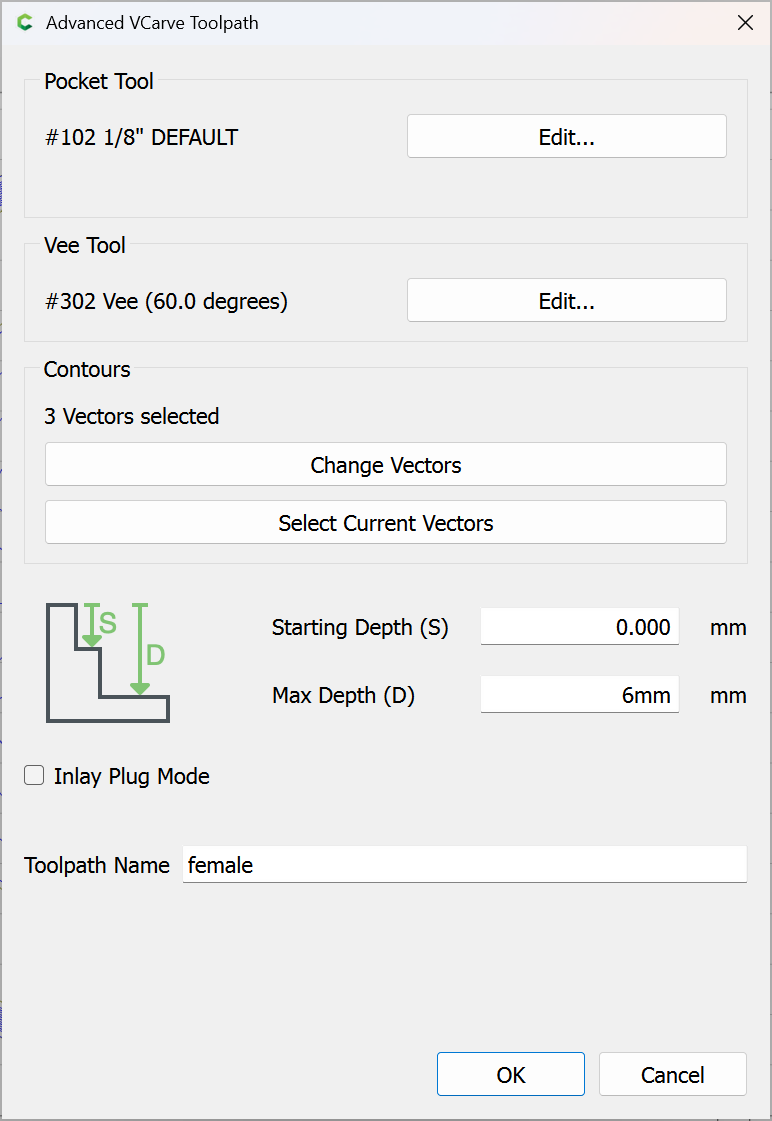
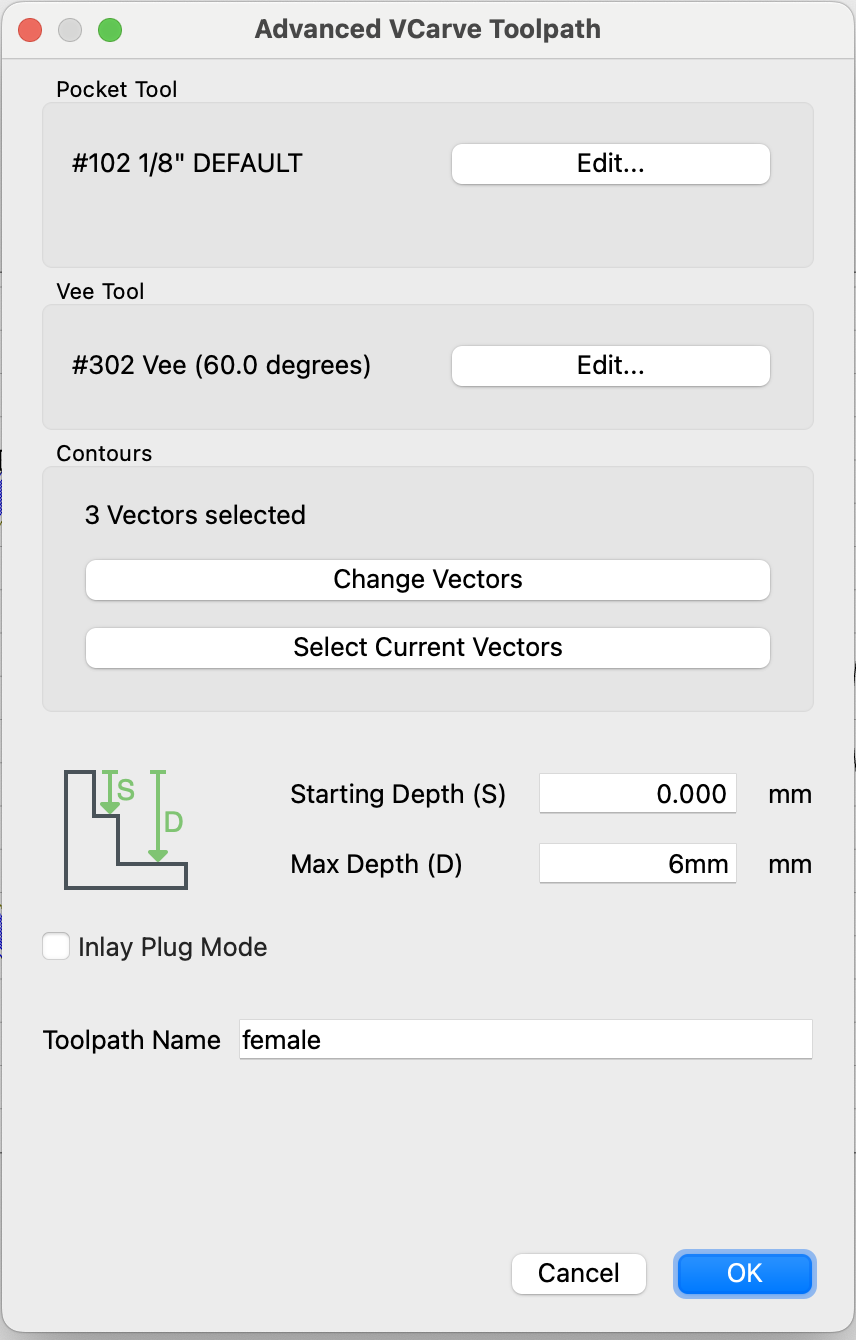
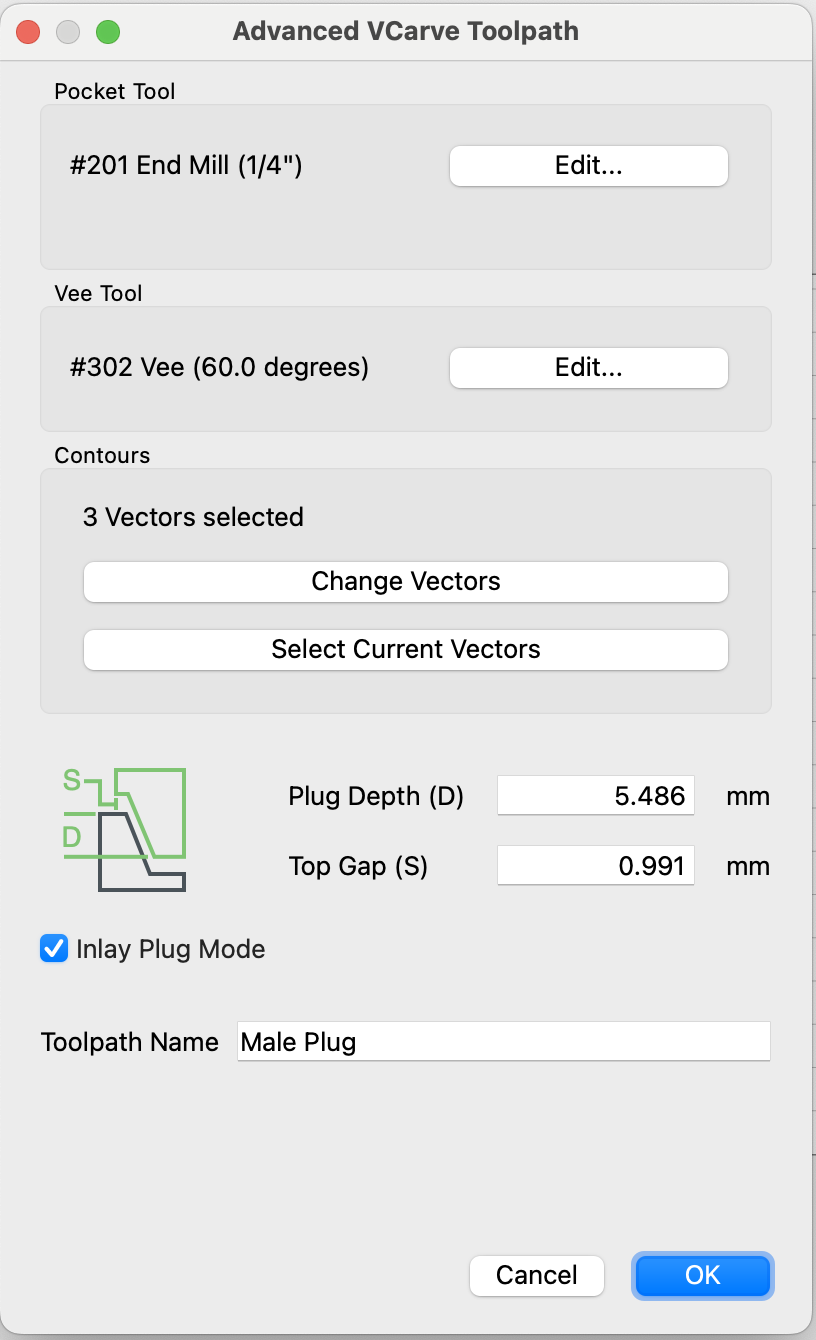
I’m a little confused by your reply @WillAdams. I think I’m following the parameters recommended by Kevin Barnett in his coaster/inlay demo video. 6mm female depth, 5.5mm plug depth and 1mm top gap. I also uploaded a pic of the Lion Coaster disaster, I cut that one in half to inspect, depths were very inconsistant, some bottomed out, others had a glue gap as expected.
Are your belts tensioned correctly? Are the V-wheels adjusted correctly? It seems there is some slop in about the same spot in your example shown above.
@Redlander, that’s a great question, I “think” they’re all good, but I will certainly go verify that and retest. Thanks for bringing that up, it had not occurred to me. I wonder if I should try to find a ‘calibration’ CNC file and make sure things are all as they are supposed to be, ie: 1"=1" in all dimensions?
I watched and performed all these machine checks from the video – it’s the Shapeoko setup instructions, not only a great initial setup video, but also a great periodic maintenance reminder.
Thanks @WillAdams for posting that super intense calibration post, it details the importance of an x/y square and how to achieve it.
What I found:
Belts were loose and needed to be tightened.
Eschetric nuts and the associate v-wheels where loose on the gantry (y-axis), which makes me think it created slop in the x-direction?
Next test went nearly perfect, it had one hairline gaposis about 1.5” long on one edge, which is so much better. Seems that my machine was out of whack and needed to be re-setup.
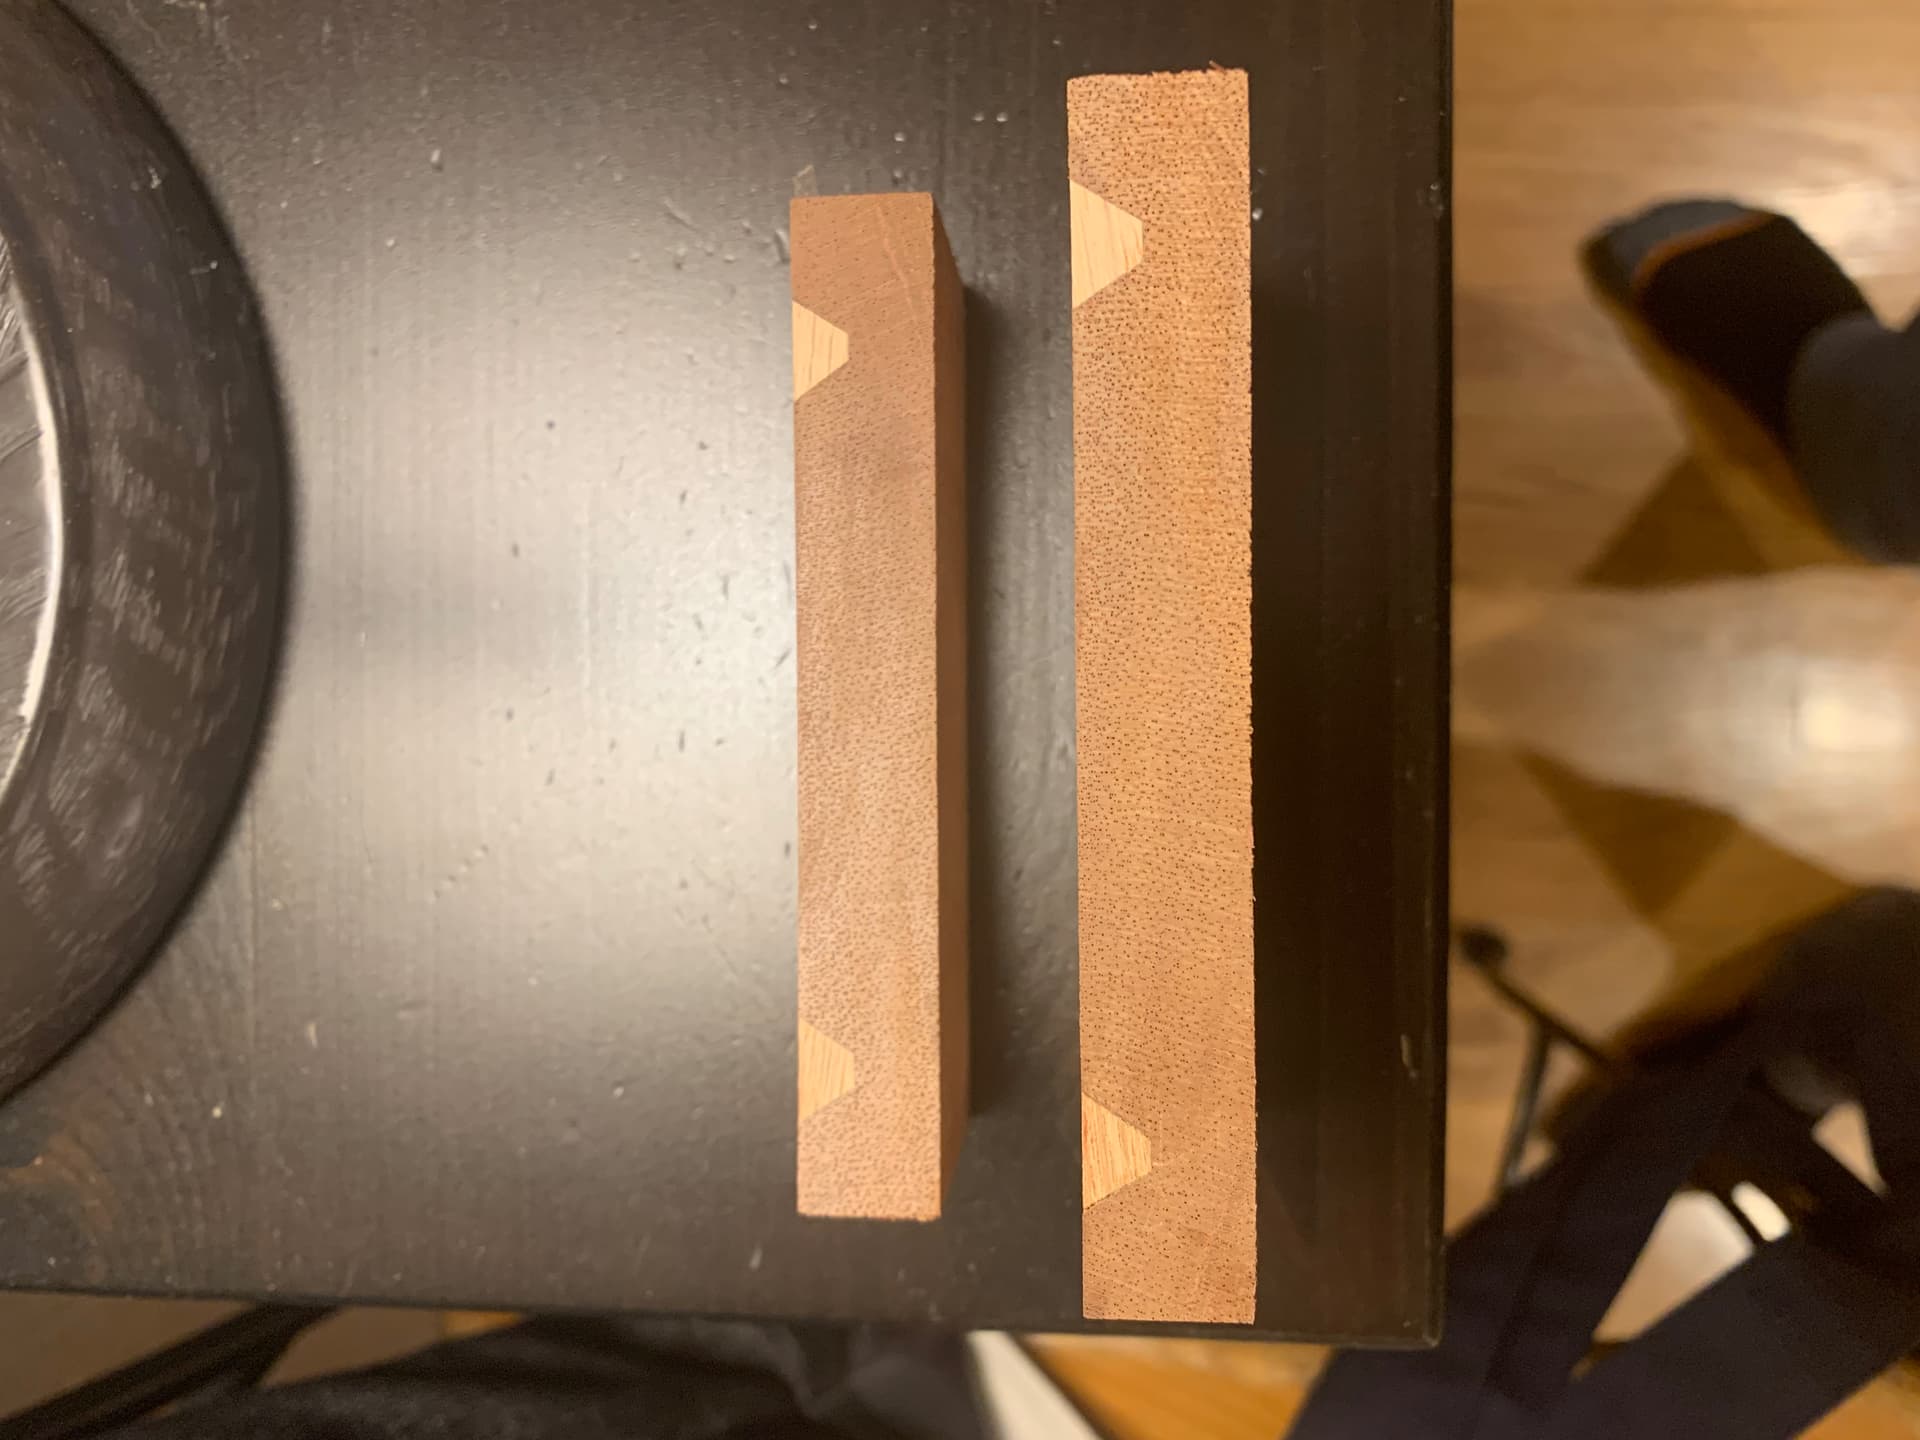
However, when I ran the nearly perfect inlay thru the table saw, the inlay portion (male part) was bottoming out, no glue gap.
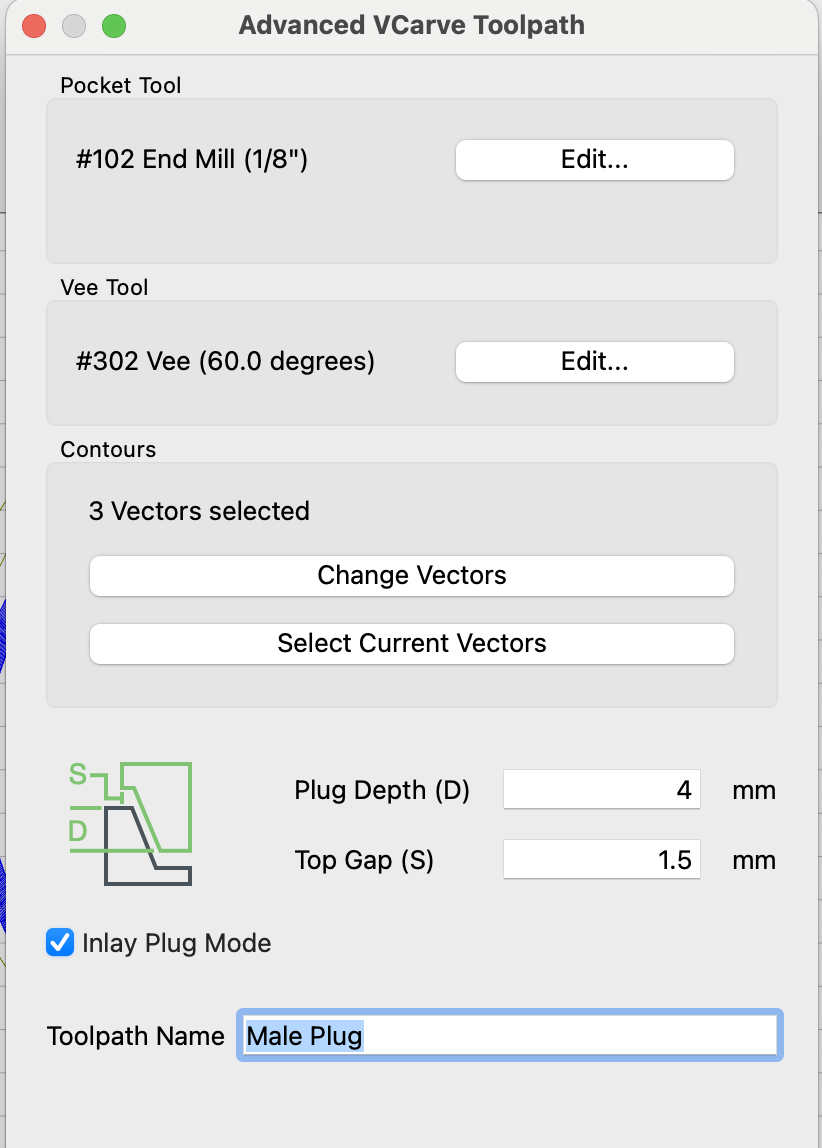
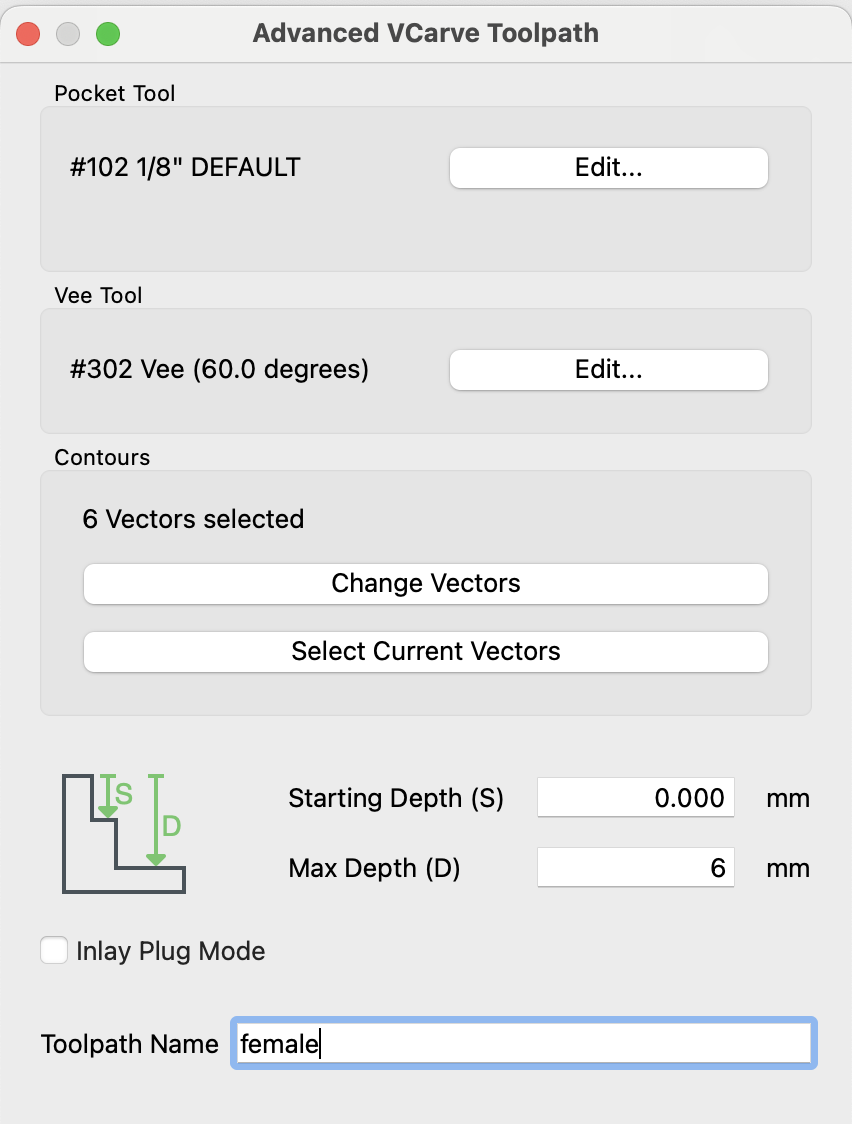
I was using Kevin Barnett’s metrics, 6mm female depth, 5.5 plug length (leaving a glue gap), 1mm top gap, but that’s apparently not working in my application. The plug is making it all the way to the bottom.
So I’m going to try a 2mm difference between my female depth and plug length, and a 1.5mm top gap. We’ll see how that works.
I need to fine tune the vectors around the eyes and give the inlay a little more meat. The eyeballs are so thin, it’s easy to sand them right off when finishing.
I did a job today it seems something is off.
After cutting the pockets and inlays, the test fit of the inlays is very loose.
I do fairly small pieces so the inlays are quite thin - 1.5 mm.
I did a piece previously and things worked great.
This one seems way off. When I test fit the inlays, they are not fitting to the sides and there is no gap at the top between the base and inlay backing.
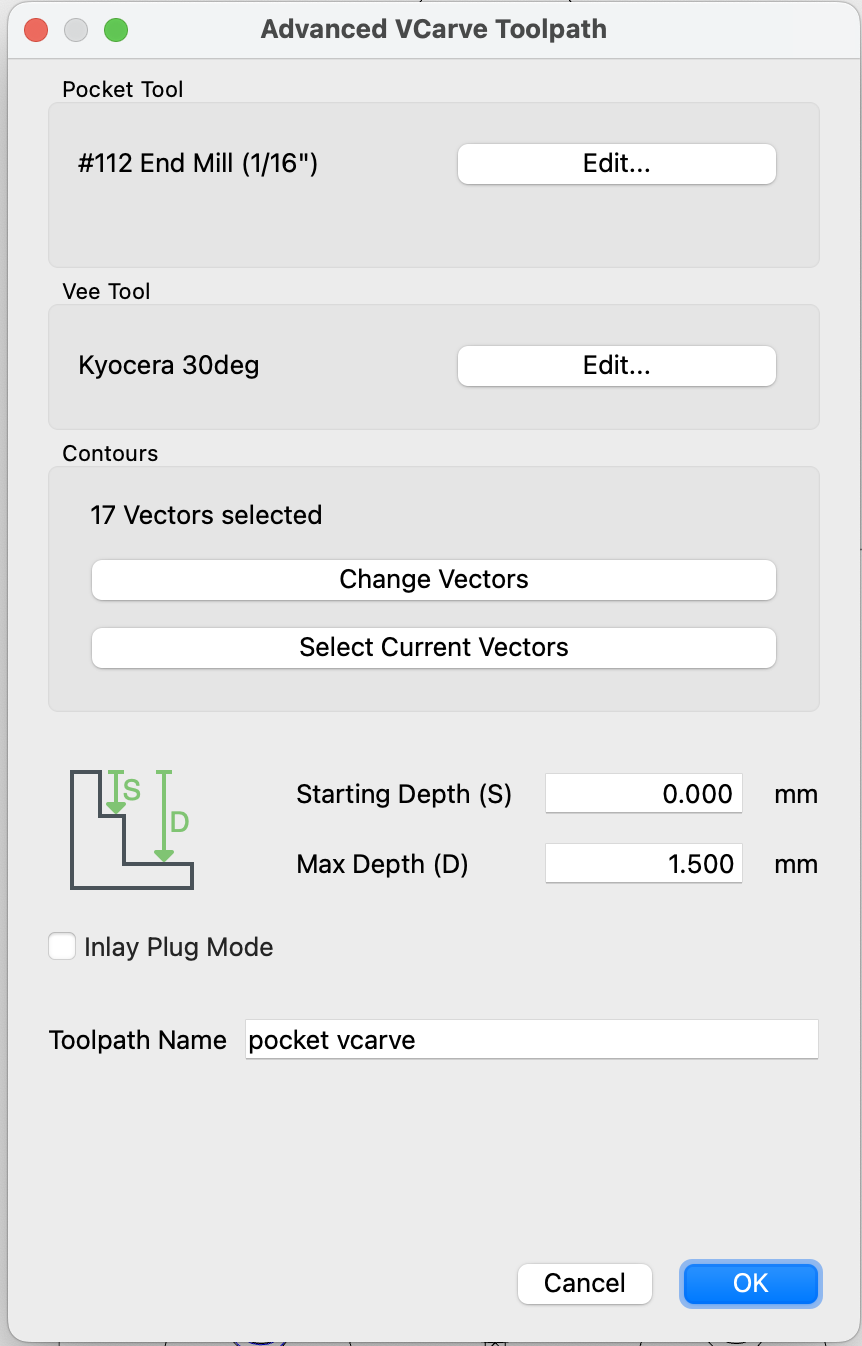
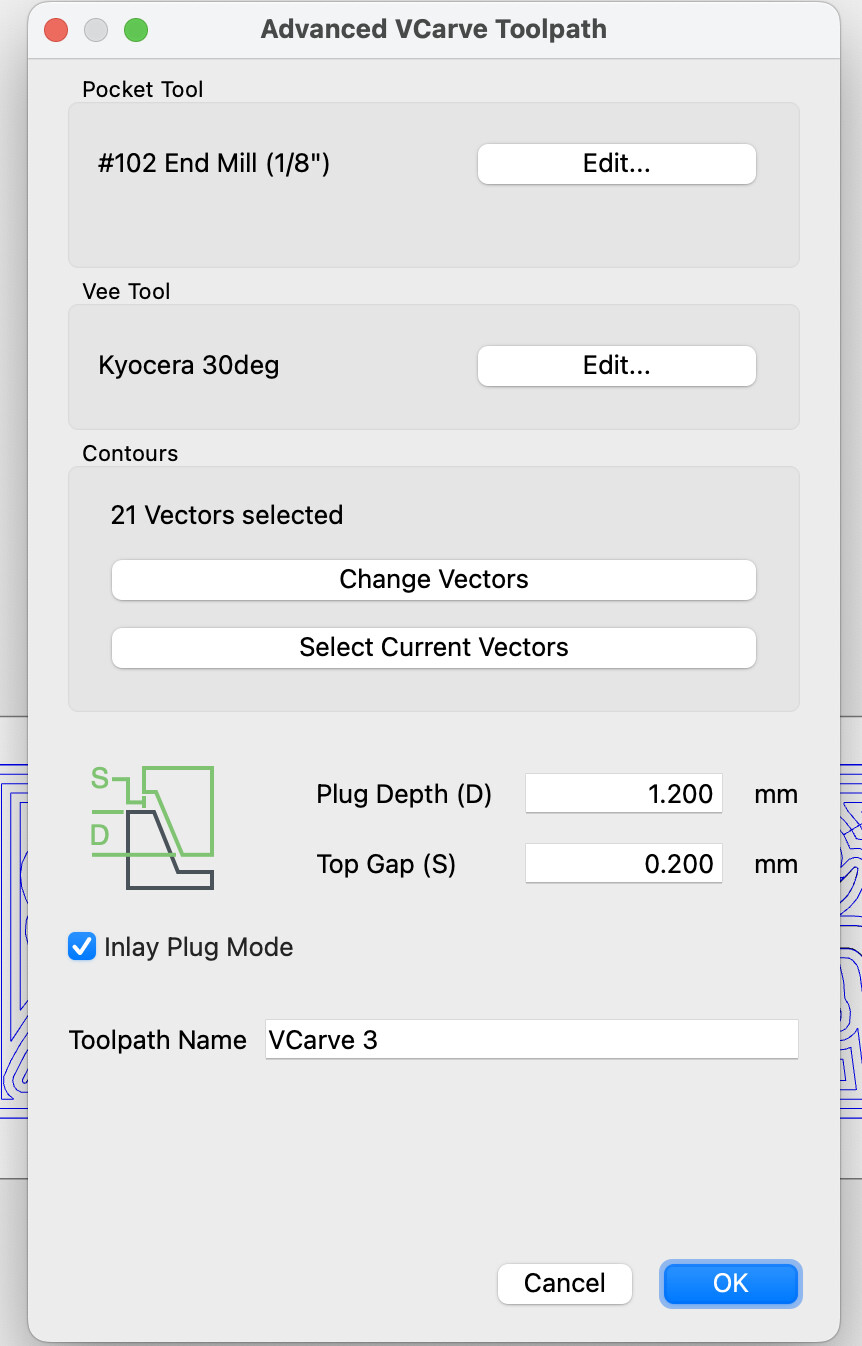
I used these settings for the pocket and inlay. Please advise if you see something amiss.
When my inlays were not fitting, it was caused by slop in my CNC machine. I watched this video, tightened my belts and v-wheels and next test went nearly perfect. The other thing that really helped was creating a larger glue gap, putting 2mm between my plug length and max depth. You only have 0.2mm gap, I wonder if you’re bottoming out? Can you increase your max depth to 2.2mm? or 3mm?
I haven’t tried any inlays that thin yet but if I were going to do a test cut with that 1.5mm max depth I think I would set my plug depth at 1.3mm and top gap at .3mm. Plug Depth + Top Gap > Max Depth will give you that little bit of stick out on the plug and you can clamp that together for a snug fit.