Hello! I’m completely new to the CNC world and have been doing a bit of looking around for help understanding depth per pass, plunge rate, feed rate and router RPM. I really hate posting questions if I can find the answers…But I’ve honestly looked and found a few different posts, but I’m still confused.
I’m hoping someone can take a minute to help me out. I have the Shapeoko 4 XXL with the Carbide router.
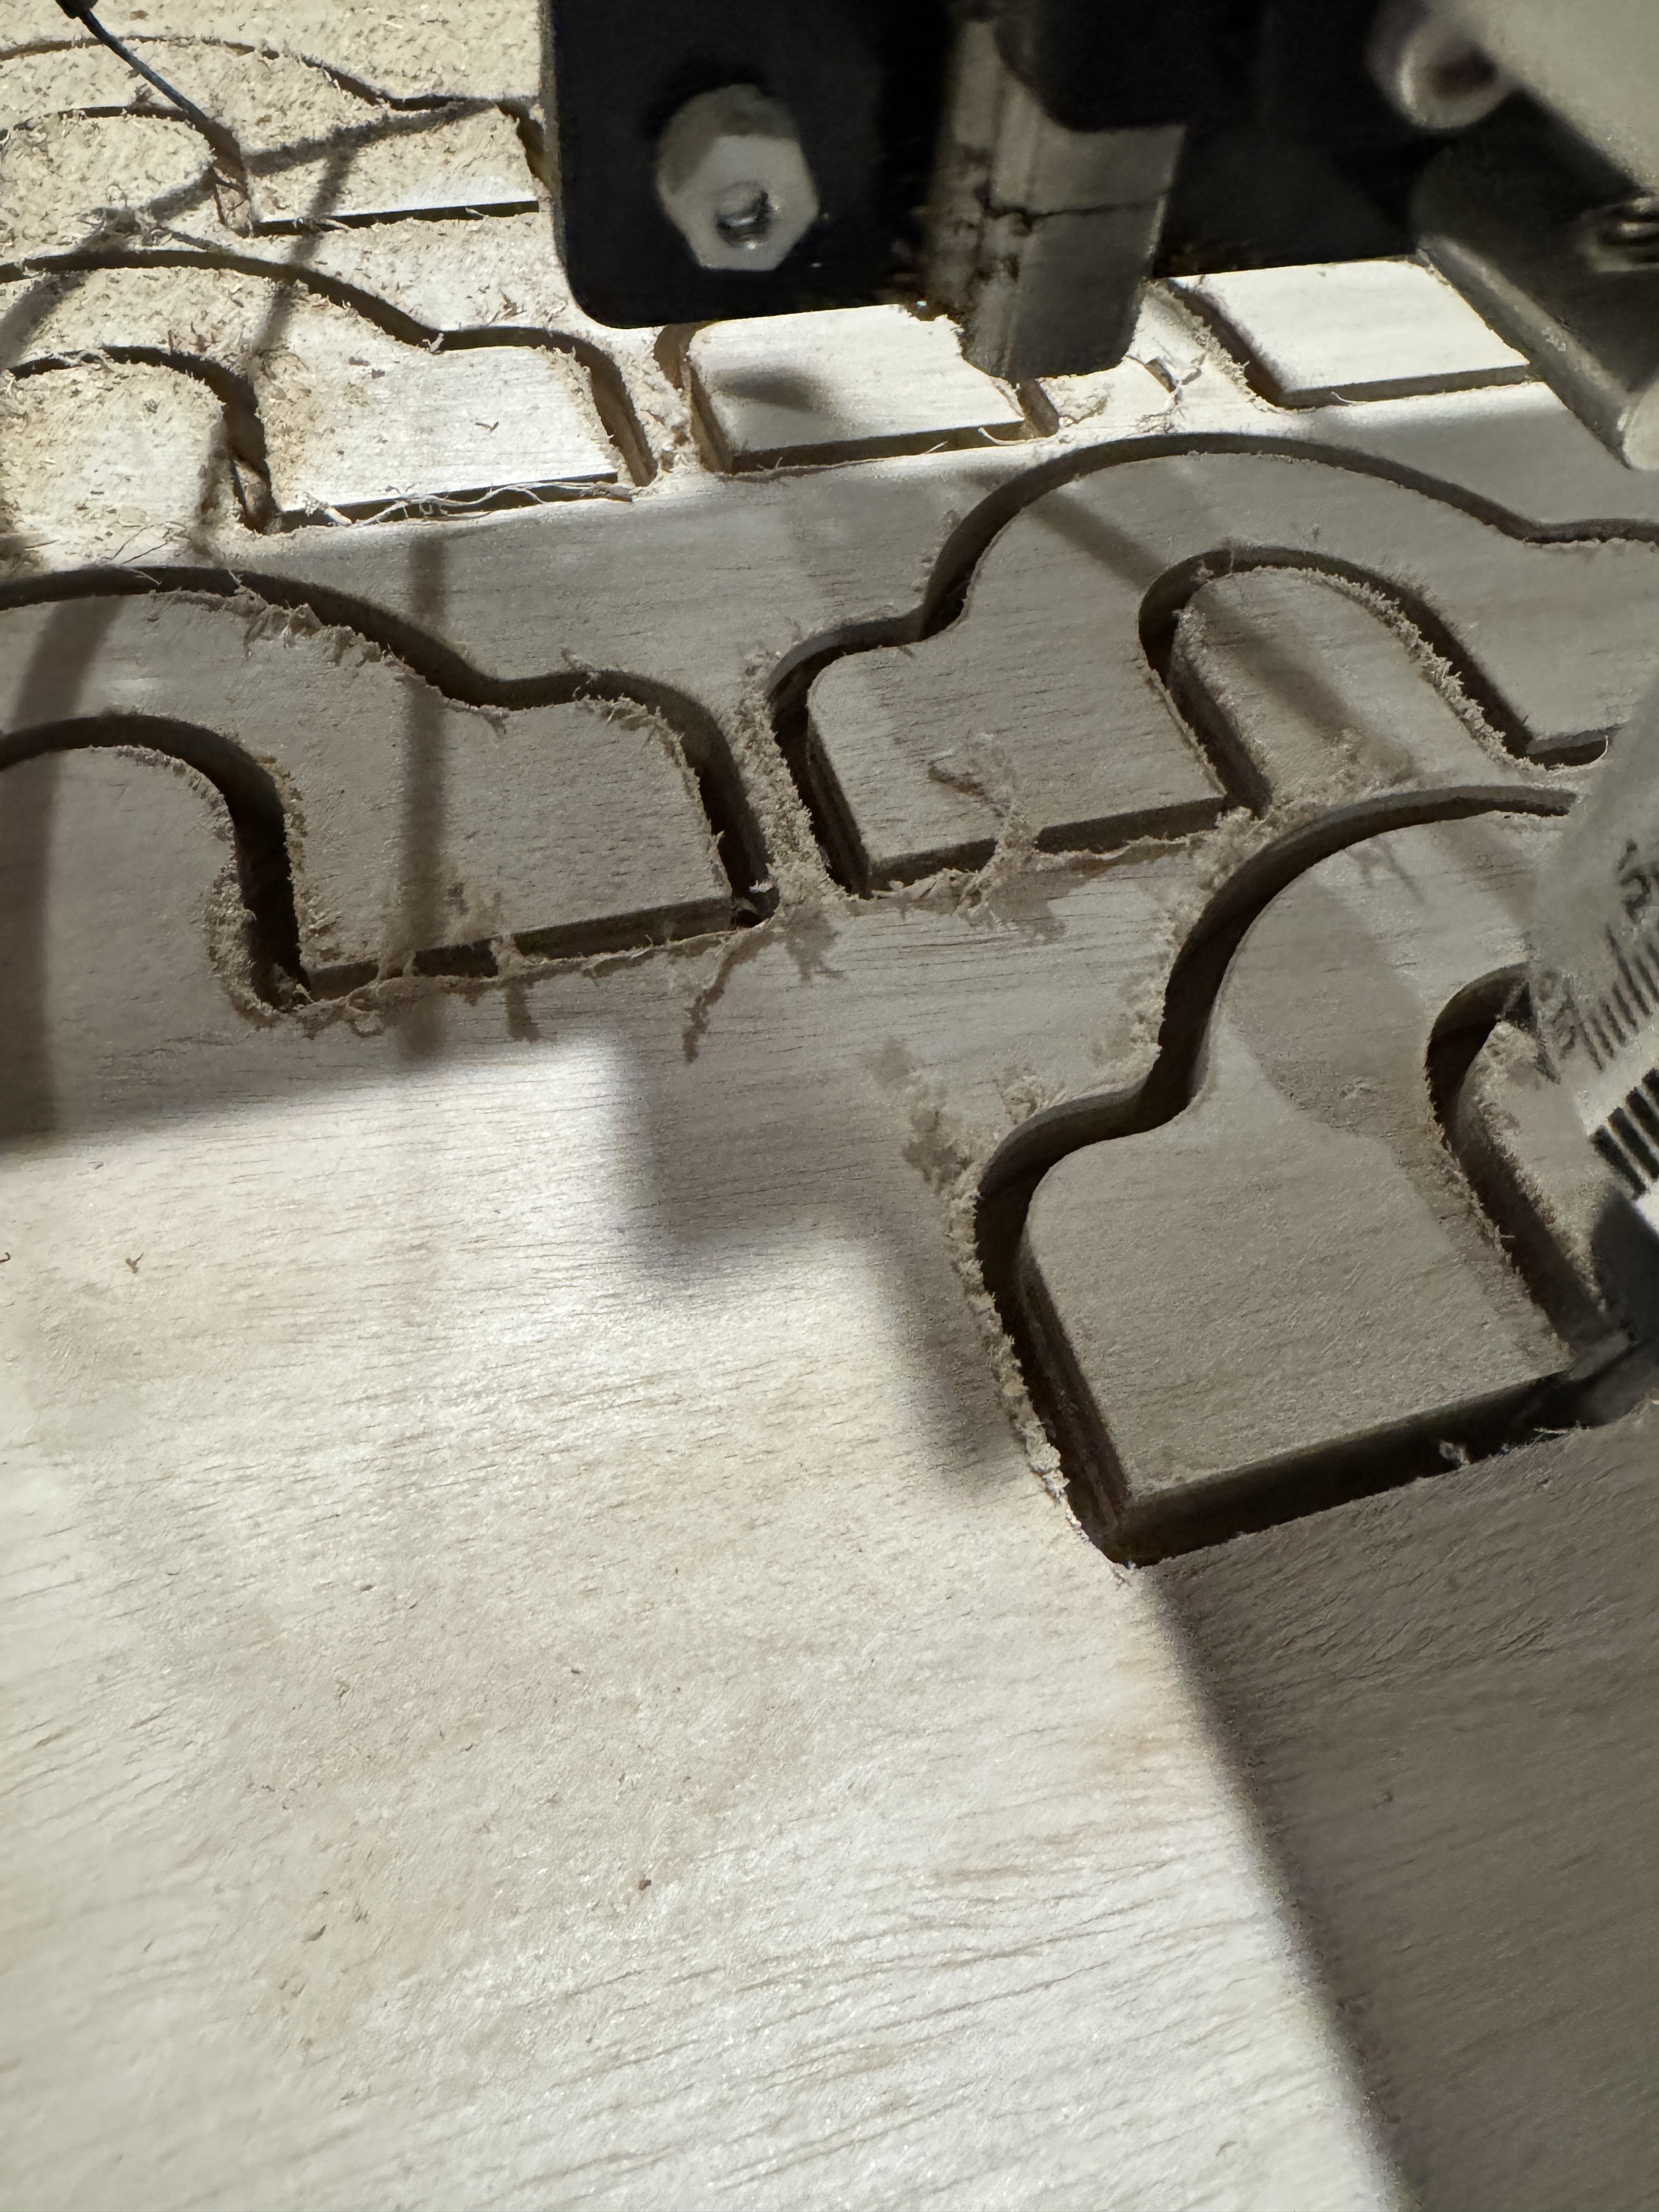
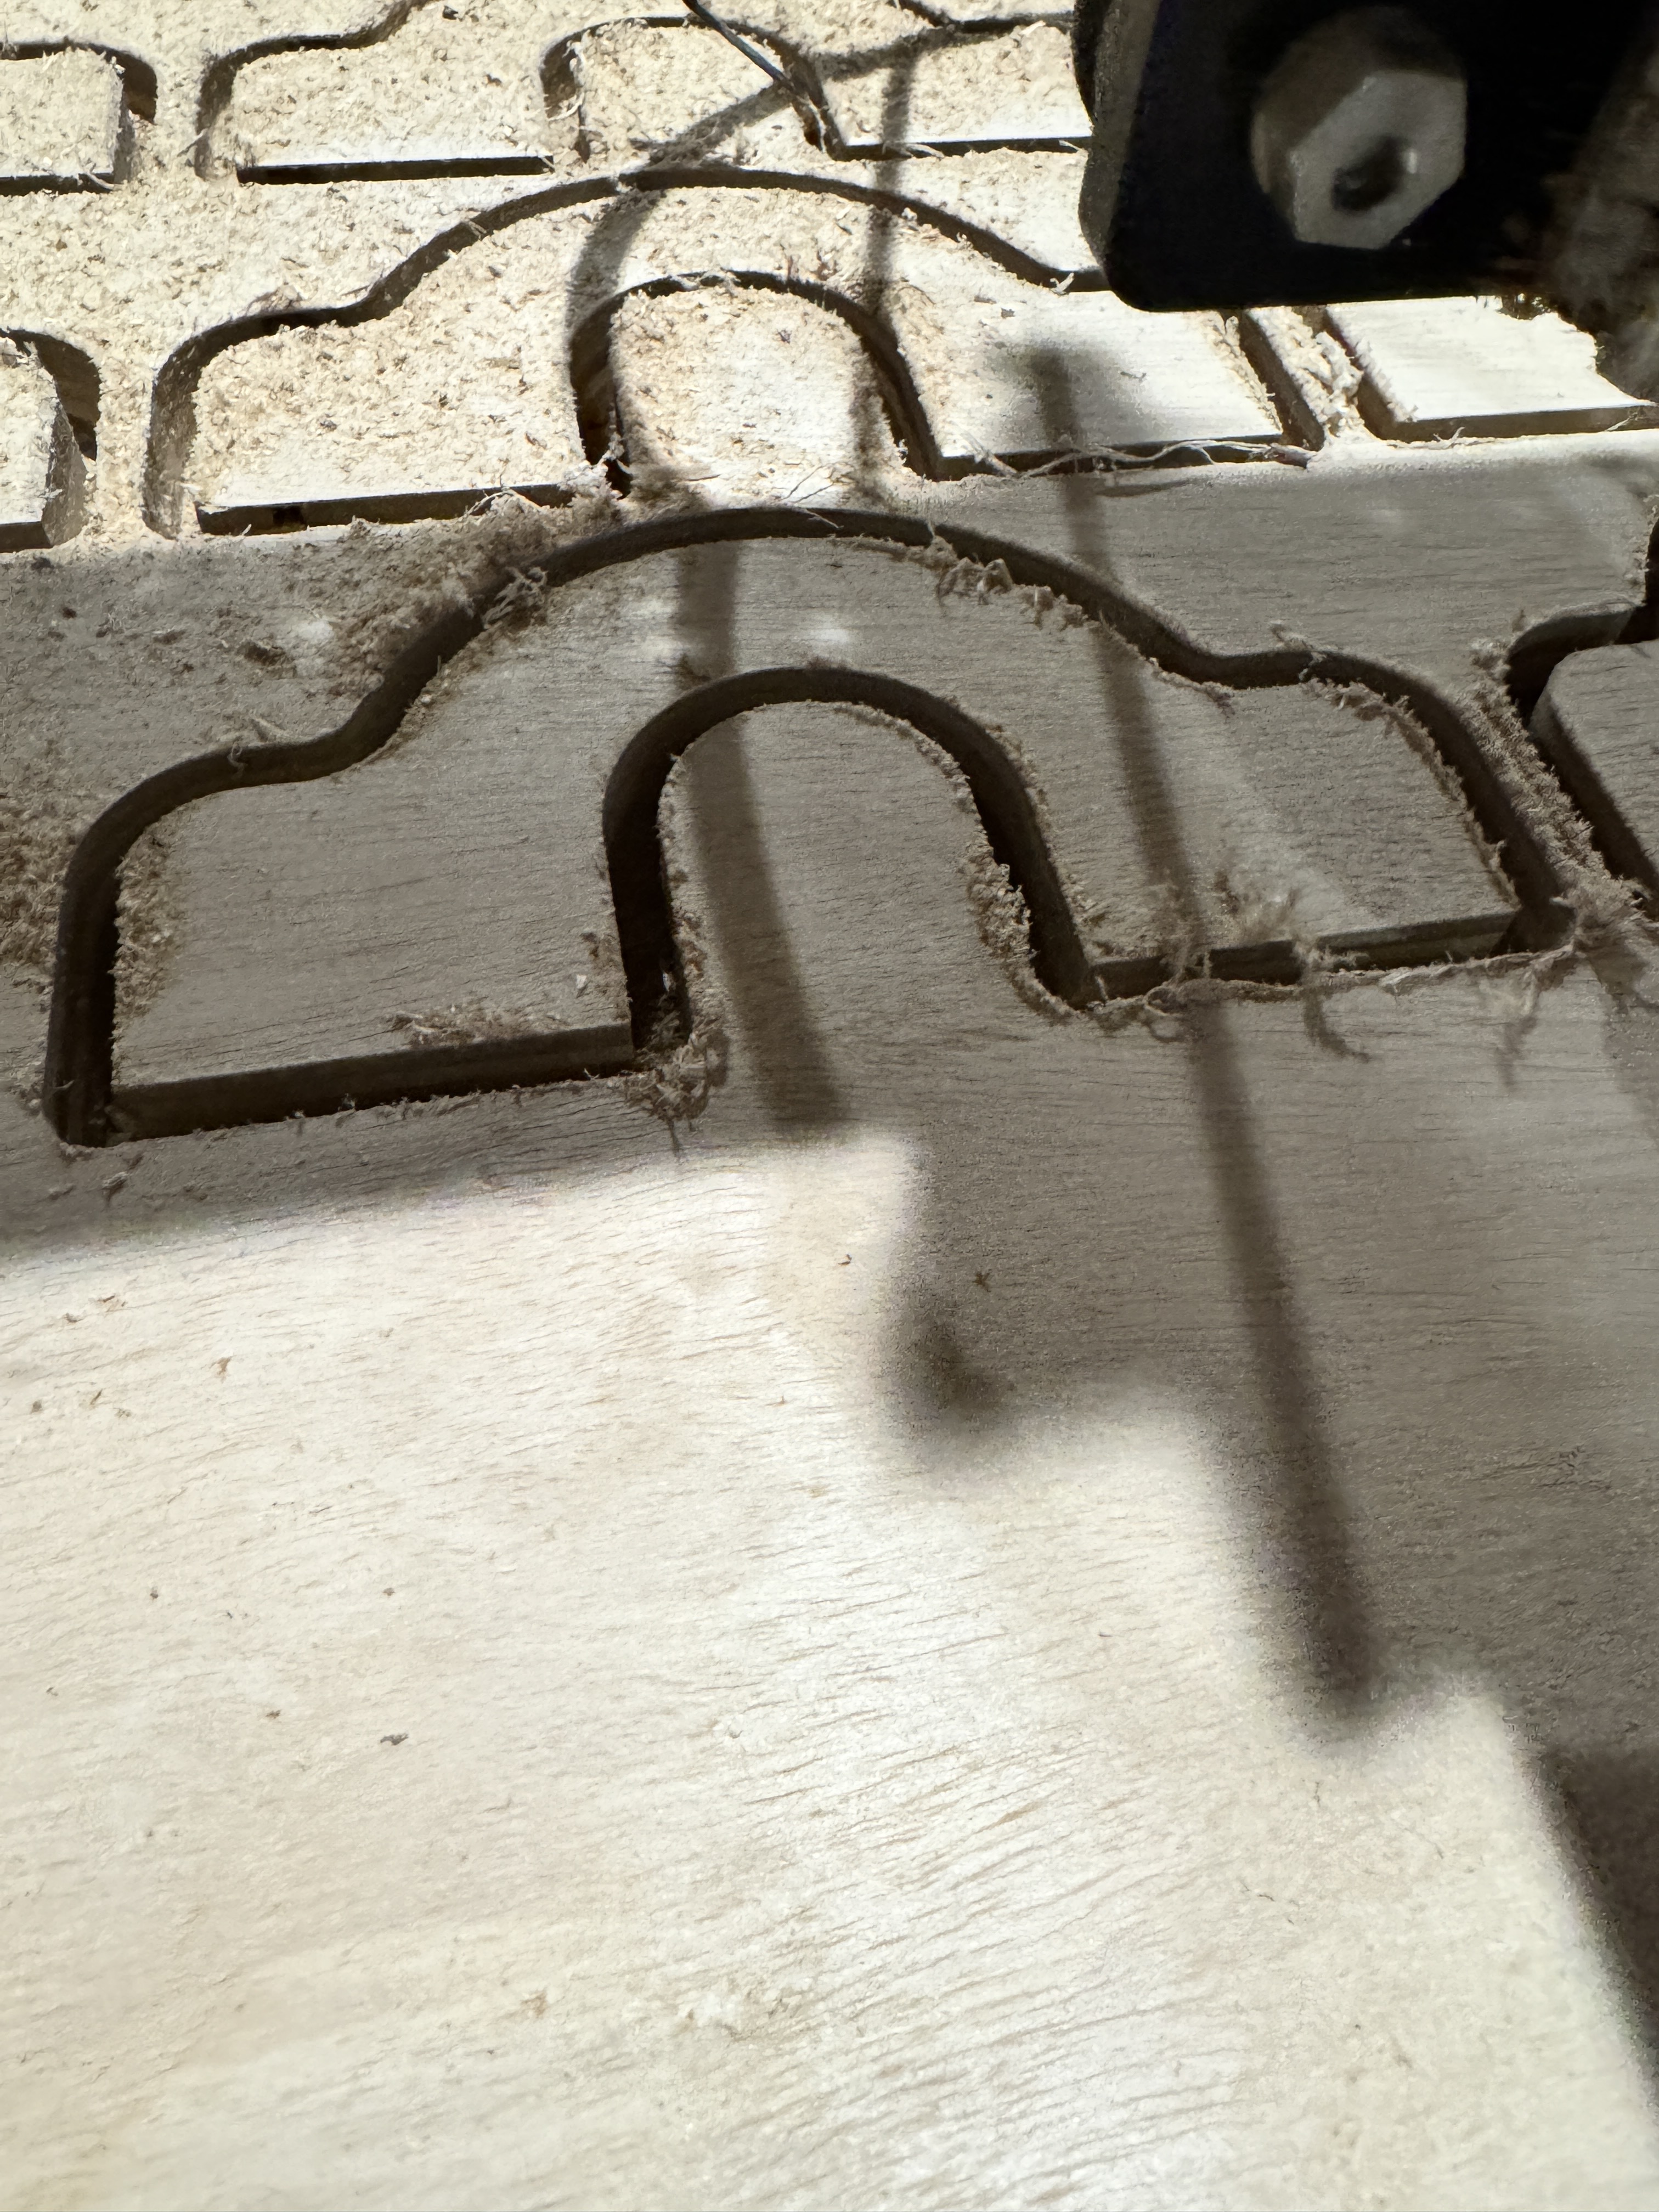
I’m cutting out a piece from 3/4 plywood. I’ve currently been using the #102 endmill. I was using the default settings, but it was taking hours to cut out multiple pieces. I need to speed this up a lot. After reading a couple of posts, I’ve changed to from the default settings to the following. Can someone tell me if my new settings are good, bad, if I can change them to run even more faster/efficiently or if they aren’t in the ballpark at all.
Thanks for that info Will…That’s a lot of reading and math. Going from mm to inch throws me off a little from time to time…So based on the info that you provided, am I on the right track to think that I can use the following to cut out an object from 3/4" plywood using the #102 endmill:
Depth of Pass : .045
Plunge 24
Feed 90
RPM 24,000
This will provide a chipload of .04868mm (.00191) which falls within the .001-.0025 …Am I correct? Can I run with those settings without jacking crap up?
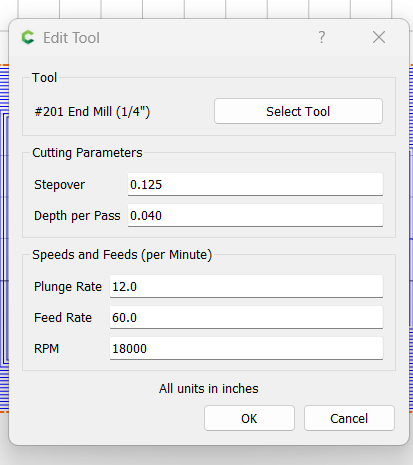
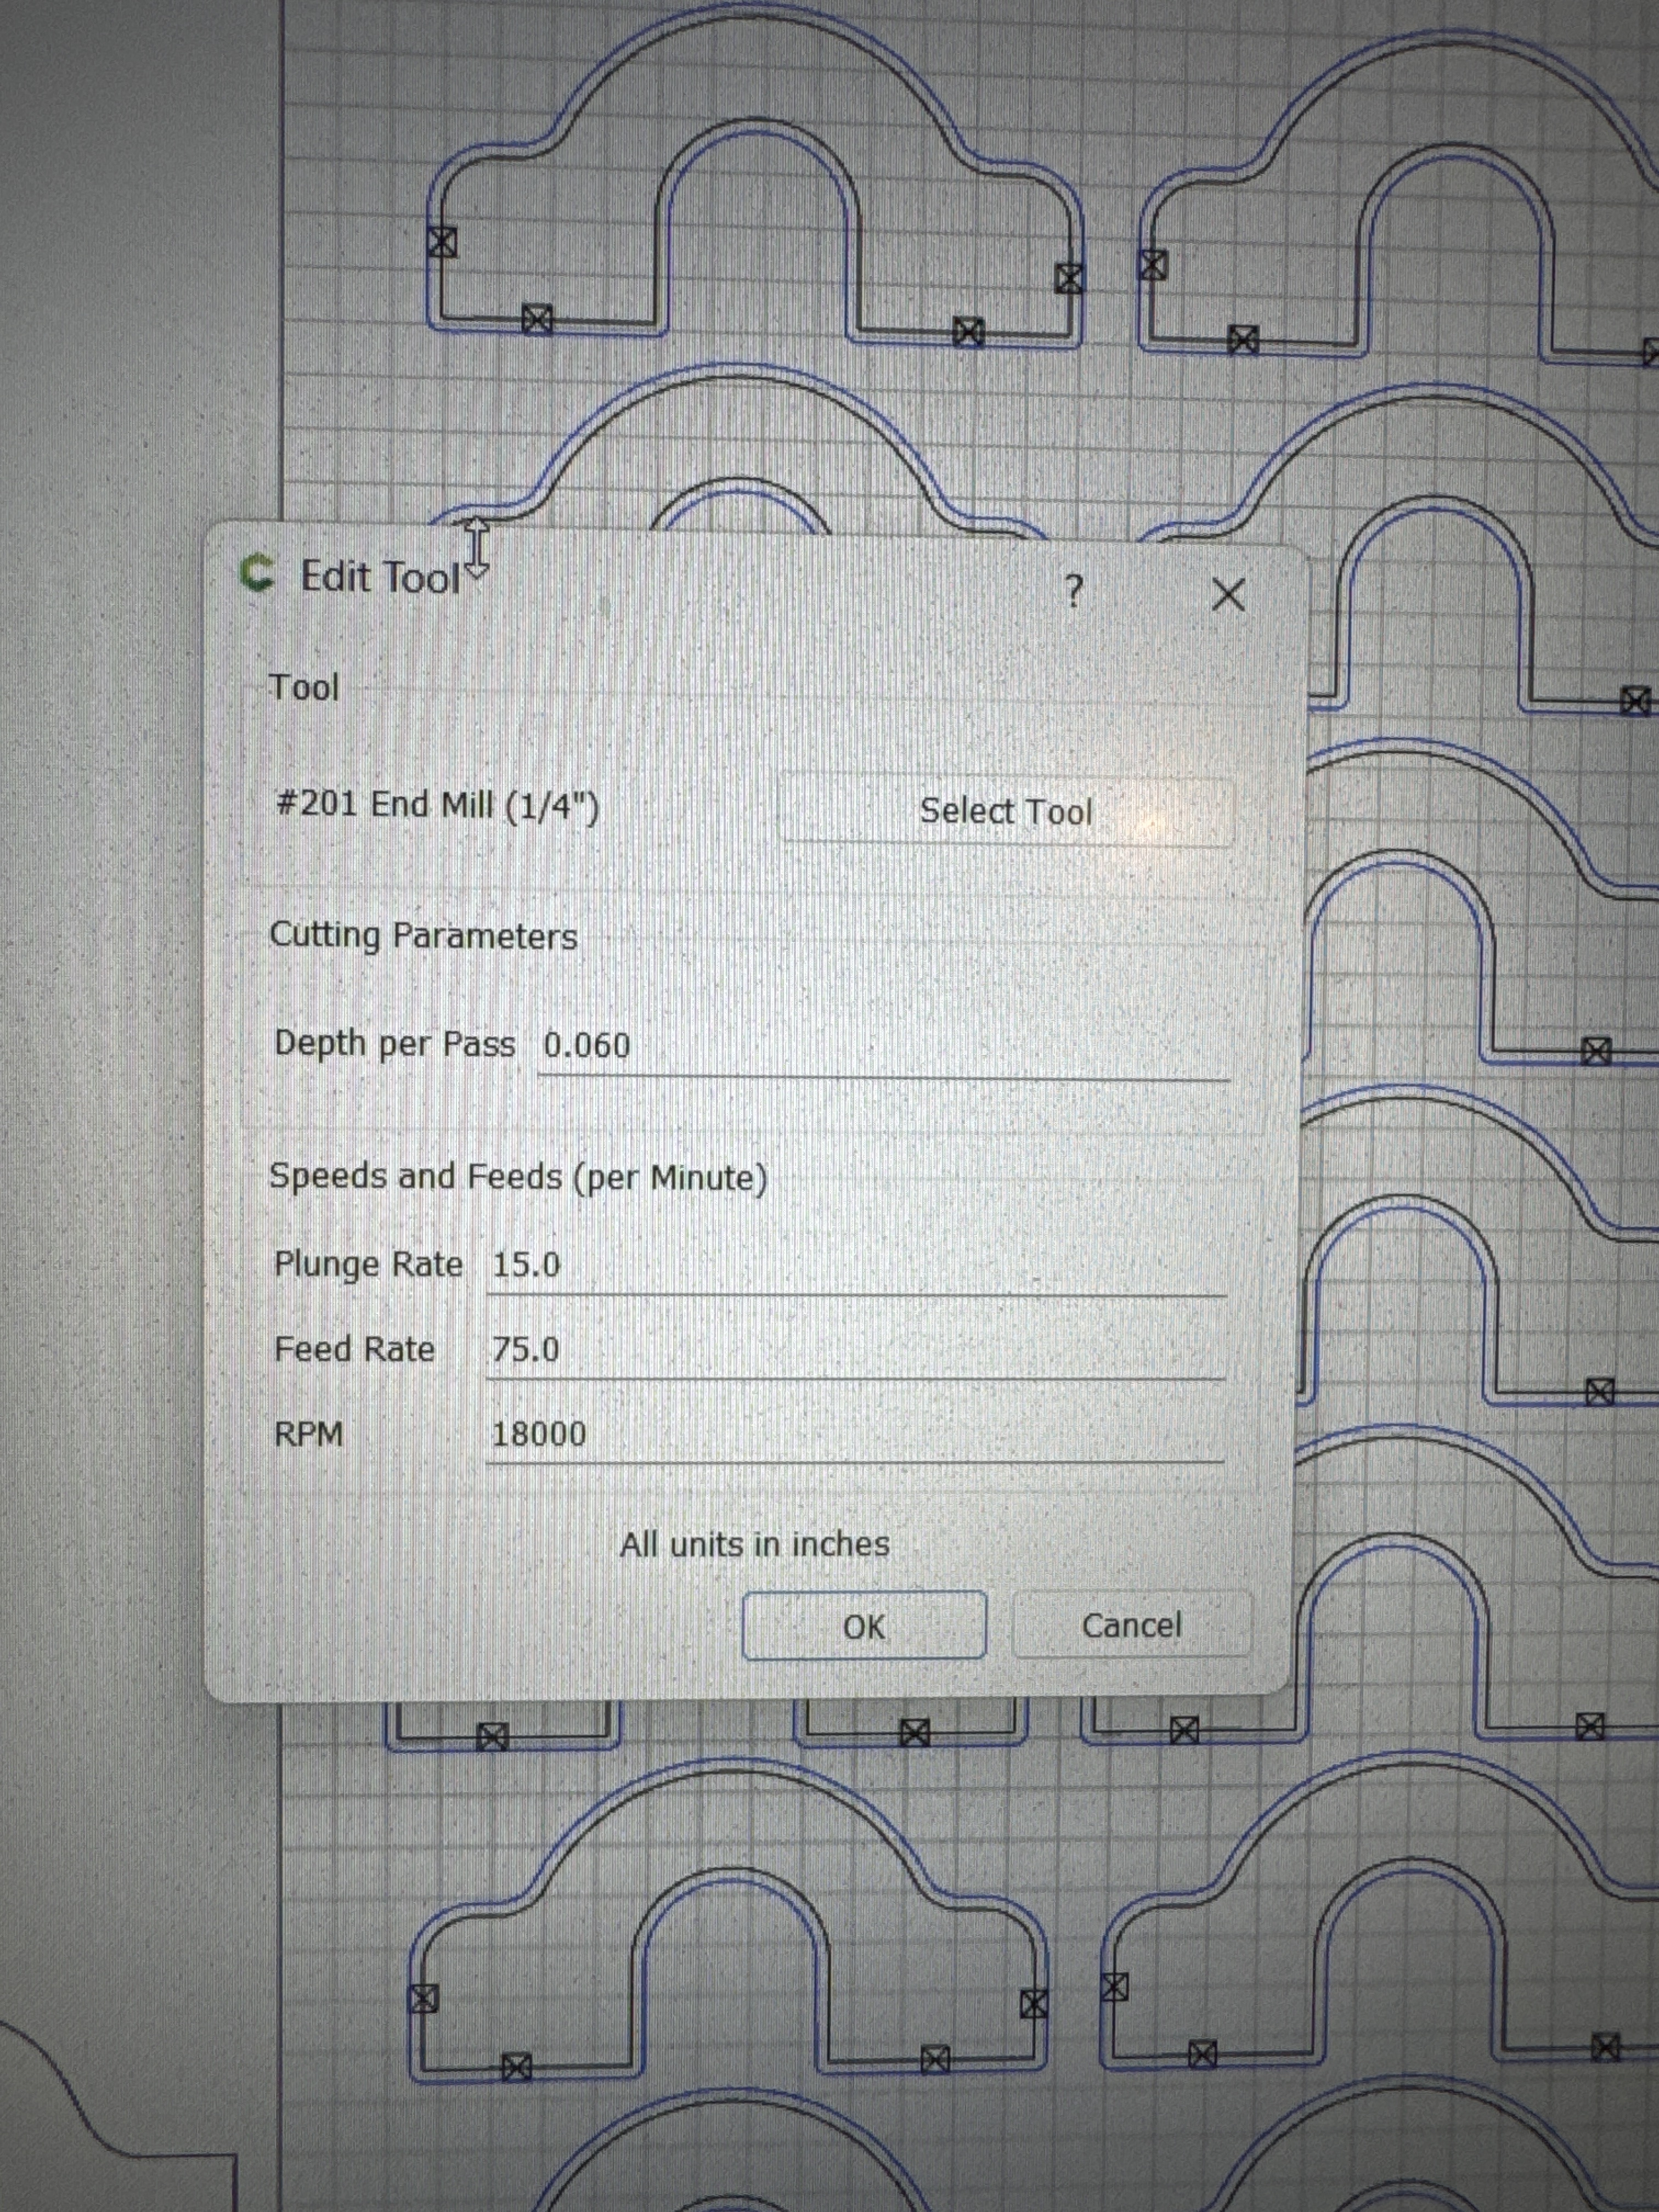
I opened CC and created a pocket tool path with a #201. I picked the Carbide3d Hardwood tool set for the #201 and I am getting very different F&S.
So what tool set are you picking or are you manually picking your F&S.
The #201 is a 3 flute flat end mill and is a 1/4" diameter bit. That bit is a kind of a default bit but I seldom use it. I prefer the #251 1/4" down cut end mill for most places where I need a 1/4" bit. The thing about F&S is chip load. with a 10000 RPM you will not get a big enough chip and a 20 IPM speed is very slow. So take a look at which tool set you are using and if you want to use the C3D defult settings try picking another tool set for the machine you are cutting on.
I am using Carbide Create v7 768 and here are the possible tool sets. I am sure v6 CC would have similar tool sets available.
I chose the #102. I don’t like the thick cut of the 1/4" #201…But if that’s the best end mill to use, then I guess I need to go with it. So how do you go about actually picking an endmill to use for the project? I just clicked on tool selection, clicked "Carbide3D - Shapeoko- Softwood…then clicked “endmills” and then chose the #102 from the drop down. Is this the right way to do it? Is there another/better way?
Sorry I misread your original post. You said #102 and for some reason I thought #201. The post is still factual about choosing the correct tool set for the machine you have. As other said you can manually change the F&S in the tool path tool selection but that is only for that one tool path. Also you can adjust the feed rate up/down while running the job in CM.
Usual preface, I’m with PreciseBits so while I try to only post general information take everything I say with the understanding that I have a bias.
In general I’d say those numbers are fine. Although, your chipload would be 0.001875" (0.047625mm). In general I try to start most people with similar setups and 1/8" shank tooling at a 0.002" chipload. That would work out to 96 IPM. For the highest production numbers I’d test increasing it until you reach a limit of either the material or deflection (bending). If you reach a cut quality limit first then start playing with the pass depth. I always try to split the pass depth into even passes to keep the cutting forces as close to the same as possible.
The above aside you won’t be able to cut this with the #102 (or at least shouldn’t). It only has a length of cut of 0.50". Exceeding that and you will rub the shank and greatly increase the heat and forces. There are tools out there that are 1/8" with longer cutting lengths. However, they are mostly made for finishing work and not well suited for primary cutting (at least without cleanup). Even then I wouldn’t use them slotting which is what it sounds like you are doing. Might be able to do it with necked tooling but in general anything with an aspect ratio (cutting length to diameter) over 4 or 5 to one is going to come with a lot of compromise.
A lot of this will come down to experience. There’s a number of things to look at like the material you’re cutting, required cutting depth, and chipload. In this example you are going to be excluded from using the 1/8" due to the total length of cut so that pushes you to the next size. Increasing the tool diameter then changes your RPM due to surface speed and will increase the cutting forces for the same chipload and cutting depth due to engagement time, MRR, etc. Then there are flute counts which should be feed scaled with chipload (more flute more feed). Up vs down cut can also change a lot depending on material and cut type. The list goes on… Probably the simplest way to think of it is only select features that you know you will use. Every feature of a tool will be used, either for you or against you. So as an example if you don’t have plans to use an extra flute or increased cutting length, don’t use that tool.
Hope that’s useful. Let me know if there’s something I can help with.
Thanks for that info. I truly appreciate your willingness to help out. I’ll have to read up on all of that and try and figure it out.
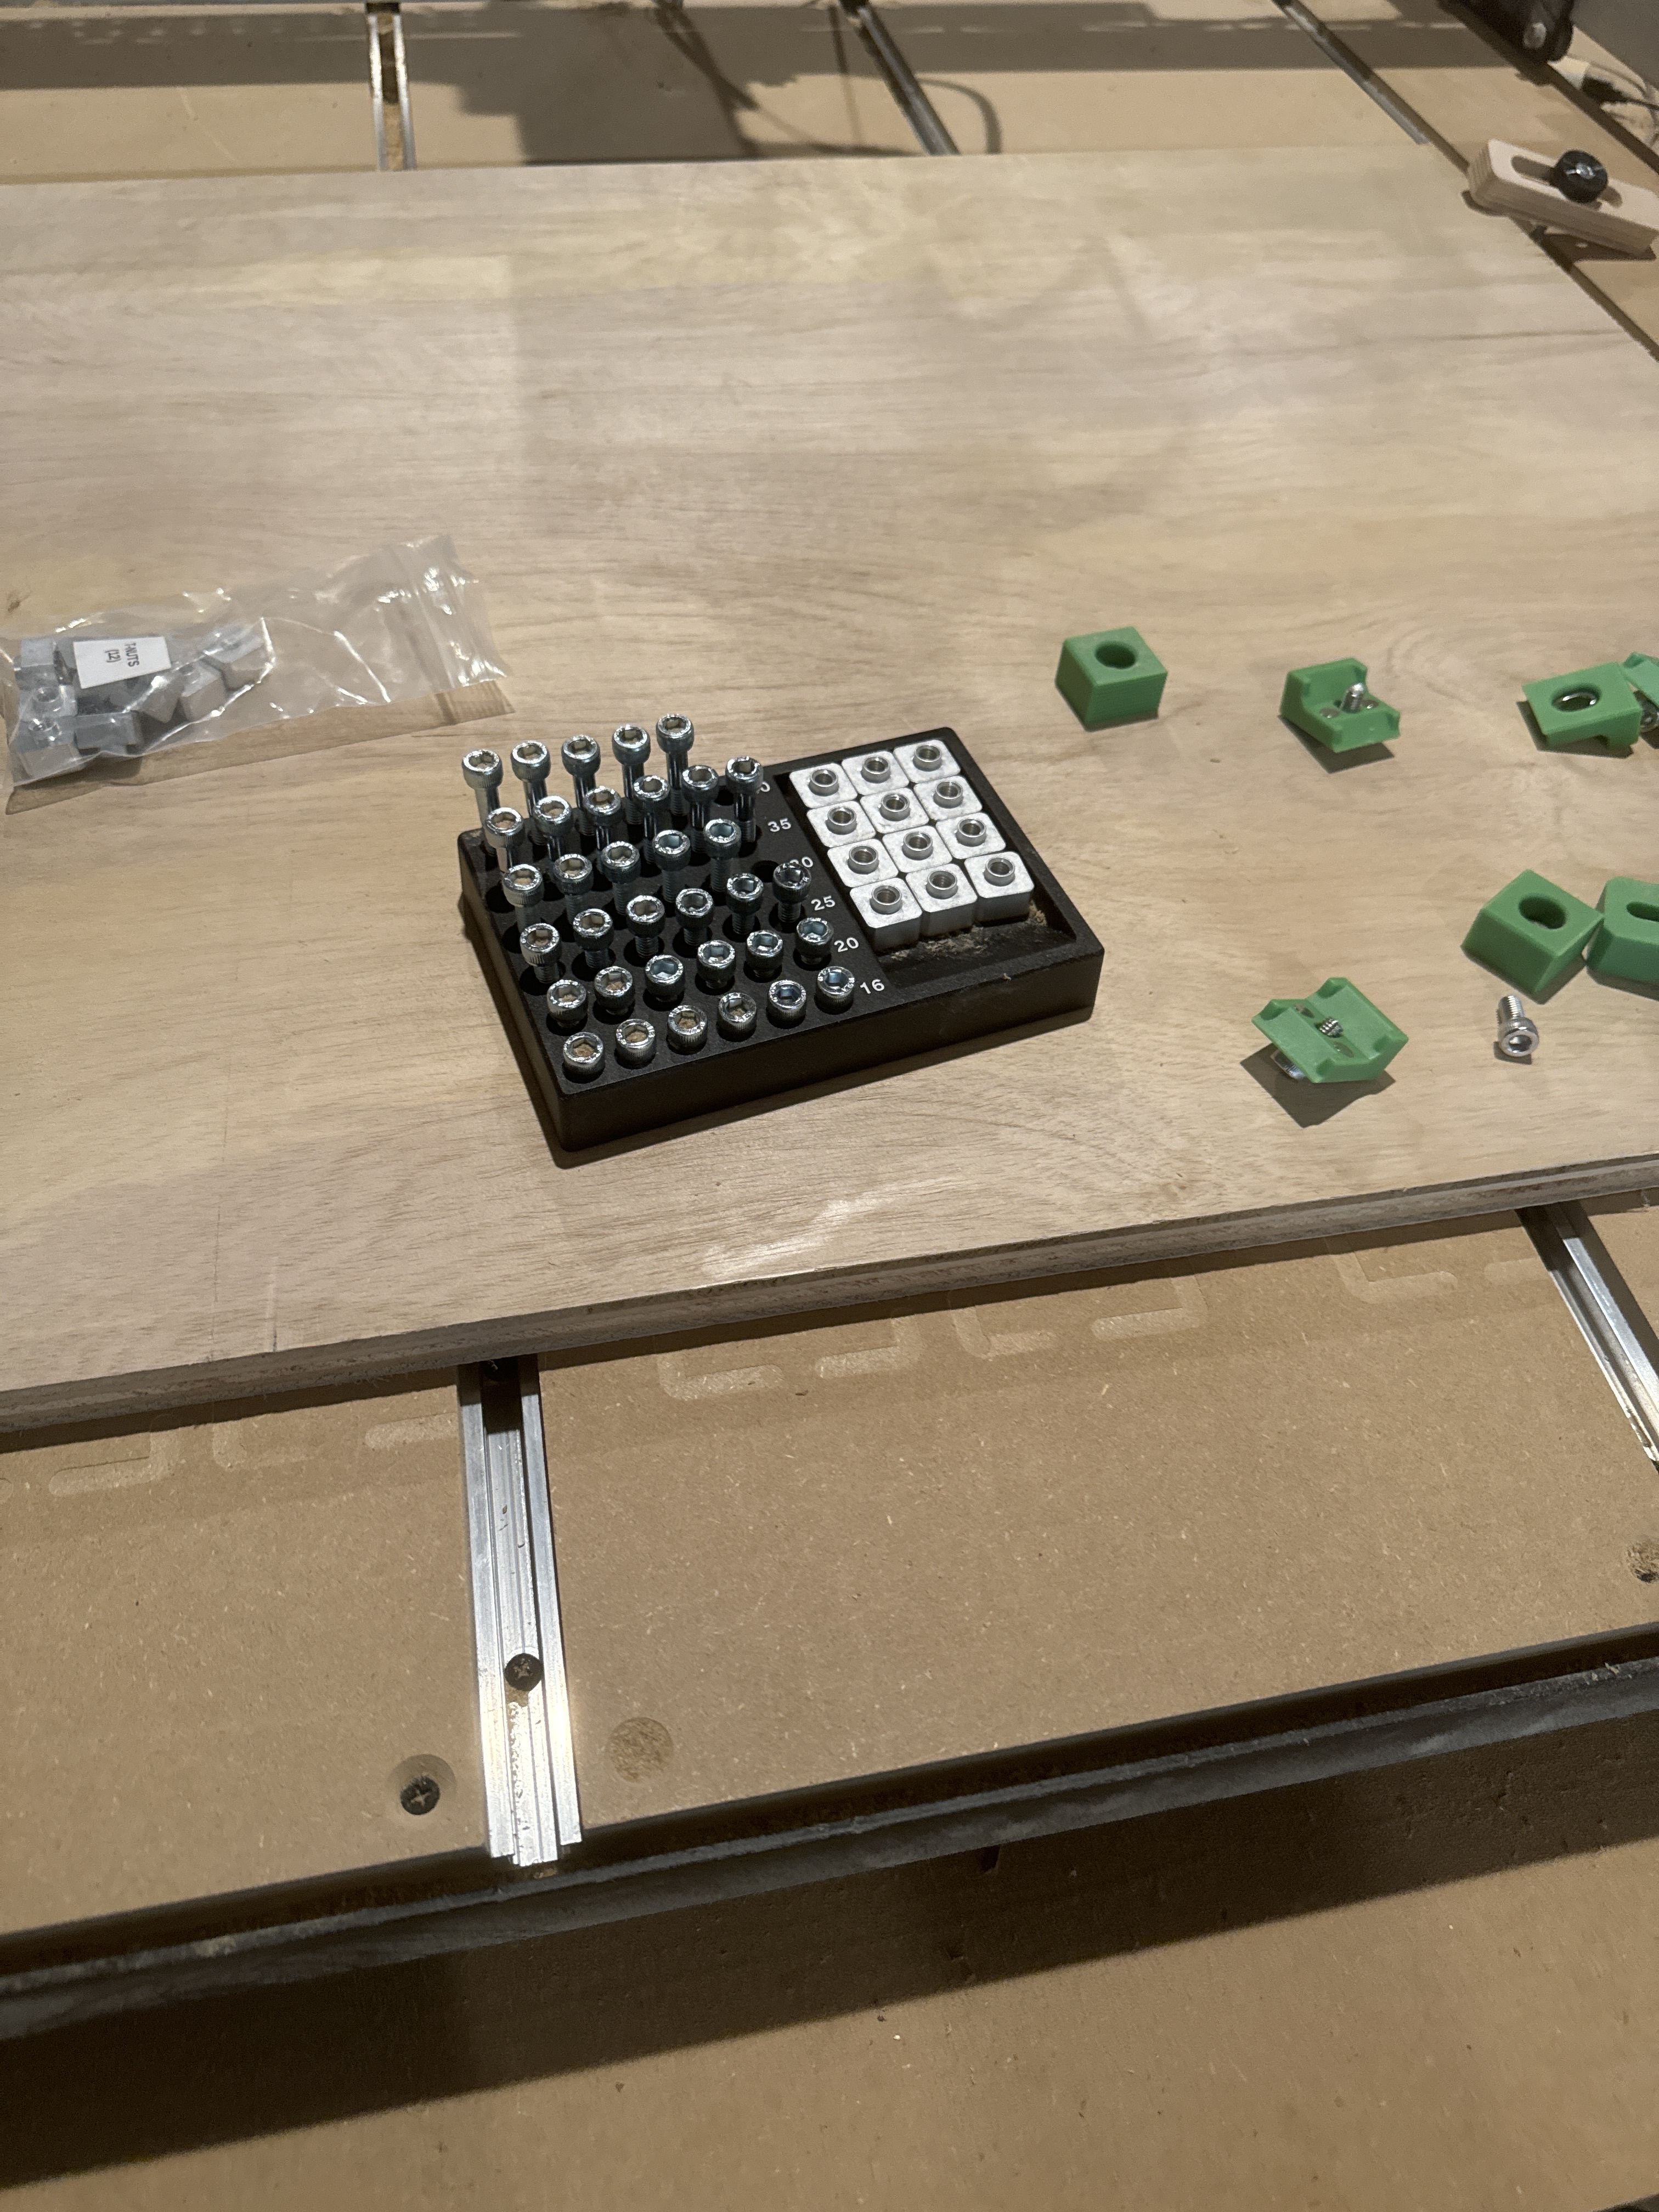
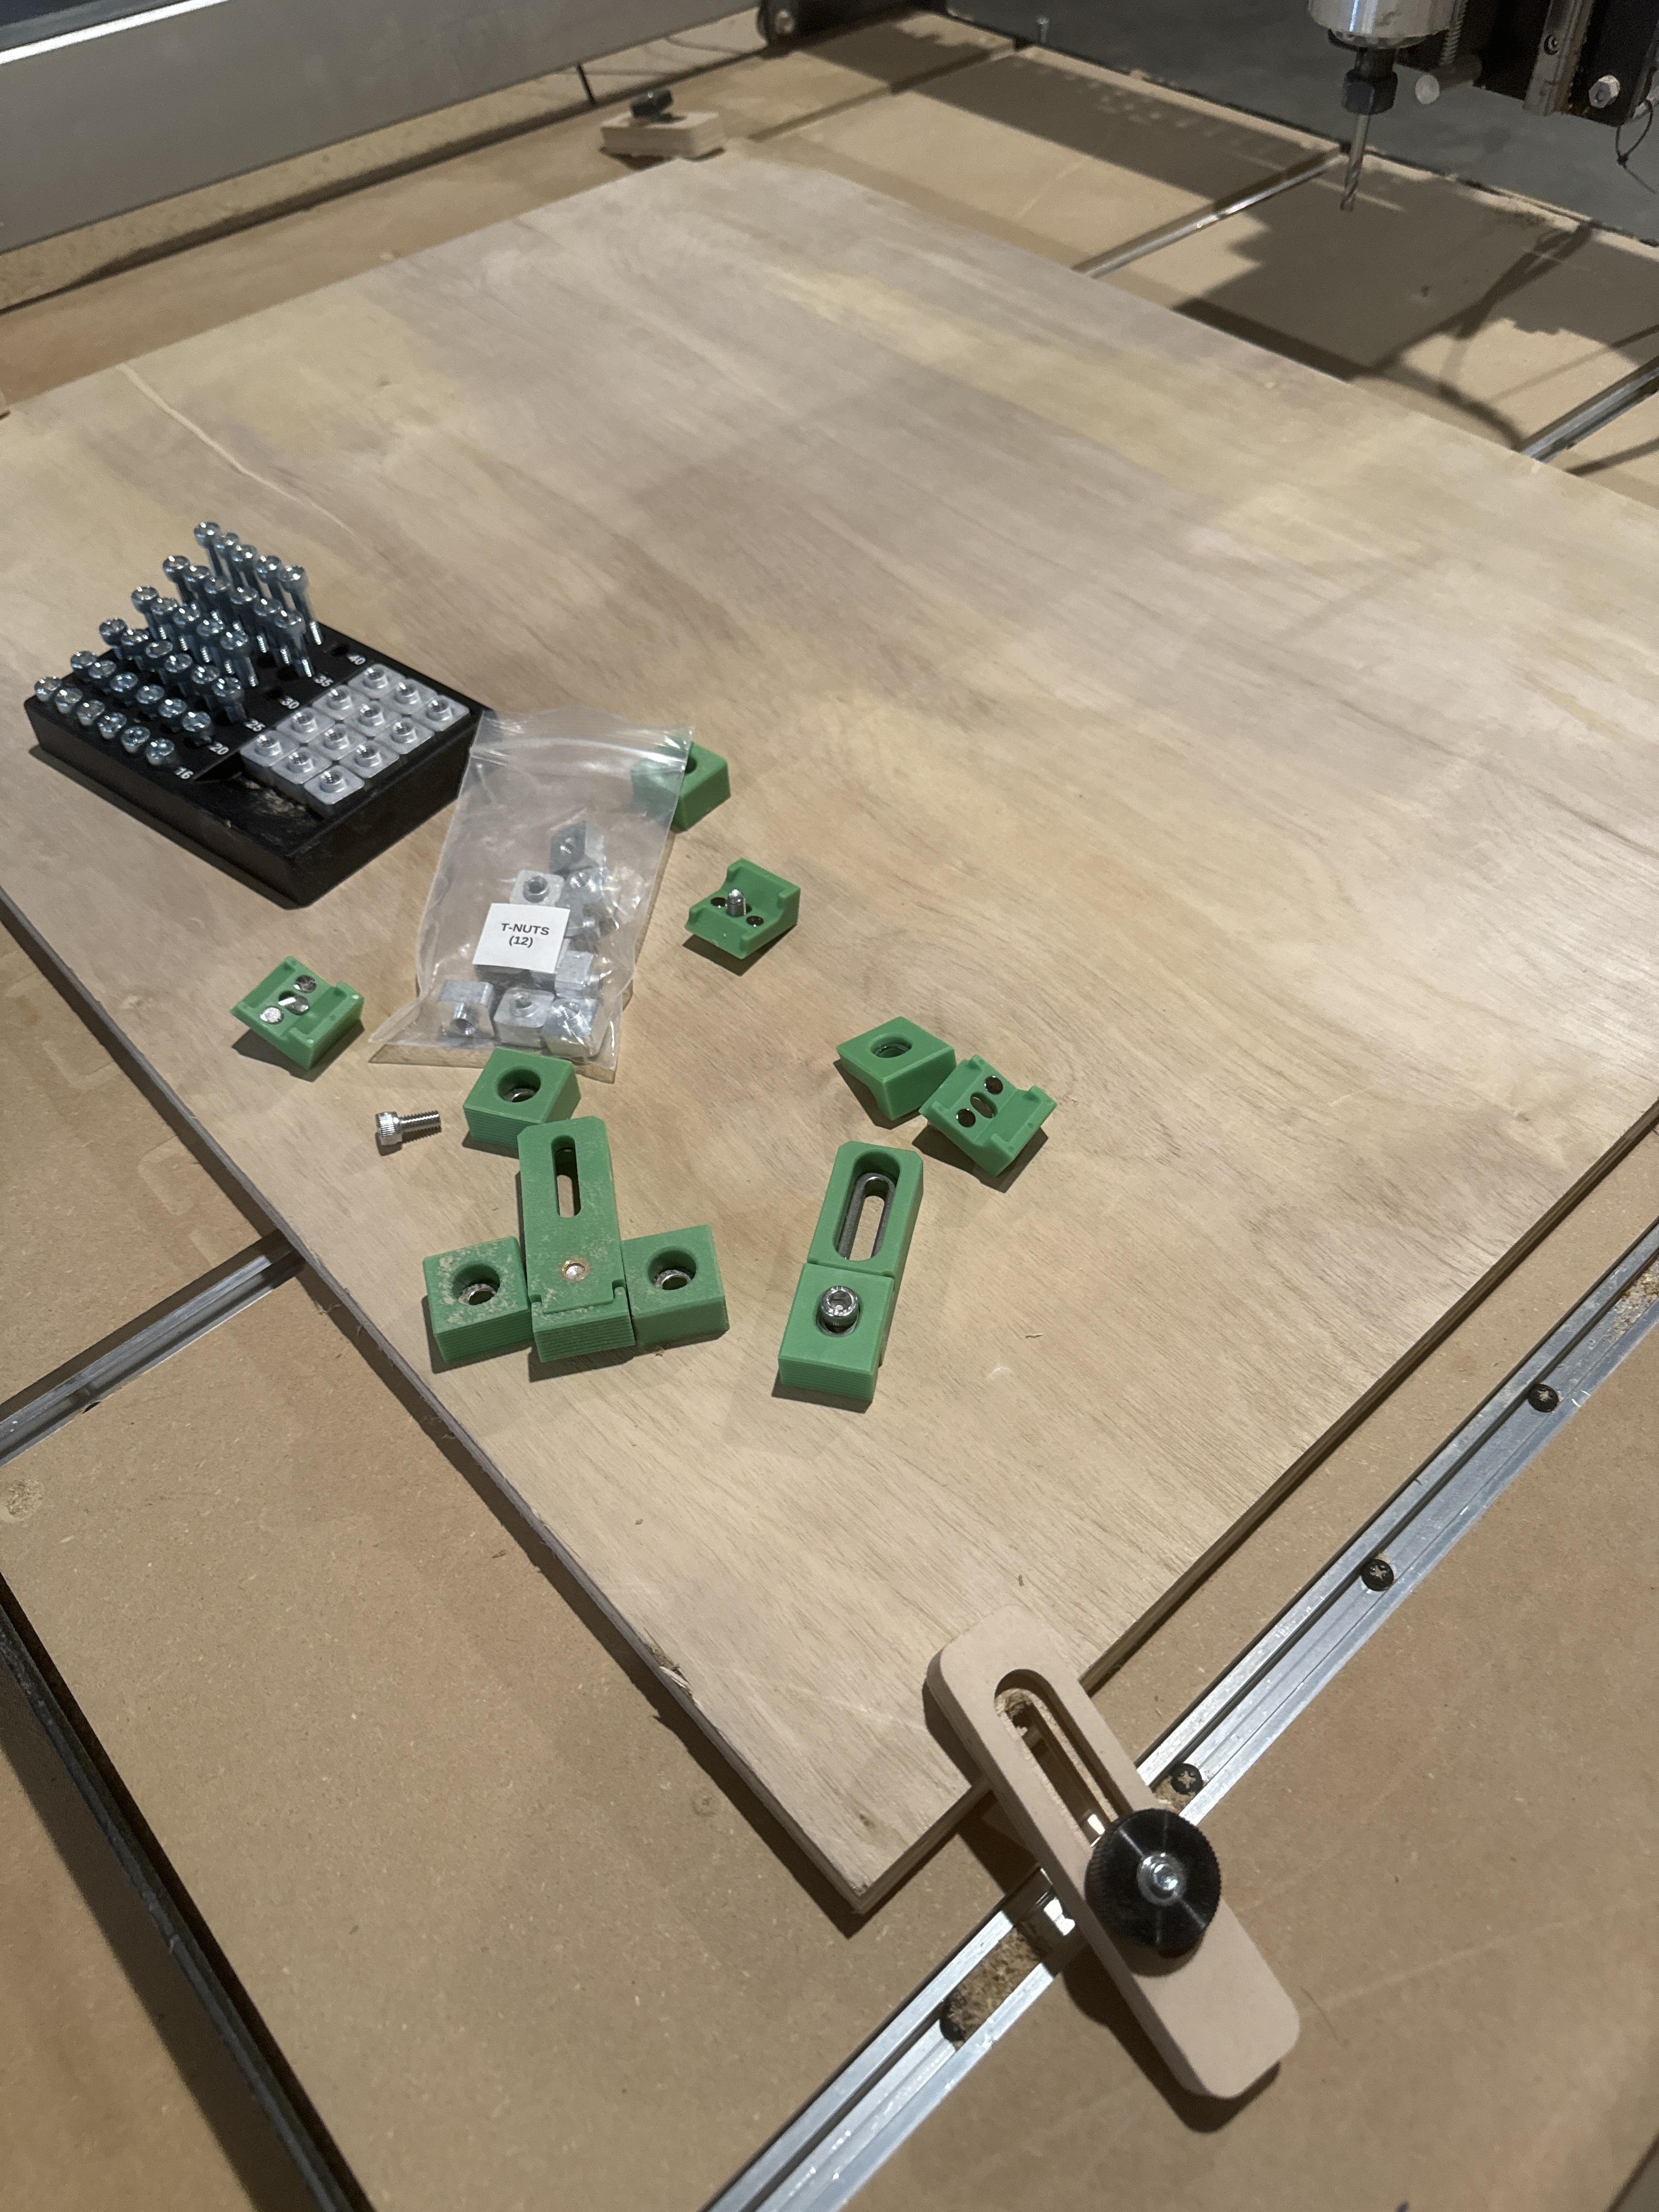
Here’s another question for ya…… what do I need to do or get in order to use the crush-it nuts/teez nuts to hold the material? I bought these but the nuts are too wide to slide in to the tracks.
Thanks for the reply…Is that what I have? A Shapeoko 3? Heck, I don’t even know which model I bought a couple of years ago. To be honest, I bought it a couple of years ago and it sat and collected dust. I finally told myself that I was going to try and learn how to use the machine…Hence the joining of the community board and posting questions.
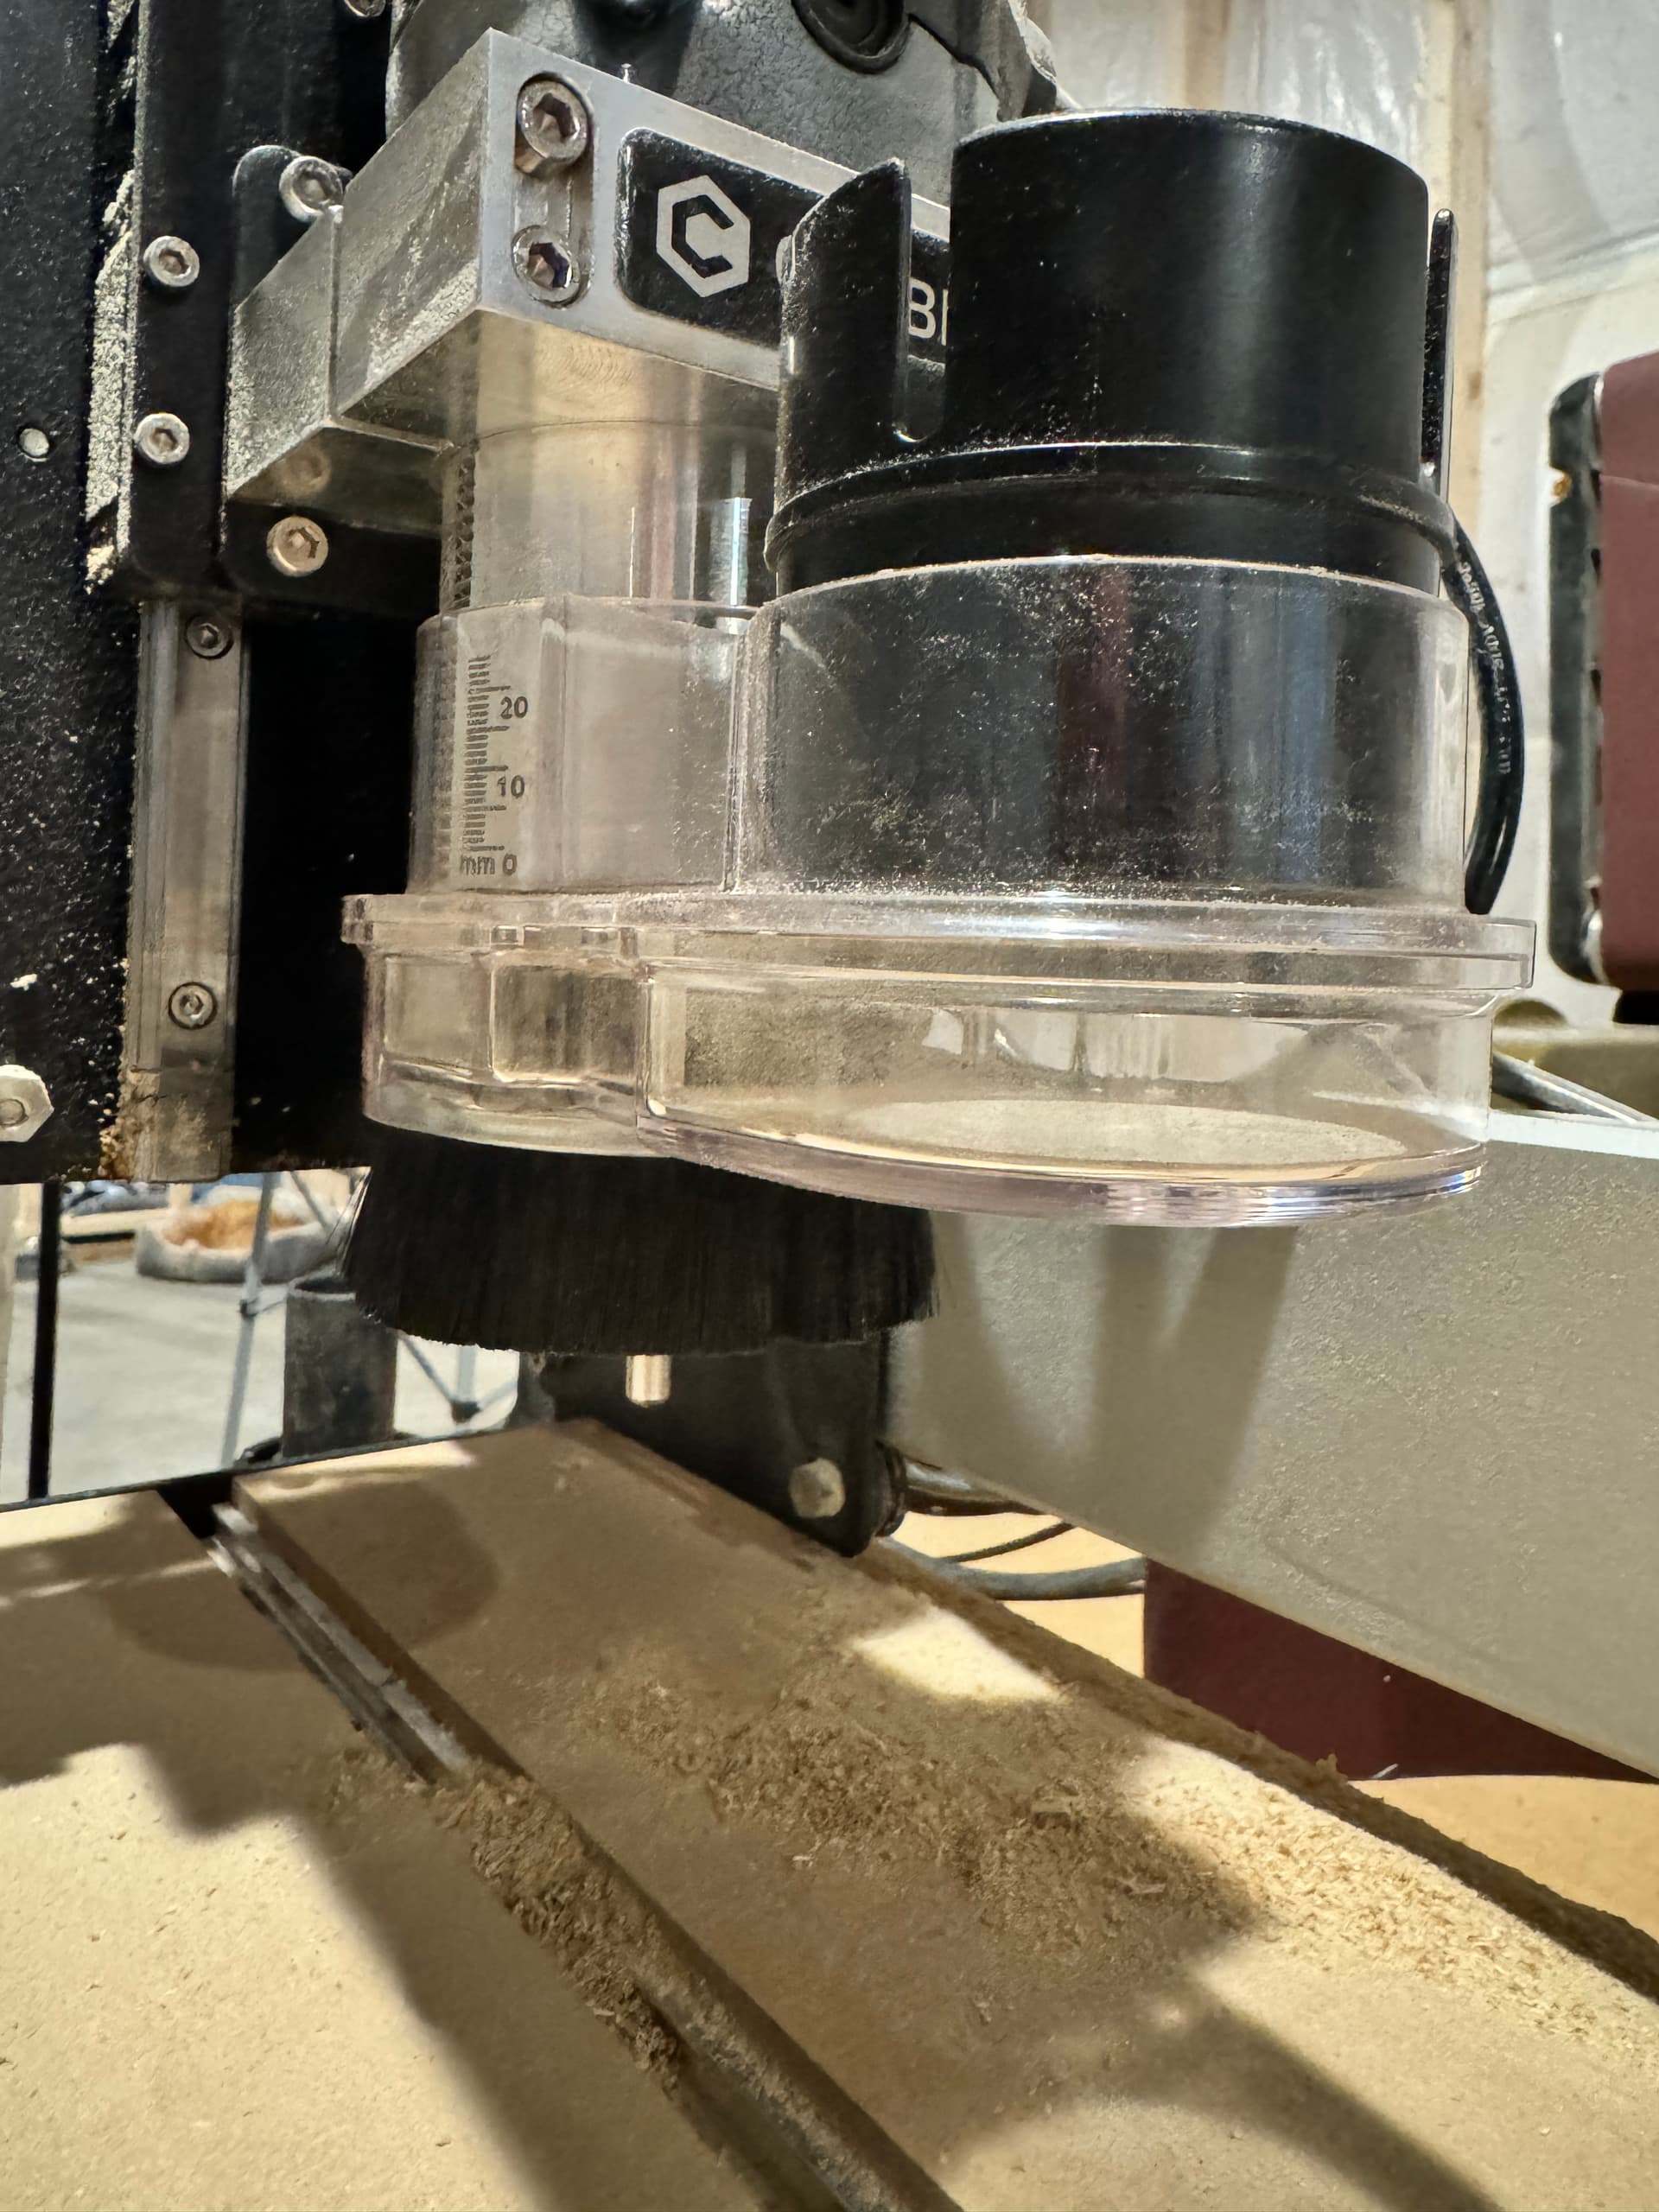
Speaking of posting questions…how far down do you set the sweepy boot? After cutting a bunch of stuff in our basement WITHOUT any type of dust collection…AND hearing my wife yell and scream about the amount of dust I covered our house in…I immediately went out and started purchasing dust collection equipment.
Does the sweepy thing ever hit one of the material securing clamps? Seems like if I set the sweepy to low it could definitely hit the wooden material clamps that came with the machine. Those things stick up 3/4" above the material being cut.
Your photos show a T-track setup intended for an SO3.
The Sweepy dust boot may be positioned as low as is appropriate for a give cut so long as it is still secure — I try to keep the tip of the tool aligned with the bottom of the brushes.
Last question…(ok…probably not…but last question for tonight…LOL)…Is there a thread or video on how to use the Crush It and Get a Grip work holding pieces? I have them (obviously can’t use the Teez Nuts with them), but I have no idea how these little pieces work to hold things down.
Disregard the post above asking about the Crush it clamps…I found all of the videos and info on how to use them. I’m not sure how I missed them before. Thanks again for everything!
Consider getting the deep sweepy boot as well. Before I got that I was constantly repositioning the height of the mount and now I rarely need to with the deep boot. If I am getting near the surface or clamp on a cut I pause and swap the deep boot out for the regular. Except when I don’t as I posted a couple of days ago and had an oops.
Bonus, the curve in deep sweep is friendlier on the vacuum than the hard 90 in the regular version and therefore quieter.