Hi,
I’m pretty new to CNC and have had my Shapeoko 5 Pro for a few months (I do believe the first one in Sweden).
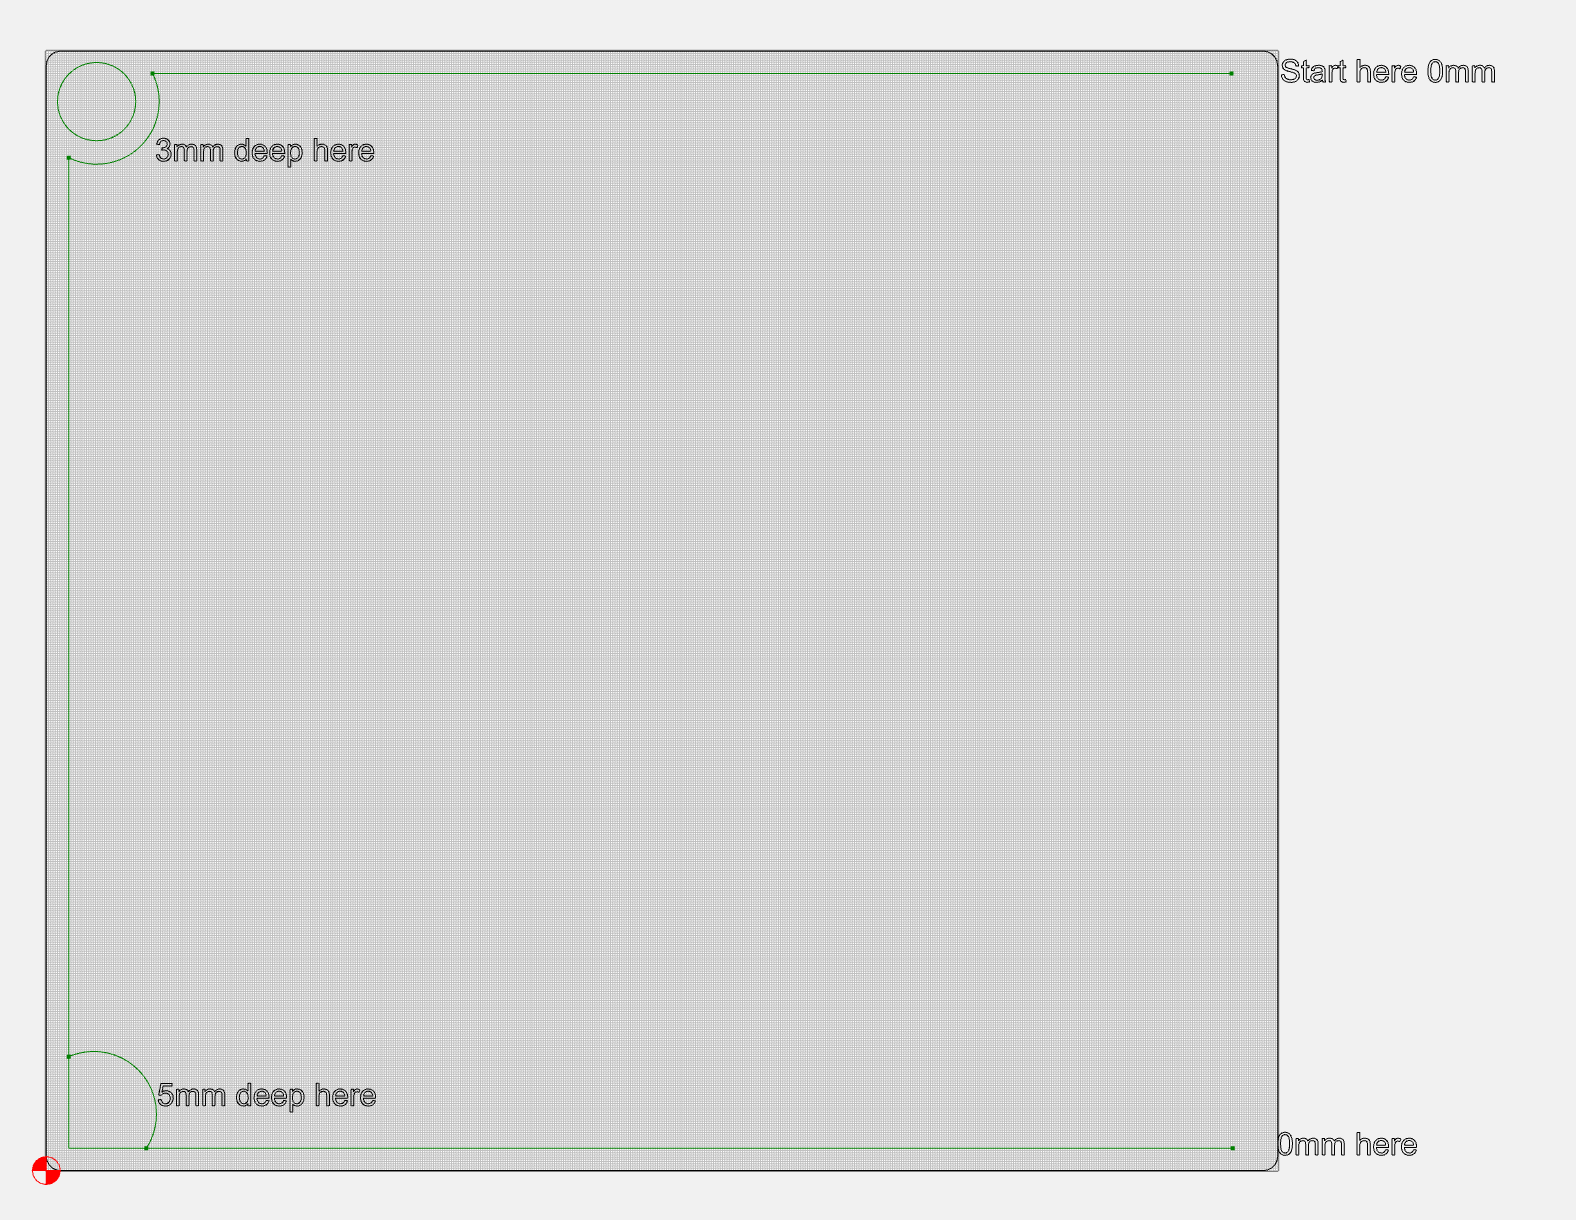
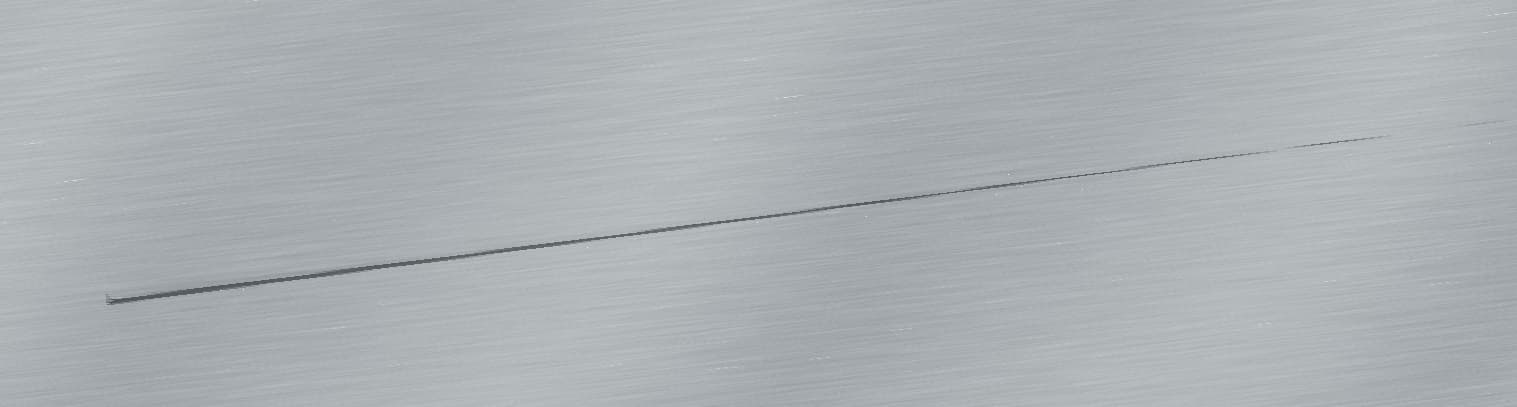
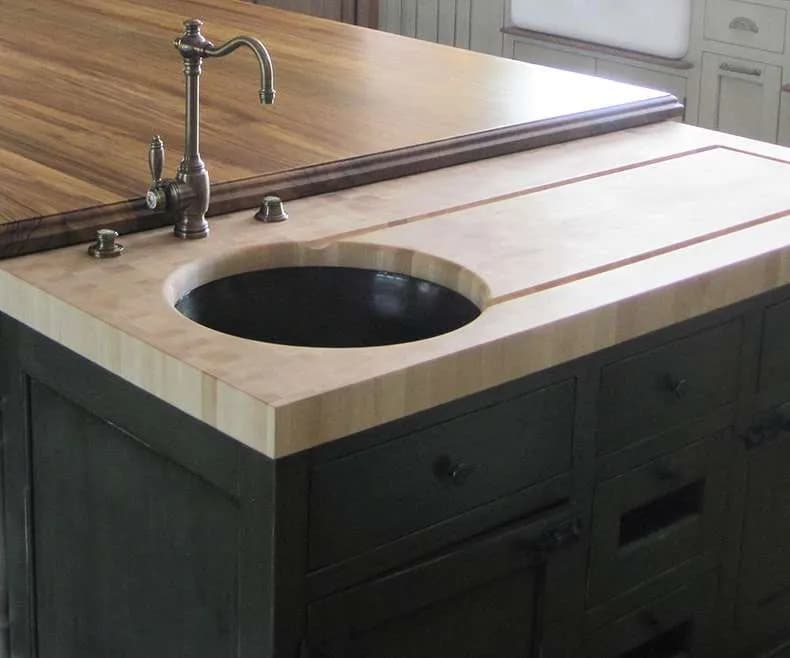
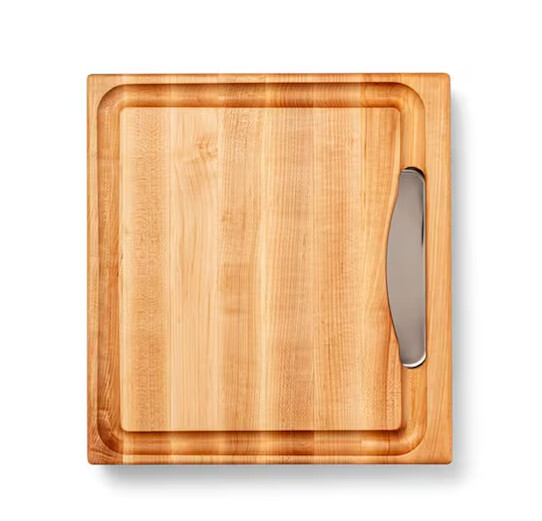
I’m making an inlay cutting board and have an idea for a tapered juice grove, with one side completely open so its easier to scrape things off the board. I want it to start in one corner at 0mm then end up in the far corner at 5mm depth, how the heck do I program the CNC to do that.
I would really appreciate any help on this. The picture is for clarification of what I want to do.
The easiest way would be to program it flat and edit the Gcode at the appropriate point.
You can model the tapers, but to cut in 3D you have to use a lace/zig-zag/raster cut, so you need to limit the cut with a boundary just a smidge bigger than the cutter.
Keep in mind you don’t need to model the entire board. Only the taper. The rest can be cut with 2D.
Probably the most expedient thing to do would be to set up a fixture for holding the board at the correct angle and then cutting a series of larger/deeper pockets using a much simplified version of:
What I did, was I created a black-white gradient using Photoshop (I’m sure you can use any photo editing tool). then imported the gradient as a relief map. If you adjust your shades of grey correctly, you can get any depth settings / layout that you want.
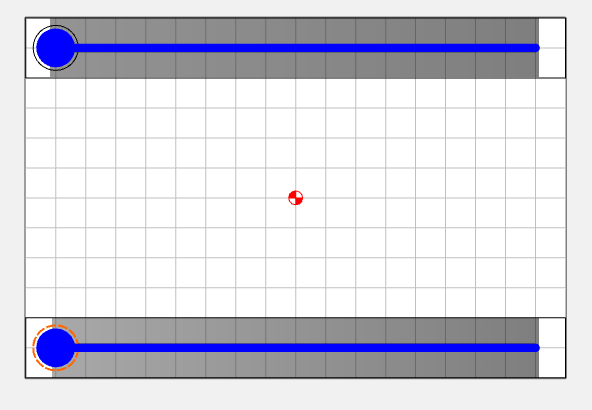
I was making a tapered trough, the simplified image is this (boxy):
Where everything black will be at top level, and white is bottom level — you will then need to modify your gradient colors to get the heights you want…but that’s an idea…the board would be flat at the top and then dive down to max depth on the bottom right.
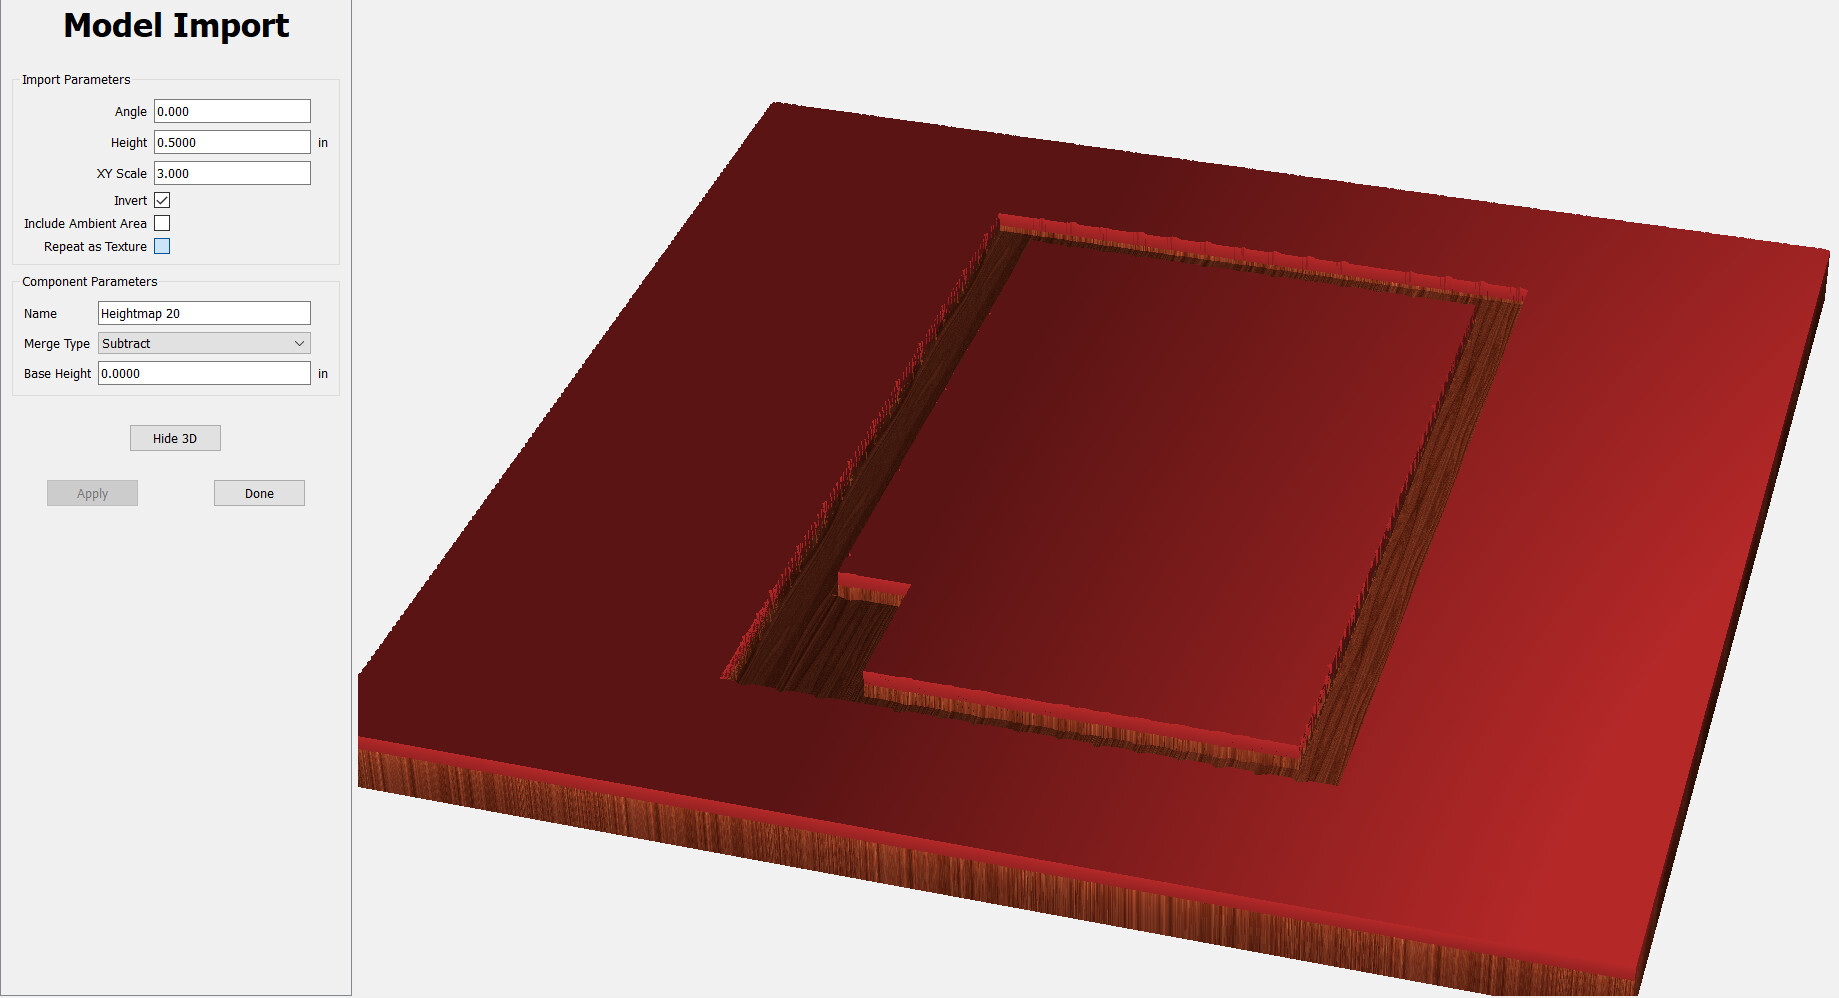
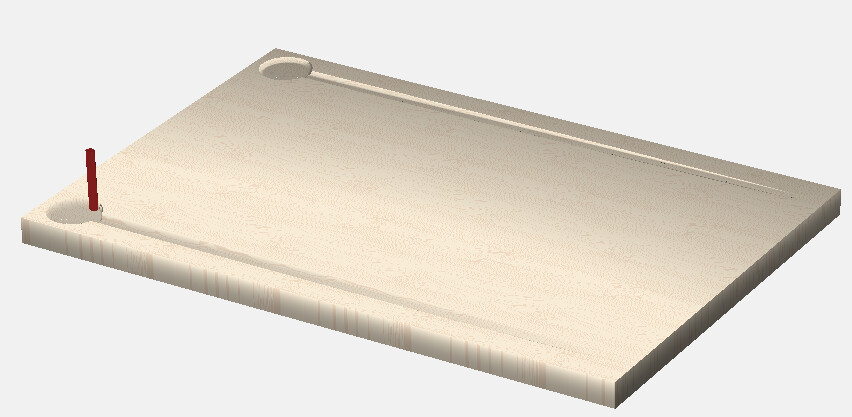
Here’s what I was referring to. Build the ramps locally, then use a boundary to only machine the groove. I machined the round pocket using a 2D pocket path.
It seems to me that you could “trick” cc into doing that by using an Ad Varve, but instead of using a V-bit, install a Bowl Bit? The Vector would be a long, skinny Triangle.
That would certainly do it. A little math involved, but with a 90° vee the width would be twice the depth. So in this case 5mm would be 10mm at the wider end.
There is occasionally a bug with very sharp shapes & you may have to make the other end something very small like 0.001" wide, rather than 0.000. i.e. add another point.
PixelCNC’s paths-carving operation will let you use a vector (aka “paths-layer”) as a cutpath that is conformed to a heightmap image, like a diagonal gradient as others have mentioned.
Sorry to throw in my usual monkey-wrench, but why do you need a “tapered” juice groove in the first place? I know, its only an exercise.
I’ve built and used a few juice-grooved cutting boards, but I was only concerned with getting more depth and width in the groove to hold more juice (and keep it off the counter.) The taper will only decrease the volume of the groove. (Not to mention helping to inadvertently empty the reservoir if the board is lifted off-level.)
If you were the one using the board, I think you would think the same way.
I think the question is about “tapered”…which means becoming less wide over distance. I think what you’re showing is rounded…and perhaps pitched towards a receptacle…but it’s not tapered.
Without regard to what “it” is called, even an amateur cook will tell you that the juice in a cutting-board-sized groove is not going to flow to any great extent. The juice will be full of debris and will require assistance to move around in the groove. One can get the same use out of a pocket.
So, this is all just an exercise in design. Which is entertaining, at least.