Well I did launch the Beaver Pro, but thats another kettle of fish…
1 Like
Mine are 3/8". The only ones close to 1/2" are the ones for the idlers.
1 Like
I’m pretty sure mine are the same, that’s why I’m surprised to see the interference…
Well I just got a shipment from Carbide 3D today, so aside from a few other pieces of hardware sourced elsewhere I’m bringing the pieces of my expanded Shapeoko back to life with @Luke’s HDZ. My first impressions of the HDZ are really high!
One thing I noticed, and @Luke you can include this in your instructions if you would like. My plates that Carbide sent didn’t have a hole where the X homing switch is. I didn’t see that in the instructions, but perhaps I read over that part.
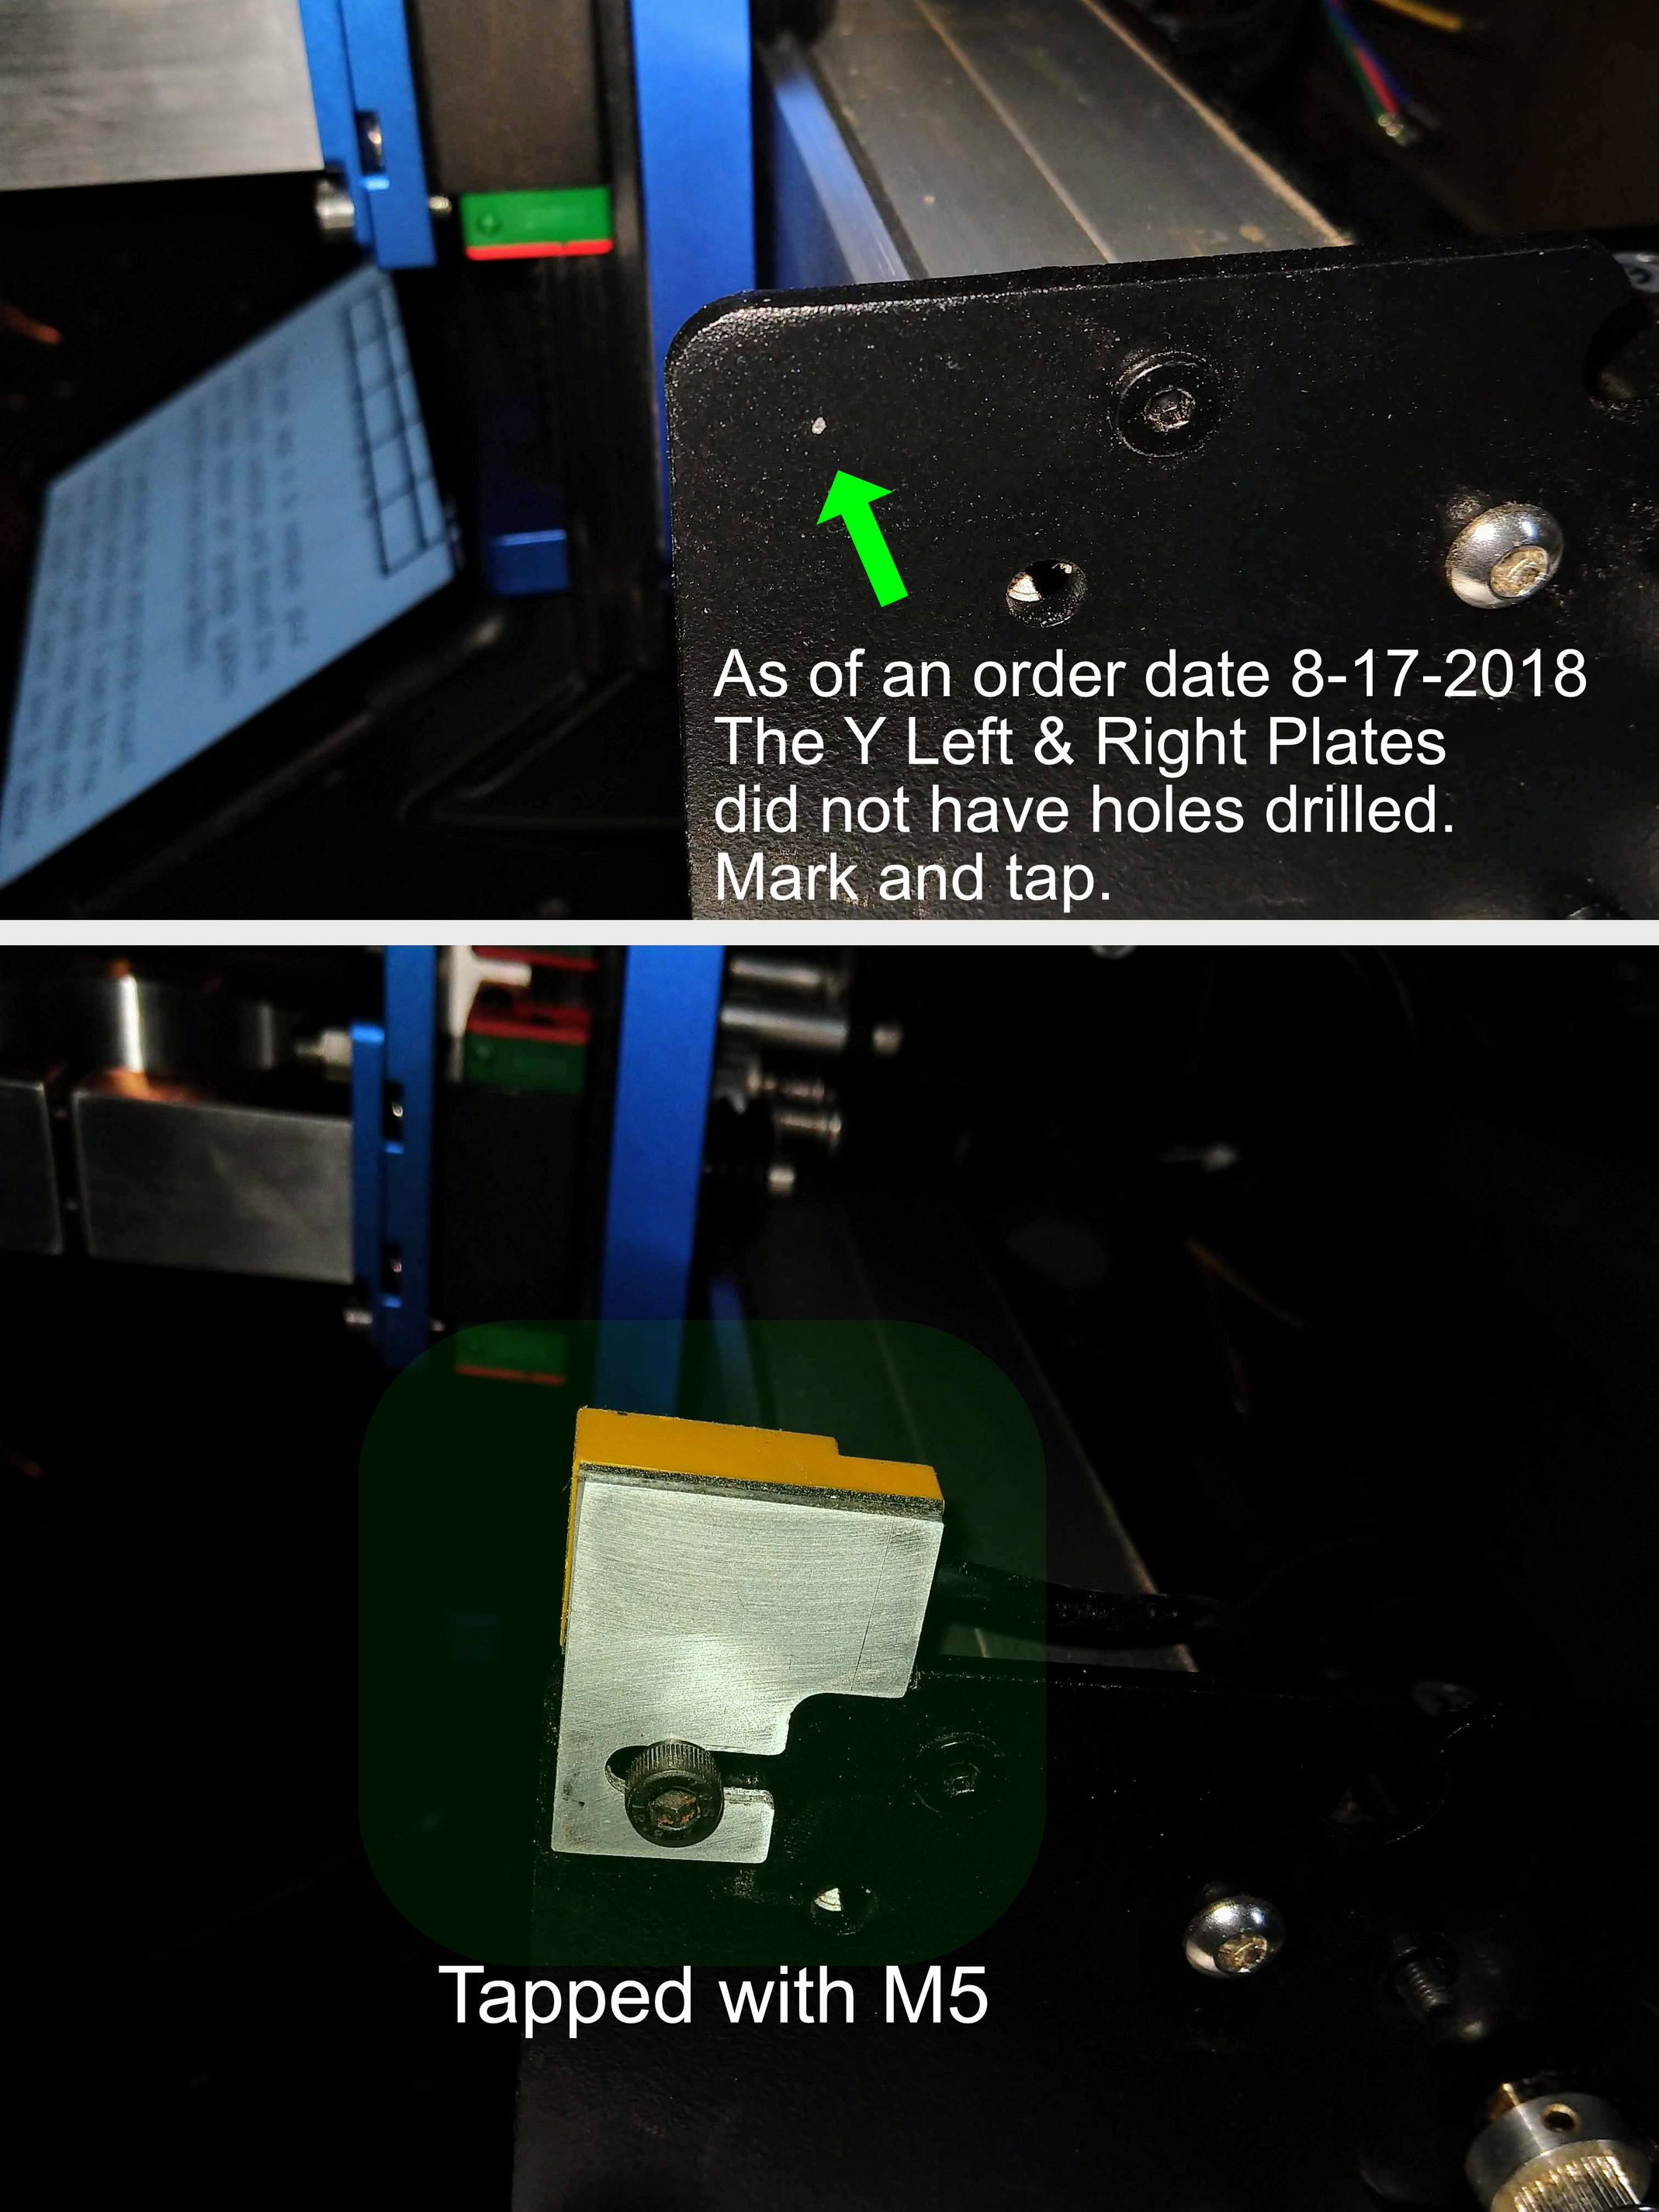
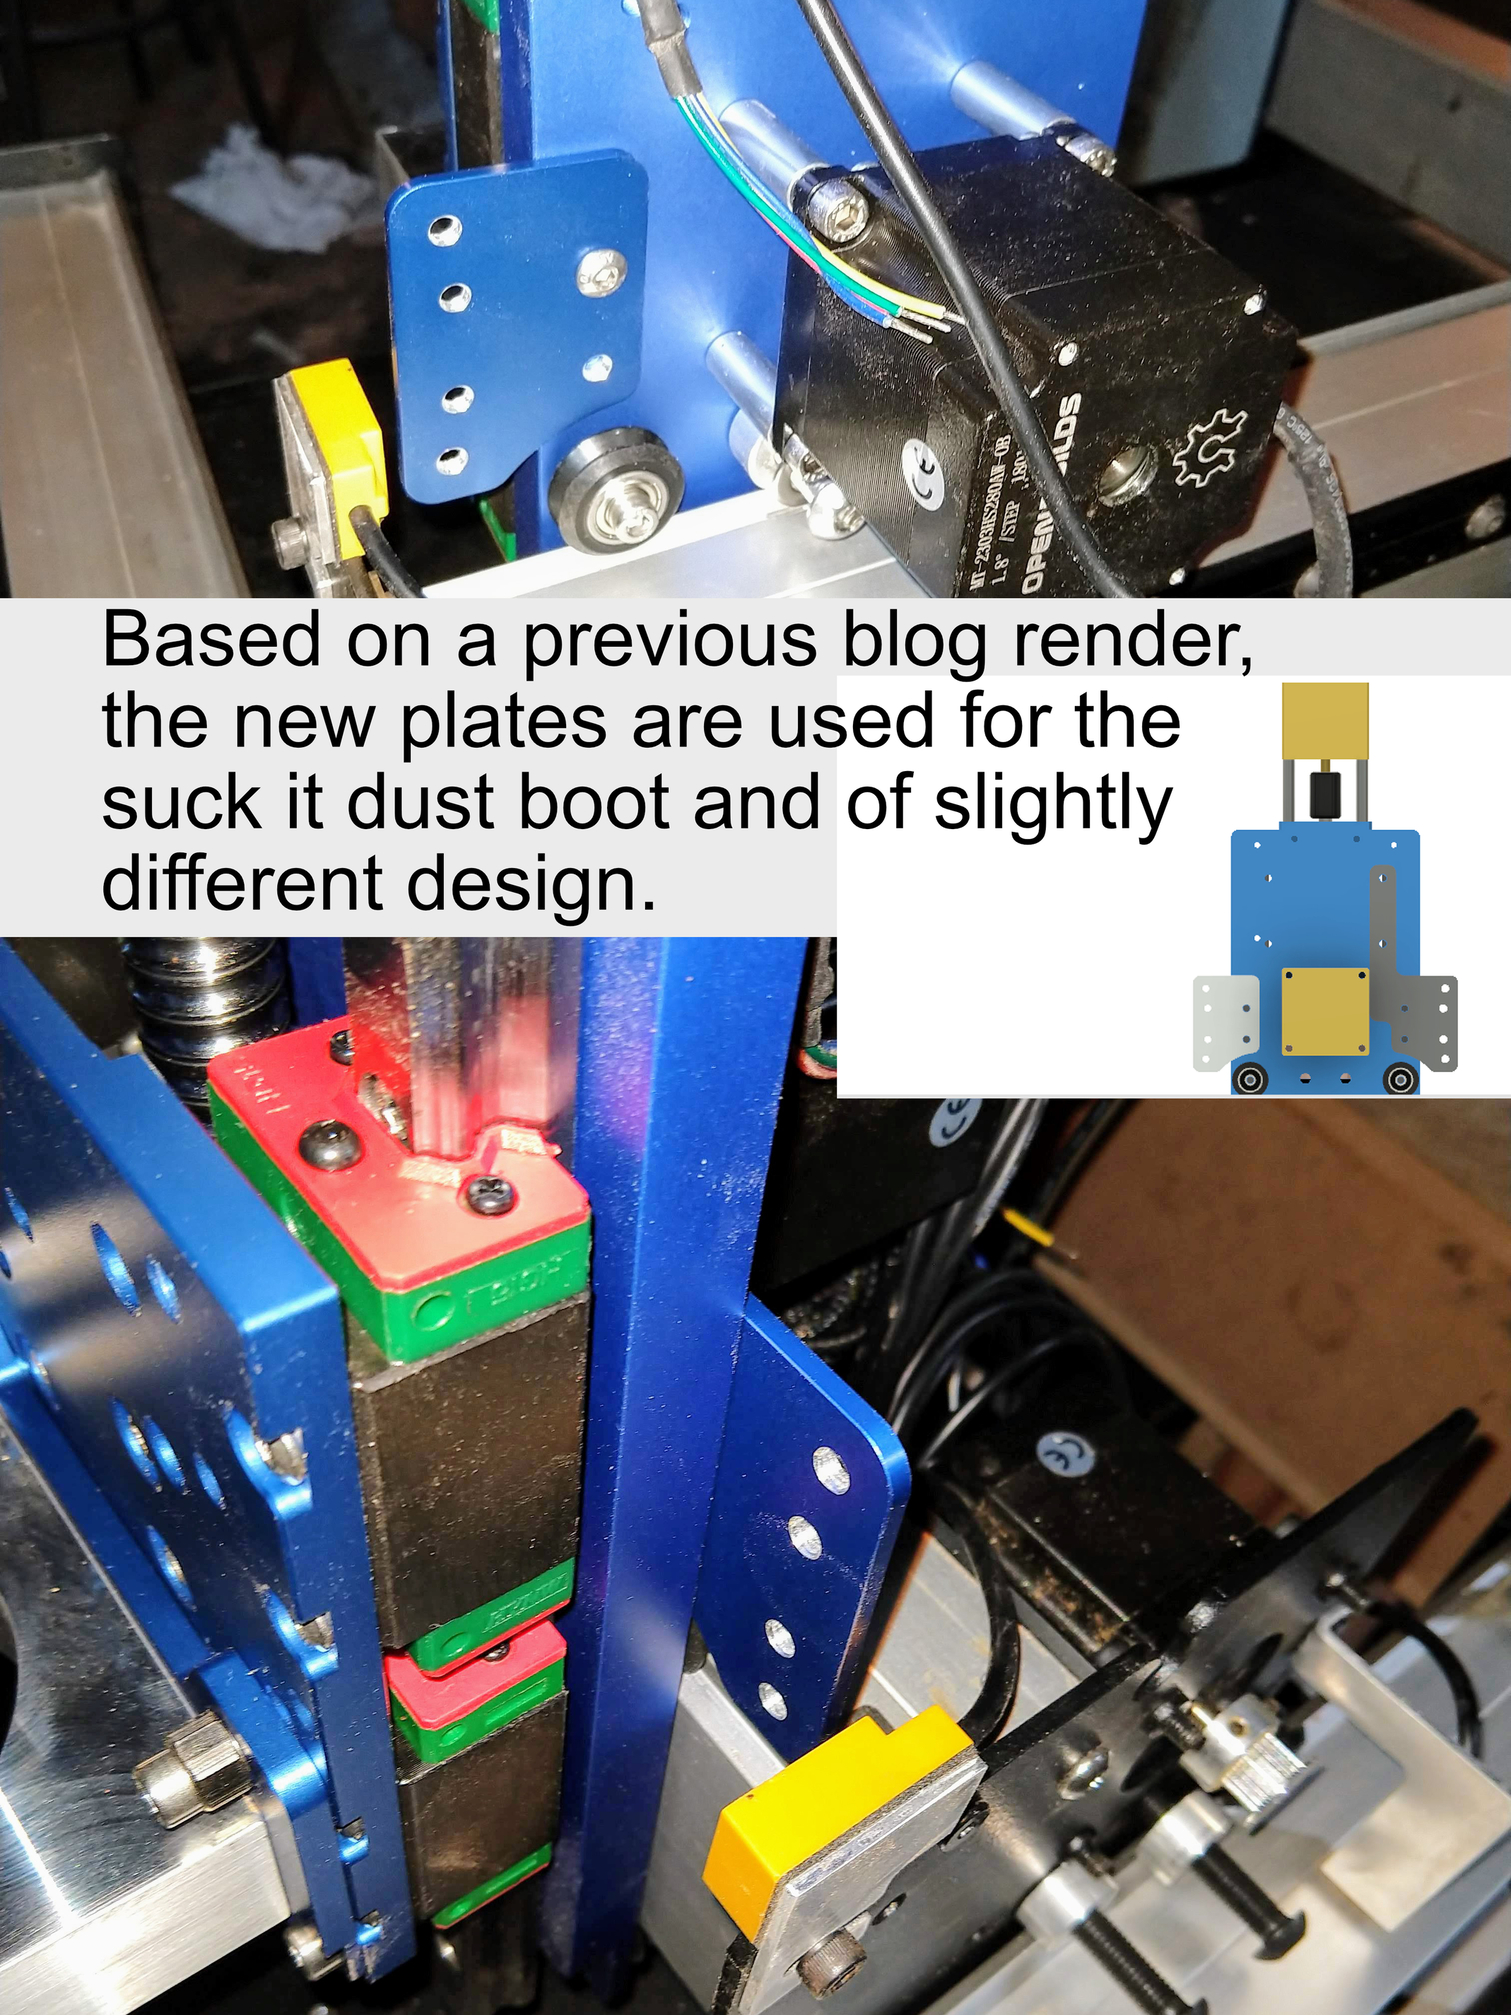
Another item I’m not quite sure if I’m assembling correctly. Is this the correct way to mount these plates? My only concern is a decent amount of X travel is lost.
The last question was, there is a small Z axis switch screw, is that not relevant anymore since the Z axis metal sensing switches were introduced correct?
Hi Frank,
I certainly appreciate the positive words!
That is interesting, however it doesn’t look like your hole is in the same place either… Can you tell me where you drilled and tapped from the edge? If using a suckit the cross on the limit switch needs to be aligned to the bracket not the HDZ. You ordered your S3 on the 17th of August? I also note you use different motors?
The ears are mounted correctly. You do loose some work space when having it on, but I believe it should be around the same amount as a normal Shapeoko as the HDZ is over 4cm narrower.
You are correct on the push switch too, it’s included anyway.
Ok that makes sense. Yep I had a custom invoice made up with carbide3d and that was in invoice date. So they sent 2 plates, a power supply, and the spindle mount. I sourced the motors and drive components from open builds. Fender bearings from Amazon, and what screws I forgot to order from open builds at the local hardware store.
I’ve always found it curious they would sell an expand kit, but not a kit to rebuild the machine a person expanded from. So that’s why I sourced some parts elsewhere.
1 Like
The reason that there isn’t a kit to rebuild a machine from leftover parts is pricing / value.
It would have to priced at or greater than machine minus expansion kit, or else folks would just buy the parts kit and the expansion kit.
Folks who want to have a second machine when upgrading should just leave their original machine assembled and instead buy a second one in the desired size.
That said, I have suggested that we work up a parts kit, either at cost or below and develop a program where the person who upgraded donates their parts to a non-profit and the non-profit then buys the parts kit and the person who did the donation supports them in making it run, but that’s a lot of overhead, and we simply don’t seem to be a large enough company to be able to afford that.
3 Likes
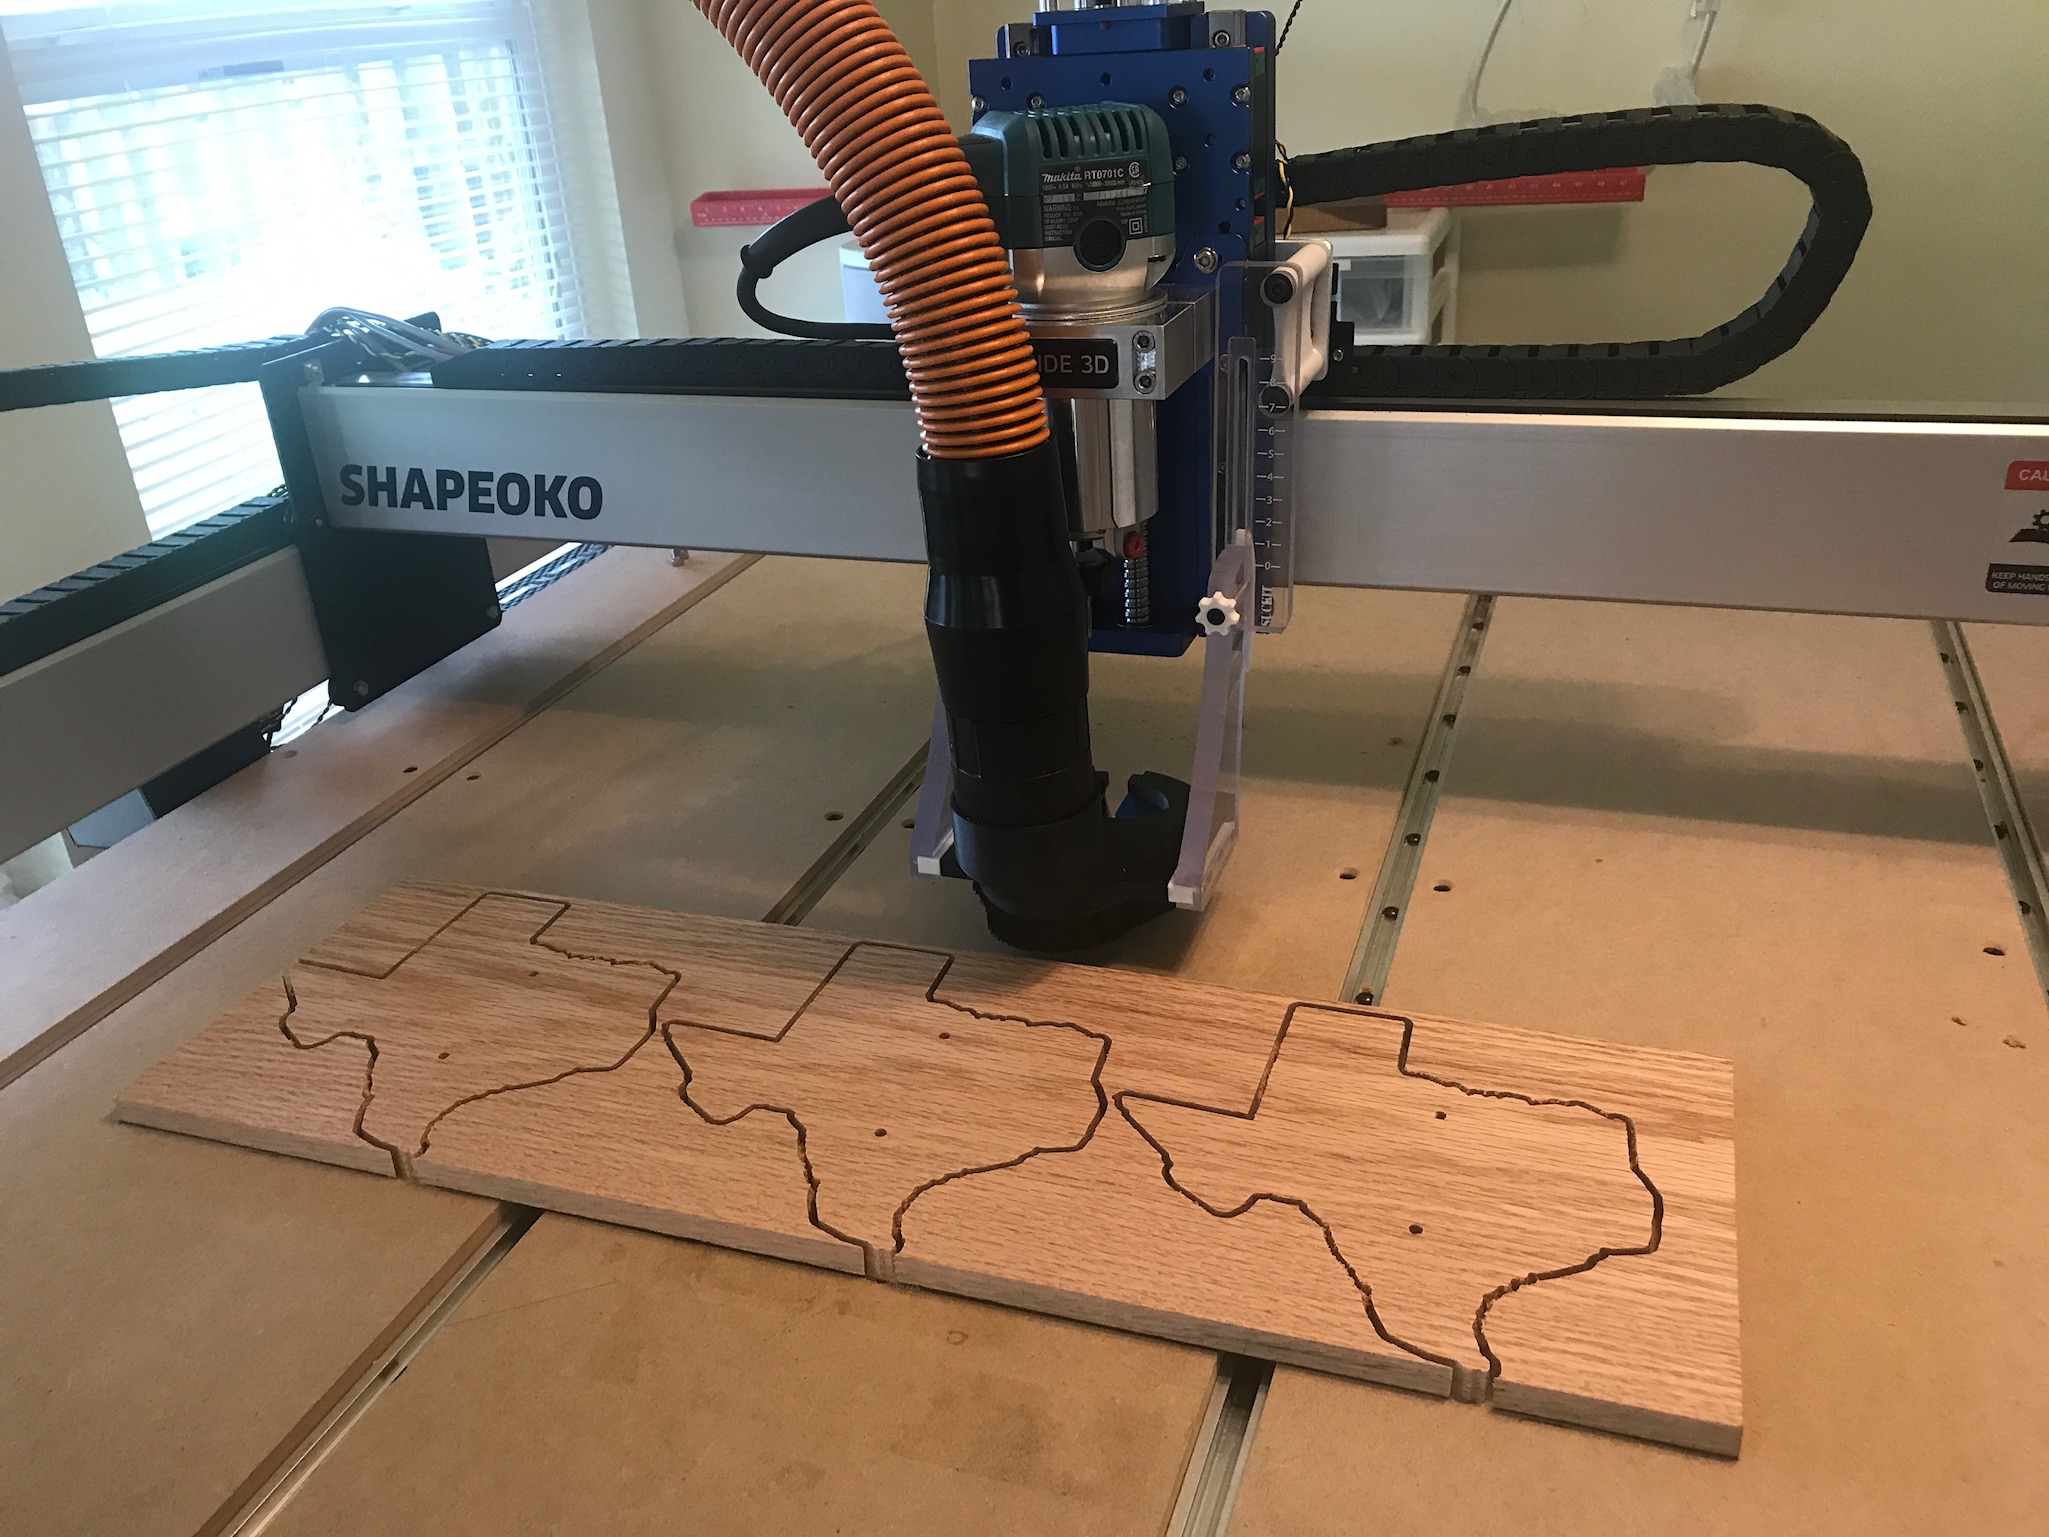
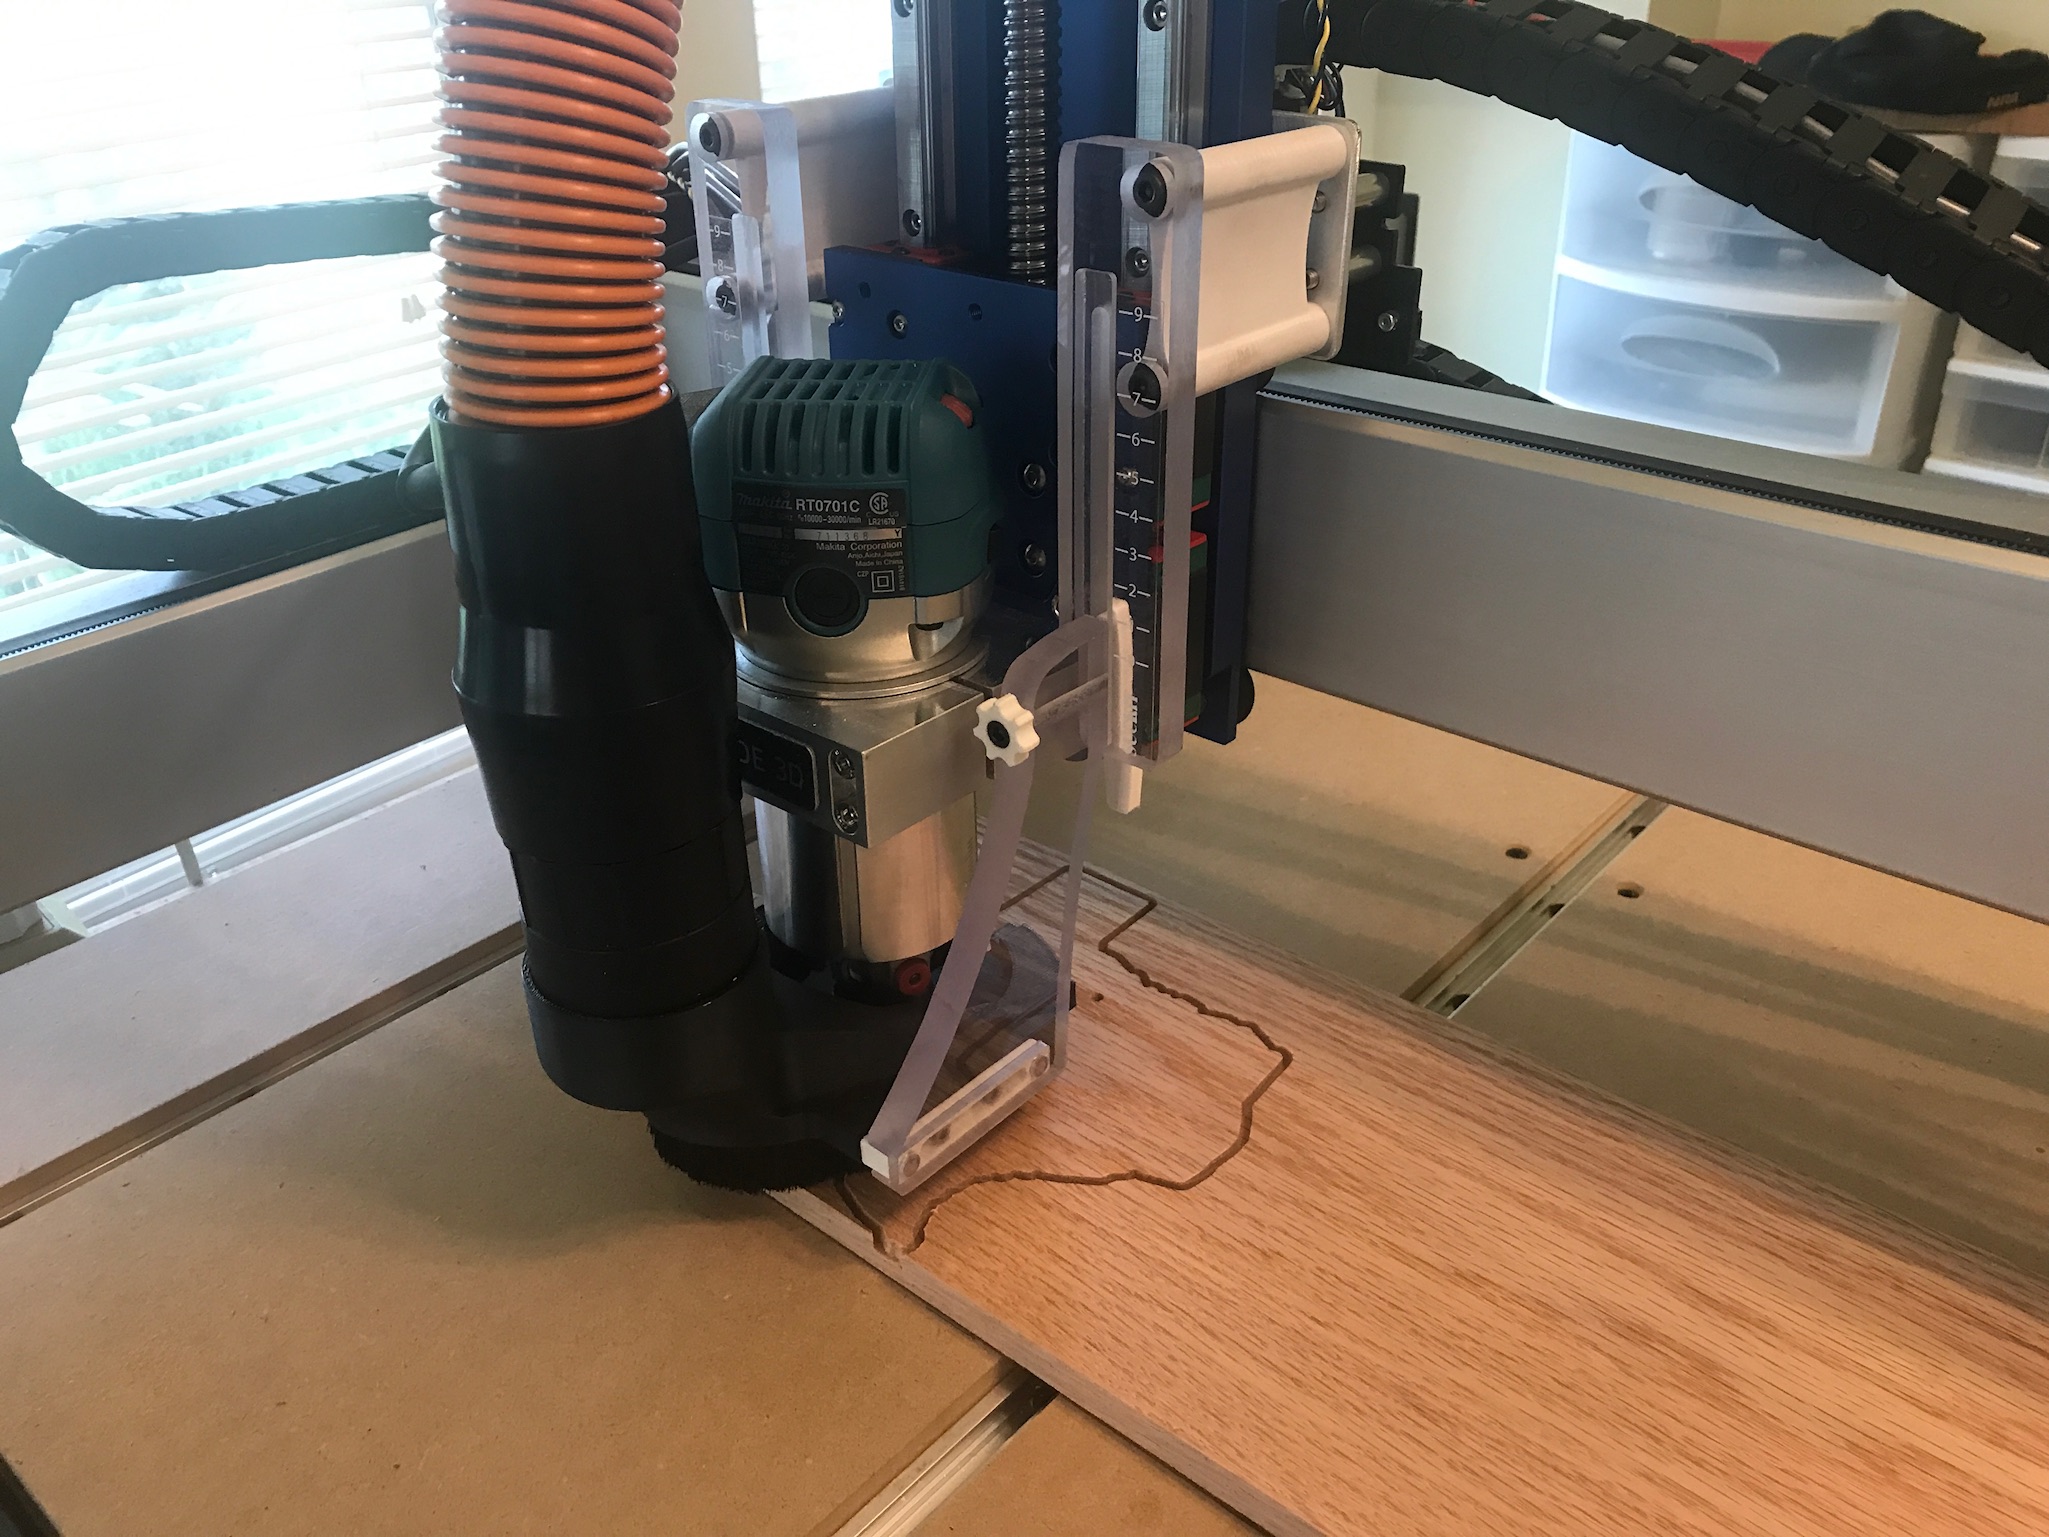
I just got my Suckit dust boot installed on the HDZ and ran a few jobs on it. I’m impressed with the quality of both the HDZ and the Suckit! A couple of minor fit issues. Like
@darwinrasmussen I had to dremel one of the brackets slightly to fit around the X motor standoffs, and the dust boot brackets seem slightly too narrow as they flex a little with Z axis downward movement. It doesn’t seem to affect operation though. I just cut out 6 shapes with no leftover dust! Very happy! After a couple of weeks of frustrating experiences with the Shapeoko I’m excited to have some great progress!
Since I was at the hardware store this morning to pick up some dust collection stuff I decided I “had” to buy a Makita router as well. I like the lower RPM it offers and its supposed lower noise level than the DeWalt. At low RPM I agree it’s quieter, but at around 20,000 RPM I think they’re about the same.
Looking good Reid.
It appears that carbide 3d changed the motor mounts at some point. I have addressed it in the new drawings for the mounts which are avaliable.
What part is flexing?
Thank you, Luke, for helping me with my new HDZ set up and the SuckIt boot. Yes, I ordered an 80mm spindle, and so larger ears and extended SuckIt brackets were needed - they both came in just a few days.
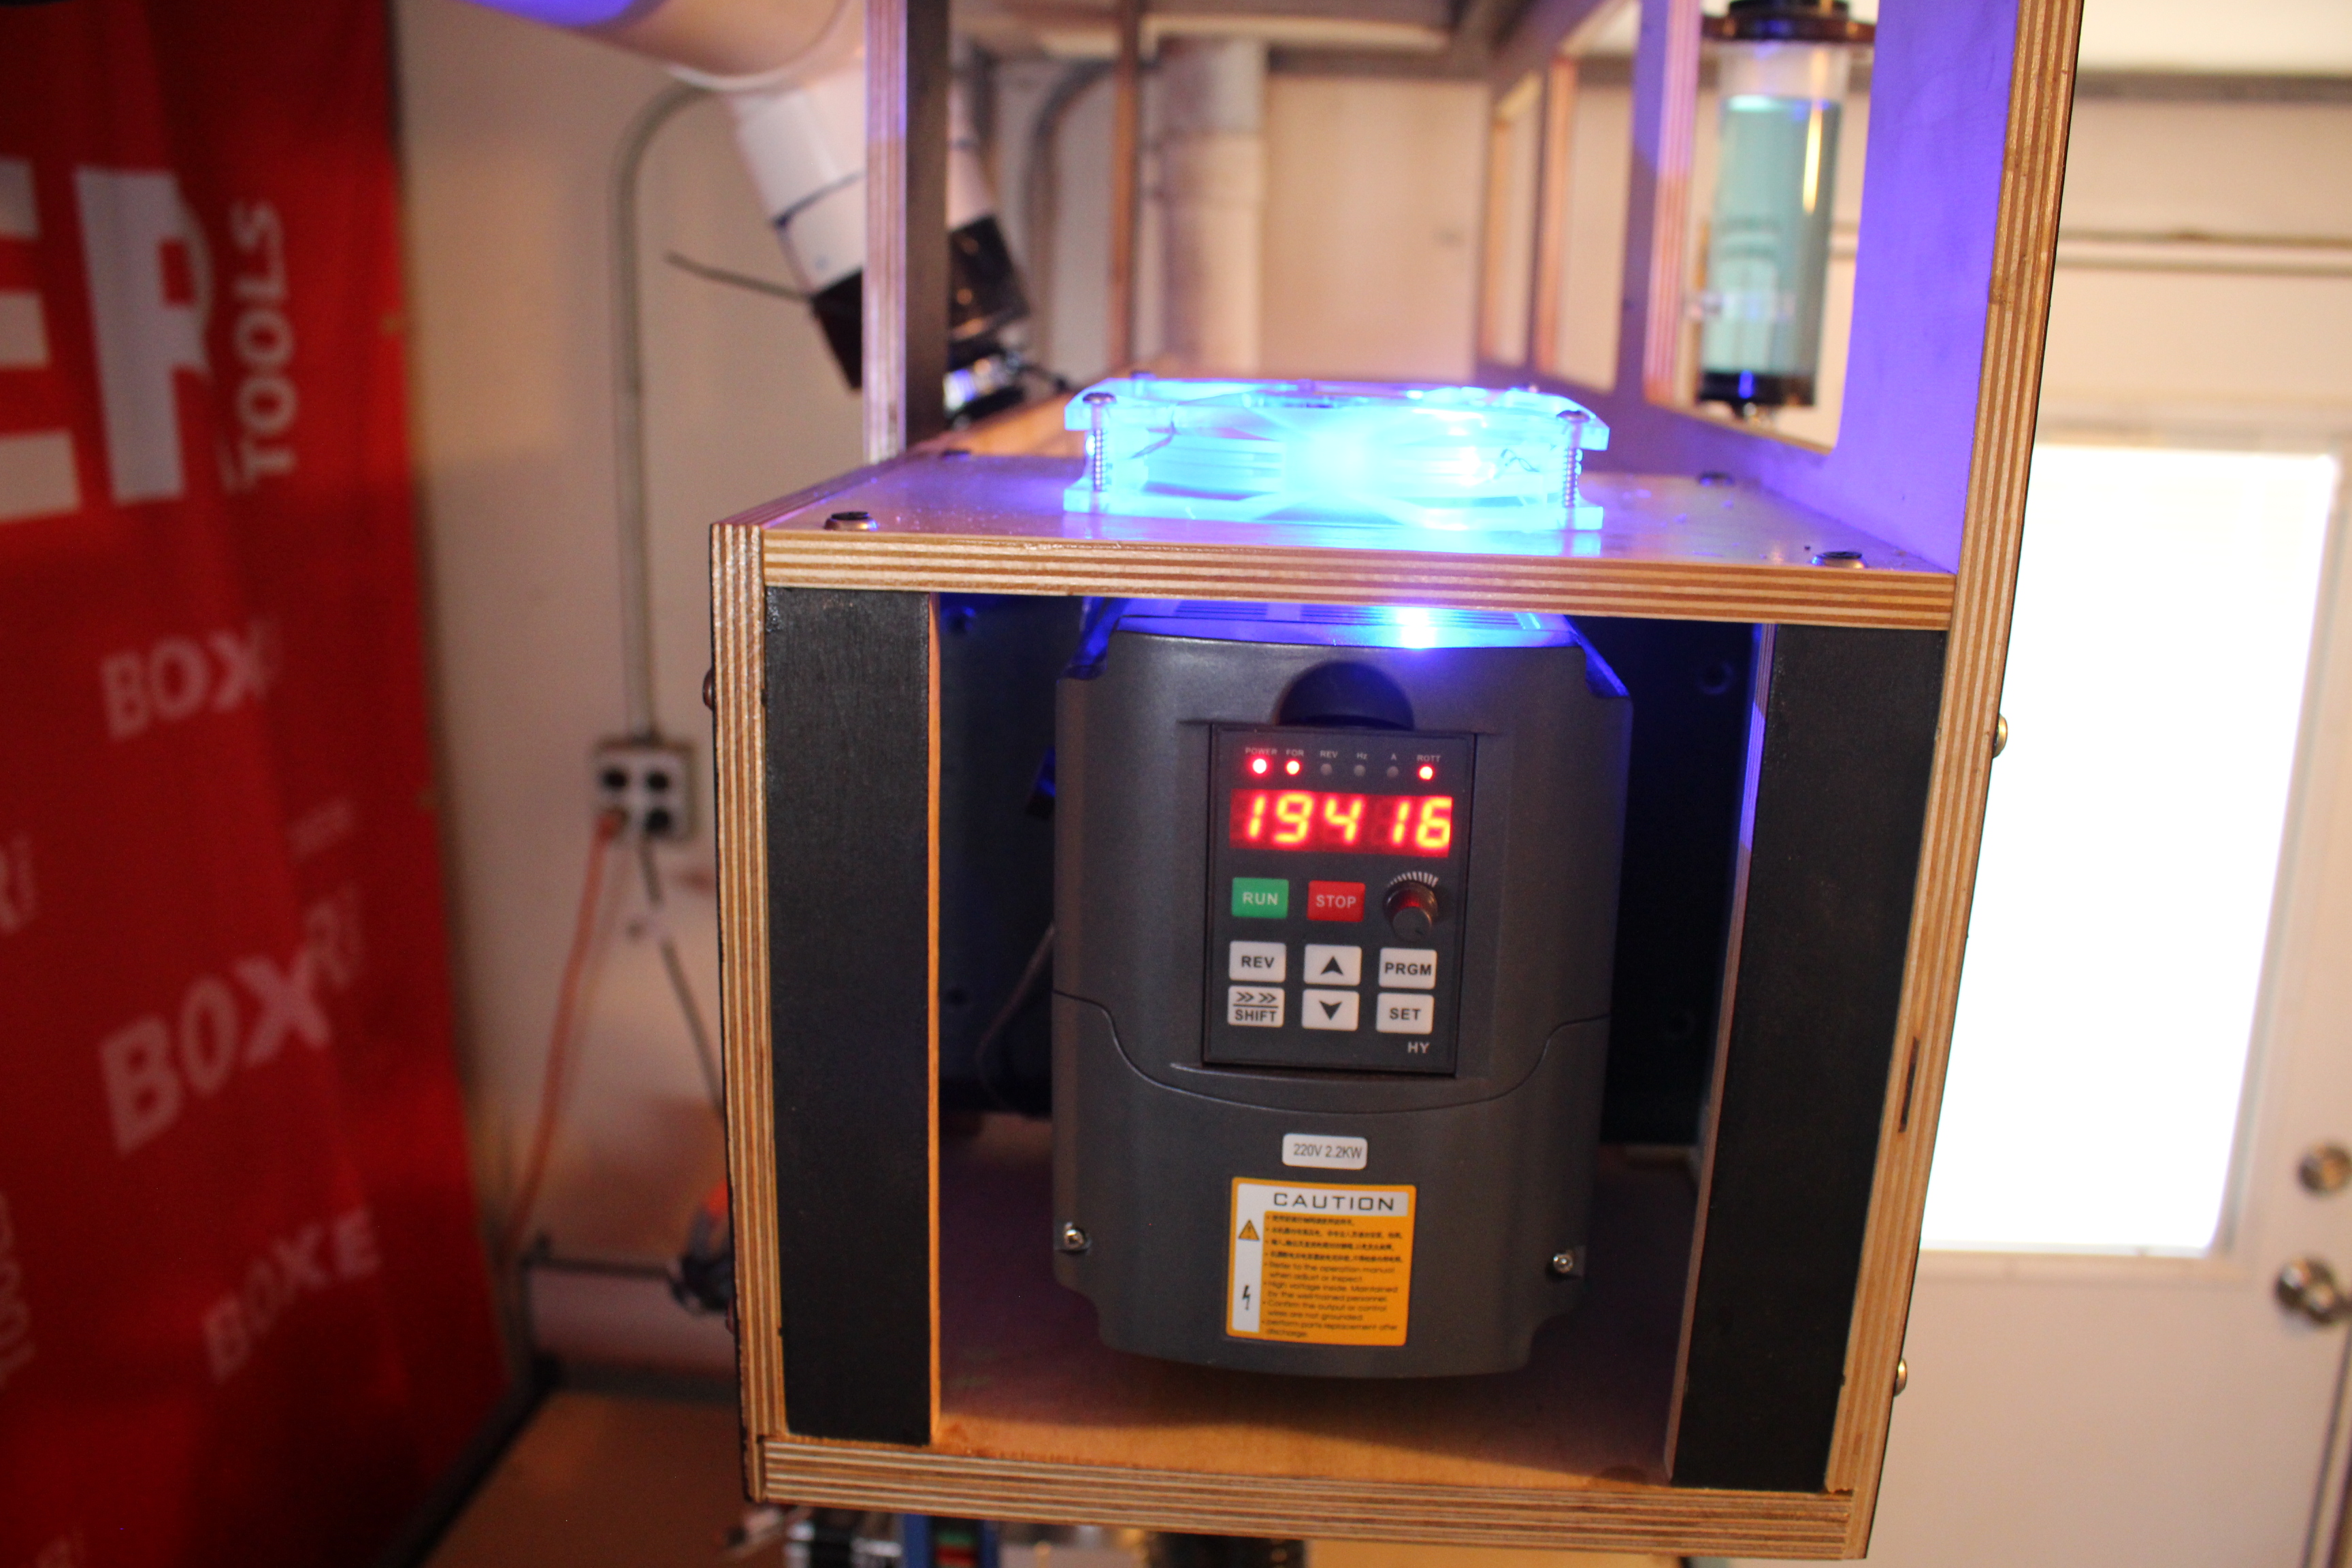
I am a woodworker, so electronic things are not in my knowledge or skill buckets. It took some time to understand everything I read about installation and operation. Honestly, when I turned the VFD on yesterday, I was not 100% sure it wouldn’t burn down the house! But, the spindle sped up to 24,000 rpm’s, and I could not be more pleased.
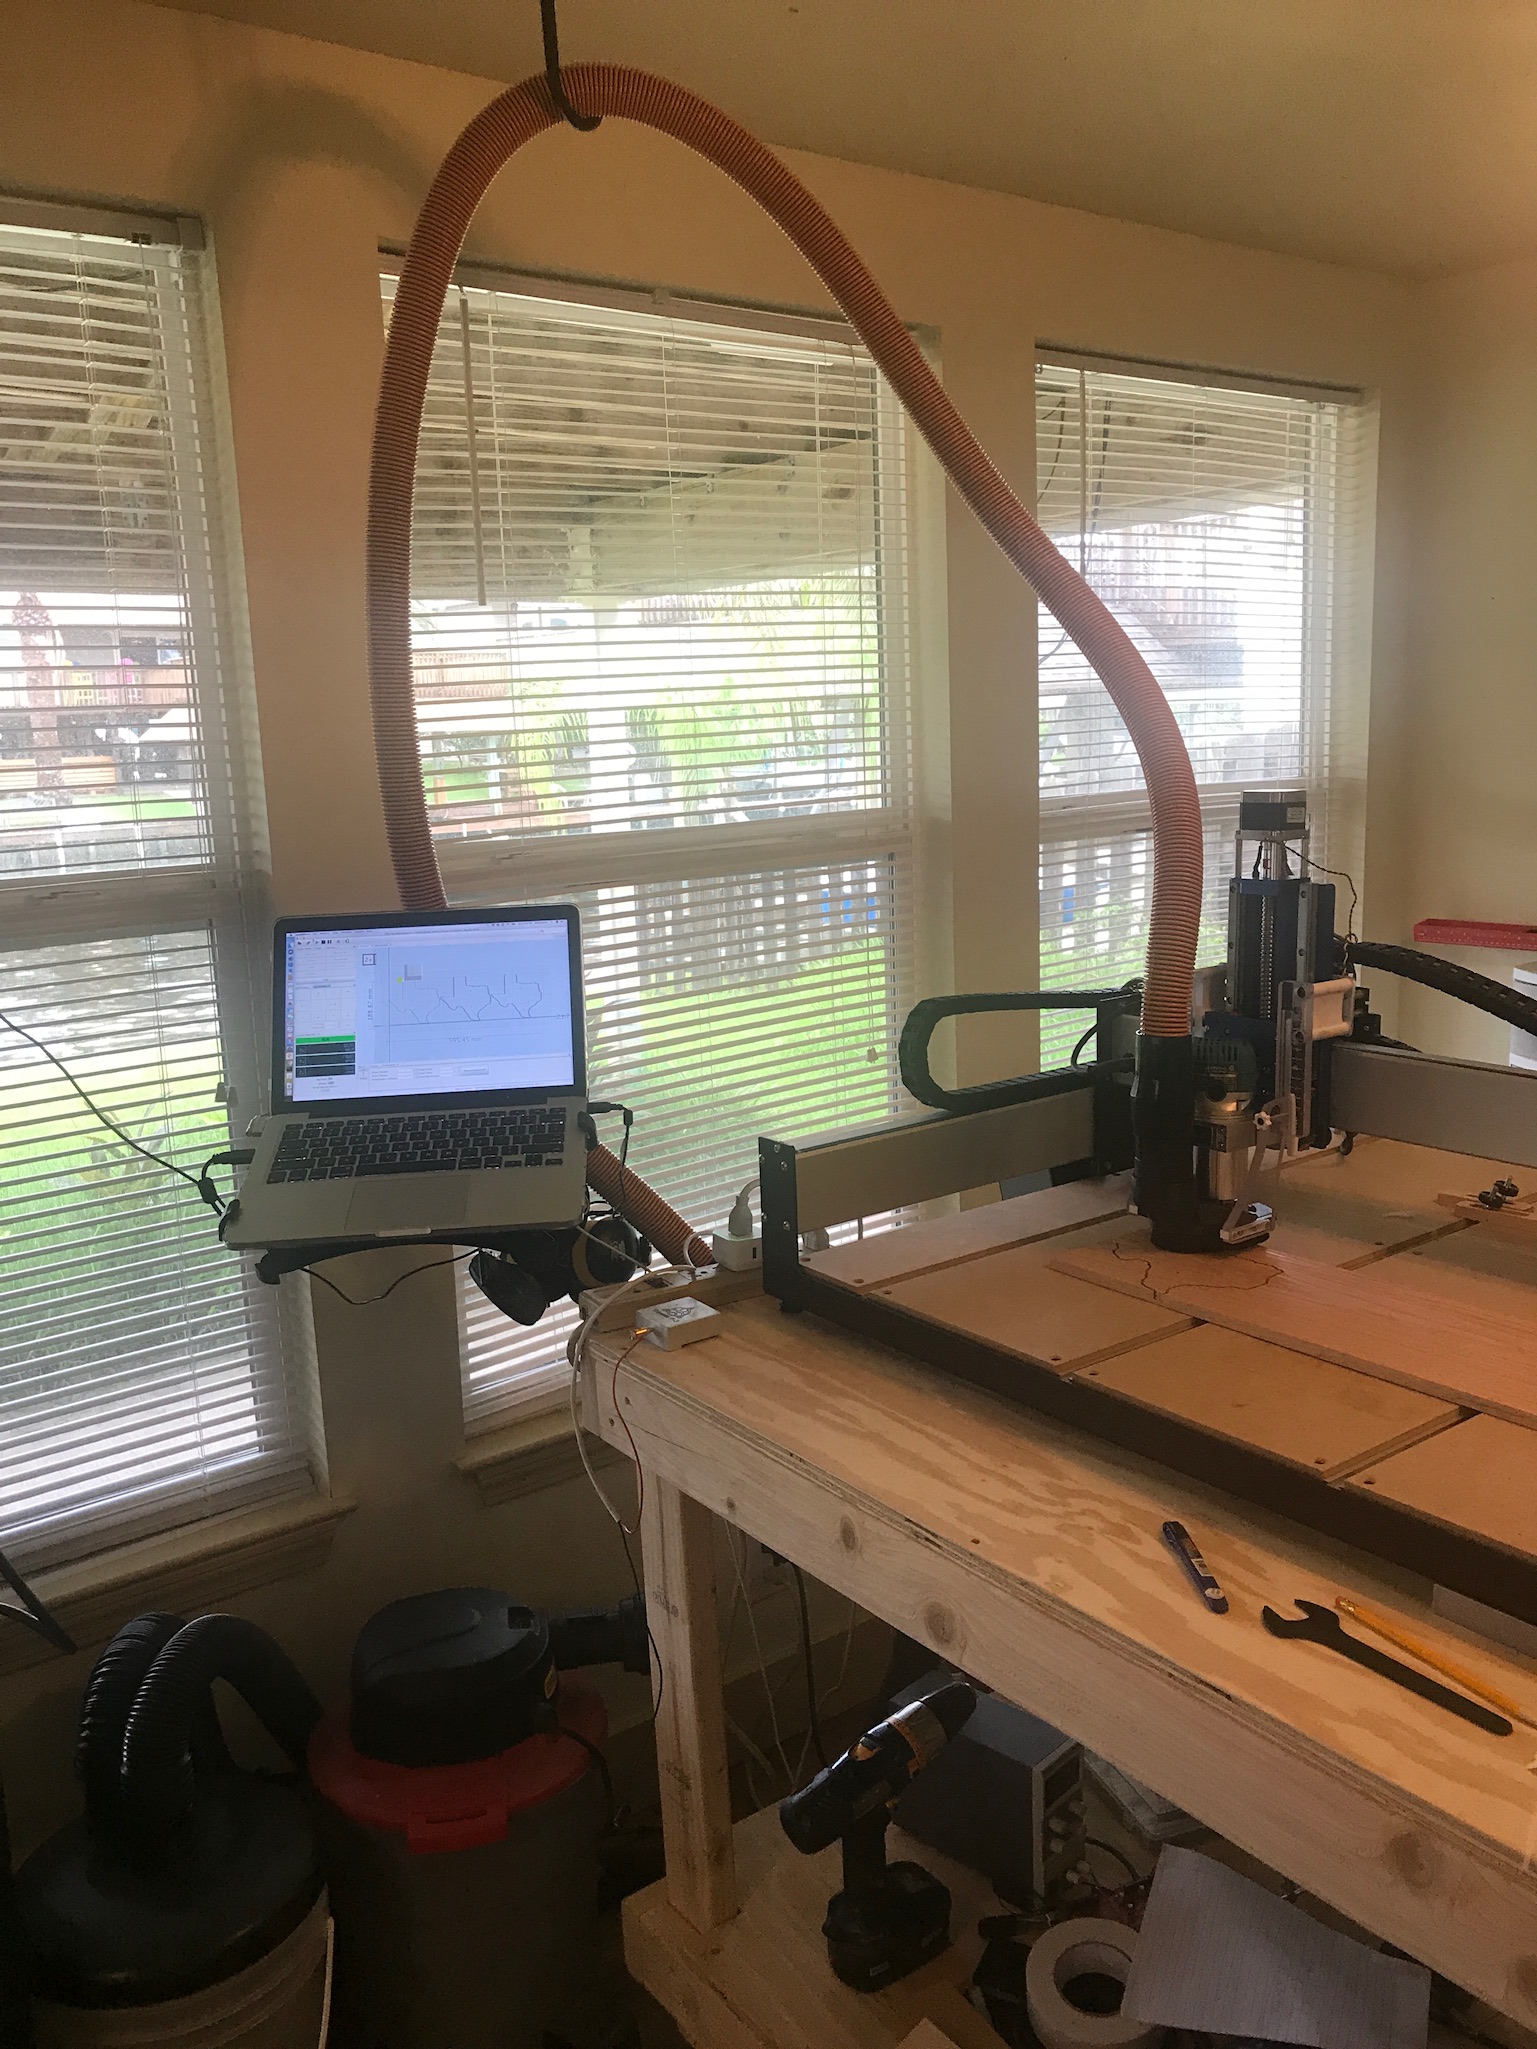
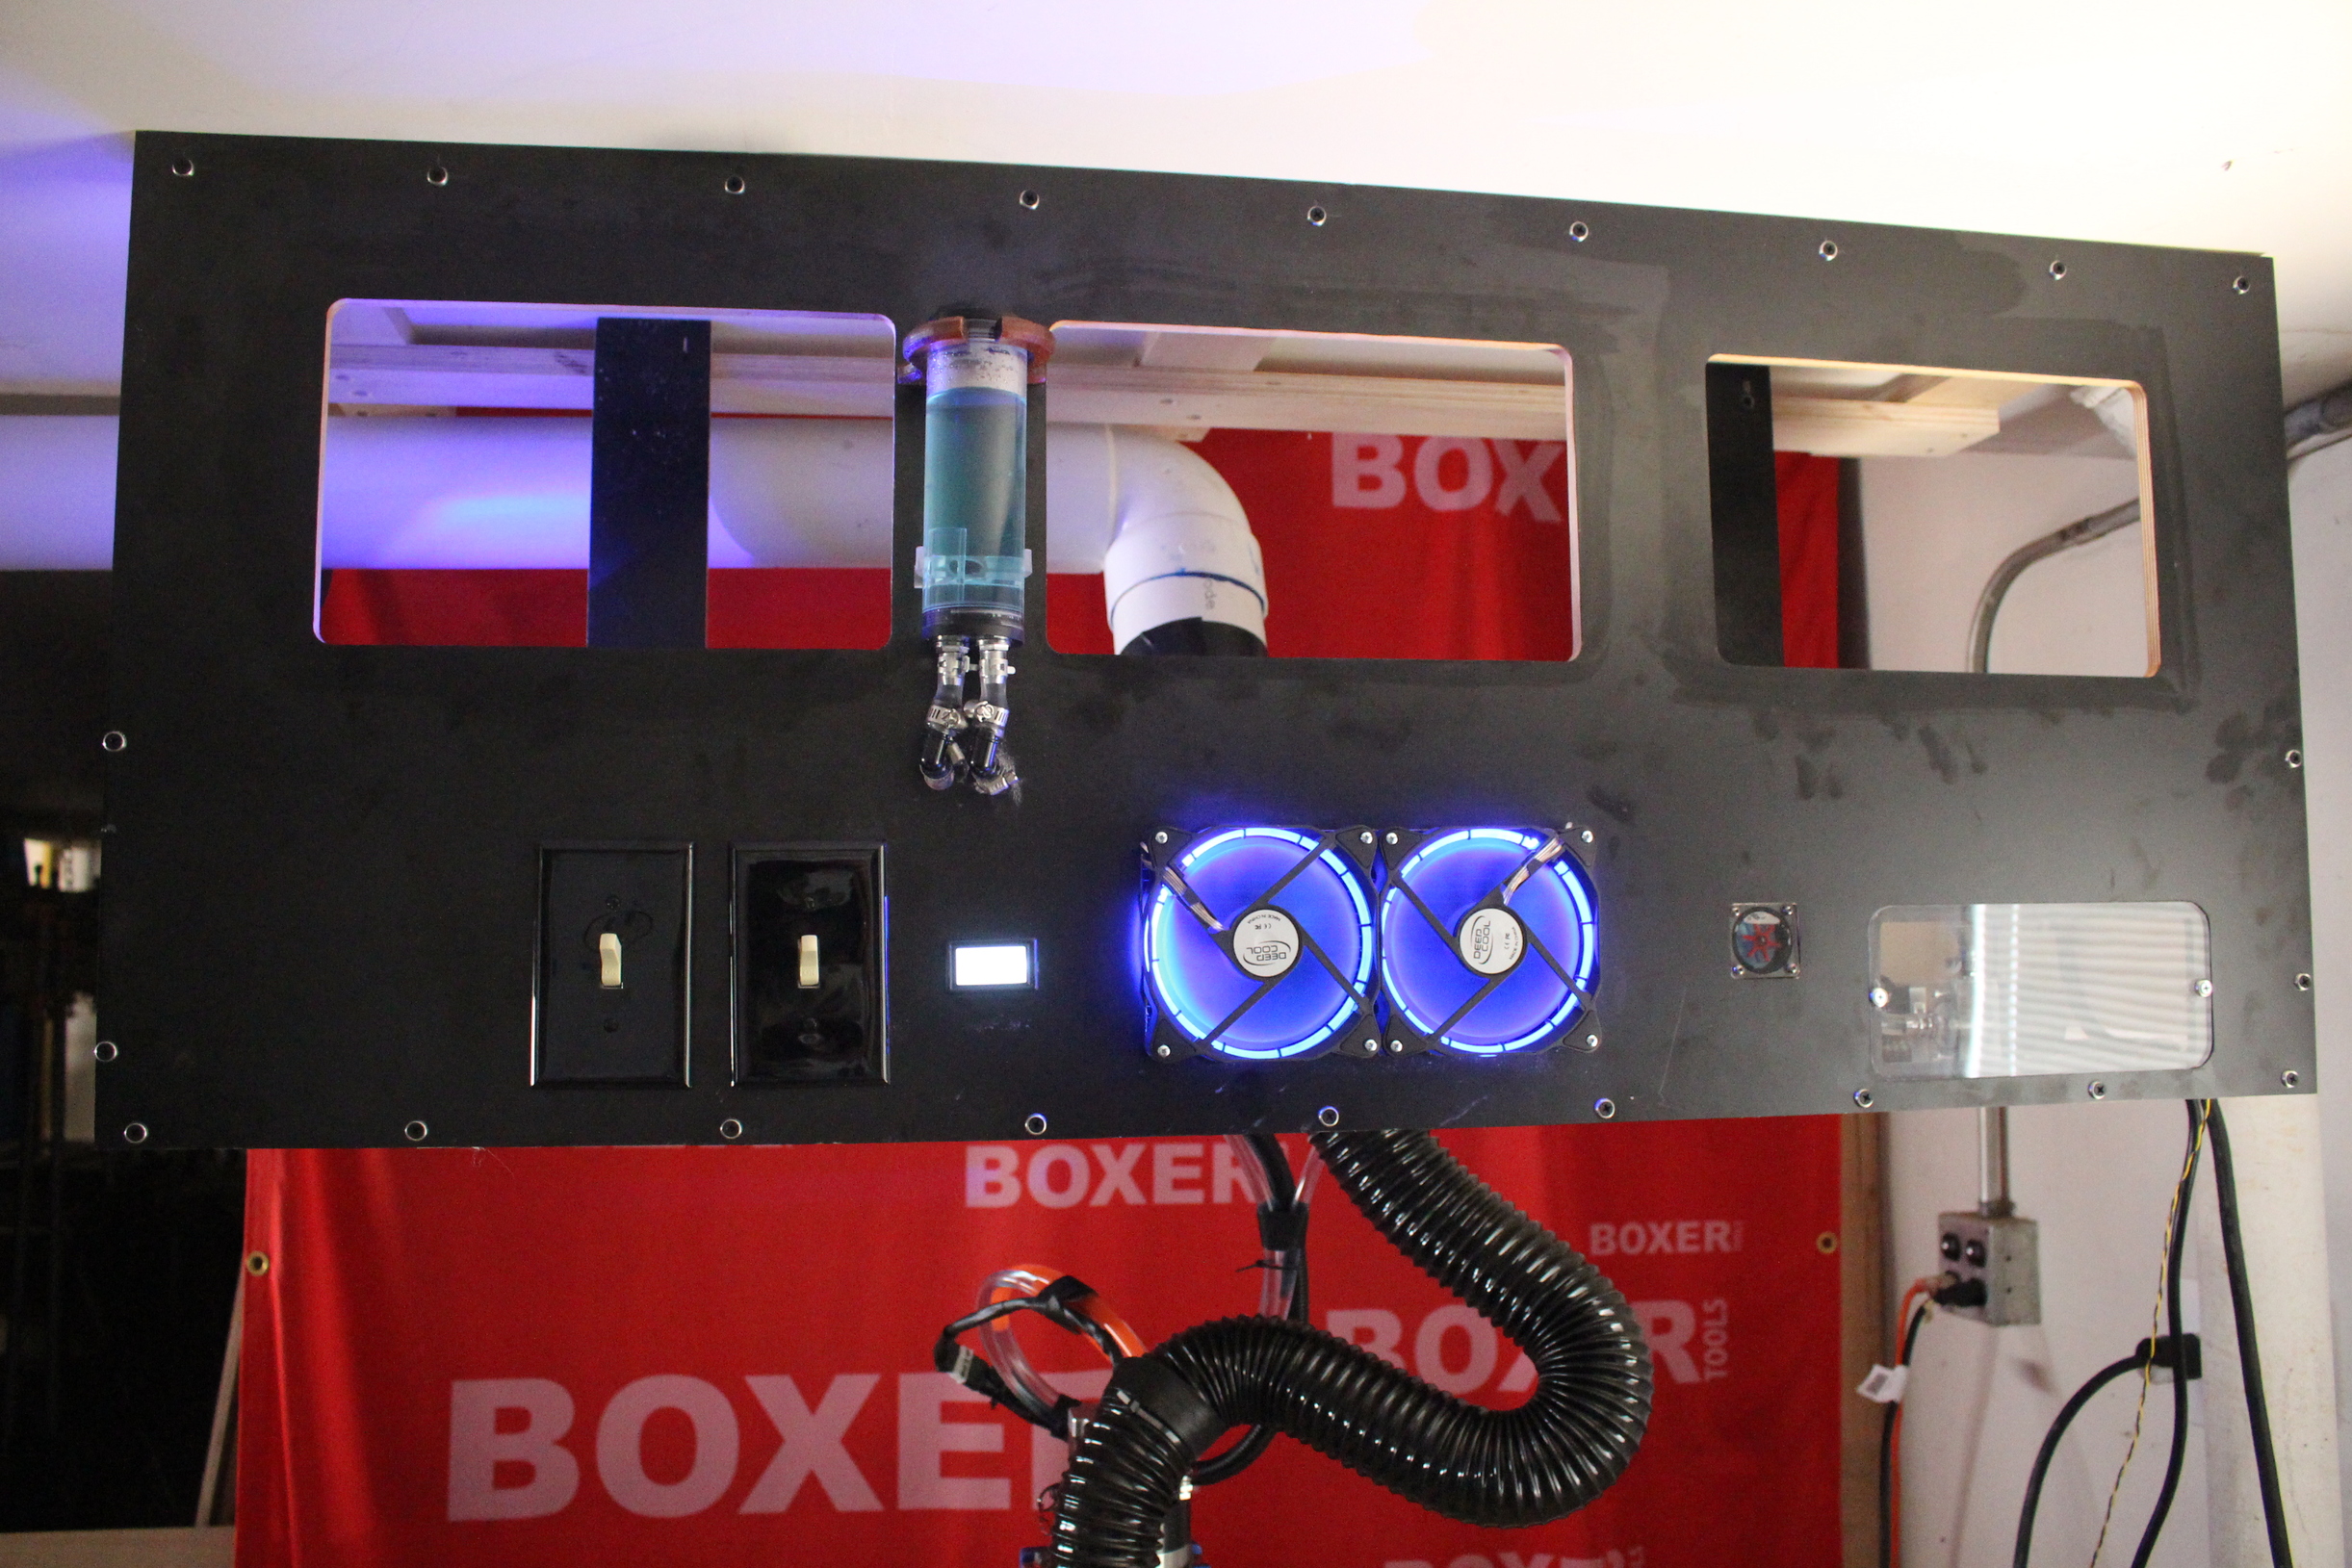
I could have used a bunch more photos and explanations. I could probably write a book for Dummies on how to hook up an HDZ, SuckIt, spindle, VFD, dust collection, water cooling with a radiator, and fans. Hey, I even know what a Molex connector is now, and two weeks ago I had never heard of them. And, soldering - well, I did my first soldering on this project. The orange water tubes that came with the water pump are very rigid, so I left a short section of orange tubing on the spindle connections before I put the clear tubing (which is kind of floppy) on to keep the clear tubing from kinking.
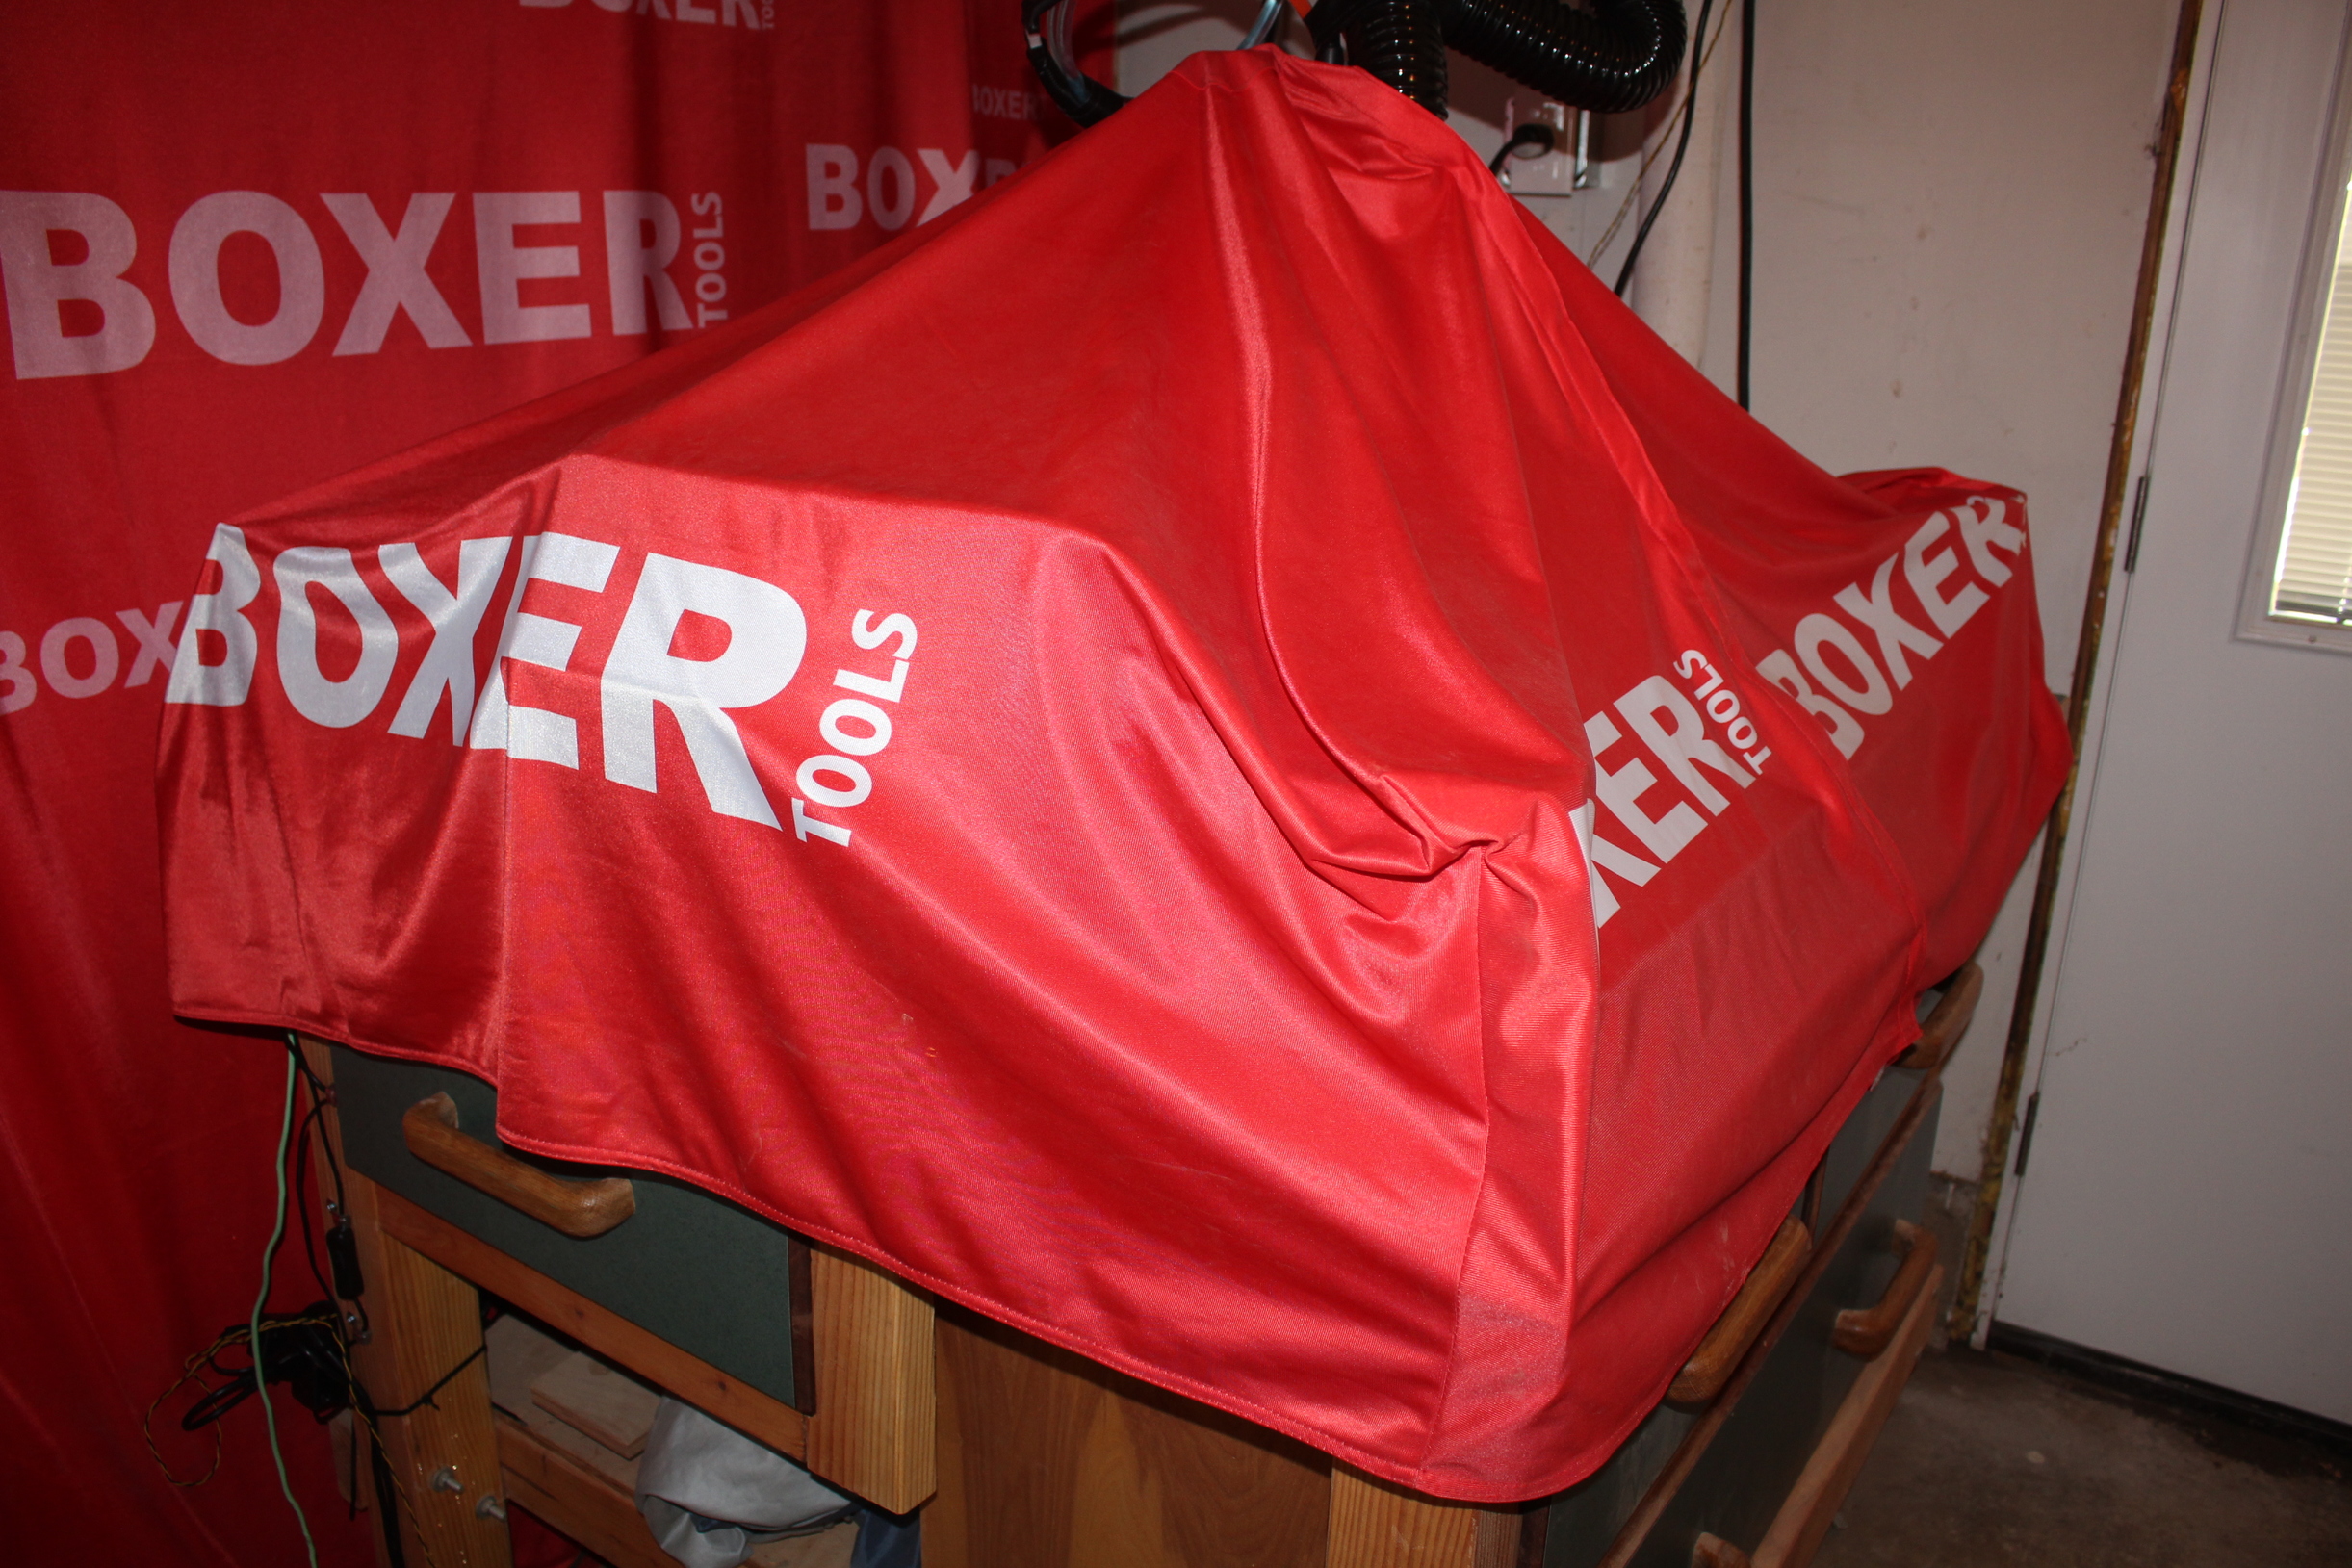
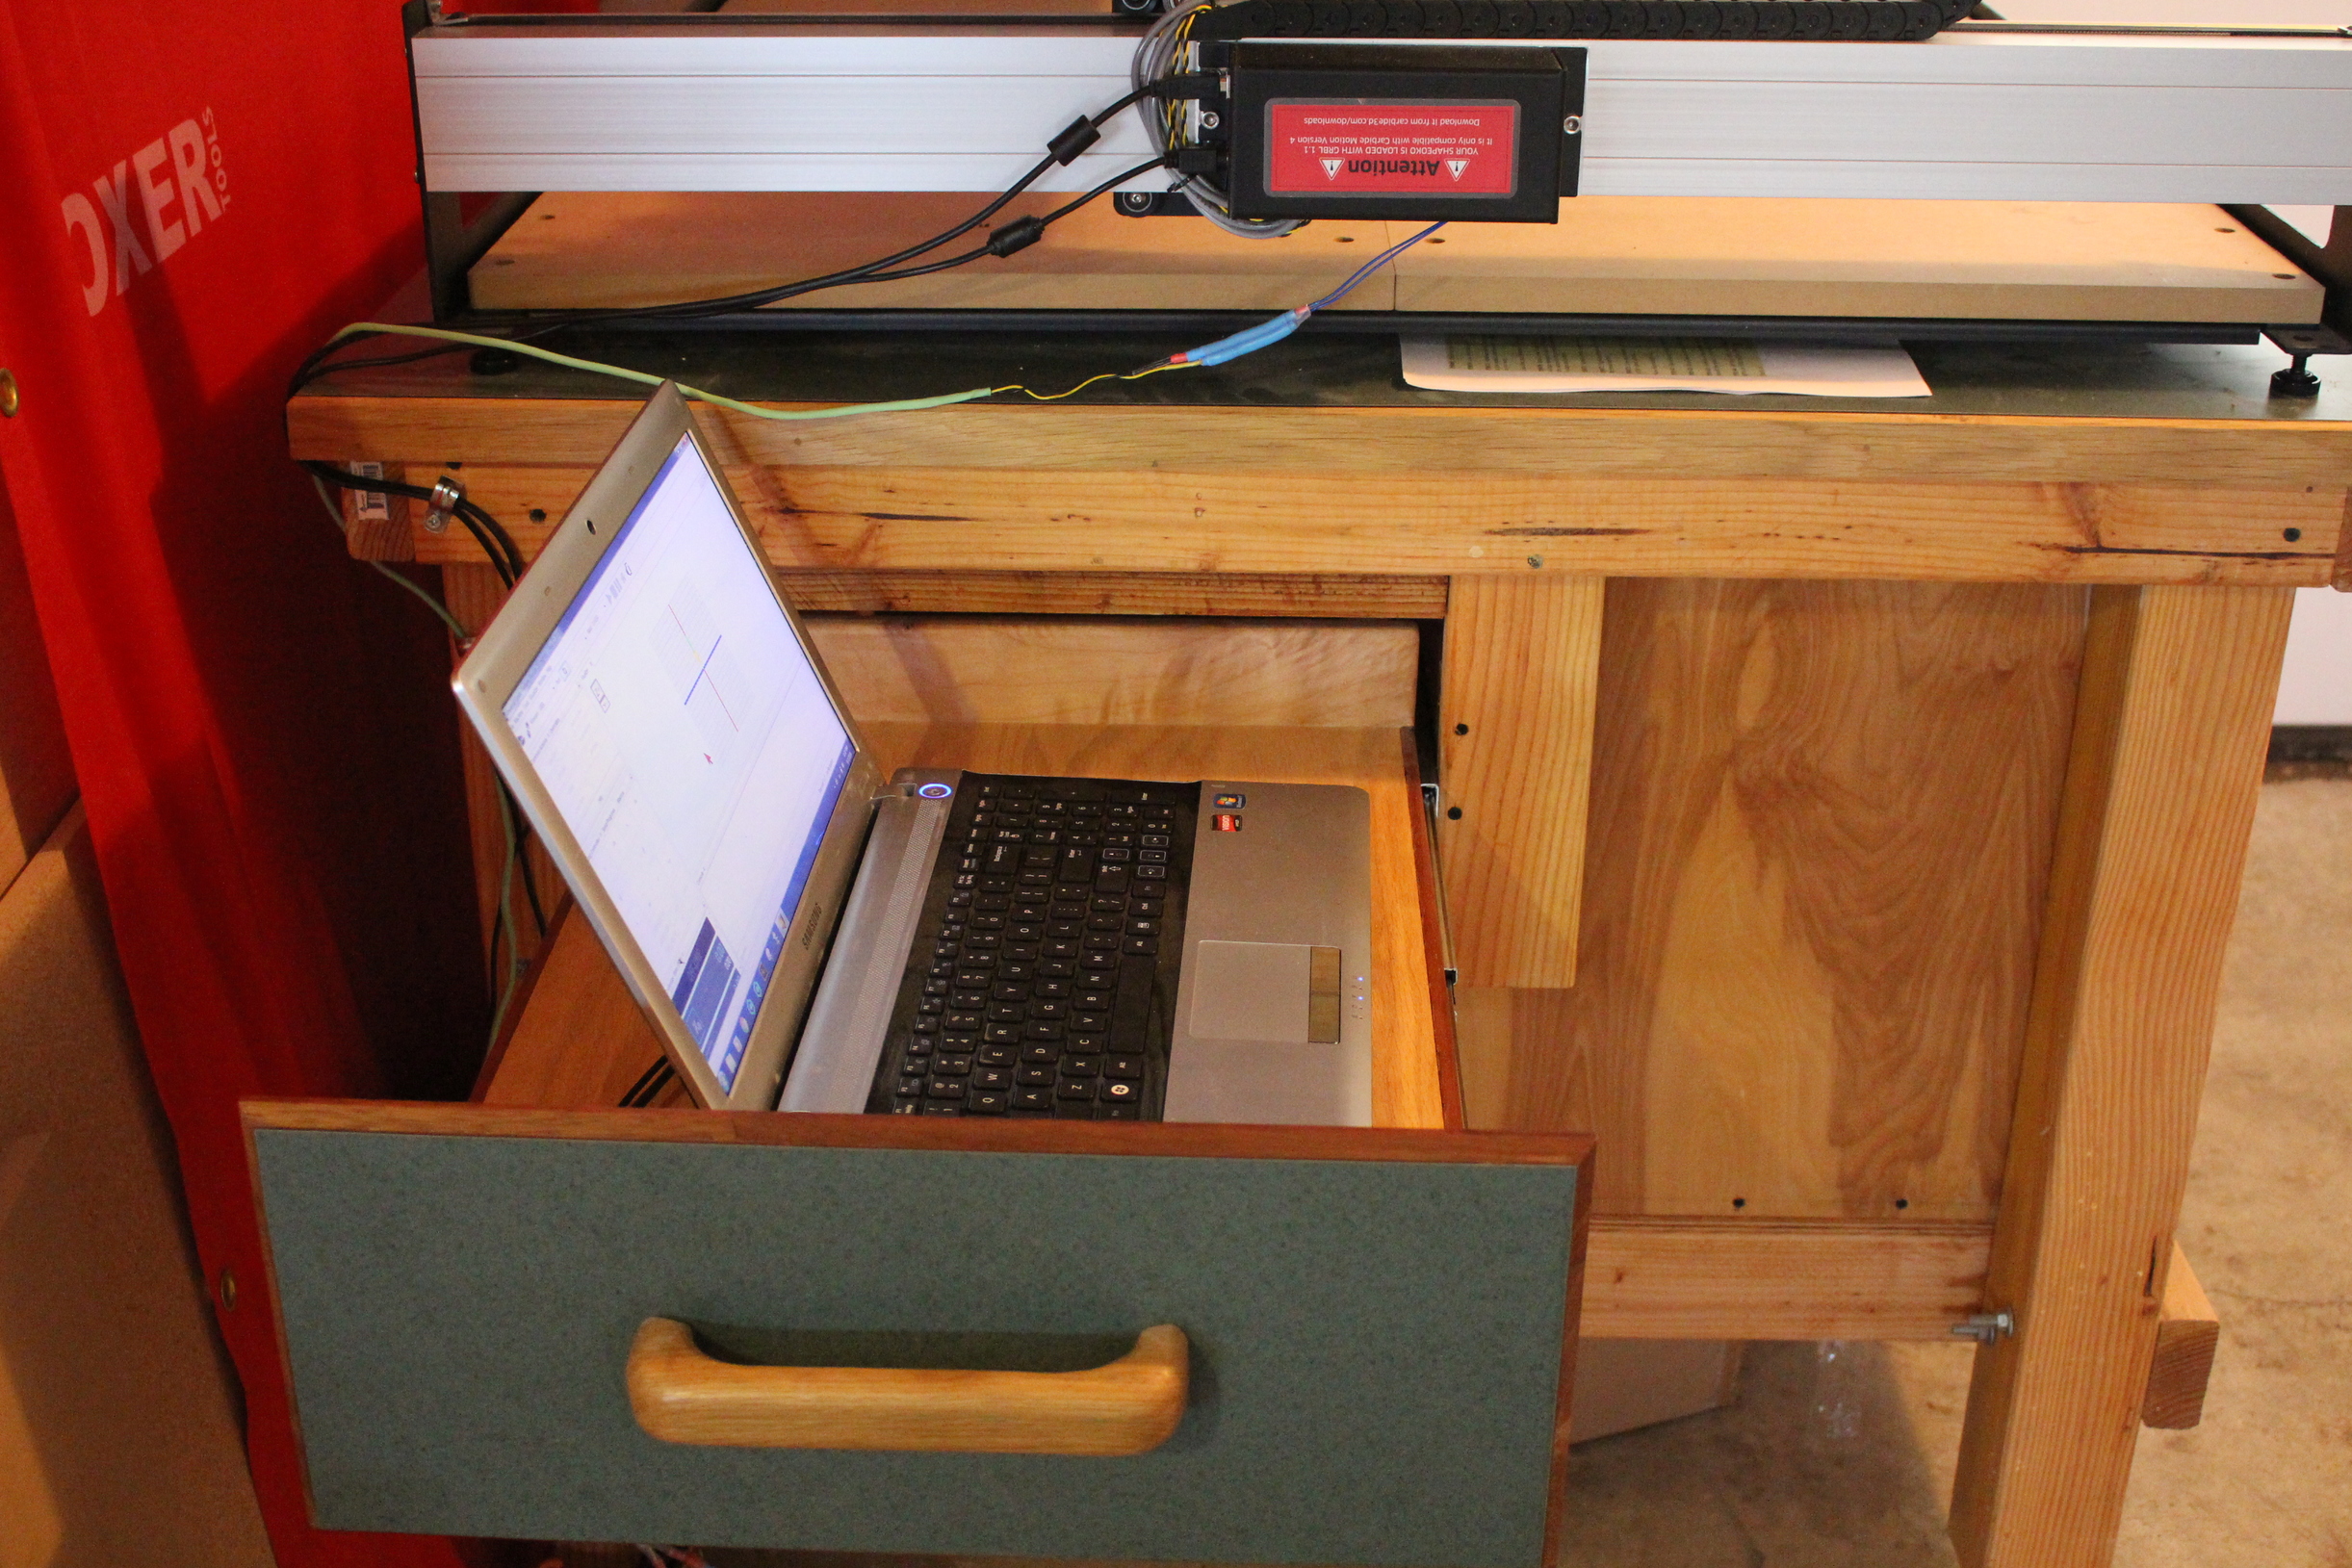
Attached are a few photos of my set up, which includes my overhead control panel. The VFD manual says the unit could get hot if not enough space was around the unit, so, I installed a $6 fan (with Molex connectors) above the unit to pull air from the VFD. I wanted a cover so the dust from the rest of my shop would be kept off the CNC equipment -
Thanks again.
![IMG_2595|690x460]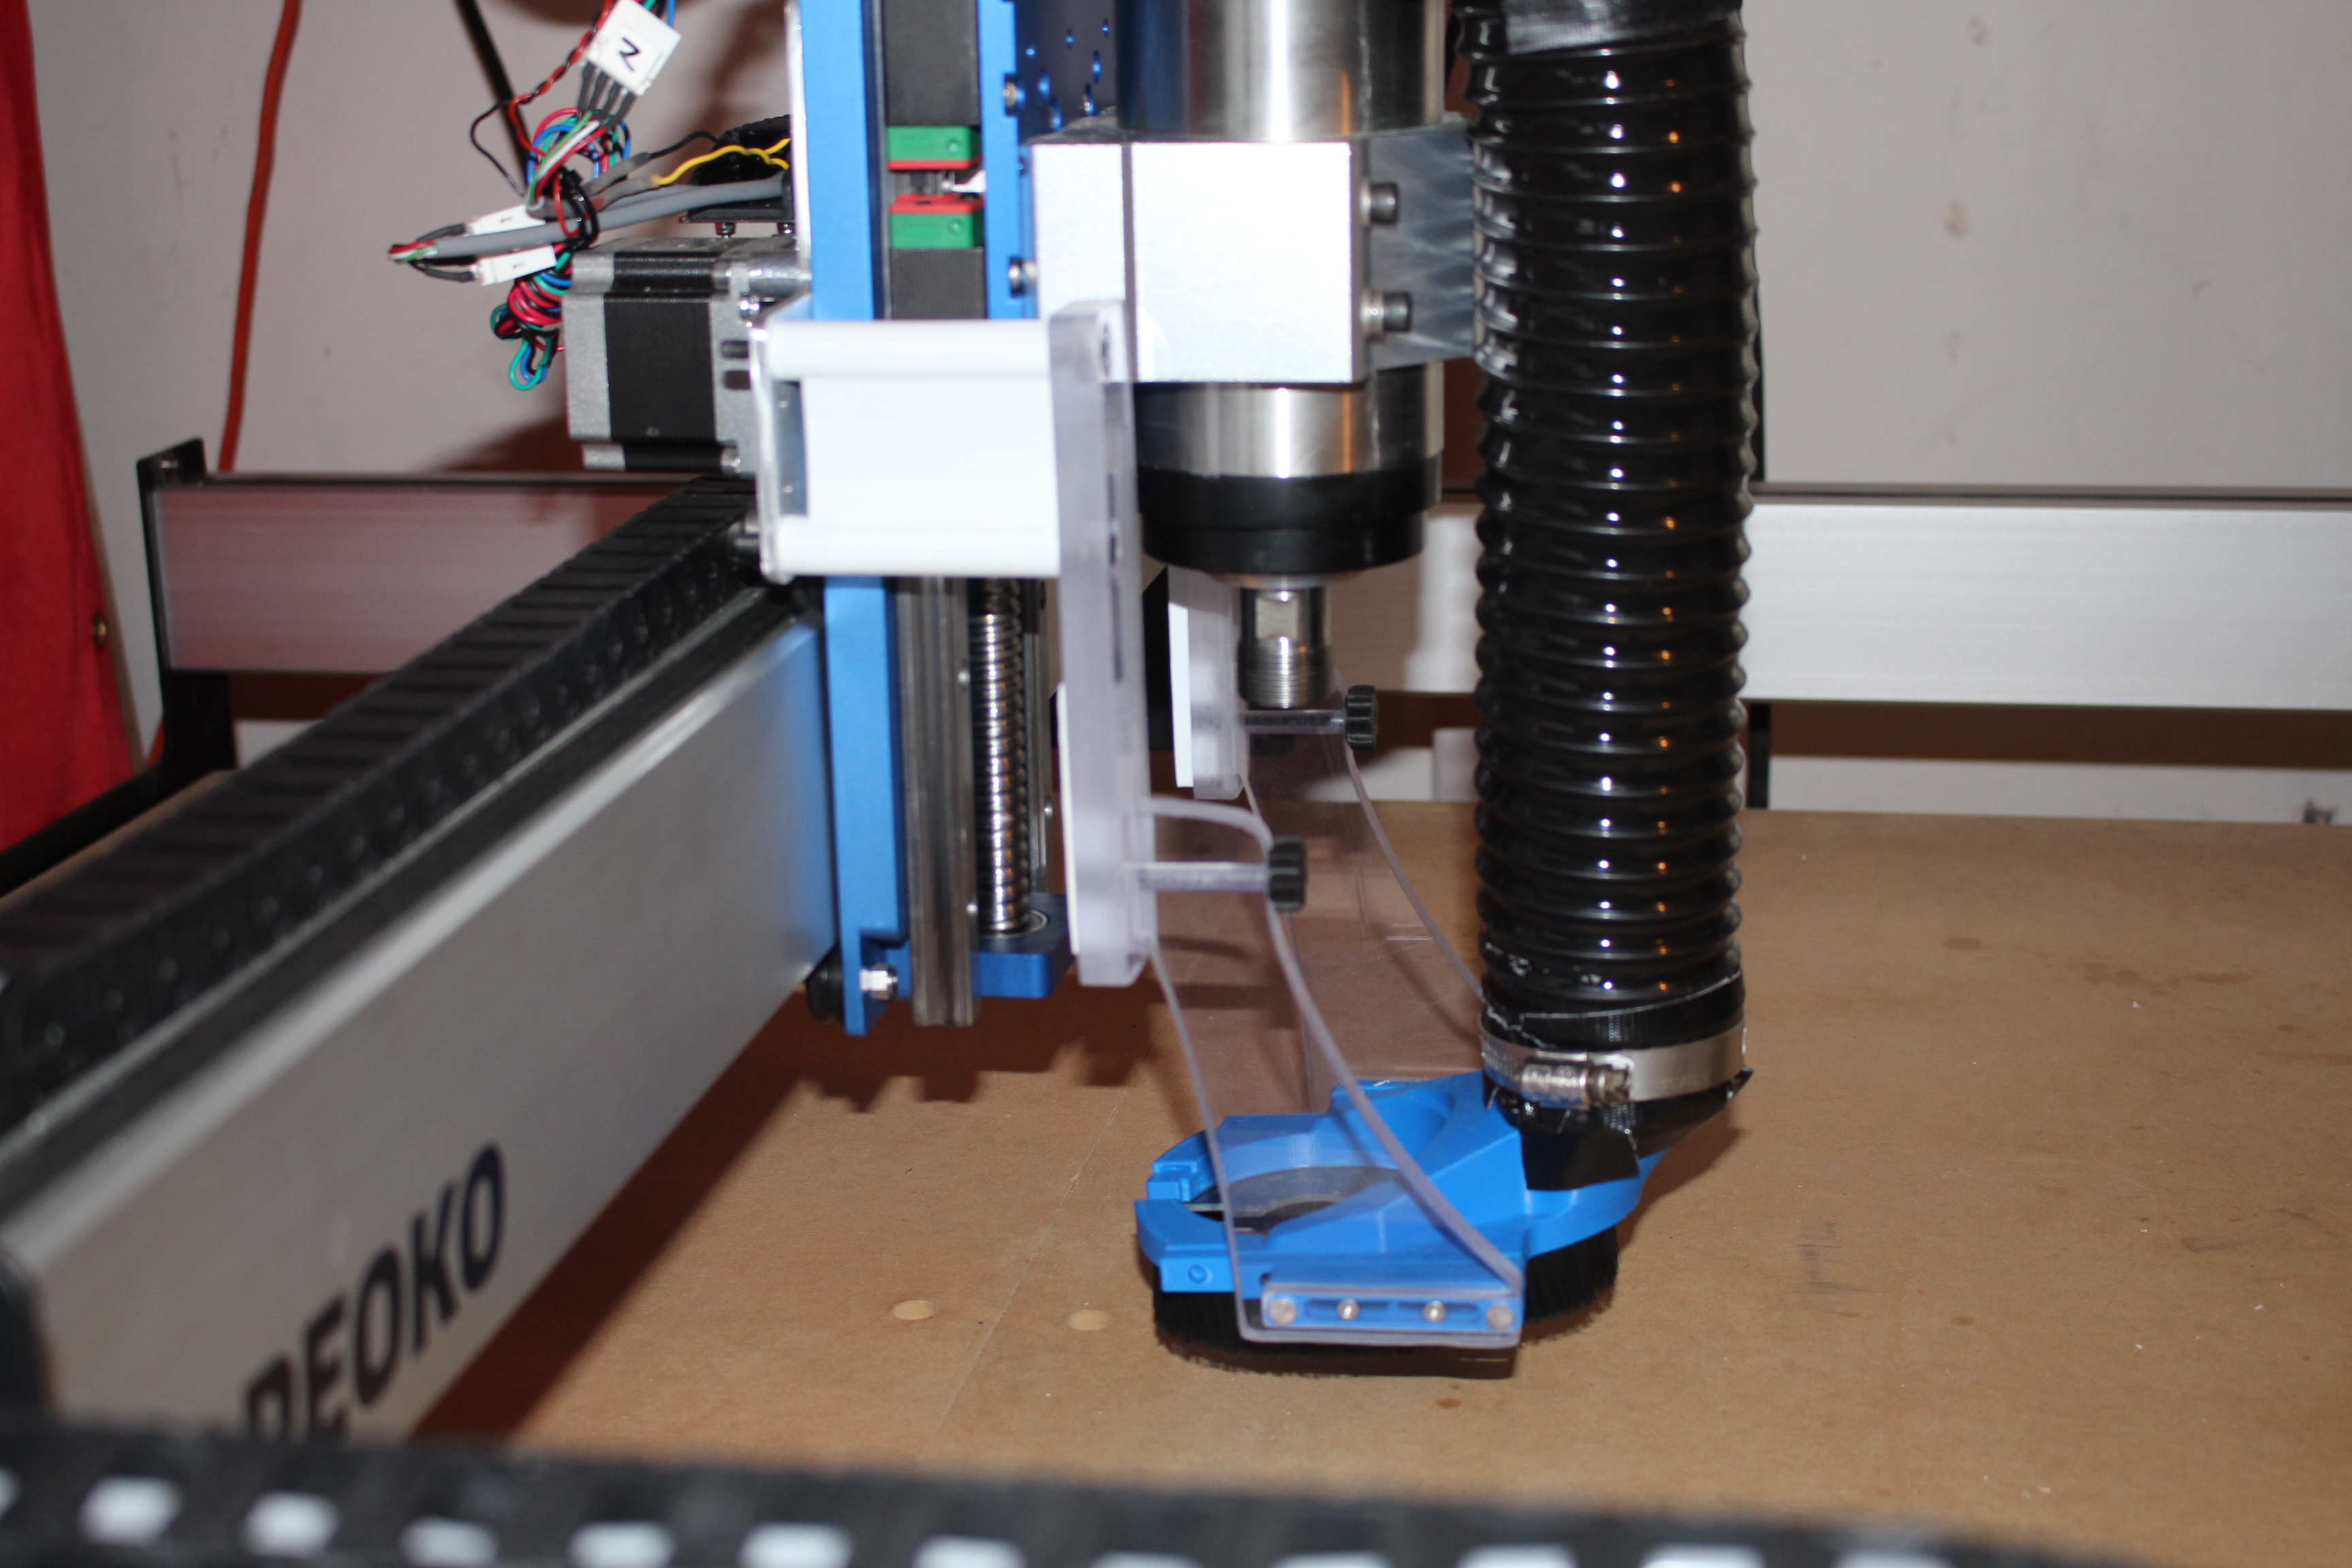

5 Likes
I really like your top box with the VFD etc.
It gives me some ideas… space is at a premium in my shop and I’m not using much space over head…
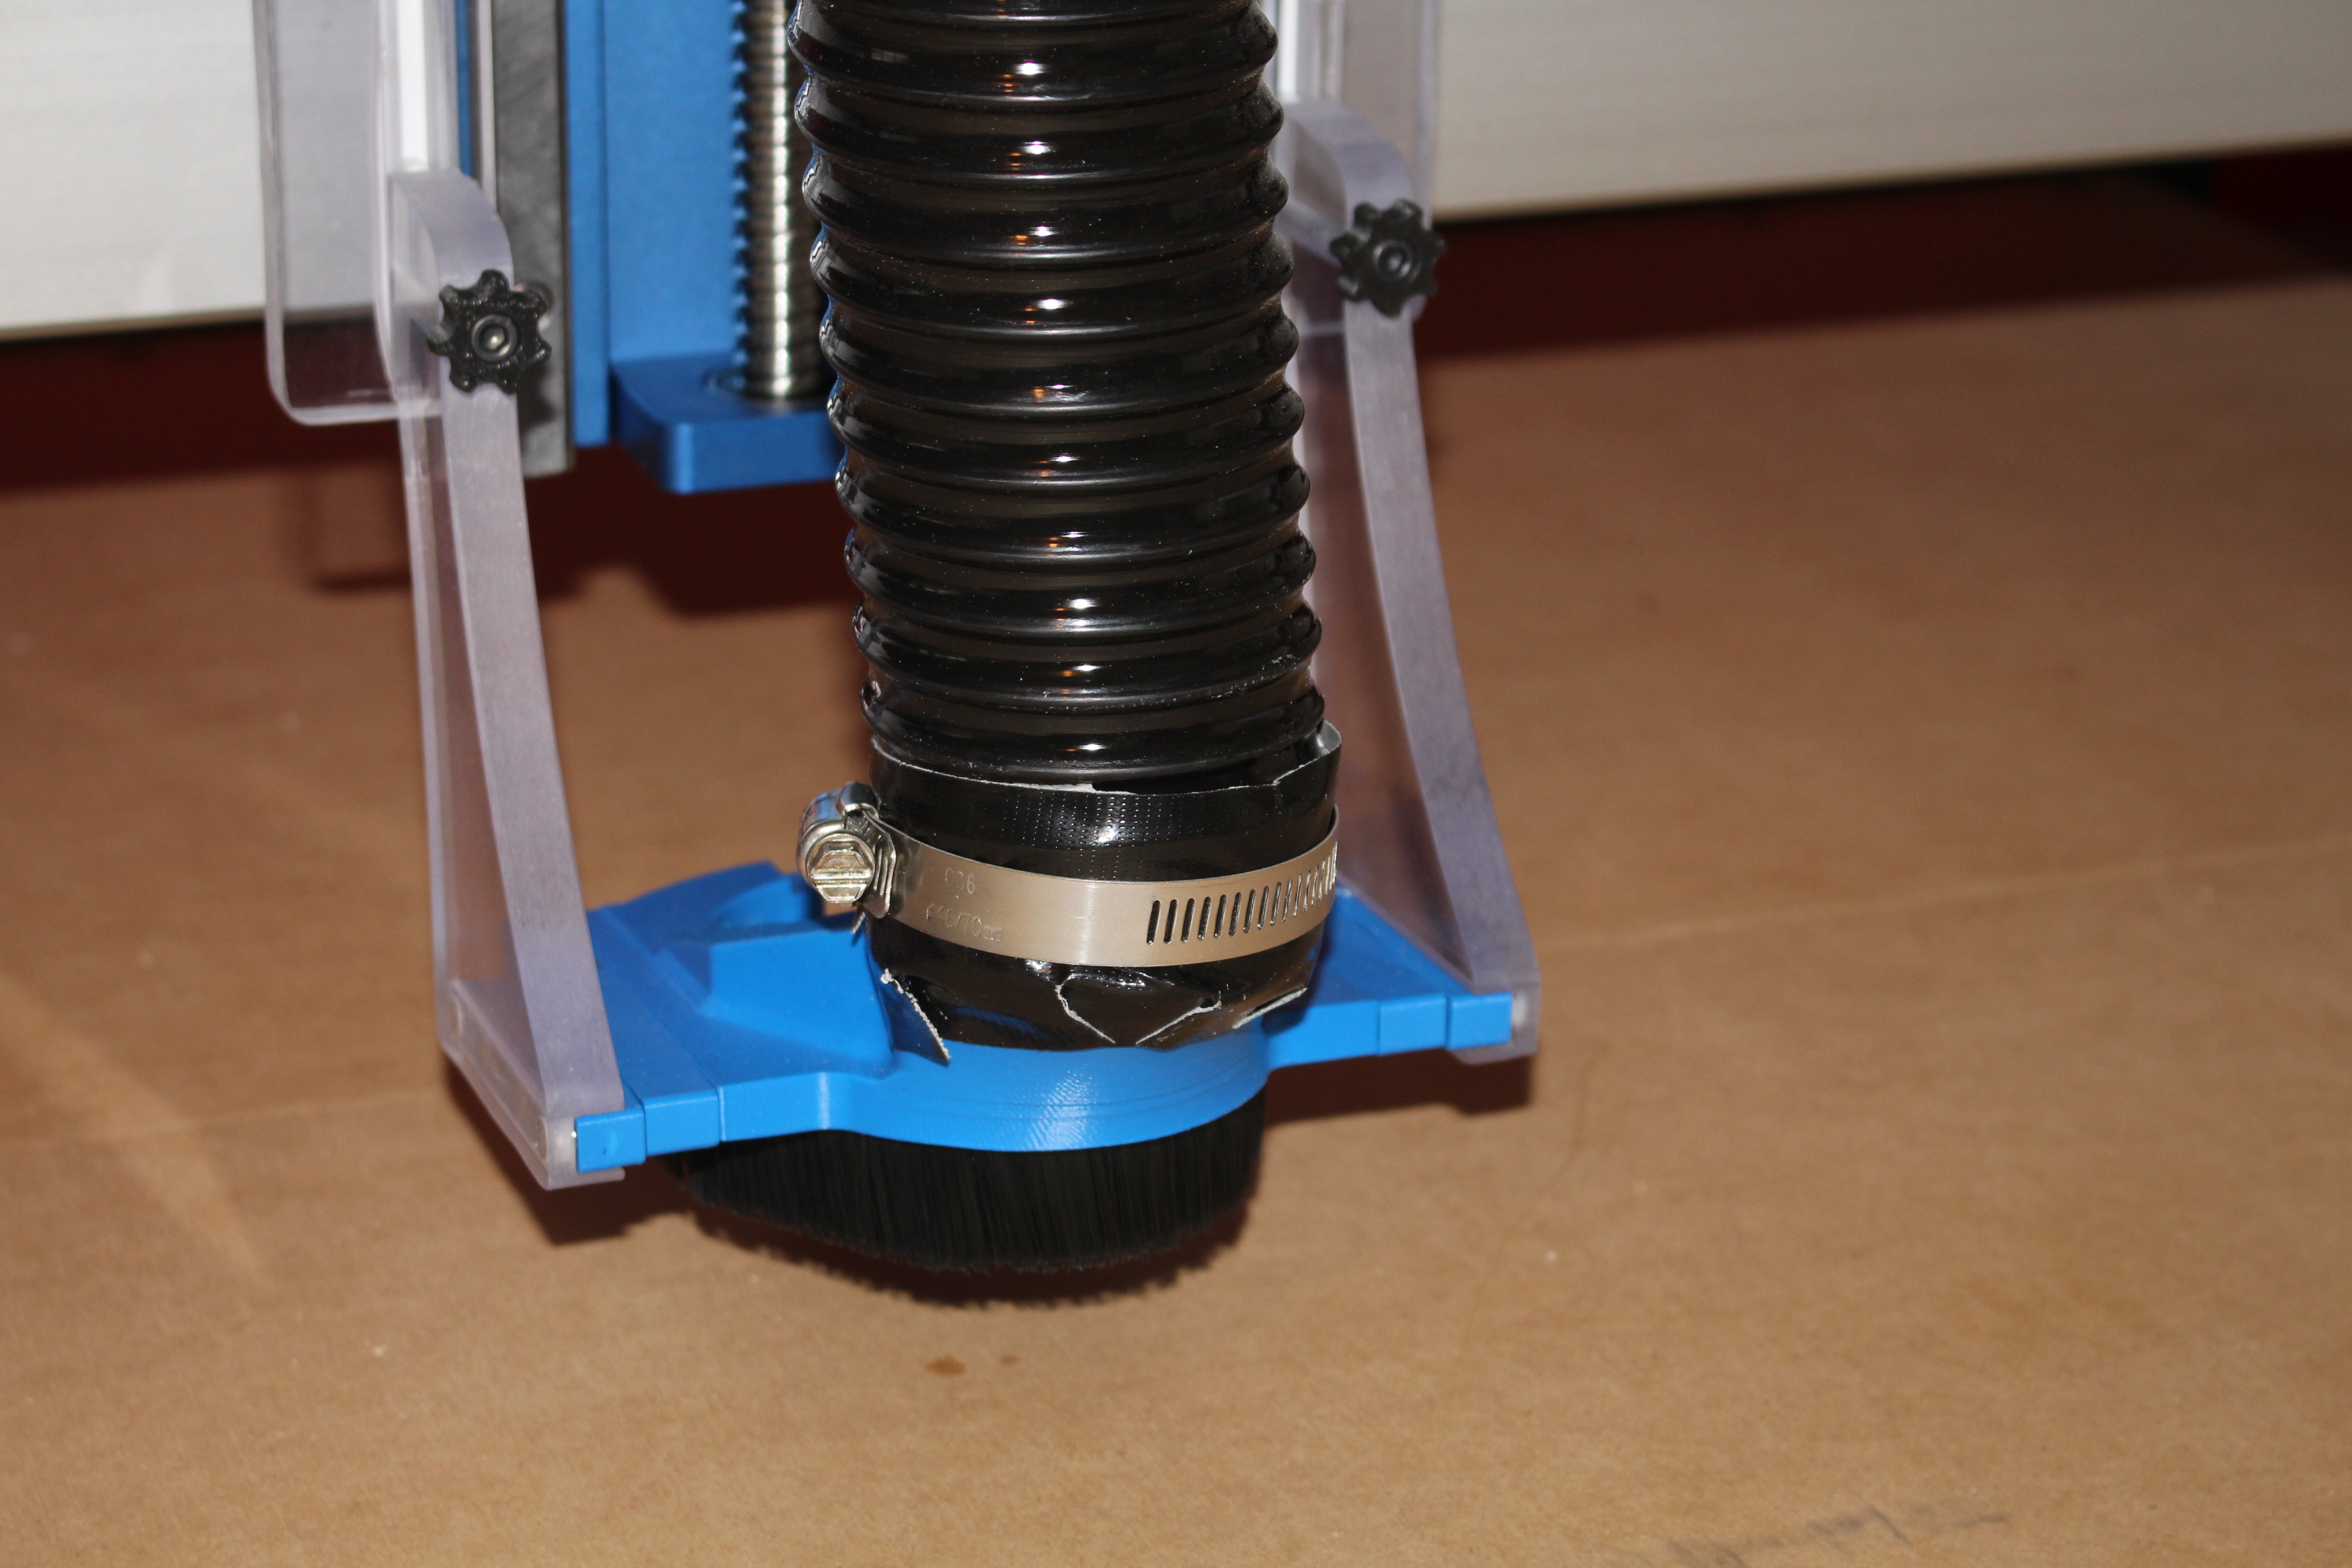
Anyone with the 3D printed Suckit know what size and length screws are used to mount the bottom router hole plate to the 3D printed boot? I did not have any in the kit and I’d like to grab some today.
Thanks!
Ive got both, but I can’t work out what screw you mean?
The ones that attach this part, the “router hole plate”, to the 3D printed shoe.
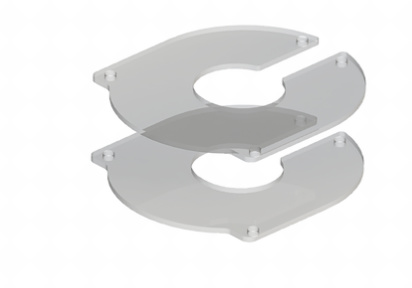
There are threaded inserts in the 3D printed shoe. I thought they were a standard M3, but they are not. I’m guessing 6-32, but I don’t have any on hand.
It’d be nice to know the length too.
UPDATE: They are 6-32. I got some 1/4" ones.

ah I don’t have a imperial gauges sorry
1 Like
What sort of proper Englishman does not have Imperial gauges?
Oh my giddy aunt!
2 Likes
I know right…
I also don’t rate tea…
The funny thing is I’d never even considered imperial bolts. I knew they existed but if it doesn’t have an m in front of it it goes in the bin
3 Likes
@Luke Do you know what type of connectors are attached to the motor cables to the PCB? I’m hoping it is WM2113-ND and WM2300CT-ND. If so there may be electrons flowing this weekend 
It has taken me way to long to get this thing back up and running, but had some solid progress today.