Notes on the connectors at: https://www.shapeoko.com/wiki/index.php/Shapeoko_3#Connectors
2 Likes
For the limit switches its Molex KK 2.54 for the motors its molex 4 pin 3.96 
1 Like
Hey Luke,
I have to confess. I’m better with hardware then software. First off I tried to make the adjustments to Carbide motion to try and run my new HDZ which did not work at all, so I went to the MDI display on Carbide motion and entered “$$” and got nothing. I did download Universal Gcode Sender 2.1 but without the GRBL values I don’t know where to start. Can you drop some bread crumbs for me to follow.
Ha ha, we’re two peas in a pod then!
I take it you have read the instructions? These two videos feature - watch them both as they show you were to make grbl changes.
When you first load UGCS and connect to the machine it might say alarm. In this case click the unlock button and it will allow you to make the changes. DON’T CLICK HOME.
1 Like
Worked like a champ Luke. I could even use CM if I lower the spindle. I already have almost 20mm on top of the origional waste board for my T-slots so I don’t need all that extra Z-axis travel. Although it would be nice if they dropped the 80mm hard limit. In the morning I’ll see if the touch probe works, I tricked it out with it’s own 4 prong plug so I can put it away when not in use. Then all I need is my VFD cable and I’ll be ready to run.
Magic
Are you using UGCS or CM for control?
If your trying CM I’d be keen to see how you get on.
I used UGS to set it up and tested control by moving it around the table. Closed UGS and opened CM. Did the same thing with CM everything was great except for the 80mm limit on Z-axis. It would not go lower. But I could drop the spindle in its support to get it lower if I want. I’m a newbie to CNC routing and still taking things one step at a time. The HDZ was a fix for some of the design issues I did not like with the origional setup. Also all the mods I’ve done over the past couple weeks were for the same reason. There are still issues but most of them would need a build from scratch to fix.
I do have a question for you. In your video with the touch probe I did not see the ground. Are you using one or do you get adequate ground naturally?
Well spotted! I don’t know why people haven’t done this I’ve posted about it enough times.
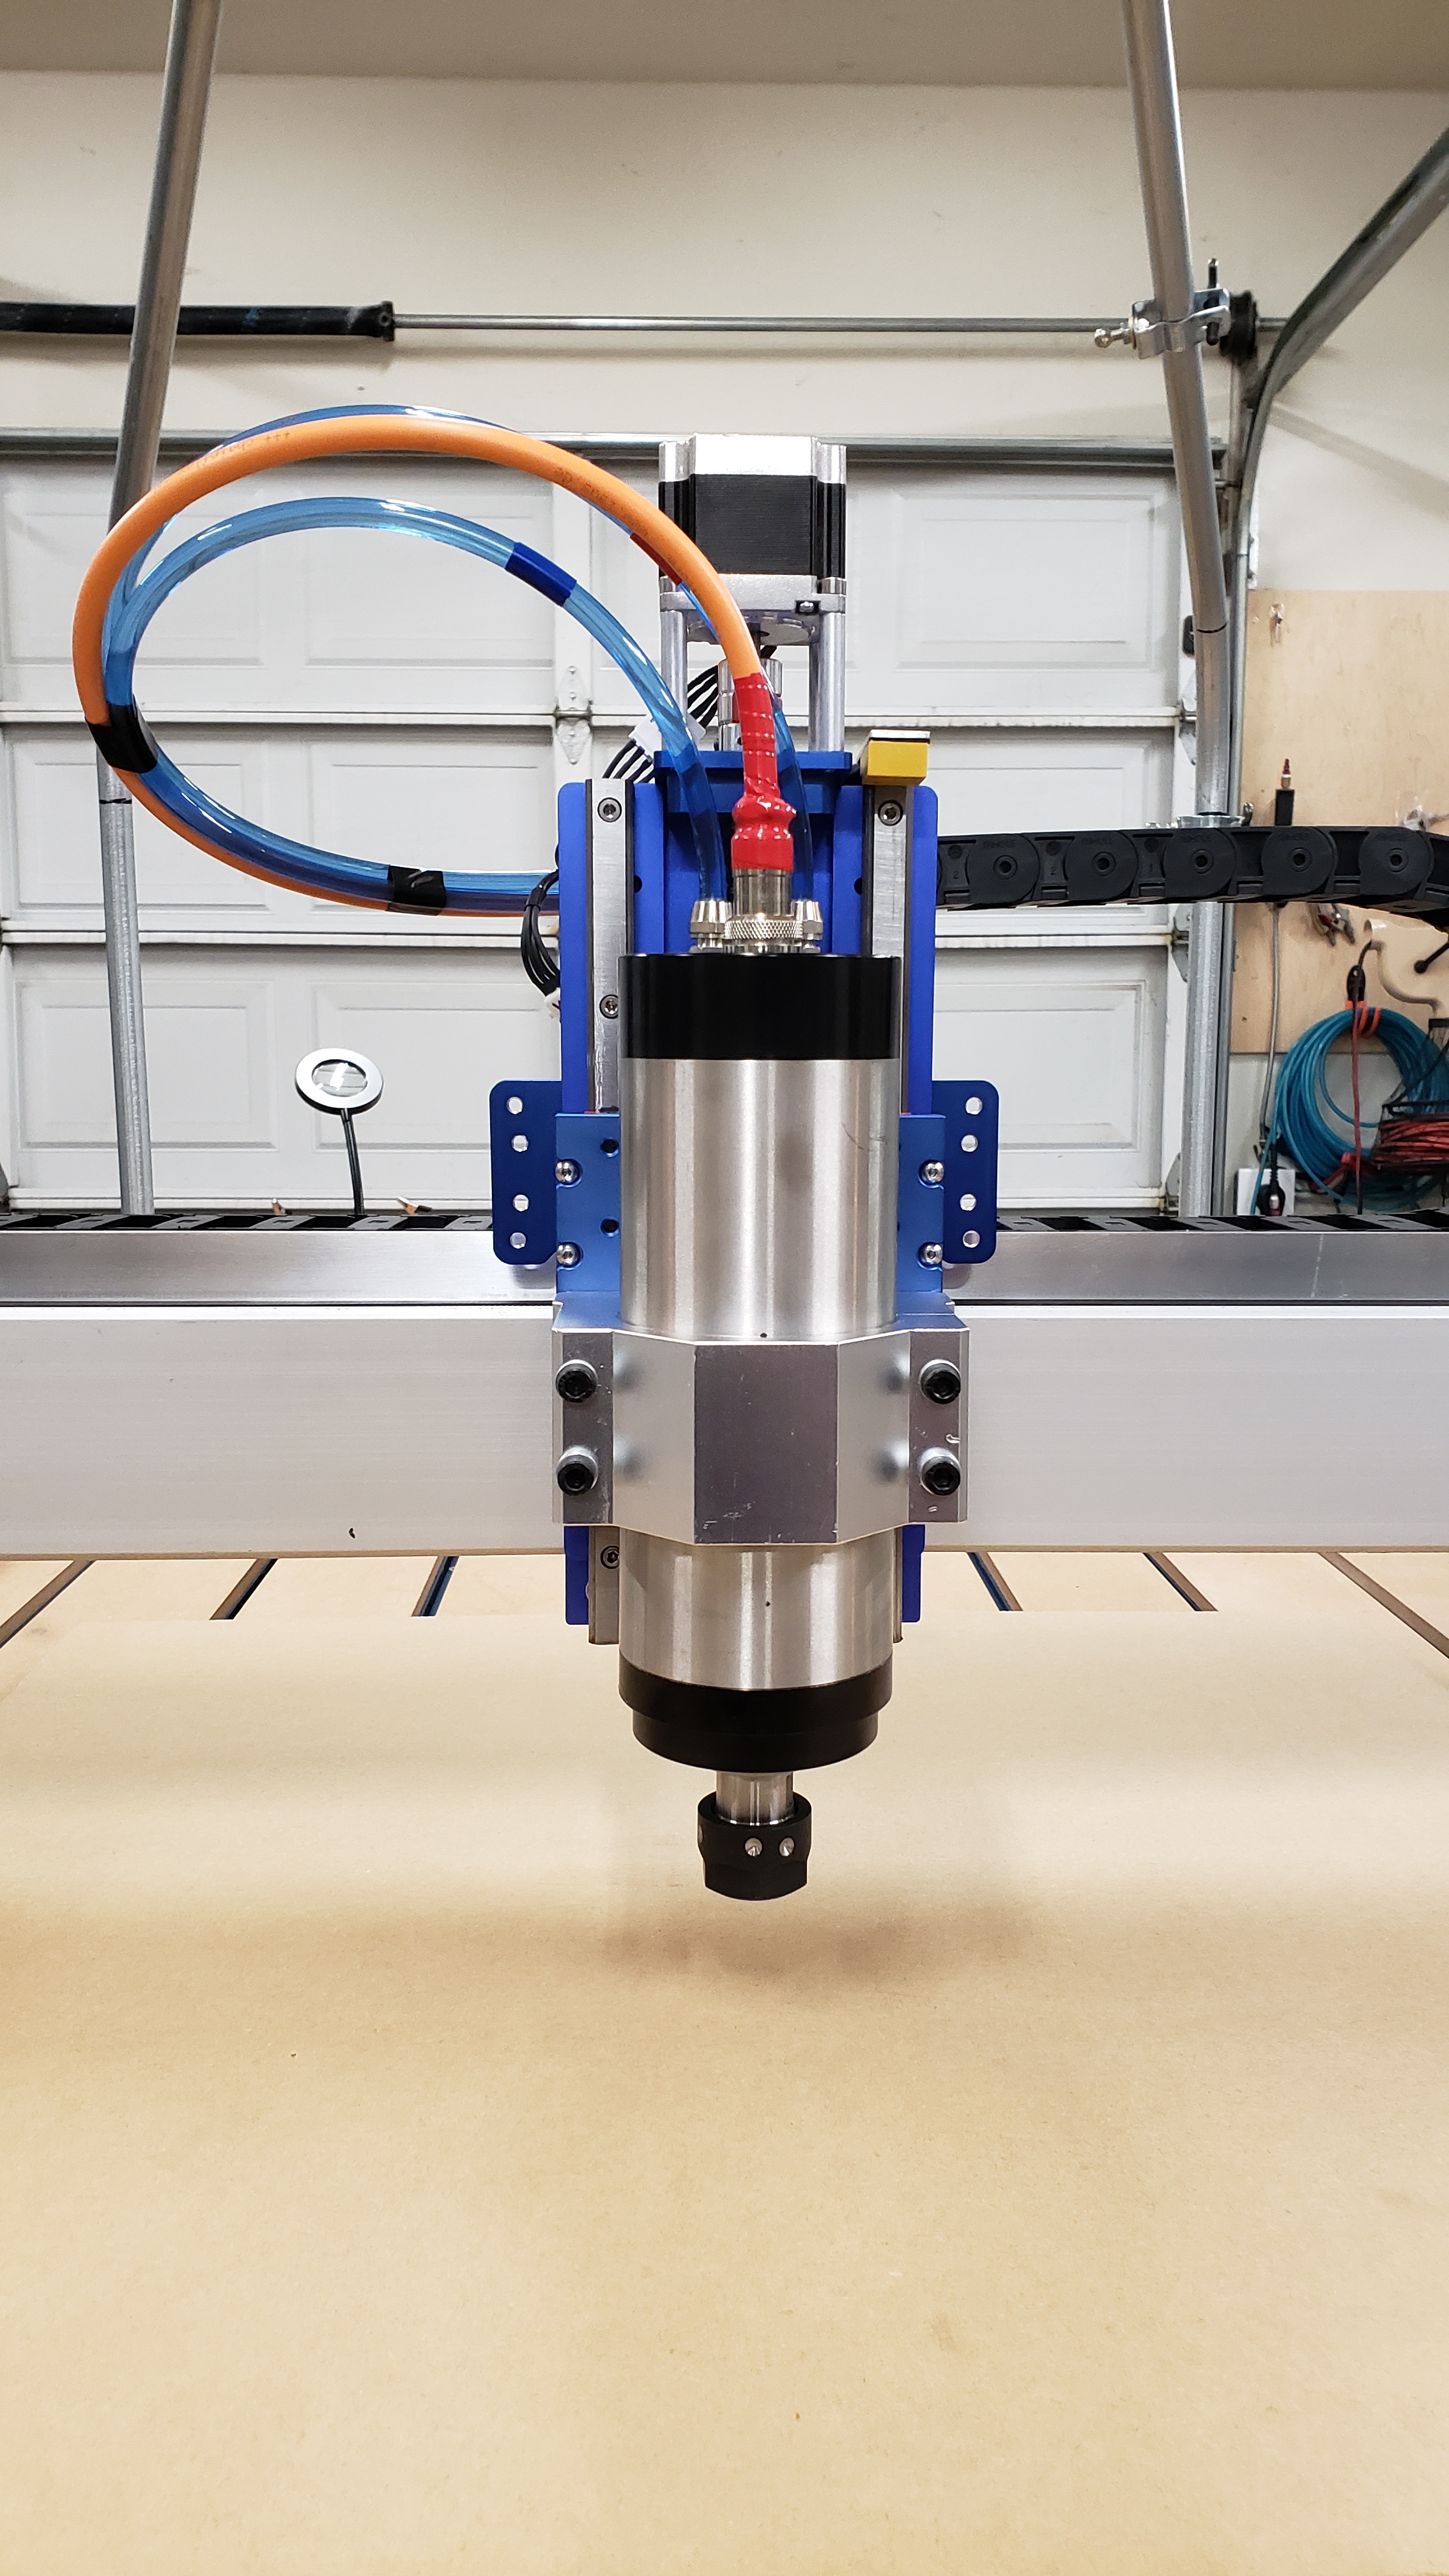
If you ground your spindle (which you will need to do on your setup, but isn’t mandated on a router setup) you don’t need another cable running to the control board ground.
You will need to pop the top of your spindle off and add the ground wire from the spare pin to the casing though - an quick easy mod.
Not too keen on doing that if it affects the water jacket. Do you have any pictures from when you done it?
It doesn’t there are 2 rubber washers seated in the top. When you pop the top off they sit nice and tight.
Your gona have to ground that spindle otherwise you will find yourself getting disconnections.
this is pretty much what I did:
Ok Luke. Good information. Wish I knew this before the install. Surprised it’s not grounded.
Yeh it’s a weird one. I’ve got 2 spindles and neither were grounded…
Glad you told me. I would have been scratching my head for a minute when it faulted out.
Remember that 1/2 destroyed Carbide Motion controller PCB (original model) at my place when you picked up the machine stuff? That board got disassembled in order to work out the above (and add the info to the wiki).
Looks like it turned out useful. ![]()
1 Like
Ok Luke. Finally got the new VFD cable today and finished the install. Still waiting for the new improved Suck-It mounts and parts from Suck-It as well. Will set up the VFD tomorrow and do a test run. I will do a new post next week showing my work
and have nearly 4 inches of clearance over my added waste board.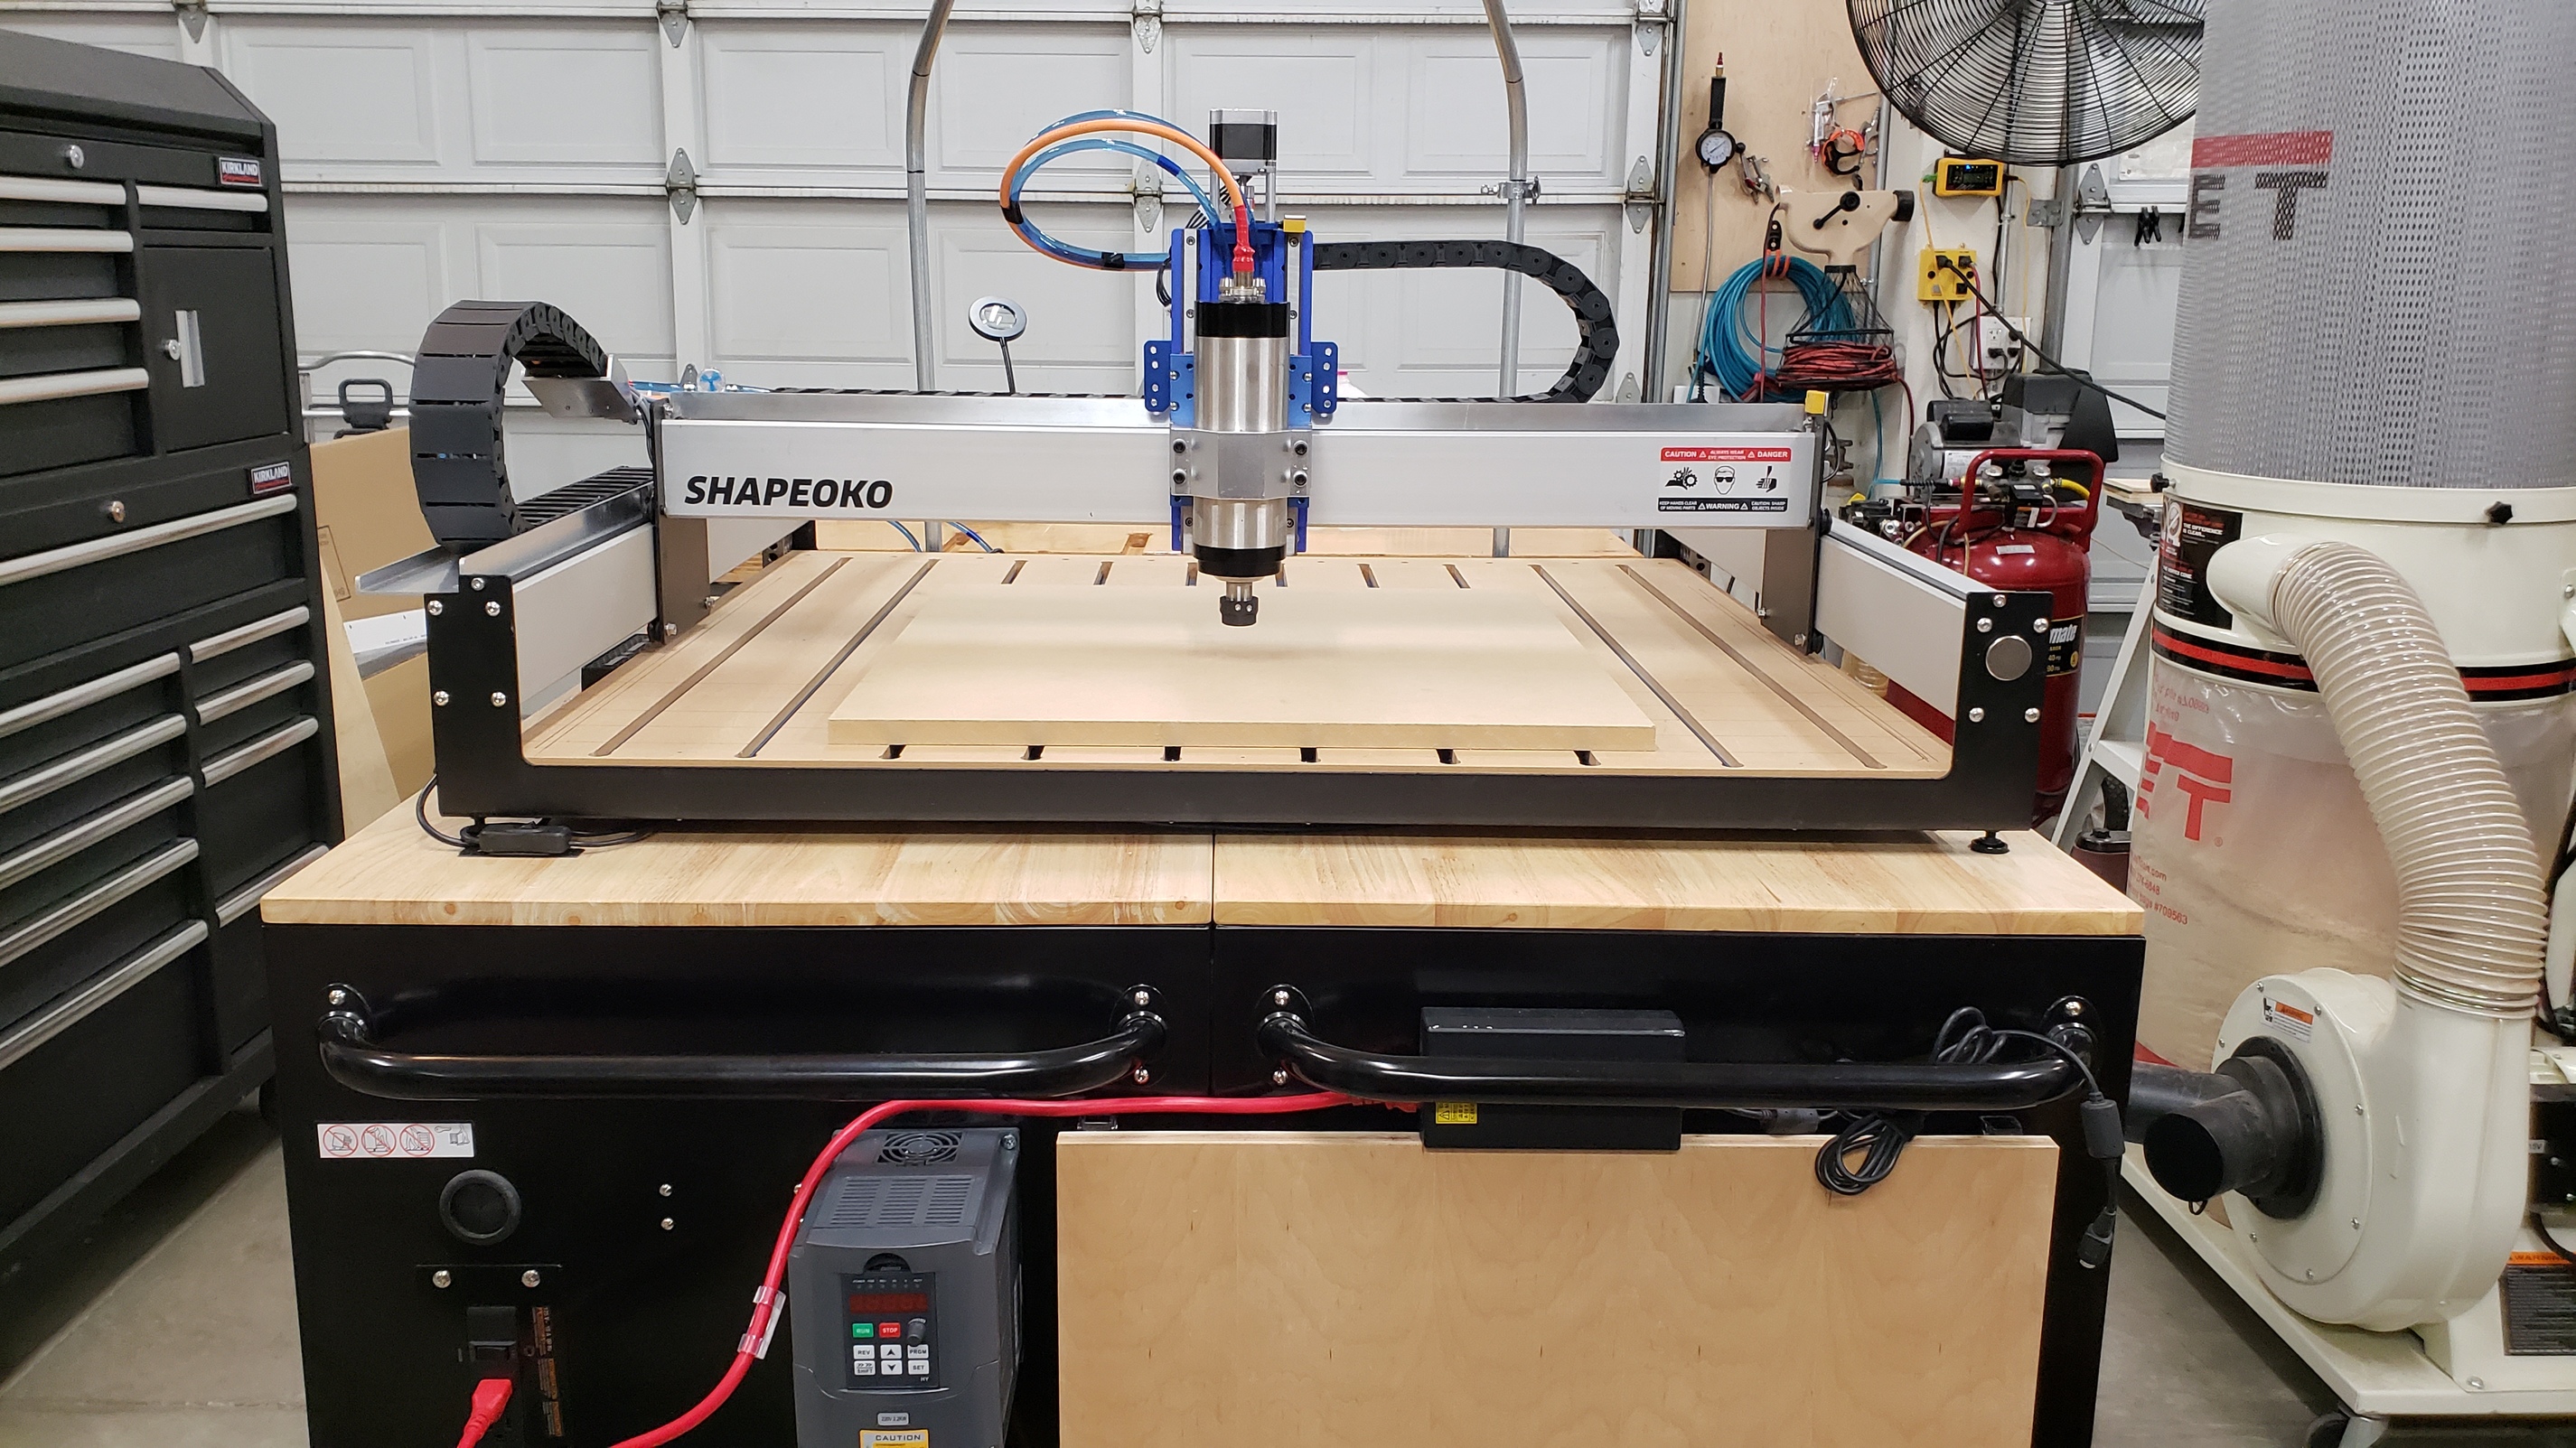

4 Likes
That’s very tasty! The new suckit ears are currently MIA, they were delivered yesterday to the wrong place, I’m currently playing detective and have tracked them down to another local business. I hope to find them tomorrow and ship out same day.
Super nice, clean install.
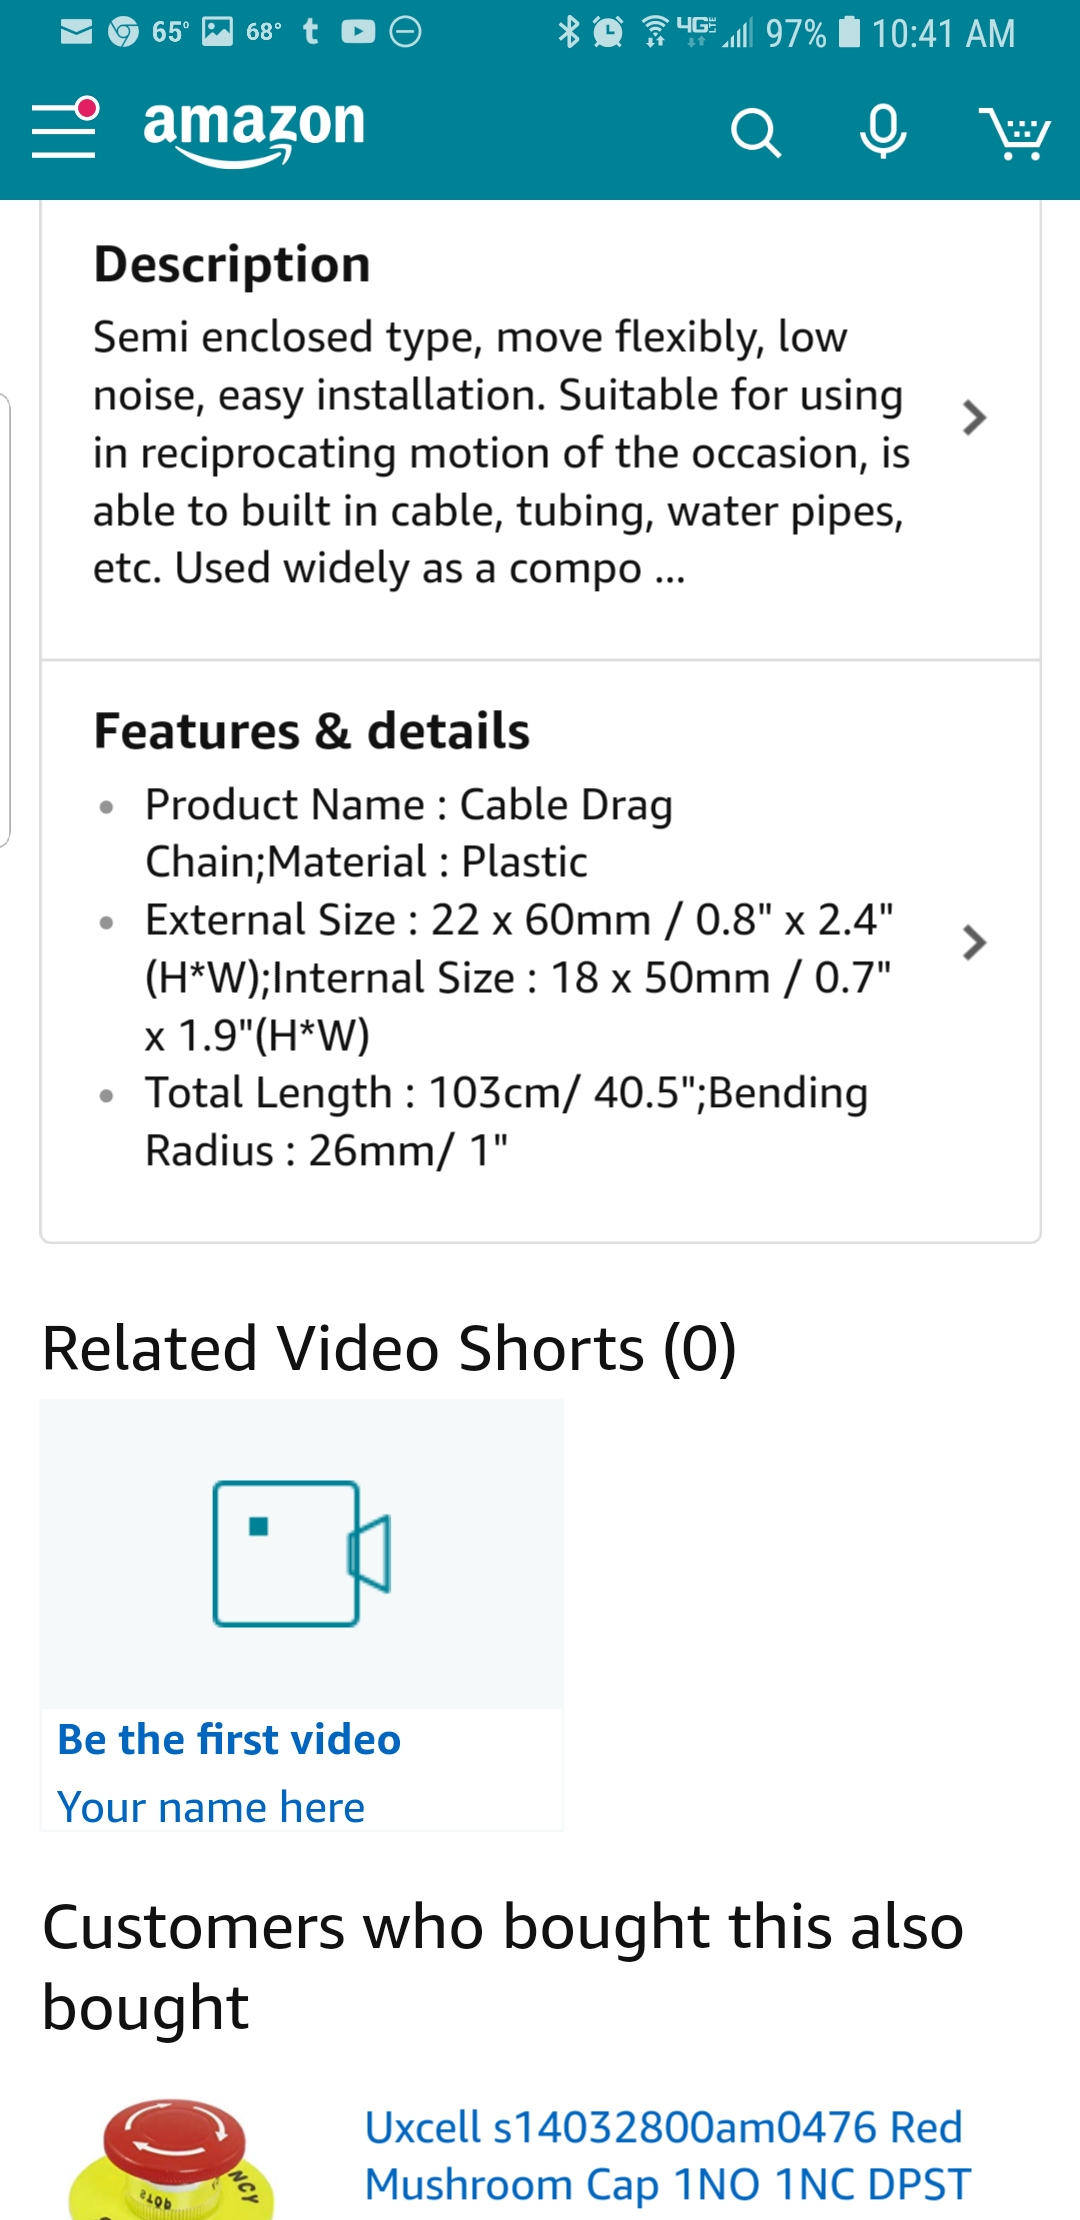
Drag chain link? I’ve not found any so large. Future plans call for mor chain capacity.
1 Like
Griff. This is the chain I used. Purchased 3 sets of them used 2 and a part of the third. 0.7" tall 1.9" wide inside dimensions. The nice thing about this chain is it can be opened up so single link replacement is a breeze if you damage a link. No unwireing needed.! I have all my cables and cooling running through it with room to spare.

3 Likes
Hey Luke. Yesterday I did the basic VFD setup and fired up the spindle. Of course following the 50/50/90 rule I had to swap two wires to get it going in the right direction. Anyway I was wondering what torque setting you use. And why you chose the one you use. This is in my opinion not a constant torque situation because the load varies with plunge and cuts from idle. Not sure if it would be best to use a low or high torque setup or am I wrong about the constant torque? Anyone else with an option or some science as to the proper setting are welcome to chime in too.
Thanks.