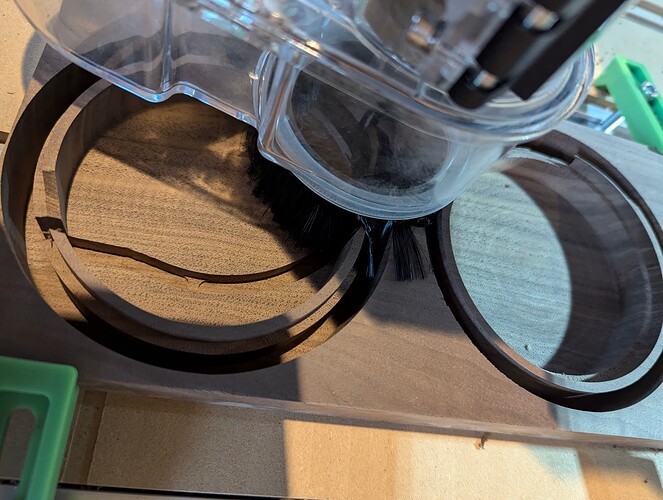
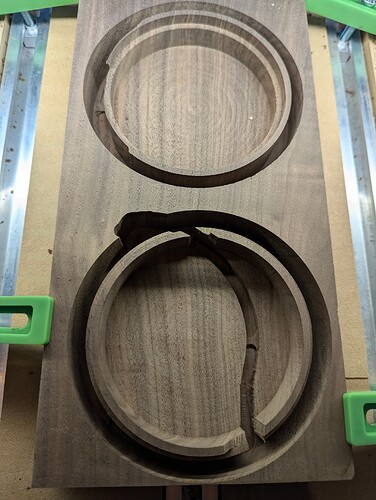
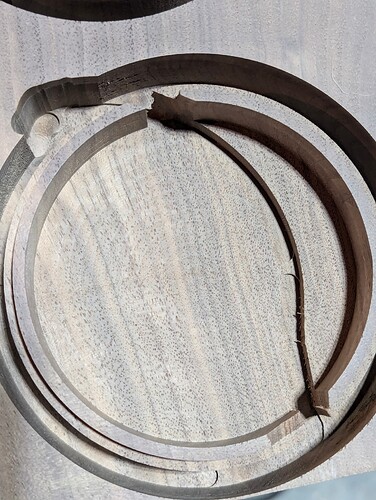
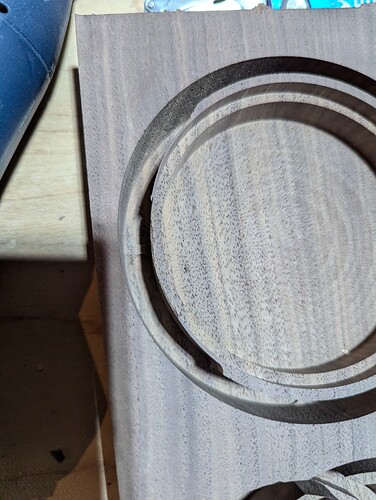
Went through the same, was devastated. Still was my fault.
I also used thick stock, appr 1". So now imagine what a downcut bit does: it takes the chips and pushes them down into the path. The bit has a LOT! of force to use to go through that very tightly stuffed chips and dust, what only gets worse with time. Sometimes it goes well, but sometimes (maybe the chips are a LITTLE bit more moist or what not…) it goes havoc. Then the stock is waste, and the bit is broken. And what also can happen: lets take an up-down-cut bit, the bit end pulls the bit down, the chips cannot be transported up, and the bit is pulled out of the collet, and wanders deeper and deeper, destroys the stock, the waste board, even the aluminum slats, and breaks eventually the bit also. With a little bit of "luck: the whole dust/chip-load gets hot from the rotating bit, and starts to burn. A black smoking router also does not really look pretty. Yes, all that happened. (the spindle has a overload / overheating security mechanism)
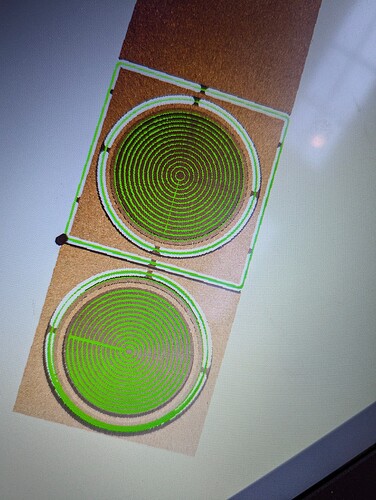
So follow Williams recommendation: define a pocket around the contour. This way the bit cuts layer after layer wide enough for the chips not to get stuck in the slot, That pocket goes as deep as the tabs have to be. Remember, the pockets ignore the tabs, so there must be a workaround for that, and that is to define now the contour cut at the bottom. Now where there is enough width for the bit the lowest layer should be the contour one for the tabs, so the pocket cut should not go completely down to zero, but few mm above, and the contour cut should have it’s starting level at that depth.
Now that problem with stuck bits should not happen any more,
BUT!!! there is a huge but! The way how the machine cuts these pockets is unpredictable so far. Use V8 of CC, and you can simulate the bit movement. You can see that sometimes the bit cuts one round all the way to the depth of the pocket, so again a narrow slot, and ony then cuts the outer slot. No one could find a way to change that behaviour yet in this forum.
My suggestion, what I try with my next tick stock project -will need some time, first are christmas decorations for friends, family and christmas markets- is, that I define several toolpaths for the pockets, so the pockets will be cut for each toolpath to a specific depth, the next pocket then with a starting depth where the one from before ended.
Now another thought: when we use up-down-cut bits, and do not cut the whole cut in one piece, what of course would break any bit, then the upper edge always is not clean, because the up-cut part of the bit throws out the edge to the top, leaving it unclean. Antother user had the idea that the pocket aorund the structure should be 1mm wider than the “real” contour, the pocket should b cut layerwise, and the last cut, just 1mm, in one run the whole depth, now cutting sharp edges on both sides. I did not try that also, but will certainly, sound very promising, I love sharp edges. You never get those sharp edges with sanding.
GL!
