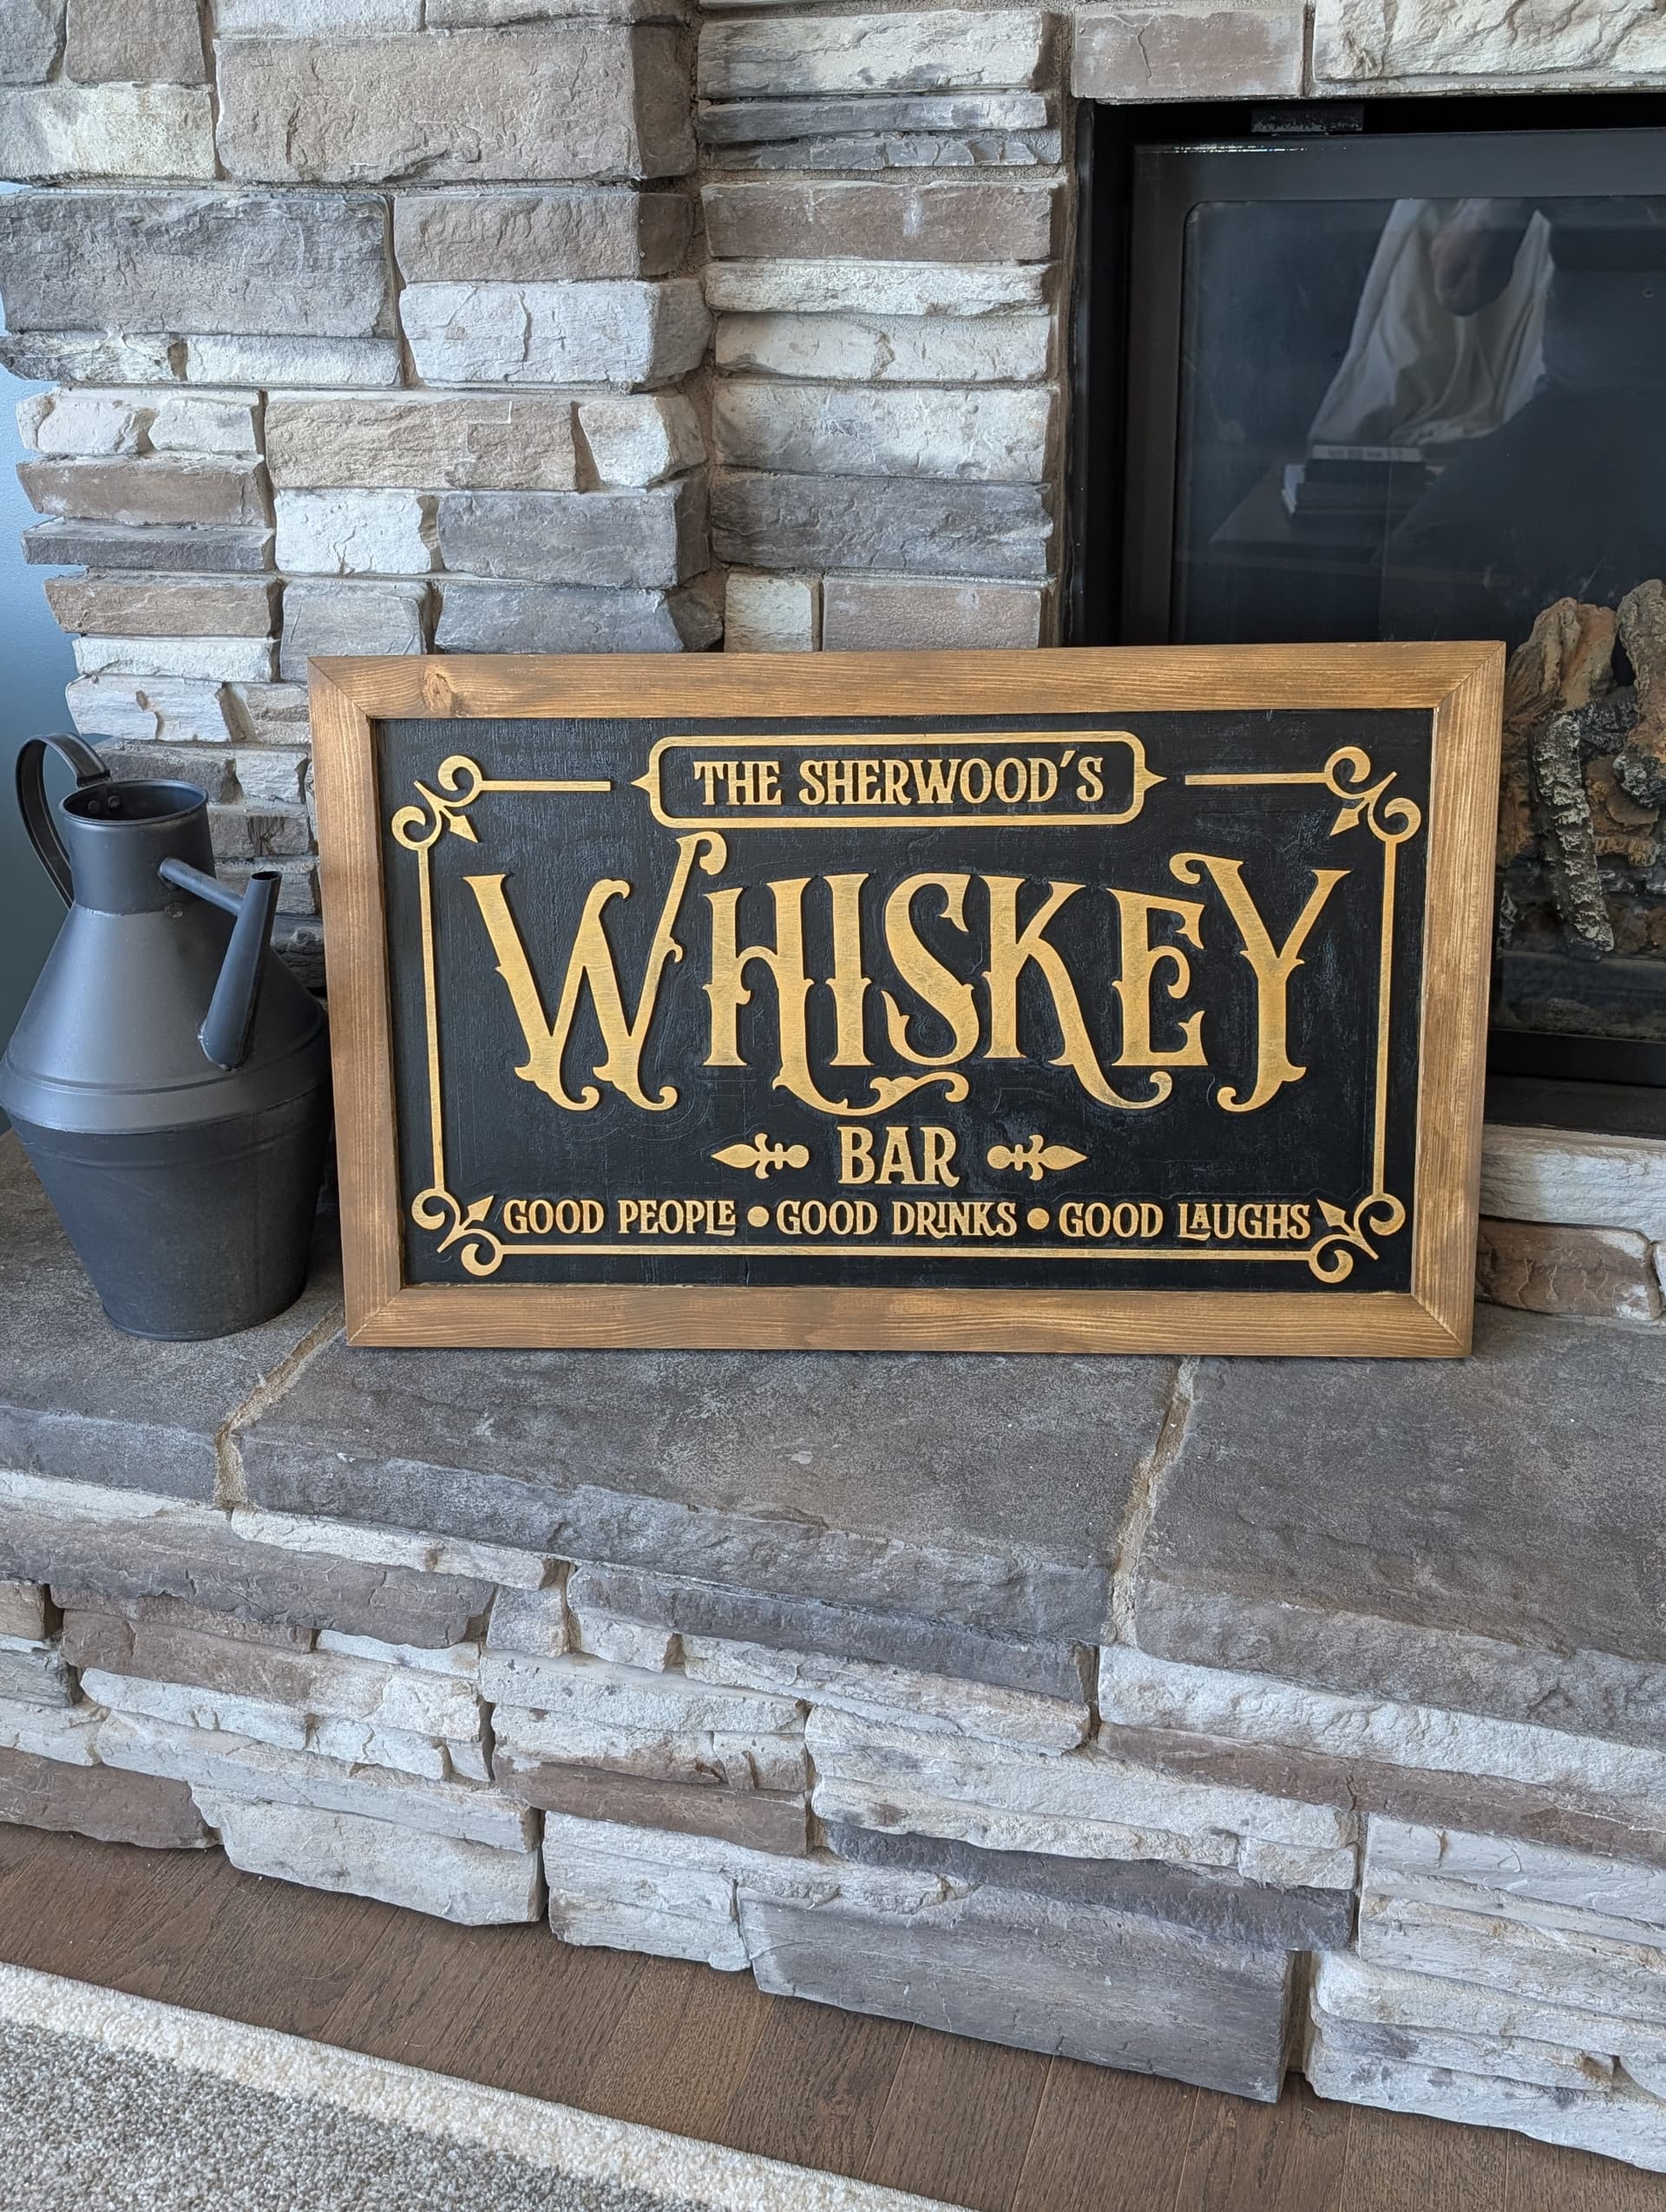
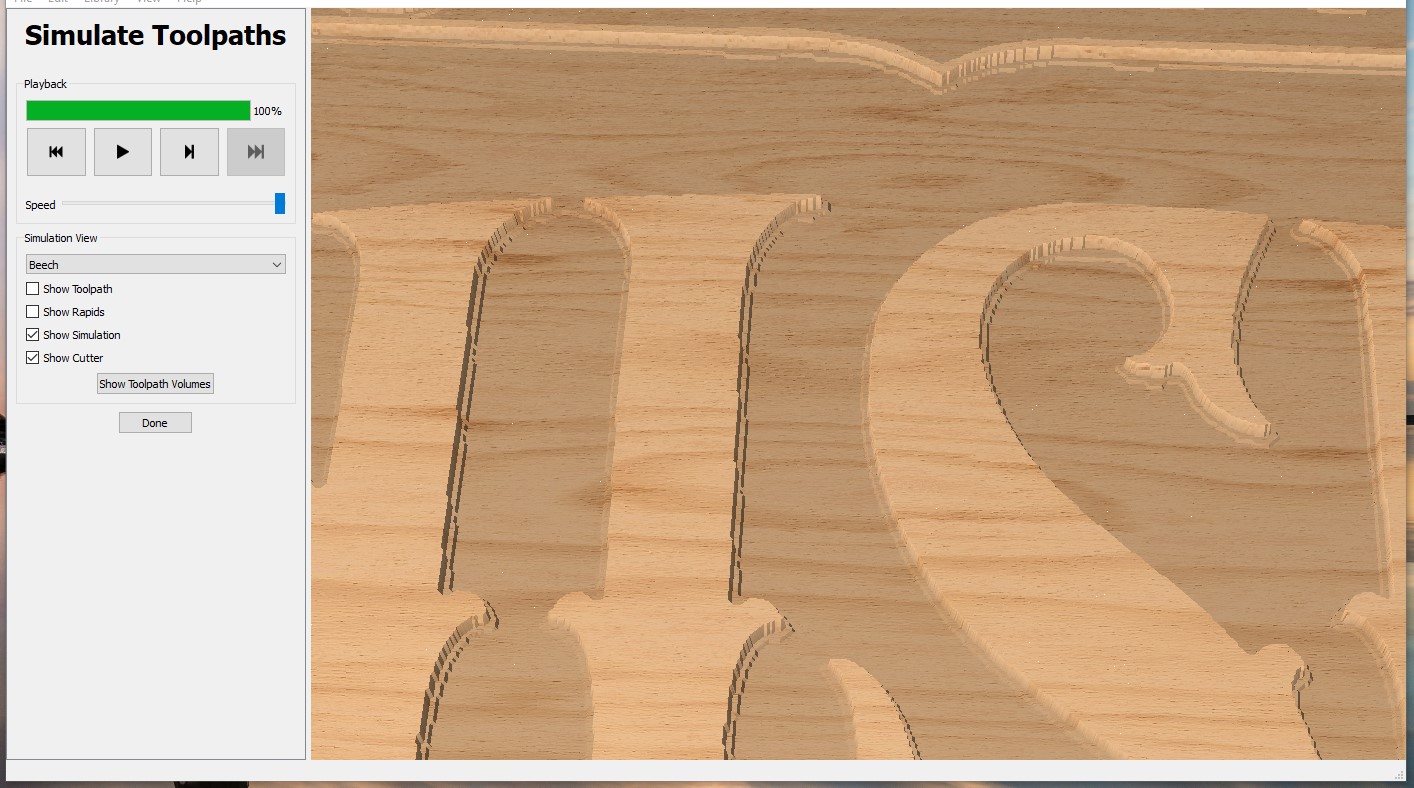
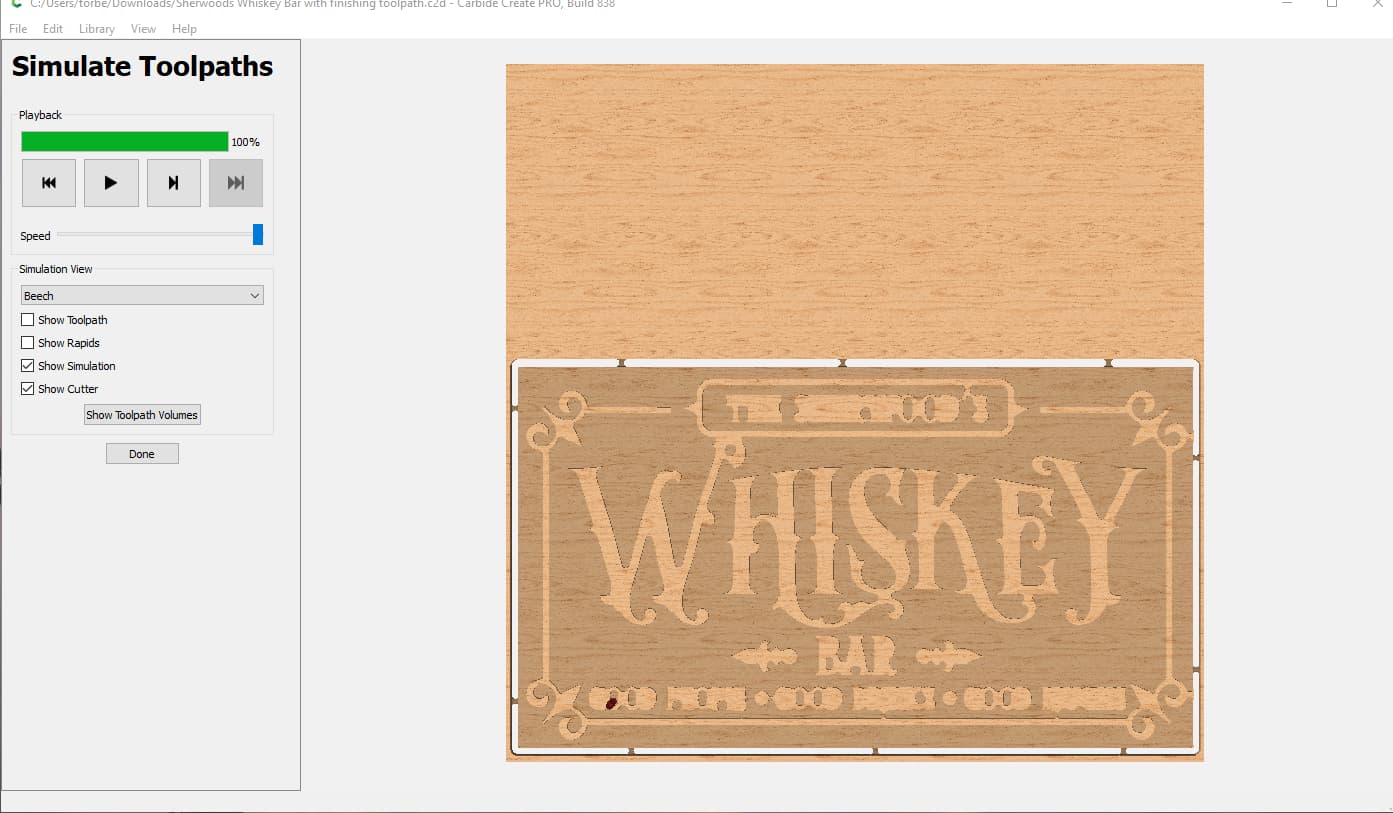
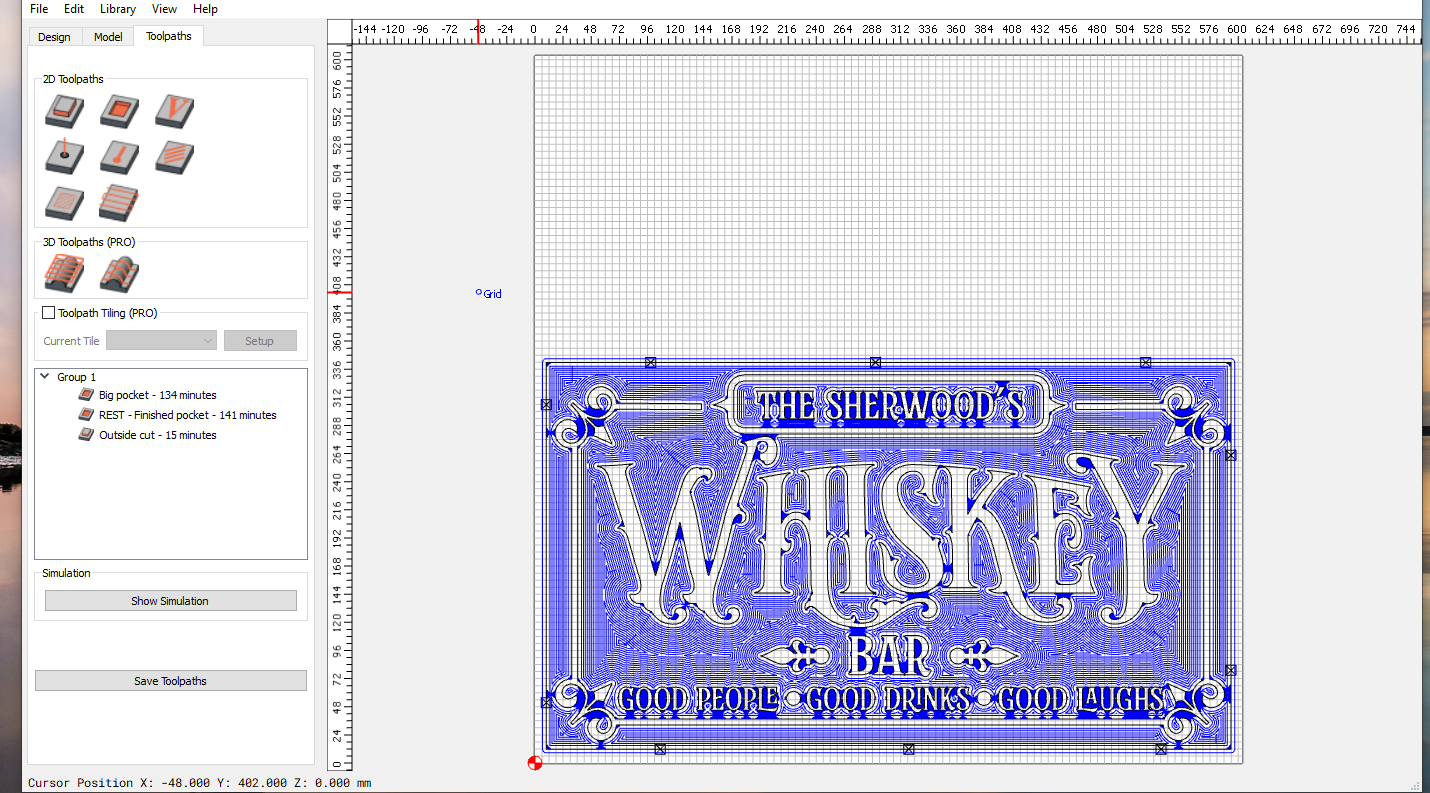
I made a sign and chose the pocket toolpath to remove the material around all of the letters and borders. It has some intricate parts so I started with a 1/4 inch downcut bit to remove as much material as possible, set the stepover to 2mm to try and minimize the marks then did a rest and cleaned up all of the details with a 1/16 downcut bit and it all worked other than the toolmarks left and the ability to get into all those nooks and crannies is impossible with any kind of sanding.
I have watched some videos on creating another toolpath where you set it to just go with the grain and it basically removes almost everything. I think it’s called a “raster” cut but I cannot find what that is in Carbide Create Pro.
Any help on this would be great. The toolpaths really show when I paint it, and I can’t give them to people looking like that.
What material did you carve into? It looks like wood (?). Have you tried doing one last finishing pass taking only a small fraction of an inch (like, .005")? That will sometimes clean up those marks.
I got a very detailed response by WillAdams and I really appreciated it but it didn’t solve the problem. I tried using the solution in the CC Pro and for 2 hours I just kept getting strange results, that and it was going to add 12 hours to the project, which I thought was weird.
If I setup another pass, how can I do it with two different bit sizes? I tried to do a Face toolpath but then it offers no REST option if I want to clean it up with the smaller bit, but if I don’t then I have all these layers in there. Then I tried with just the smaller bit and it not only took 12 more hours it also removed a bunch more detail in the letters and design.
You’re not the only one who has struggled with this! I’ve had the same problem.
So, instead of trying to change the bit, use the same exact bit(s) and run an immediate toolpath directly after the initial carve. The second, very shallow carve will be barely touching the surface and (sometimes) clean up the marks.
If that doesn’t work, another possibility is making sure your spindle or router is trammed. It’s worth watching a couple videos on that.
A smooth enough to paint pocket floor in wood with no sanding…I’ve never got that. Take the most perfect setup rigid machine dead square bit. A pocket will always have a little trail on the bottom where passes overlap. The grain is being pulled different ways.
I like @SirGariff suggestion of a shallow finishing pass. Might take a while on a big sign!
It could also not be the tooling at all. How thick is the material, how deep is the cut, and what’s the workholding? There might be subtle material movement having an effect too.
Here is the closest I have come to getting this. I tried the 1.6 inside offset in design and then did a Face toolpath and I get a small halo around the design. Not terrible and it only added about 3 hours to the project but I still think that there is a better way.
I am doing a Pocket instead of a Carve, should I do a Carve?
I setup the Face pass as a shallow pass, I have the depth of the initial pocket at 3 mm so I set the Face up as 3mm start to 3.5mm finish. How else should I try that or this shallow finish pass you guys are suggesting, how do I set that up?
You’ll see I selected the exact same layer as you did for the toolpaths and used a pocket toolpath to create the final carve. I only went .01 mm deeper. In theory, this should run that same toolpath as before and just skim the surface clean. You might need to take it another fraction of a mm more if it only takes a little bit.
I think what is happening is you are getting some deflection in your material. I’m guessing it isn’t completely flat against the surface of the table. I would make sure that if there is ANY warpage in the plywood or material, that the outside edges are up and you have to pull them down with your clamps instead of the middle of the material being up. When that happens the bit will actually push down the plywood while carving.
Also, if you are painting it not staining it, I ALWAYS recommend using HDU!! It carves perfectly clean (That’s all I use and I’ve done LOTS of signs.) A little more expensive but if you are putting out several signs, you should recover your cost fairly quickly. Here’s an example of sign just a little larger than yours with some of the same toolpaths as you are doing. I had the EXACT same problem as you with this and the suggestion above is what was suggested to me. What did you cut on your Shapeoko/ Nomad today? - #5120 by SirGariff
Lastly, consider the texture tool path. It covers a multitude of problems!!
Thank you for looking at this, so how do I get the detail back on this? Do I add back the REST toolpath to get the definition back in all the lettering?
Where would I then put that extra path in to just shave off a little and what bit would I use? I was guessing that I would have to use the 1/16 bit in order to do that.