That’s a highly suggested strategy, get the basics down solid and then enjoy!!
2 Likes
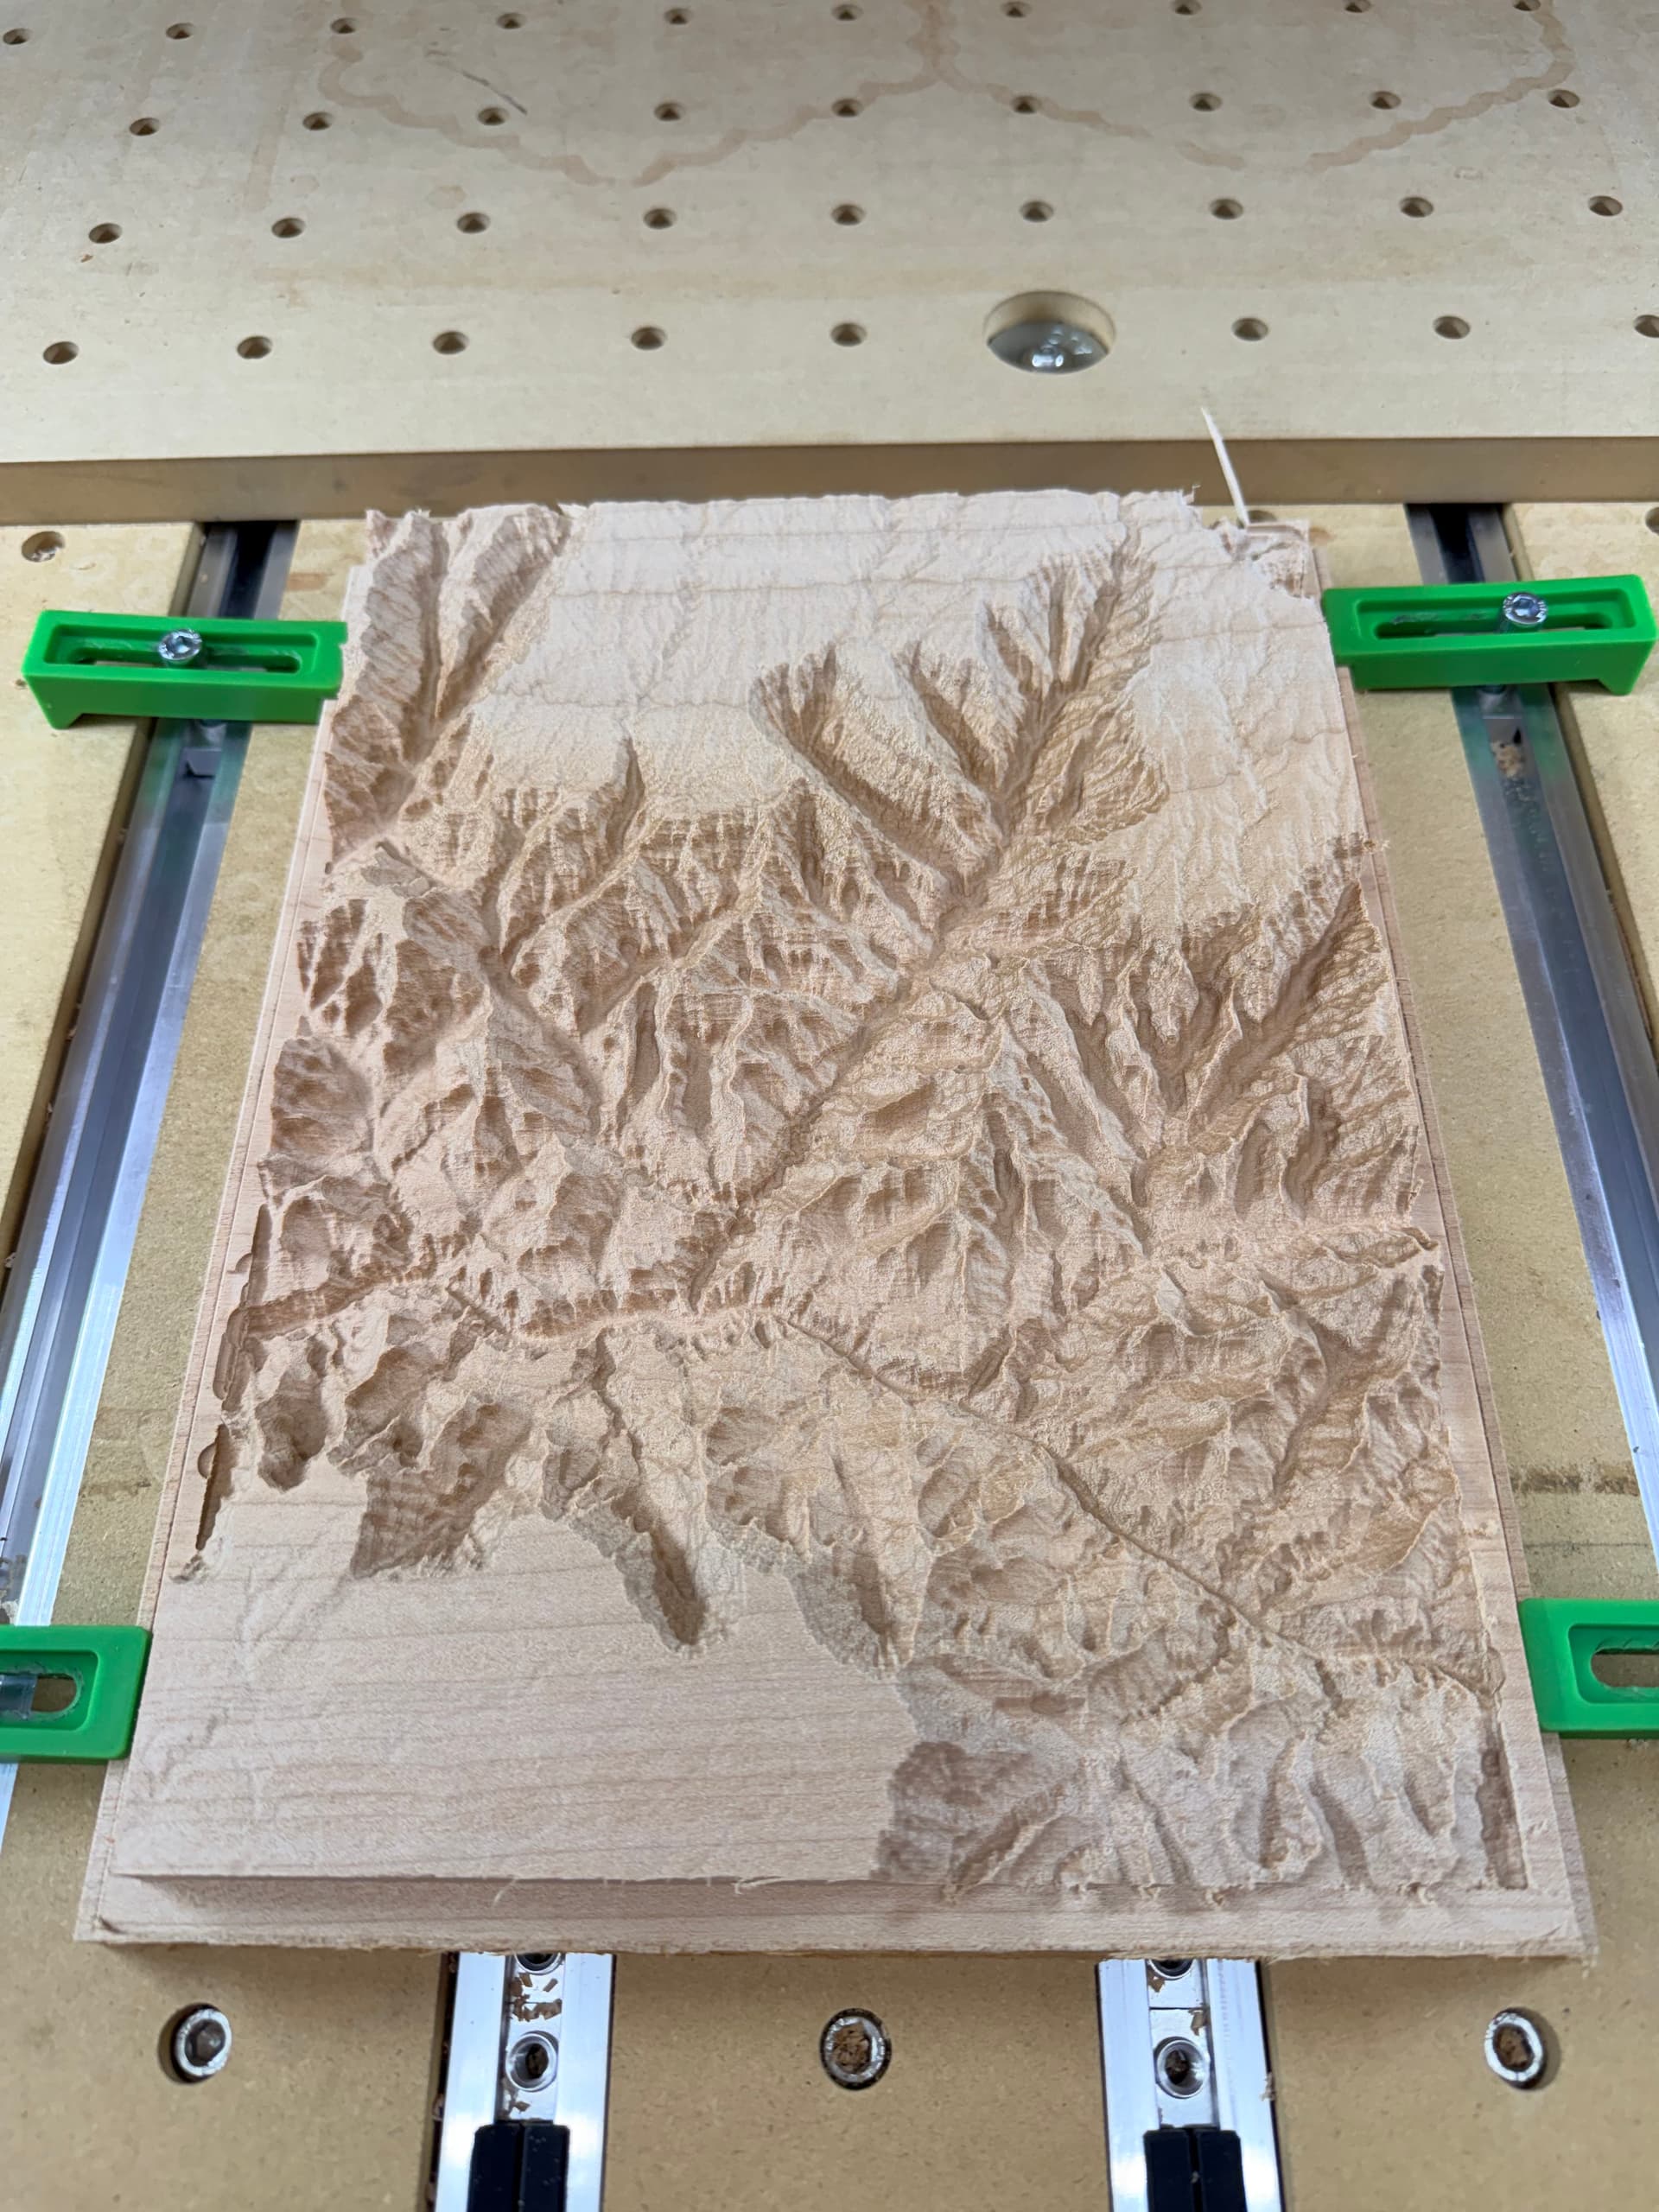
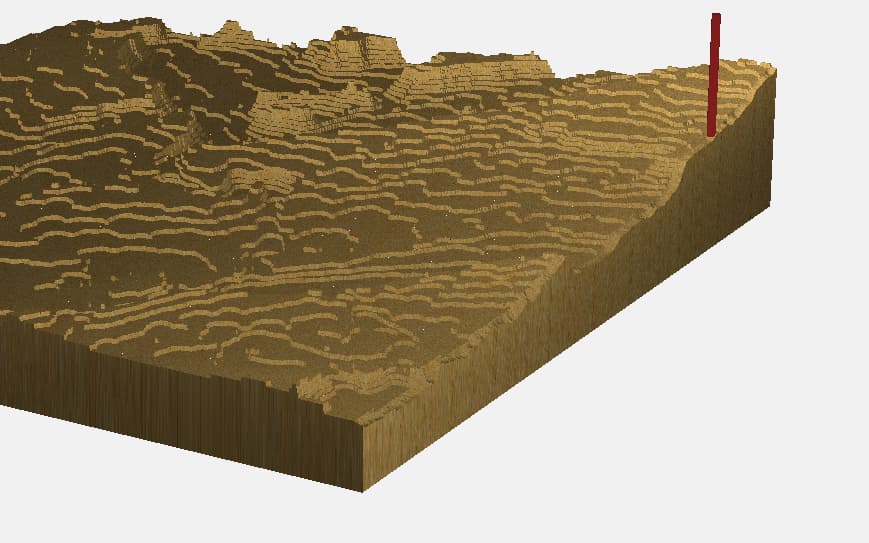
Finally got around to milling up a sample I generated from the site. Section from the Grand Canyon where we did Rim2Rim this year. I had to run two perpendicular finishing 3D paths to clean up fuzzies on the material, but that was purely a result of the wood.
Model looks good, but I do notice a hint of checkerboarding in the topography in some regions, don’t remember seeing this when I used Tangram, but I could double check.
4 Likes
Whoa!!!
Super cool! Great work!
The community feature is now live on the site. You should post this for everyone to see!
That’s a great idea. I also have another region where I should be getting 1m data, but it’s not rendering properly. What’s the best way to debug this?
Interesting. Could you share a screenshot with me of the specific region / region selection, I’ll see if I can reproduce and investigate!
That turned out great! I need to get some of these carved out.
1 Like
Hello everyone,
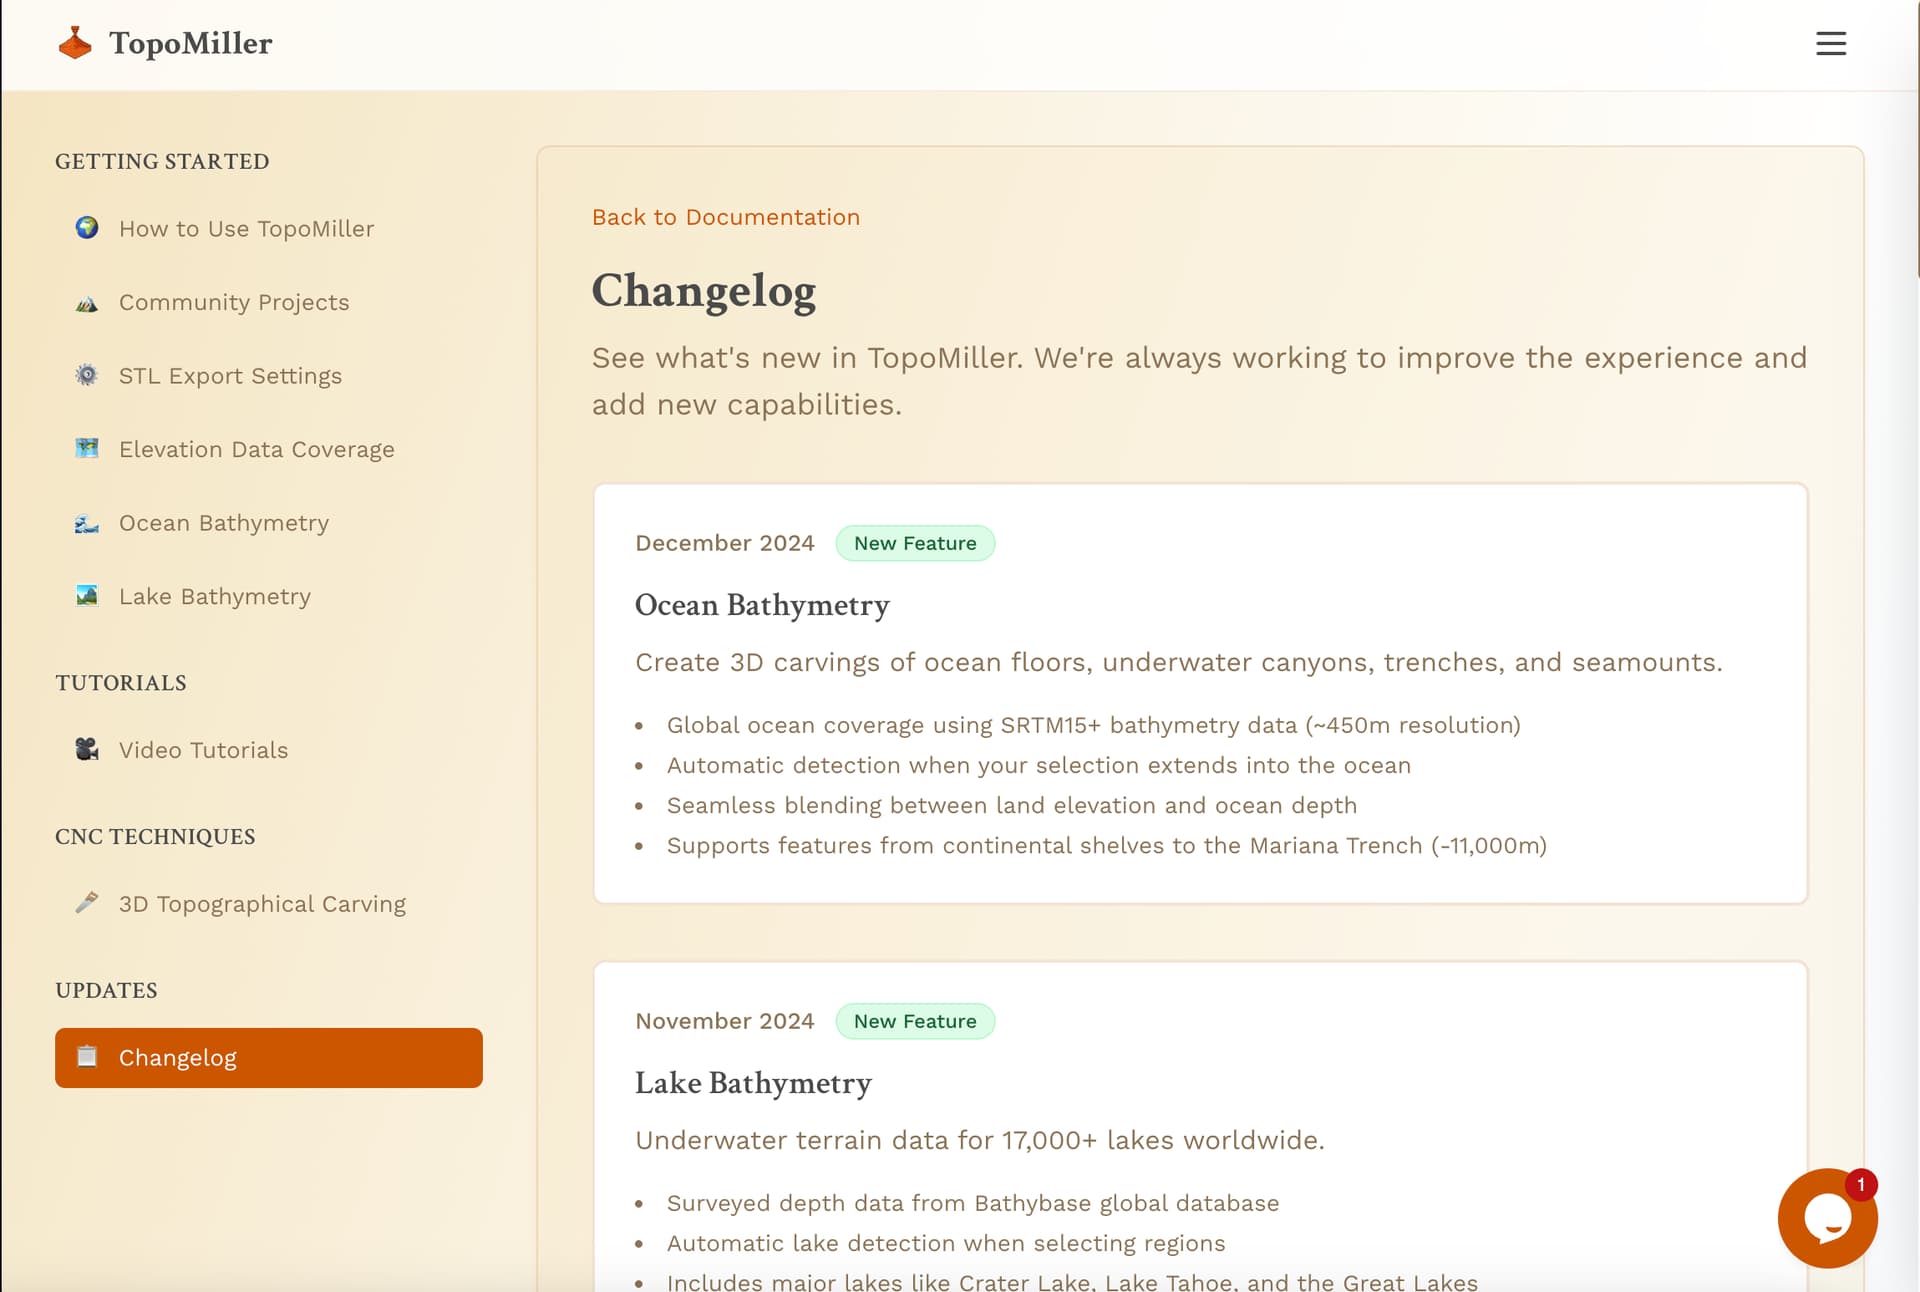
I’ve recently put out some changes, including a changelog where you can see the updates if you don’t have FB
5 Likes
Hi, the application is much more stable. Nice work.
I like to client side re-rendering capability when changing options.
I will get a Network error once in a while when switching to 1m data.
This used to happen a lot. Now if I select Automatic density, Generate, then select 1m the next generate works.
Nice job with the Bathymetry ! Please allow that to be optional, even if it exists.
The application is really coming along. Congrats !
2 Likes
Mitch - thanks for the great software, video, etc. I can’t wait to complete my first carve… but I did encounter an issue. I followed your video, setting up the toolpaths, etc. My roughing pass completed well and looks good. I did the tool change to my 1/8" ball nose and when the CNC started again it drove the ball nose bit directly into my origin and into the spoil board. I killed the machine before it went farther.
Any idea what could have happened and is it possible to complete the second pass?
Shapeoko 4 Pro with the Carbide router
I have a windows 11 laptop running the CNC
I’m running the latest versions the Carbide software for design and machining
I had plenty of clearance with the ball nose, it didn’t run into anything, it went to the origin and straight down
Thanks in advance for any help…
What did you use to generate toolpaths with?
Usually when the bit drives down off a 3D carve it is due to ‘falling off the edge’ of the 3D model. A bottom floor object needs to be modeled under & beyond the 3D object to prevent this fall-off.
Thanks Joel,
I used Carbide Create Pro Build 778 to generate the toolpaths. I only had one object in the design and it’s the stl file.
I added two toolpaths, rough 3D pass and 3D Finish pass using the default selection.
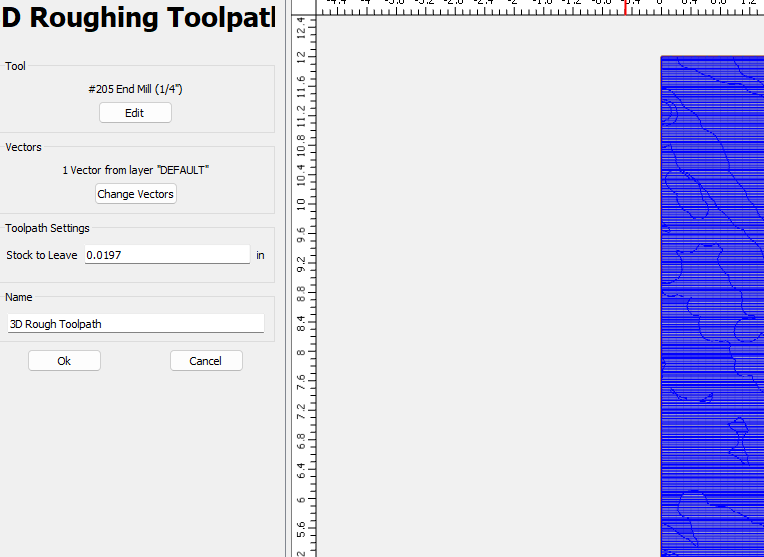
When I run the simulation, I see the ball nose bit beginning in the correct position above the origin corner where the rough pass finished.
I’ve watched the Carbide Create tutorials and they say to select the outside vector of the stl import, but they don’t say you need to create an additional vector under the model. I used the default layer as the vector selection.
I watched the topomiller tutorial and he doesn’t say anything about creating an additional vector either. I do understand your answer, but I’m not seeing the issue you state to my case.
Thanks for the help.
Tom
It’s a quirk of the 3D toolpath generator along the very edges of the model - it can randomly fall off the edge.
I have no idea if it’s actually a bug or just results from how CC handles 3D models as pixel depth maps.
It may help to ensure that the Modeling resolution in the Project Setup is set to High or Extreme.
But with any 3D model carving setup such as the topographic carvings, all you need to do is create an inner offset vector of the outline of the object that keeps the toolpath definitively on the 3D model. The other option is create a square/rectangle object that sits below the 3D object but well past the object’s outline to catch the toolpath.
Hi,
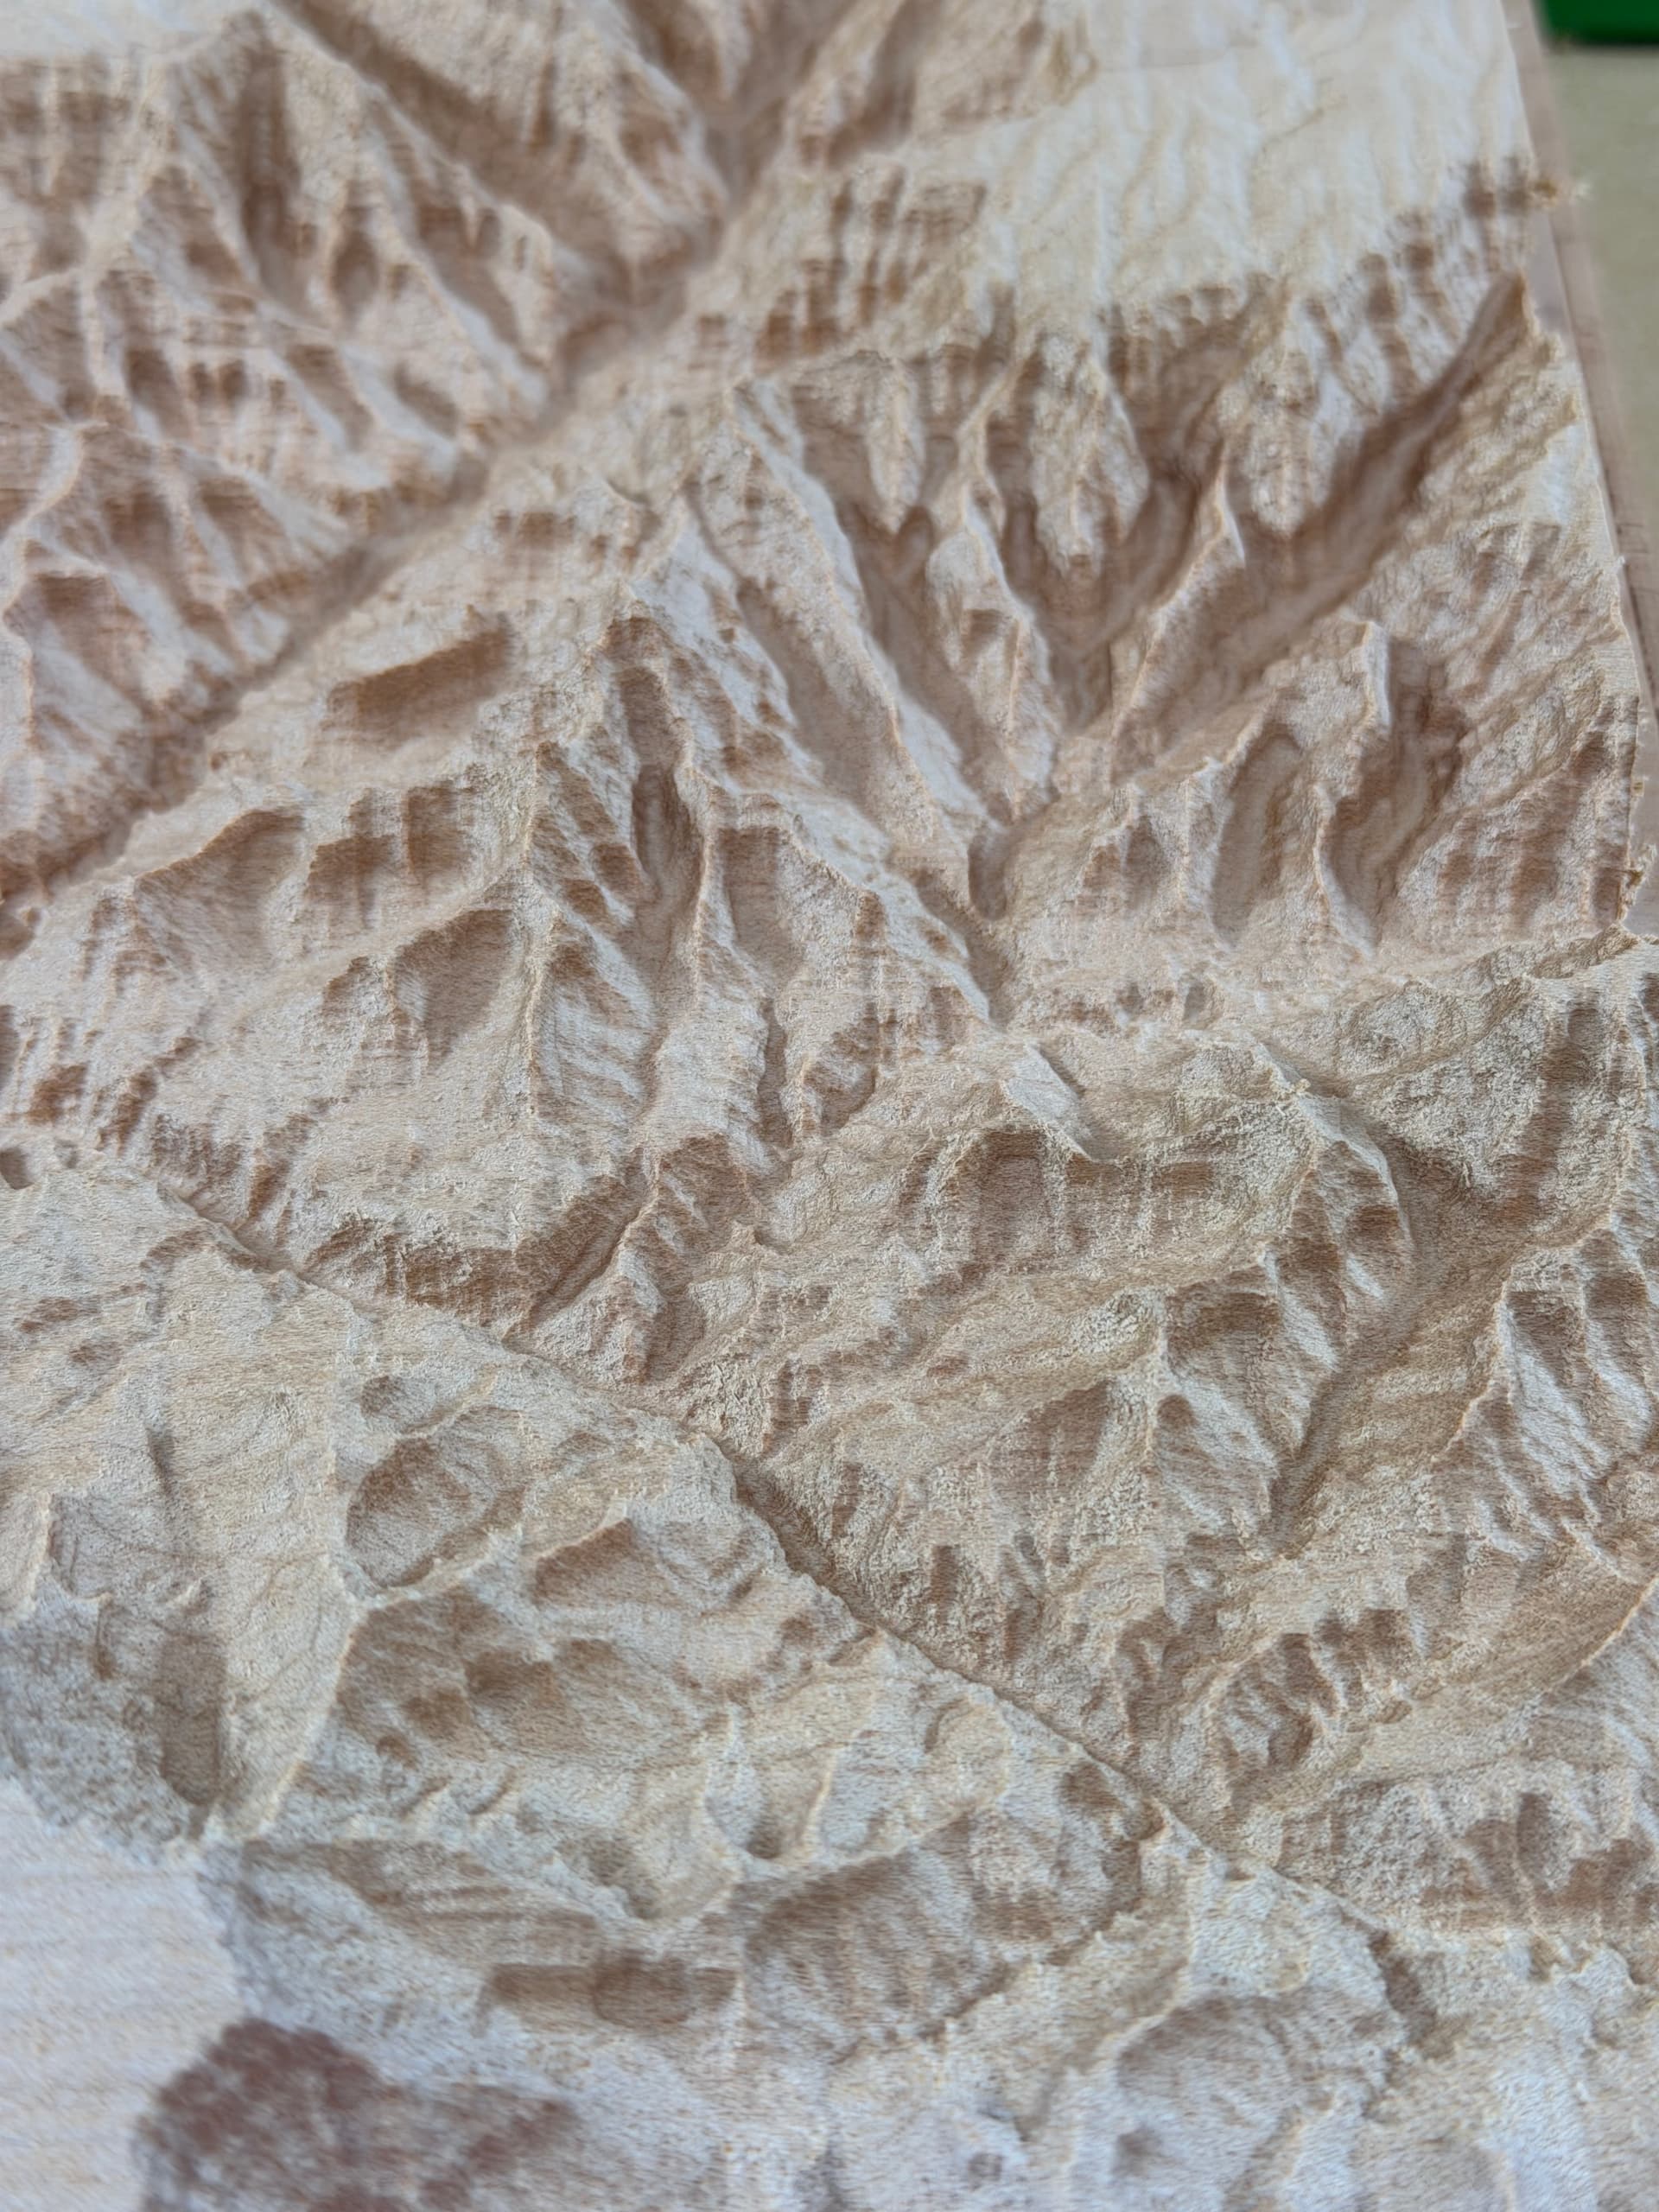
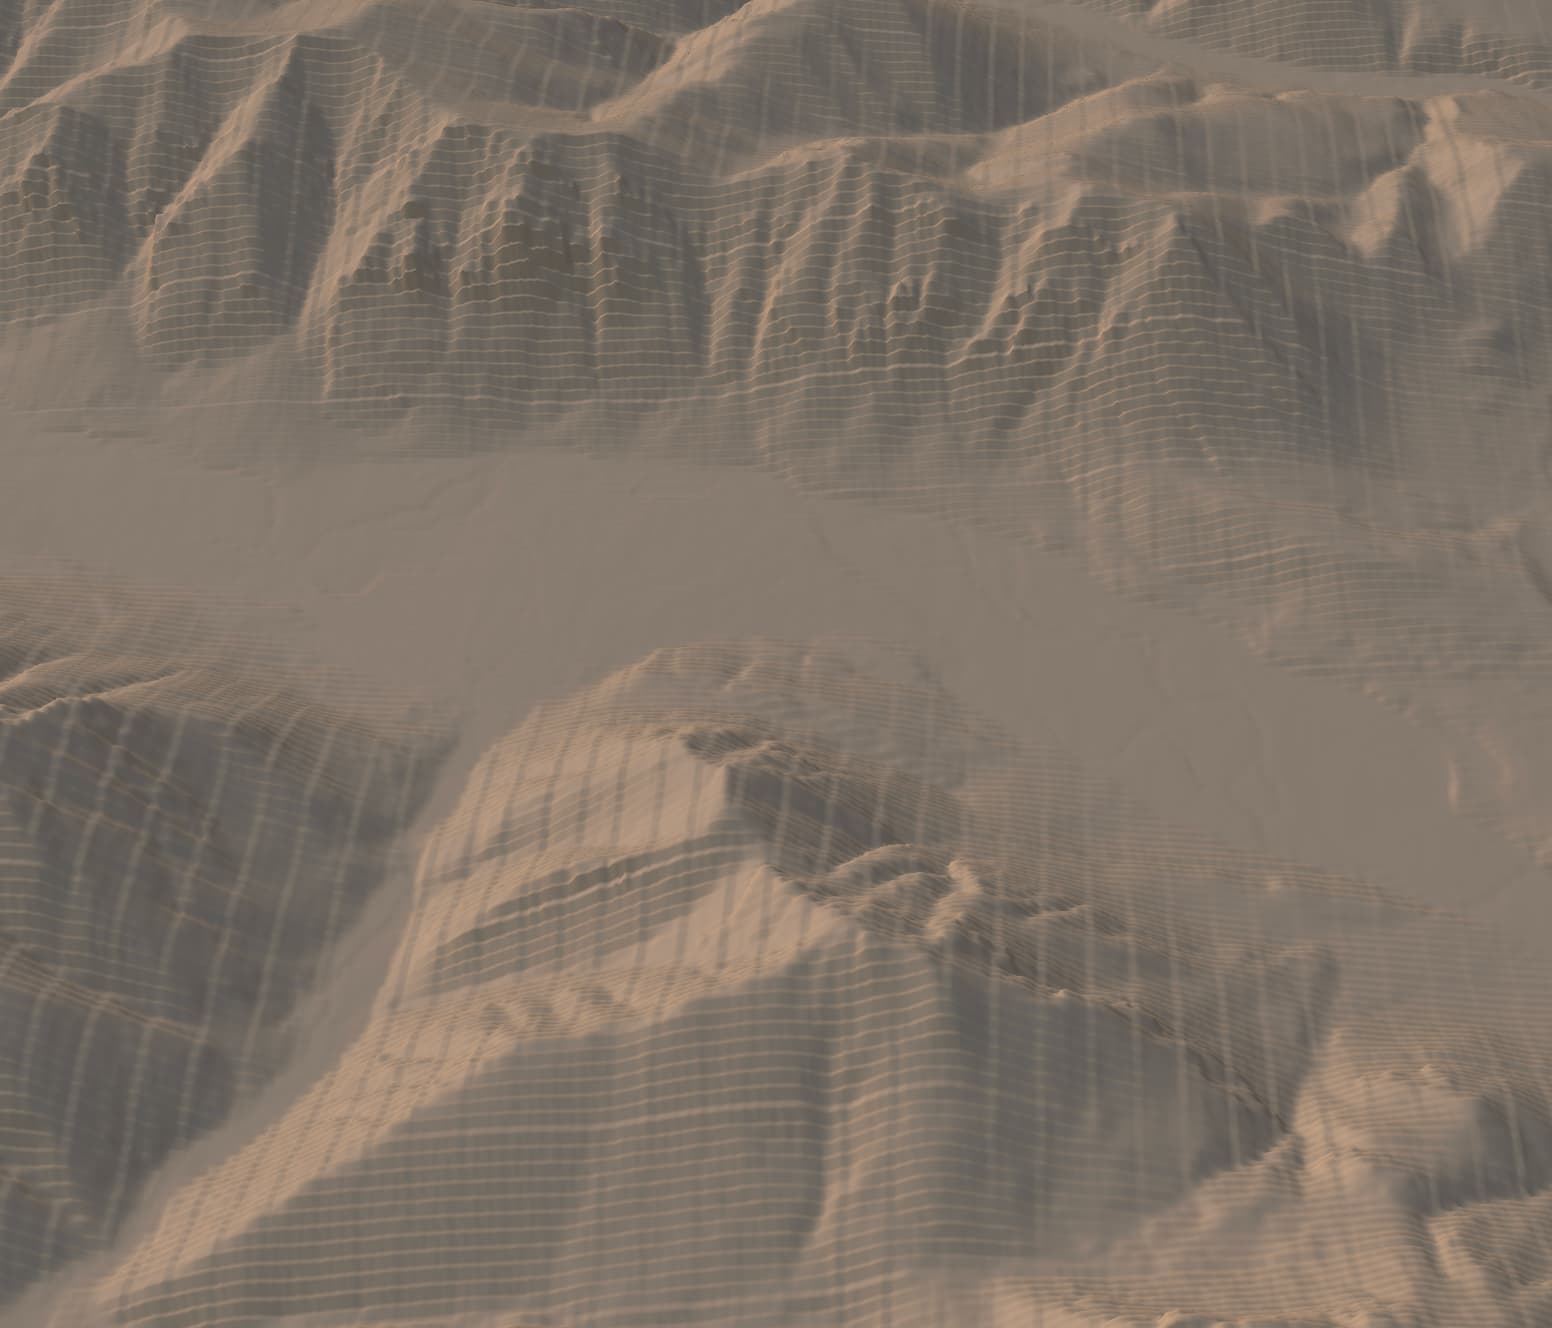
I am just finishing up a carve from the Topomiller site.
I am using Fusion for the toolpathes.
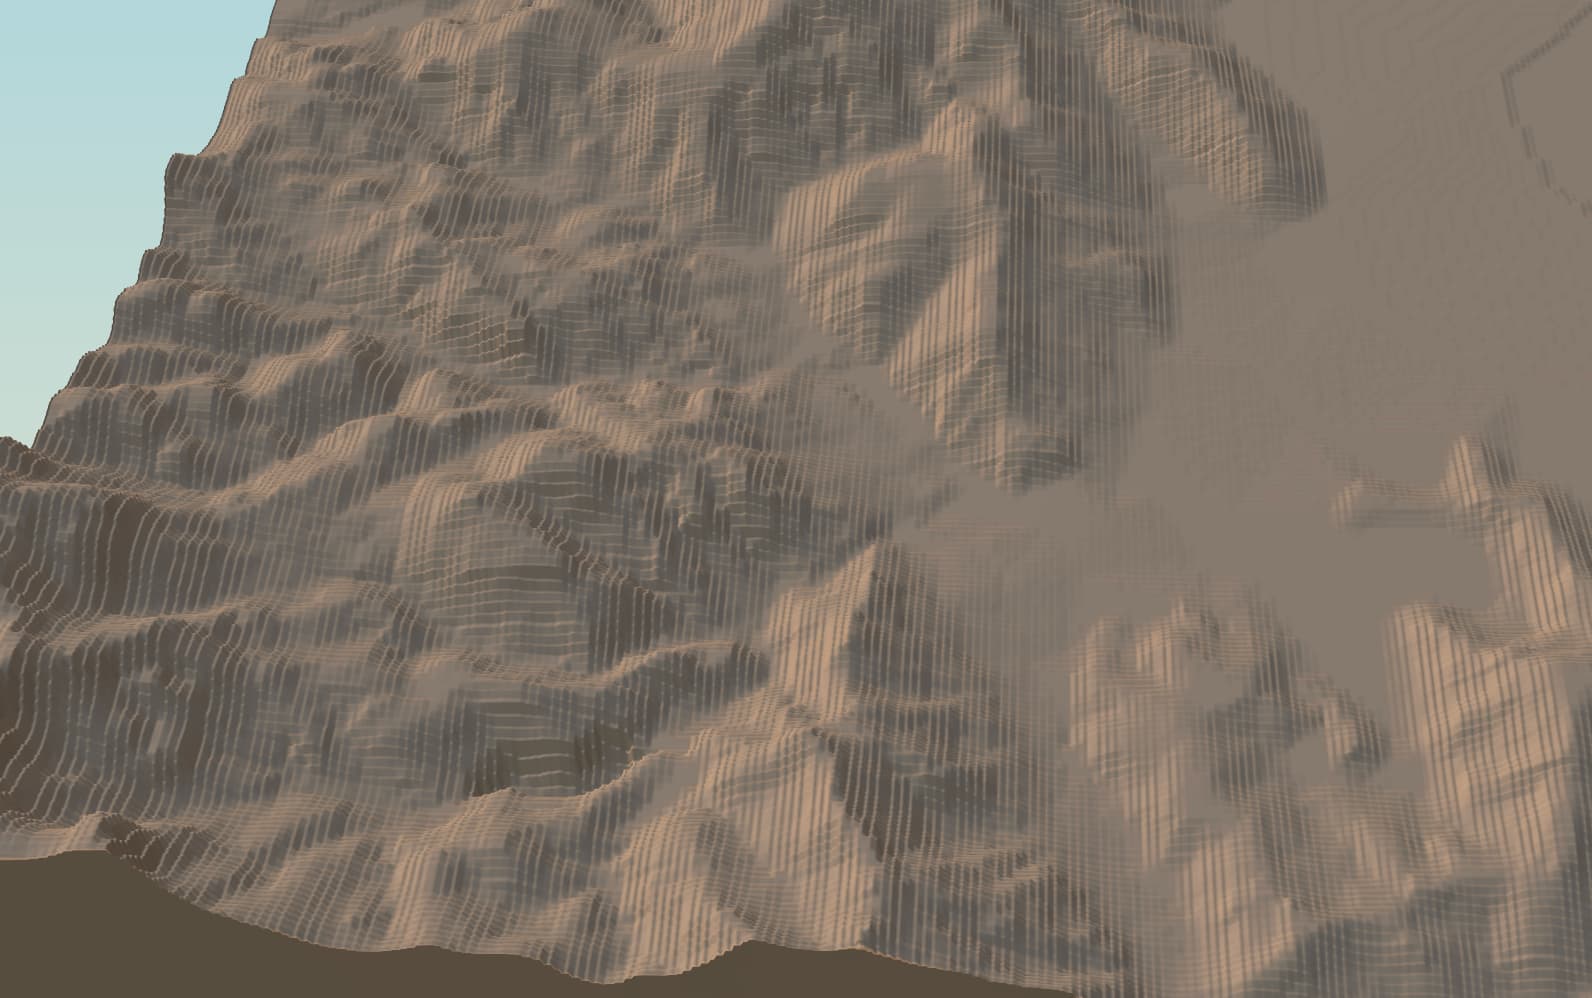
I noticed a seam in the carve and found it was in the data.
Note the horizontal edge.

Is this expected ? The nature of the beast ?
Newly found Geological feature? ![]()
Possibly from stitching two LIDAR tiles together, although not as obvious as I’d expect or seen when I do this myself and don’t handle merging properly (I use QGIS).
2 Likes
Hey Tom,
Sorry to hear about that failed carve. That is always frustrating.
This sounds like the finishing pass didn’t complete a proper z-index zeroing. Basically, it sounds like it didn’t know where vertically to start.
I have a Shapeoko 5. When I have a roughing and finishing pass, and the roughing pass has finished, it asks me to change tools. I do that, then it touches off on the bit setter to find the correct zero for the finishing pass.
This is just a guess and I could be wrong. Sorry again that happened to you. Don’t give up!
All the best,
Mitch
TopoMiller
Hey Jim,
Yeah that is interesting. It does look like two tiles that were not properly stitched together. Although it is hard to tell. If you give me the exact spot, I can try it out myself.
All the best,
Mitch
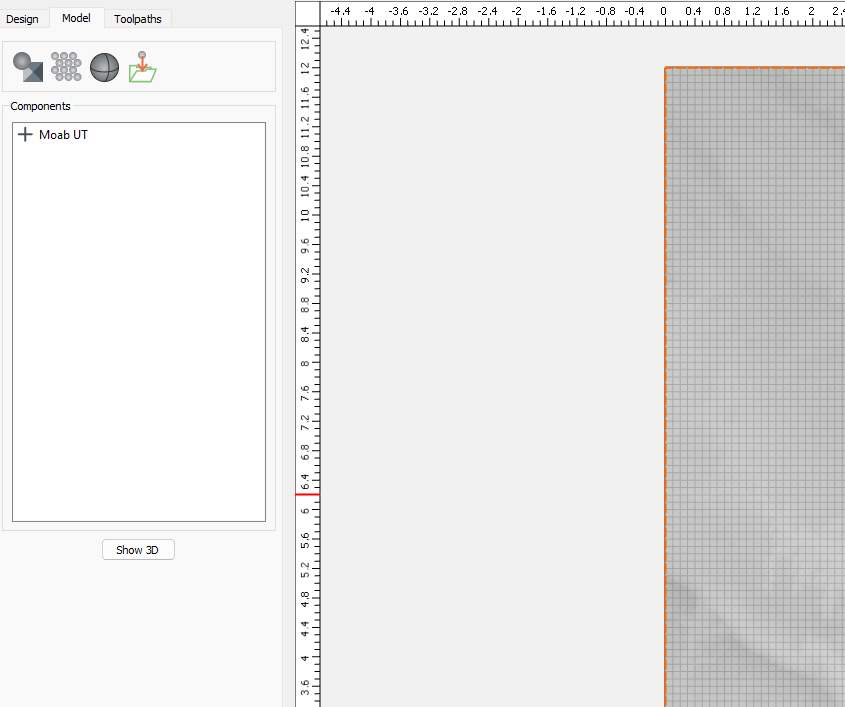
It’s on my NewFaneVT10m project.
Seeing a weird glitch. 68.98°, -142.90° is the area. I am using 1 DEM and tried switching to 10 DEM, but no changes.
@mlembke1 it also happens here 25.90°, -111.40°
I did one in the Idaho area without issues. So maybe a map source issue?
I’ve also seen the same in a few regions. I let Mitch know so I know he’s aware, but am not sure if he’s had the chance to look into it. The regions I’m looking at should be well within the 1m coverage area, so I wonder if it’s a processing issue.