i created new name from images of other names but not having any luck with tool paths to create same look. anyone willing to give me tips? including photos and design
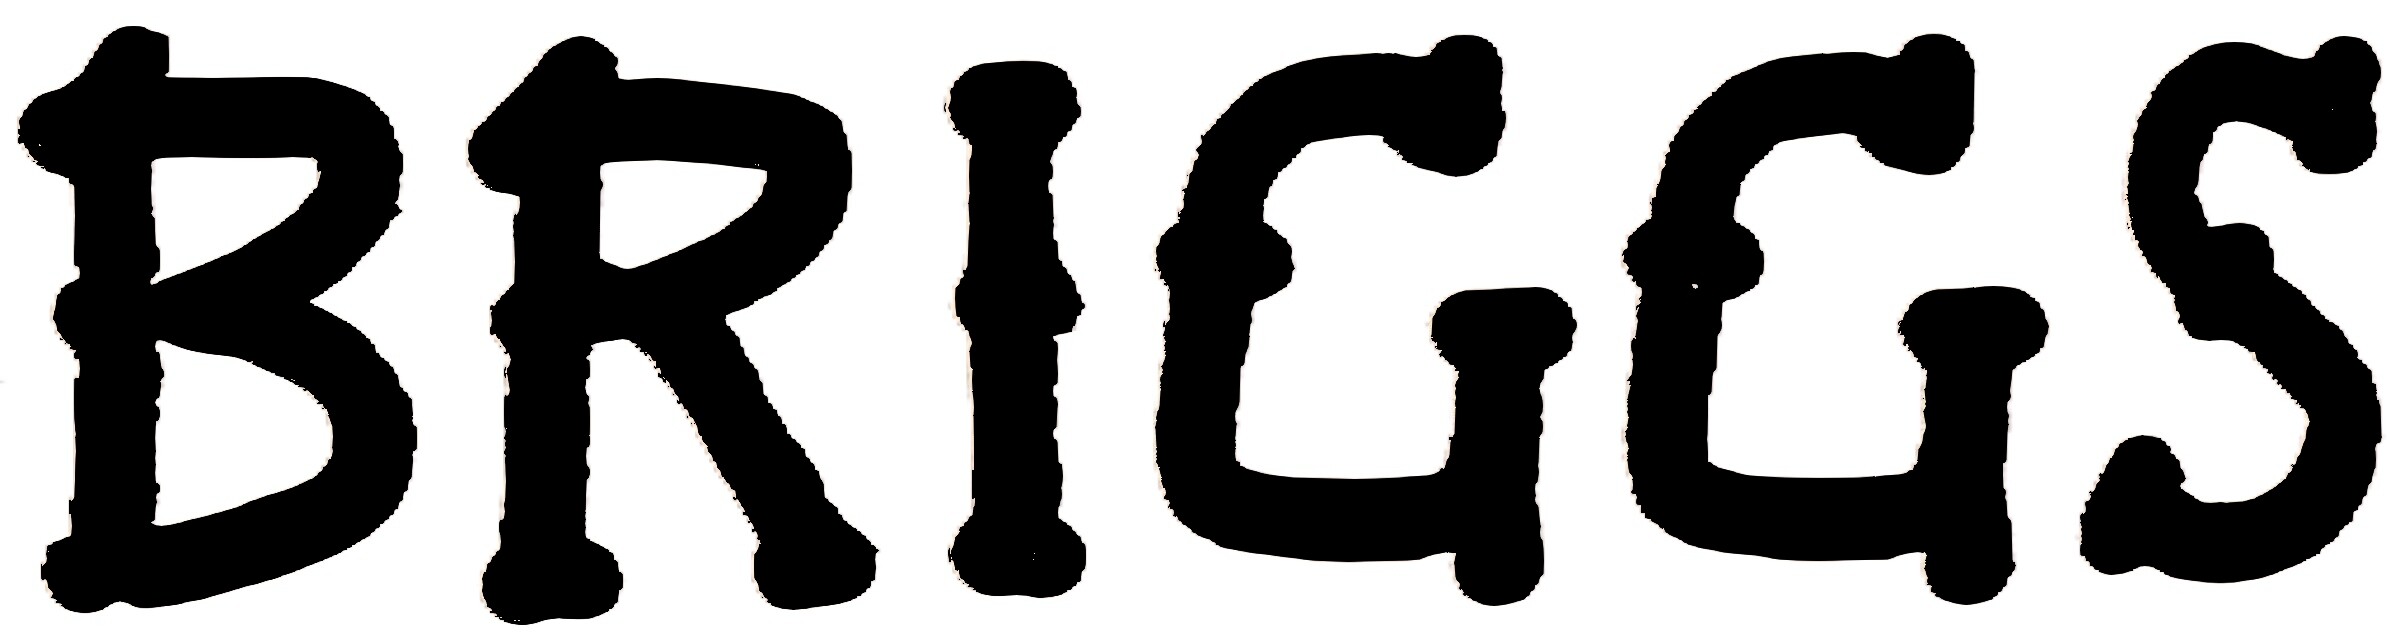
BRIGGS.c2d (521.3 KB)
i created new name from images of other names but not having any luck with tool paths to create same look. anyone willing to give me tips? including photos and design
When I open your C2D file it’s empty. What version of CC are you using, and what is in the file?
Still on version 6 shouldn’t be empty but just need a tool path that creates same old look as others.in file is just design. No tool paths
Load pictures into background image, scale, hand make individual letters. Copy.
I did that. “BRIGGS” is new name to do. Just can’t get tool path to work. Just want text tool path to match other names
Michael, you’re probably missing his font.
Jason, link to the font you used, or convert the text to curves before sharing.
Or it was designed in pre-V7 & opened in V8?
That appears to be a ‘park sign’ style. Letters cut into the wood with a ball mill the same size or just a bit smaller than the narrowest width of the letters. Depth set to 1/2 of the tool dia. or a bit less.
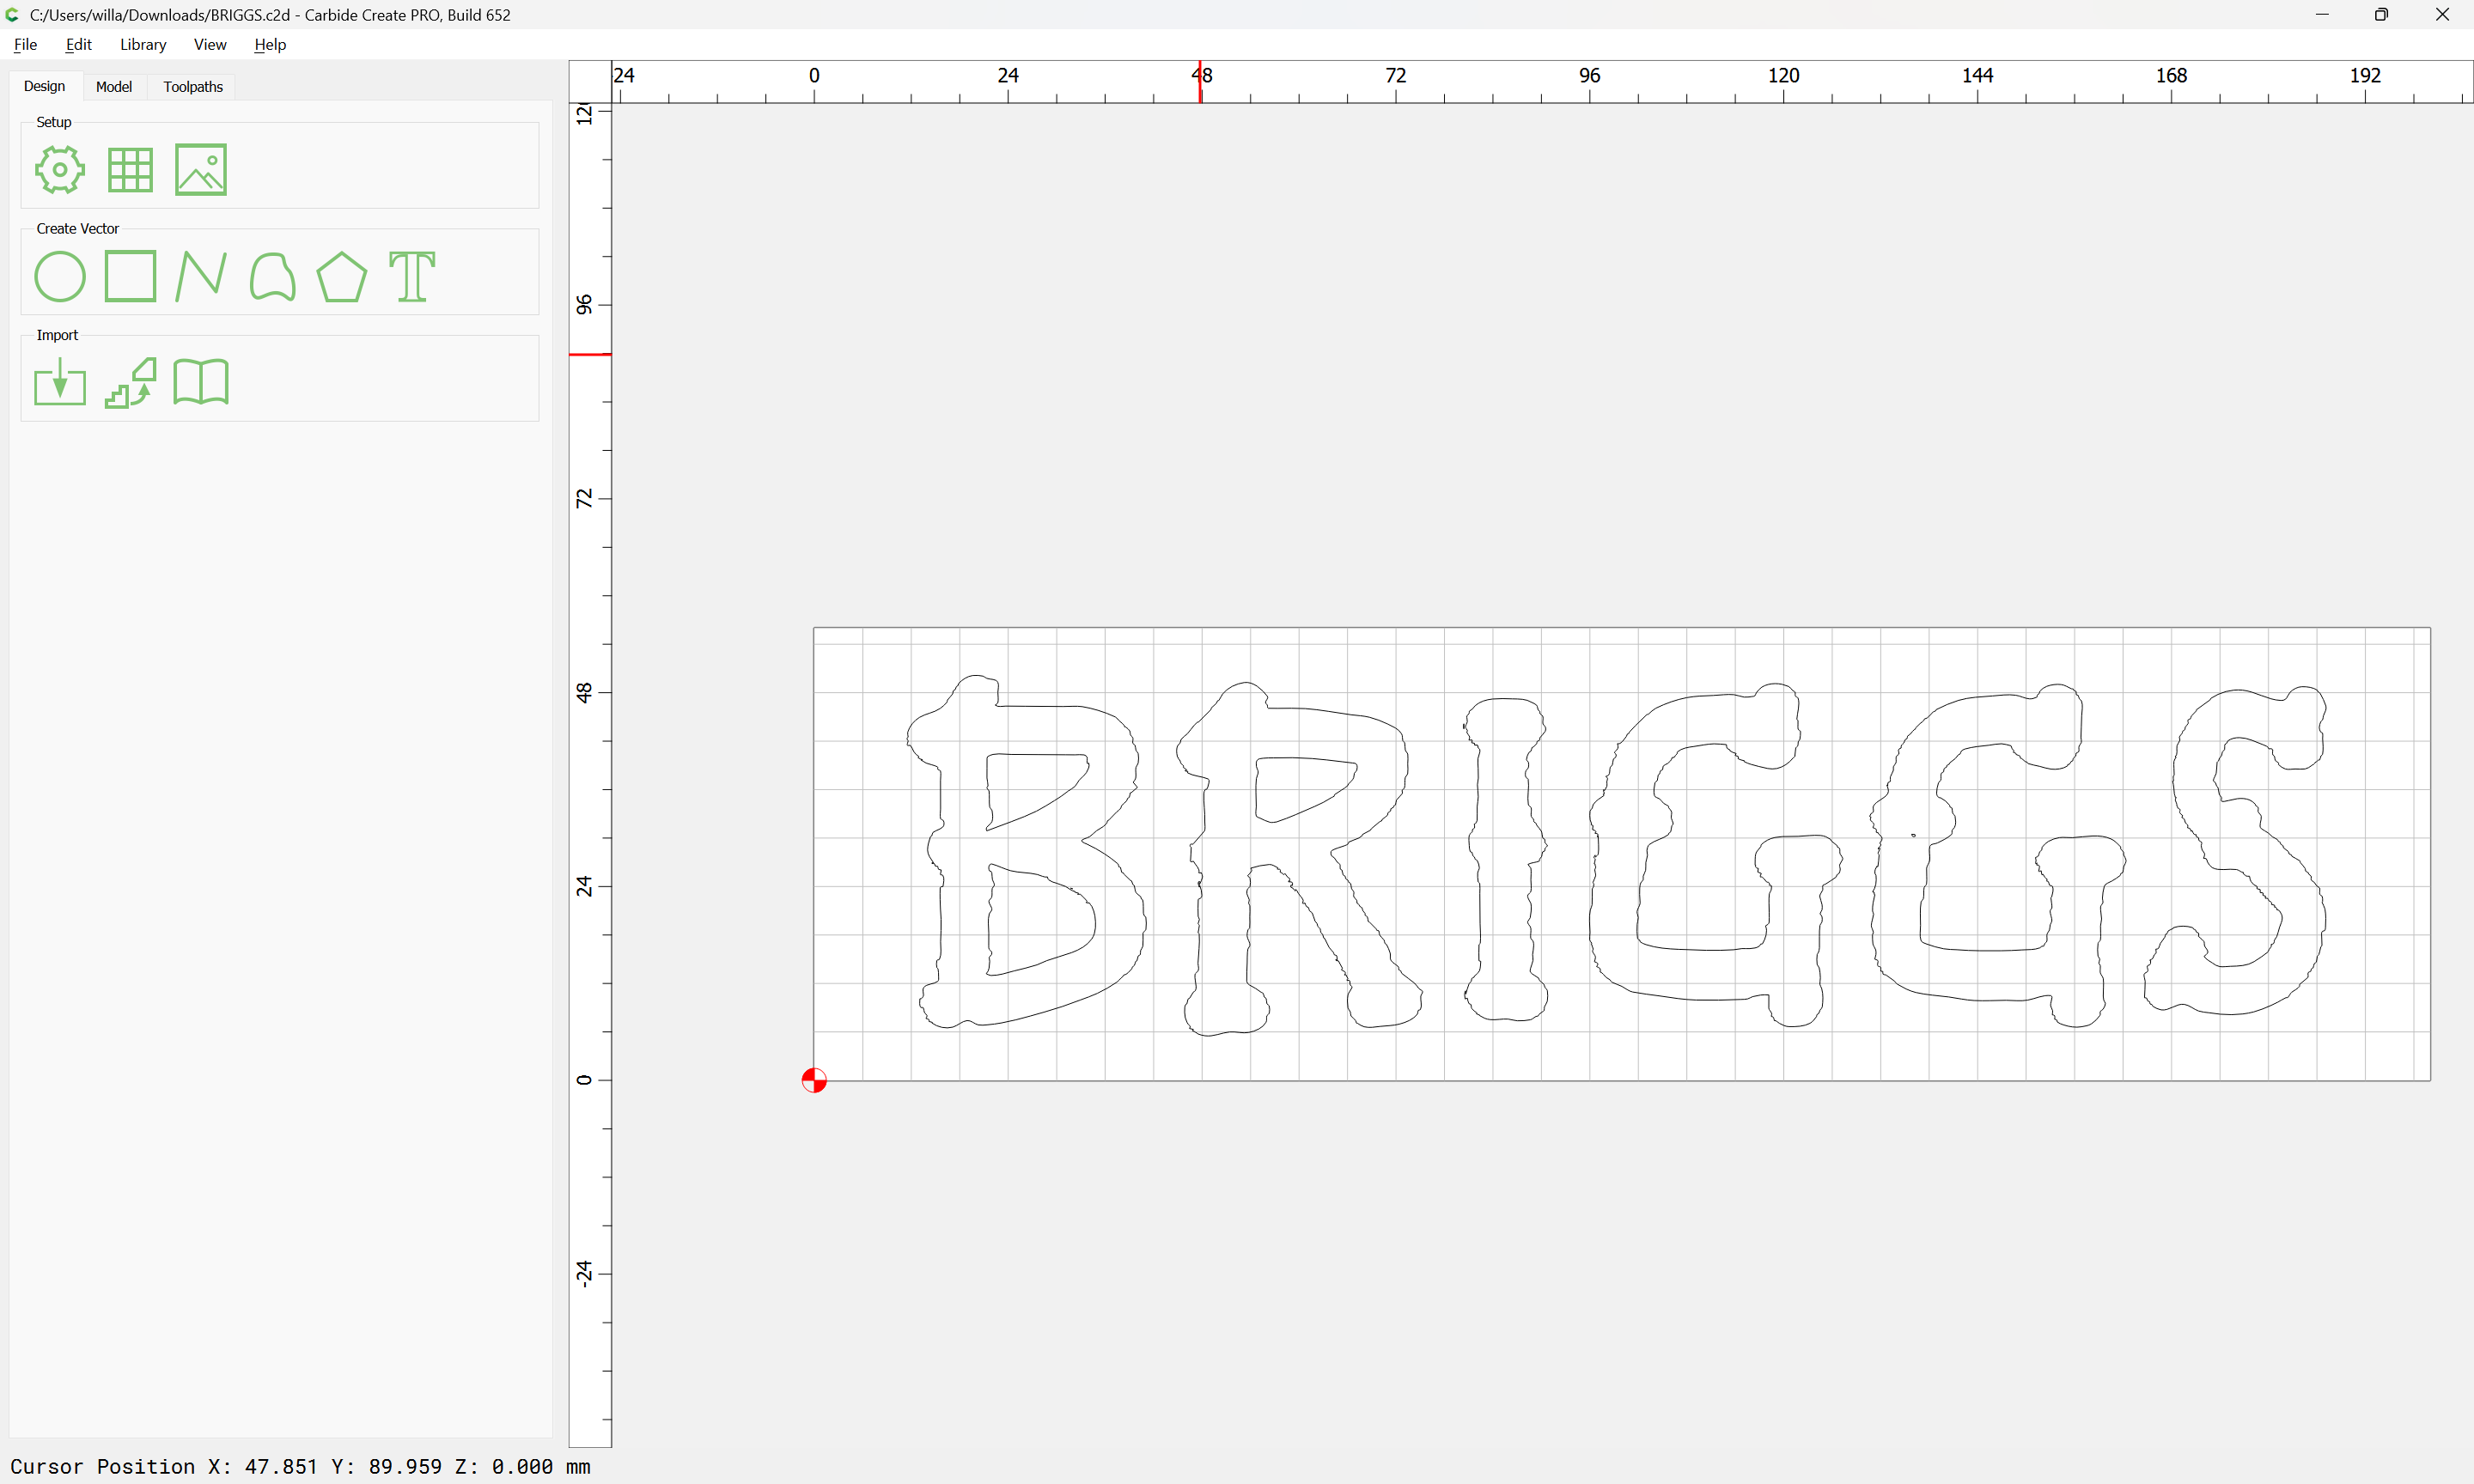
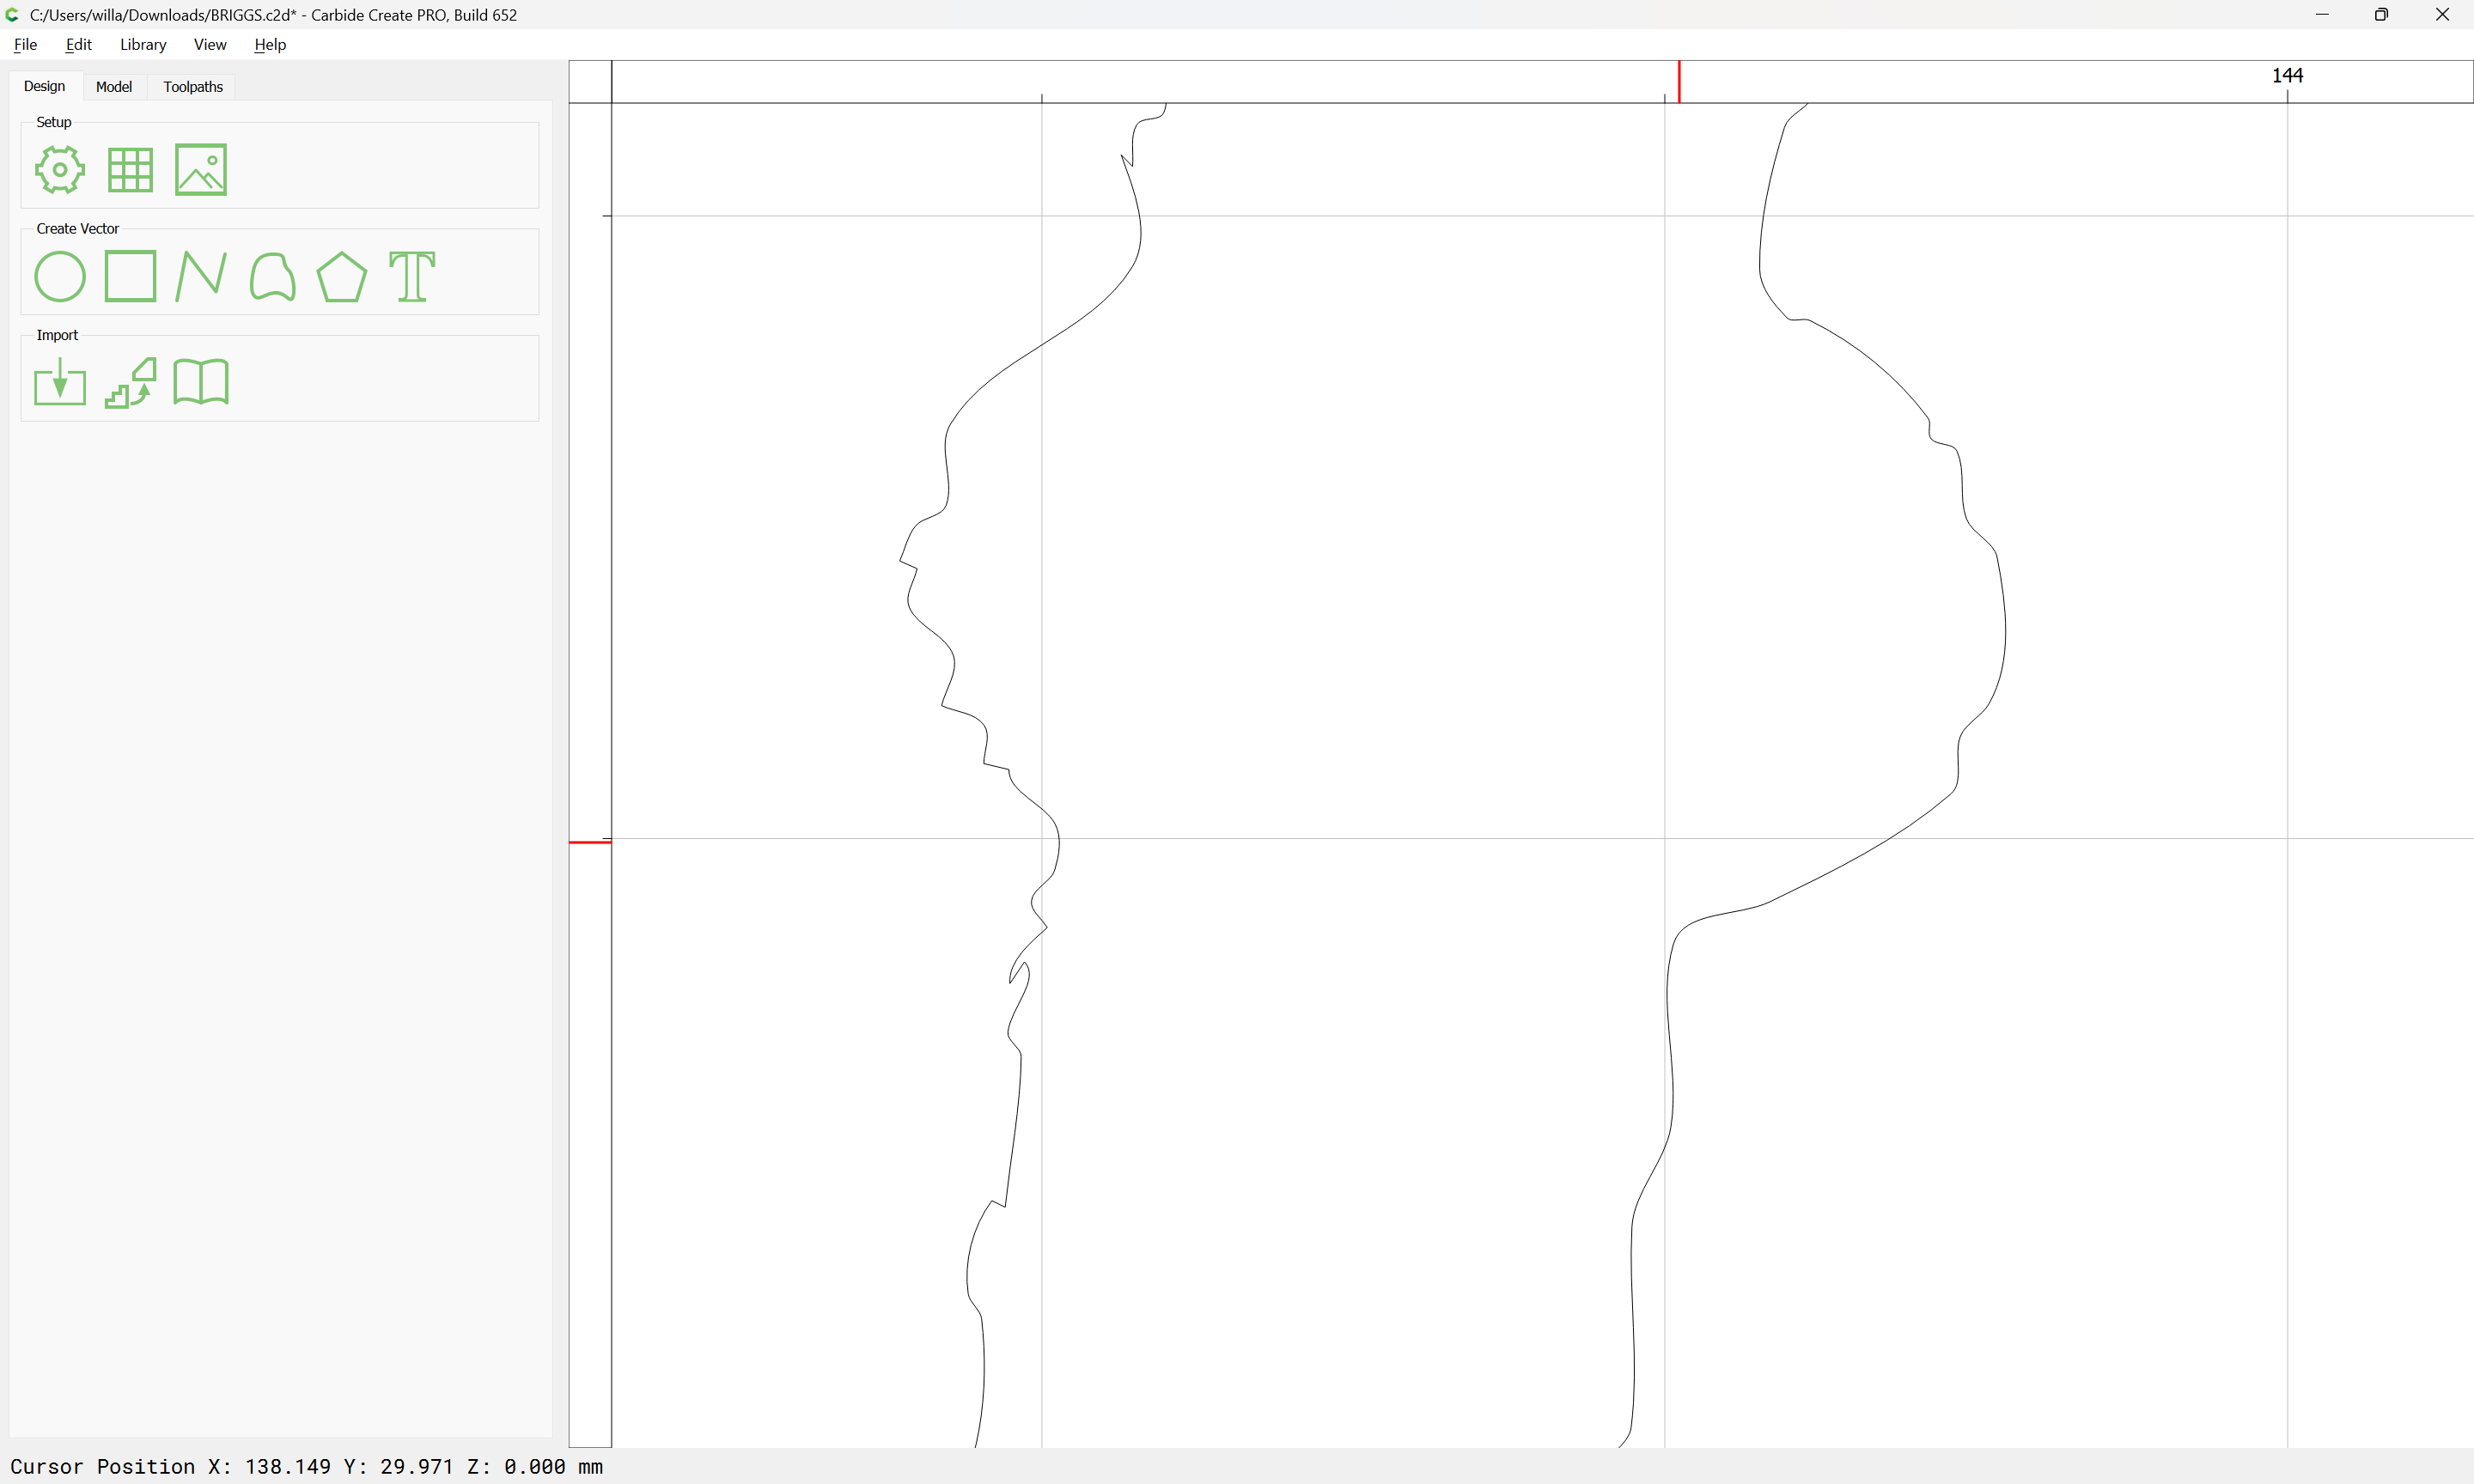
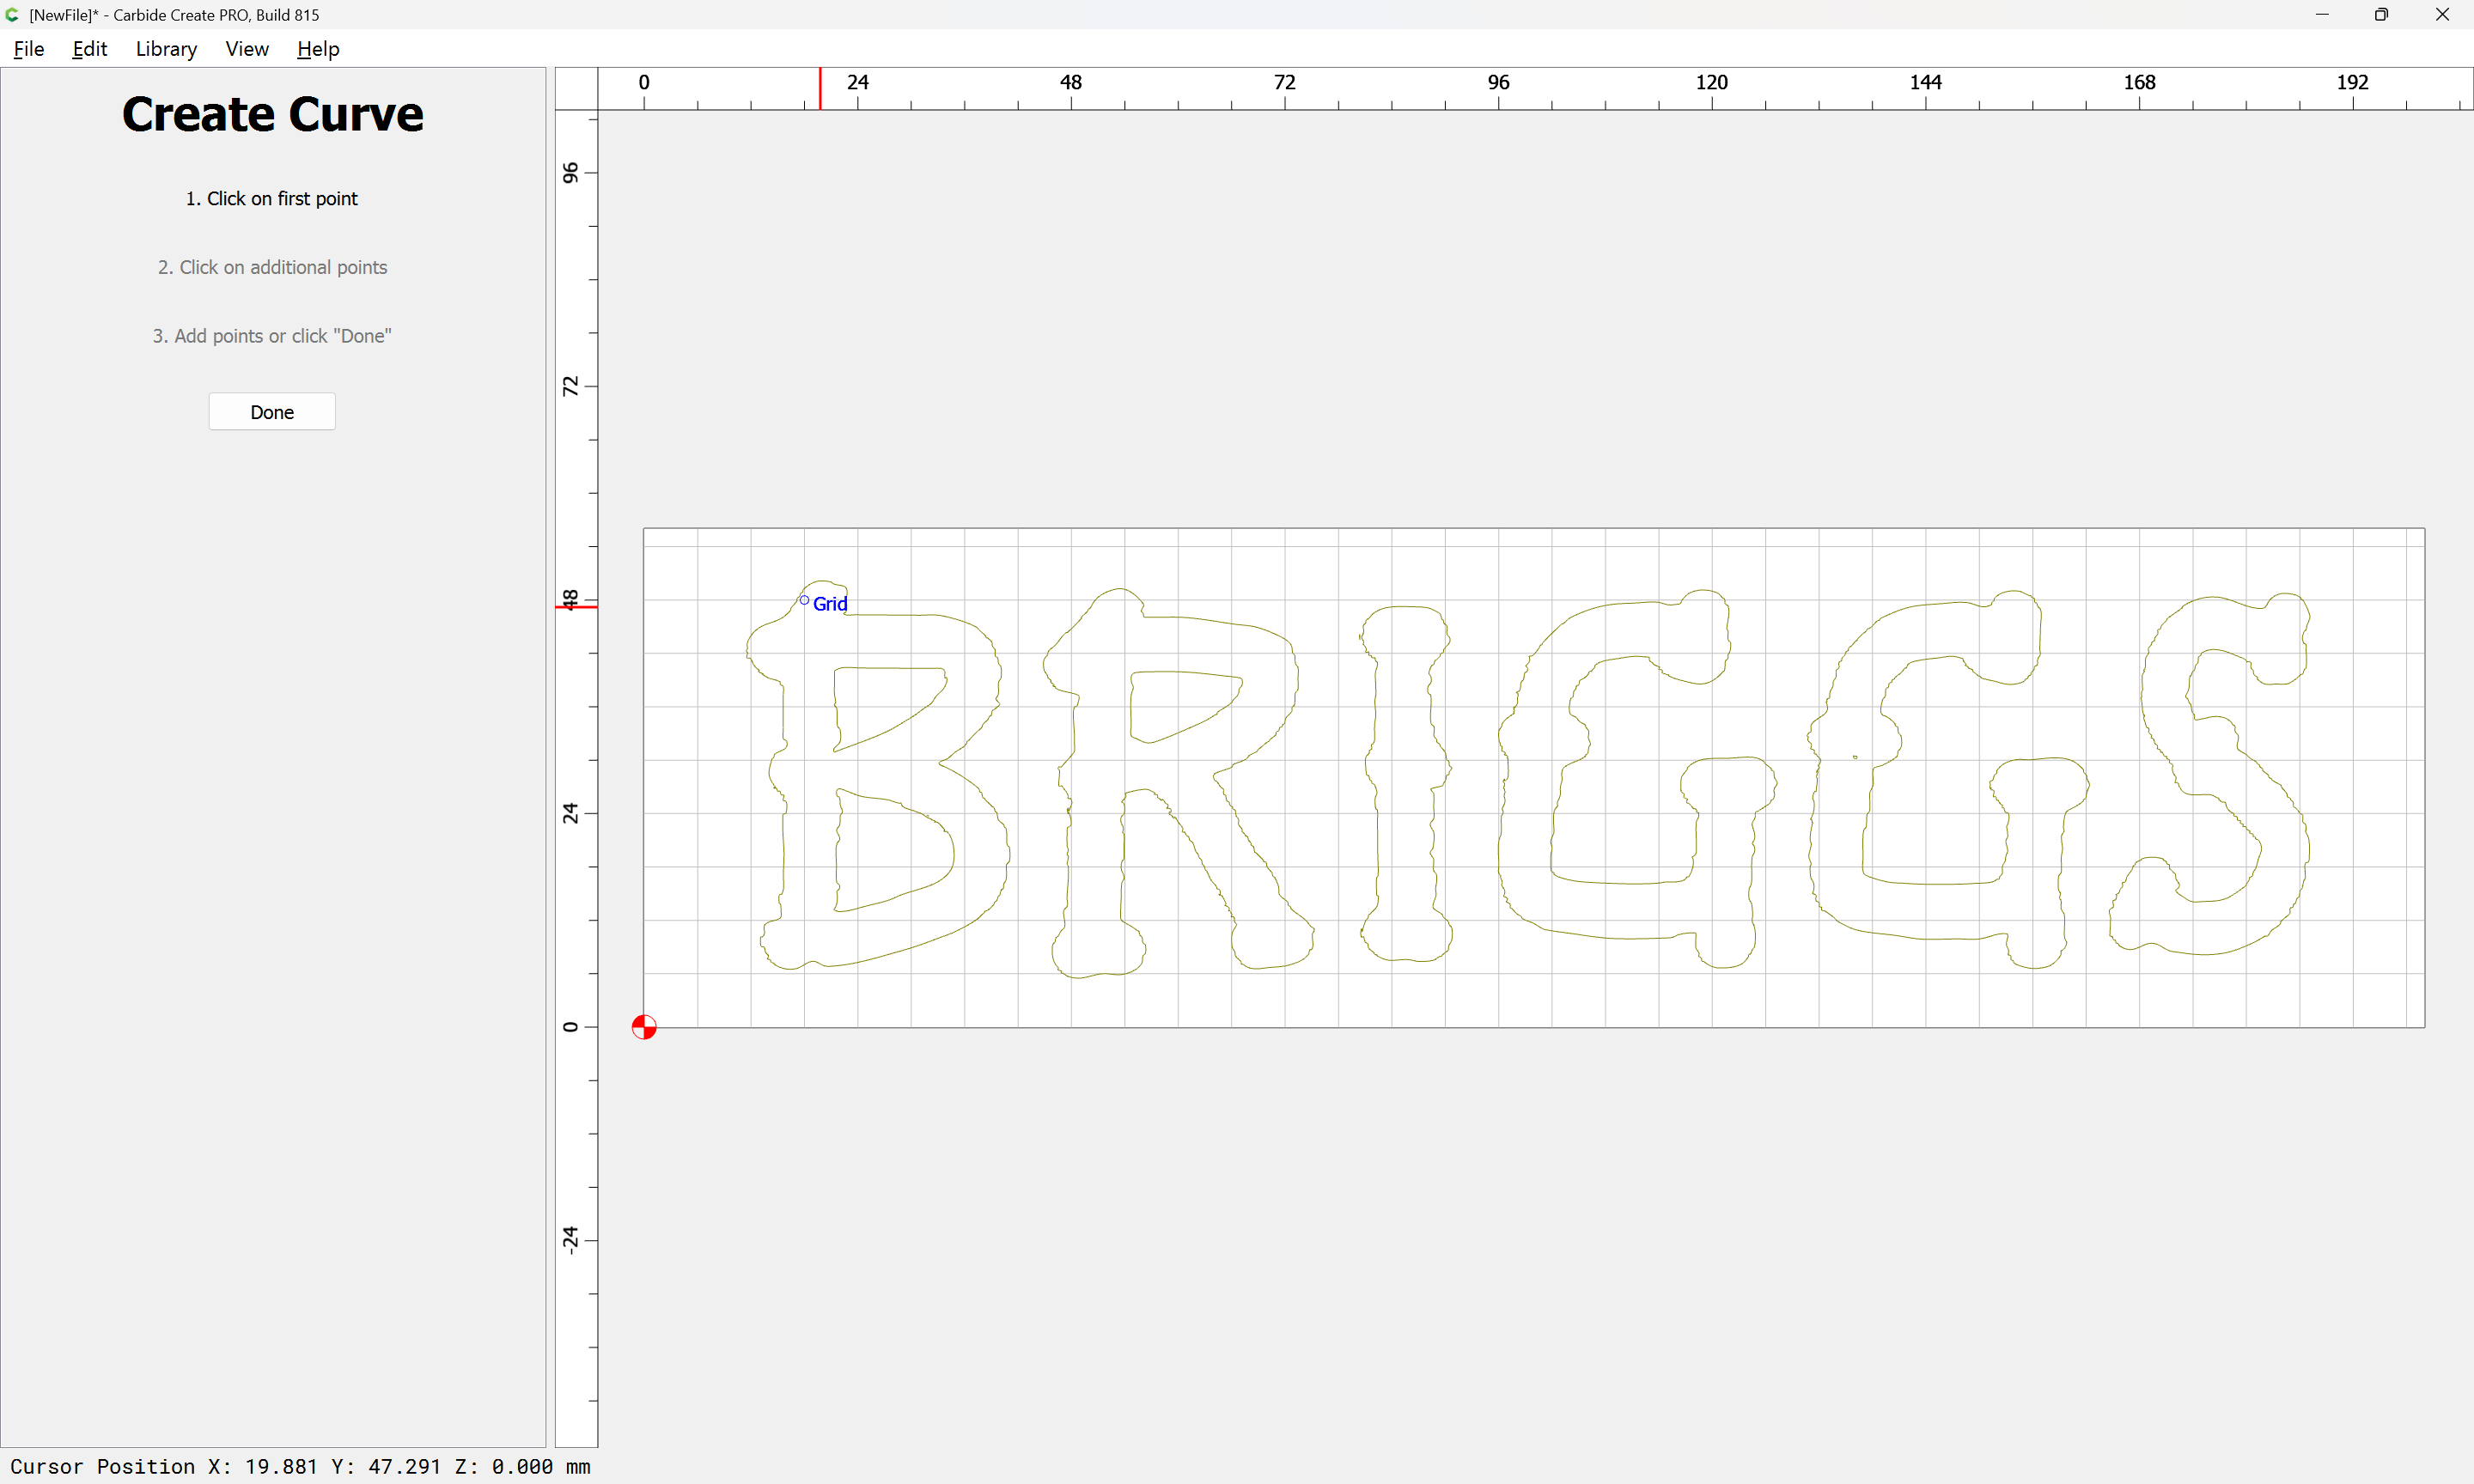
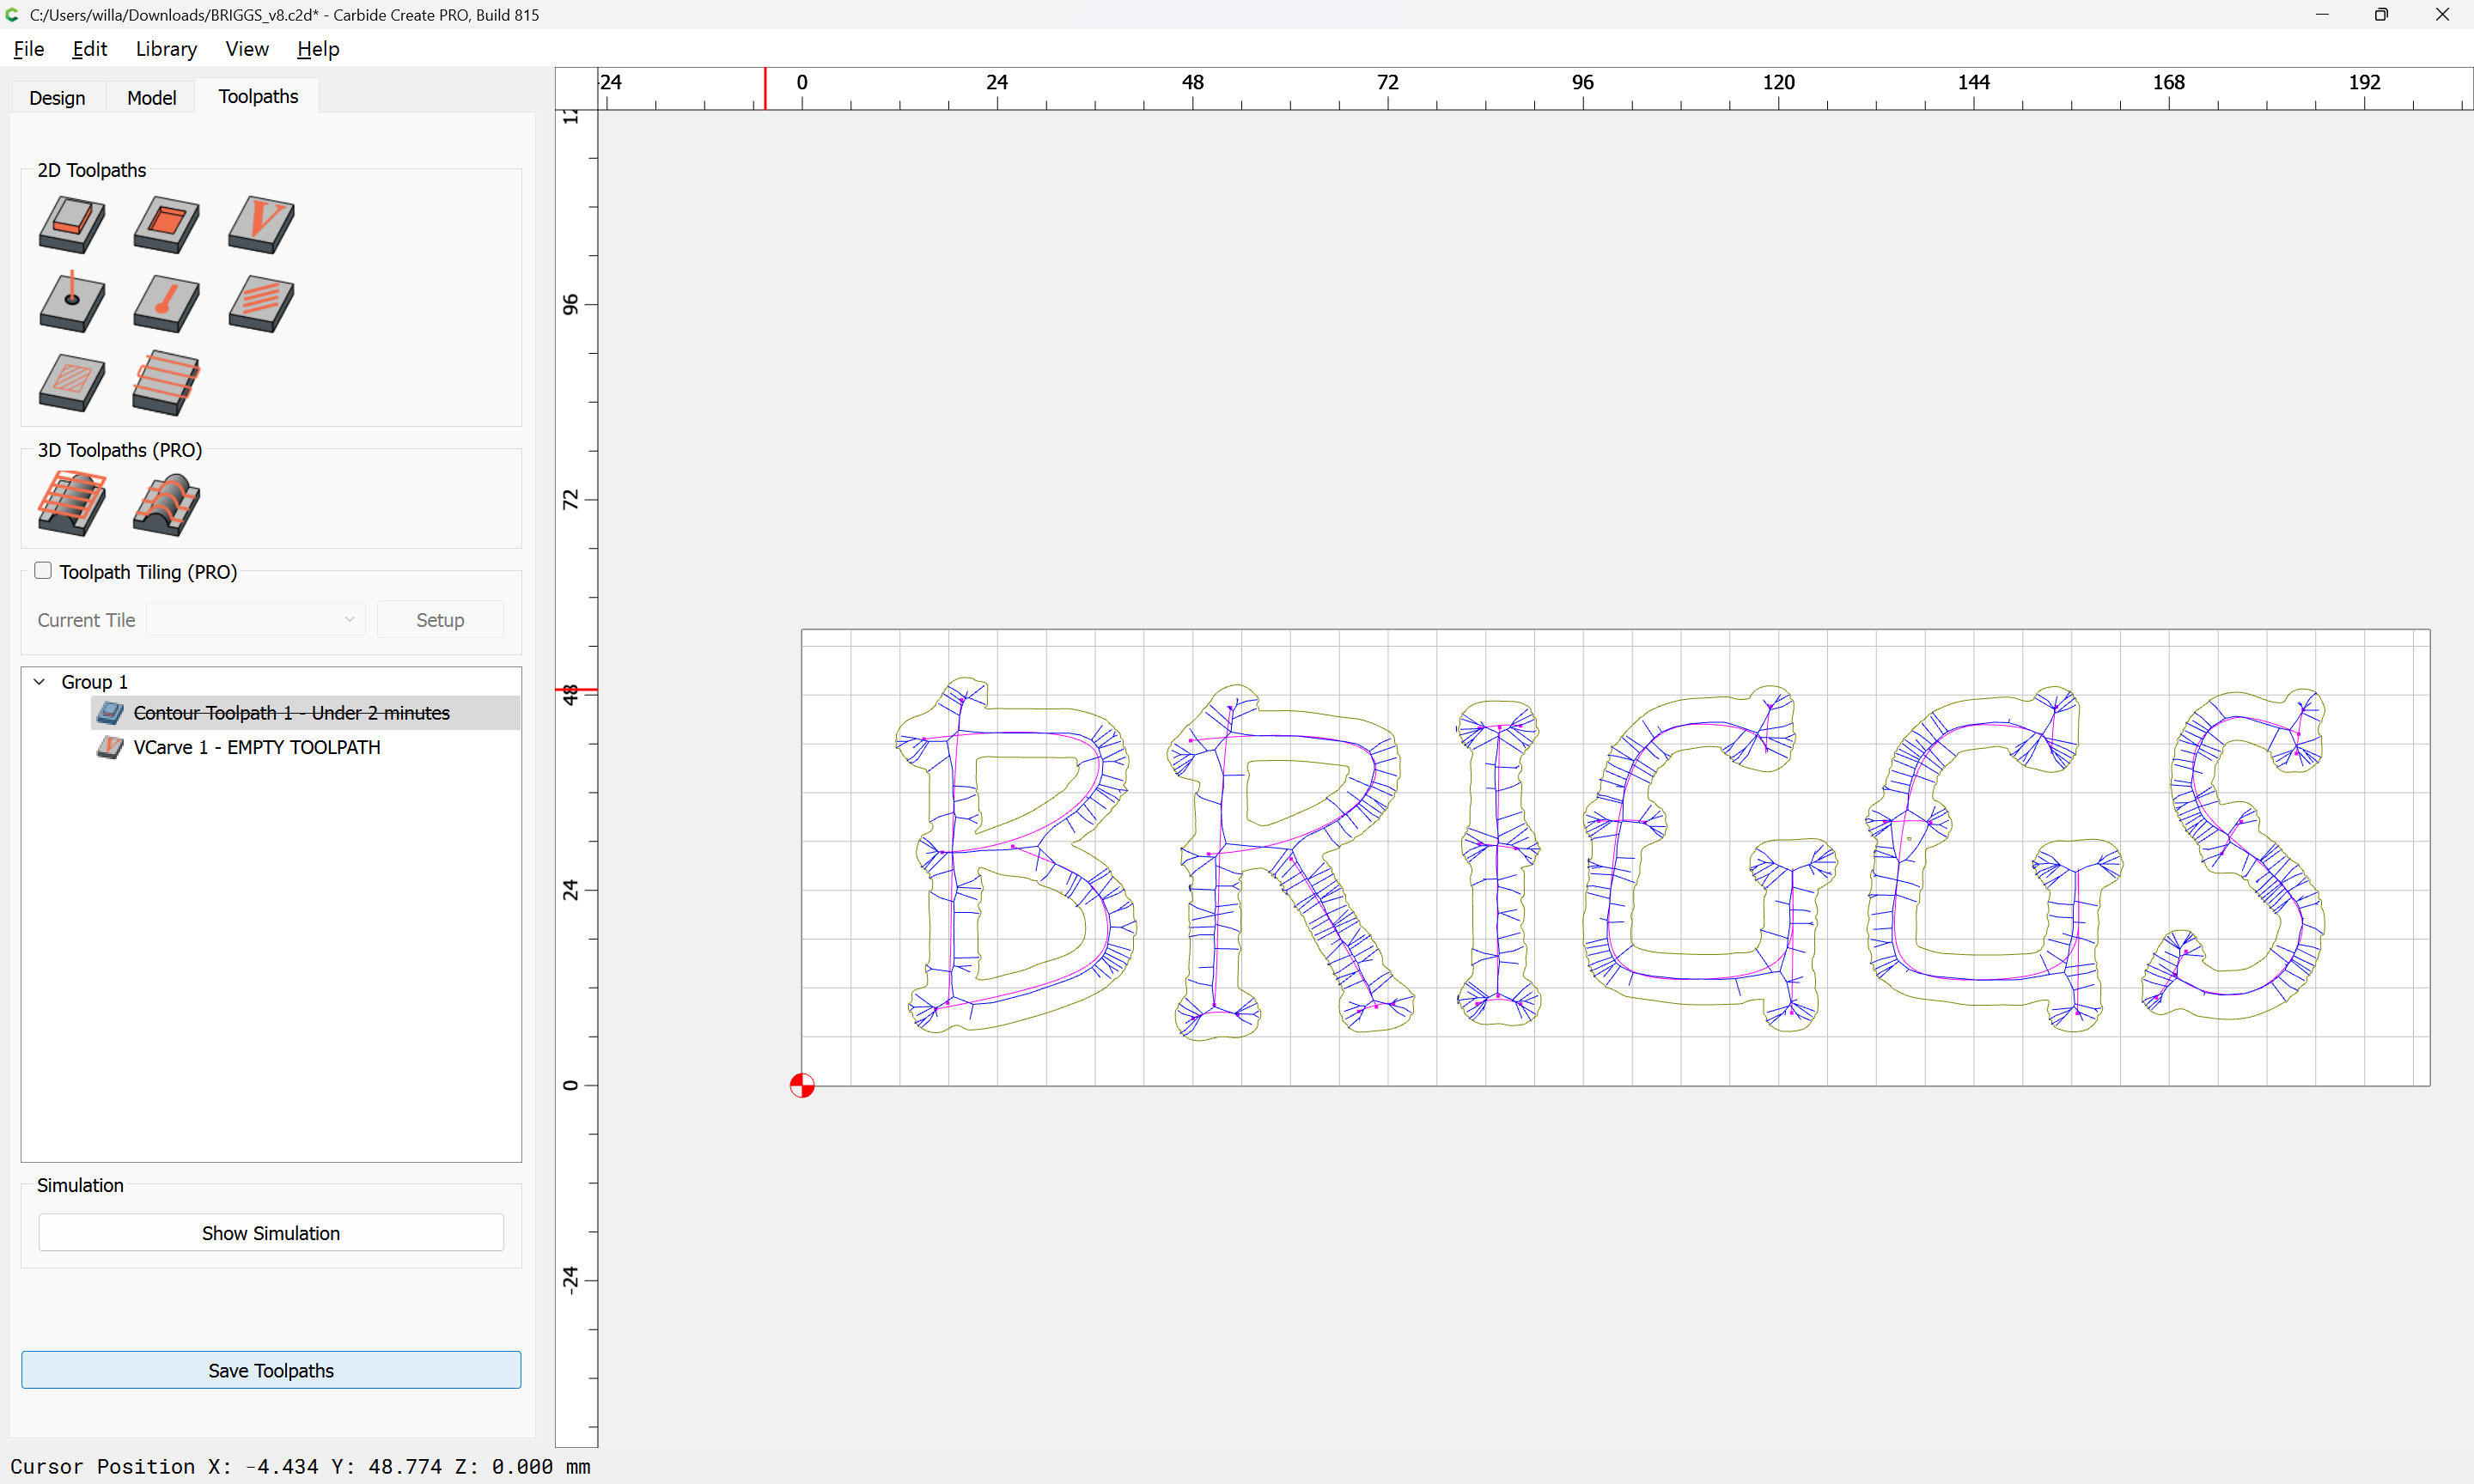
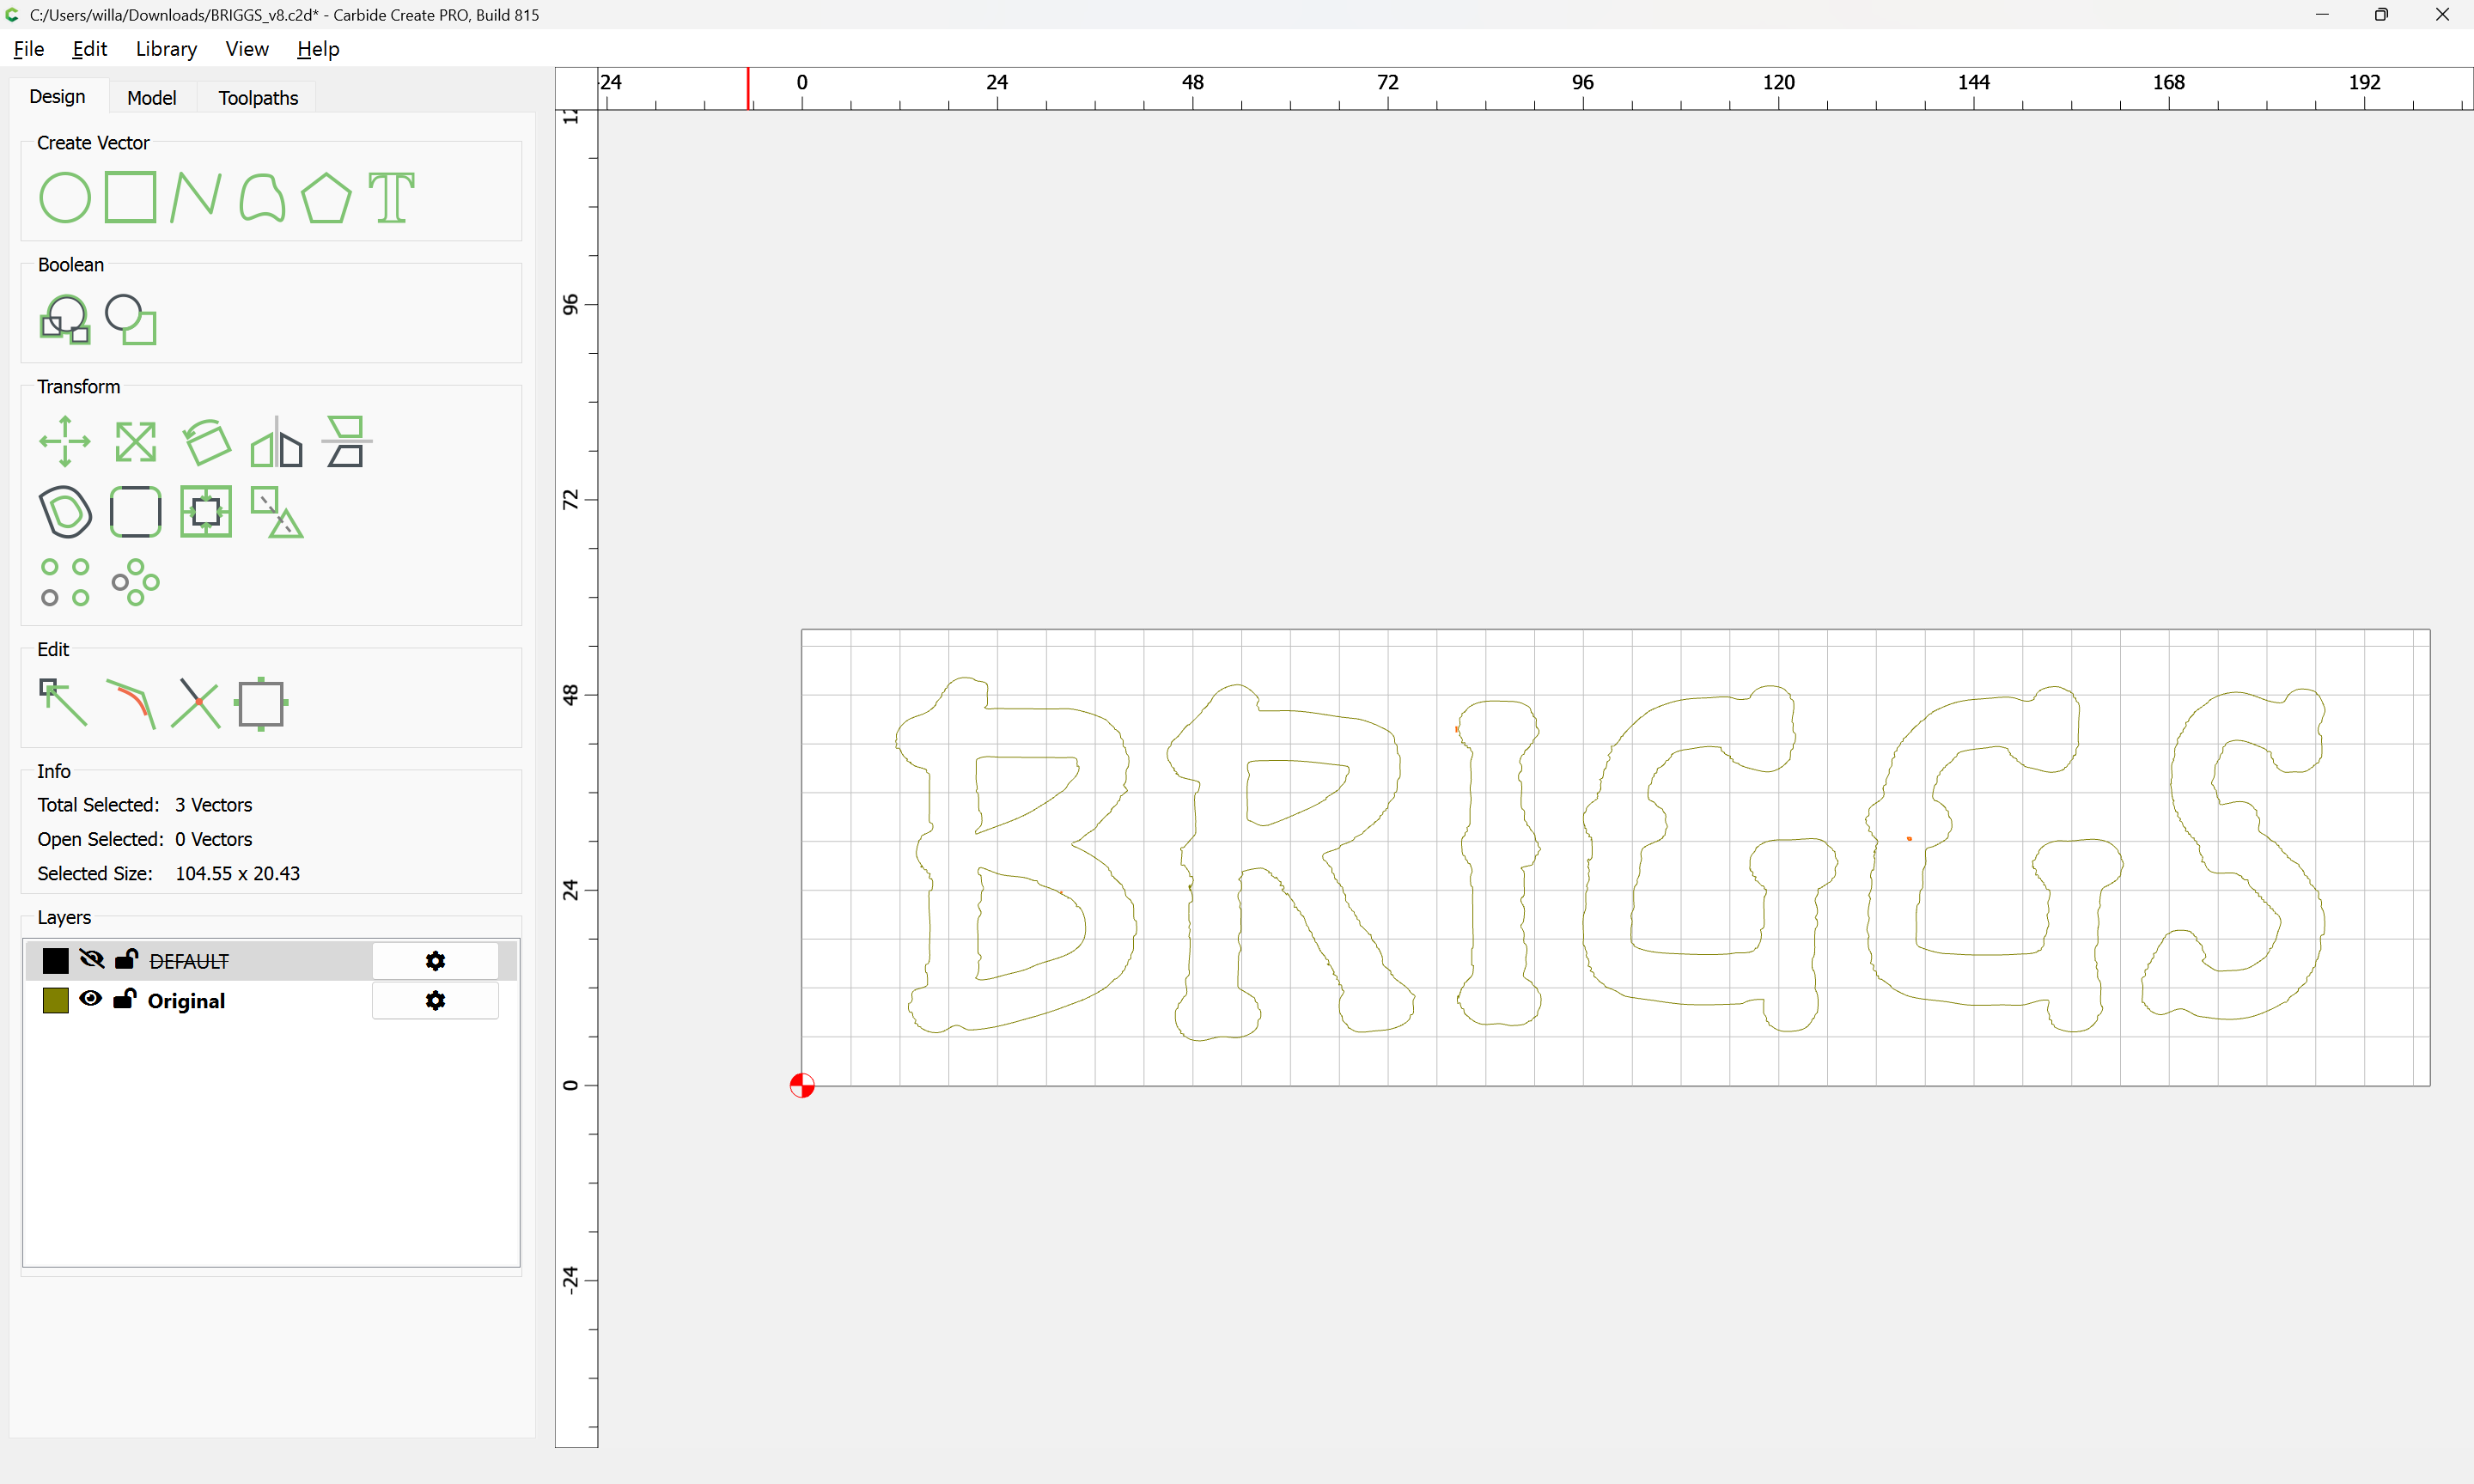
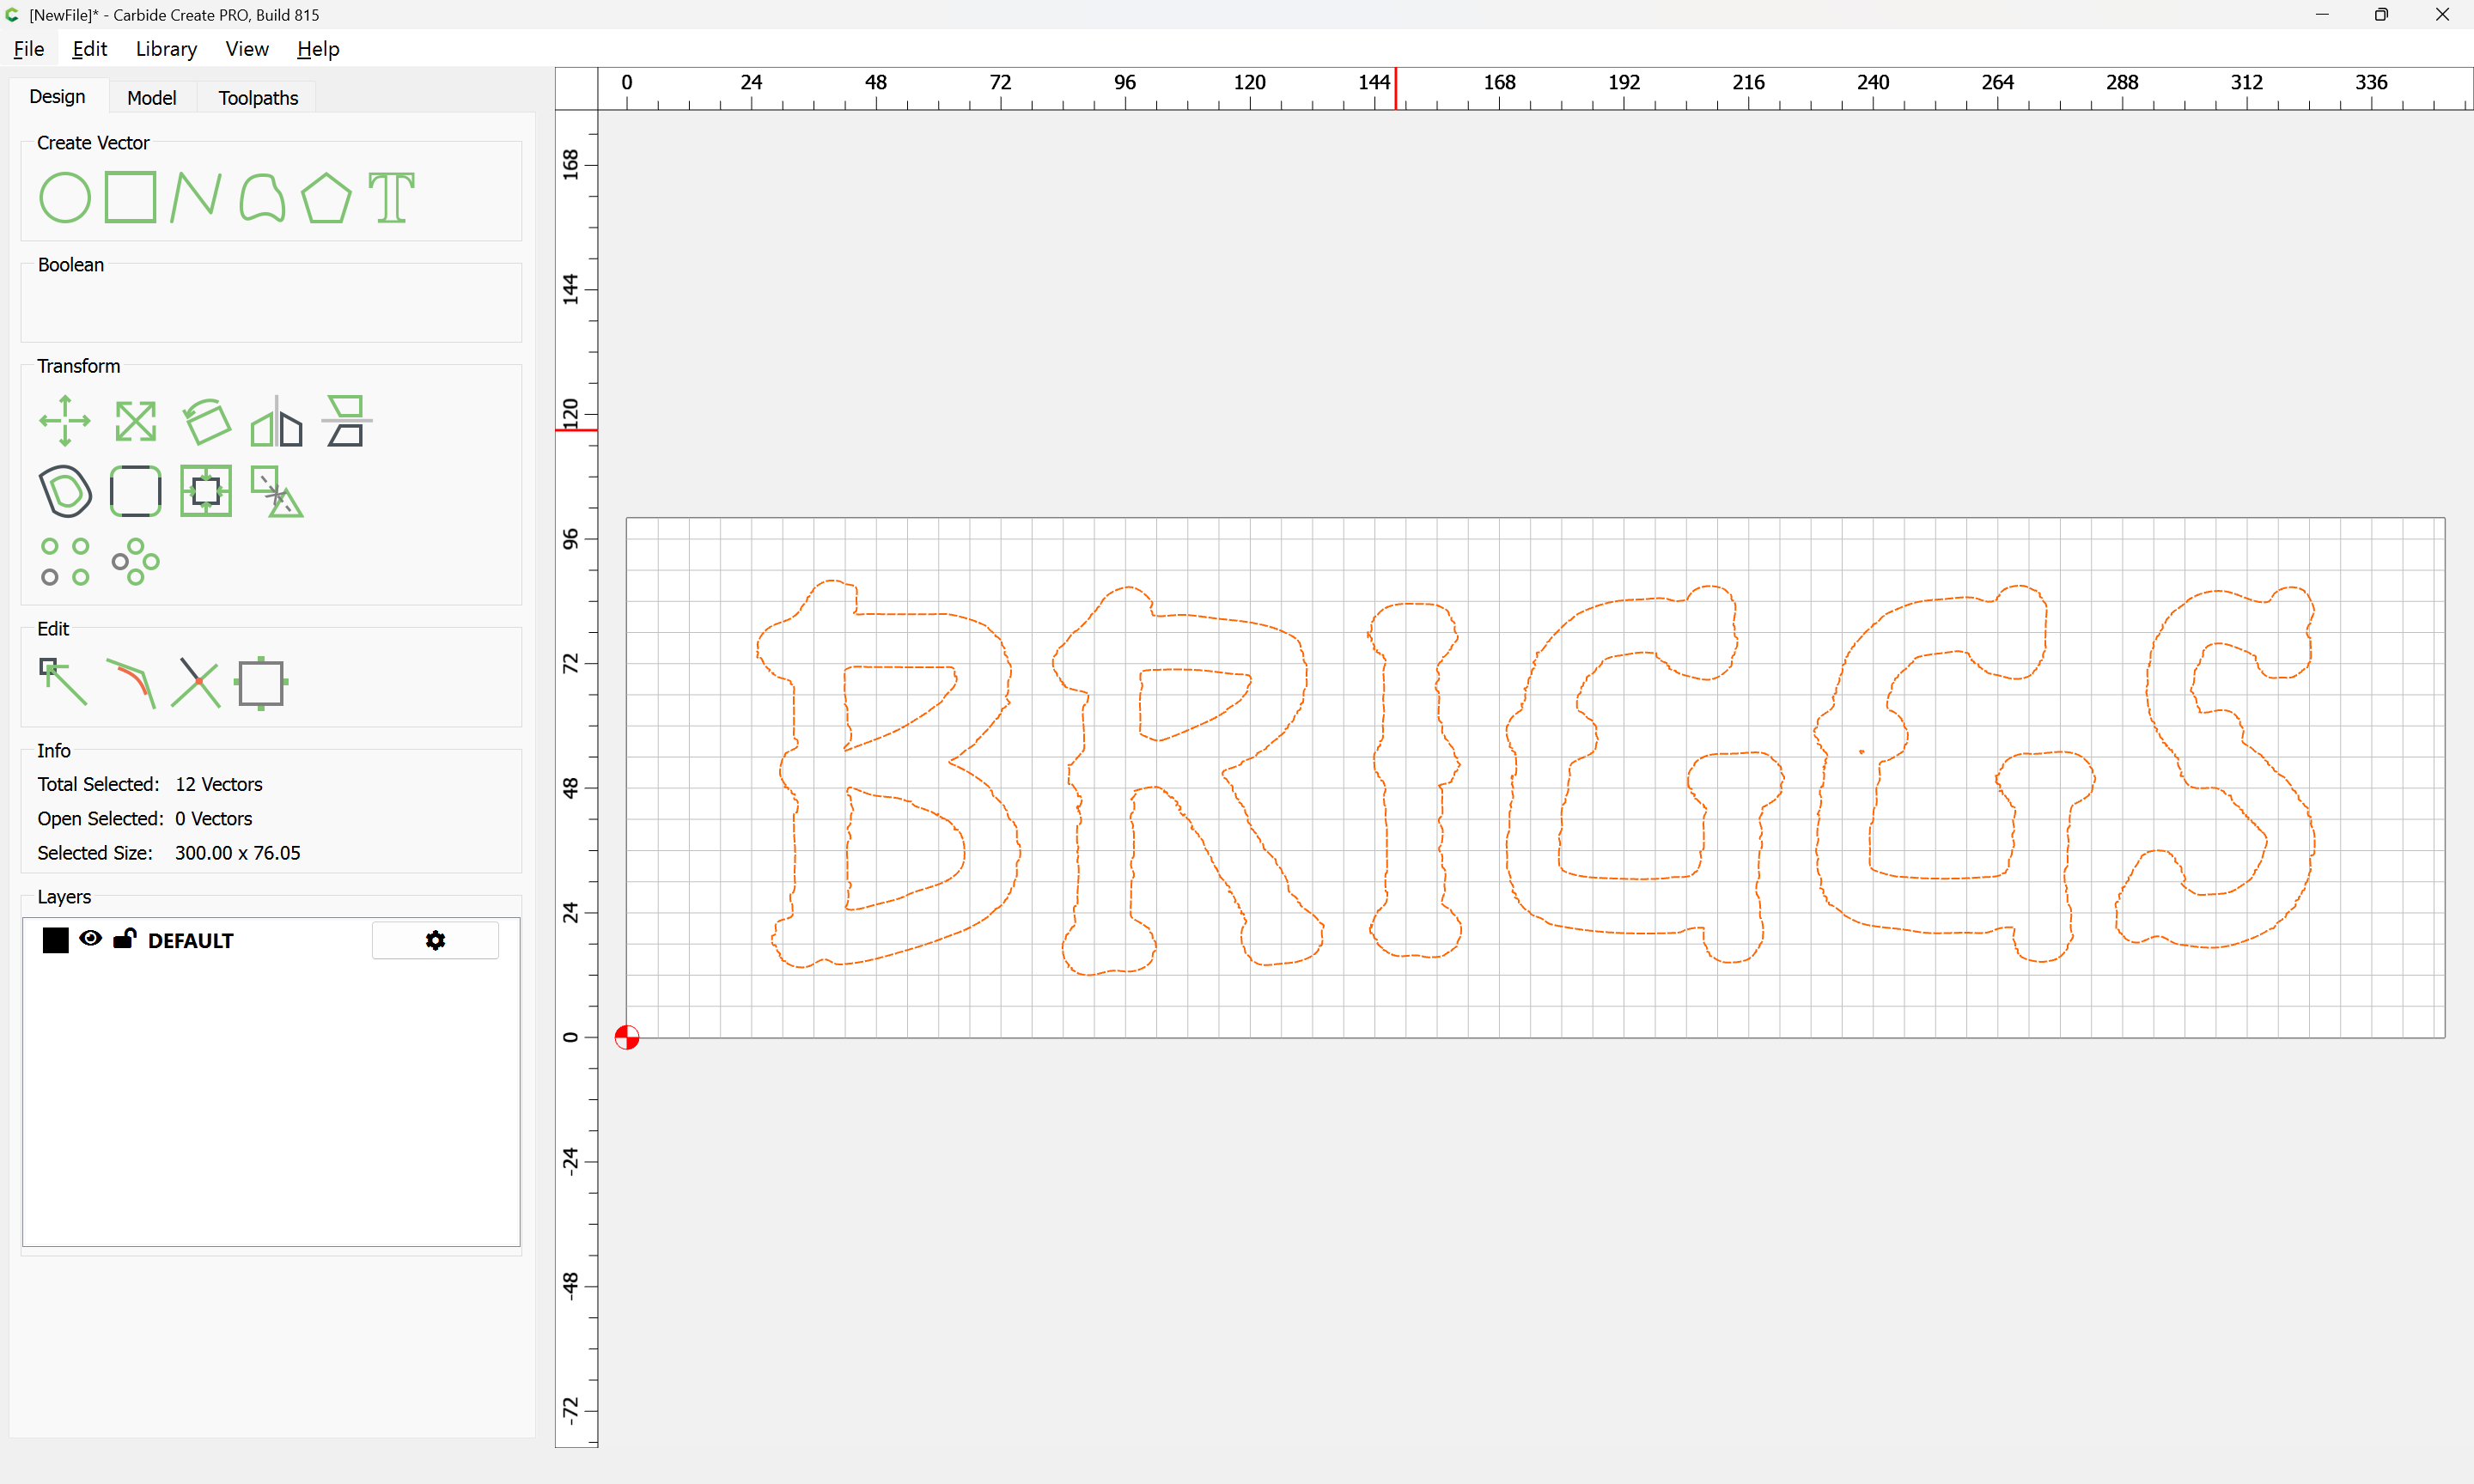
Here is your file:
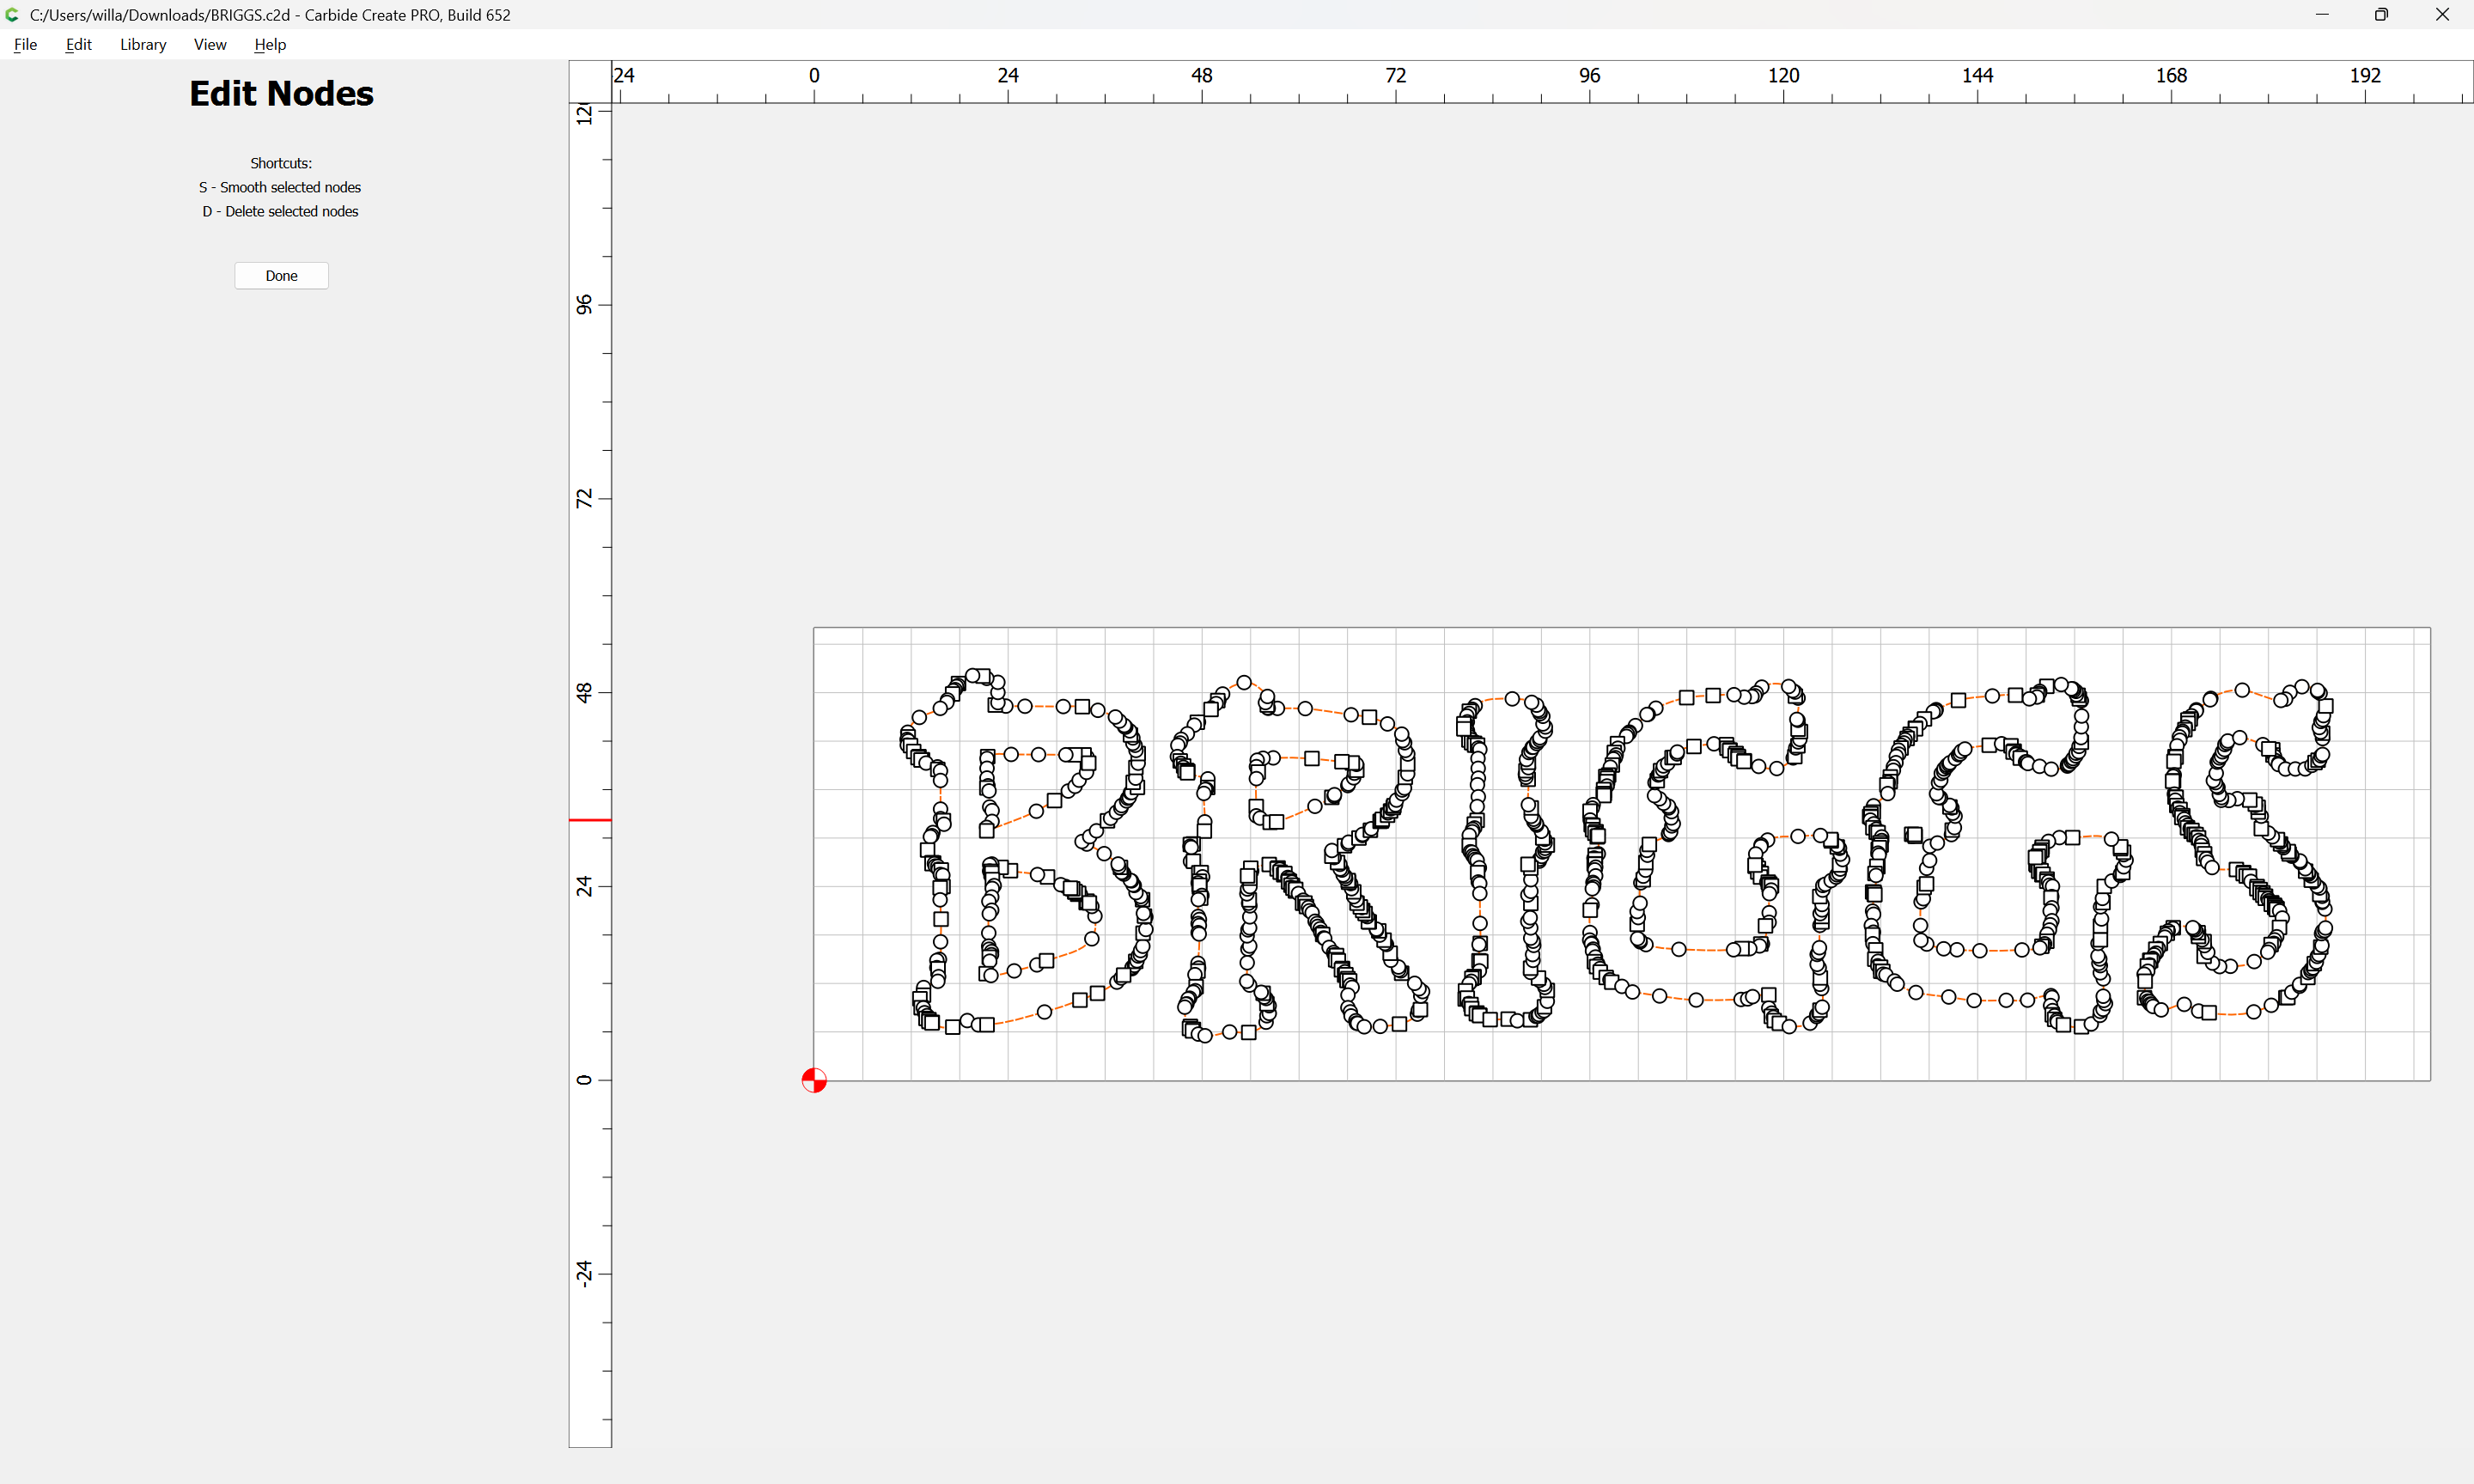
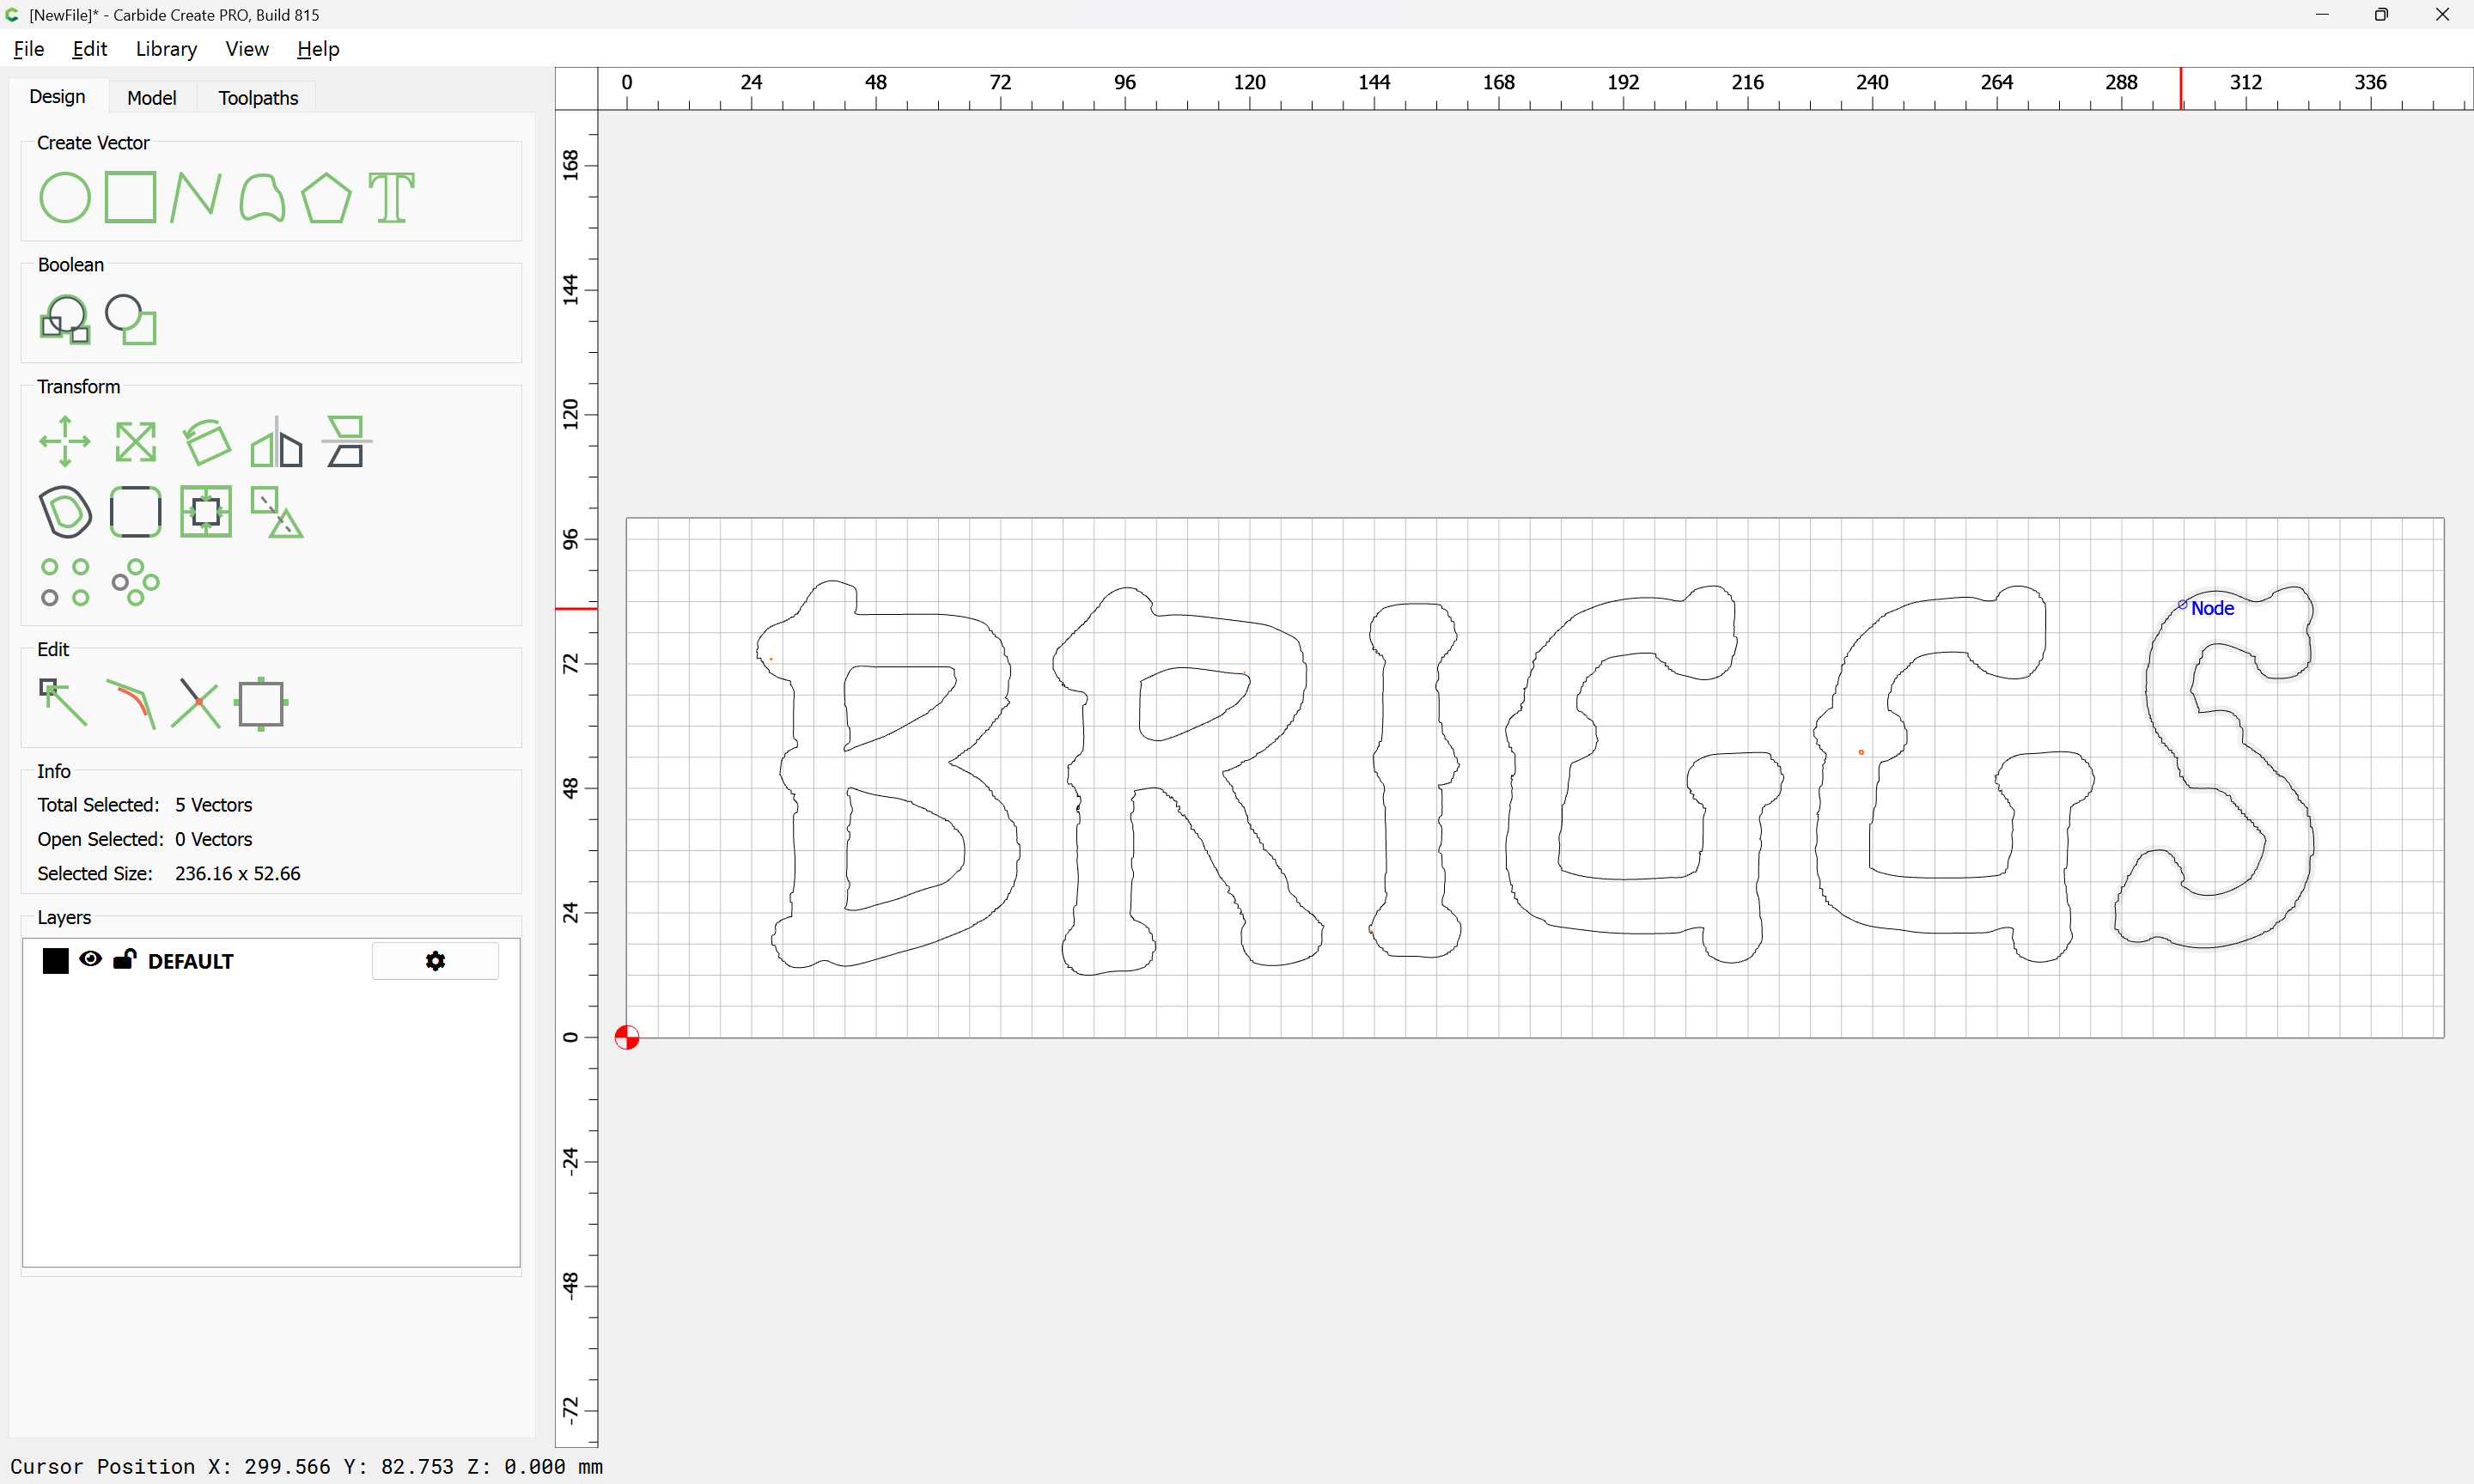
The auto-traced scan could use some cleaning up:
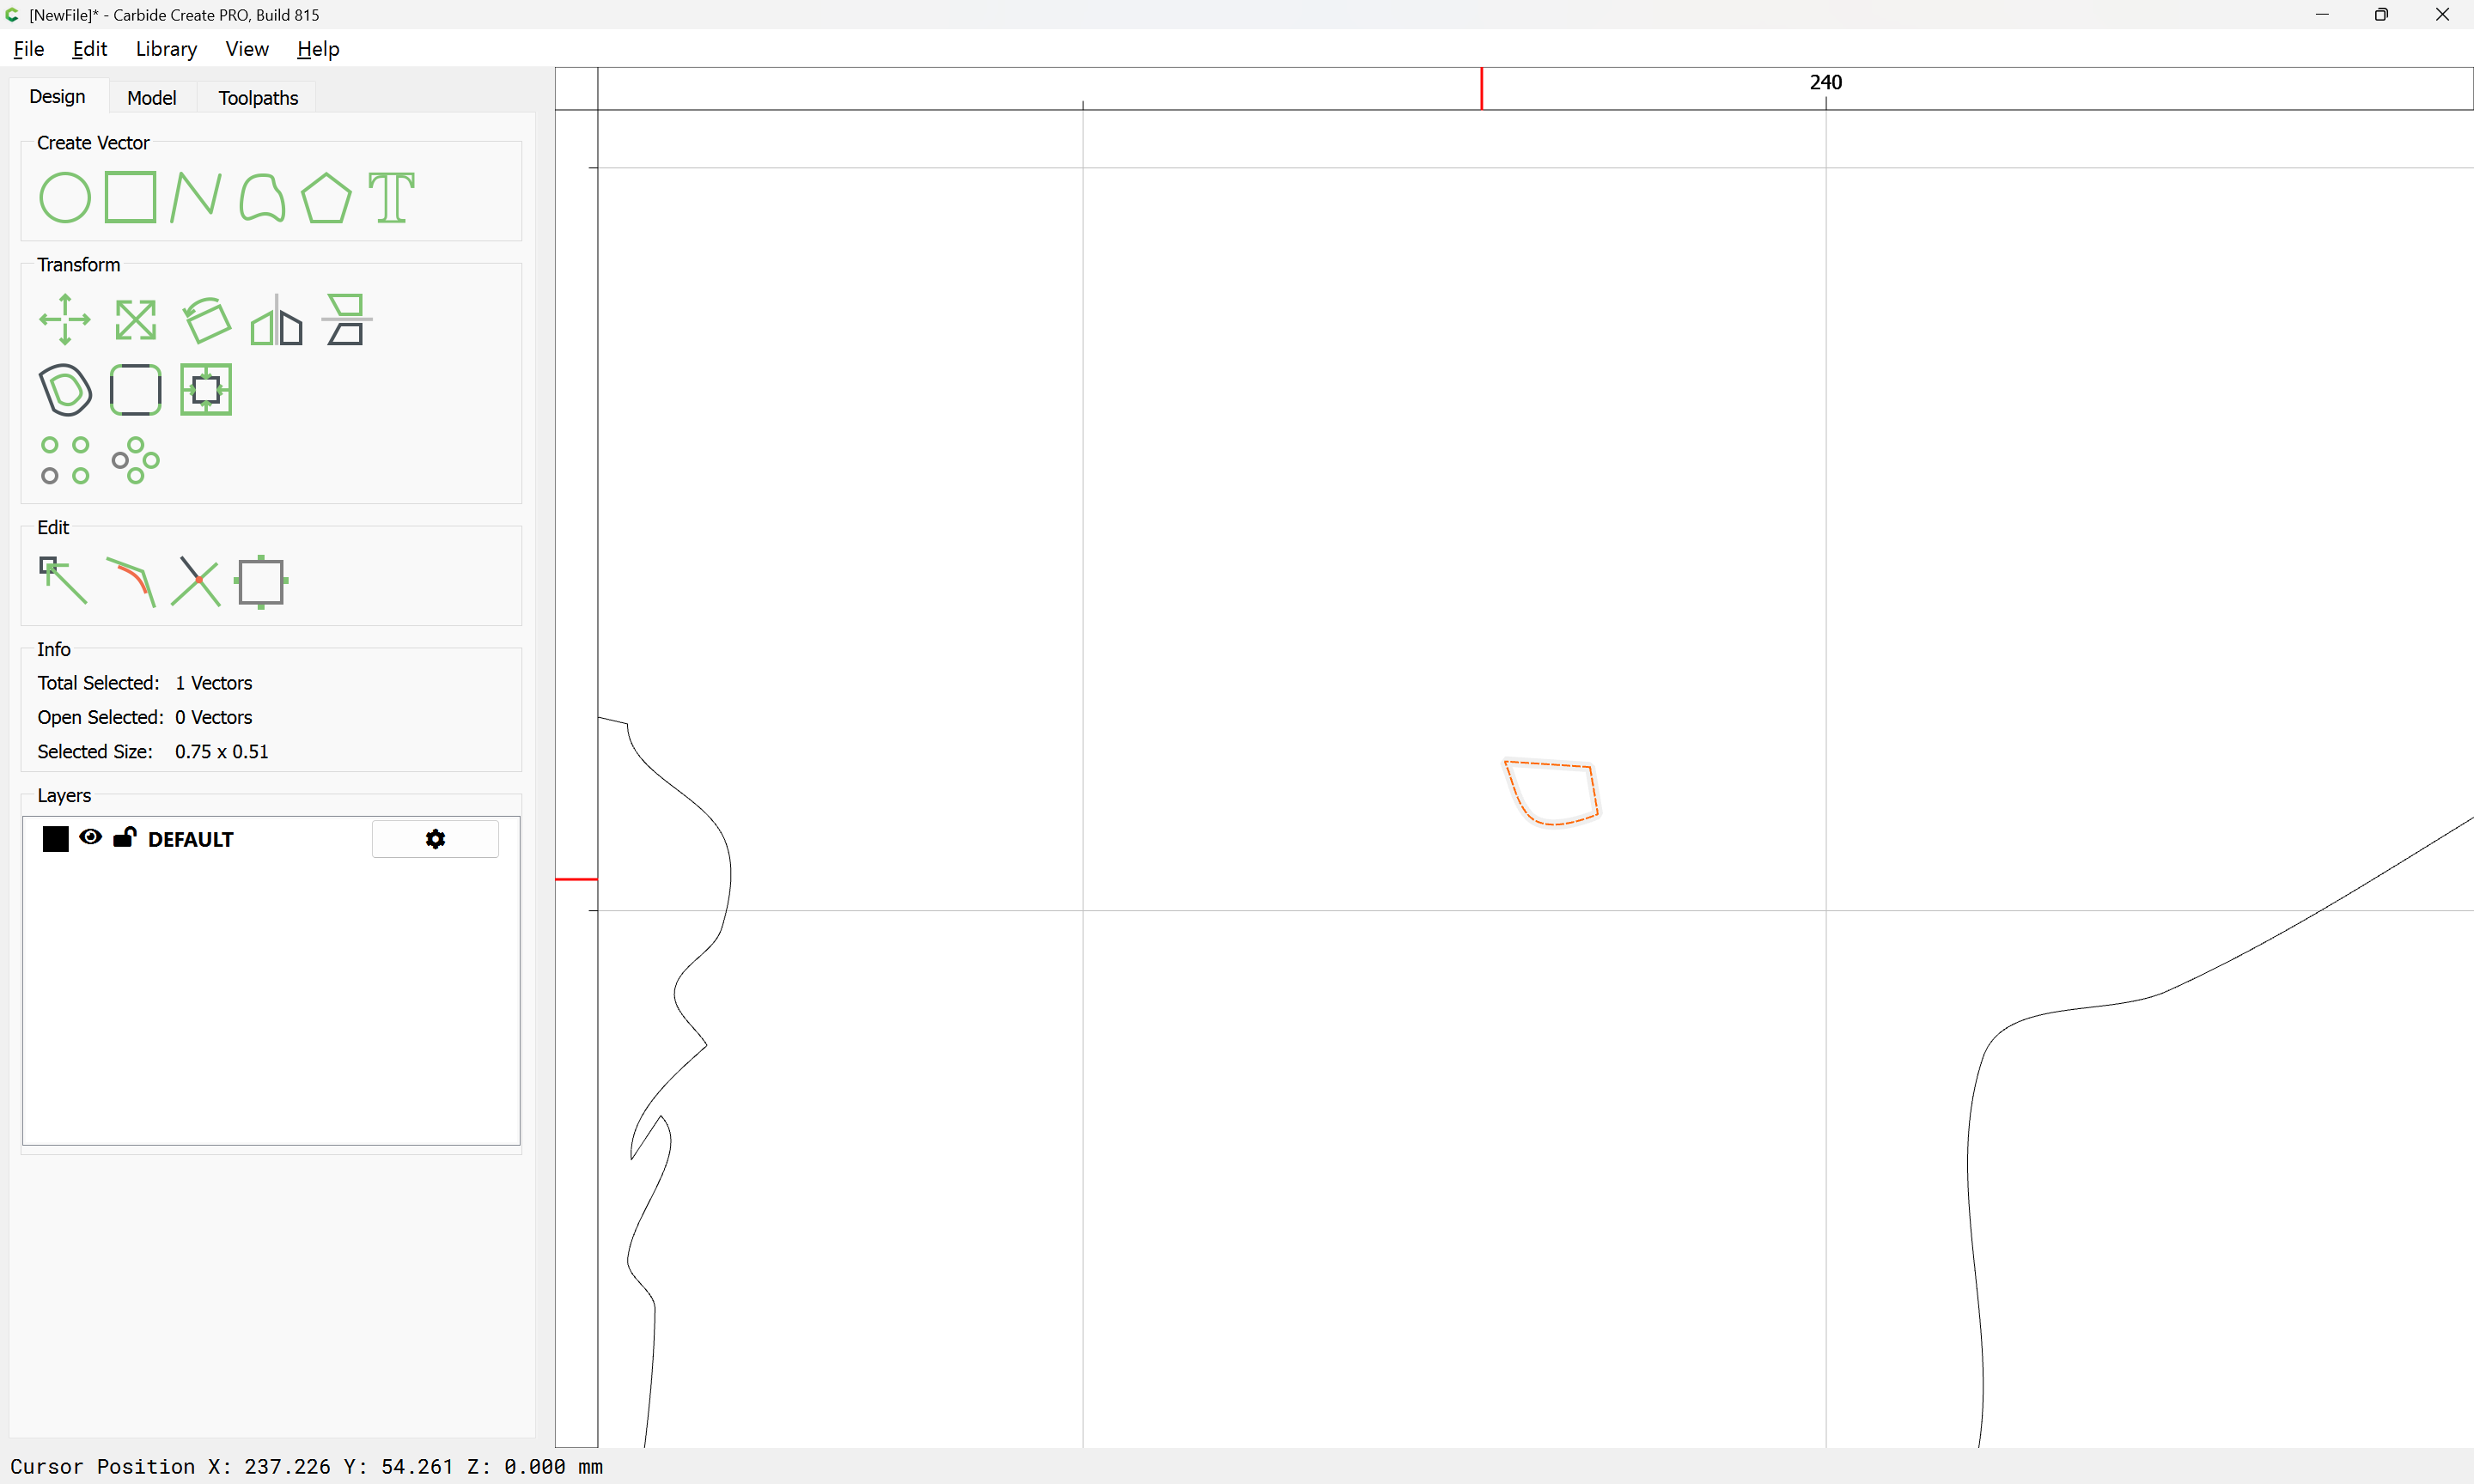
A 1/8" tool will fit:
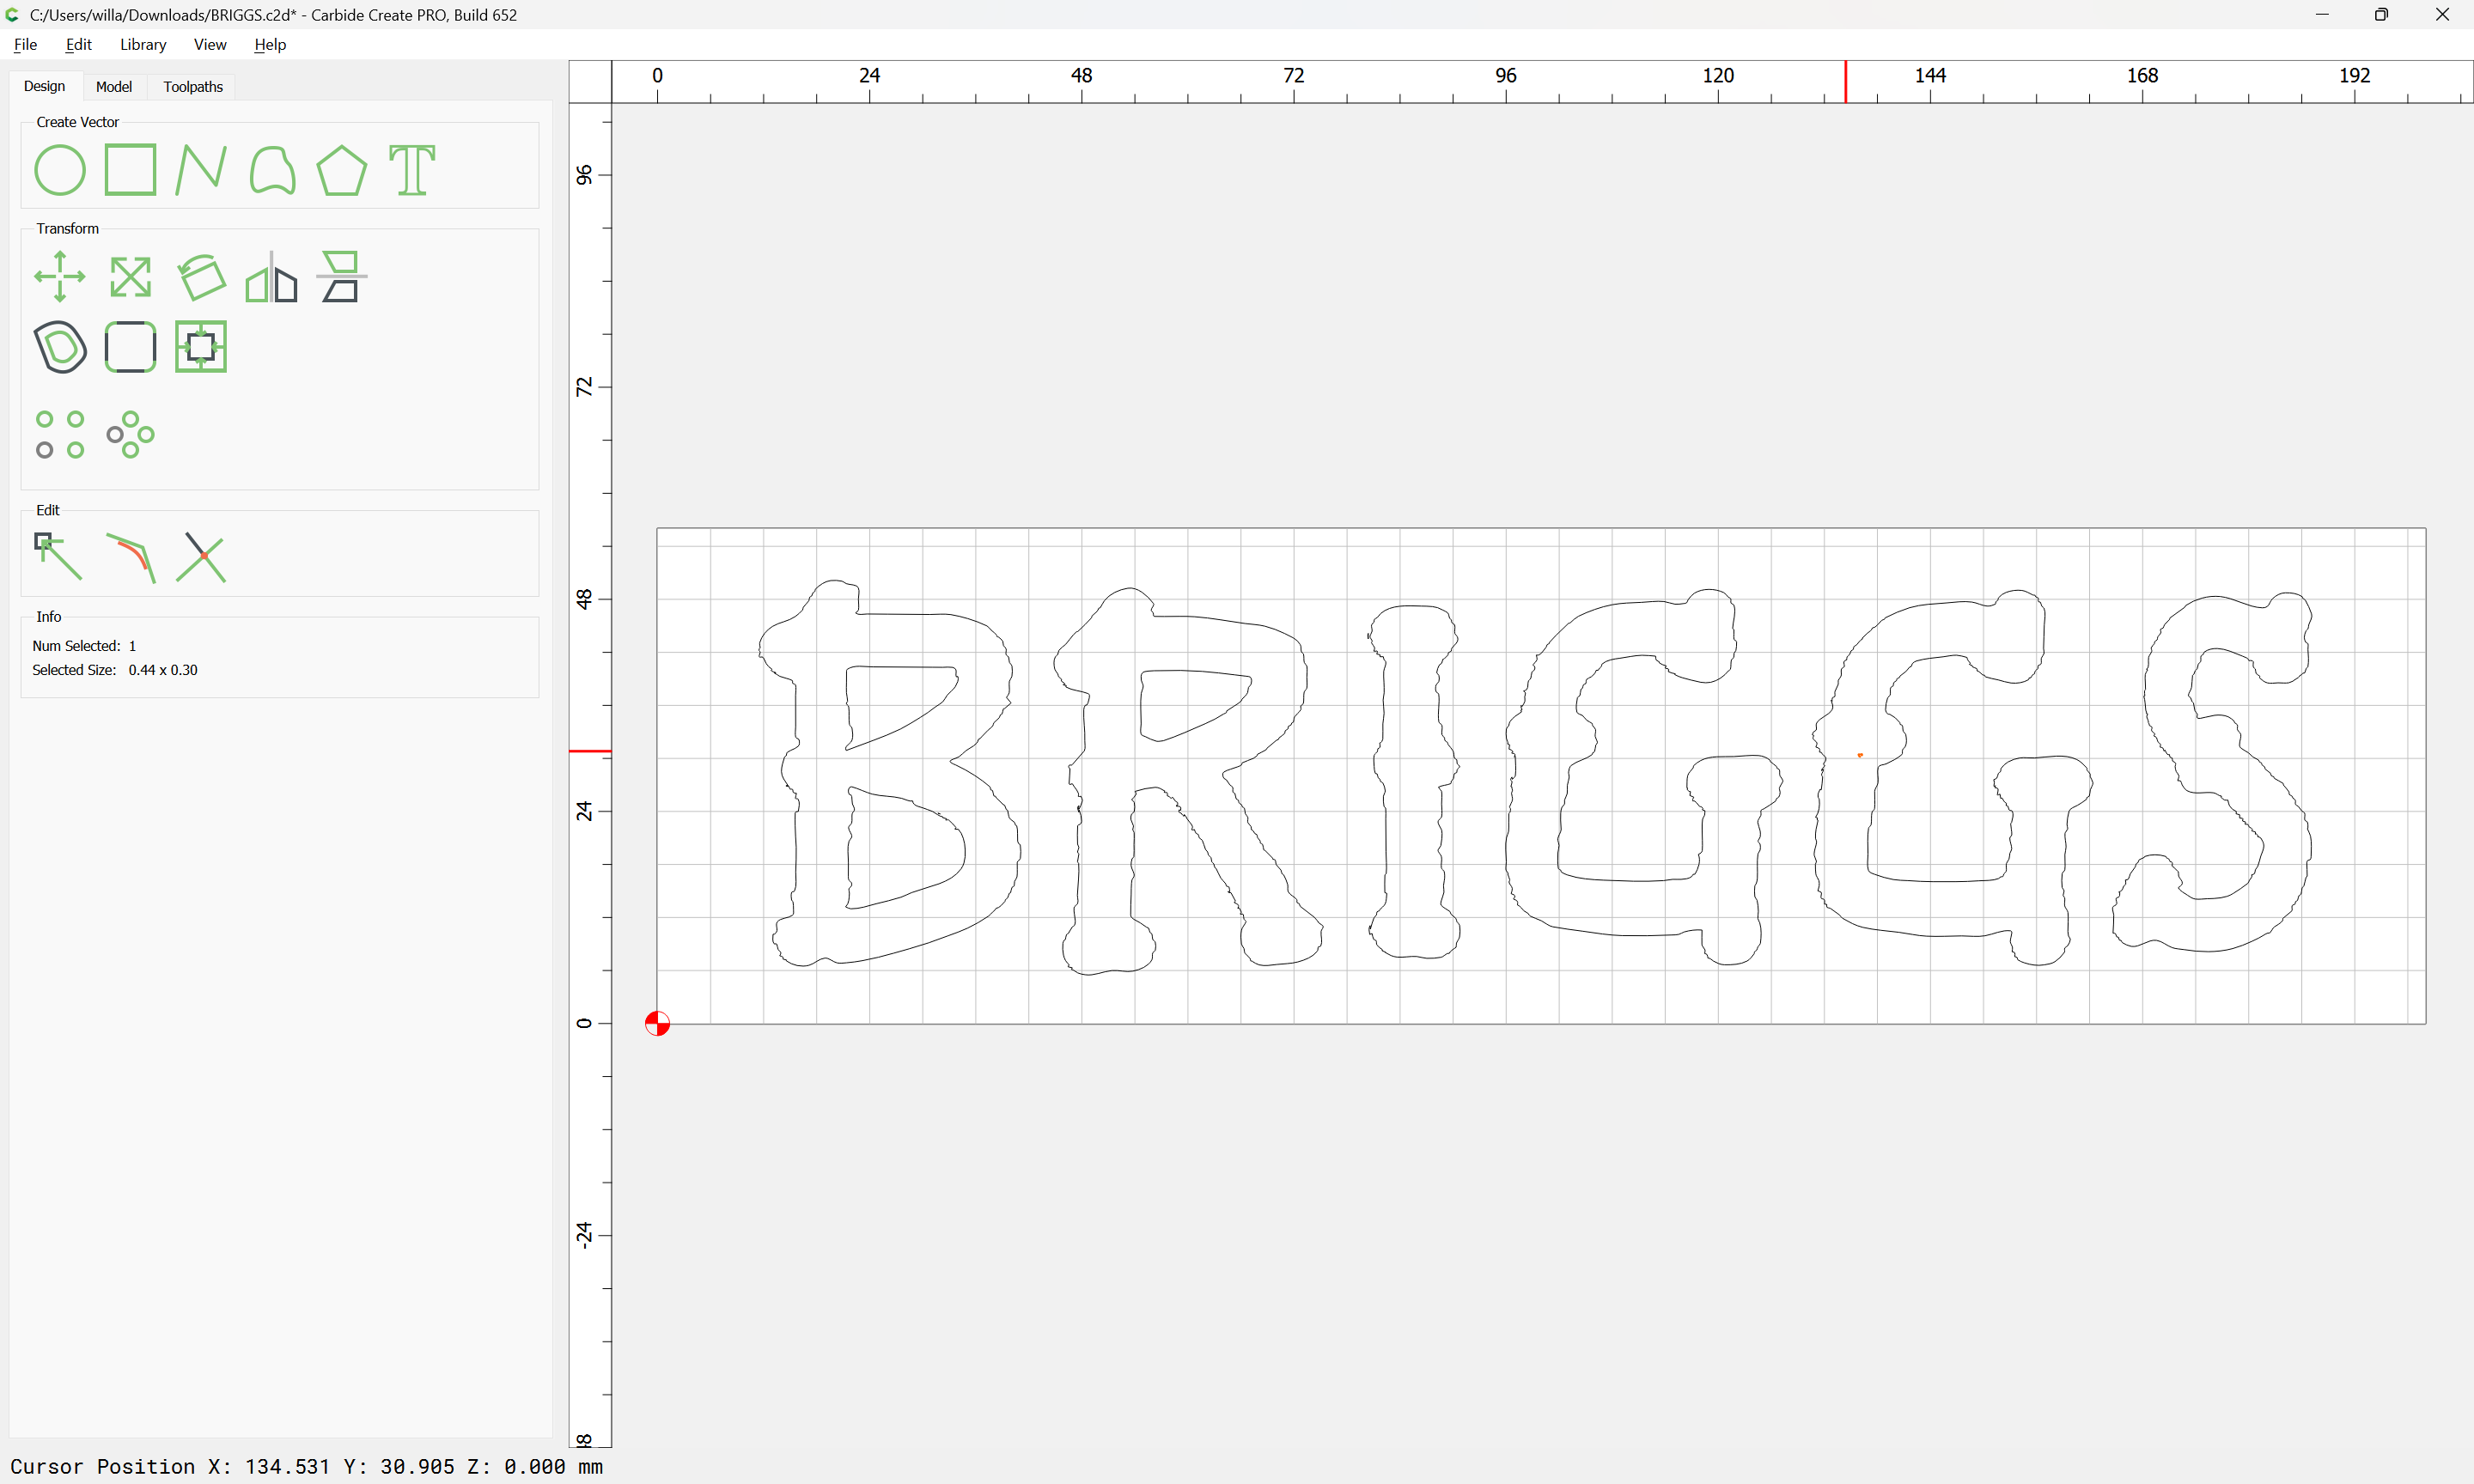
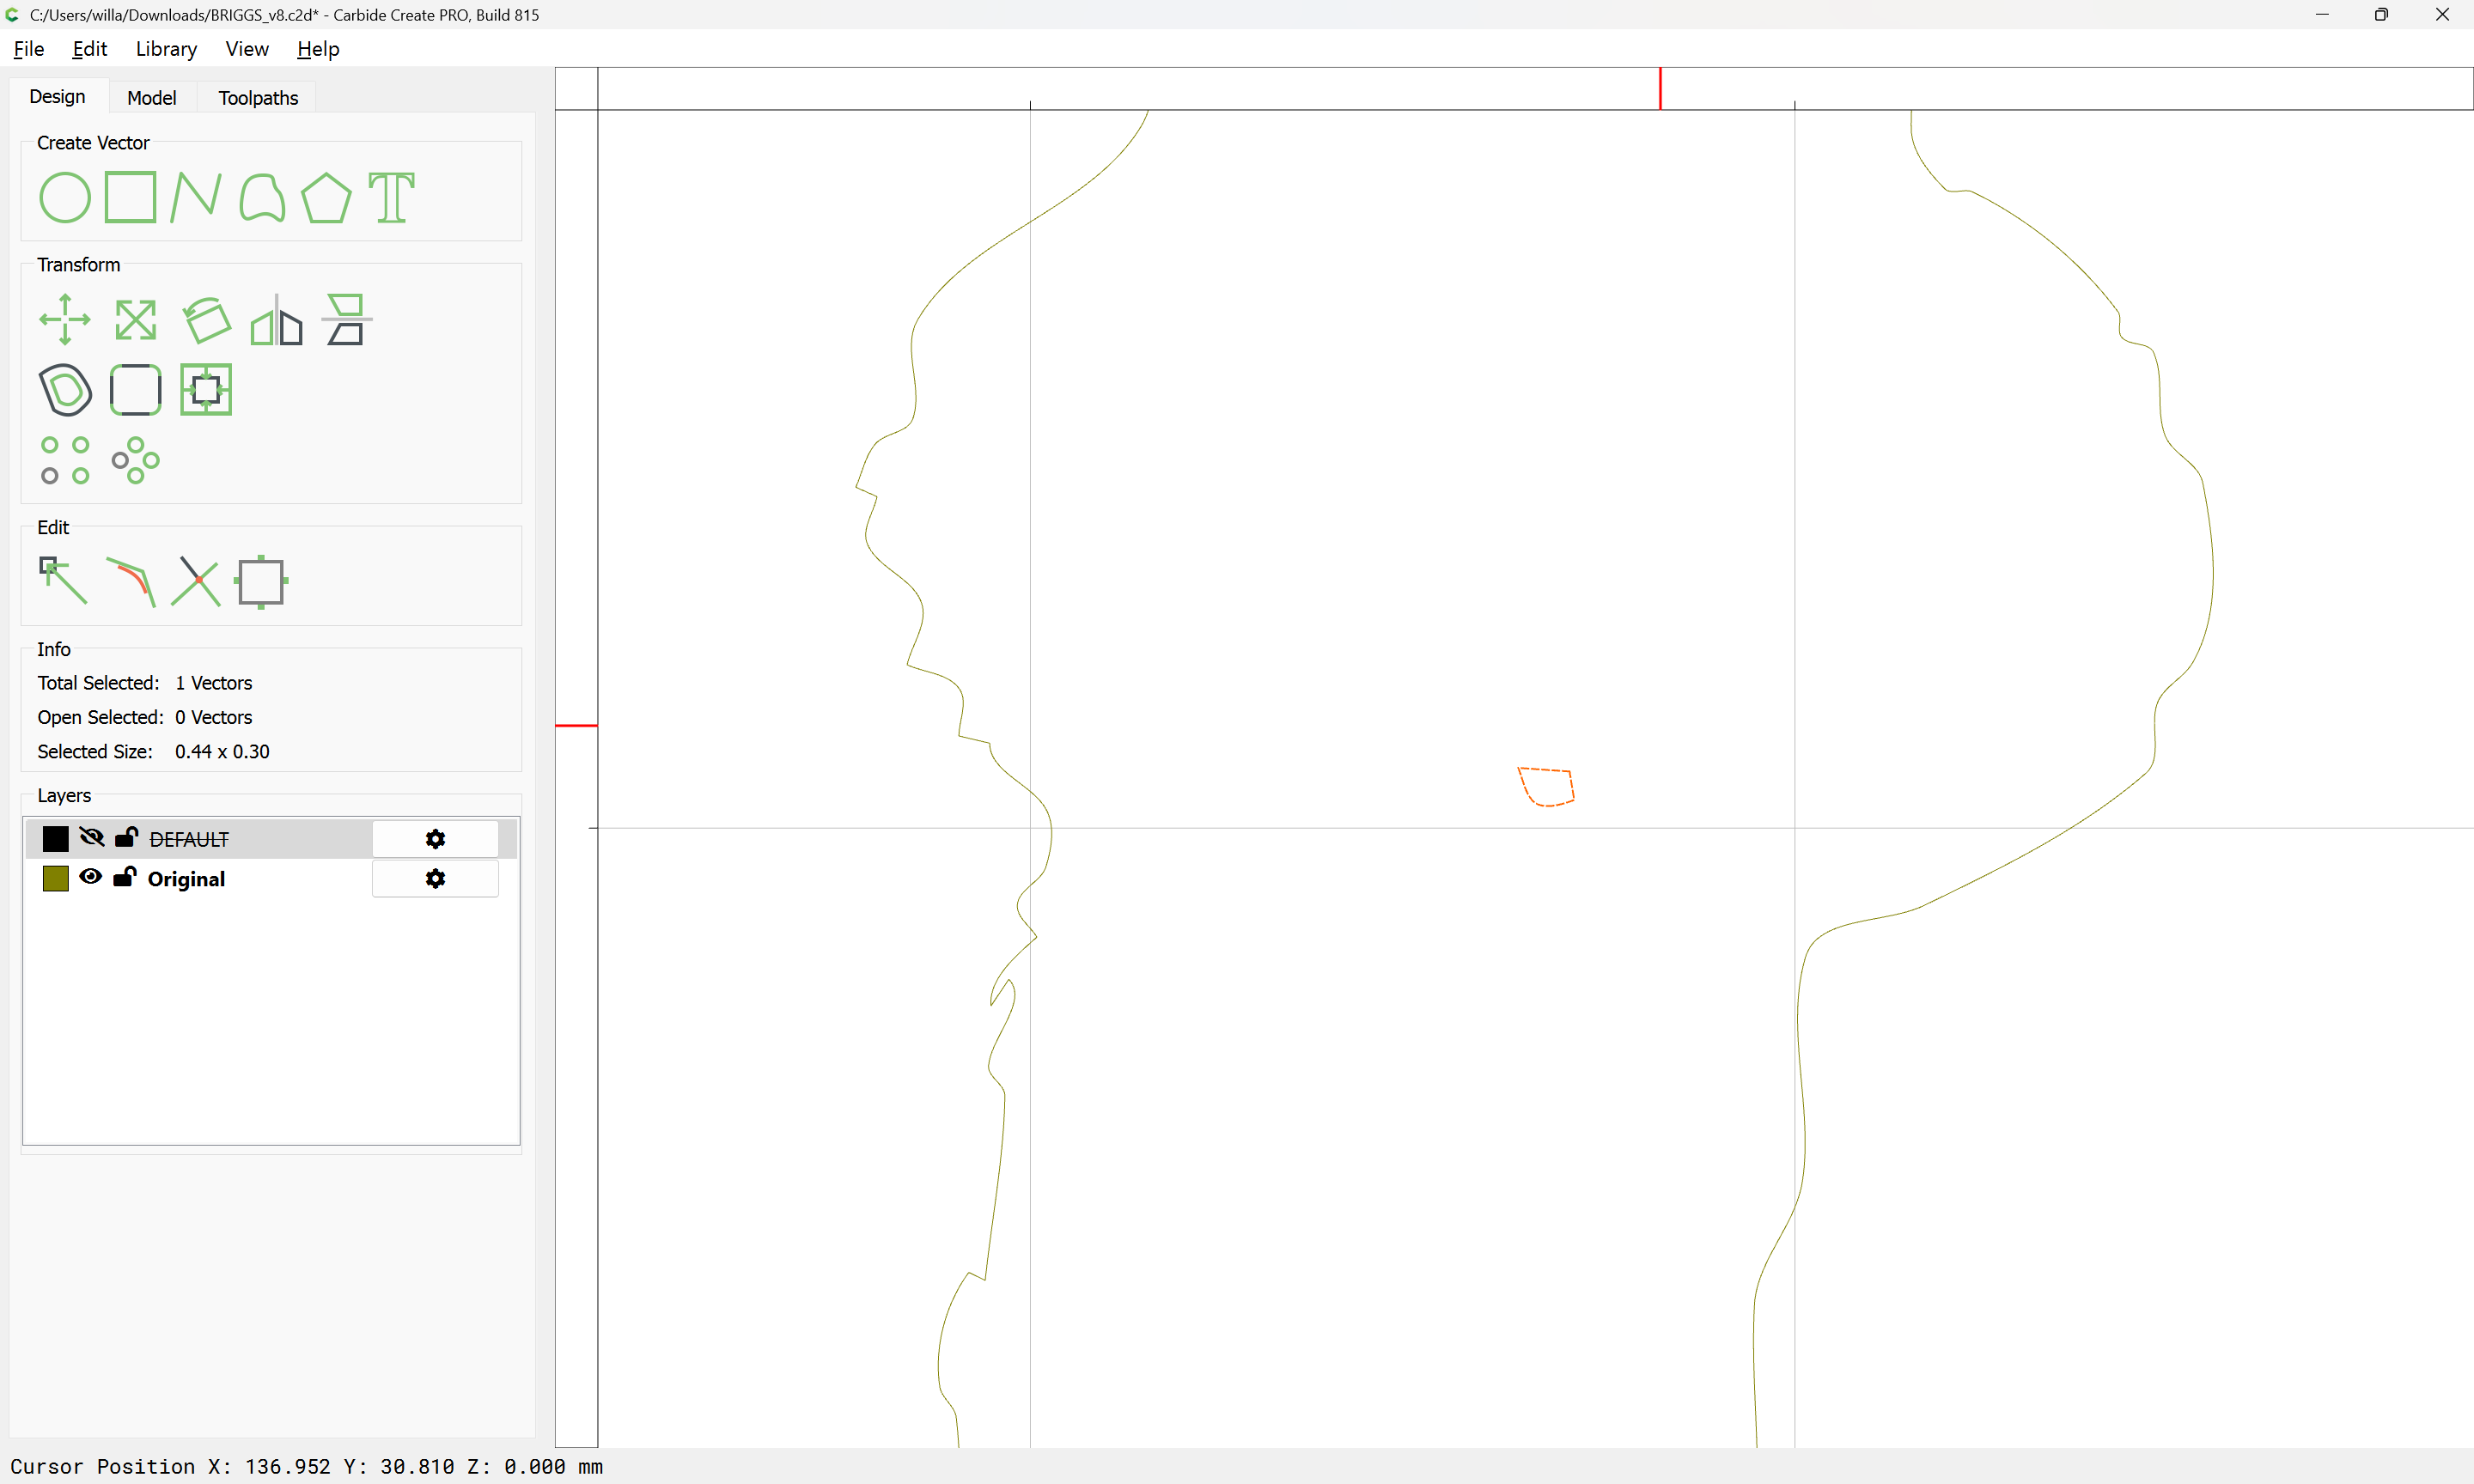
Except for where the scan needs to be cleaned up:
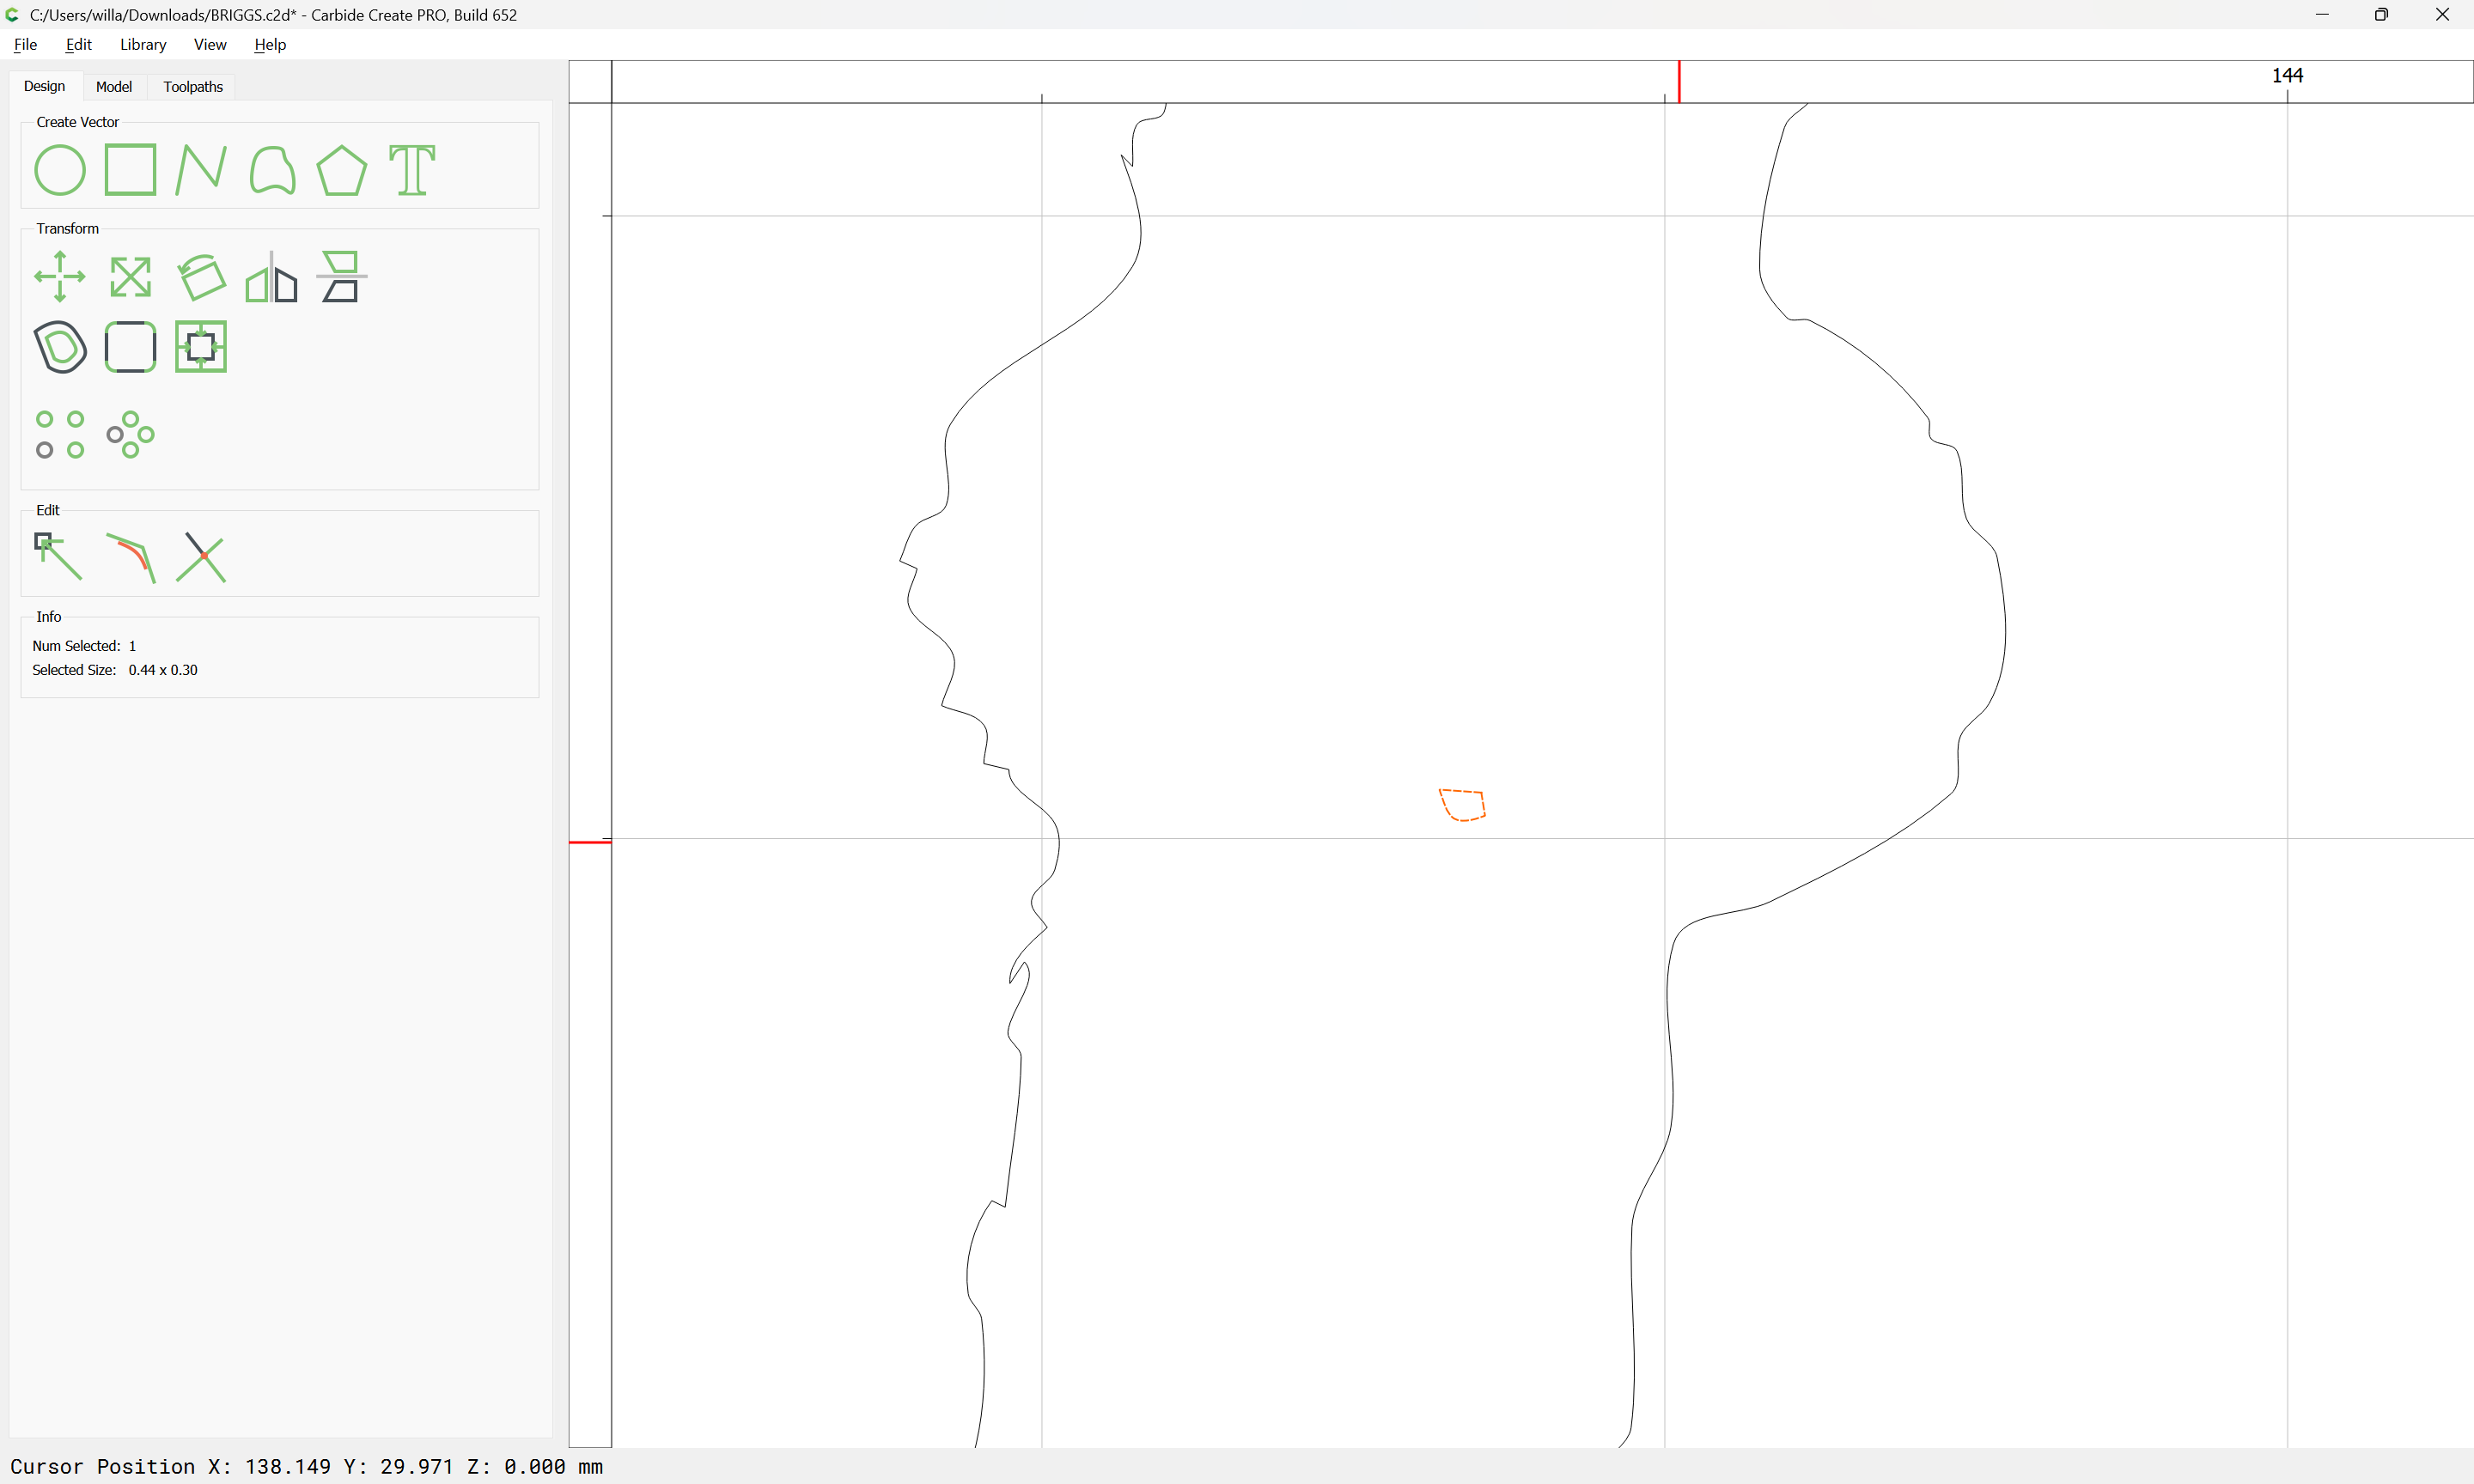
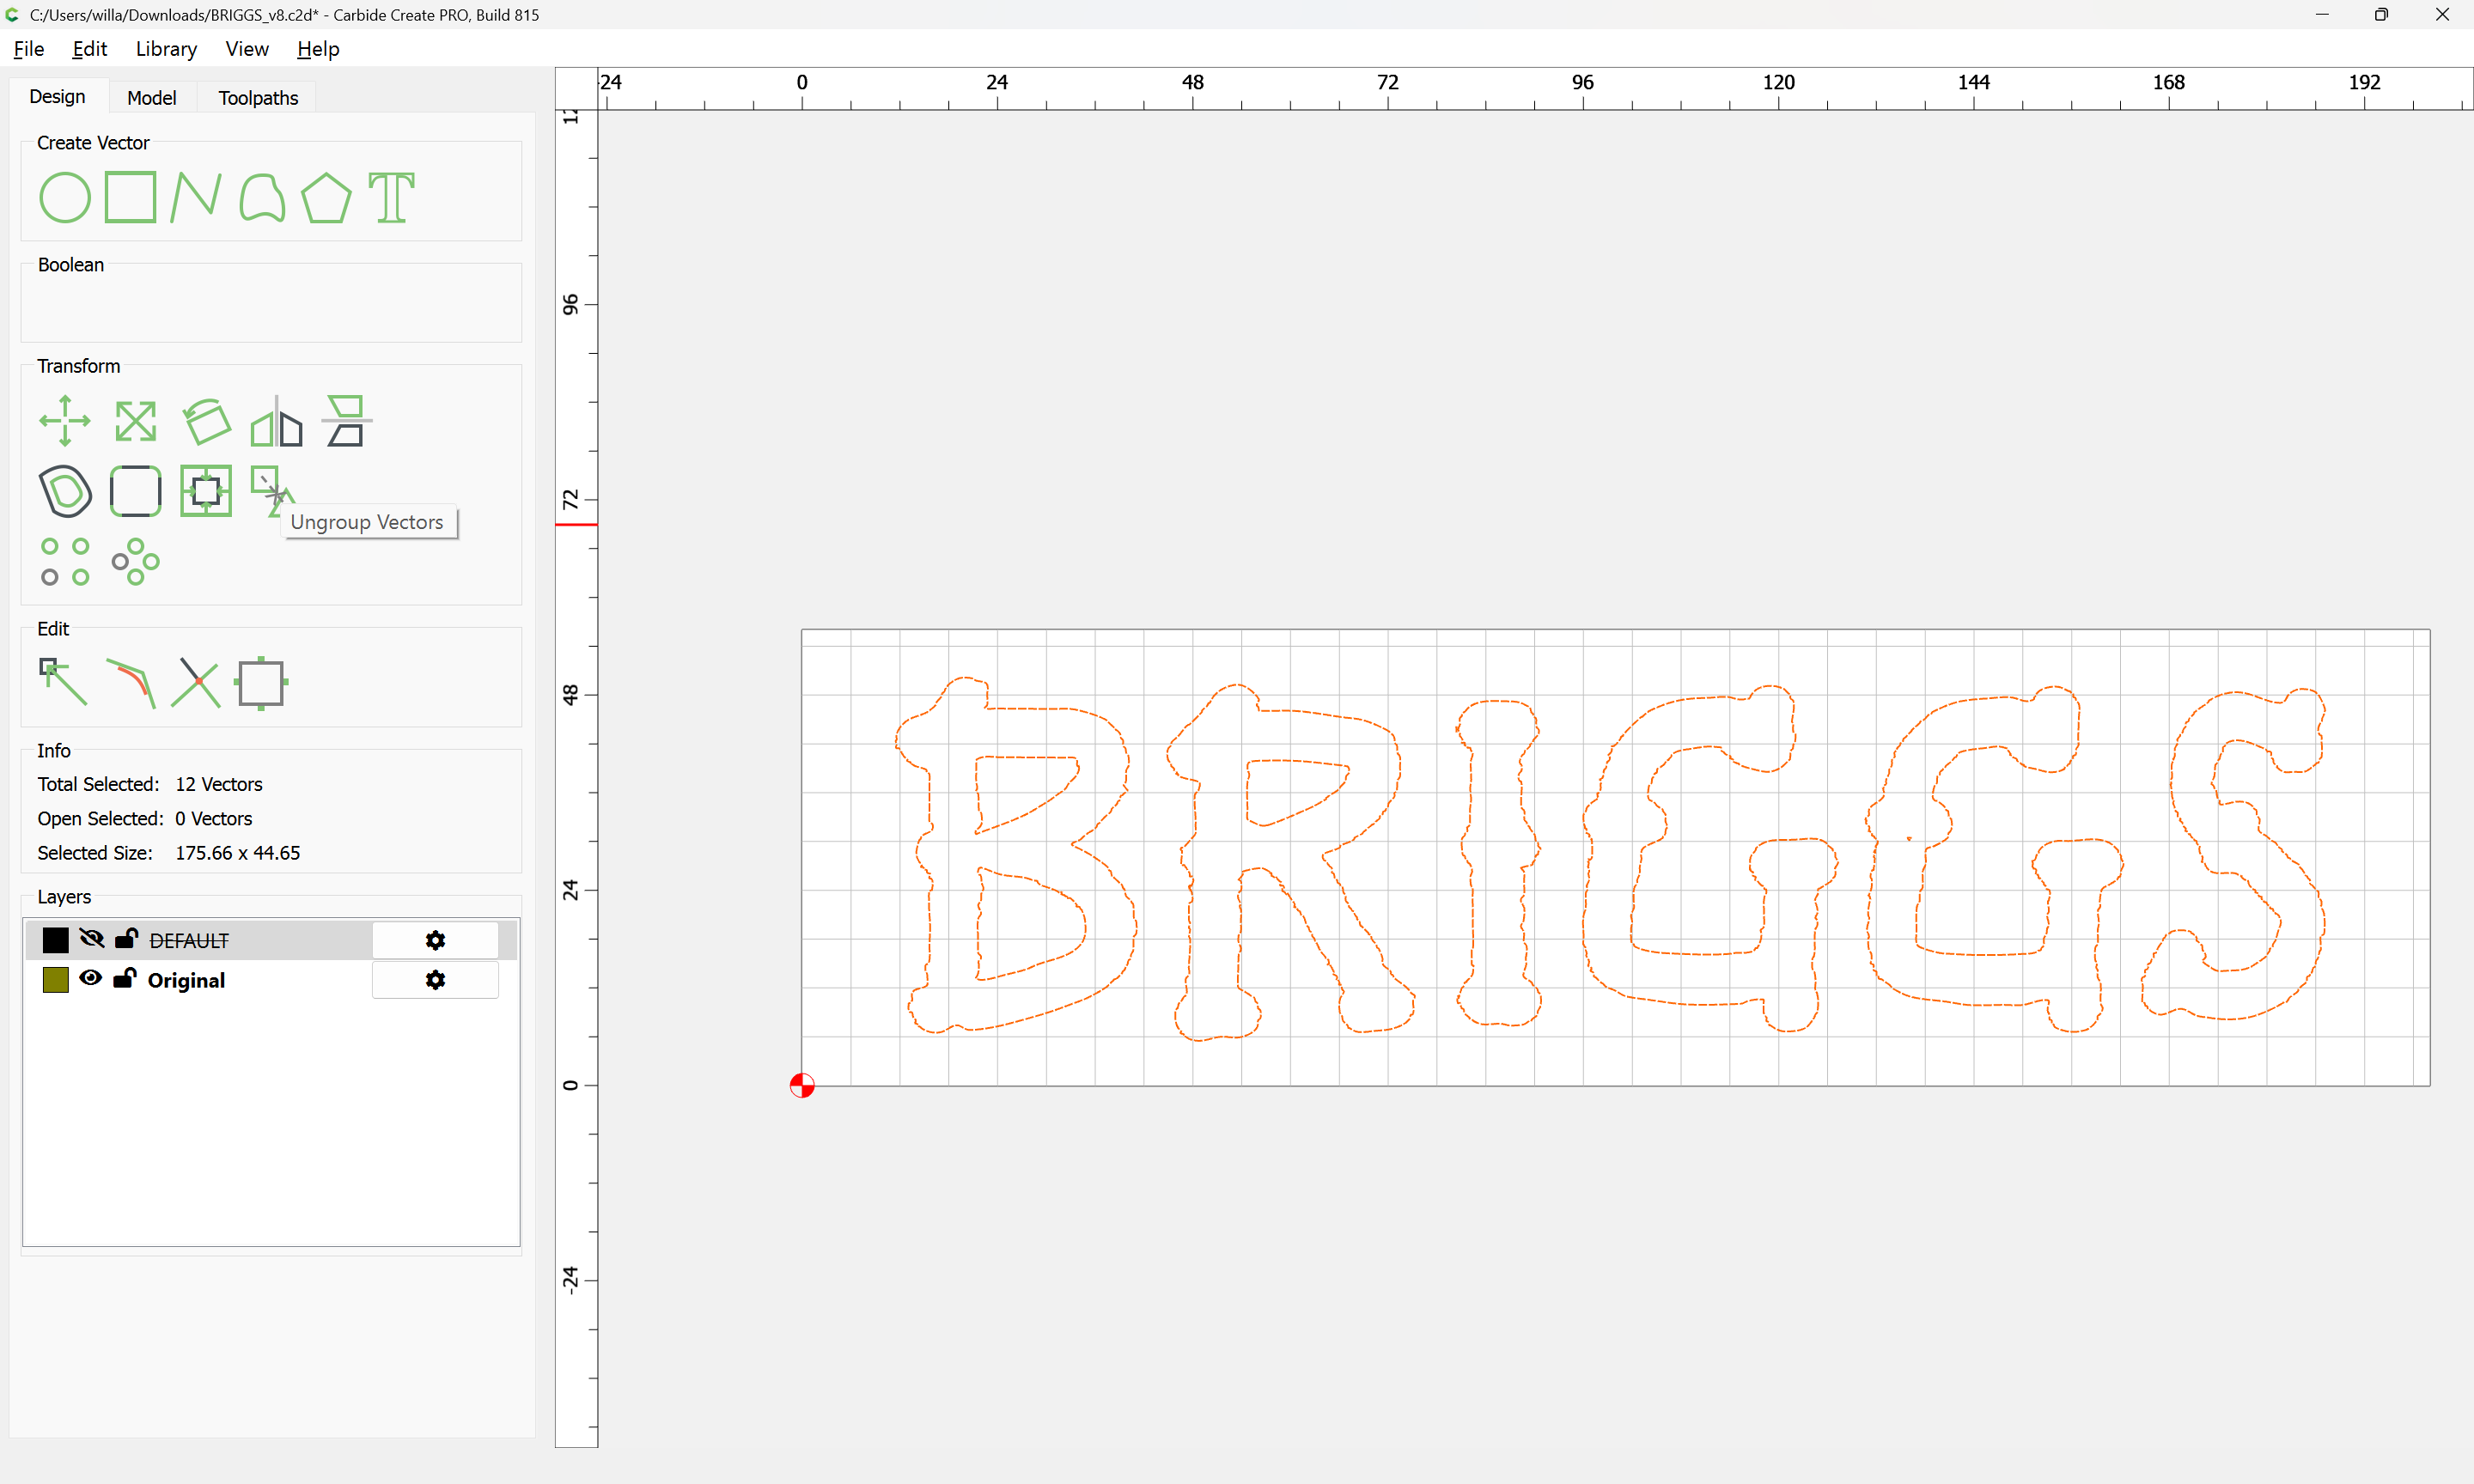
Ungroup and select only the problem part:
and delete it:
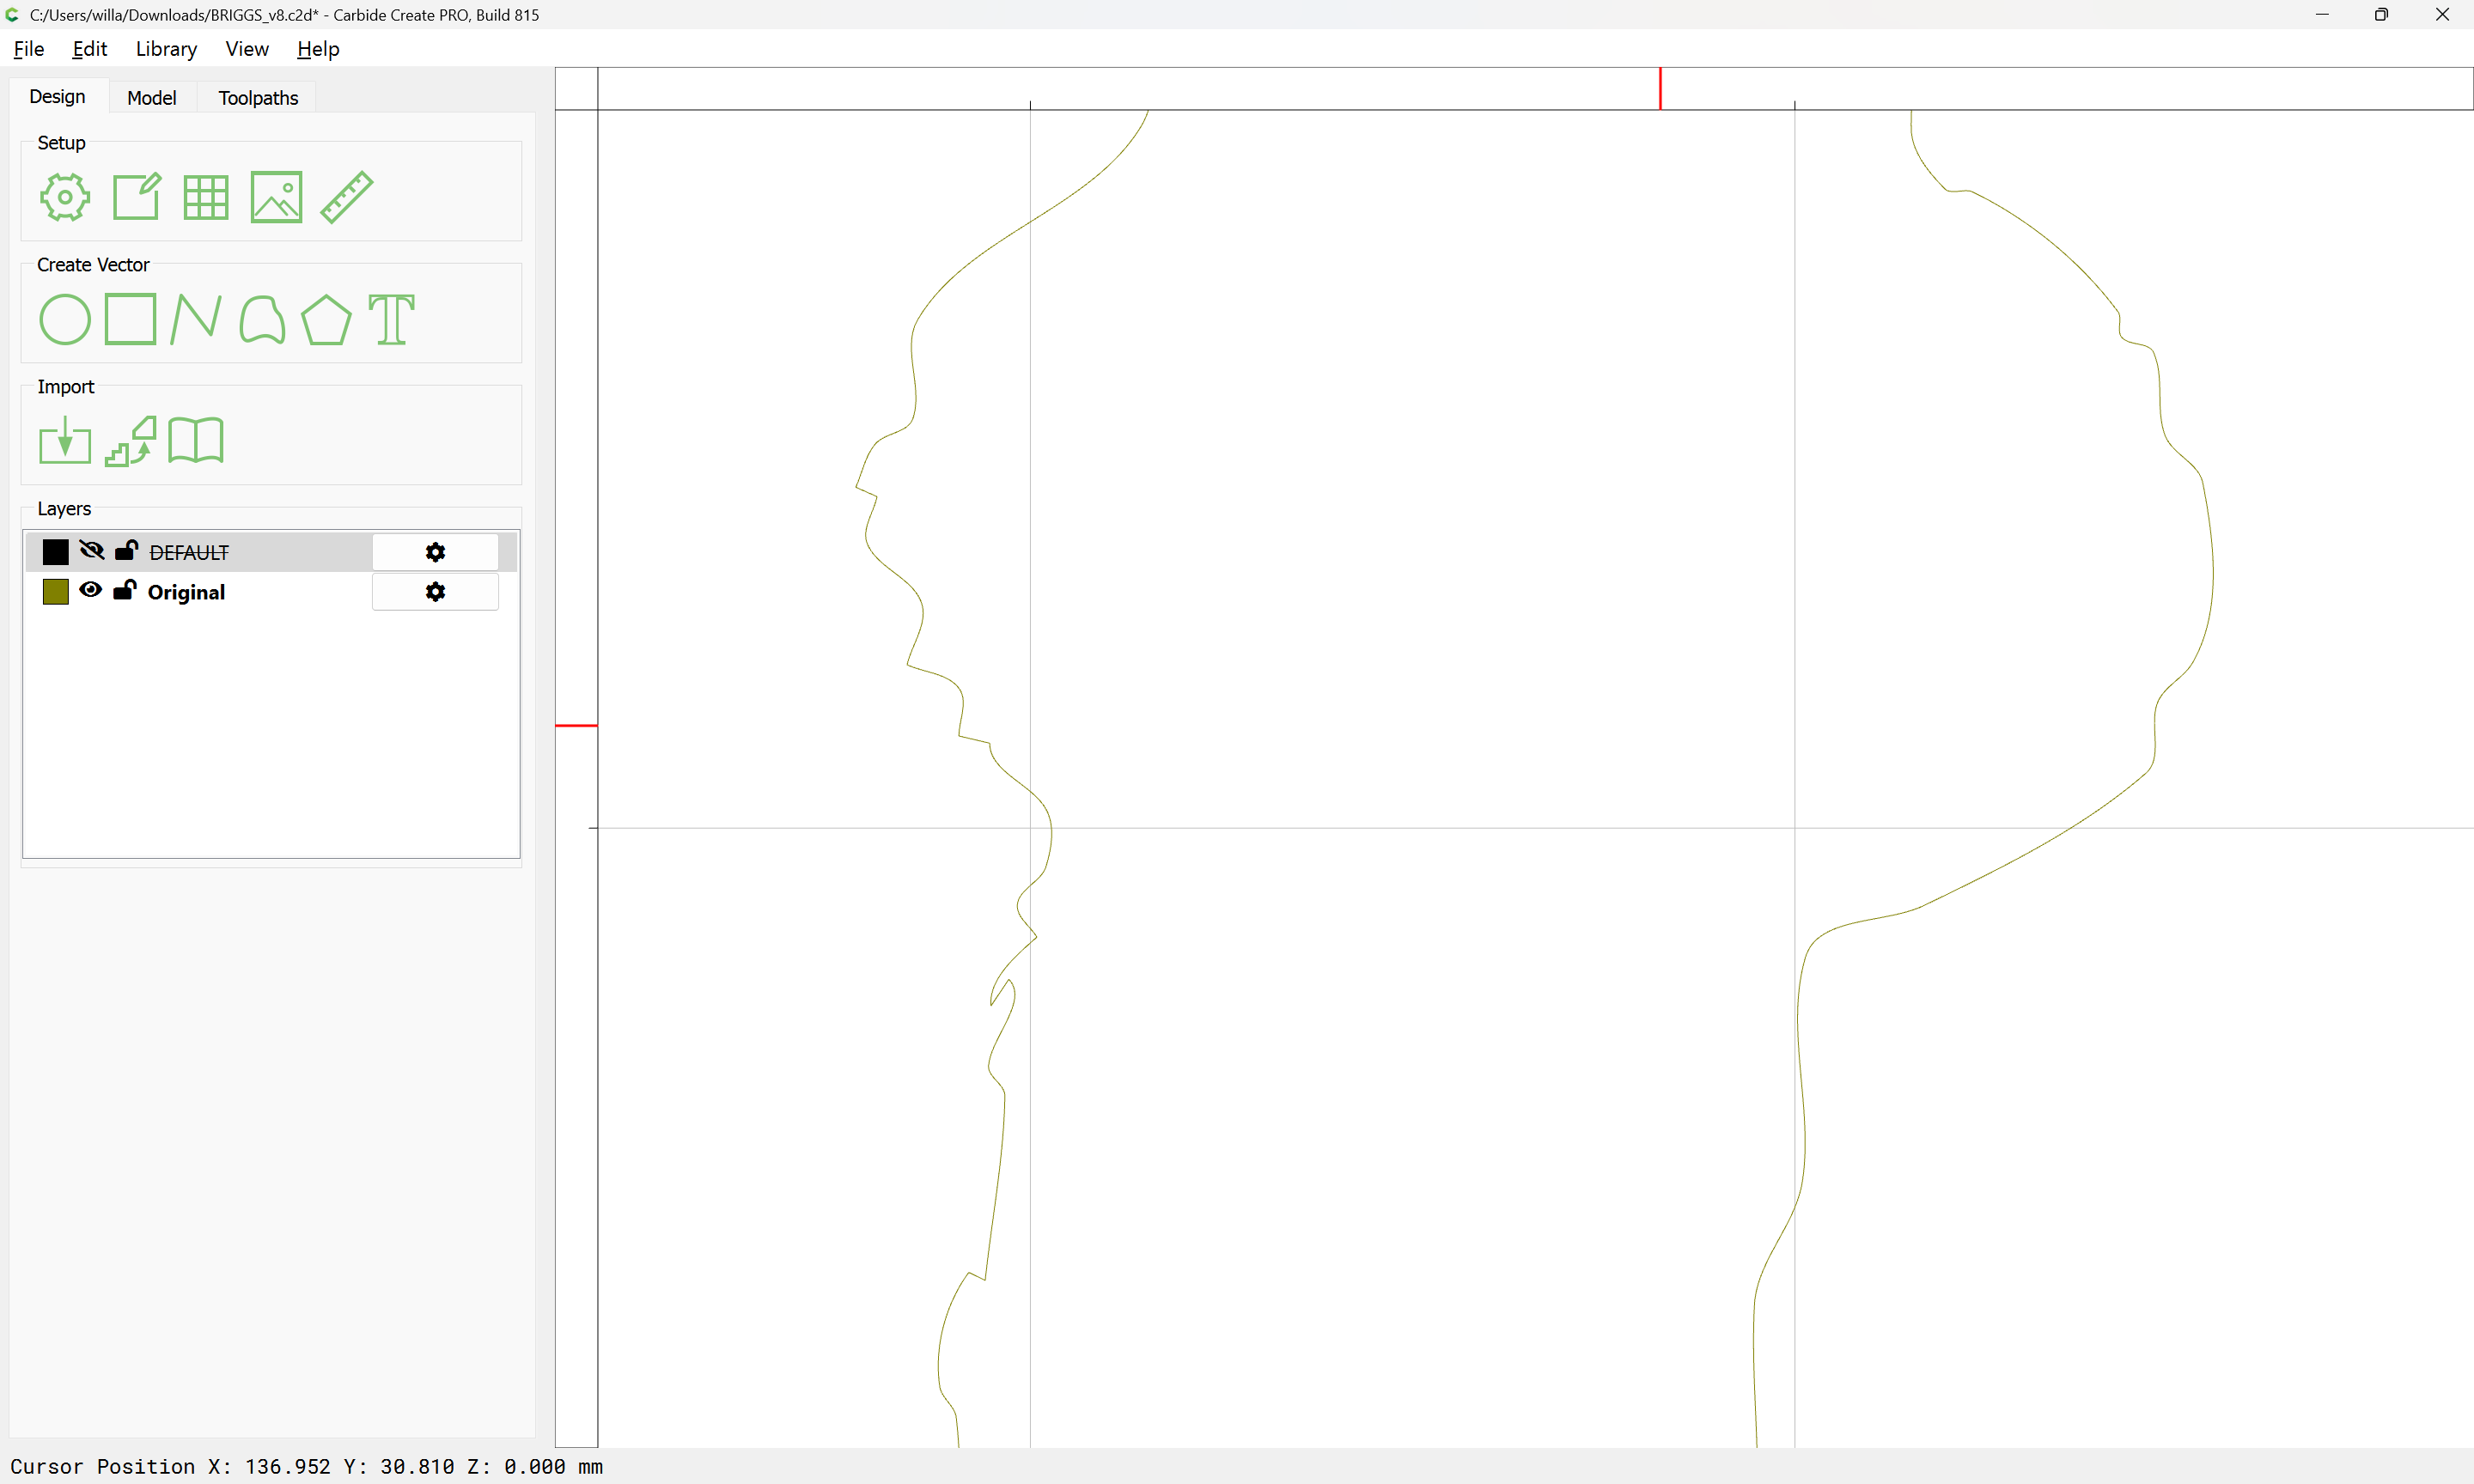
to get:
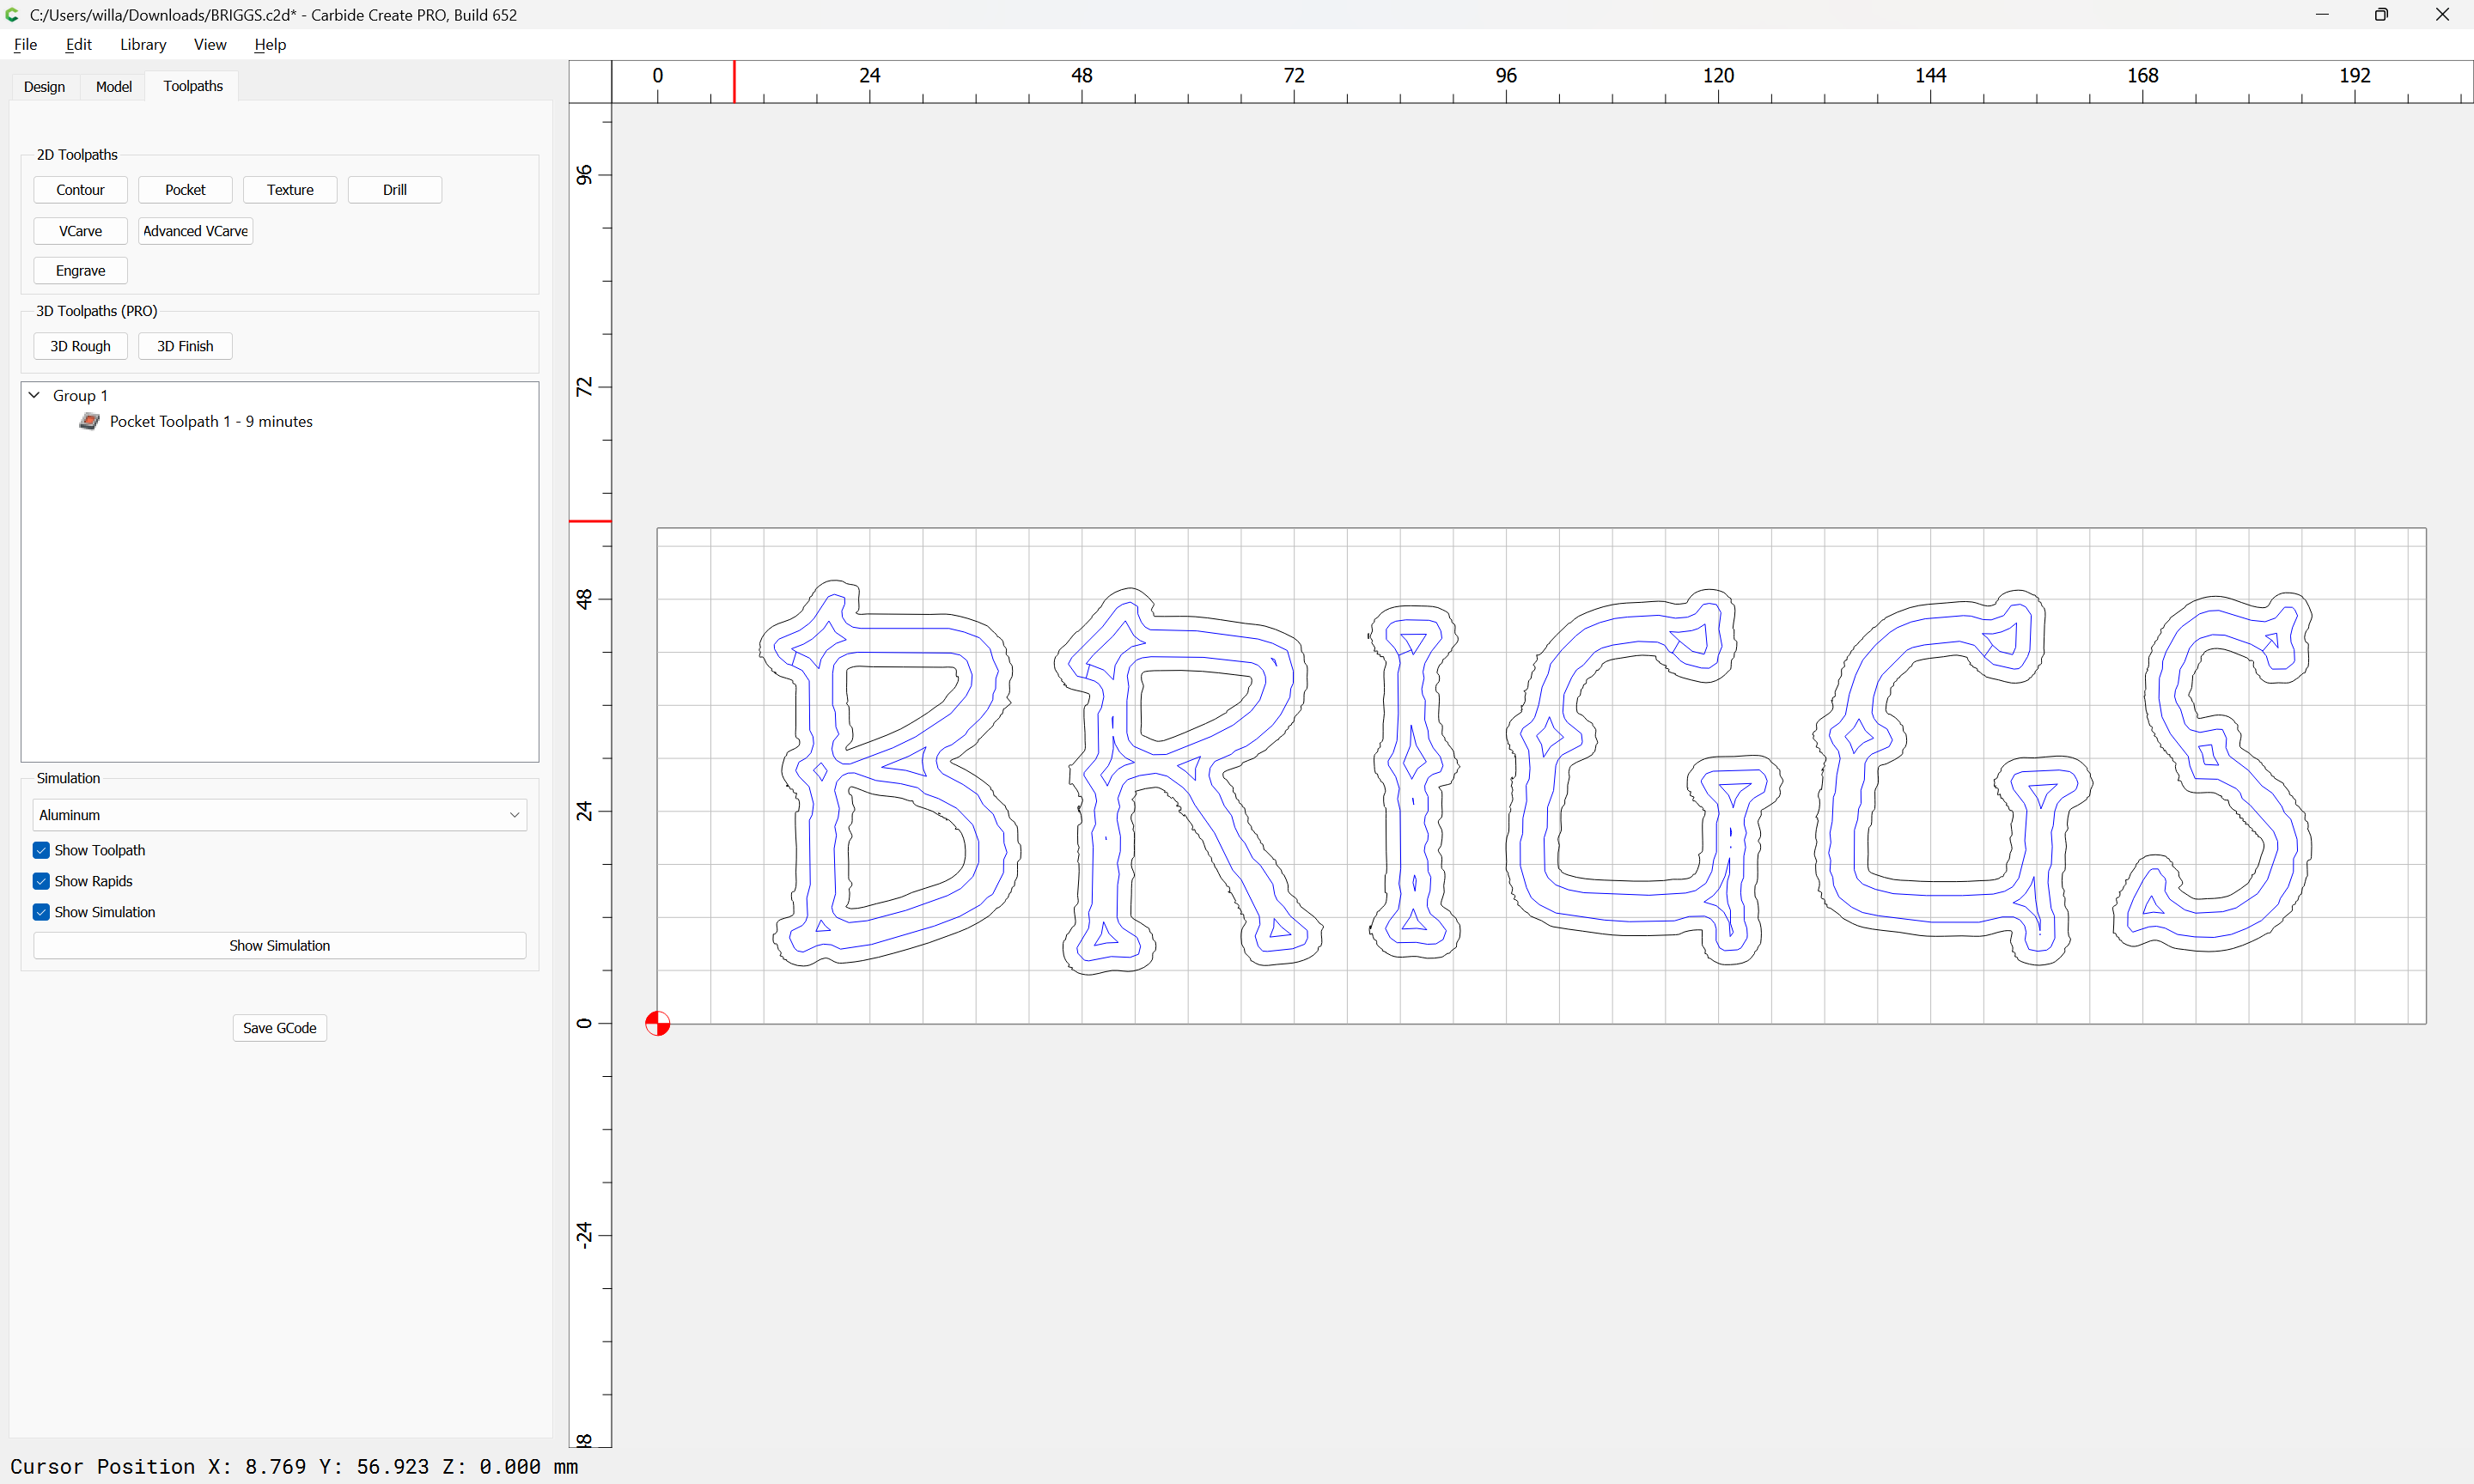
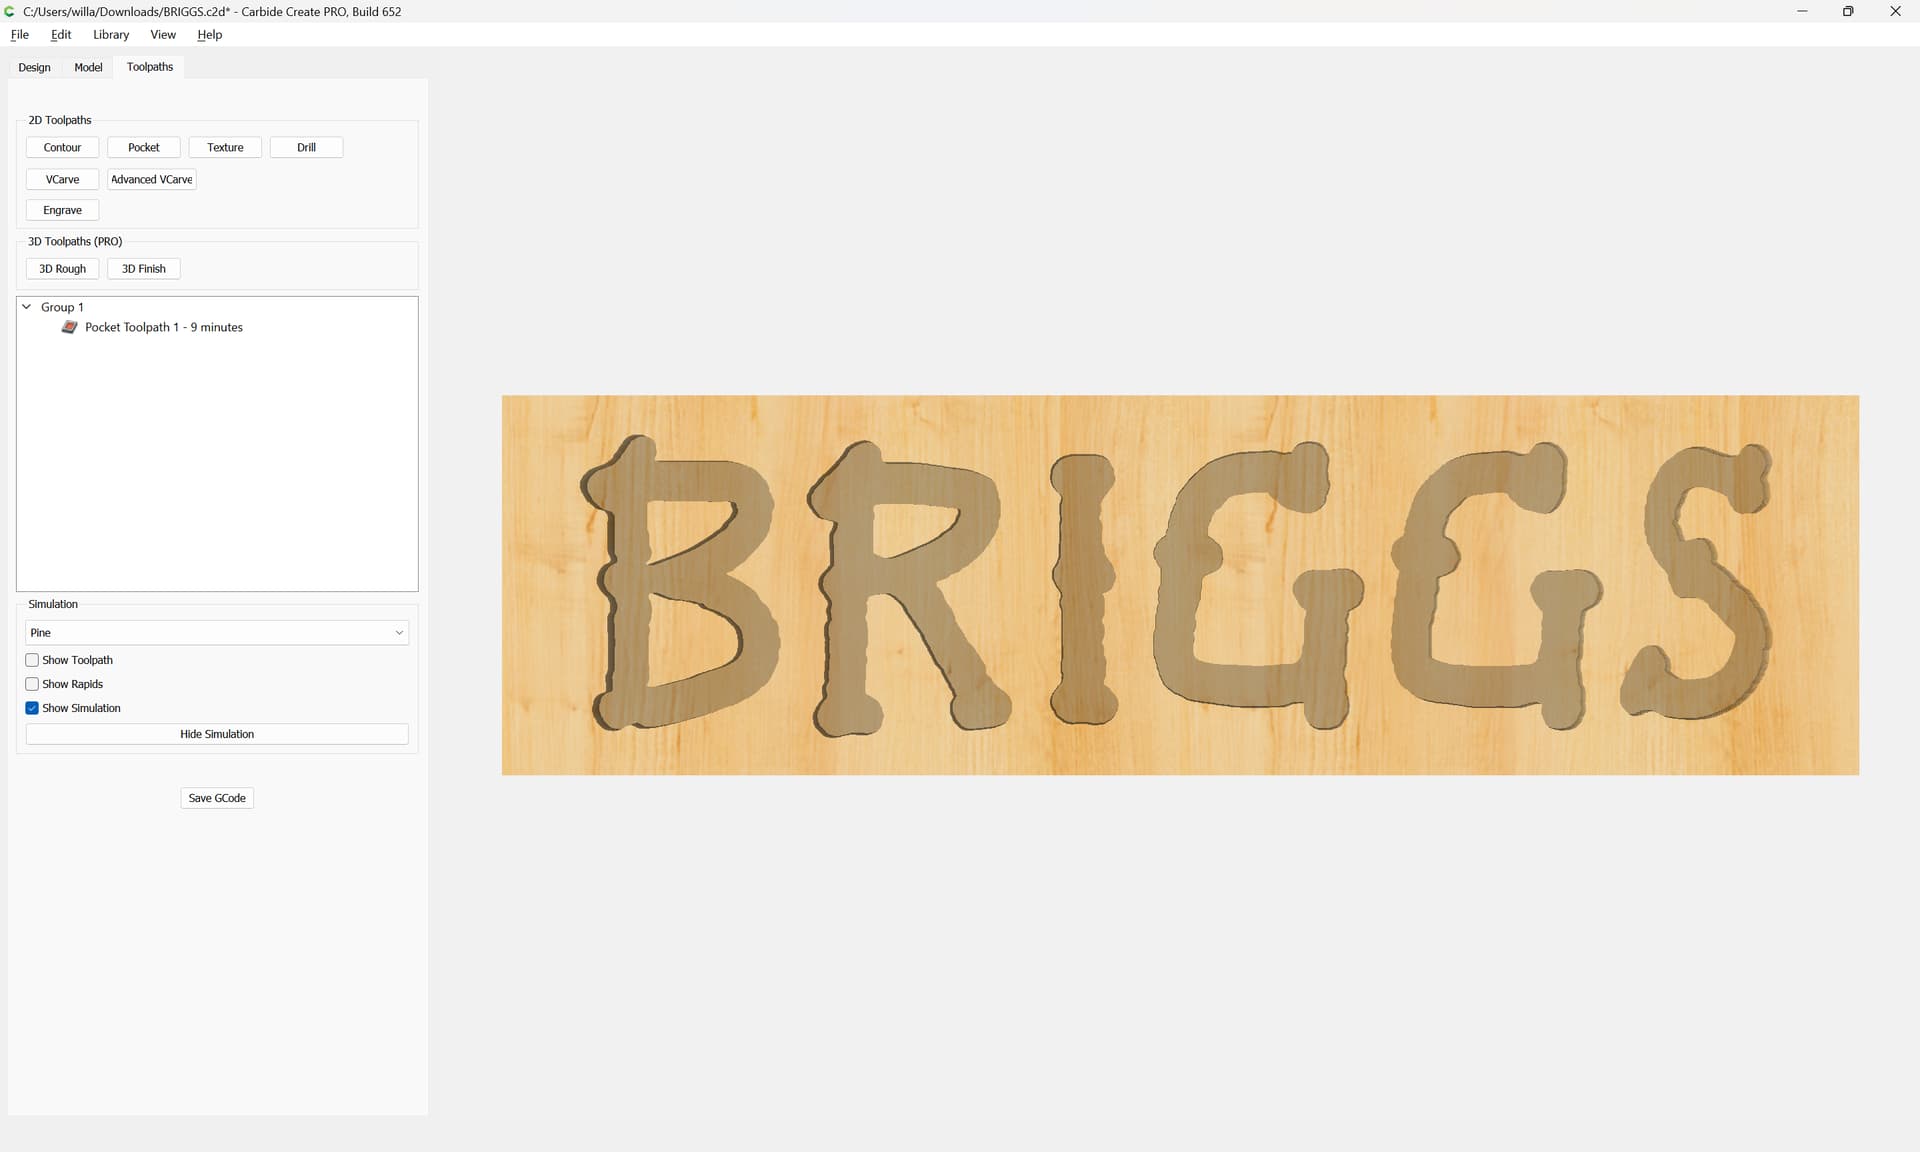
which previews as:
For drawing letterforms see:
Cleaning up a scan is a basic matter of deleting unneeded nodes and re-working only those which are necessary.
That said, this sort of design/lettering is easily done in a Vector drawing tool which will create outlines from a path, or one could do it directly in Carbide Create using No Offset Contour toolpaths (so long as one wasn’t cutting too deeply):
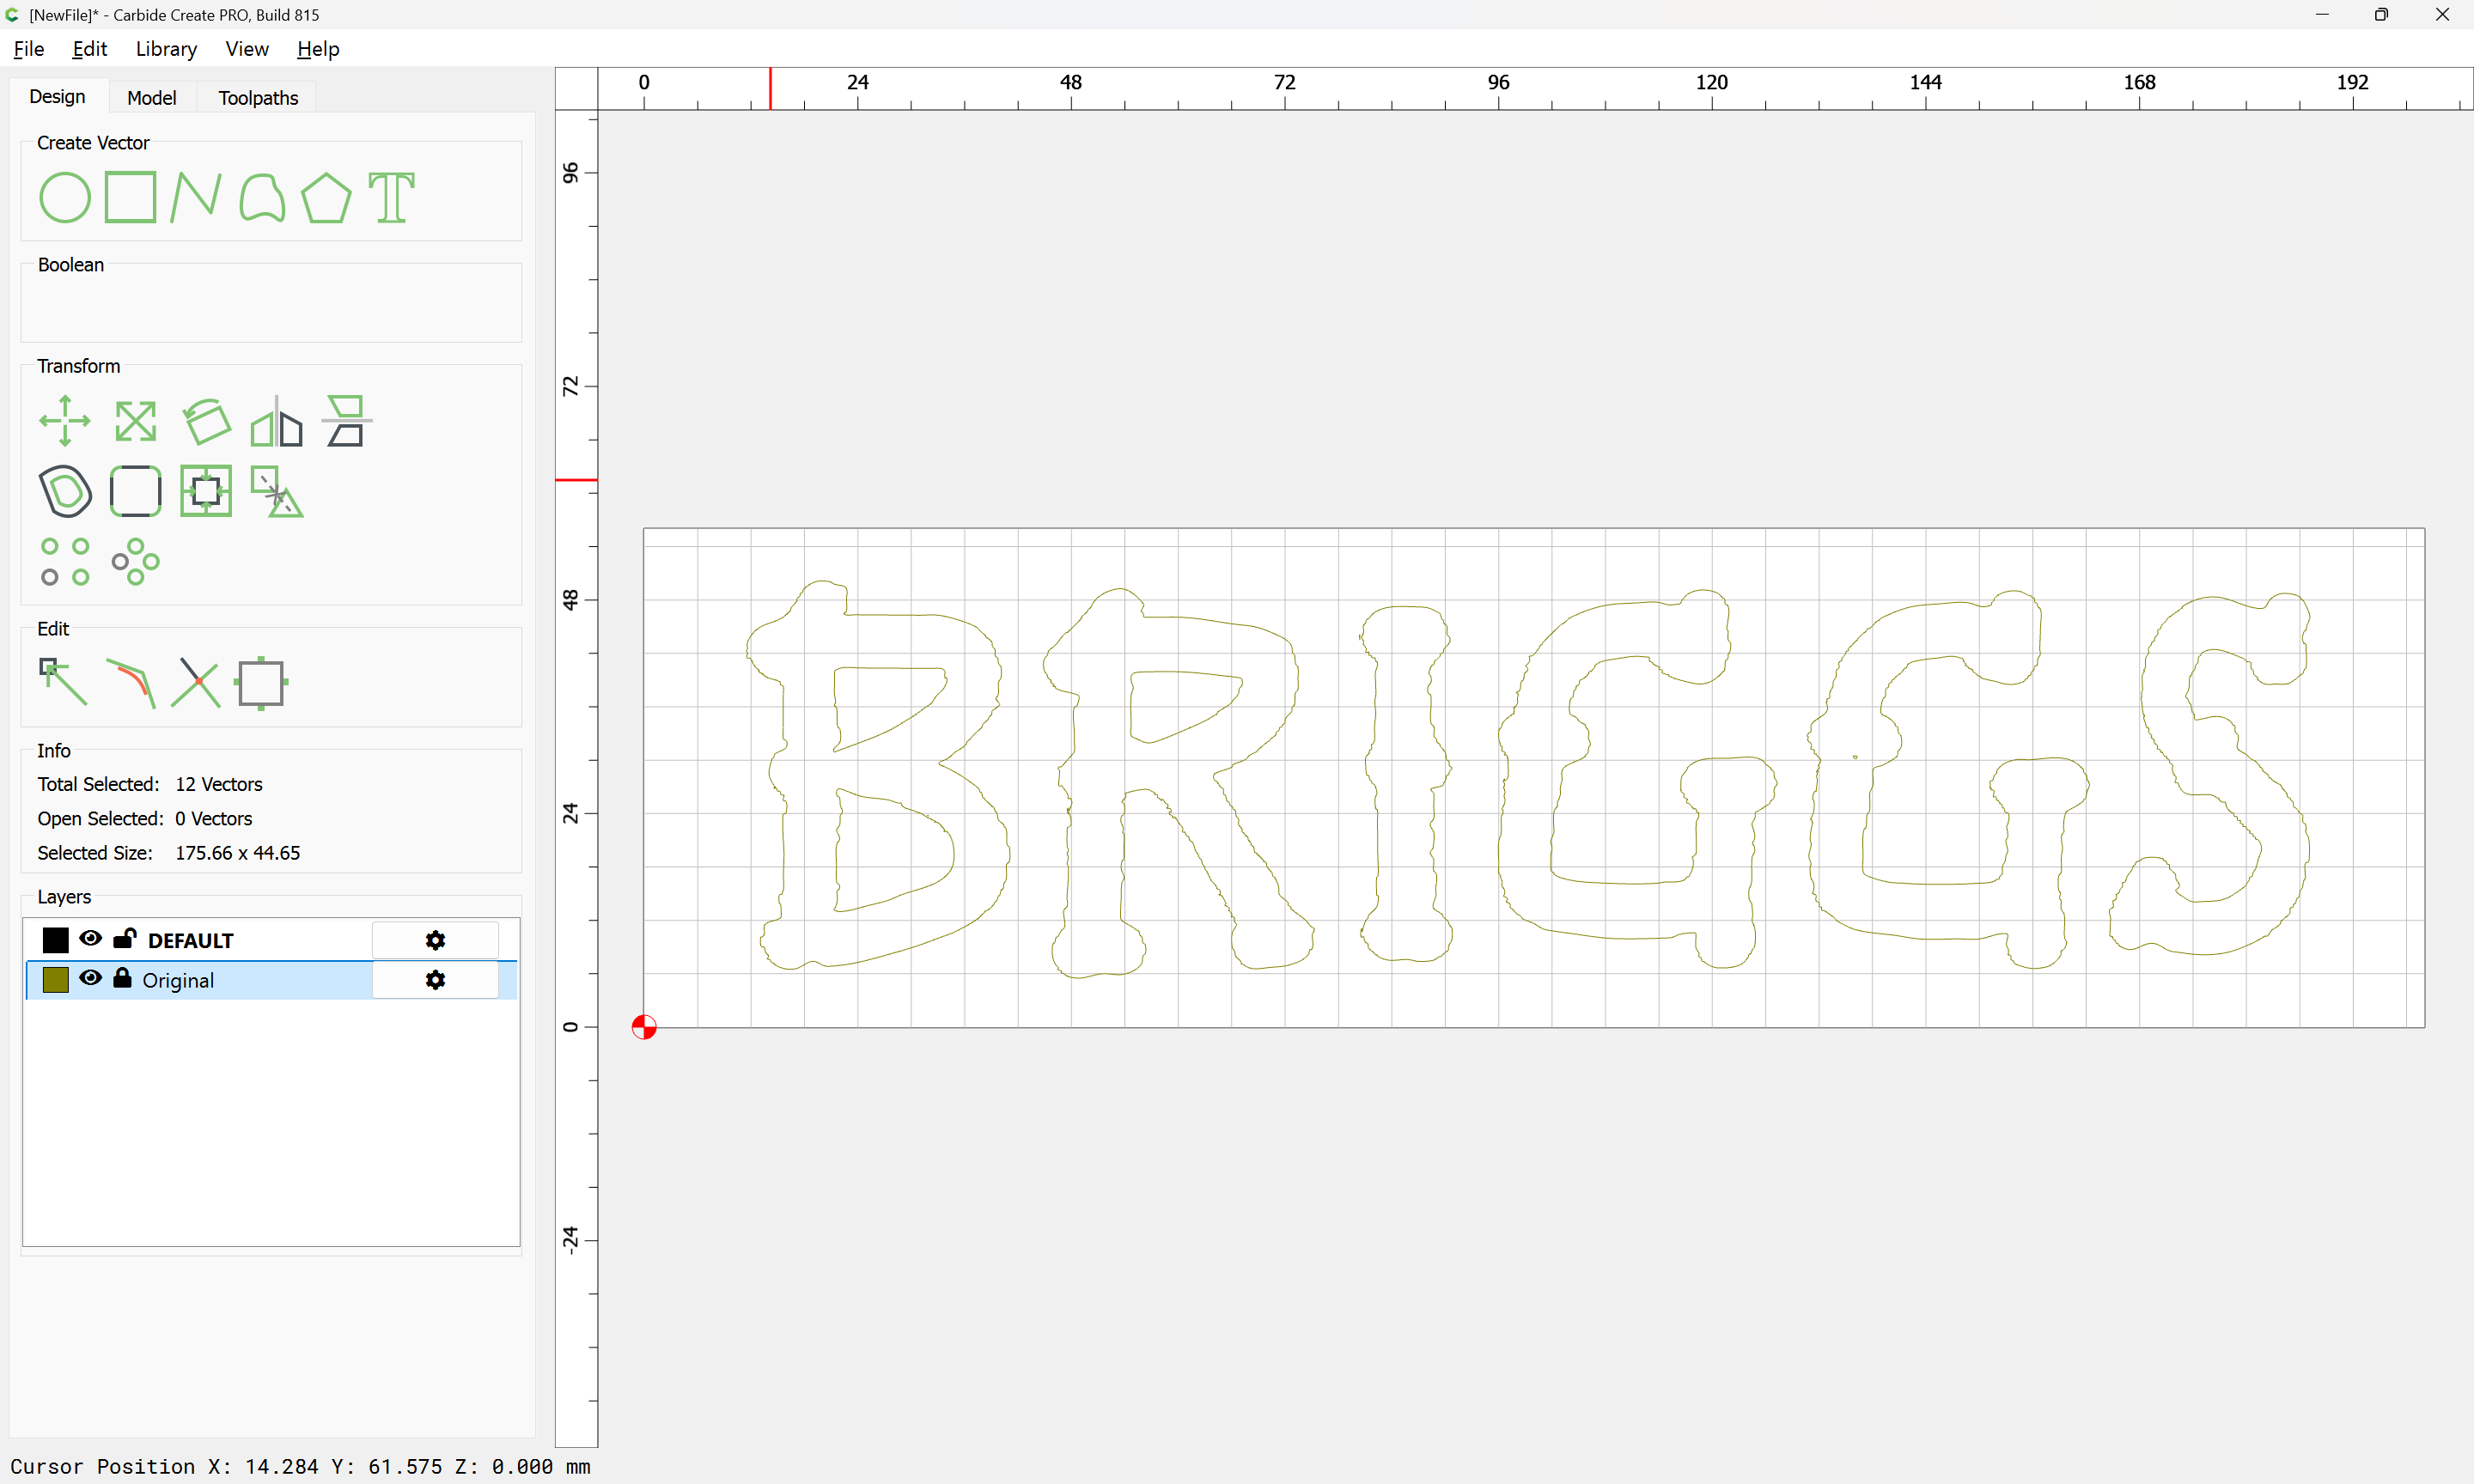
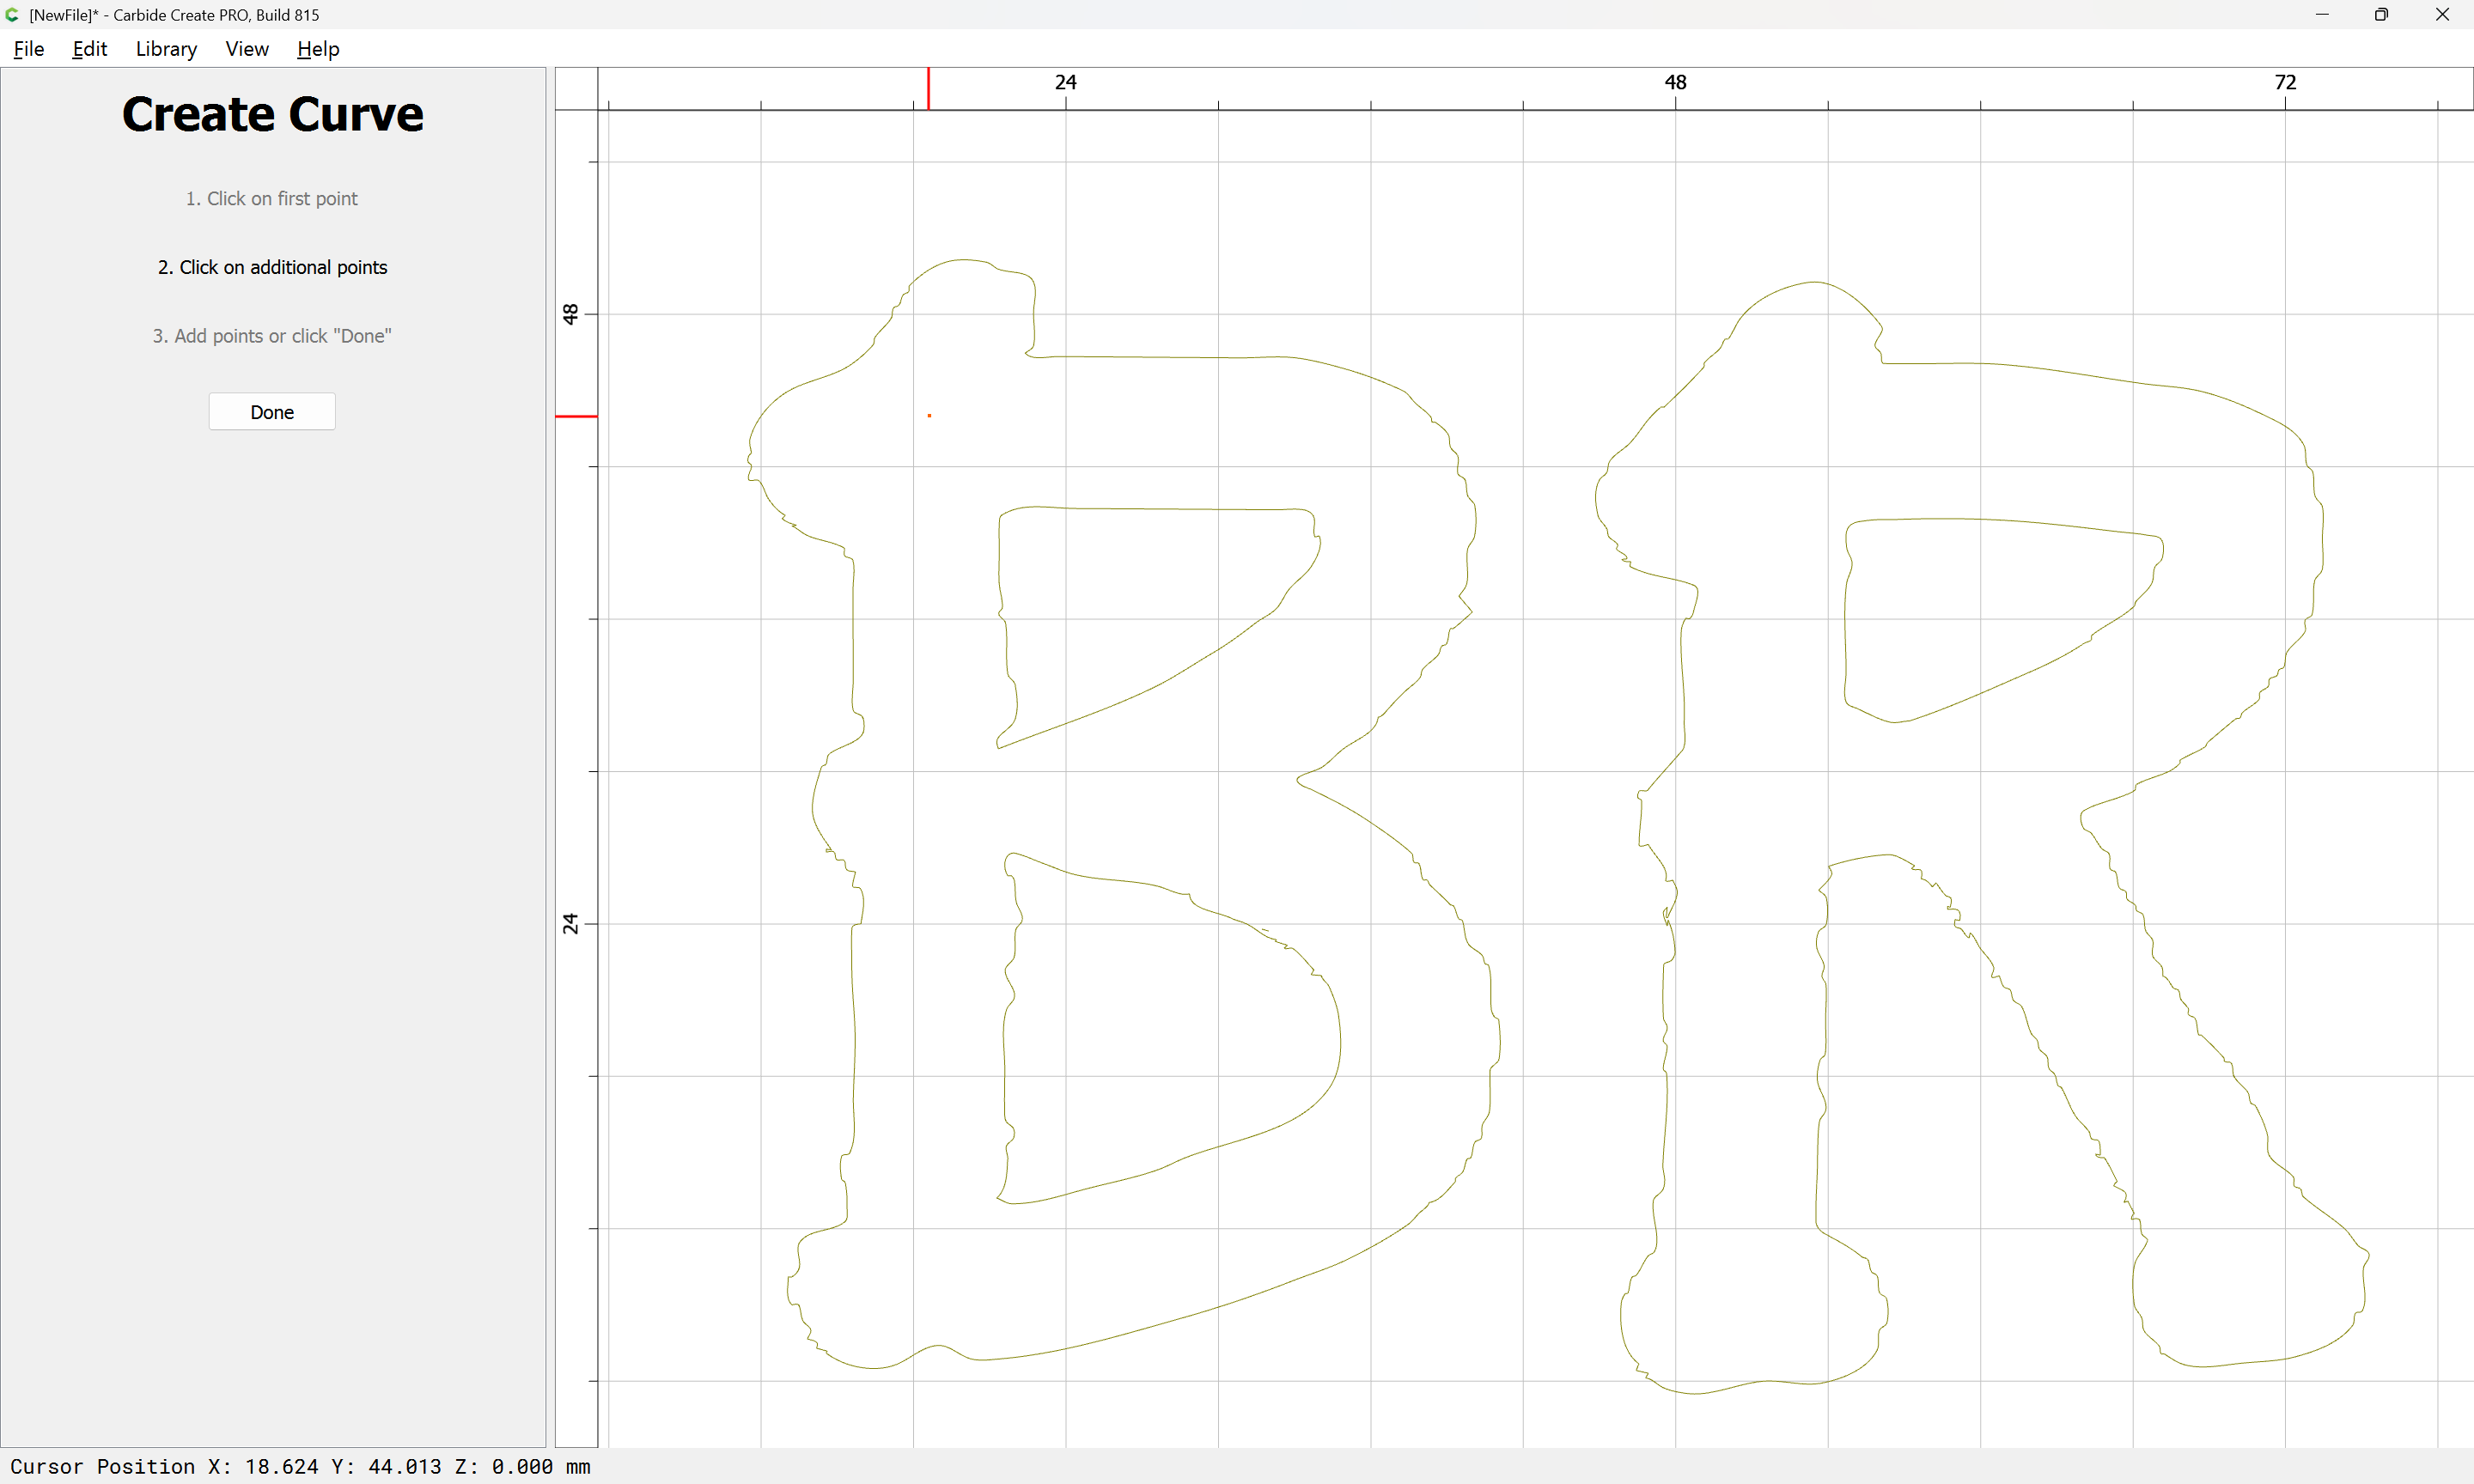
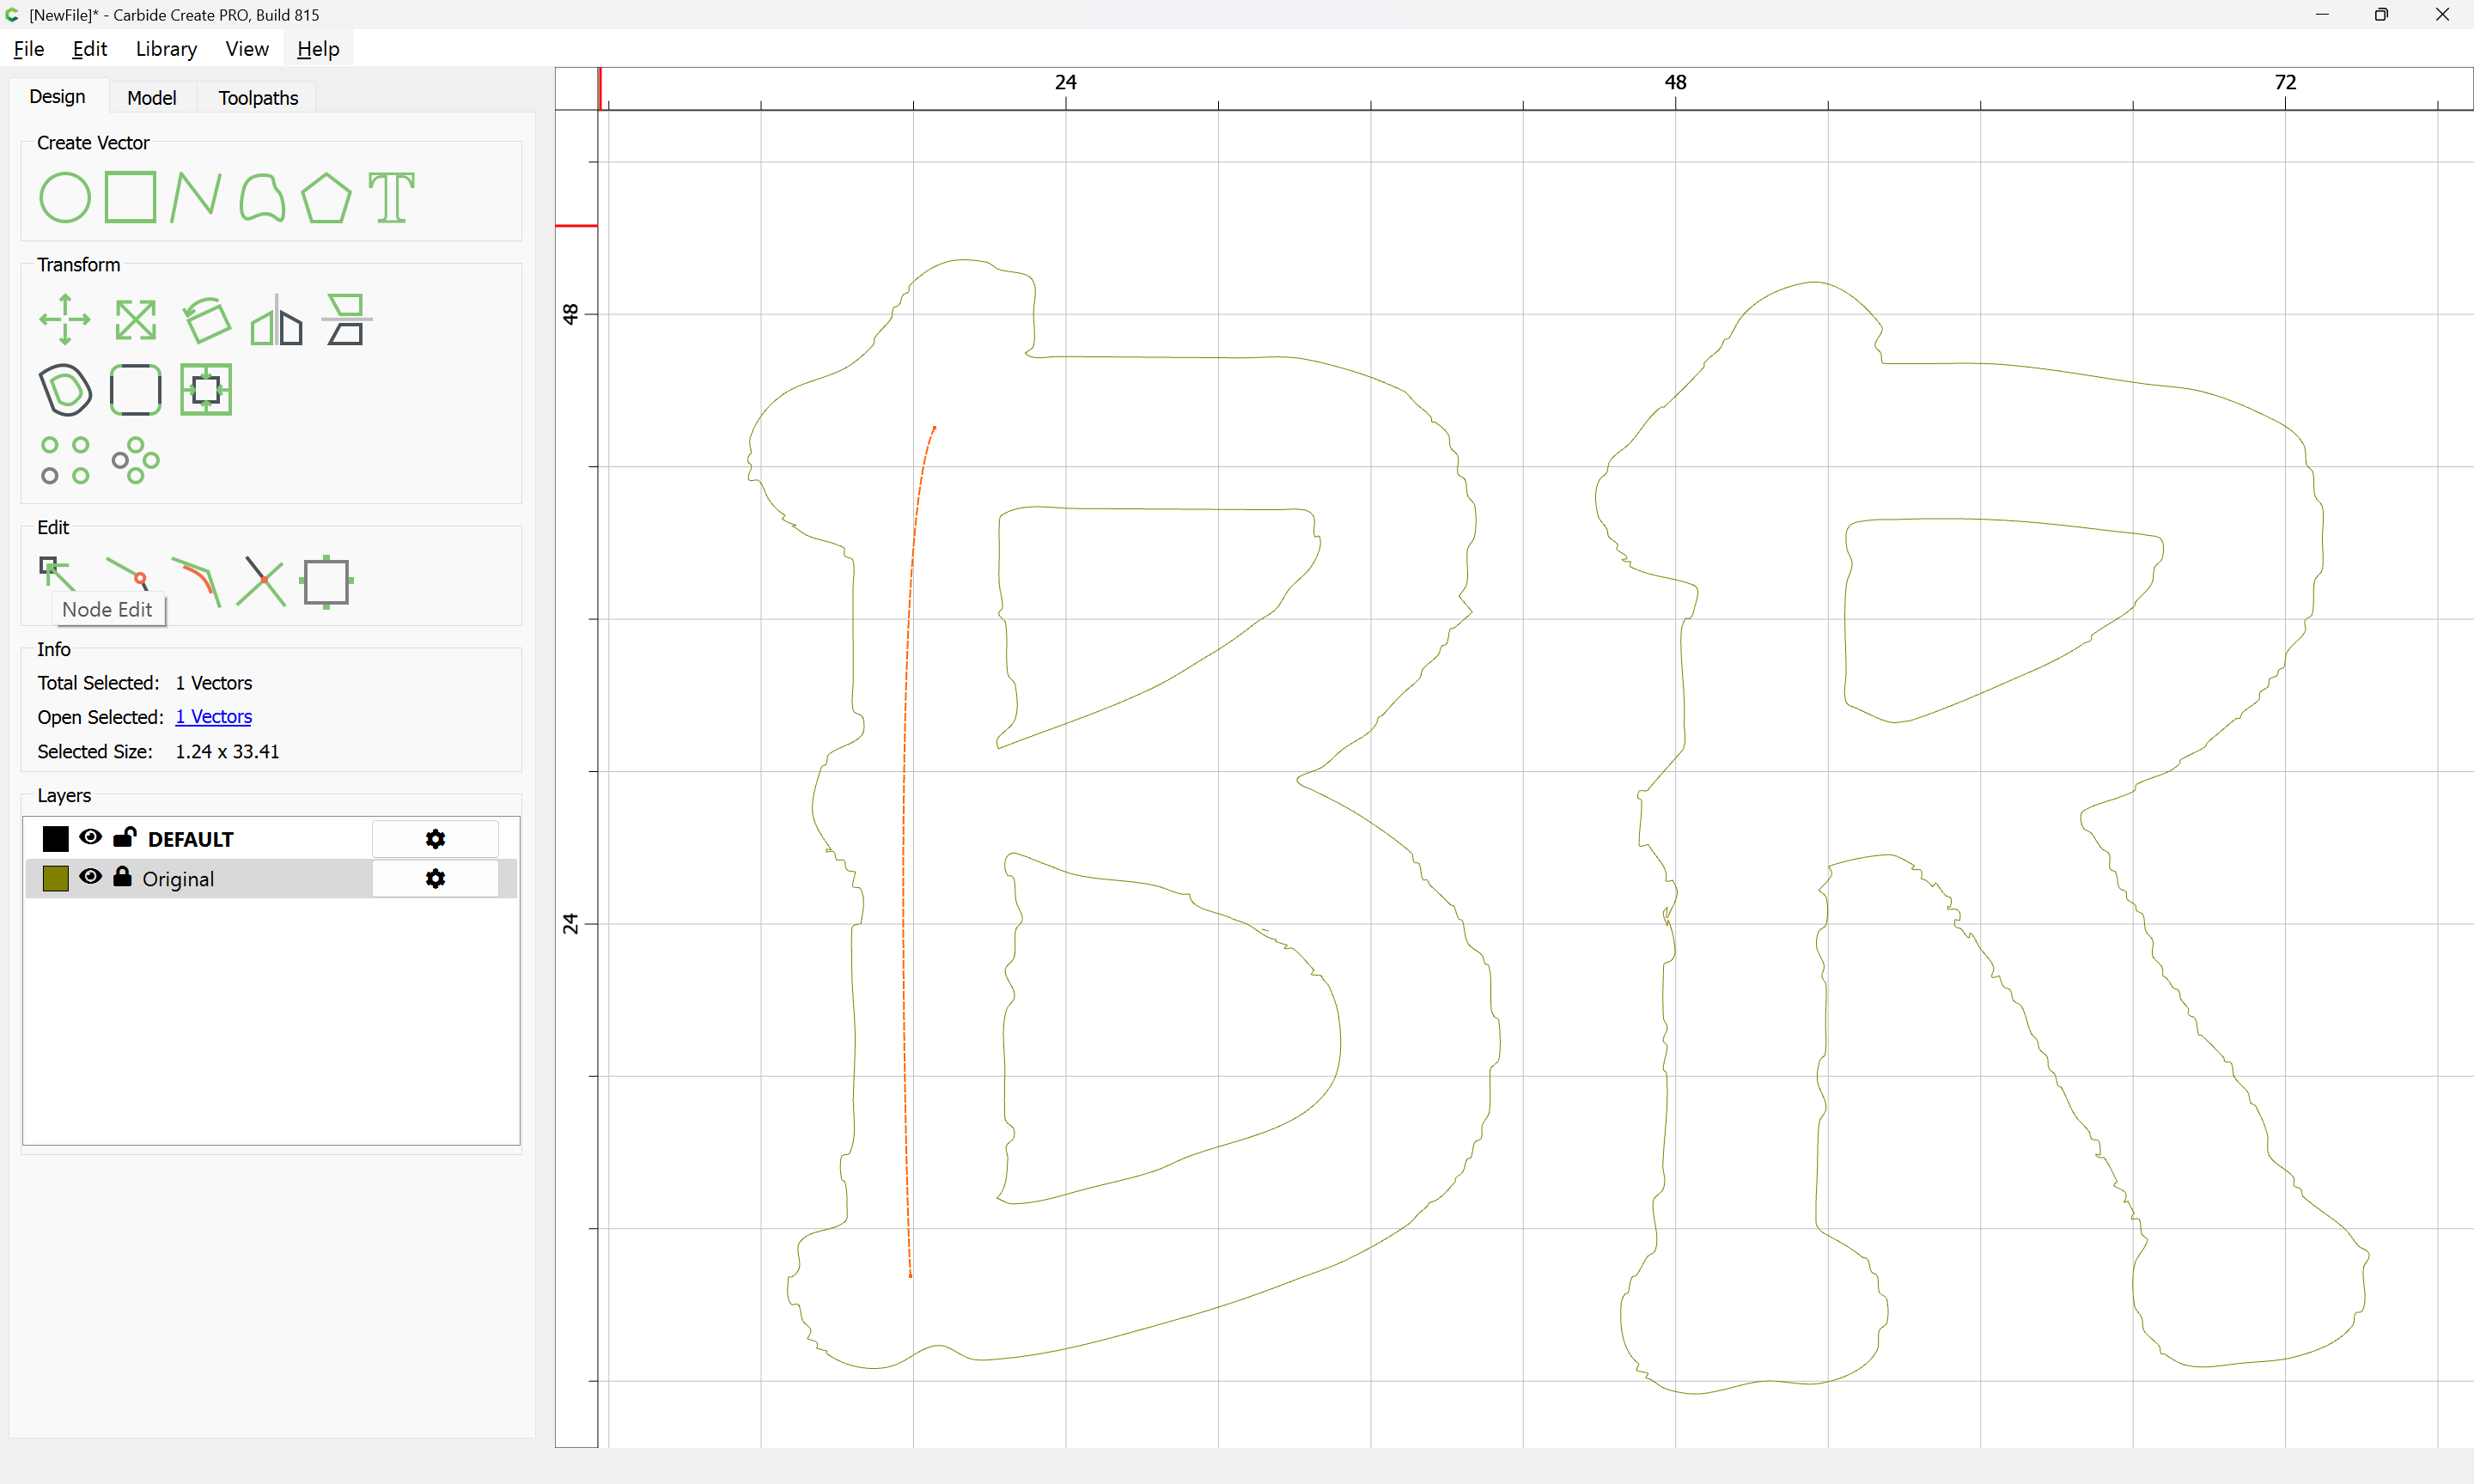
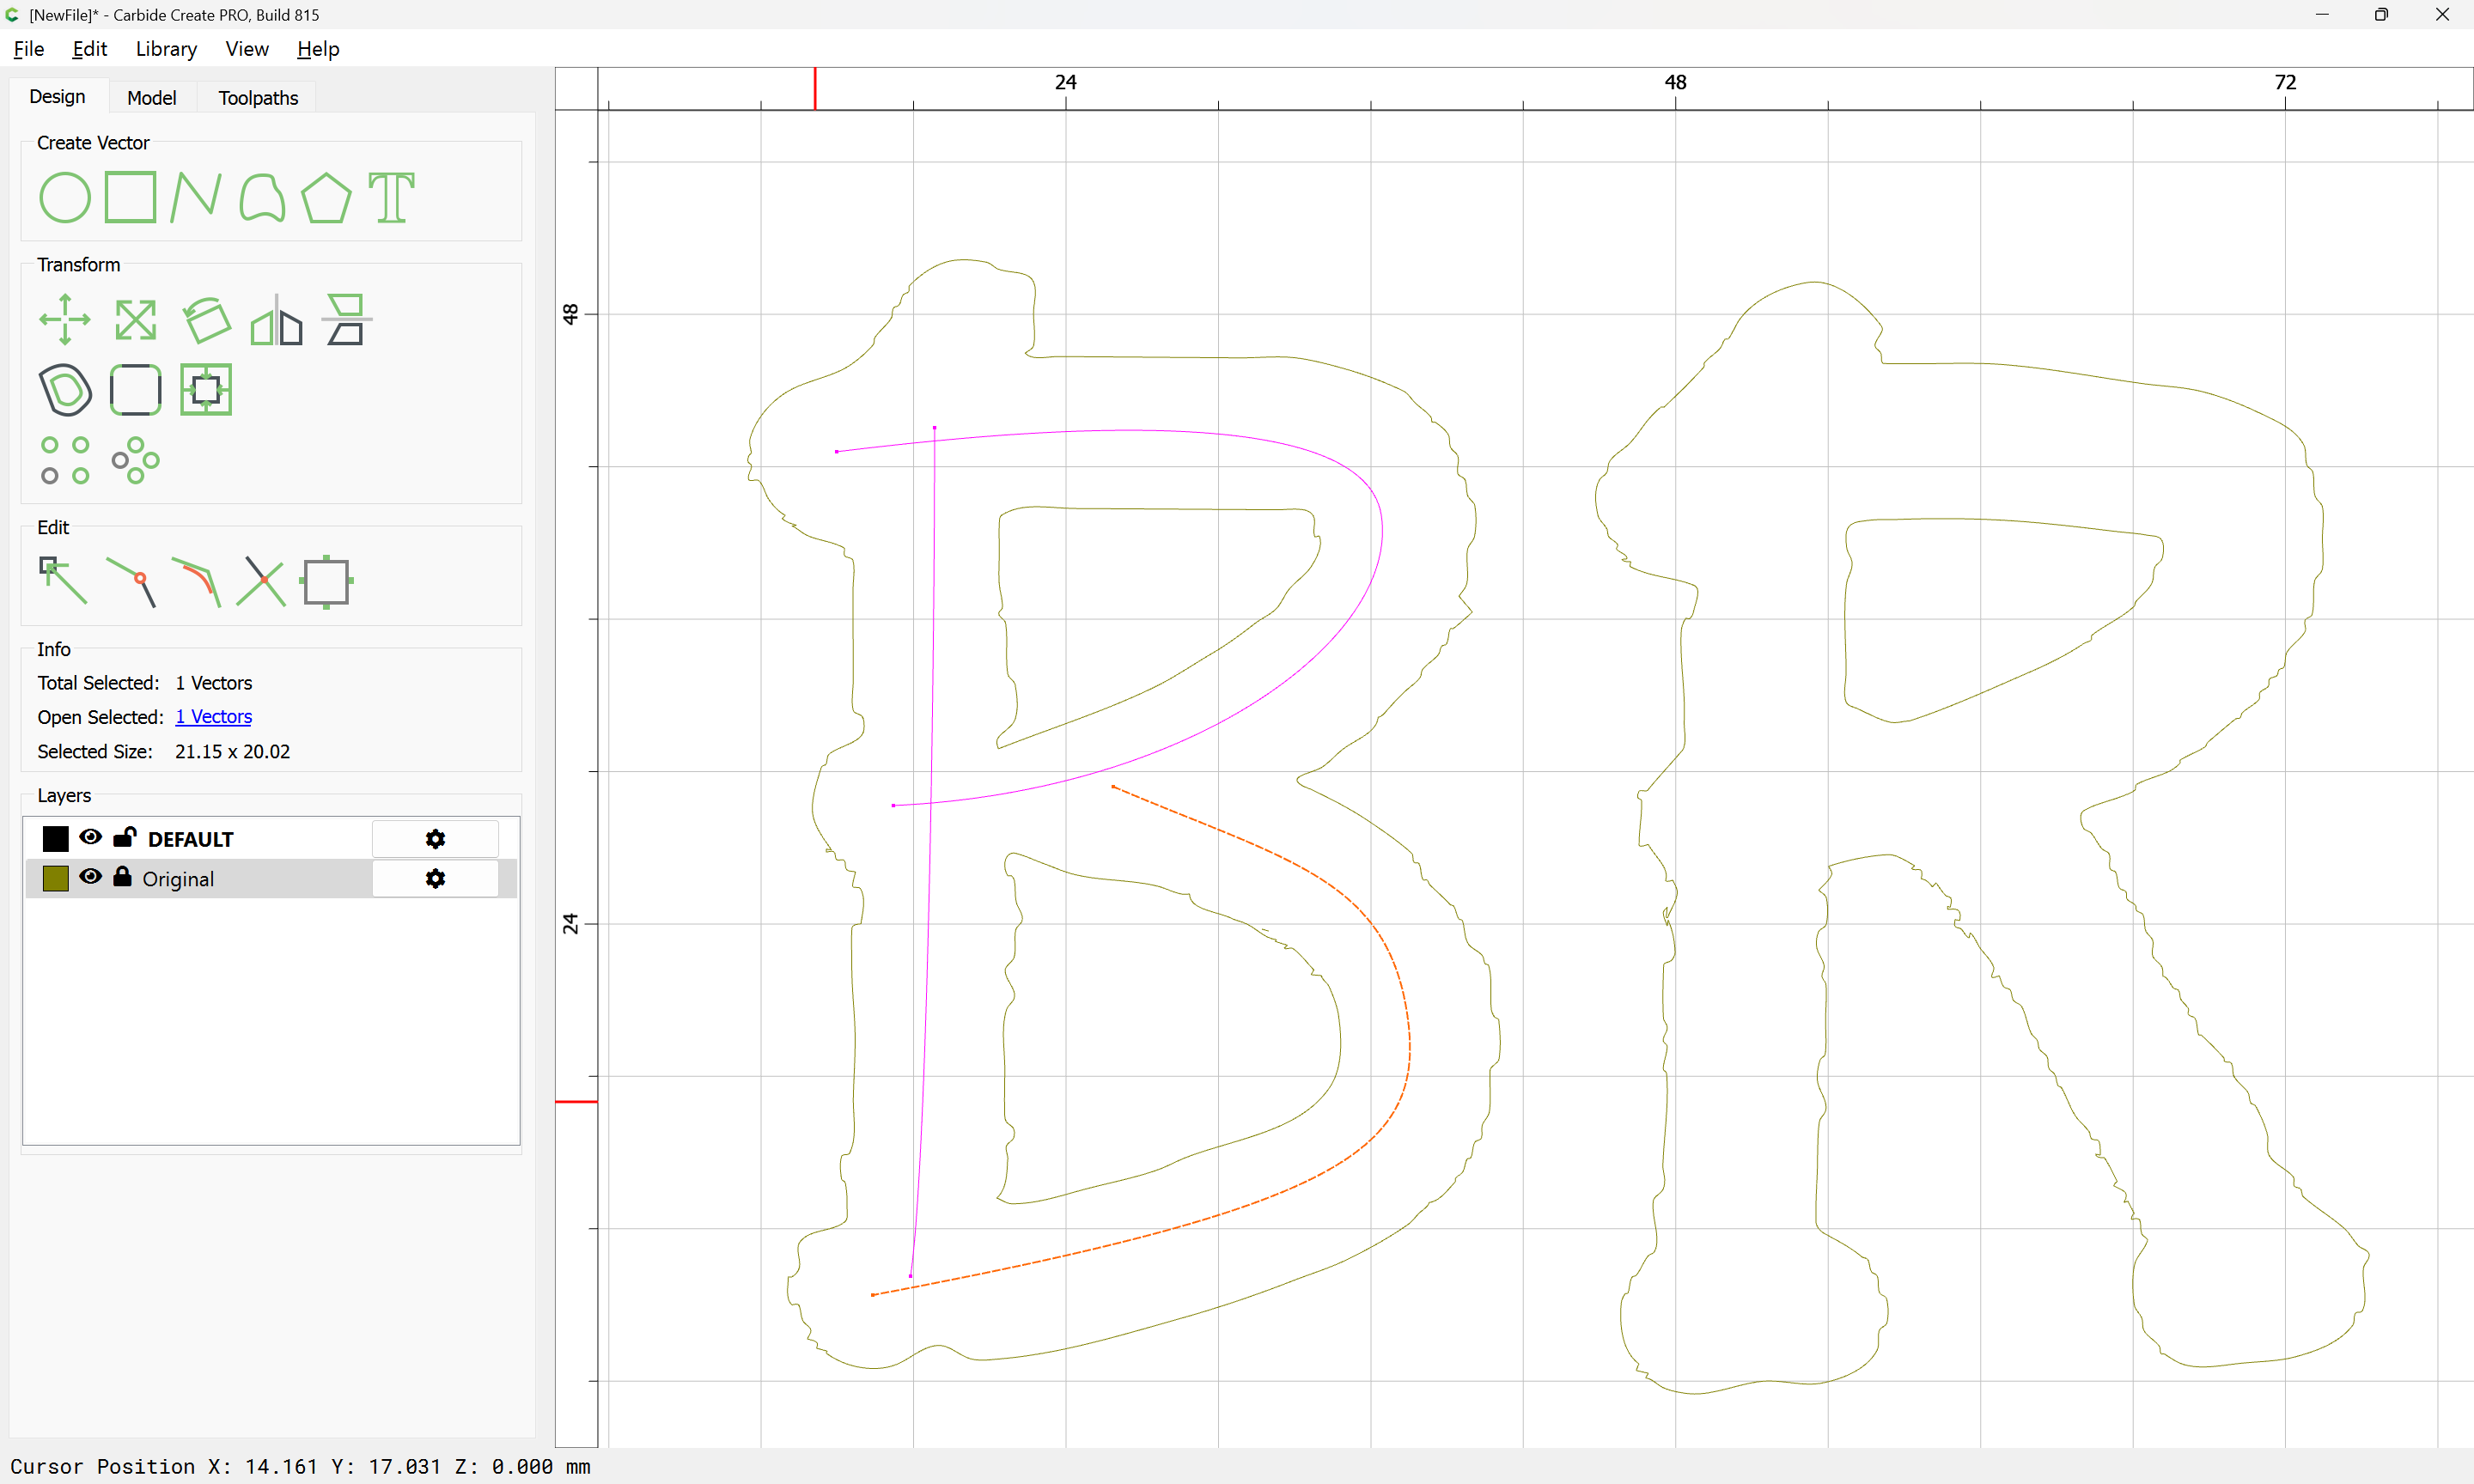
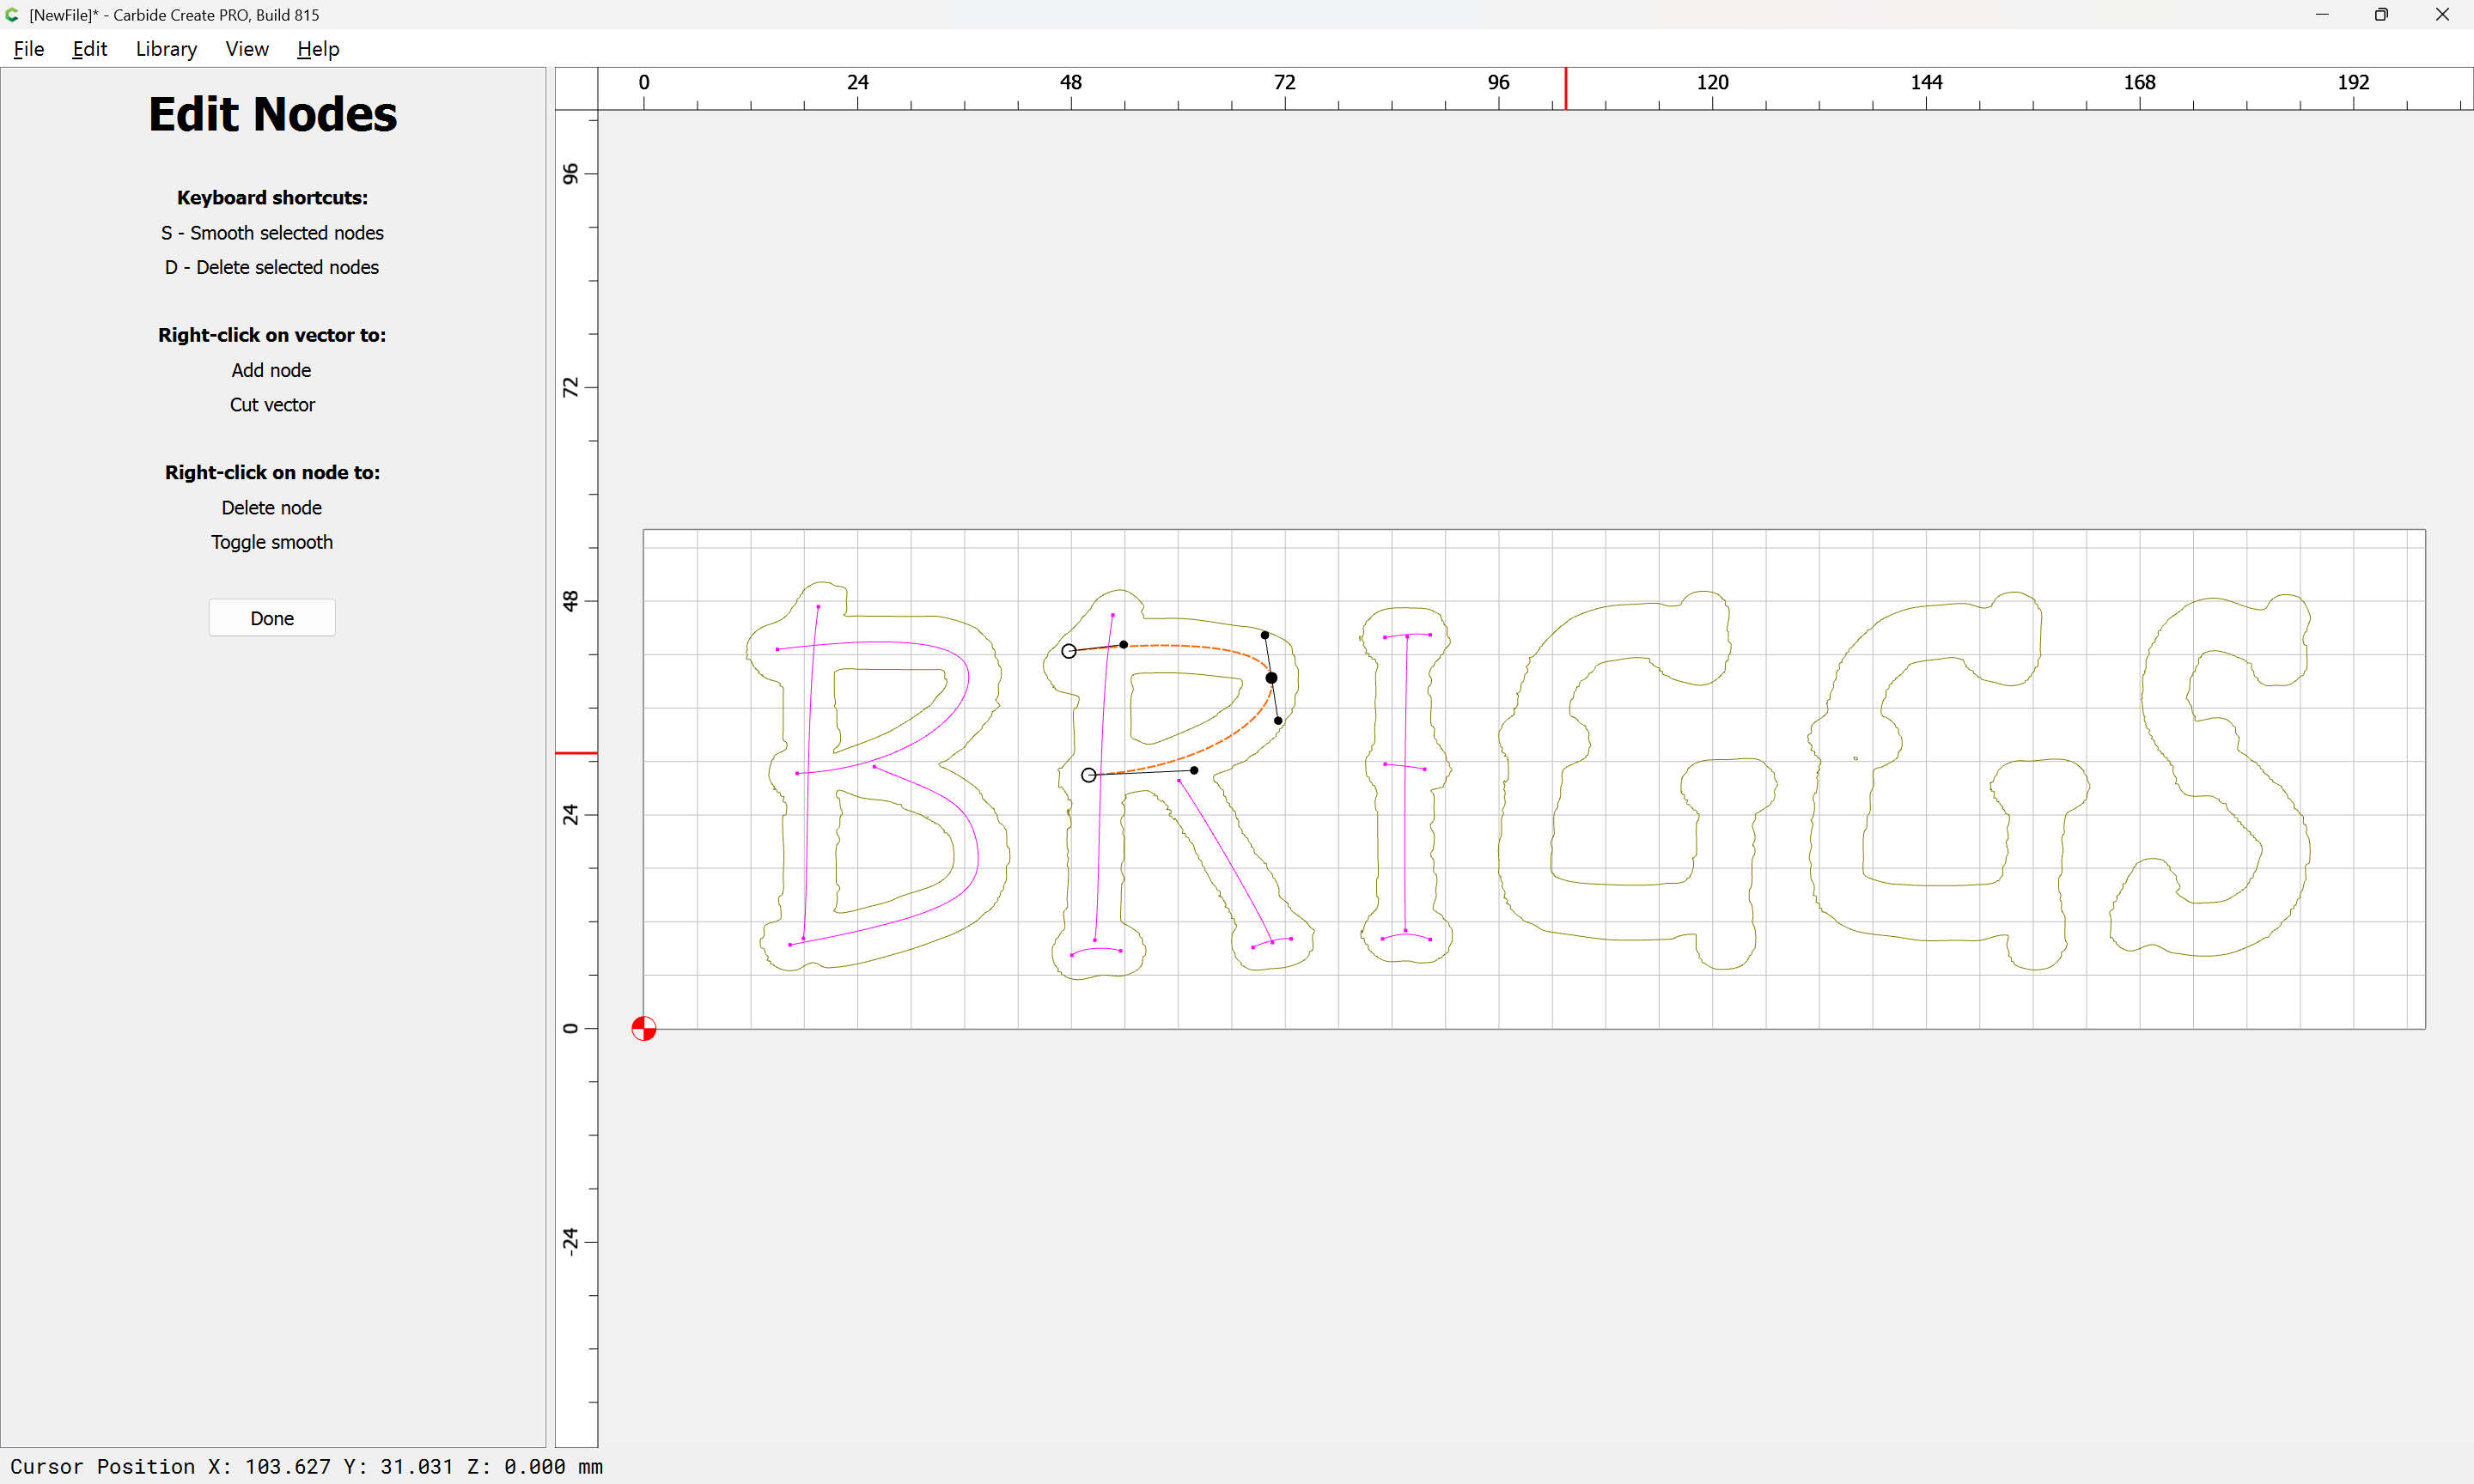
Open in v7, re-save, then open in v8, put the original geometry on a background layer and lock it:
Because Carbide Create wants to Snap to Nodes:
it will be necessary to zoom in enough to keep that from interfering.
(Note that this will be much easier using a stylus, and easier still in a program which allows directly drawing with a stylus, rather than using the rather technical Bézier curve tool)
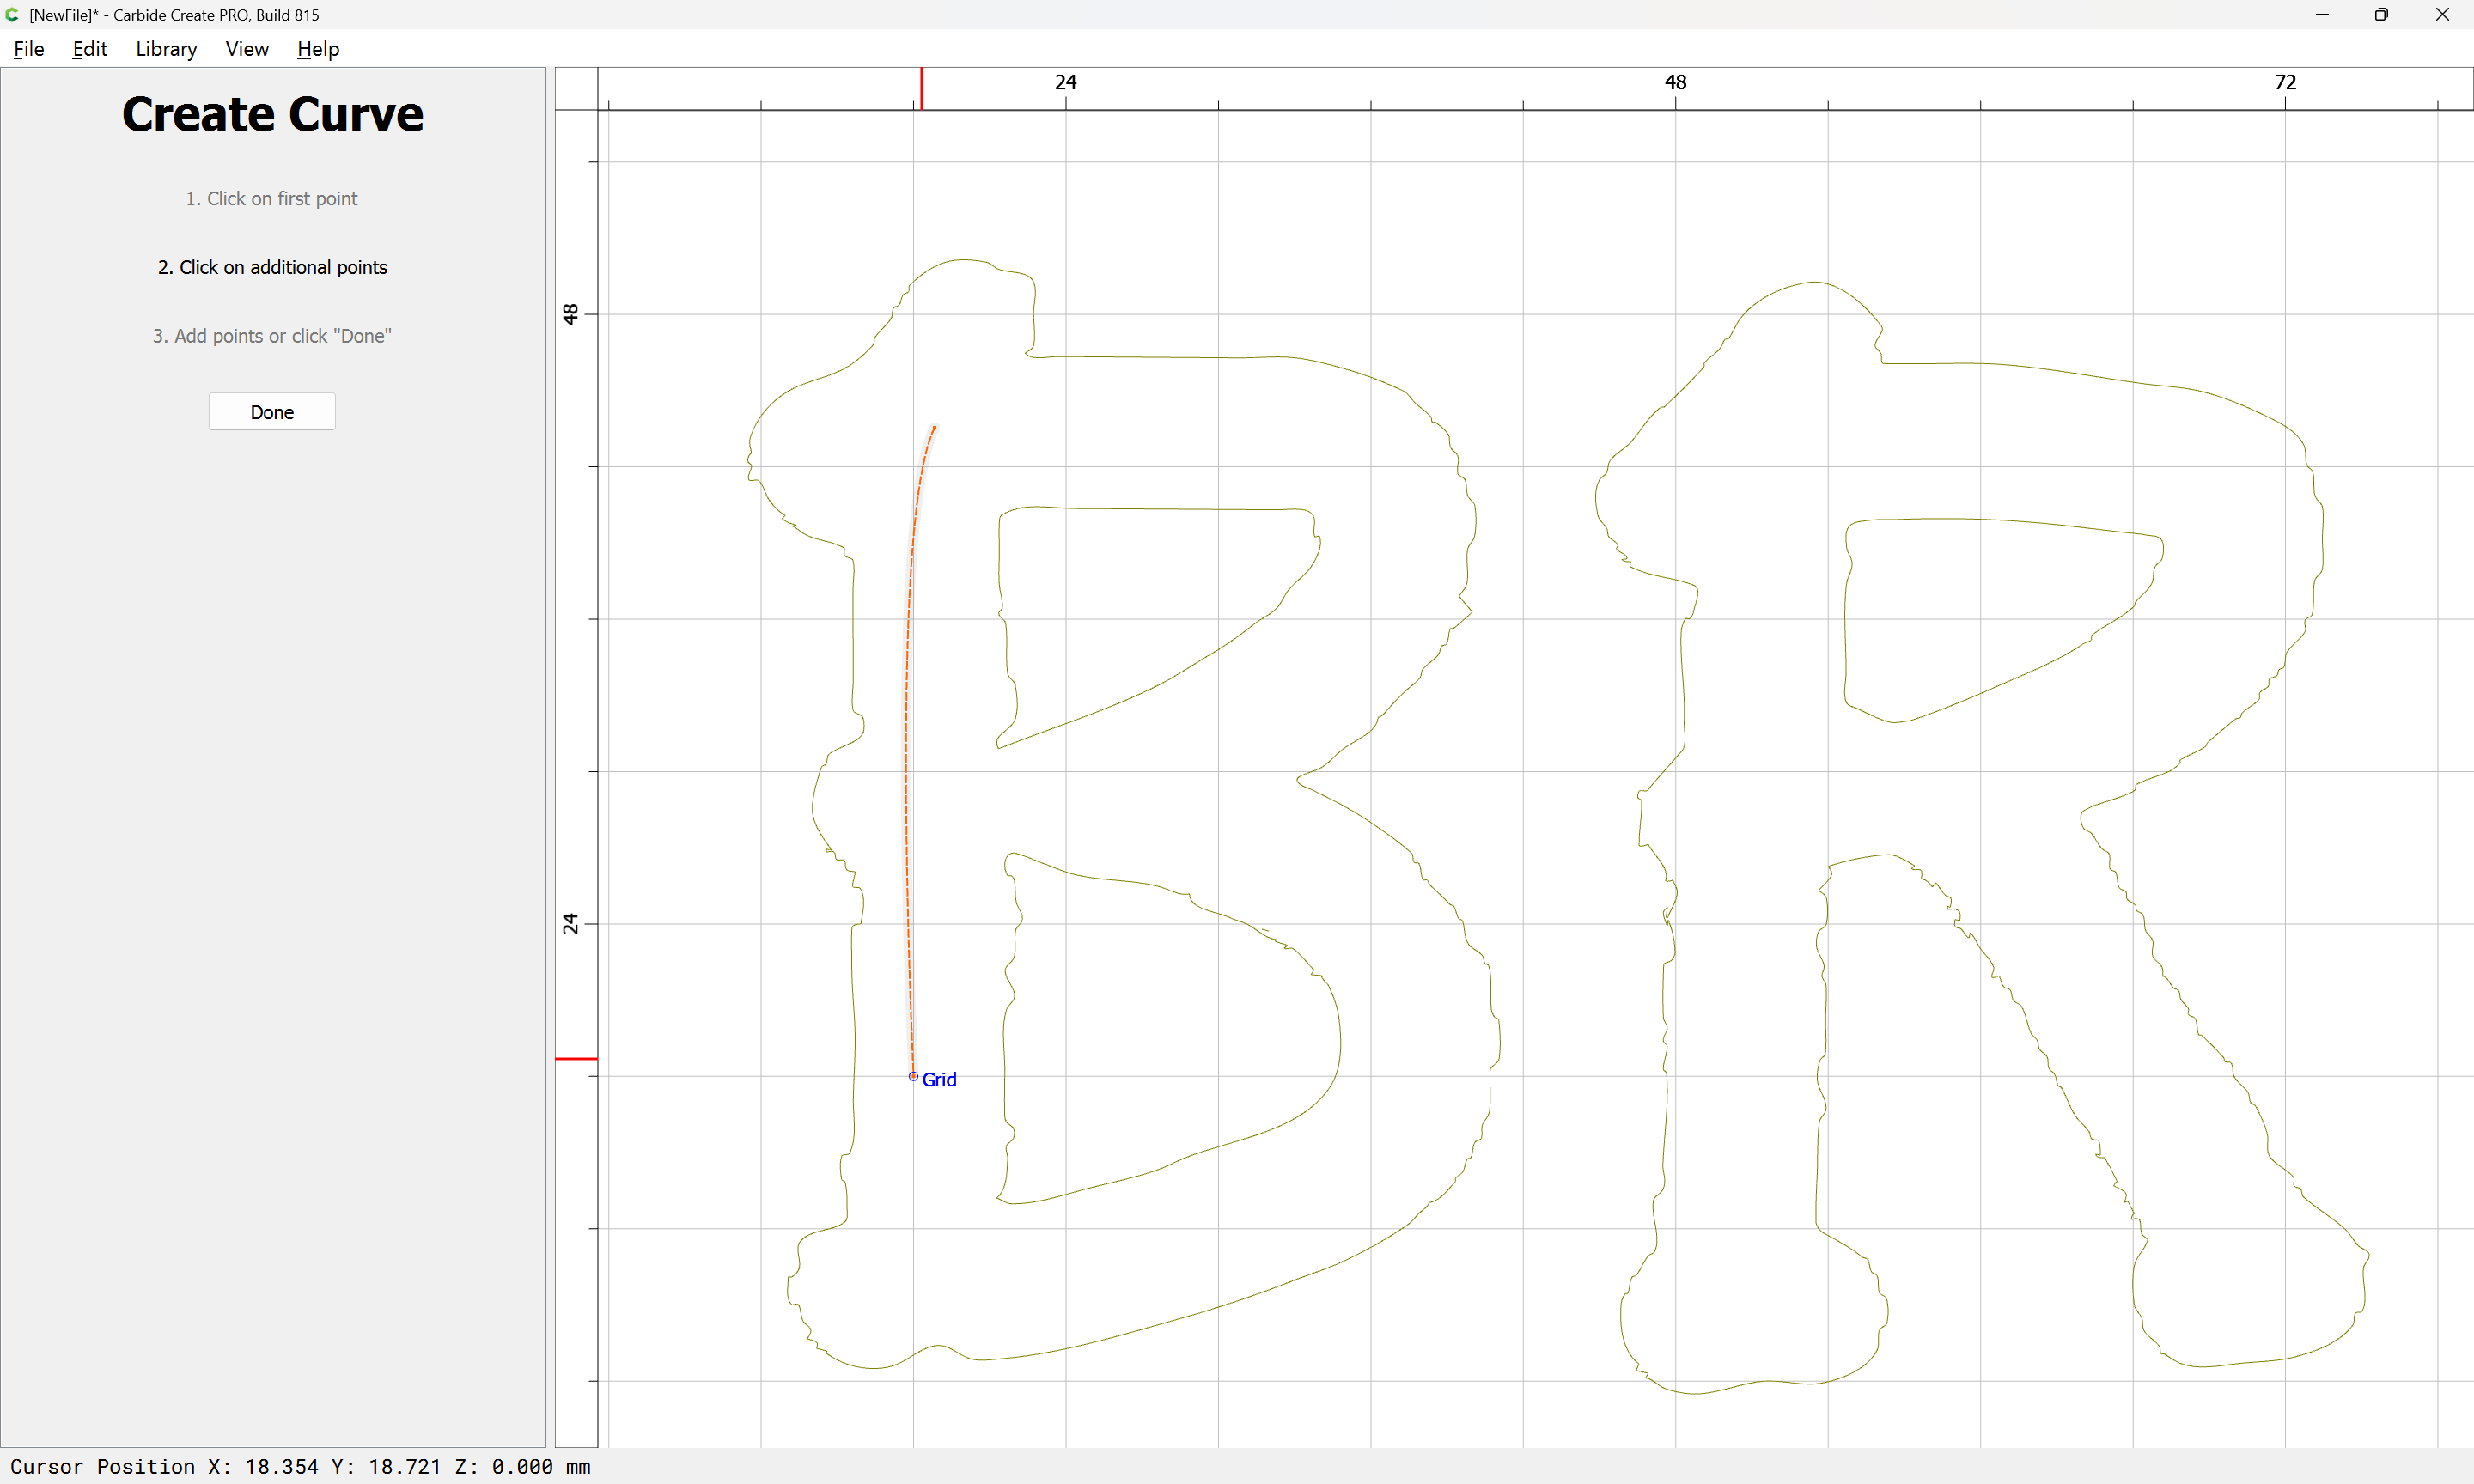
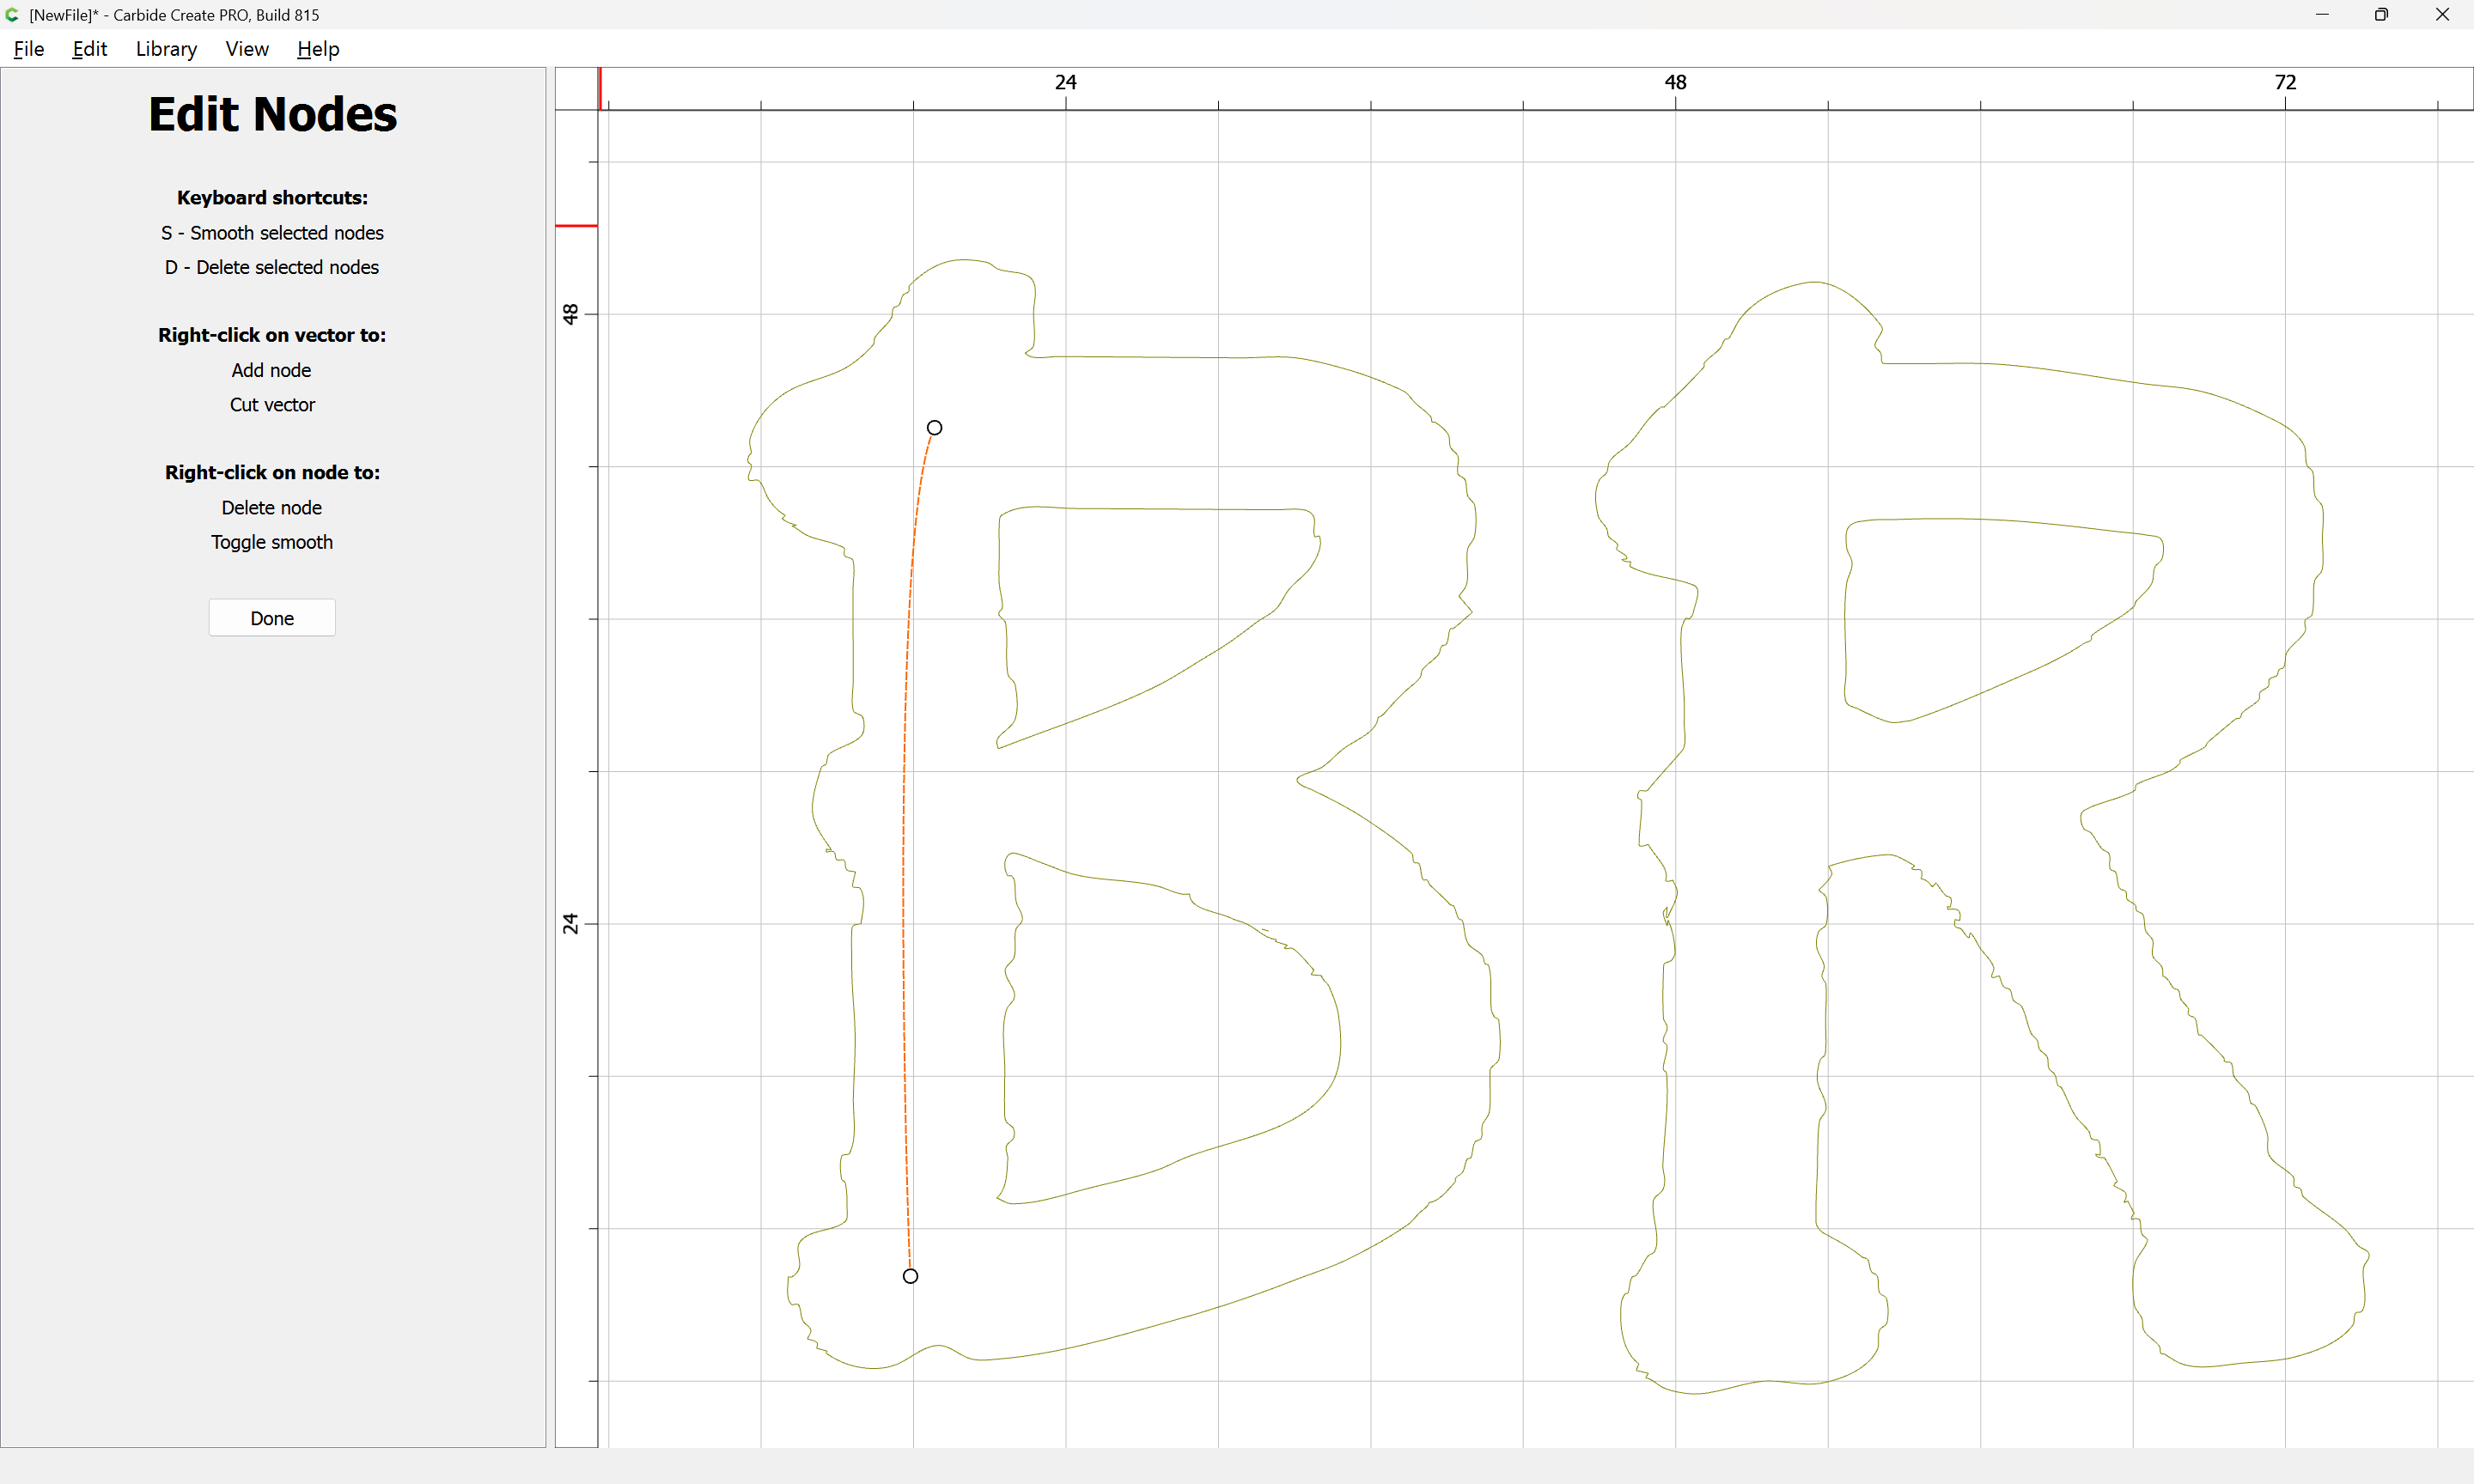
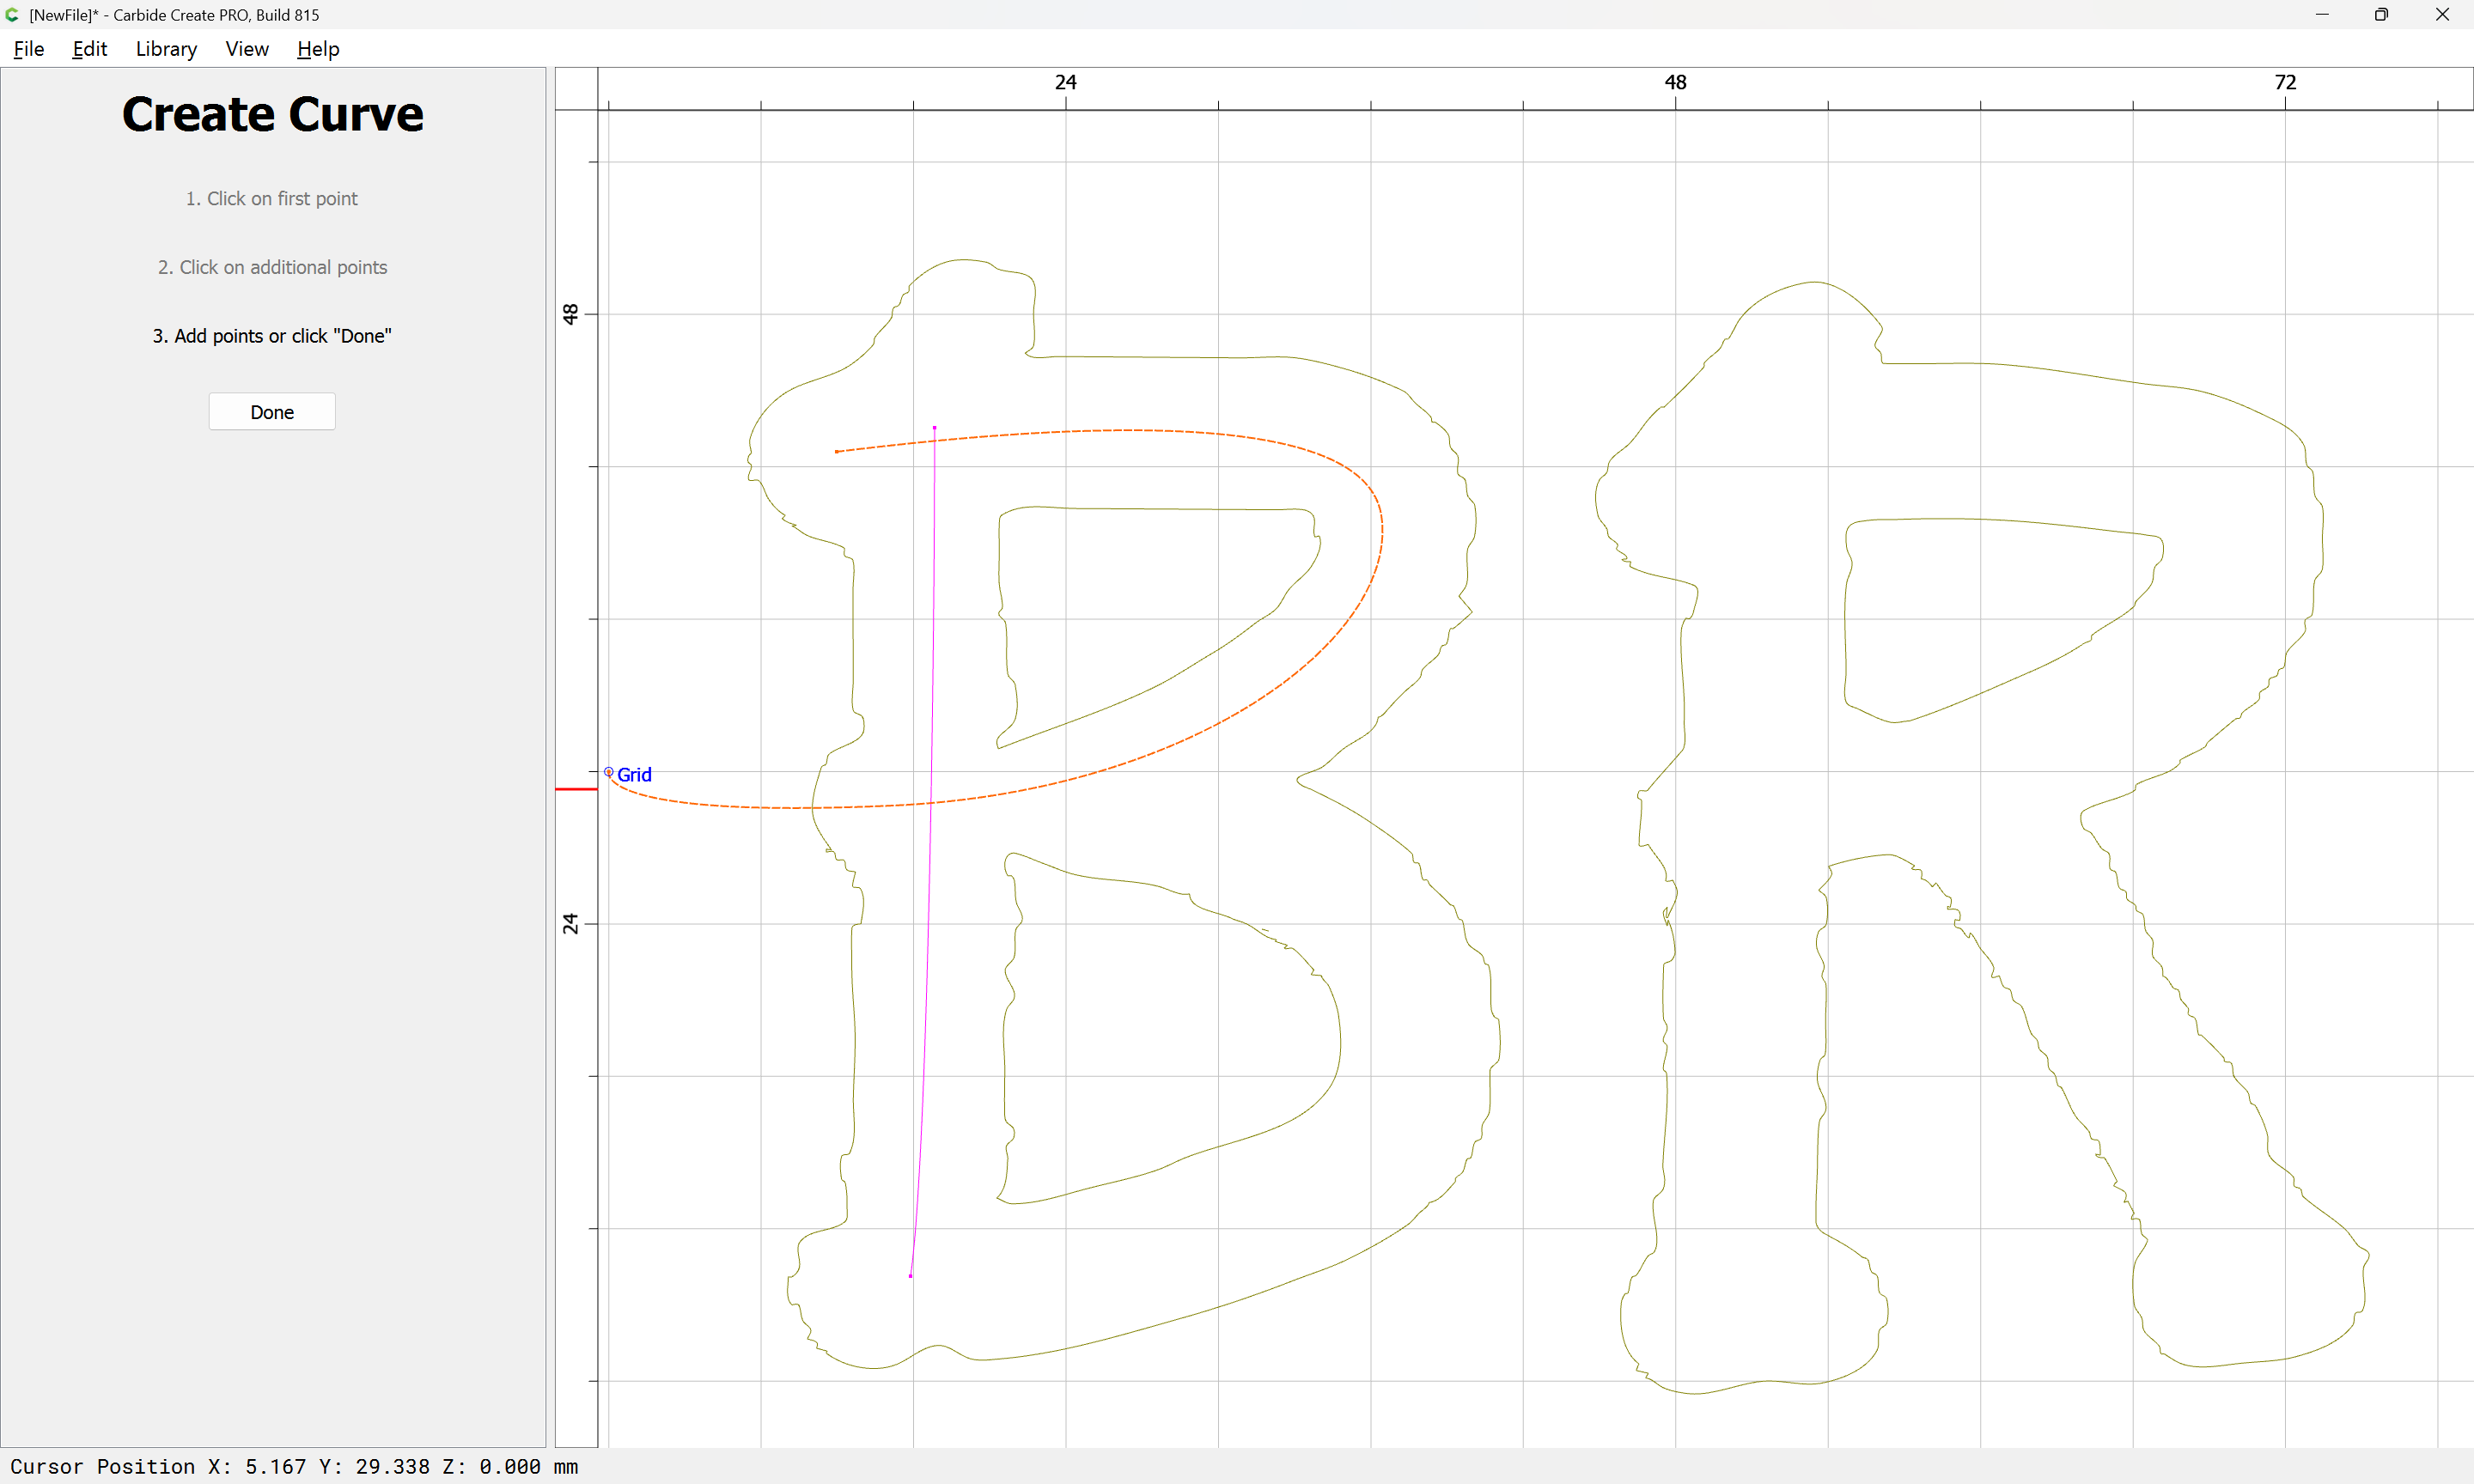
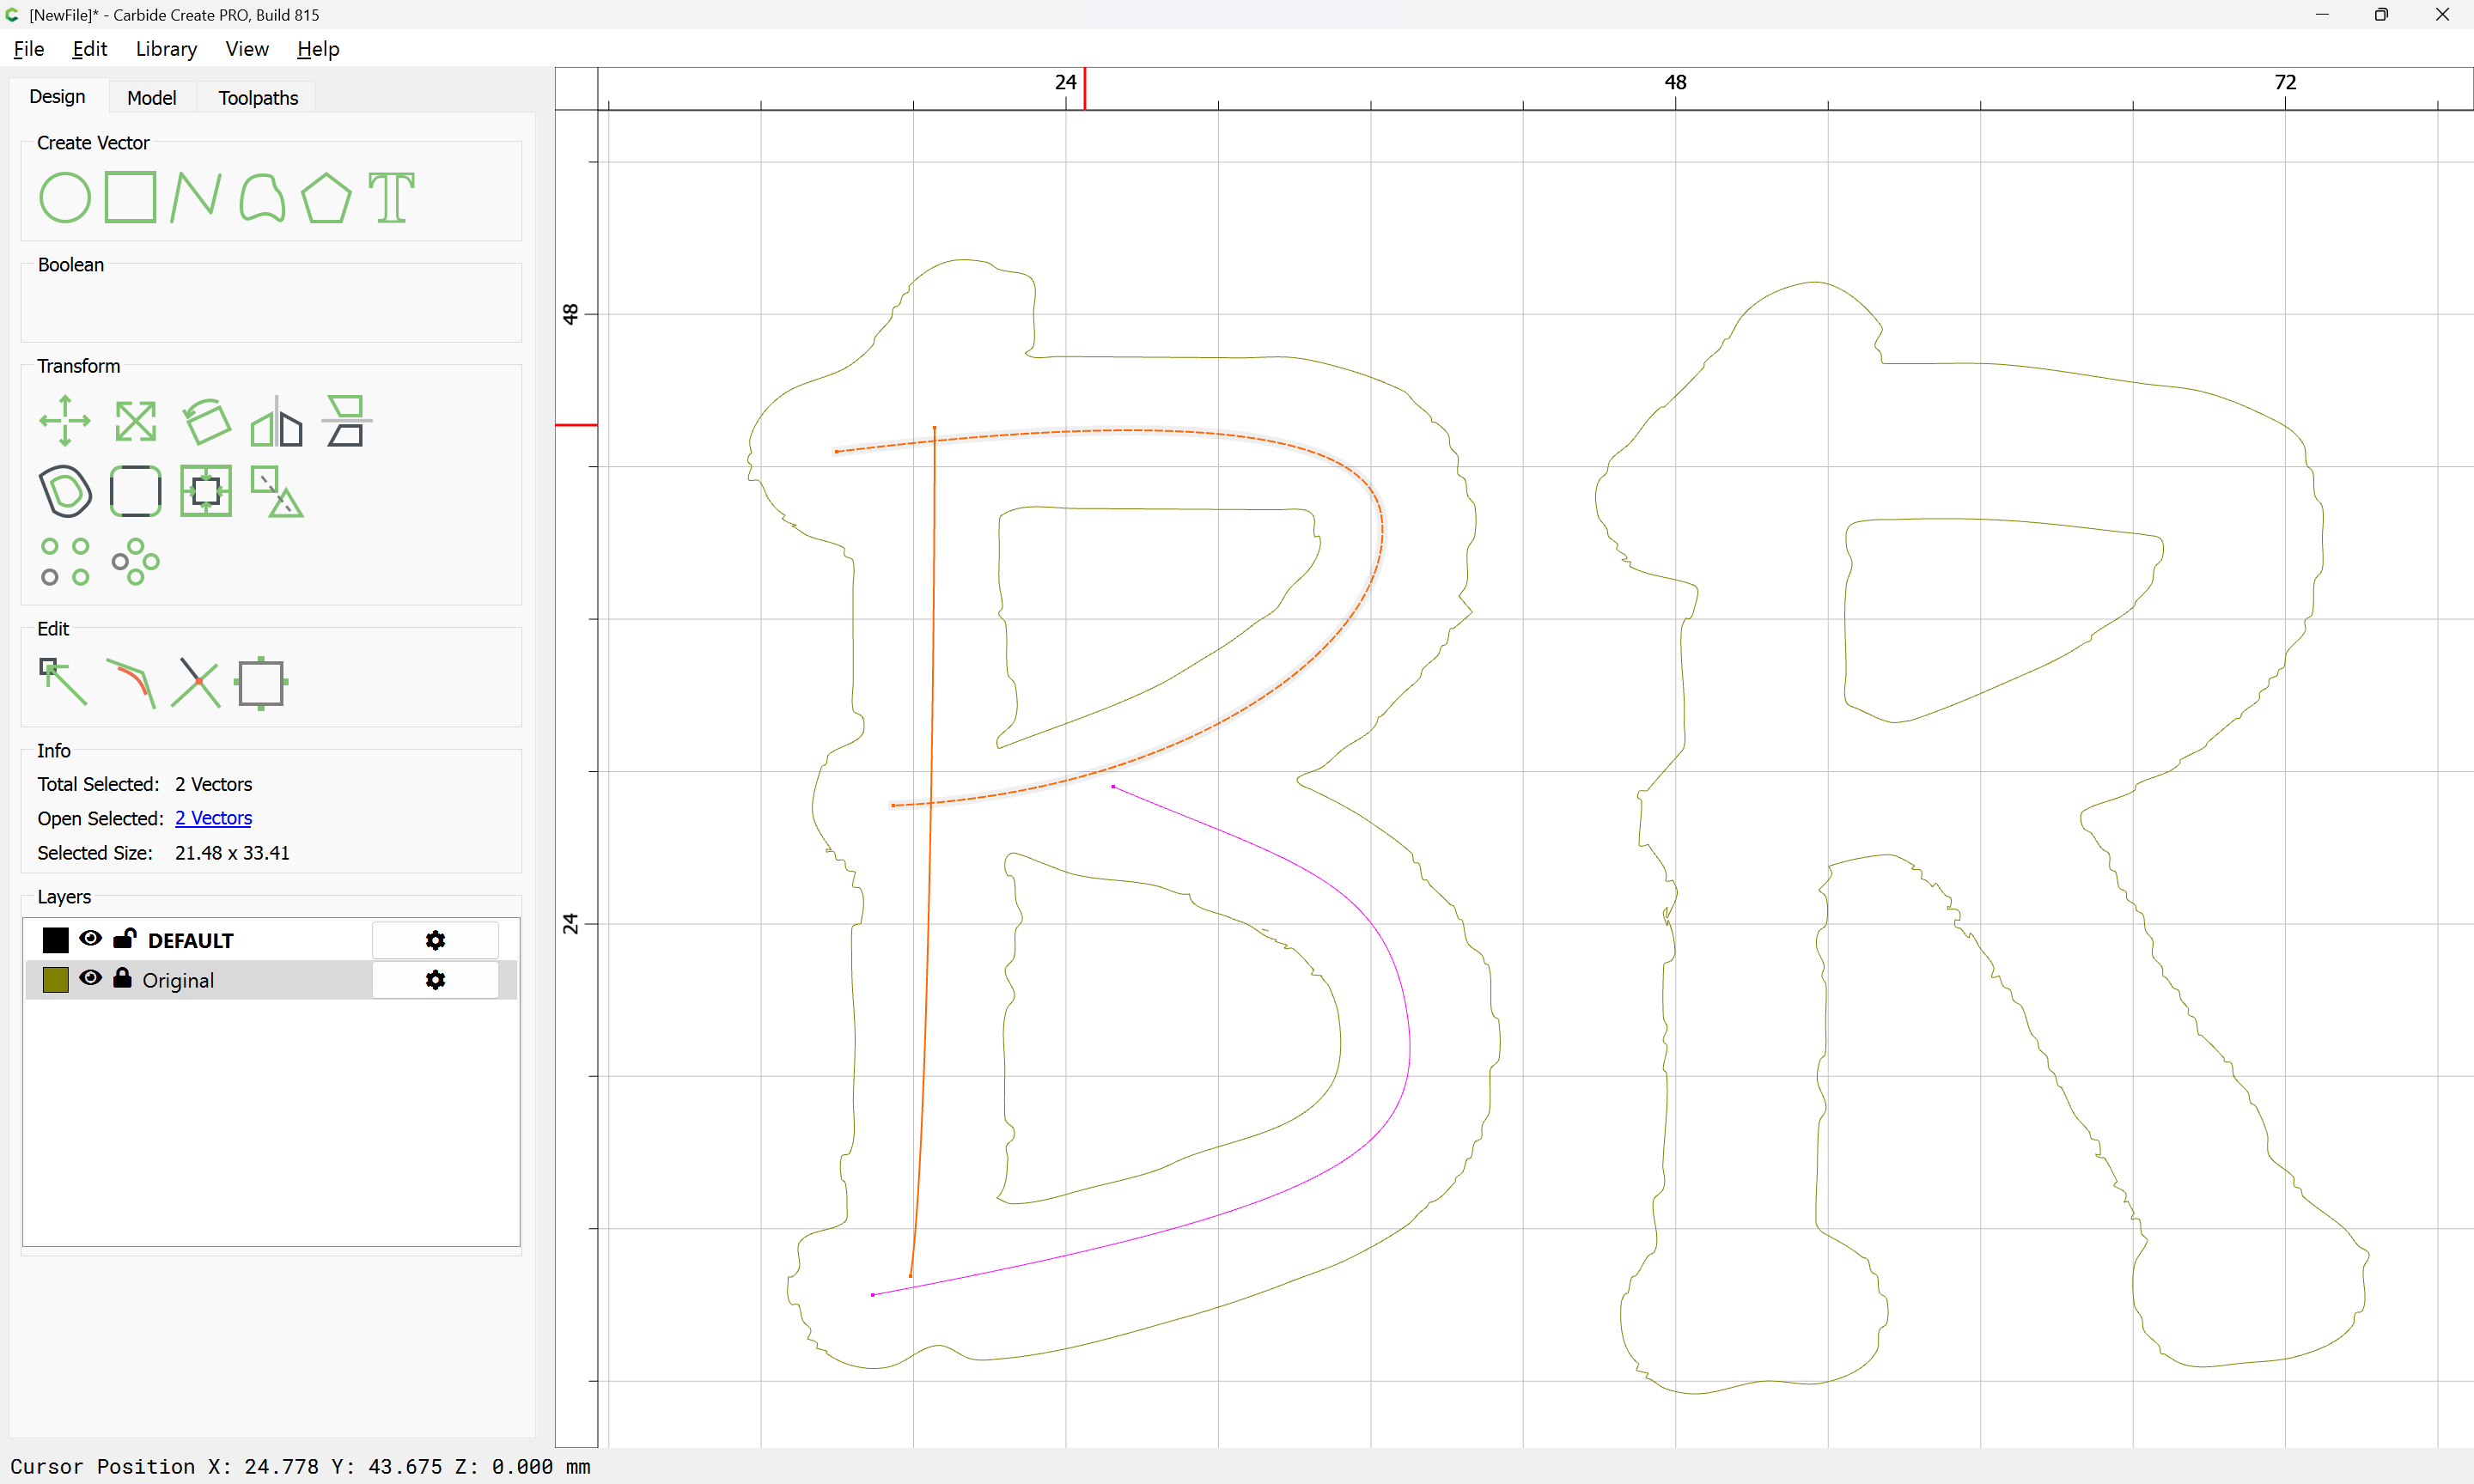
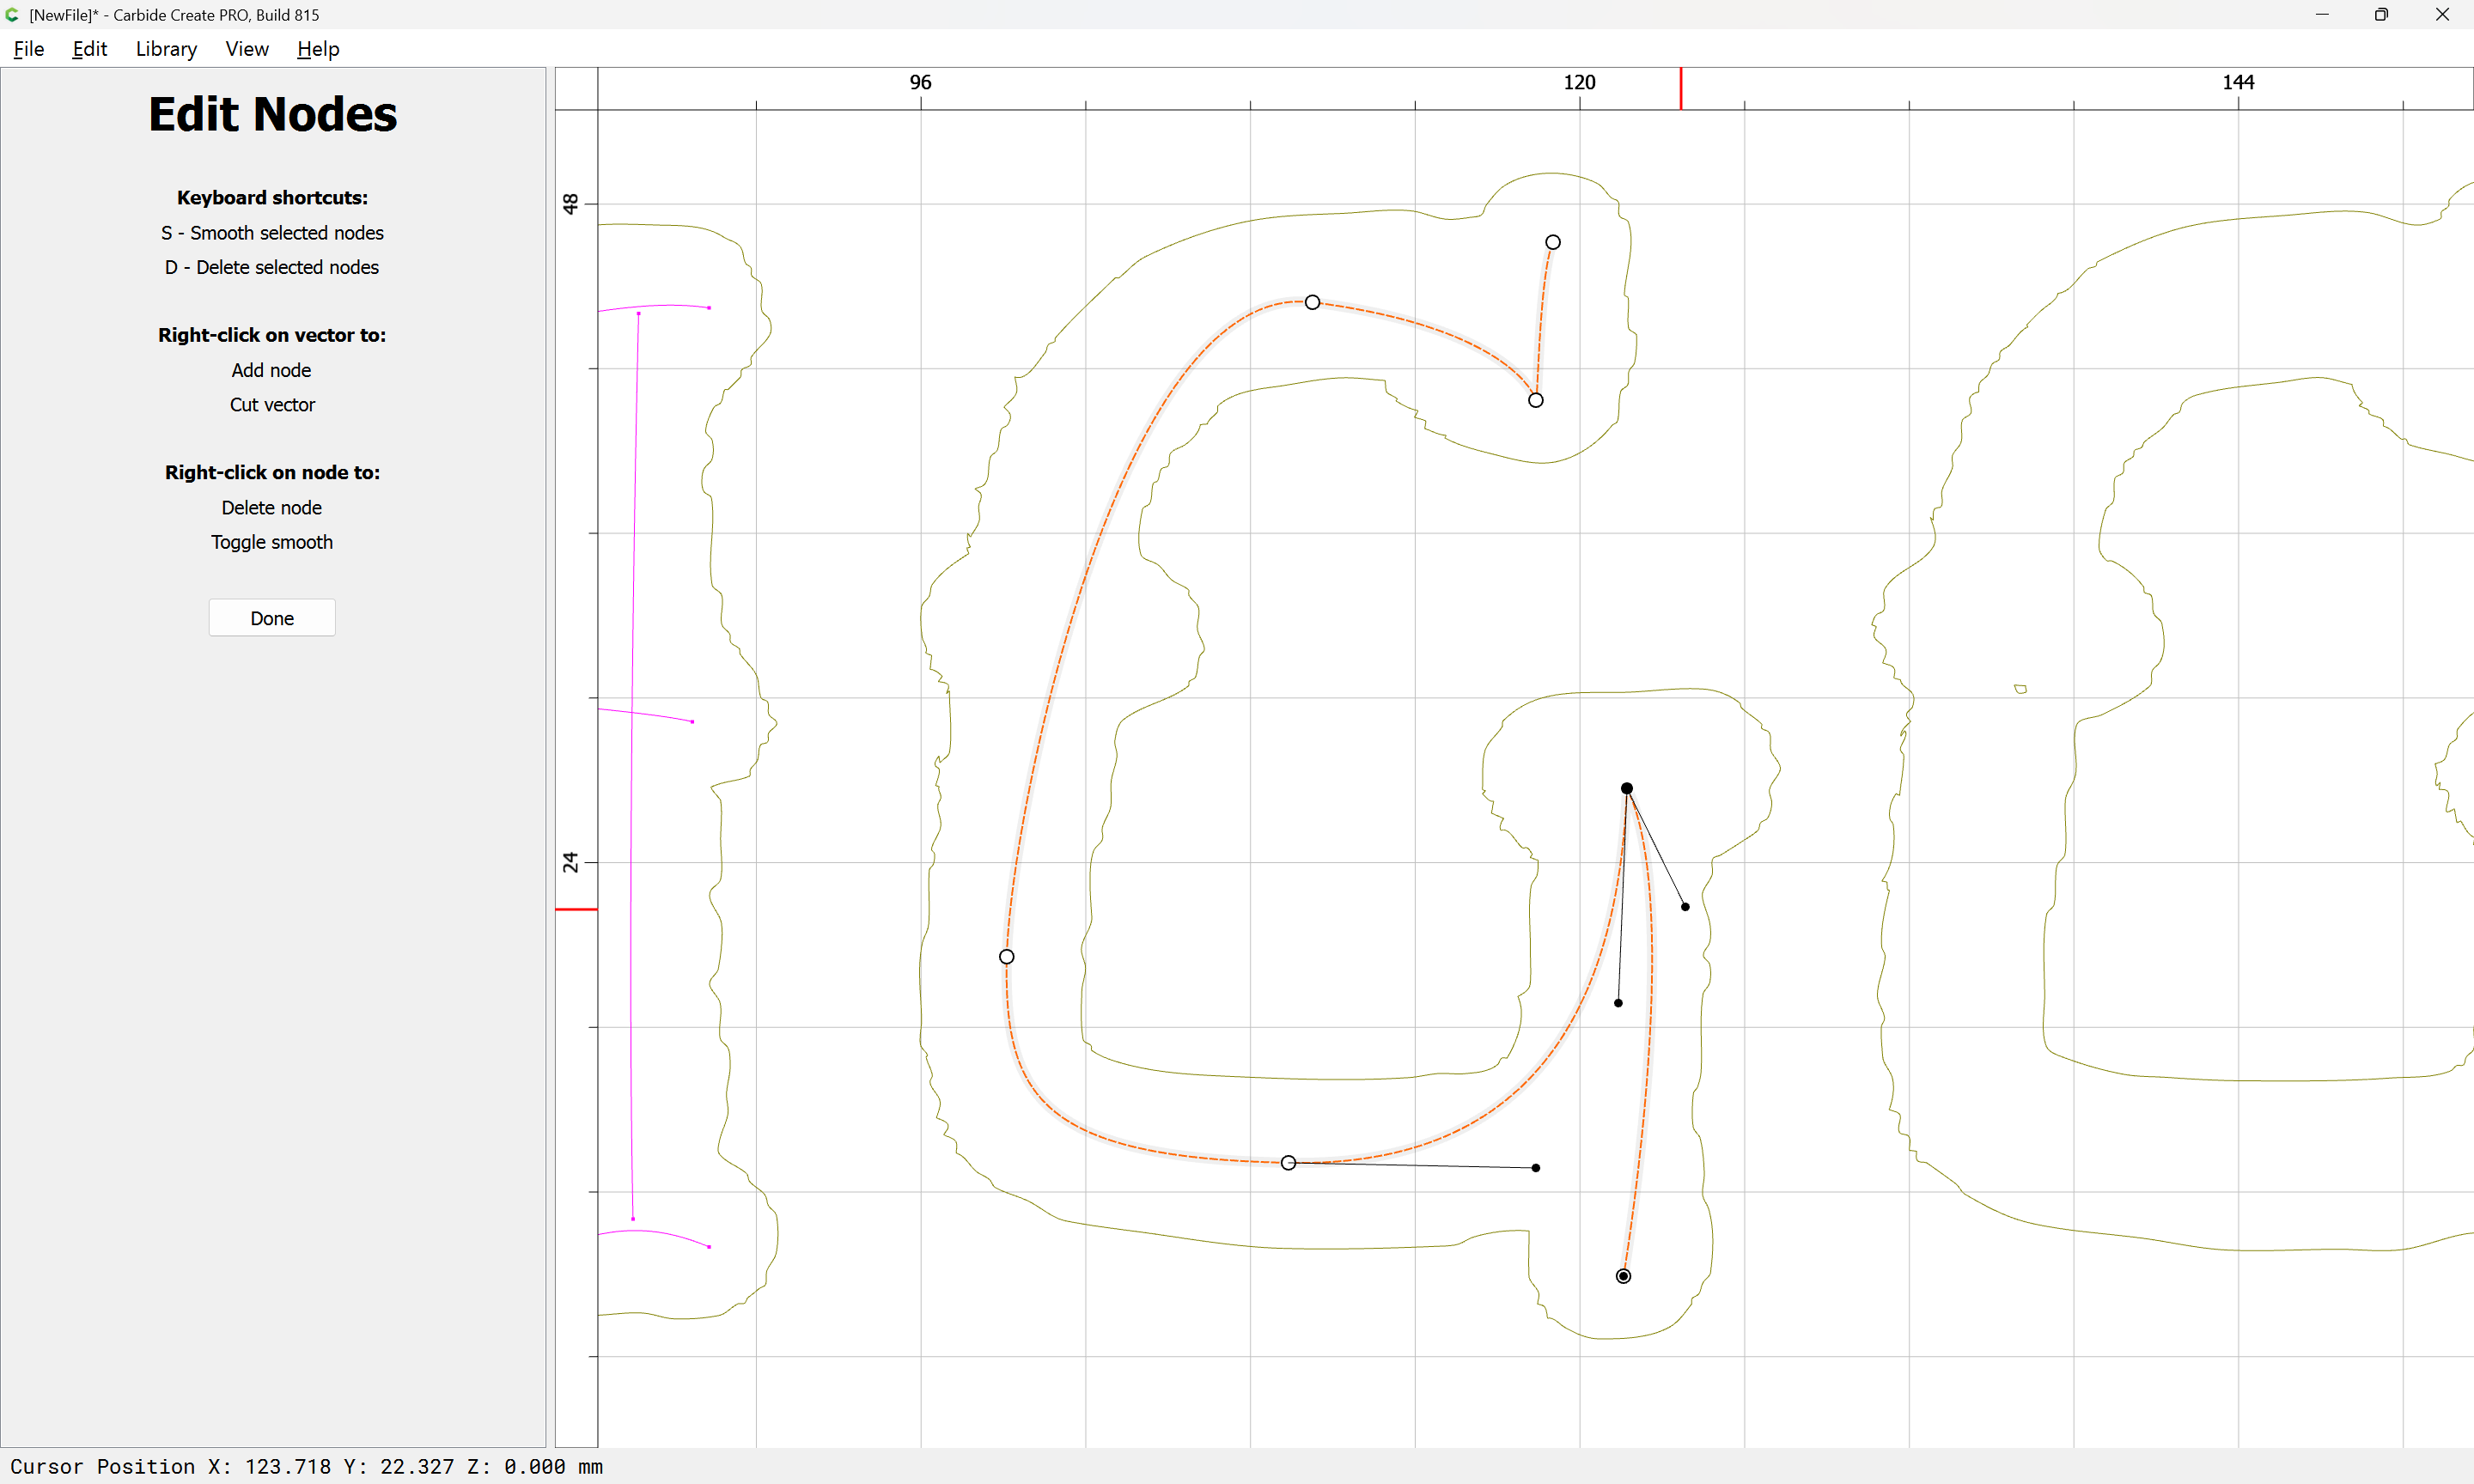
Click-hold to place the begin point:
drag-release to place the off-curve node:
click-hold to place the end-point:
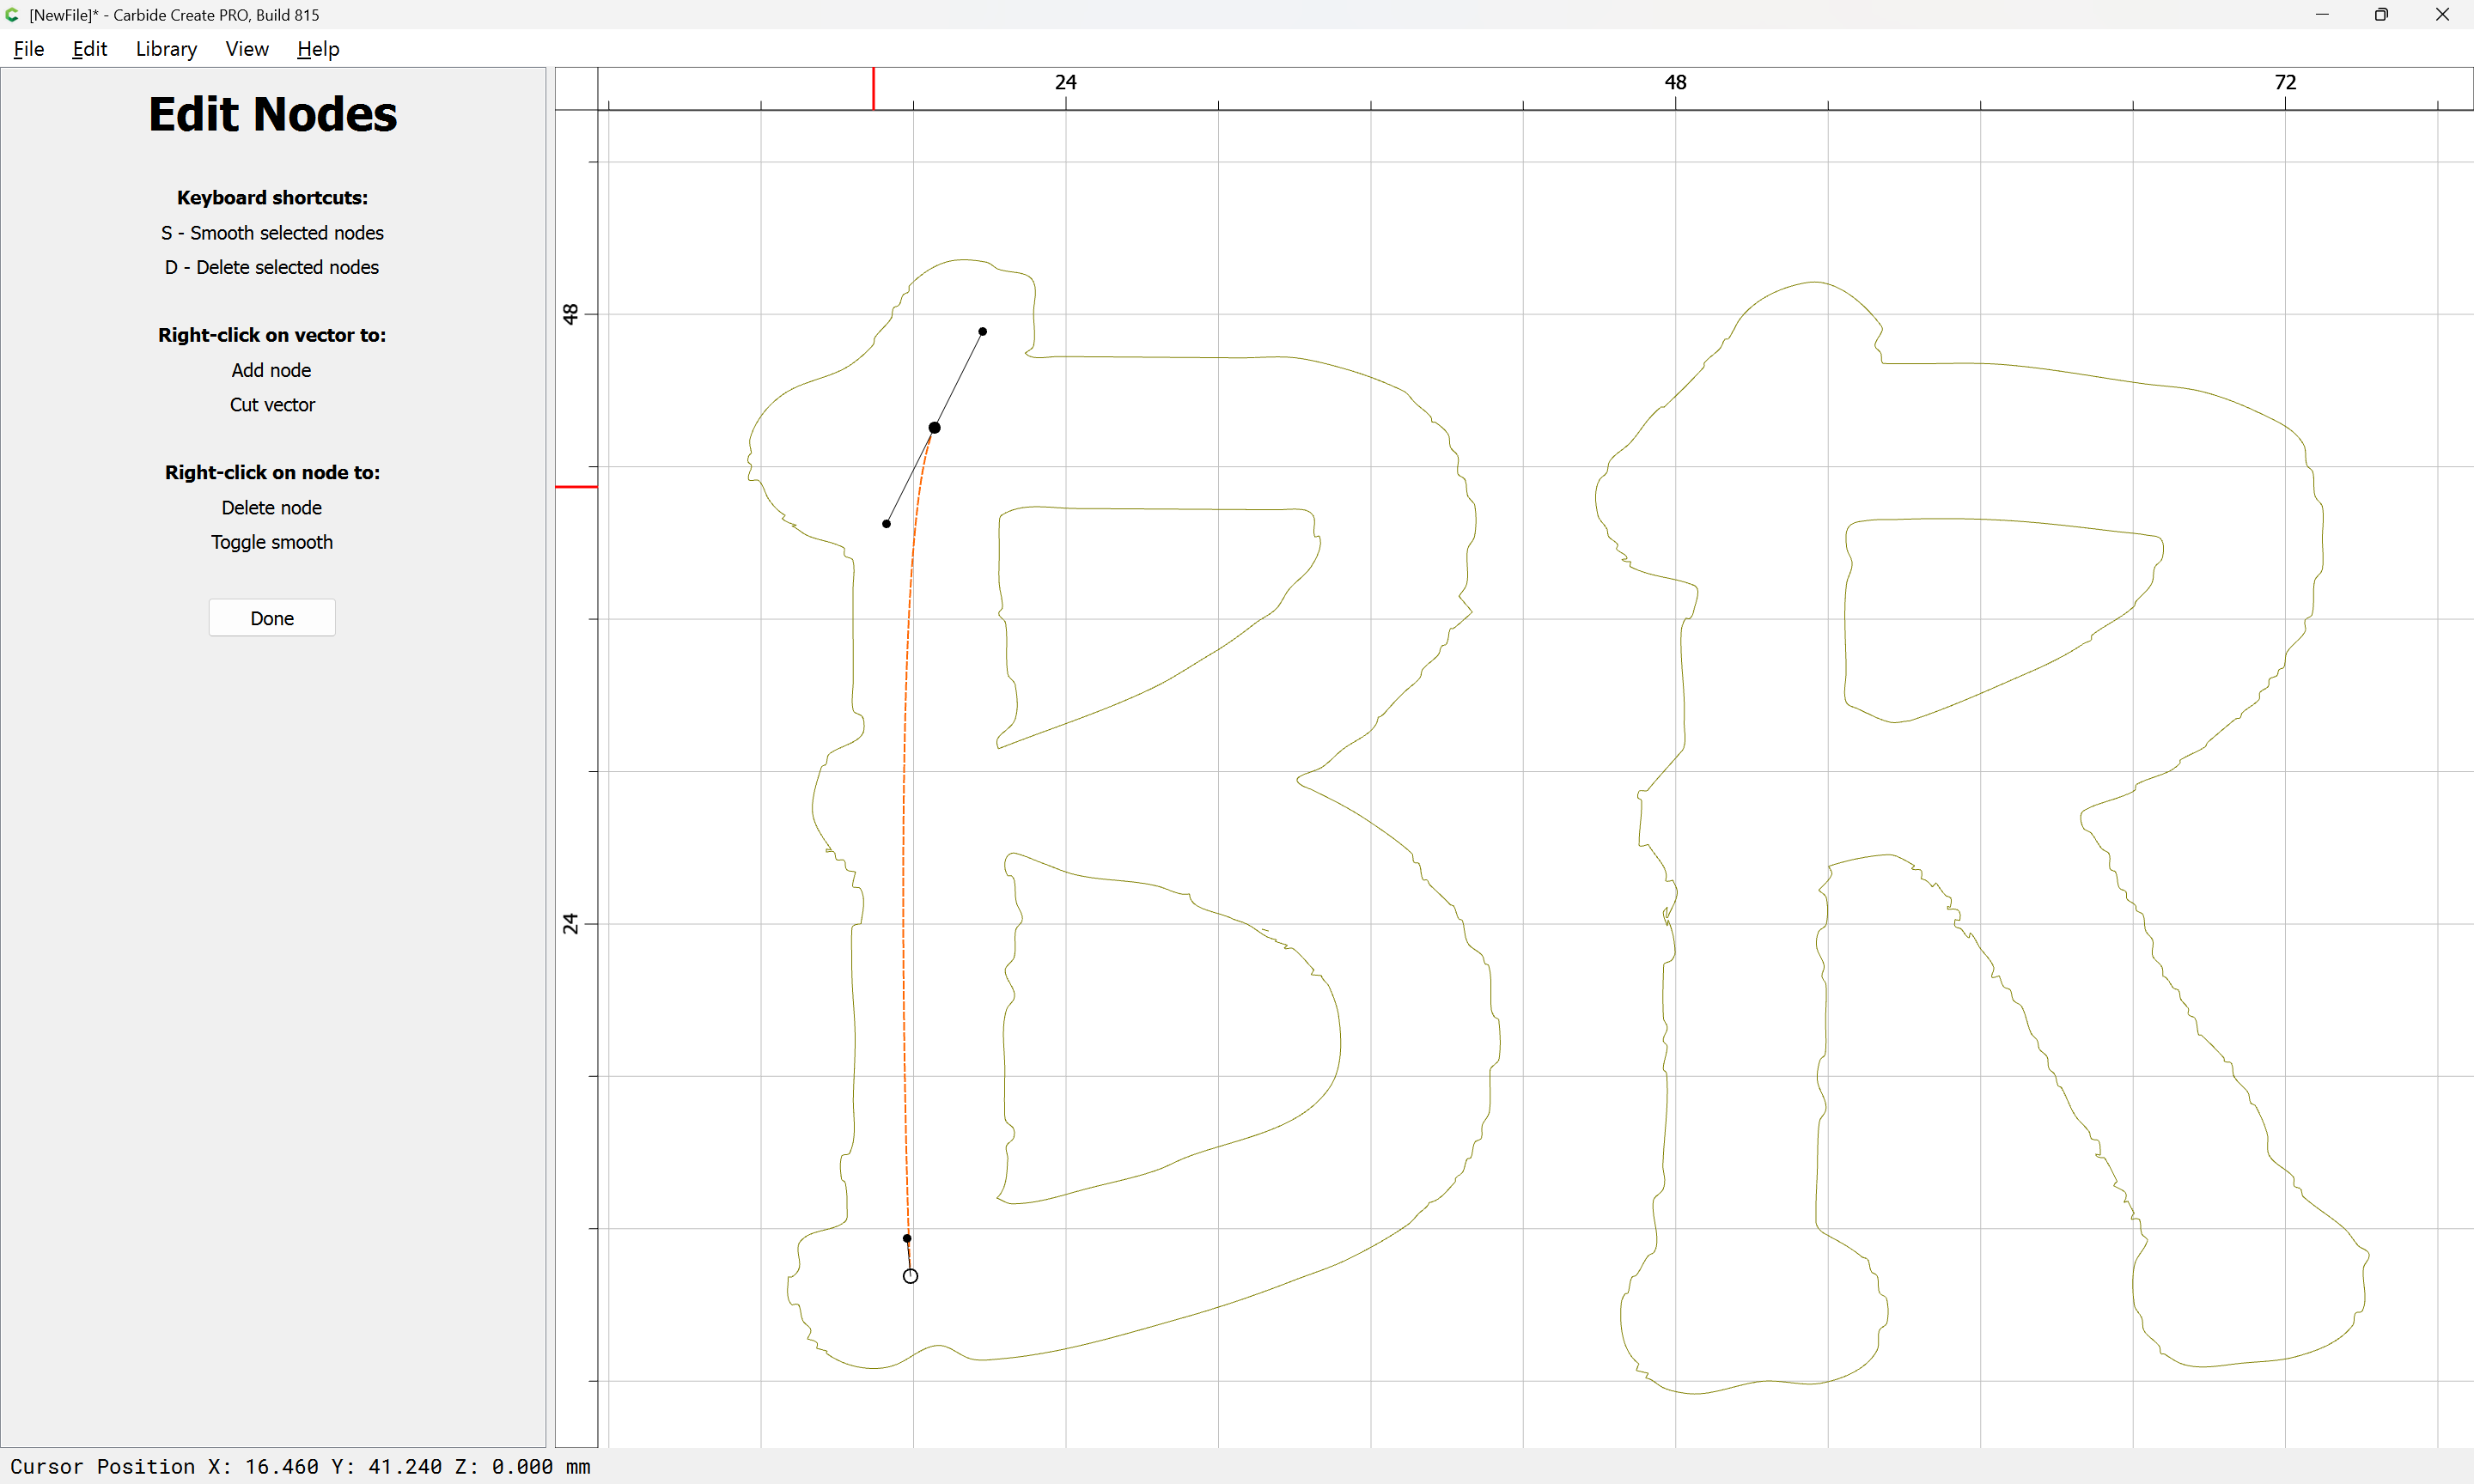
drag-release to place a symmetrical off-curve node to the off-curve node which will affect the shape of the curve:
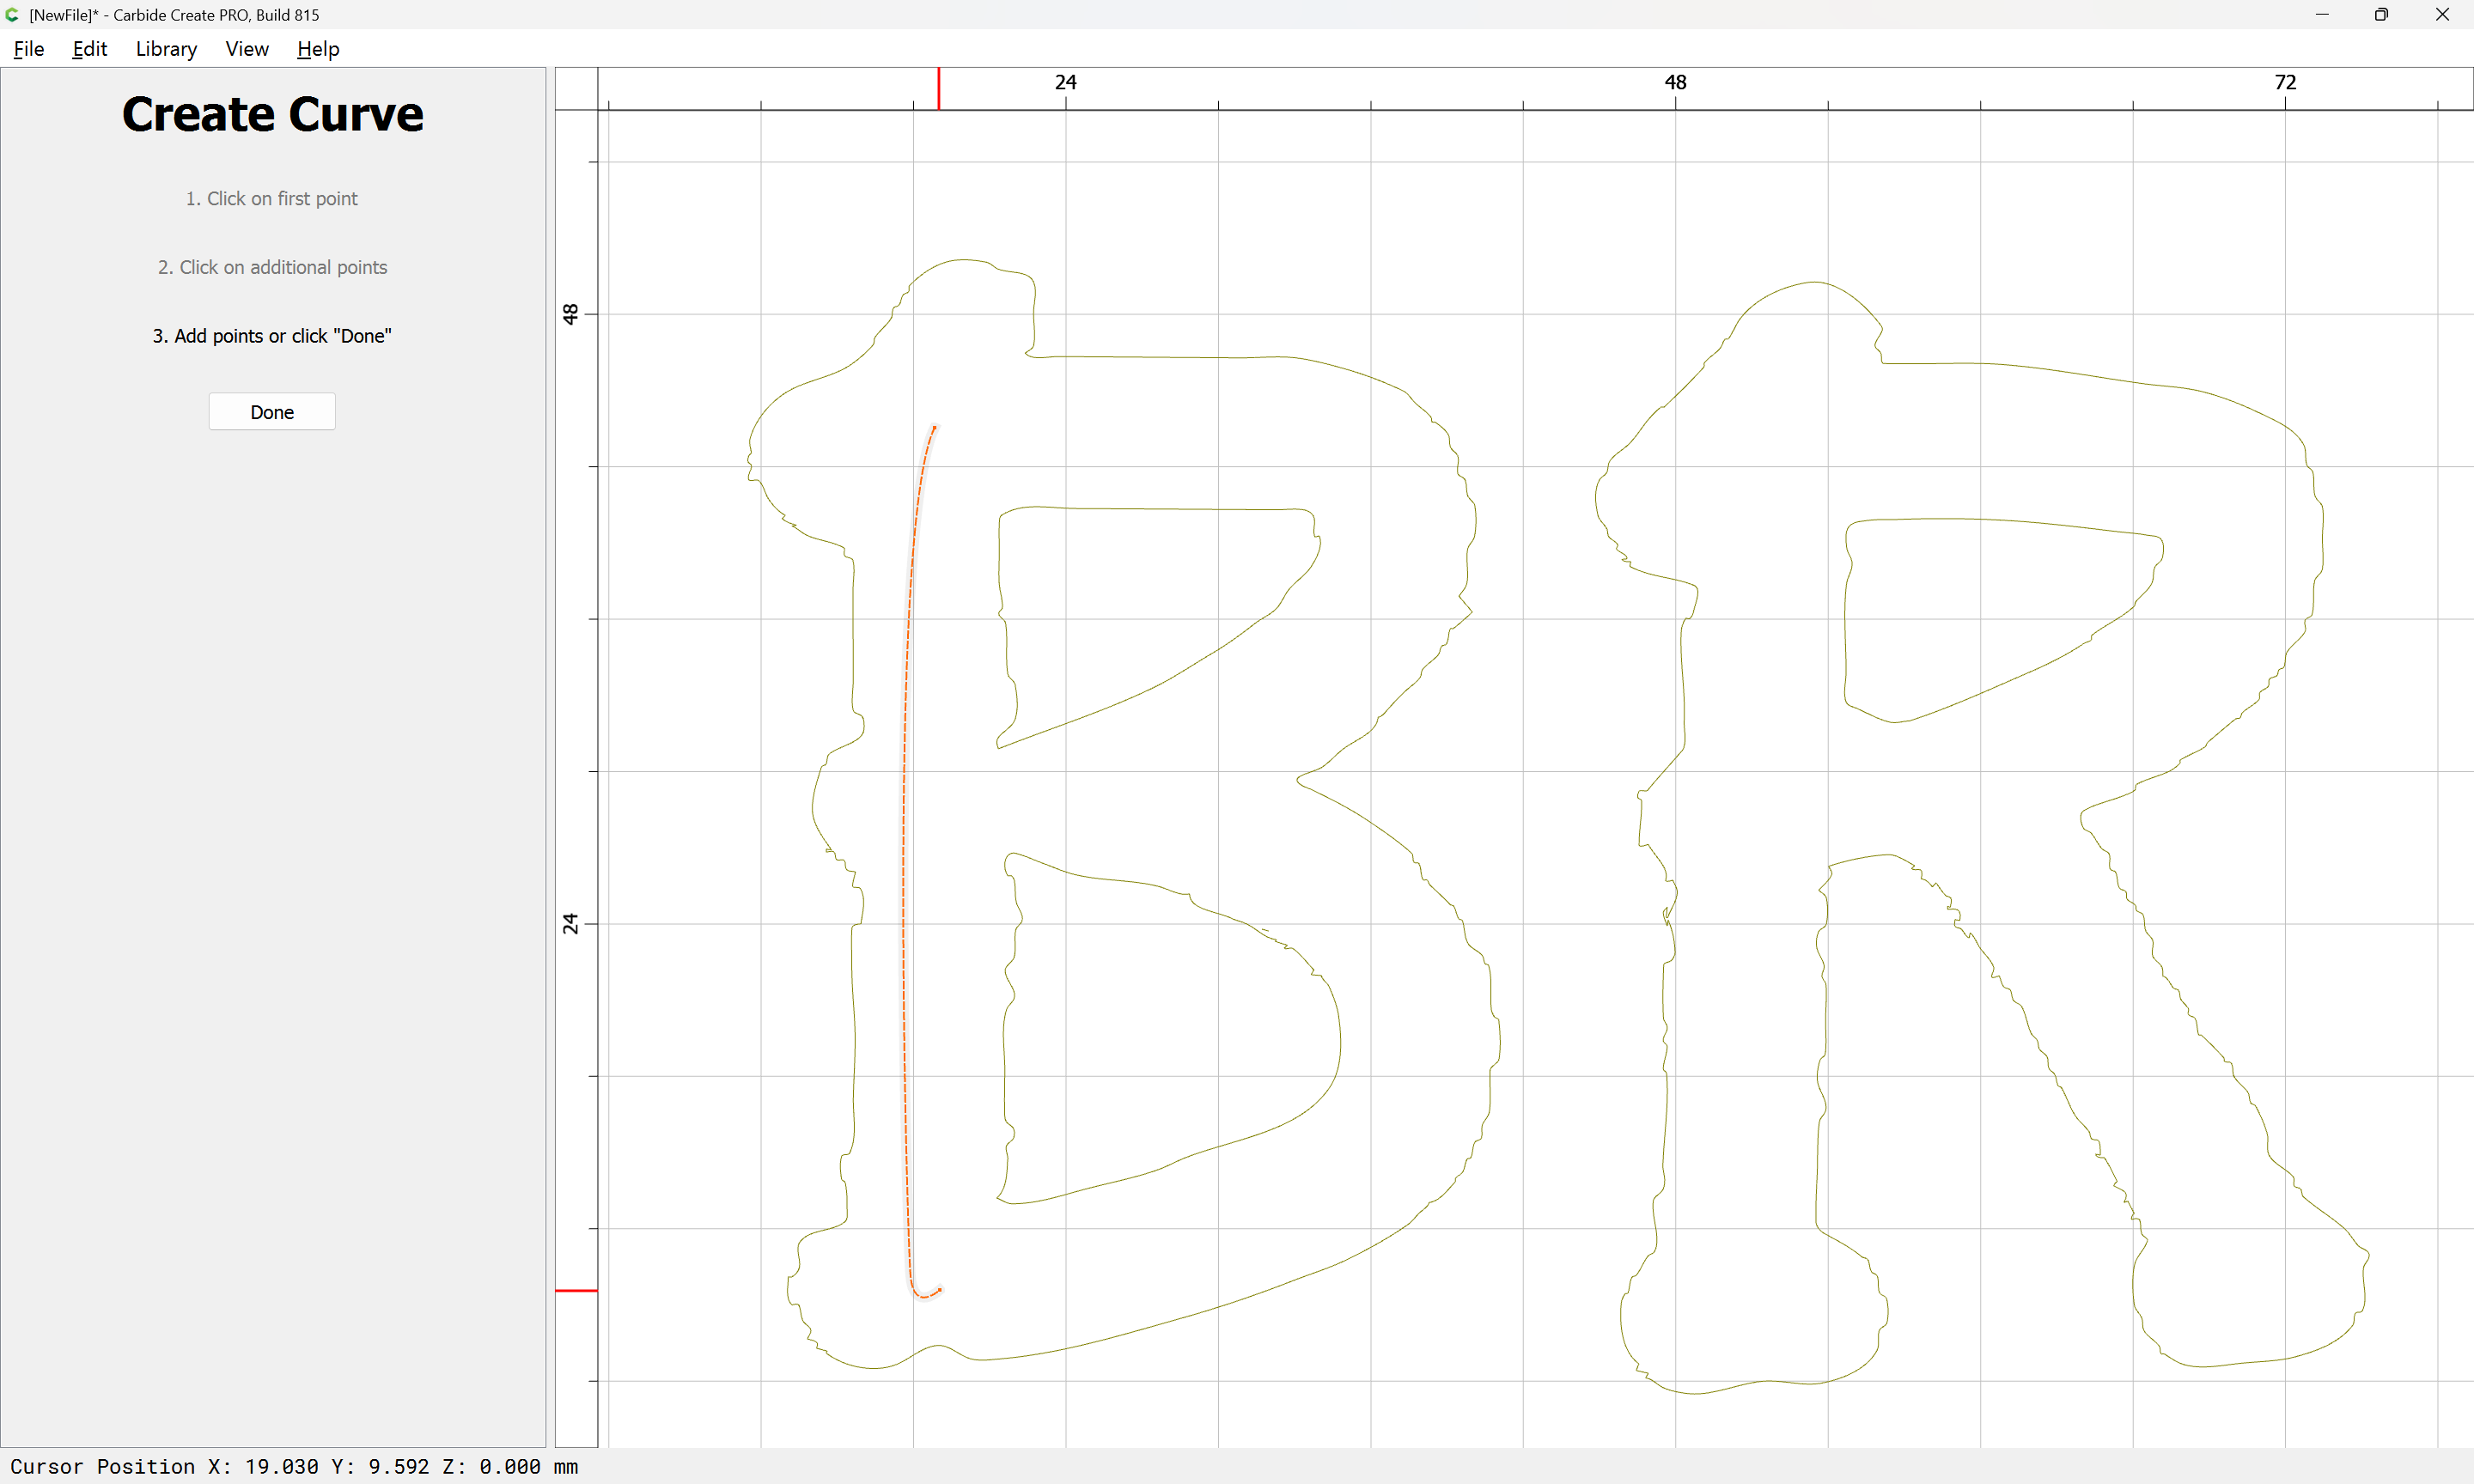
Done
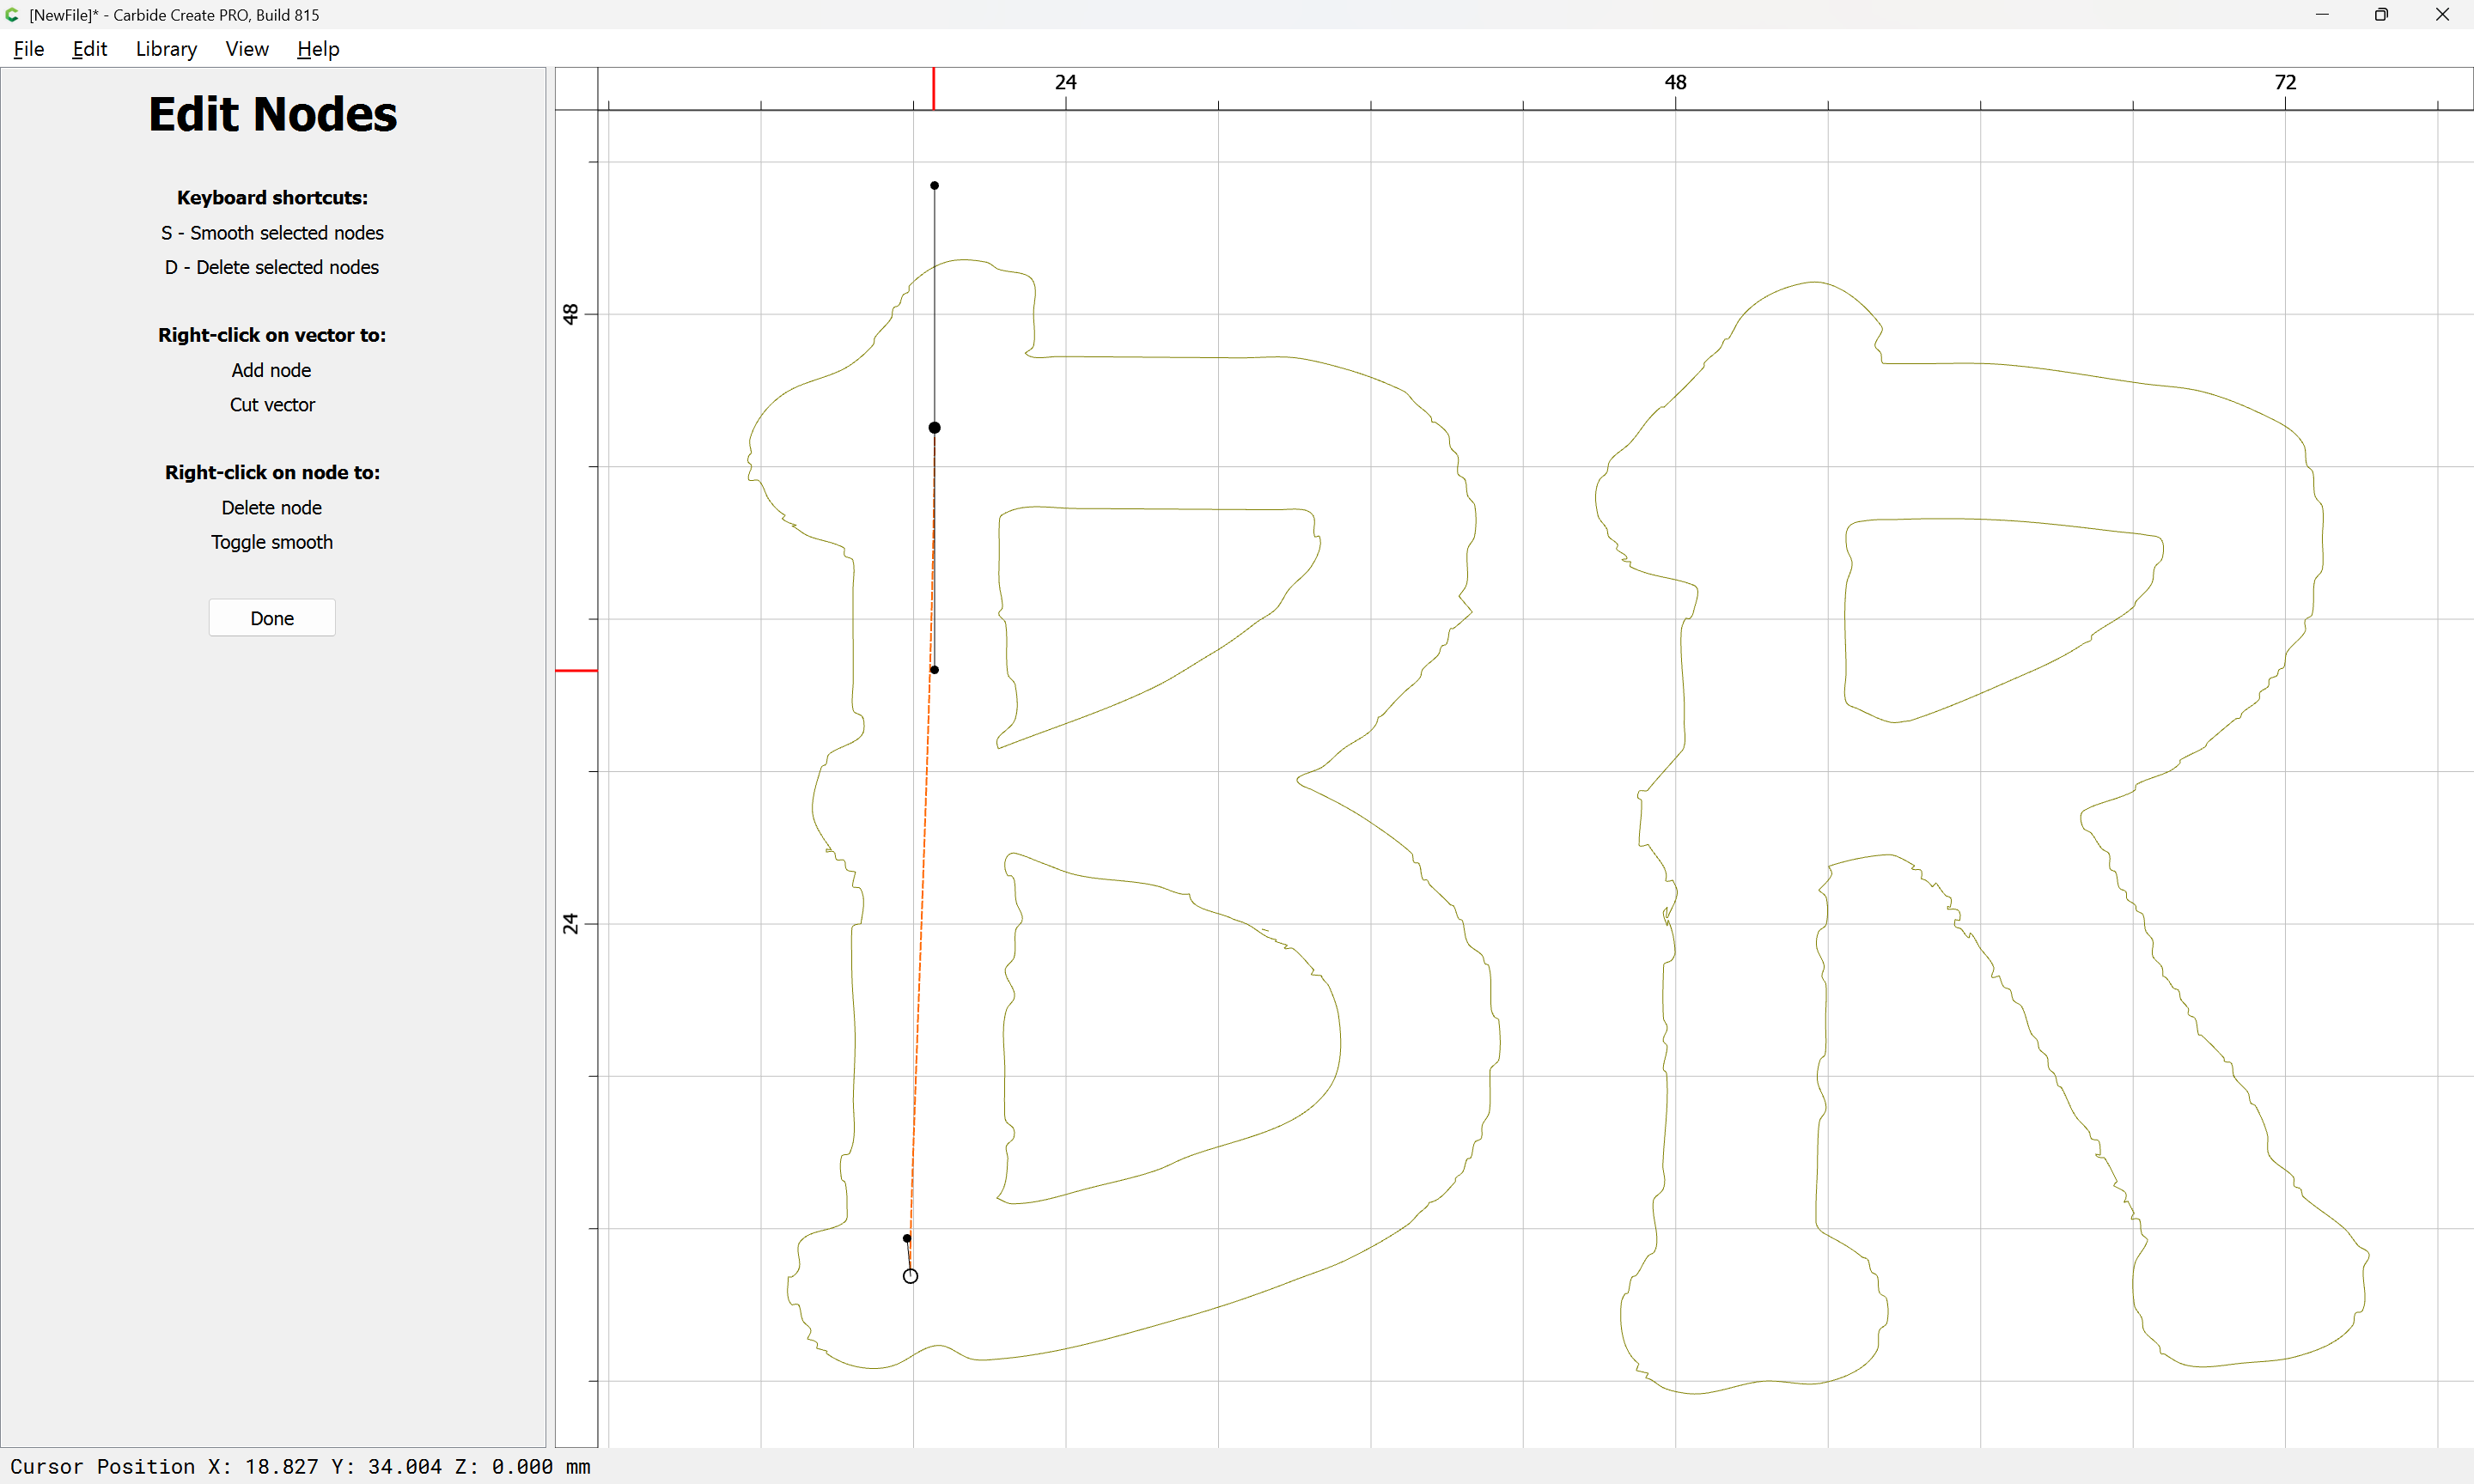
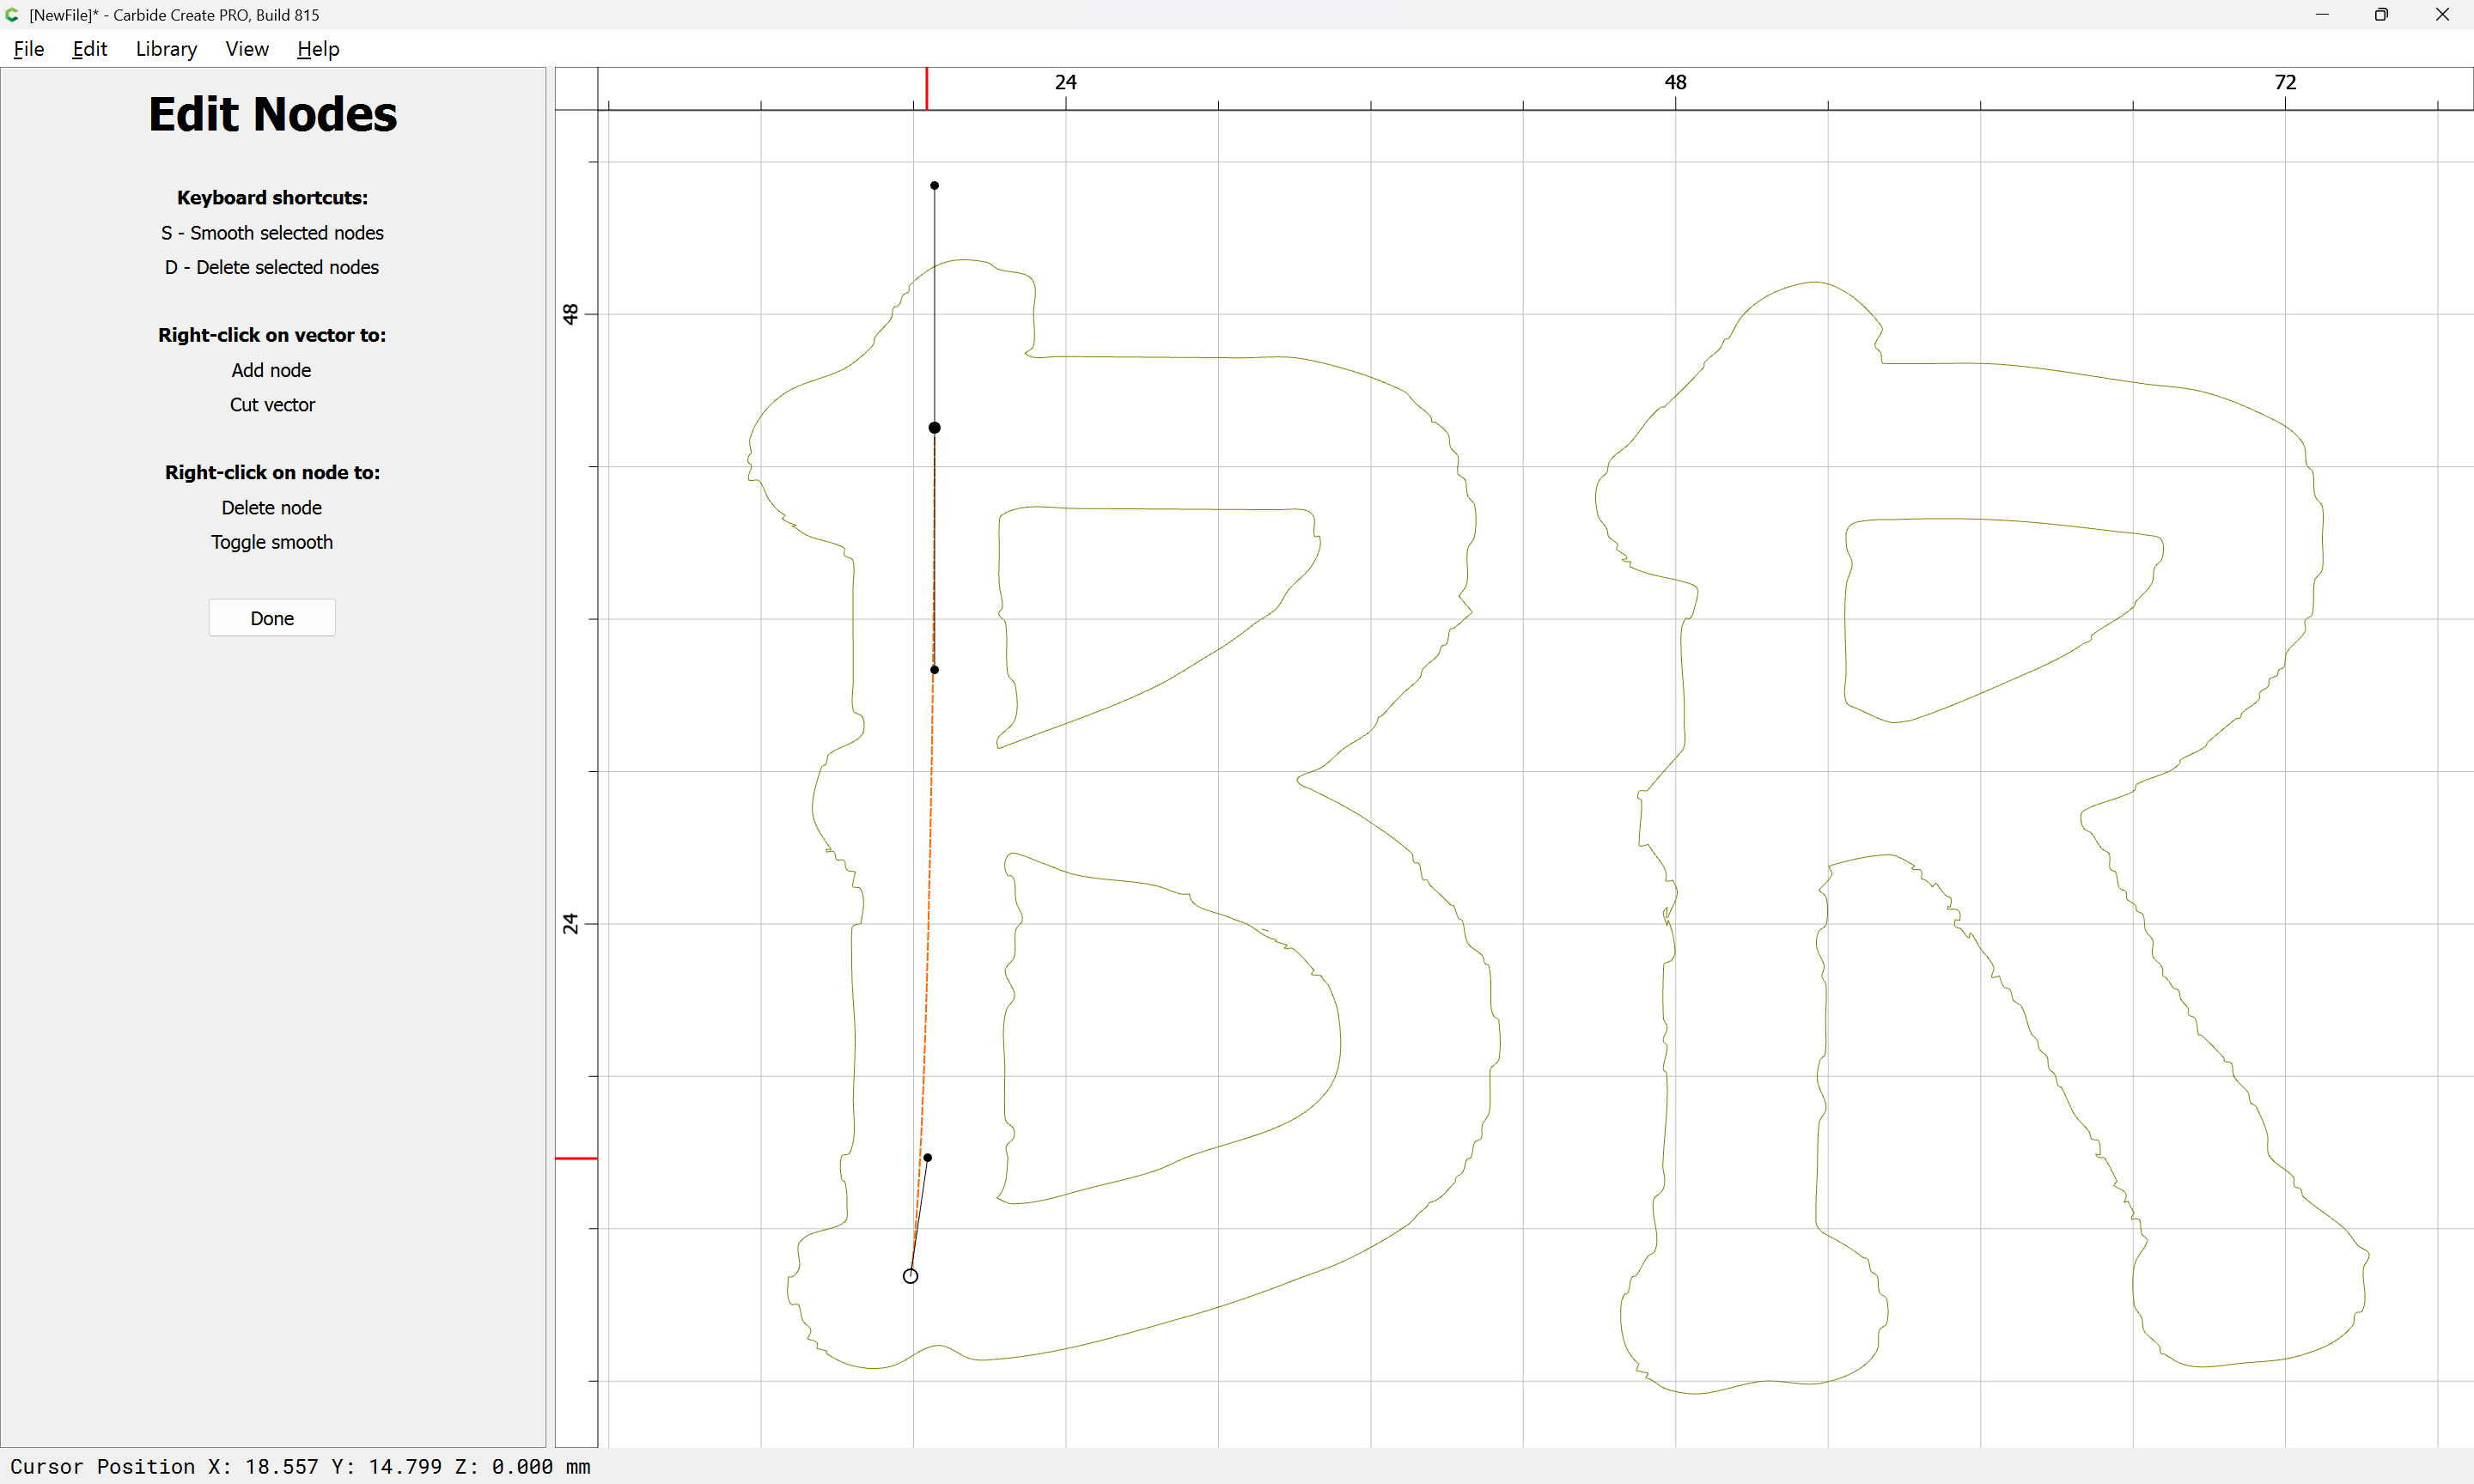
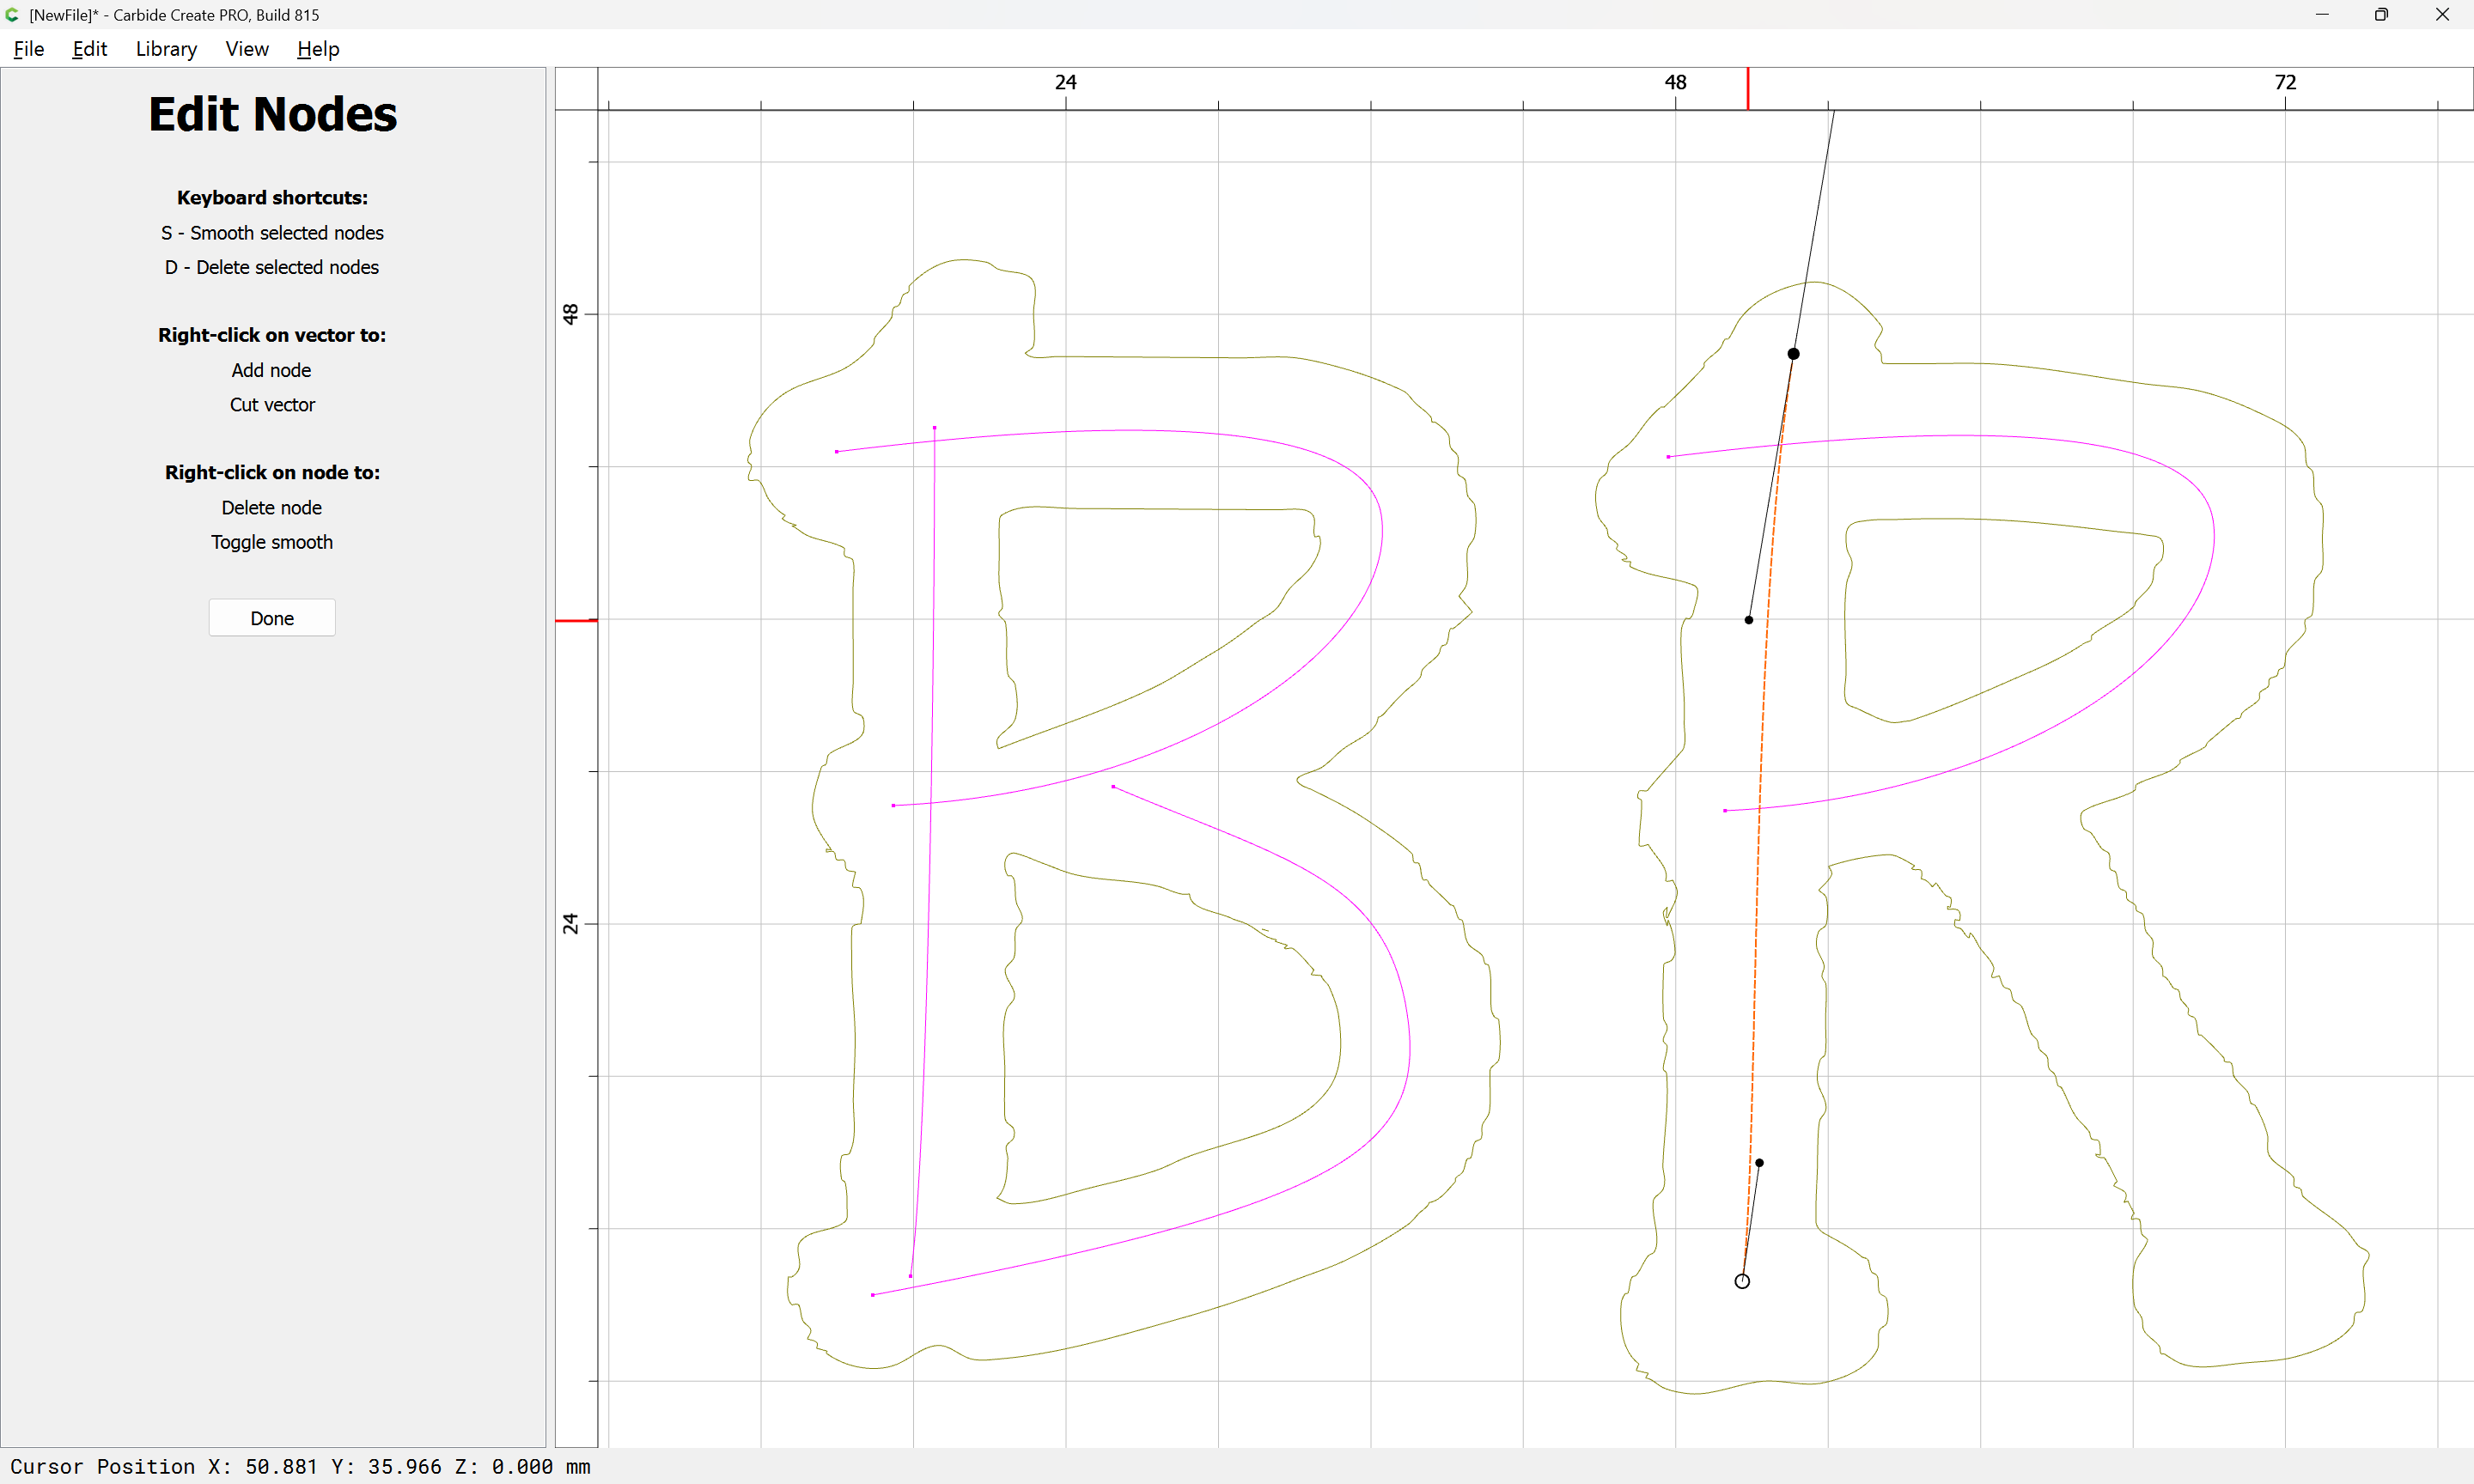
If desired, go into Node Edit mode to adjust:
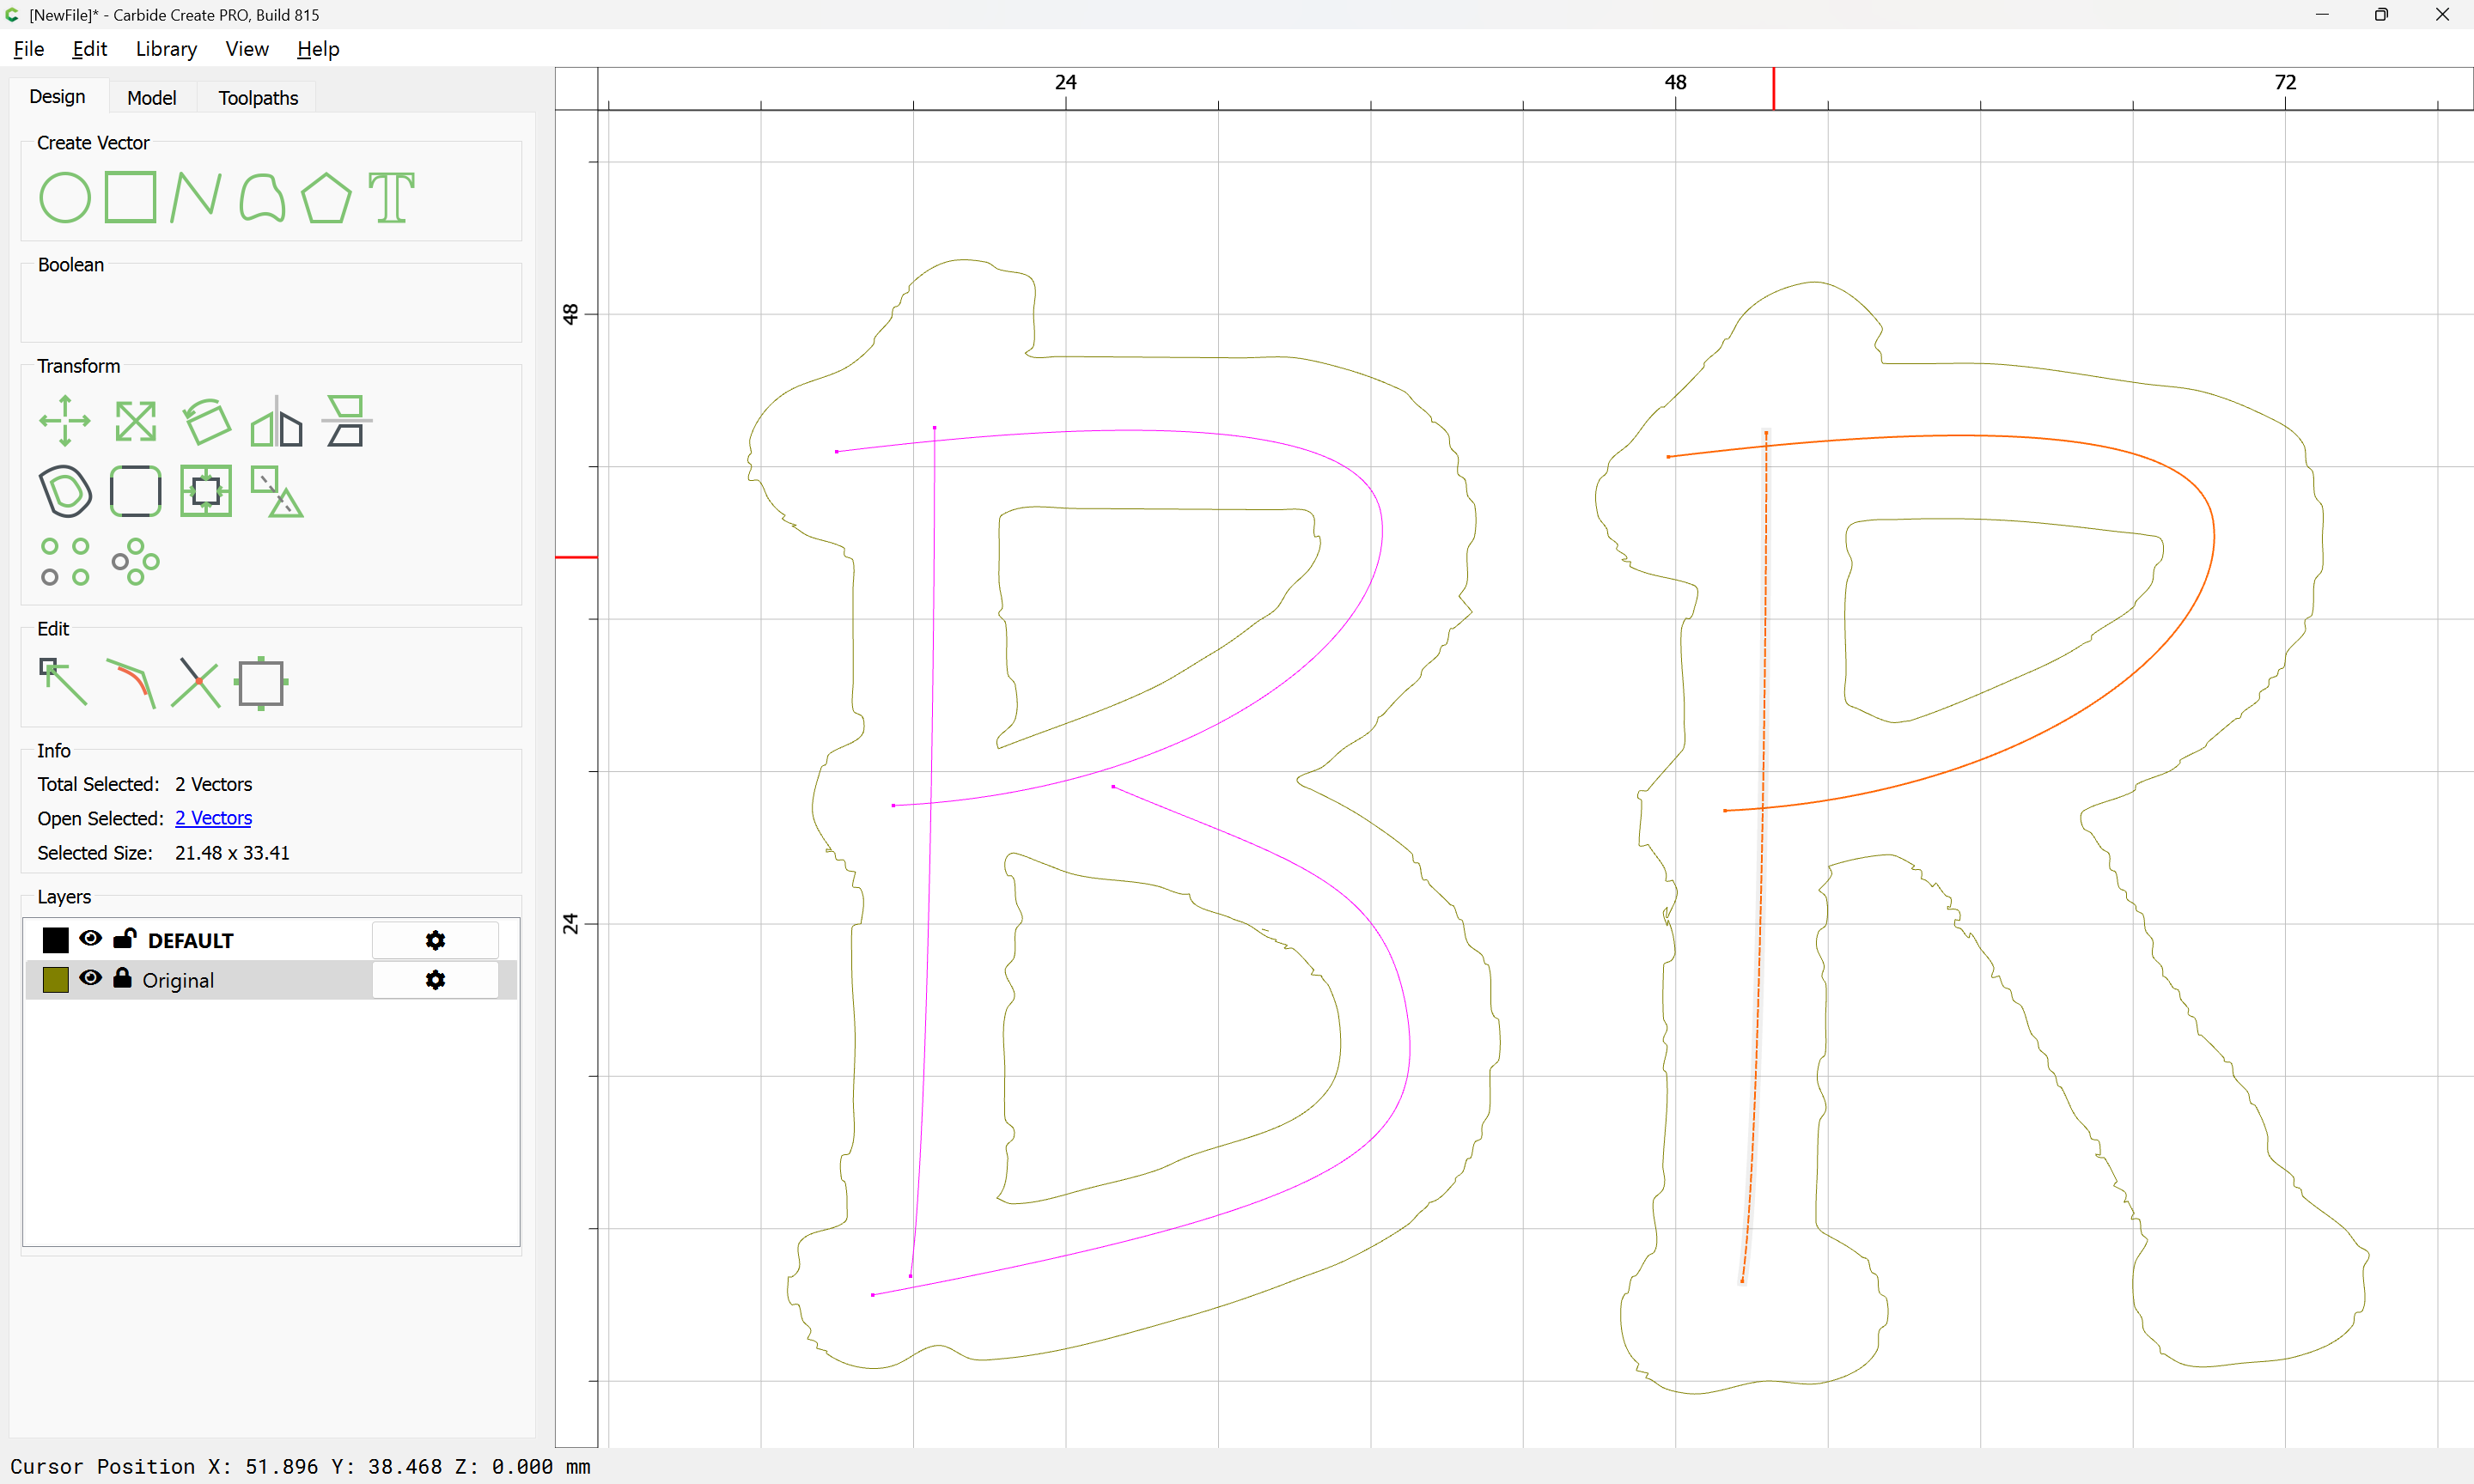
Repeat for each other stroke:
clicking “Done” at the end of each:
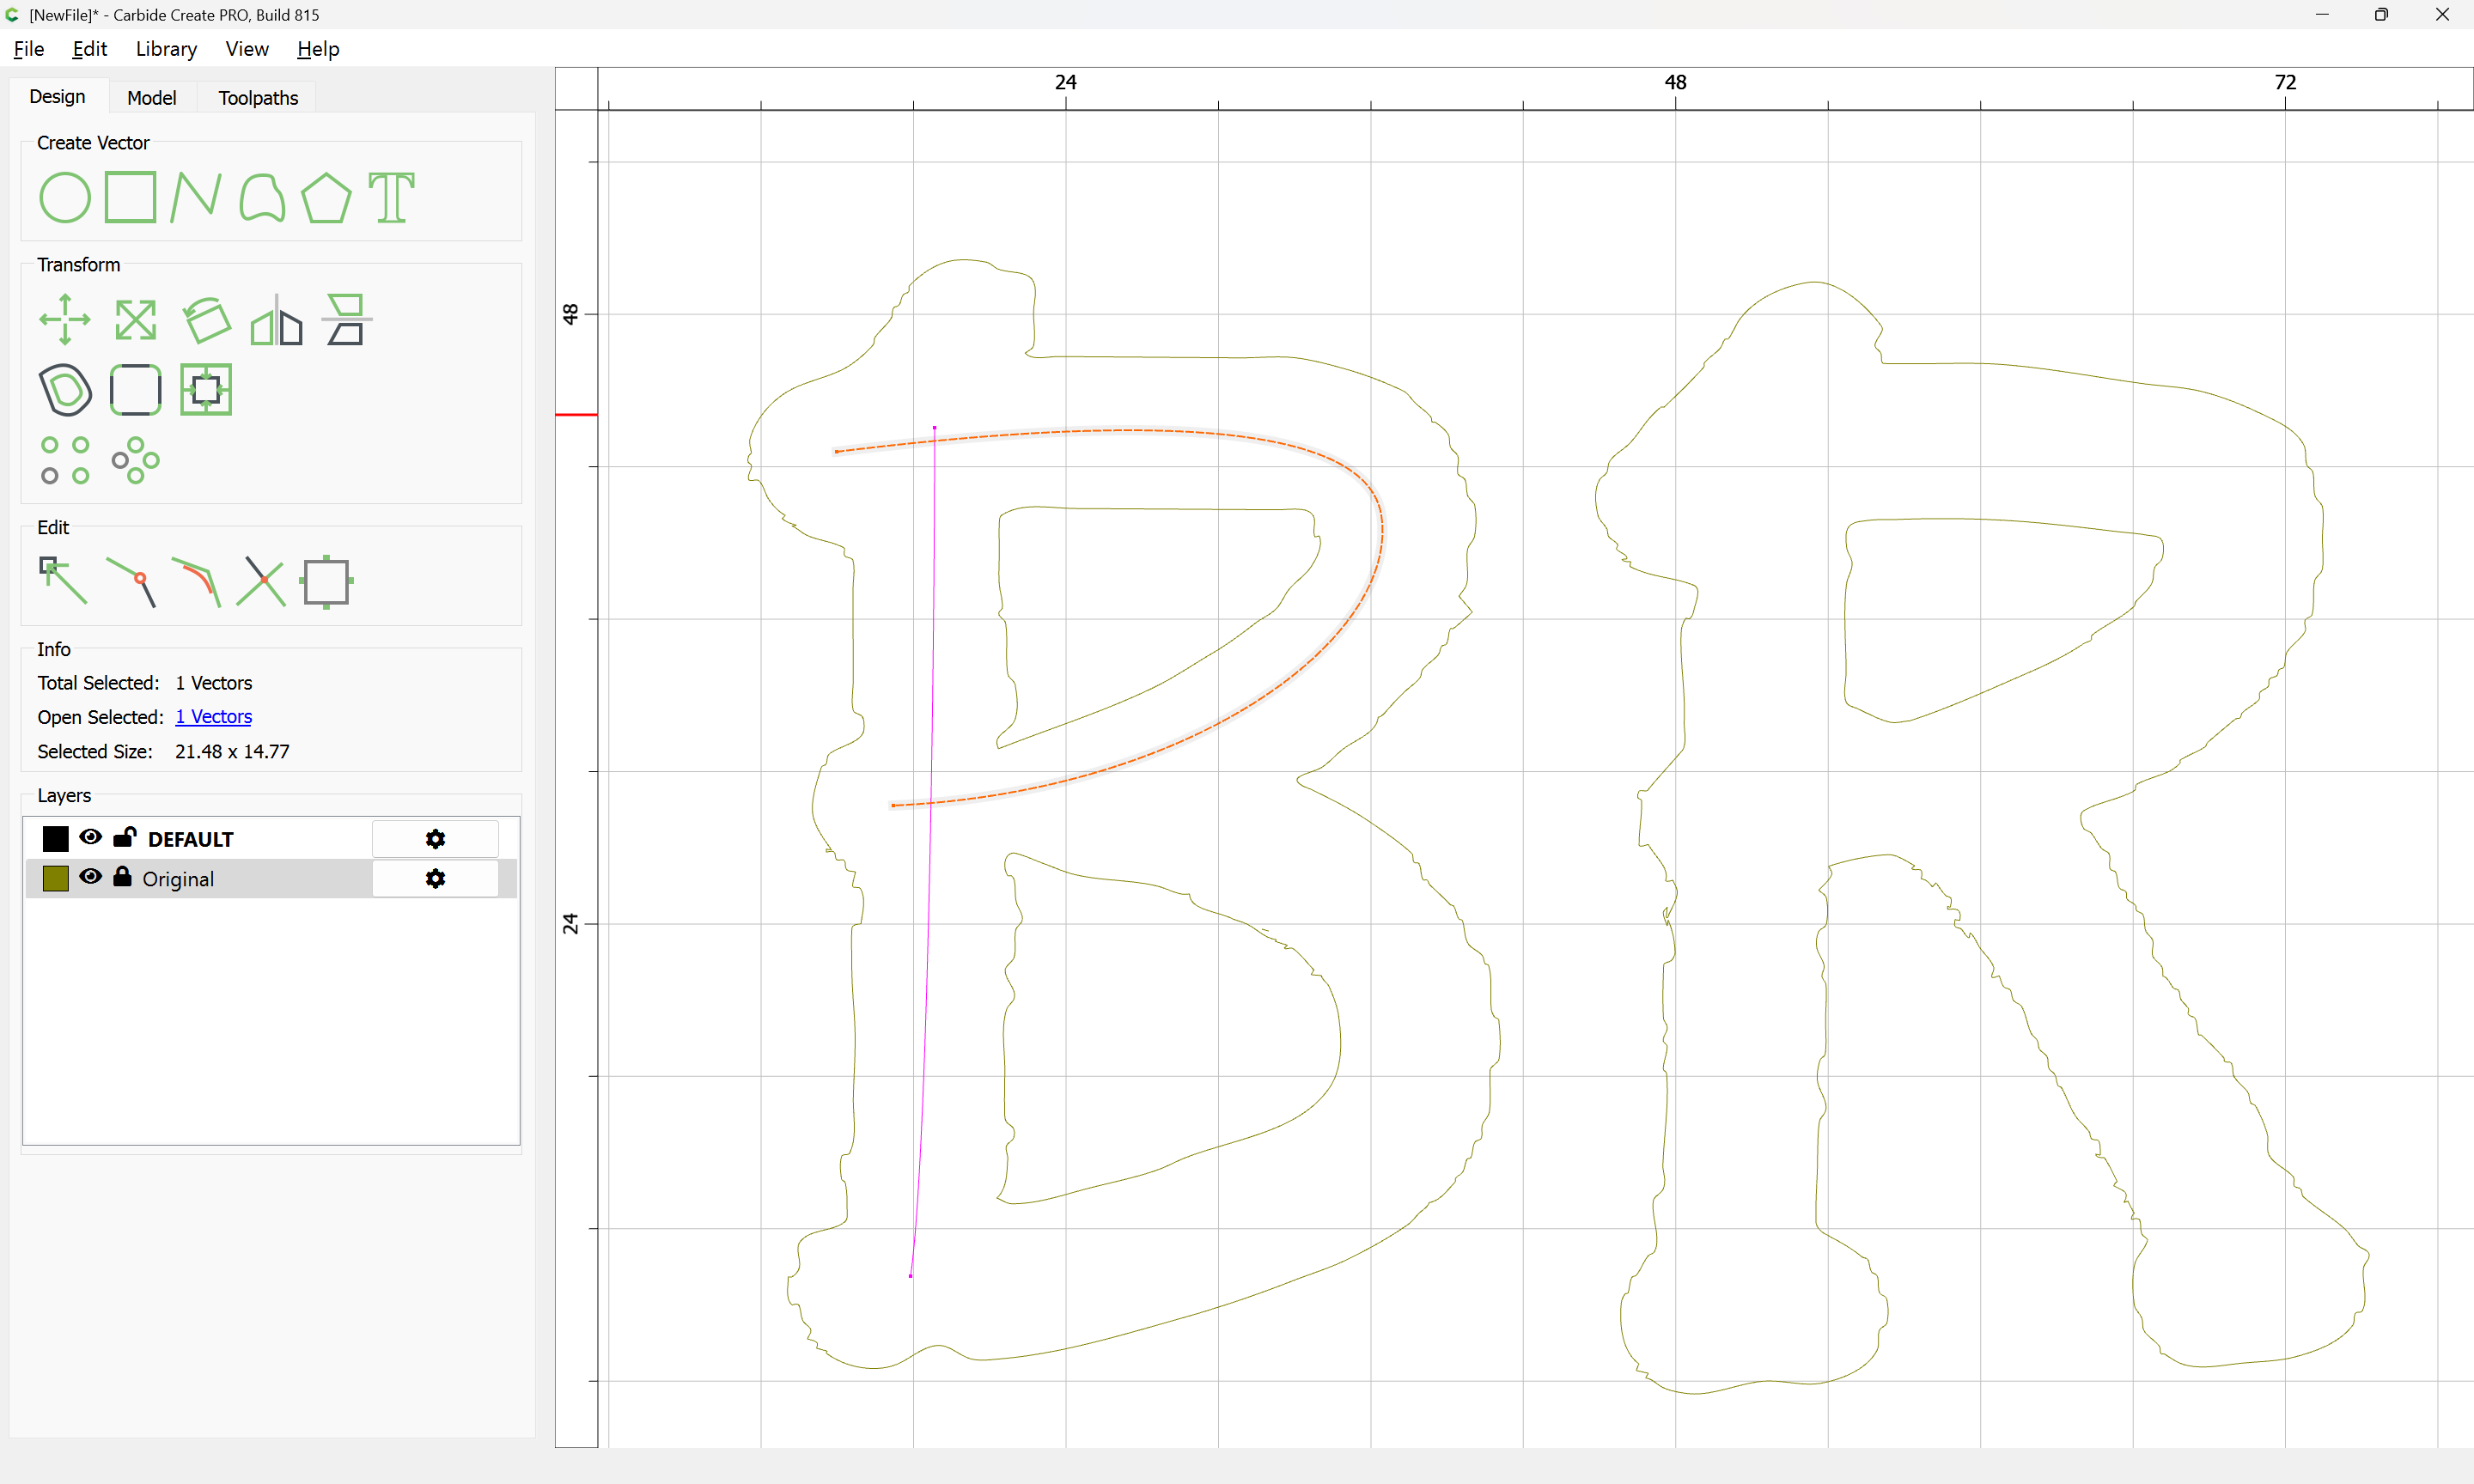
Where appropriate, strokes may be re-used by selecting:
and copy-pasting:
and dragging into position:
and adjusting:
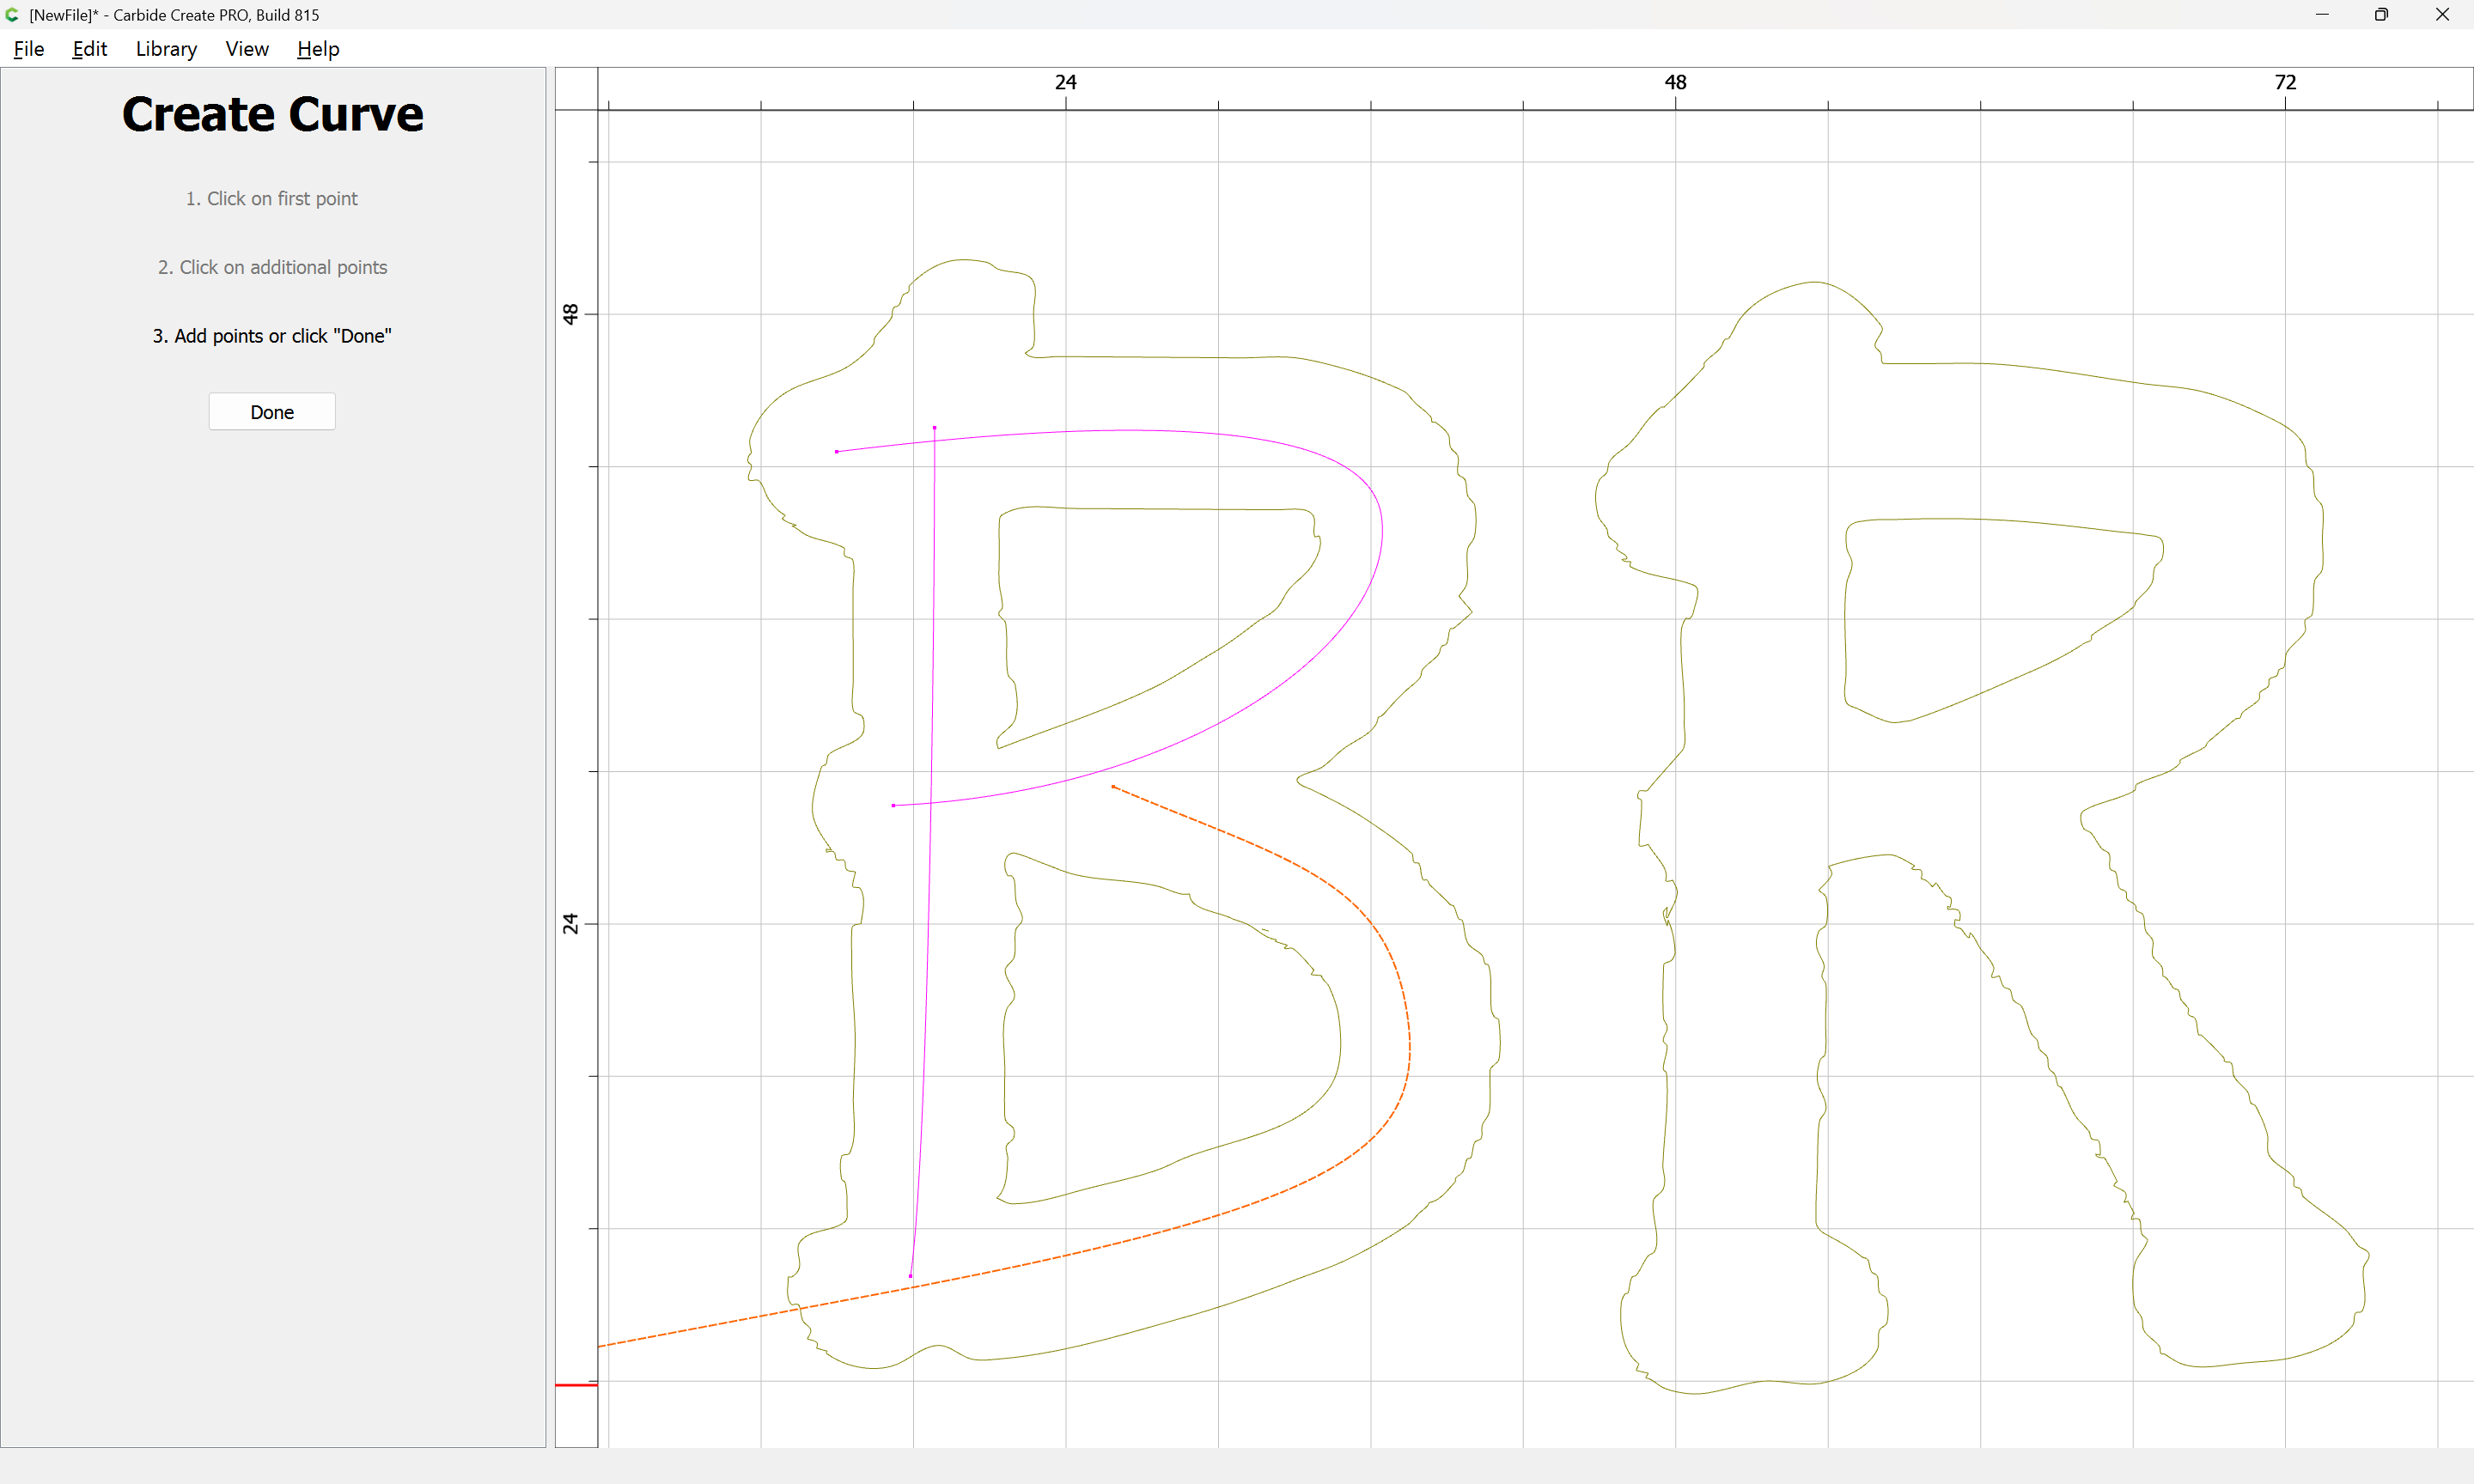
Note that it is possible to alt drag an off-curve node so as to create an asymmetric off-curve node placement:
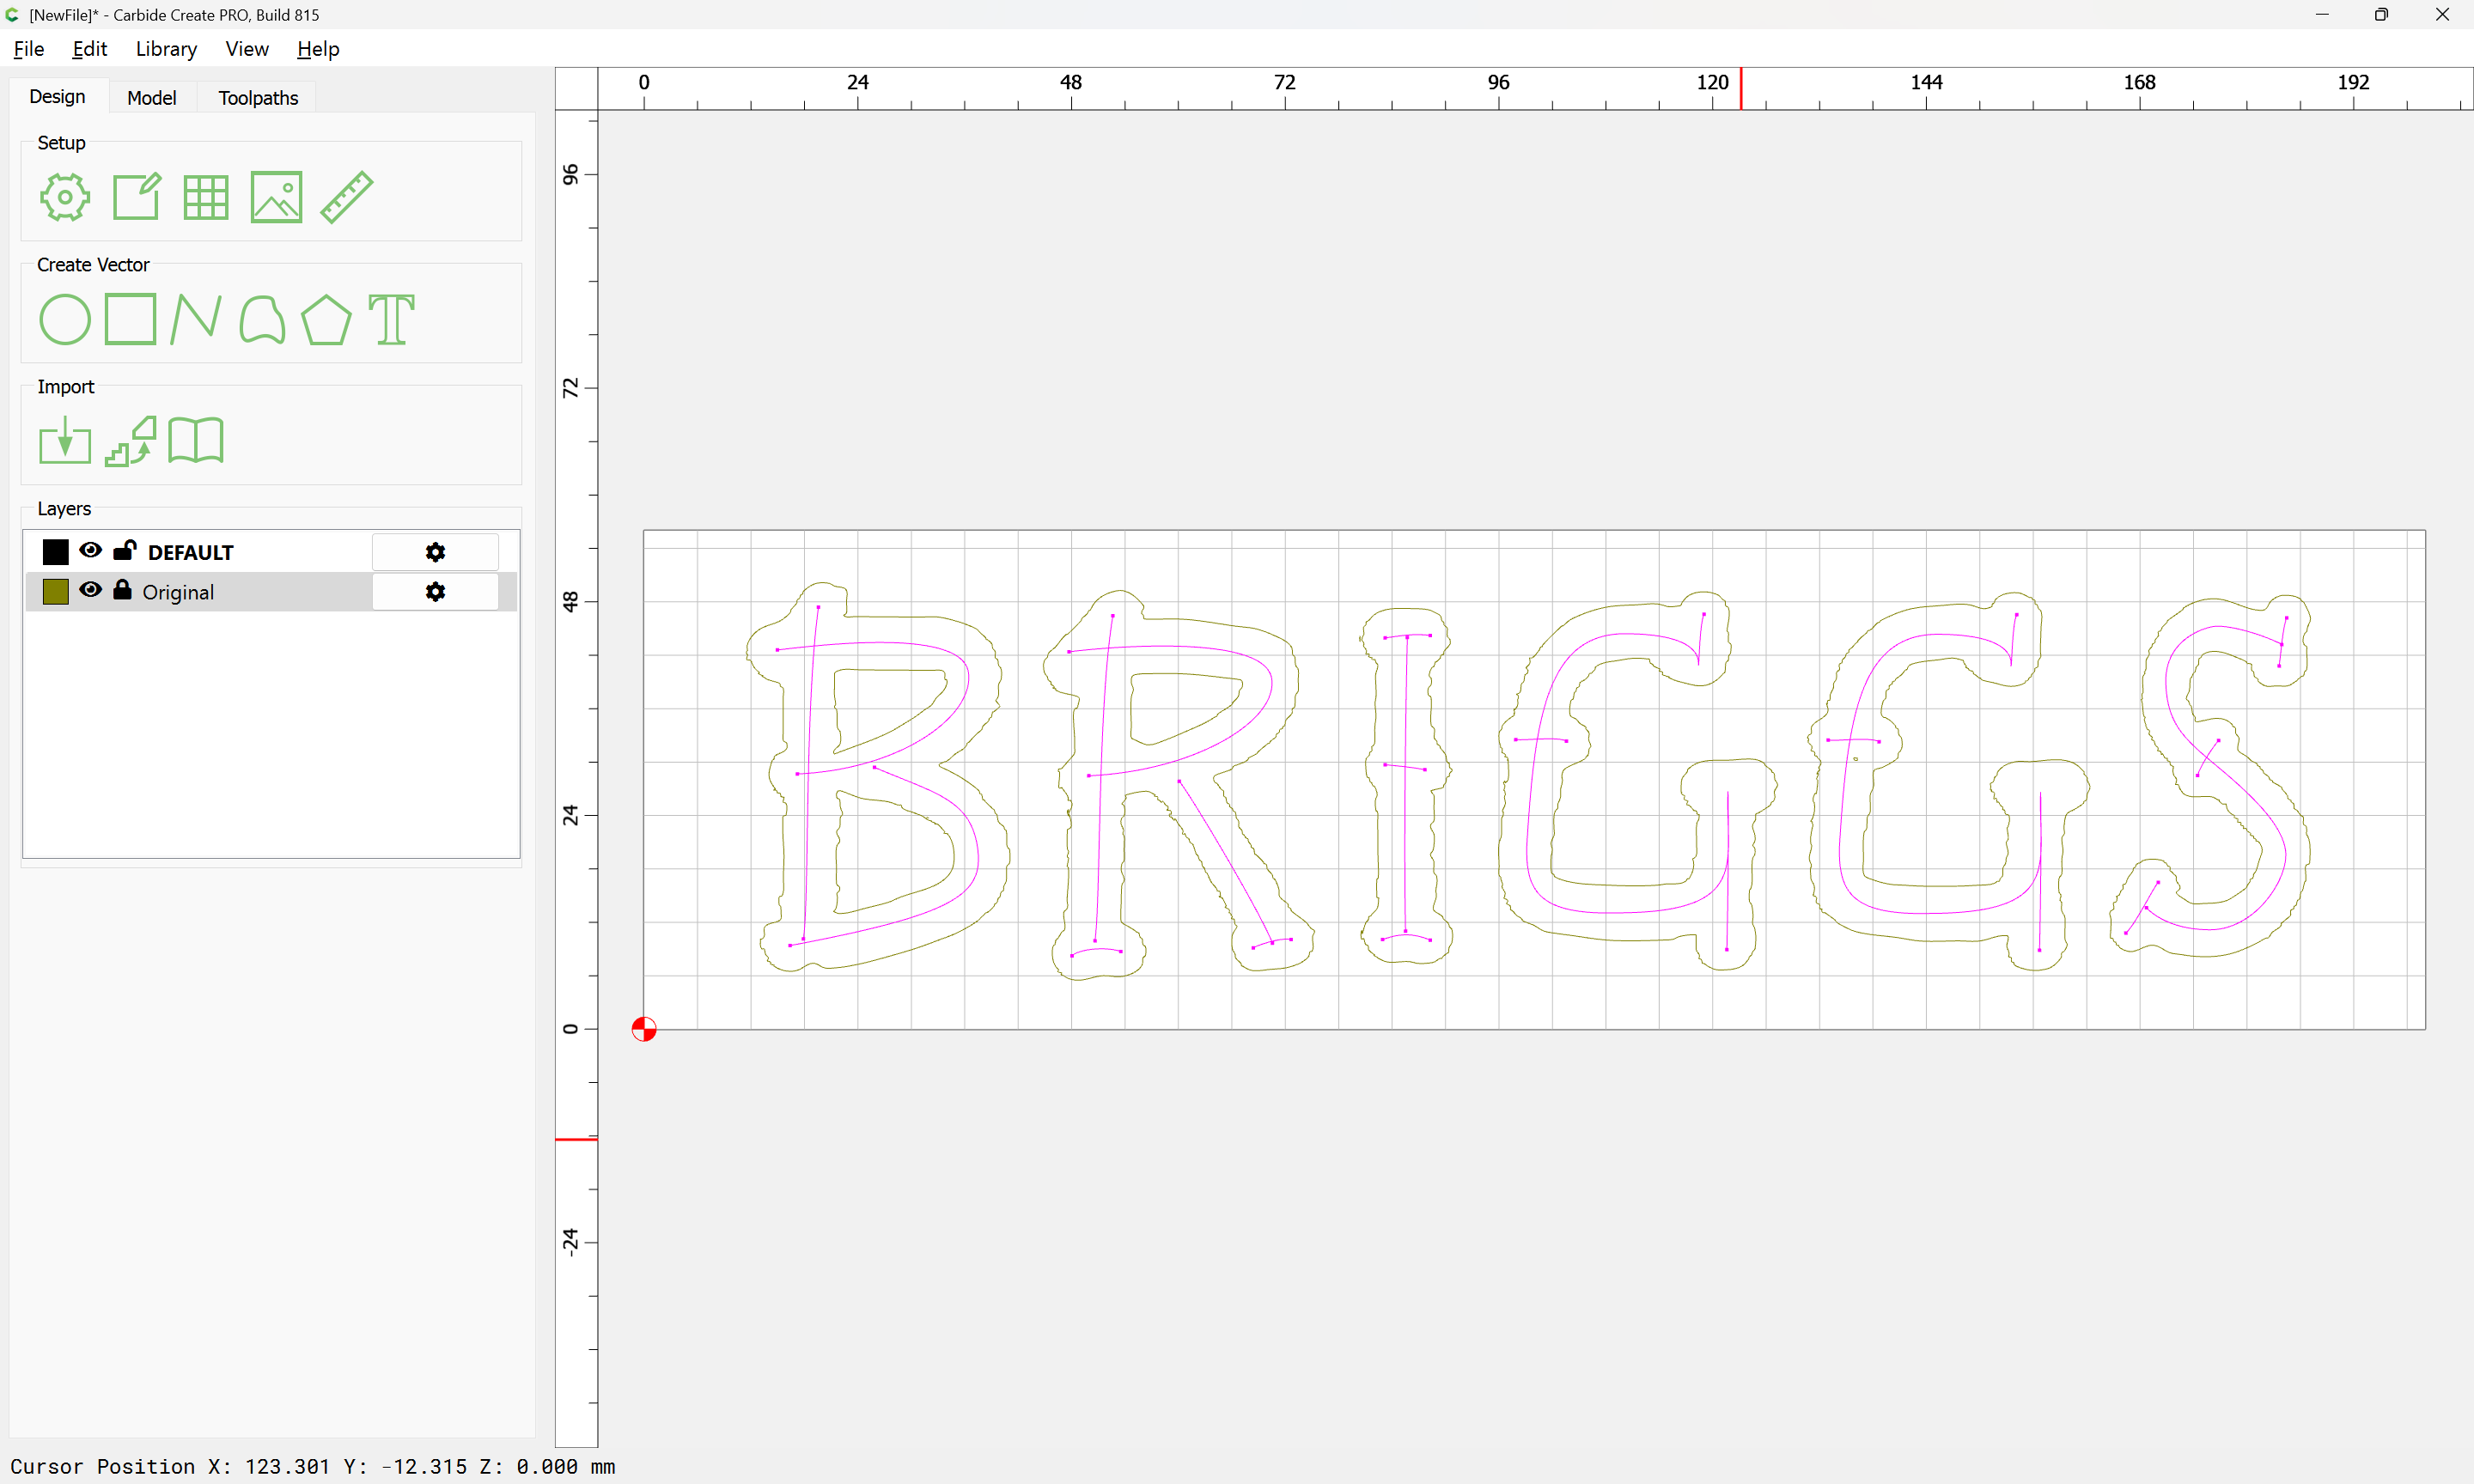
Repeat this process until you arrive at:
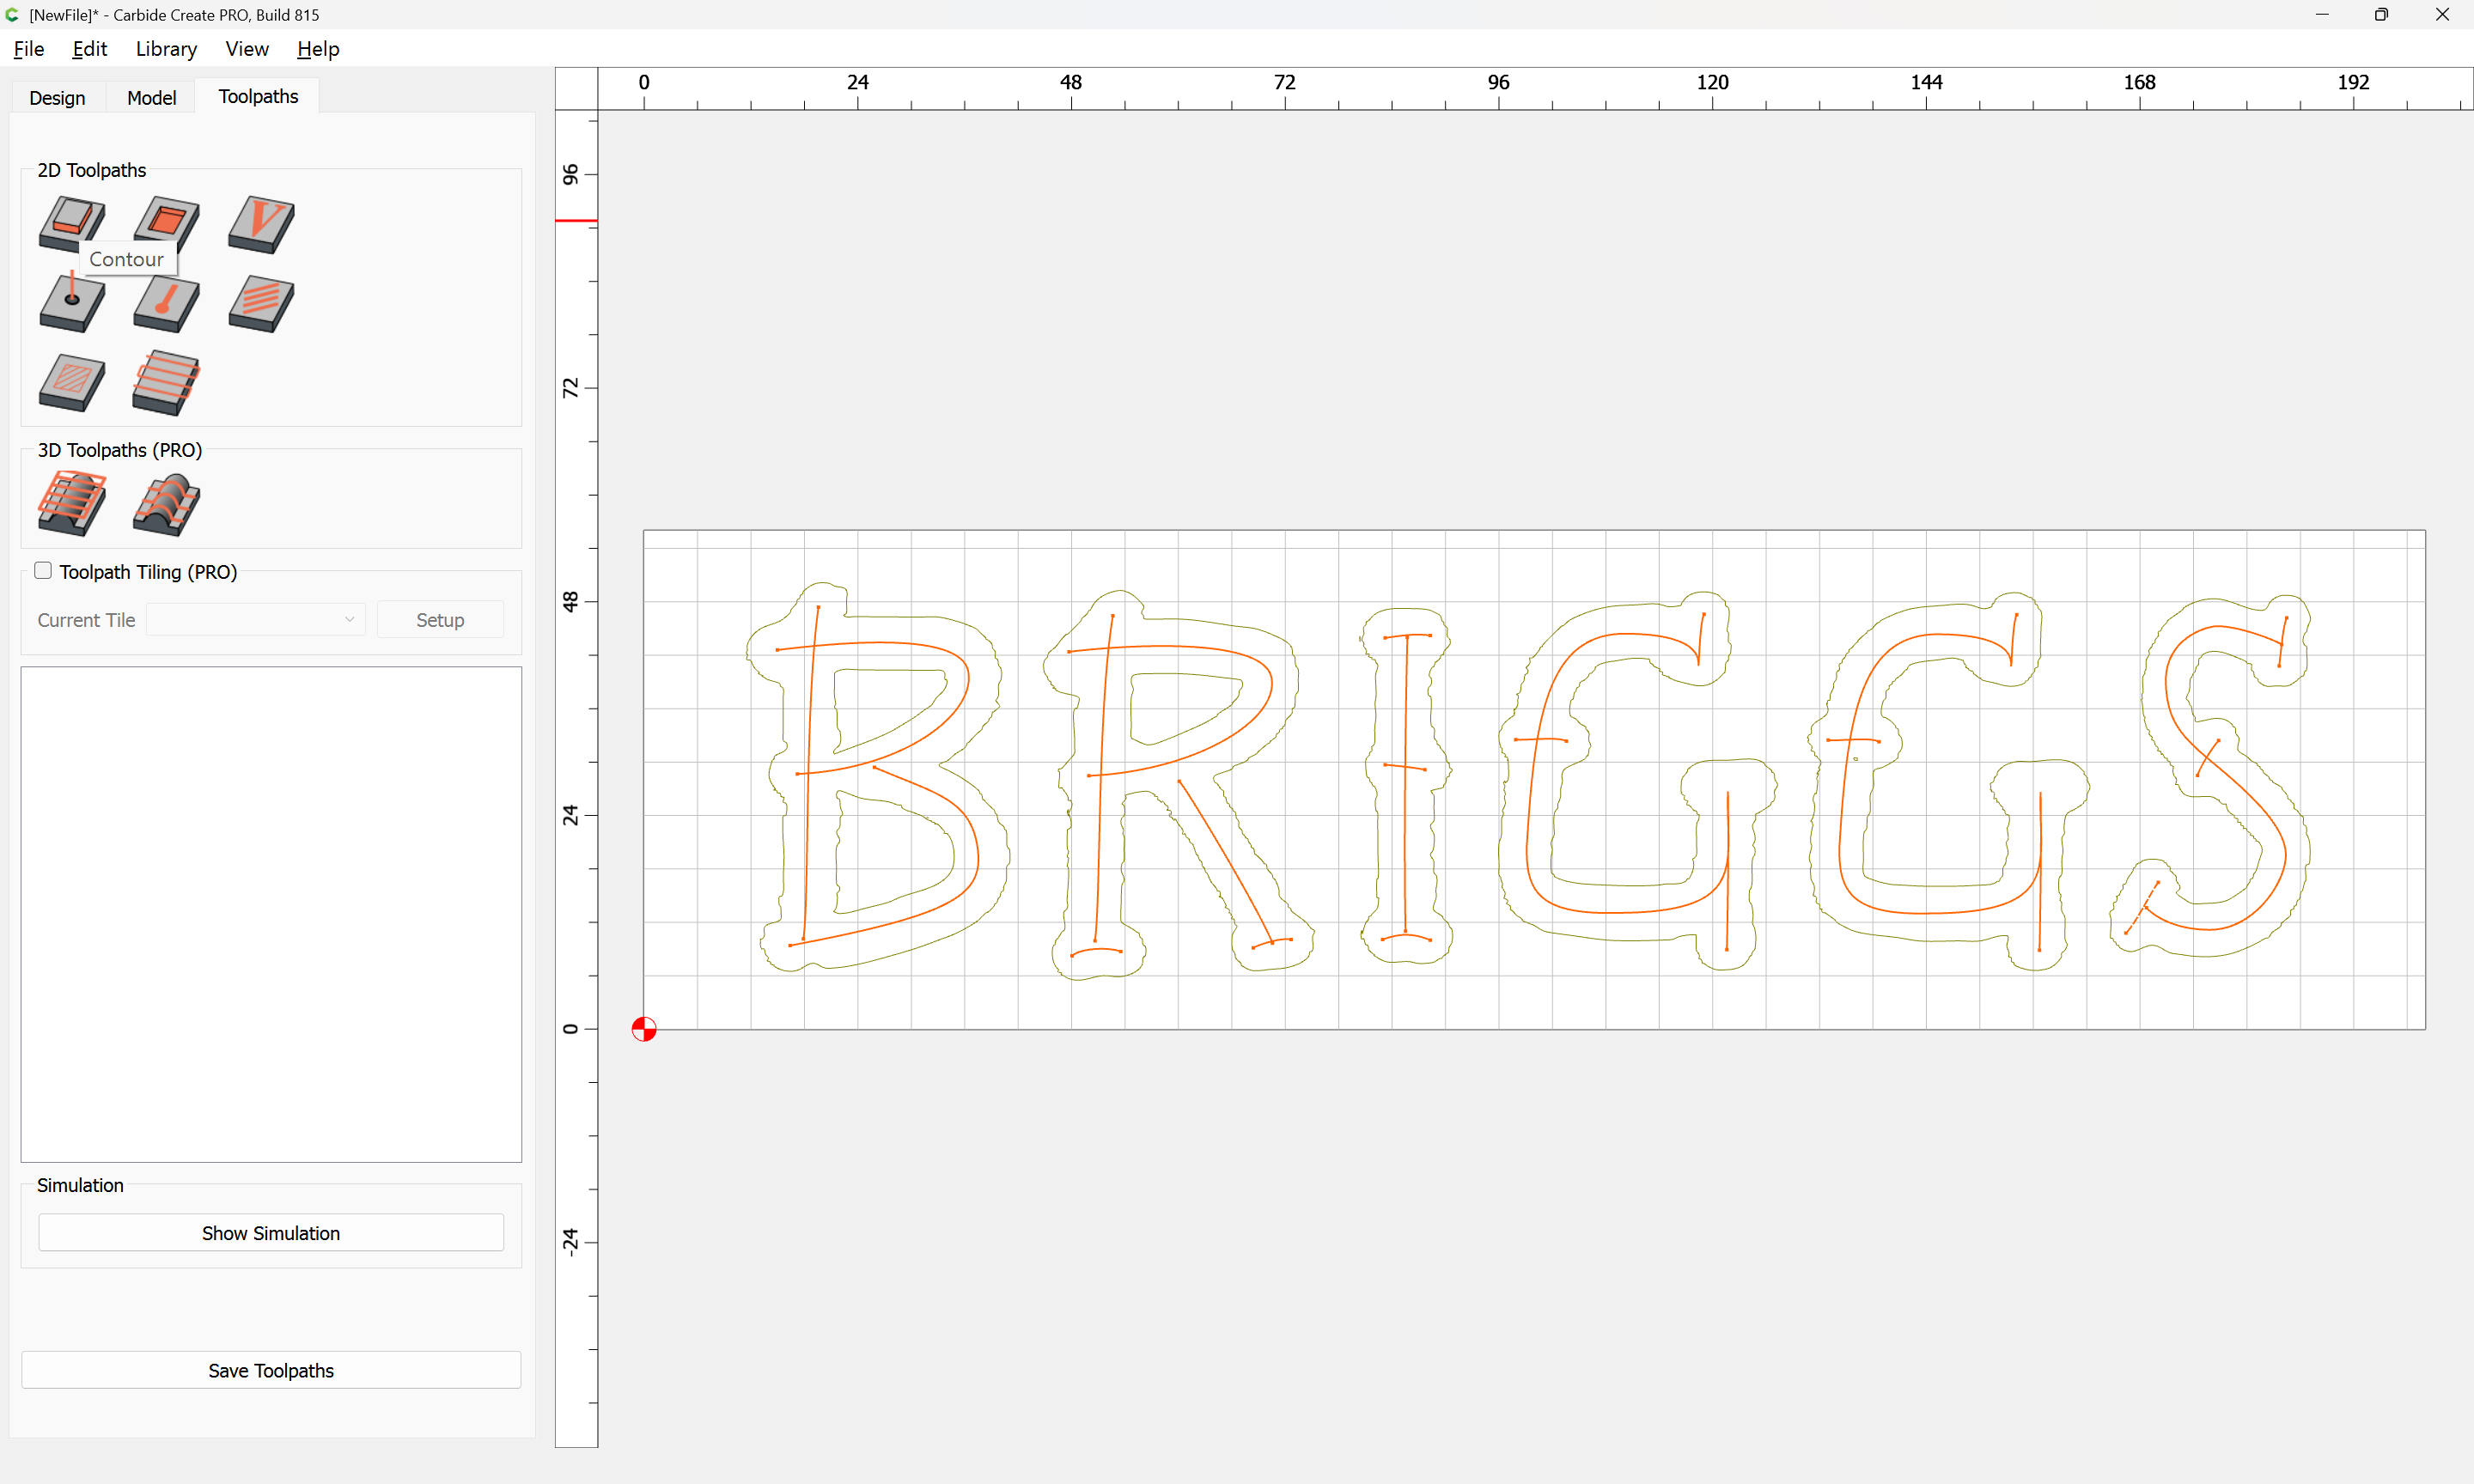
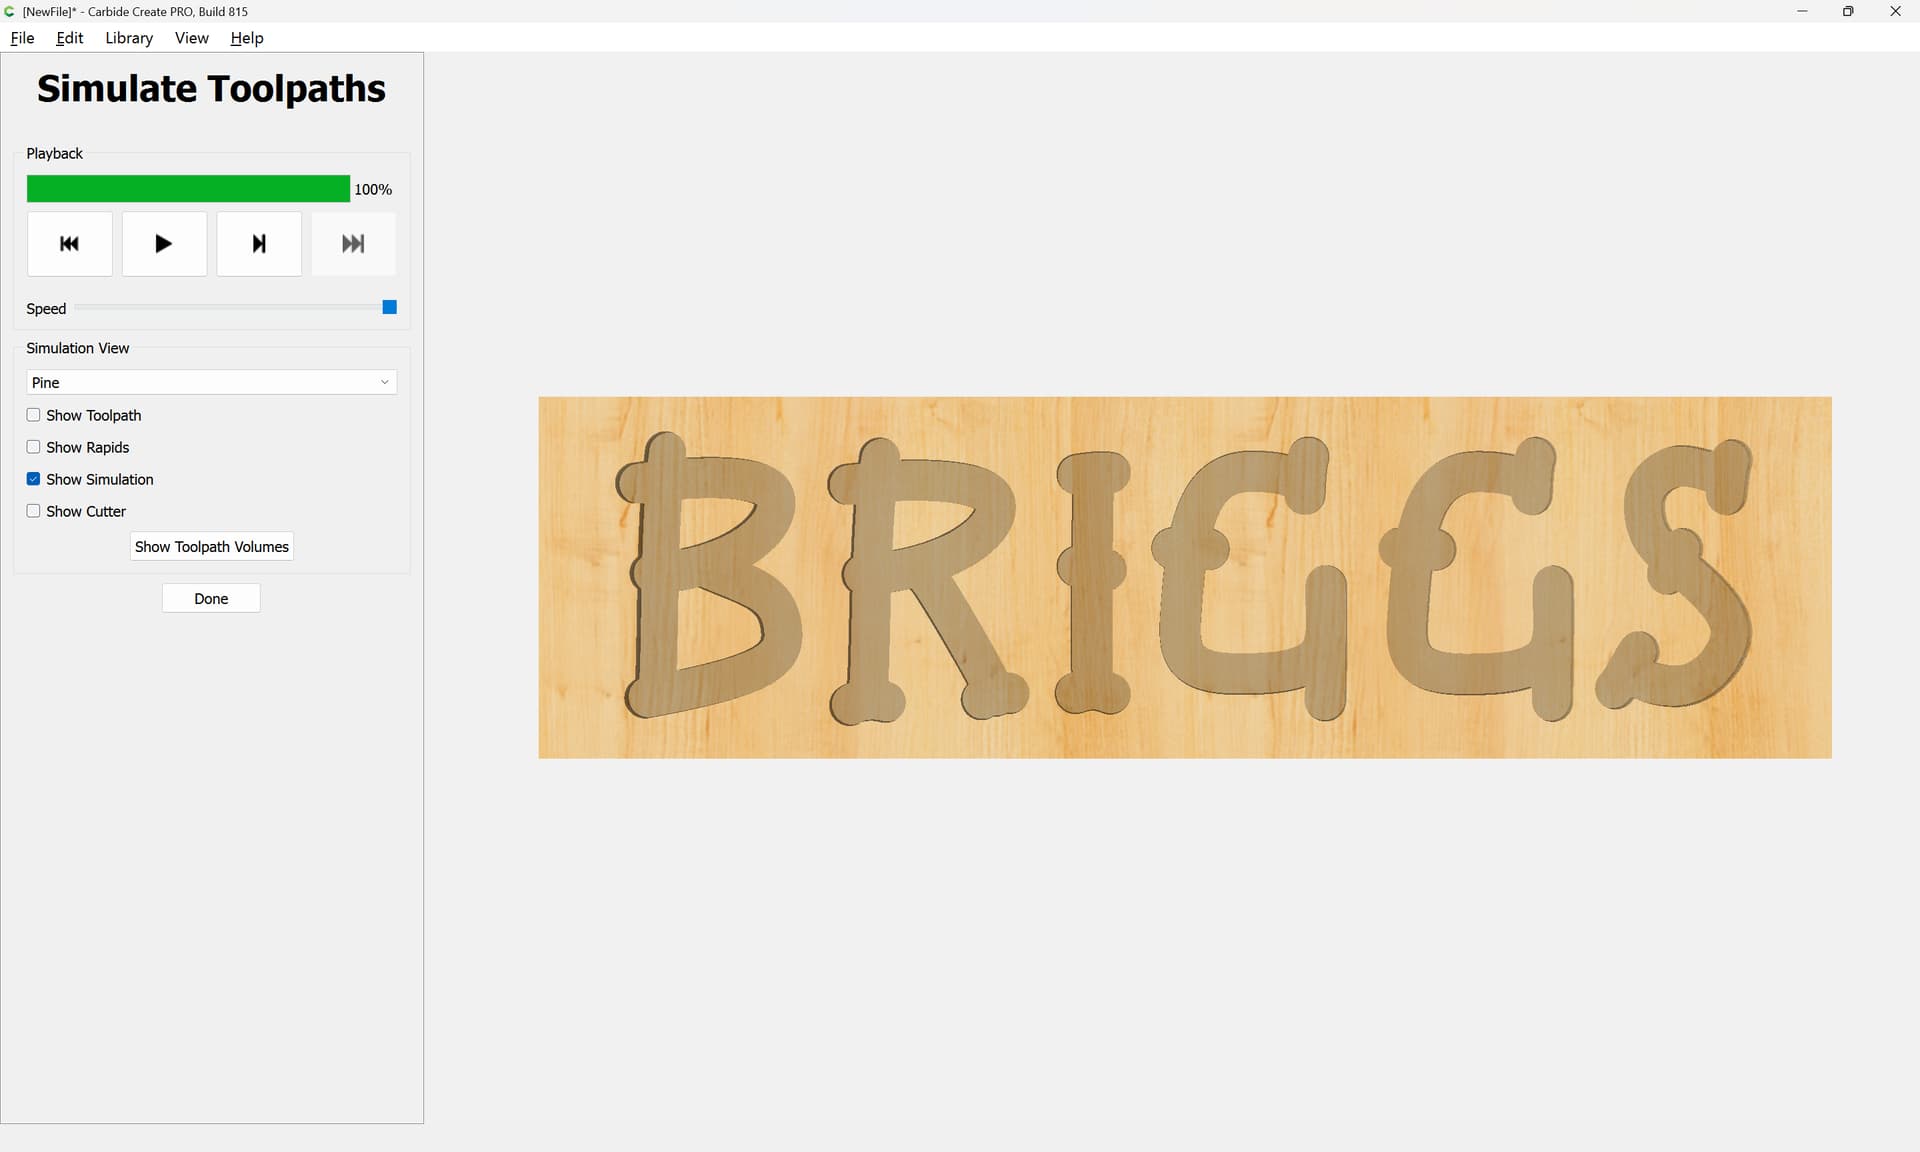
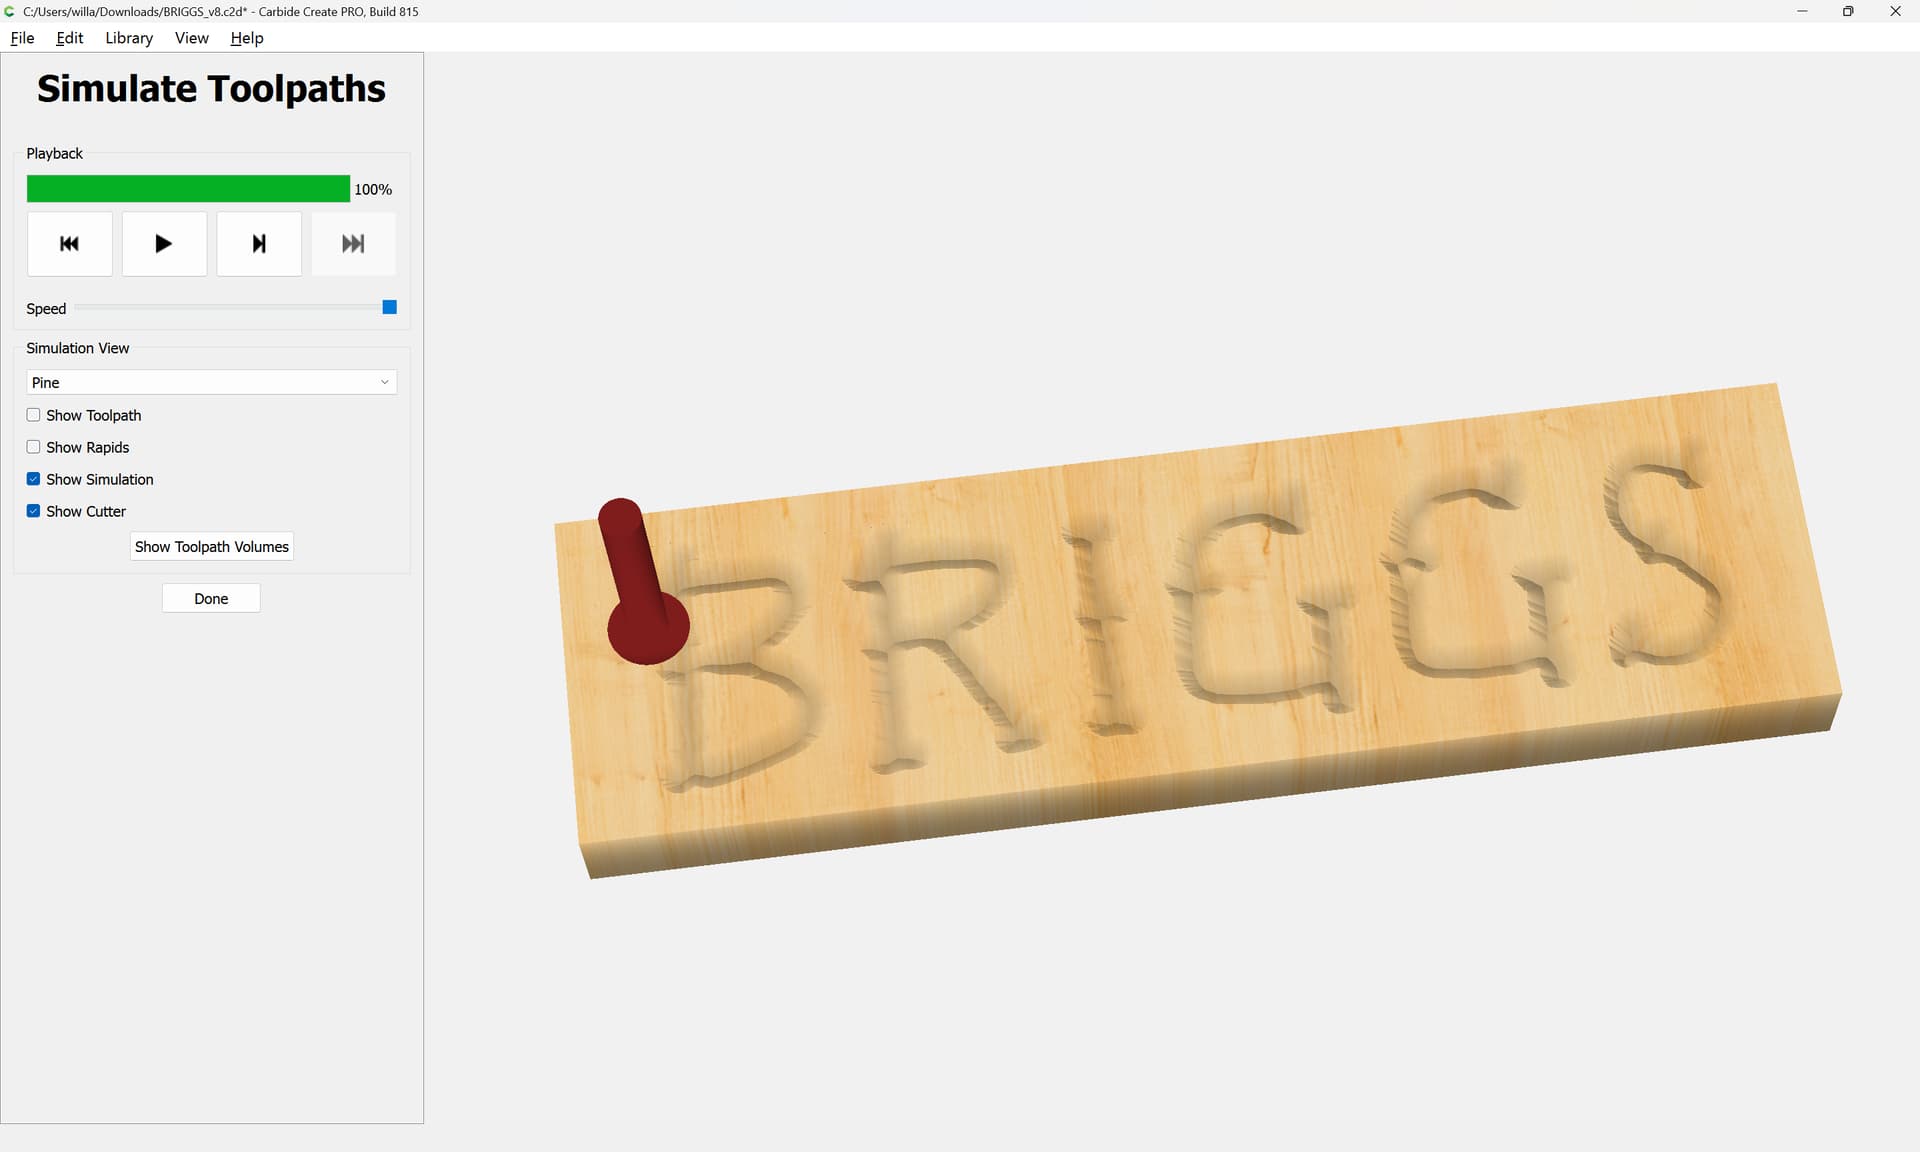
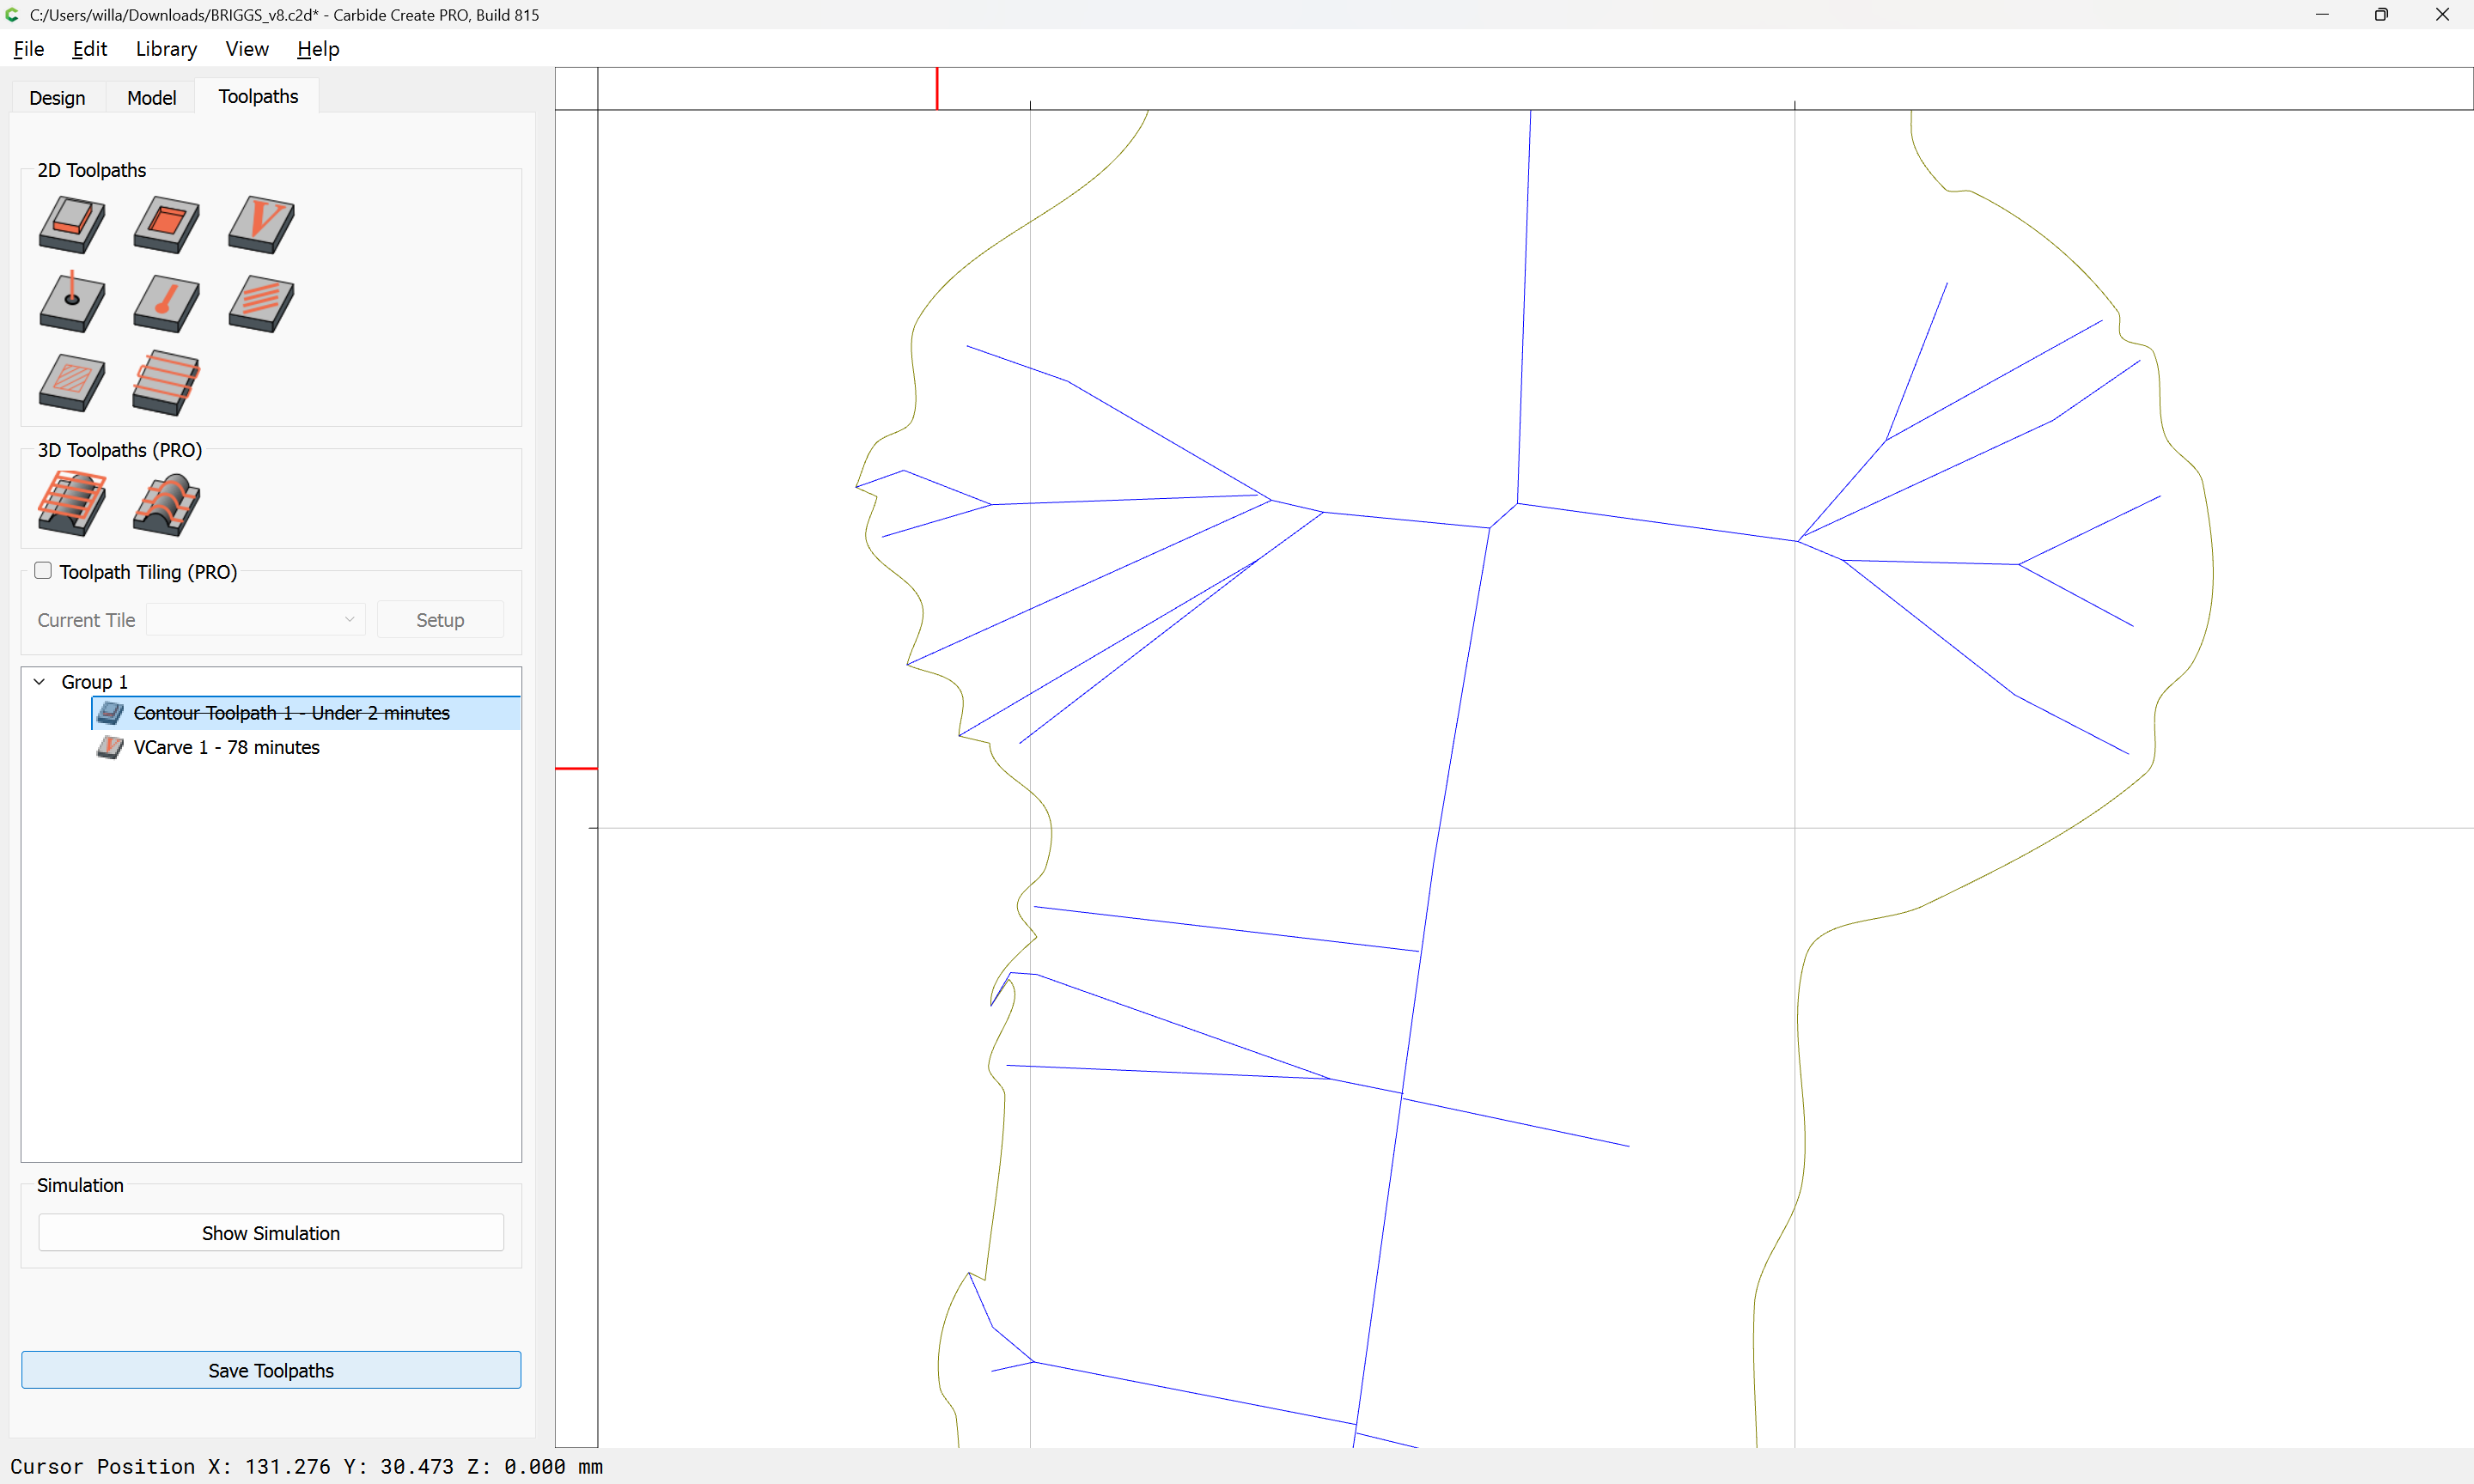
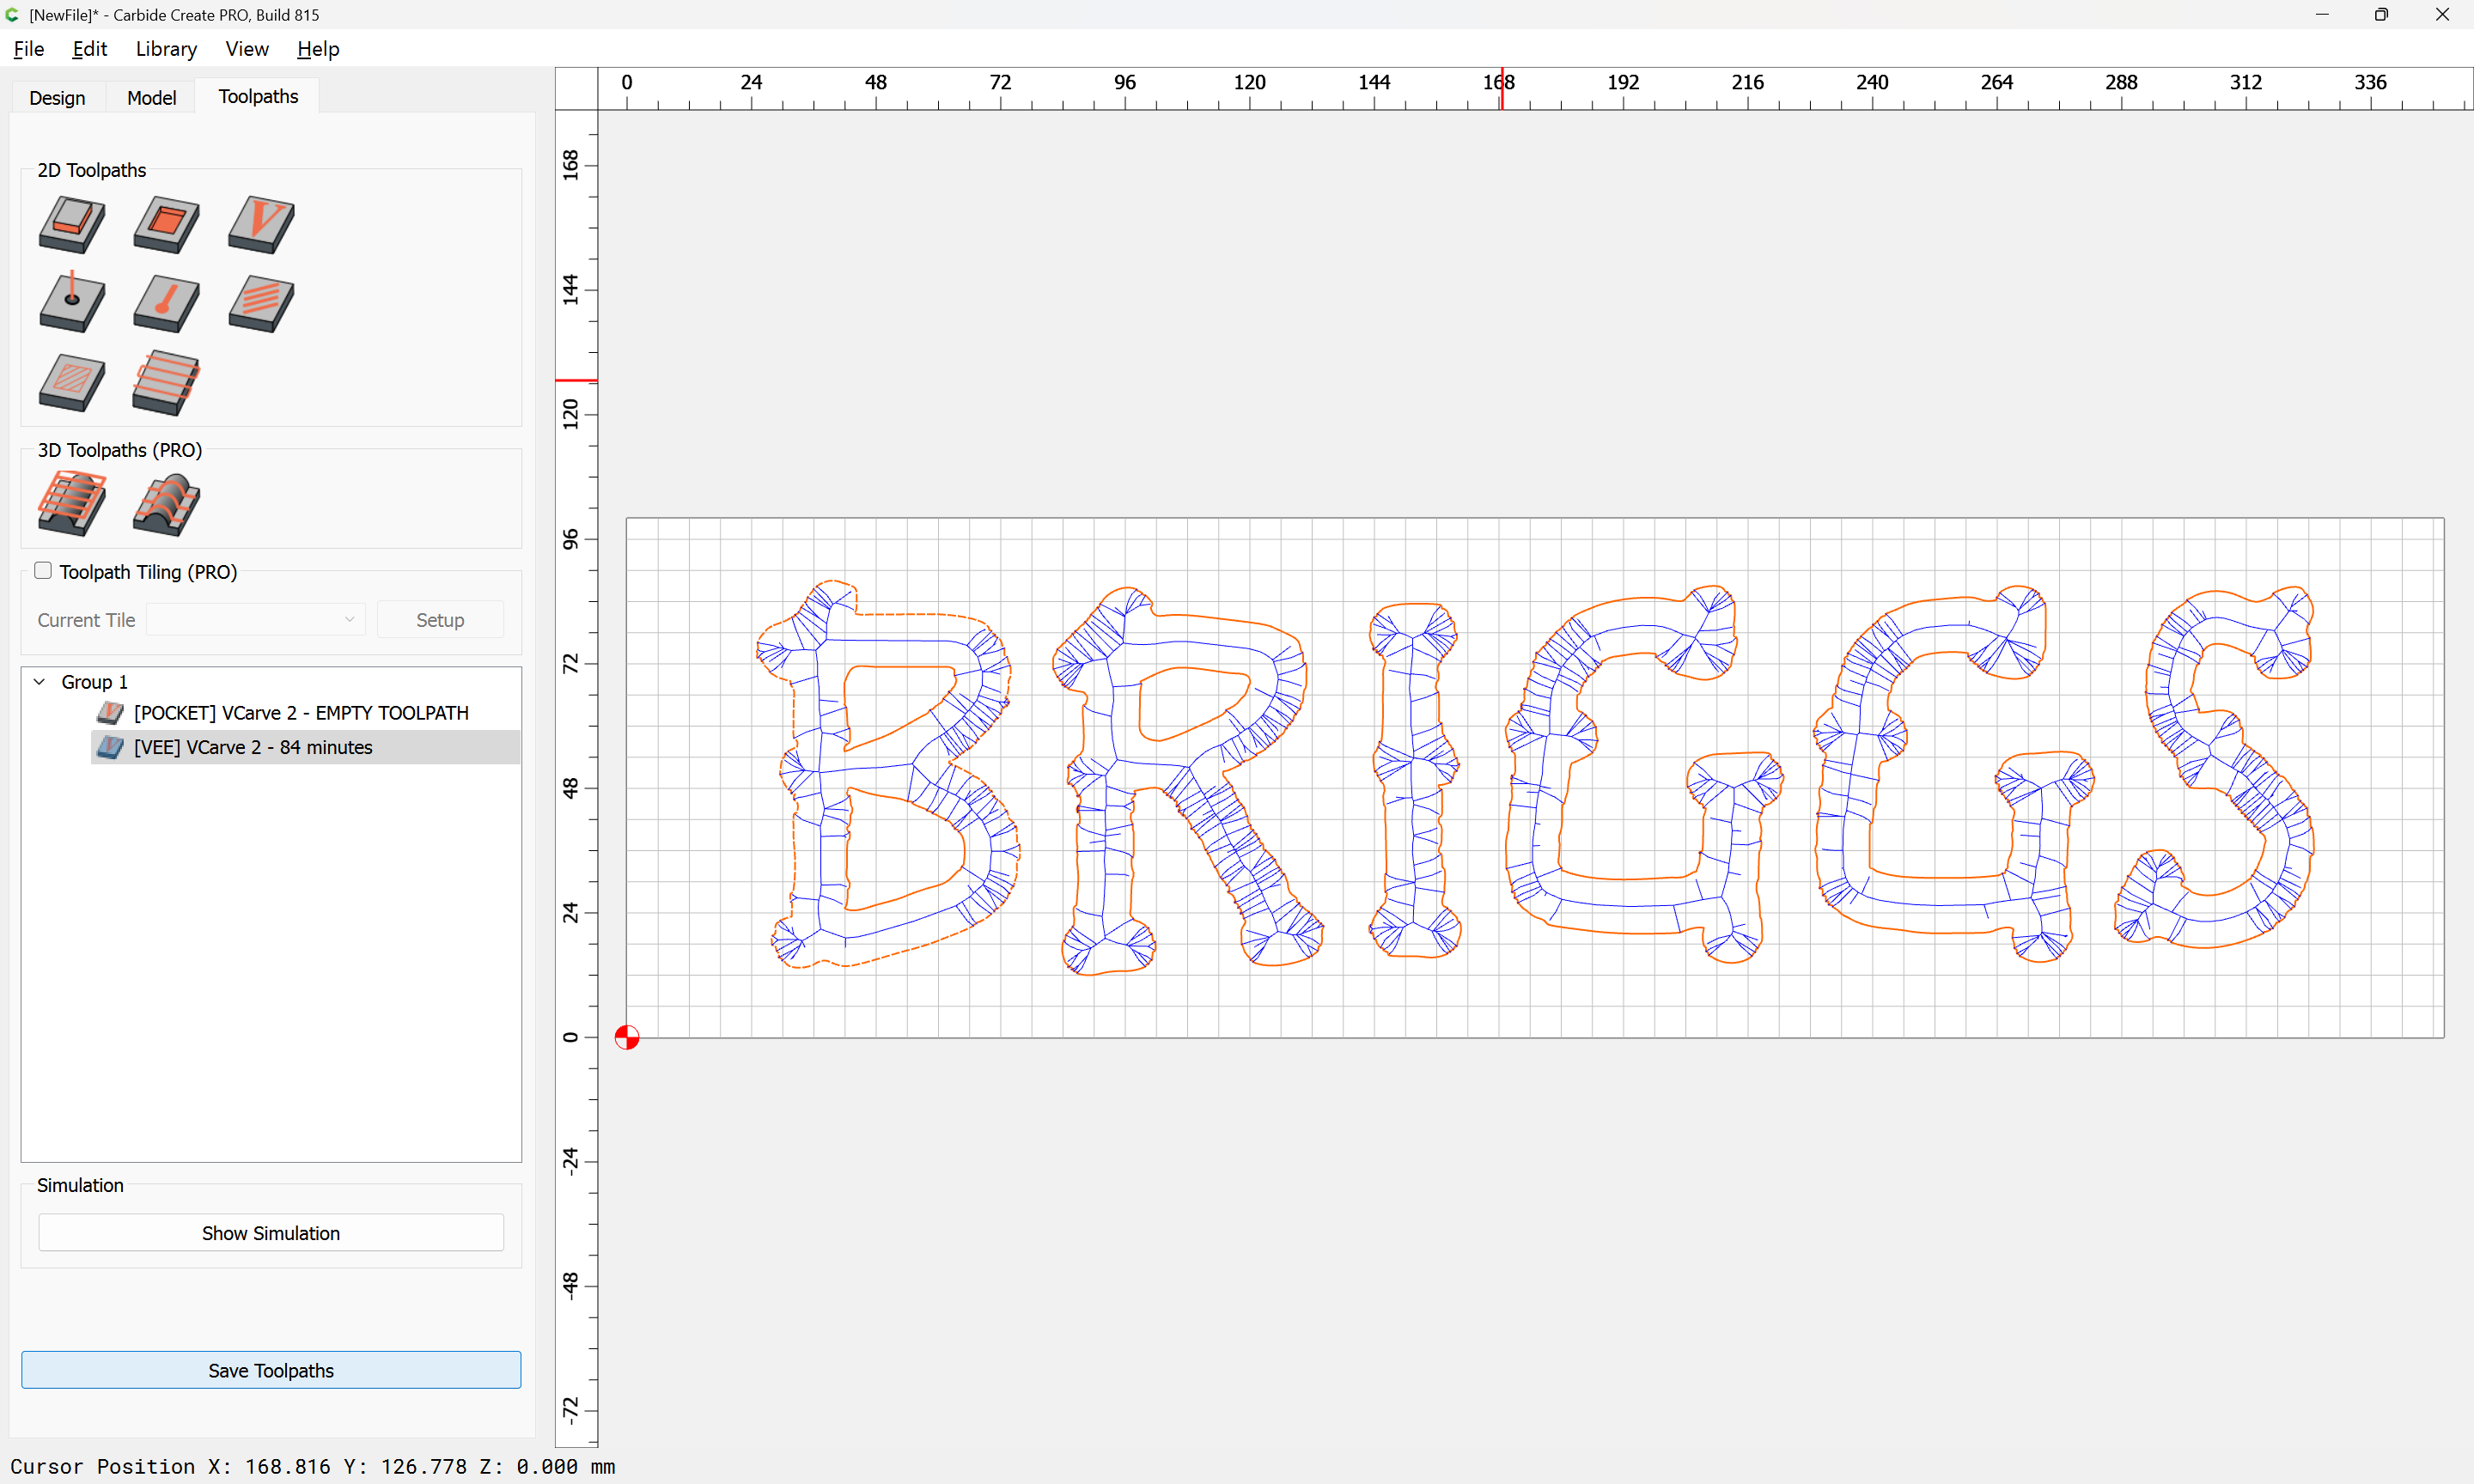
Then assign a No-Offset Contour toolpath to a reasonable depth:
which previews as:
attached as a v8 file.
BRIGGS_v8.c2d (236 KB)
an alternate drawing tool which you may find easier (esp. if you have access to a drawing tablet w/ a stylus) is:
https://www.wickeditor.com/editor/
which works much like to Futurewave Smartsketch (which eventually became Macromedia Flash).
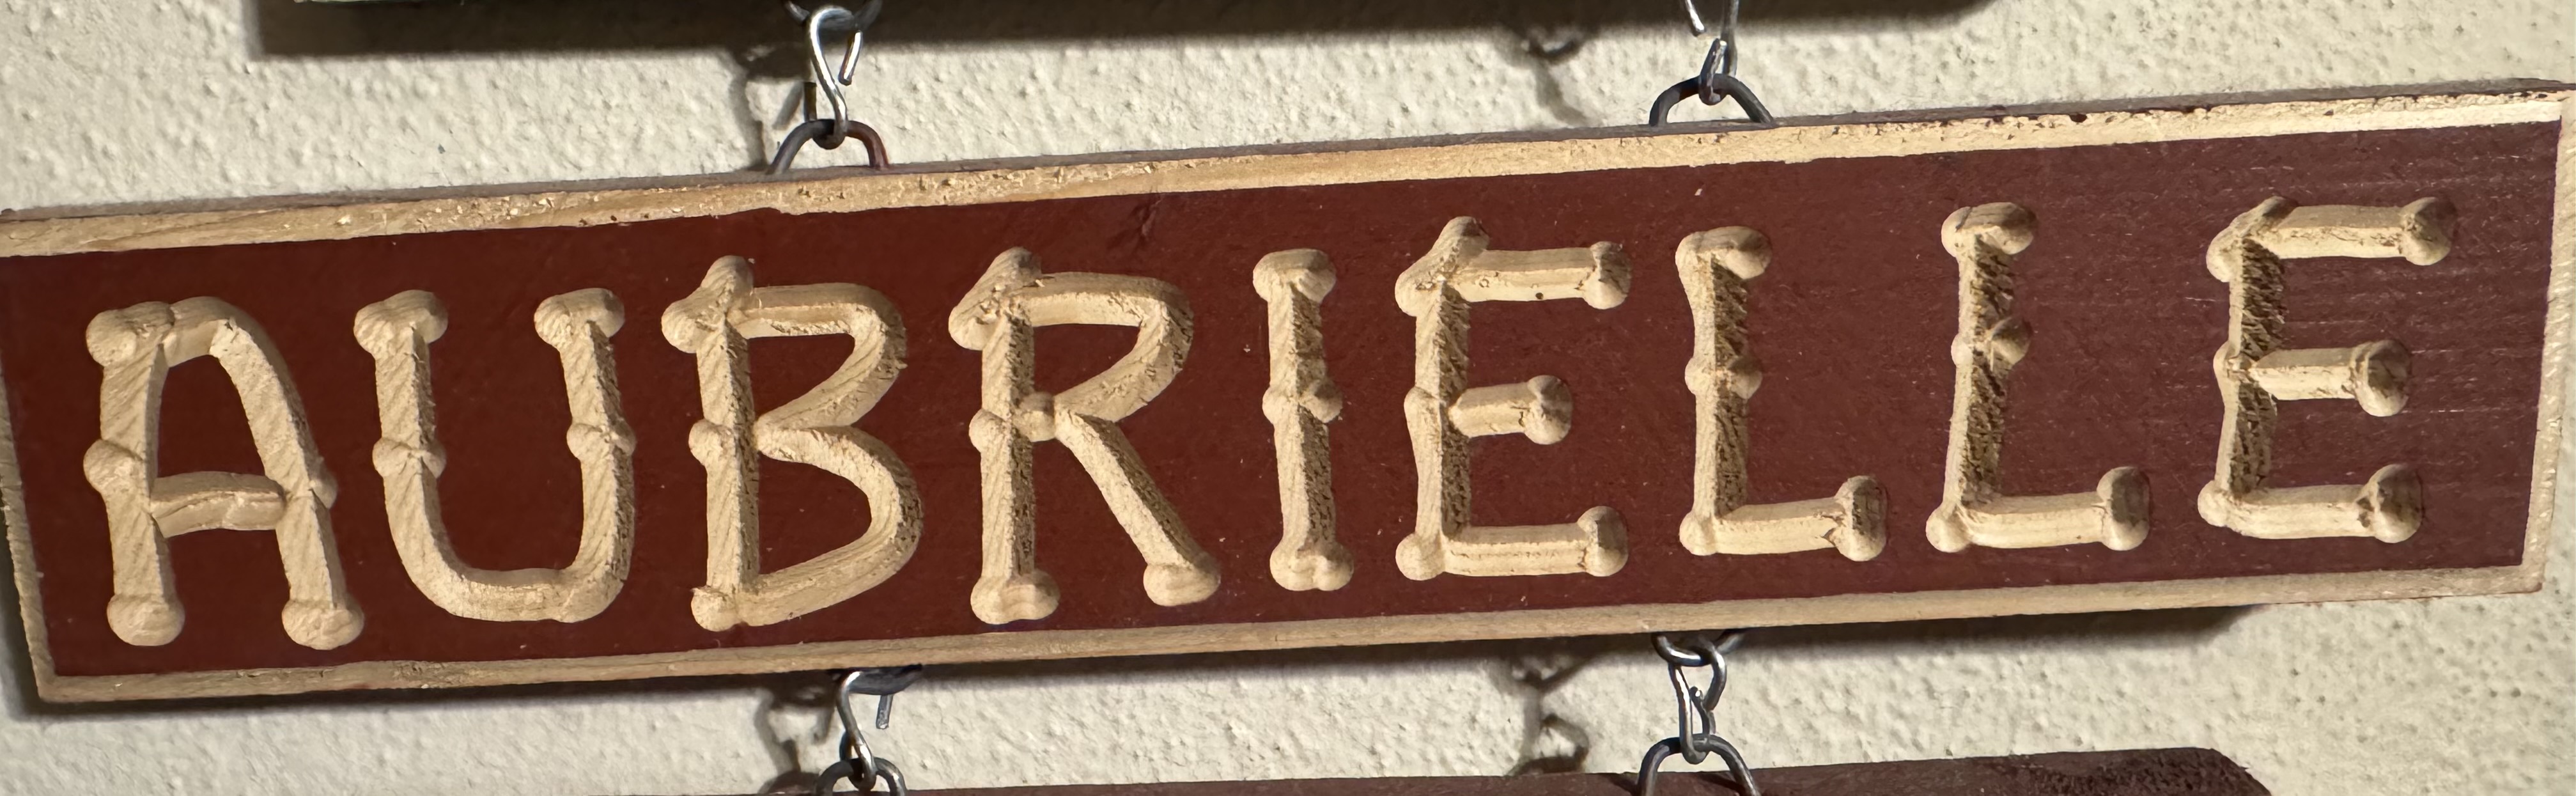
@WillAdams you sir are amazing! The original signs are rough but seem to be done with some sort of v-bit? Here is a closeup of original lettering. You absolutely nailed it though by drawing inside I think I could now produce a perfect replica of originals.
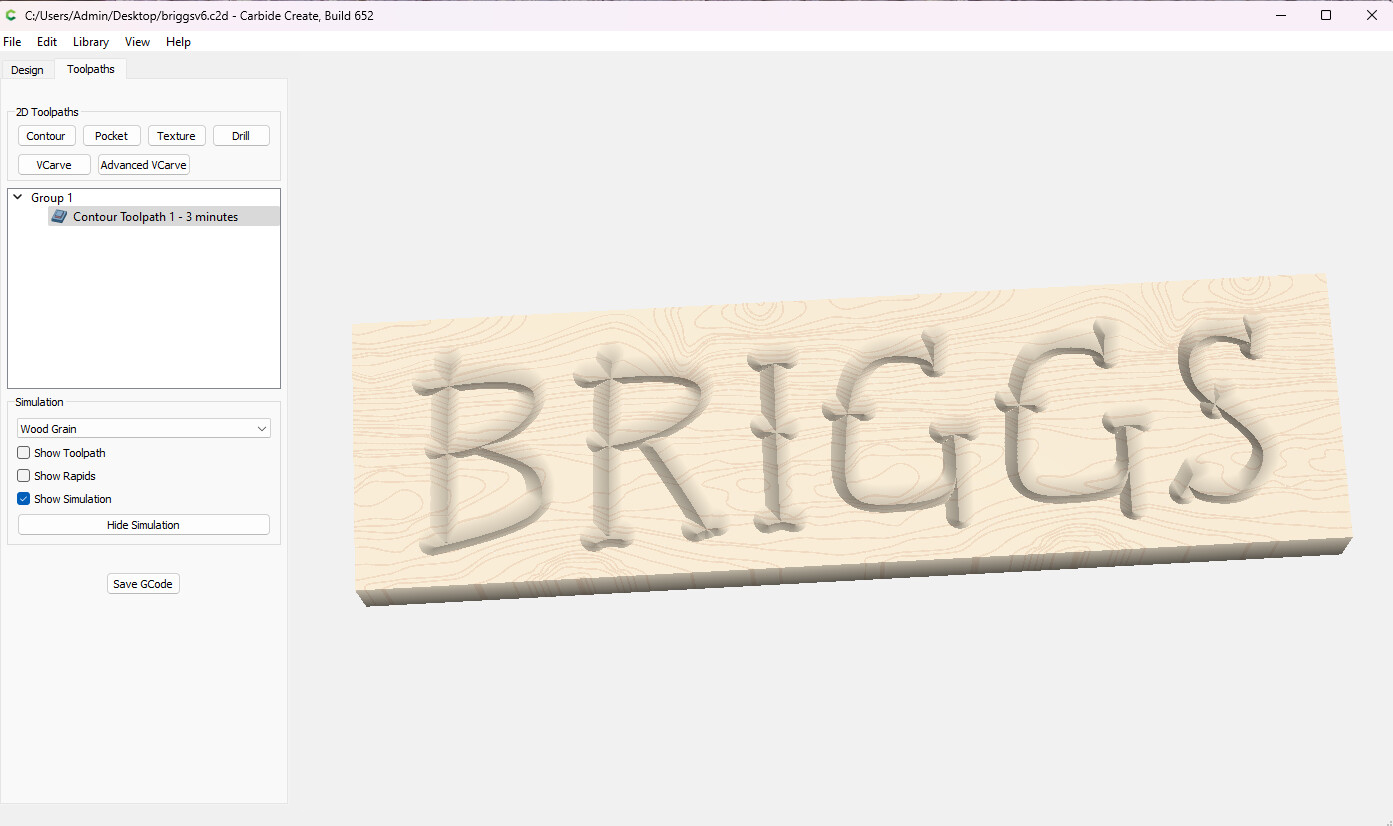
In that case, using a V tool at an appropriate depth should work:
FWIW, it looks like the originals were done free-handed (note the differences in the _E_s) or w/ a templating system which had alternates for frequently repeated letters, or some other technique to induce variation.
for sure by hand and a stencil perhaps? this is perfect and my son-in-laws mother will be very happy!
How great is that!? cant wait to try it tonight after work. thanks @WillAdams
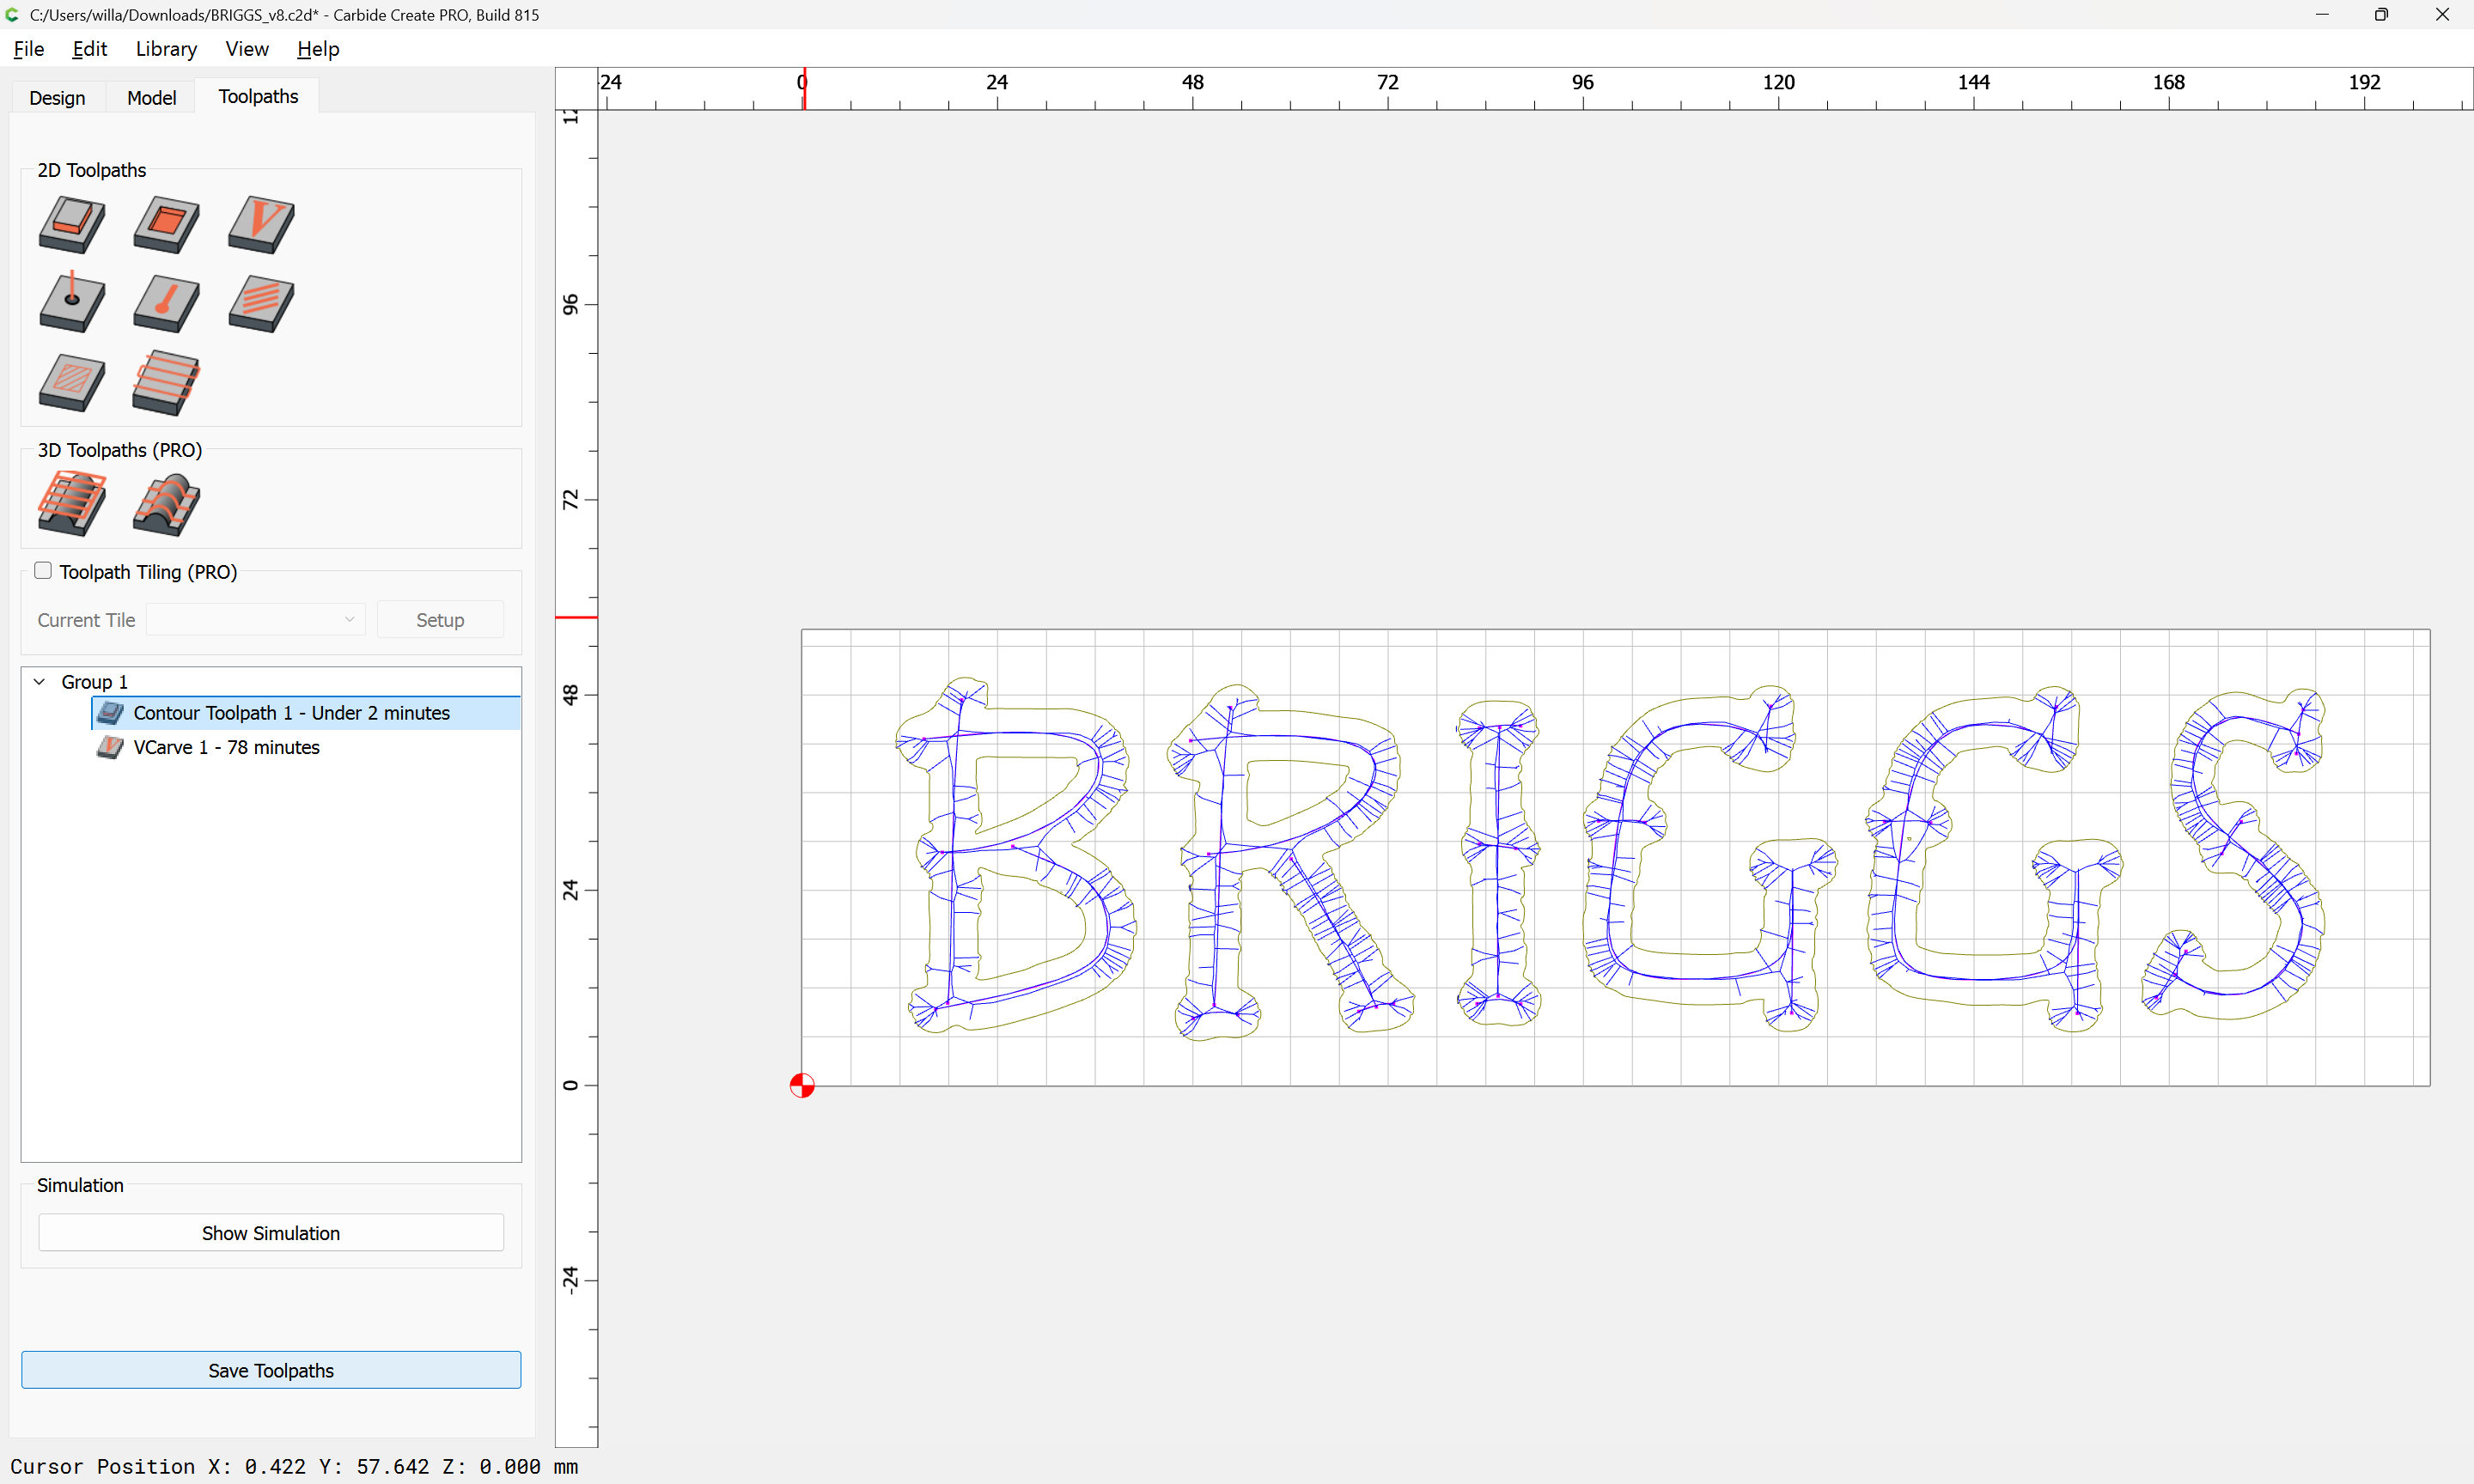
In discussing this on team chat, a couple of things came up:
and such a toolpath would have taken rather a while to cut:
It does make obvious that there was an errant bit in the scan causing a problem:
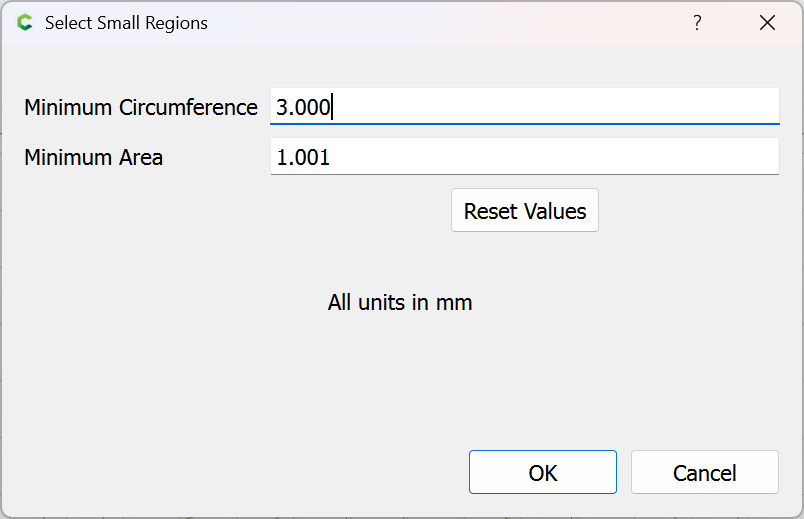
which once ungrouped, could be cleaned up with a specific command for cleaning up such detritus:
Edit | Select Small Regions:
delete
which then yields:
What tool was used for the original tracing?
Did you try:
We have a bit on cleaning up auto-traced images at:
I used Krista (Krista.org) to create BRIGGS from letters from other signs. And yeah I was attempting to v carve that and said was going to take like 1.5 hours. That was my whole issue is to get a tool path that works and you sure did that! Your method looks perfect so this should produce a result that will match older signs just fine. I’ll know tonight.
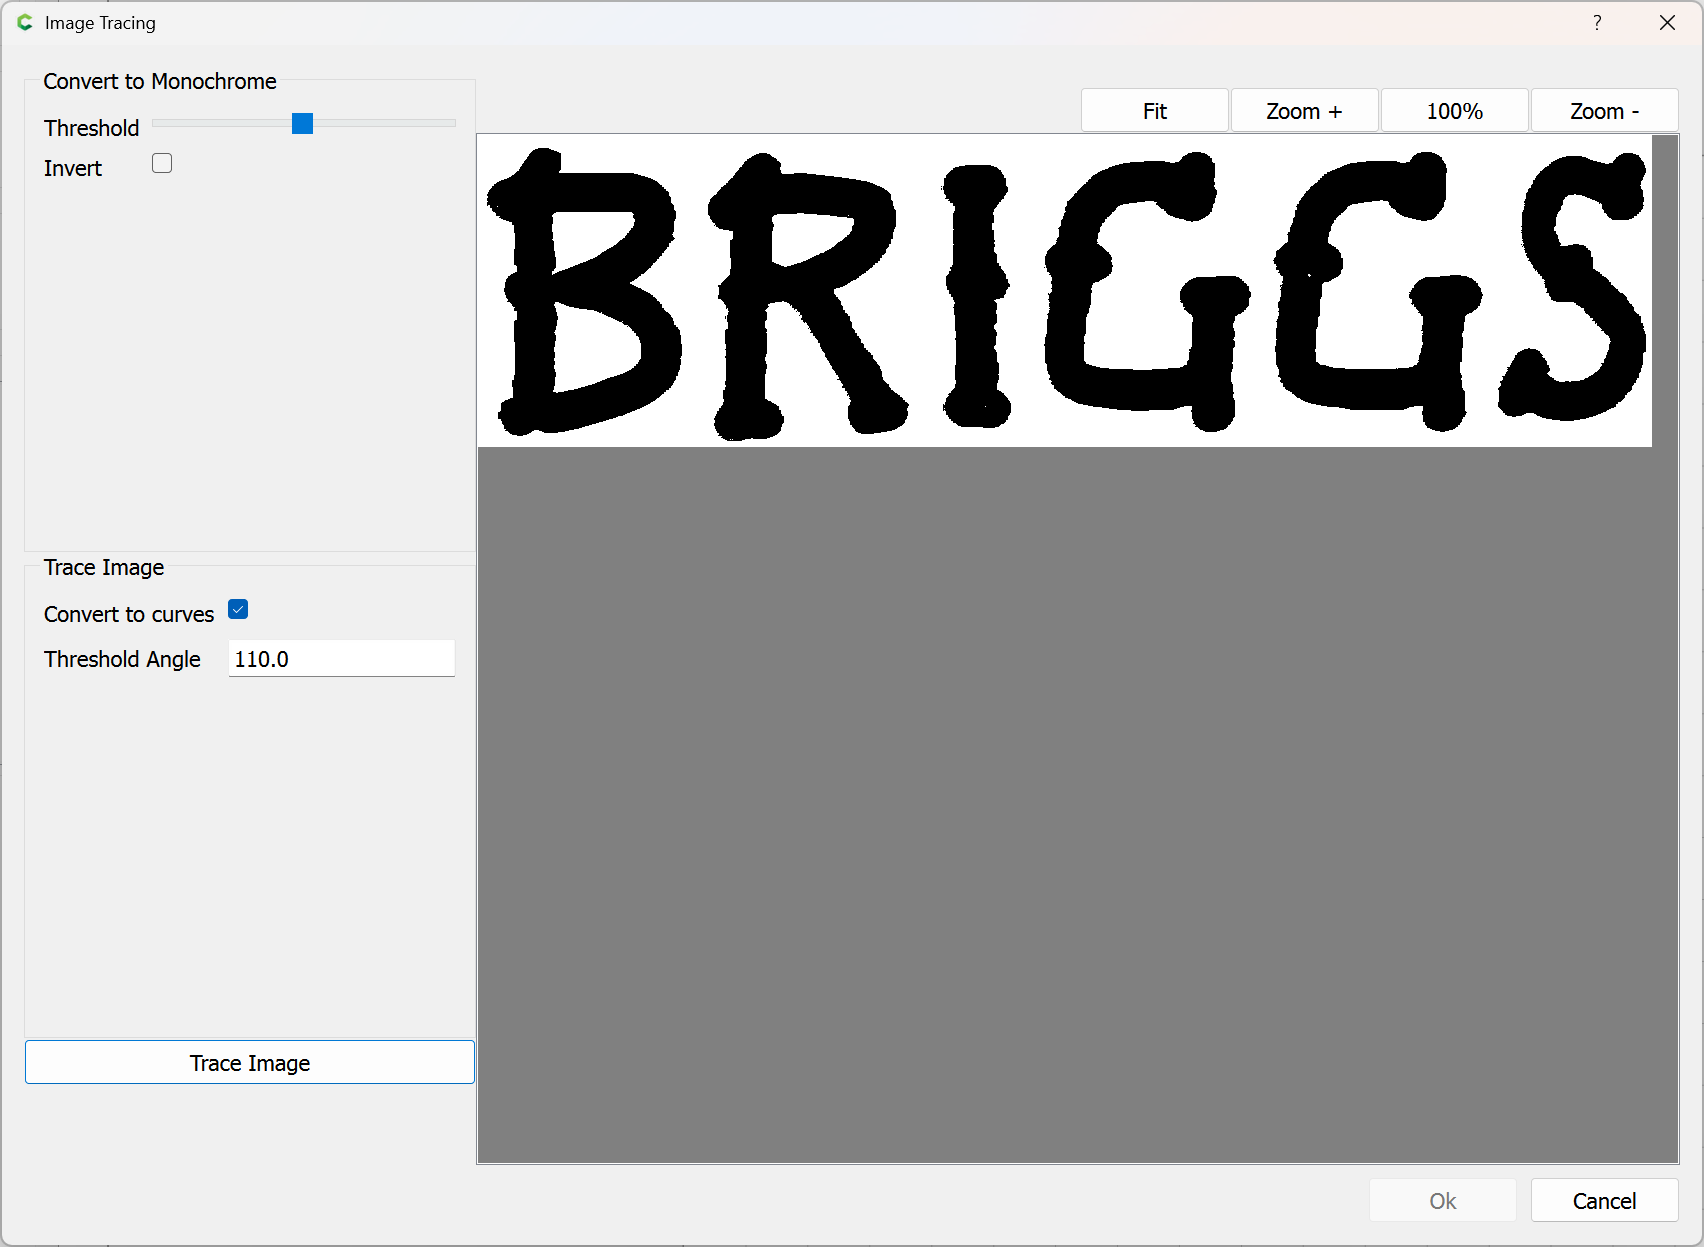
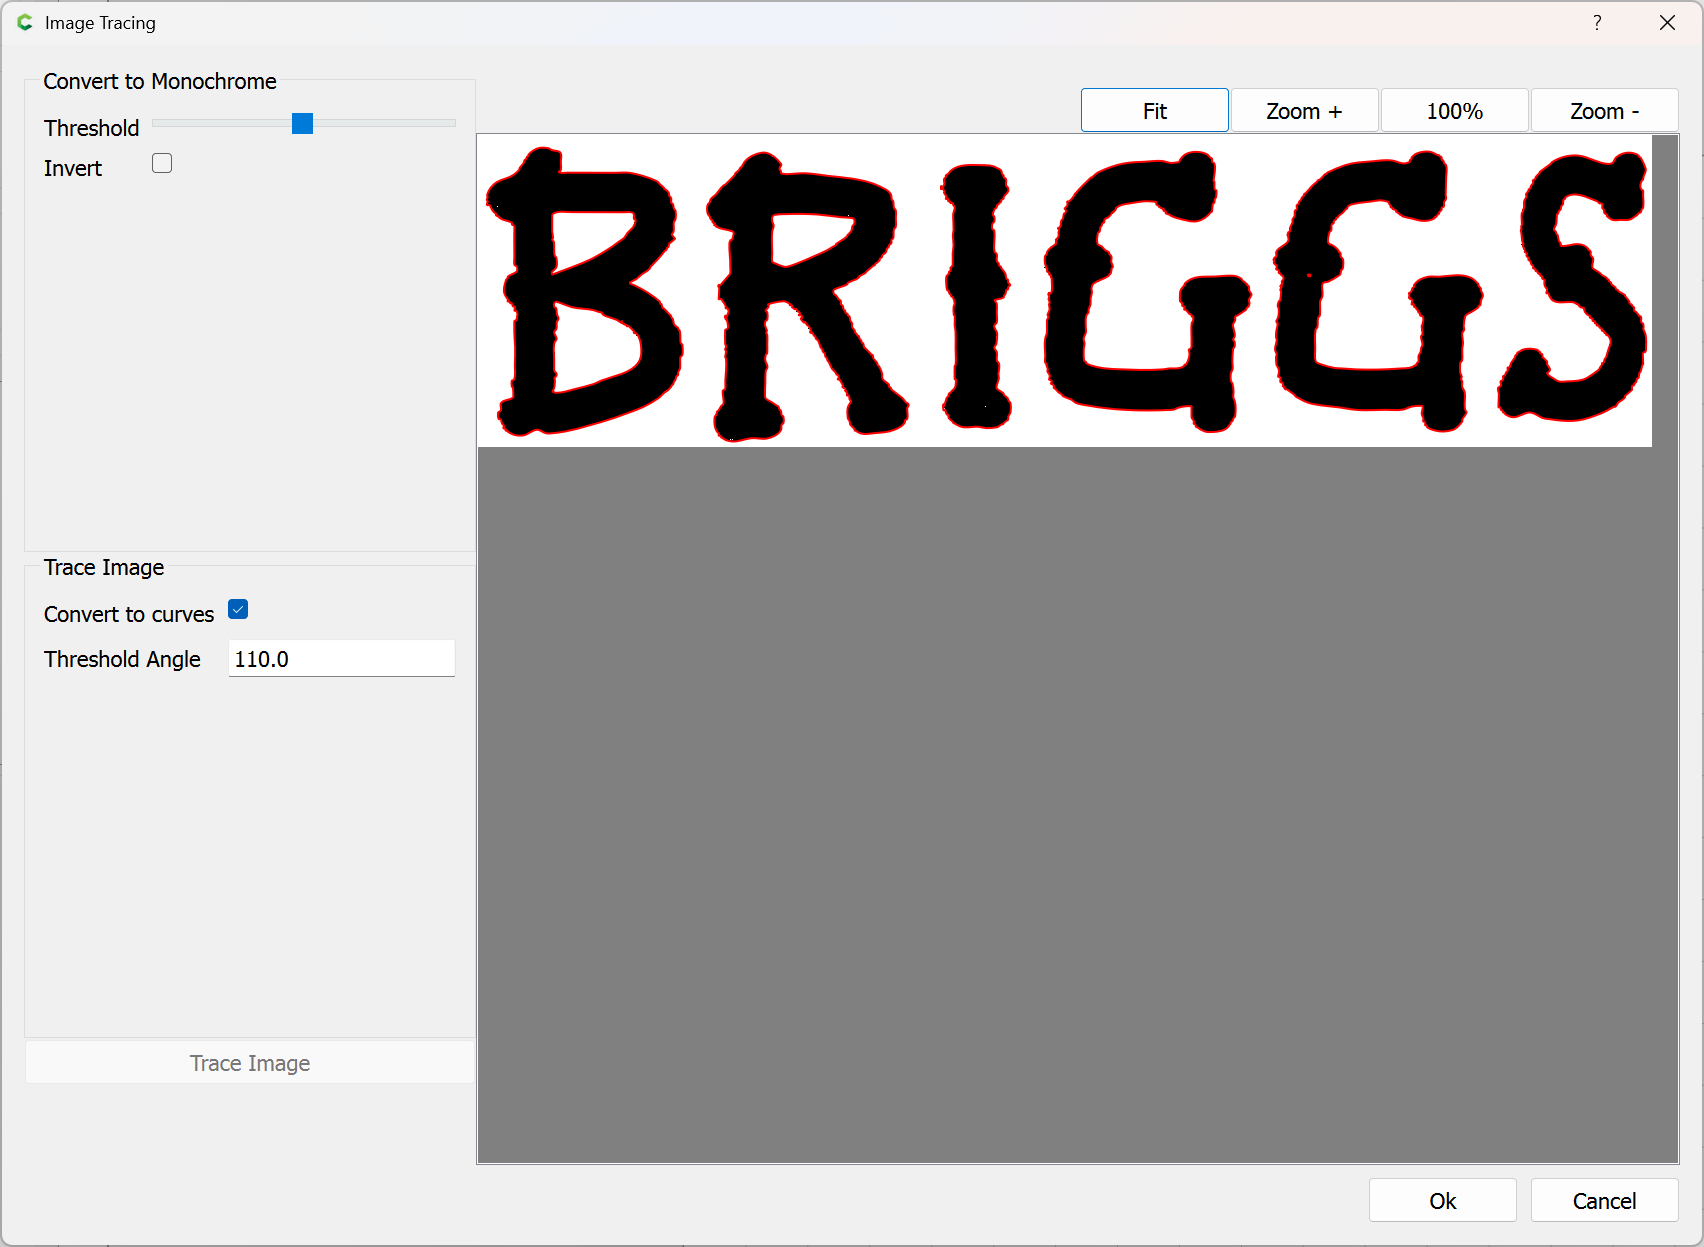
For reference, Carbide Create’s Image Tracing would work thus:
Trace Image
Ok
Note that the same defect is also present here:
and the tracing result is much the same.
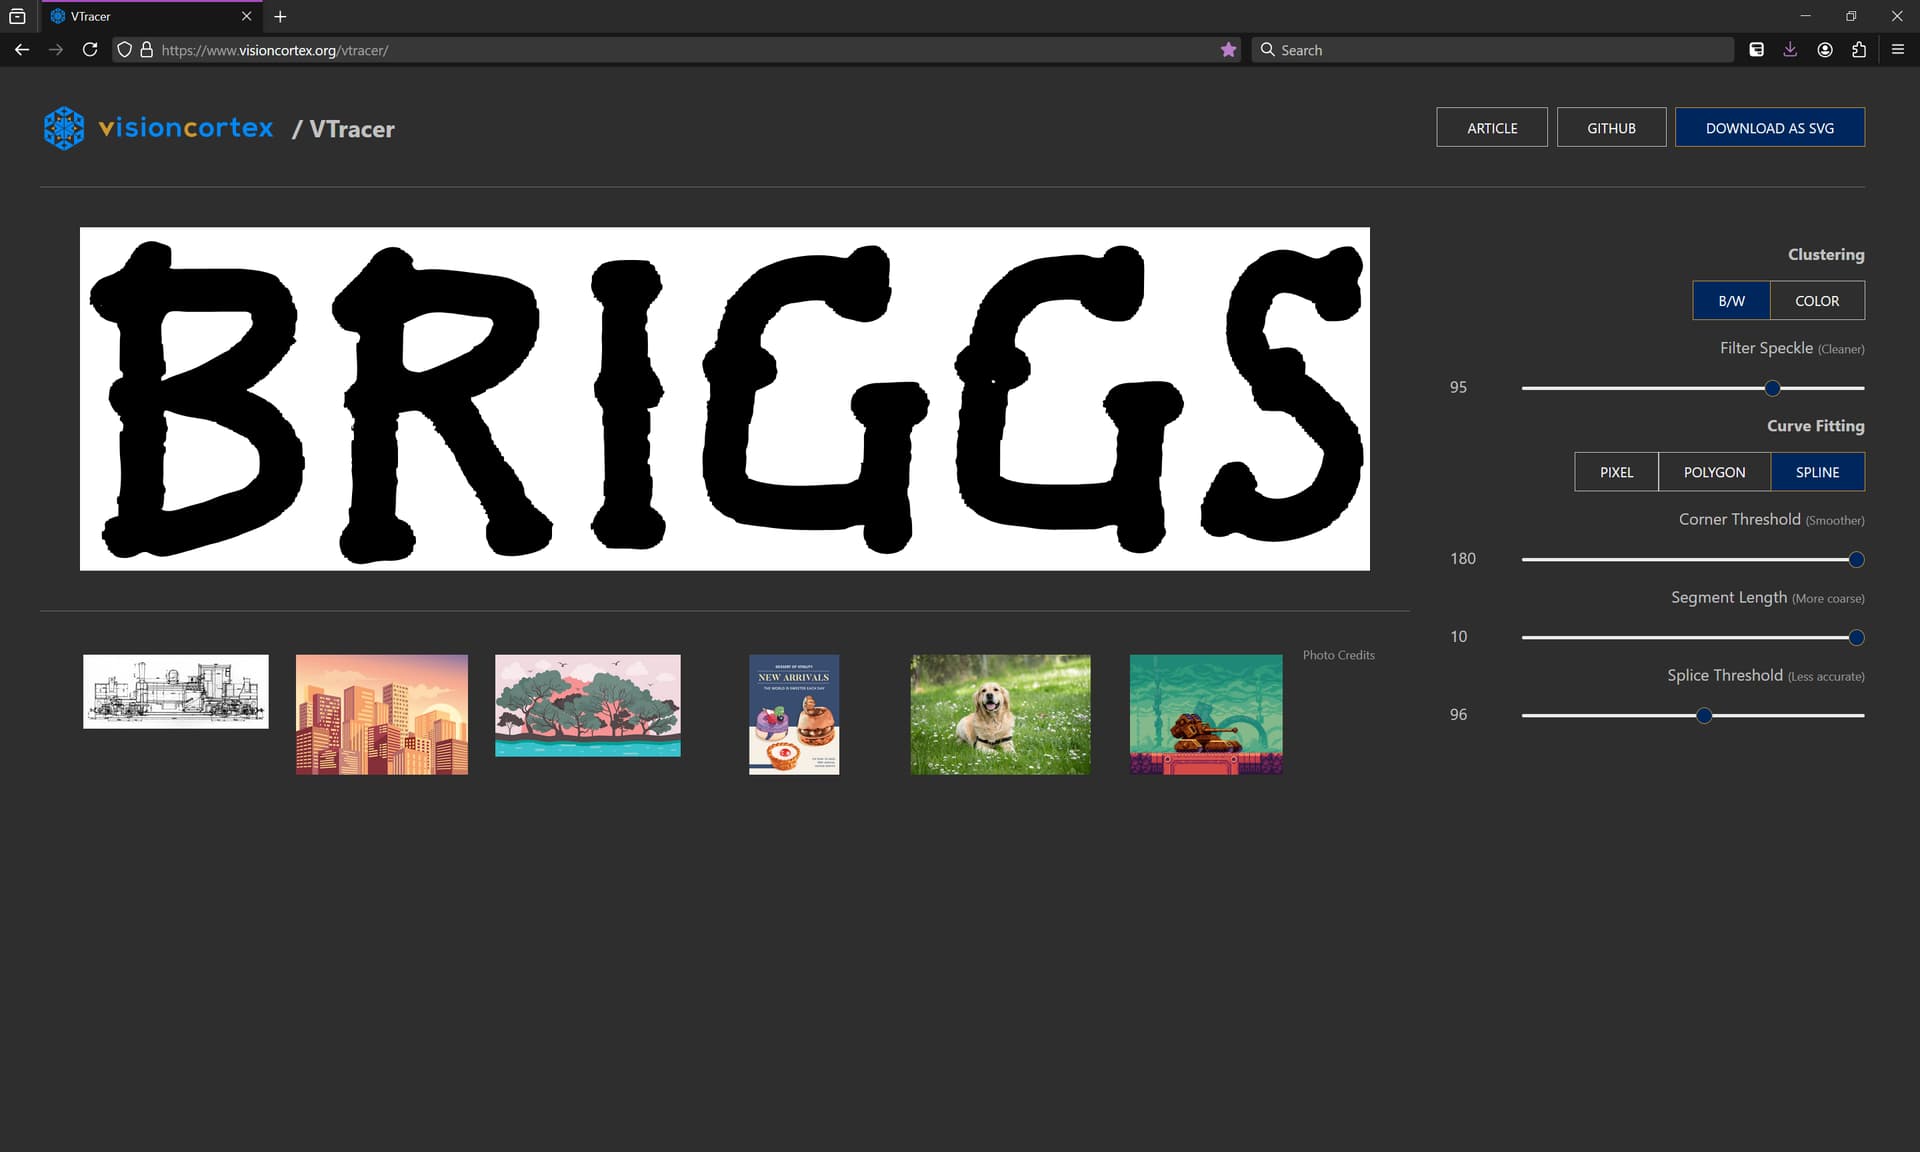
Trying a different tool:
https://www.visioncortex.org/vtracer/
yields much the same, but a second bit to clean up:
and even longer times:
Probably loading into a pixel editor, setting to greyscale, upsampling, blurring, then downsampling would yield better results.
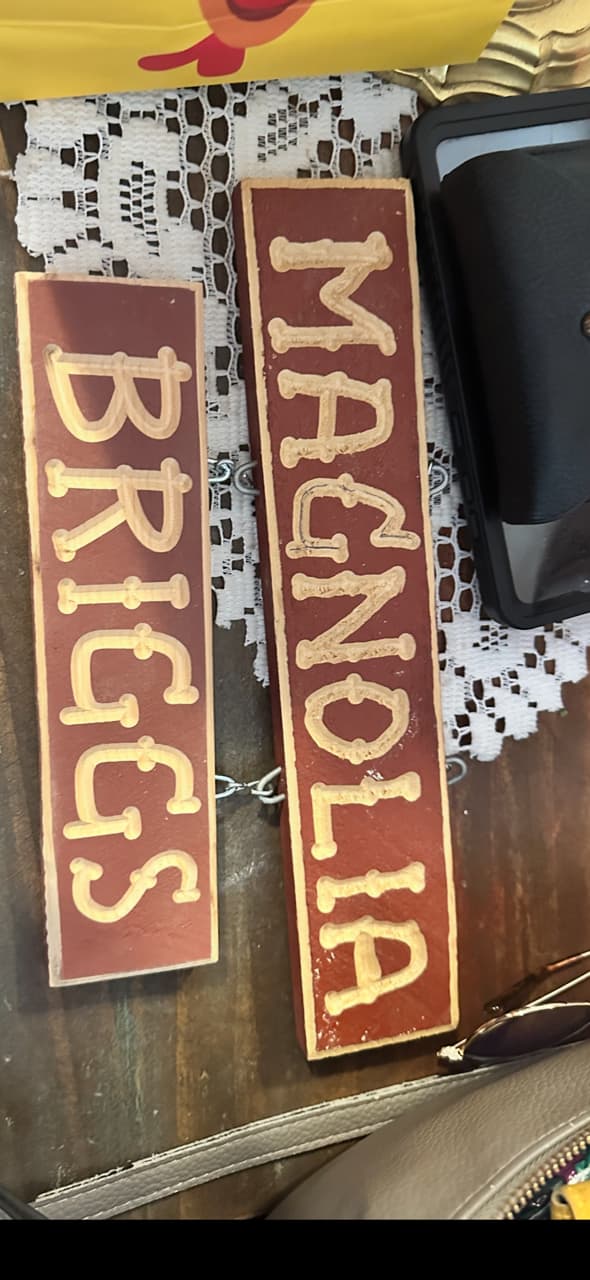
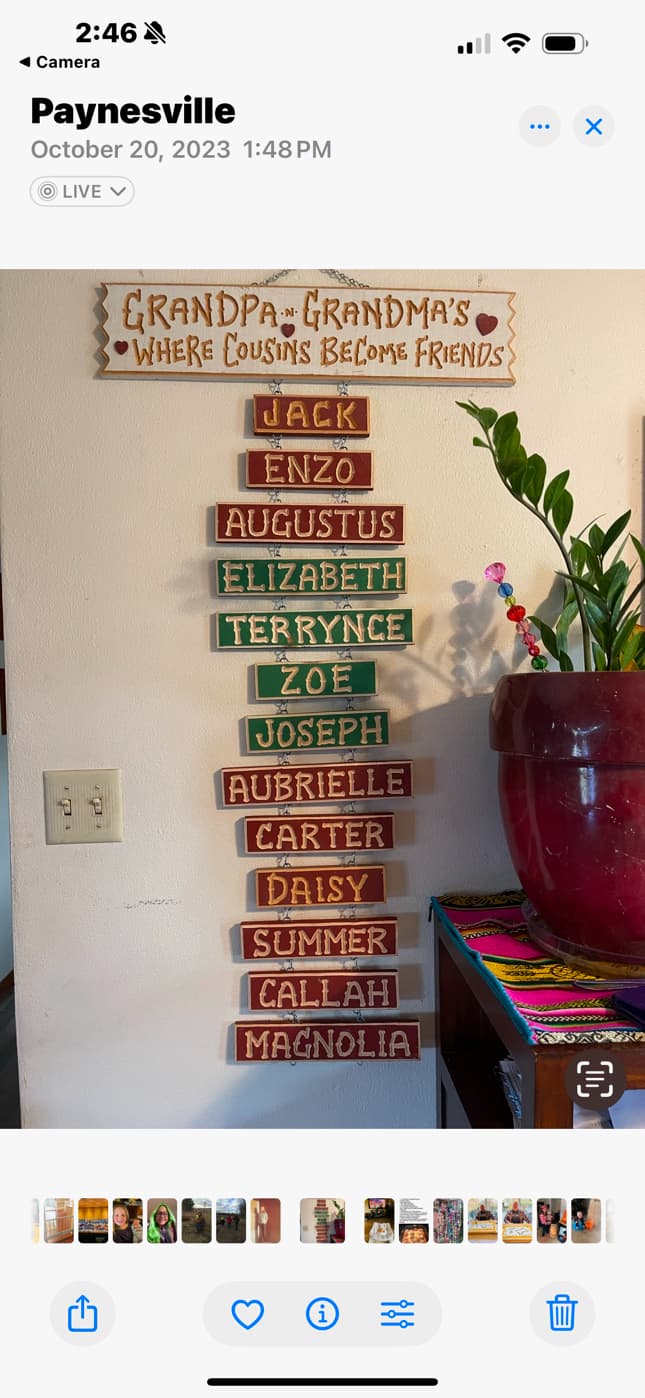
Here is one original and one I made with new name. Think it turned out ok. thanks @WillAdams
If you want to share a compleat collection of letter scans we can draw up an entire alphabet for folks to use.
You think others would use the old style in same way i did to replicate old style? if so yes i can try to have a complete collection.
Has the requester looked at the font program, “What the font” ? That font may be available!
here is what i have so far. will have my son in laws mother send more photos so i can build what i can. should be within a letter or two considering how many grand kids are on the sign
highly doubt the font is available. Seems to be done by hand with a stencil(maybe) and a router and very ROUGHLY done.