Sorry that was a euphemism for like the envy of the town here. Curious why did you not go forward with your torsion box design?
1 Like
I don’t have the space for it. Not worth building small and I have an HDM. I sell the design on my etsy store.
Thank you! I wasn’t sure about the euphemism. ![]() The soup guy in Seinfeld is not a nice guy you know. Hehe.
The soup guy in Seinfeld is not a nice guy you know. Hehe.
Thank you @wmoy, updated.
1 Like
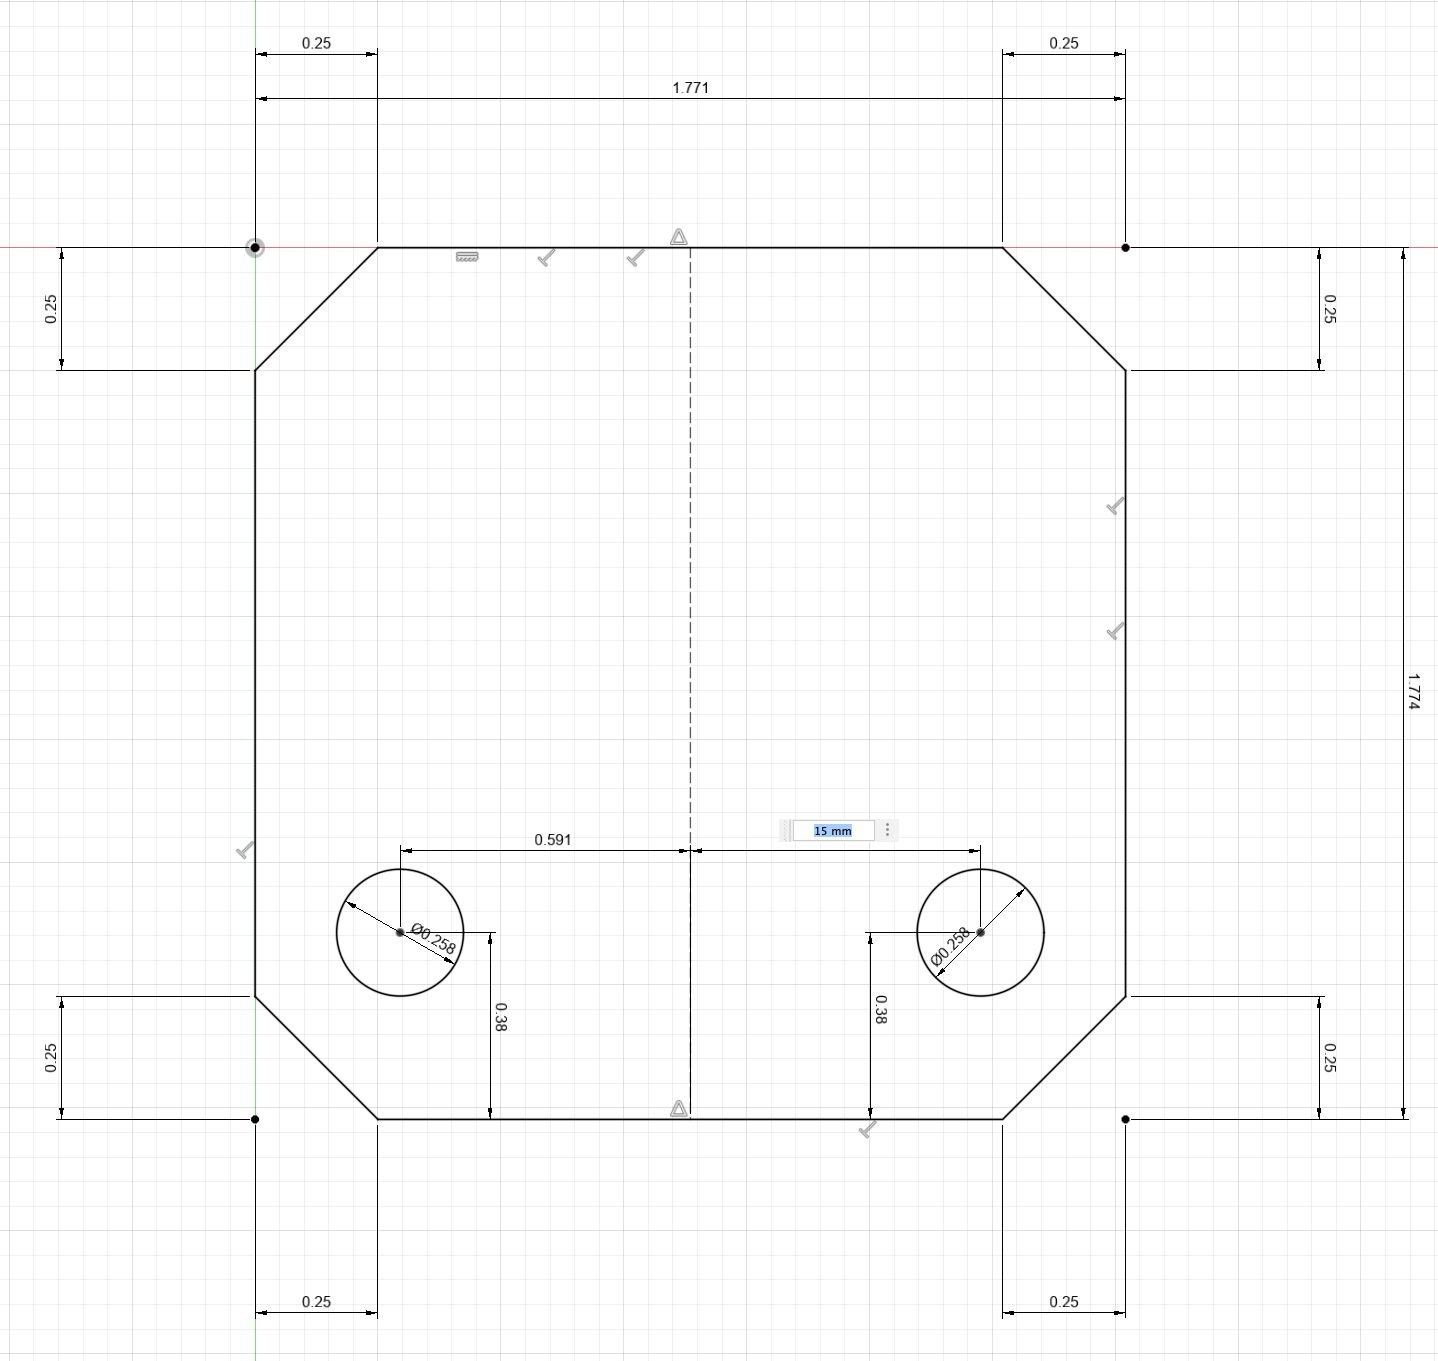
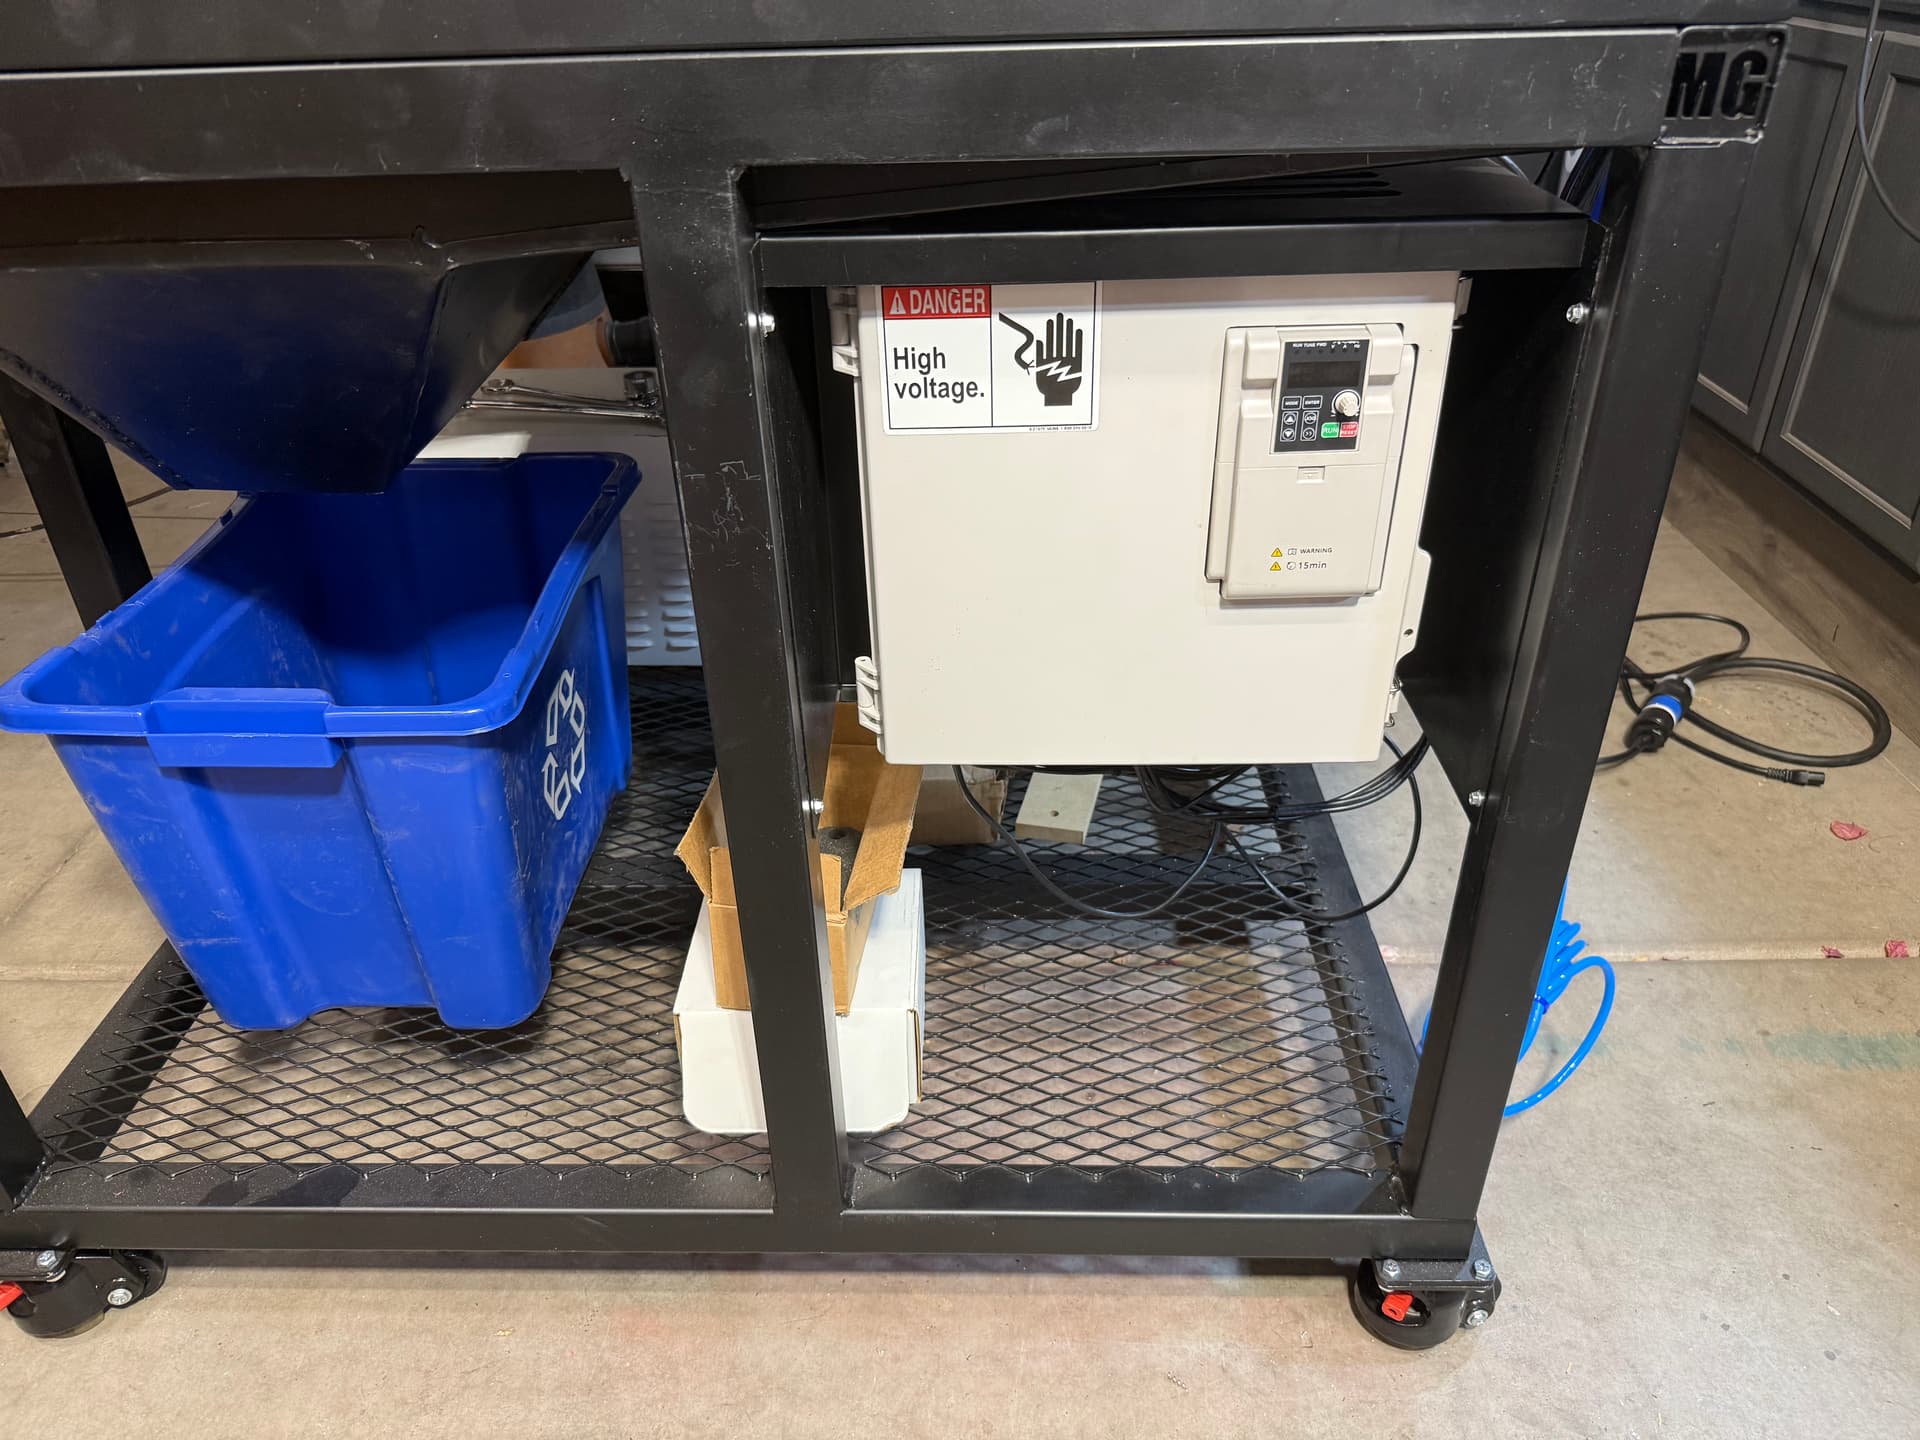
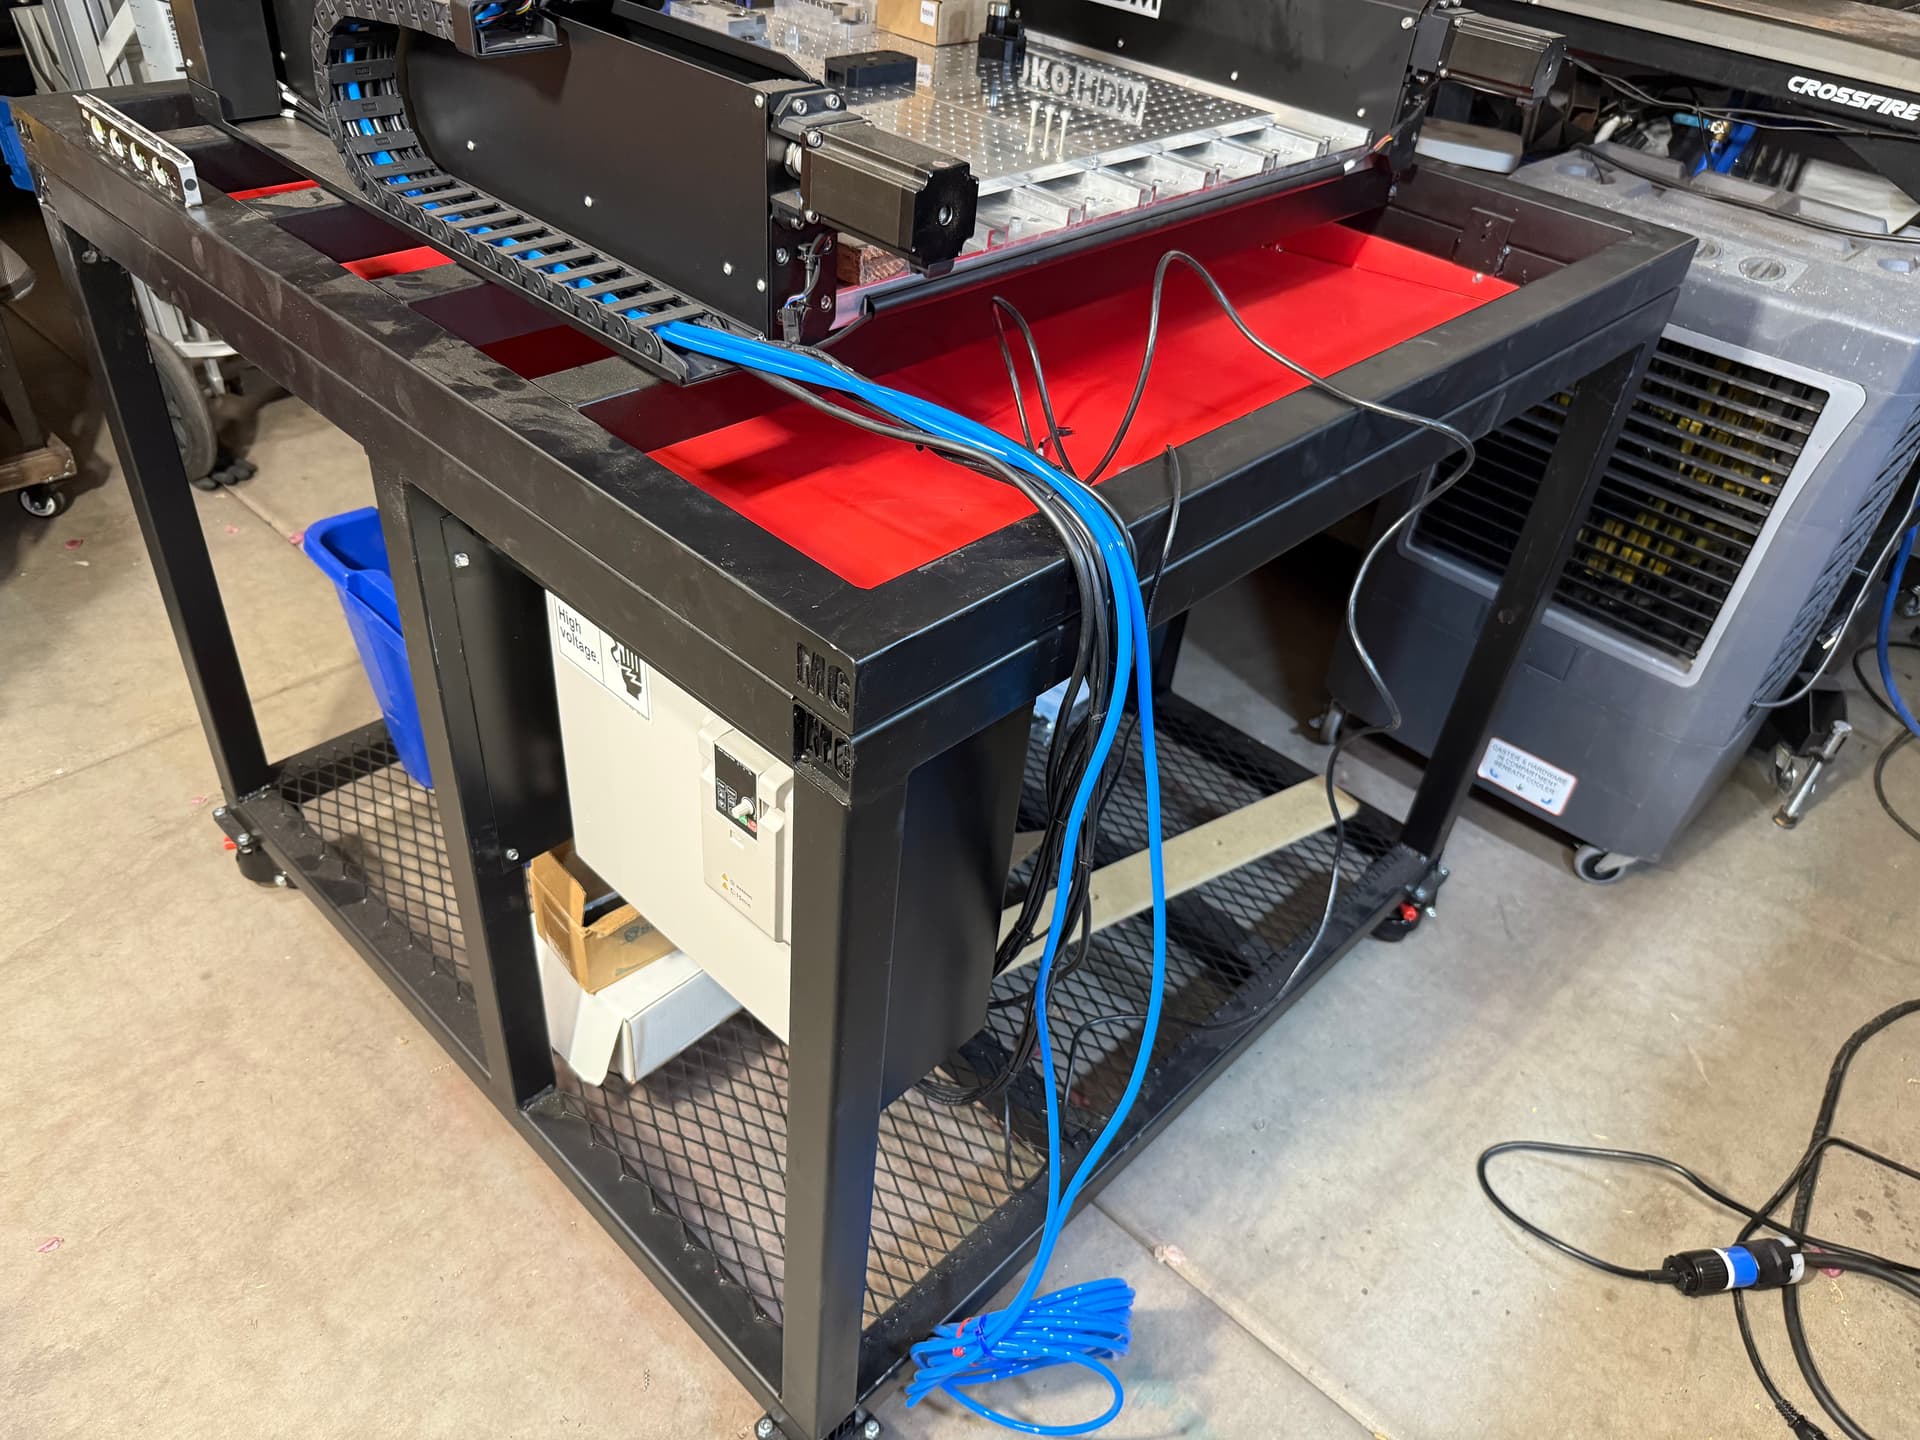
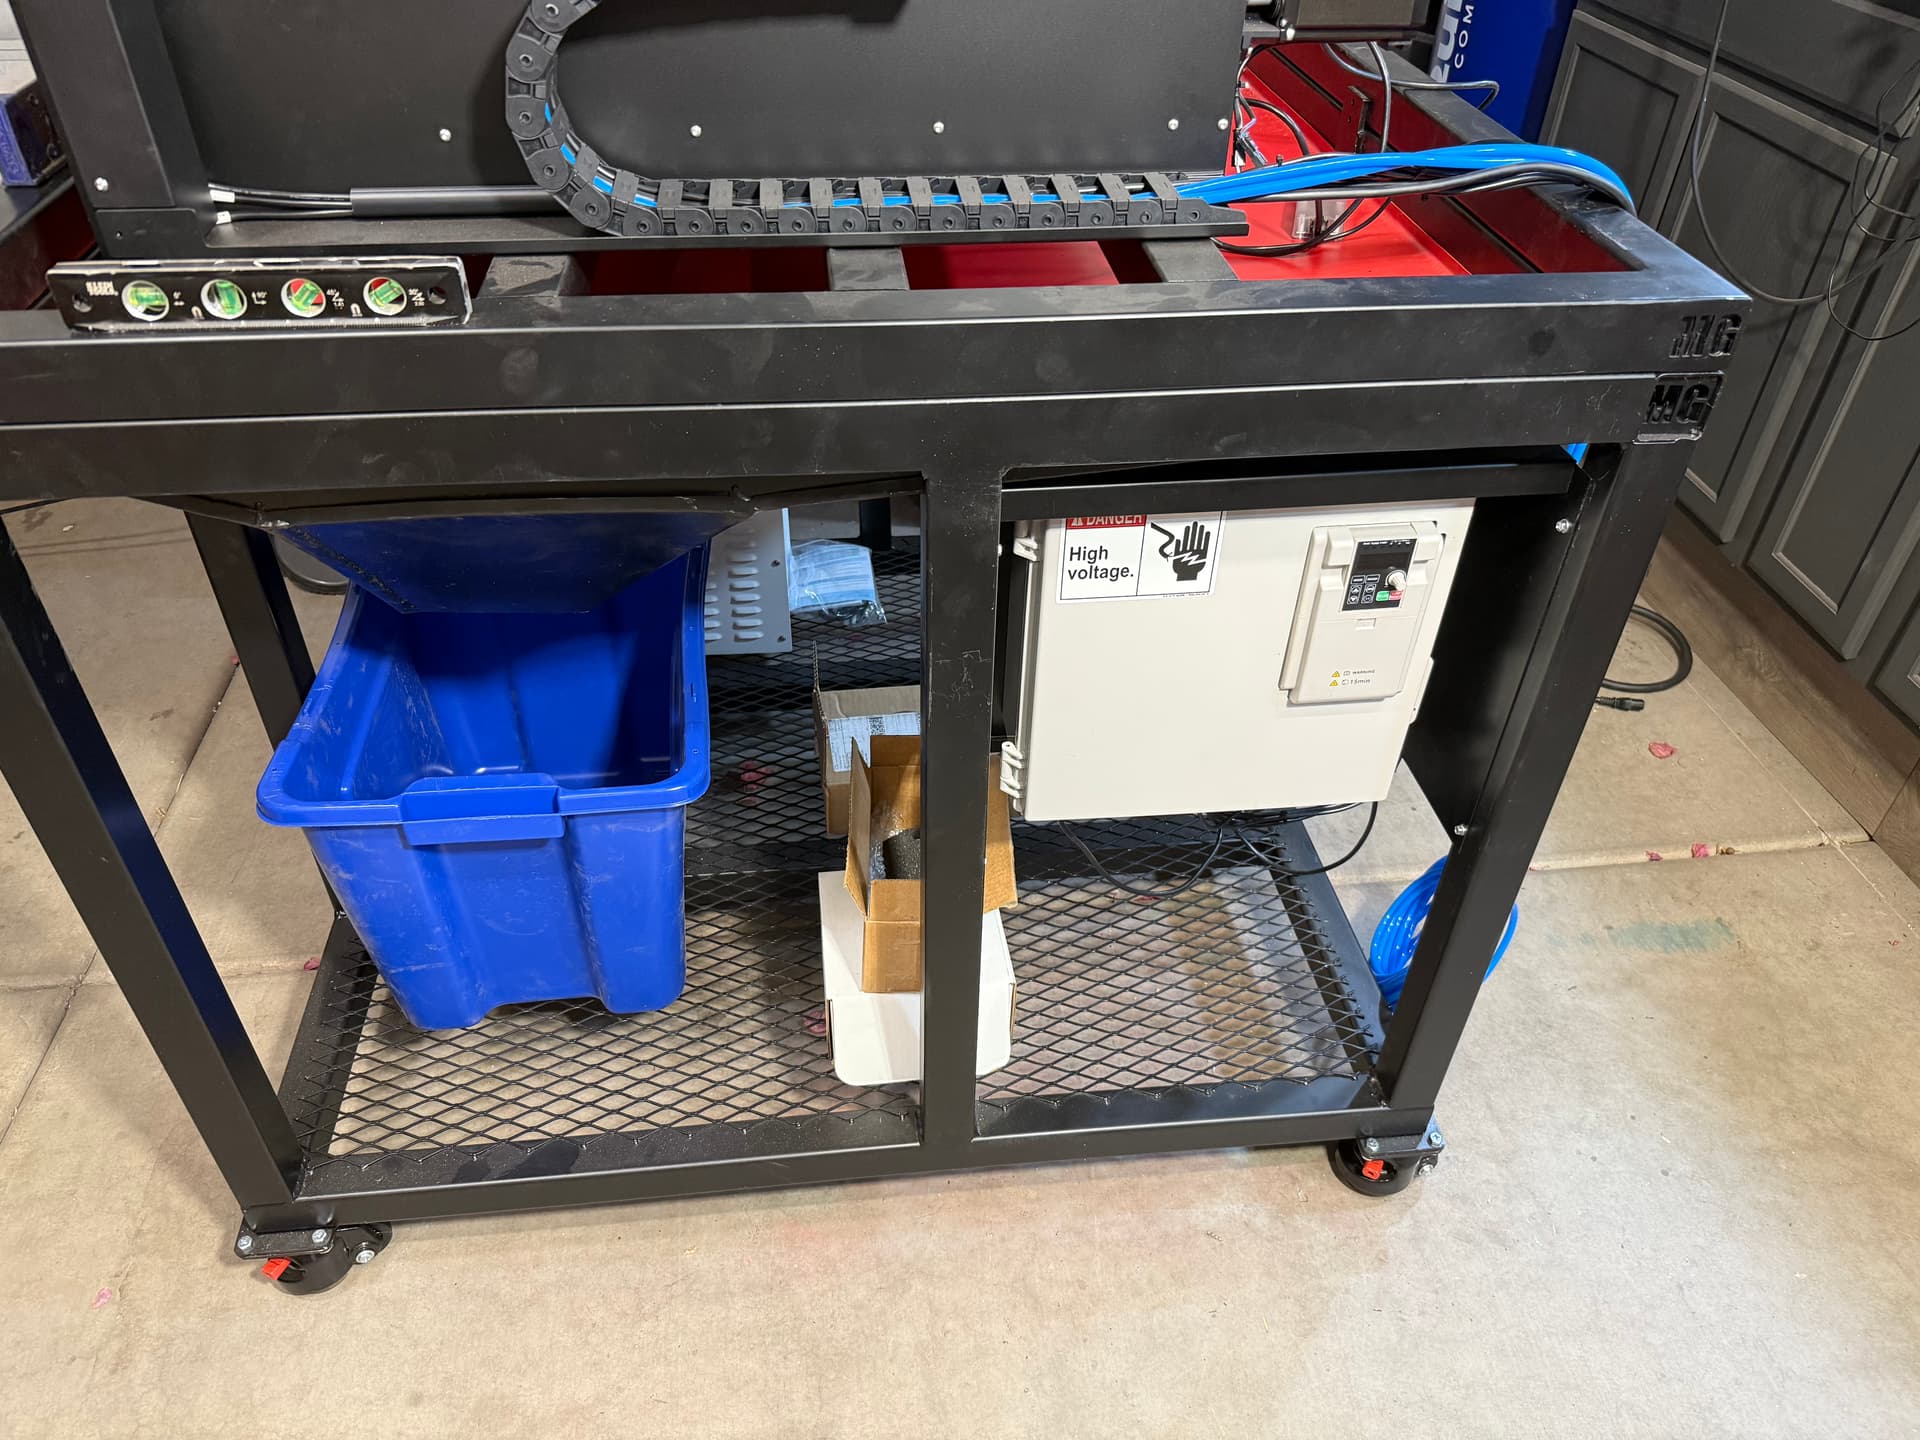
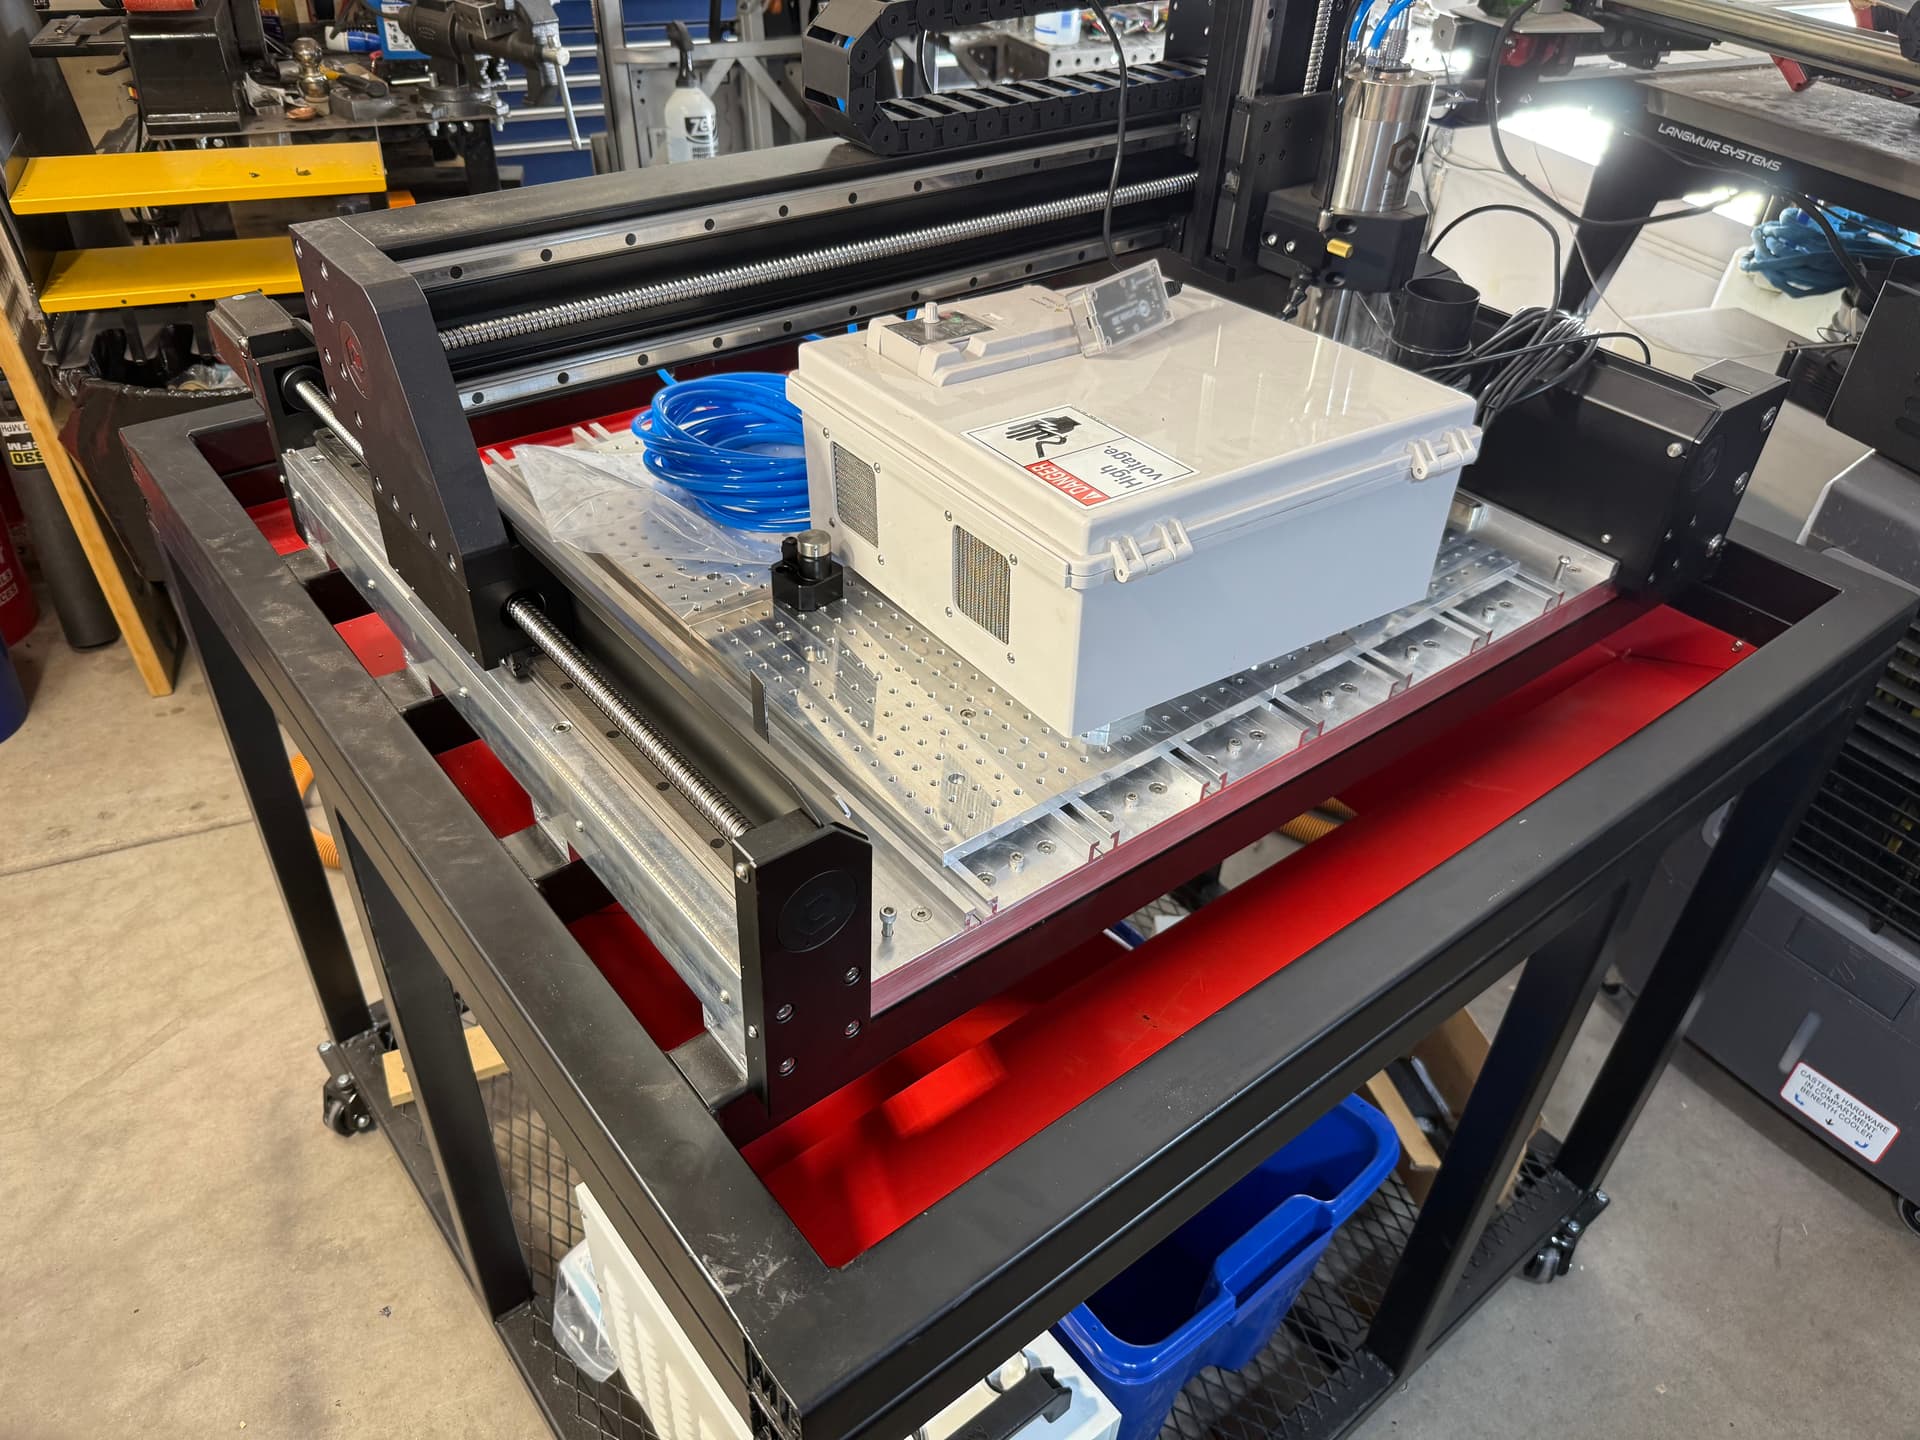
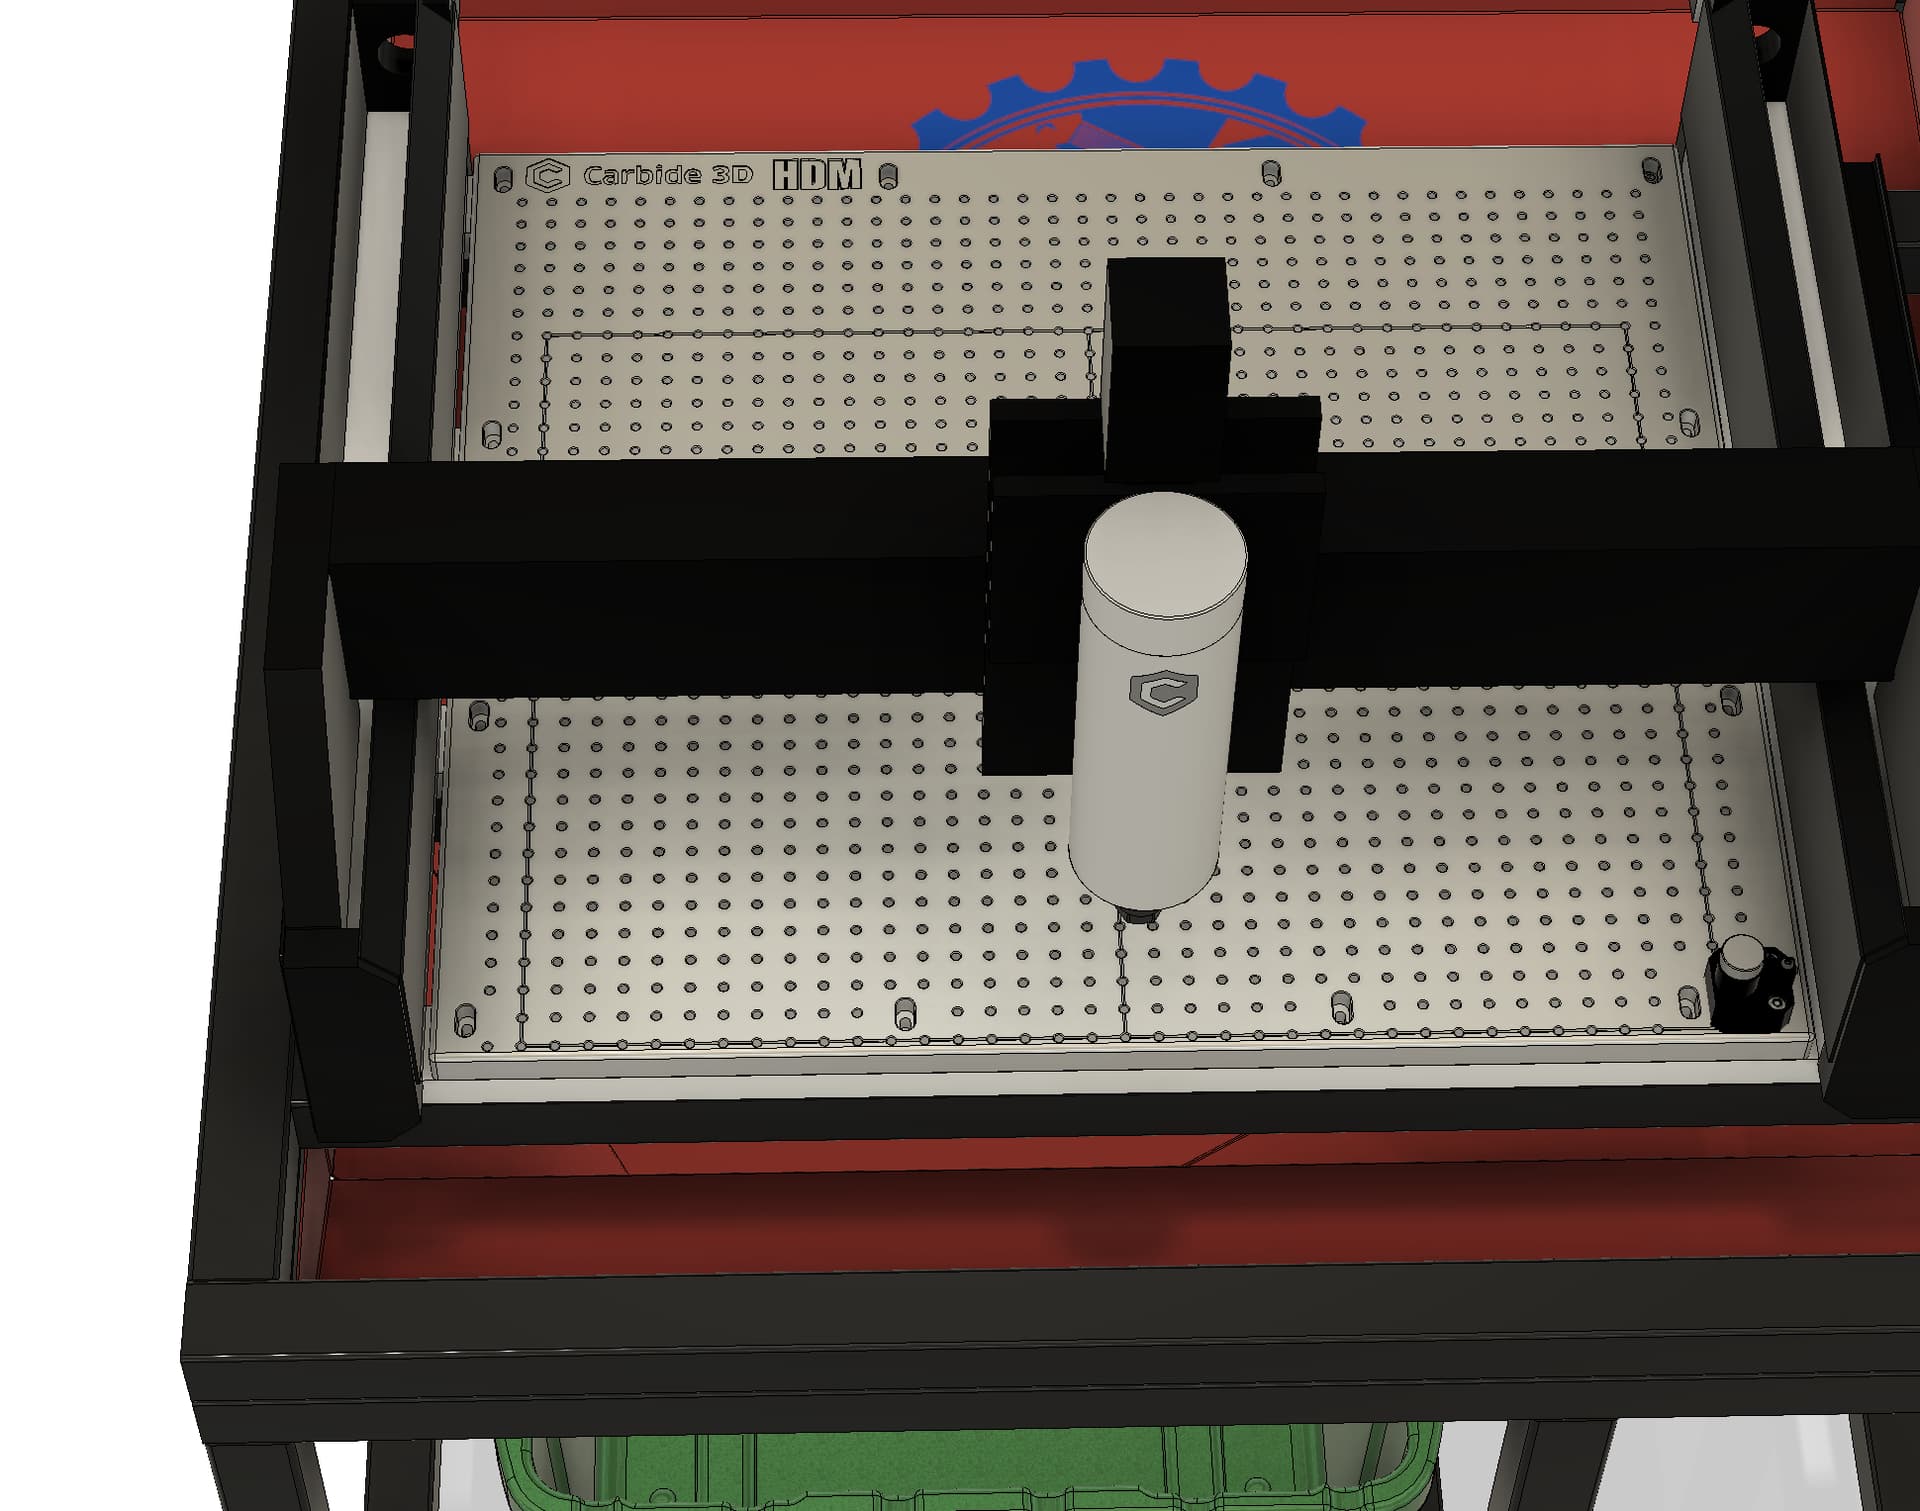
OK. I am bored with the fixture plate. Done with mocking this up for now at least. I still haven’t installed my hopper in the enclosure. Teaching this week, so exhausted with 6am starts and talking all day. cheers.
1 Like
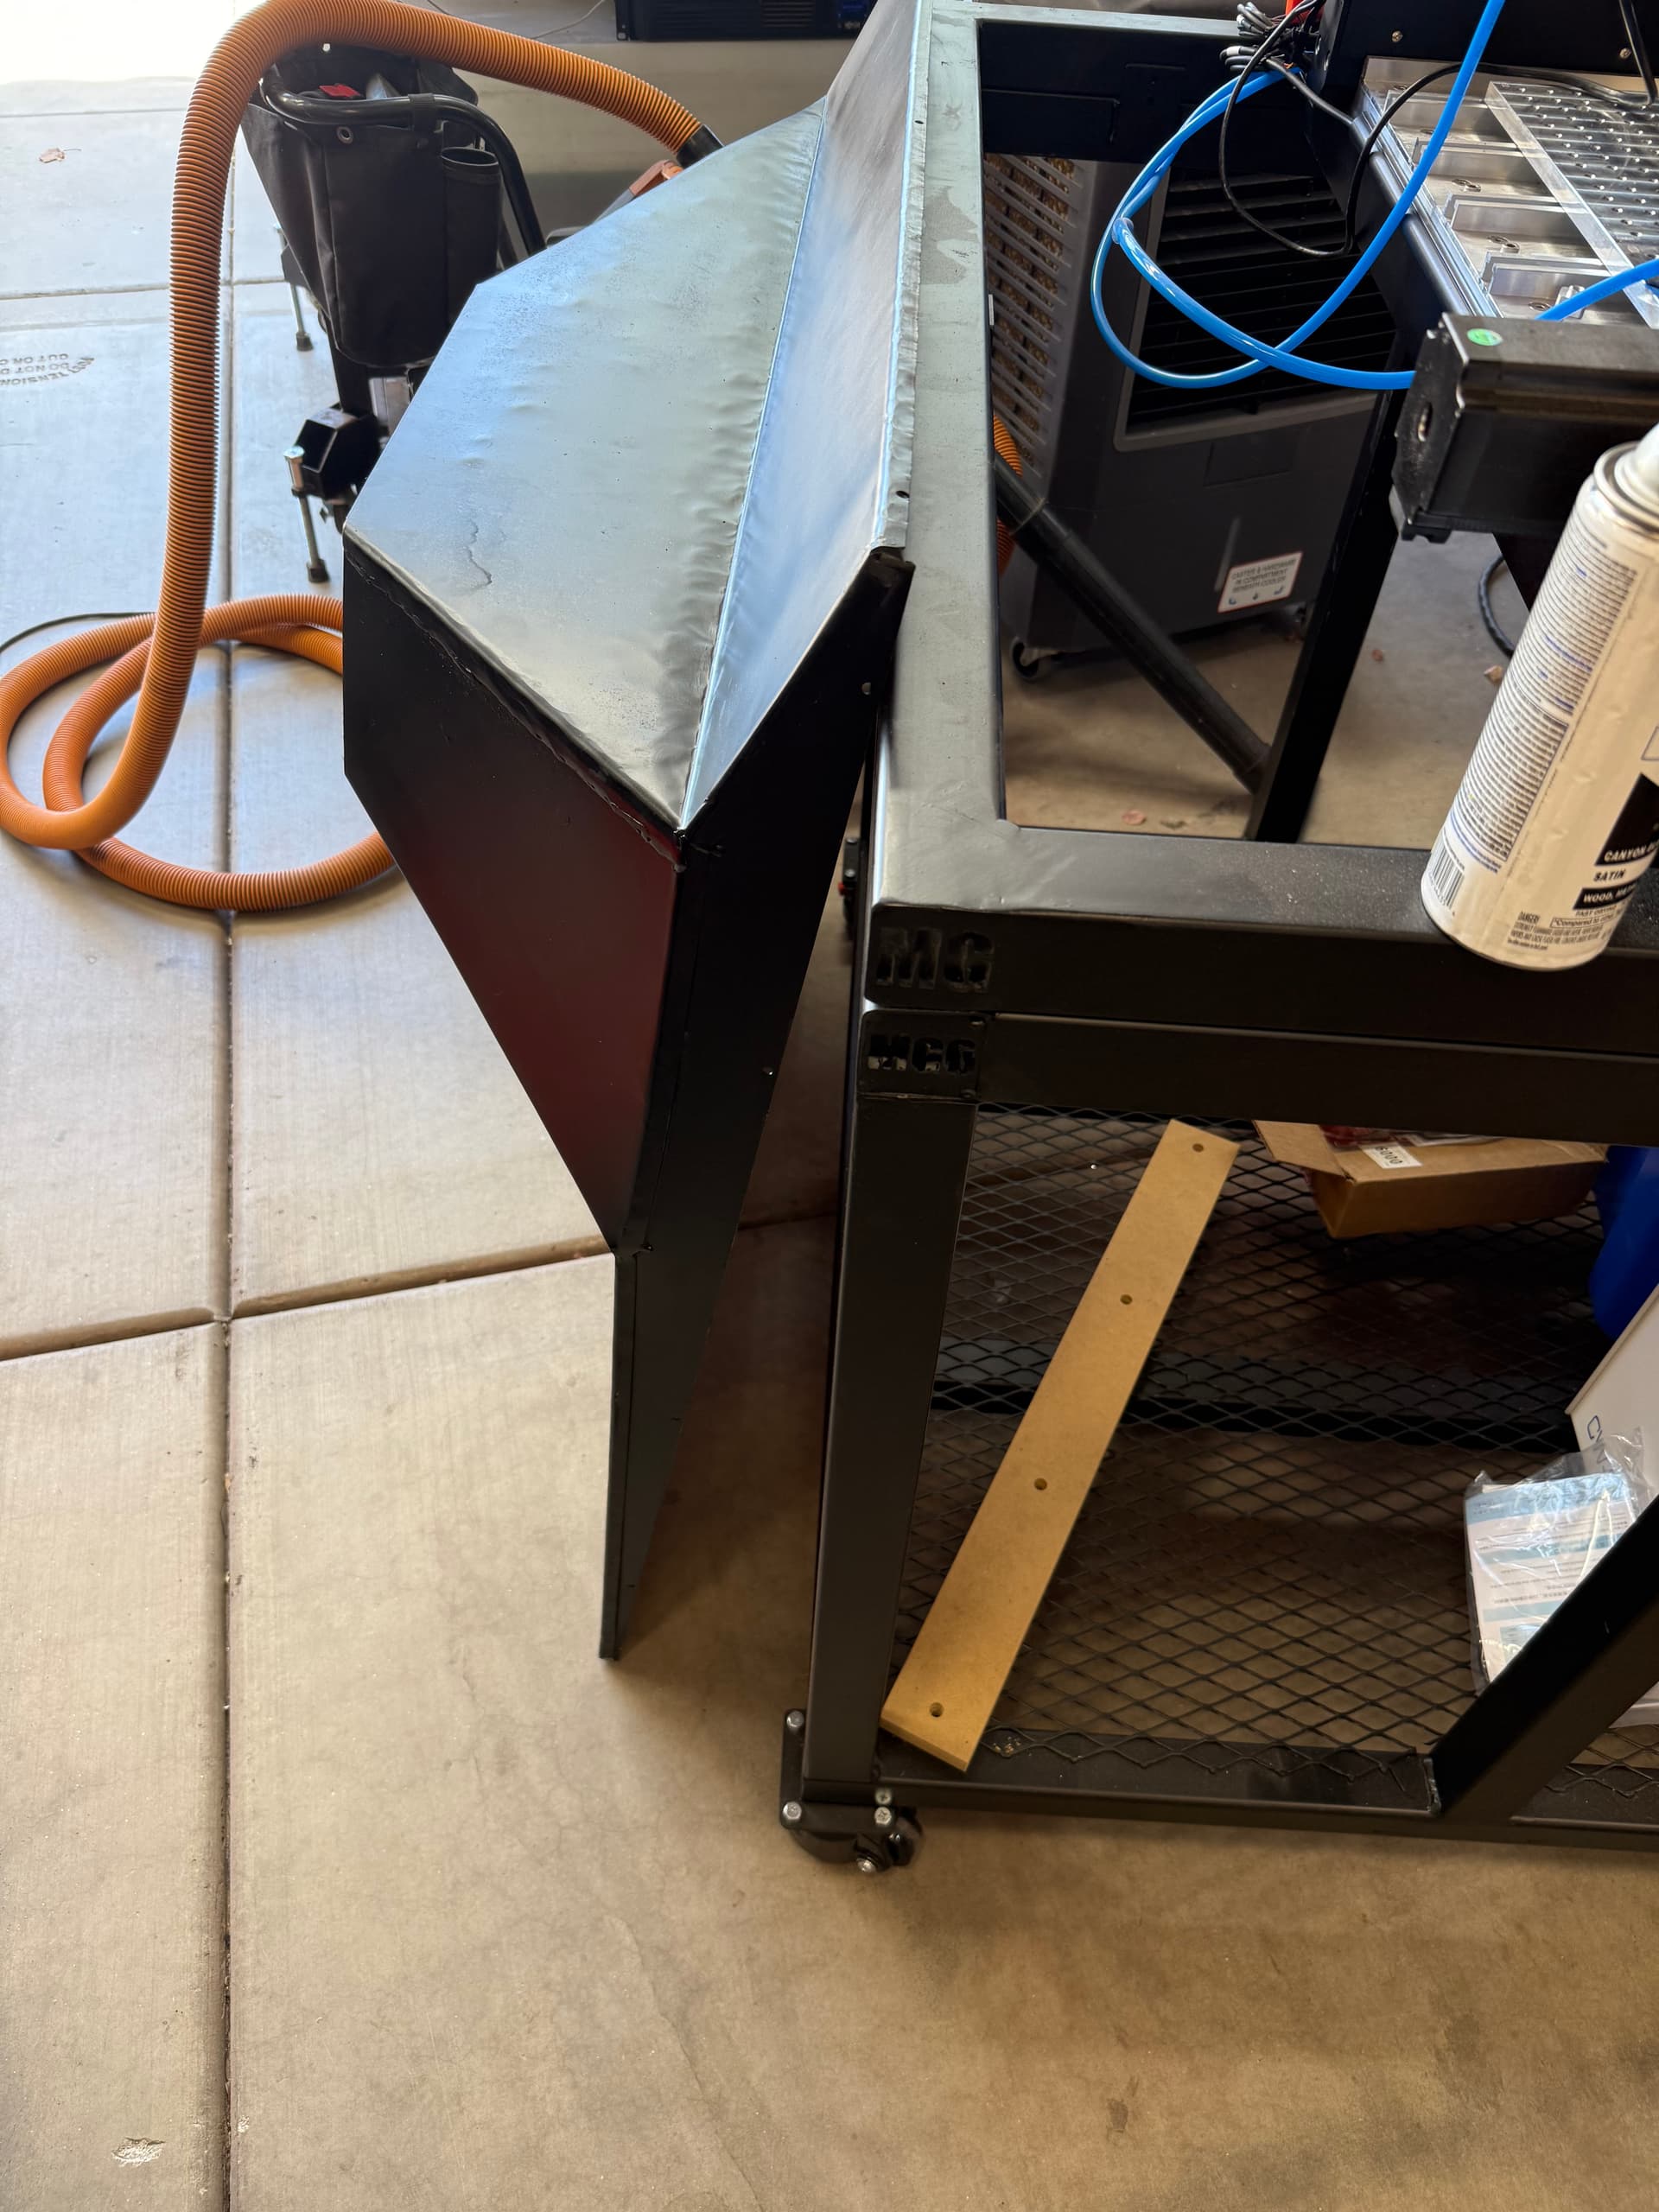
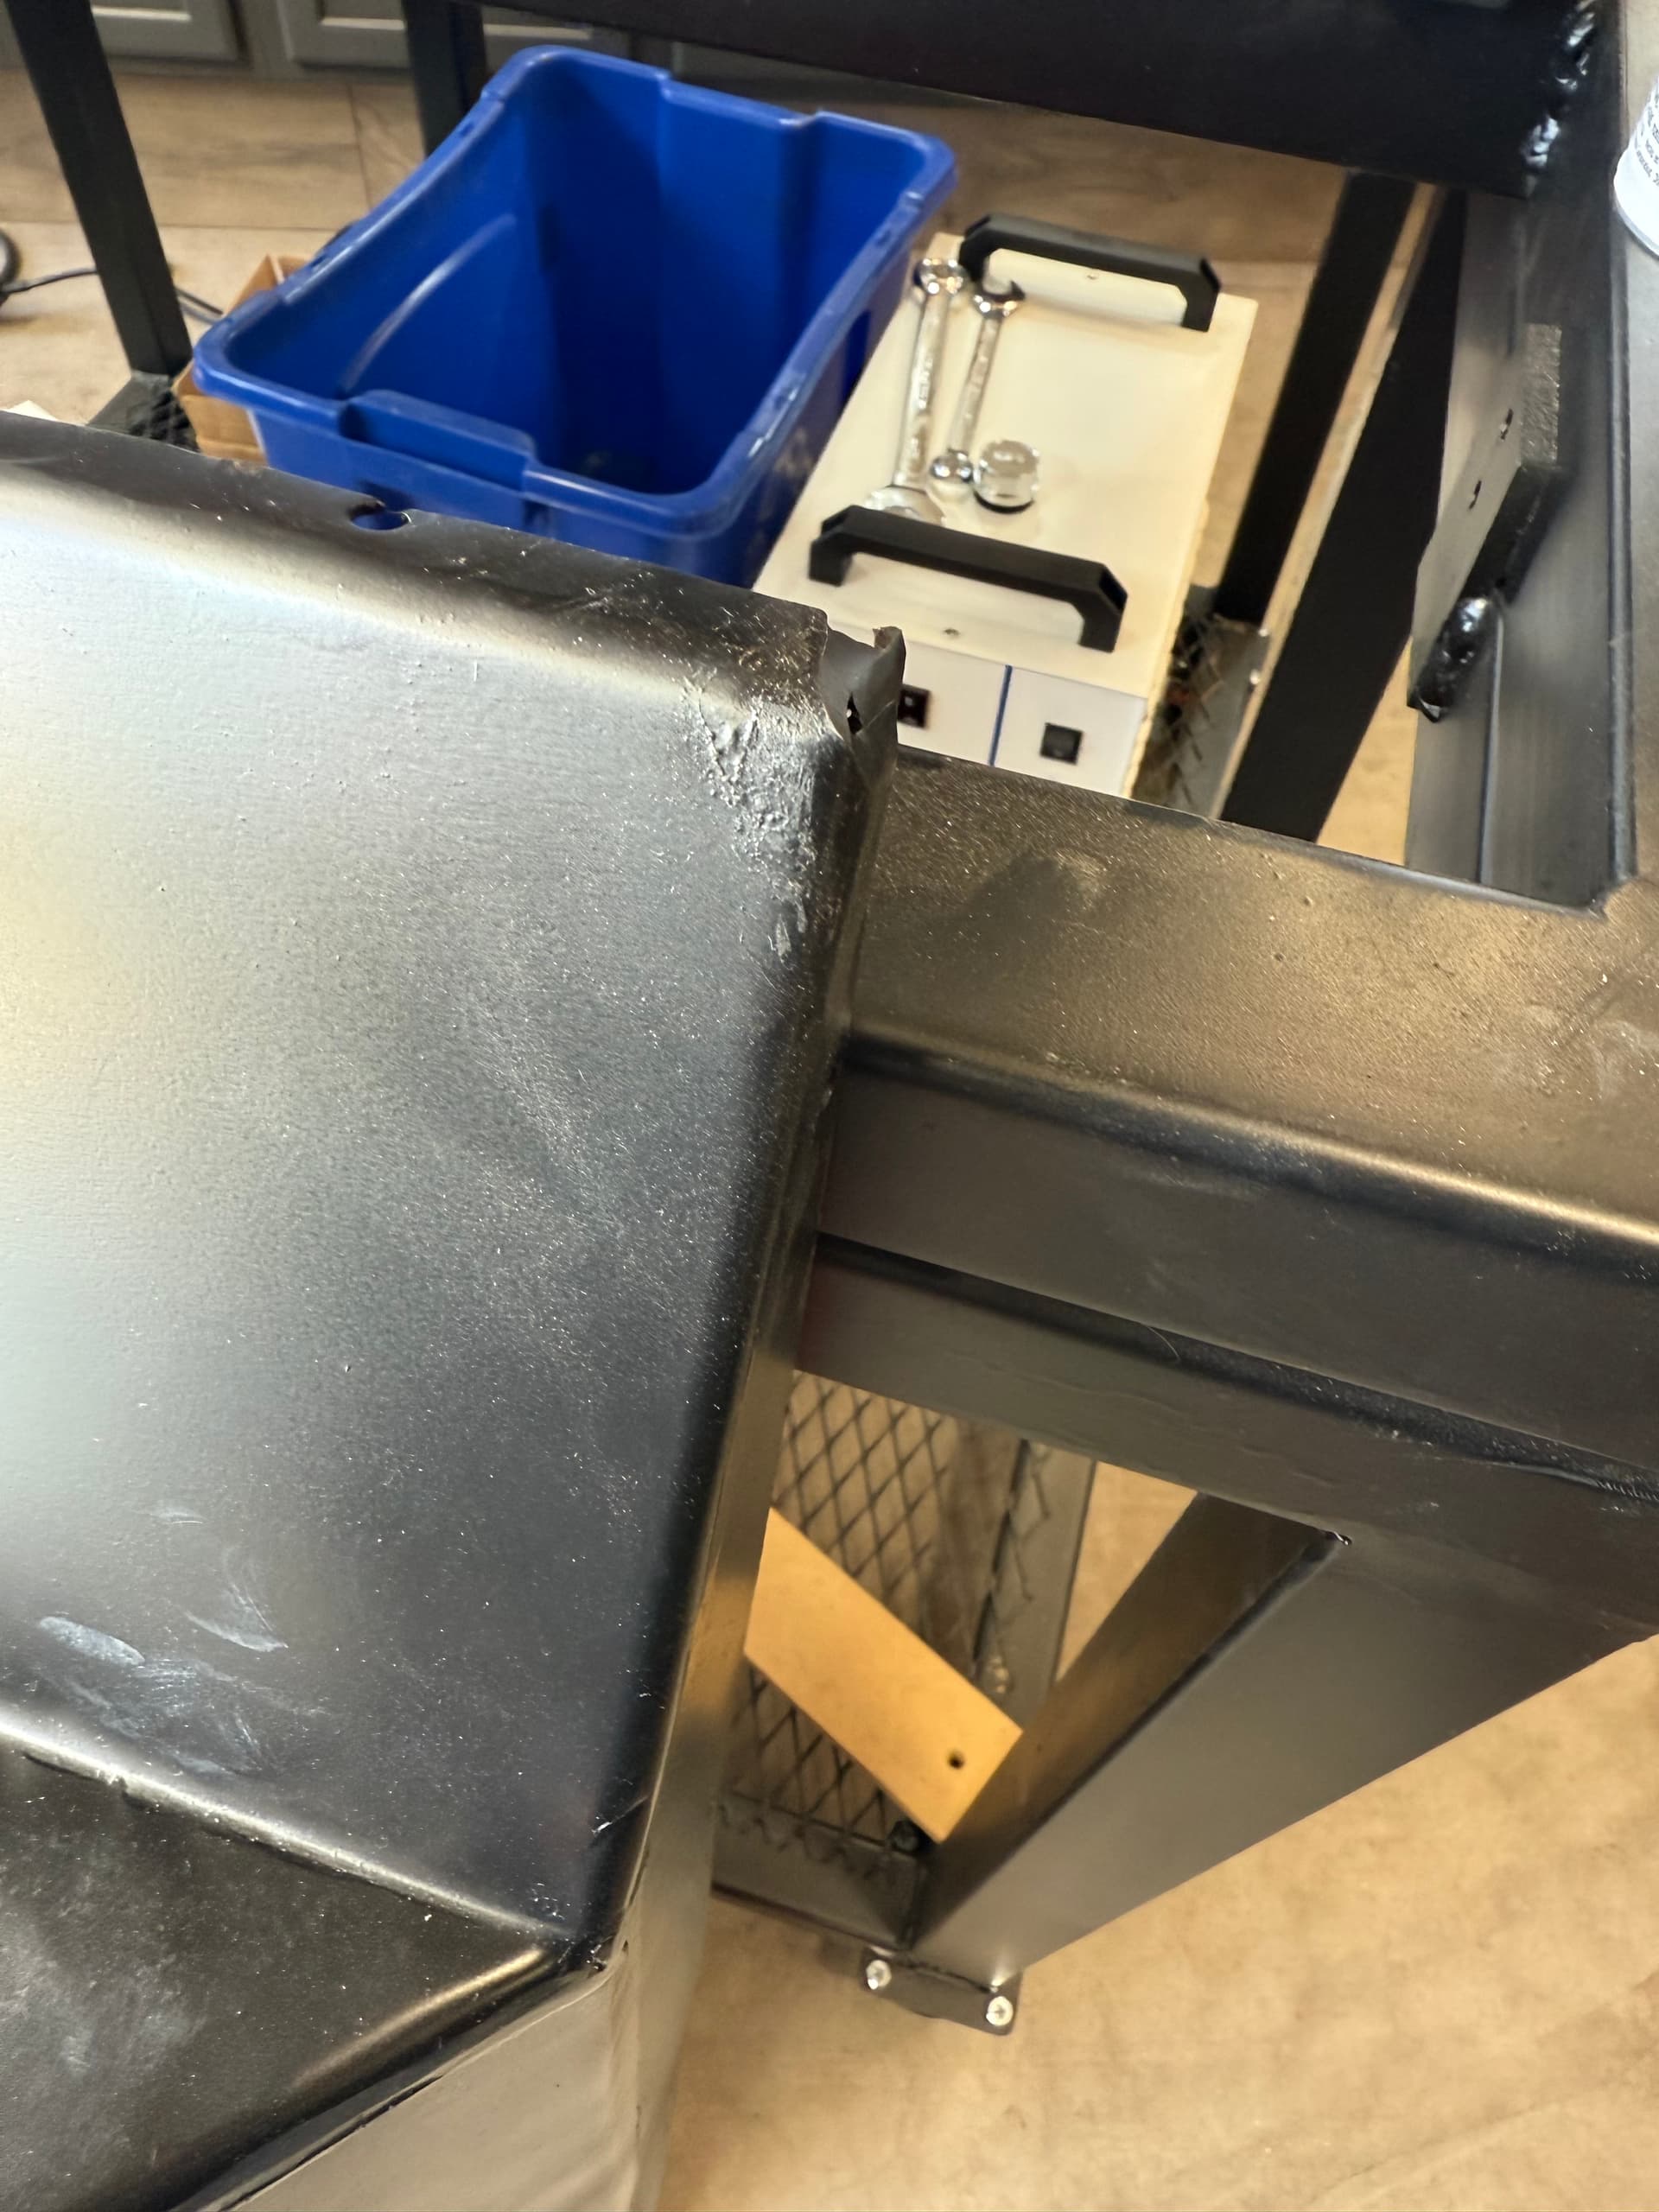
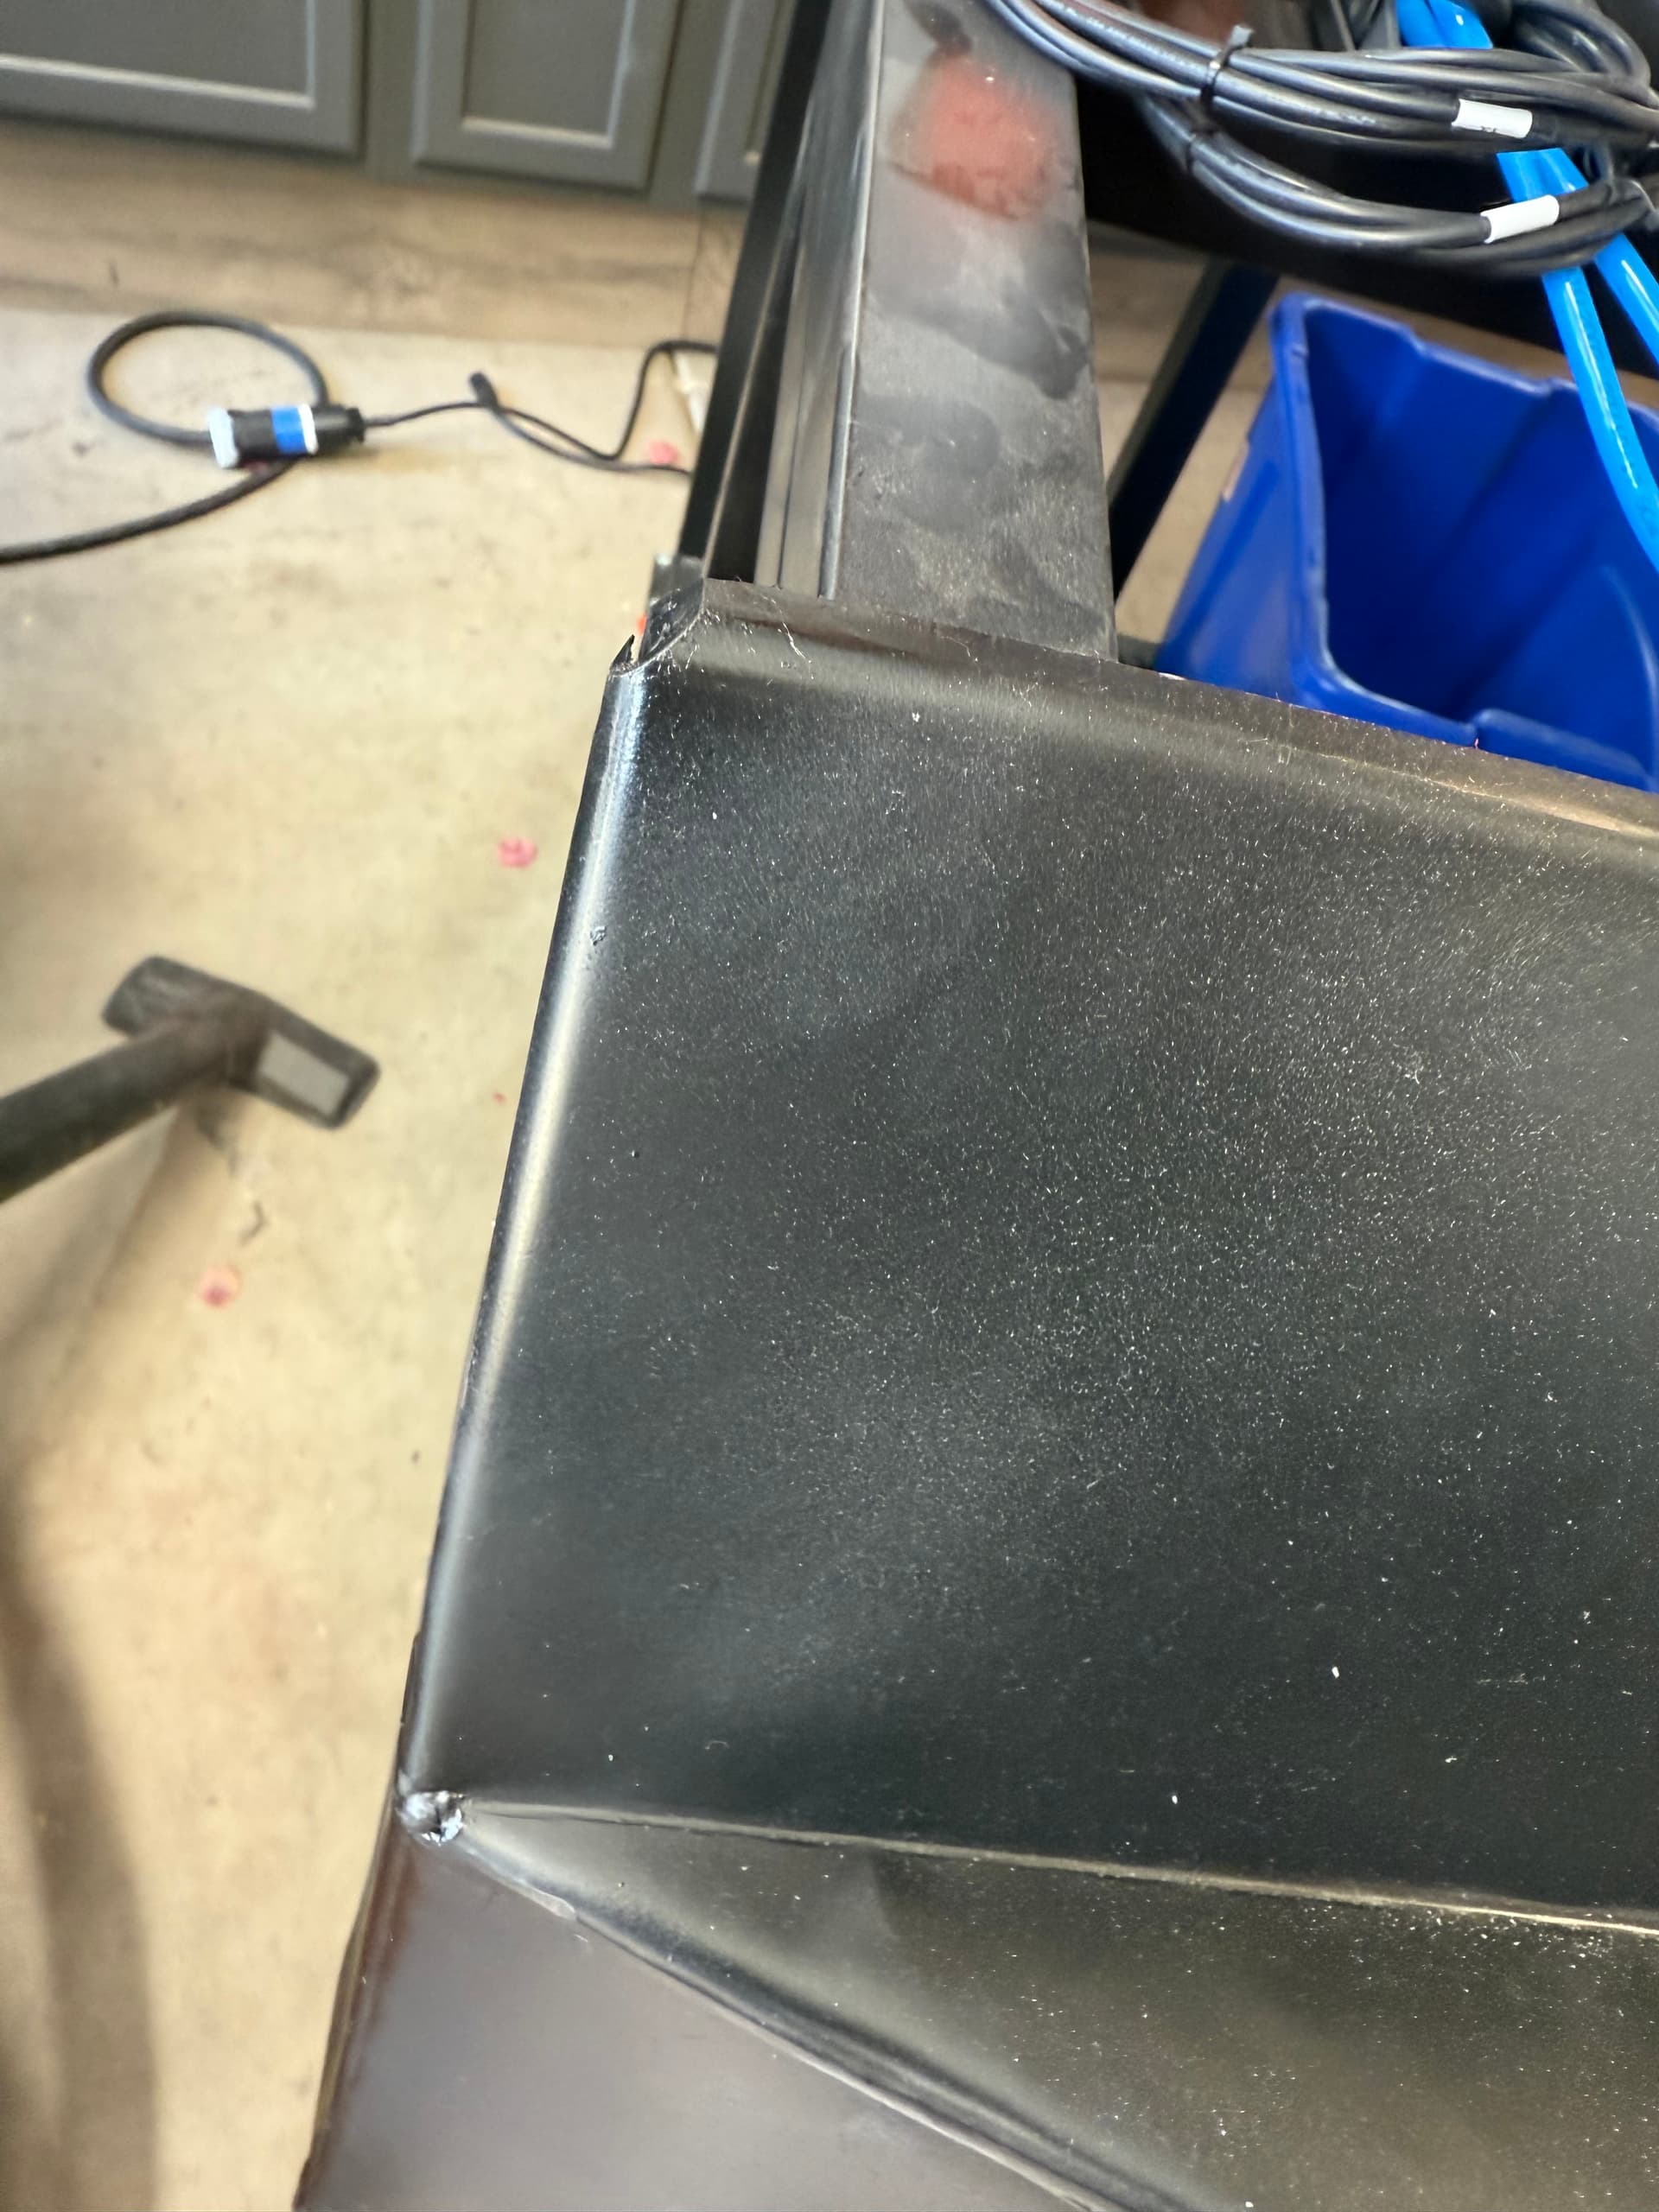
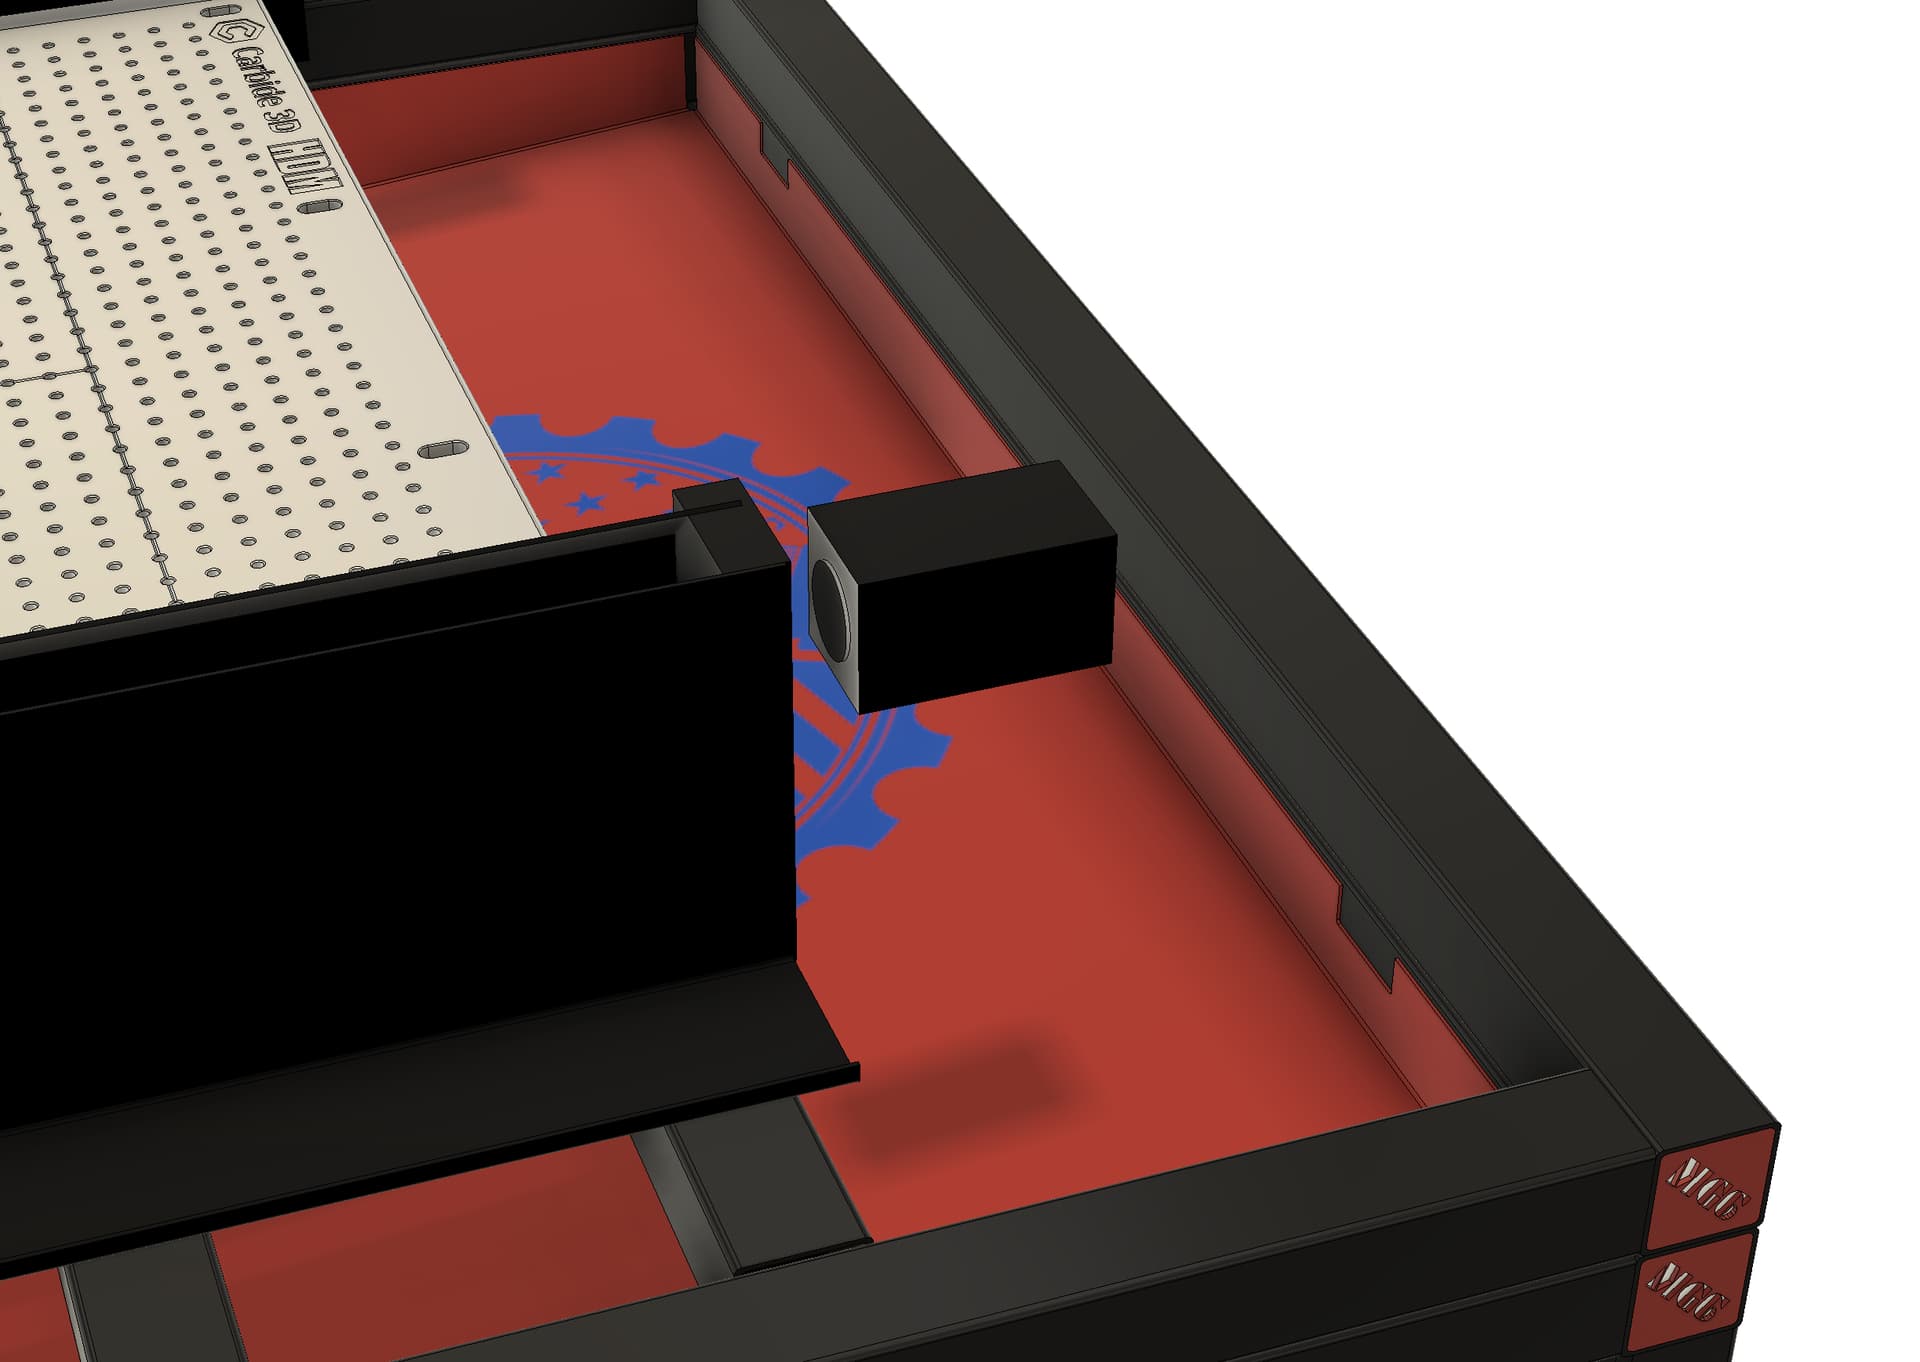
Eek. My son and I just tried to test fit the hopper. Had to pull it out and grind the corners off. I didn’t accommodate for the welds on the inside corners. Overall, the part fits “too tight.” Should have gone a little smaller with larger flanges to bend. Oh well. Fresh paint drying now.
This topic was automatically closed after 43 days. New replies are no longer allowed.
Amazing build, sir! Wow!!
1 Like
thank you! ![]() appreciate the feedback.
appreciate the feedback.
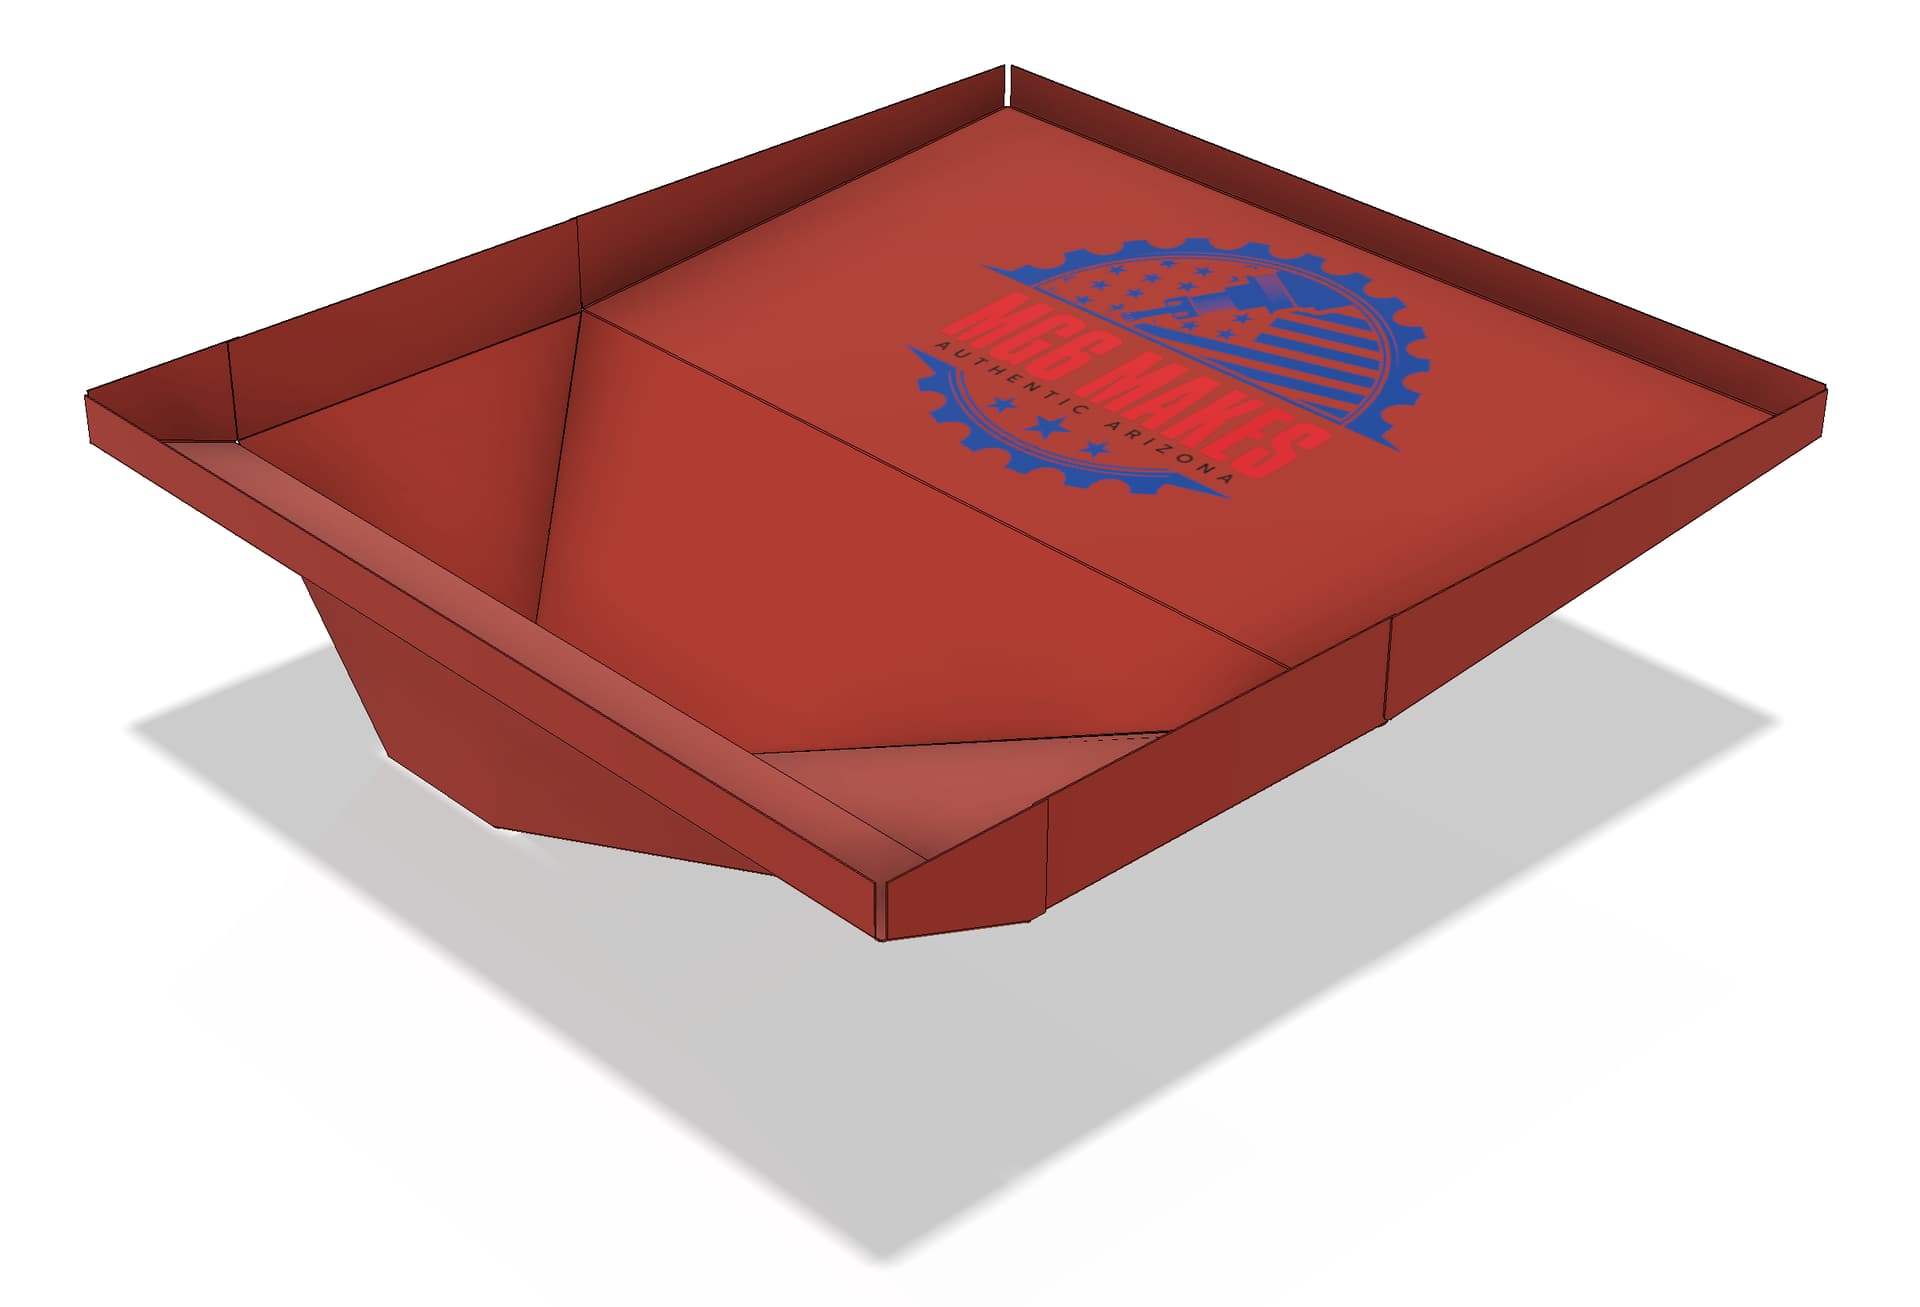
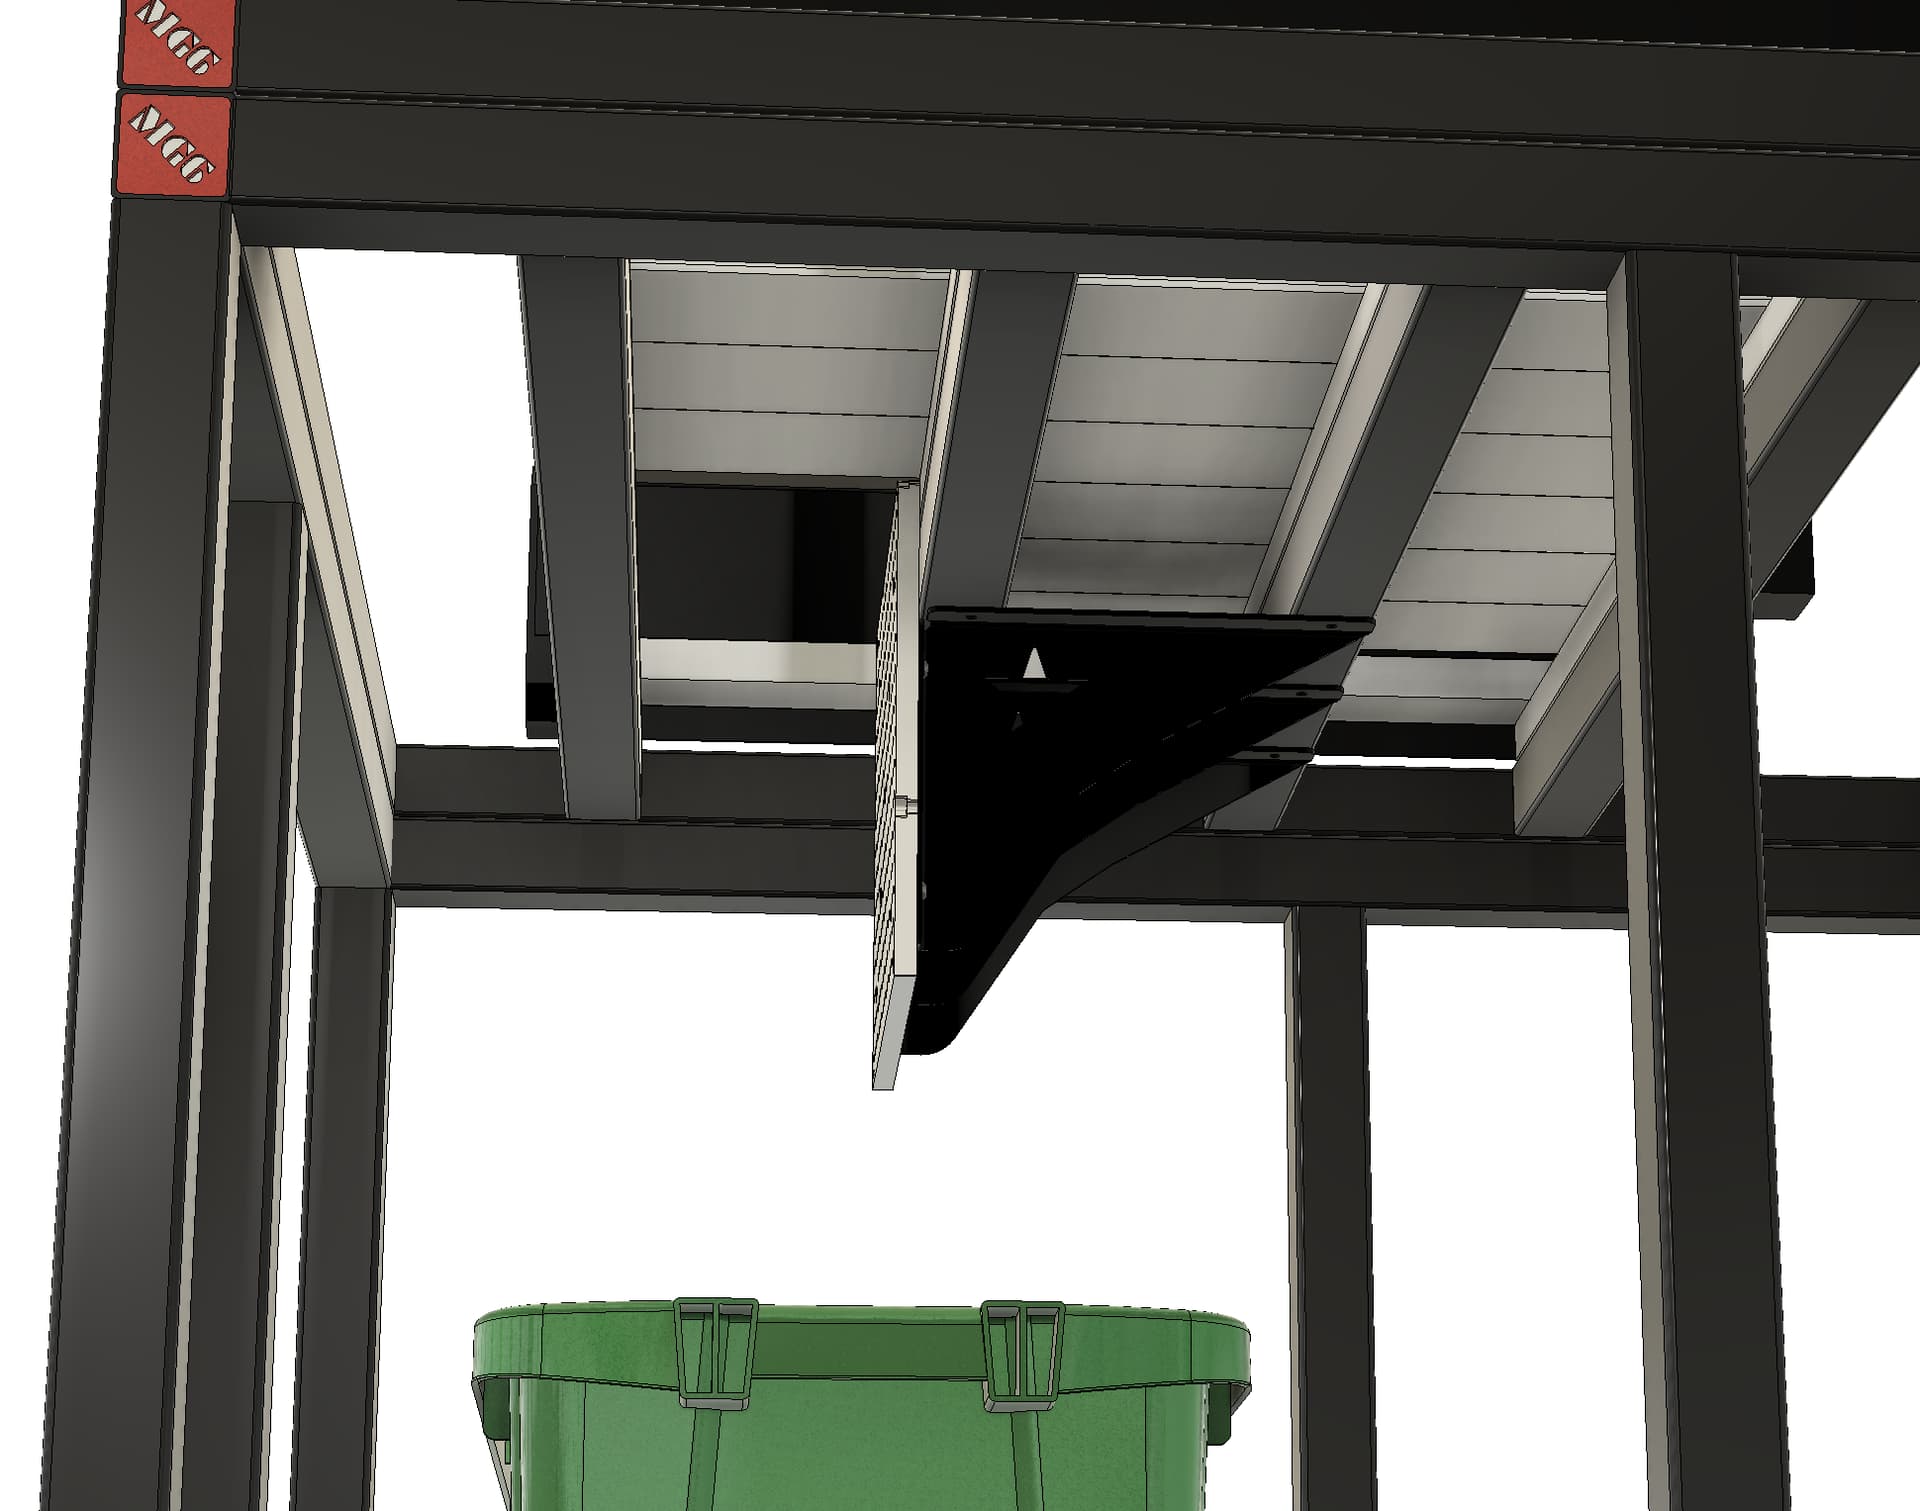
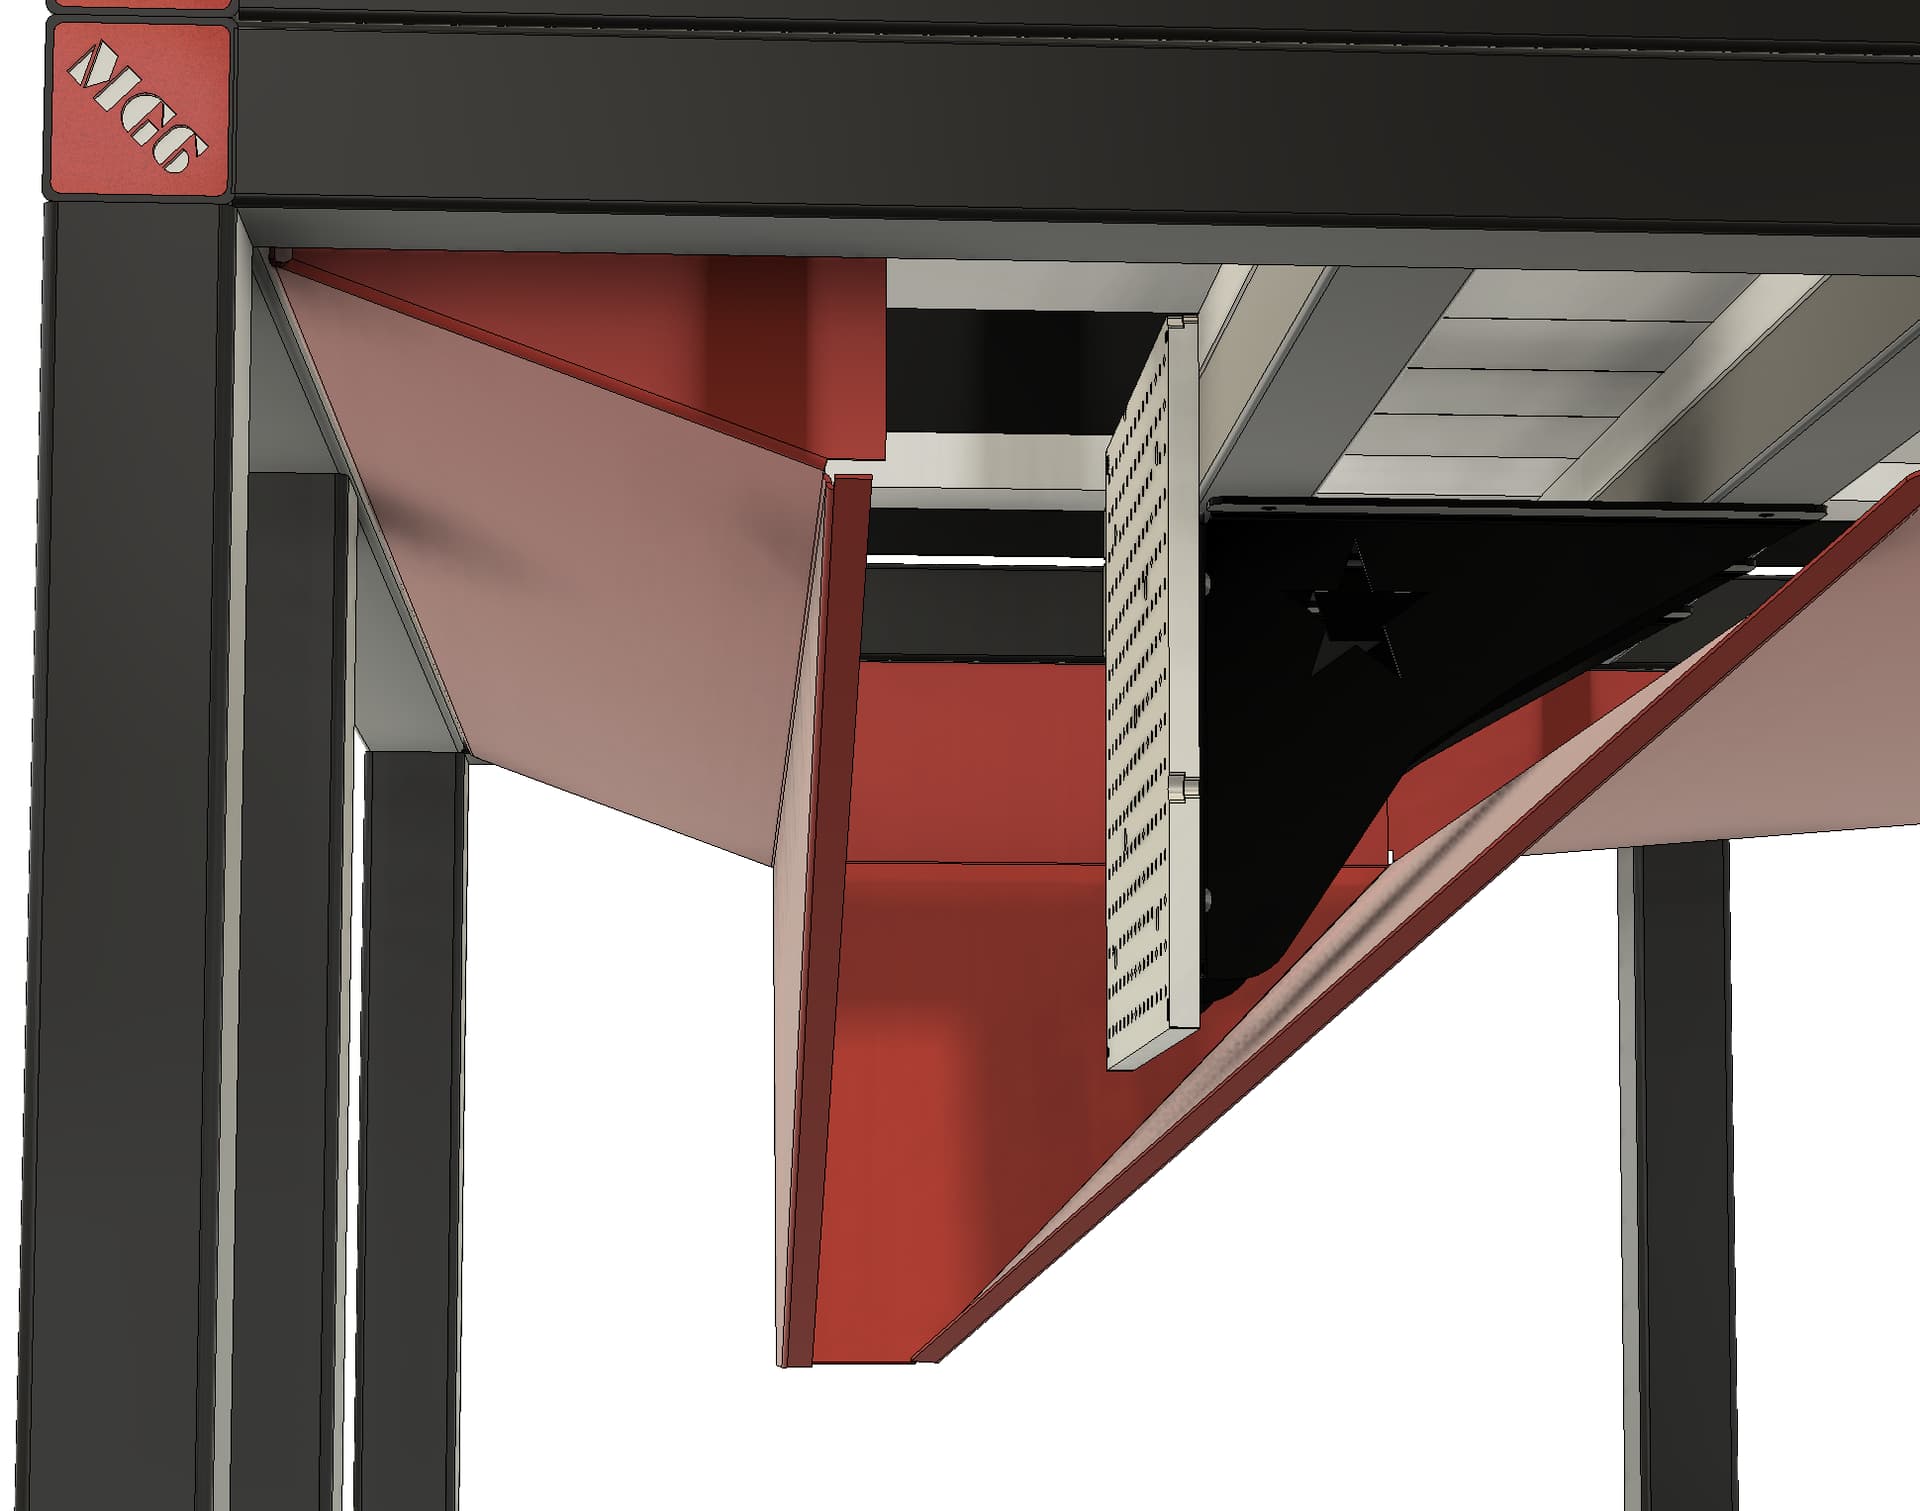
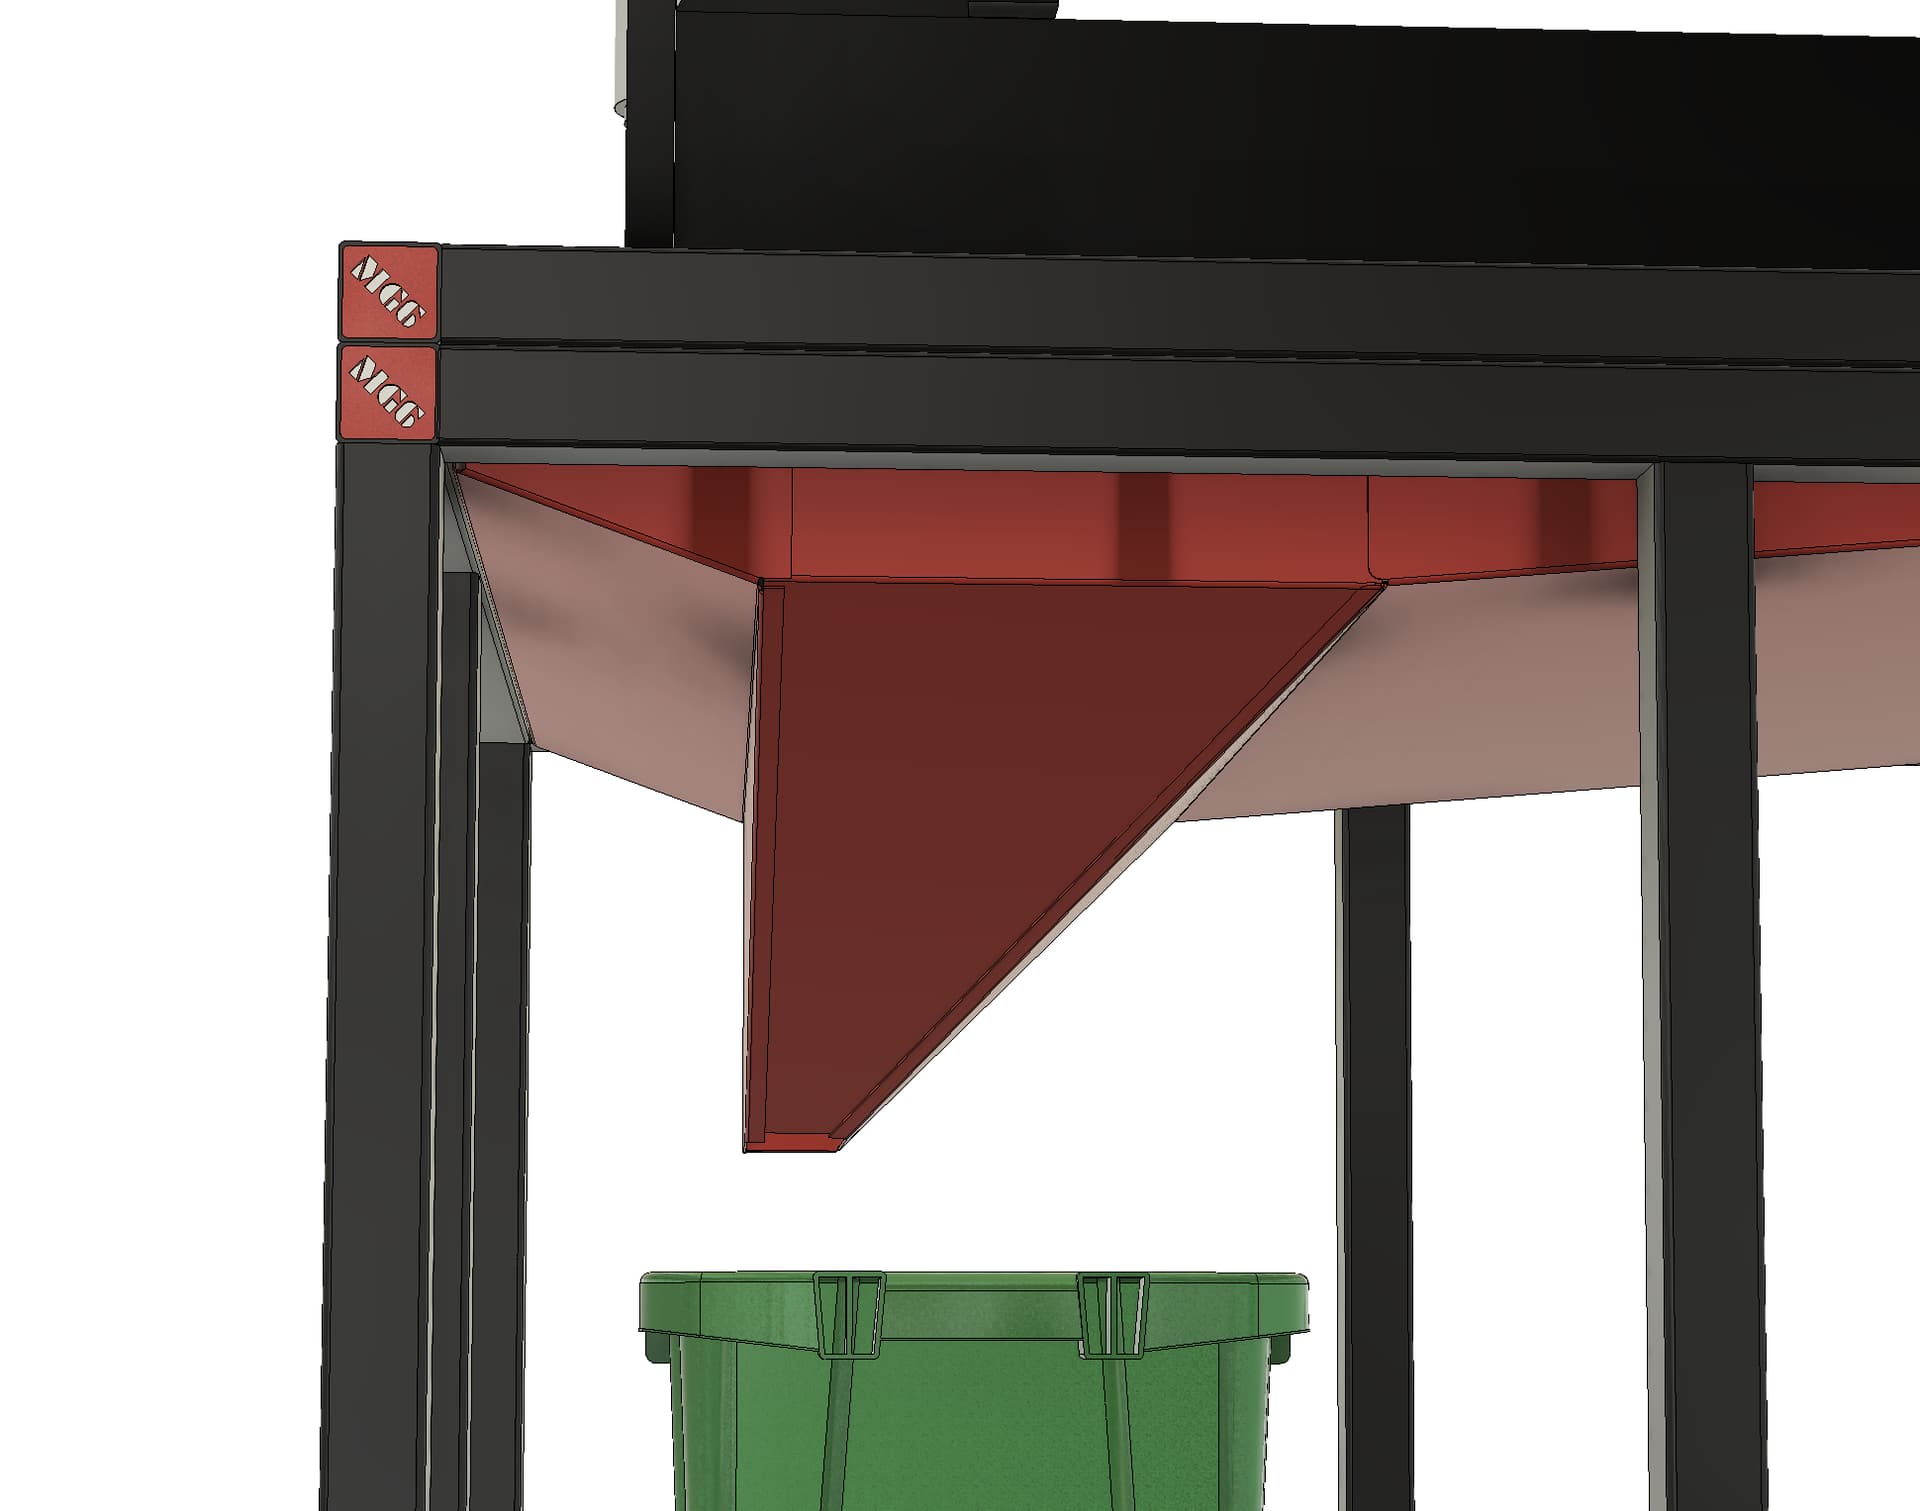
I have created the 4th design prototype for the hopper. This is the first prototype design that incorporates everything I learned from fabricating the third prototype.
Improvements:
- Chamfered corners 0.25in to allow space for welds
- ⅛ or 0.125in in each direction less width/depth to make it easier to manipulate into the frame. Whew, that was not fun.
- Increased top flange length to support item #2
- reduced the size of the dump hole
- Still has a 5.5in 90 degree front hopper panel to allow space for both the vertical workholding and drawers on the front of the enclosure.
- Importantly, LESS PARTS. Its now only four parts instead of 6. This will make it easier to rivet or weld together.
- Less parts means less seams, which means less leaks, and less welding
3 Likes
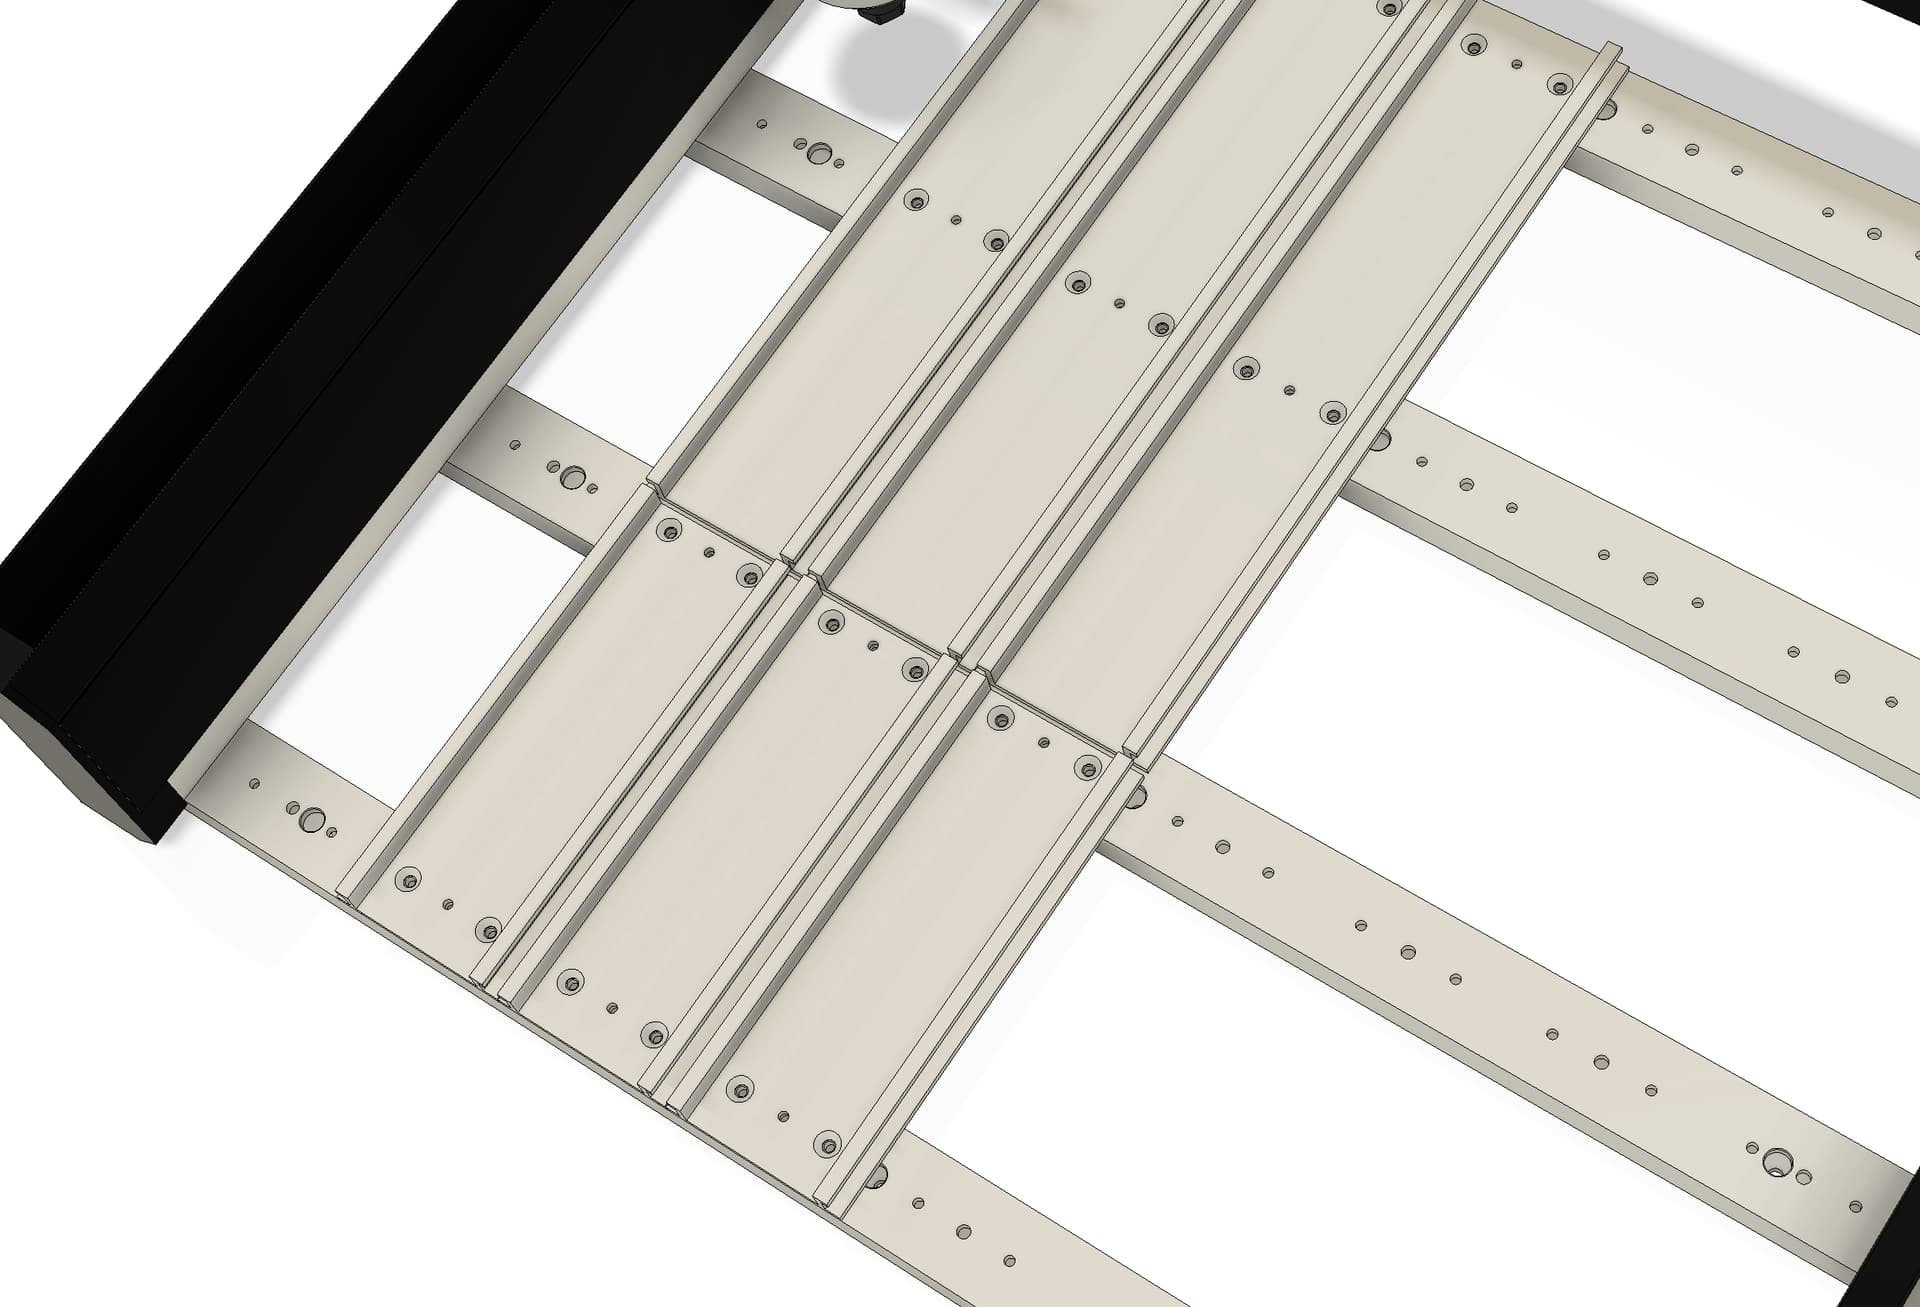
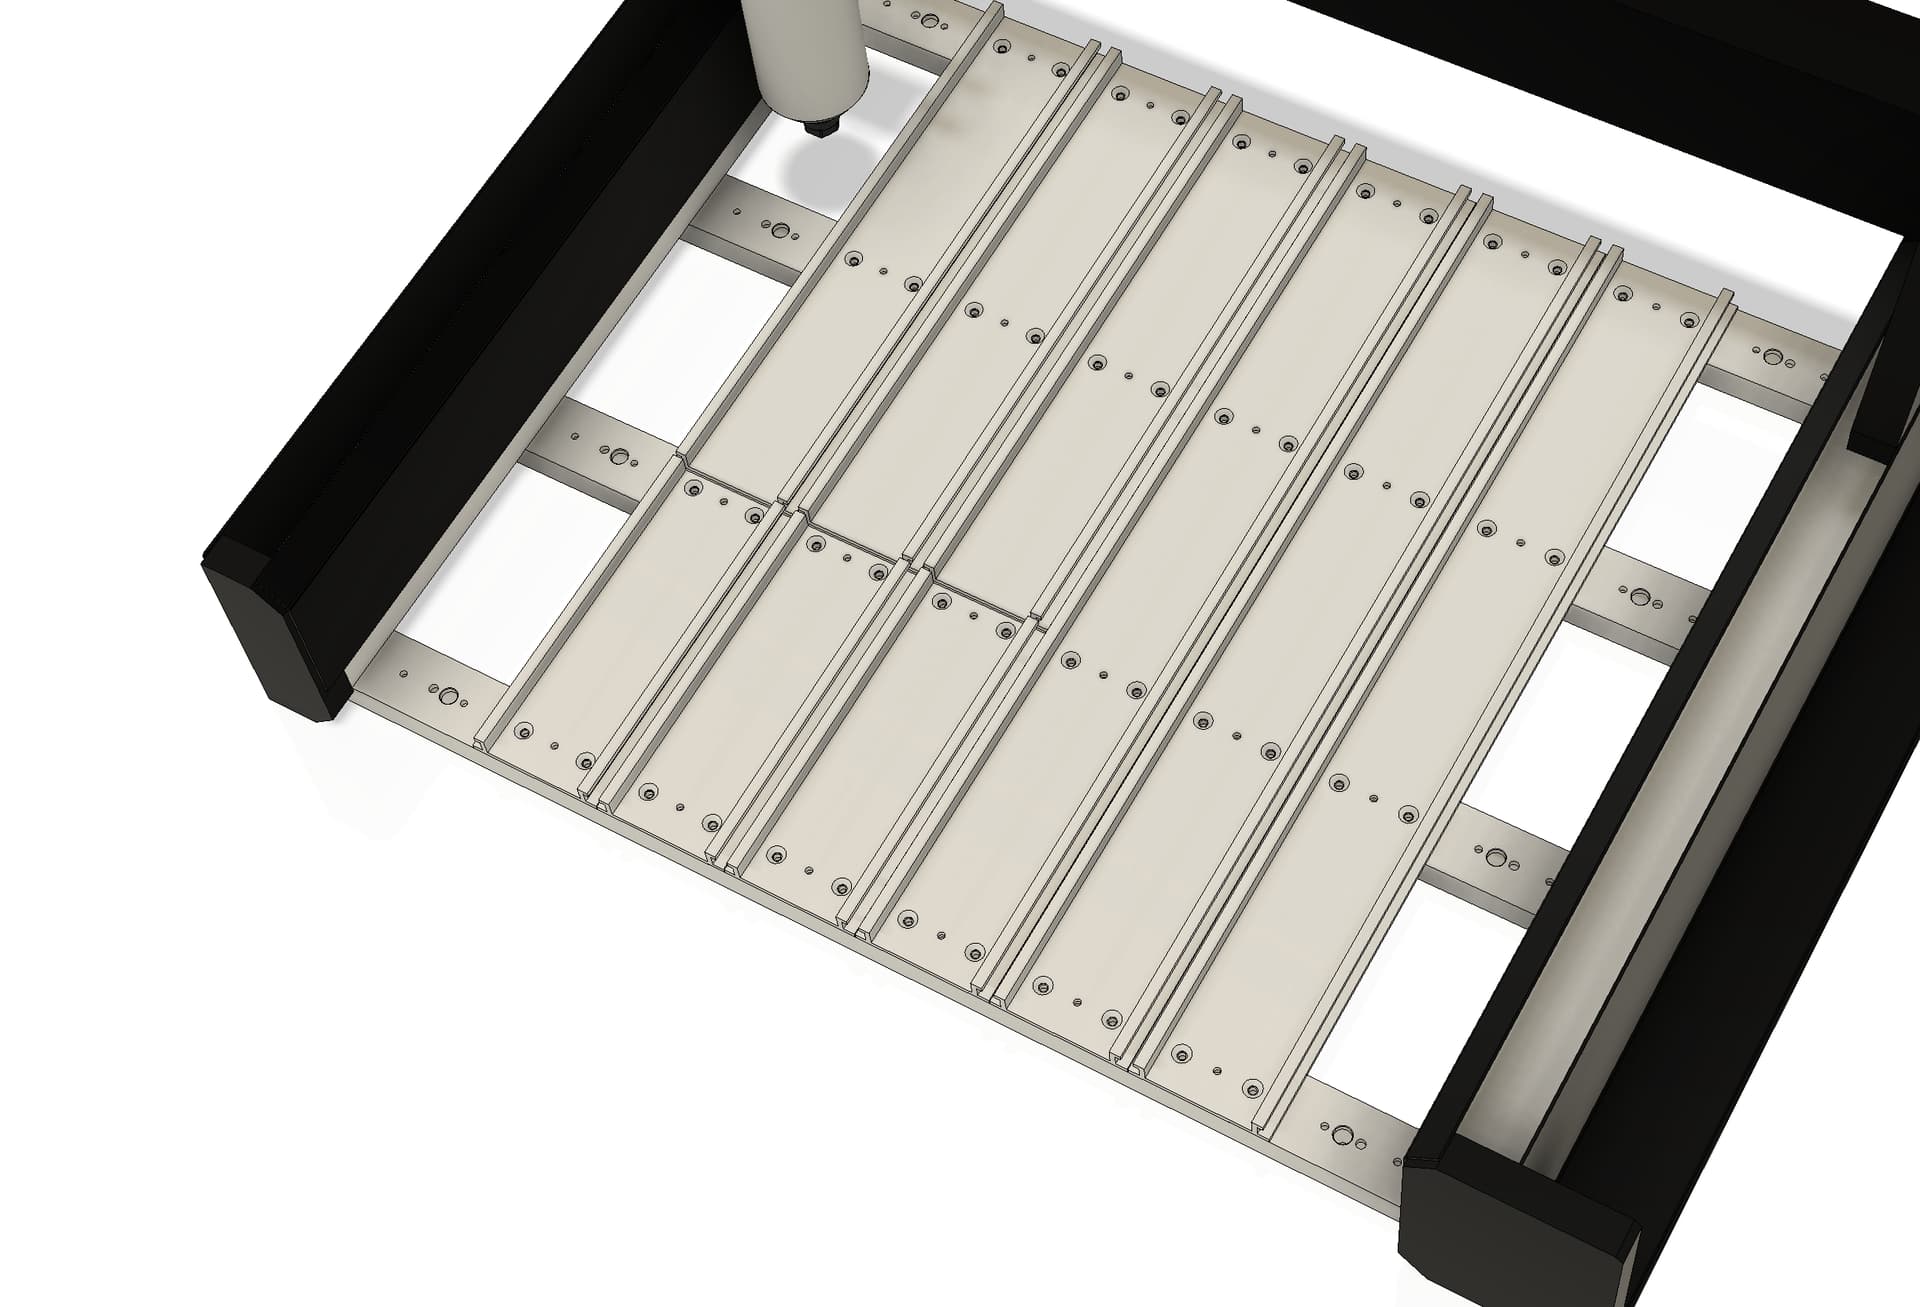
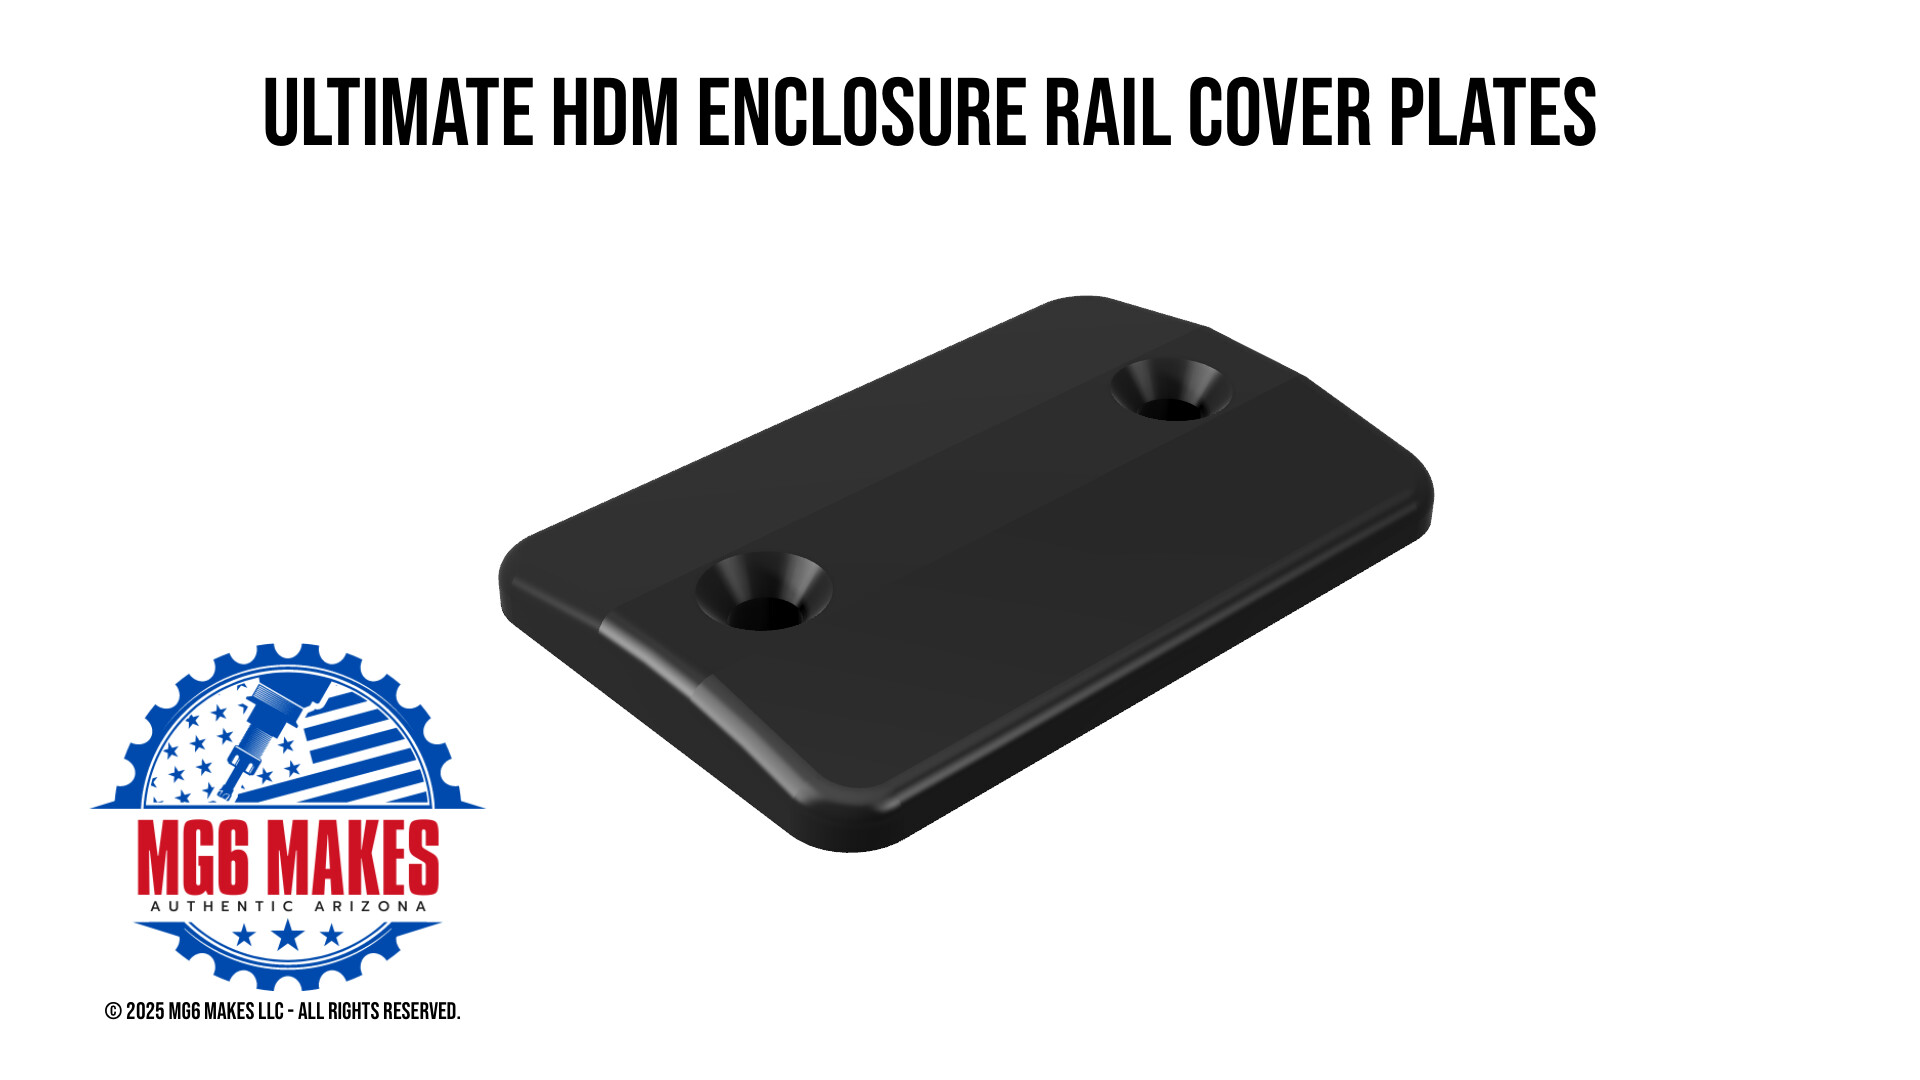
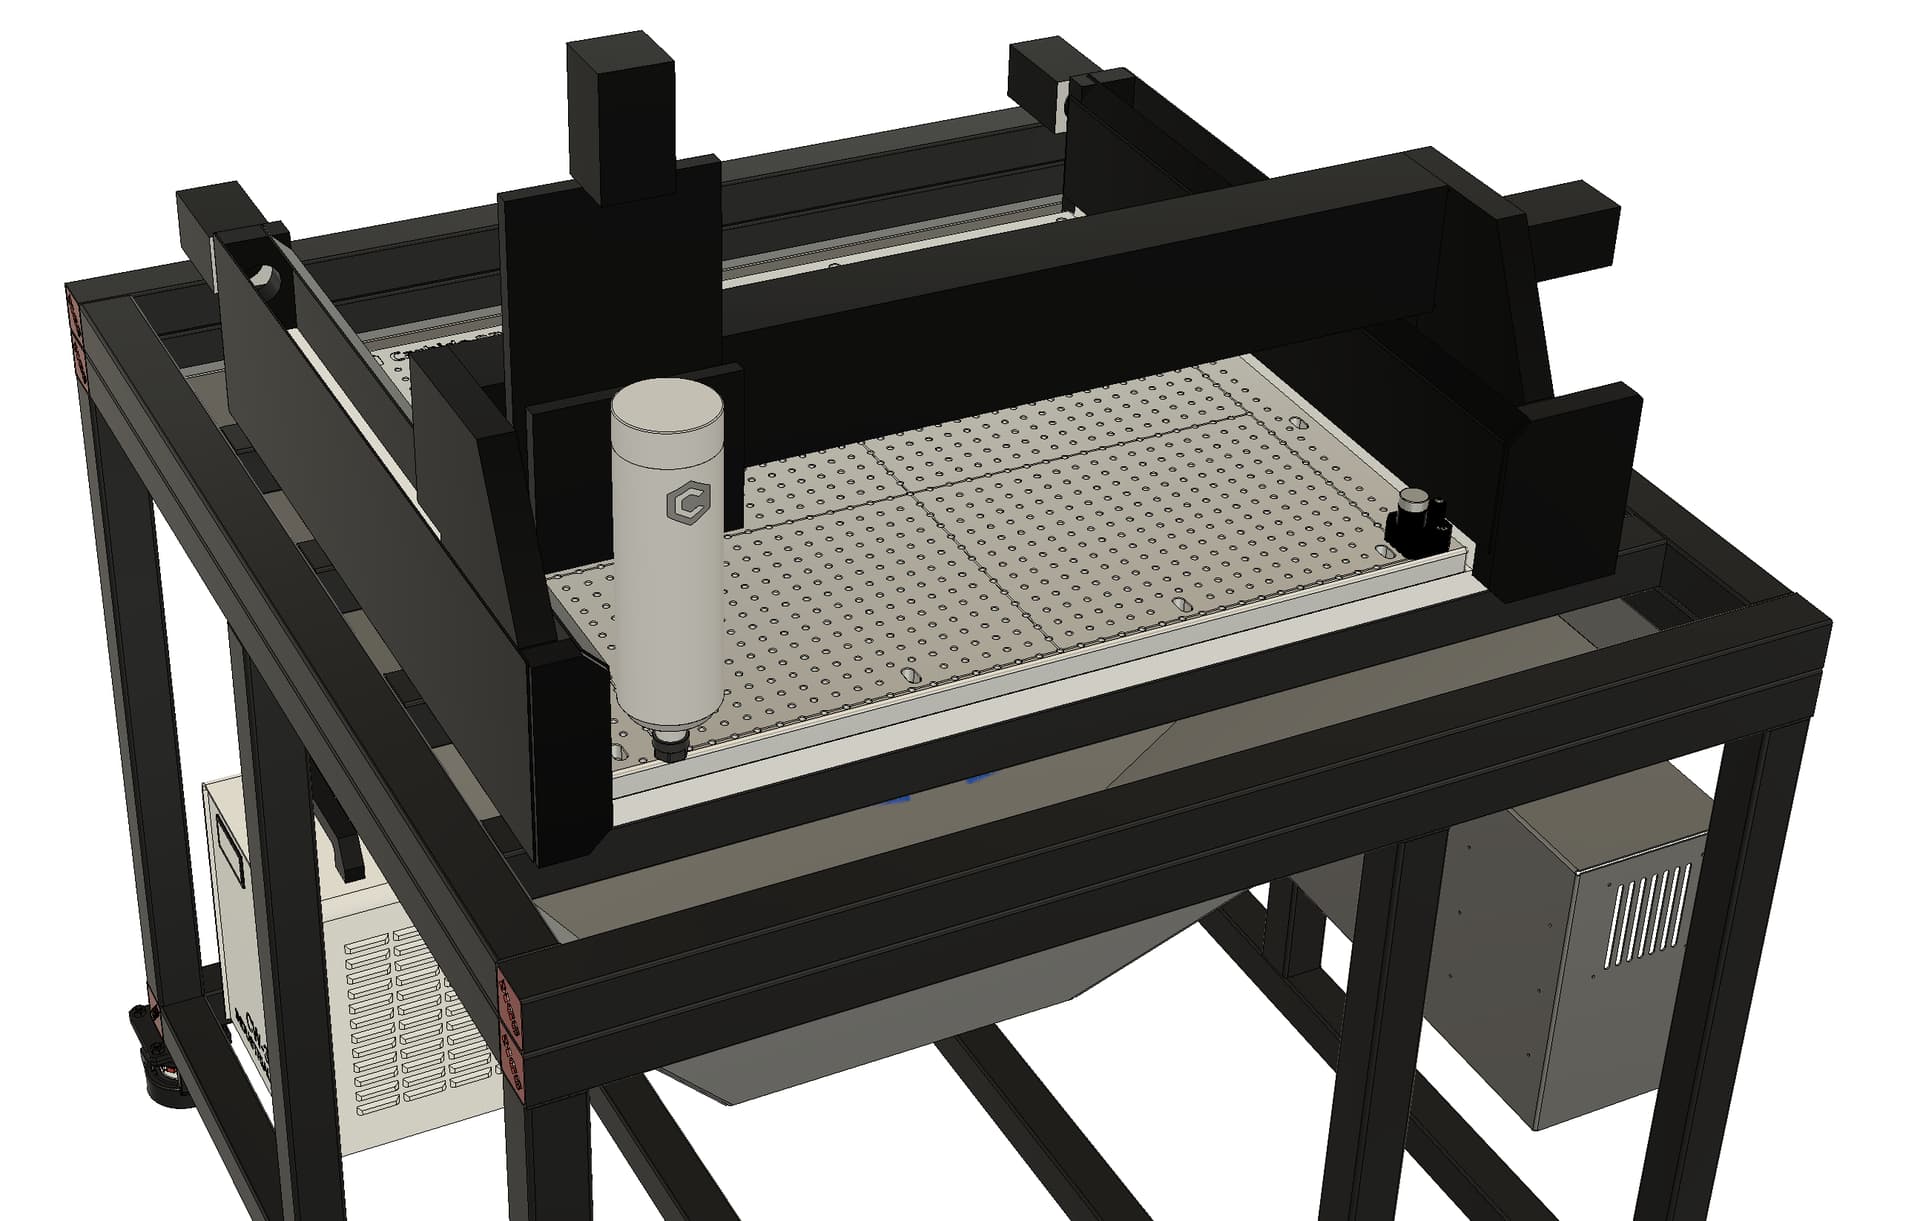
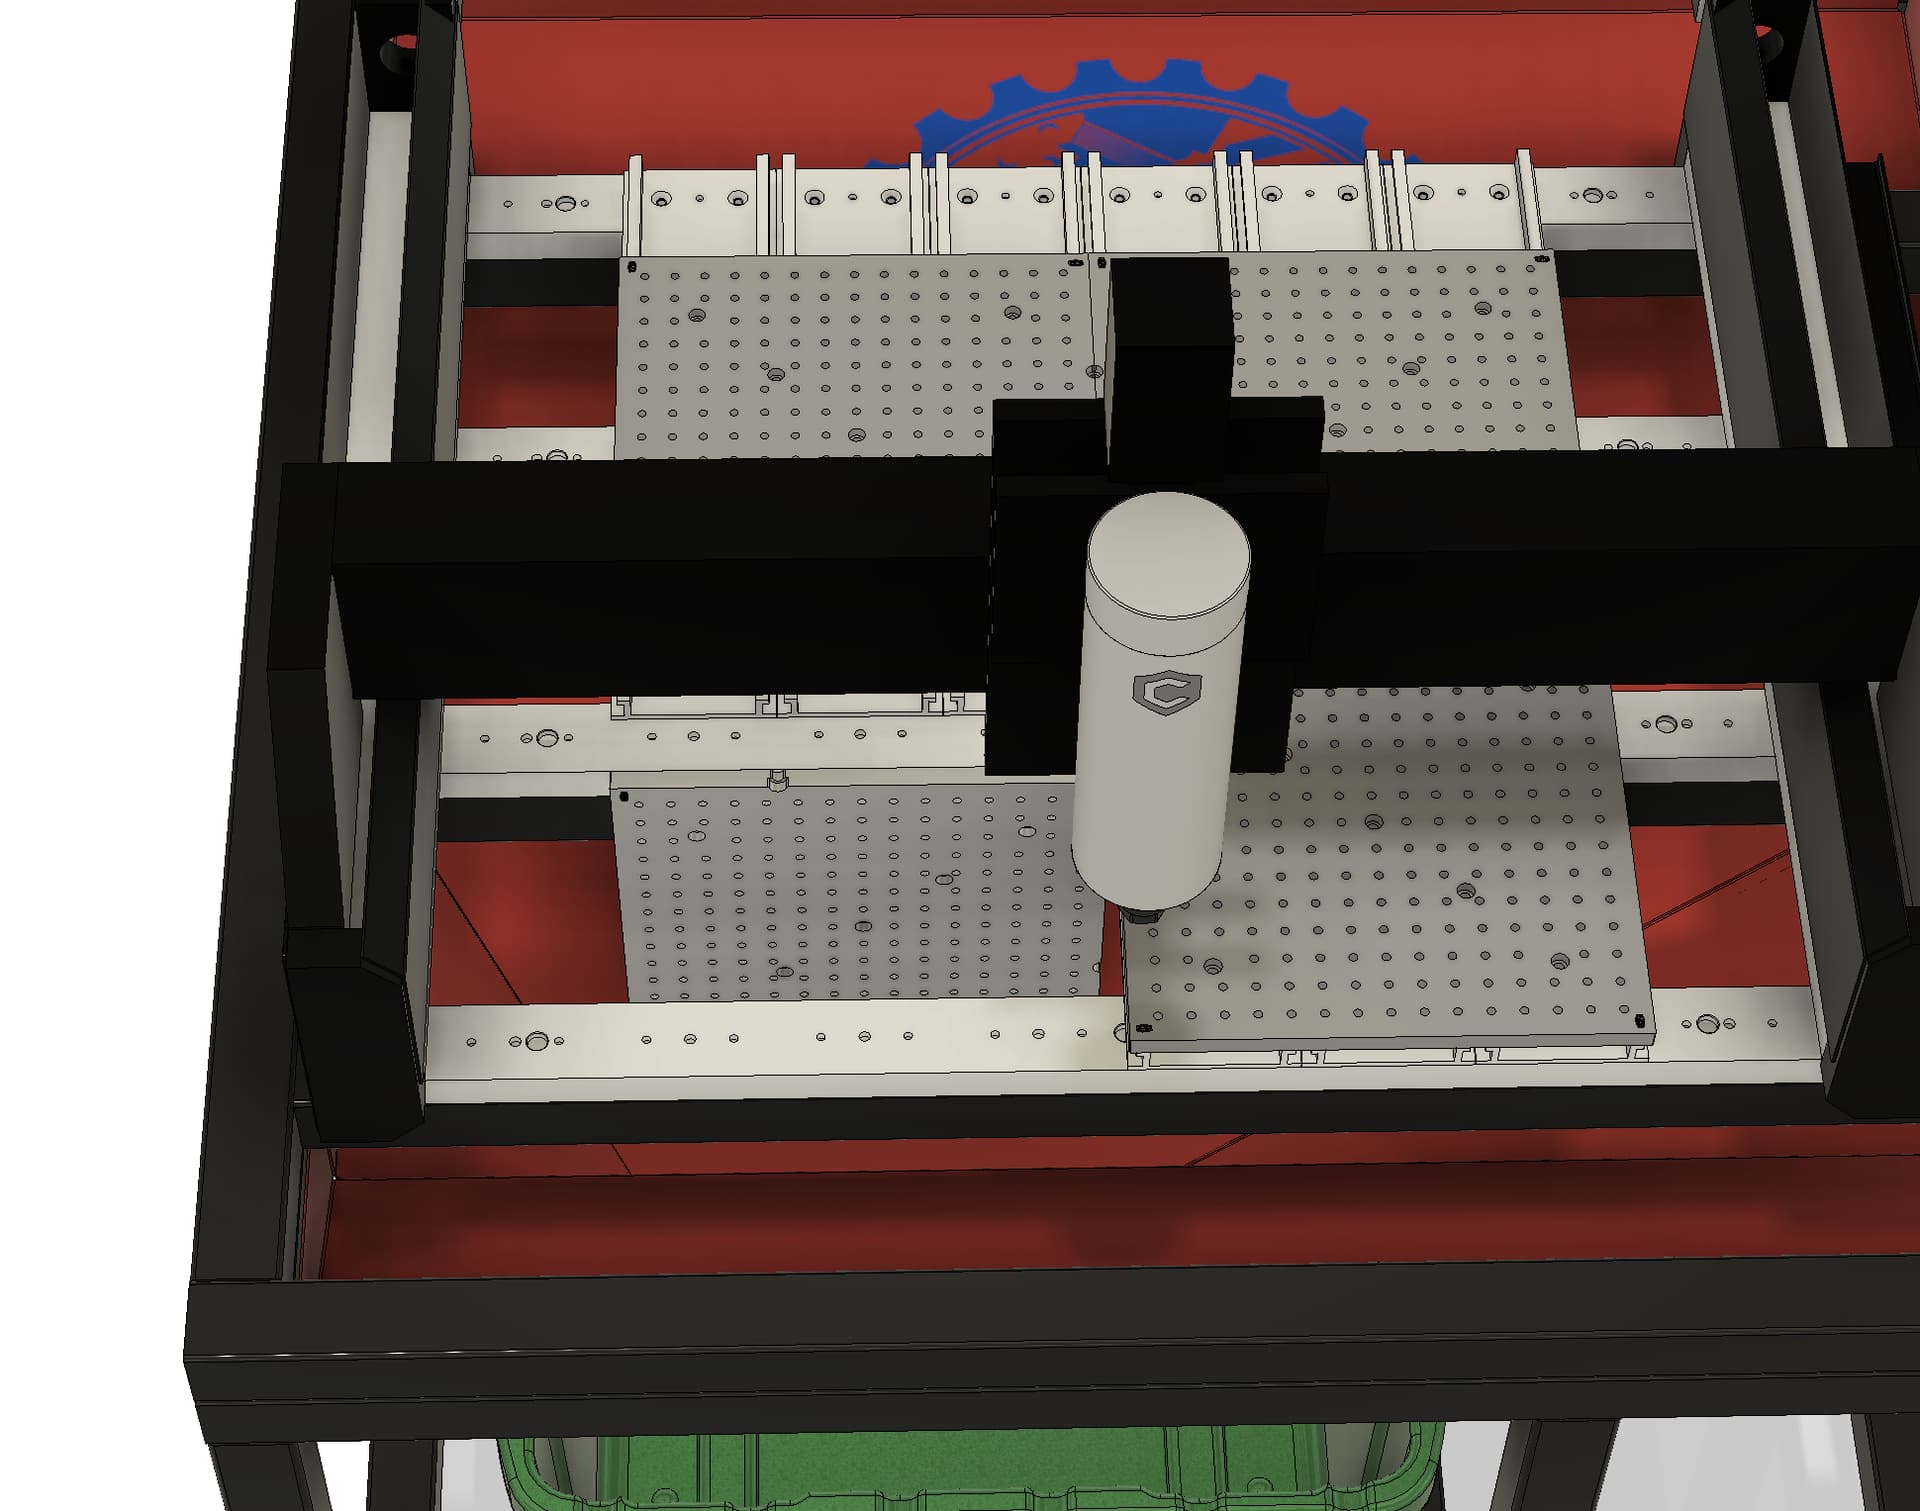
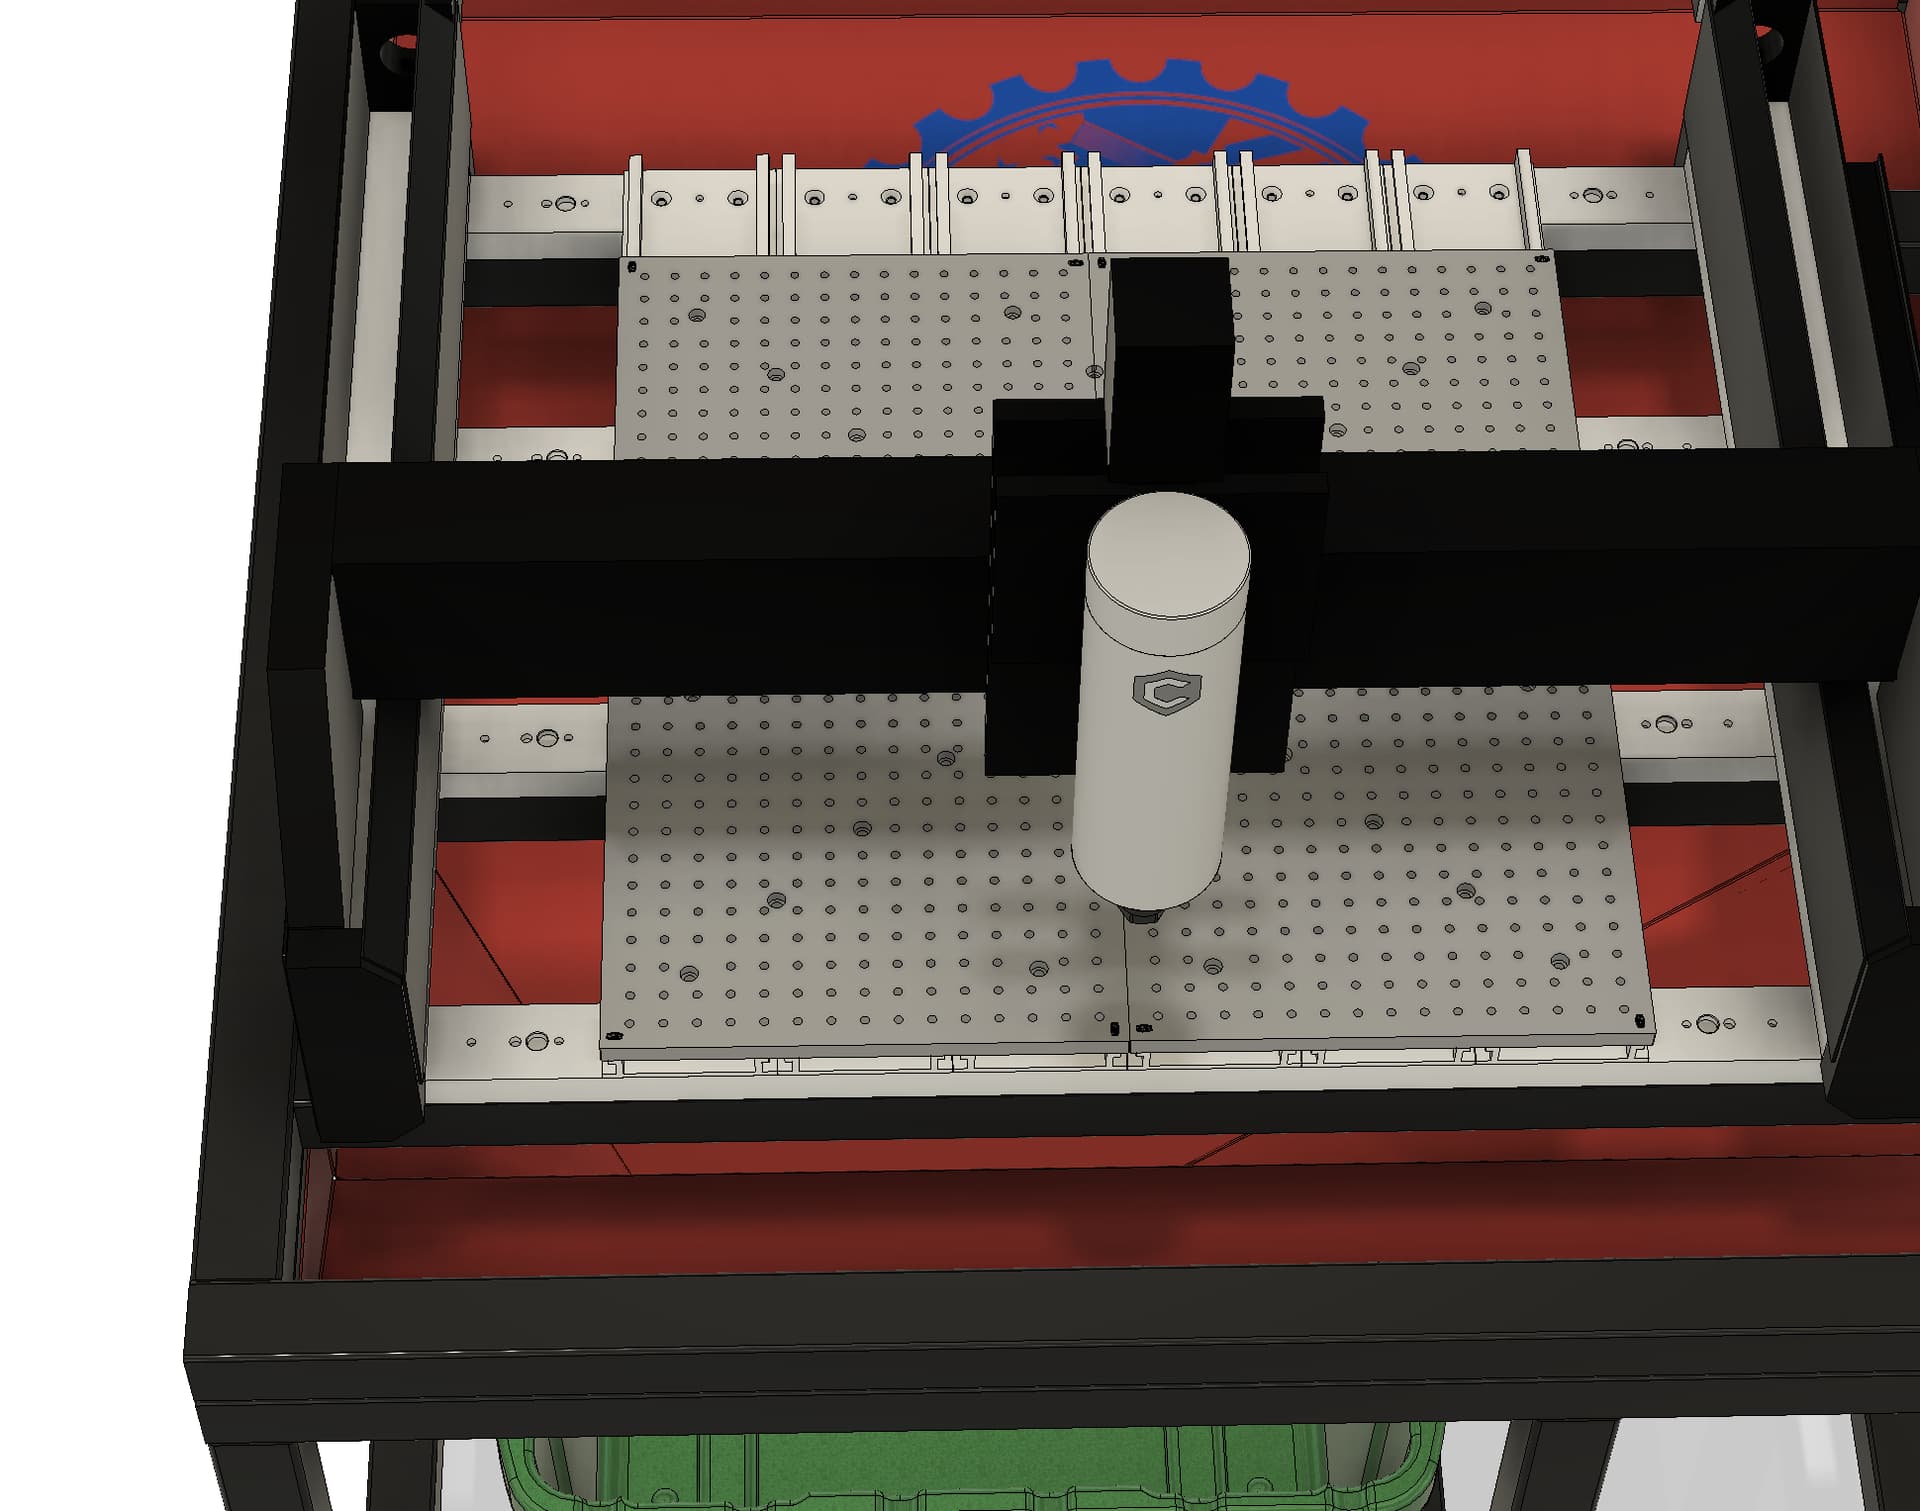
Revised Vertical Work Holding Assembly. If you purchased my Fusion 3D project for the Ultimate HDM Enclosure, you should refresh. All the files are there now.
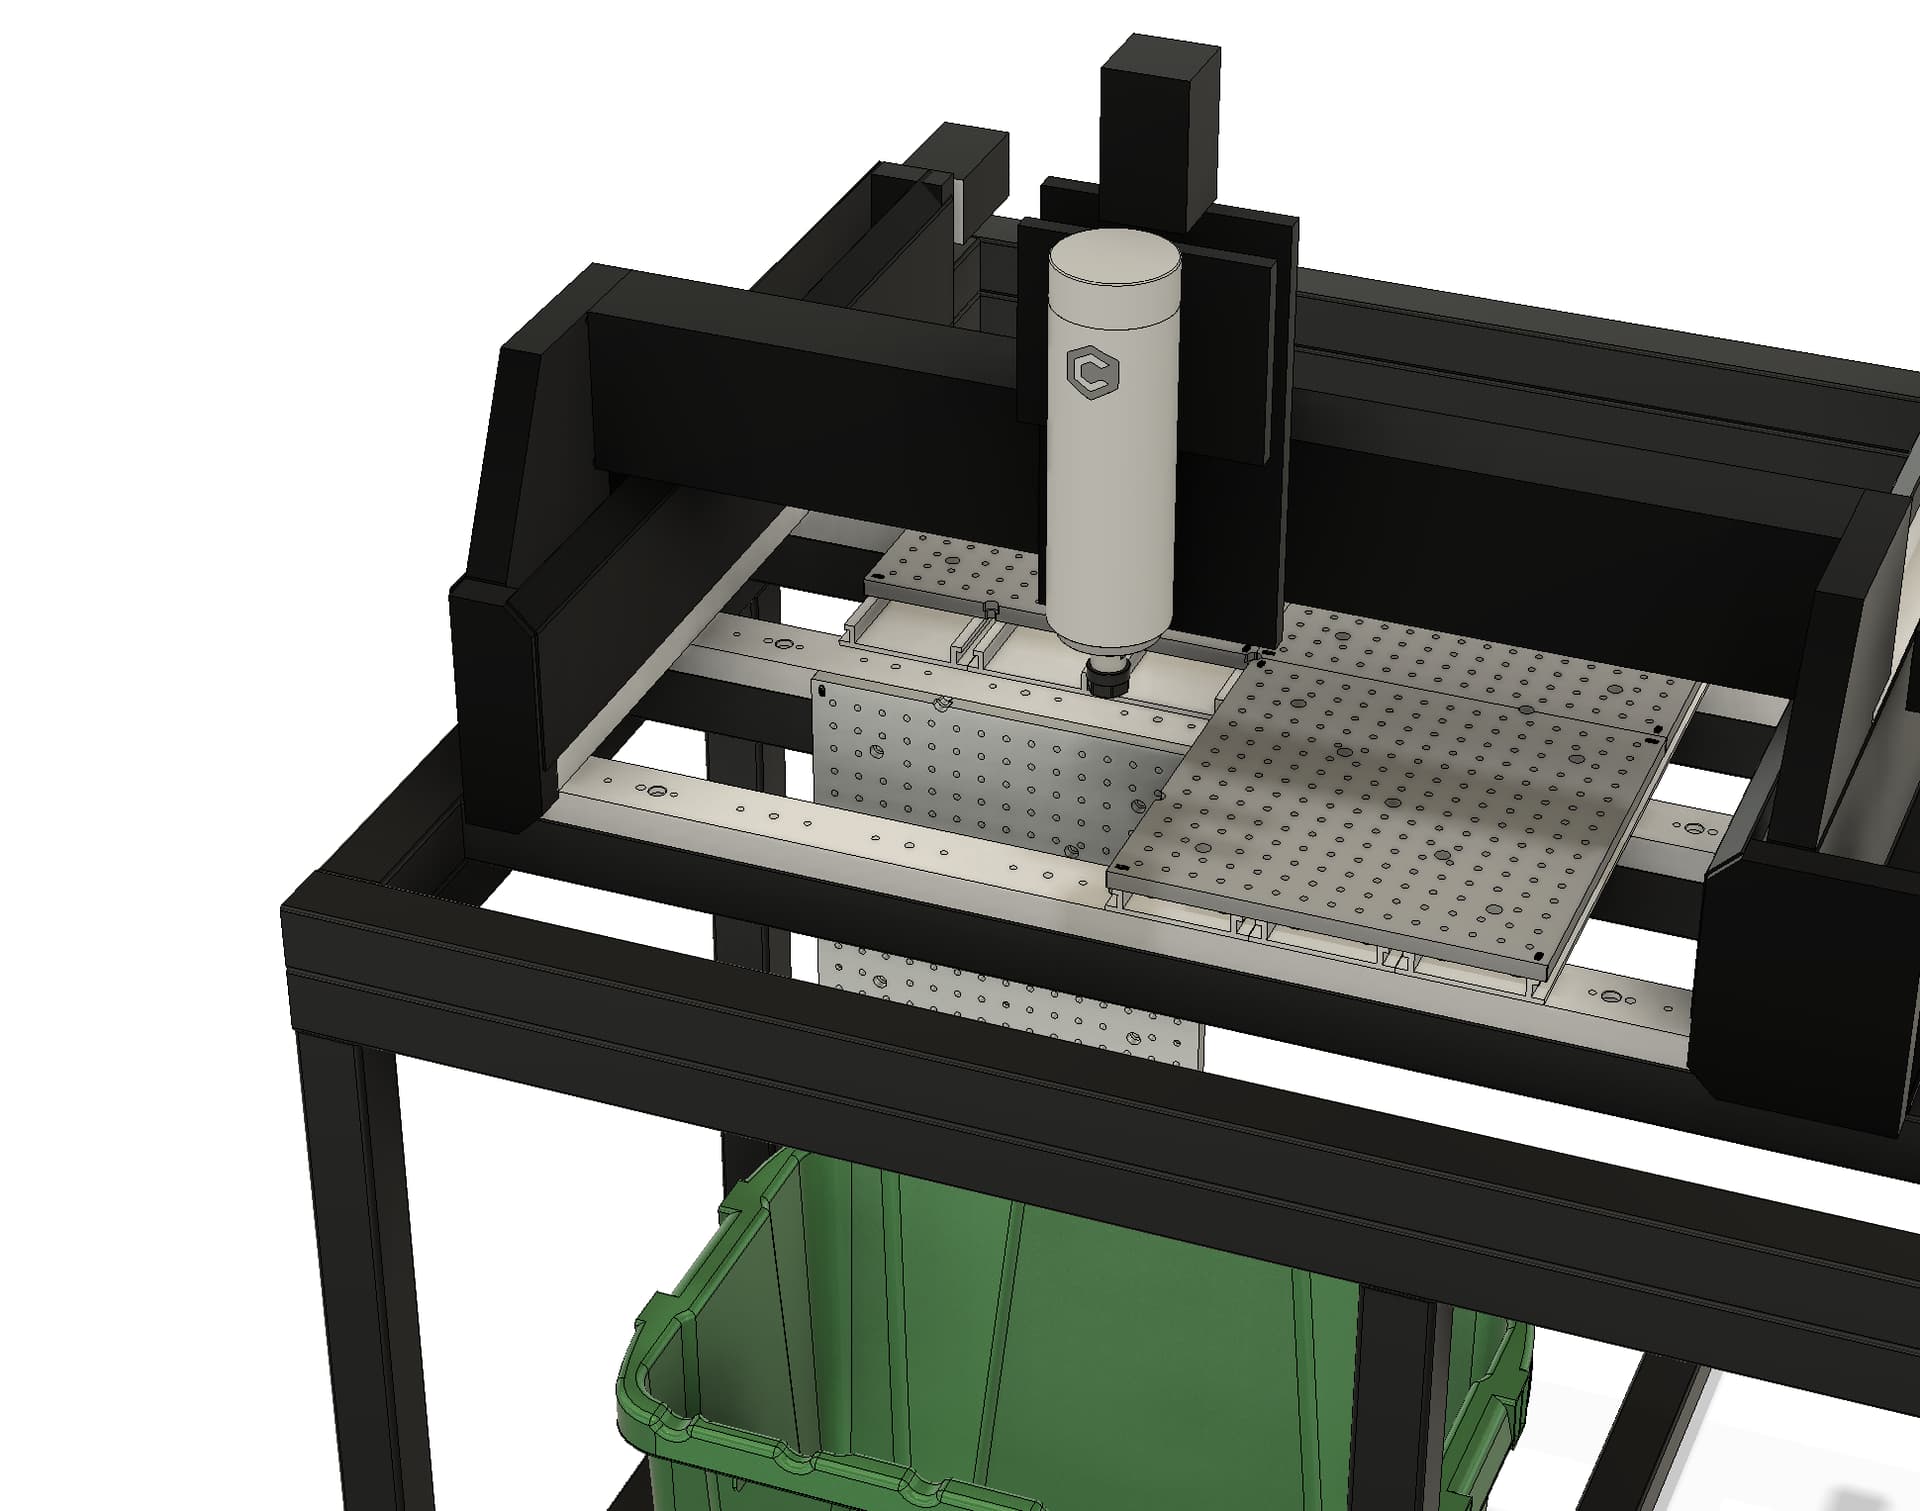
With the revised VWHA and hopper, you can see that we still have lots of work area for vertical parts. I can’t imagine machining something longer than 16" on this setup. If you needed to, you could always use the v3 of the Hopper that has a larger poop hole that would allow parts all the way to the bottom of the chip bin.
So, while we are working on getting the house on the market I am going to move forward on the original plan as much as possible. There has been zero interest anyway, so I’m stuck with the machine for now.
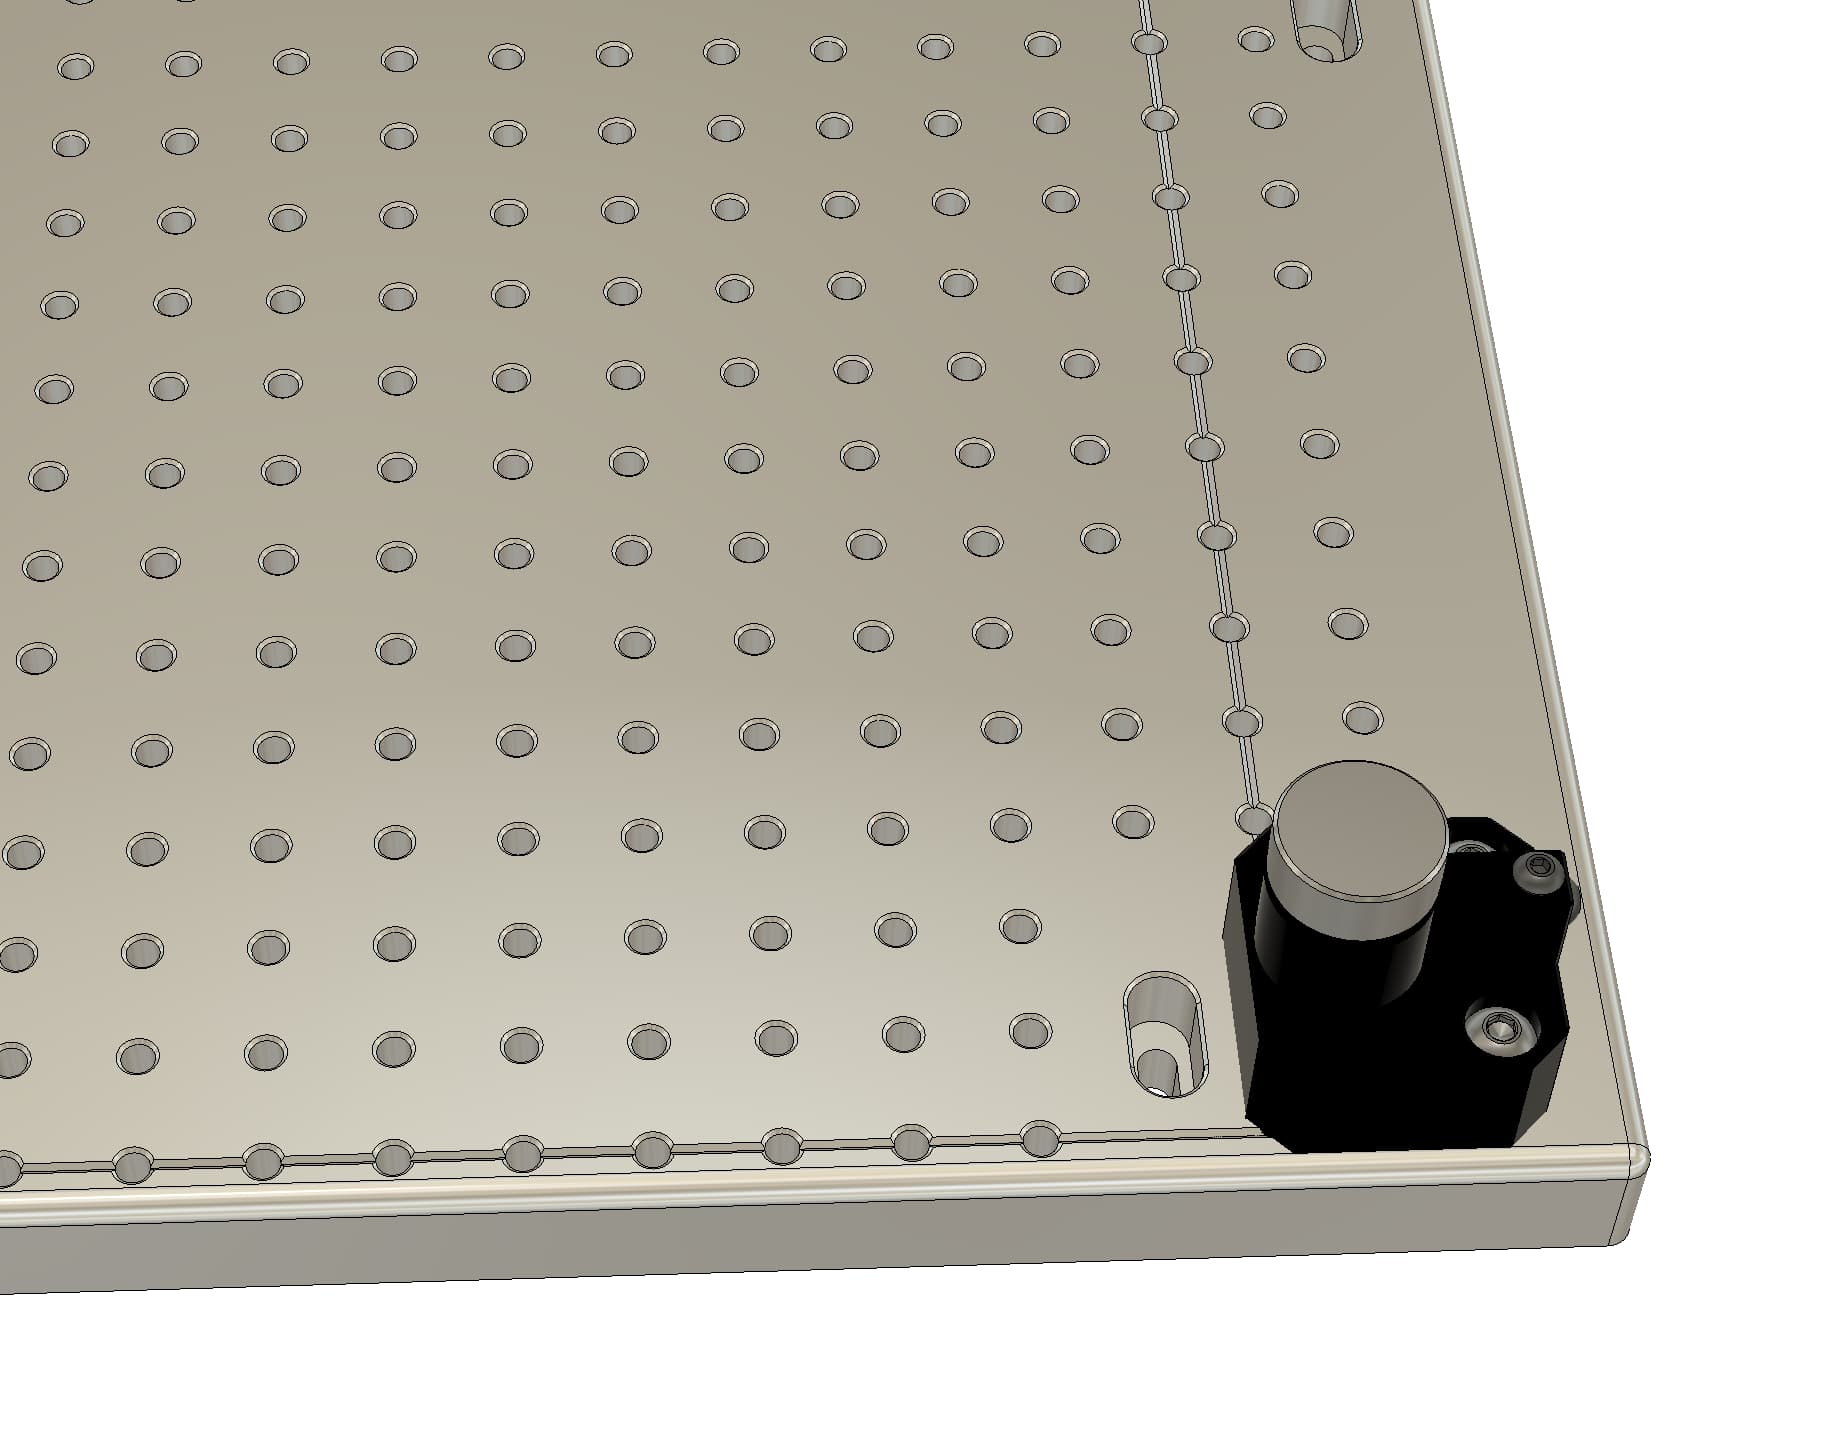
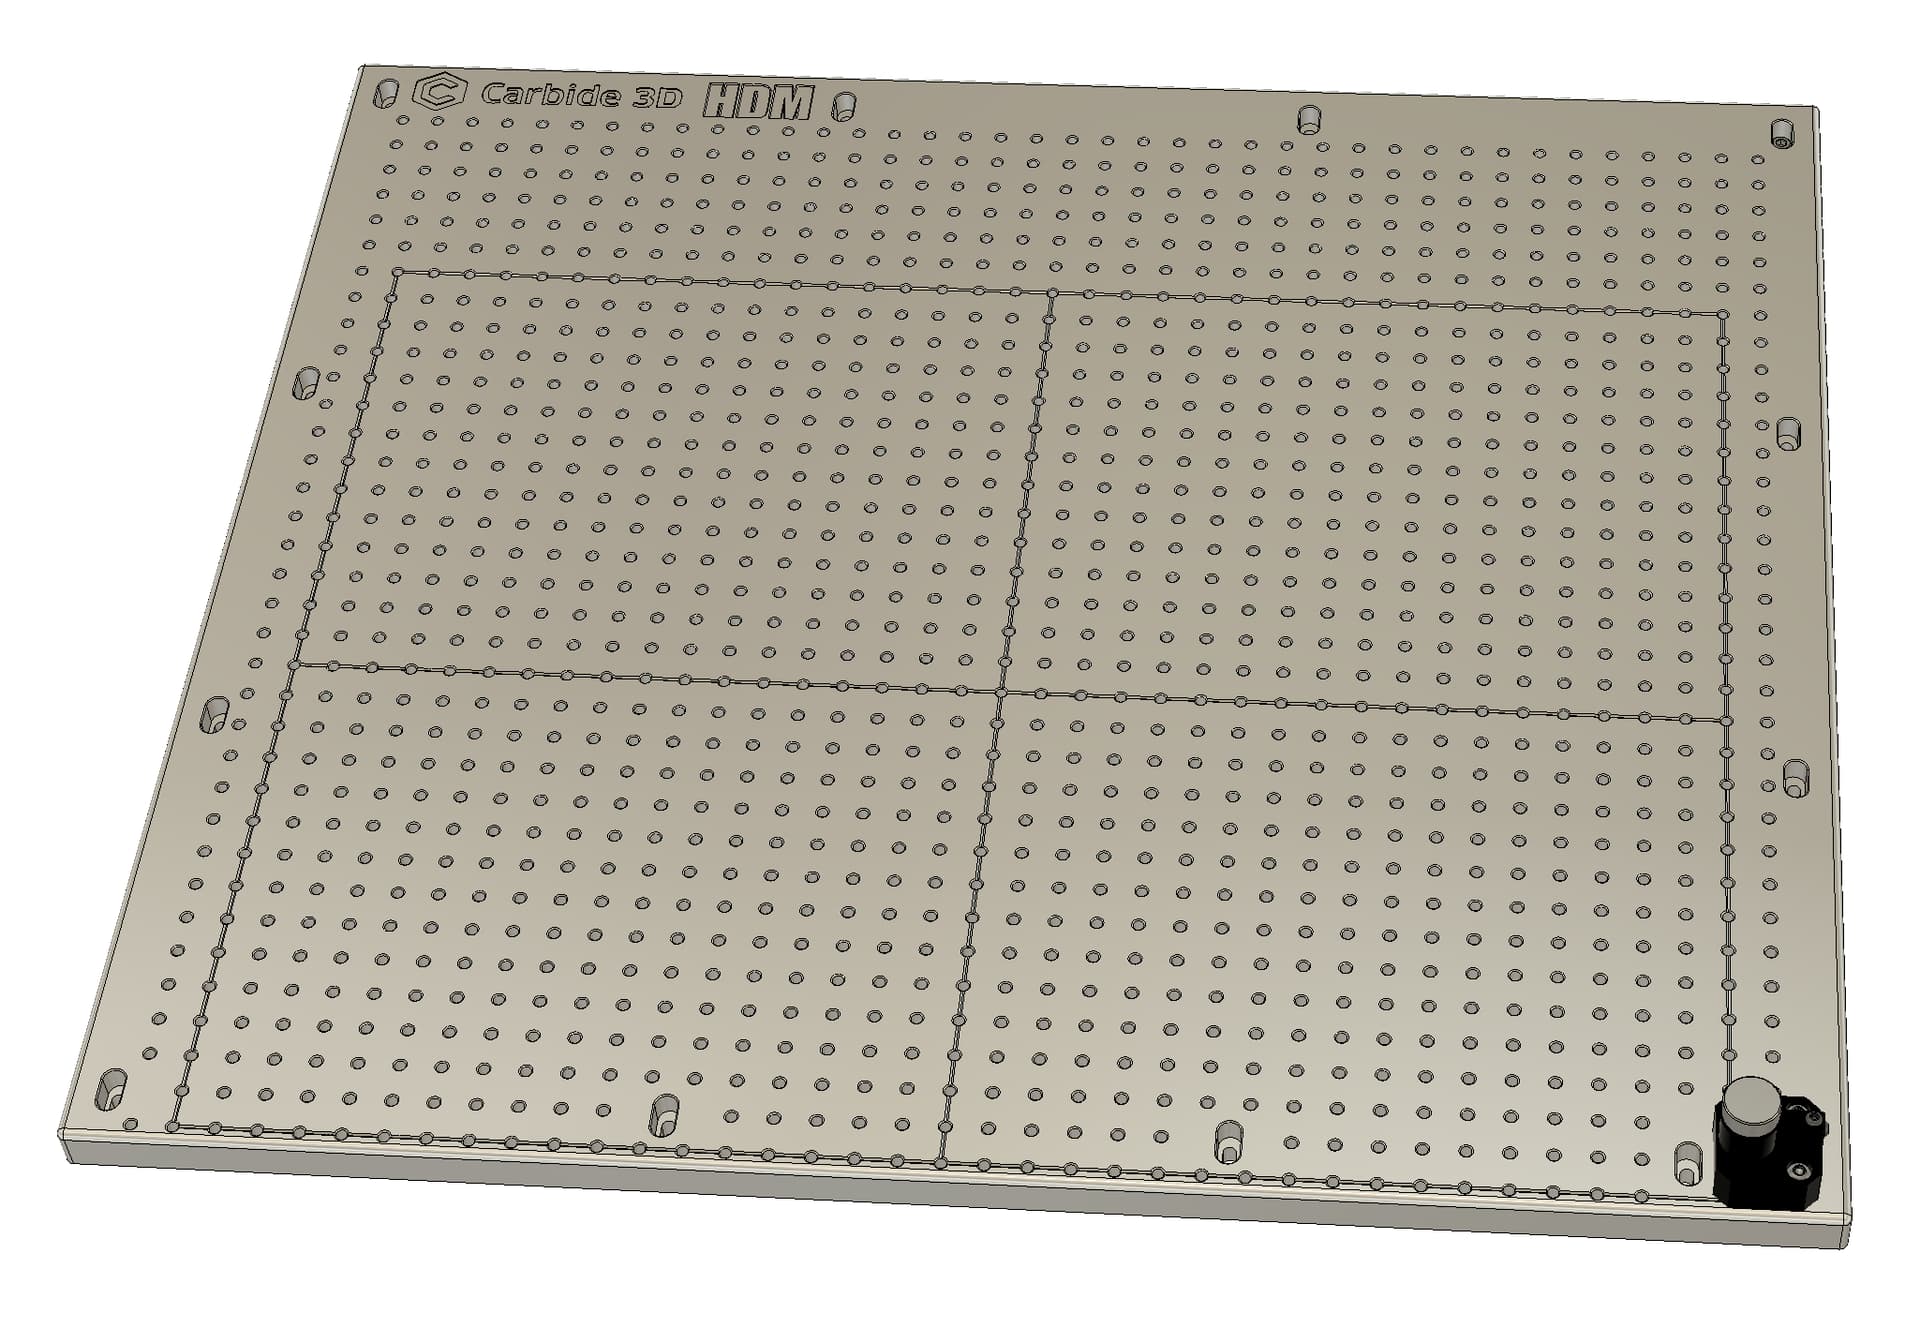
Next step is to start making chips, test and measure the fixture plate. Gotta get it and and the machine plumbed out, square and yada yada. The base frame is now leveled and in place in my shop. Time to use those shims…maybe.
For v4 of the hopper design, there is a revised mounting method. Sort of the opposite way that I did the alignment tabs on the prototype. Also, importantly, now you can install the hopper first (duh). Then, slide the machine frame (the sand filled part) onto the base. Then, put the HDM on top.
This will be much easier to mount, and fill the holes to reduce leaks.
2 Likes