I must be getting too old for this. I just don’t have the patients to go through G-Code line by line making adjustments. 
I found a G-Code file for a Keyhole bit by Chris Arriaga on another site.
keyhole_2_inches_up.nc (260 Bytes)
This seems more of a straight-forward method.
I have another file, but I do not know who it was created by, but it does pecking to depth and pecking again for the slot. This seems more effective to me, but I do not want any licensing issues, so I won’t upload it.
To answer your question, yes it’s possible. I use it all the time. It’s especially handy when you have a lot of the same parts to do. this is the youtube video i found that explains how to do it using CC
1 Like
Yes, this makes more sense now.
Let me ask you this, Is it possible to create the same path with a pecking movement or motion? I want to have a longer stroke after the plunge.
Thank you for the video. I am very visual and can see it now.
I’m not sure I usually just put a very slow plunge rate. I guess you could create a point and do a drill cycle before. But I don’t think you can do both in the same tool paths.
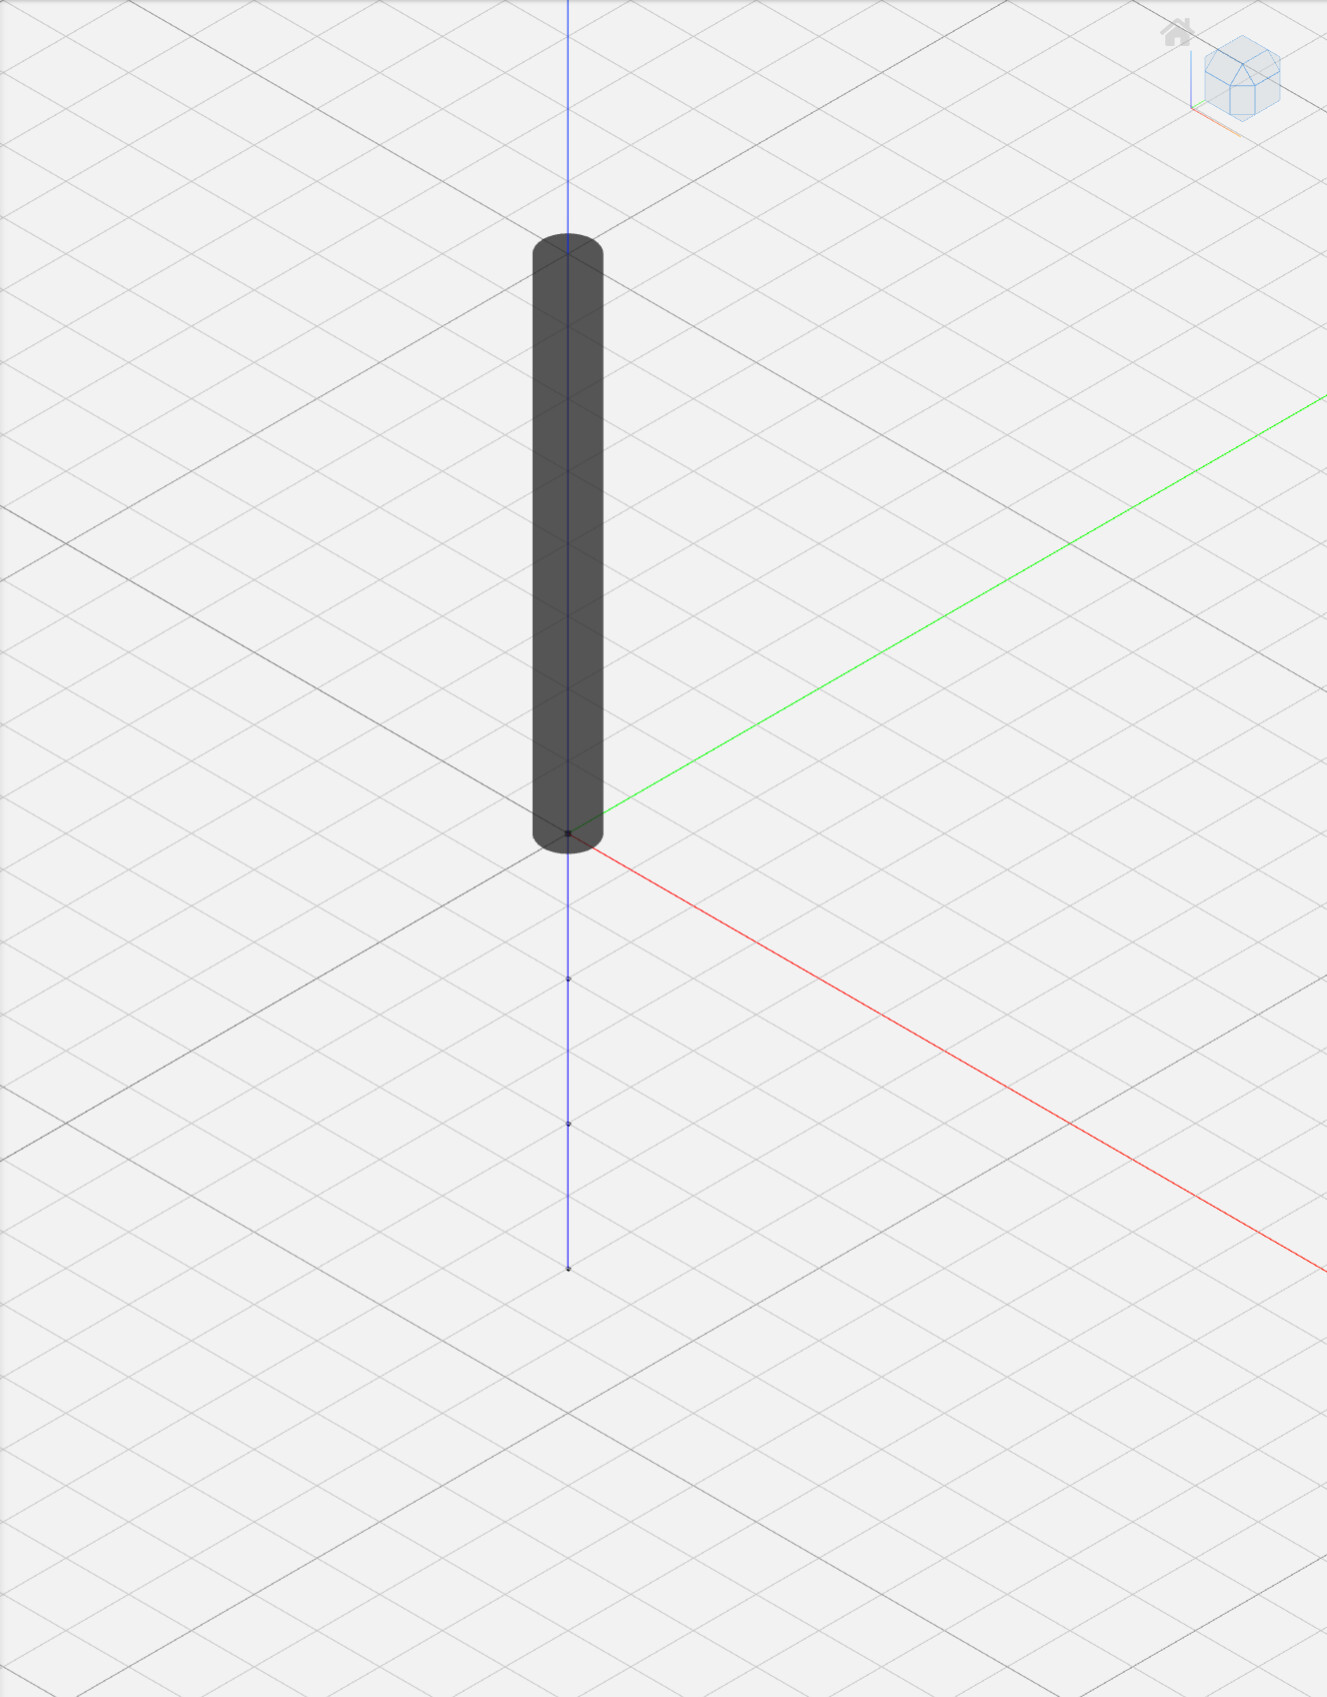
Here is a little setup I did a while back
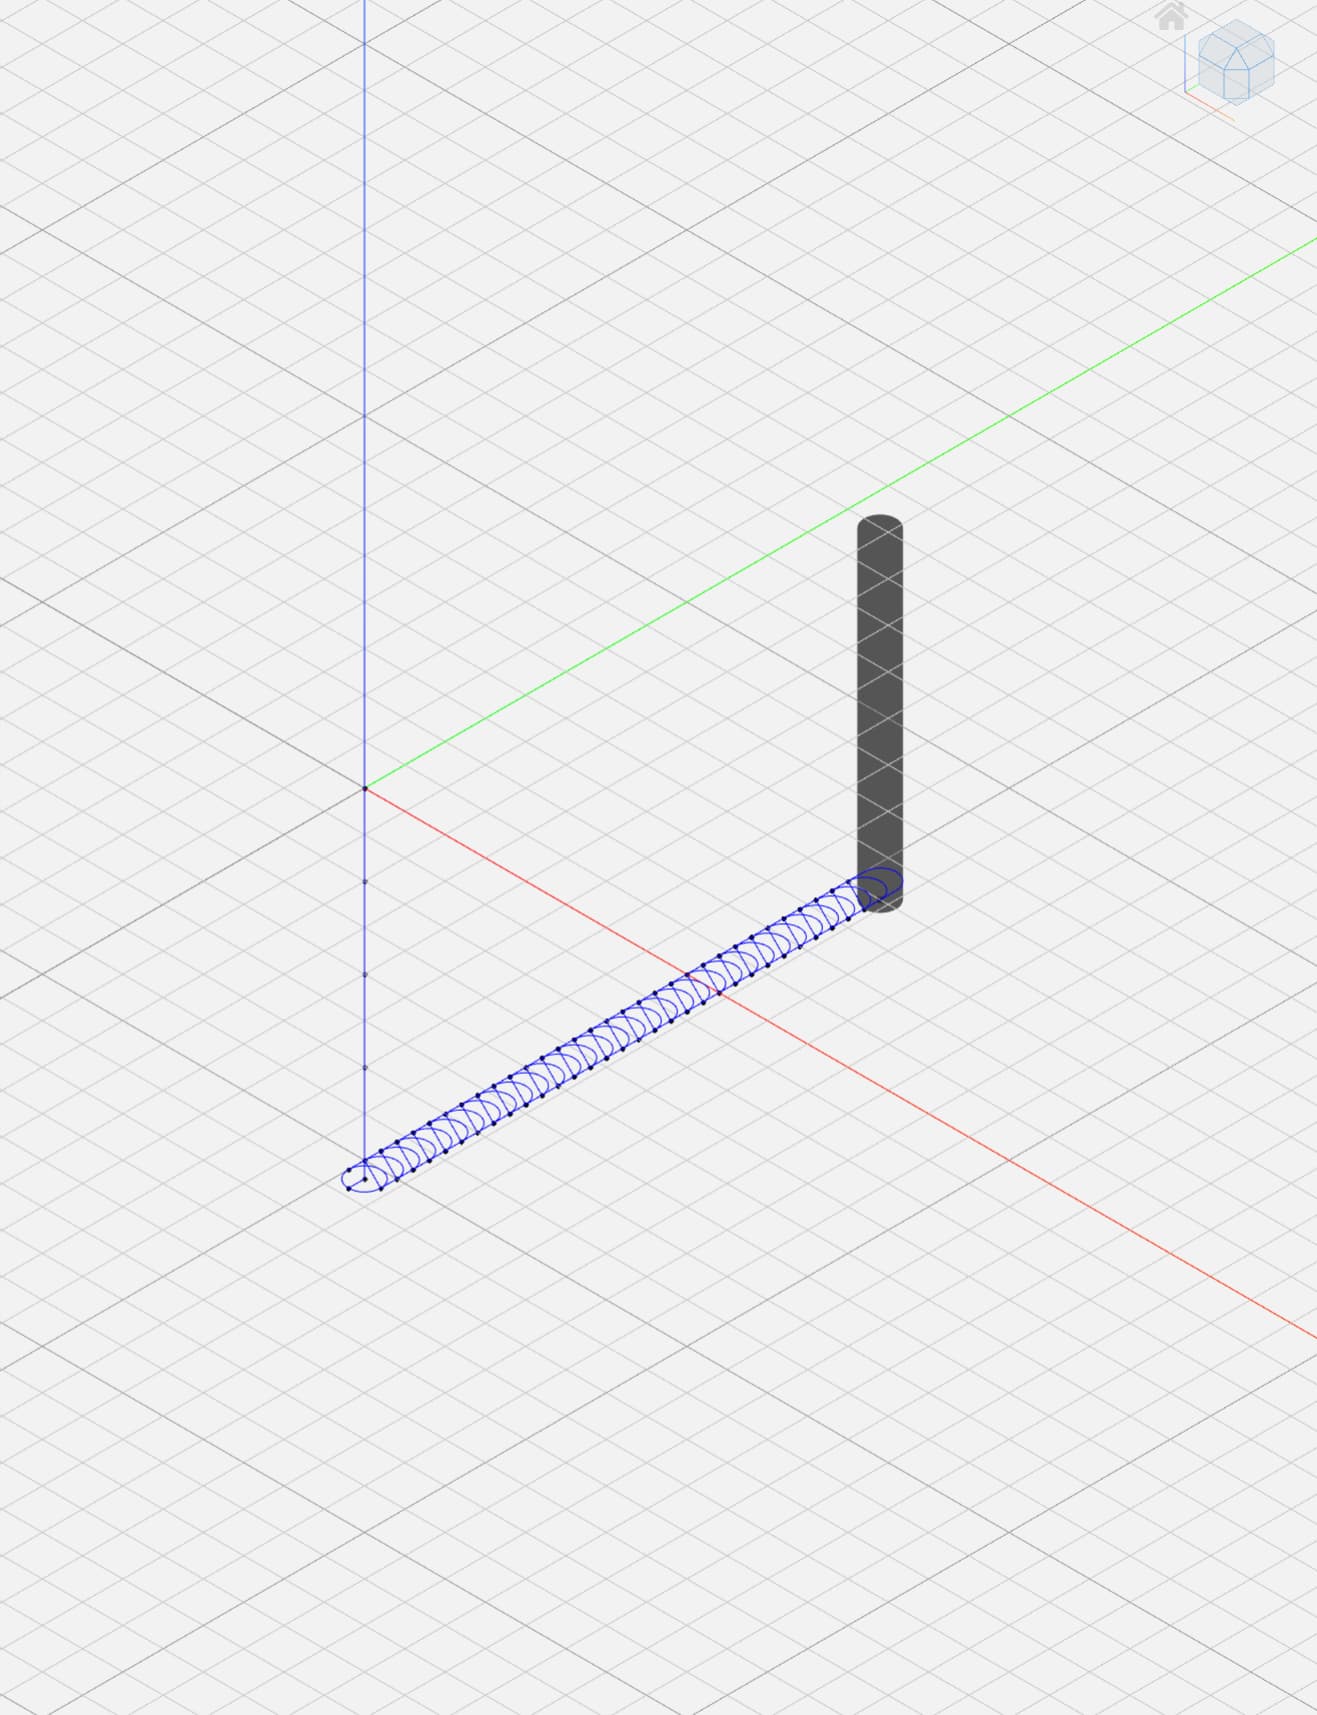
I am going to try and do a poly line going in a pecking motion to see how this works.
Gonna have to play with it but I think it will work.
Check it out…
Keyhole Carbide Create - test.nc (435 Bytes)
Keyhole Carbide Create - Test.c2d (11.4 KB)
1 Like
That looks great. I added a 1/4" hole at the end of your line and did a peck drill before the line segment. 1st time using that function, so I took it slow and easy.
Keyhole Carbide Create - Test with peck drilling.c2d (16.4 KB)
1 Like
I like your addition.
I tried to fine tune the pecking for the Slot and find CC does not save to Gcode the whole Poly line I created. I even tried offsetting the nodes to make sure the software did not misread the created line, but it still only does three pecks in the simulation software and cuts the rest as one cut and pulls out the way it is supposed to.
Confused.
Yes very confusing. I don’t think you’ll be able to create it as one tool path sequence.
I’m looking at editing the Gcode manually as a fix.
We’ll see?
If you give me the depth (z-axis) you want it to drop and also the length of the slot (Y-axis or X-axis) I can edit the gcode file and you can look at it in nc viewer to confirm it’s what you want and then an aircut on the CNC to confirm it’s good to go.
1 Like
Thanks for the offer but I figured out how to complete it in CC.
Keyhole Carbide Create - Test.c2d (17.3 KB)
Keyhole Carbide Create - test.nc (787 Bytes)
Woohoo!
I am feeling pretty smart right now.
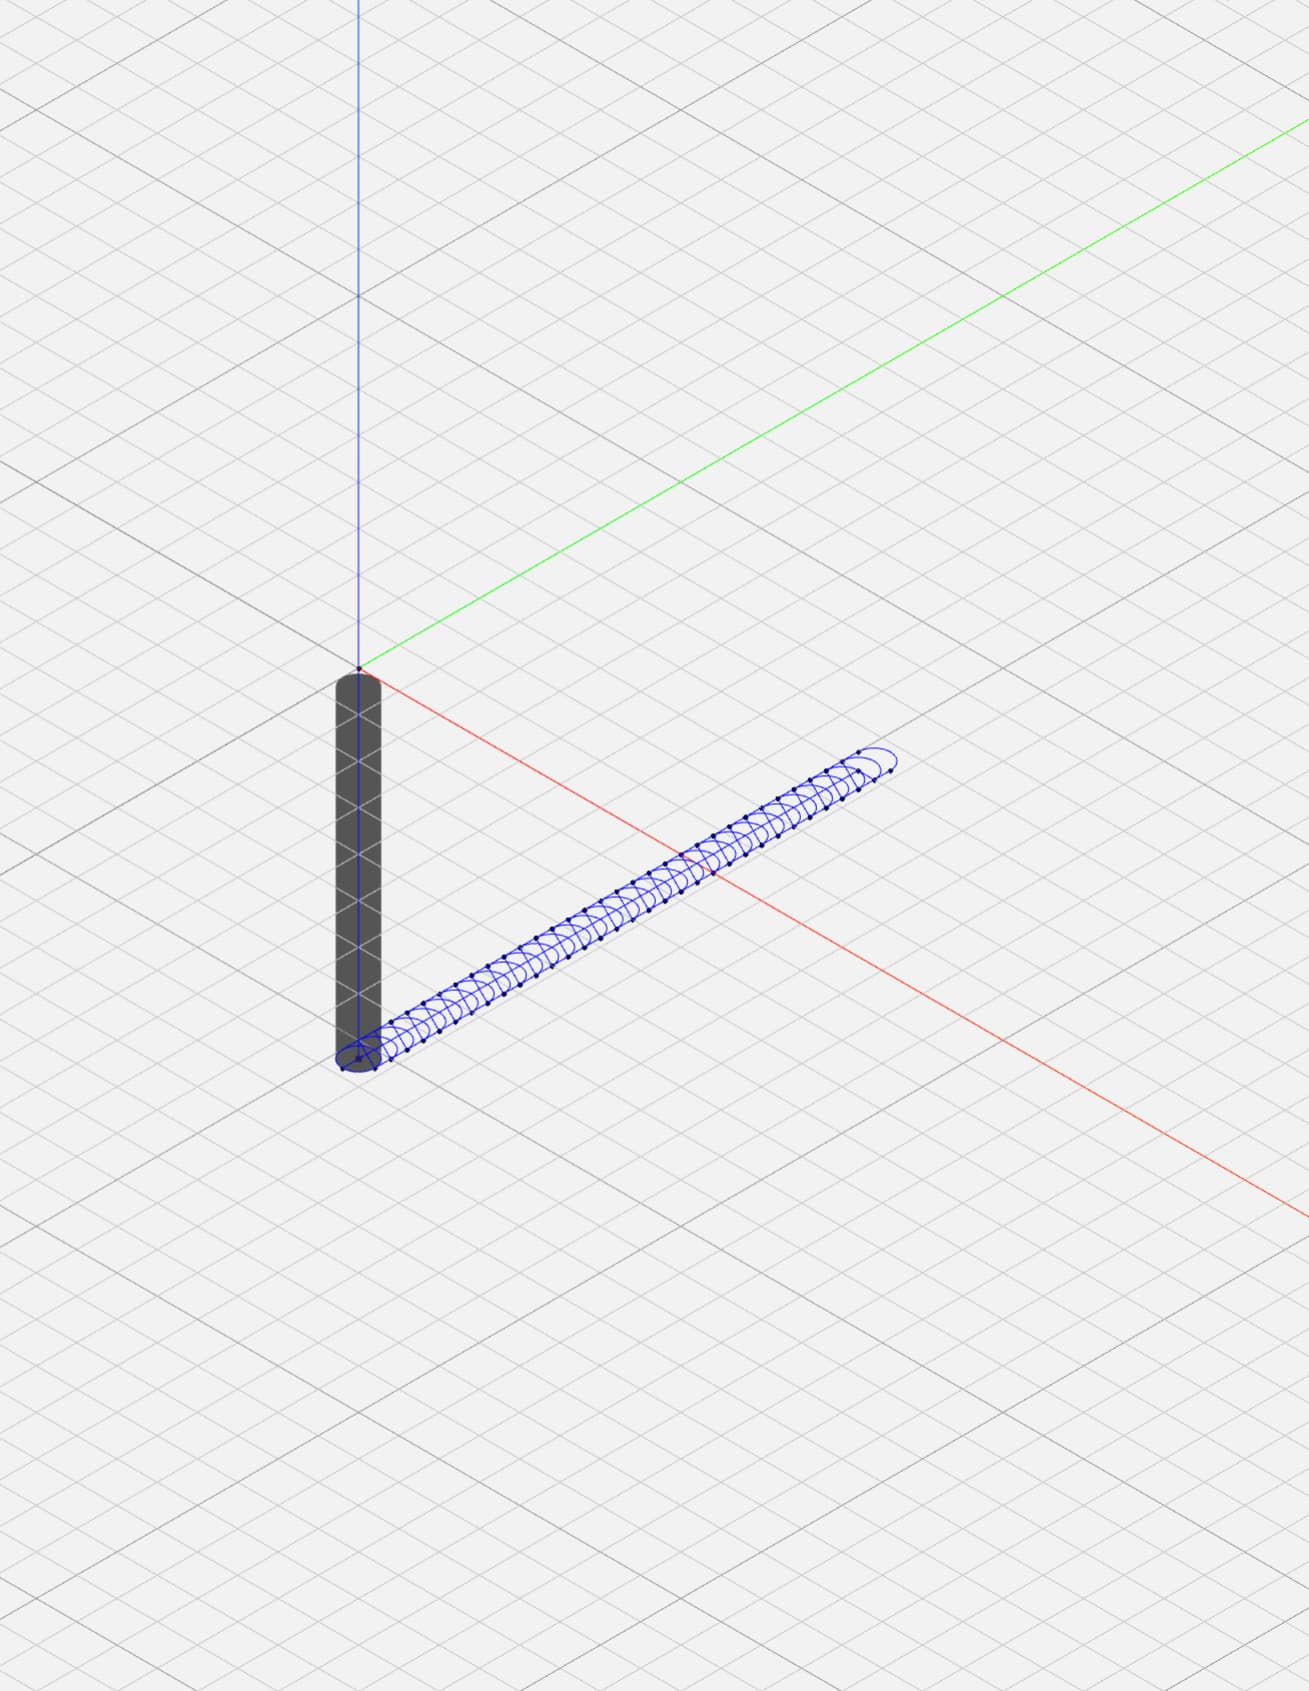
The key is to start the polyline at the starting point. Make it the length you need, then trace back but not moving completely back to the first node, but just shy of it snapping to that location.
Move to the next cut and repeat to the full length you want. Move back to the starting node and it will automatically complete the line and voile.
5 Likes
So I edited my GCode from above to make use of the G91 (Incremental movement) instead of the G90 absolute. I also decided to emulate an adaptive clear operation instead of the pecking used previously. This is not tested yet as that will be later today but looking for some GCode guru’s out there (as I’m just starting to know enough to be dangerous) to maybe take a look and comment before I go do something bad.
Basically no need to zero XYZ but as I’m using G91 to movements will be incremental so just position the router with keyhole bit 0.5mm above where you want it to enter the stock and make sure the router is turned on before running it because once you hit go it’s straight to business. Also the measurements are in mm due to G21
(EDIT: REPLACED .nc FILE WITH CHANGES TO THE GCODE FOR THE ADAPTIVE CLEAR PART)
Enhanced Adaptive Keyhole - 10mm Deep x 15mm Slot.nc (4.3 KB)
(ATTENTION:   - This program is for a keyhole slot using a keyhole bit, use at your own risk so review using software like NC Viewer and test before using on a project)
(SETUP:       -Start 0.5mm above project at the disired postion XY where you want the keyhole bit to enter the stock)
(DESCRIPTION: - Slot depth will be 10mm deep Z-axis)
(             - Slot length will be 15mm long Y-axis)
(             - The program does not prompt for tool change or to start the router/spindle)
(             - The program will end where bit was before running the program.)

G91 (G91 Incremental movement so no need to Zero XYZ)
G21 (G21 metric so in mm)

(No tool changes and router/spindle should be running)
I then start the pecking/plunging operation in the Z-Axis direction using a feed/plunge rate of 200mm/min (adjust to your settings as needed). Basically the bit will drop 2.5mm and rise to the top, drop another 2.5mm so now 5mm and rise to the top… until you get to a 10mm depth taking into account the 0.5mm above the stock to start.
(Start Plunge/Pecking operation in the Z direction in 2.5mm increments starting 0.5mm above stock 0,2.5,5.0,7.5,10.5 with a feedrate of 200mm/m.  Tune Feedrates to your liking/tools)
G1 Z-2.500 F200.0
Z2.500
Z-5.000
Z2.5.000
Z-7.500
Z7.500
Z-10.50
(End of Plunge/Pecking operation in the Z axis)
I then proceed to emulate a poor mans version of an adaptive clearing toolpath using the G2 command basically doing little circles progressing in the Y+ direction until reaching the 15mm slot length.
(EDIT: CHANGED GCODE TO RUN A CLEANER ADAPTIVE CLEAR TOOLPATH)
(Start slotting using adaptive clear taking 0.500mm at a time and repeat until slot is 15mm length)
Y-0.500
G2X0.000Y0.000 I0J0.500 (G2 command to open up slot by 1mm)
G2X-0.500Y0.500 I0J0.500
G1Y0.500
G2X1.000Y0.00 I0.500J0.000 (G2 command to open up slot by 1mm)
G1Y-0.500
X-1.00Y0.500
Y0.500
G2X1.000Y0.00 I0.500J0.000 (G2 command to open up slot by 1mm)
G1Y-0.500
X-1.00Y0.500
Y0.500
G2X1.000Y0.00 I0.500J0.000 (G2 command to open up slot by 1mm)
G1Y-0.500
X-1.00Y0.500
Y0.500
G2X1.000Y0.00 I0.500J0.000 (G2 command to open up slot by 1mm)
G1Y-0.500
X-1.00Y0.500
Y0.500
G2X1.000Y0.00 I0.500J0.000 (G2 command to open up slot by 1mm)
G1Y-0.500
X-1.00Y0.500
Y0.500
G2X1.000Y0.00 I0.500J0.000 (G2 command to open up slot by 1mm)
G1Y-0.500
X-1.00Y0.500
Y0.500
G2X1.000Y0.00 I0.500J0.000 (G2 command to open up slot by 1mm)
G1Y-0.500
X-1.00Y0.500
Y0.500
G2X1.000Y0.00 I0.500J0.000 (G2 command to open up slot by 1mm)
G1Y-0.500
X-1.00Y0.500
Y0.500
G2X1.000Y0.00 I0.500J0.000 (G2 command to open up slot by 1mm)
G1Y-0.500
X-1.00Y0.500
Y0.500
G2X1.000Y0.00 I0.500J0.000 (G2 command to open up slot by 1mm)
G1Y-0.500
X-1.00Y0.500
Y0.500
G2X1.000Y0.00 I0.500J0.000 (G2 command to open up slot by 1mm)
G1Y-0.500
X-1.00Y0.500
Y0.500
G2X1.000Y0.00 I0.500J0.000 (G2 command to open up slot by 1mm)
G1Y-0.500
X-1.00Y0.500
Y0.500
G2X1.000Y0.00 I0.500J0.000 (G2 command to open up slot by 1mm)
G1Y-0.500
X-1.00Y0.500
Y0.500
G2X1.000Y0.00 I0.500J0.000 (G2 command to open up slot by 1mm)
G1Y-0.500
X-1.00Y0.500
Y0.500
G2X1.000Y0.00 I0.500J0.000 (G2 command to open up slot by 1mm)
G1Y-0.500
X-1.00Y0.500
Y0.500
G2X1.000Y0.00 I0.500J0.000 (G2 command to open up slot by 1mm)
G1Y-0.500
X-1.00Y0.500
Y0.500
G2X1.000Y0.00 I0.500J0.000 (G2 command to open up slot by 1mm)
G1Y-0.500
X-1.00Y0.500
Y0.500
G2X1.000Y0.00 I0.500J0.000 (G2 command to open up slot by 1mm)
G1Y-0.500
X-1.00Y0.500
Y0.500
G2X1.000Y0.00 I0.500J0.000 (G2 command to open up slot by 1mm)
G1Y-0.500
X-1.00Y0.500
Y0.500
G2X1.000Y0.00 I0.500J0.000 (G2 command to open up slot by 1mm)
G1Y-0.500
X-1.00Y0.500
Y0.500
G2X1.000Y0.00 I0.500J0.000 (G2 command to open up slot by 1mm)
G1Y-0.500
X-1.00Y0.500
Y0.500
G2X1.000Y0.00 I0.500J0.000 (G2 command to open up slot by 1mm)
G1Y-0.500
X-1.00Y0.500
Y0.500
G2X1.000Y0.00 I0.500J0.000 (G2 command to open up slot by 1mm)
G1Y-0.500
X-1.00Y0.500
Y0.500
G2X1.000Y0.00 I0.500J0.000 (G2 command to open up slot by 1mm)
G1Y-0.500
X-1.00Y0.500
Y0.500
G2X1.000Y0.00 I0.500J0.000 (G2 command to open up slot by 1mm)
G1Y-0.500
X-1.00Y0.500
Y0.500
G2X1.000Y0.00 I0.500J0.000 (G2 command to open up slot by 1mm)
G1Y-0.500
X-1.00Y0.500
Y0.500
G2X1.000Y0.00 I0.500J0.000 (G2 command to open up slot by 1mm)
G1Y-0.500
X-1.00Y0.500
Y0.500
G2X1.000Y0.00 I0.500J0.000 (G2 command to open up slot by 1mm)
G1Y-0.500
X-1.00Y0.500
Y0.500
G2X1.000Y0.00 I0.500J0.000 (G2 command to open up slot by 1mm)
G1Y-0.500
X-1.00Y0.500
Y0.500
G2X1.000Y0.00 I0.500J0.000 (G2 command to open up slot by 1mm)
G1Y-0.500
X-1.00Y0.500
Y0.500
G2X1.000Y0.00 I0.500J0.000 (G2 command to open up slot by 1mm)
G1Y-0.500
X-1.00Y0.500
Y0.500
G2X1.000Y0.00 I0.500J0.000 (G2 command to open up slot by 1mm)
G1Y-0.500

(End of slotting 15mm)
(EDIT: REMOVED THE CLEAN SAWTOOTH BECAUSE I ADJUSTED THE ADAPTIVE TOOLPATH GCODE)
Return to position to retract keyhole bit
X-0.500
Y-15.500
And finally pull the keyhole bit out of the stock returning to the original position where the setup/program should have started 0.5mm above the stock.
(Retract from the pocket in the Z direction from where the keyhole bit first entered into the stock to Z=5mm)
Z15.500
Now I’d like some advice on how to end this program, right now it uses the M02 because that’s what I saw in the GCode generated by Carbide Create but with this end with the machine going $H (home) at the back/right/top? Can I just omit this and let the machine stay just above the stock and then jog to another location and do another keyhole. Also should I have a G90 at the end to go back into absolute movements or is that up to the next .nc file/program to do that (looking for good practice)?
(EDIT: @WillAdams @Julien @neilferreri can one of you confirm if Carbide Motion or the Controller will handle the G2 and G3 commands. I’m assuming it would but just wanted to get a warm and fuzzy before running this on my machine… I’m starting to go down the GCODE editing rabbit hole as I see this as being very handy to get some things done 
1 Like
yes, arcs are supported by GRBL (and Carbide Motion)
2 Likes
I had to look up how to use G2 & G3 codes and found this helpful page.
https://www.cnccookbook.com/cnc-g-code-arc-circle-g02-g03/
2 Likes
For my T-slot/keyhole, I ended up doing 2 tools. It’s minimal with Bitsetter.
First is a 1/4" endmill. Then I do the keyhole tool. I found full engagement doing a slot with the keyhole is not great. This way I can rip through it with an endmill and then do just the actual keyhole part with the tool and it’s much happier. Plus this will shift more wear on the cheaper endmill, and allow for longer life with the t-slot tool.
The overhead is zero for my specific workflow - what I actually do is run the 1/4" endmill at 0.2mm DOC and do 1 pass, then pause. This let’s me visually confirm I have it where I want on my workpiece, to avoid trashing it or goofing it up. If I’m happy, I hit resume.
I used to do this with a v-bit, but now we’re talking 3 tool changes. I realized the 1/4" would be fine - if I realize I messed up the slot center, I could either surface or just sand out the faint outline.
I’m using F360 so I had to do a contour with the hacks found online. Basically add a few thou to make the slot wider then your actual tool. I then manually edit the Gcode to have the return pass at twice the speed since it’s taking off basically nothing.
1 Like
In case it’s useful, I put some notes on using keyhole cutters in Fusion here
3 Likes
Well I just got some time to go out and test the GCode above. I actually made some more modification and replaced the initial plunge/pecking with a helical ramping operation to descend 10mm into the stock and then proceed with the adaptive clearing operation.
Added the GCode in the file into Carbide Motions “Quick Actions” area on the “Run” tab.
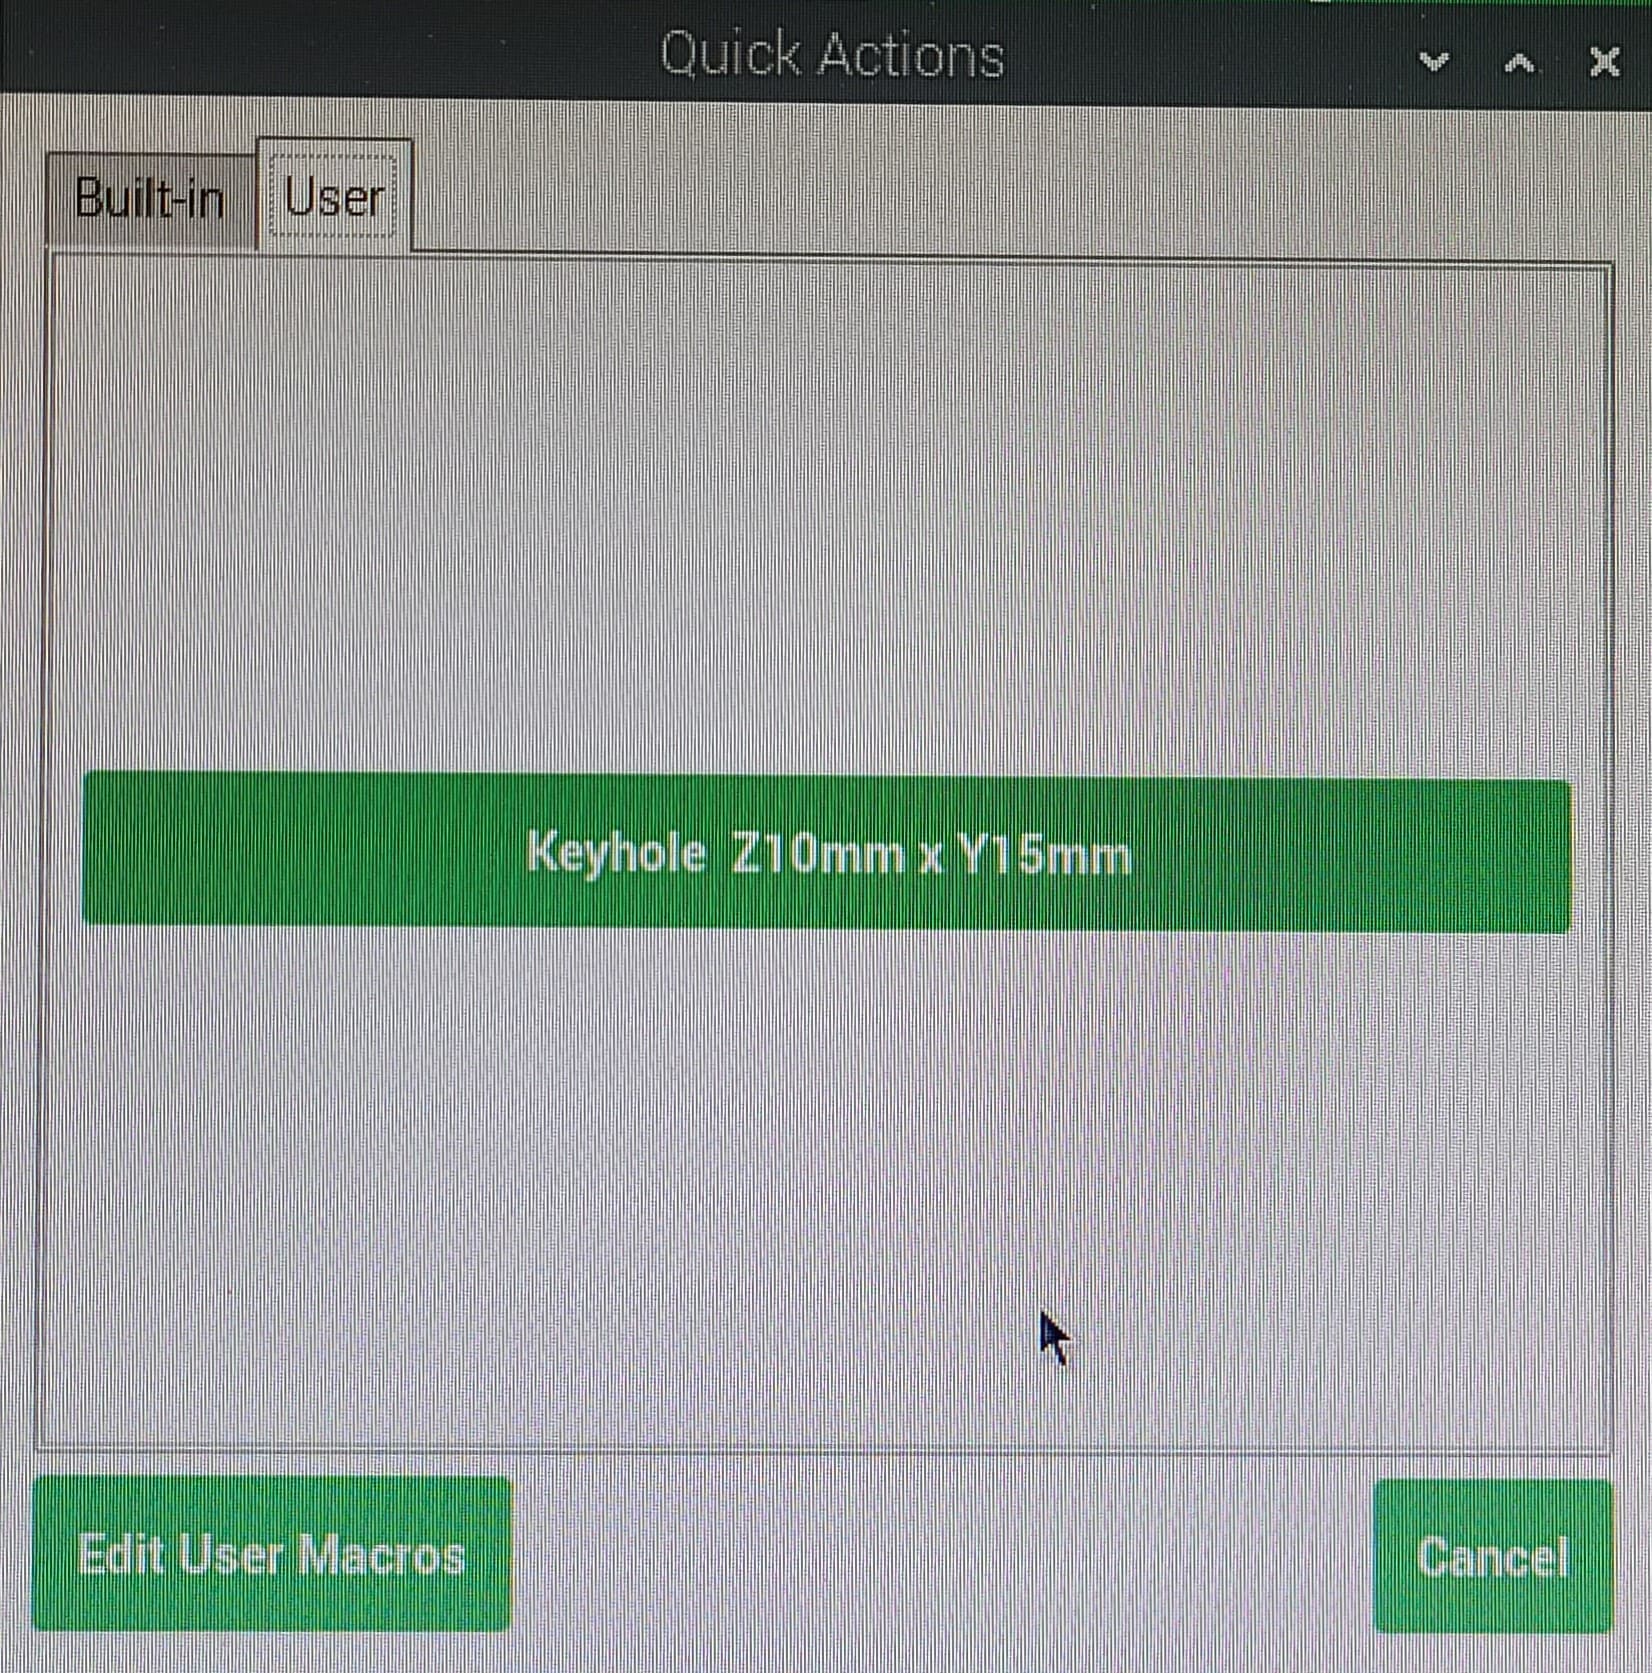
I also added the prompt to turn on the router
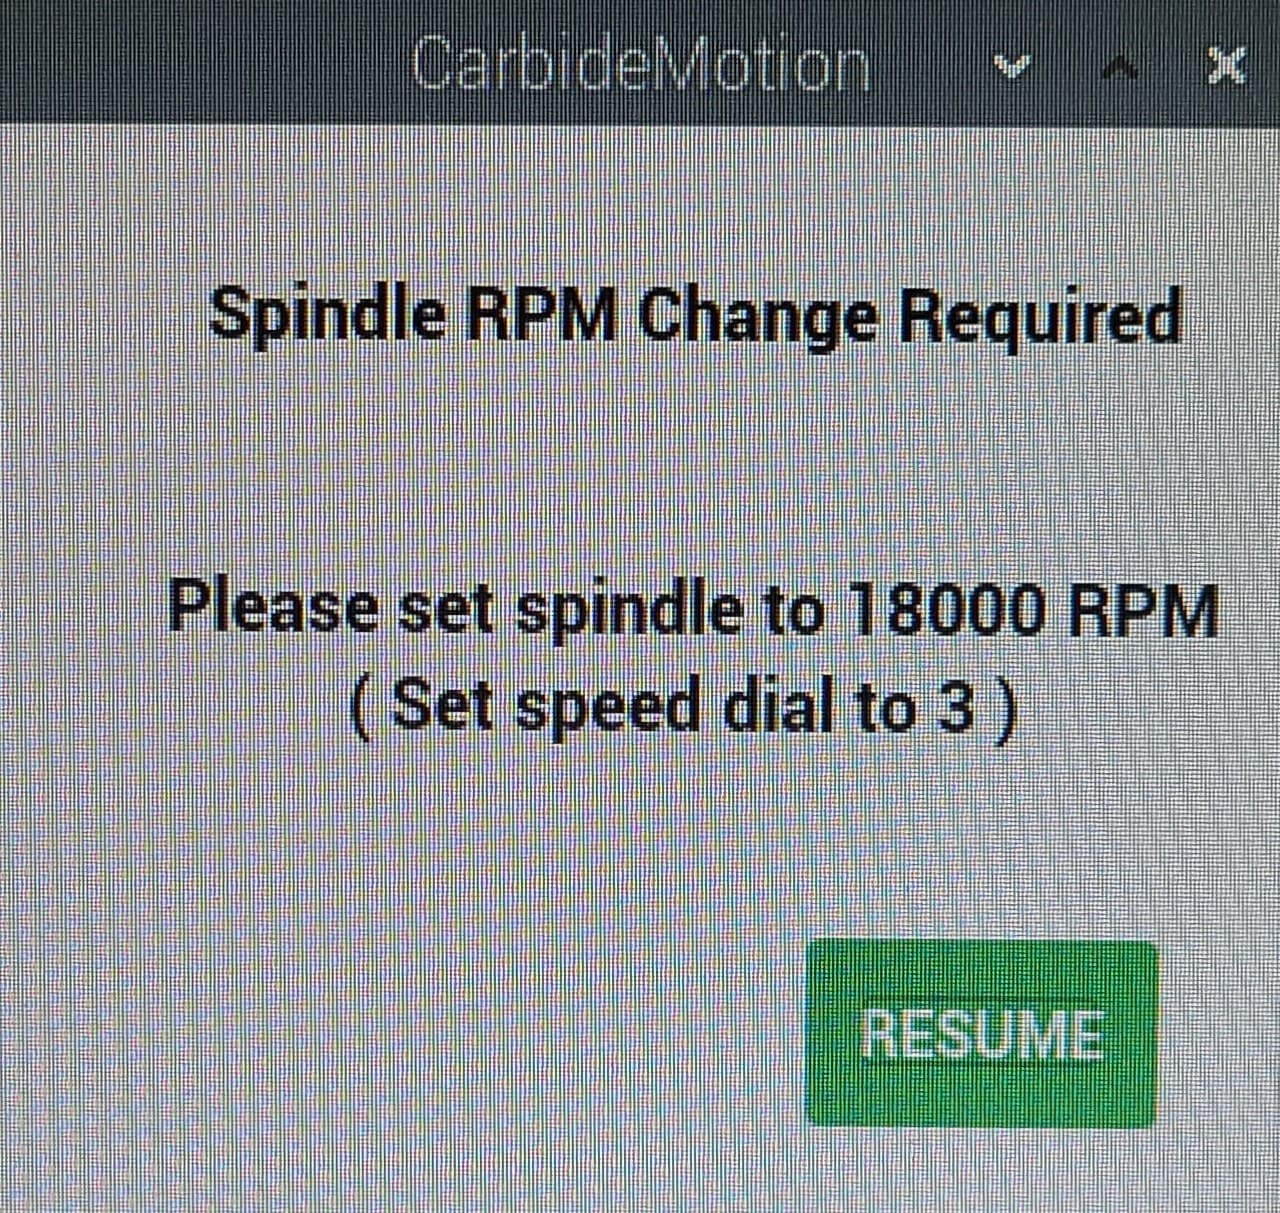
Final result running the macro
This is a Youtube link of the macro in action.

(EDIT: Latest version of the GCode)
Enhanced Adaptive Keyhole - 10mm Deep x 15mm Slot V1.0.nc (4.1 KB)
5 Likes
This has not been tested but was created in CC.
Keyhole Carbide Create - Test.c2d (17.3 KB)
1 Like
This work-around is no longer necessary, now that Carbide Create v714 and later have added a Keyhole Toolpath:
4 Likes