I want to attempt to do my first inlay, but I must confess that I am lost when it comes to doing the male part of the project, in particular with step 7. In your example you have the female dept of cut at .2 but then change that to .1 when doing the male. I am not sure how you came up with that. Is there some formula? I ask because in my case the female depth of cut is .15 so I am not sure what I need to set the male depth of cut to. I see that some users say that your example leaves a hollow space, plenty of room for glue. I’d like to get a nice tight fit, with room for glue. Would you recommend I make a change to me depth of cut. Thanks for any help you can give me. I am just starting at this and I feel really ignorant. Blessings to you!
Did you use A-V-carve do clear the “field” of the center circle. That’s an issue I’m having right now of how to v-carve the edges then clear the field. What I’ve been doing is v-carve the sides and then change to a end mill and make an offset toolpath, but I prefer to not have the extra tool change step.
If you don’t have a BitSetter and can’t enable the “Pocket Clearing” option (or use a 3rd party tool such as GcodeSplit - Split gcode files by toolpath )
see
Hi Tamarack, Yes The top was cut using the advanced Vcarve in CC using two different bits and a BitSetter. Will’s thought sounds like a good thing to try.
I am really struggling with using a 15 degree v-bit and getting the fit-up perfect. I have ran an experiment varying different starting depths and they all look horrible. This has led me to this thread. The question I have is that when you off set your zero by .1", is this the same as inputting .1" as your starting depth in Advance V-Carve? If it is not, what is the difference?
I think the only difference is that offsetting the zero also affects the retract height, which setting the starting depth doesn’t.
When I do an inlay now the pocket is .23 deep using whatever clear out bed 8th inch or quarter inch and then a 30° view bit for the plug my numbers are start depth .12 cut depth .23 it doesn’t leave you much of a soccer on the top but it’s such the inly further into the pocket and then I use my secret clamping method
Can someone make a video of this? Youtube has a decided lack of CC-Pro videos on how do to inlays without using VCarve Pro.
(obviously this video is great: https://youtu.be/4D0xLTEhOZM )
I am trying to do wooden inlays with Advanced VCarve but it does not give me the option to change bits. For example I should be starting with my 1/8 end mill but instead it tells me to start with my 30 degree V bit and proceeds to do the entire job with the 30 degree. I’ve been searching for answers all day and have been in contact with tech support but no one can seem to figure it out. I do have the select post processor on Carbide 3D shapeoko. Any help would be greatly appreciated.
Can you share the gcode you’re running?
Does the geometry have wide enough openings that a second tool is needed?
Every time mine has skipped the end mill the cut was too small for the 1/8 but 1/16 worked.
I don’t think this tutorial works anymore. When jogging on build 537 of the software the position stays at 10mm and doesn’t seem to change to 12.54
Does anyone know which steps to skip and which steps to modify to avoid manually hacking the Z offset and having it done in software?
I think that it can be done by using the inset of a contour. I didn’t try it, though.
So if you would like to have your actual contour 2 mm deep, at z = -2, and you use a 90° v-bit, use the 2mm inset of your target contour at z = 0.
My belly says that it works as long as all features are preserved after the inset operation, but I might miss something.
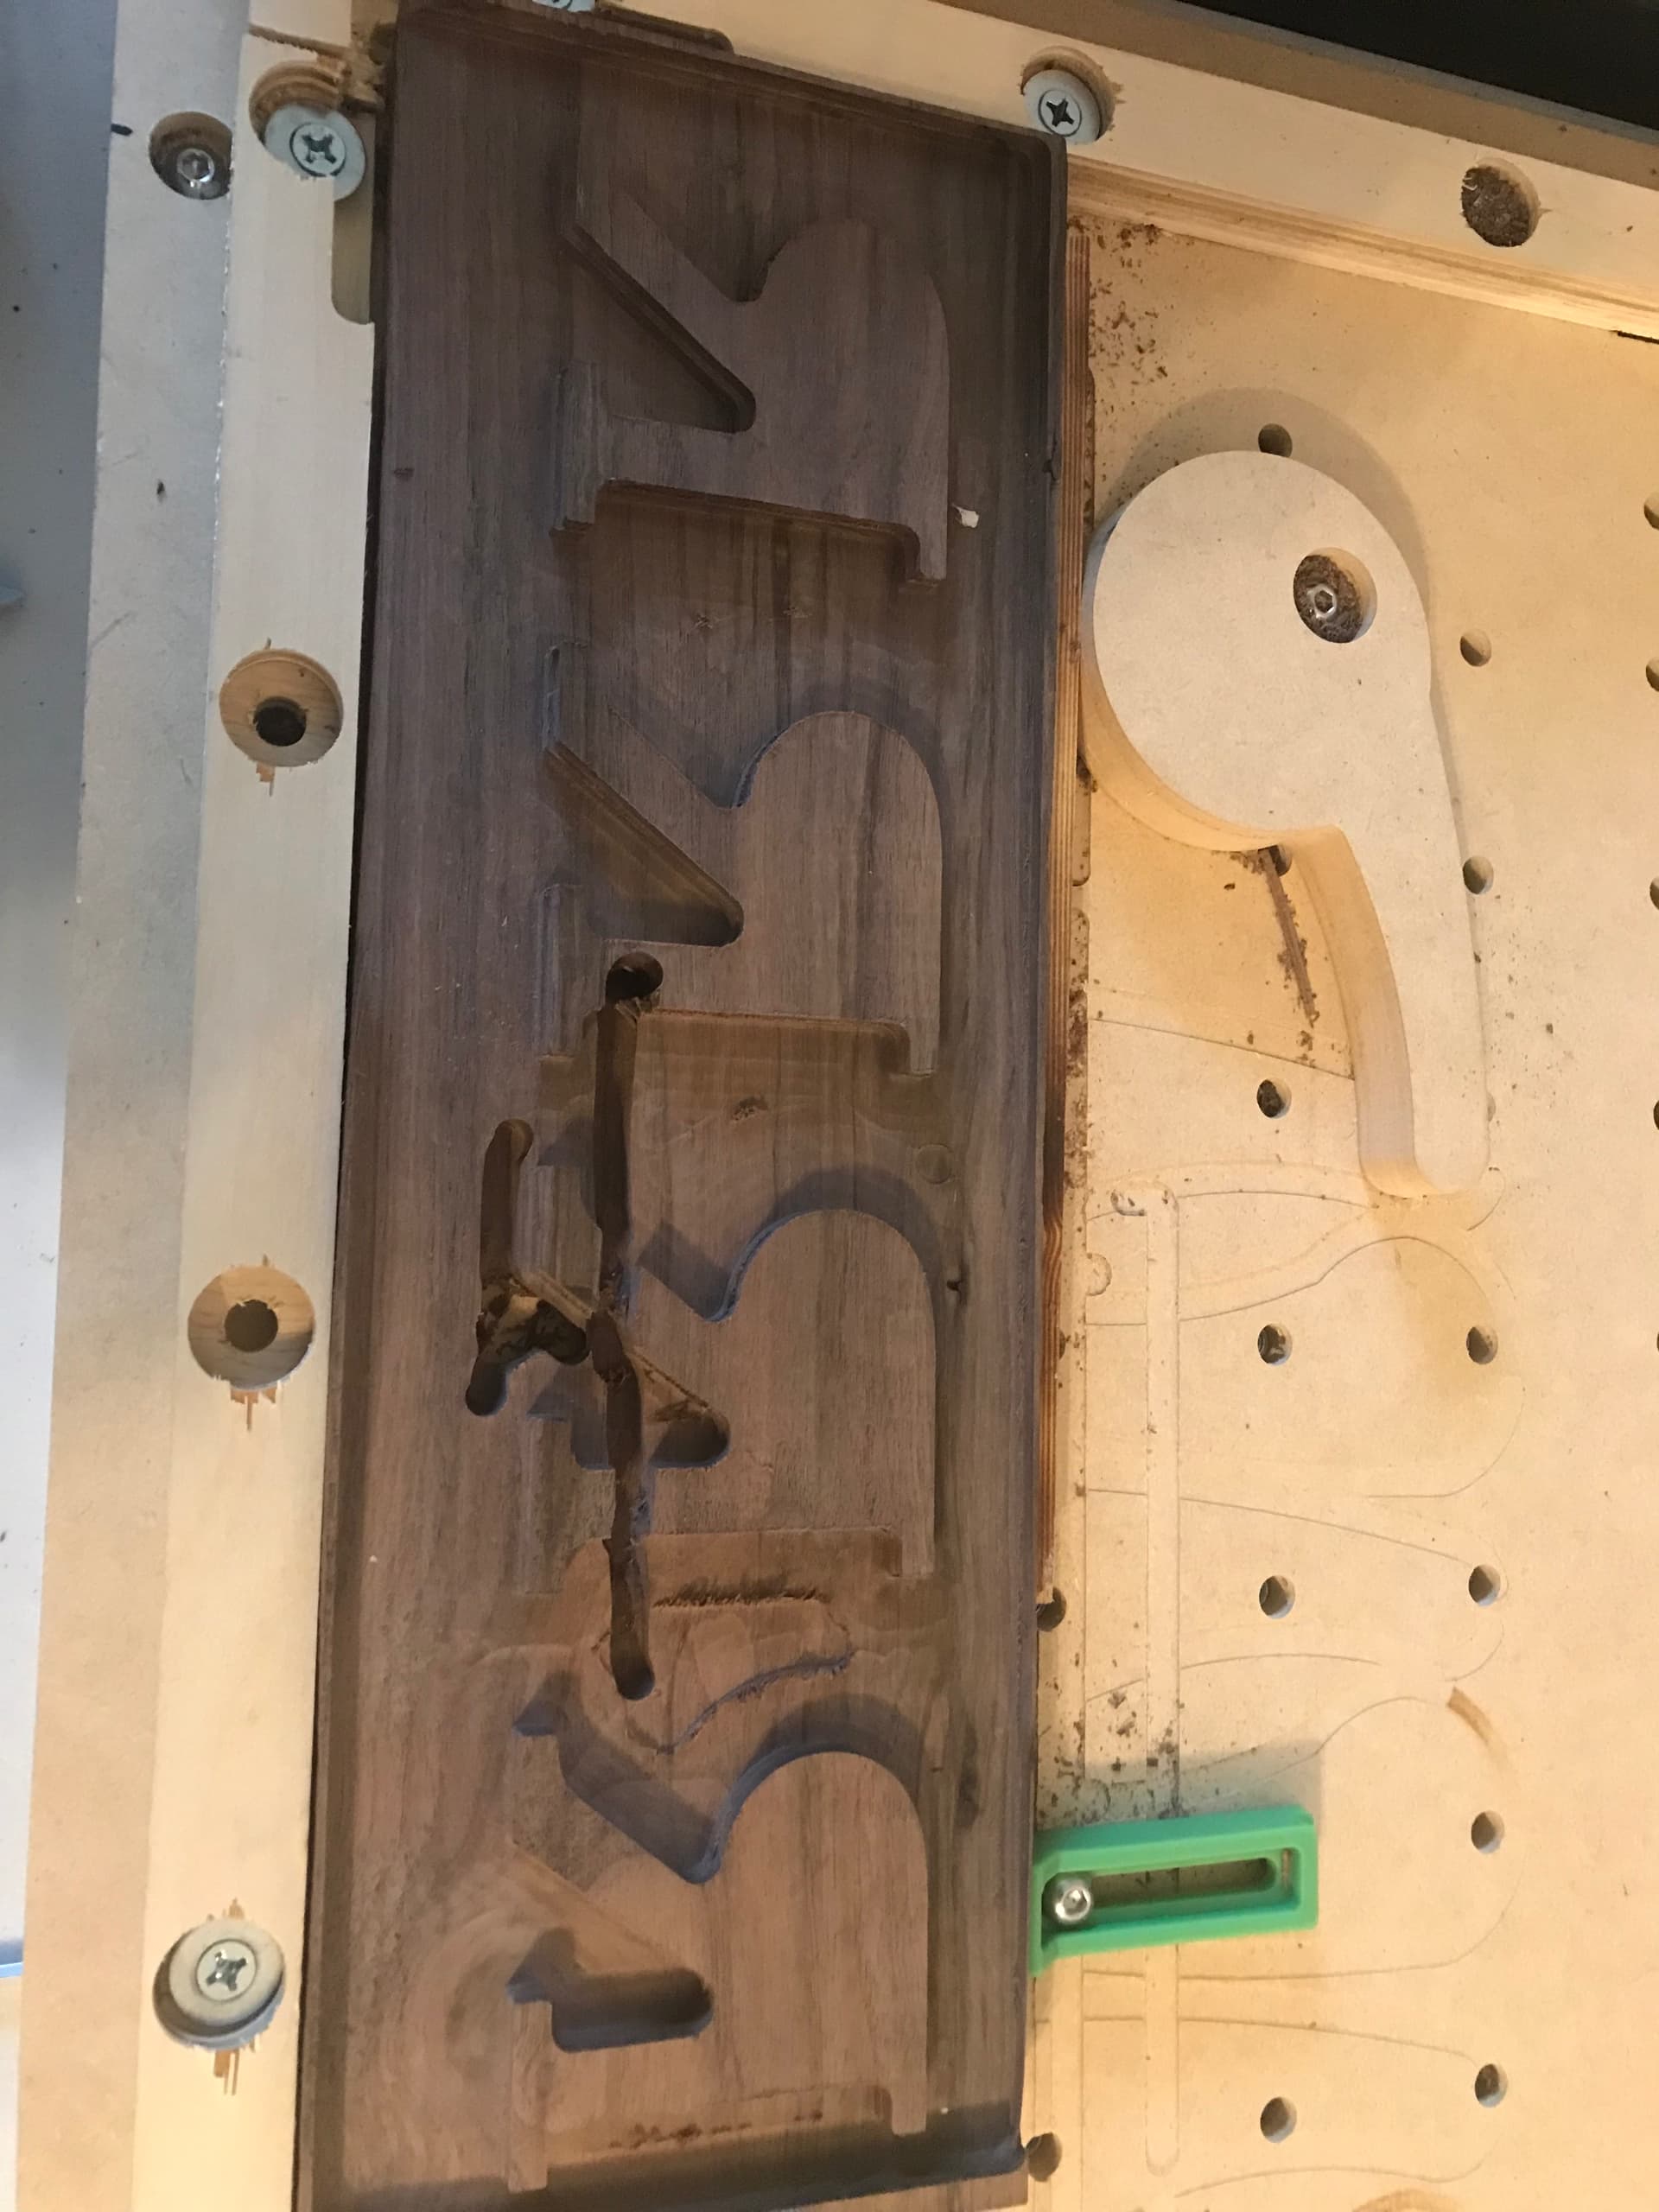
Can anyone tell me what I did wrong? While cutting the plug portion of my inlay my end mill dug down deeper than it should and then proceeded to go right across the wood ruining the piece. I was trying to use a .25” end mill since I broke the .125” earlier in the project. Everything seemed to be going good until this.
Was the endmill pulled out of the collet and into the cut?
Was the tooling engagement great enough that the machine was pulled into the cut and lost steps?
This looks like lost steps. Your cuts started good but the Shapeoko got lost along the way. Double check mechanics like belt tension and v wheels. What type of z axis do you have?
No the end mill was not pulled out of the collet. I was watching closely since I had broken the .125” earlier.
What do you mean by the tooling engagement? Pretty new to the cnc world.