I will check all.
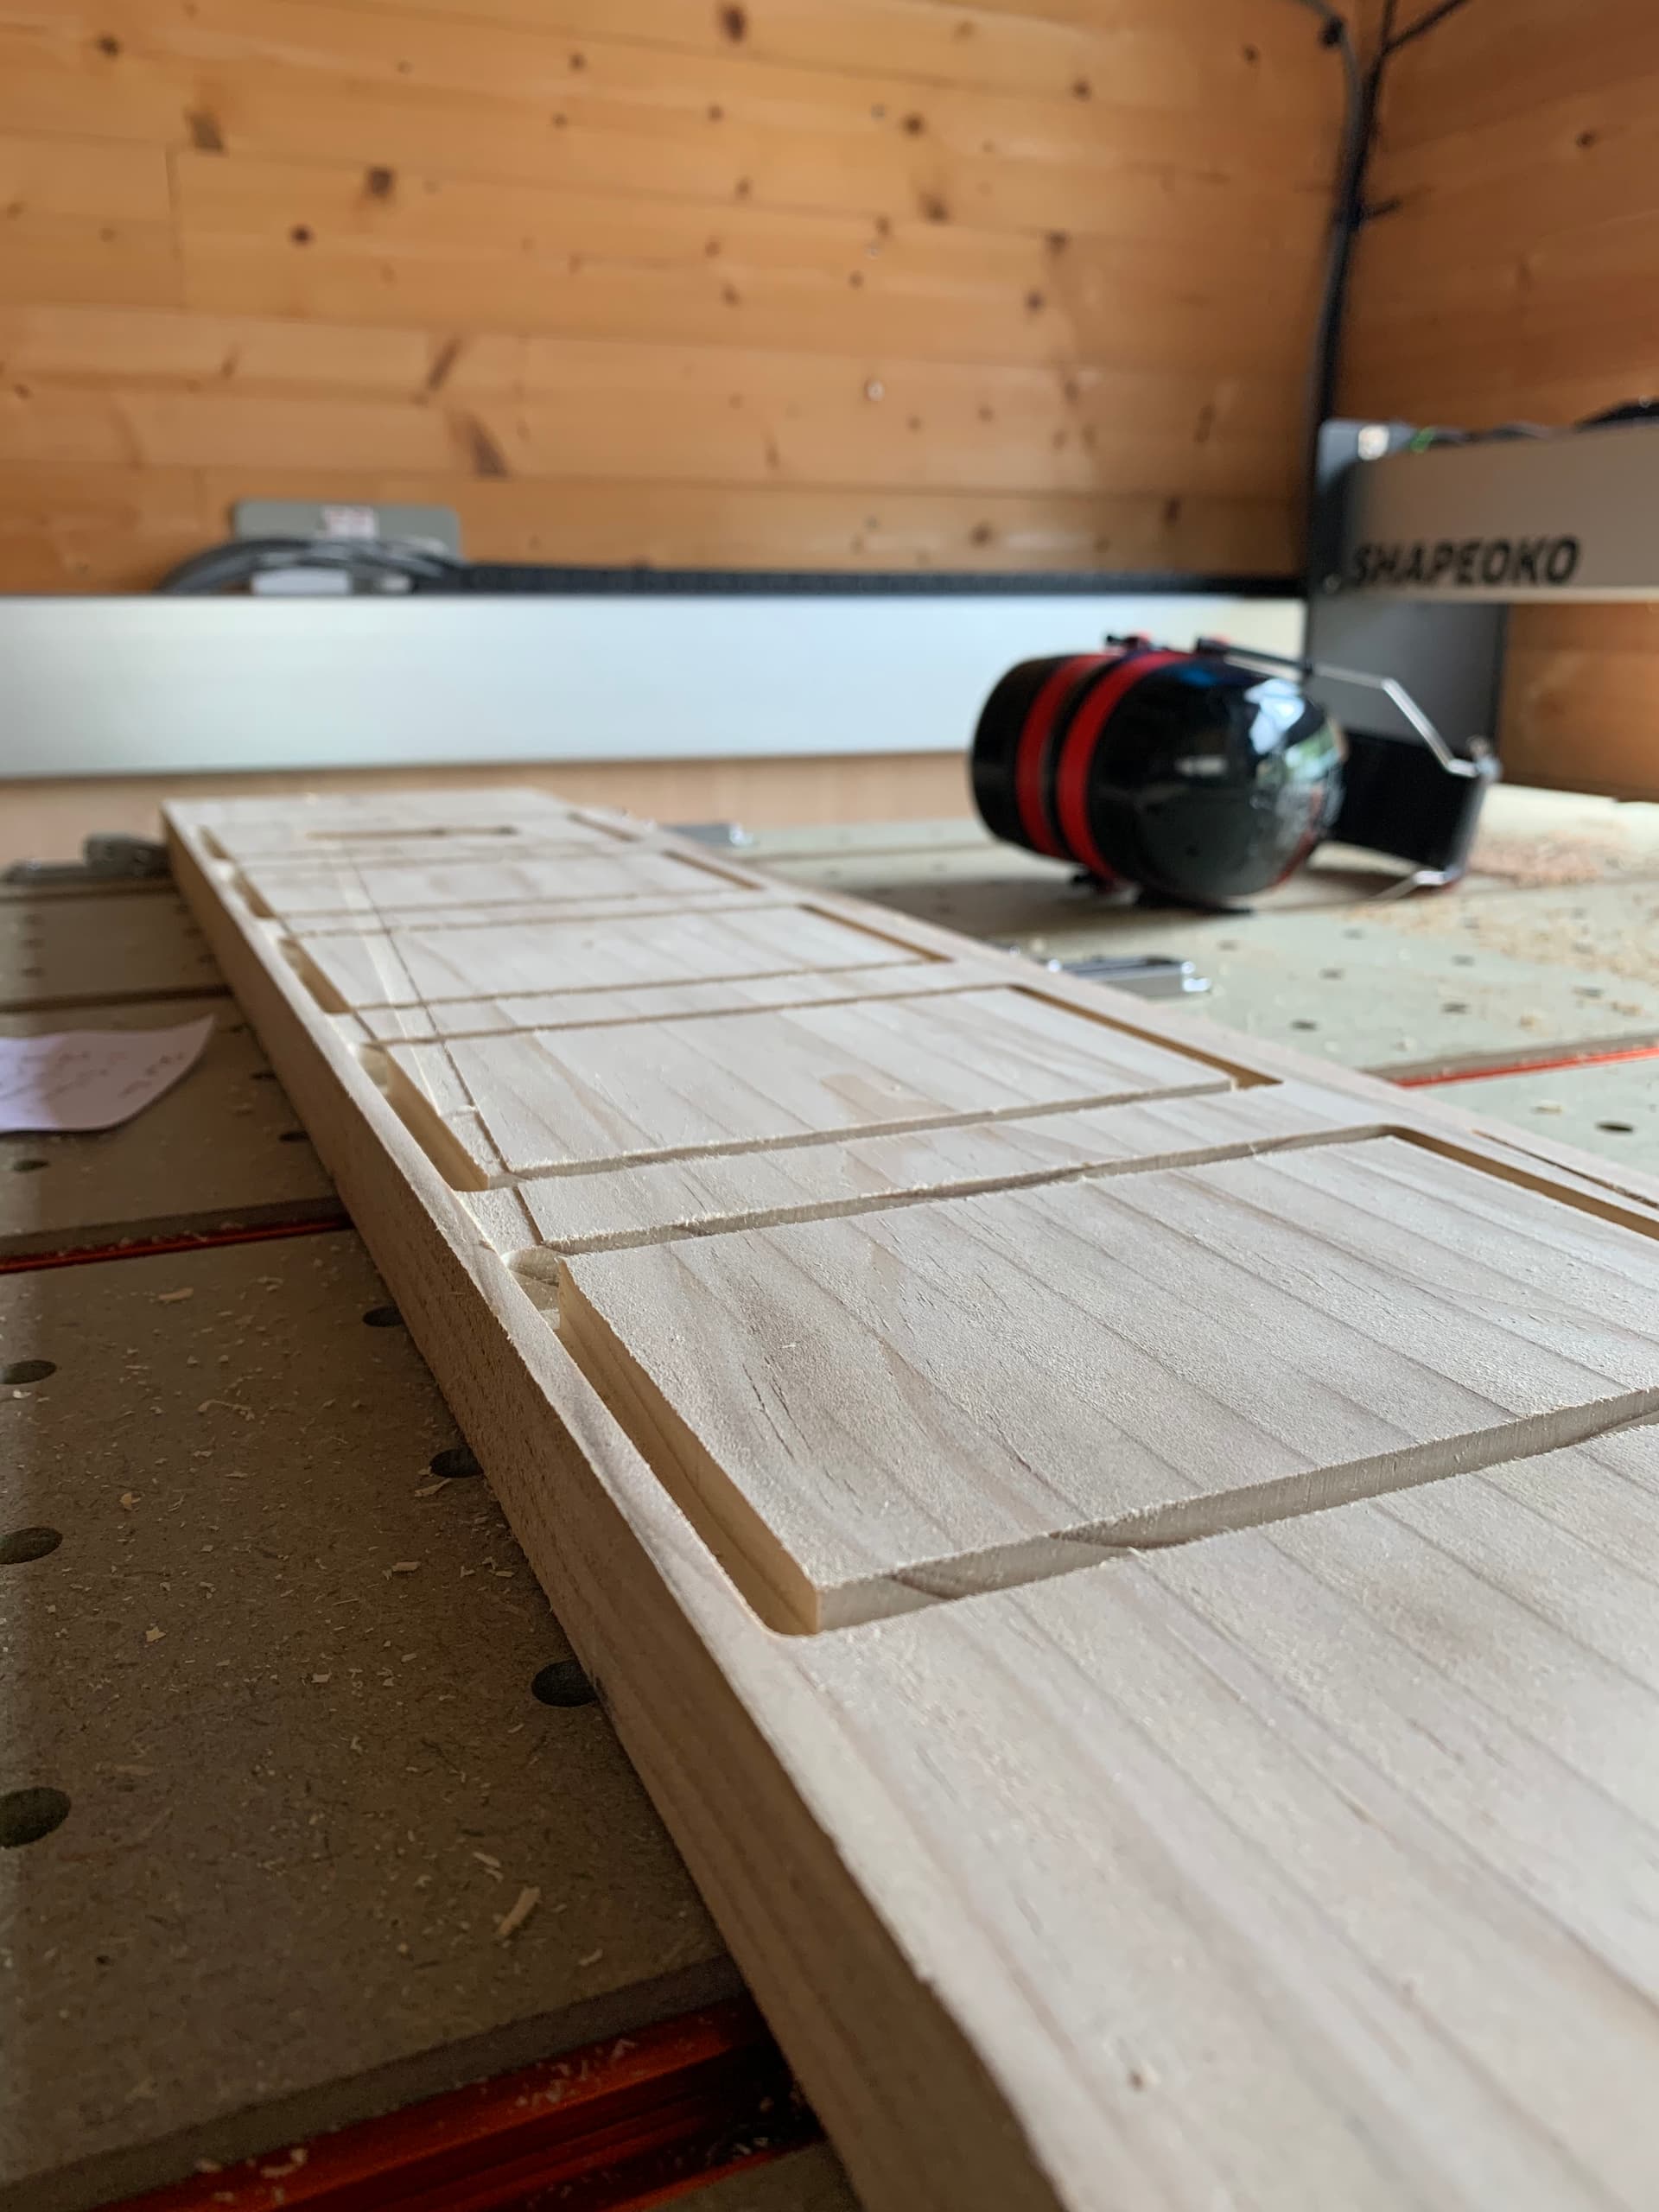
Leadscrew z-axis. I have the shapeoko 4.
Do you have the Bitsetter and if so did you use the Change Tool button when you swapped out the broken bit?
Tooling engagement is how much of the tool is engaged in a cut — consider making a pocket at 50% stepover — the initial cut will be at 100% tooling engagment, but successive ones (overlapping the already cut area by half the endmill diameter) will be at 50% tooling engagement.
Yes I have the bit setter. When I broke the initial bit I started the entire job over and re-zeroed the new one. I figured going from 1/8 to 1/4” bit it might be best to re-run everything.
I will check my settings tomorrow. I do know that for the plug I started the tool path at 0.10 and the max depth was at 0.20. When I selected the .25” for the pocket tool I left the preloaded settings in place.
It was just odd that it seemed to drive deeper into the wood when everything before that was fine.
Did you find the issue?
Nope, I didn’t get to resolve this.
Maybe I missed it, but do we have a formula that shows the numerical relationships?
I mean, given the depth of the female pocket - call it “p”, and the Start Depth and Max Depth as defined for the male part, how do you calculate:
- the glue gap at the bottom of the female pocket - call it “g”
- the depth the male part into the female pocket - “d”
- the gap between the female block and the male block - “t”
…
4 Likes
I have tried this now a couple of times and each time everything was great except when I cut into it I noticed my inlays are like 1/8" which is fine unless you are doing a cutting board like I’ve been trying for and that doesn’t cut it. So if I need to fill a .25 pocket then my plug needs to start at .2 and a max depth of .3? this would give me a glue gap of .05" and a .05" saw gap correct? So is my problem the fact that my inlay just may not have been deep enough for a cutting board? Does anyone else think I should have done a 1/2" pocket or deeper? new to this so any thoughts or help or expertise would be welcomed. Would be great if CC just did it for you more like I hear Vectric does. Also using Advanced Vcarve for these.
I think this tutorial has been posted to these forums previously, but I can’t find it again, so check this out:

I had to watch it more than a couple of times, but the results are certainly worth it! Perhaps it’ll be of help to you as well.
2 Likes
I’m currently using Carbide Create (Build 648) and have had mixed results with this so far. Using Advanced VCarve, I’m using a 1/8" flat endmill for my area pocket tool and an Amana 46280 6.2 degree vbit for the vcarve operation.
My female pocket depth is 0.20" and for my male plug, I’ve used a 0.17 start depth and 0.20 max depth. That left me with no gap at the bottom or at the top and approximately 0.031 gap on each side of the inlay. I changed the max depth to 0.22 and that provided a gap at the top, but it was still flat against the bottom and the same 0.031" gap on each side. I changed the start depth to 0.00" and the max depth to 0.22 and that decreased the gap on each side to approximately 0.015". Close, but not quite there and still no gap at the bottom. I finally scaled the model up by a factor of 1.034 and that got me a perfect fit. However, I don’t see scaling the model as the best solution.
What am I missing? Is there something I’m not considering with the vbit I am using? Other offset adjustments I should make? Thanks for any advice you might have…
You should be okay with your first settings if you make the max depth deeper by at least .031” It seems like you need to push deeper with your settings.
If you watch the video posted just above your reply, it gives some very detailed explanations for why this is necessary.
You are also making it harder on yourself with the 6 degree v bit. Watch that video from minute 2:00 to about 3:30 for an explanation about why you need an angle for the inlay to work right. It is easier if you use a wider angle bit.
You dont need to go deeper on the female part (.2") but start depth needs be .1" on male plug.
Check out my post near the bottom.
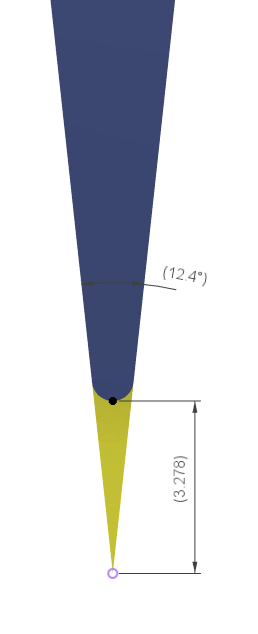
You’re using a tapered ball mill, not a v-bit.
You’re Z-zero is too low and your angle is likely incorrect. The true point of a 6.2deg V-bit would be over 3mm below the end of the radius on the bit you’re using. The software you’re using has does not know the exact geometry of your endmill…it assumes a true point. Use a v-bit or adjust your Z-zero up 1/8" or so. Even then, it won’t be quite right because of the tip radius, but that is probably not big enough to cause much issue as long as you account for the Z-offset.
Tapered ball mill angles are assigned differently as well. If it was a V-bit, it would be a 12.4deg. That’s another MAJOR issue depending on how you set that up. If you have it set as a 6.2deg v-bit, you’re cutting twice as wide. Combine that with cutting too deep and you’ll never get a good fit.
Basically, a tapered ball mill is not a V-bit and isn’t a good choice for prismatic V-inlays.
Your 6.2deg tapered ball overlaid on what would be a 12.4deg V-bit.
3 Likes
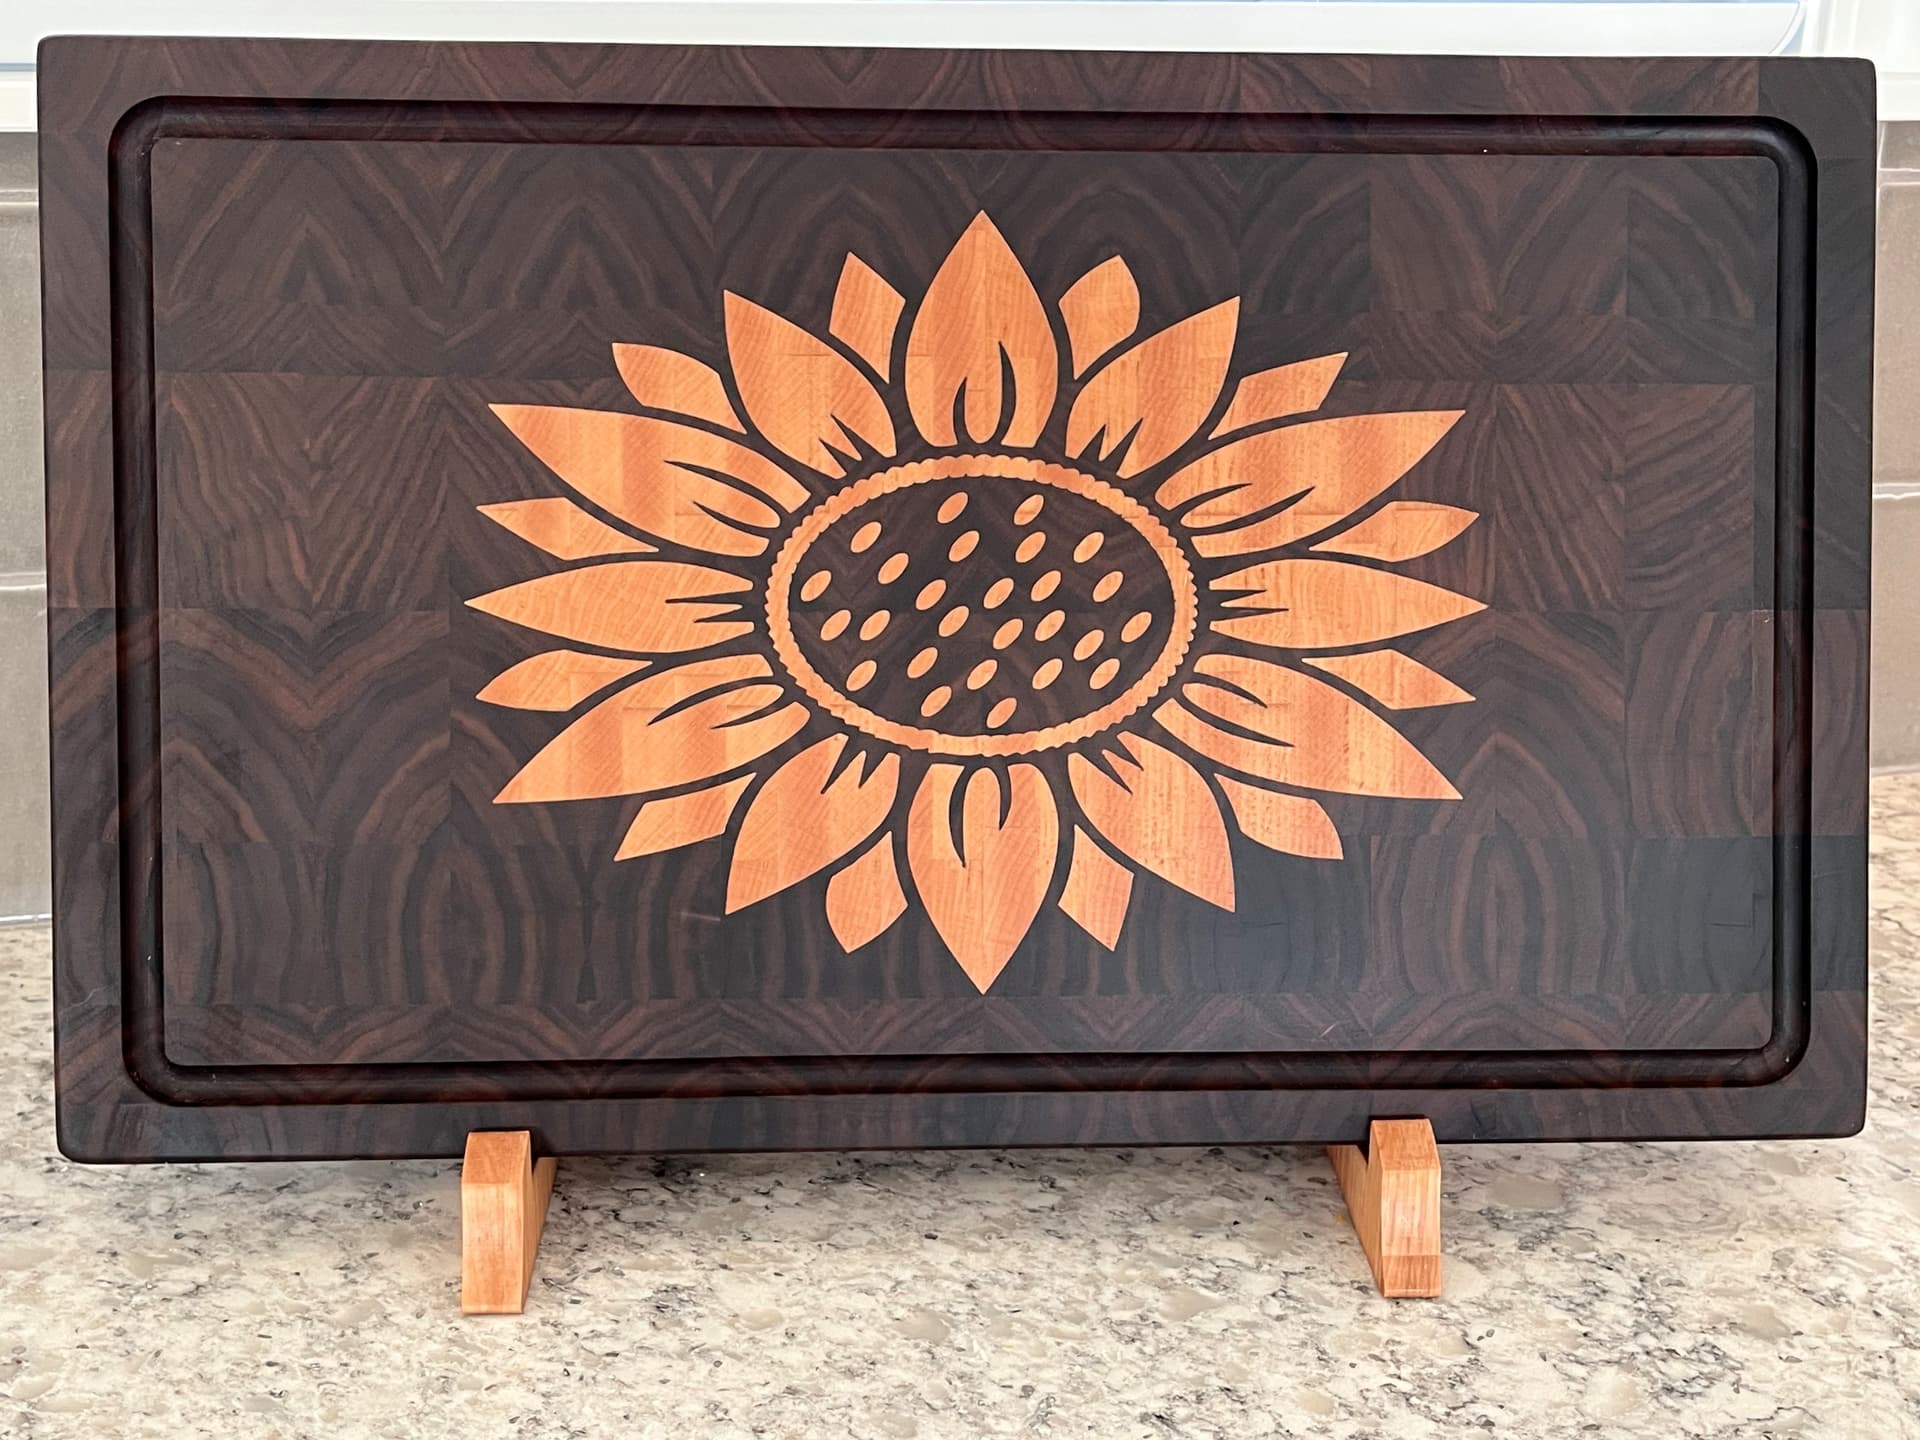
I had very similar struggles with mixed results as you experienced. Followed many of the steps I think you attempted by changing the mixture of pocket, start and max depth, as well as scaling up in the inlay or creating offsets. Another poster pointed out what I think has already been added to this thread in regards to narrow tapered ball mill relative to a true v-bit. In the end made the decision to add Vcarve Desktop which I think has more functionality to account for the geometry of a bit like Amana 46280. Using that software, was able to successfully make a somewhat fine detailed inlay 0.25 into a walnut end grain cutting board using the exact Amana 46280 you described with no extra adjustments necessary.
11 Likes
Thanks Neil. Great explanation on the tapered ball vs. the vbit. The differences may seem insignificant, but in reality, the extra 3mm of length are huge when doing this level of detailed work. I did attempt to adjust the settings based on these new principles, but still couldn’t get exactly the results I was looking for. I ended up switching to a Whiteside 22 degree vbit (#SC50) and got the results I wanted on the first try.
1 Like
Thanks Todd for validating my experience with this bit. Carbide Create does some things really well, but clearly has its limitations. I’ve switched most of my design and machining over to Fusion 360 (free) and only use Carbide Create for quick and simple operations. Eventually, I may switch over to VCarve Desktop, but I still choke on the price for now. Fantastic results on that cutting board by the way…
thank you! The walnut board was going to be for us, but got repurposed as a gift to a friend with the flower inlay–haven’t had time to get back to the shop to make our board yet, but have all the tool paths tested out already. I toyed with the Whiteside SC50 a little bit as well in Carbide Create and seemed to conclude it works for inlays so long as the inlay is of a minimum width at the surface. For thin widths and/or fine details closely spaced, I feel that the narrower angle of something like the 6.2 degree tapered ball mill is needed.