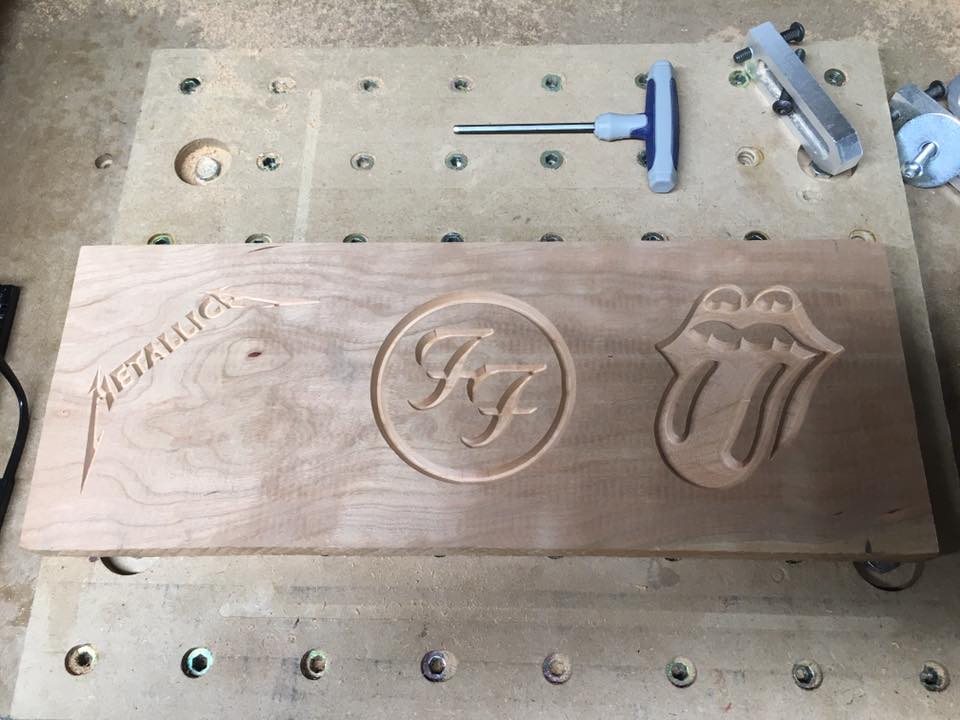
I’ve been using vCarve Desktop for several weeks now and I wanted to put in one place some conclusions I’ve come to after a LOT of test cuts and procedure around doing vcarve’d inlays. When I was starting out wanting to make these, I couldn’t find any good explanation of WHAT each of the various measurements really were and how scaling each affected the others and the fit over all. So I cut a slew of test pockets and plugs using various settings to try and get a handle on it. Here are my findings:
For the Pocket, the Flat Depth is just the depth of the pocket bottom. Easy.
For the inlay;
The Inlay Start Depth:
This number appears to dictate how “deep” into the pocket the inlay goes.
This is the vertical representation of the actual side-cross-section glue surface.
This number should ALWAYS be LESS THAN the Start Depth, otherwise the inlay will bottom out, and the edges wont meet.
Unforunately, because this is a false start depth, the tool will plung to this full depth on first cut. There is no way I’ve found to avoid this. I’ve even spoken to Vectric support and according to them, this is unavoidable
The Inlay Flat Depth:
This appears to only determine the amount of ‘overflow’ ABOVE the surface of the pocket work piece.
Increasing this number ONLY increases the distance between the “bottom” of the inlay and the “top” of the Pocket piece.
Making it bigger allows a bigger blade to pass between the inlay material and the pocket when trimming flush.
This should be a positive number to account for variations in material surface.
Example (Common):
The most common example shown is a Pocket flat depth of .2 inches and an Inlay Start and Pocket depth of .1 and .1
The result of this is a .2" deep inlay pocket. The Inlay plug will “stick” into the pocket .1 inches (this is the side wall contact surface), have a .1" gap between the pocket floor and the inlay “top”, and leave a .1" gap between the two work pieces for sawing.
Example 2 (What I use)
Pocket Flat Depth: .15
Inlay Start Depth: .145
Inlay Flat Depth : .025
This will have a .15" deep pocket vs .2" of the first example, but the inlay will stick deeper into the pocket (.145" deep), giving more wall contact,
and sit a scant .005" from the floor of the pocket.
This example is, in my opinion, superior to the “standard example” used by Vectric and others for several reasons:
First, it leaves a much smaller gap at the bottom between the pocket and inlay flats. Wood glue is NOT gap filling, no matter what youtube says. The idea that you need “glue space” of 1/10th" is just wrong.
A good clamped glue line should be something like .2mm thick. However, the gap serves the second purpose of making sure we “bottom out” on the SIDES and not the FLATS. You always want to bottom out an inlay on the edges, as that is what is seen, vs on the flats (top and bottom)
Second, it provides more thickness to the final remaining inlay wood. This permits a bit more sanding (though proceed with caution), and provides more glue surface where it counts.
Finally, I machine/mill my inlay bulk away, not cut it, so I don’t need the .1" gap between the surfaces (the Inlay’s Flat Depth). That being said, you don’t want it at ZERO because then you’d run the same risk of bottoming out your work flats before the edges made good contact. I’ve found .025 to be a good compromise here.
I’d welcome anybody input or corrections on what I’ve got here. They are not absolute truths, just conclusions based on observation so I’m very open to being wrong. Additionally, I’m planning to do some tests using negative depths on the Pocket cut to see if I can find a way to avoid making the full start-depth+pass-depth plunge in one shot on the inlay cuts.
I hope this helps somebody!
Adam

