Visual Chronicles of a Nomadman

You know what would be great?
You shooting a tutorial video of assembling such a rail-based design and aligning it properly. This is the one thing that keeps me from playing with rails, I read about how to do it but it still feels like I’m going to mess up something. Seeing someone do it live would provide the kick in the b*** I need to try it myself!

7 Likes

@Julien well technically I’ve never installed a rail the “right/proper” way with a tq wrench and indicator carriage.

My goto is using a reference edge to align one rail then using that rail to align the second. Everything else is based on feel.

@DanStory would probably be a better choice to make a guide and his Shapeoko Rail post provides a good amount of info. Plus I picked up one of his Y rails conversion kits recently and a little guide would be nice.

Imo the hardest part is transfering the rail holes accurately for tapping… and then not breaking any taps.

5 Likes

Ha, “Assembly guide” is the first item on @DanStory’s TODO list, excellent :smiley:

image

4 Likes

I’m embarking on following Dan’s footsteps (starting) this weekend.

Say Vince, if I recall correctly, you cut your rails to length, what’s your preferred method to do such a thing?

A cutoff wheel in a hand angle grinder. I usually use pretty thin ones that are specifically for cutting hard materials. Any home supply store should carry them. Then file the end by hand and wire wheel to clean up any leftover burr.

3 Likes

That is exactly what I wanted to hear - thanks!

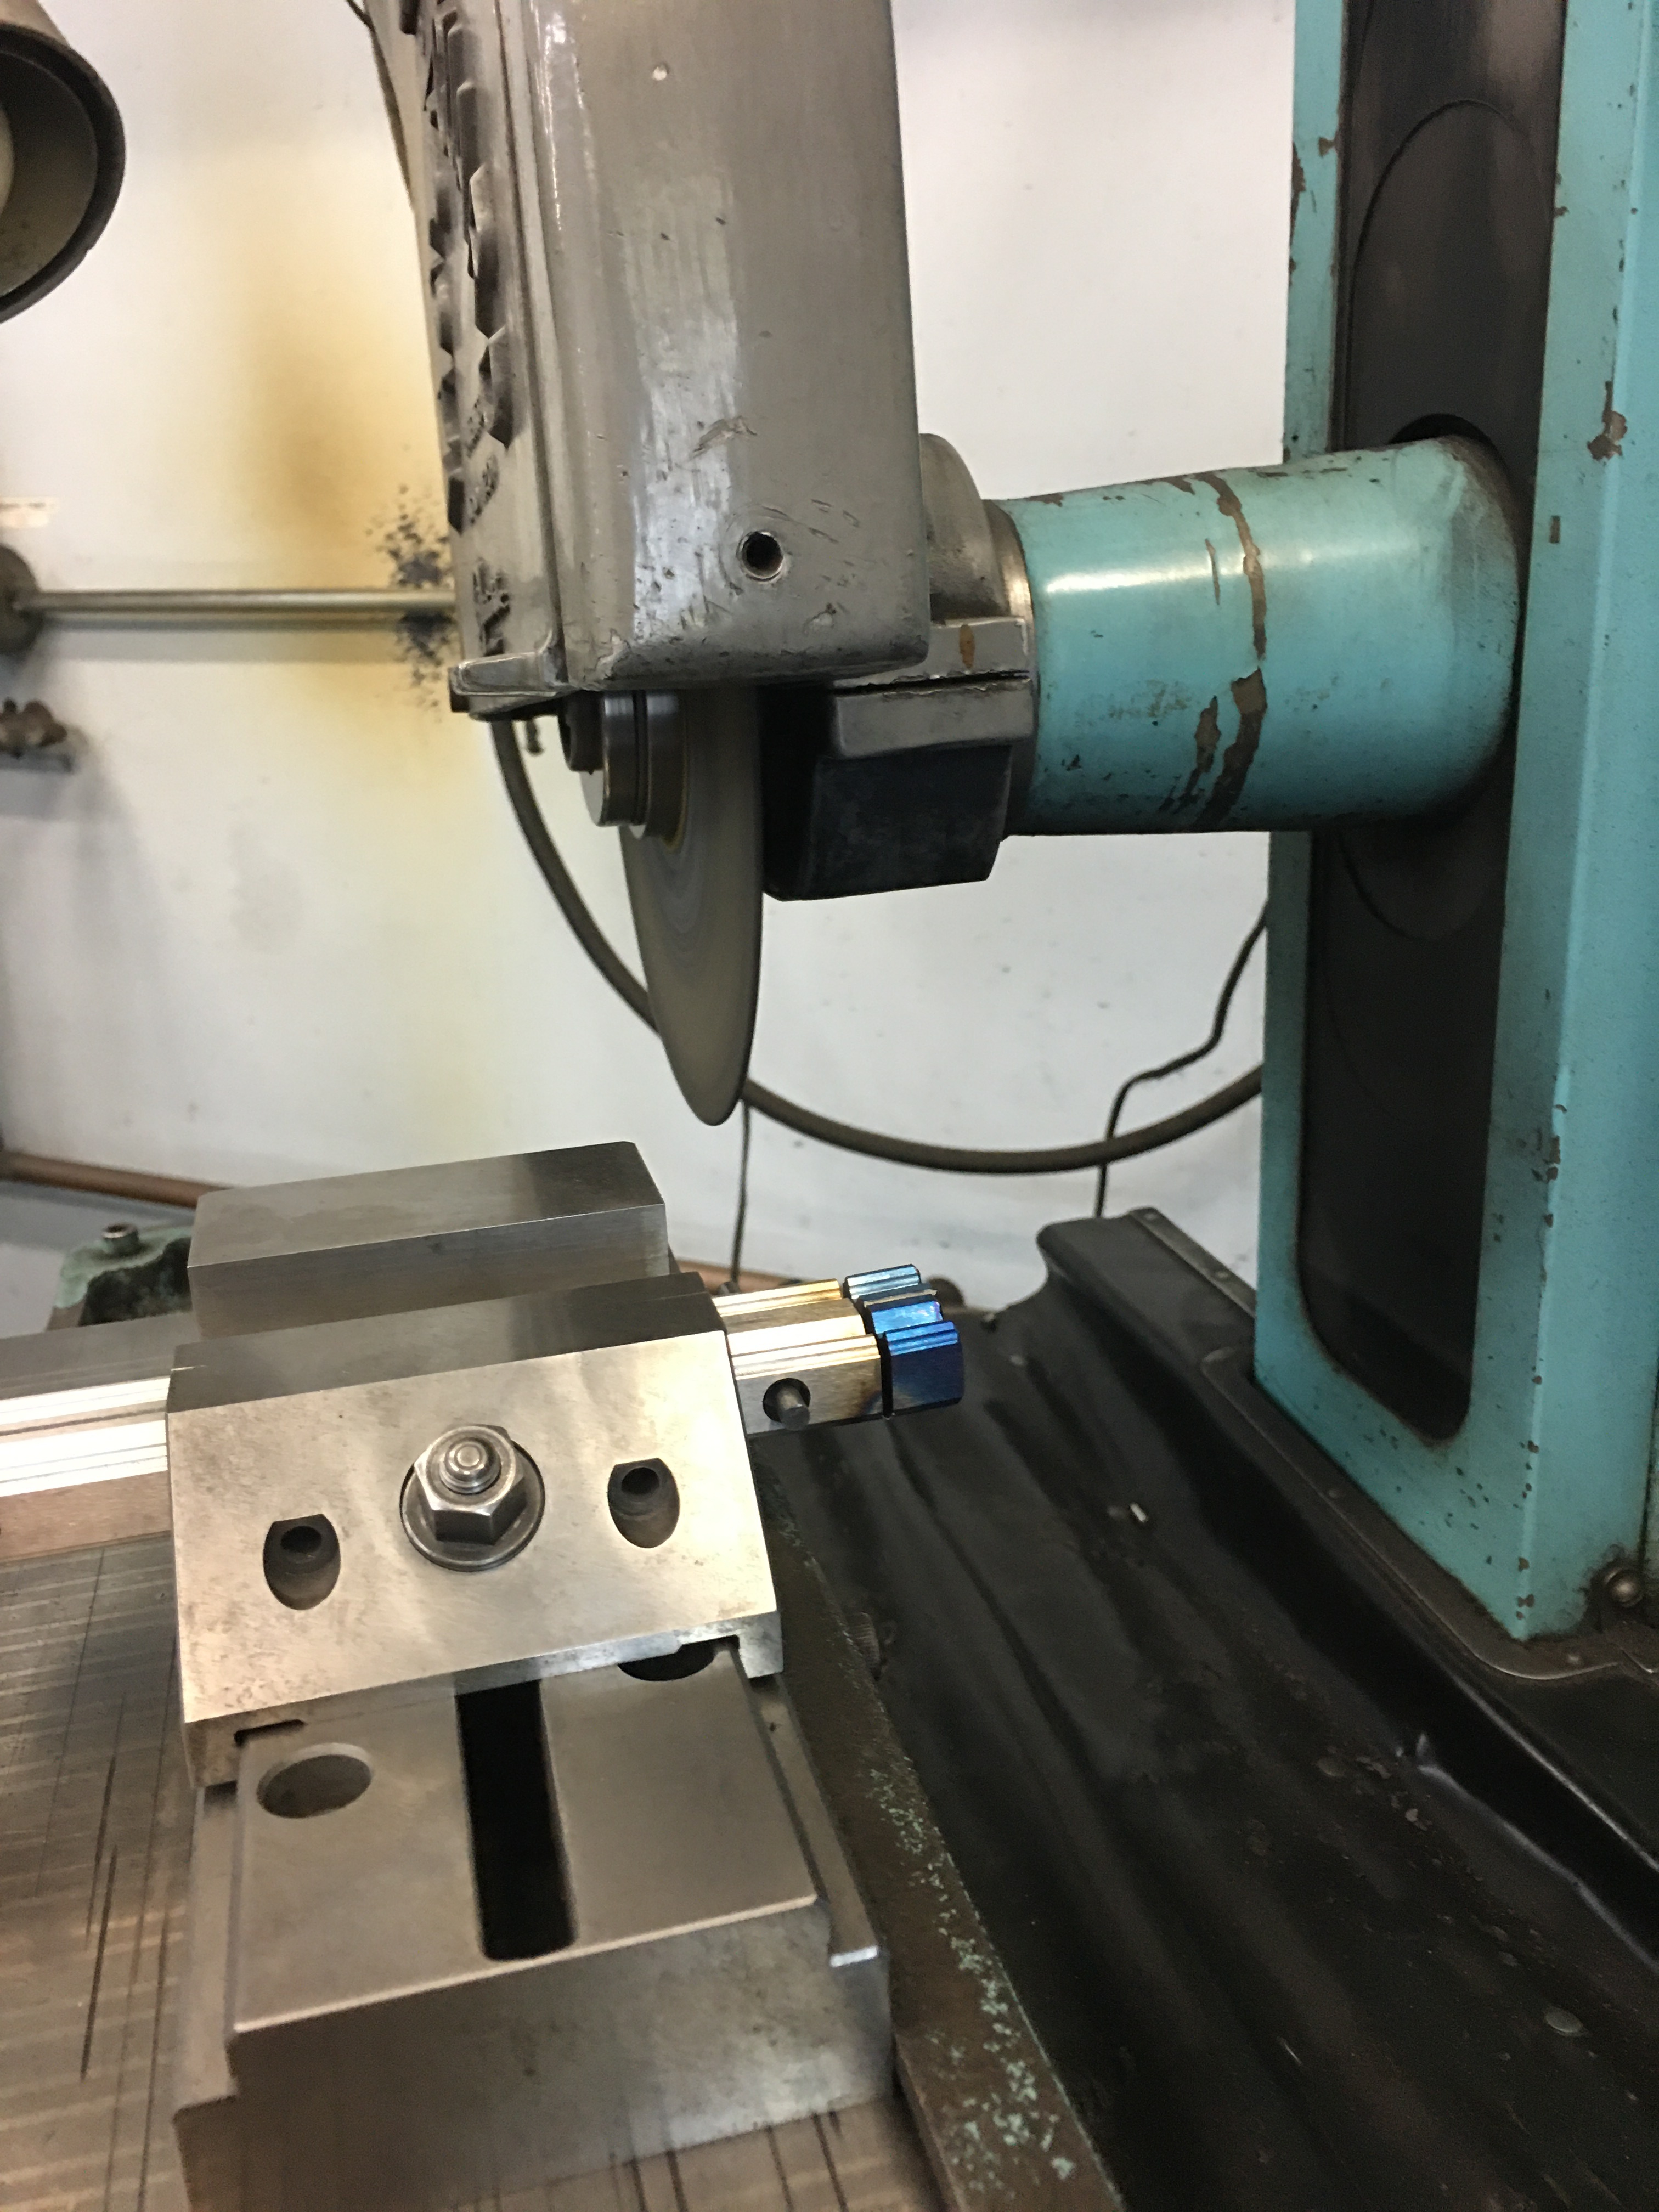
A friend used a zip wheel in a surface grinder to cut one end and a Bridgeport to cut the other for my X-rails. My Y-rails haven’t come in yet, and my friend didn’t want to take my money so I plan on cutting them at home.

5 Likes

When you need the 80mm…


9 Likes

This is starting to feel like a Miata V8 engine swap!

5 Likes

If this is the V8 then the Modkita is a 2JZ :sweat_smile: :sweat_smile:

Good thing that with a front mounted tram plate, its now much easier to swap out spindles!

4 Likes

Its lives! Full 1204 Ballscrew conversion with a Nema 23 Z. 170ipm rapids on all axis, 400 steps per mm.

Now to steal the proximities off the S3 and add homing switches. Still needs alignment and adjustment but no binding with just a tight and go.

7 Likes

2.2kw? Now we’re talking

2 Likes

It’s a 1.5kw aircooled, but 80mm.

1 Like

Yeah nice, is 3/8 tooling a realistic option now? does the nema23 help with that?

It was before with the Makita but I’m sure a 2.2kw watercooled would also fit pretty well.

The real question is how much load we can put on the frame now that the drive system is on par.

Since the Nomad and S3 use the same controller I thought it would be a “free” upgrade to just use a 23. That stepper is rated at 2.8amps but even running at 2, it has quite a bit more tq than the 17s.

1 Like

When C3D announced the Nomad was being totally redesigned I didn’t at first realize they were referring to this thread…

RMW

2 Likes

Hahaha, once you start looking at the Nomads frame and internals you’ll see how well its put together. Carbide3d has done a wonderful job designing this machine and I’m sure the new Nomad 3 is going to be a breath of fresh air.

I’m just bolting on some mods to see how far you can yet stay within the concrete parameters and utilize stock-ish workflow.

Linear this…ball that… maybe add 2140% more spindle power. Its Nomads making Nomads. It’s the dream.

6 Likes

Nobody chooses an engine with a weak block or head for tuning, you start with something solid.

3 Likes
9 Likes

Not gonna lie, I’m a little nervous. I get about 0.004 deflection at the spindle with a good amount of force by hand. Adaptive depth will tell but I’ll probably run in the 6ish pounds of force, hopefully.

A little bit of that is from the modified spindle mount, it’s not much better than a wet noodle.

Anyway. Tossed a little bit of aluminum for some testing. Its clamped in the vise combined with a superglue tape setup. We’ll also see how tolerances matter on curves. After testing I’ll run another set of plates and proximity brackets. They are set to switch on vertical surfaces so less of a chip interference problem.

8 Likes

I look forward to seeing the results.

Looking at the C3D/Nomad vice makes me think the Saunders mod vice would suit the nomad really well, a lot of guys have designed and made their own and they seem to offer a lot more purchase than the C3D one

1 Like