The Nomad size and weight make it an awesome travel companion!

8 Likes
It appears that the “VESC Tool” should allow you to monitor motor current in “real time”. If so, you can easily calculate force from it. That would be much more accurate and useful than estimating it with a speeds and feeds calculator.
The Milwaukee BLDC router weighs 1kg without a battery, how much does the Makita weigh?
1 Like
My Makita weighs a little over 1kg, but it has been modded a bit. Still most of the weight is the motor and shell.
Thanks - torque limits will likely be about the same then.
1 Like
Nomad leg day
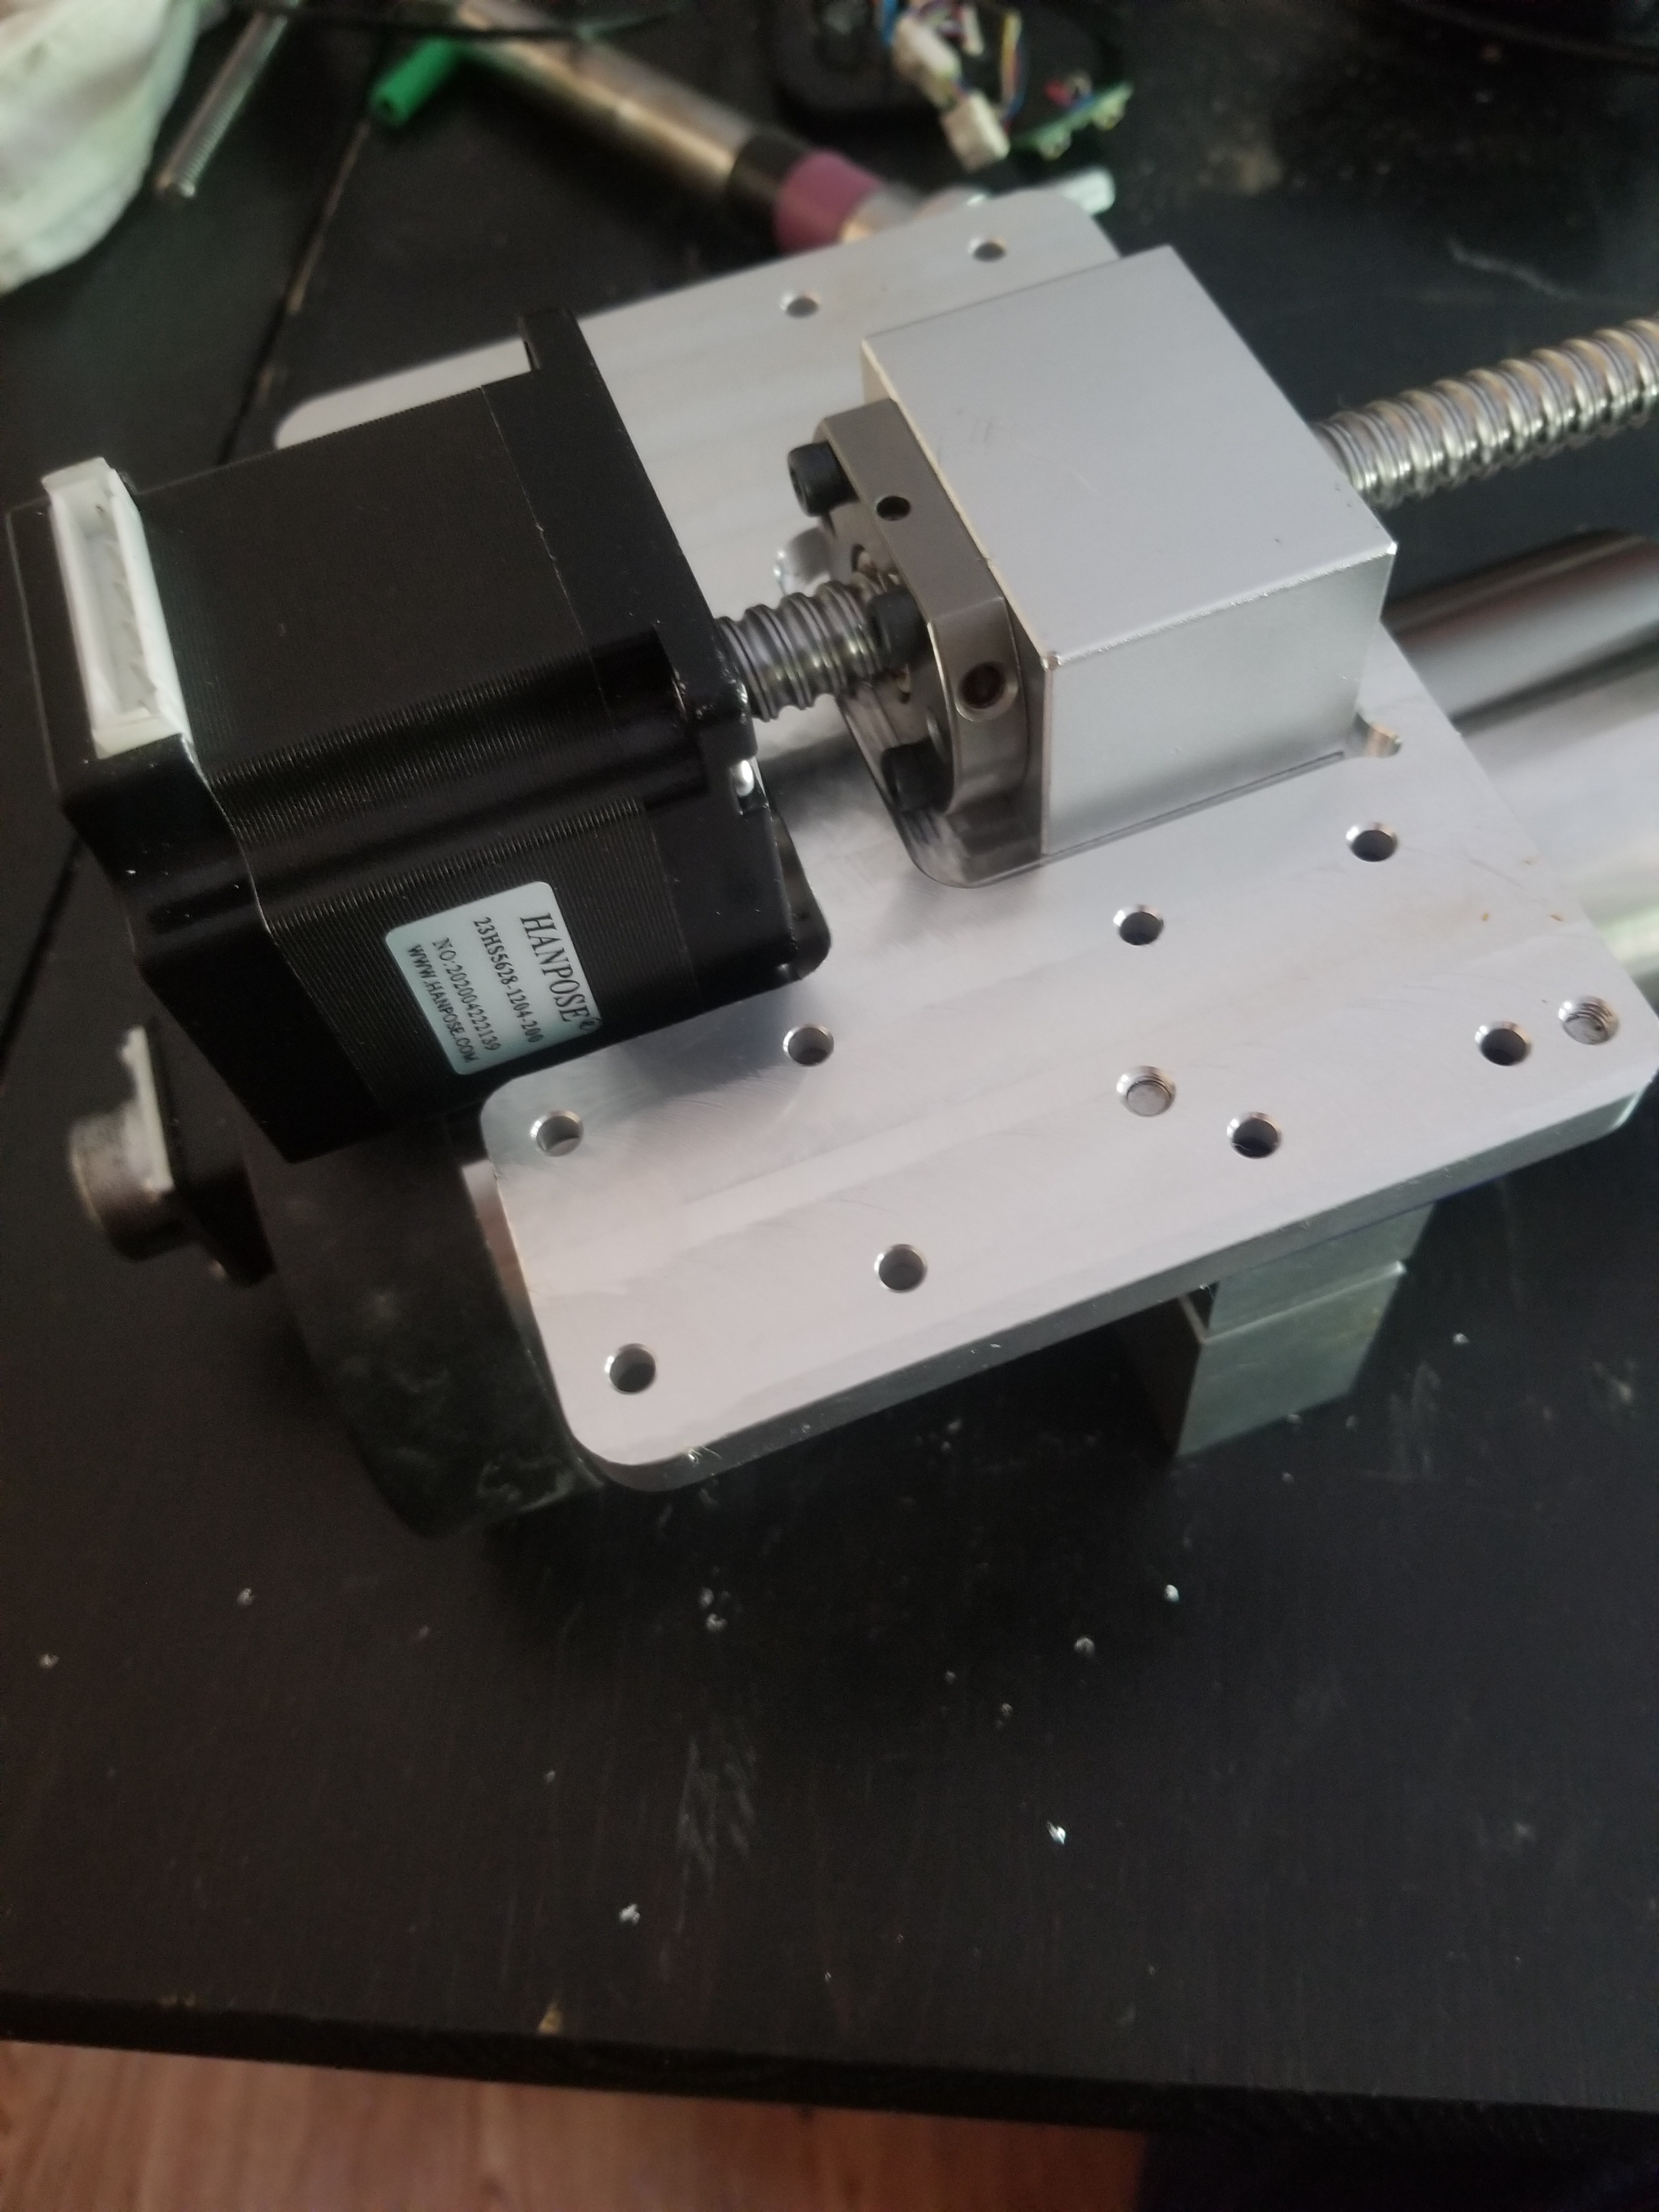
Nema 23 captured SFU1204 goodness. Votes to increase the Nomad travel to 6 inches or keep it at 4?

3 Likes
If you increase it you’re going to need to add some extra mass or risk vibrations, right?
ill probably stick to 4" for CM compatibility and to keep it simple after thinking about it. The new stepper feels good, tuned accelerations and should be around 150 max ipm loaded for the Z.
4 Likes
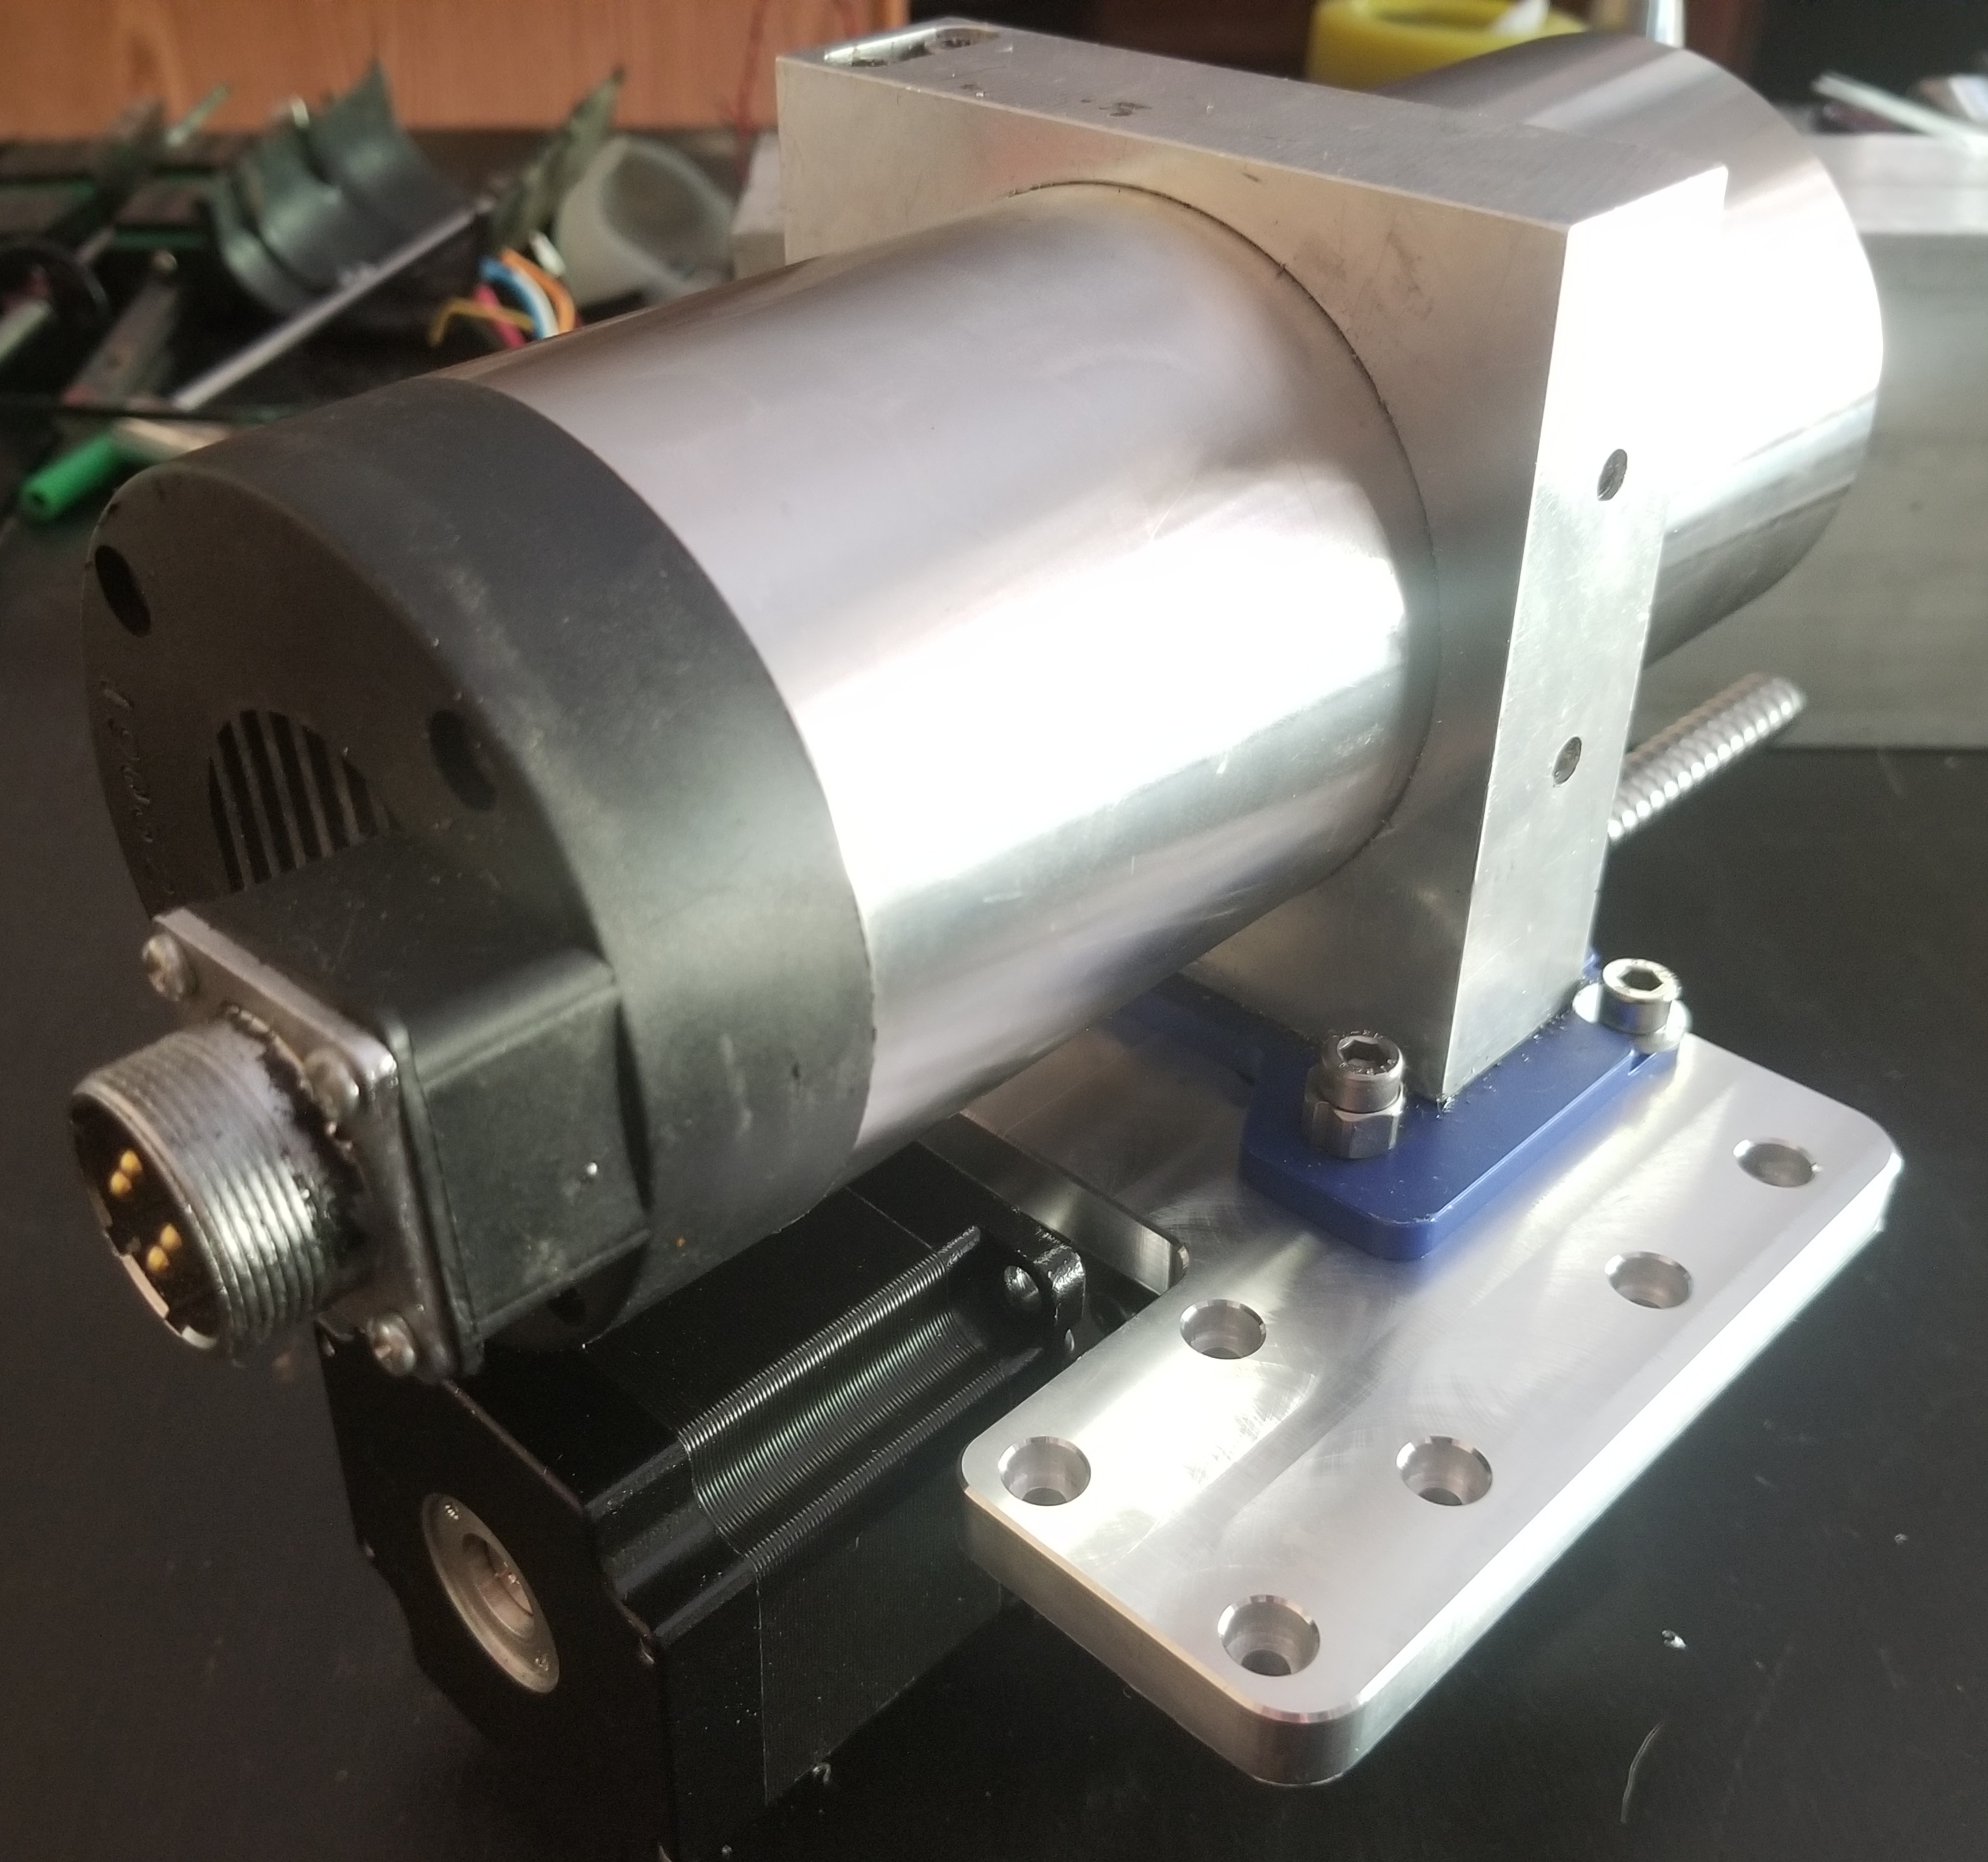
Nema 23 ballscrew Z on today’s menu! Designed to utilize HDZ compatible spindle mounts with Easy Tram.
3 Likes
You know what would be great?
You shooting a tutorial video of assembling such a rail-based design and aligning it properly. This is the one thing that keeps me from playing with rails, I read about how to do it but it still feels like I’m going to mess up something. Seeing someone do it live would provide the kick in the b*** I need to try it myself!
7 Likes
@Julien well technically I’ve never installed a rail the “right/proper” way with a tq wrench and indicator carriage.
My goto is using a reference edge to align one rail then using that rail to align the second. Everything else is based on feel.
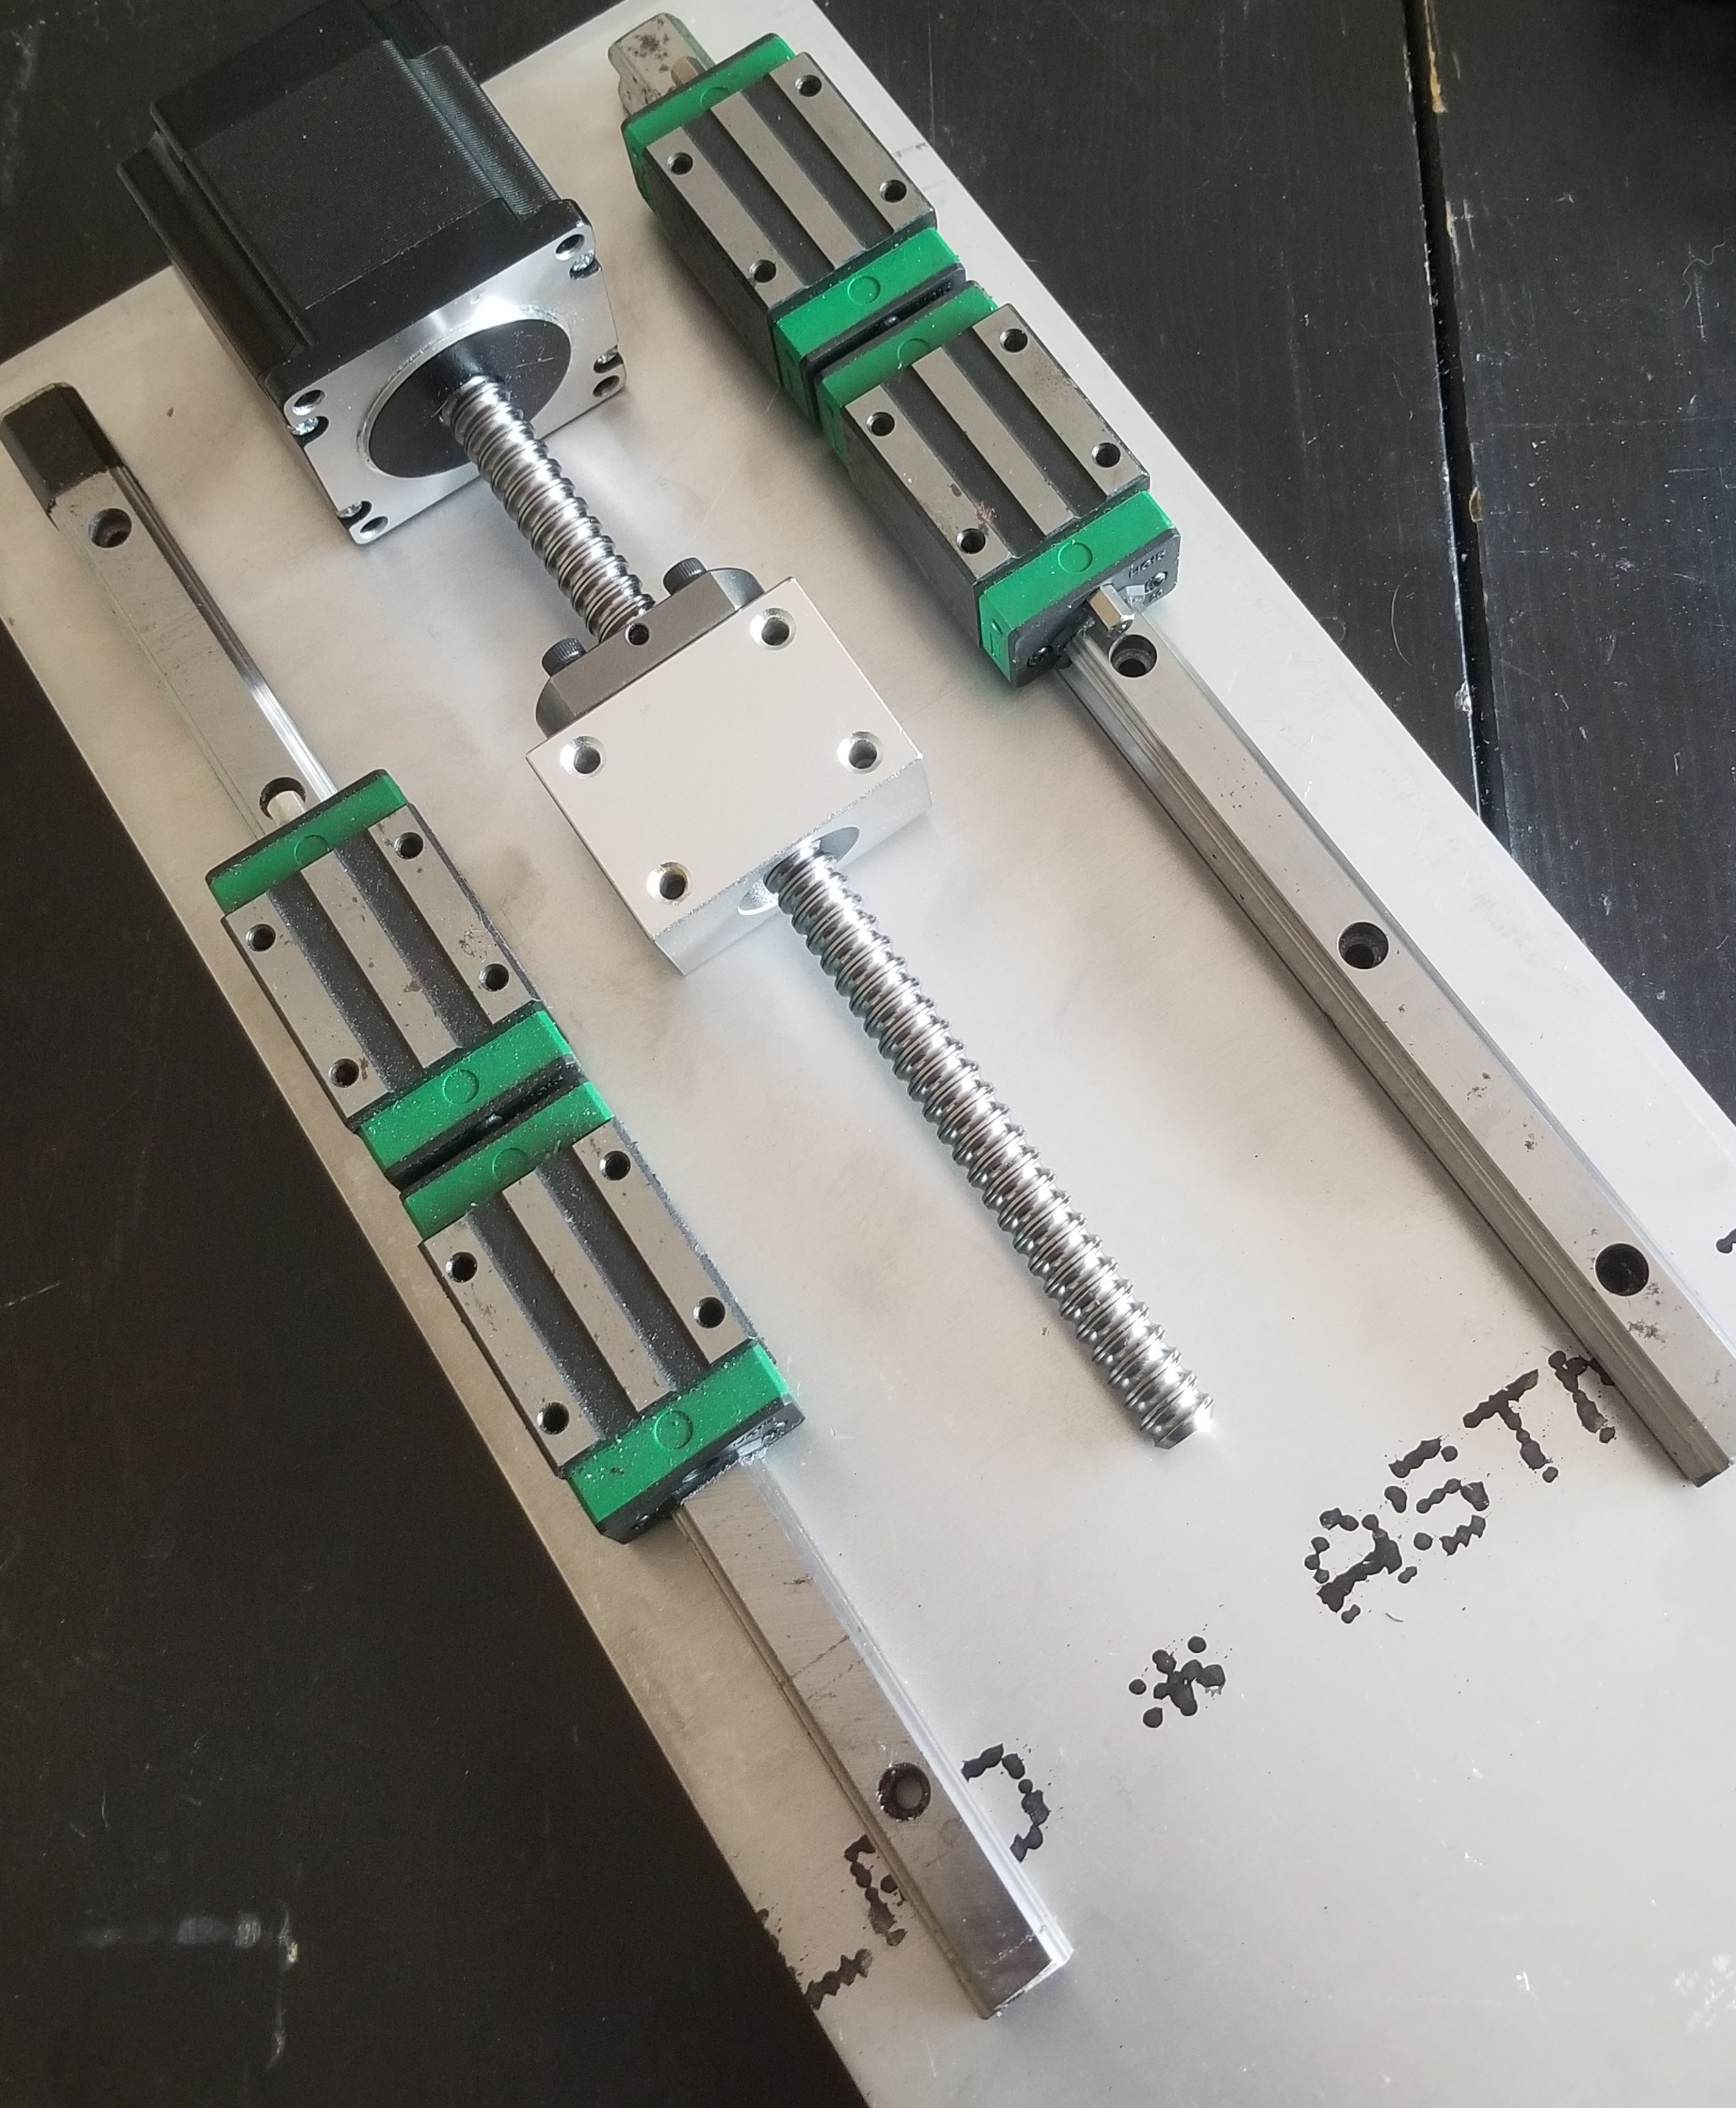
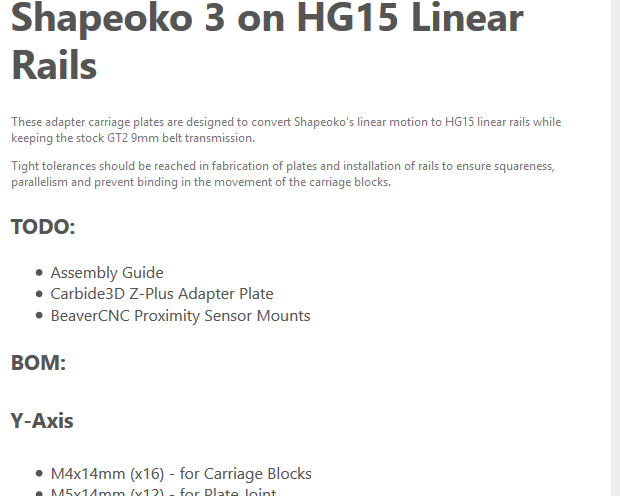
@DanStory would probably be a better choice to make a guide and his Shapeoko Rail post provides a good amount of info. Plus I picked up one of his Y rails conversion kits recently and a little guide would be nice.
Imo the hardest part is transfering the rail holes accurately for tapping… and then not breaking any taps.
5 Likes
Ha, “Assembly guide” is the first item on @DanStory’s TODO list, excellent 
4 Likes
I’m embarking on following Dan’s footsteps (starting) this weekend.
Say Vince, if I recall correctly, you cut your rails to length, what’s your preferred method to do such a thing?
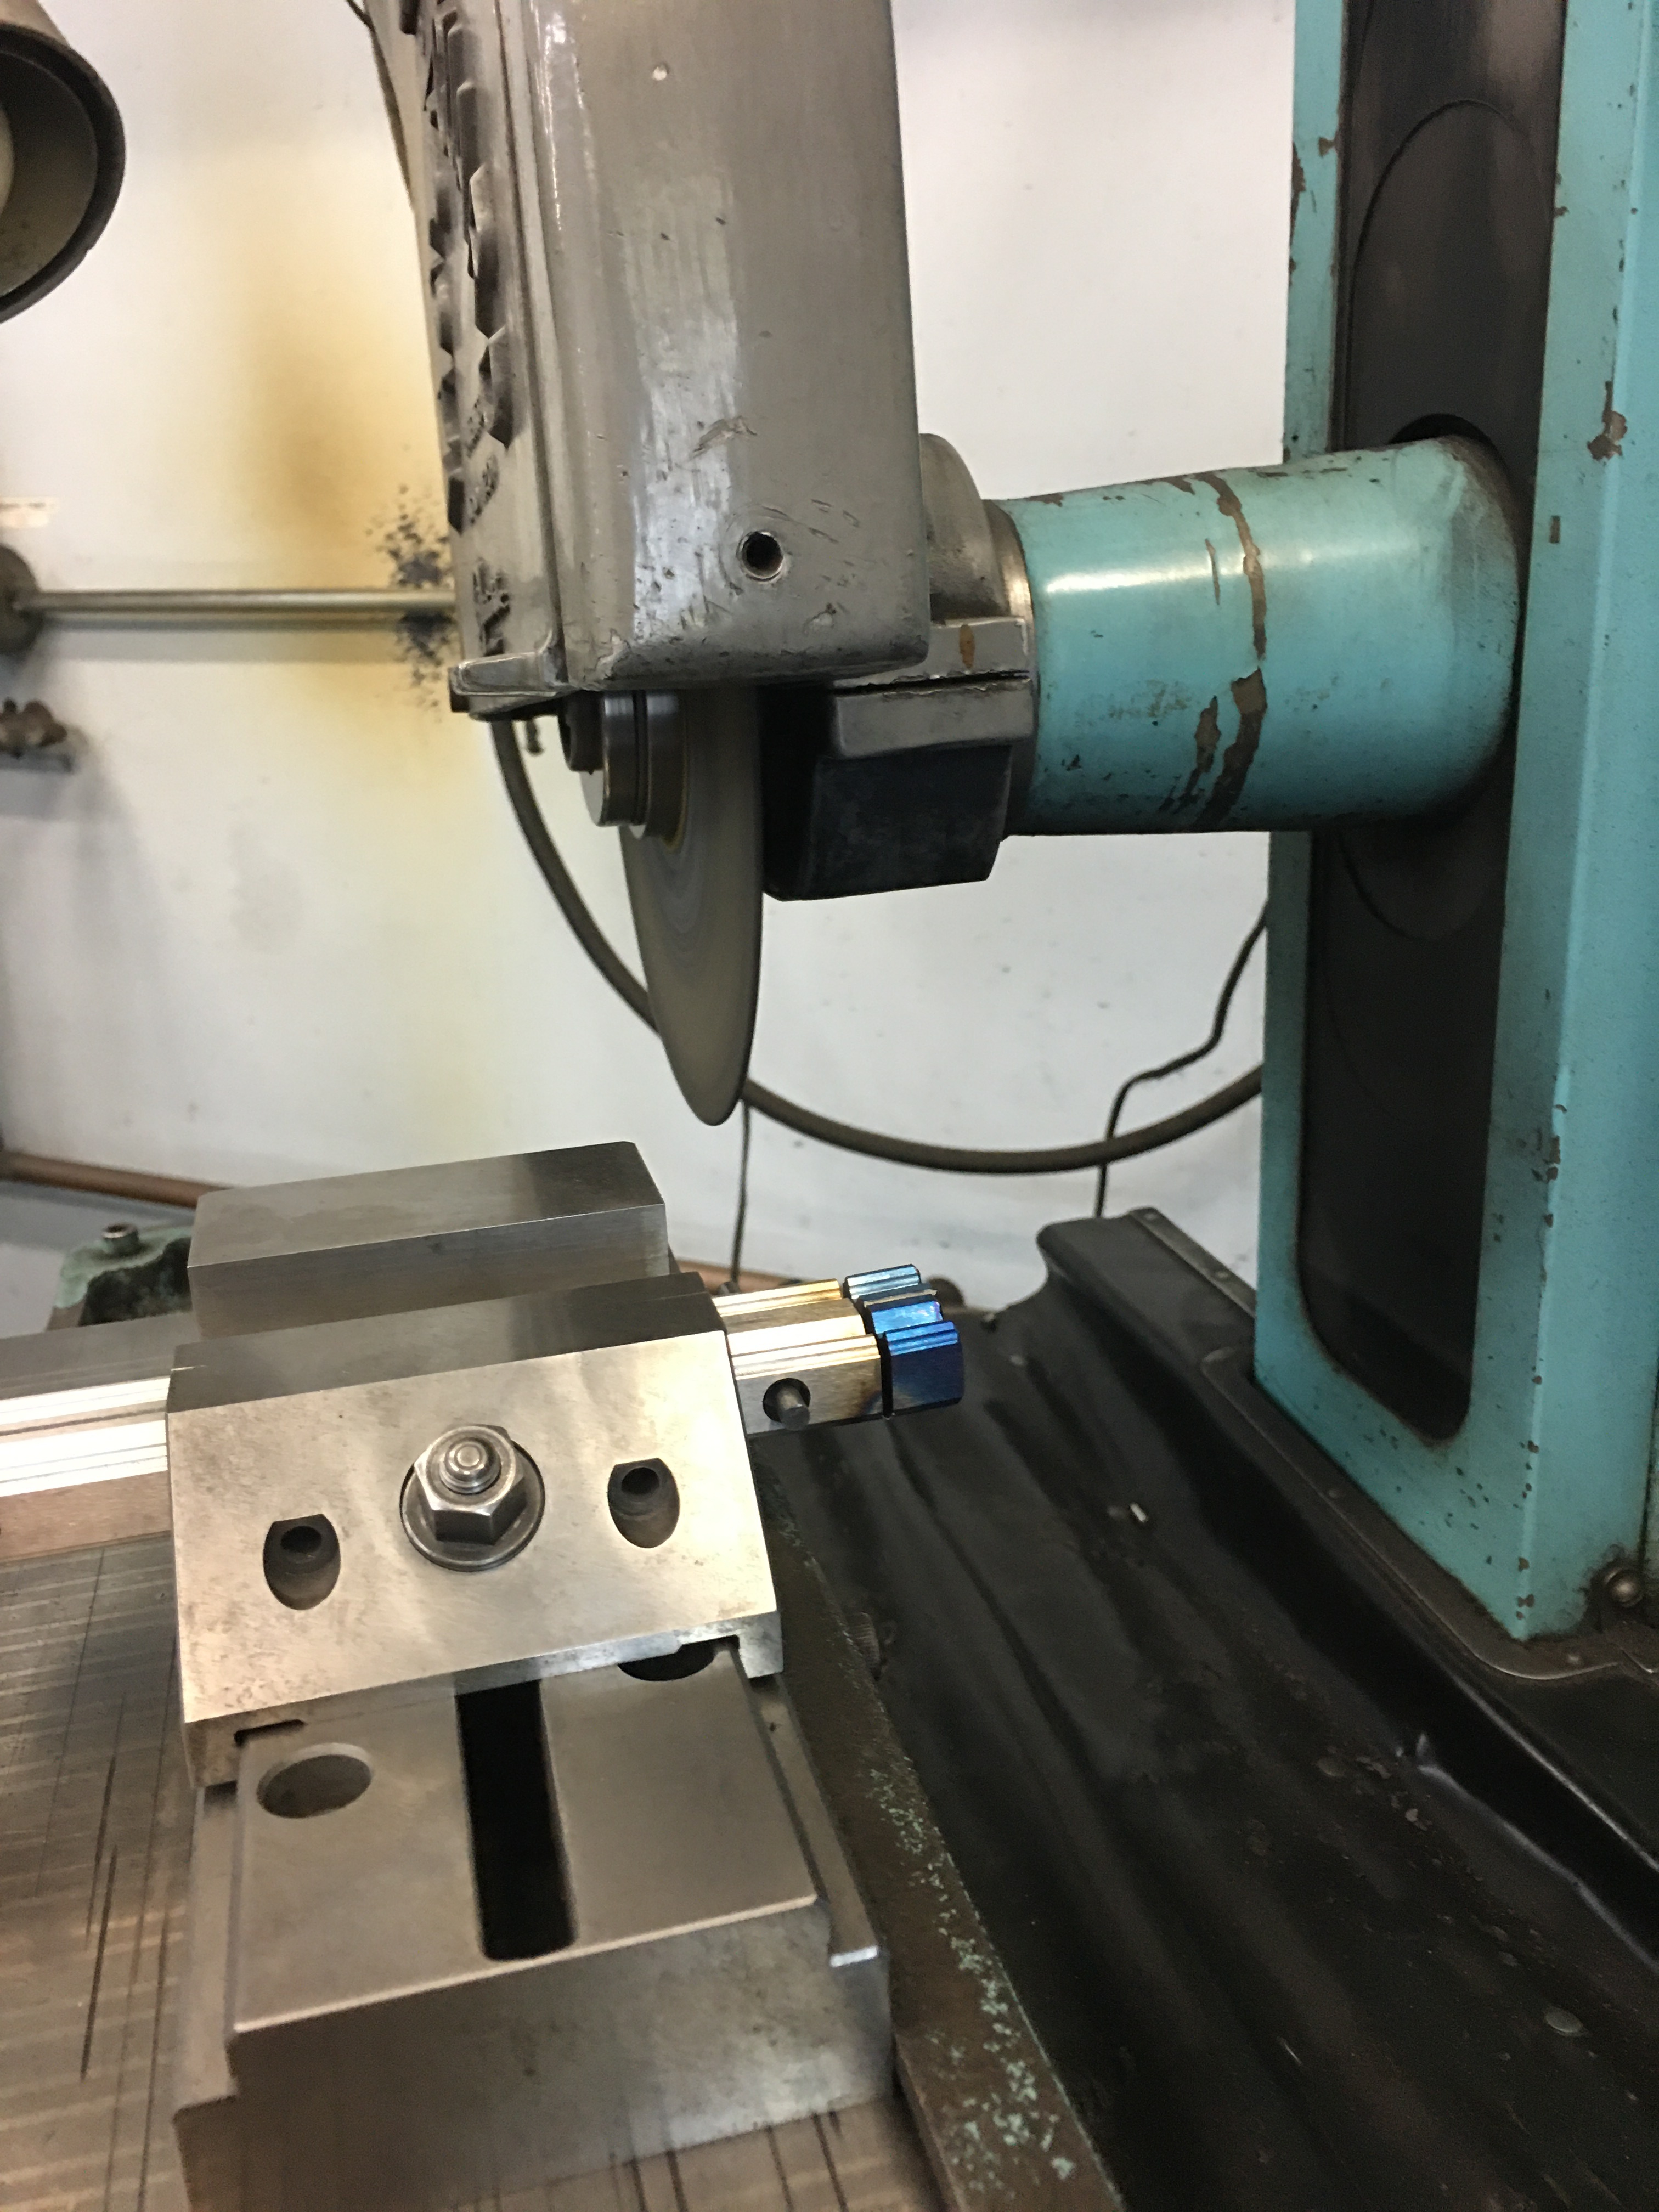
A cutoff wheel in a hand angle grinder. I usually use pretty thin ones that are specifically for cutting hard materials. Any home supply store should carry them. Then file the end by hand and wire wheel to clean up any leftover burr.
3 Likes
That is exactly what I wanted to hear - thanks!
A friend used a zip wheel in a surface grinder to cut one end and a Bridgeport to cut the other for my X-rails. My Y-rails haven’t come in yet, and my friend didn’t want to take my money so I plan on cutting them at home.

5 Likes
This is starting to feel like a Miata V8 engine swap!
5 Likes
If this is the V8 then the Modkita is a 2JZ 
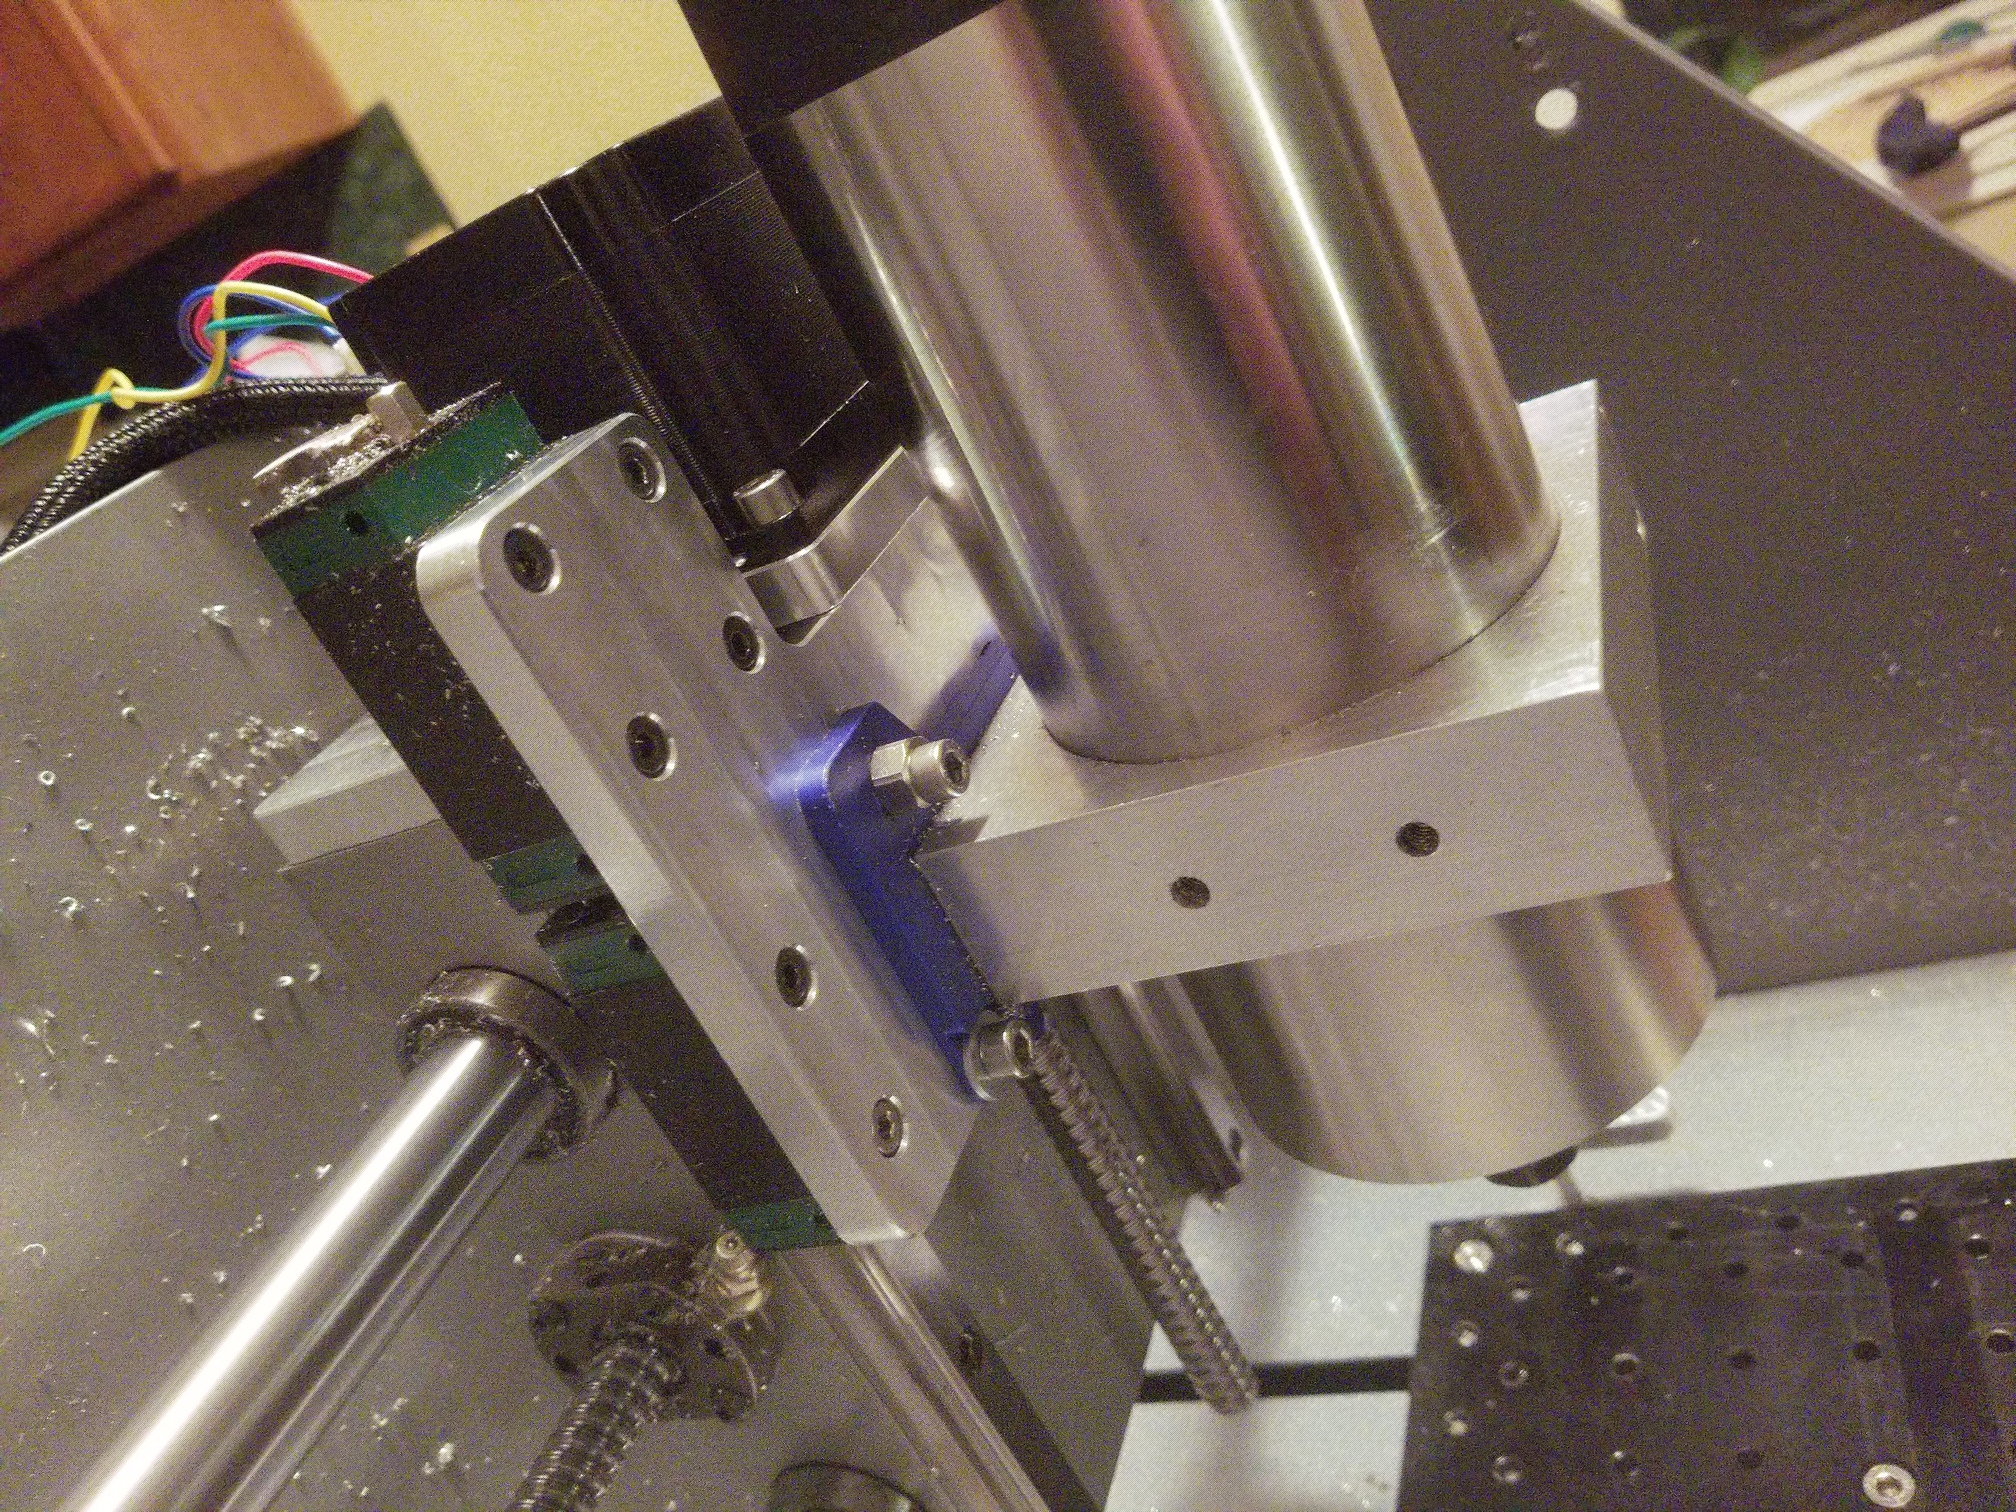
Good thing that with a front mounted tram plate, its now much easier to swap out spindles!
4 Likes
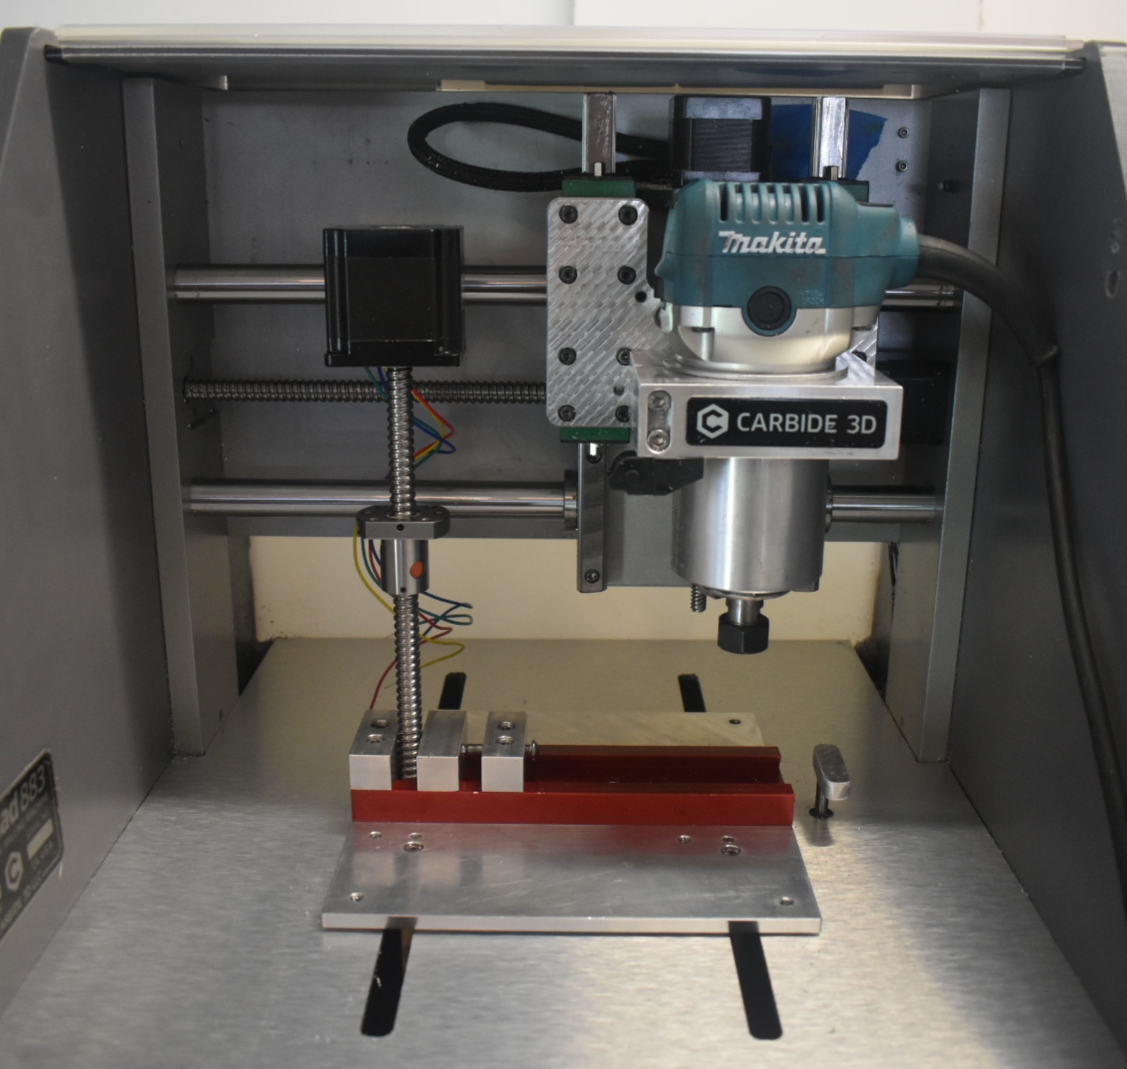
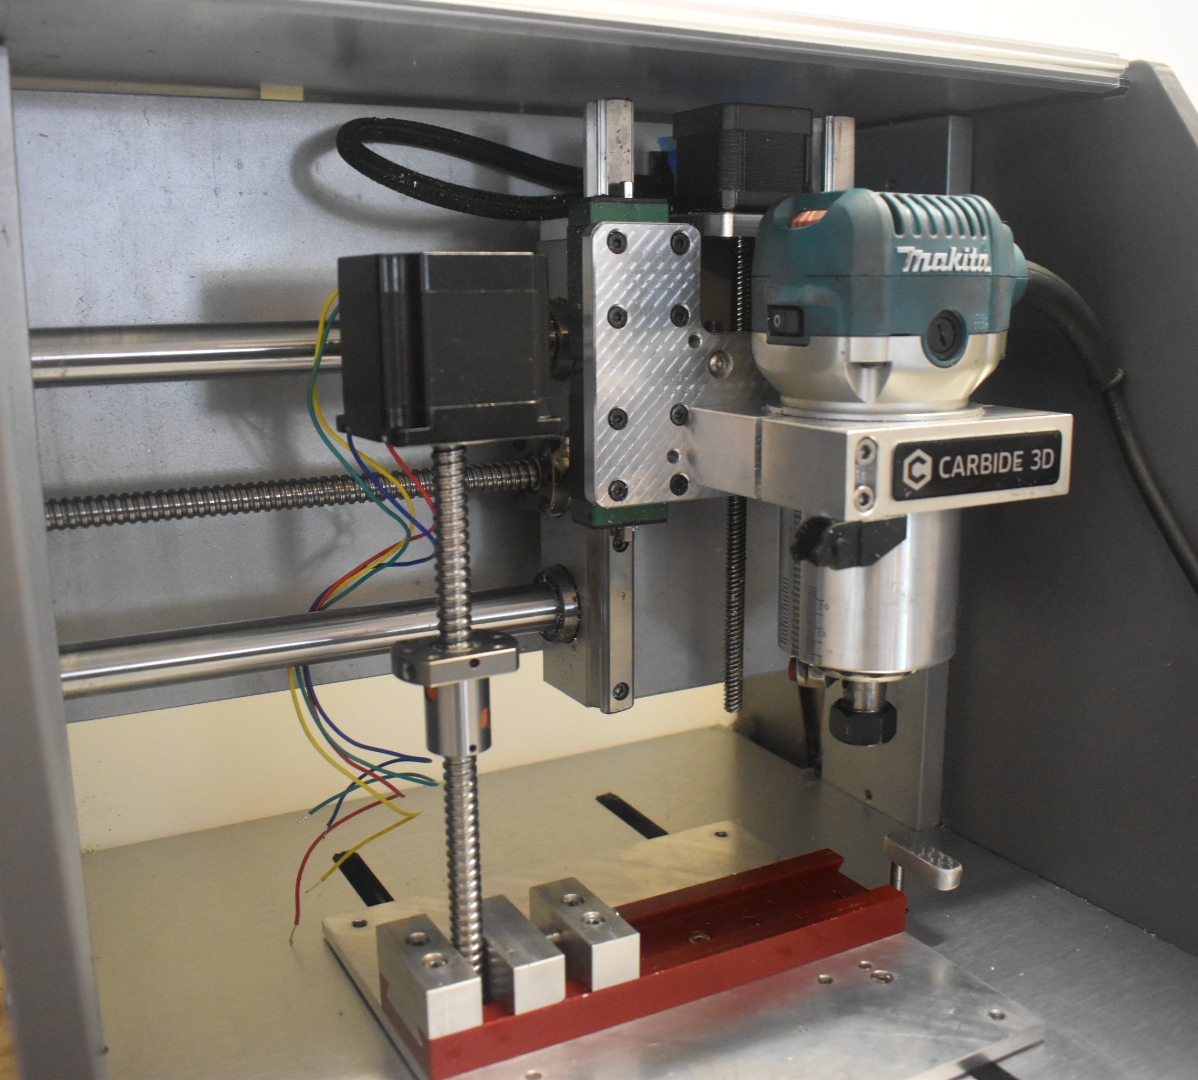
Its lives! Full 1204 Ballscrew conversion with a Nema 23 Z. 170ipm rapids on all axis, 400 steps per mm.
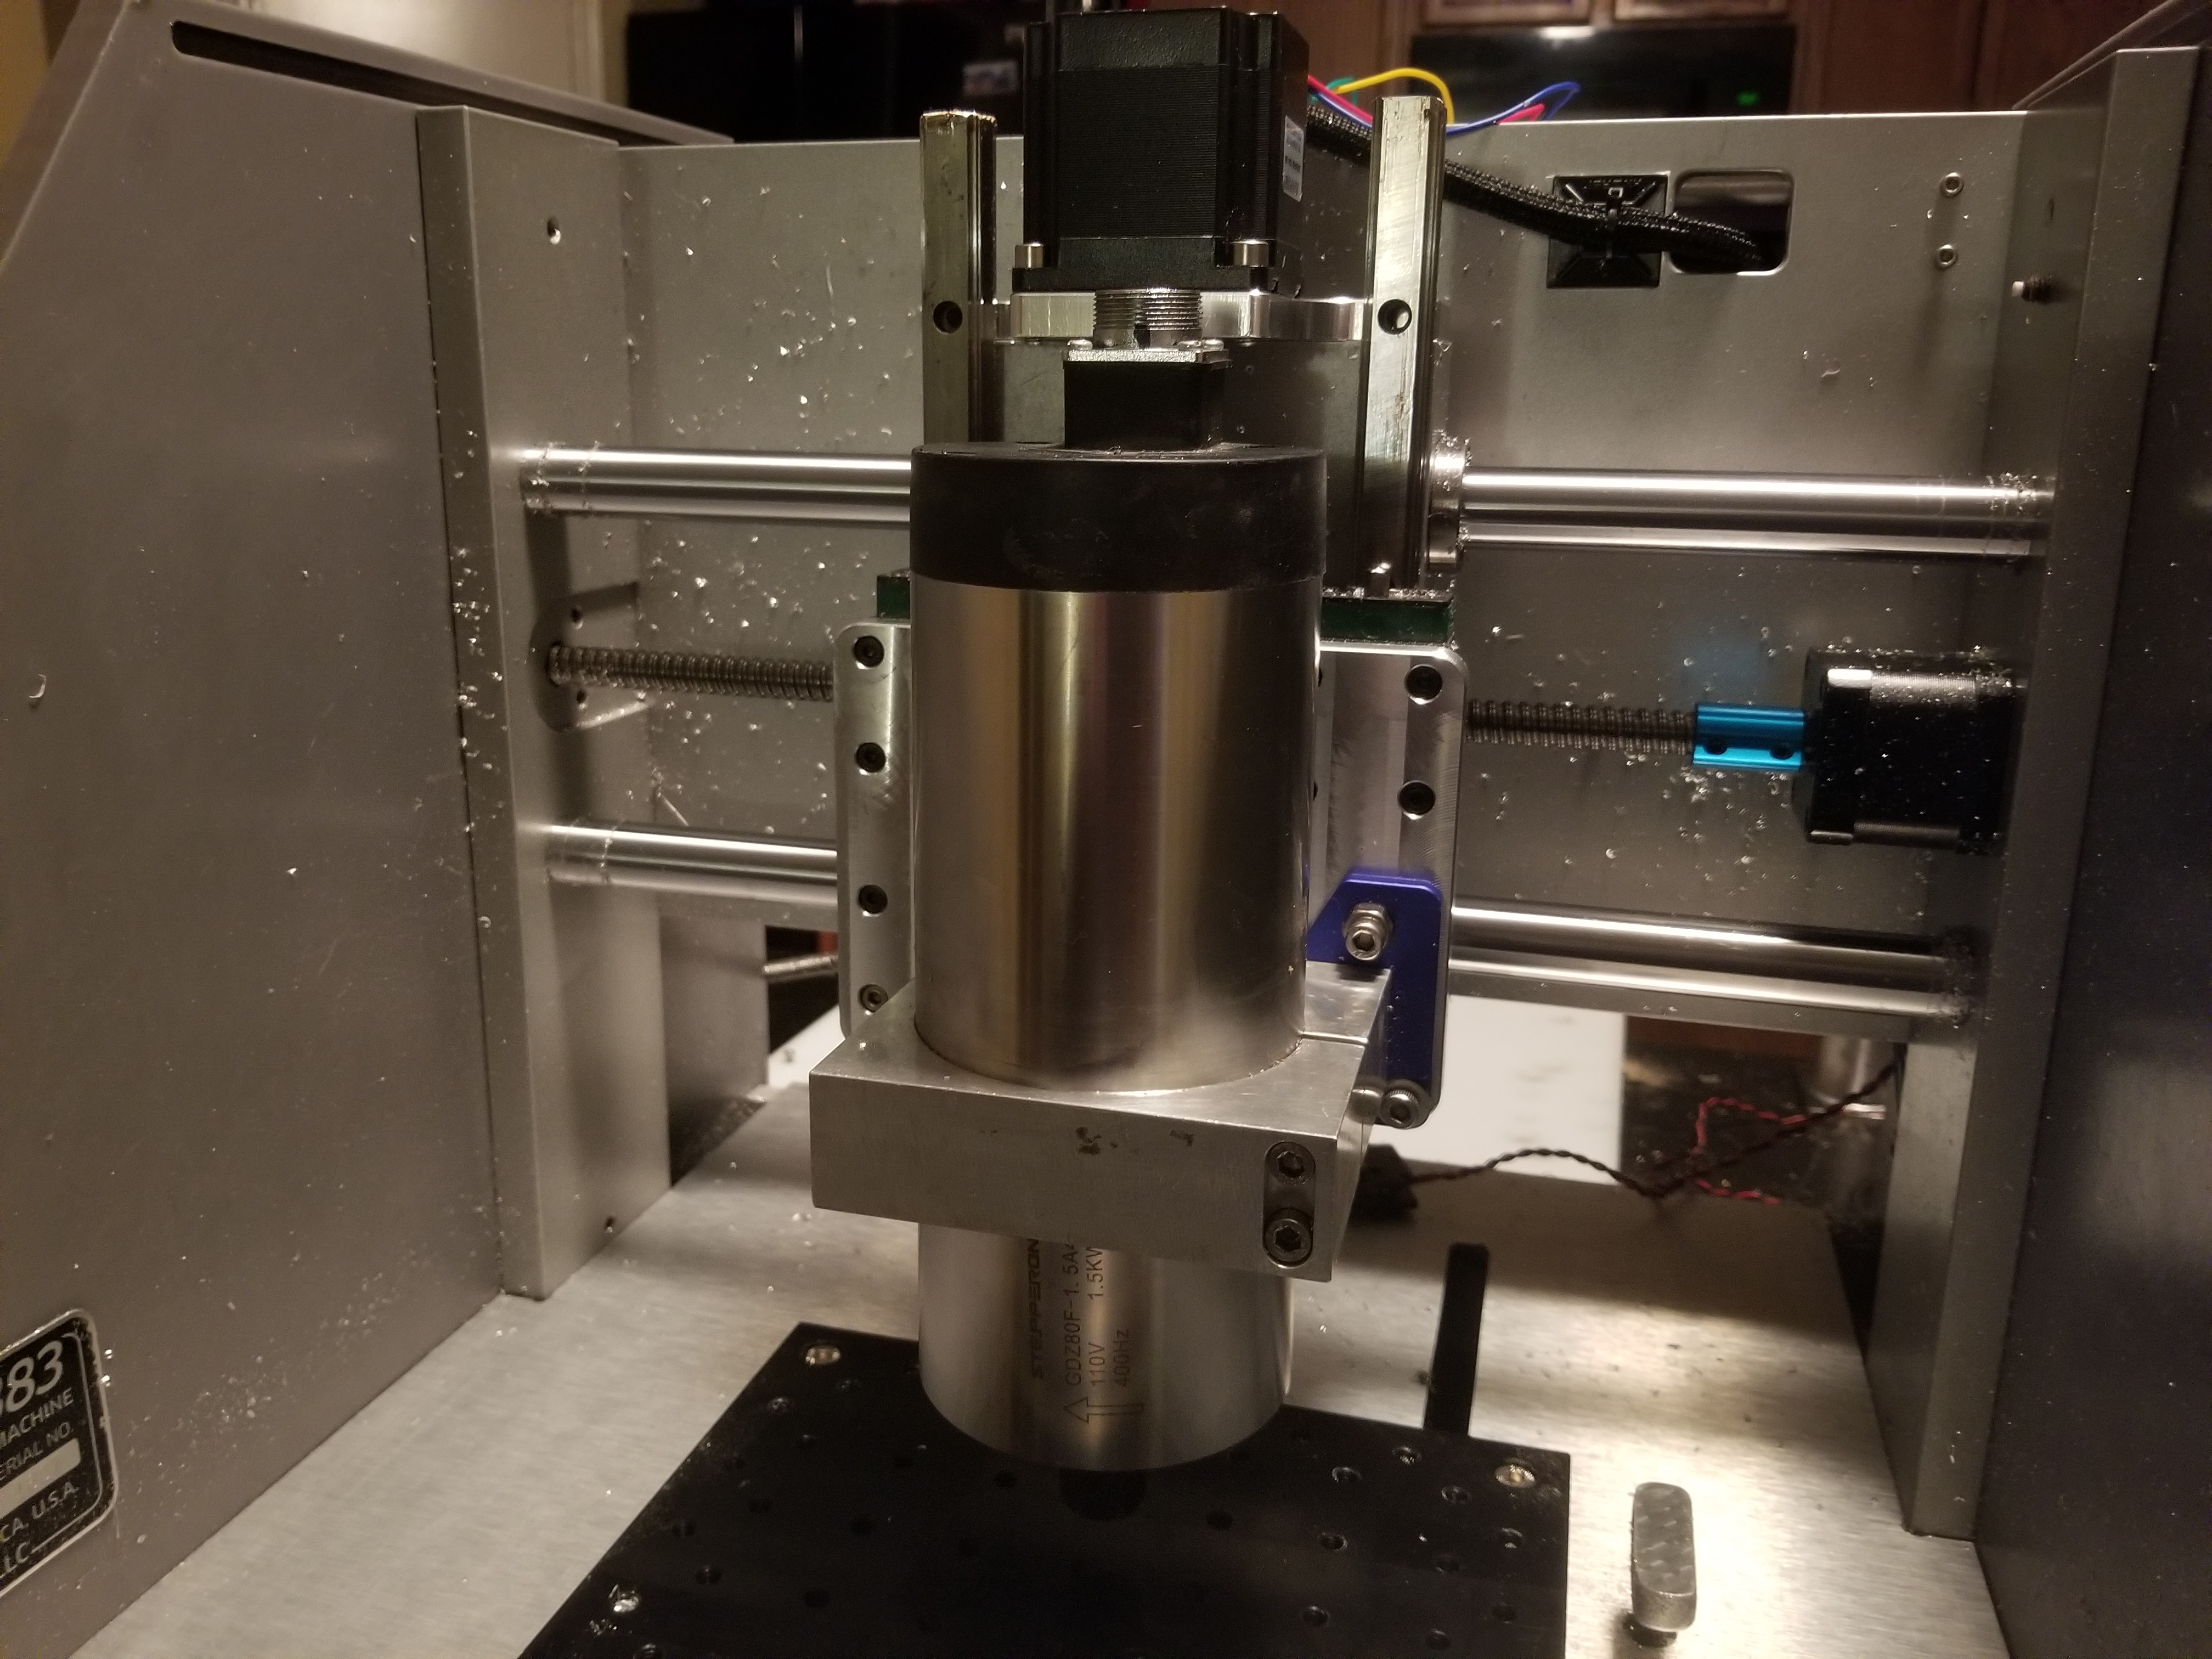
Now to steal the proximities off the S3 and add homing switches. Still needs alignment and adjustment but no binding with just a tight and go.
7 Likes
2.2kw? Now we’re talking
2 Likes
It’s a 1.5kw aircooled, but 80mm.
1 Like