First off I understand that the estimated cut time is not the real cut cut time. For me and my experience CM will shave about 25% off. Still a long cut time no matter how you slice it. I had asked for advise on long cuts and one was to do a larger roughing pass. If I add an additional pass at a 1/4" it adds a little over 2 hours to the total cut time. In short making it longer not shorted. What am I missing? I am still trying to figure this all out and feel like there is a simple answer or step that I am miss. I am guessing it’s because I am leaving a small amount of stock after the first roughing pass. I am leaving about .0200 after the first roughing pass and .0150 after the second.
Over all I have been very happy with the finished product at these feeds and speeds. I just feel as though there is some really simple step that would help speed up the process. If not then I am ok with that too. If it take 11 hours so be it.
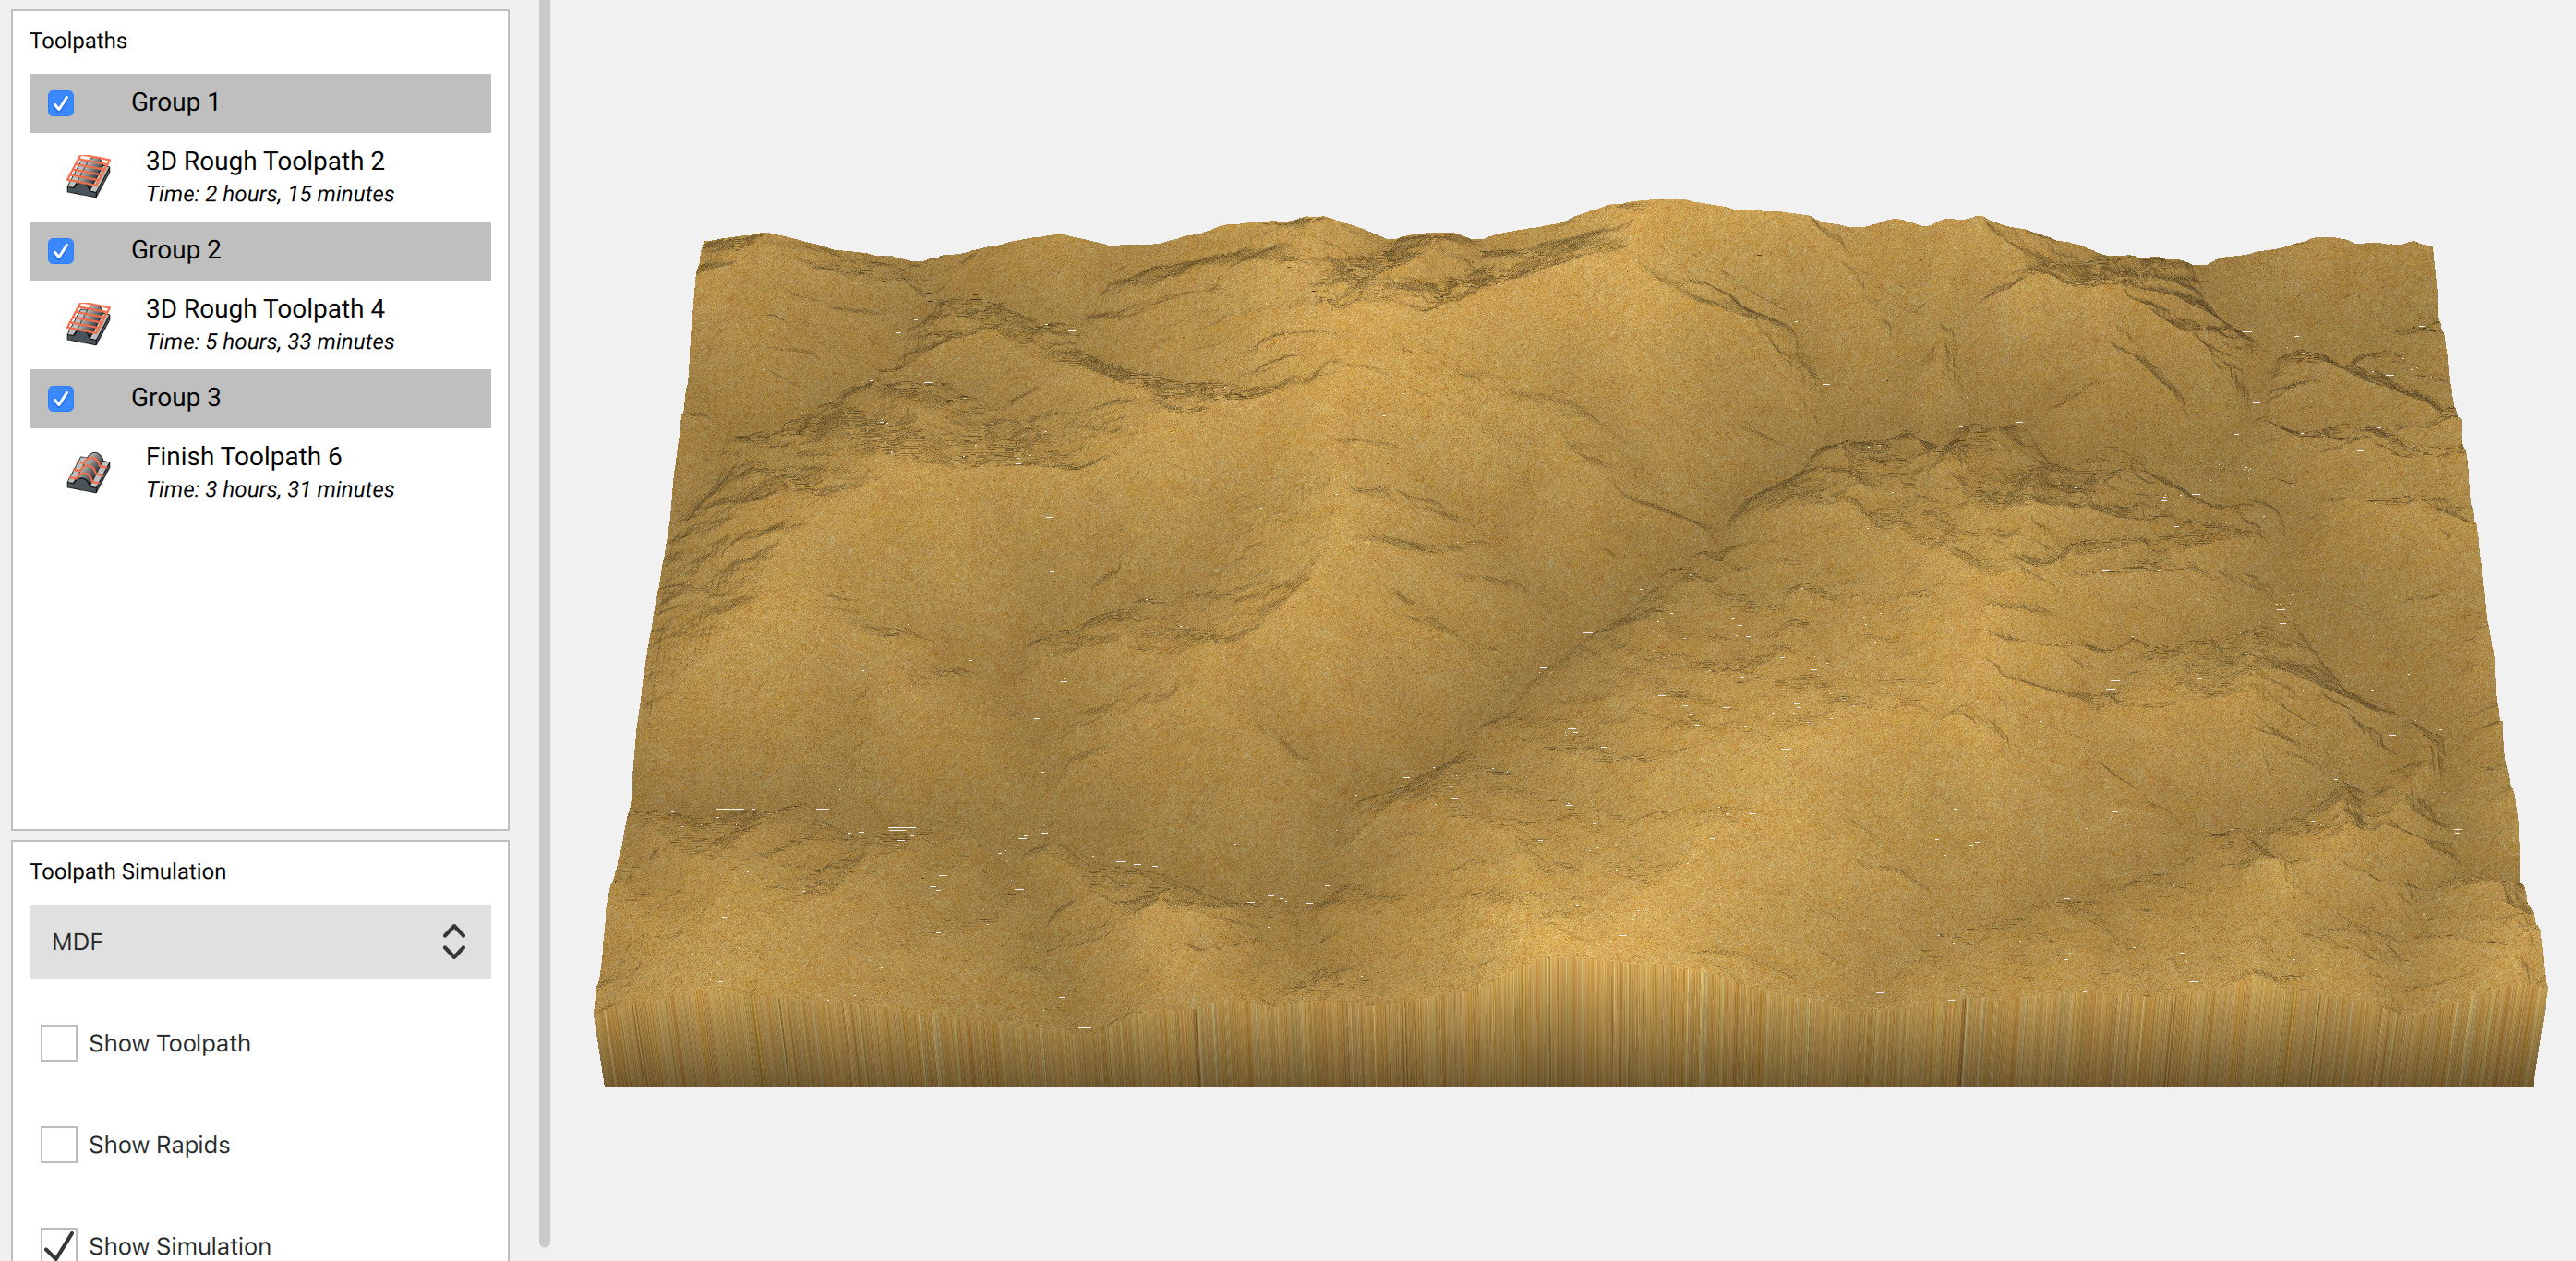
Work size: 6"x10"x.9725"
Total depth from highest to lowest is 5/8"
material: Hawaiian Koa and Maple.
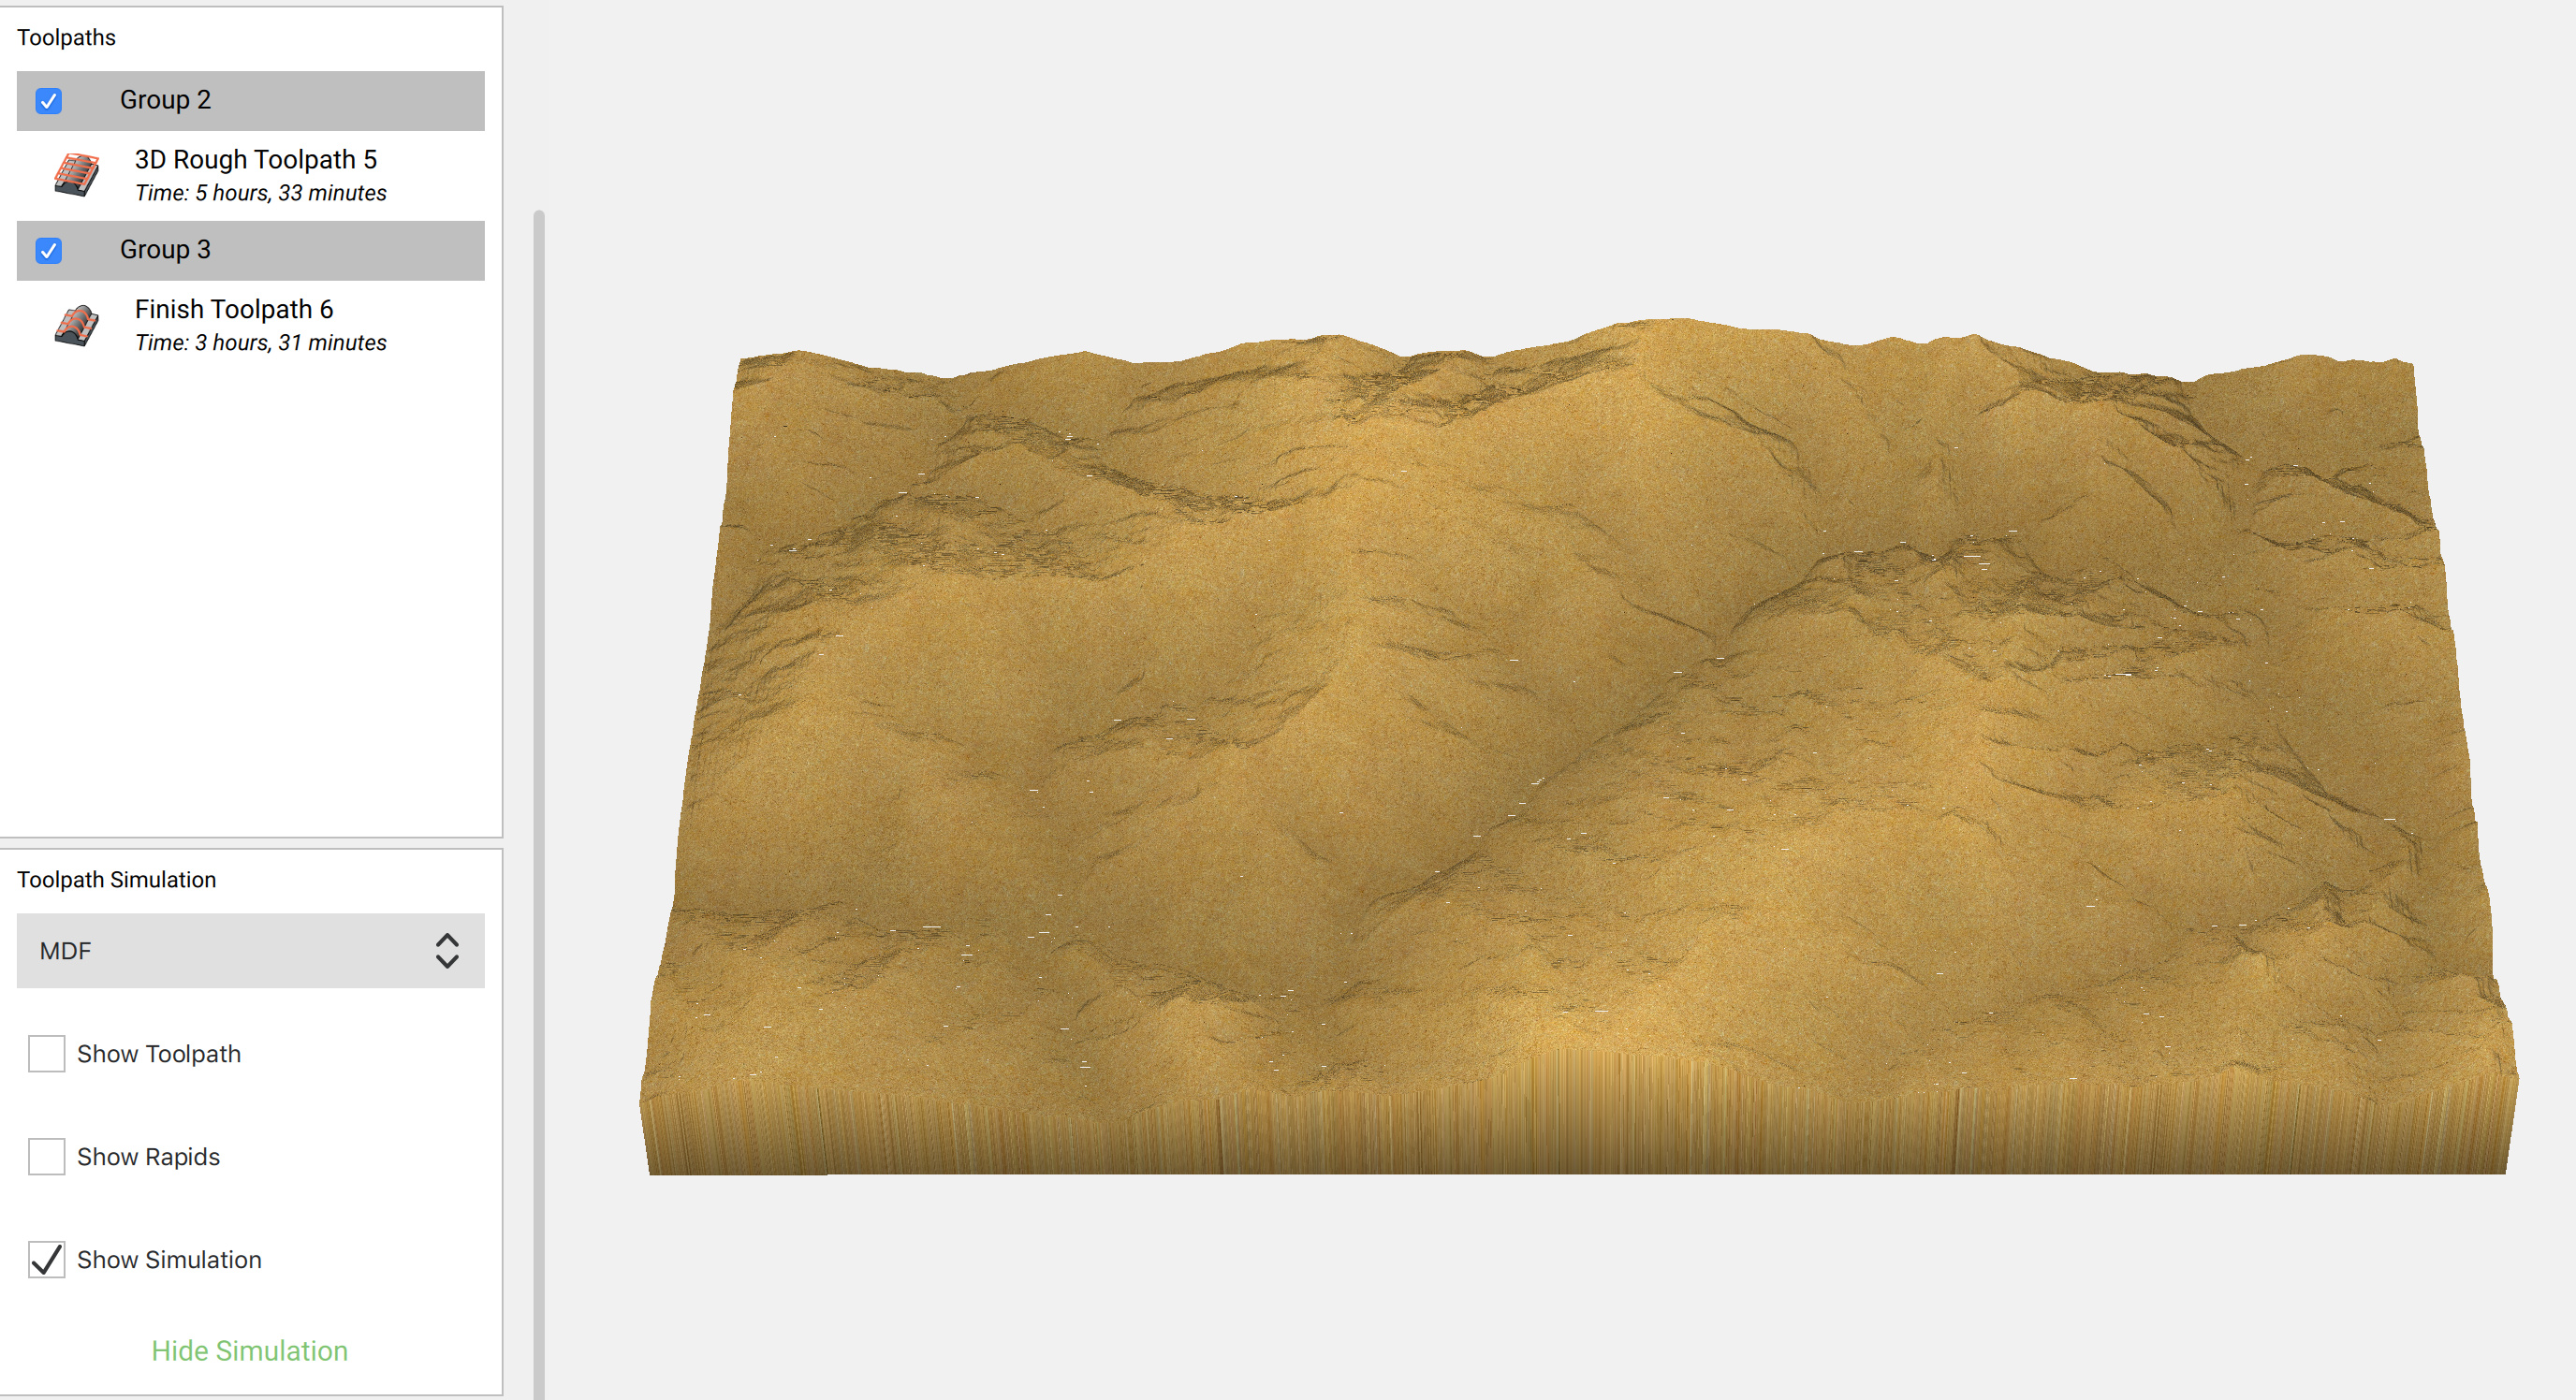
Image 1 setup.
1/4" end mill square
SO: .125
DPP:.040
FR: 60
RPM: 18000
PL: 15
STL: .0200
1/8" end mill square
SO: .063
DPP:.030
FR: 60
RPM: 18000
PL: 15
STL: .01509
Change the subject if all you’re interested in is time. Reduce the detail that you are looking for. The subject you are cutting just takes time to cut.
I’m fine with the time. Not willing to give up detail and I know that detail = more time. Just can’t get past the feeling that my workflow steps might be flawed or that I’m adding unnecessary time.
In option1: I don’t have access to CC right now but I think it does not do rest machining in case of multiple roughing passes? I would not be surprised if your second roughing toolpath behaved as if no material had been removed yet, hence zero gain
In option 2: I would use a 1/4" endmill instead for roughing, increase DPP to 0.05", and then use a tapered ballnose endmill with 1/16" tip radius that should eat the 0.05" steps with no risk of breaking, also I think 0.0063" for stepover could be doubled and you may not see the difference in wood.
That’s what I was wondering but not knowing. The issue with jumping up to just the 1/4" is it can’t get into the tighter canyons and river bottom and so I am left with a lot of untouched stock. I am placing a higher value on detail than I time.
the one thing that gave me both better detail AND higher speeds was getting a tapered ballnose bit. It does not work for all designs, but it works great for landscapes
with that, the roughing is not super critical, so if some valley isn’t cleared, the tapered bit will just plough through it… so roughing with only the 1/4th bit is fine.
I use 60ipm feedrate with this bit with a smallish (10% or so) stepover… the tapered part makes this thing strong.
1/16th is 1.5mm, so the tapered bit is slightly smaller at 1mm…
but more, the taper makes it stronger so not bend/deflect/etc as much… it gives me a very nice smooth result while keeping details.
the models I used aren’t more detailed than that so not sure if say 0.5mm would help