Carbide 3D Community Site
What did you cut on your Shapeoko/ Nomad today?
Gallery
Caffein8ted
(Patrick)
March 5, 2023, 2:28am
2044
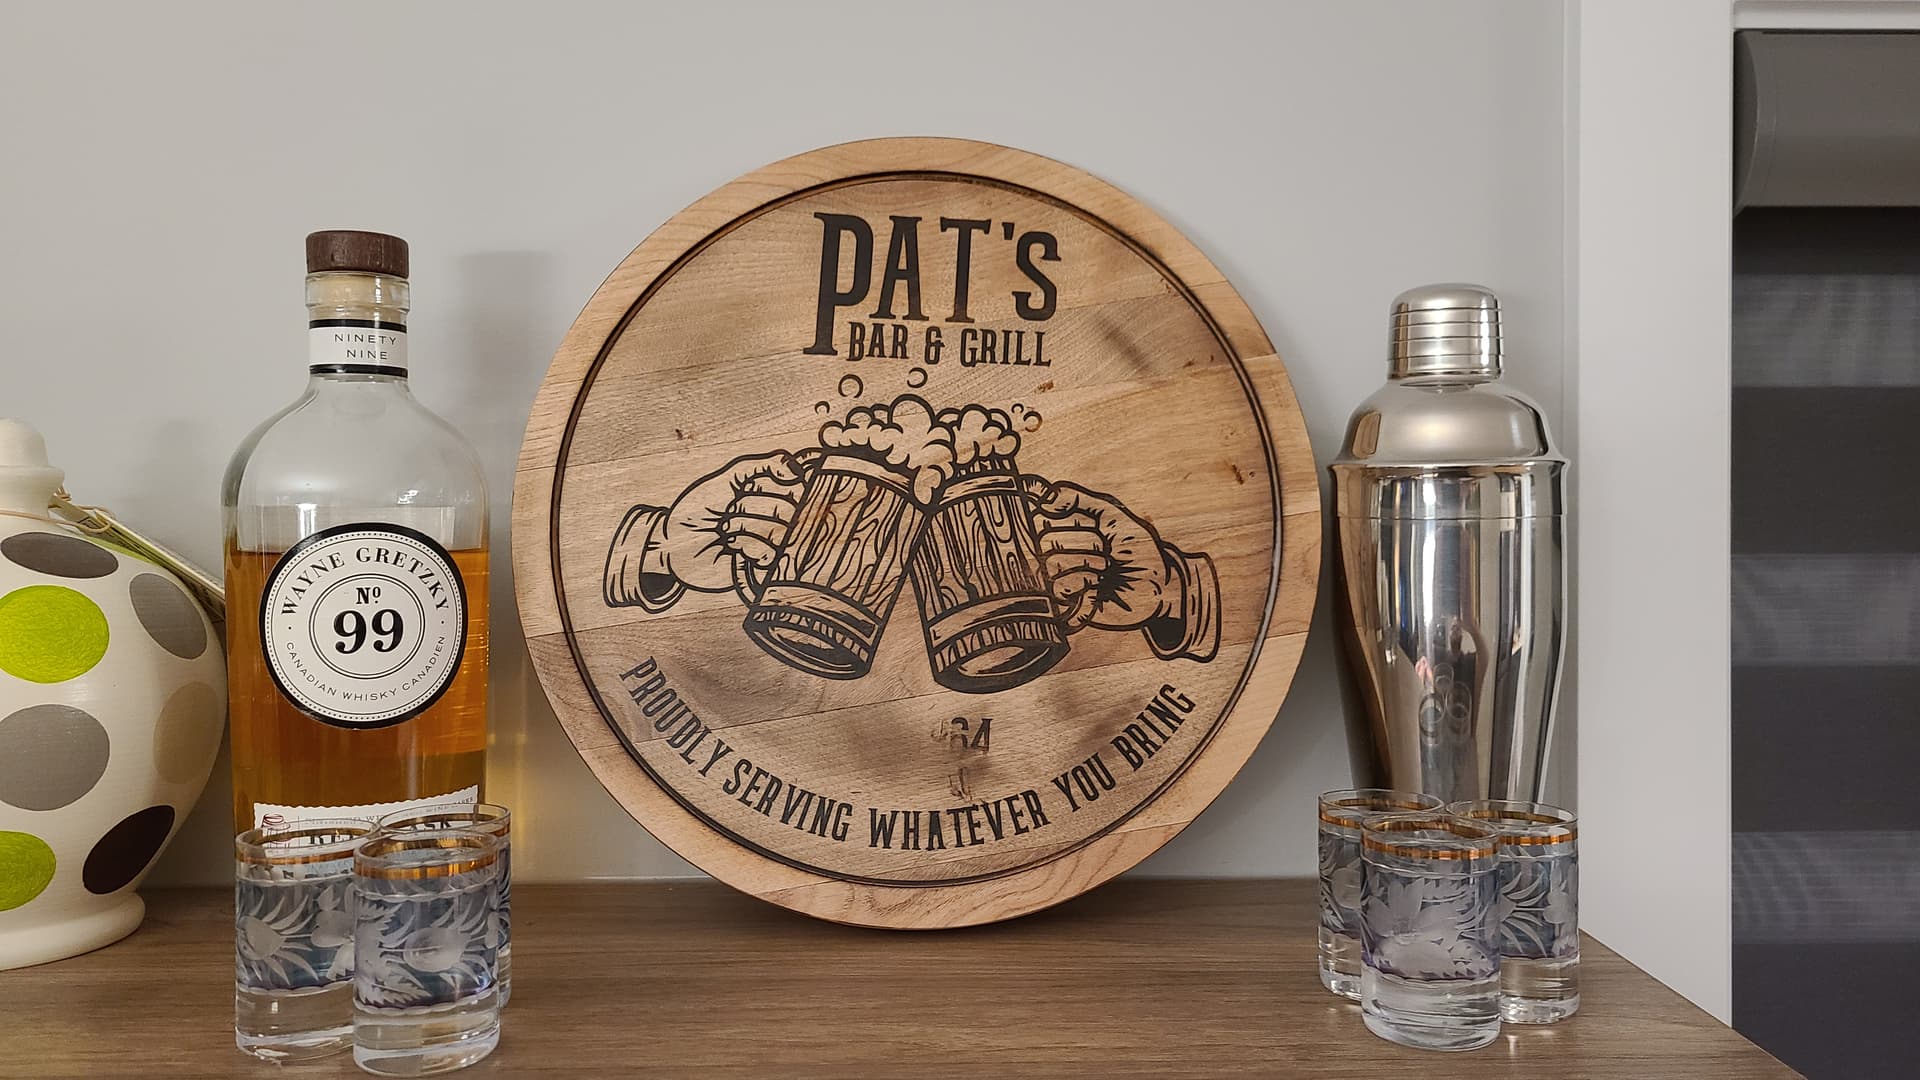
Today I made this
20230304_210315
1920×1080 212 KB
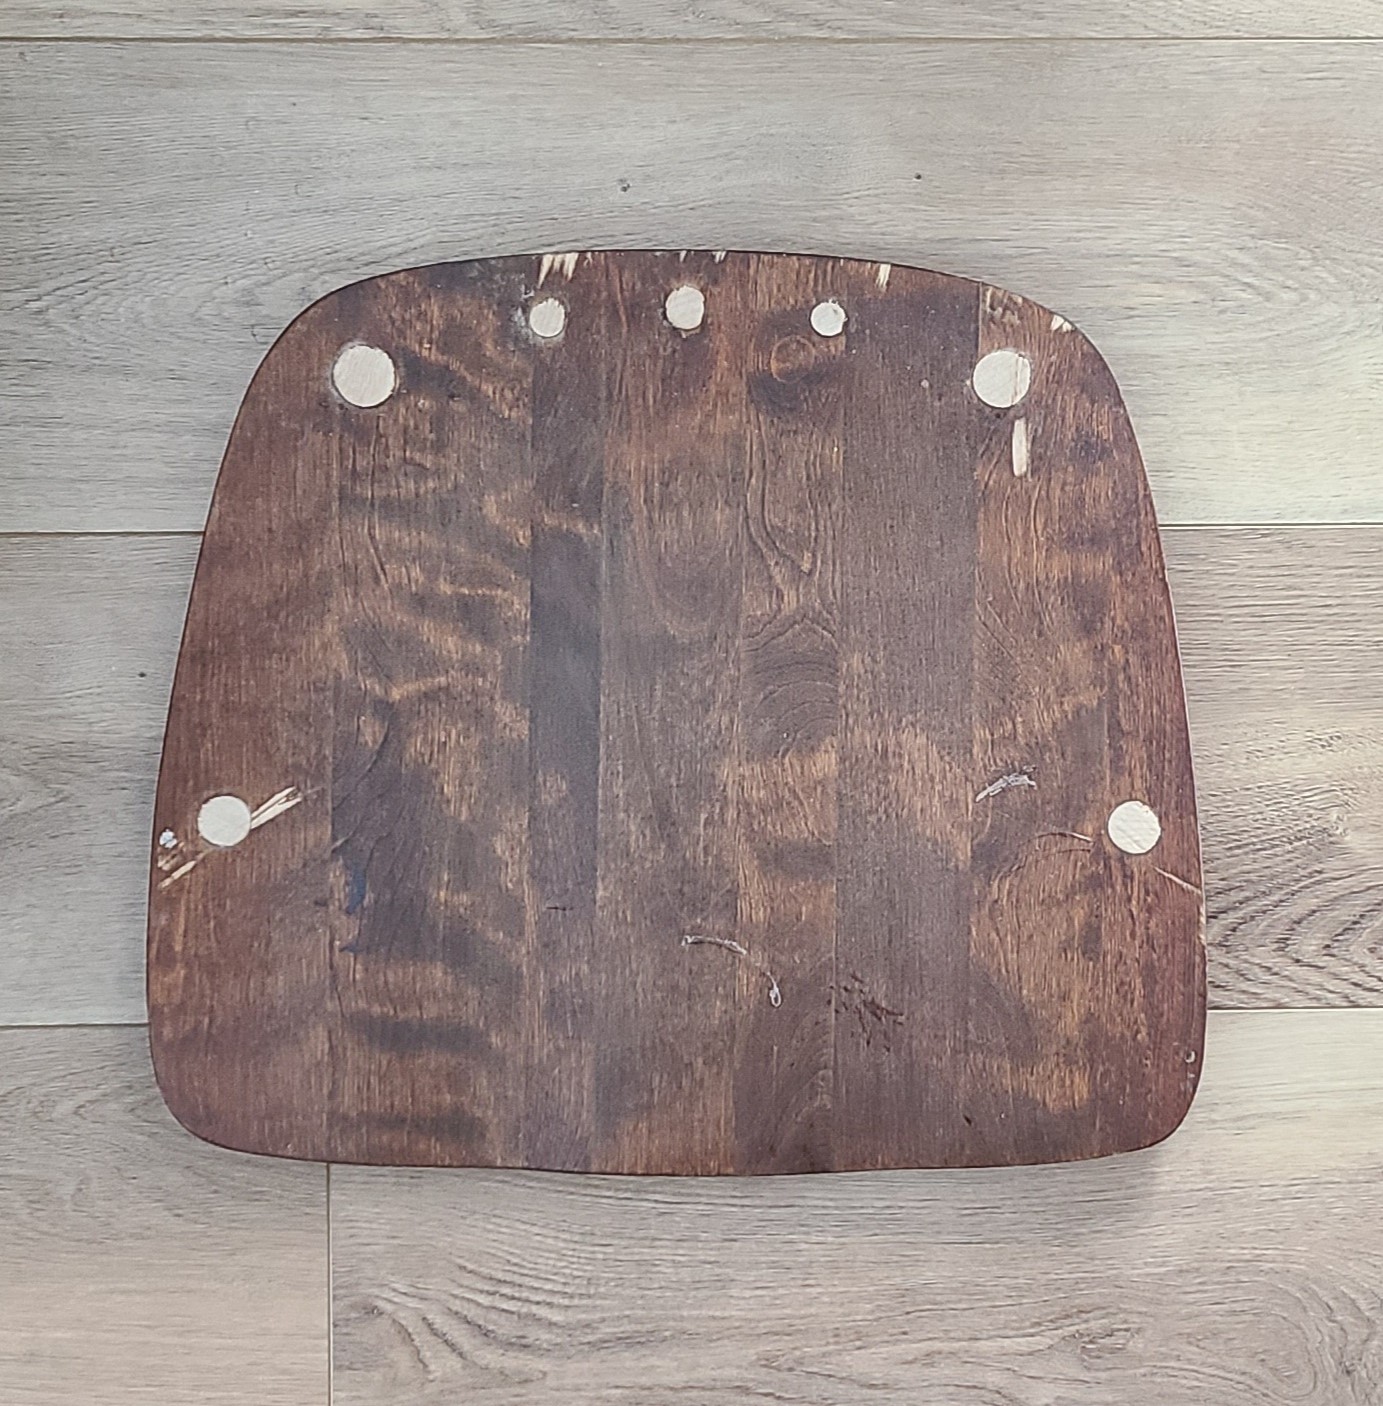
by upcycling this
20230304_124229
1383×1406 472 KB
More details in this
post
if your interested
20 Likes
show post in topic