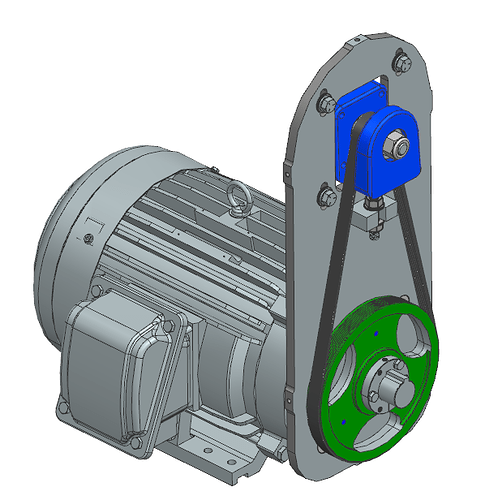
What is the bracket for? Looks like a router mount plate or something.
Just a message to celebrate the 2000th post in this fantastic thread. You guys rock!
This has been an eye-opening 2000 posts!
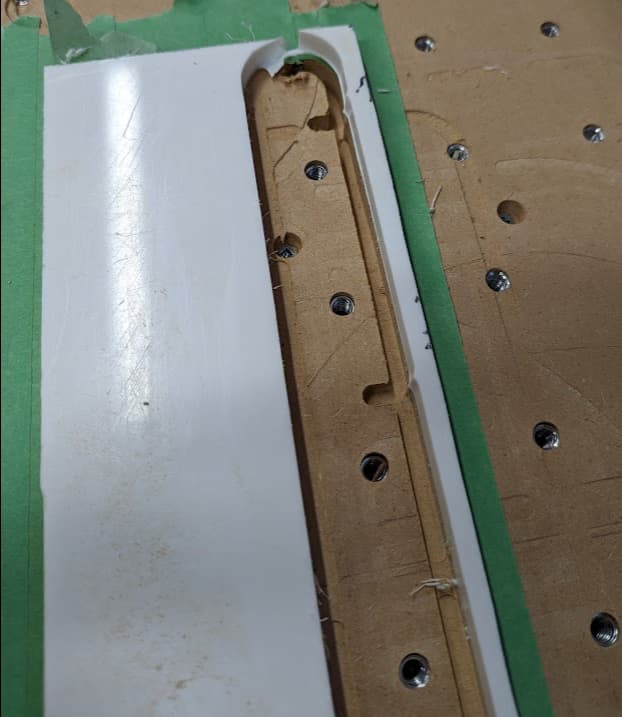
Skate blades for sledge hockey goalies. They push themselves side to side and therefore use plastic blades. One of the goalies I play with had some of the plastic and was hand carving them. I offered to give it a try.
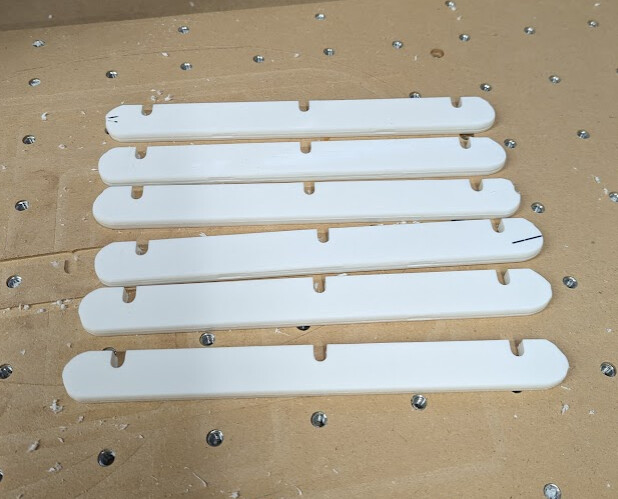
The first one also had my first bit slip in 2 years of owning my CNC it was the first time using a 0 flute bit and for some reason this one slipped. Had quite the ramp down into my wasteboard before I got it stopped.
Got really lucky with my threaded inserts.
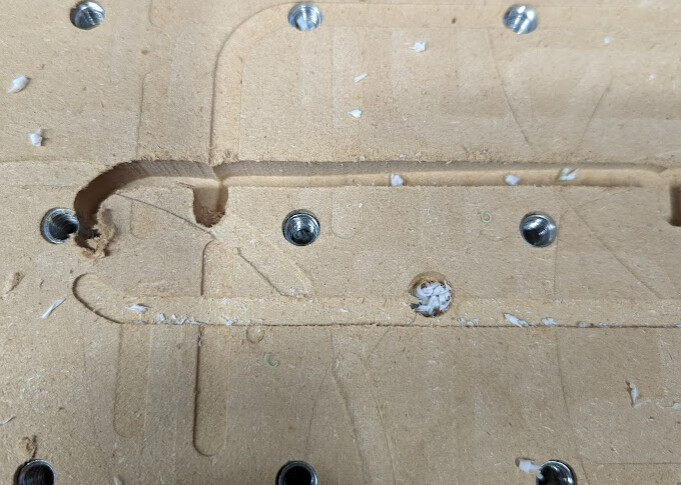
Ouch - I just resurfaced my spoil board last night, still have a couple battle scars like that showing through. ![]()
It is almost time to replace it. It has almost dropped to where I can’t resurface without hitting inserts or the front of the bed.
Newbie question, what software did you use to create the design of the patterns? I am looking to do something similar.
Ryan,
My boards looked as bad as that for the longest time. Depending on the project, I need accuracy, flat, true, square…
I started Zeroing off my waste boards. Unless I fudge up, I do not cut into them. Takes a bit of getting used to. I like it so much better.
I think I will try switching to that once I get a new waste board in place. Can’t do it from this one obviously. Too many battle scars.
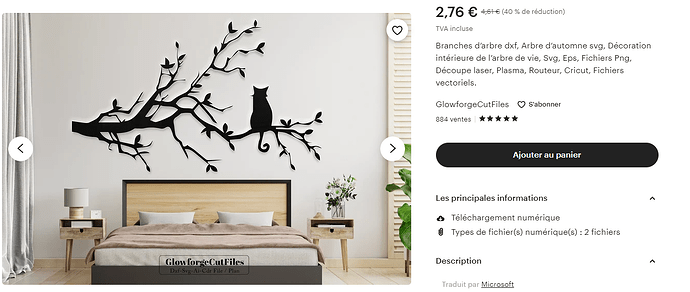
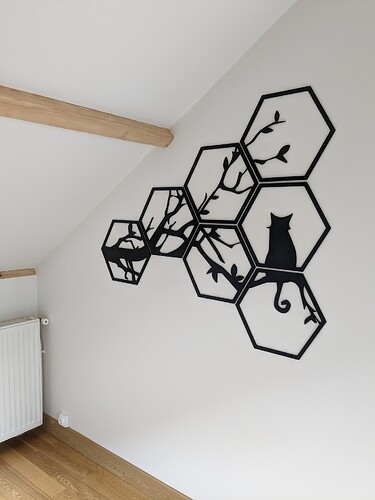
I was looking for inspiration to make wall decoration, stumbled upon this design I liked,
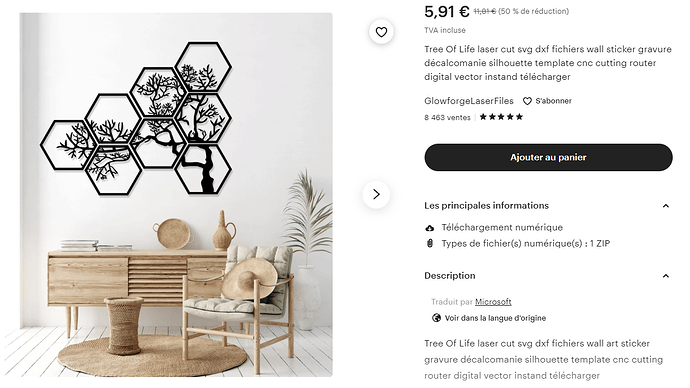
but it would have been too large to cut in one piece on my XXL (even with tiling) and those thin branches were likely to break by just looking at them wrong. I looked for another design based on tiles I could cut individually, and found this other design based on bestagons:
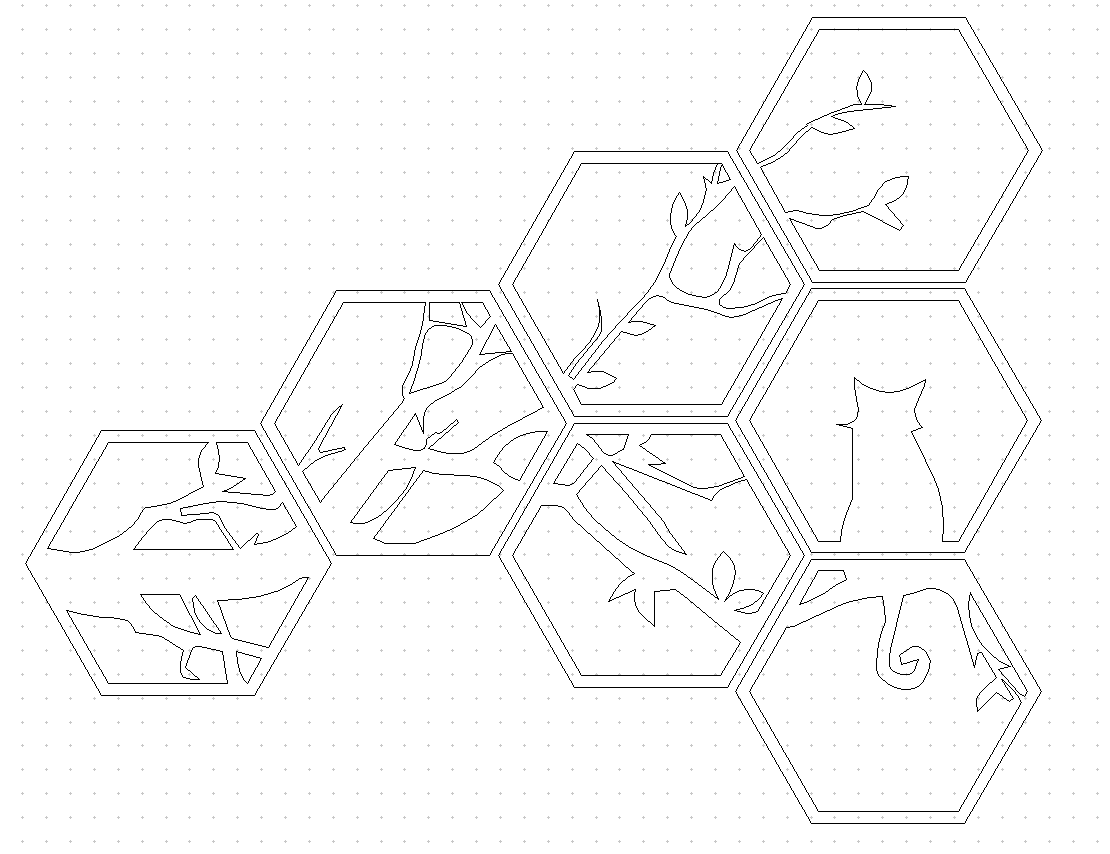
So I bought the first vector and split it manually,
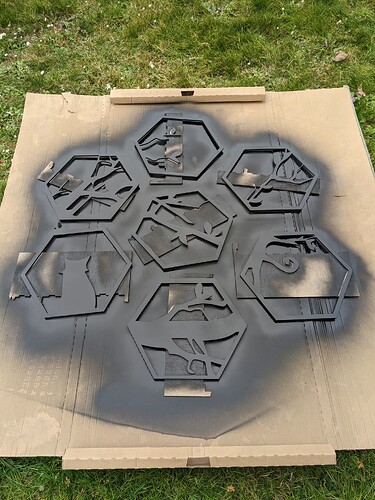
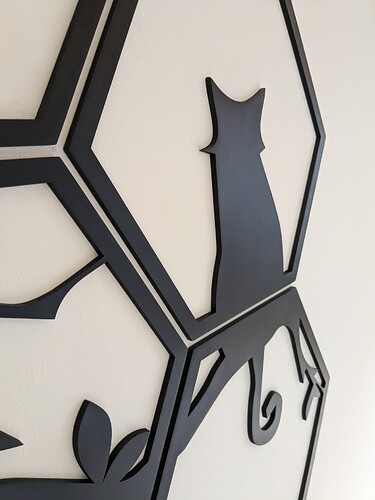
Laser-cut the pieces from 5mm MDF (yes, I am aware this is a Shapeoko thread, but my laser module is mounted on my XXL so it counts ![]() ), then it was time for paint-sand-paint-sand-spray
), then it was time for paint-sand-paint-sand-spray
Then I considered various ways to attach the parts to the wall that would be invisible AND not require to drill any hole, and since I don’t trust double-sided tape on the long run, I finally went for…blue tape and superglue across the periphery of the hexagons. “It’s not going anywhere”, and I could still gently pry the tape off the wall if need be. Time will tell if the blue tape comes off the parts or the wall, we shall see.
I am pleasantly surprised by the finish I got from painting MDF
Anyway my wife is happy with our new decoration, so mission accomplished.
I use the 3M Command strips. They hold awesome and can still be peeled off via a small tab.
They do, and I had actually ordered a set for this project as they usually are my go-to solution (much better than double-sided tape of any kind), but it turned out that with those relatively thin hexagon borders they were visible from the sides.
Based on someone else’s recommendation I think in this forum I bought some Xfasten double sided woodworking tape. It is much better than the carpet tape so used to use and much easier to remove the backing. In some cases it is too strong, I have to be careful when trying to pry up a
Coaster.
Did you treat the MDF first? I usually put shellac on it to seal before painting.
Every single tutorial I have seen calls for some kind of priming the MDF, shellac sounds like a good idea, I just used what I had on hand (white paint) with sanding between coats (x2) before applying the finish matte black spray paint.
Looks great! I’m new to this (still assembling my machine, have yet to cut anything), so sorry for the stupid question, but how did you achieve the red color in “Cardinals”? Is it just paint?
I use the spray shellac because it is fast.
Nice Project Execution!
Pretty sure that’s red paint. You can do it by hand or buy some cheap temporary vinyl, cut, spray, and remove.
What kind of stuff were you dreaming of when you bought the machine?
Lots of talented people here to share ideas and help. They’re often good at commiserating over dumb mistakes we all made at first too.
